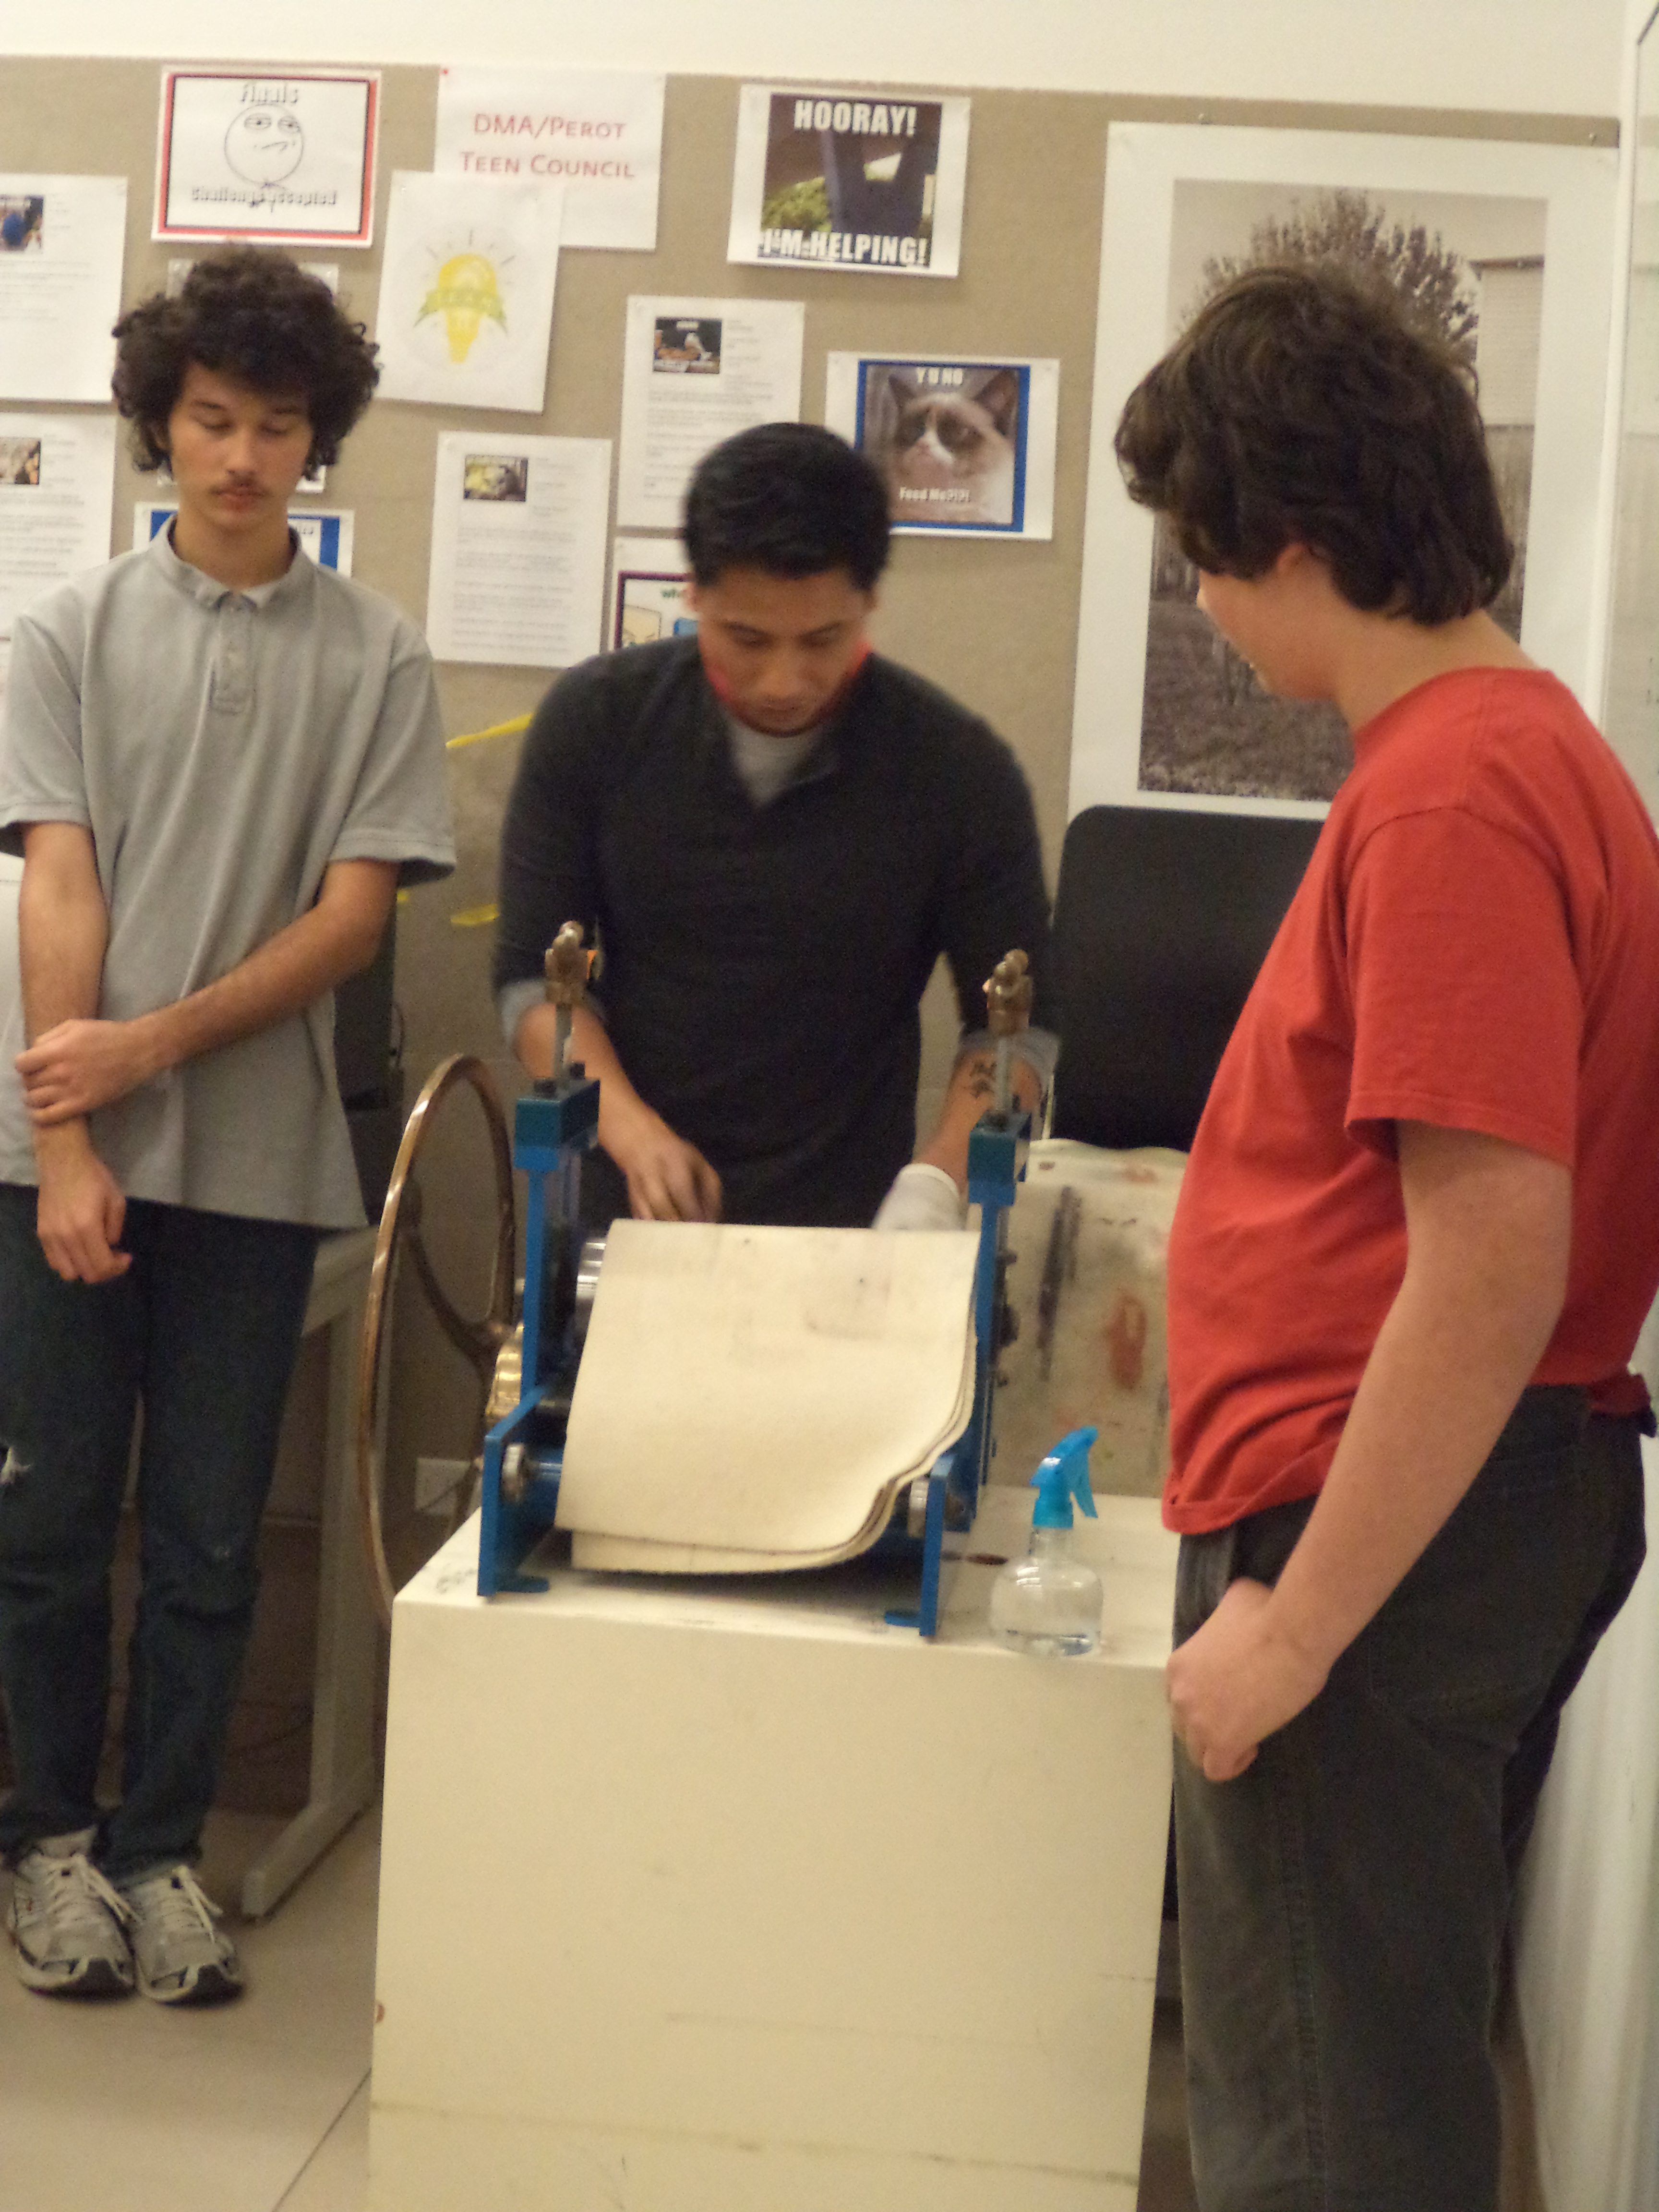
In January 2014, the Center for Creative Connections (C3) launched a series of activities which take place at a large table in our gallery space. Each activity is related to a work of art in the C3 Gallery and offers resources to assist in visitors’ creative process.
-
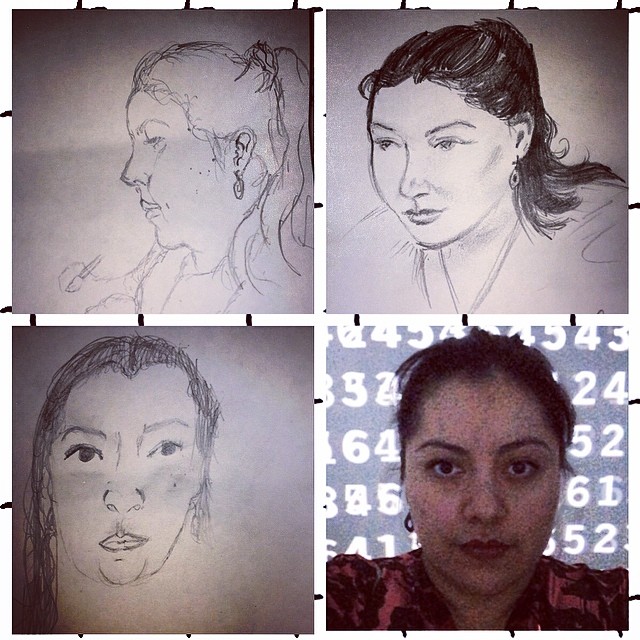
- Portrait Drawing
-
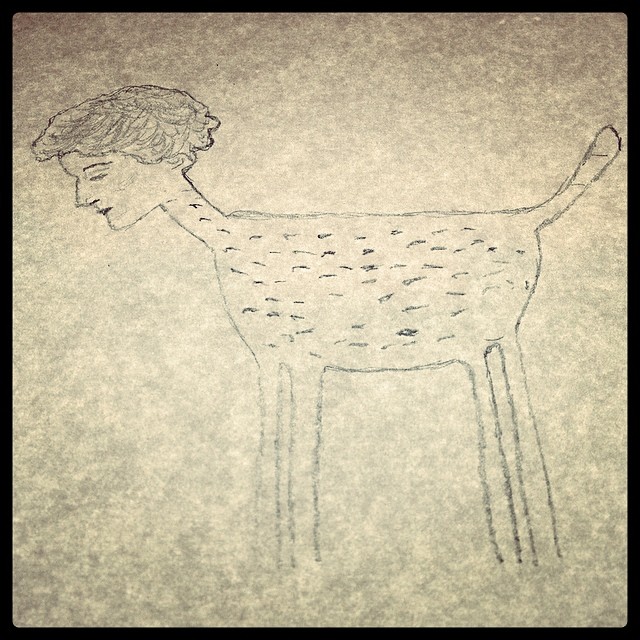
- Hybrid Creature Drawing with Light Boxes
-
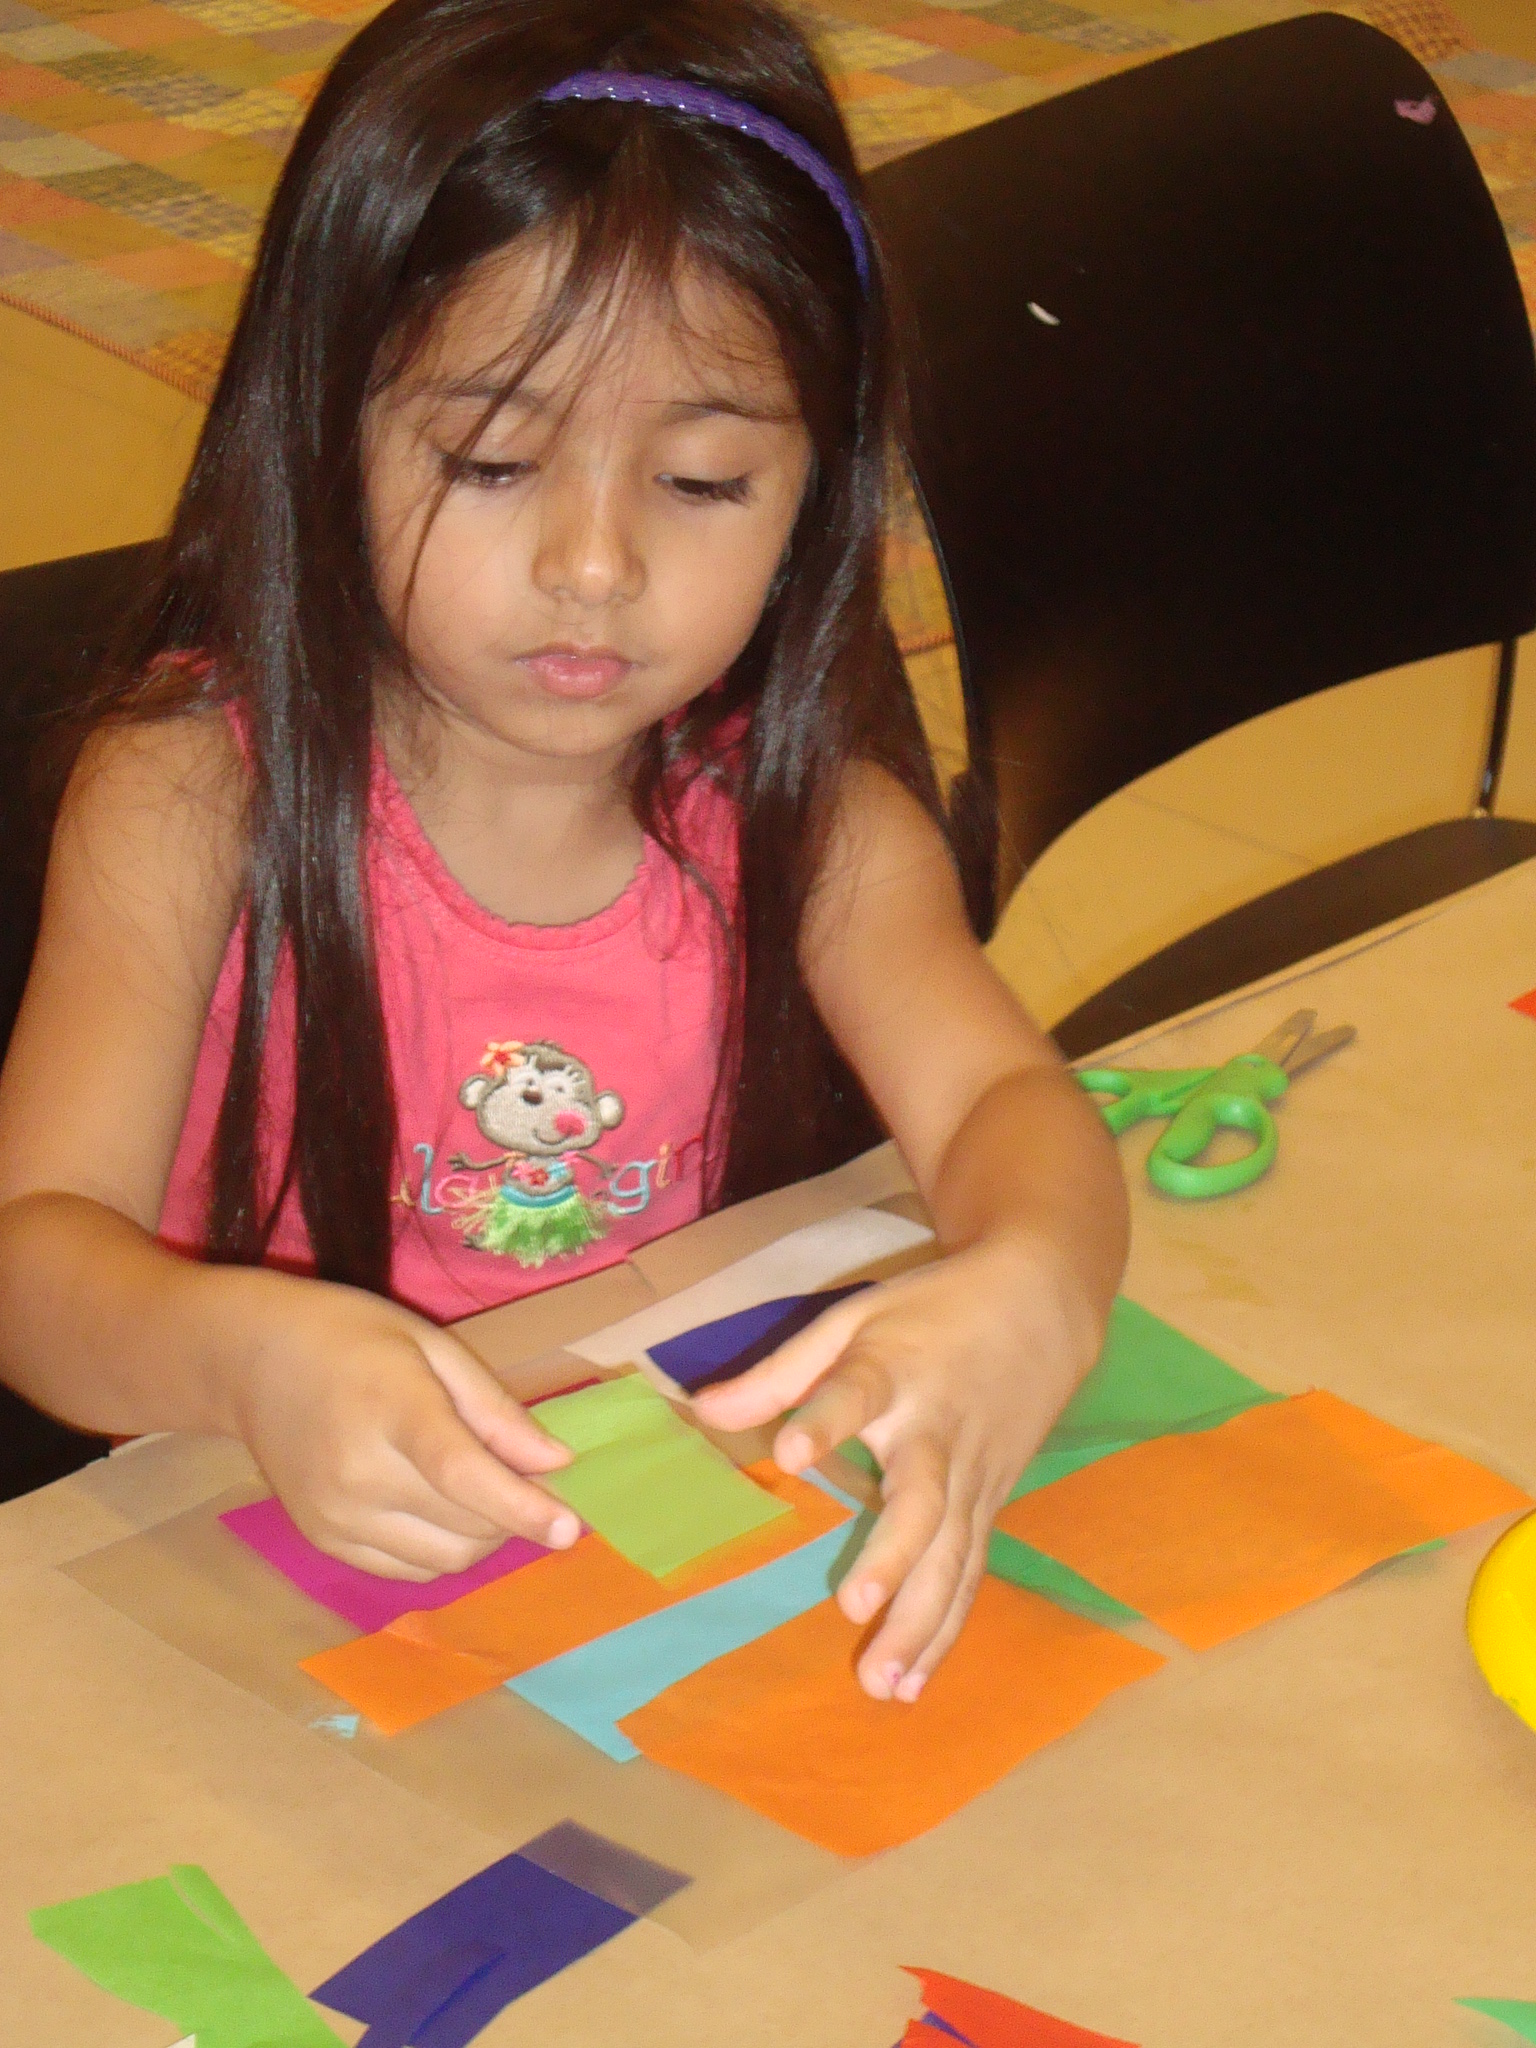
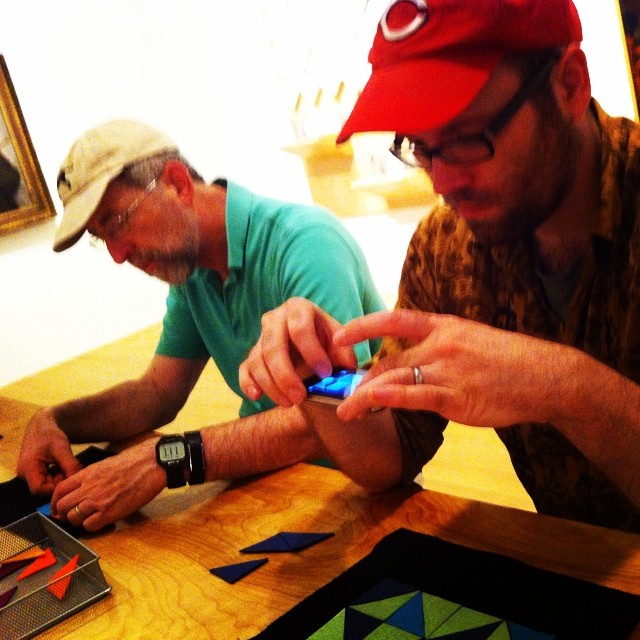
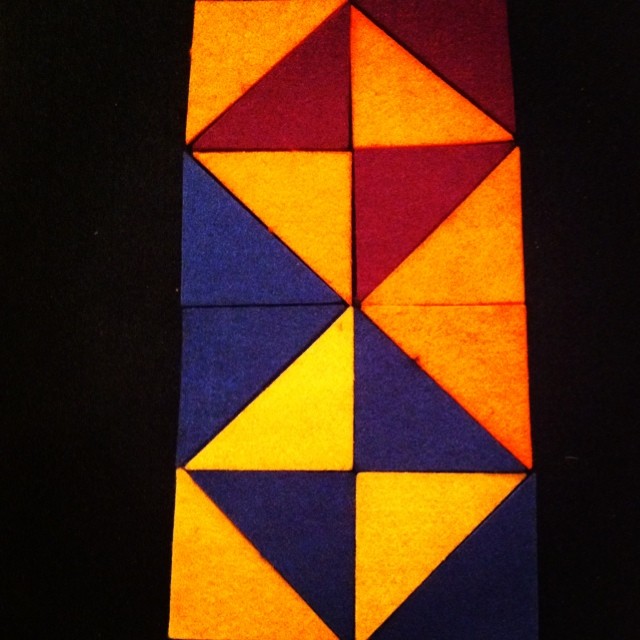
- Patterns with Felt Triangles
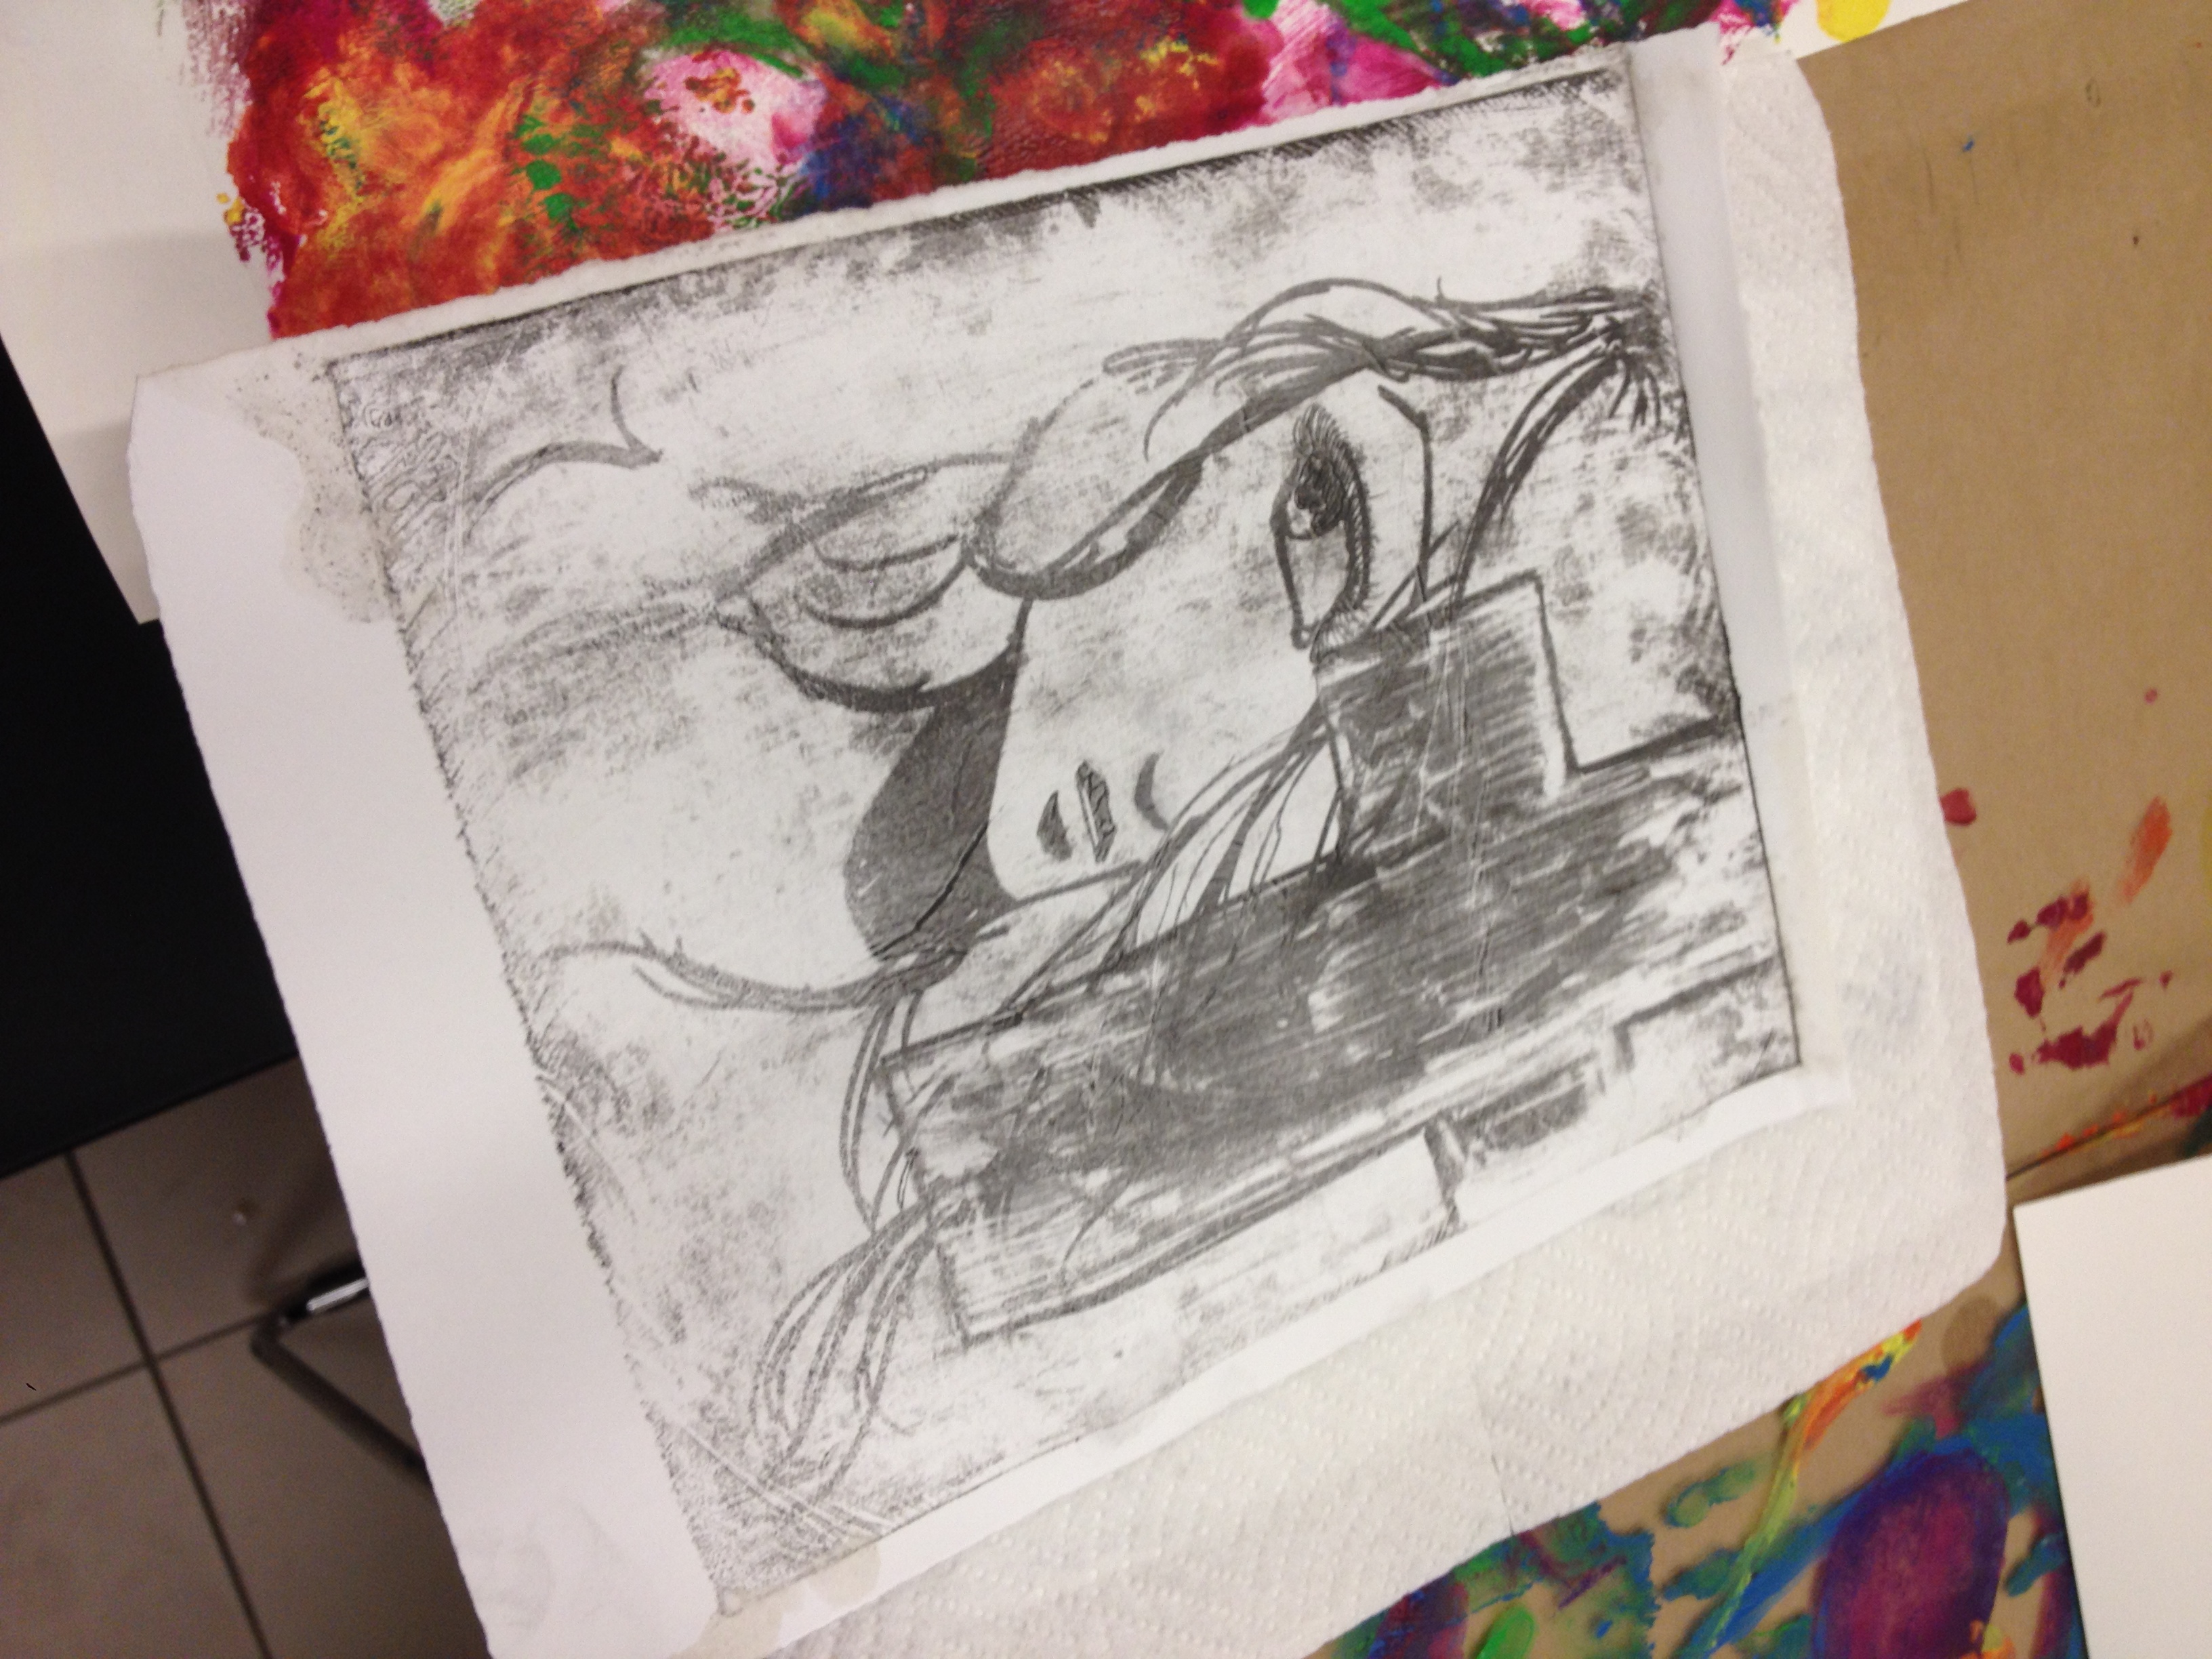
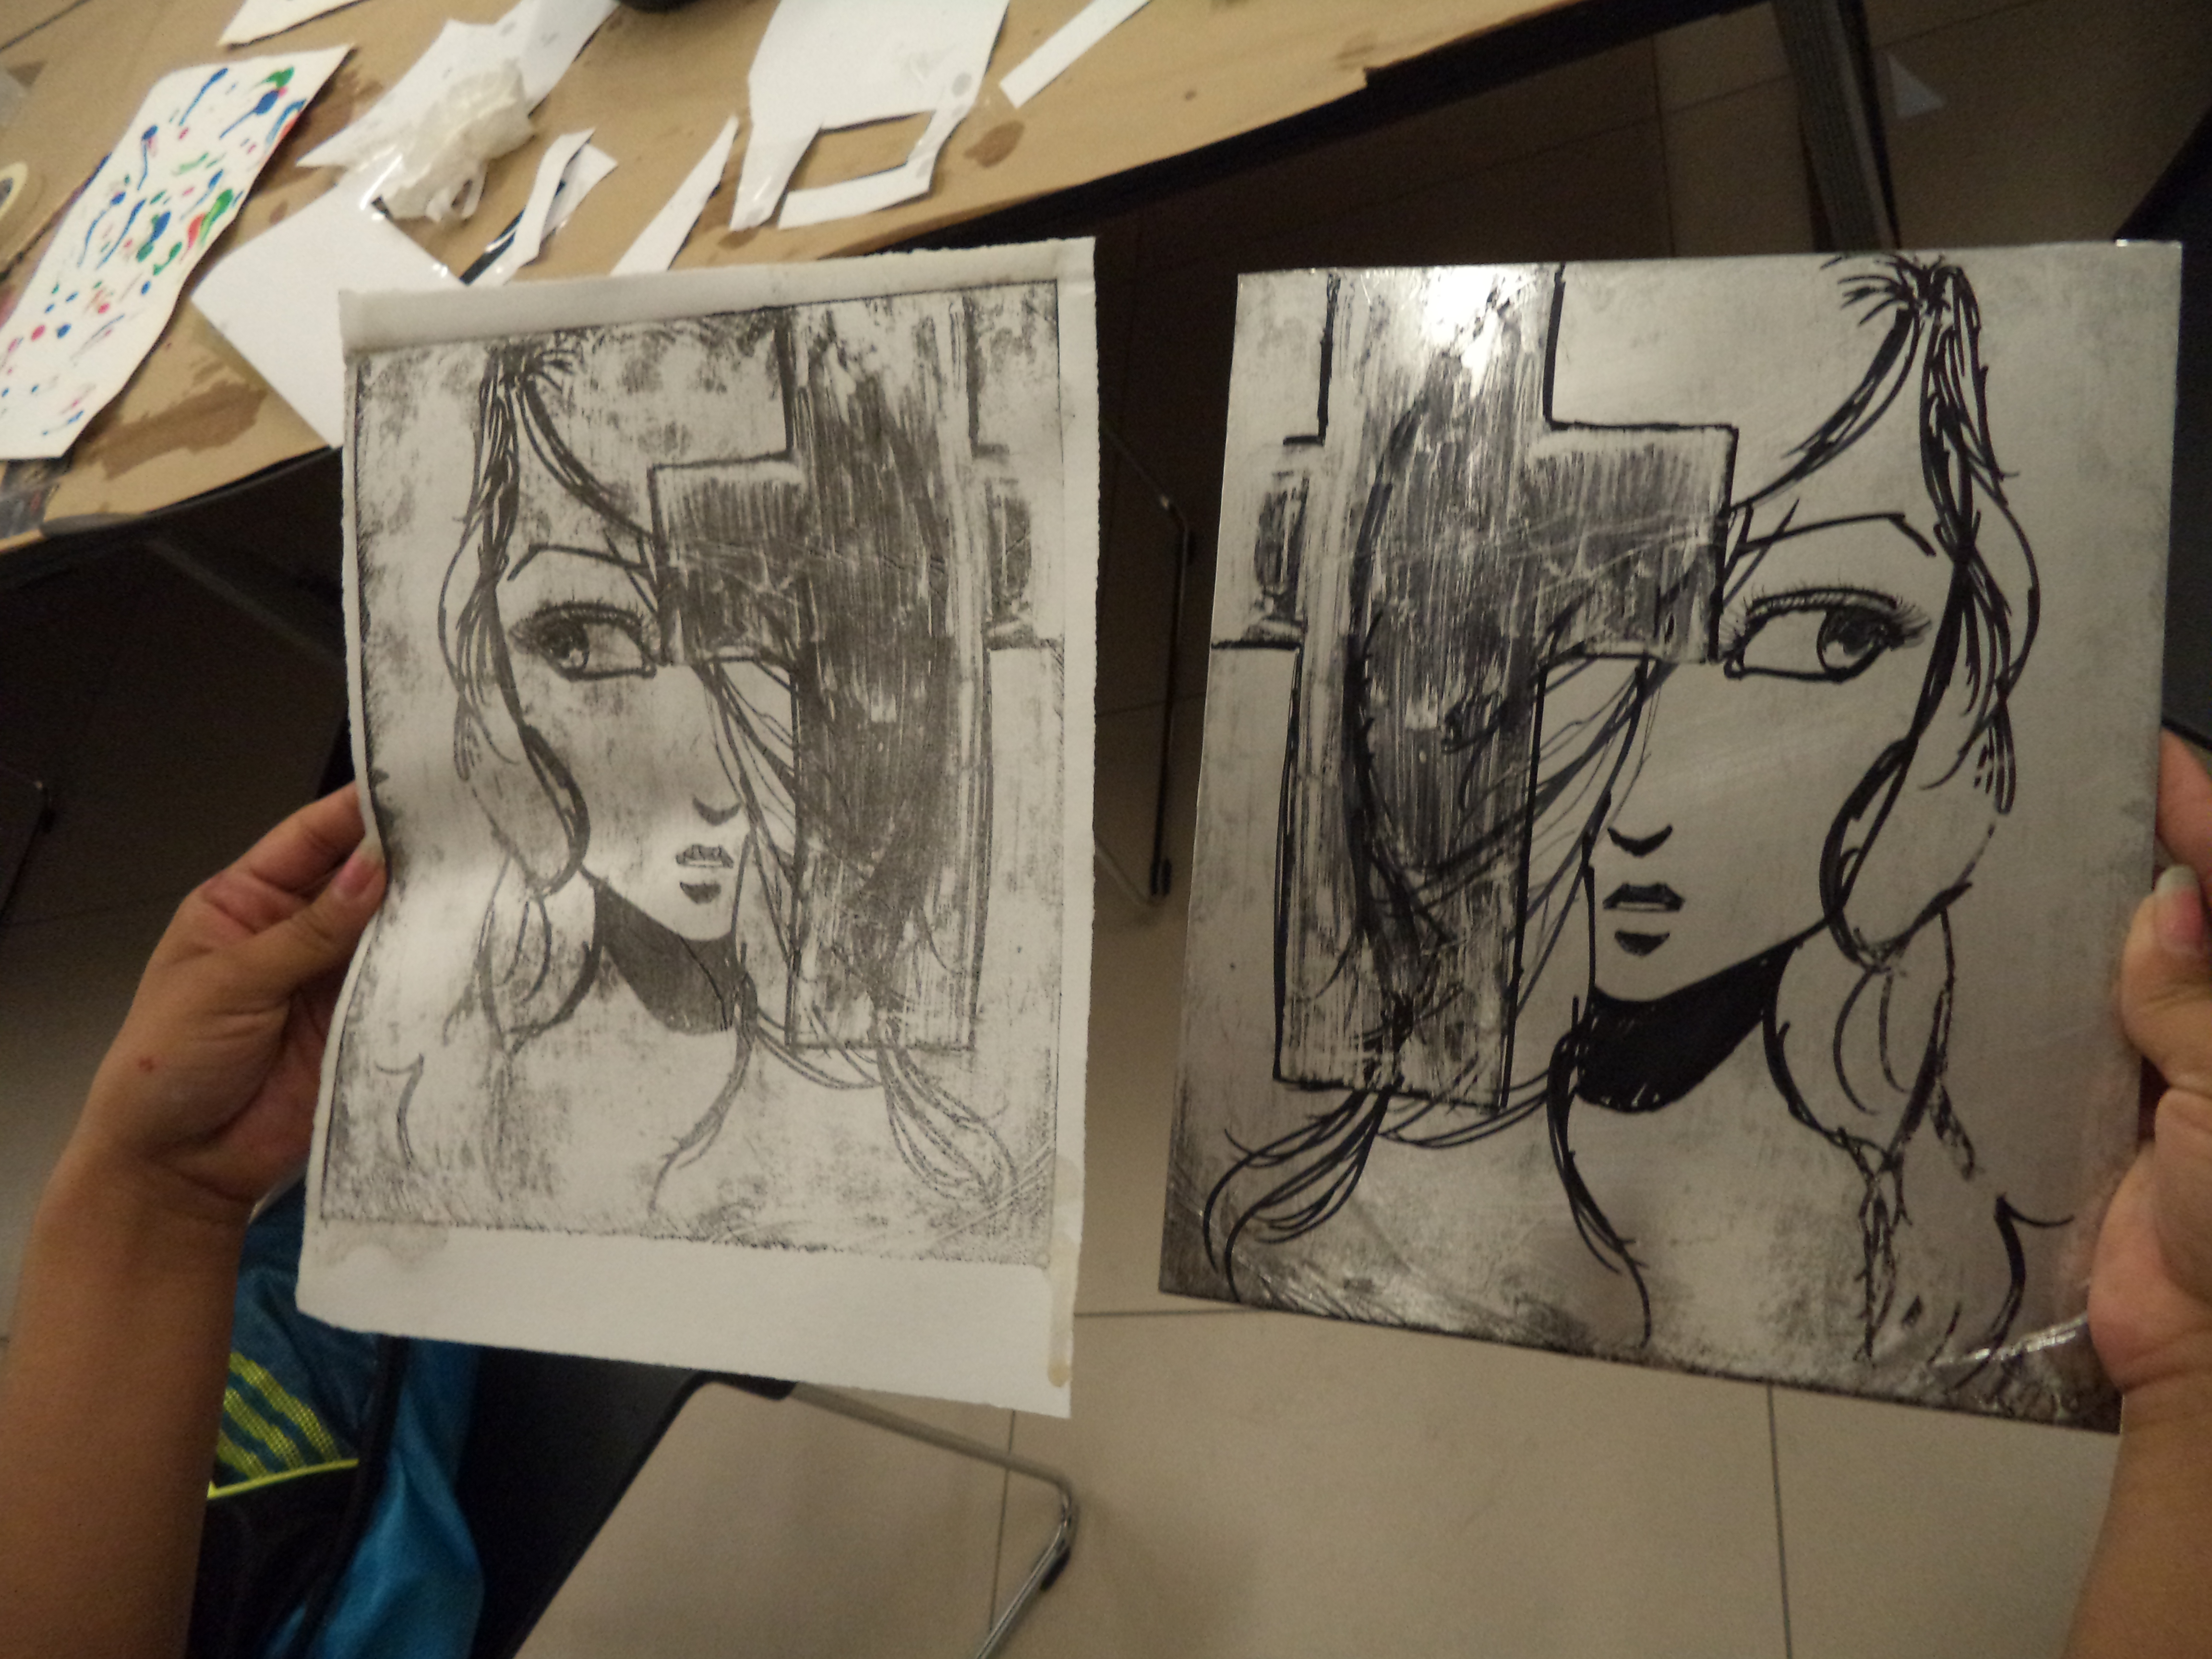
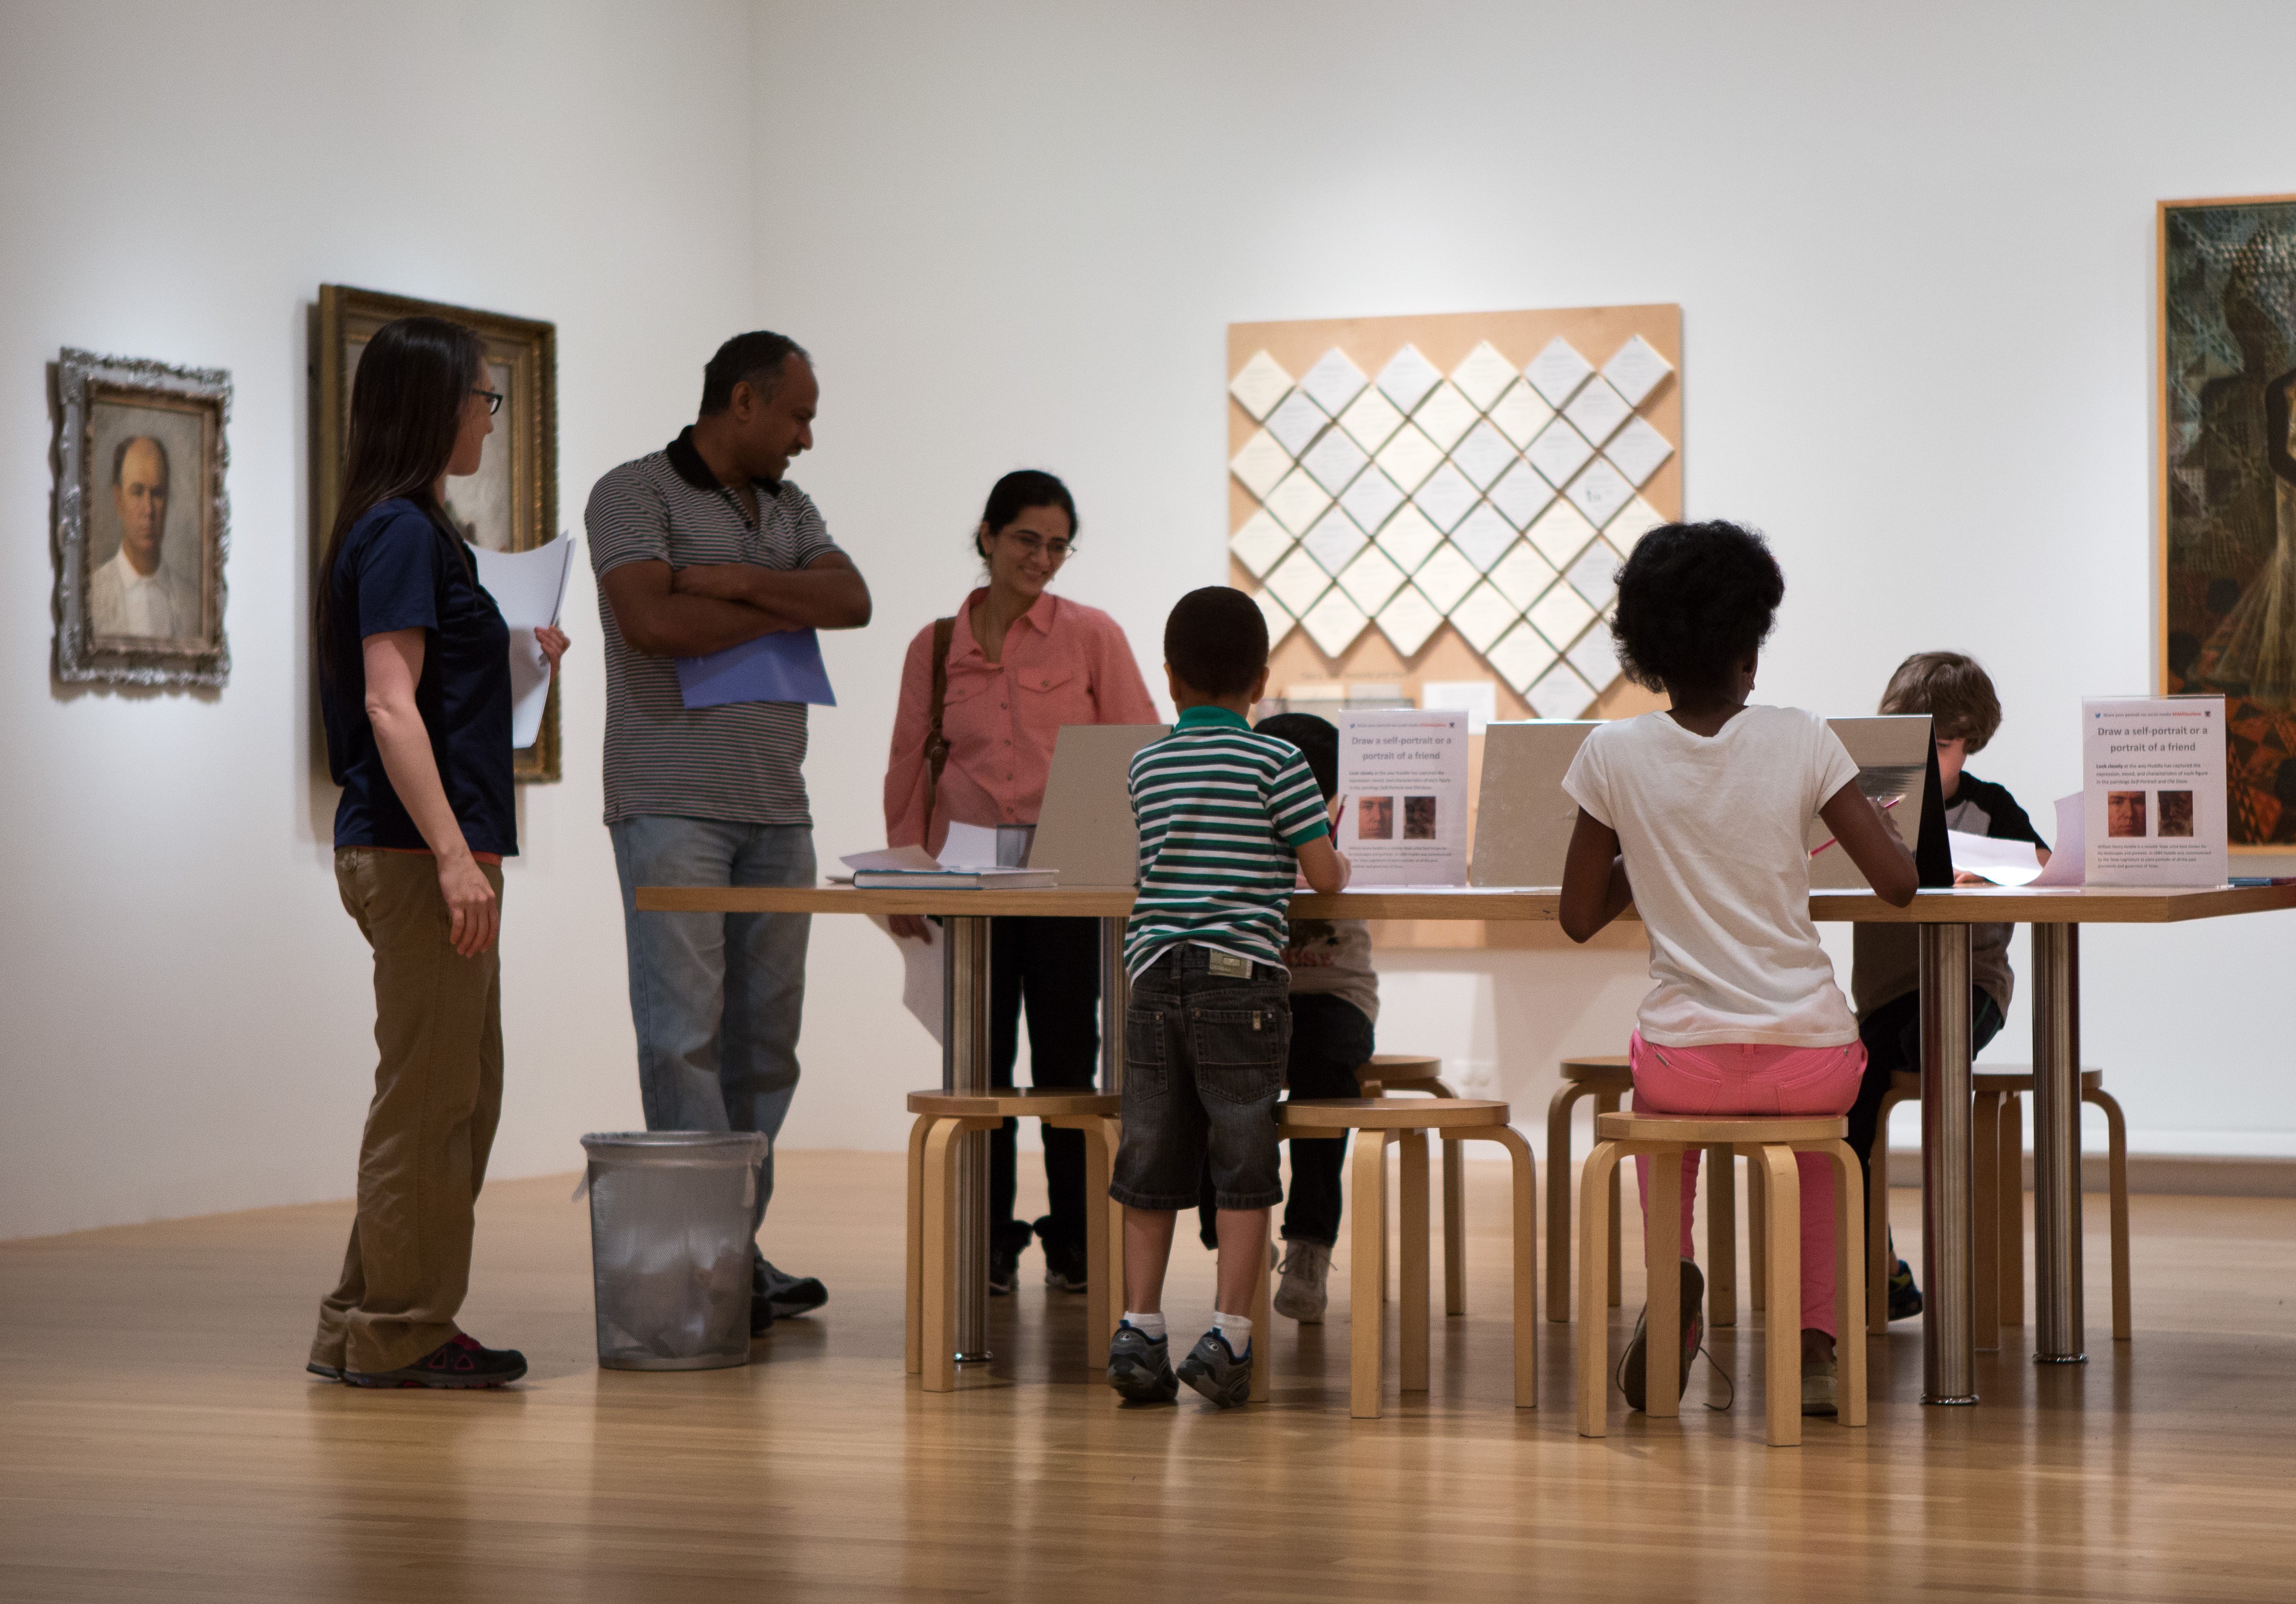
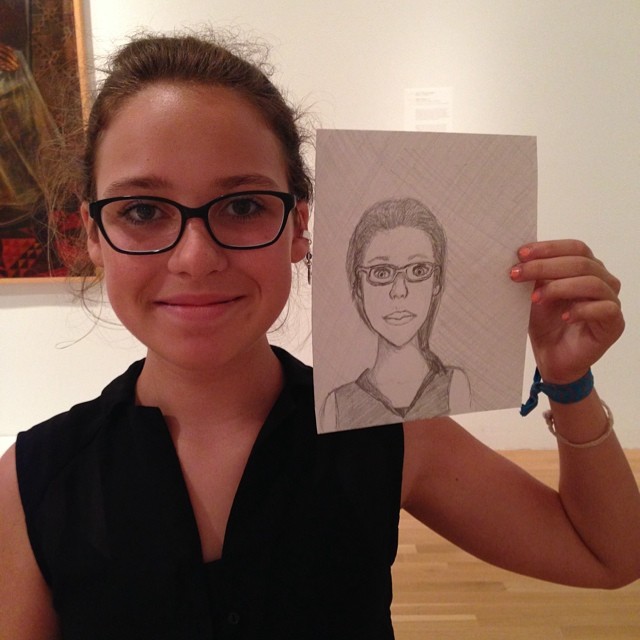
- The Portrait Drawing activity, which focuses on two portrait paintings by William Henry Huddle (Old Slave and Self Portrait), includes mirrors for self-portraiture and facial proportion handouts.
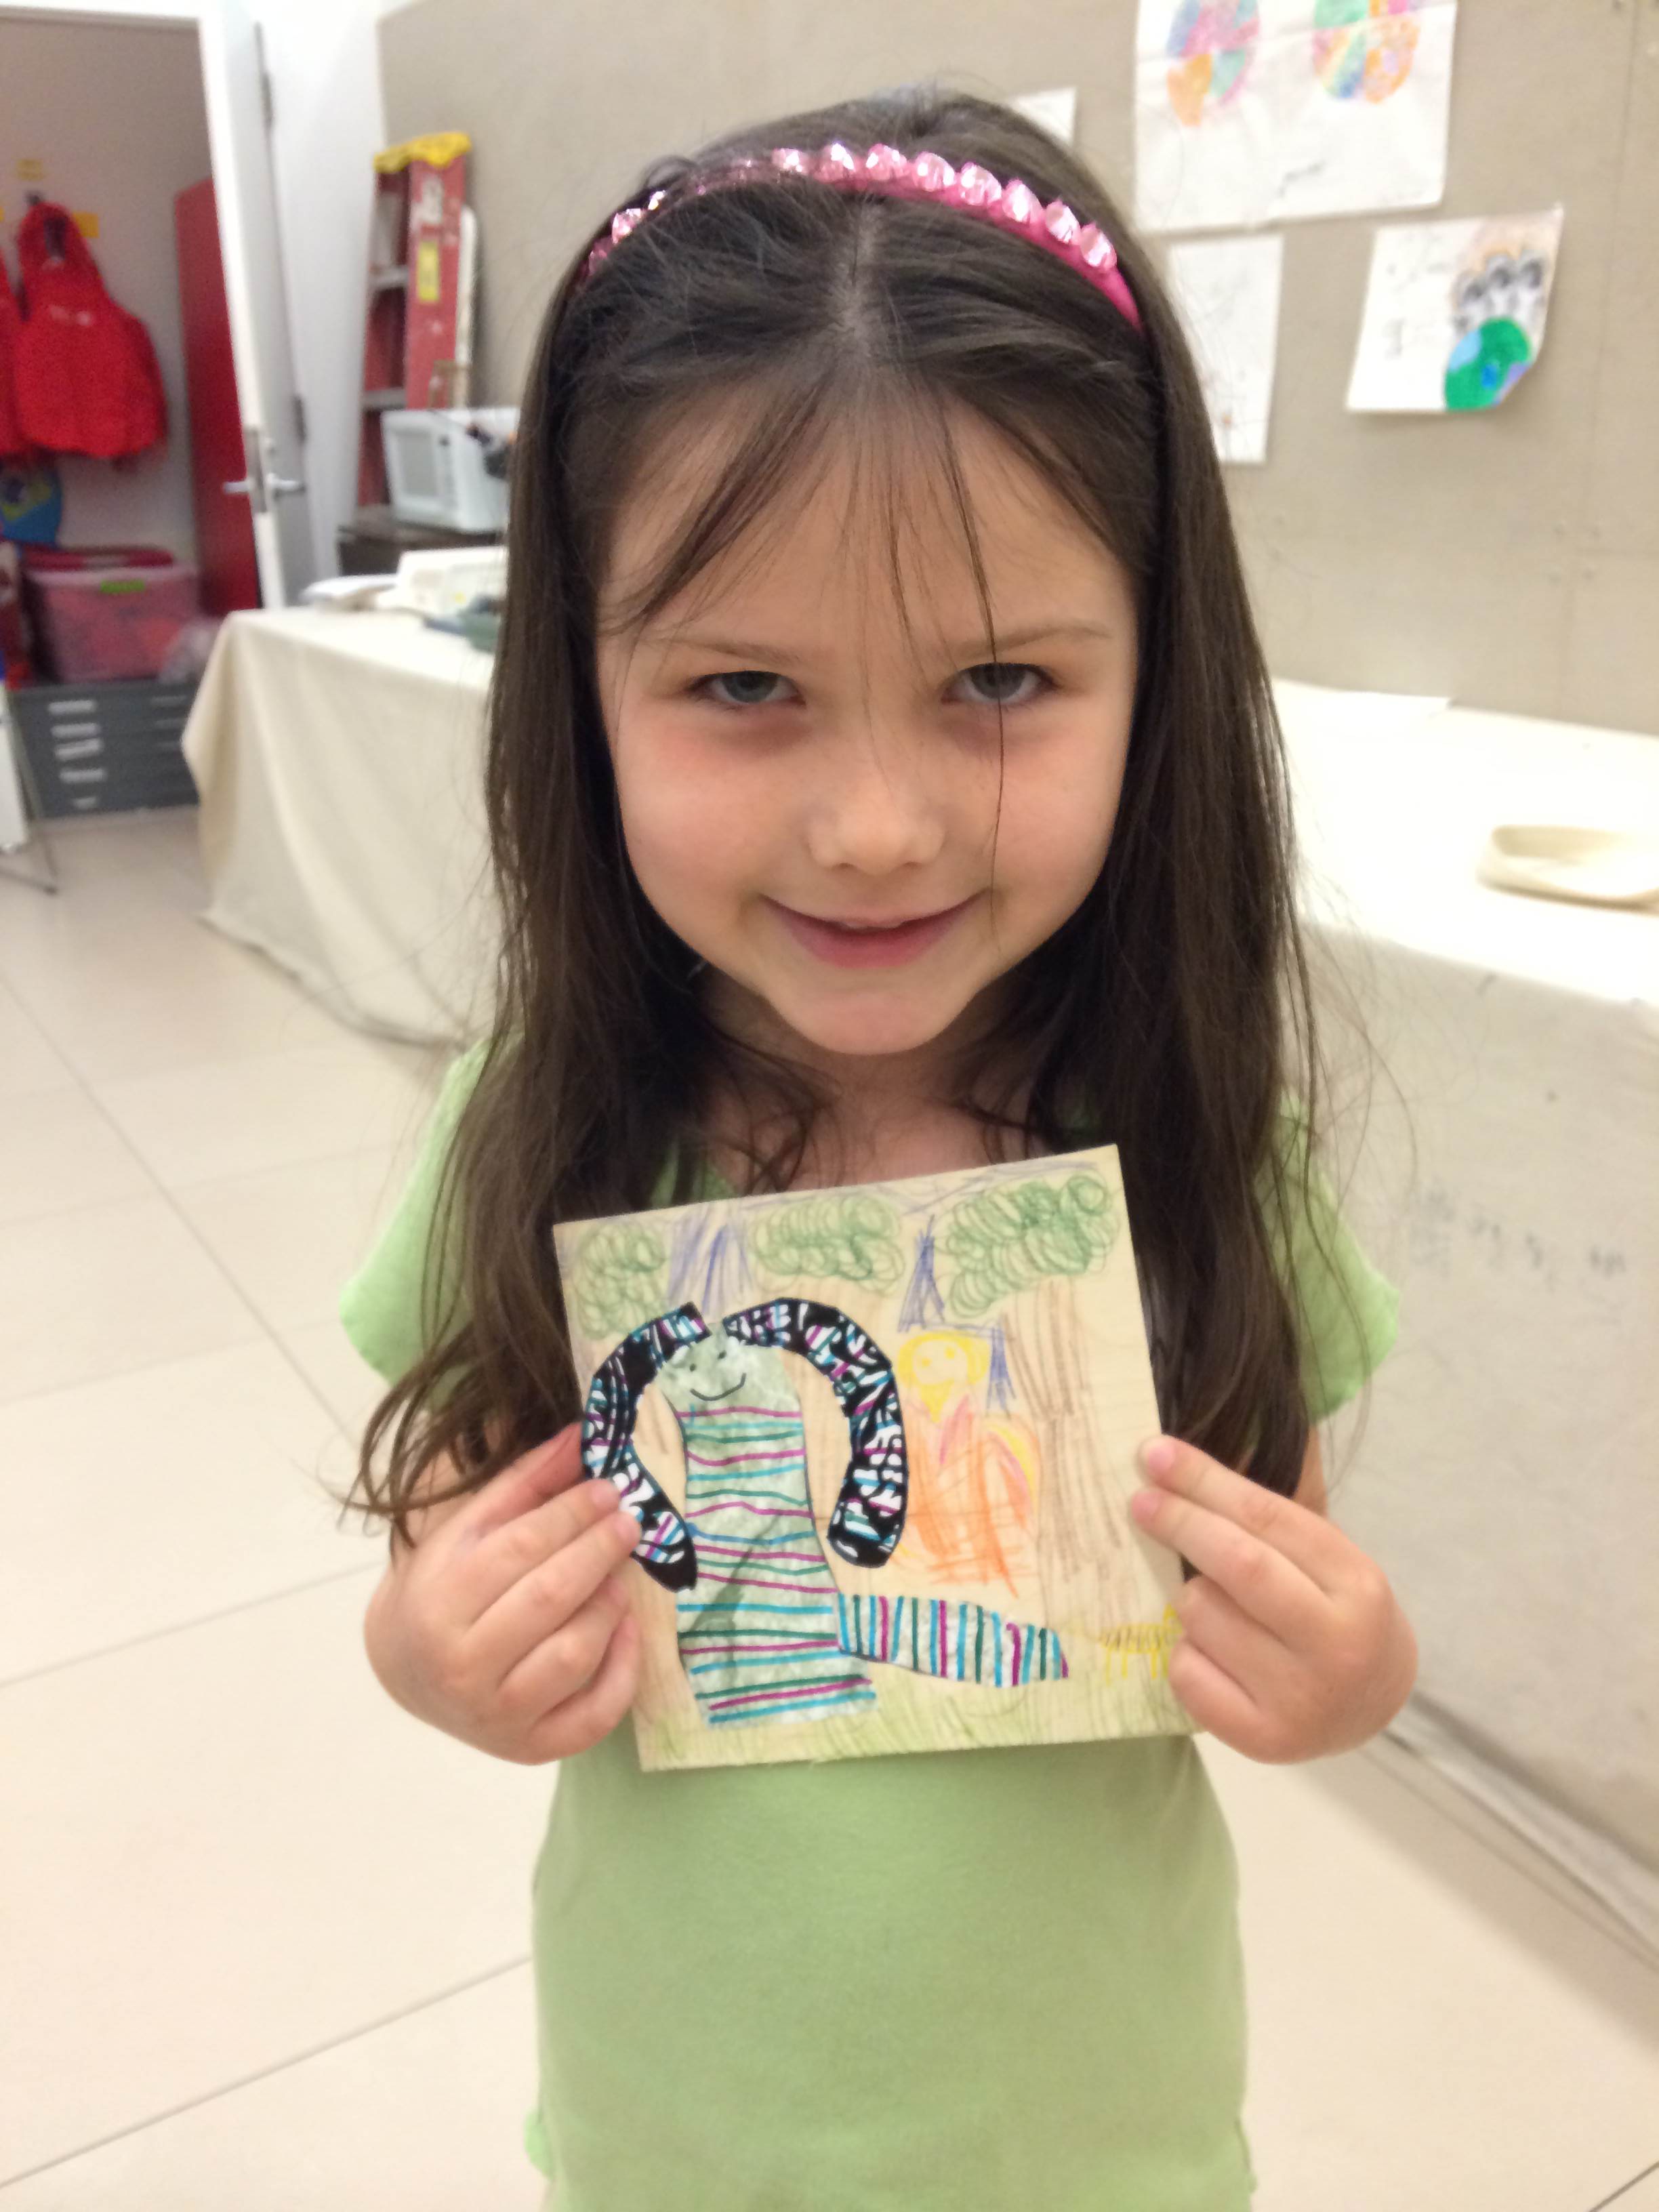
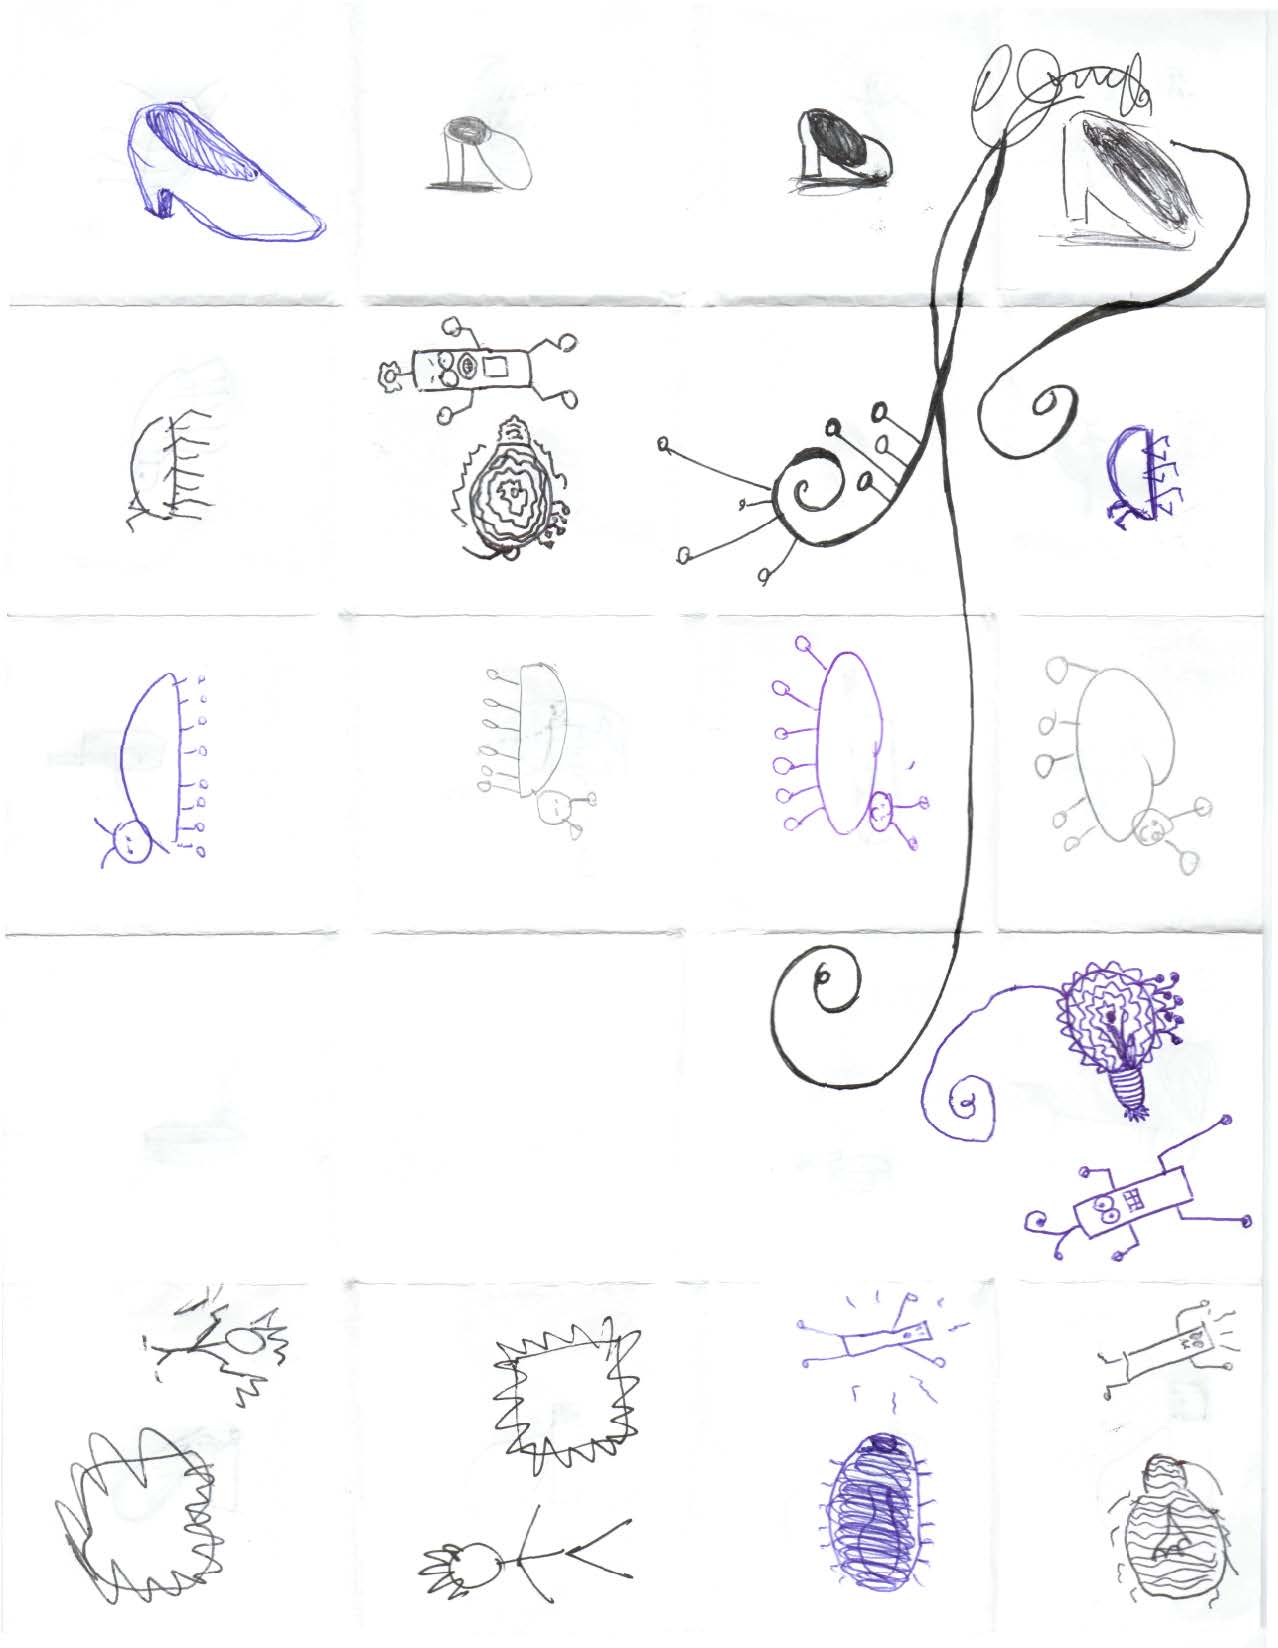
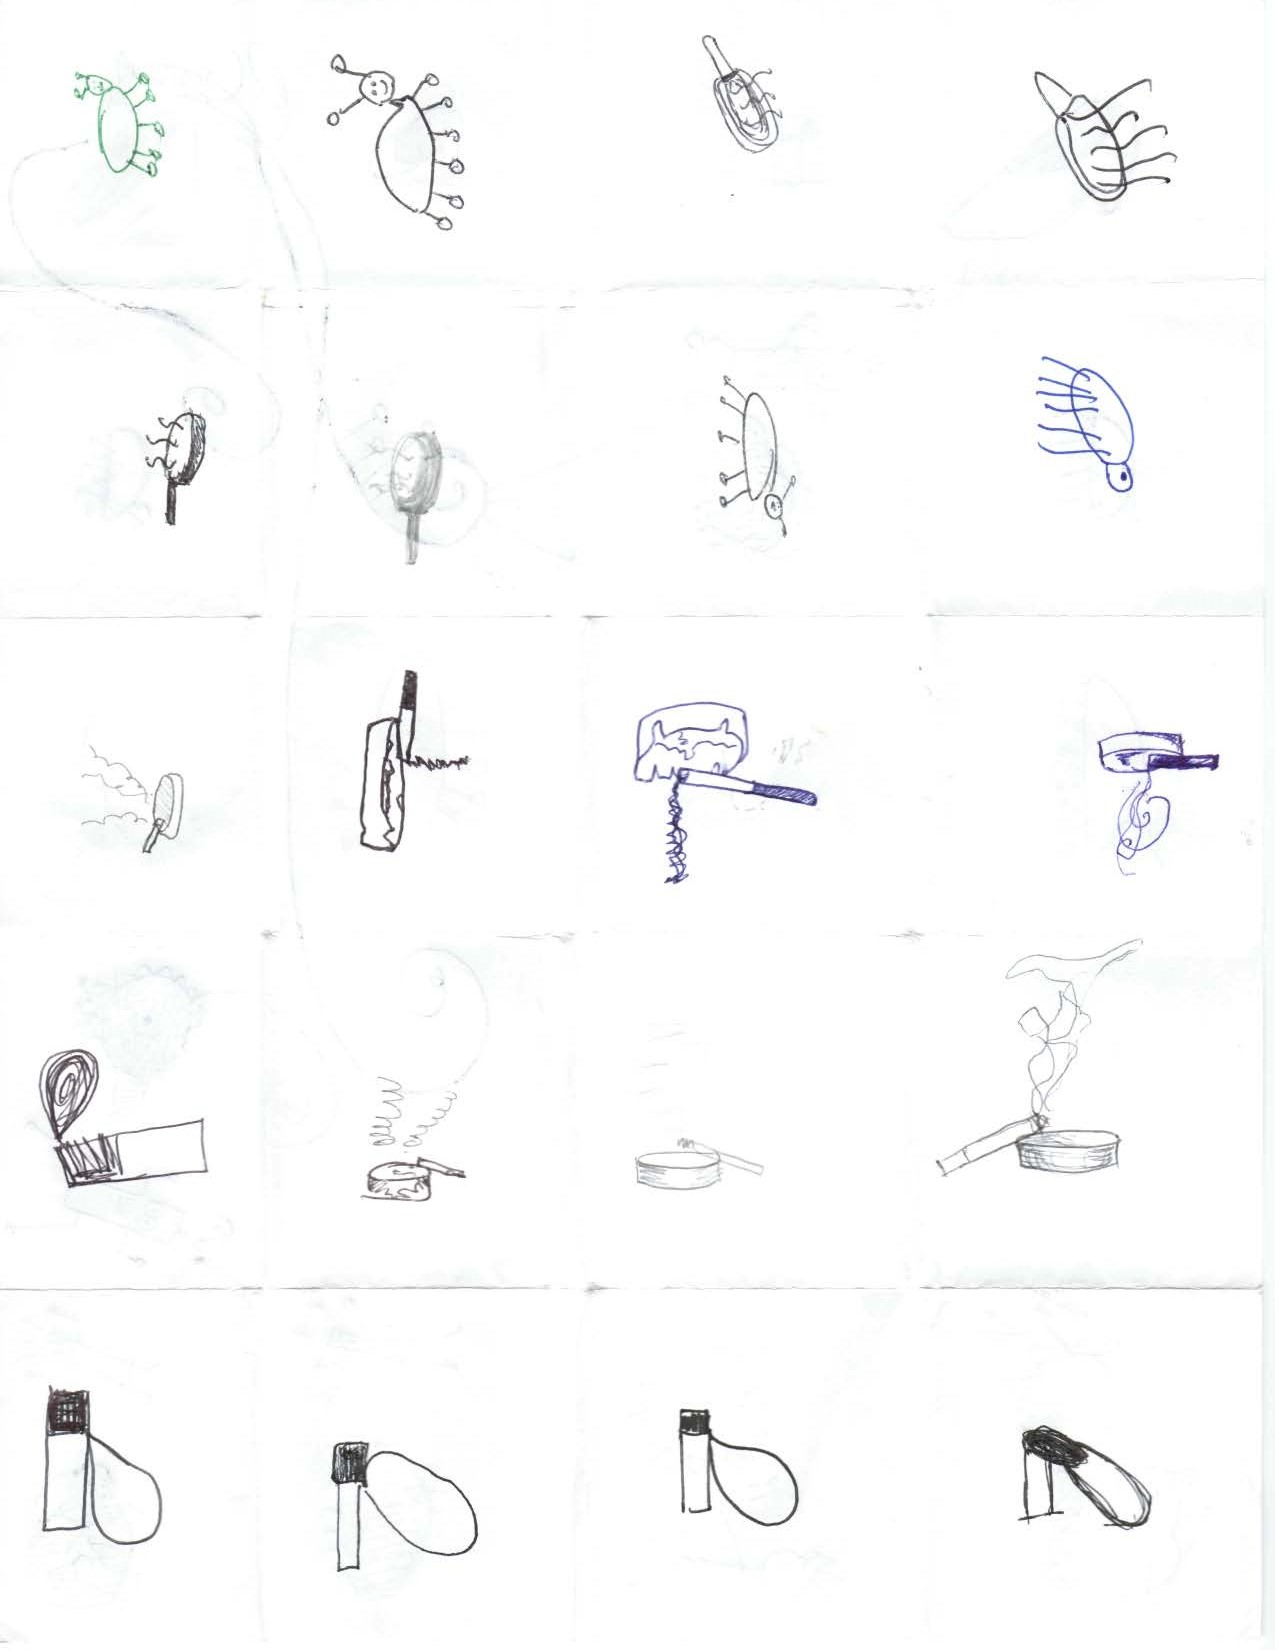
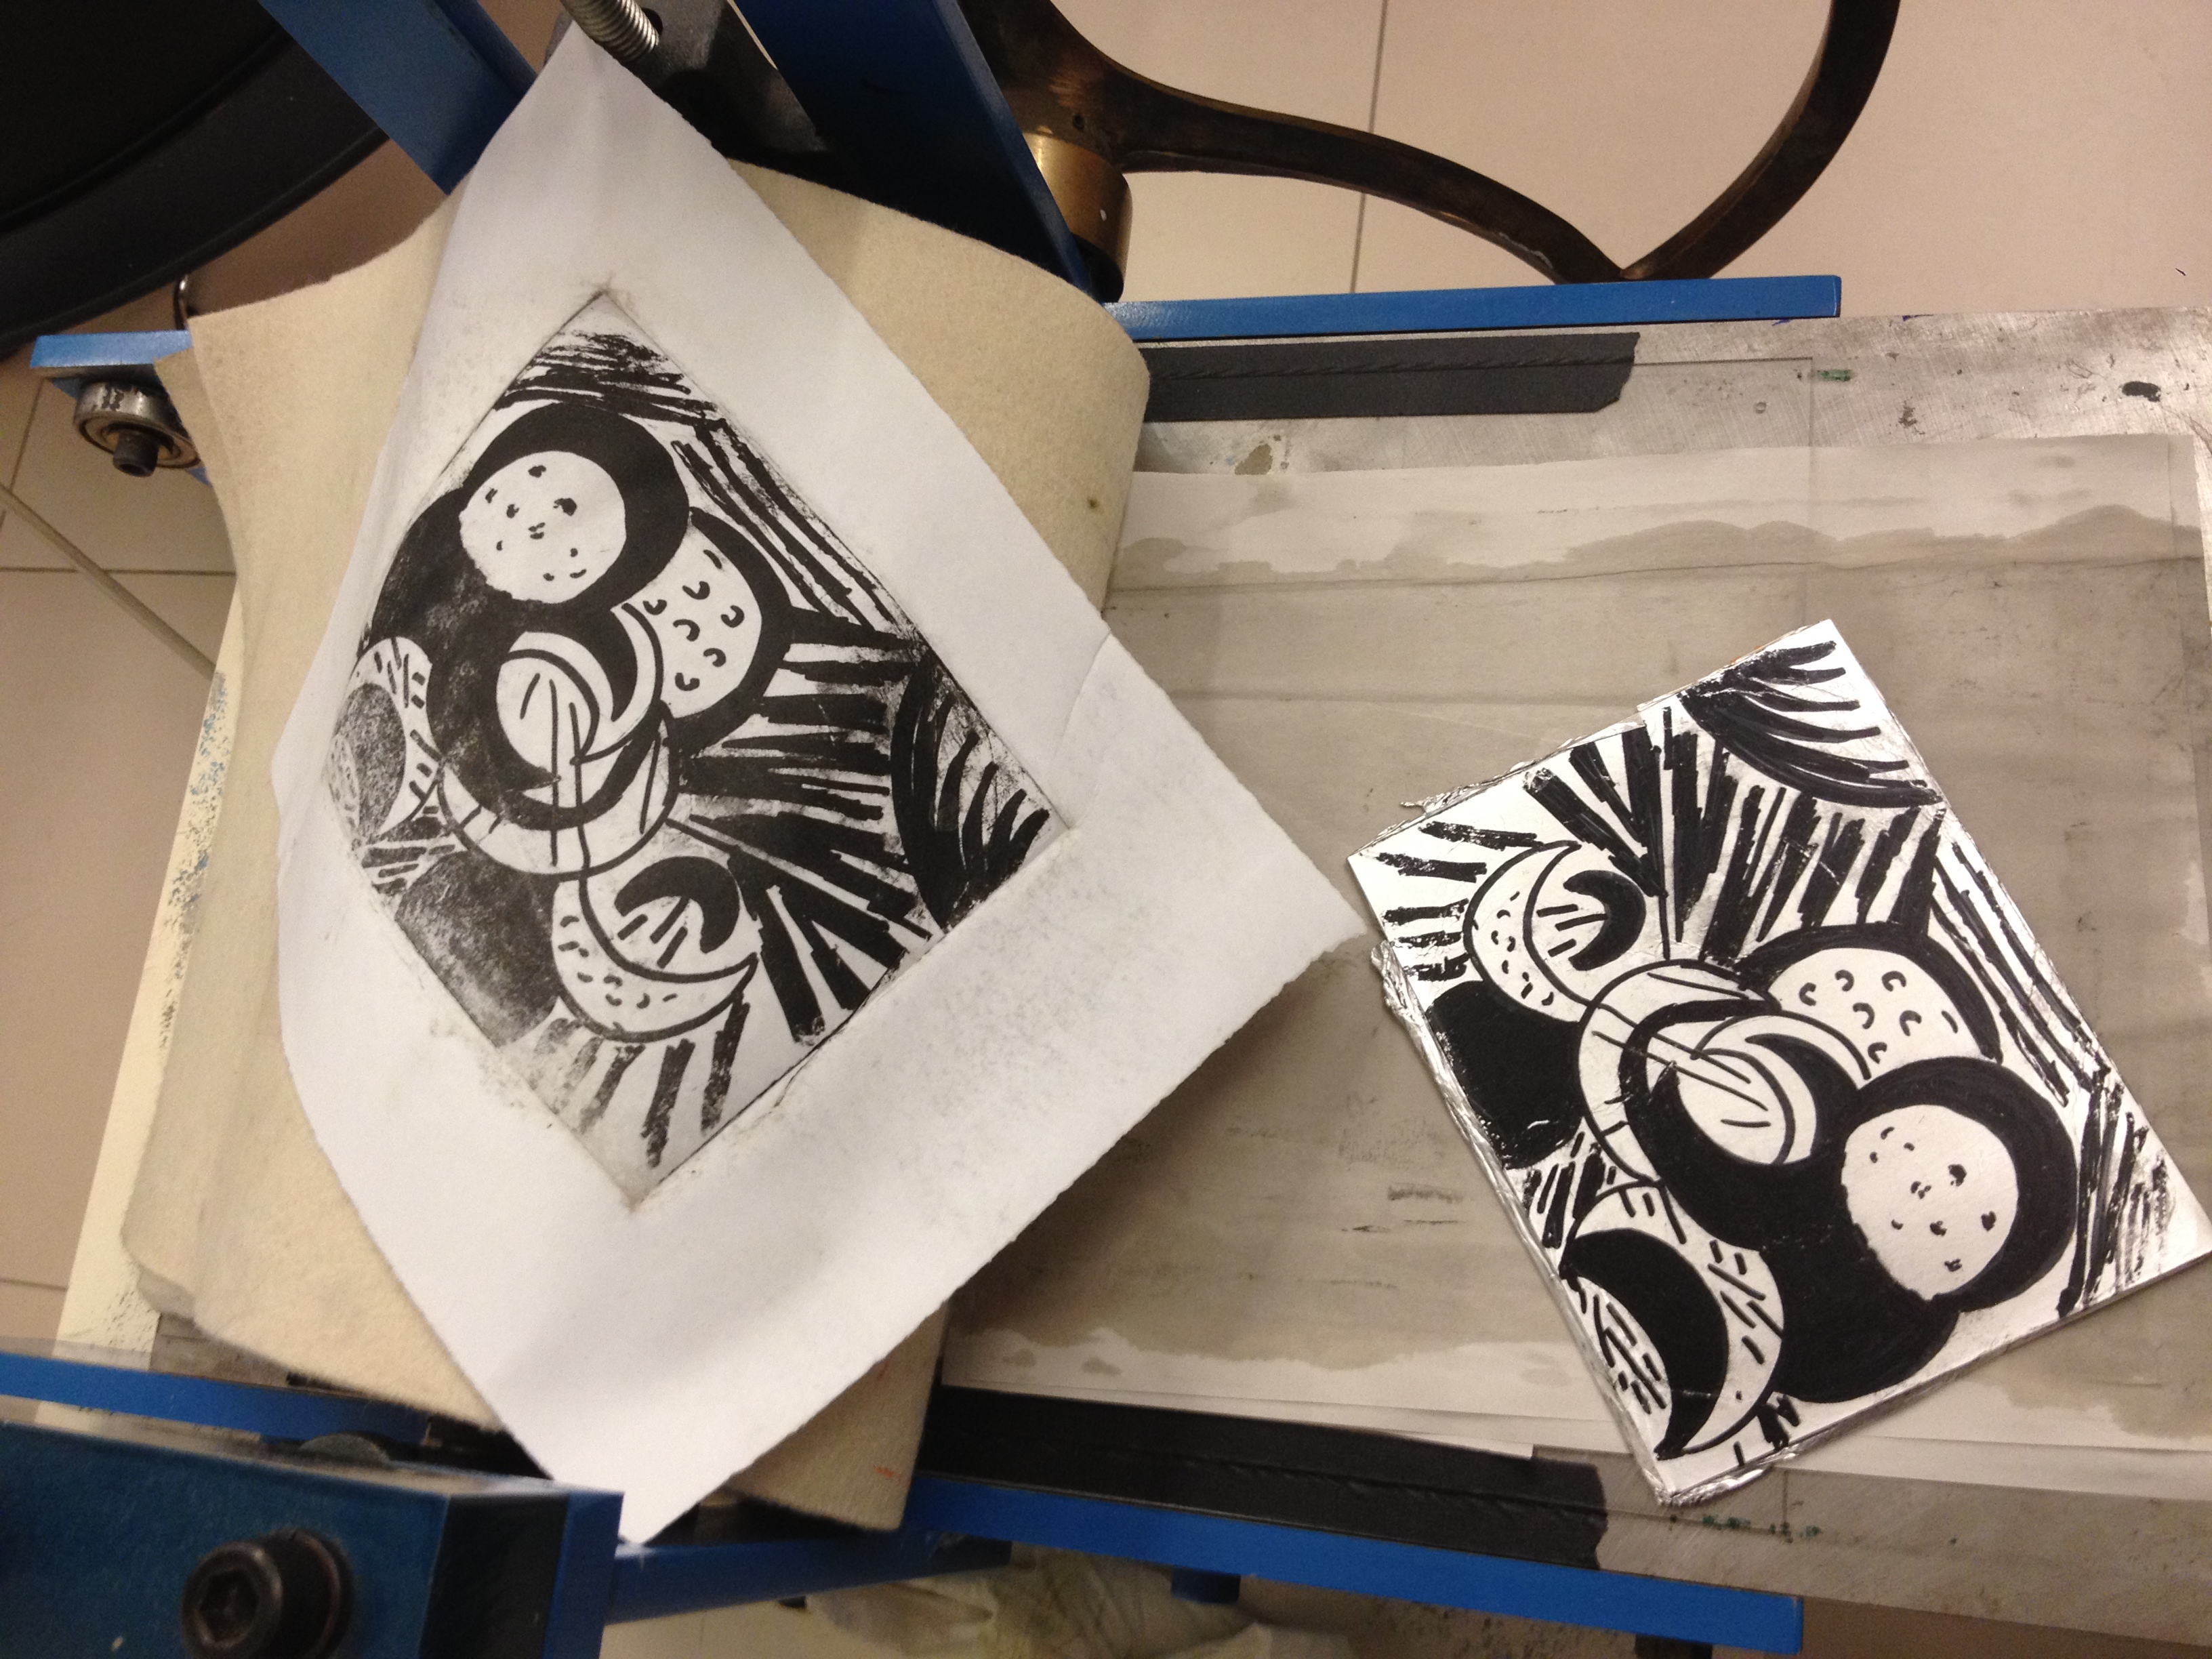
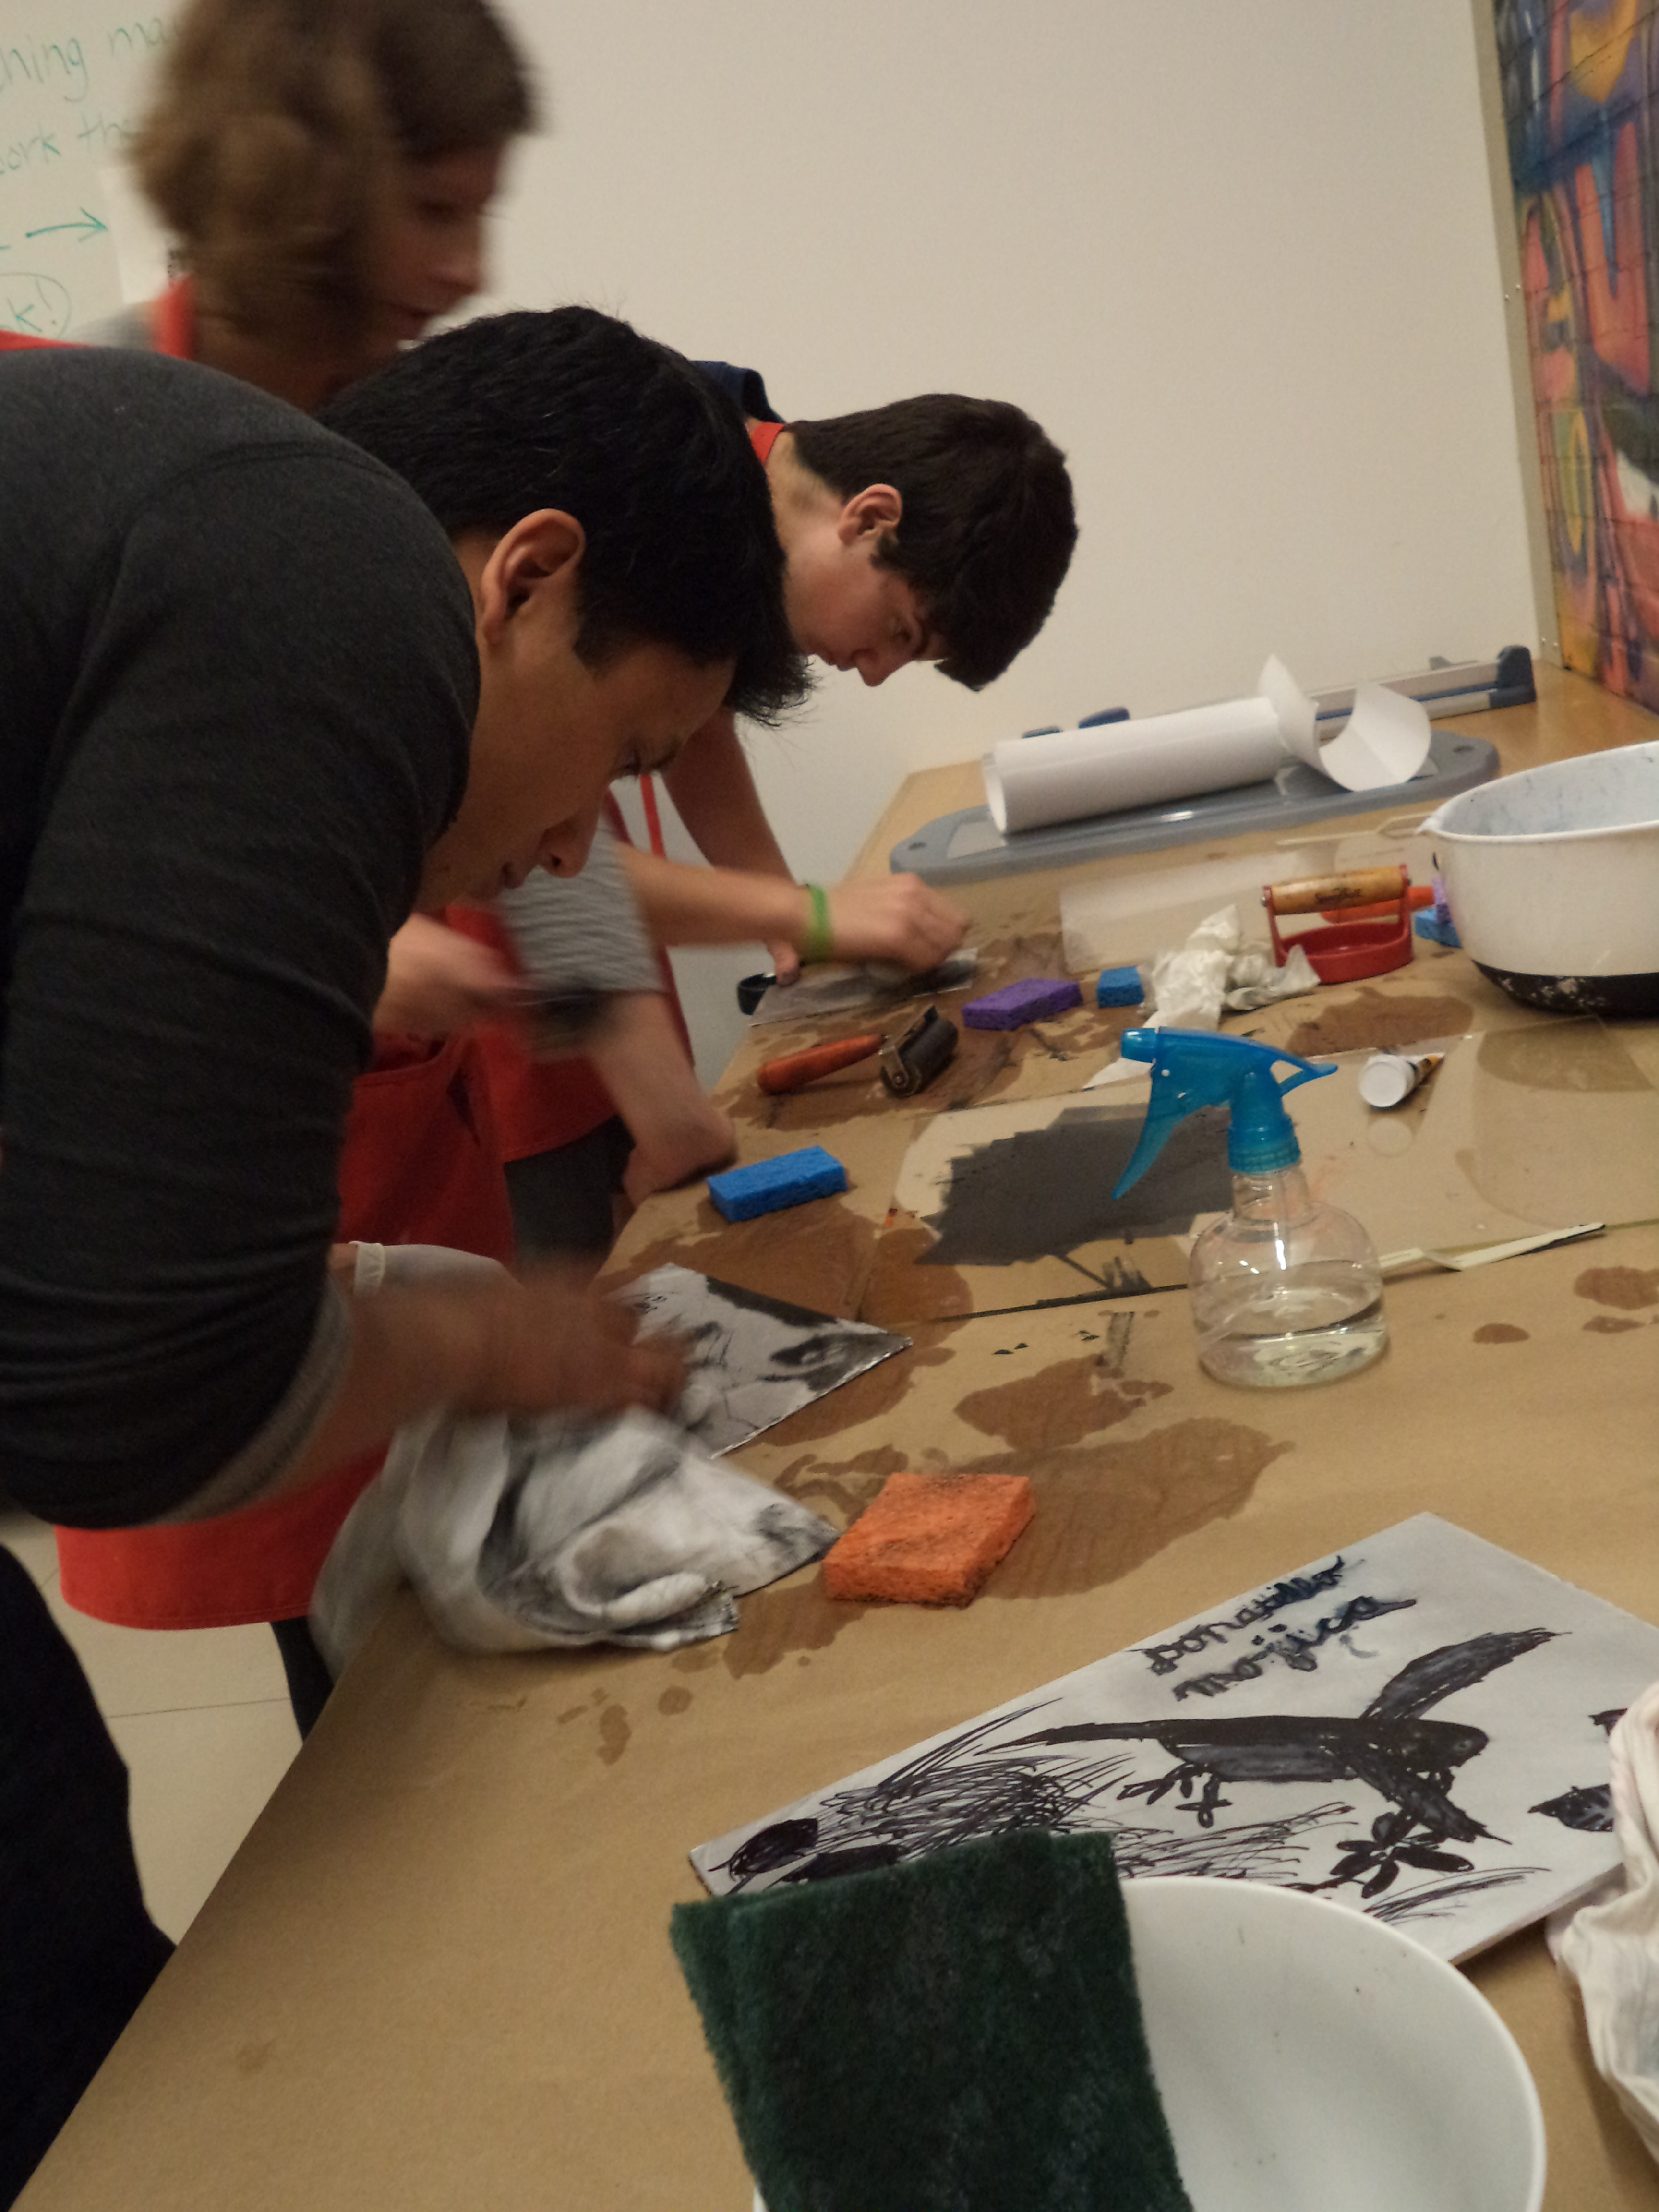
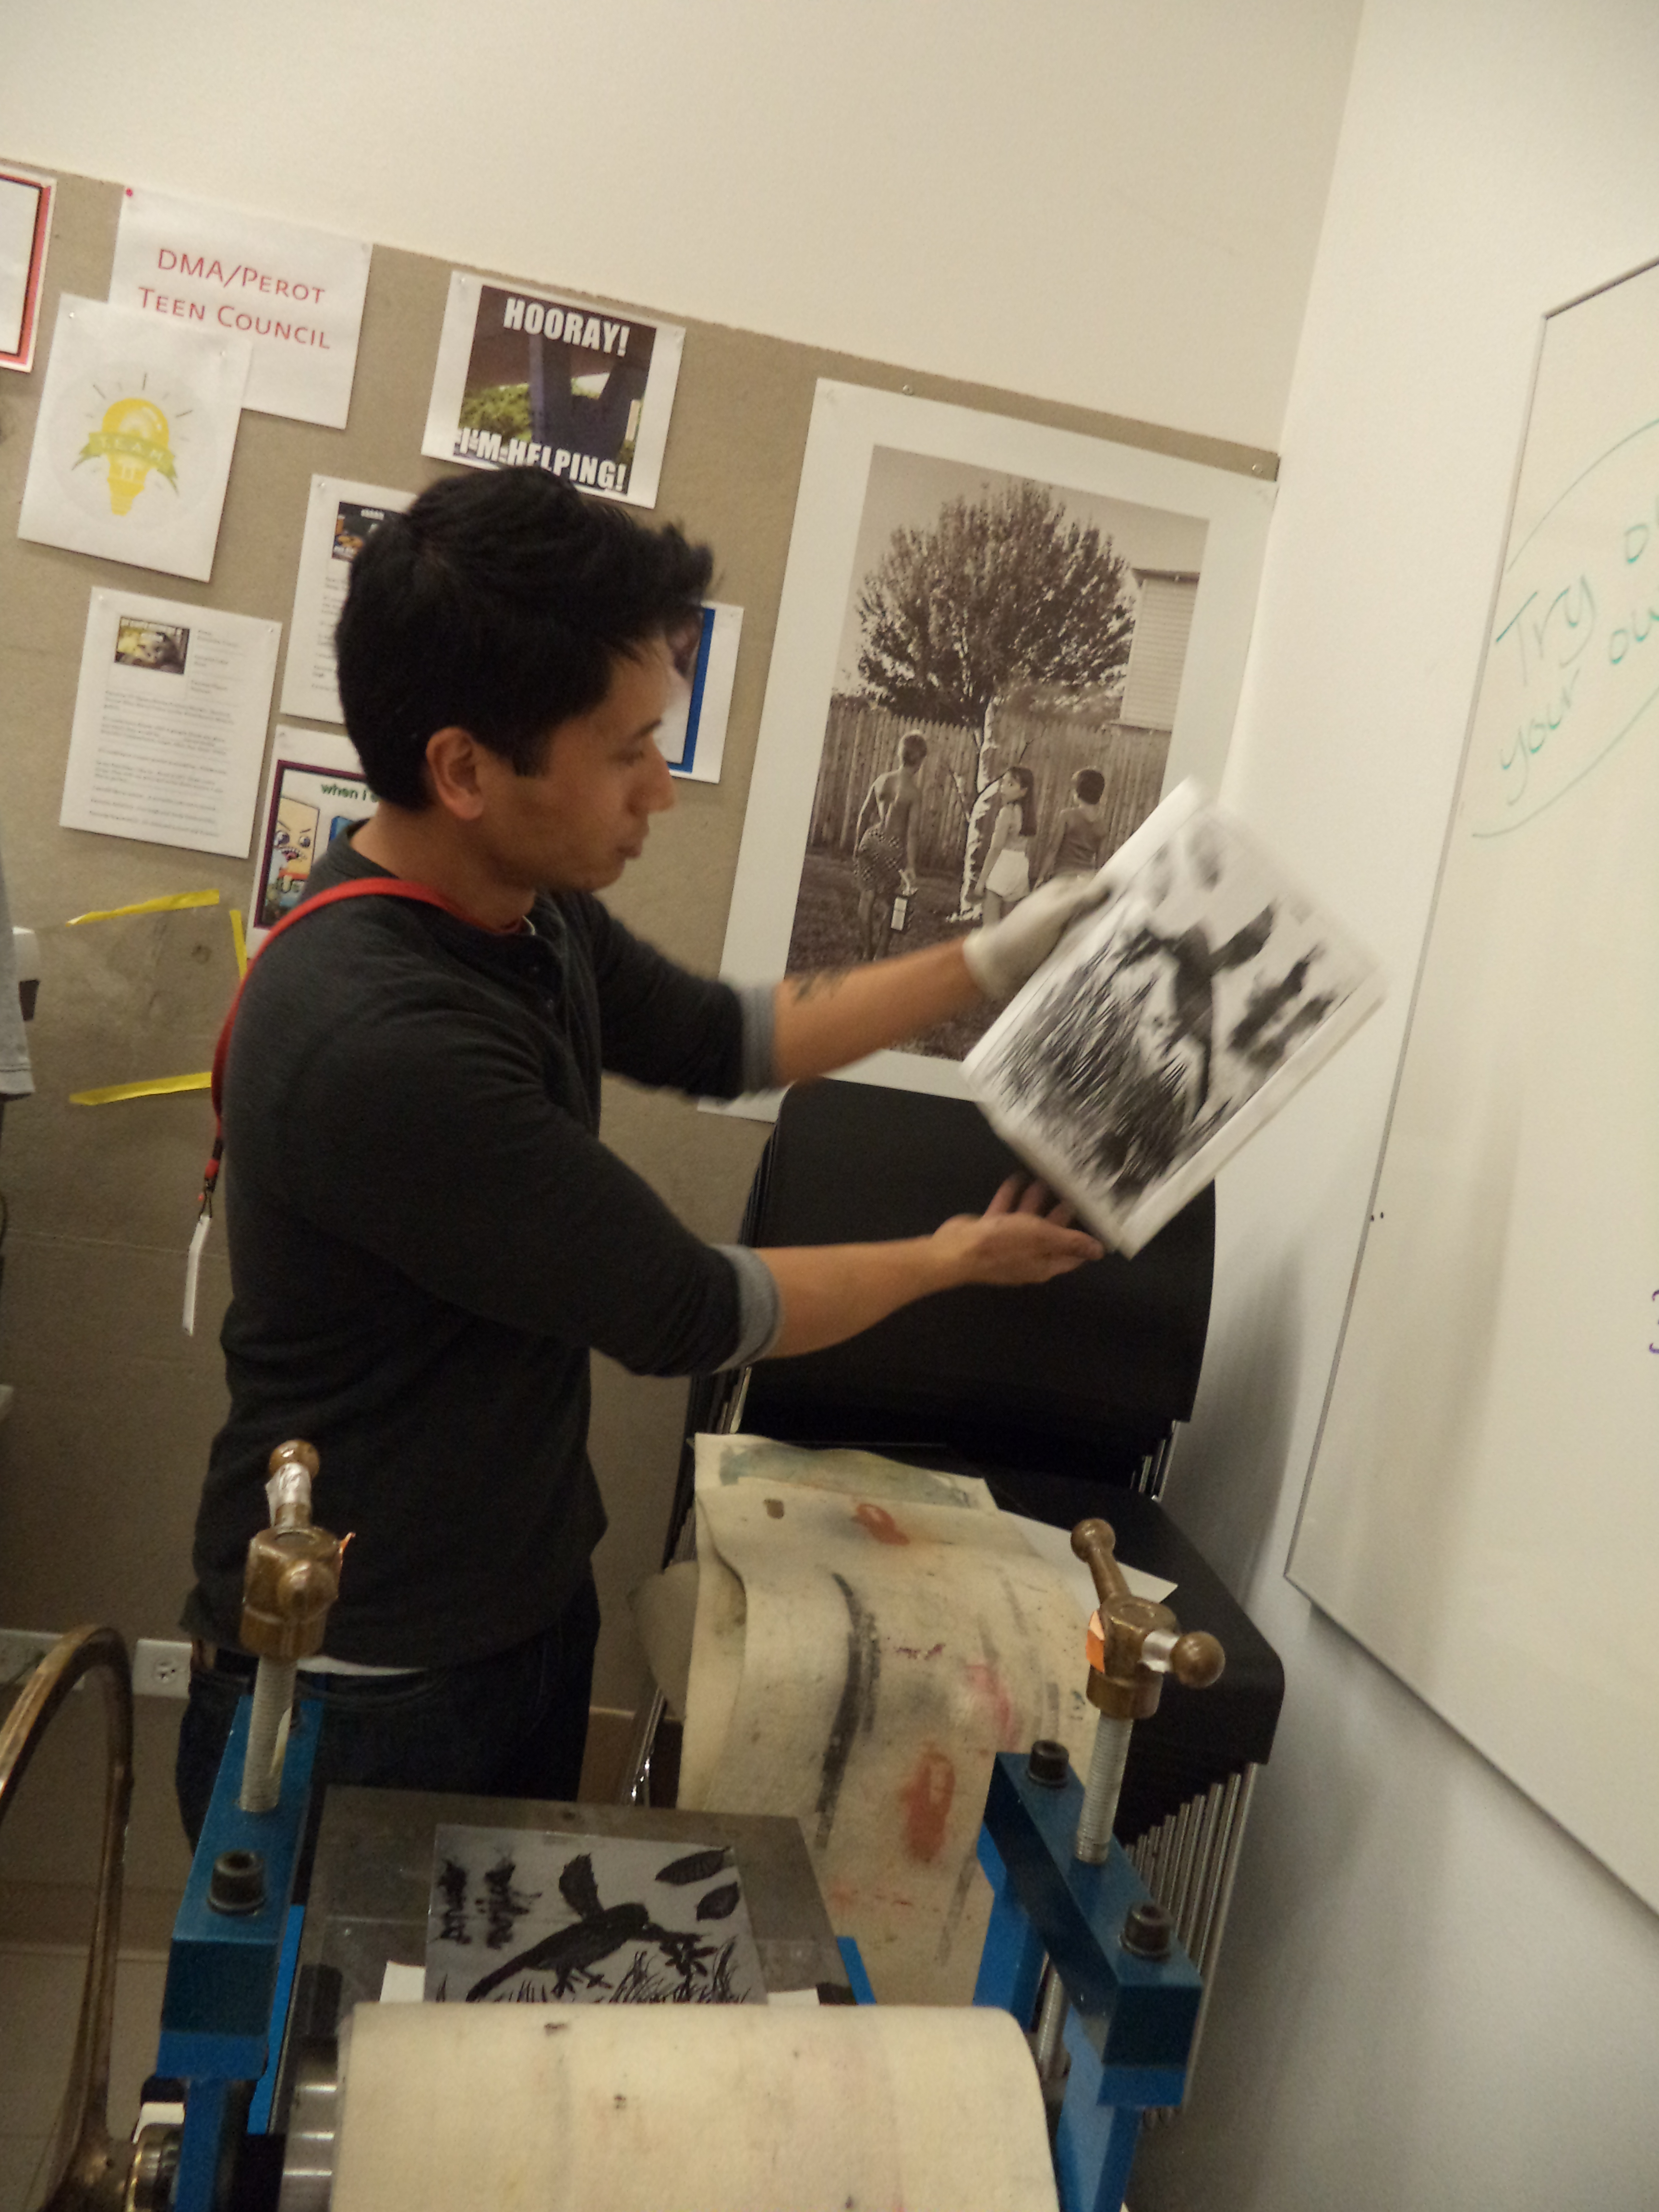
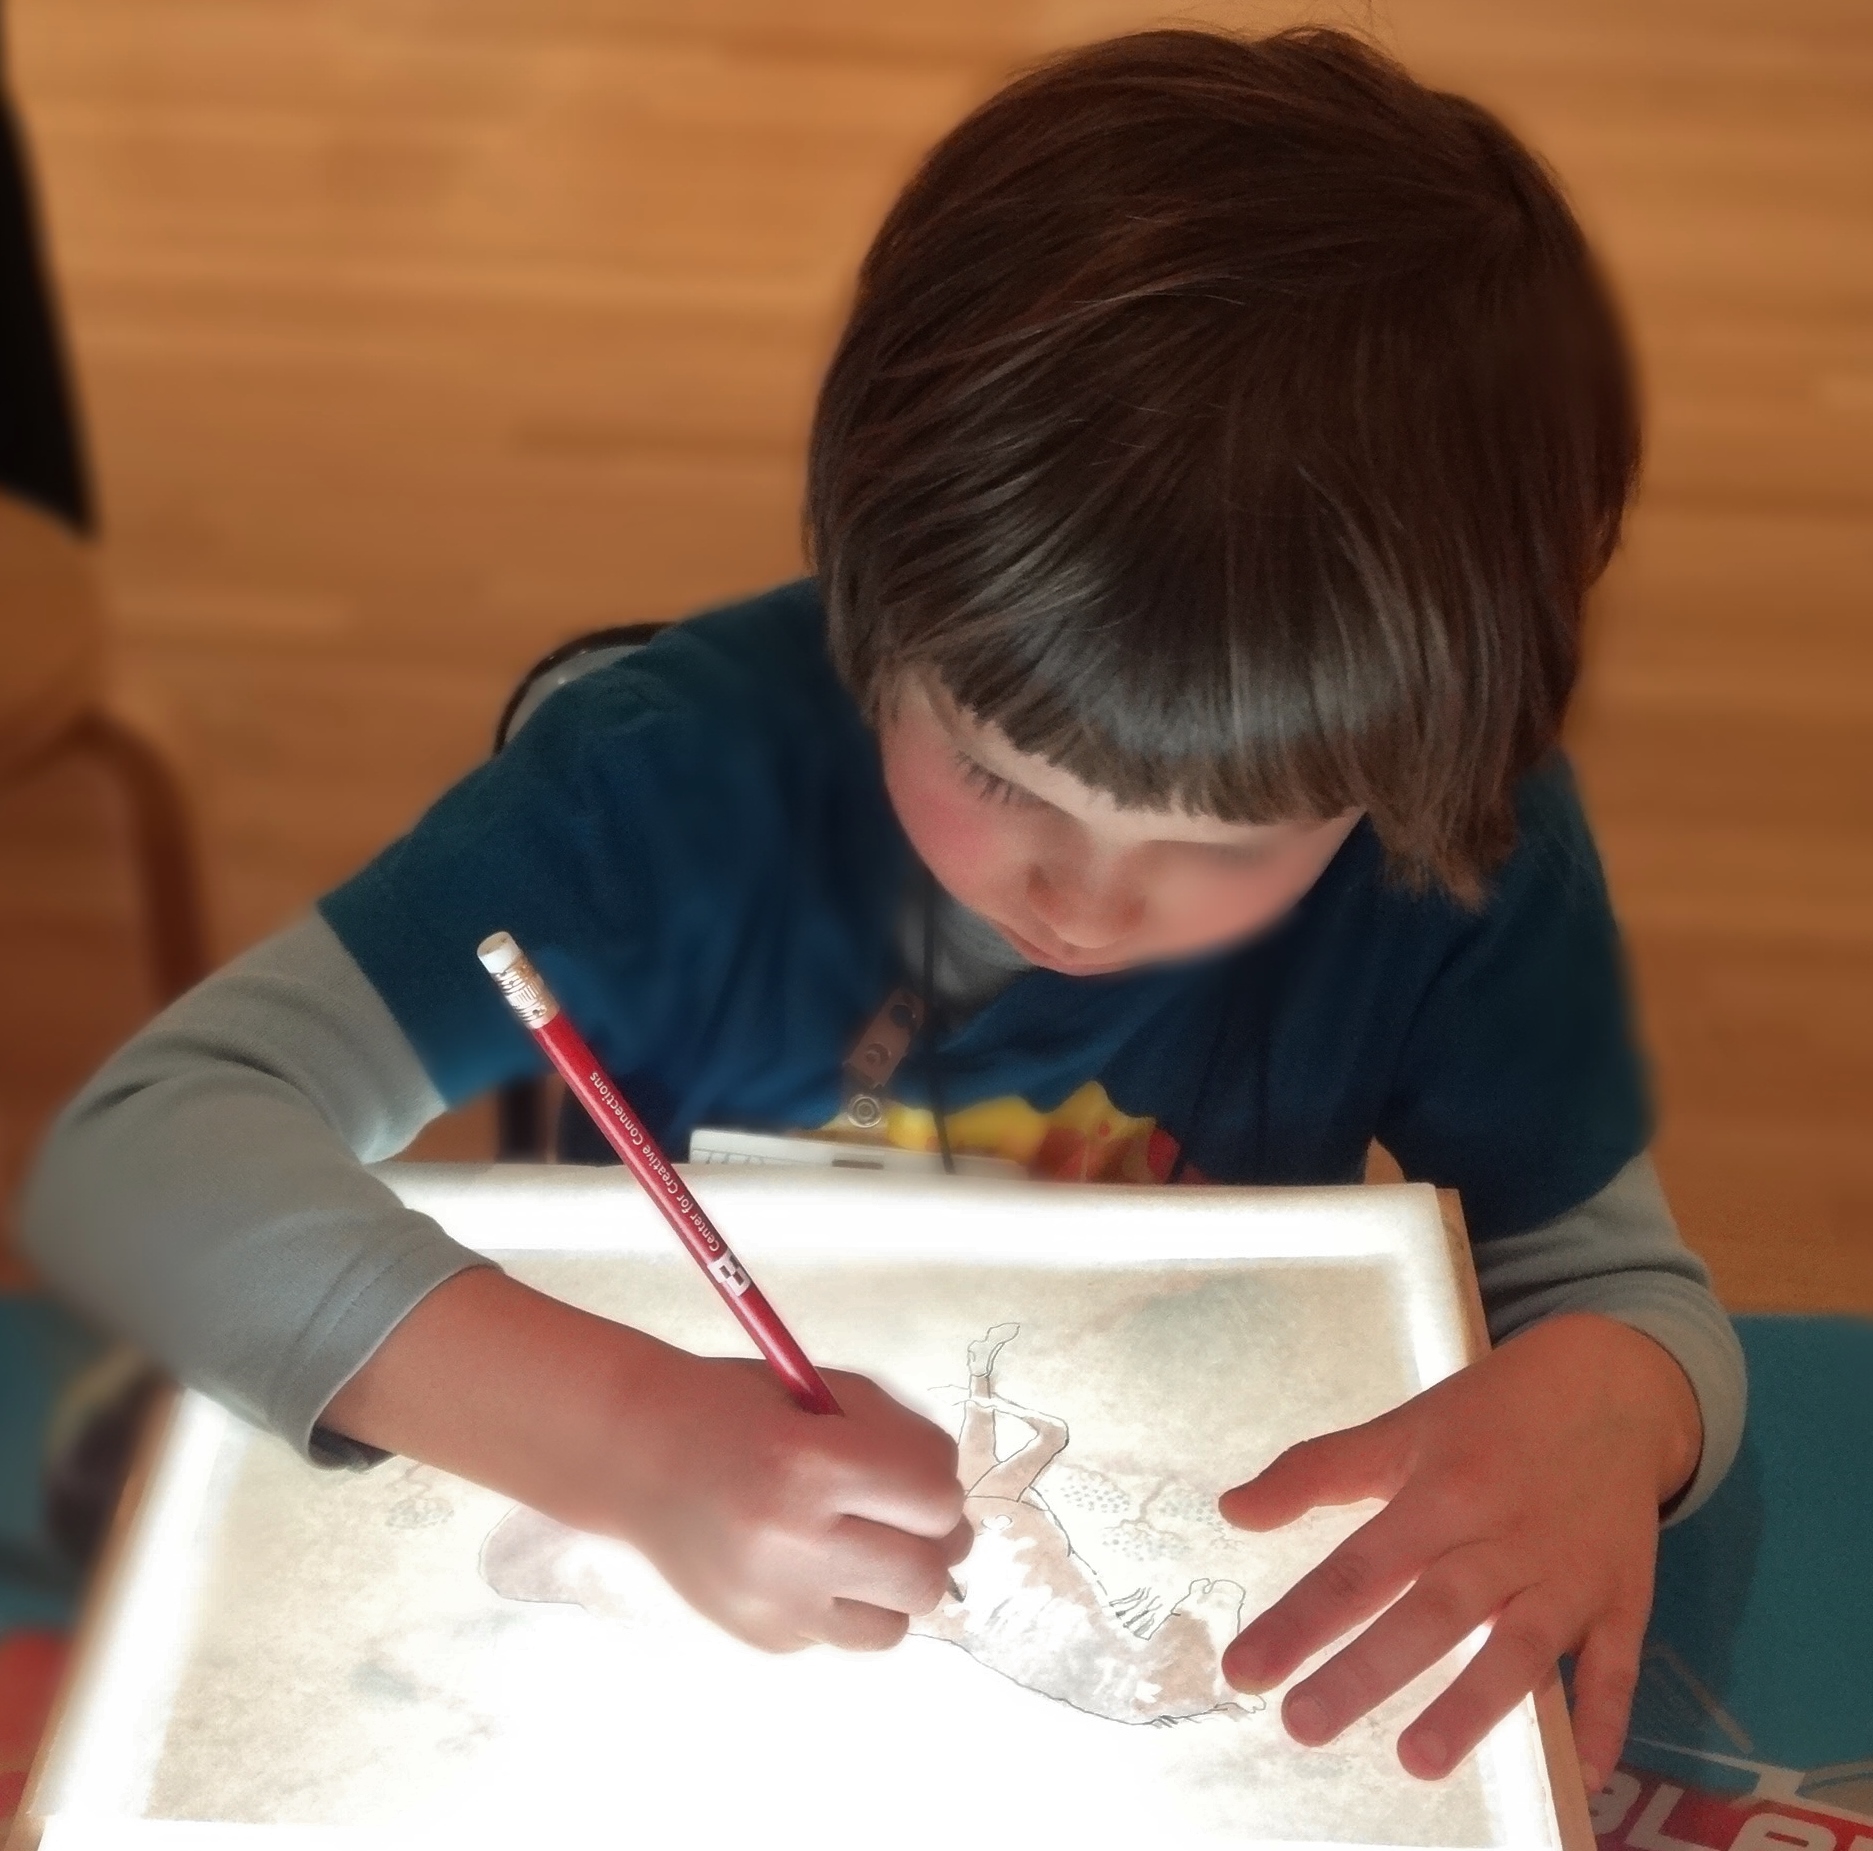
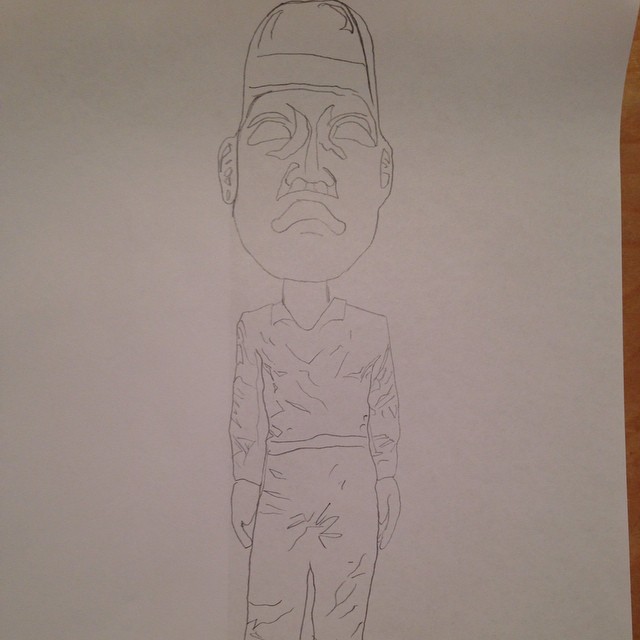
- The Hybrid Drawing with Light Boxes activity, which focuses on The Minotaur by Marcel Dzama, includes four large light boxes and printouts of works of art from the Museum’s collection so that visitors can combine human and animal figures to draw a hybrid creature.
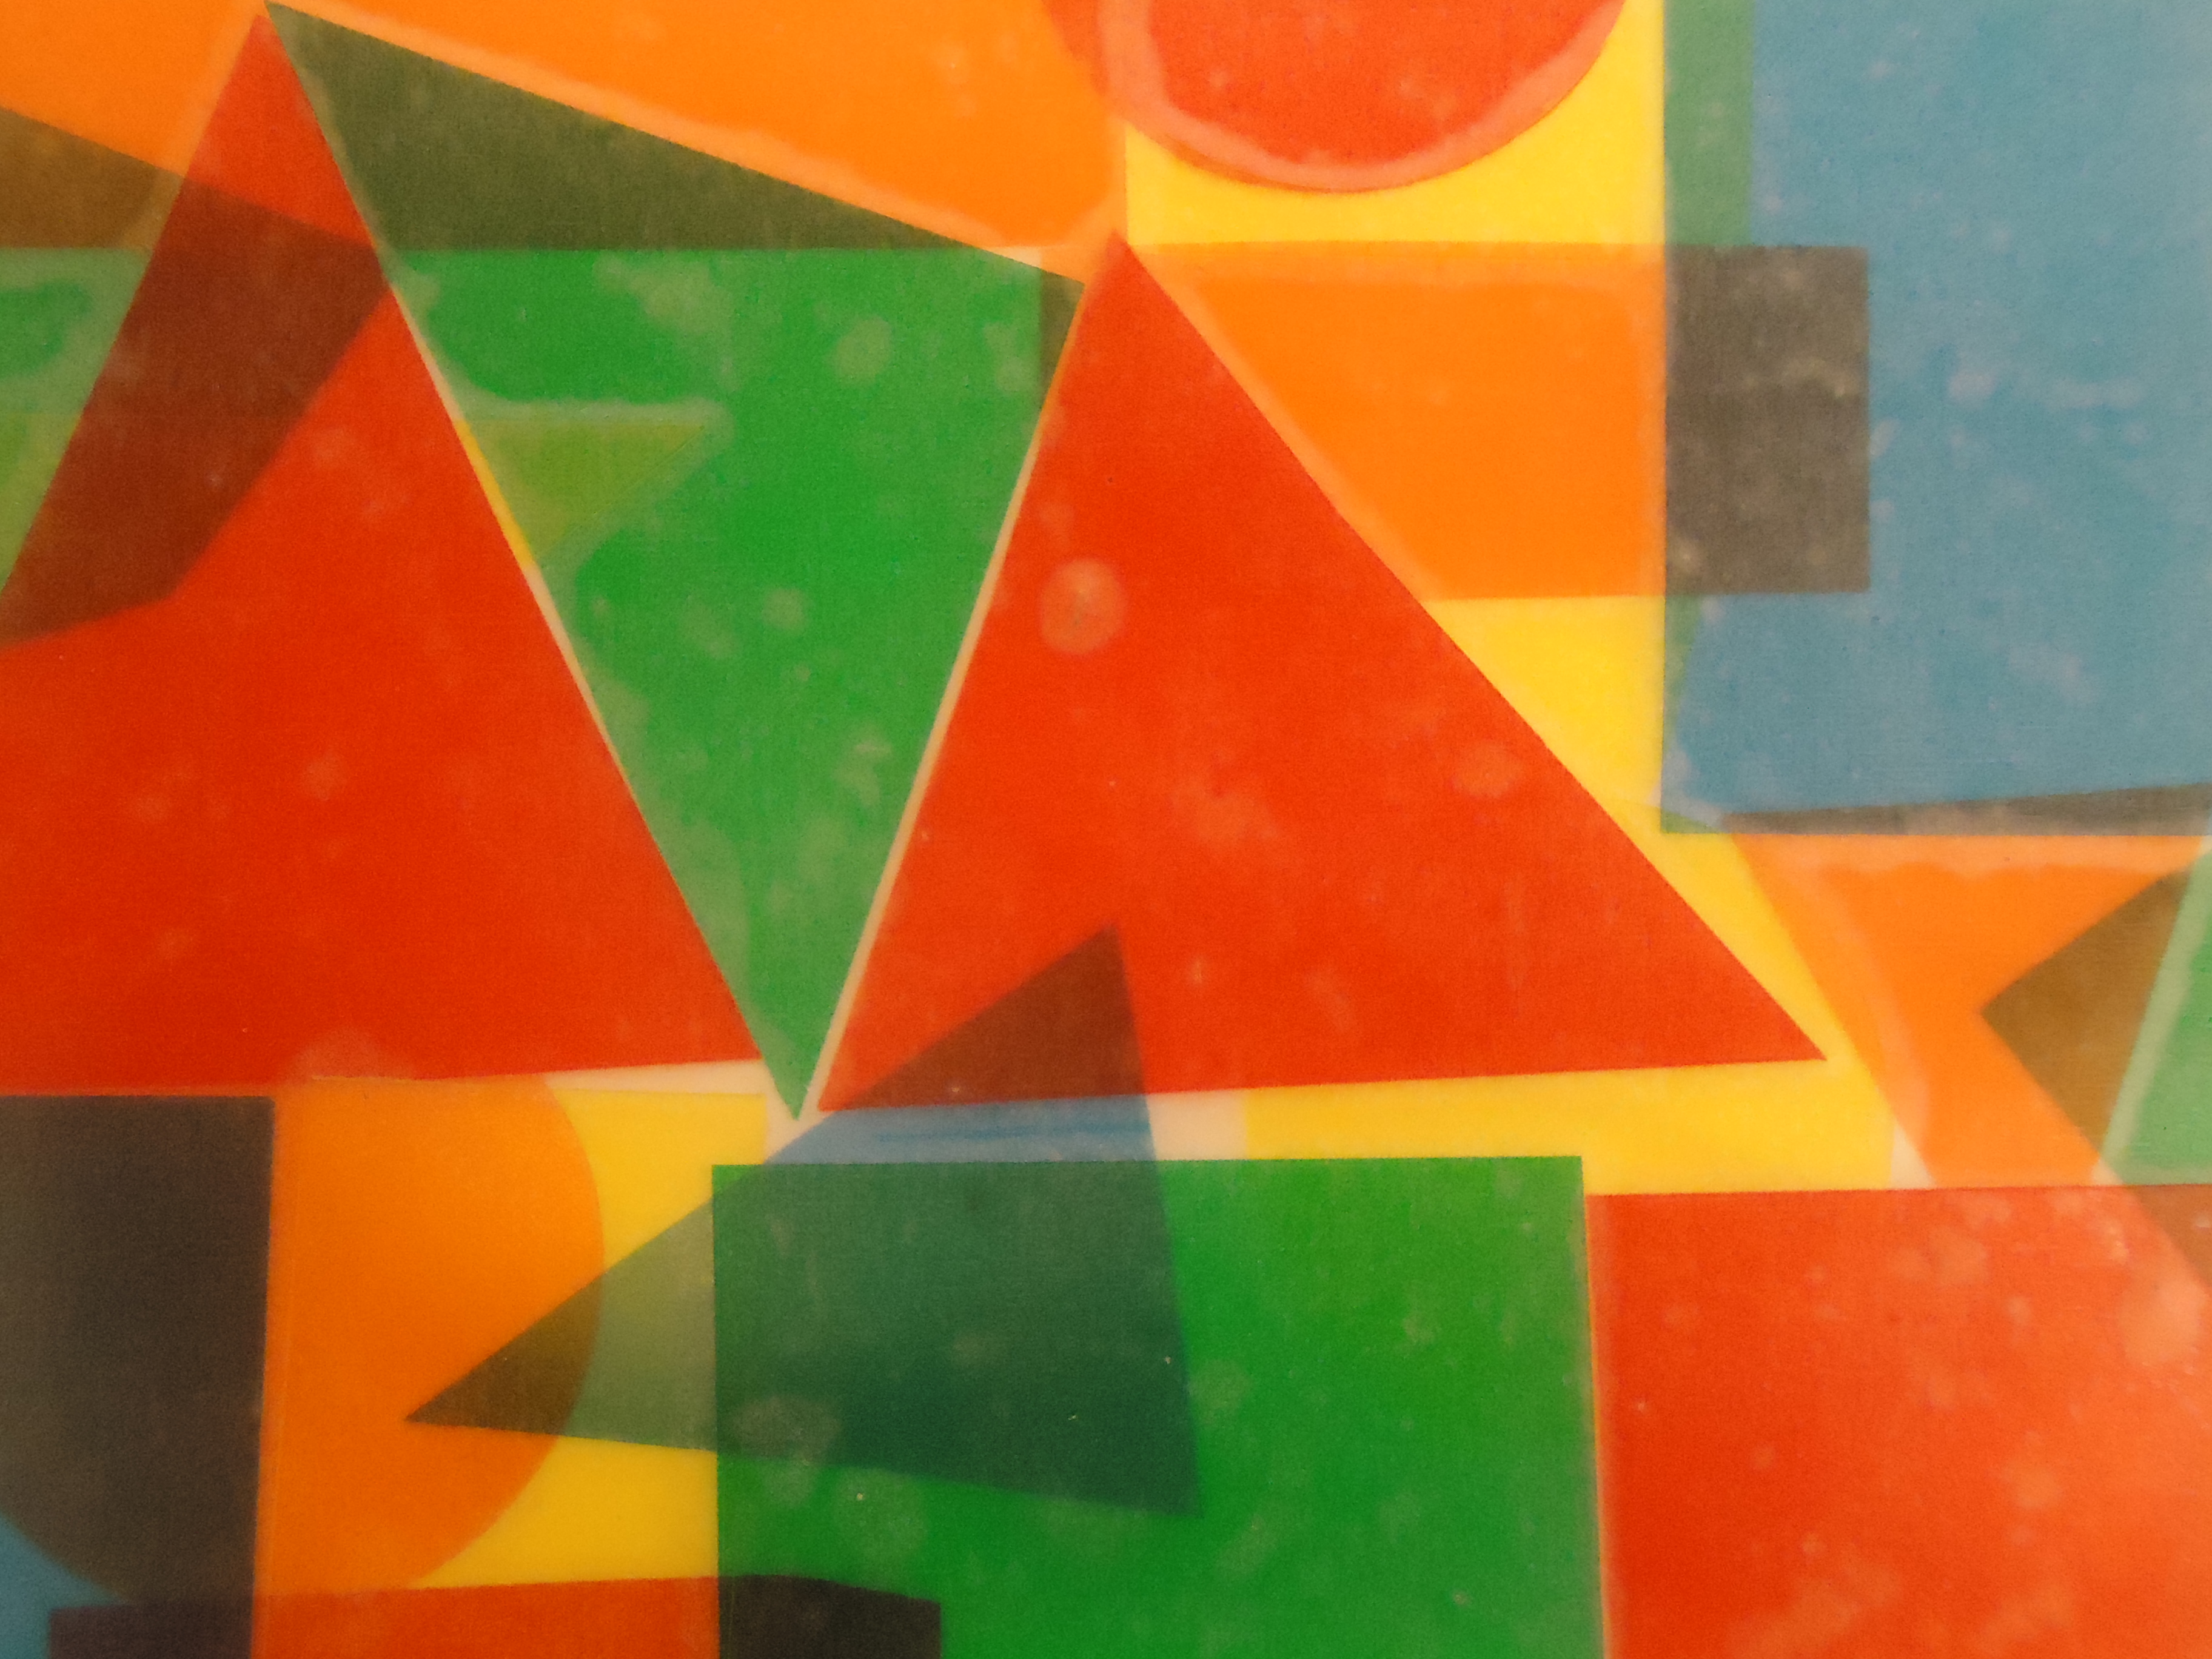
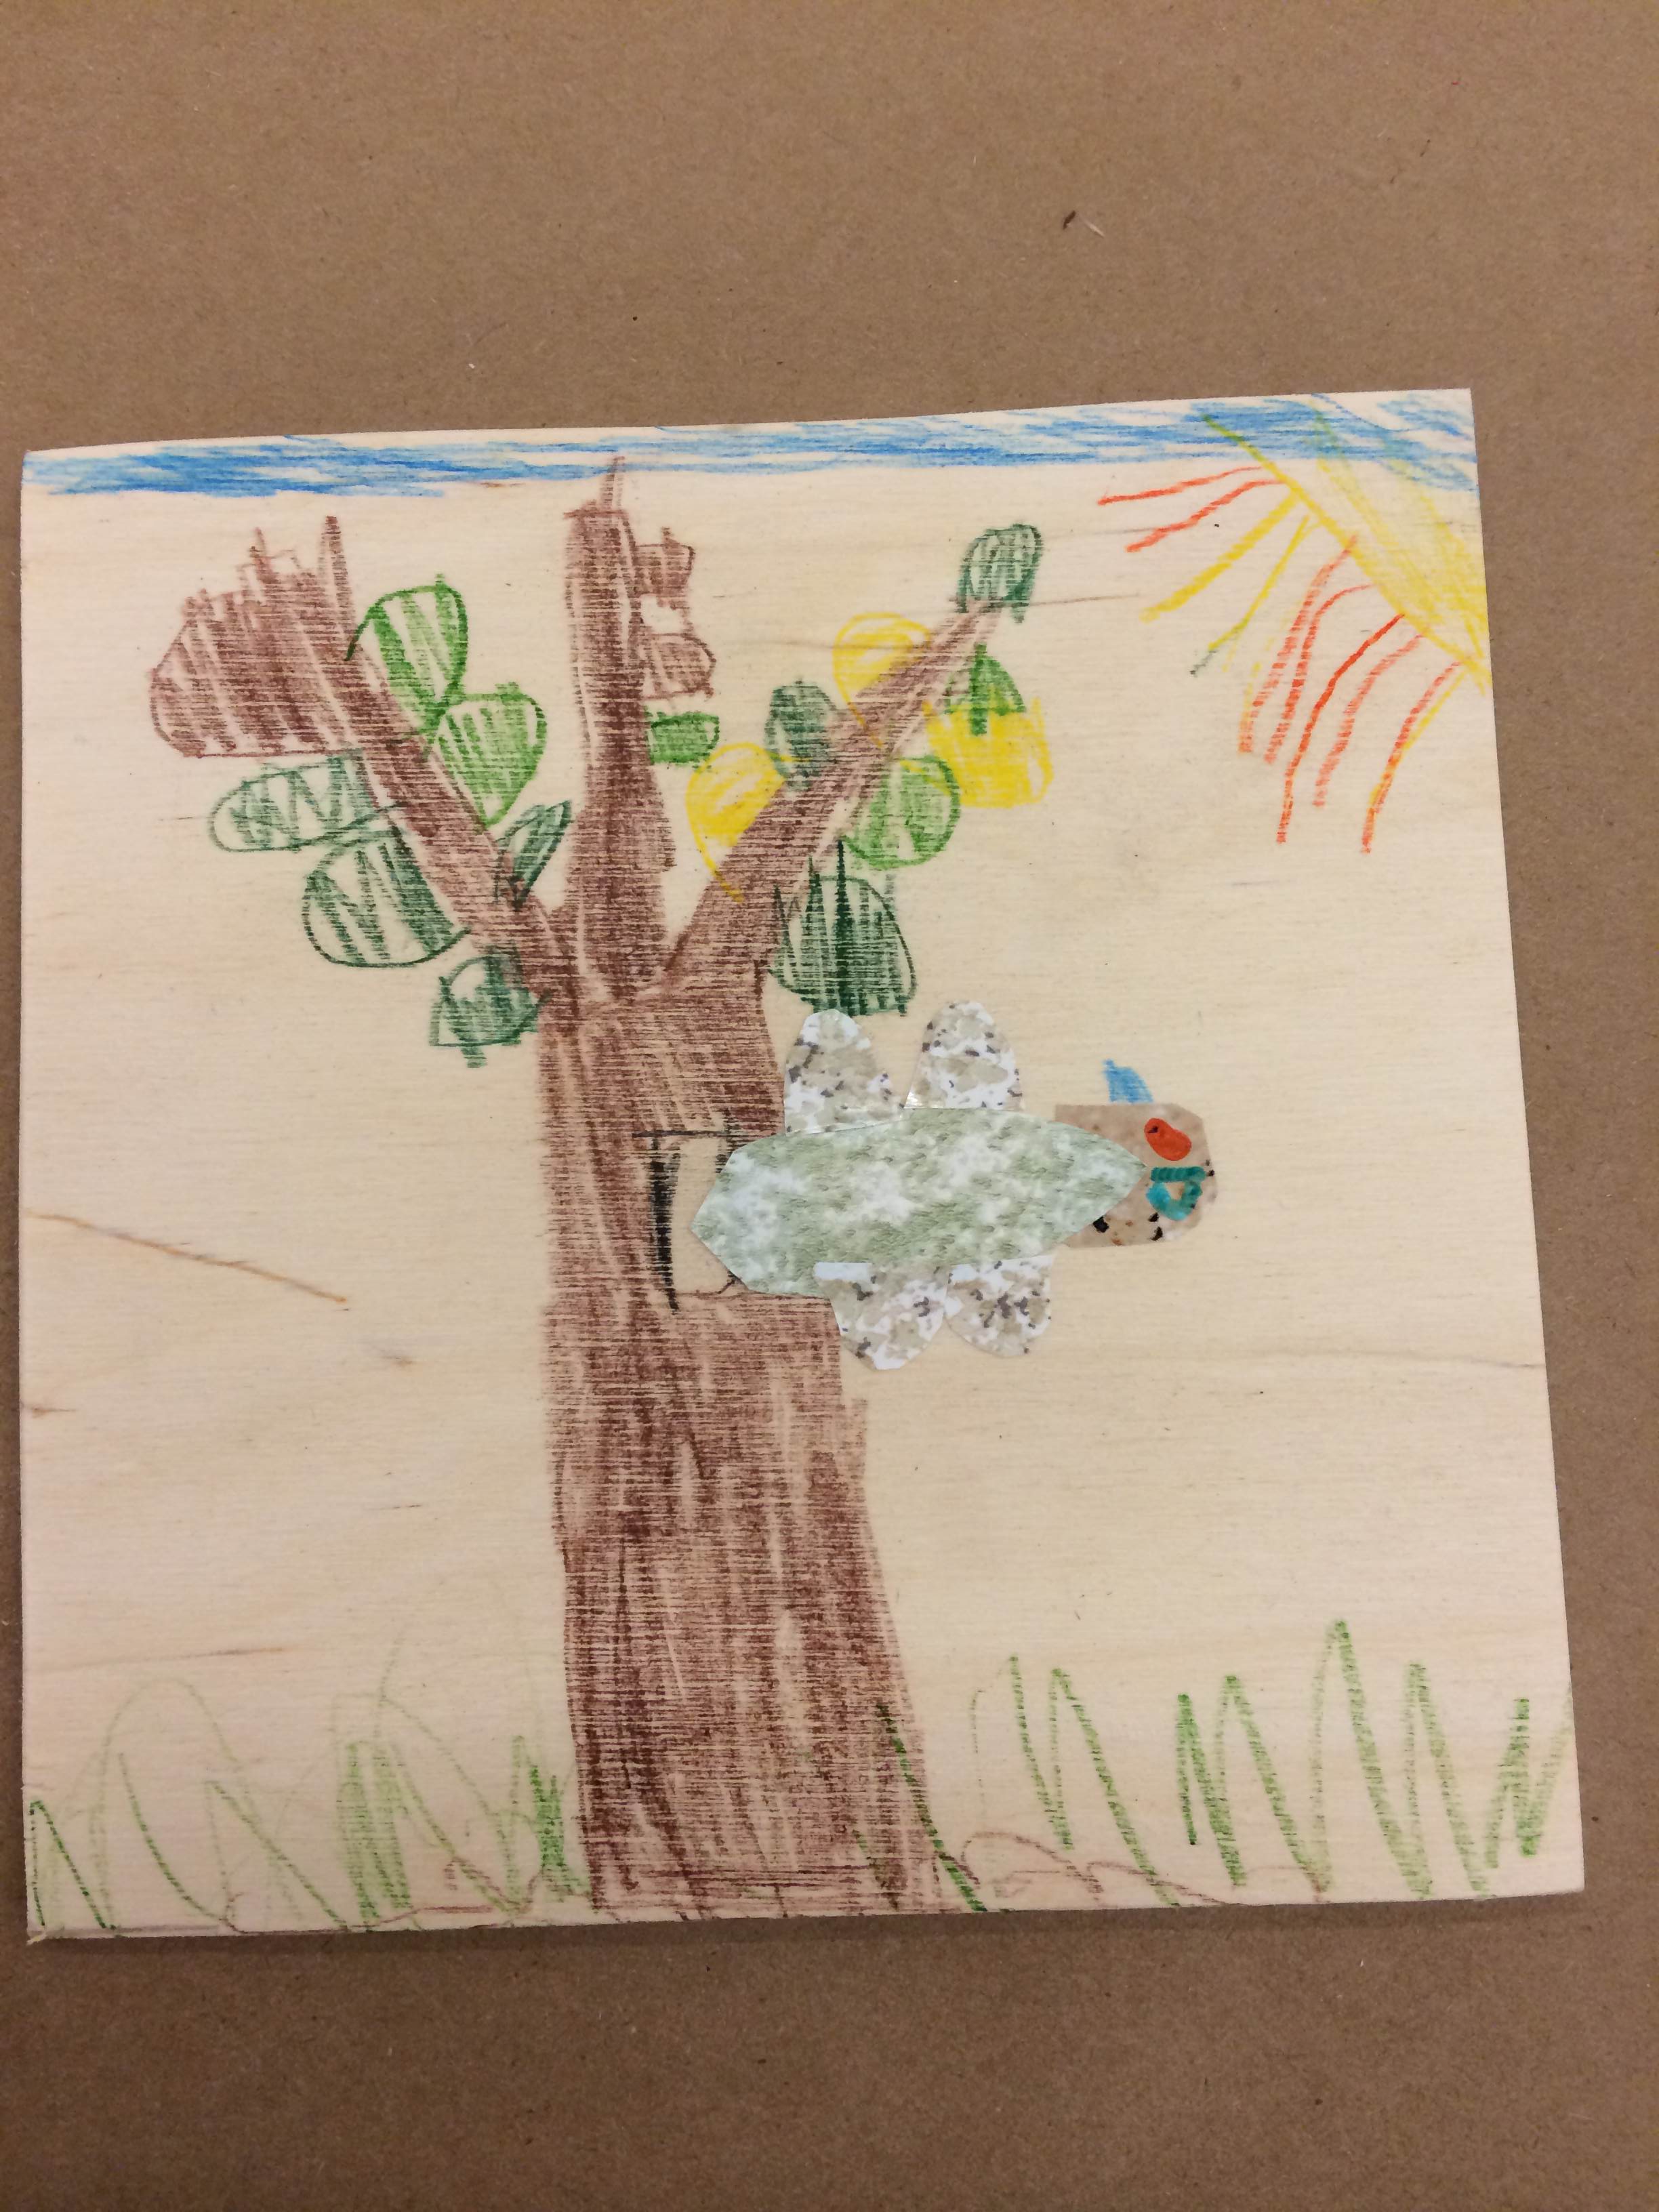
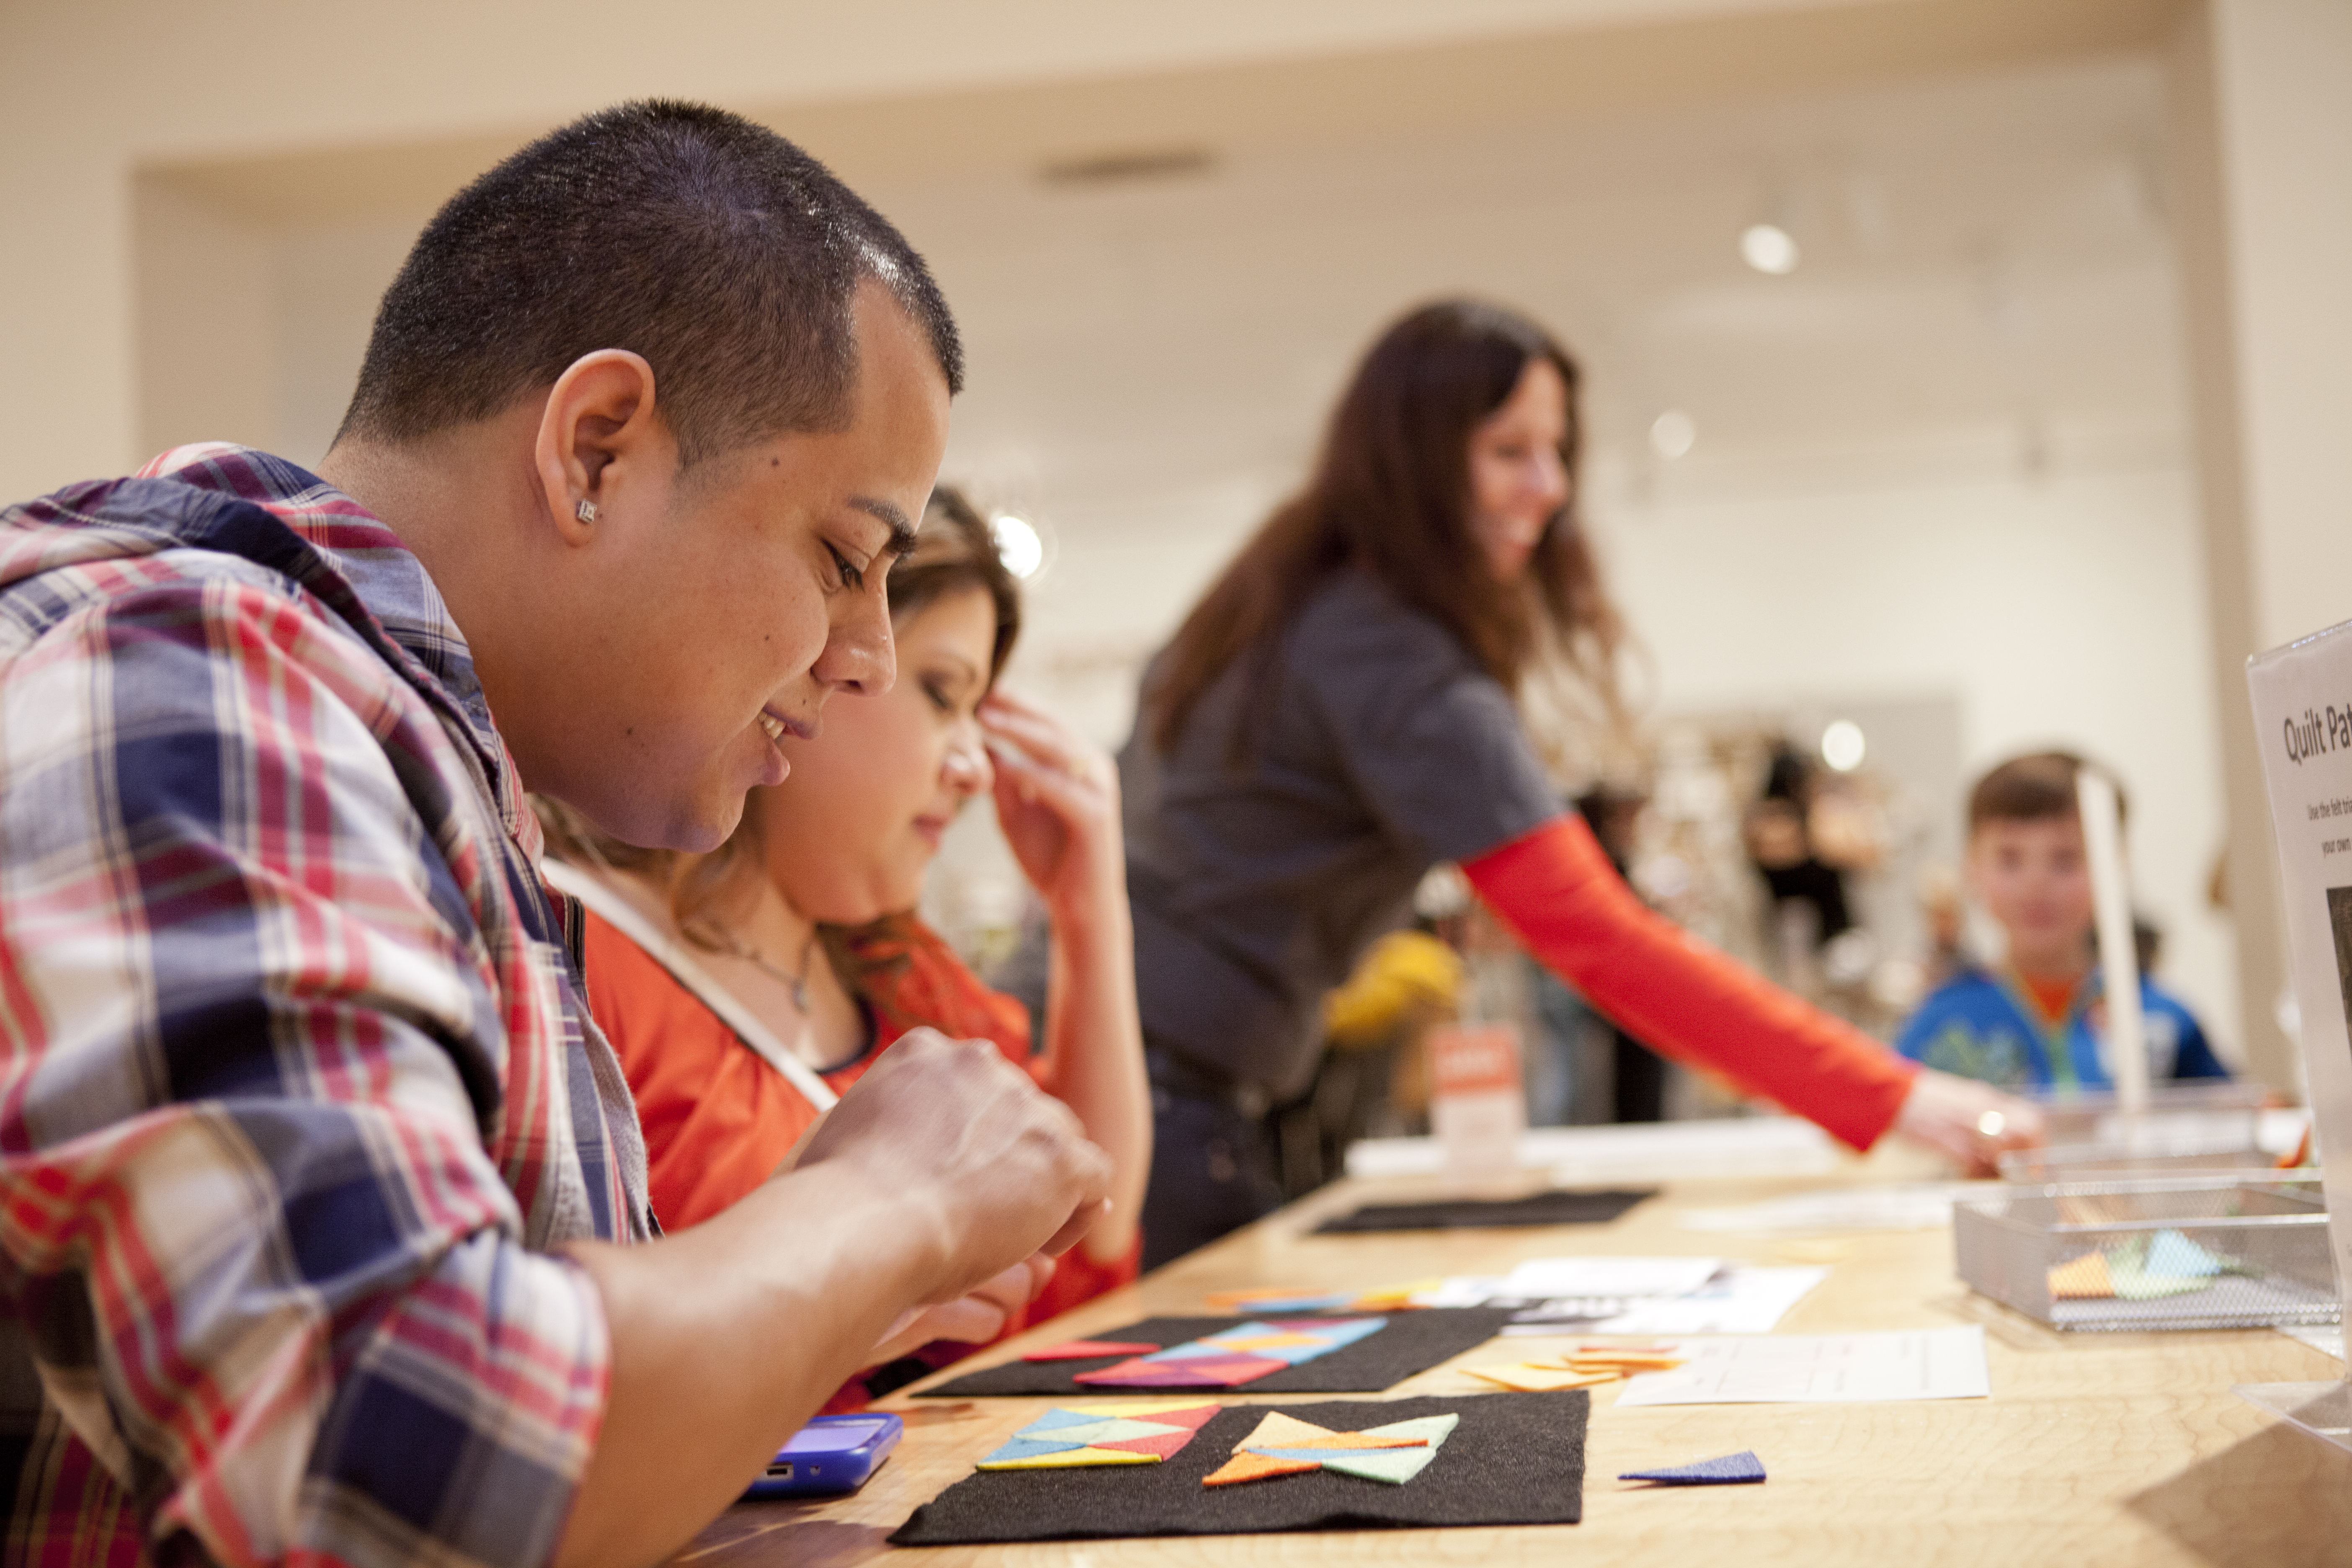
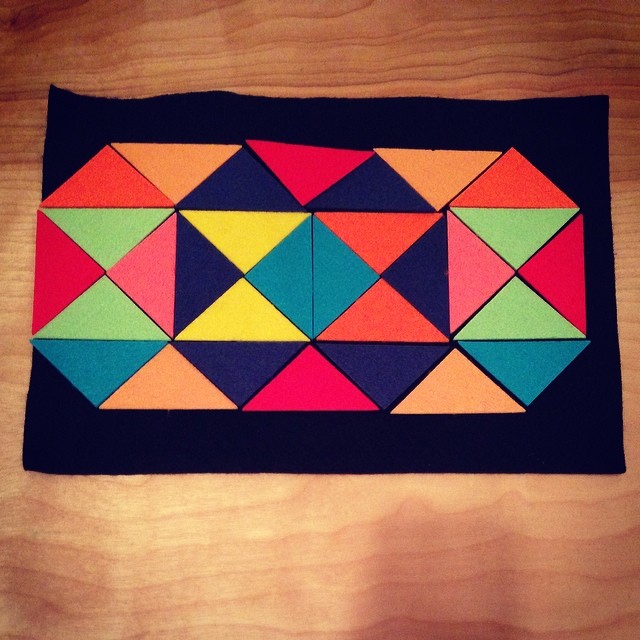
- The Patterns with Felt Triangles activity, which focuses on Starry Crown by John Biggers, includes 9×12 inch black felt backgrounds and a colorful assortment of small felt triangles that visitors can use to create patterns similar to those represented in the painting.
After each of the three activities had a one month trial period, we felt certain that they were successful, but wanted to learn more about why and how these activities were successful. As art educators, we know intrinsically that experiences with art make a difference in people’s lives. Yet, when we are asked to prove this it can seem an unattainable task. Proving the importance of art education is perhaps made even more daunting in an informal learning environment where visitors come for various reasons, but generally not to be quizzed about their experiences with art. So, we sought advice from our evaluator to determine goals, indicators, and potential interview questions for each activity and immediately set to the task of measuring the immeasurable. Since April, we have observed and interviewed participants at the gallery table each Saturday from 1:30 p.m. until 4:00 p.m. During that two and a half hour block of time we have found the following averages:
- Portrait Drawing– on average 23, adults and 18 children participated; visitors spent about 13.8 minutes drawing with times ranging from 1 – 30 minutes.
- Hybrid Drawing – on average 27 adults and 36 children participated; visitors spent about 10 minutes drawing with a time range of 1 – 50 minutes.
- Patterns– on average 11 adults and 9 children participated; visitors spent about 7 minutes creating patterns with a range of 1 – 33 minutes.
Though these averages tell us a lot about how much time people spend and how many people engage in our activities, the most interesting aspect of this evaluation has been hearing our visitors’ feedback and seeing the images they post of their work on social media.


Visitor Feedback:
“Well, it’s like… it’s fun. Like drawing before was so serious and it had to be perfect, cause you were doing it for a grade. But this is just for enjoyment.”
“I’m guessing this was made for children? It’s fun and different and I didn’t expect to see this here. Yeah, it’s like that spark of creativity, kind of… childlike. I didn’t think I’d spend as much time or get into it like I did.”
“People think patterns have to be rigid, like red, yellow, blue and then repeat, but by playing with this you can be more creative.”
“This is more interactive than other galleries. [In] the other galleries you’re just looking, but here you get to do something.”
“I like to do the activity because it gets the kids interested in art, and if I do it, they’ll probably want to try it too.”
“It’s nice to make everyone focus. I would have never gotten him [points to husband] to do this at home.”
Through this evaluation we have come to better understand our visitors’ habits and motivations. For example, we found that most visitors do not read instructions. If the instructions are read it is only the main text at the top of the document that catches a visitor’s eye. This could be because these activities tend to attract visitors who prefer some amount of active doing or making rather than passive looking. Furthermore, visitors will spend more time participating in activities that provide seating and social interaction. Regarding motivations, we found that visitors who participate in these activities are likely to have some underlying interest in the media or subject matter presented.
As we move forward and continue to develop activities for the gallery table we will take these lessons into consideration. We will make our instructions more concise, we will offer activities that involve a social component, and we’ll branch out to include a variety of media so as to appeal to visitors who are interested in diverse artistic processes.
Jessica Fuentes
C3 Gallery Coordinator