As August heats up, you might find yourself retreating to cooler climes, and you can only spend so long at the pool before the kids shrivel up! Beat the heat and keep the kids busy with creative art-making using one of my most favorite unconventional art materials—contact paper.
Contact paper is most often used to line shelves in the kitchen, but take it into the art studio, and you can create some art magic. Here are some of my go-to projects using this surprisingly versatile material.
Texture Collage
Use a piece of contact paper (sticky side up) as the collage base, and encourage your child to create using a variety of collage materials—cotton balls, feathers, sandpaper, tissue paper, sequins, felt, and more. This project works really well for toddlers because they don’t have to worry about managing glue in order to get their materials to stick to the paper. Older children might want to use some glue if they build up layers of materials on top of one another. The finished product is a touchable work of art!

Beach scene created with sand paper, tissue paper, cotton balls, and foam shapes
Stained Glass “Windows”
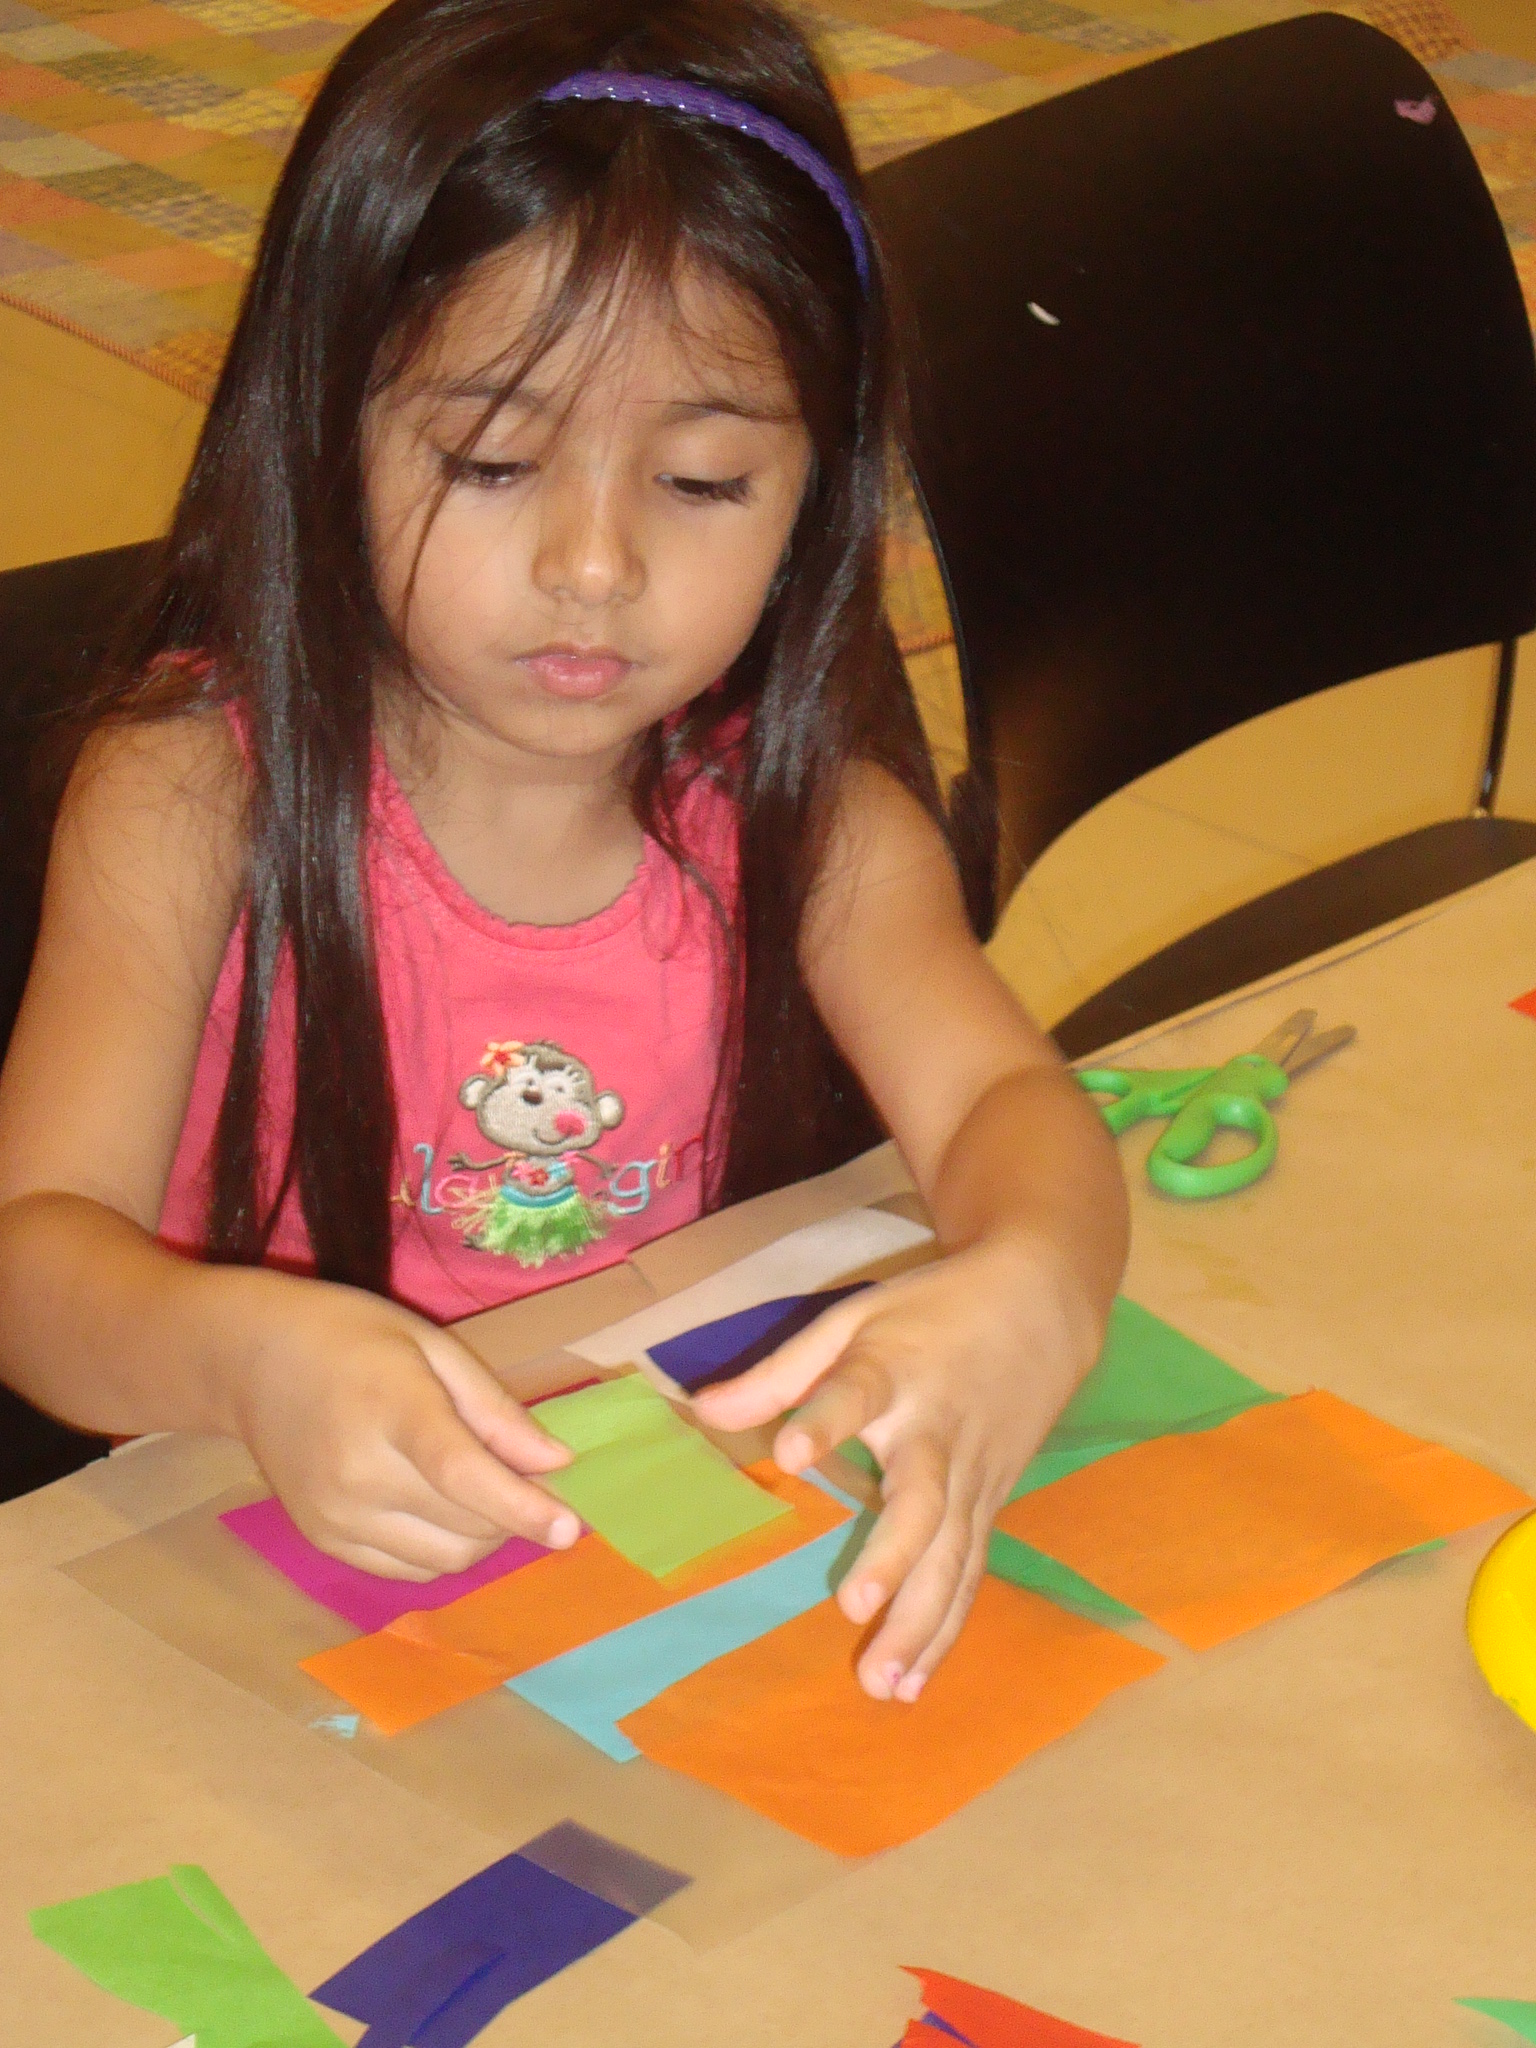
One of my favorite art projects to do with kids here at the Museum is inspired by the Tiffany stained glass windows. We use clear contact paper and tissue paper or transparency film to create a stained glass window-effect. Cut two squares of contact paper and arrange pieces of colored tissue paper or transparency film on one contact paper square, sticky side up. The tissue paper and transparency film can be layered to create a variety of colors; tissue paper can also be crinkled and squished to add dimension and texture. When your window is complete, carefully stick the second contact paper square on top, sealing the materials in. Hang in a window to allow light to shine through.
-
- Tissue paper on contact paper
-
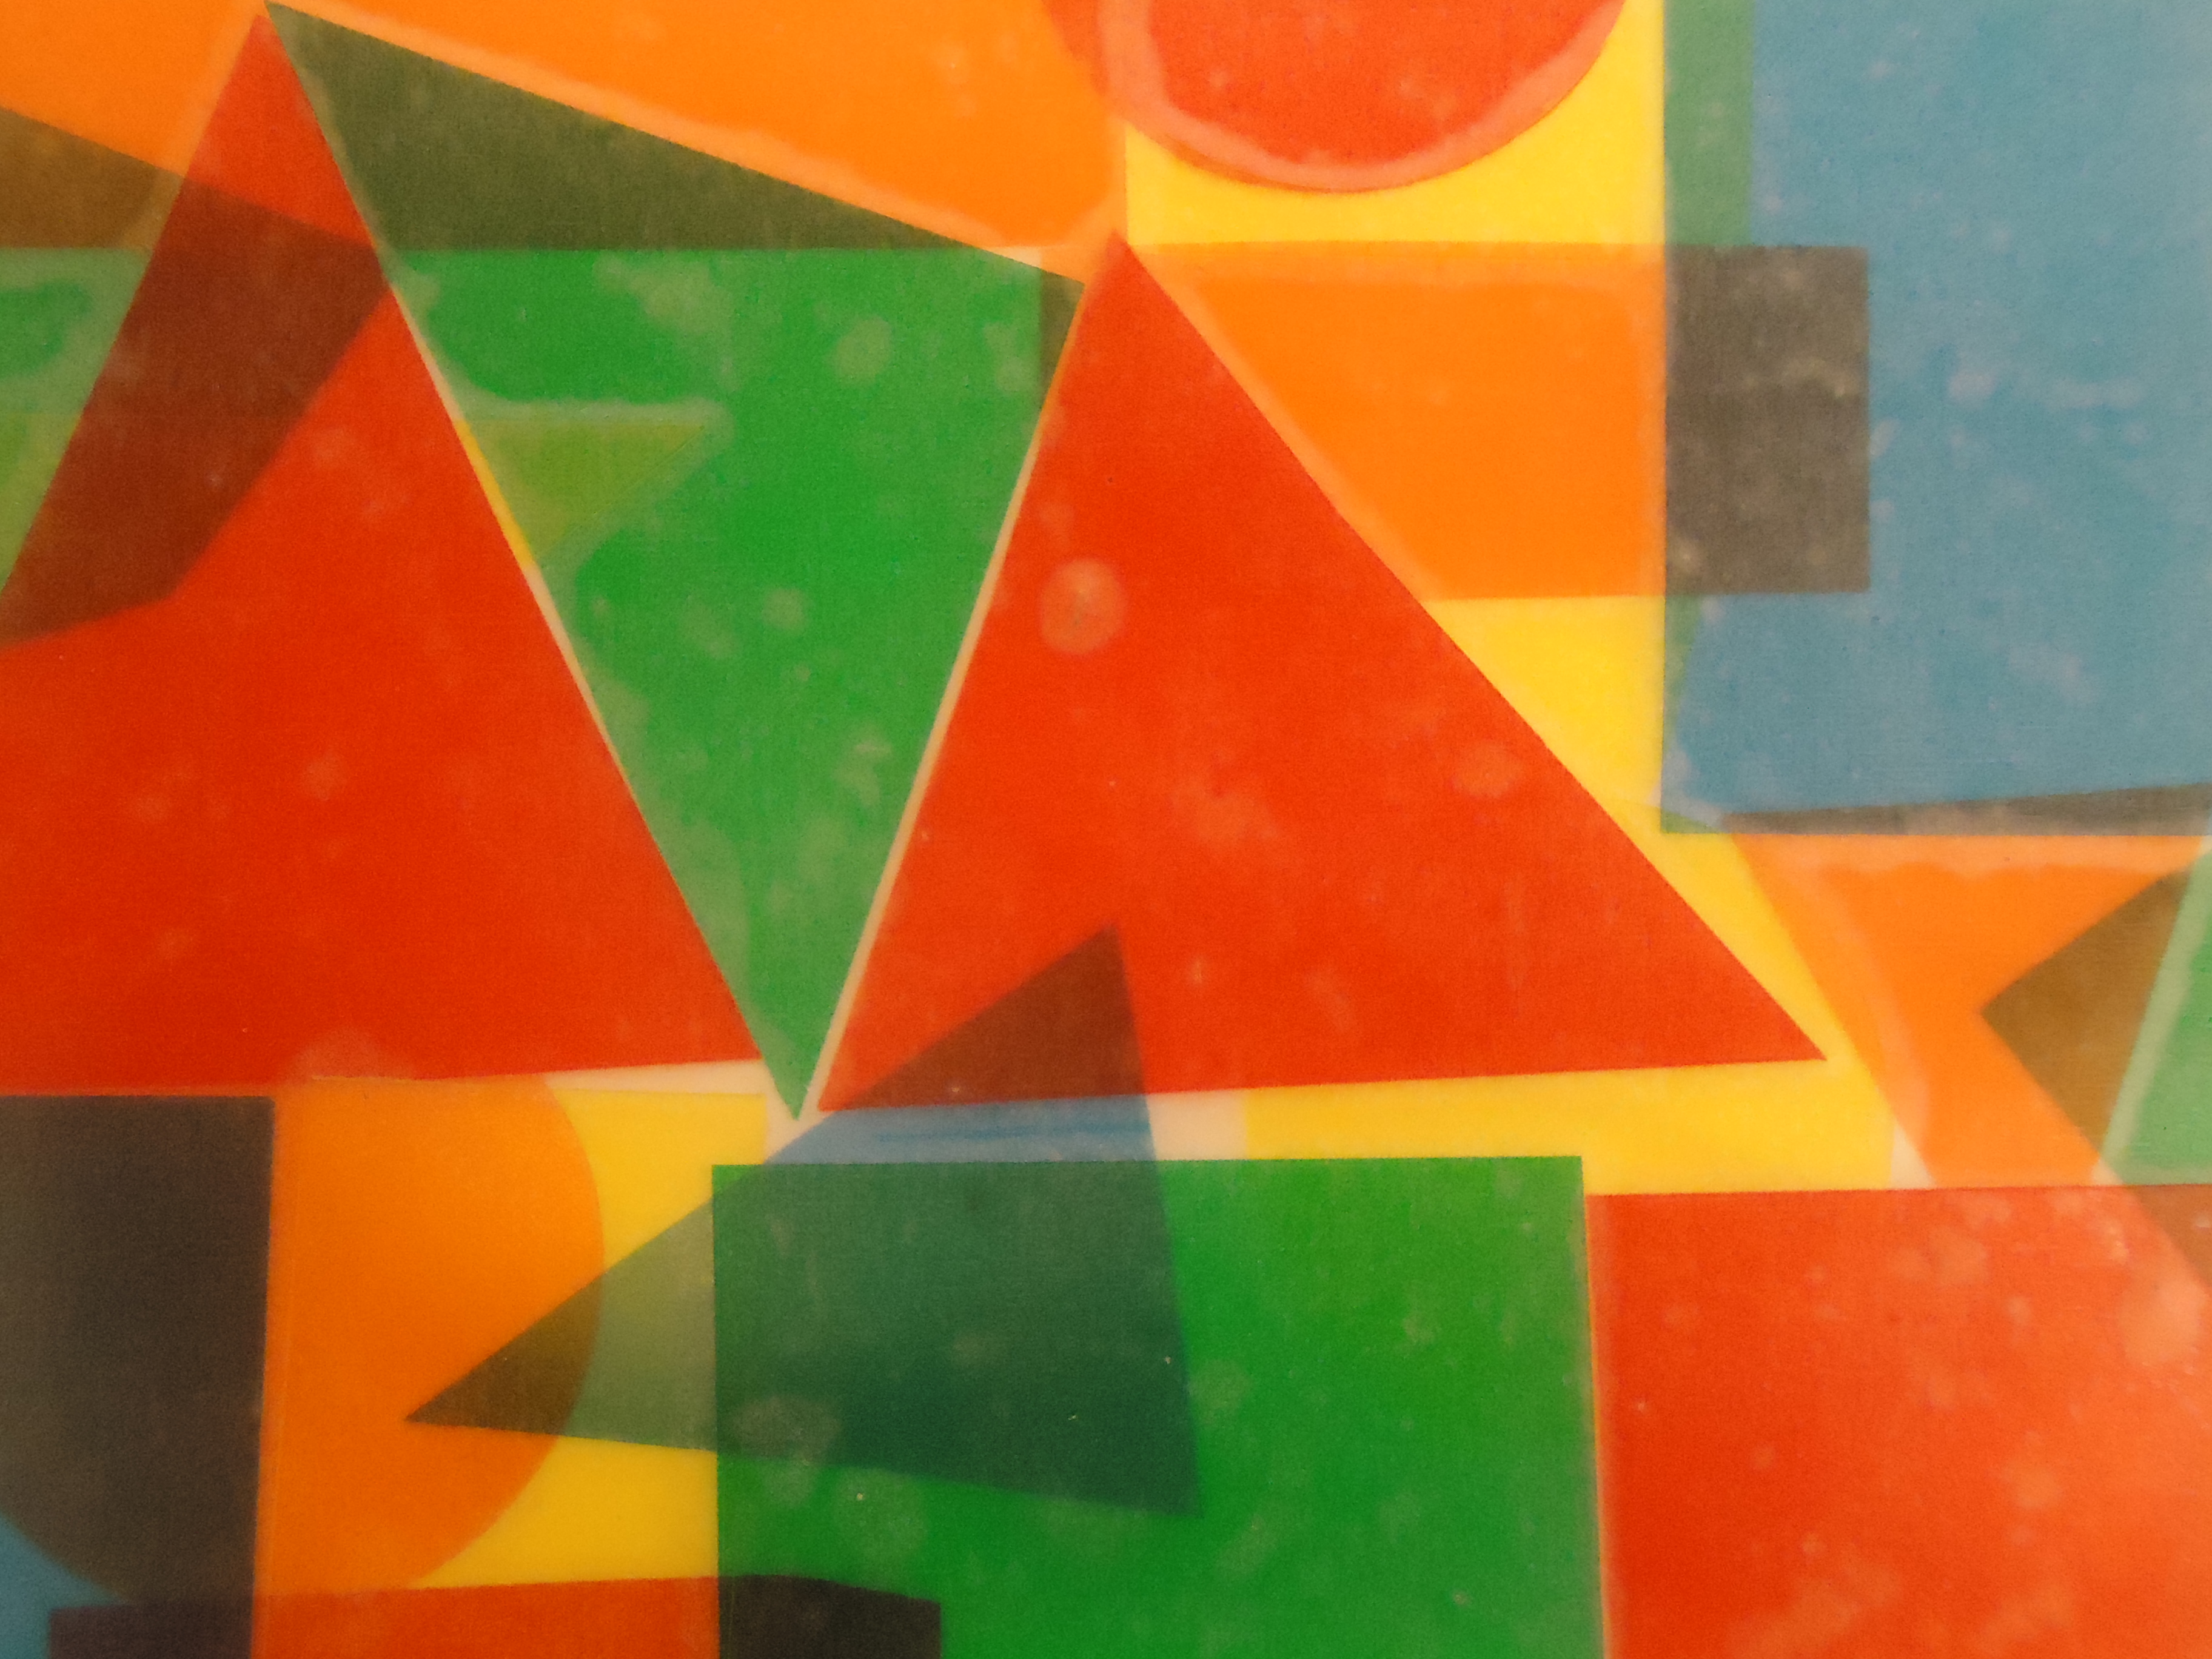
- Close-up of transparency film on contact paper
Make Your Own Stickers
Contact paper comes in a variety of designs, making it the perfect medium for creating your own stickers. A few months ago in the Arturo’s Art & Me class, children made up their own imaginary creatures. They used permanent marker to draw the different parts of their animals on different kinds of contact paper. These pieces were then cut out, the paper backing removed, and the newly created stickers were stuck to a landscape drawn on wood. Contact paper stickers will stick to paper, wood, and glass.
-
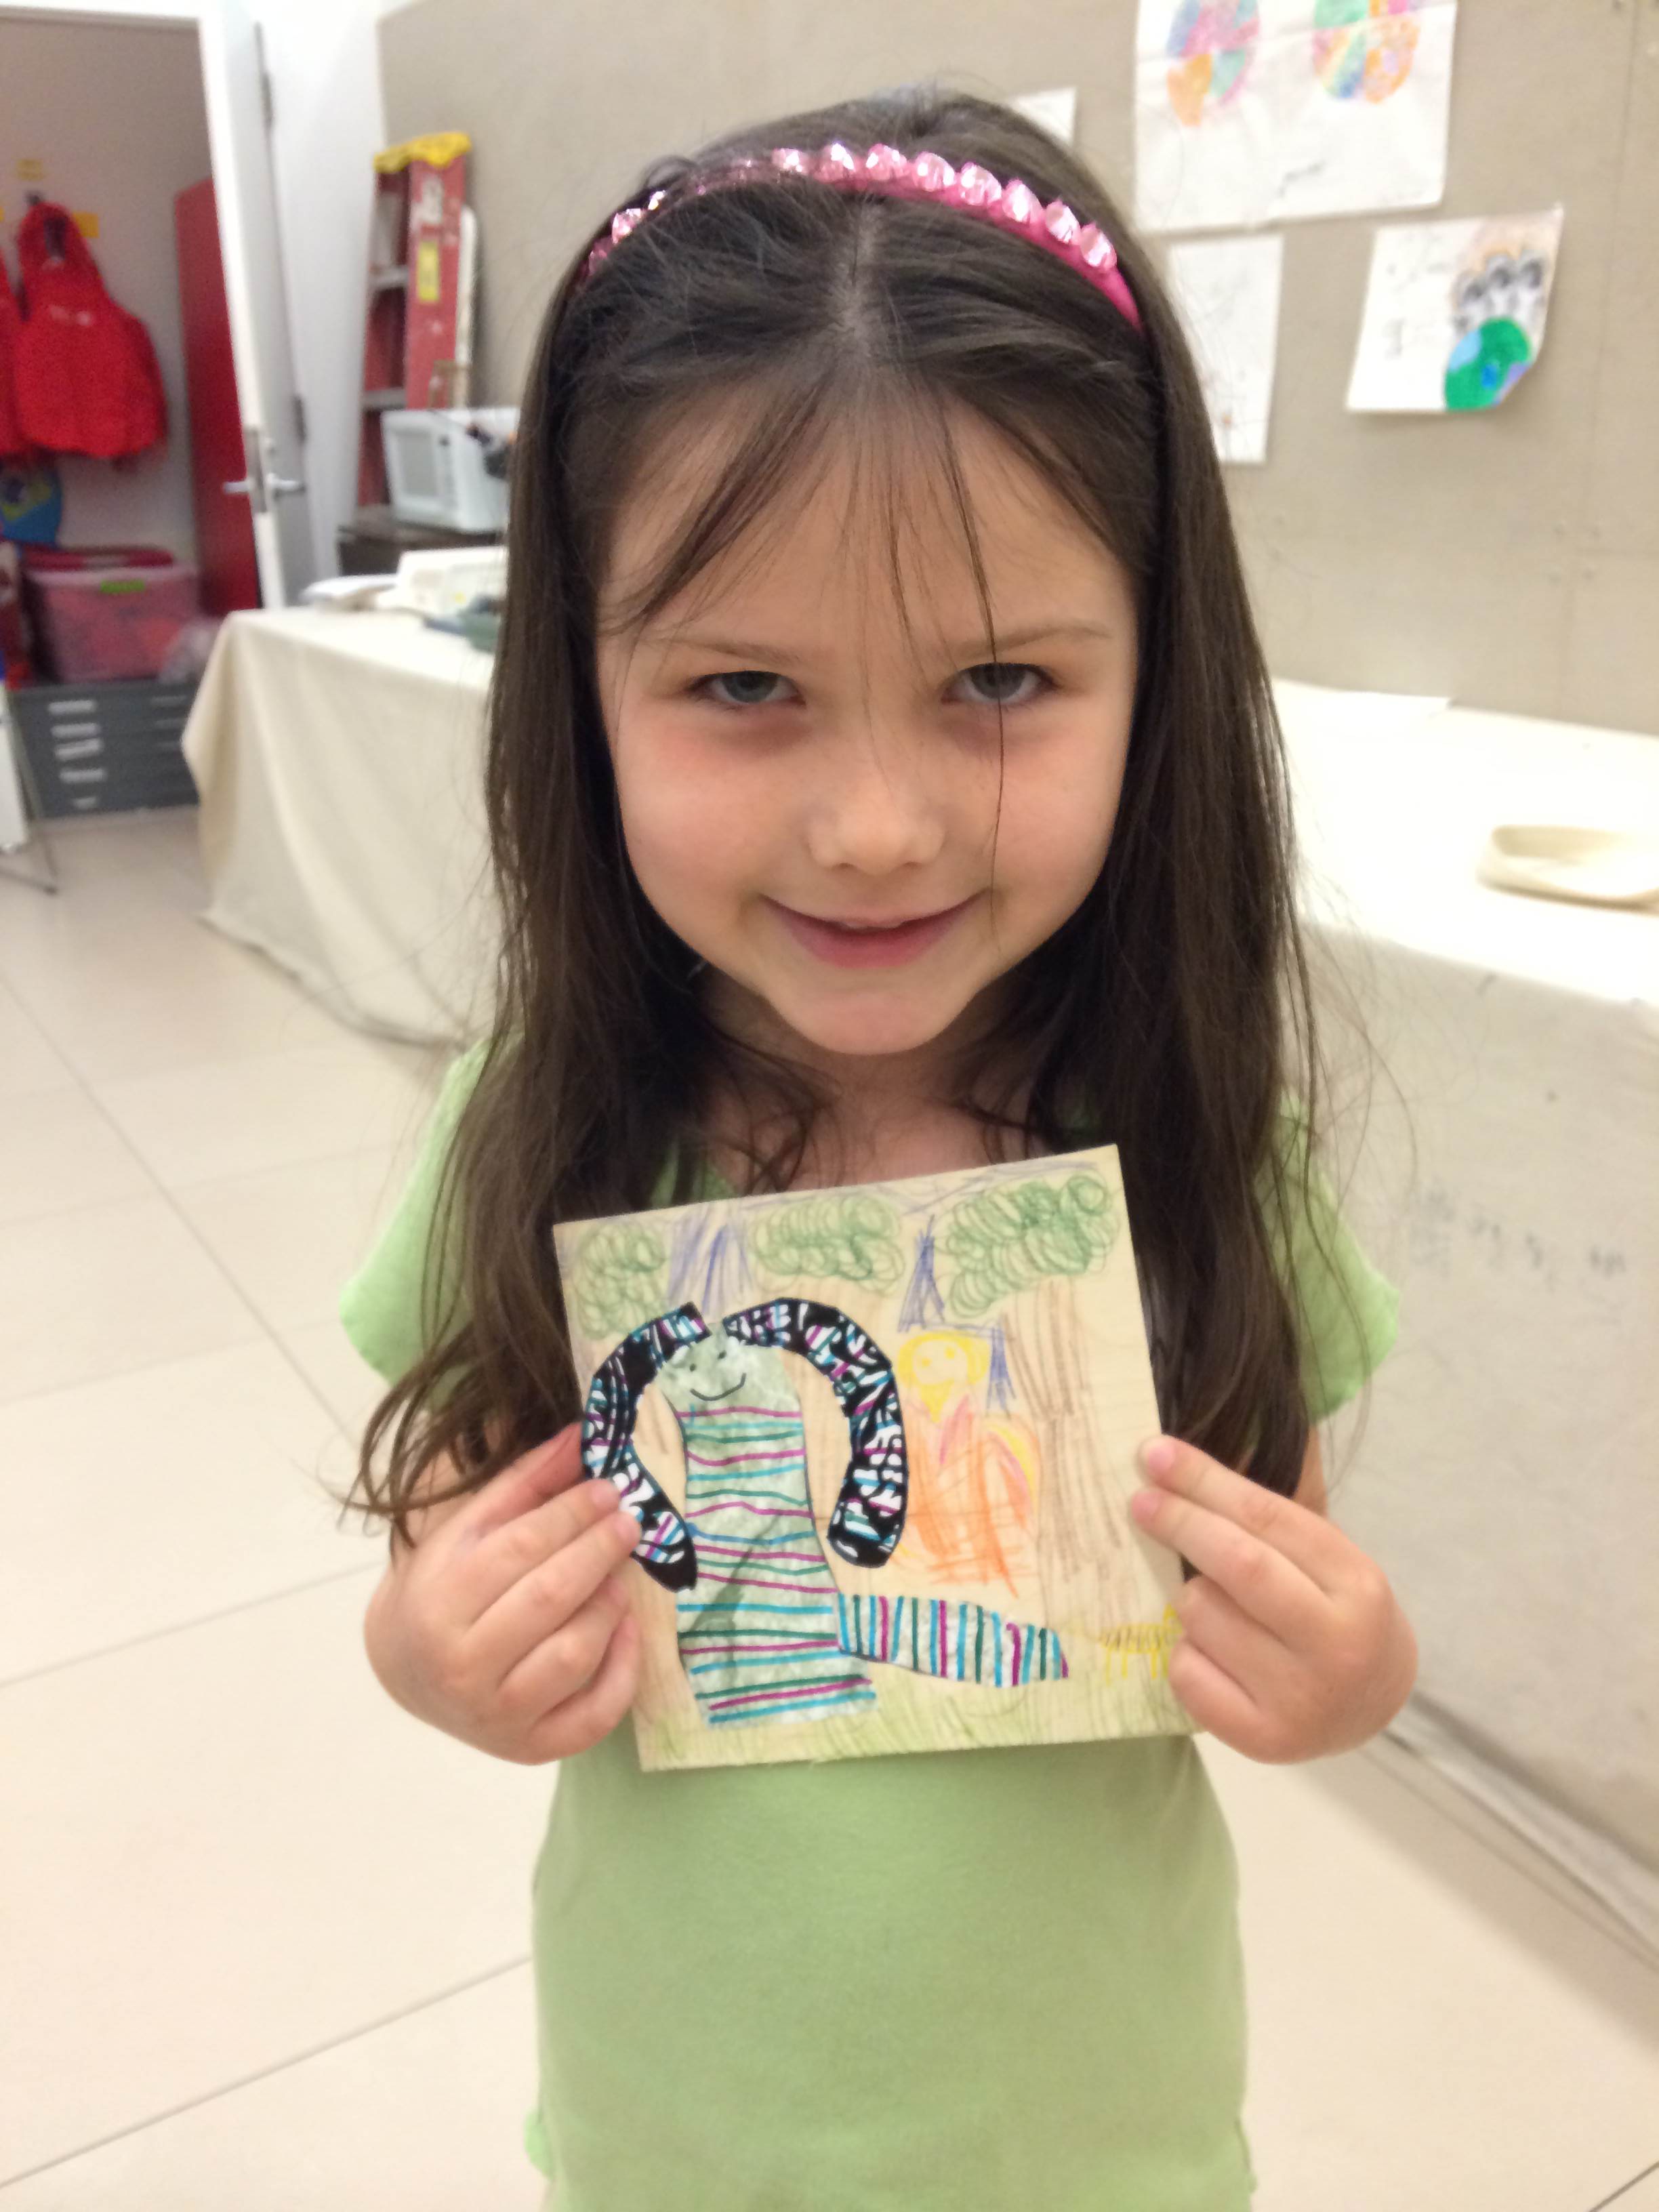
- Imaginary critters made out of contact paper
-
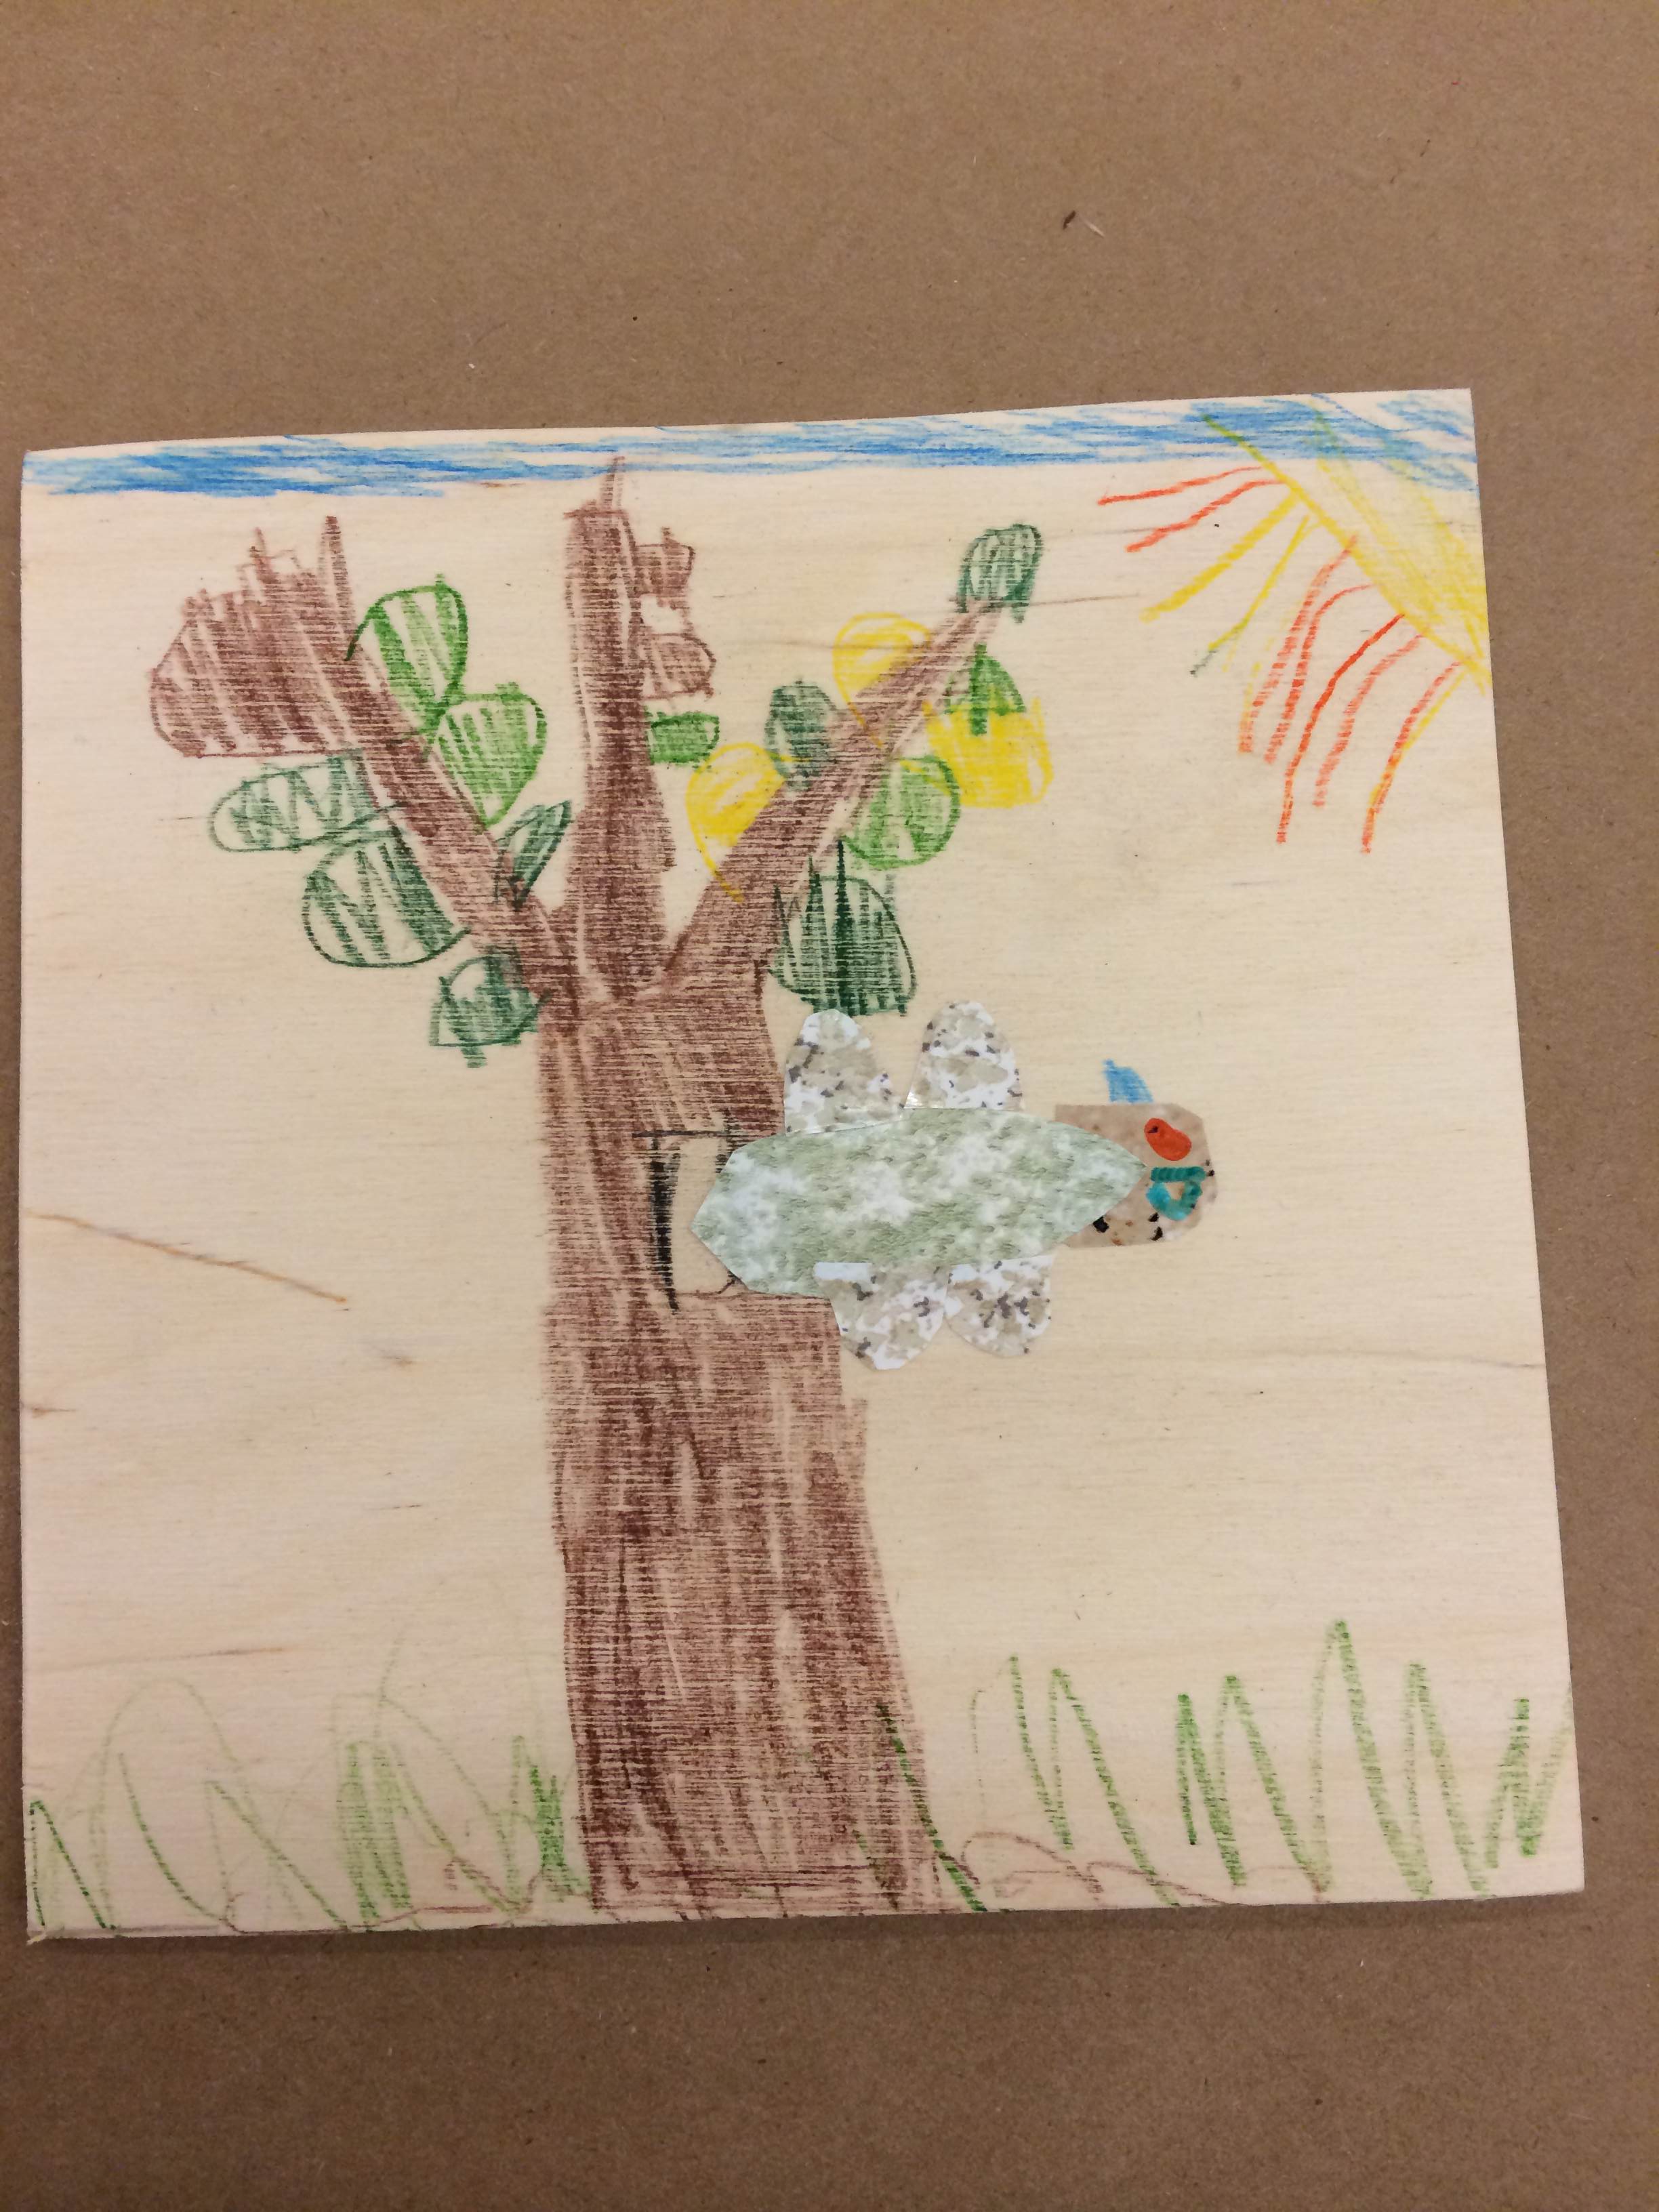
- Layer contact paper stickers on drawings
Sand Paintings
Try your hand at “painting” with sand! Use a piece of contact paper as the base for the painting, sticky side up. Sprinkle colored sand onto the contact paper to make interesting designs and shapes. For more control over the sand, use small funnels. You can also draw directly in the sand using a dull pencil. Shake your painting around, and watch how the design shifts and changes. You can also add a piece of colored paper as a backing to add even more color.
-
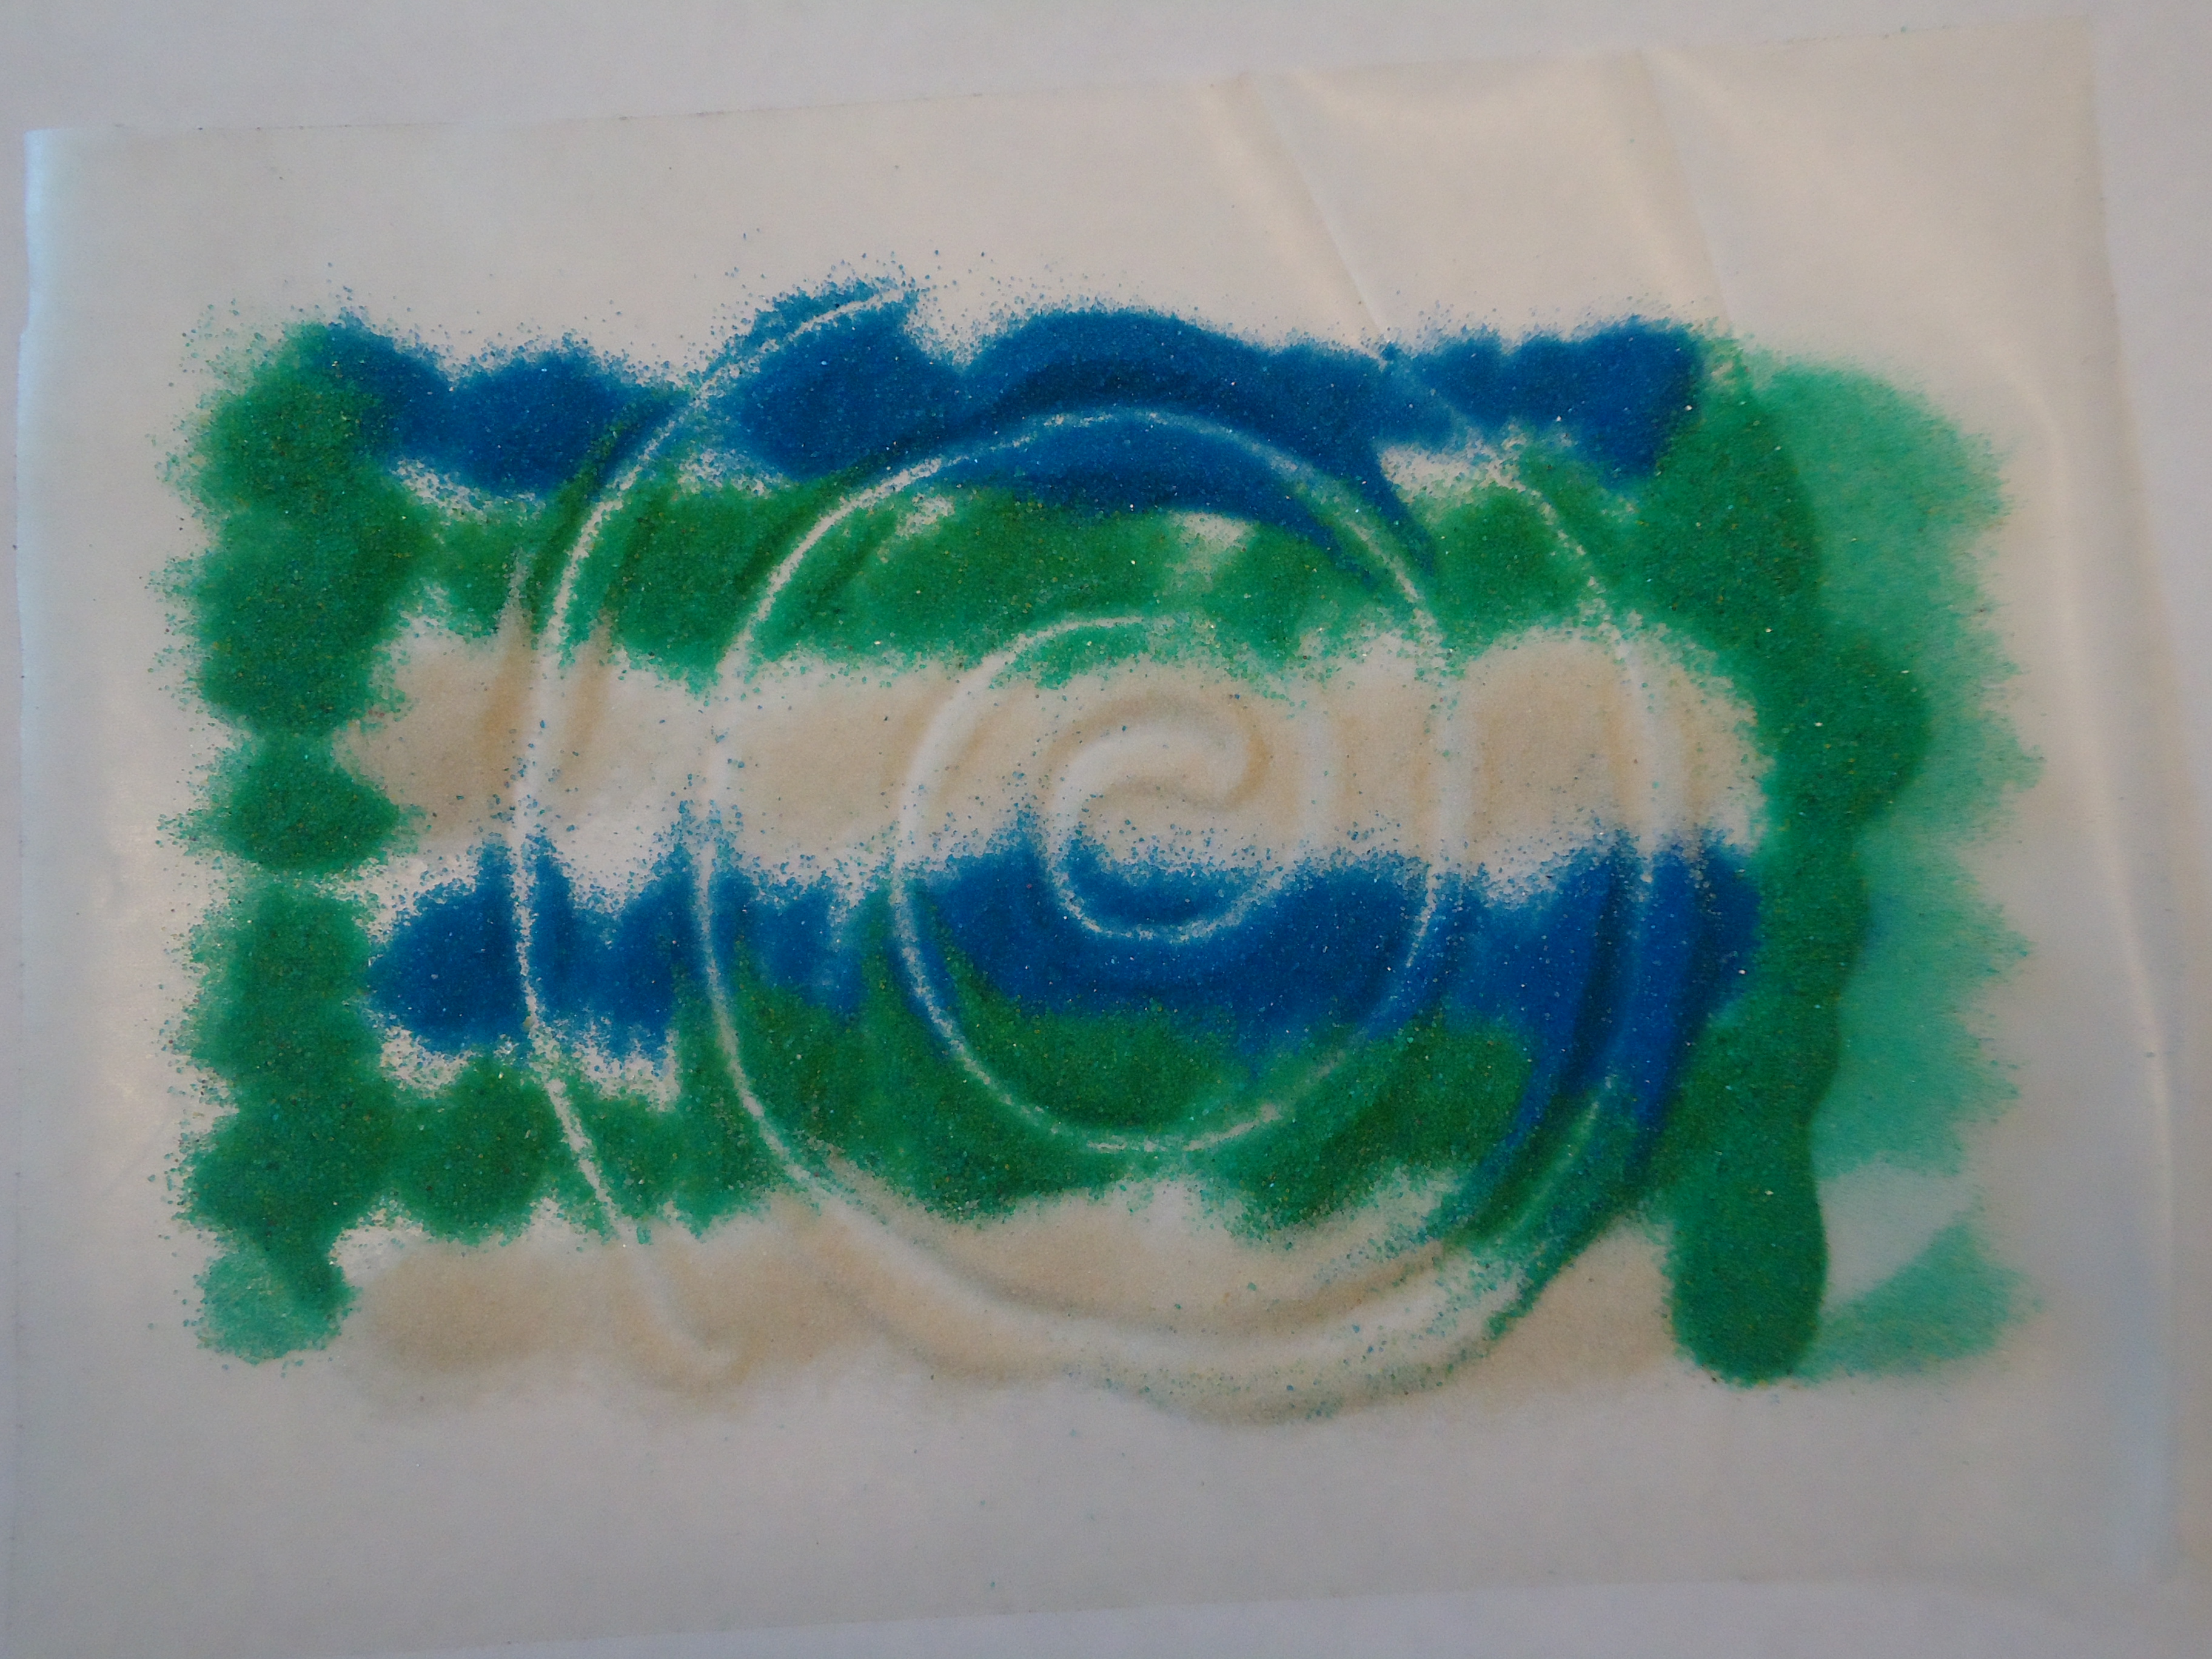
- Sprinkle sand onto contact paper, then draw directly on top of it
-
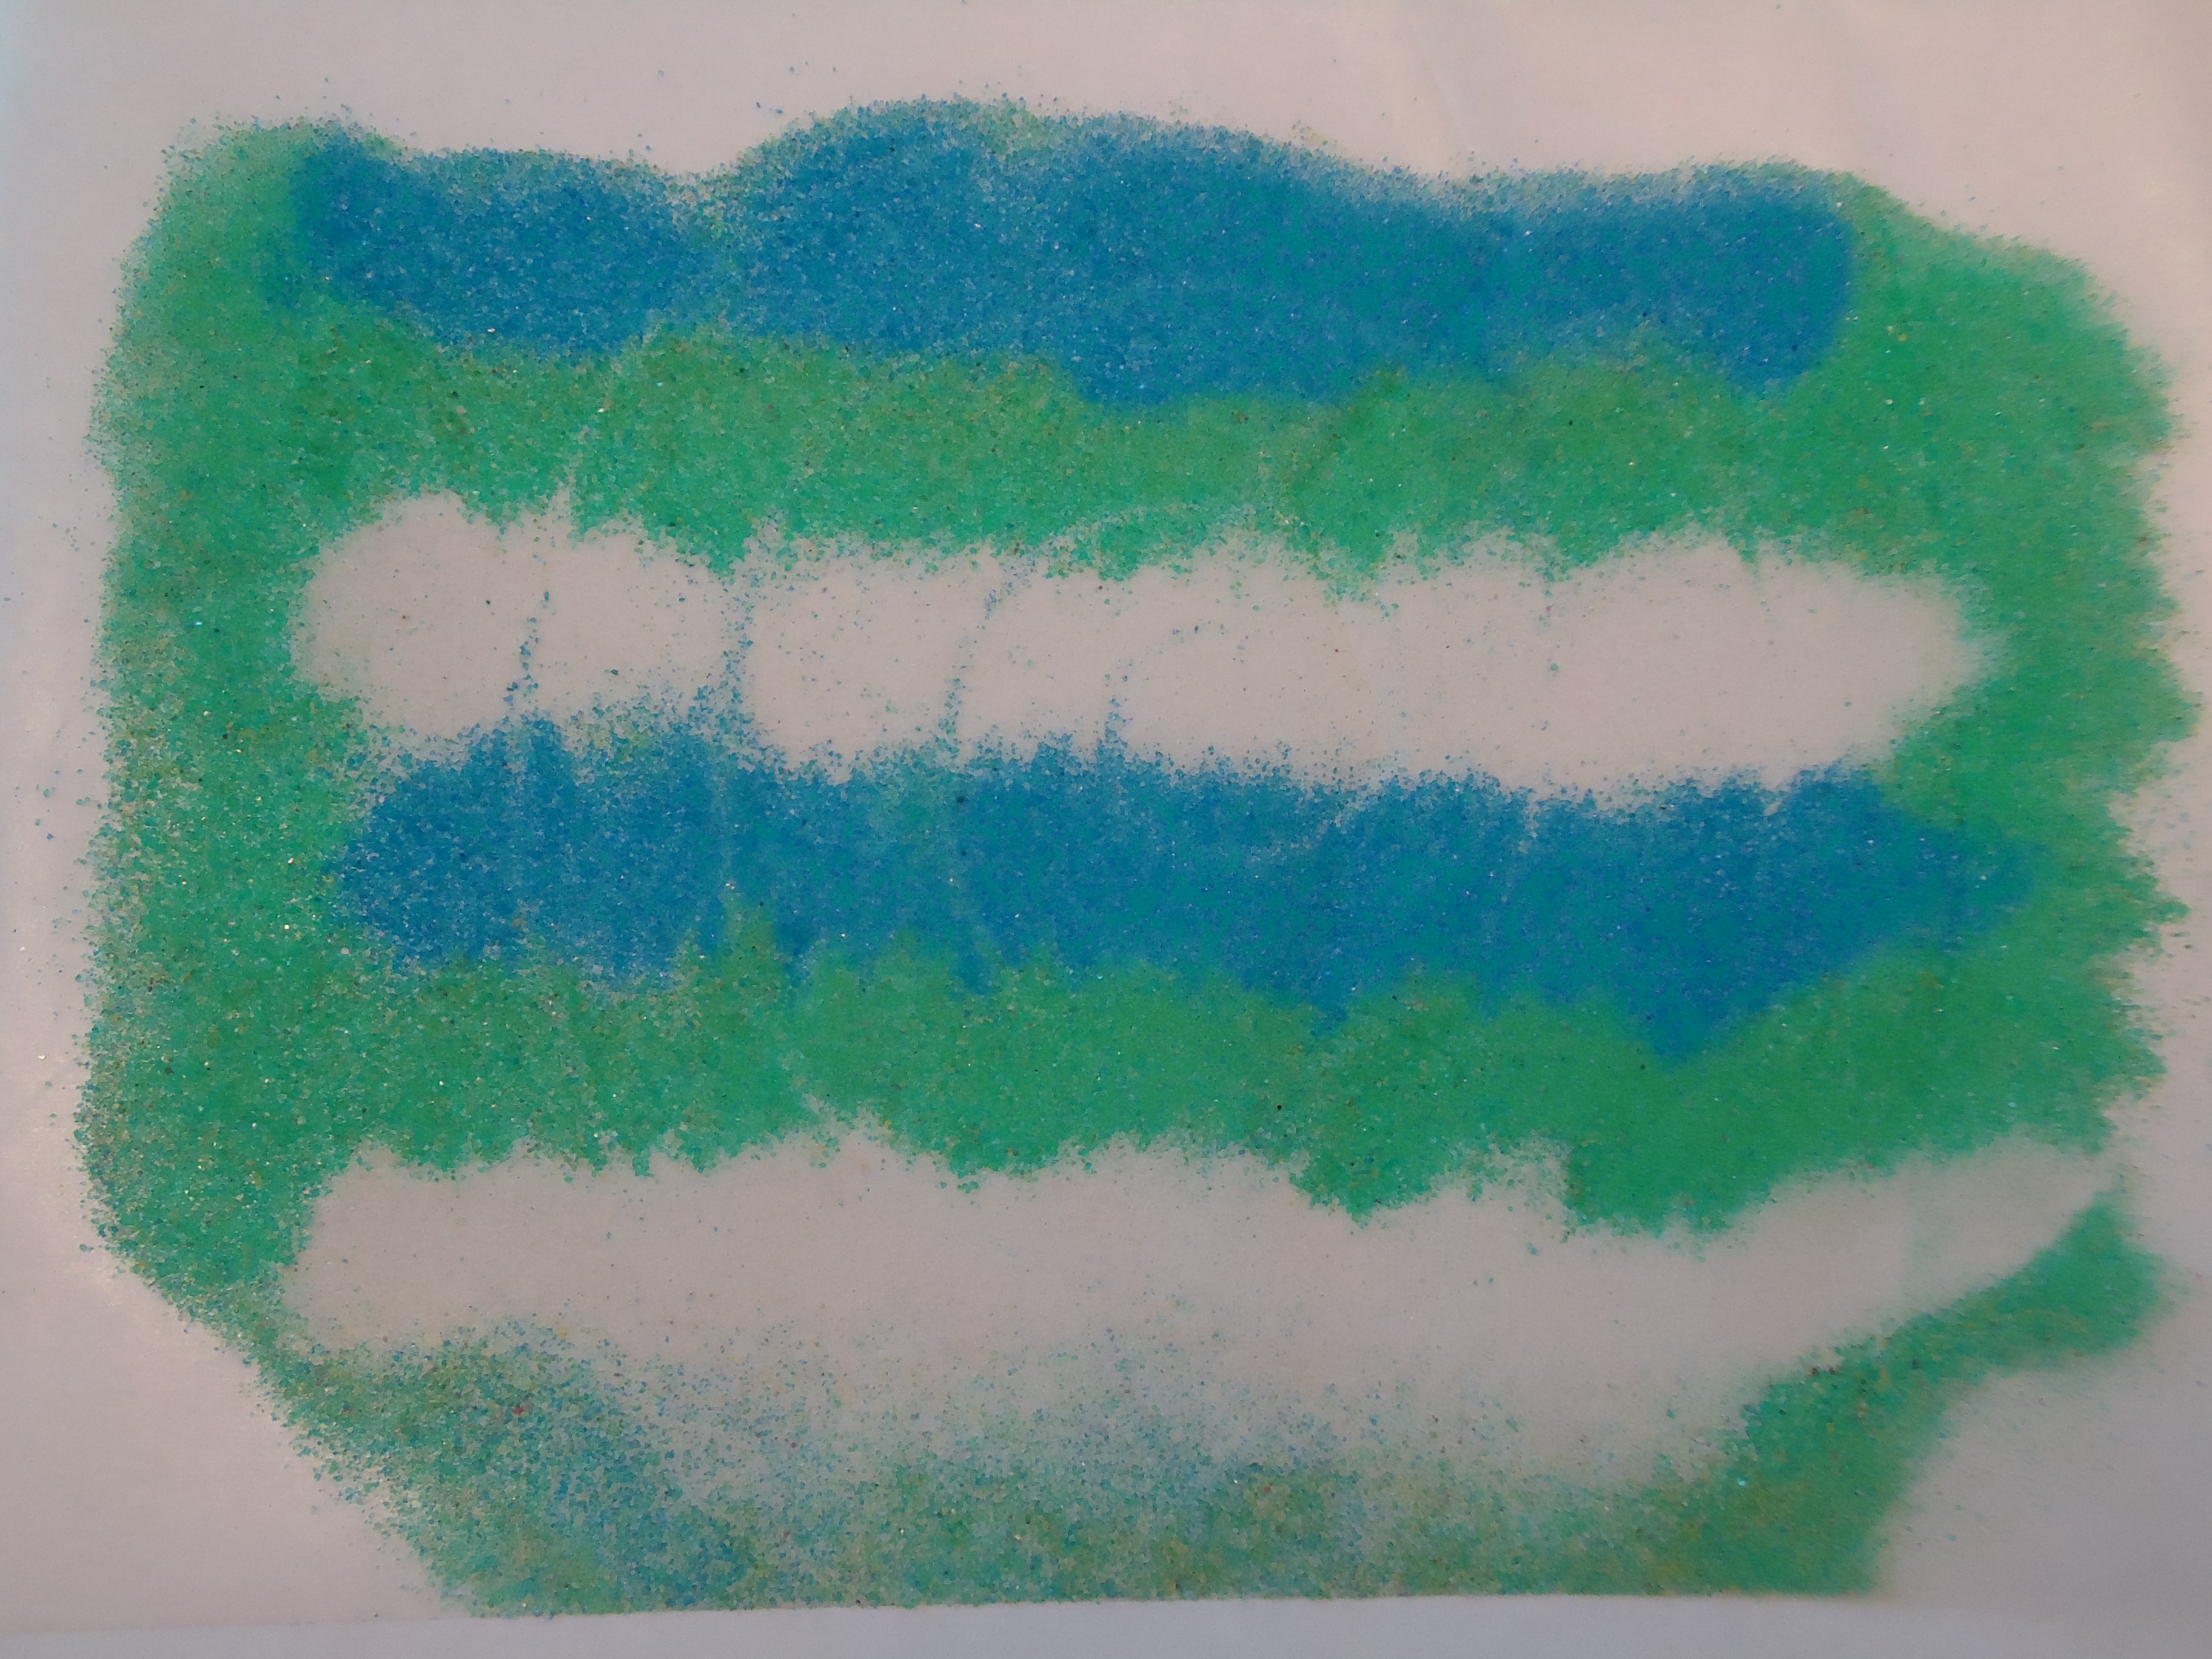
- Shake your design around to blur and blend
Dry Erase Drawings
Contact paper can turn any printed image into a re-usable drawing board. Print out images of landscapes, faces, or objects on cardstock and then cover the image with clear contact paper. Give your child dry-erase markers and challenge them to add to the picture. They could add figures to a landscape, add accessories to faces, and transform everyday objects into crazy characters. Use a damp paper towel to erase the drawings and use again and again!
-
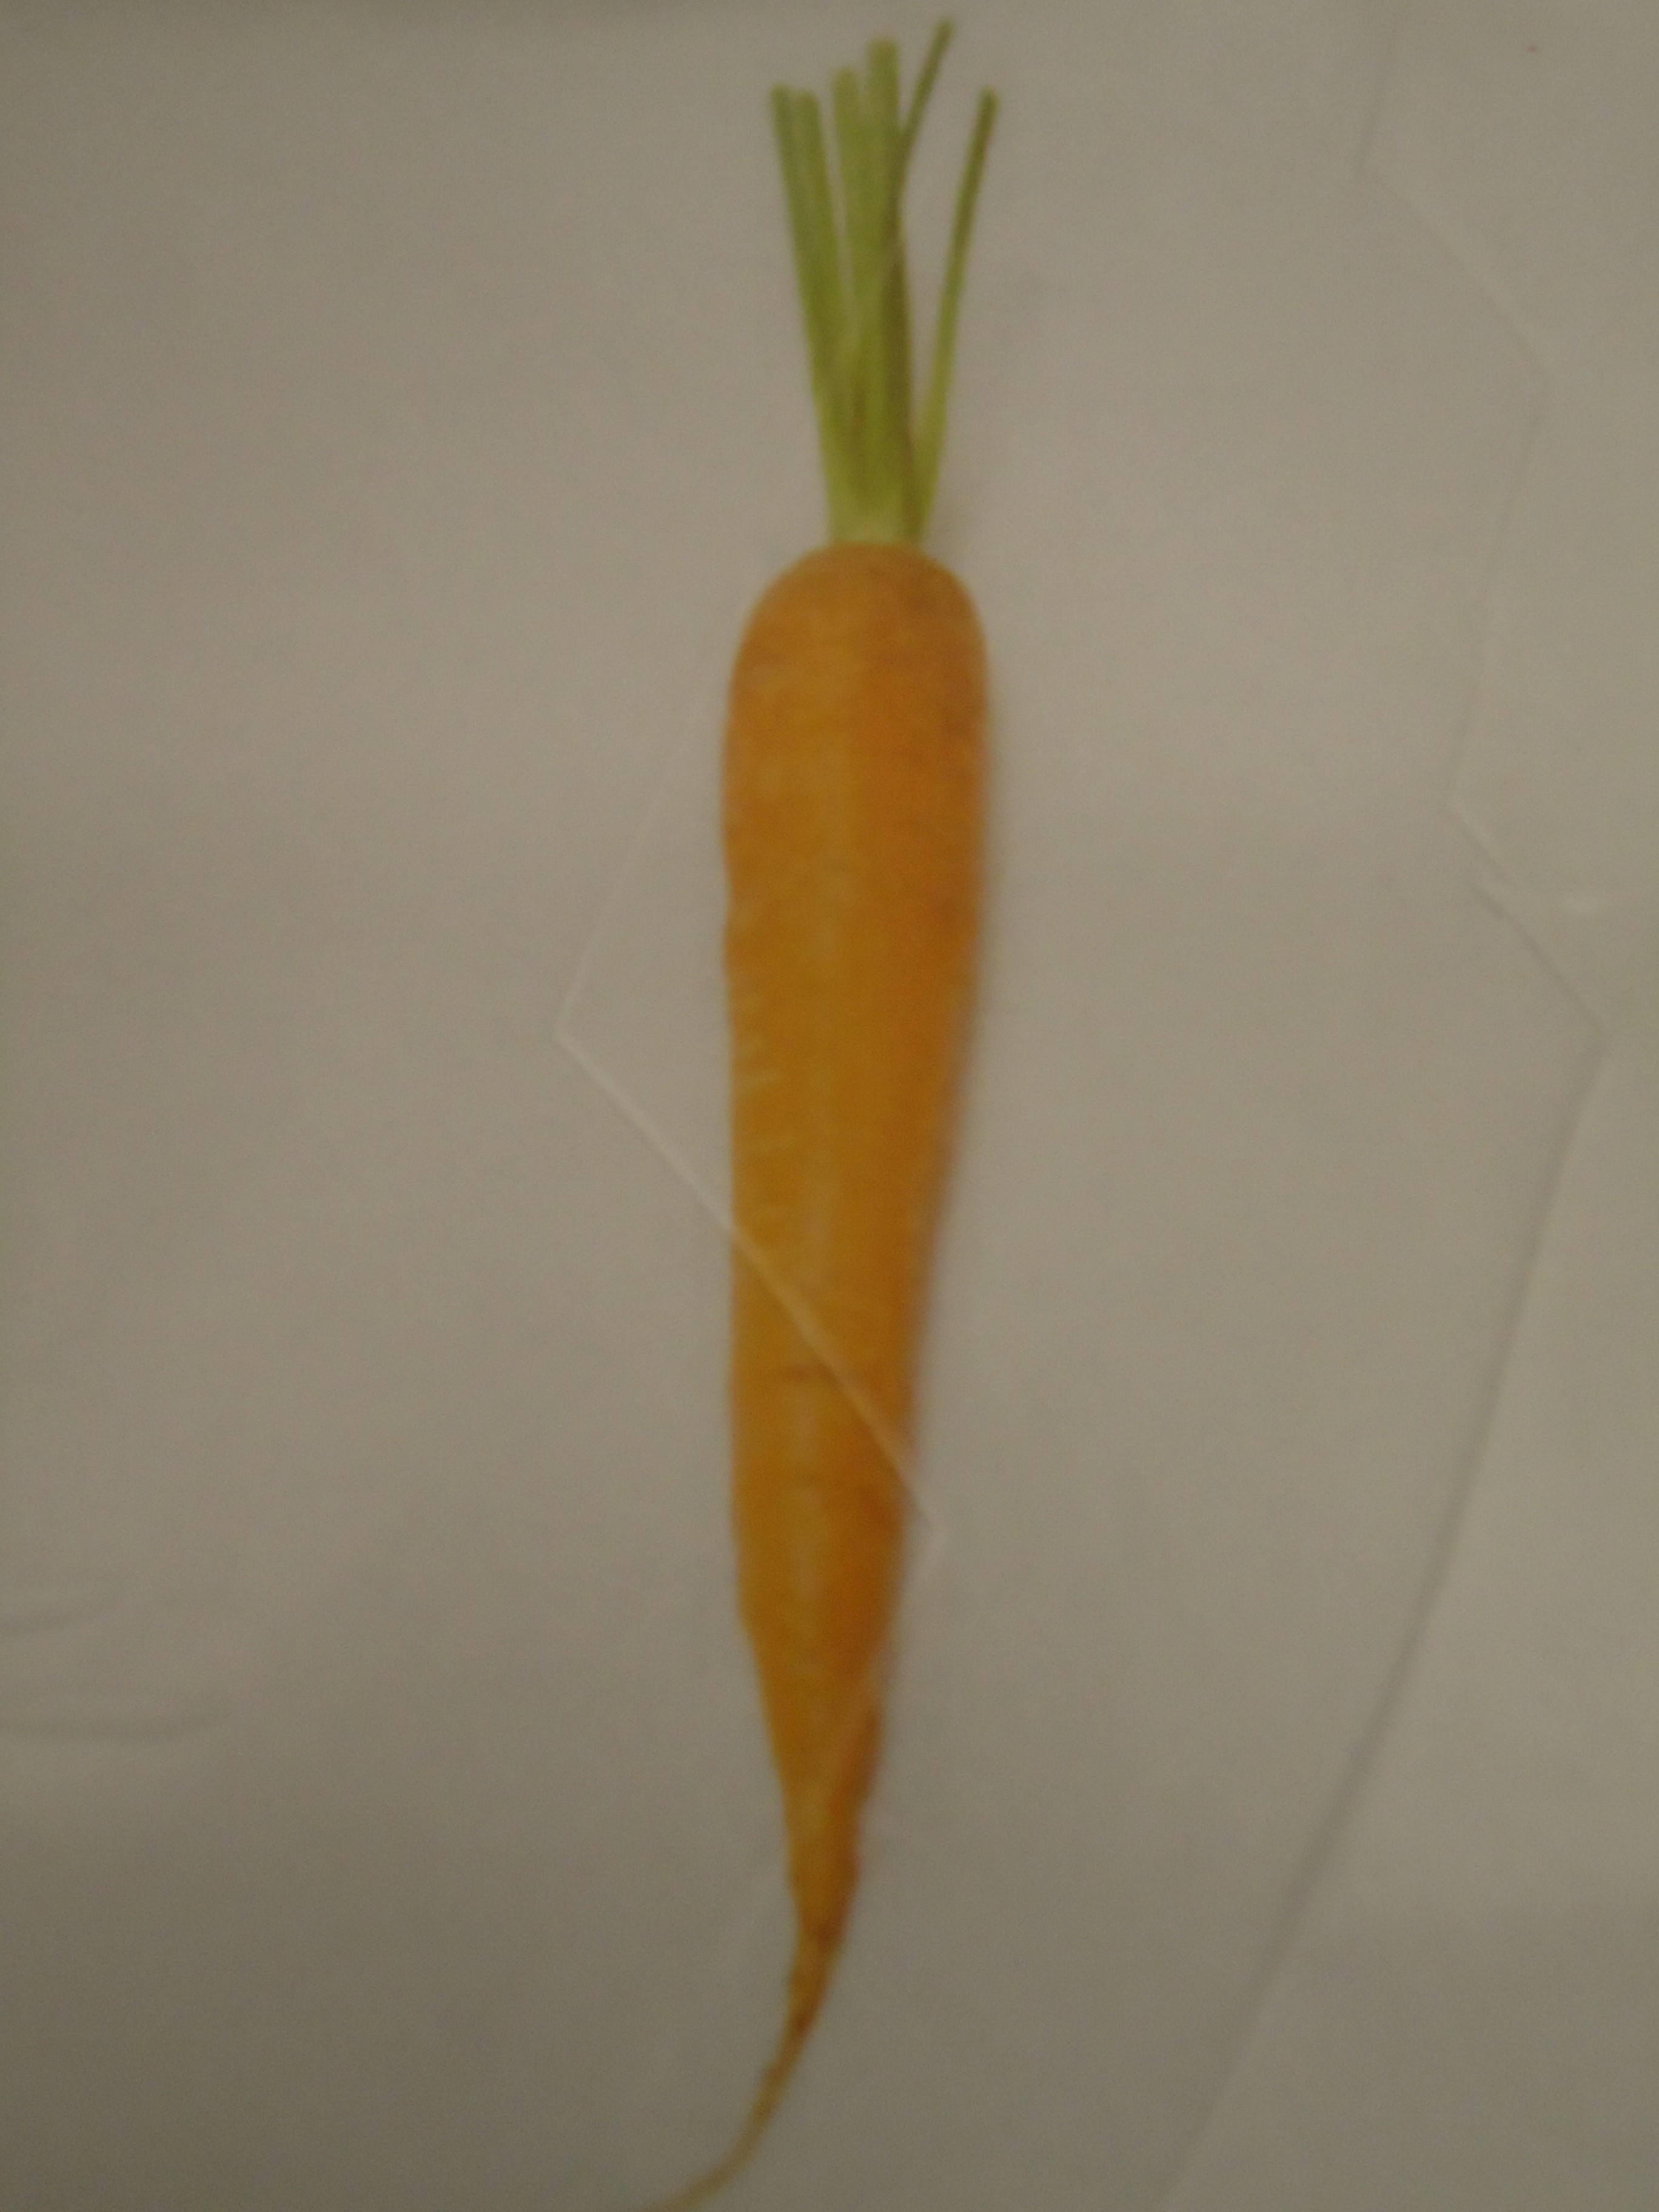
- Cover printed images with contact paper
-
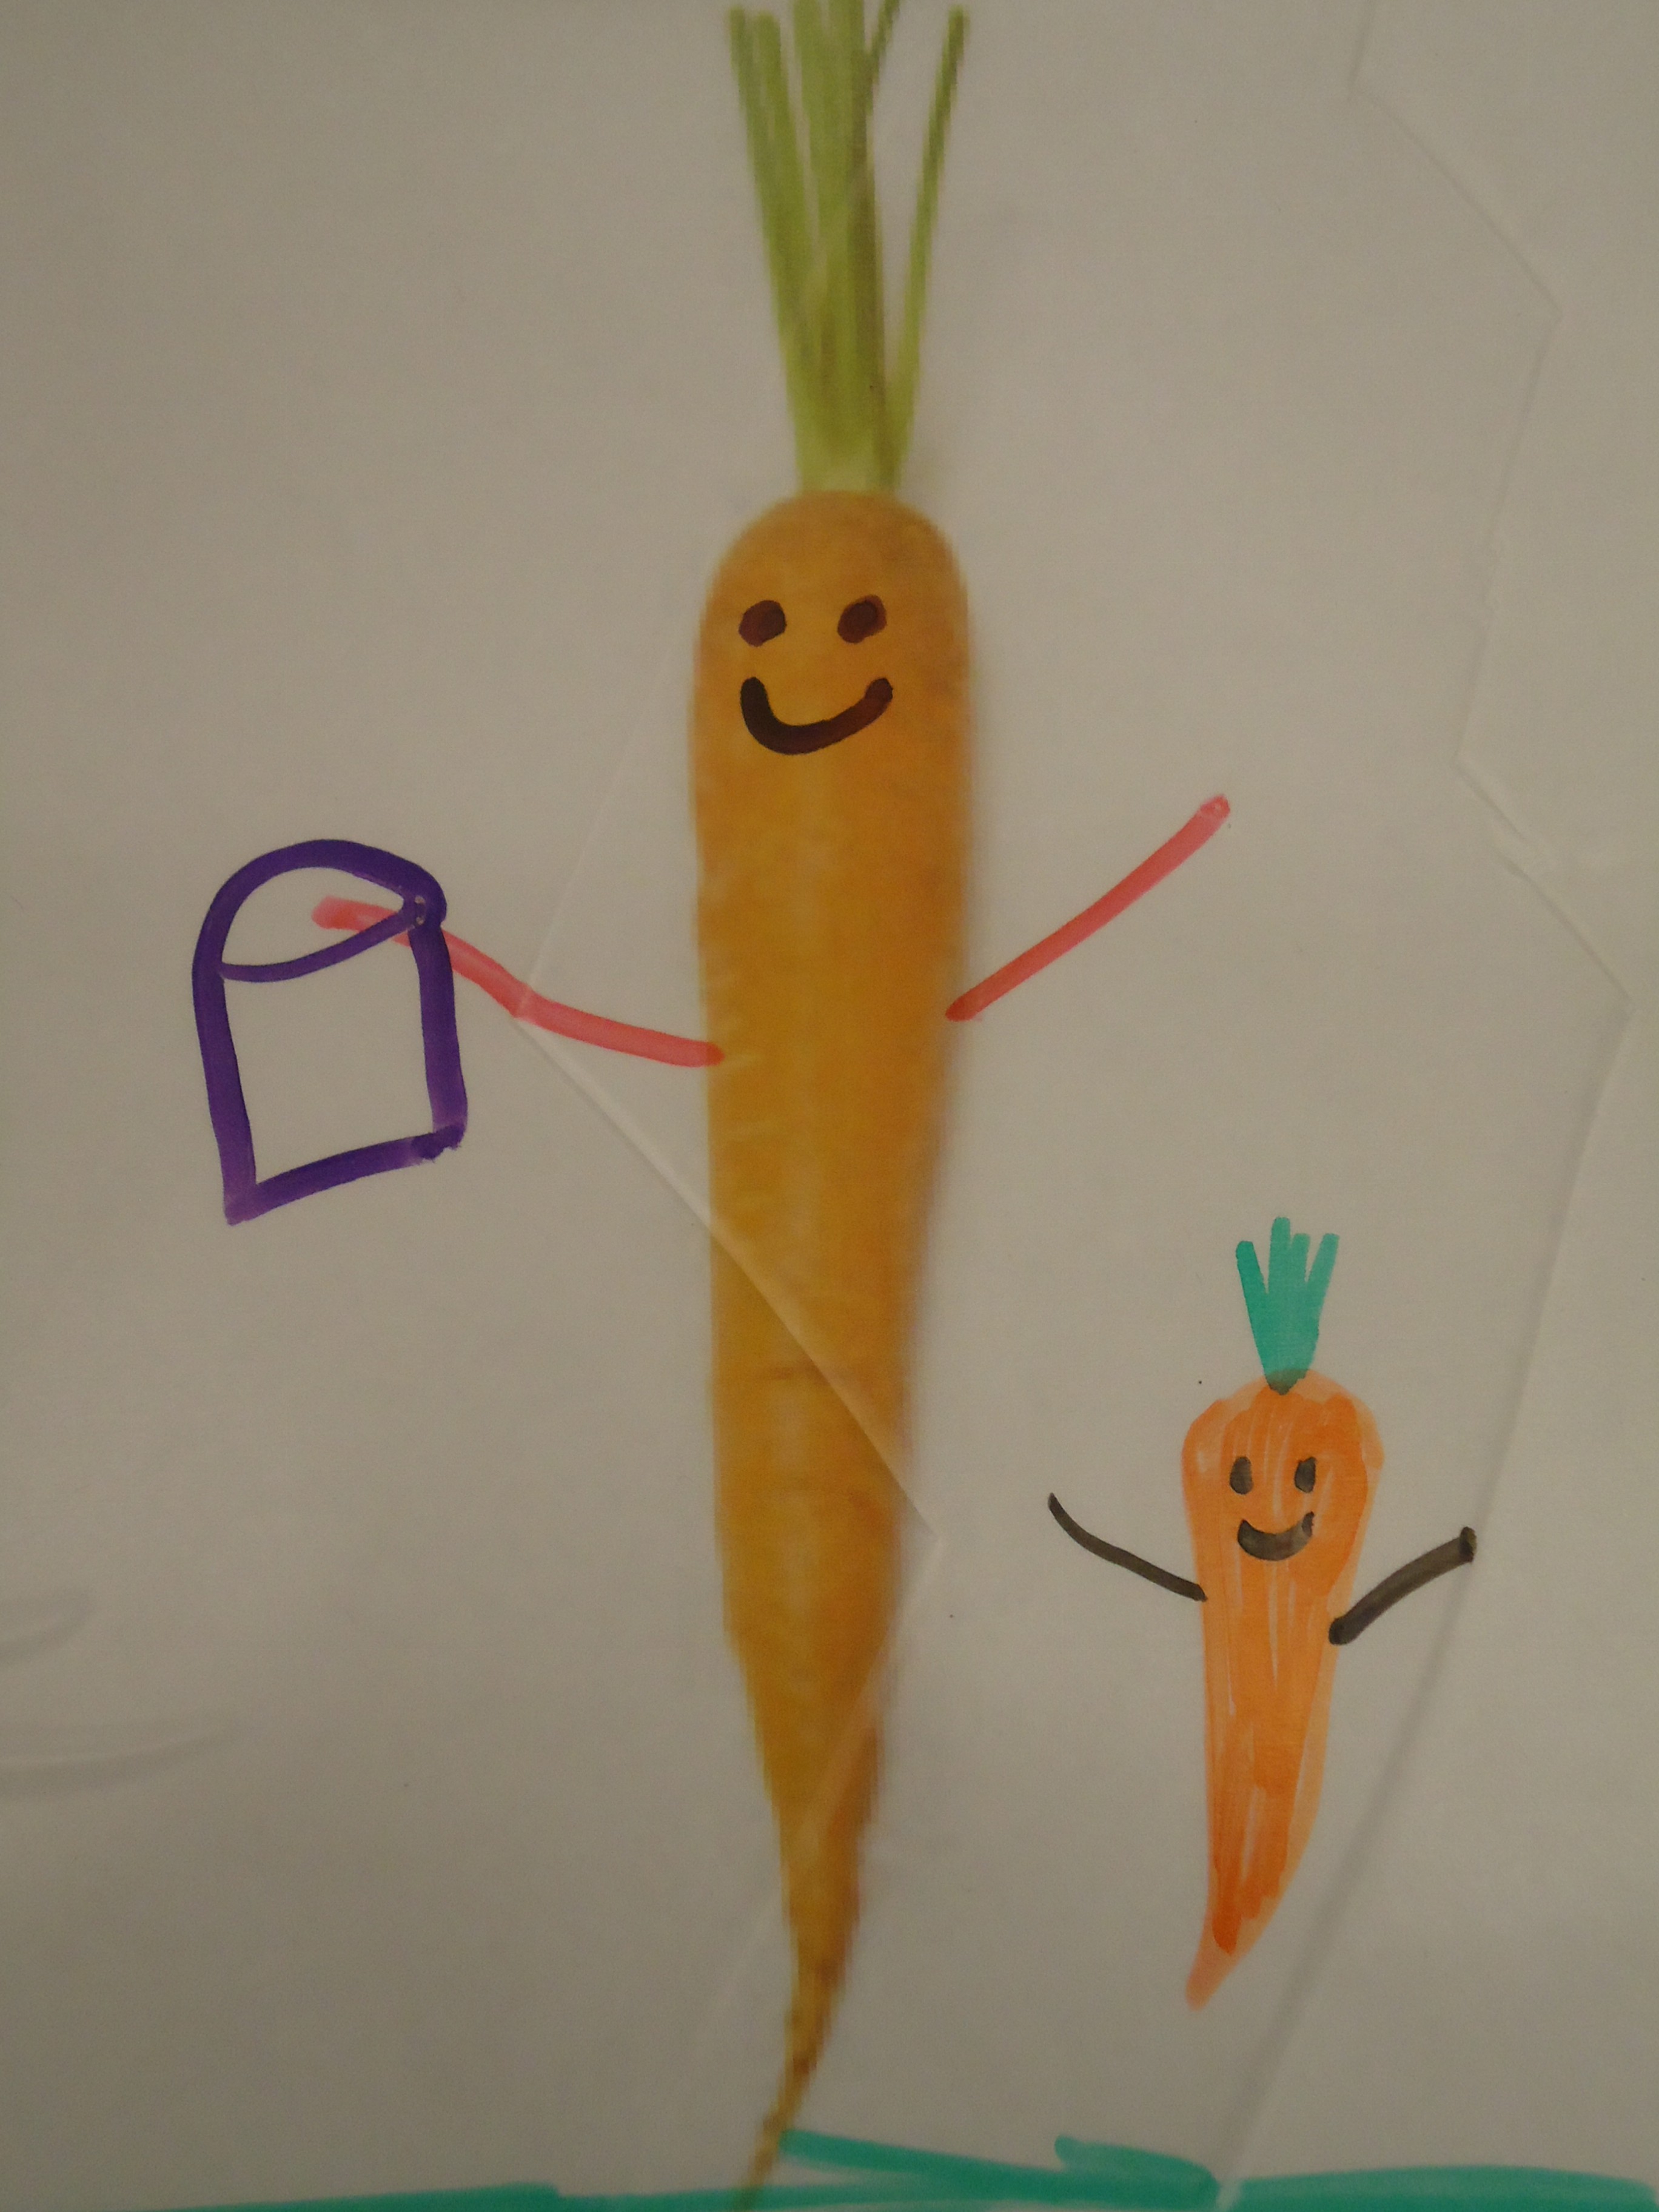
- Use dry erase markers to transform the image
Find even more ways to use contact paper here and here!
Leah Hanson
Manager of Early Learning Programs