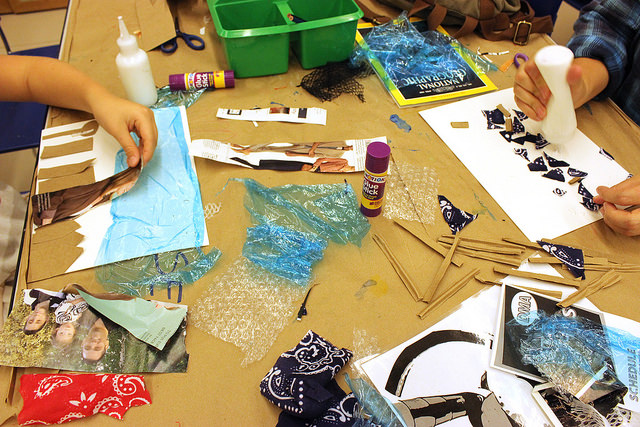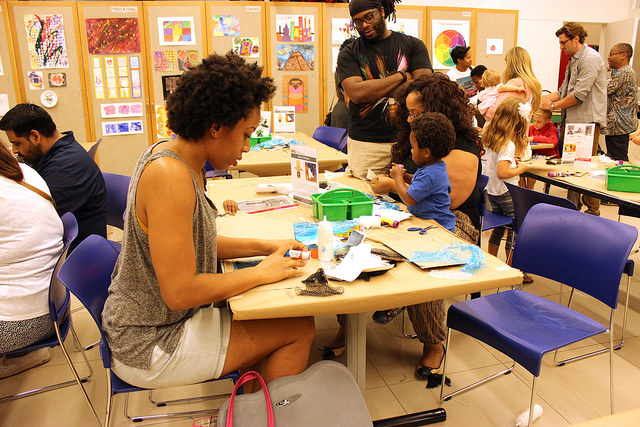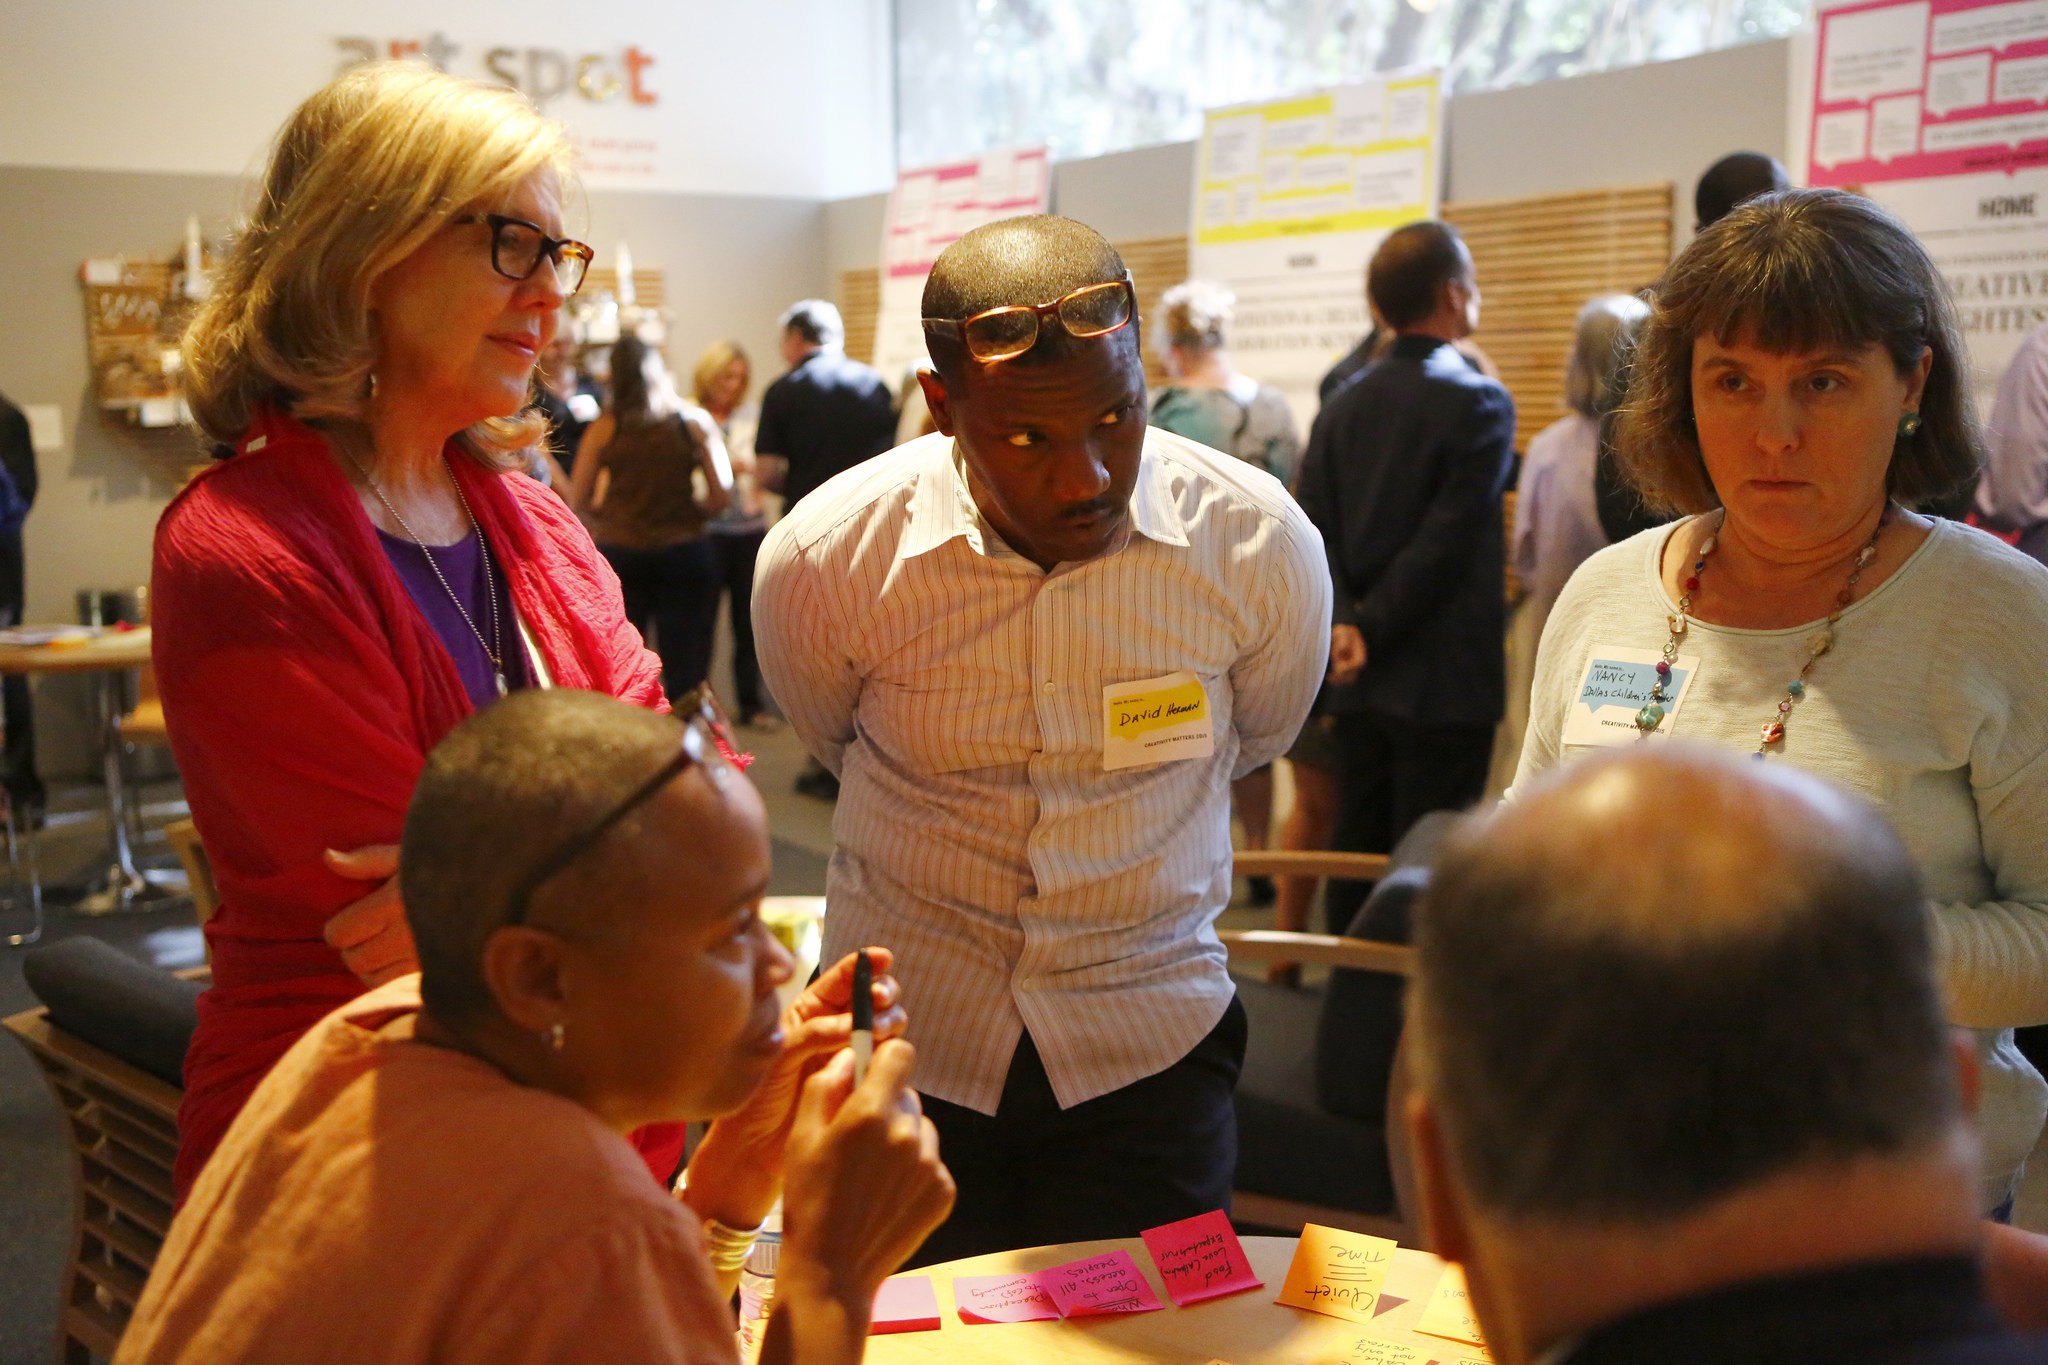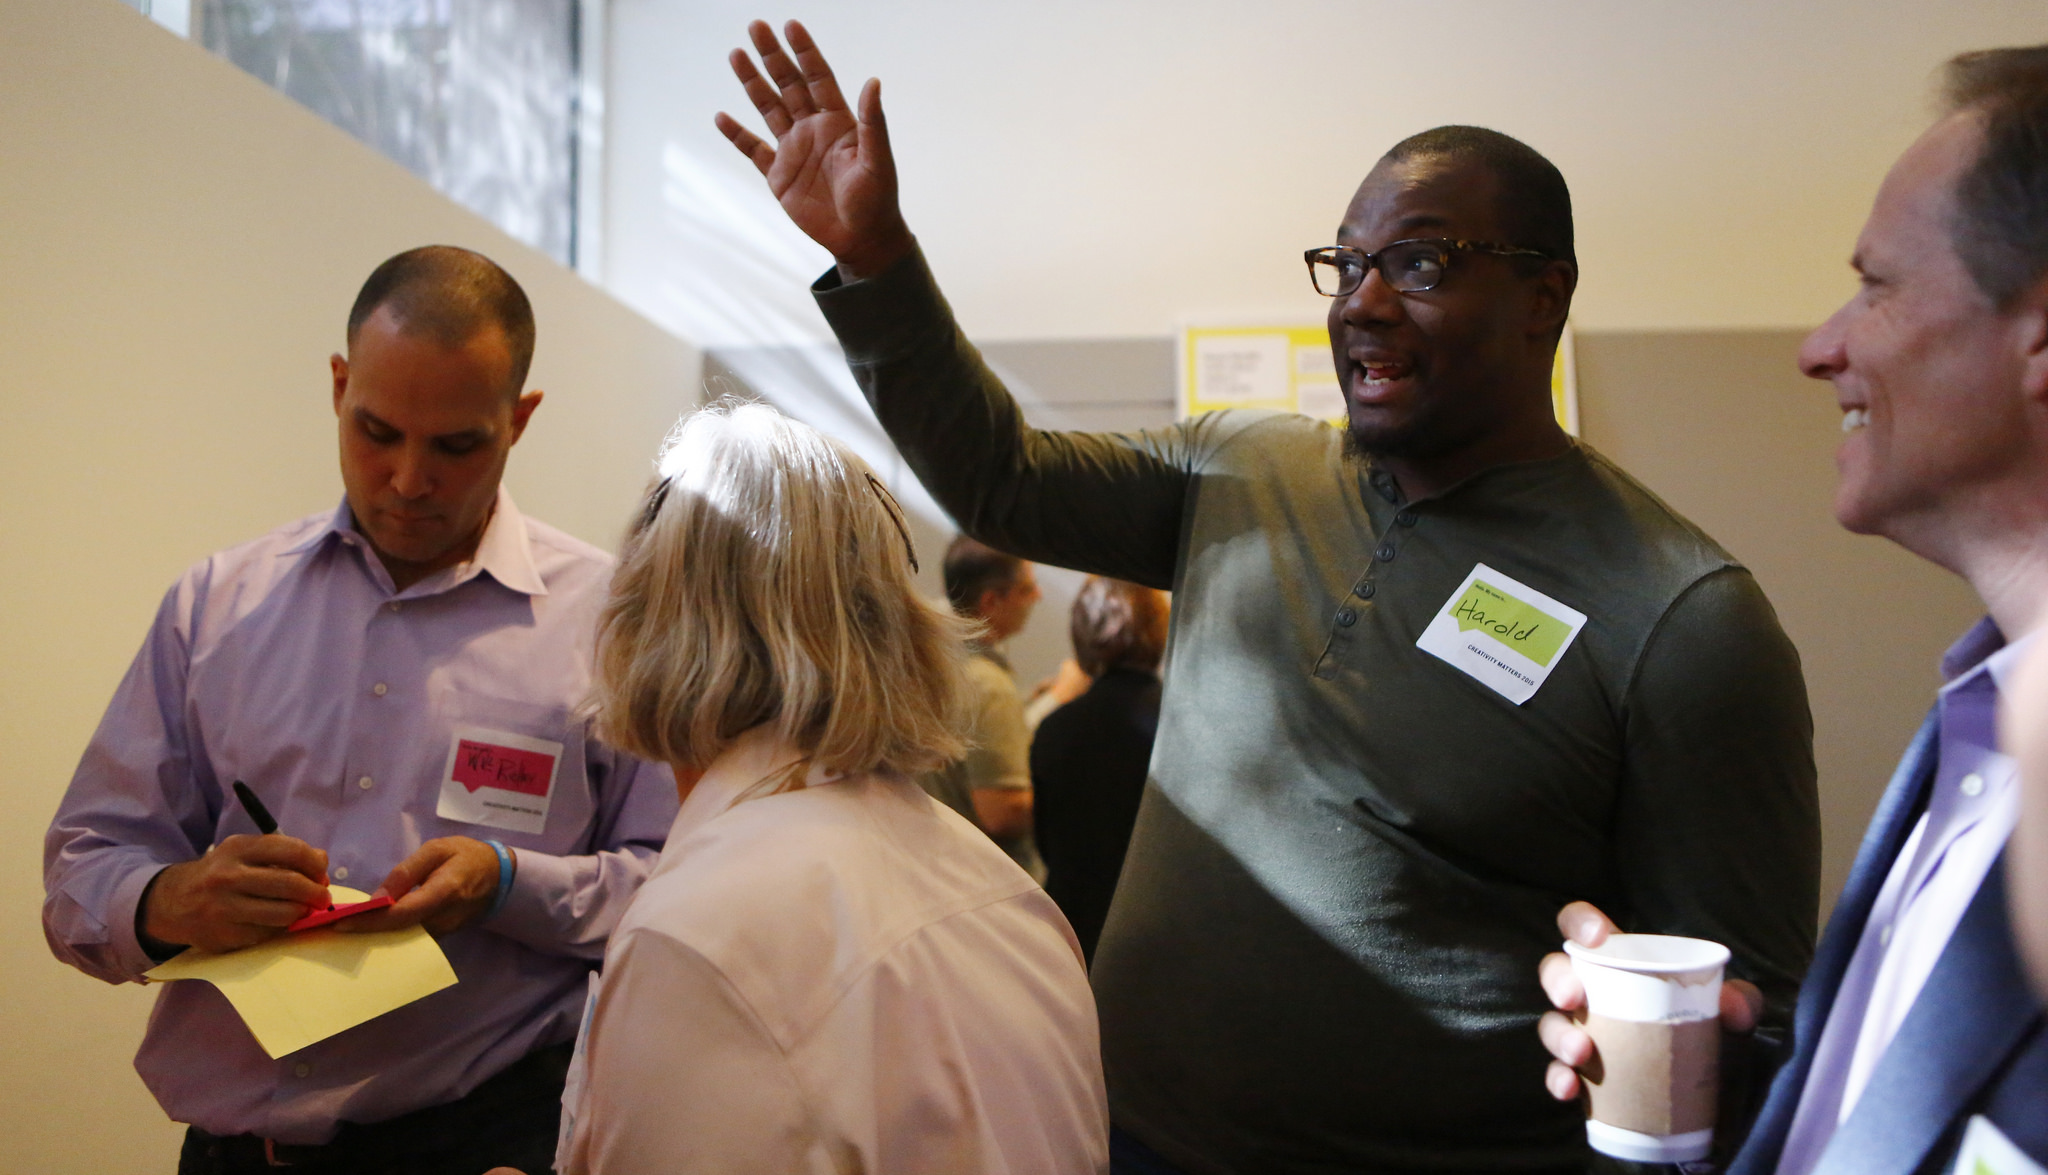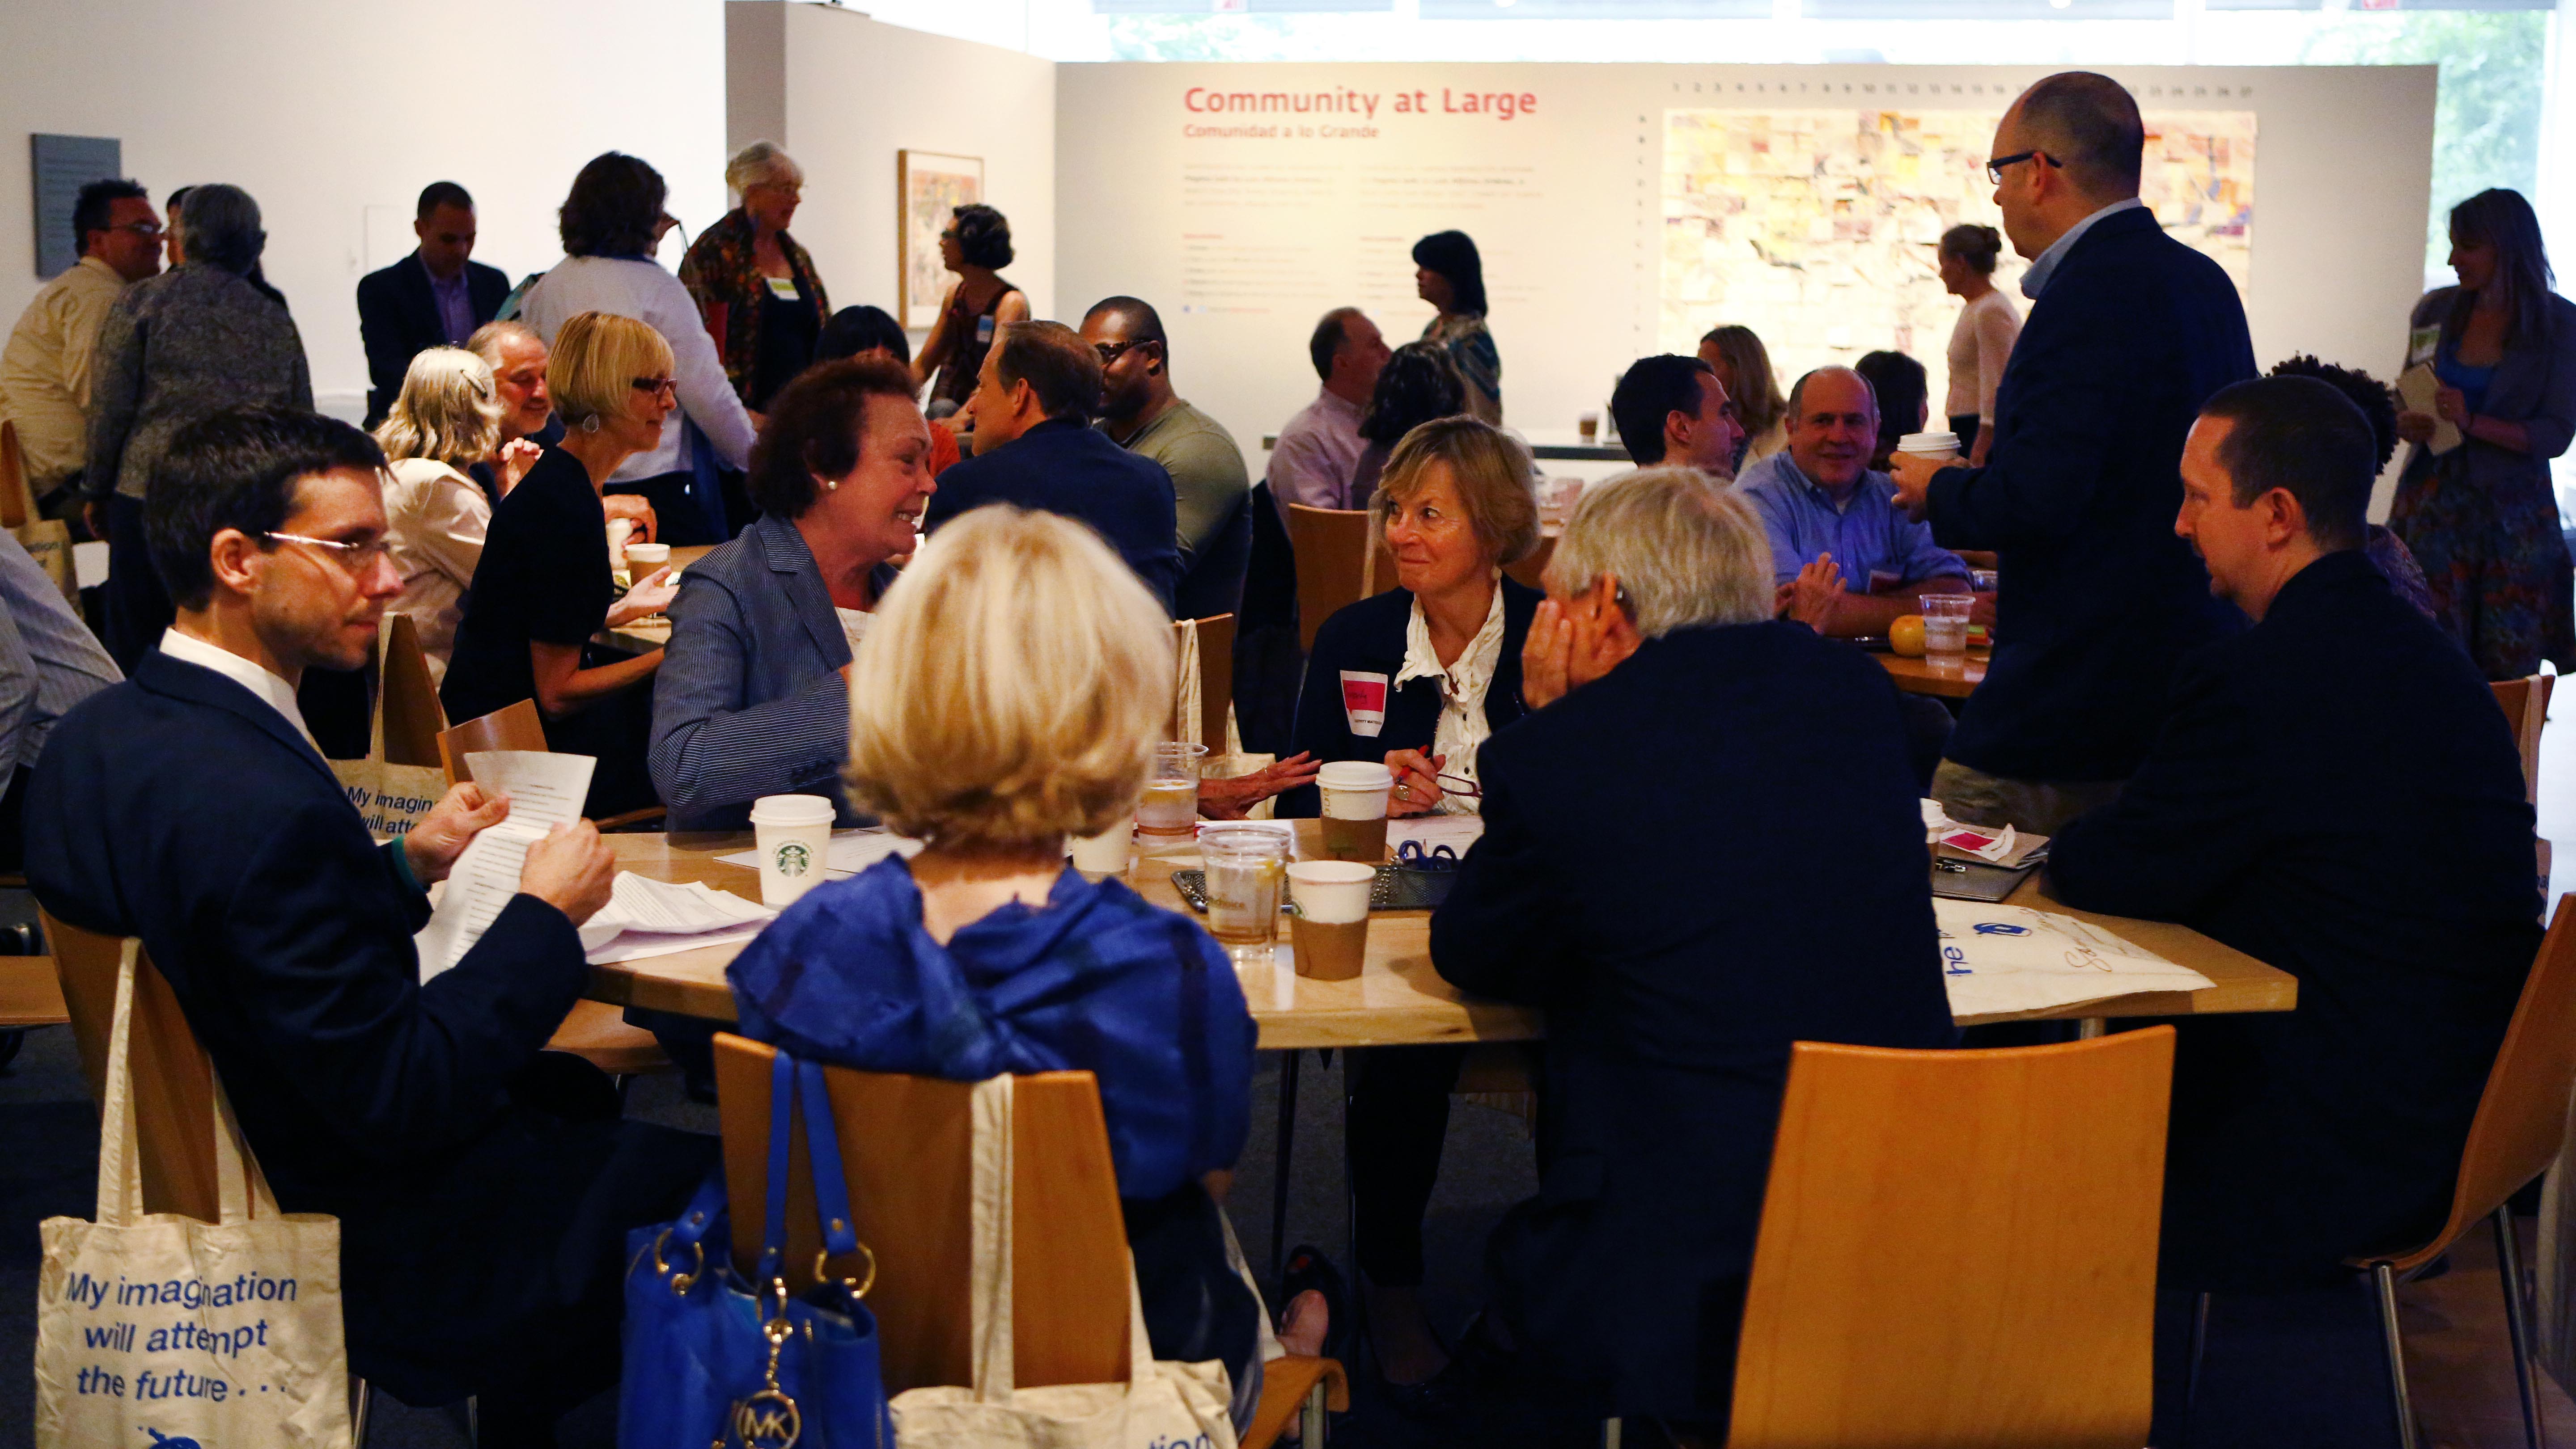
Because the Dallas Museum of Art is closed to the public on Mondays, those days are often strangely quiet without the buzz of school children and families in the Center for Creative Connections (C3). However, on Monday, October 5, C3 was brimming with energy from some of the creative educators, artists, and community organizers that make Dallas great. Earlier this year we were approached by the Sam Francis Foundation to be one of three organizations across the country to host a roundtable event focused on the Future of Creativity.
In 2014, the Sam Francis Foundation set out to start a national conversation about the importance of creativity in learning, and they called this initiative Creativity Matters: The Campaign for Creativity in Learning. The first year they partnered with Project Zero at the Harvard Graduate School of Education, and brought together leaders throughout the field in conversations across the United States (at LACMA, The Met, The Isabella Stewart Gardner Museum, and The Exploratorium). These first conversations were centered around two questions:
What does creativity look like?
Where and how does creativity thrive?
Following their 2014 roundtables, the Sam Francis Foundation compiled their findings in this report.
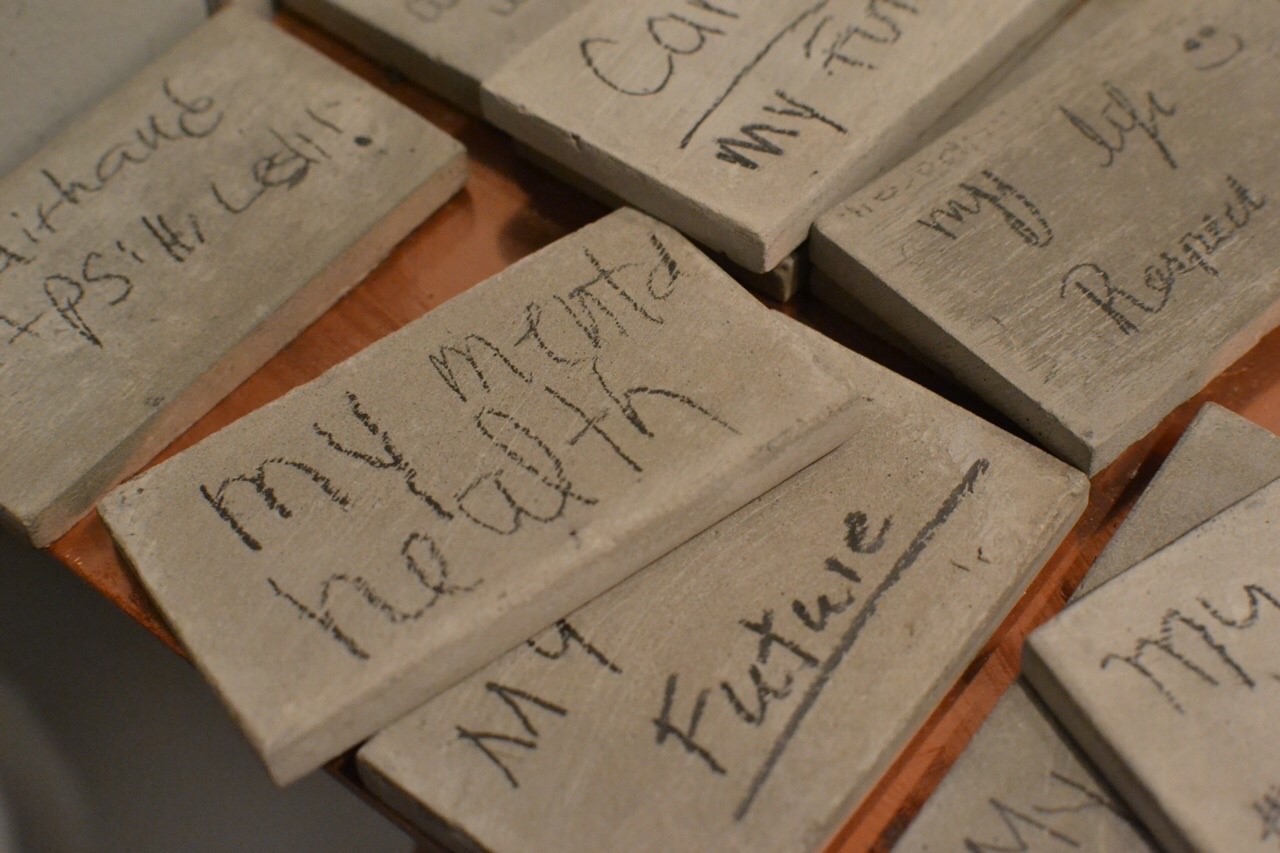
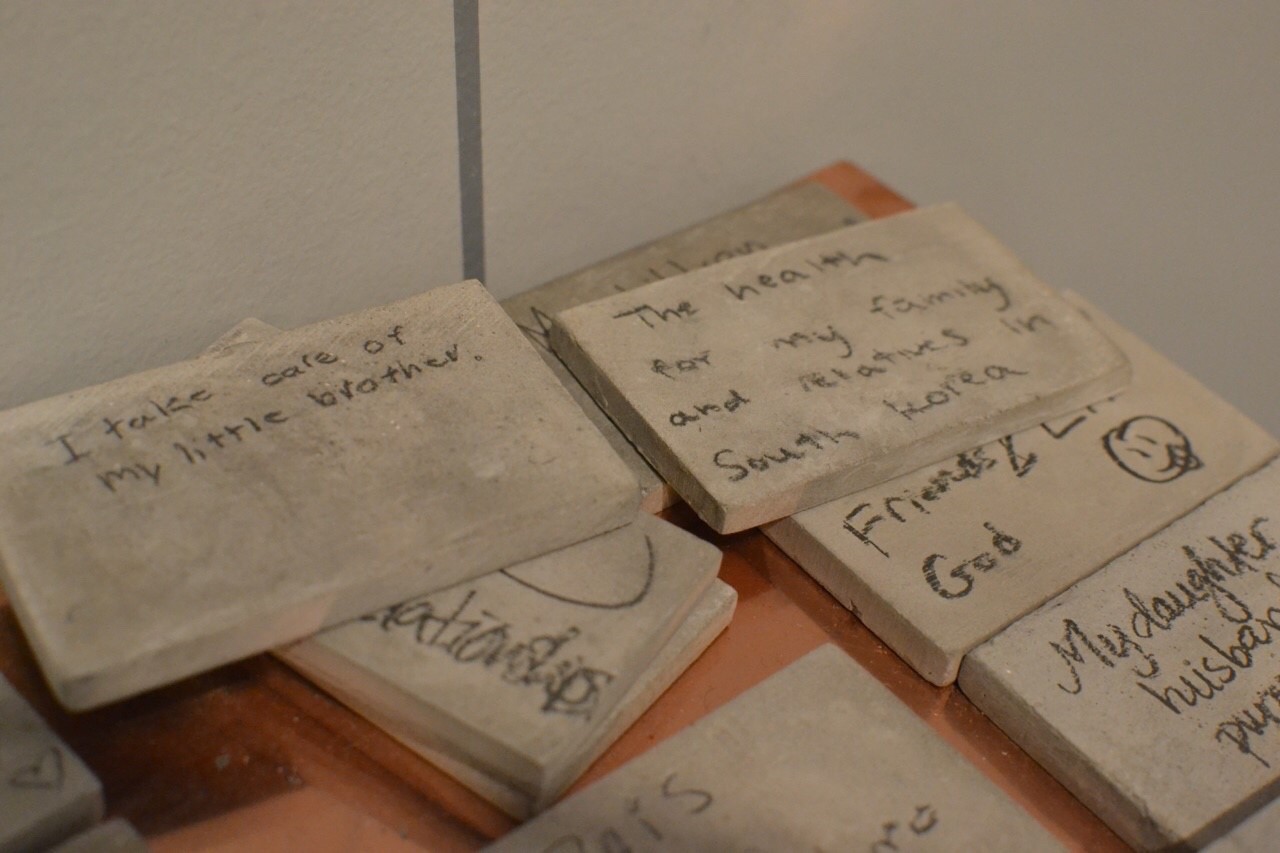
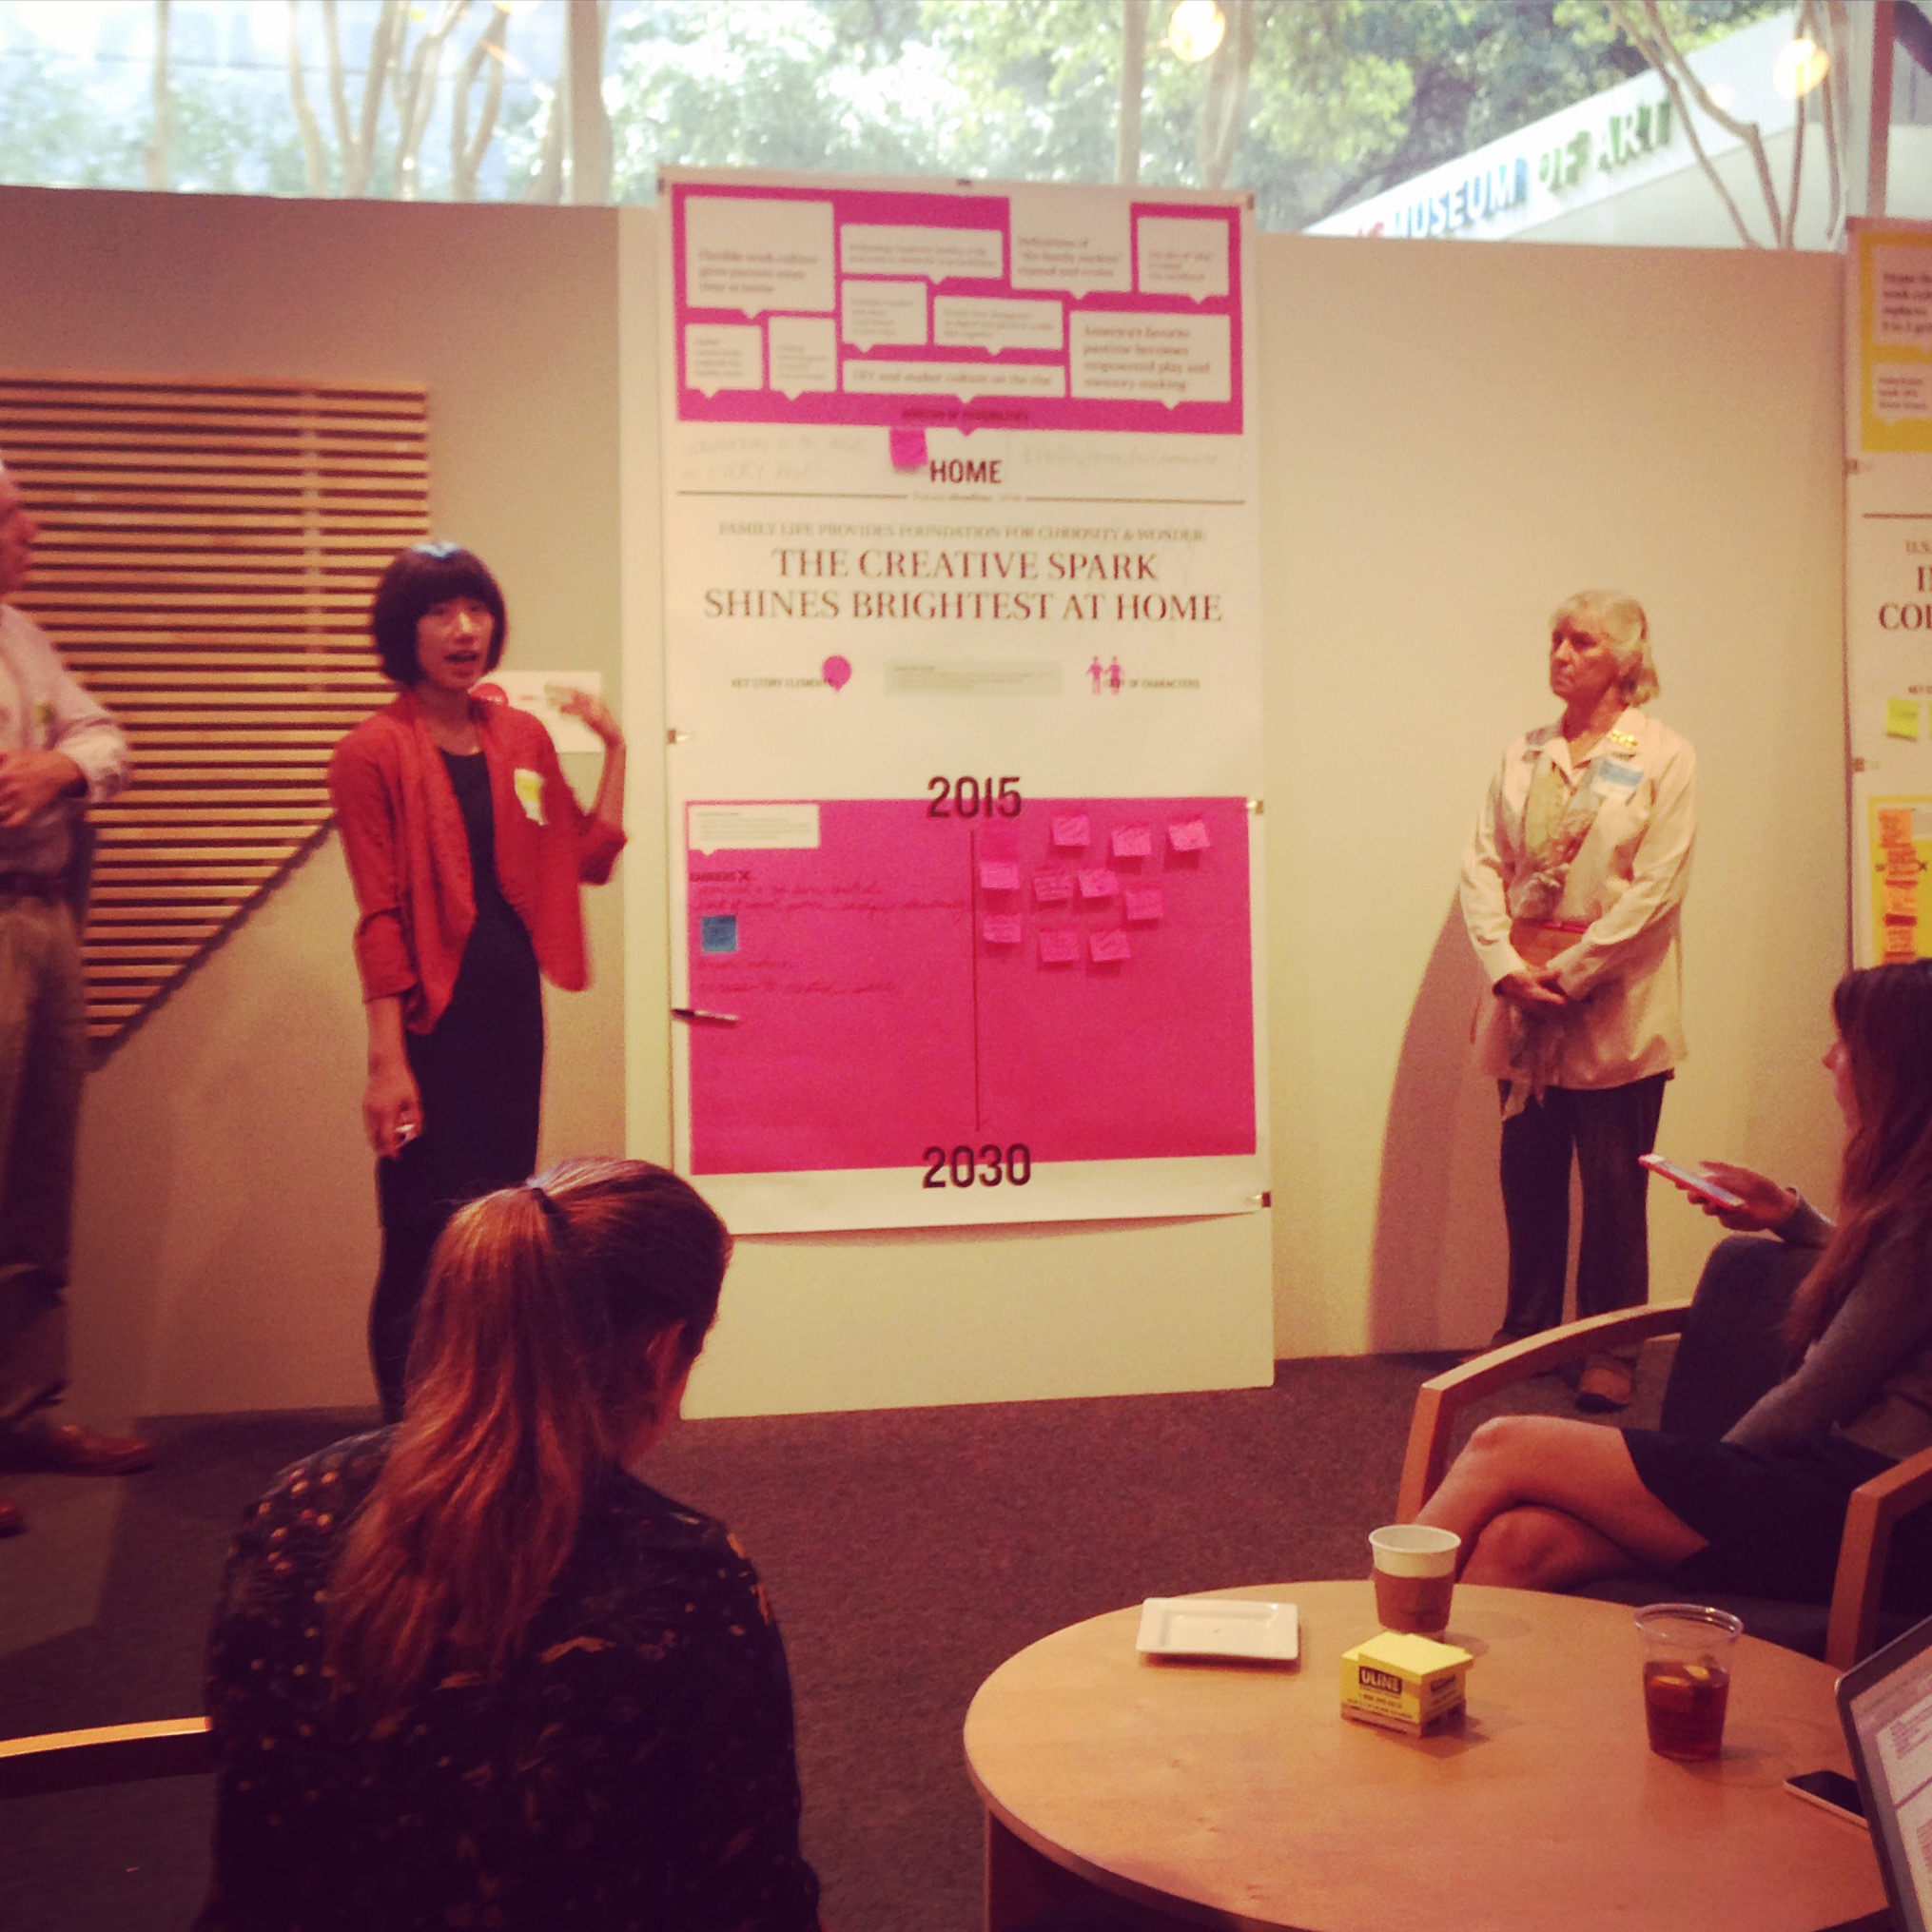
This fall, the Sam Francis Foundation continued the conversation with a set of roundtables at the Museum of Contemporary Art in Chicago, The Smithsonian Institution in Washington D.C., and the Dallas Museum of Art. These Future of Creativity discussions sought to understand the role creativity will play in the future and the changes needed to prepare students for what that world might look like. Considering the future of creativity in our homes, workplaces, schools, and neighborhoods, our conversations were sparked by these questions:
In twenty years how will creativity shape the world we live in?
How will creativity inform our decision-making?
What new conditions will be needed to unleash creativity?
If we were building a “creativity tool-kit” for future generations – what tactics, methods, and advice would we include?
It was truly remarkable to have so many Dallas leaders, artists, and educators (many of whom we have worked with closely in the past) together in the Center for Creative Connections. The conversations were dynamic, engaging, and inspirational.
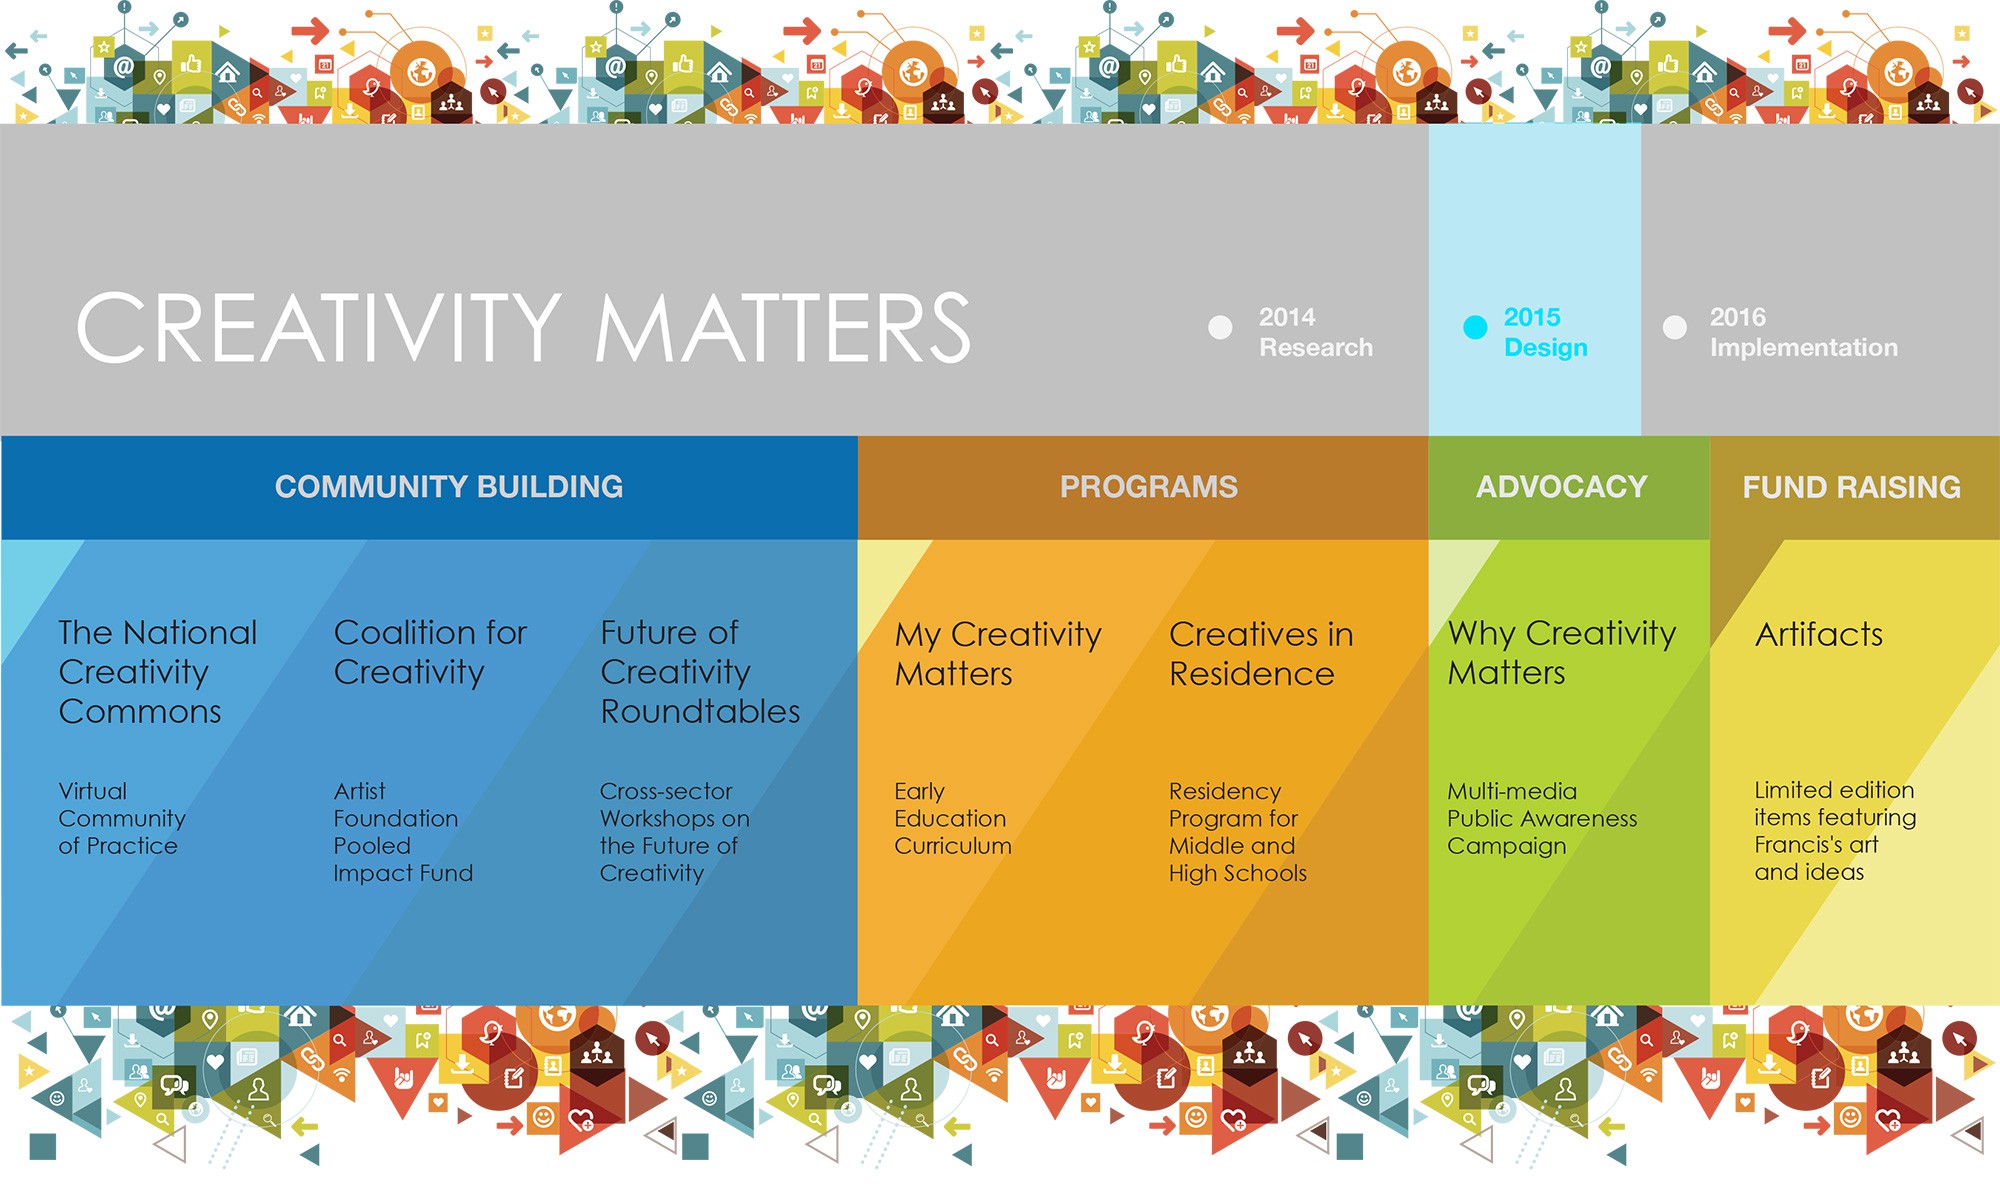
Yet, these roundtables are just part of the beginning stage for a grander plan involving community building, the creation of programs, and a public awareness campaign in support of the future of creativity.
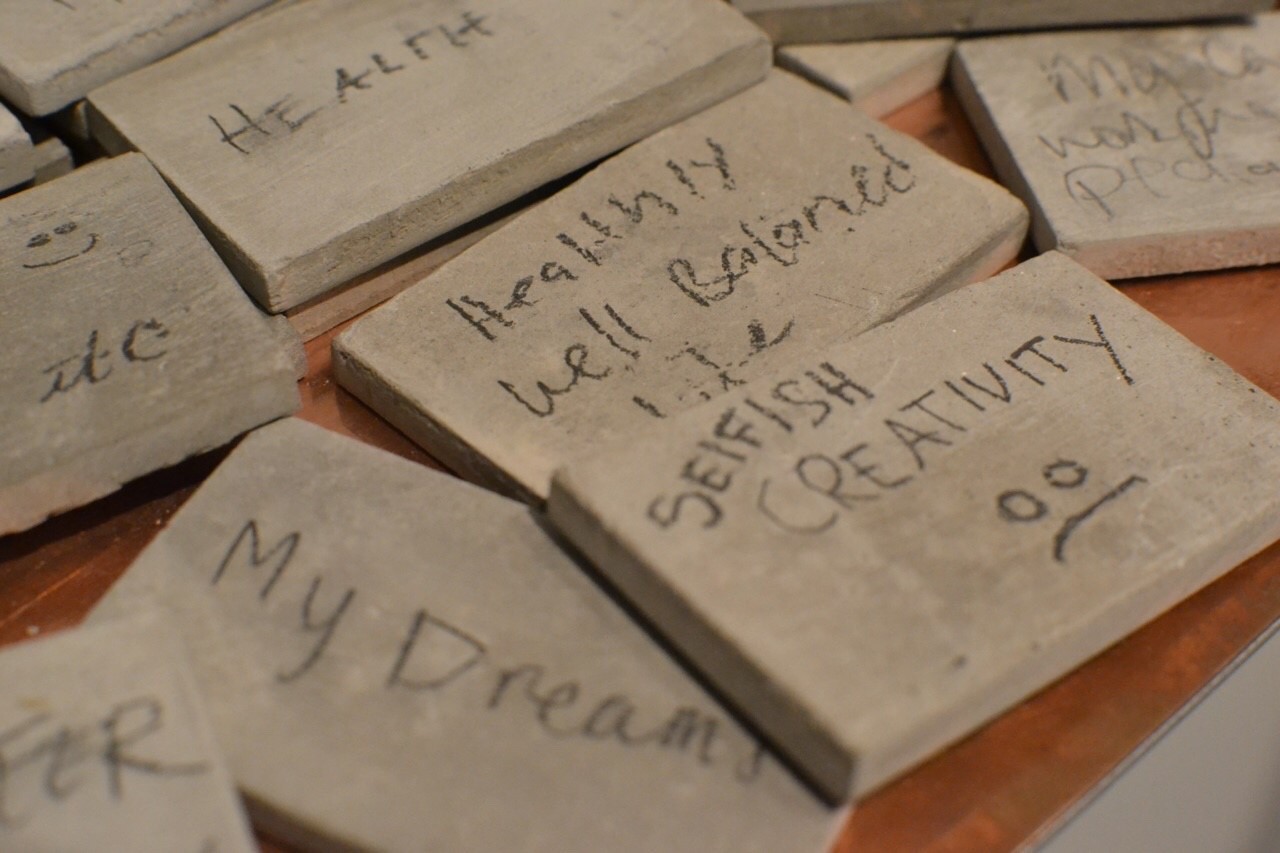
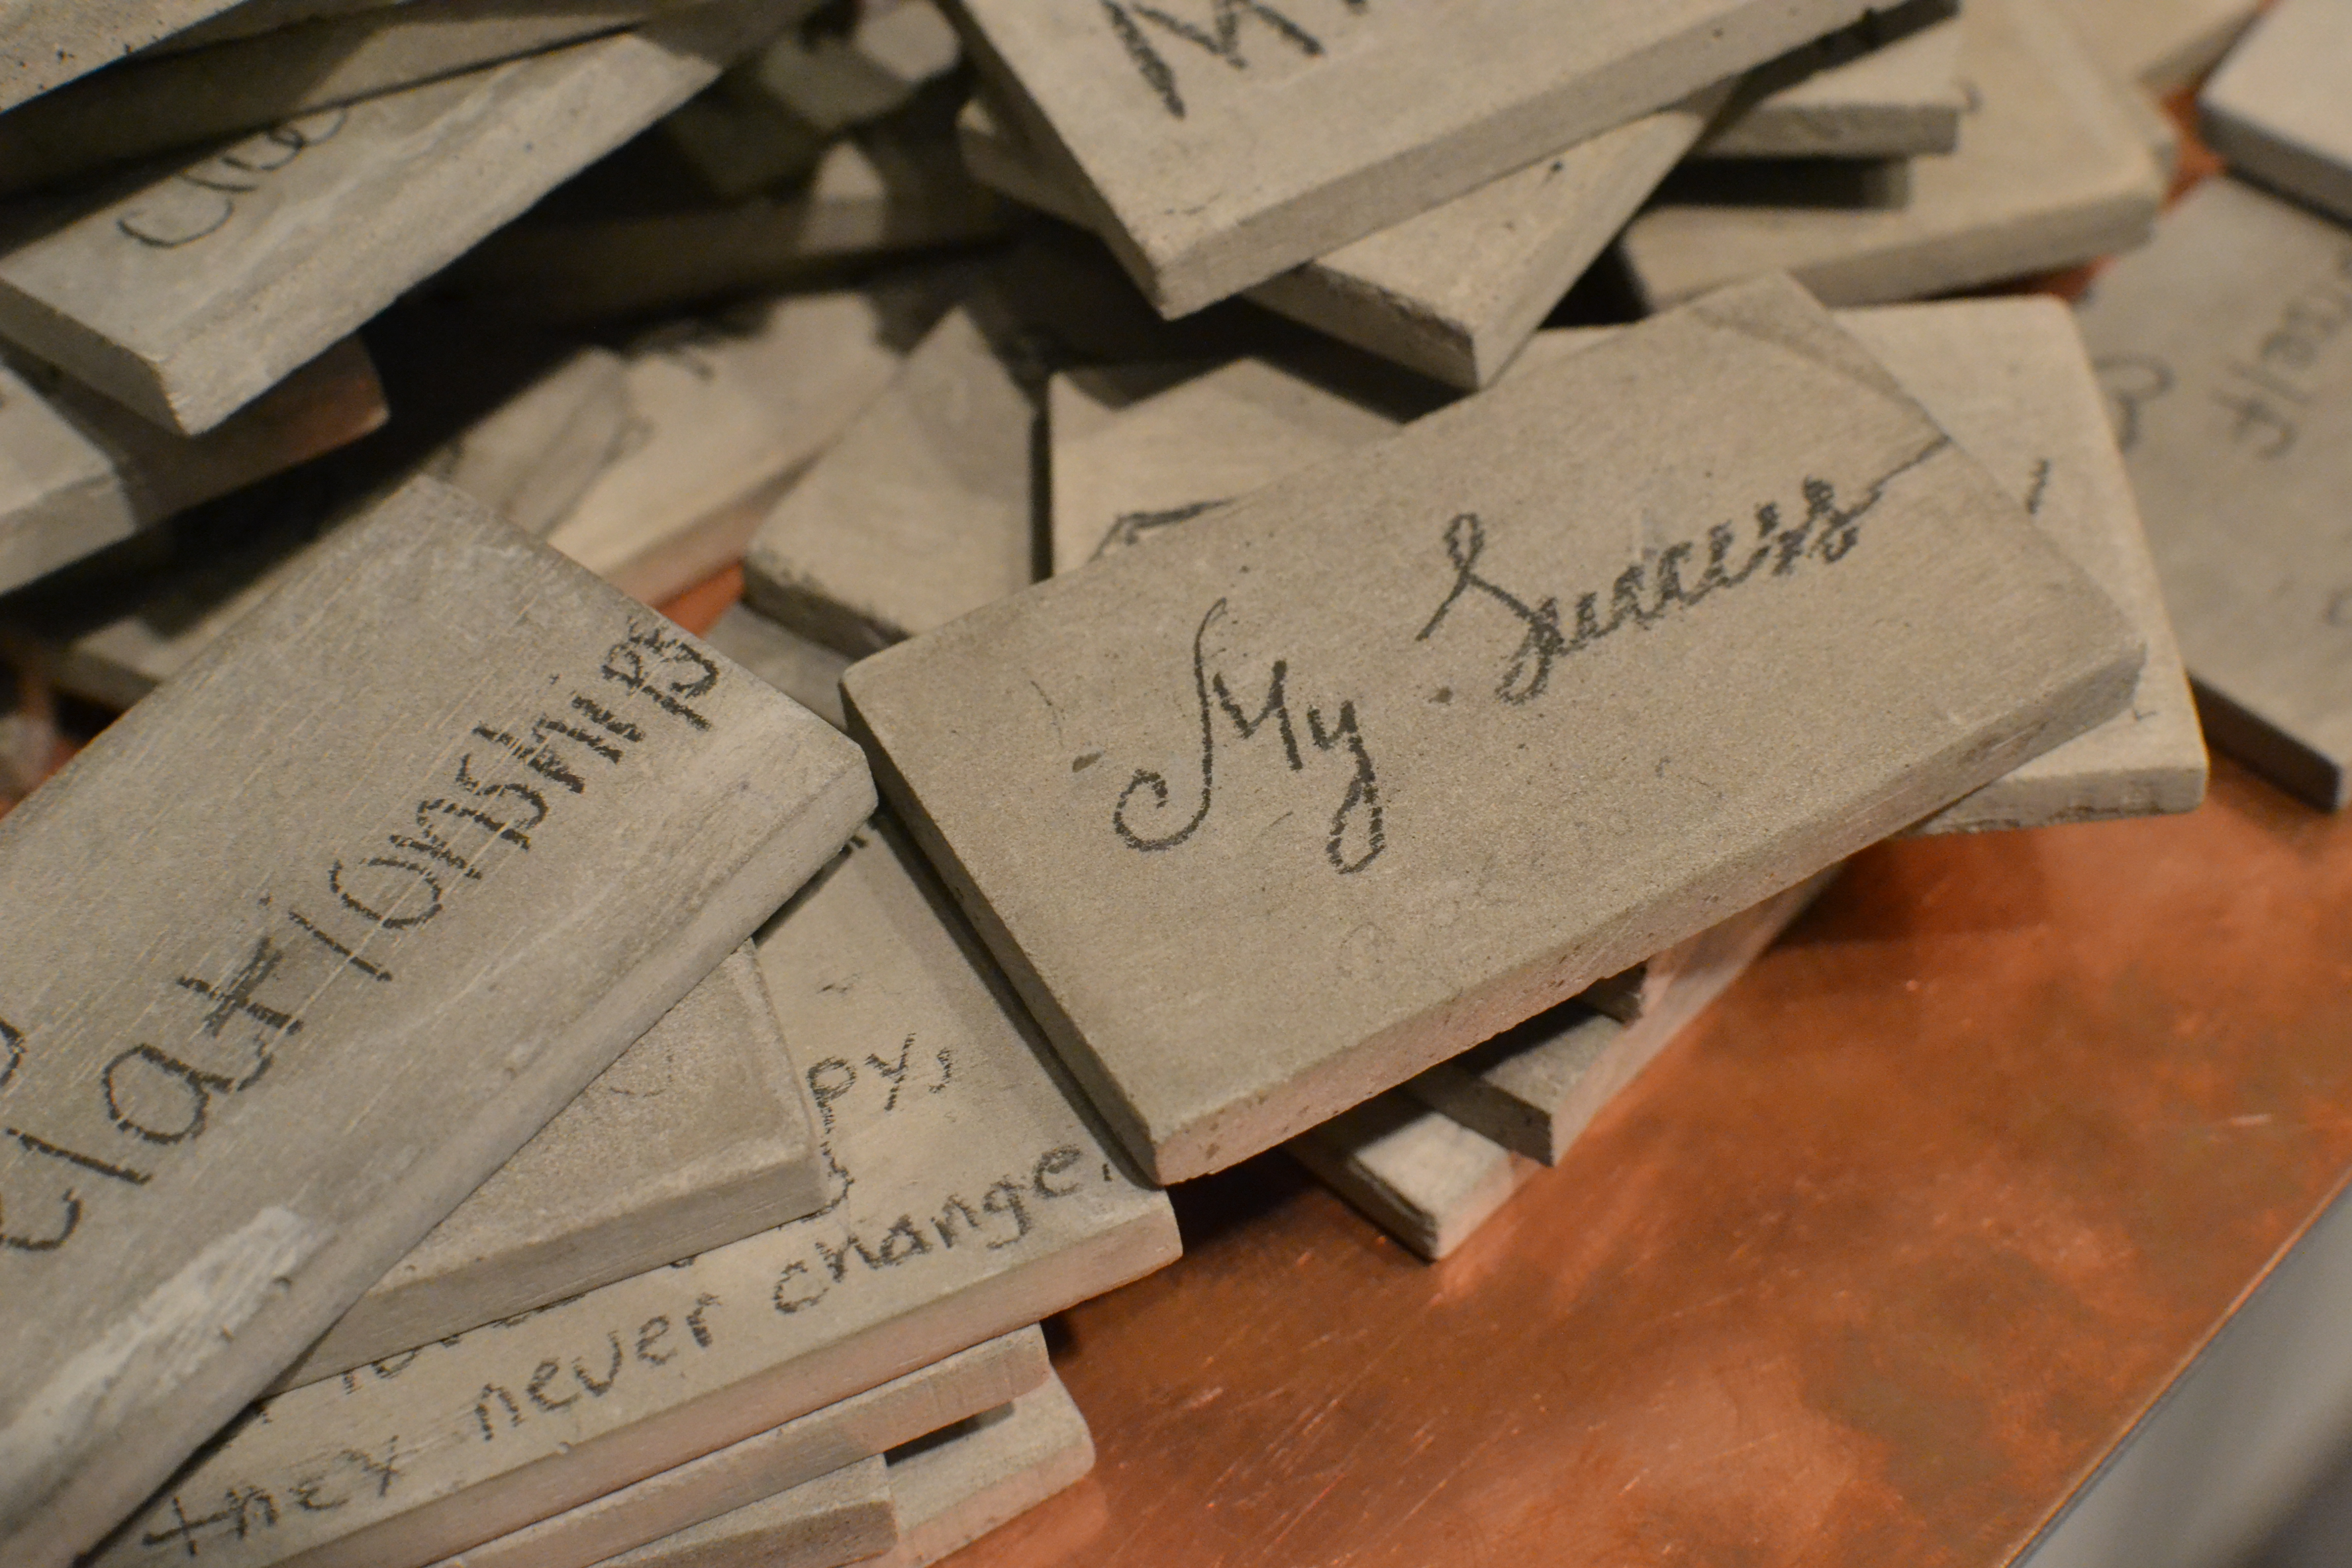
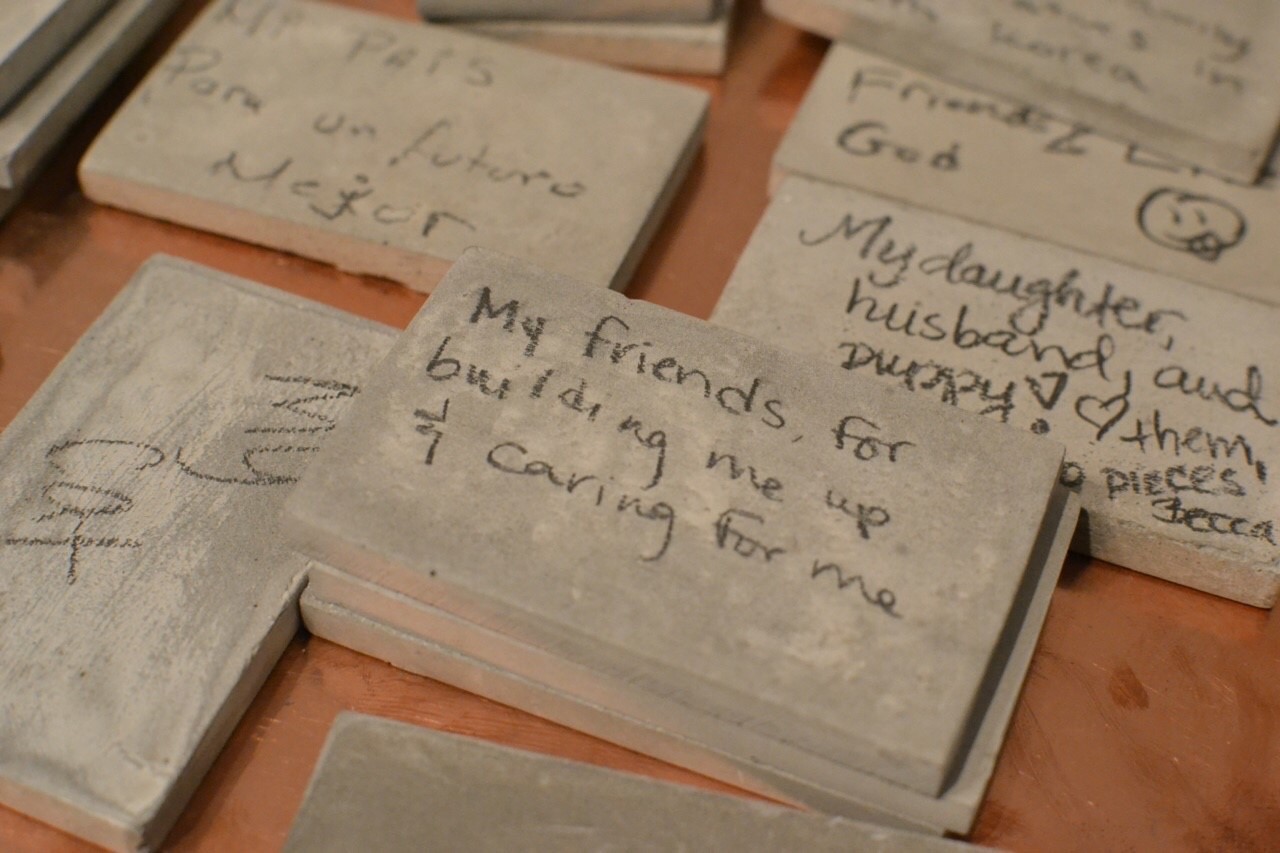
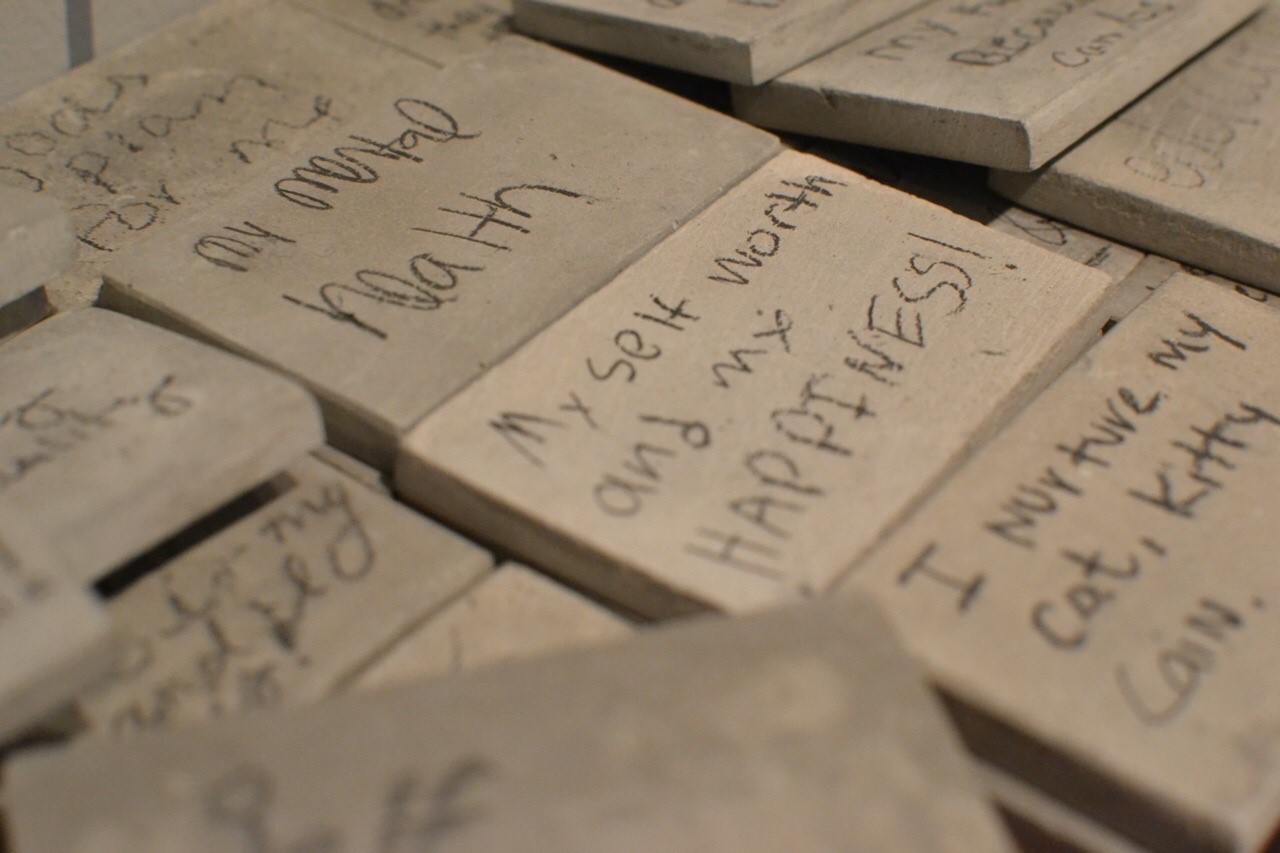
In the end, I will leave you with some of my favorite quotes from the day. Some are specific to creativity, and others are general gems to keep in mind.
-
-
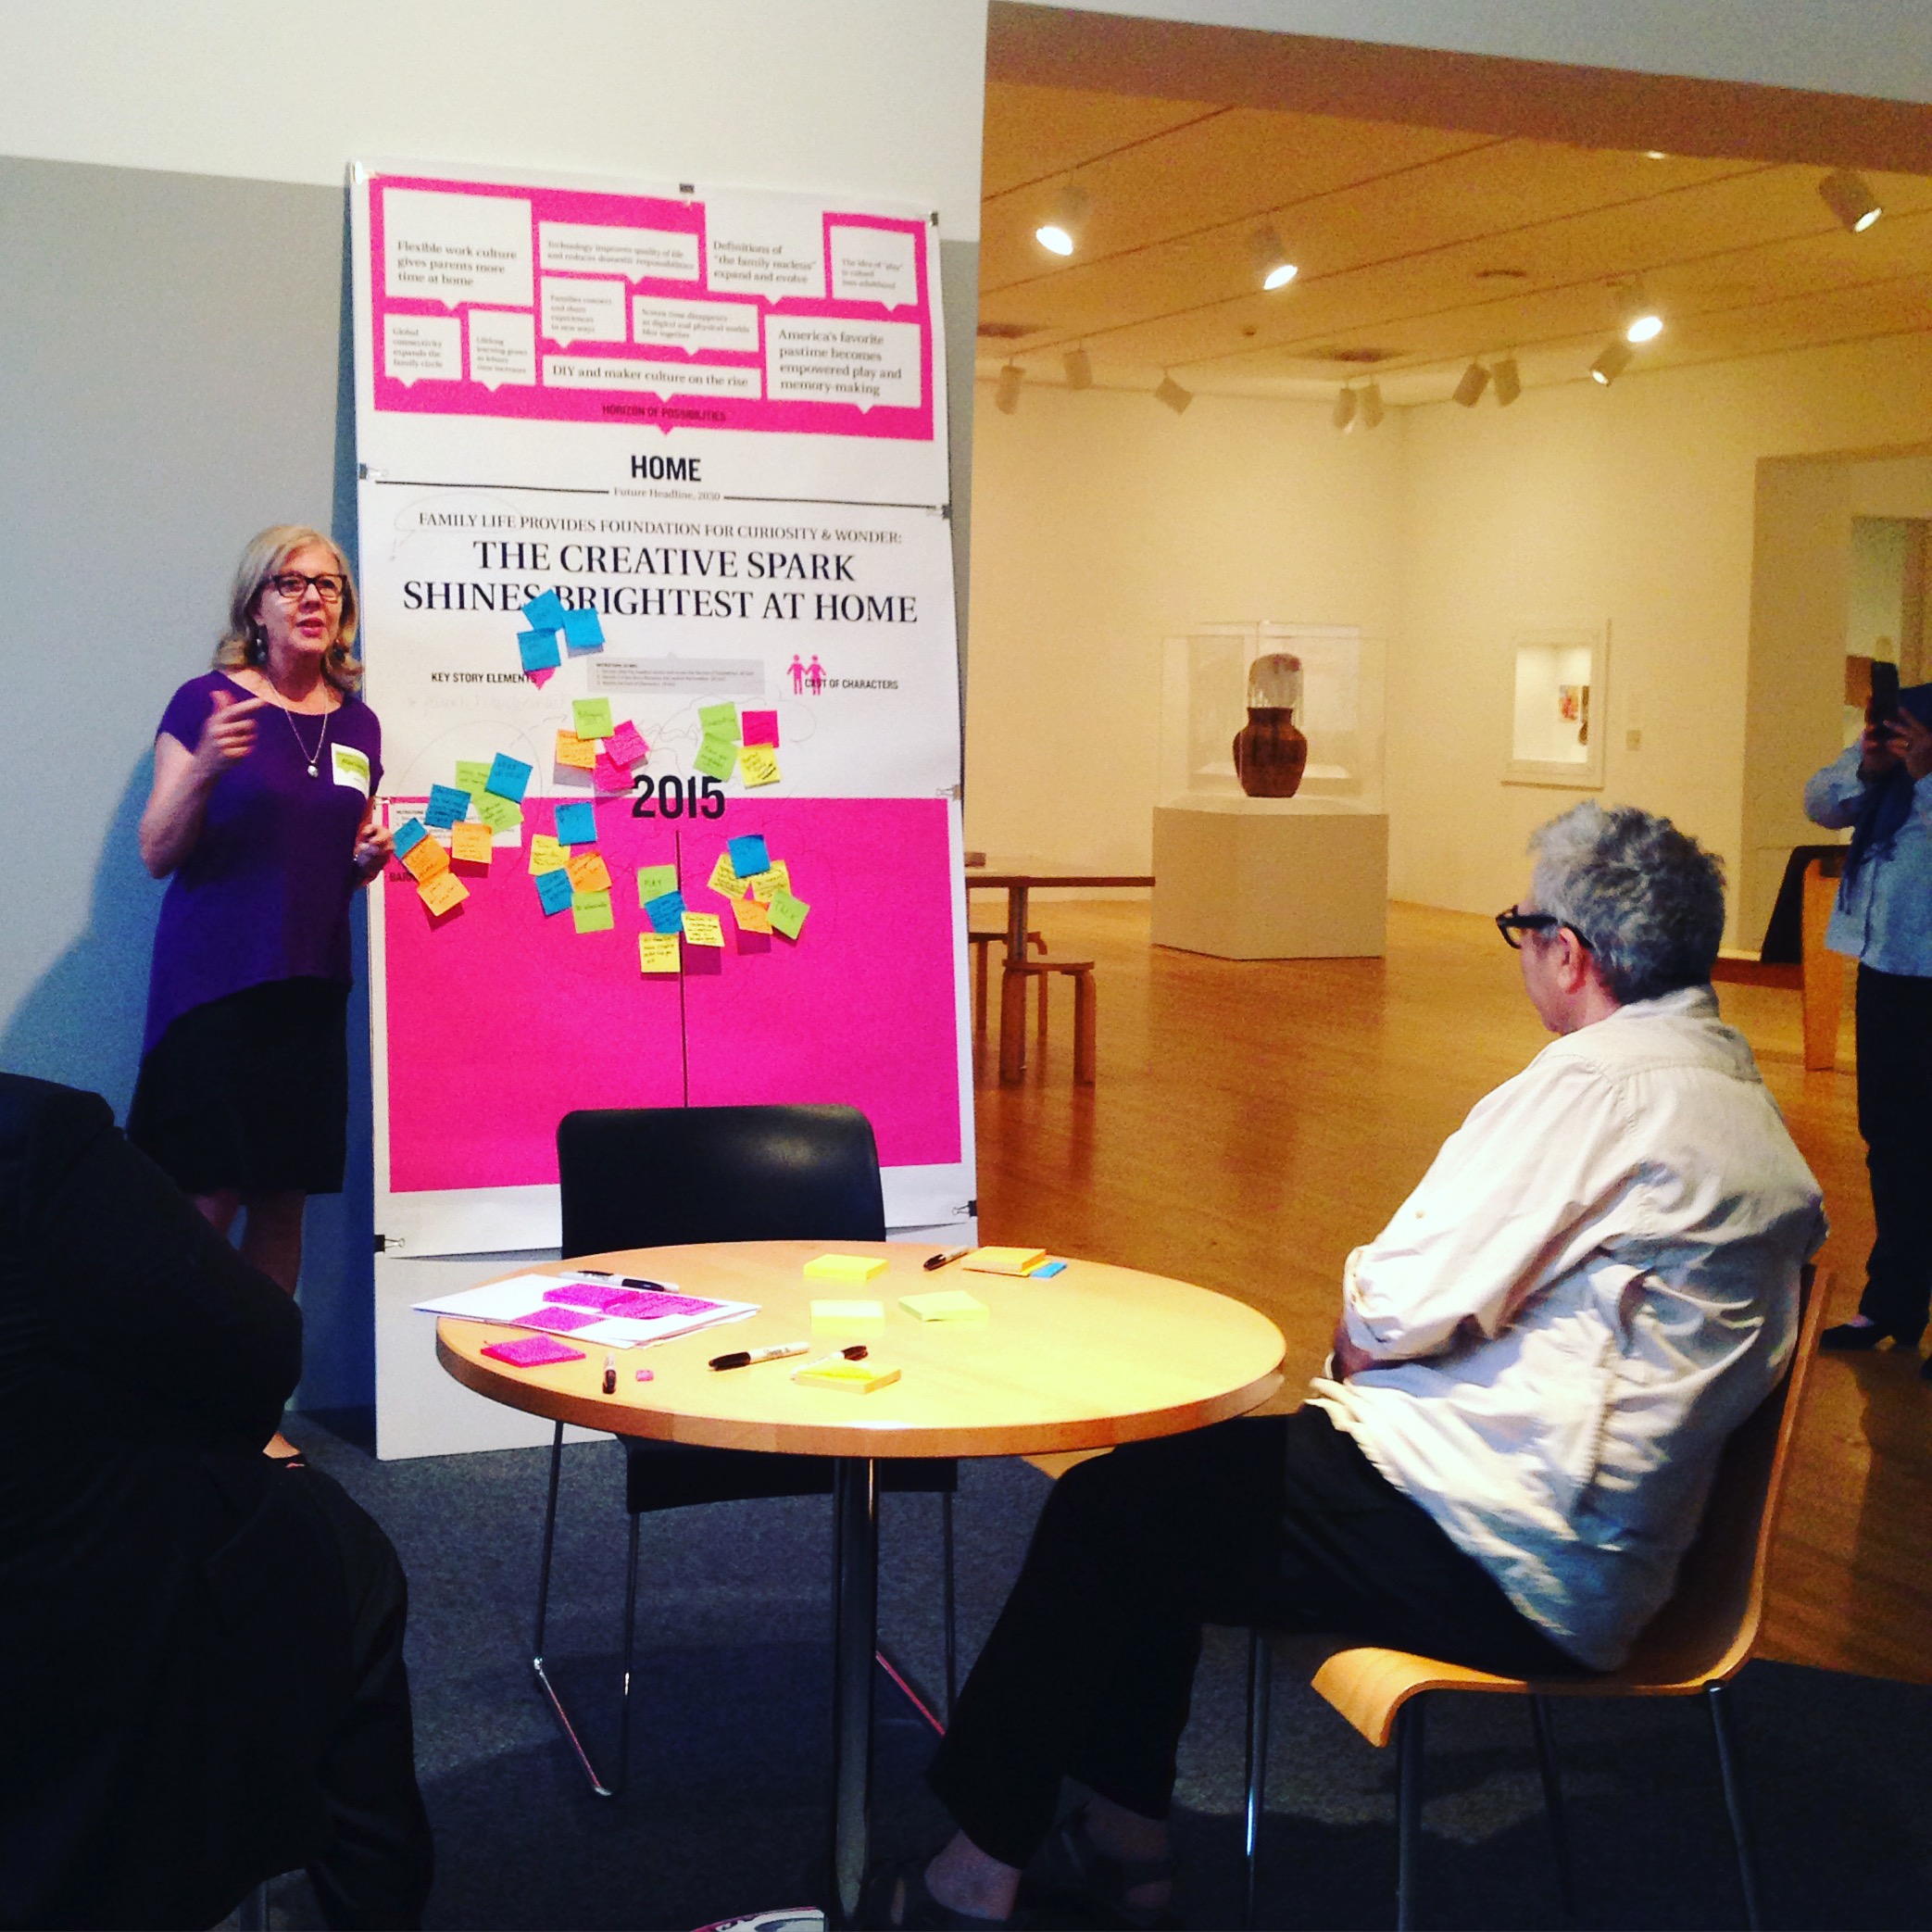
Home: “A healthy home and community fosters creativity.”
-

-
Work: “Investment doesn’t just mean money… often the most valuable thing we can give is our time.”
-
-
Home: “Don’t punish failure, celebrate experimentation.”
-
-
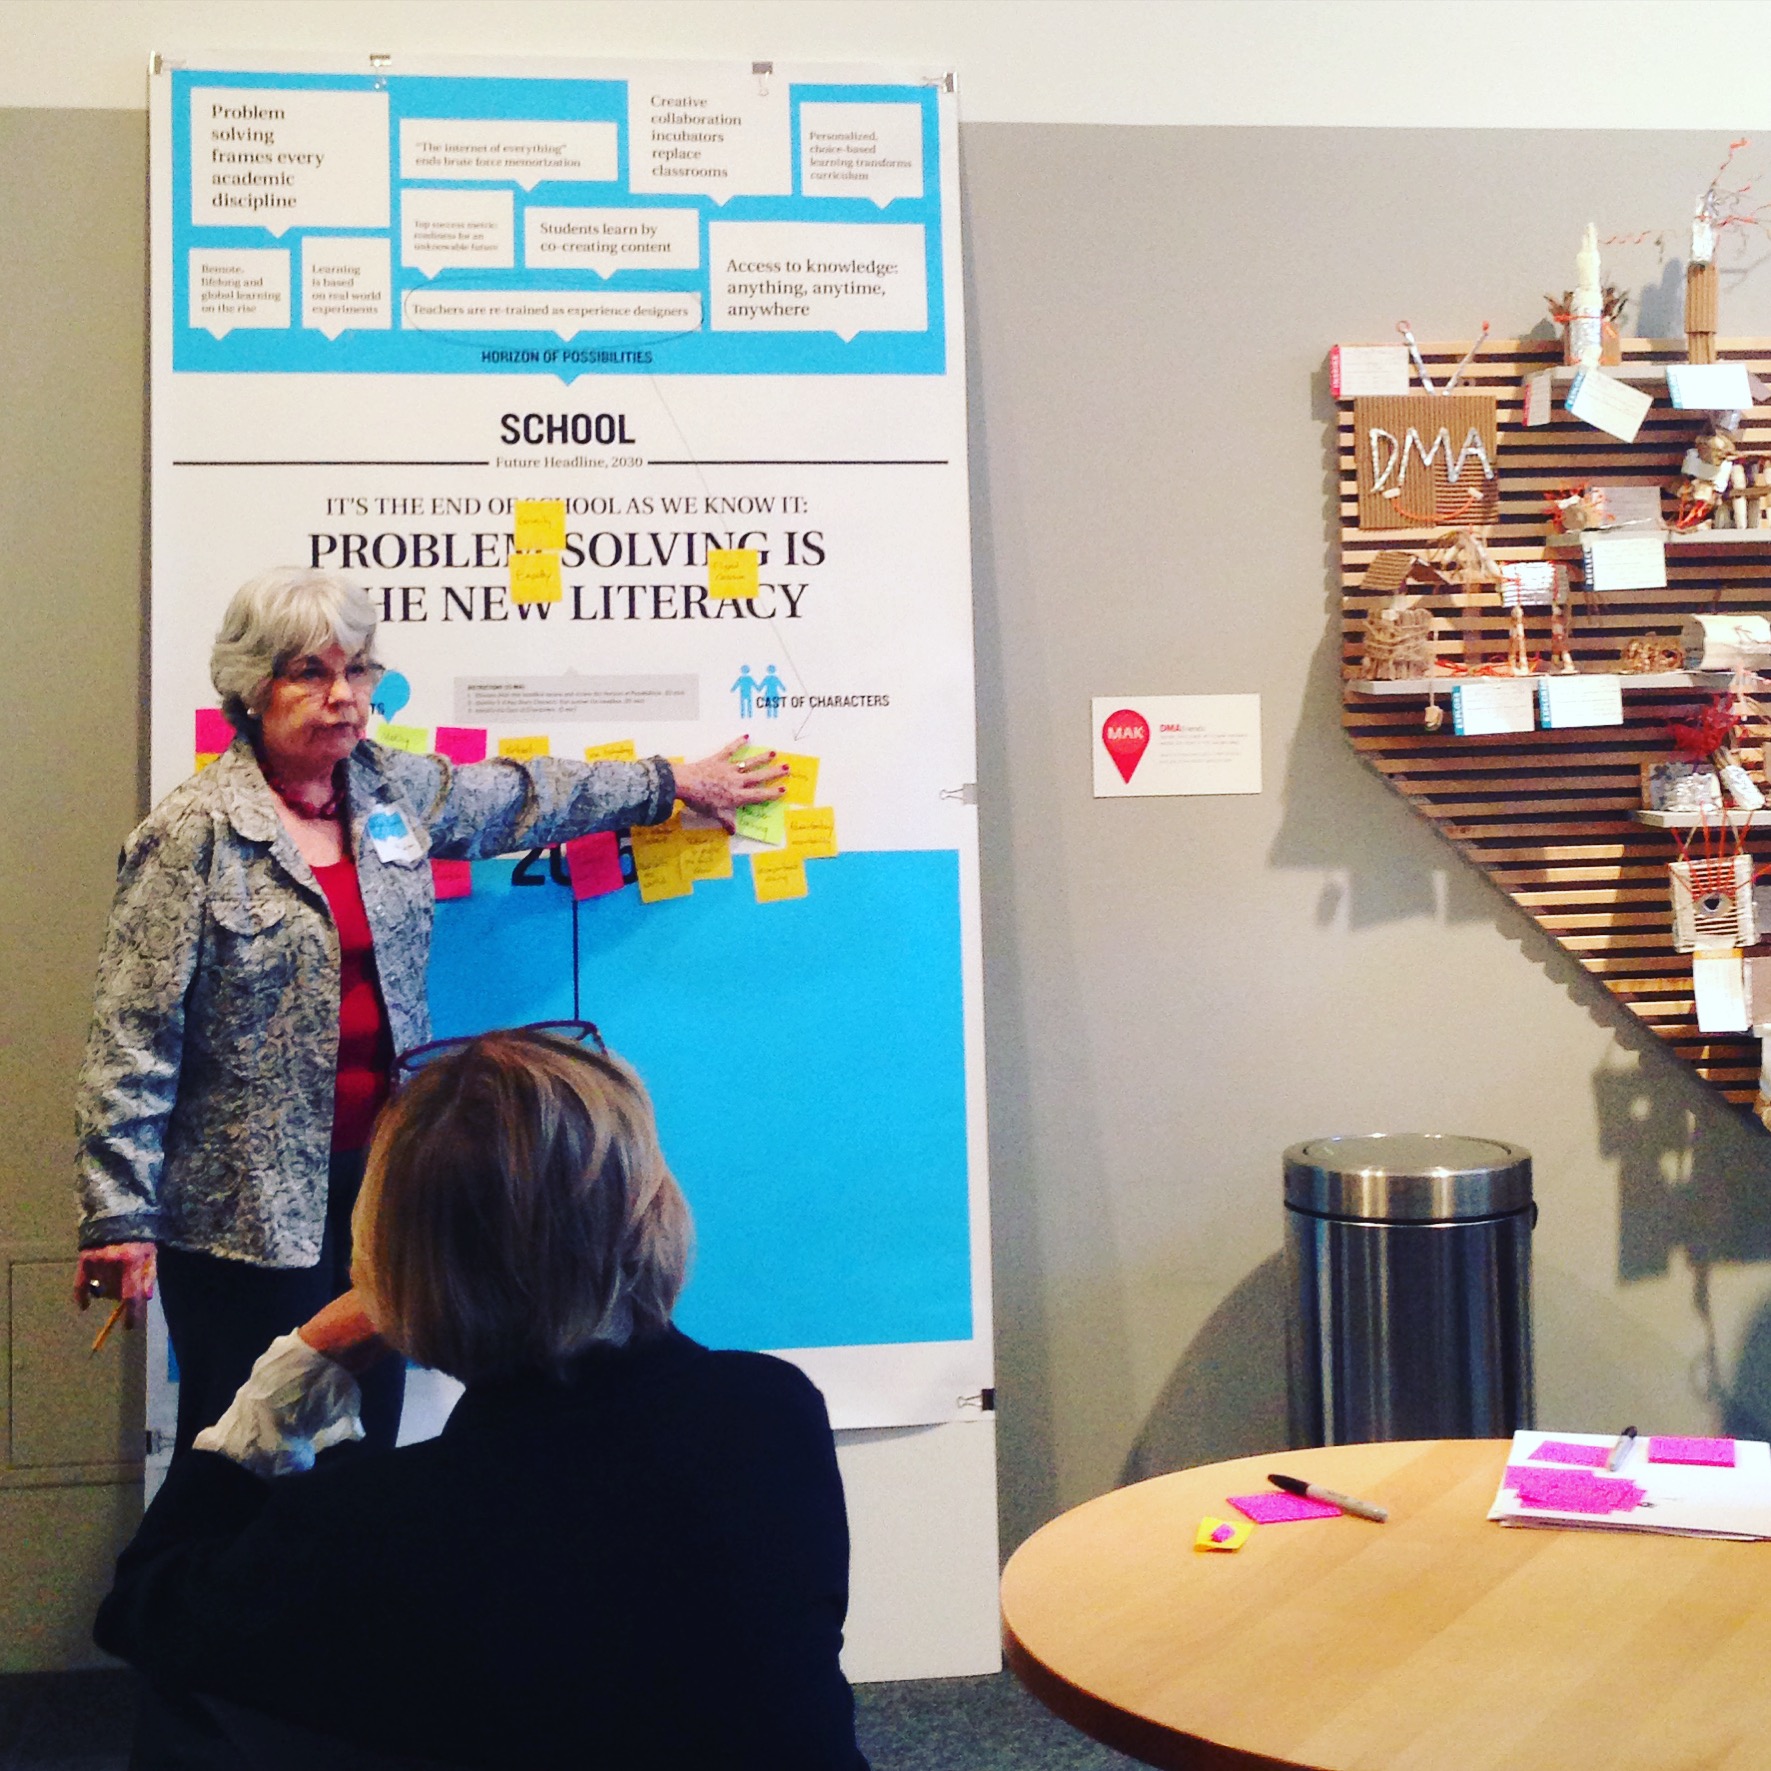
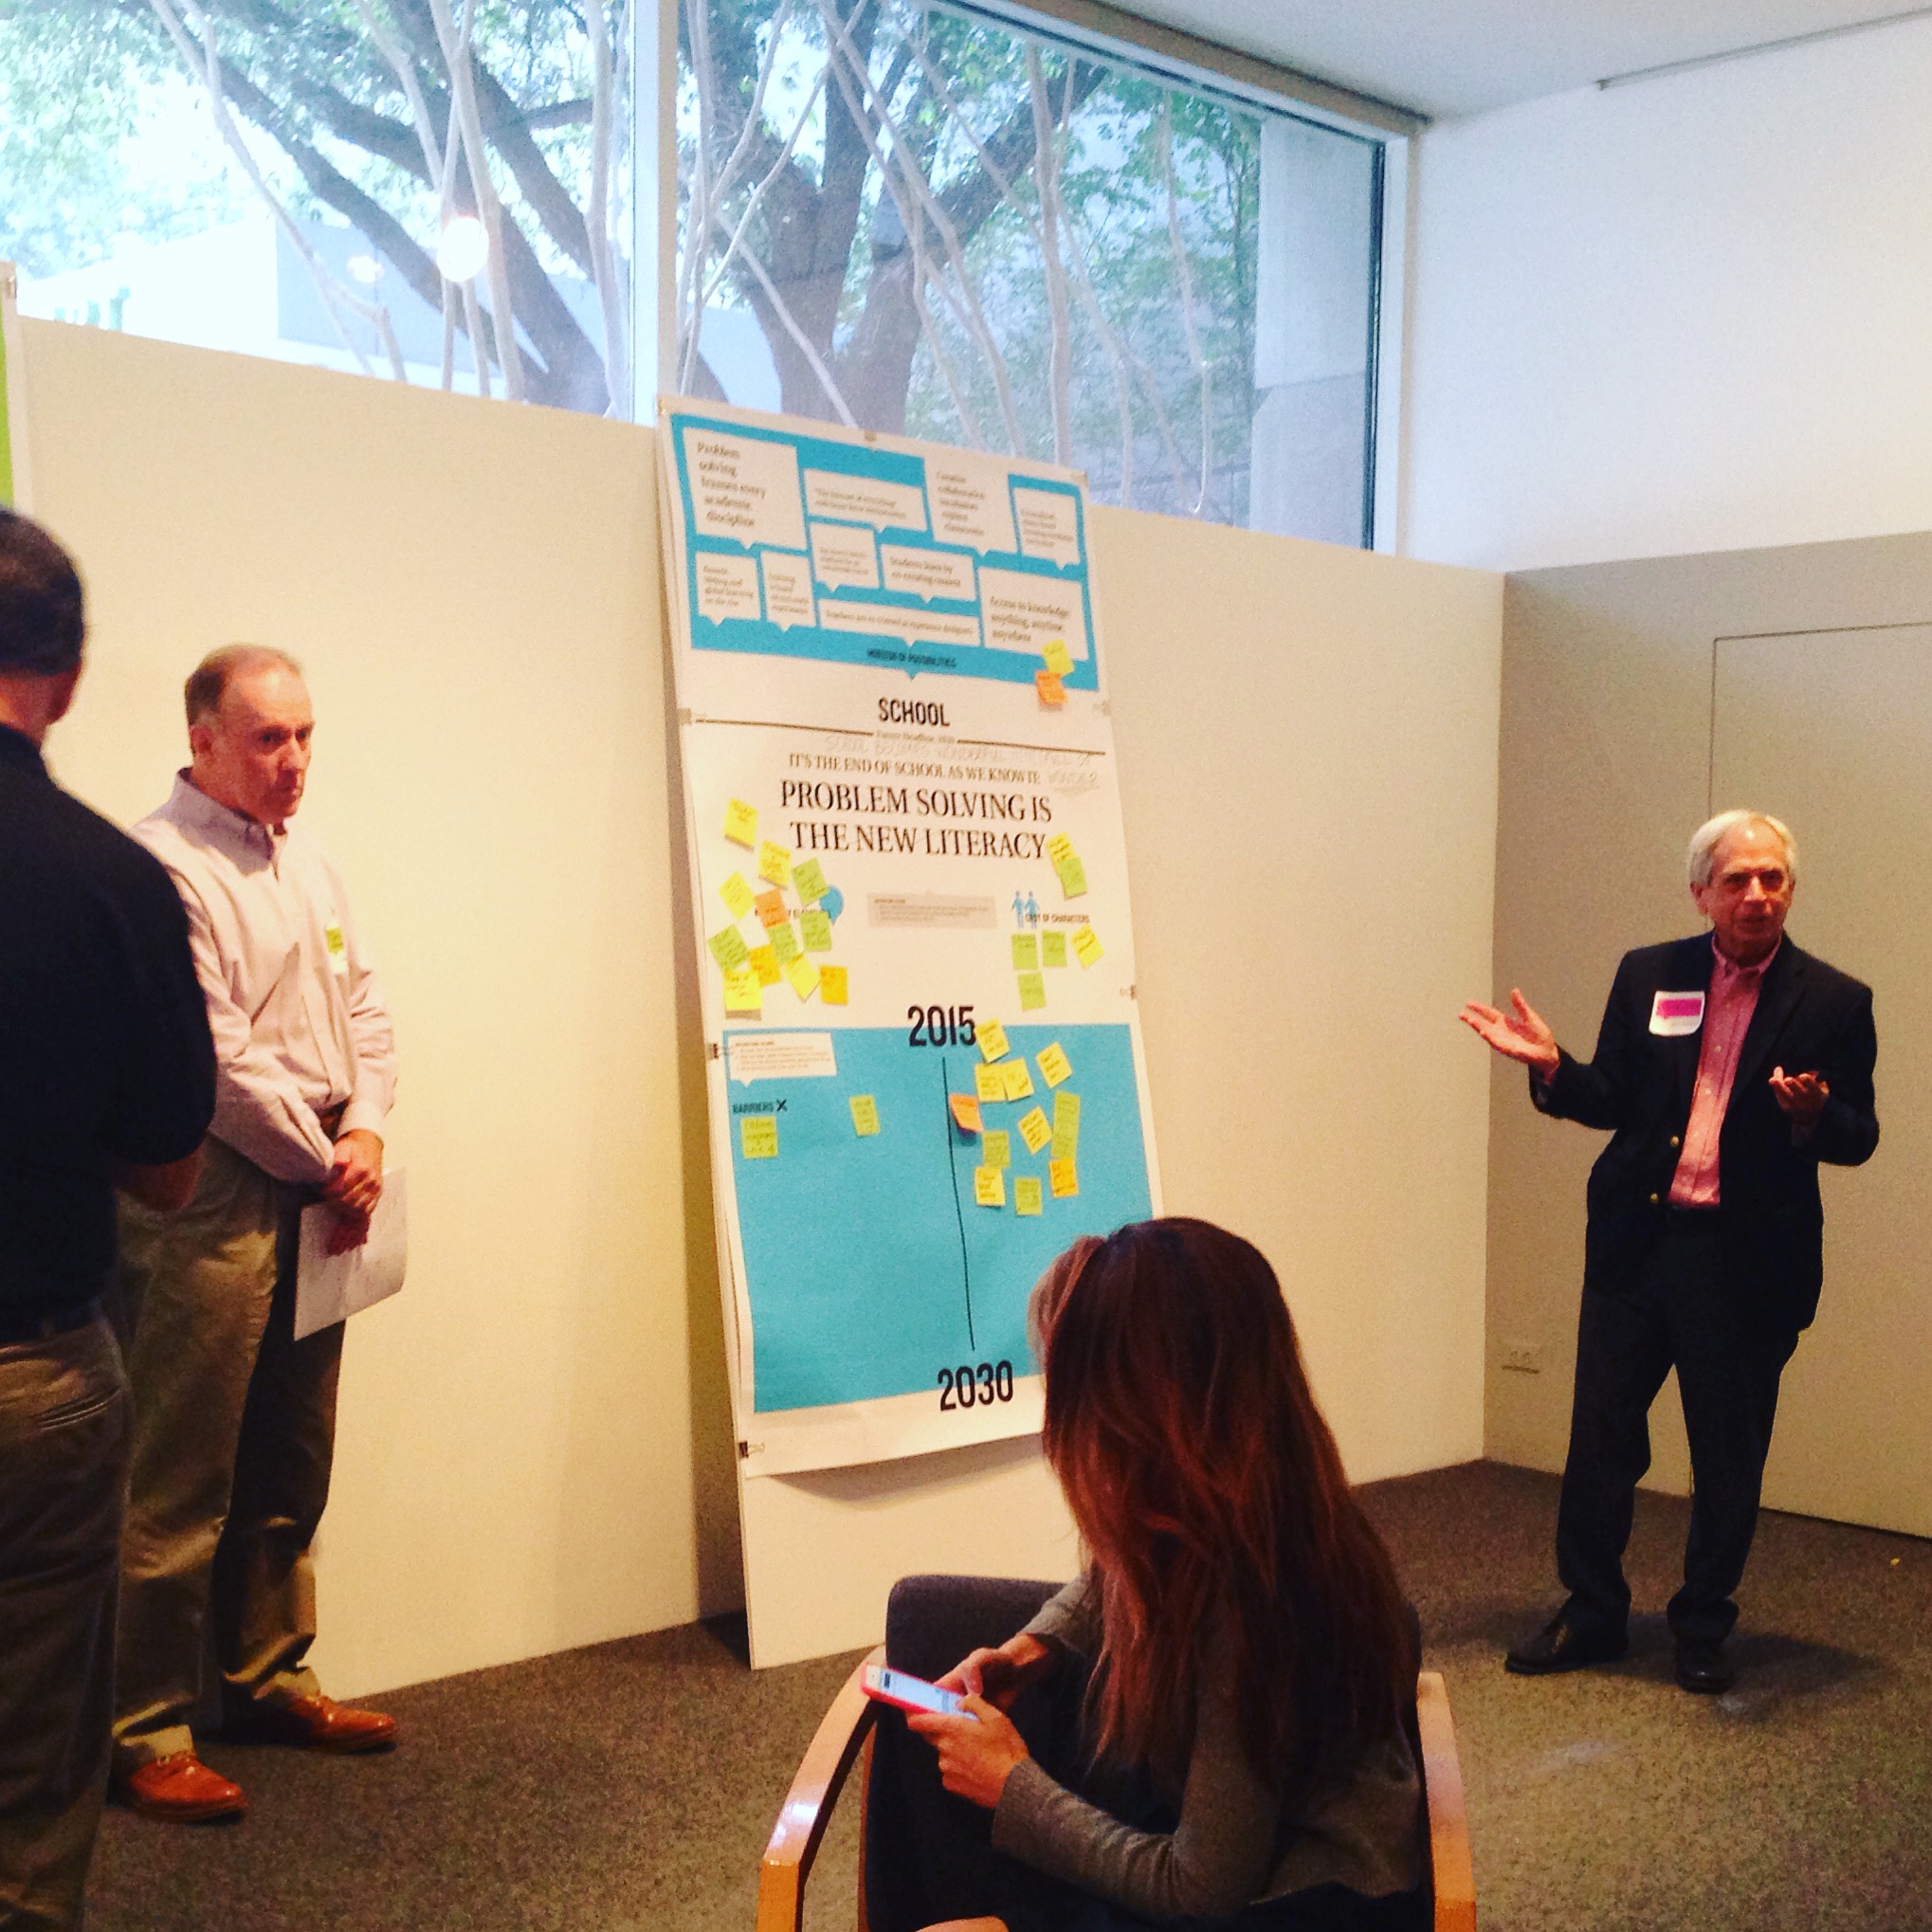
School: “Curiosity and empathy should be at the core of what we are teaching.”
-
-
School: “Every solution to a problem is partial and provisional.”
-

-
Neighborhood: “If children do not feel that they can get out and have an amount of freedom, that dampens creativity.”
Jessica Fuentes
C3 Gallery Manager