If you asked me what the most popular art supply was in camp this summer, my answer wouldn’t be paint. It wouldn’t be clay, it wouldn’t be paper – it wouldn’t even be hot glue. It would be…
… shaving cream!
You read that correctly. Not just one but SIX of our summer camps had a day when they made masterpieces using shaving cream. Our teachers this year were certainly inspired by this unconventional material! What other material could you use to marble paper, mix your own textured paint, make the freshest smelling foam dough, AND clean everything up afterwards?
As for what the campers thought, let me offer this quote overheard in carpool:
“Mom, we made art out of SHAVING CREAM today!!!” (Extra exclamation marks included.)
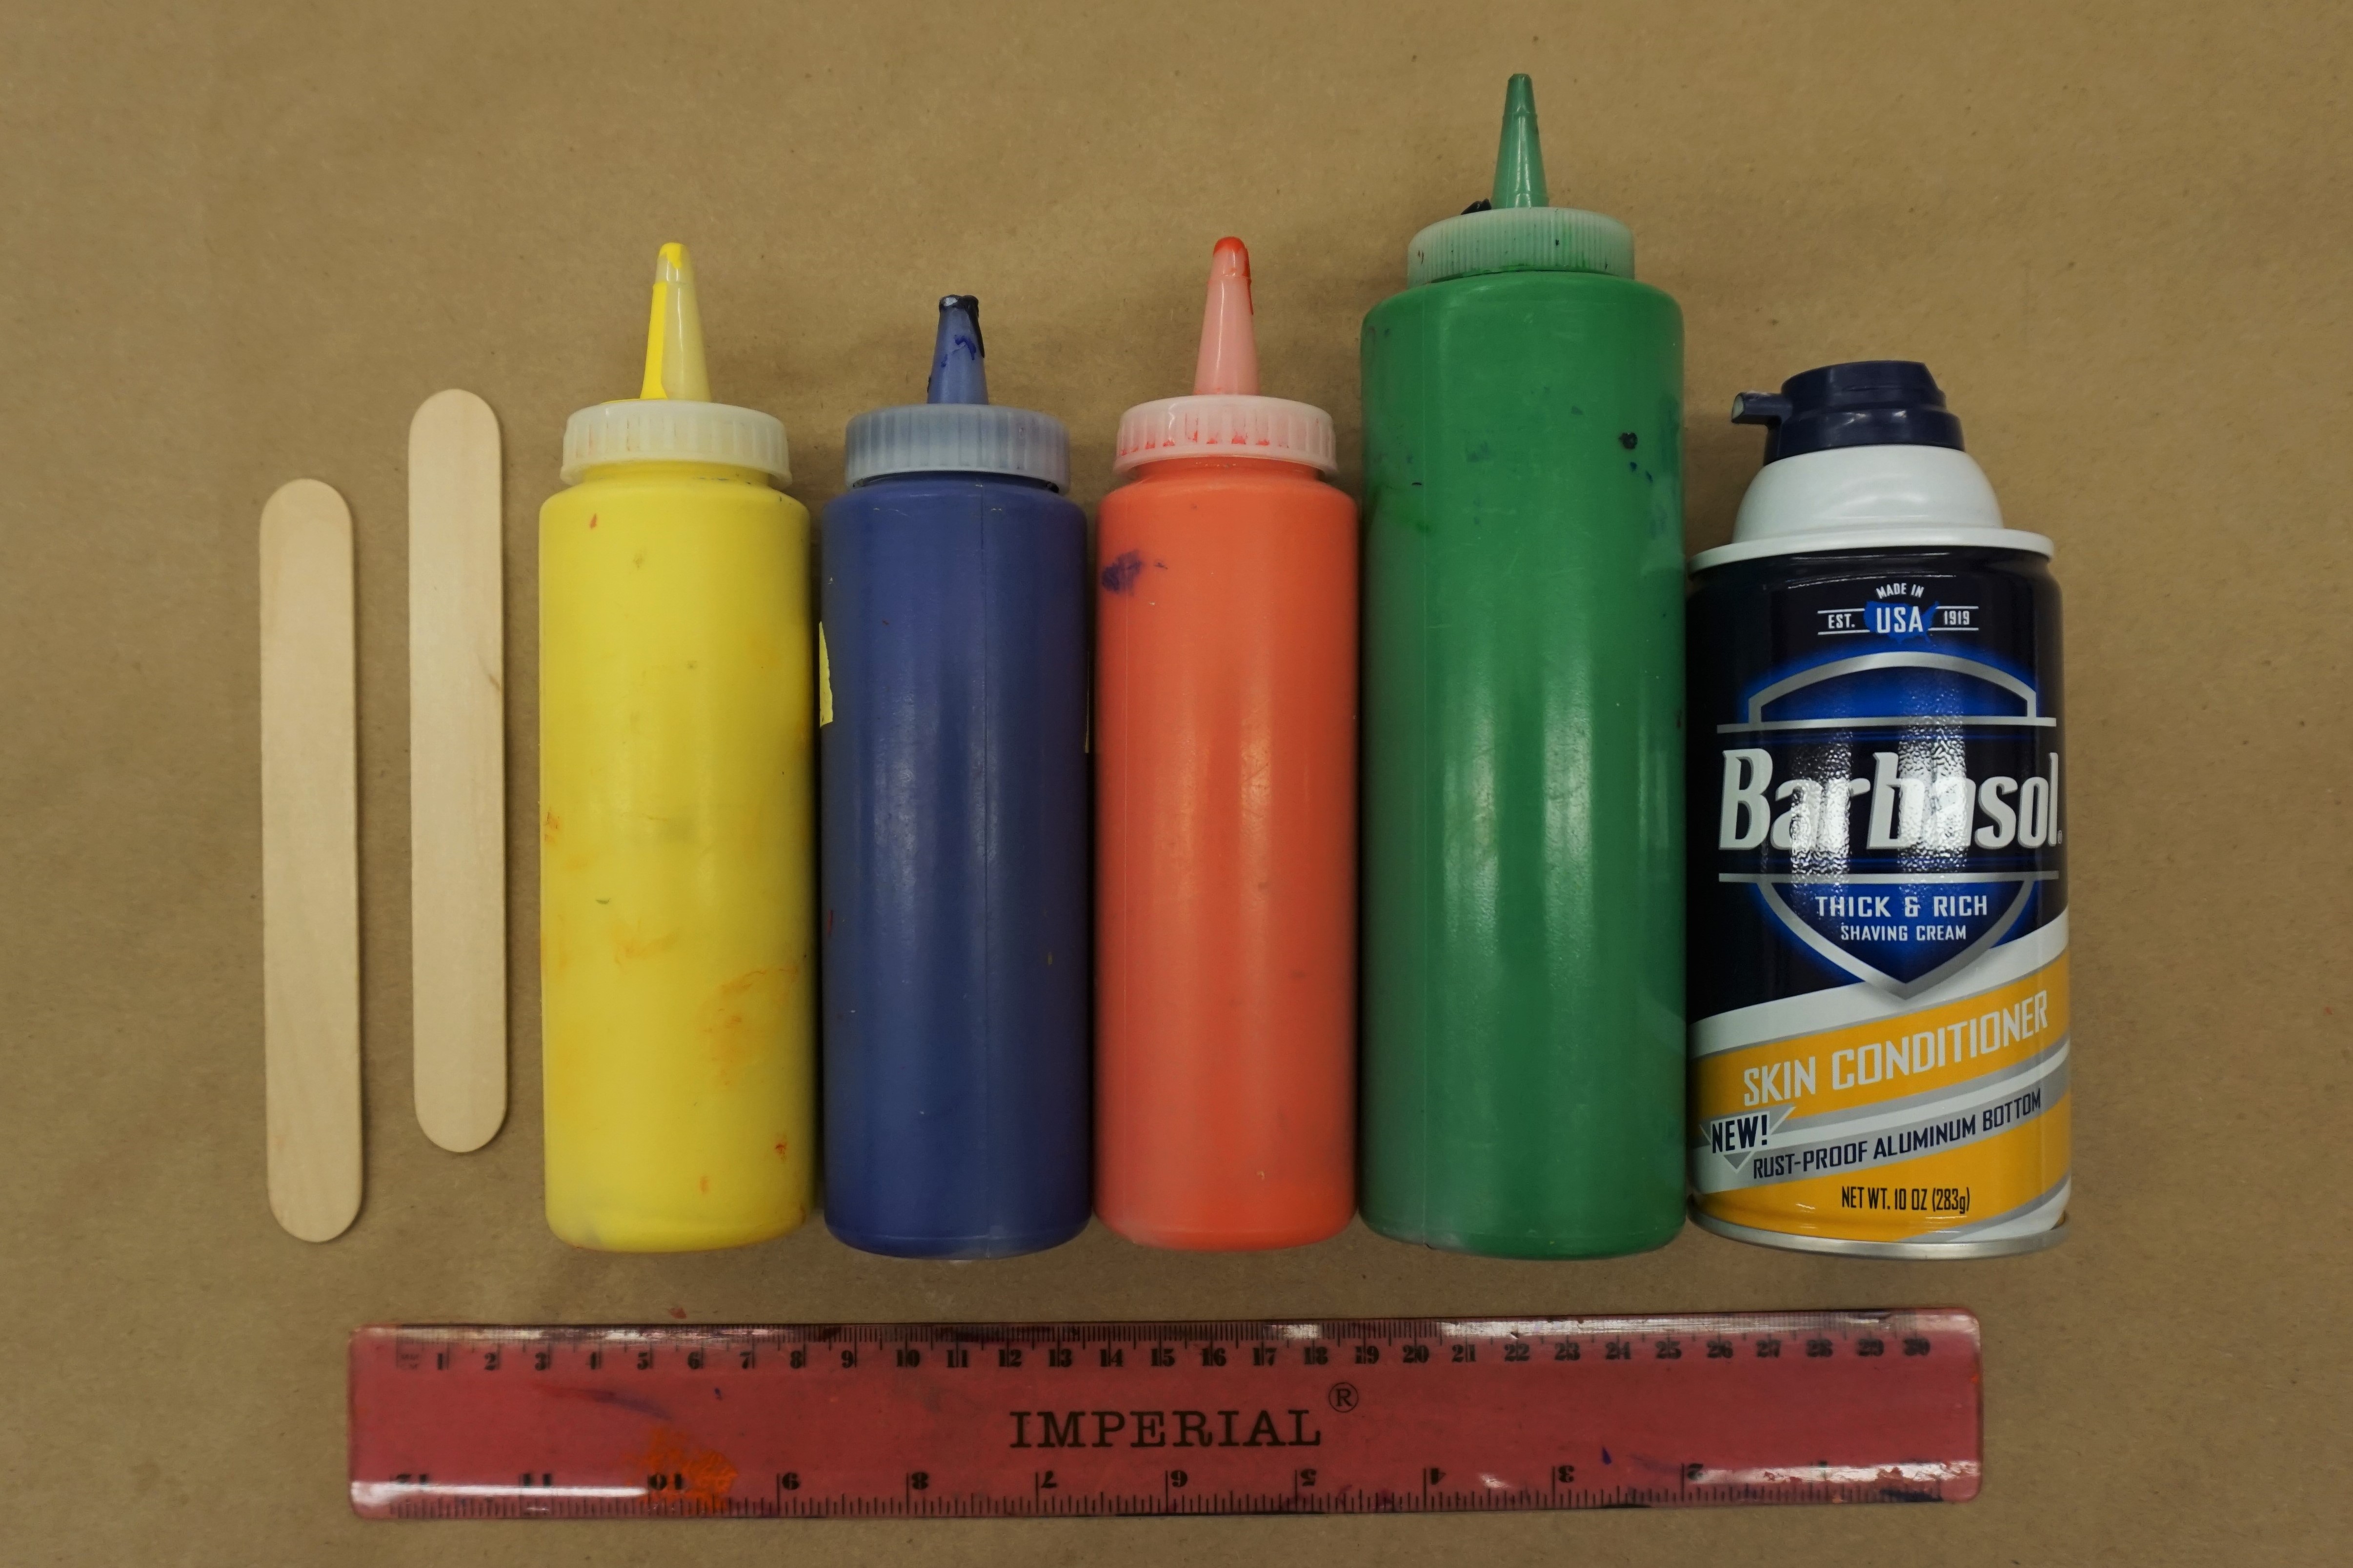
What you need:
- A can of foaming shaving cream. I used Barbasol; shaving cream that comes out as a gel won’t work here!
- A cookie sheet, which you’ll fill with a layer of shaving cream.
- Various colors of paint. Nearly anything will do: tempera, acrylic, liquid watercolor, and food coloring are just a few ideas.
- Craft sticks.
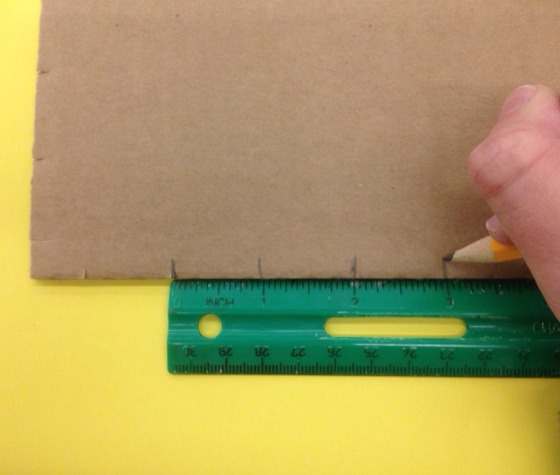
- A ruler.
- Heavyweight paper. You need something like watercolor paper or thick cardstock – thinner paper will warp, dissolve, and tear from all the moisture in the shaving cream.
When coming up with the plan for my print, I looked to a piece of art that’s inspired cookie decorating (twice!) and marshmallow peep art made by DMA staffers: Odalisque (Hey, Hey Frankenthaler) by Lynda Benglis. The twisty poured latex shapes were fun to recreate by swirling paint through the shaving cream.
You can see how I made my print in the slideshow below:
-
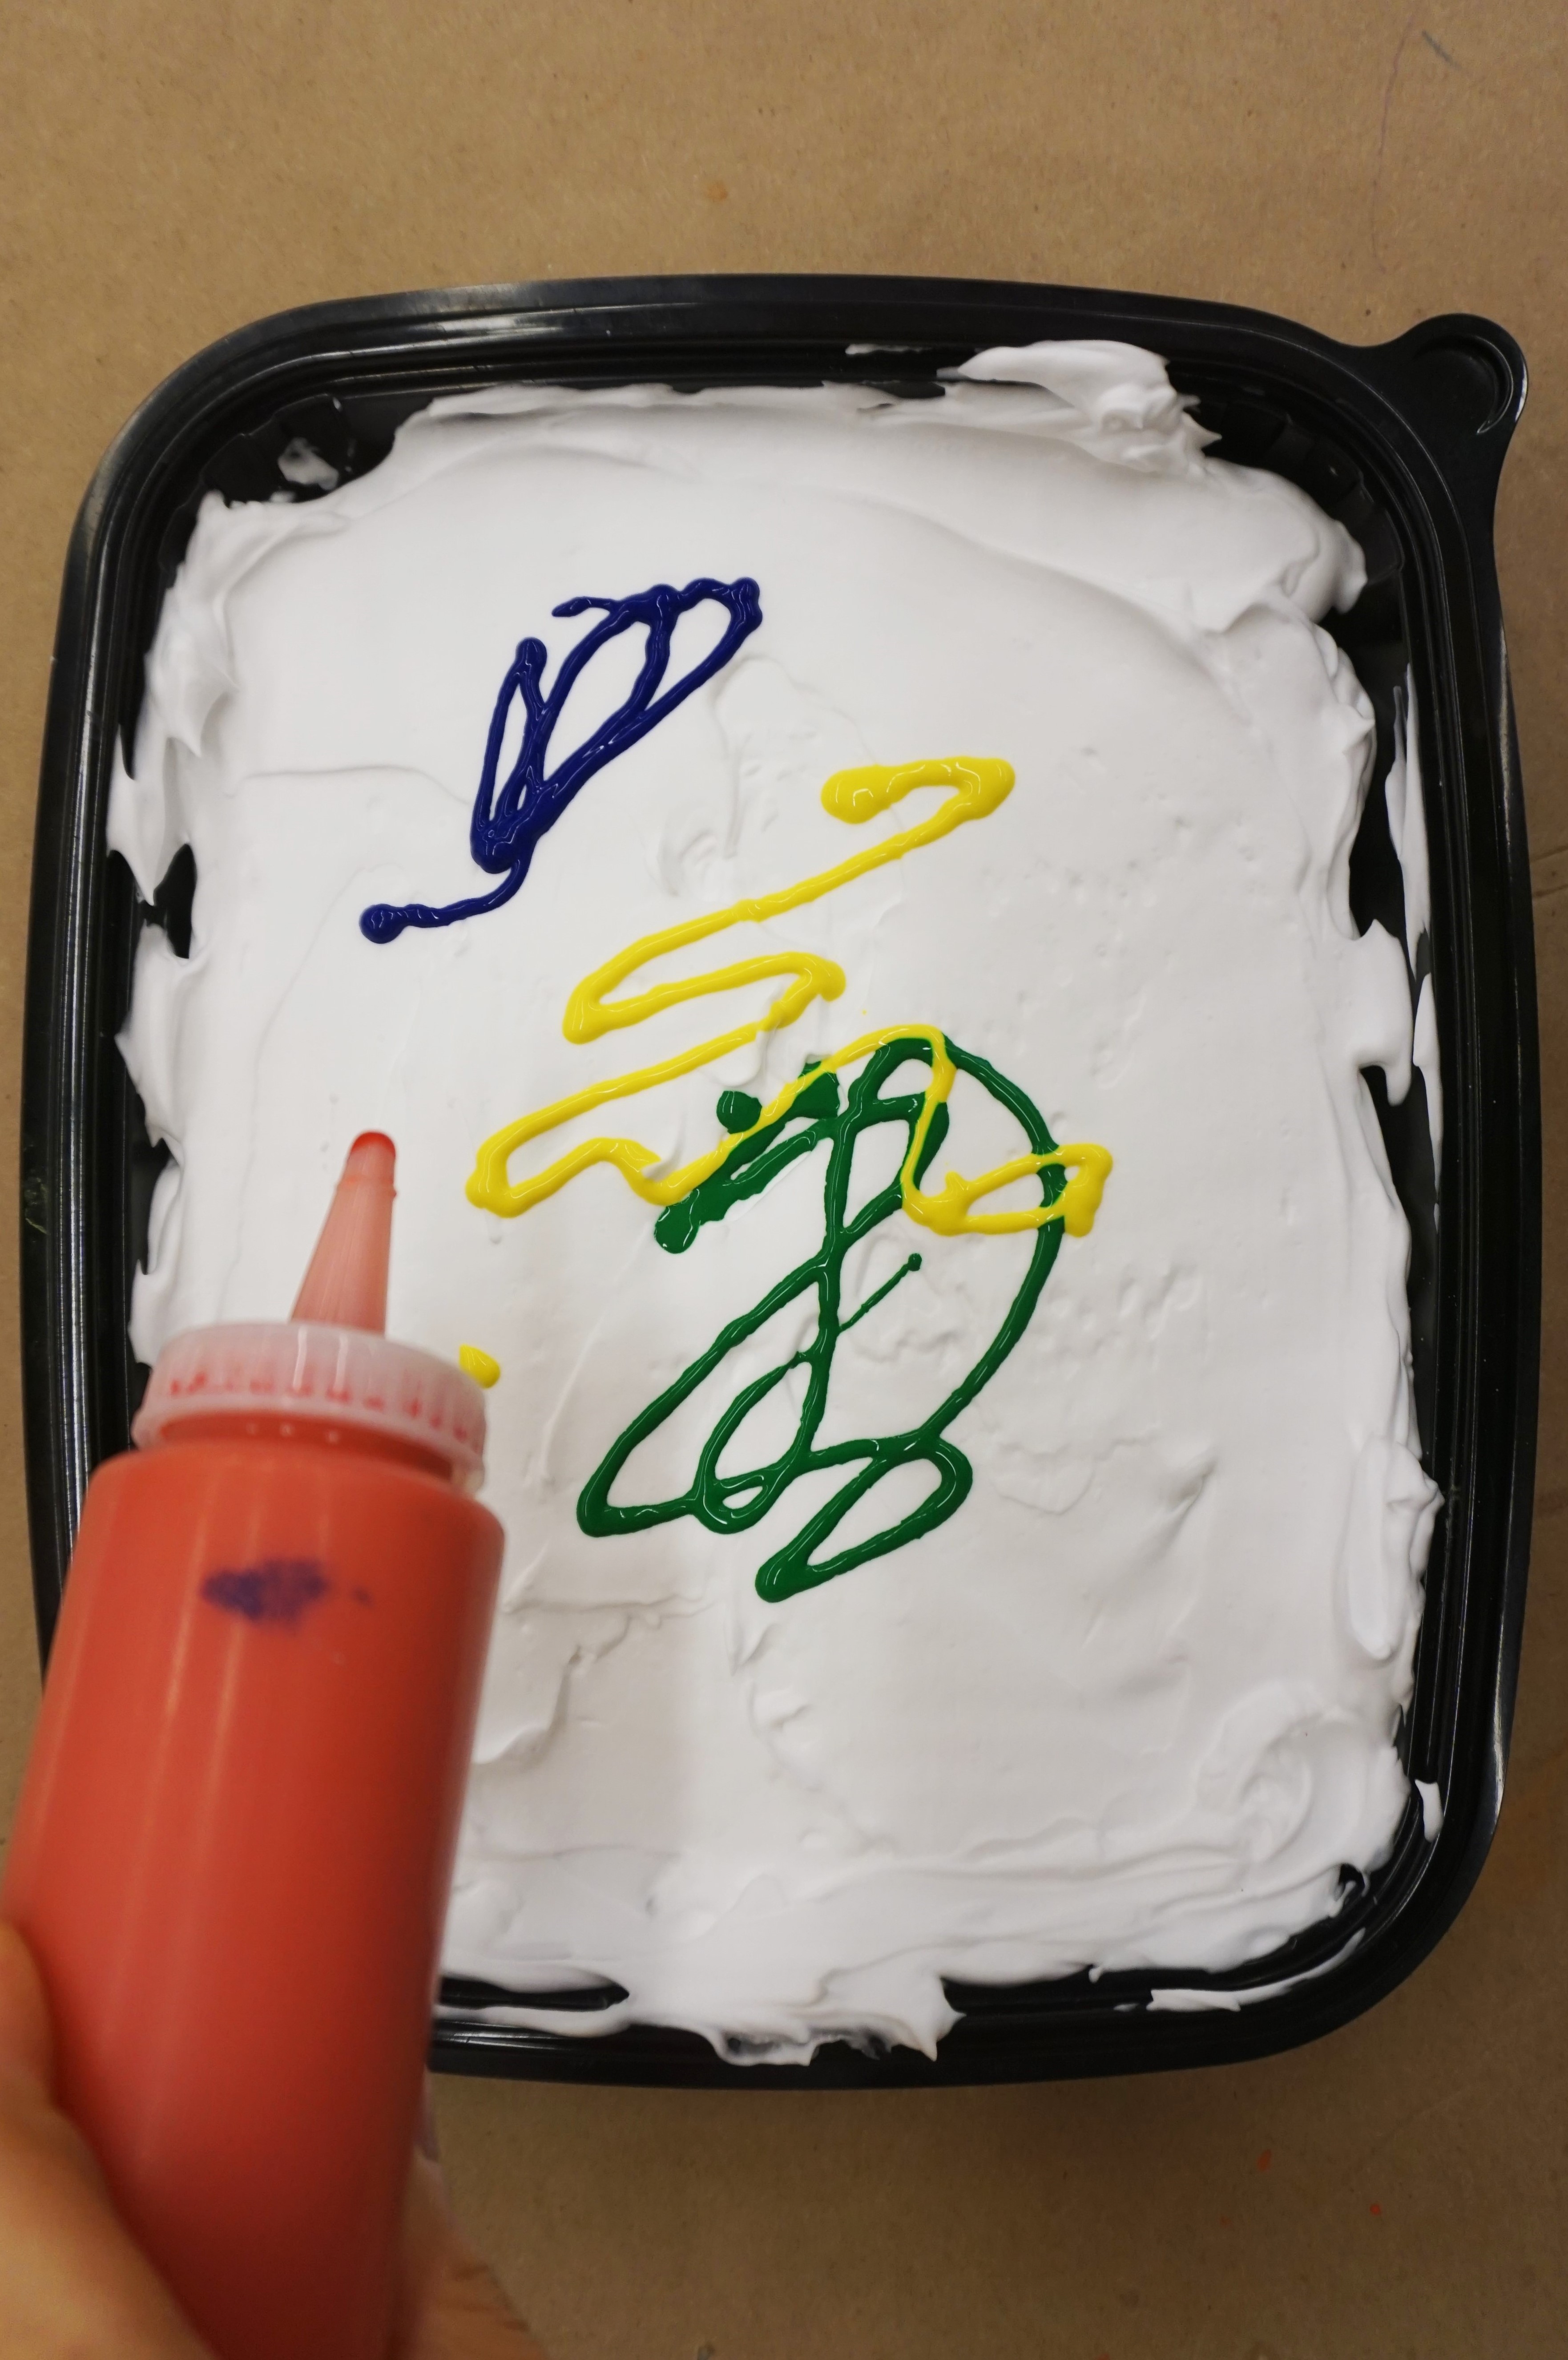
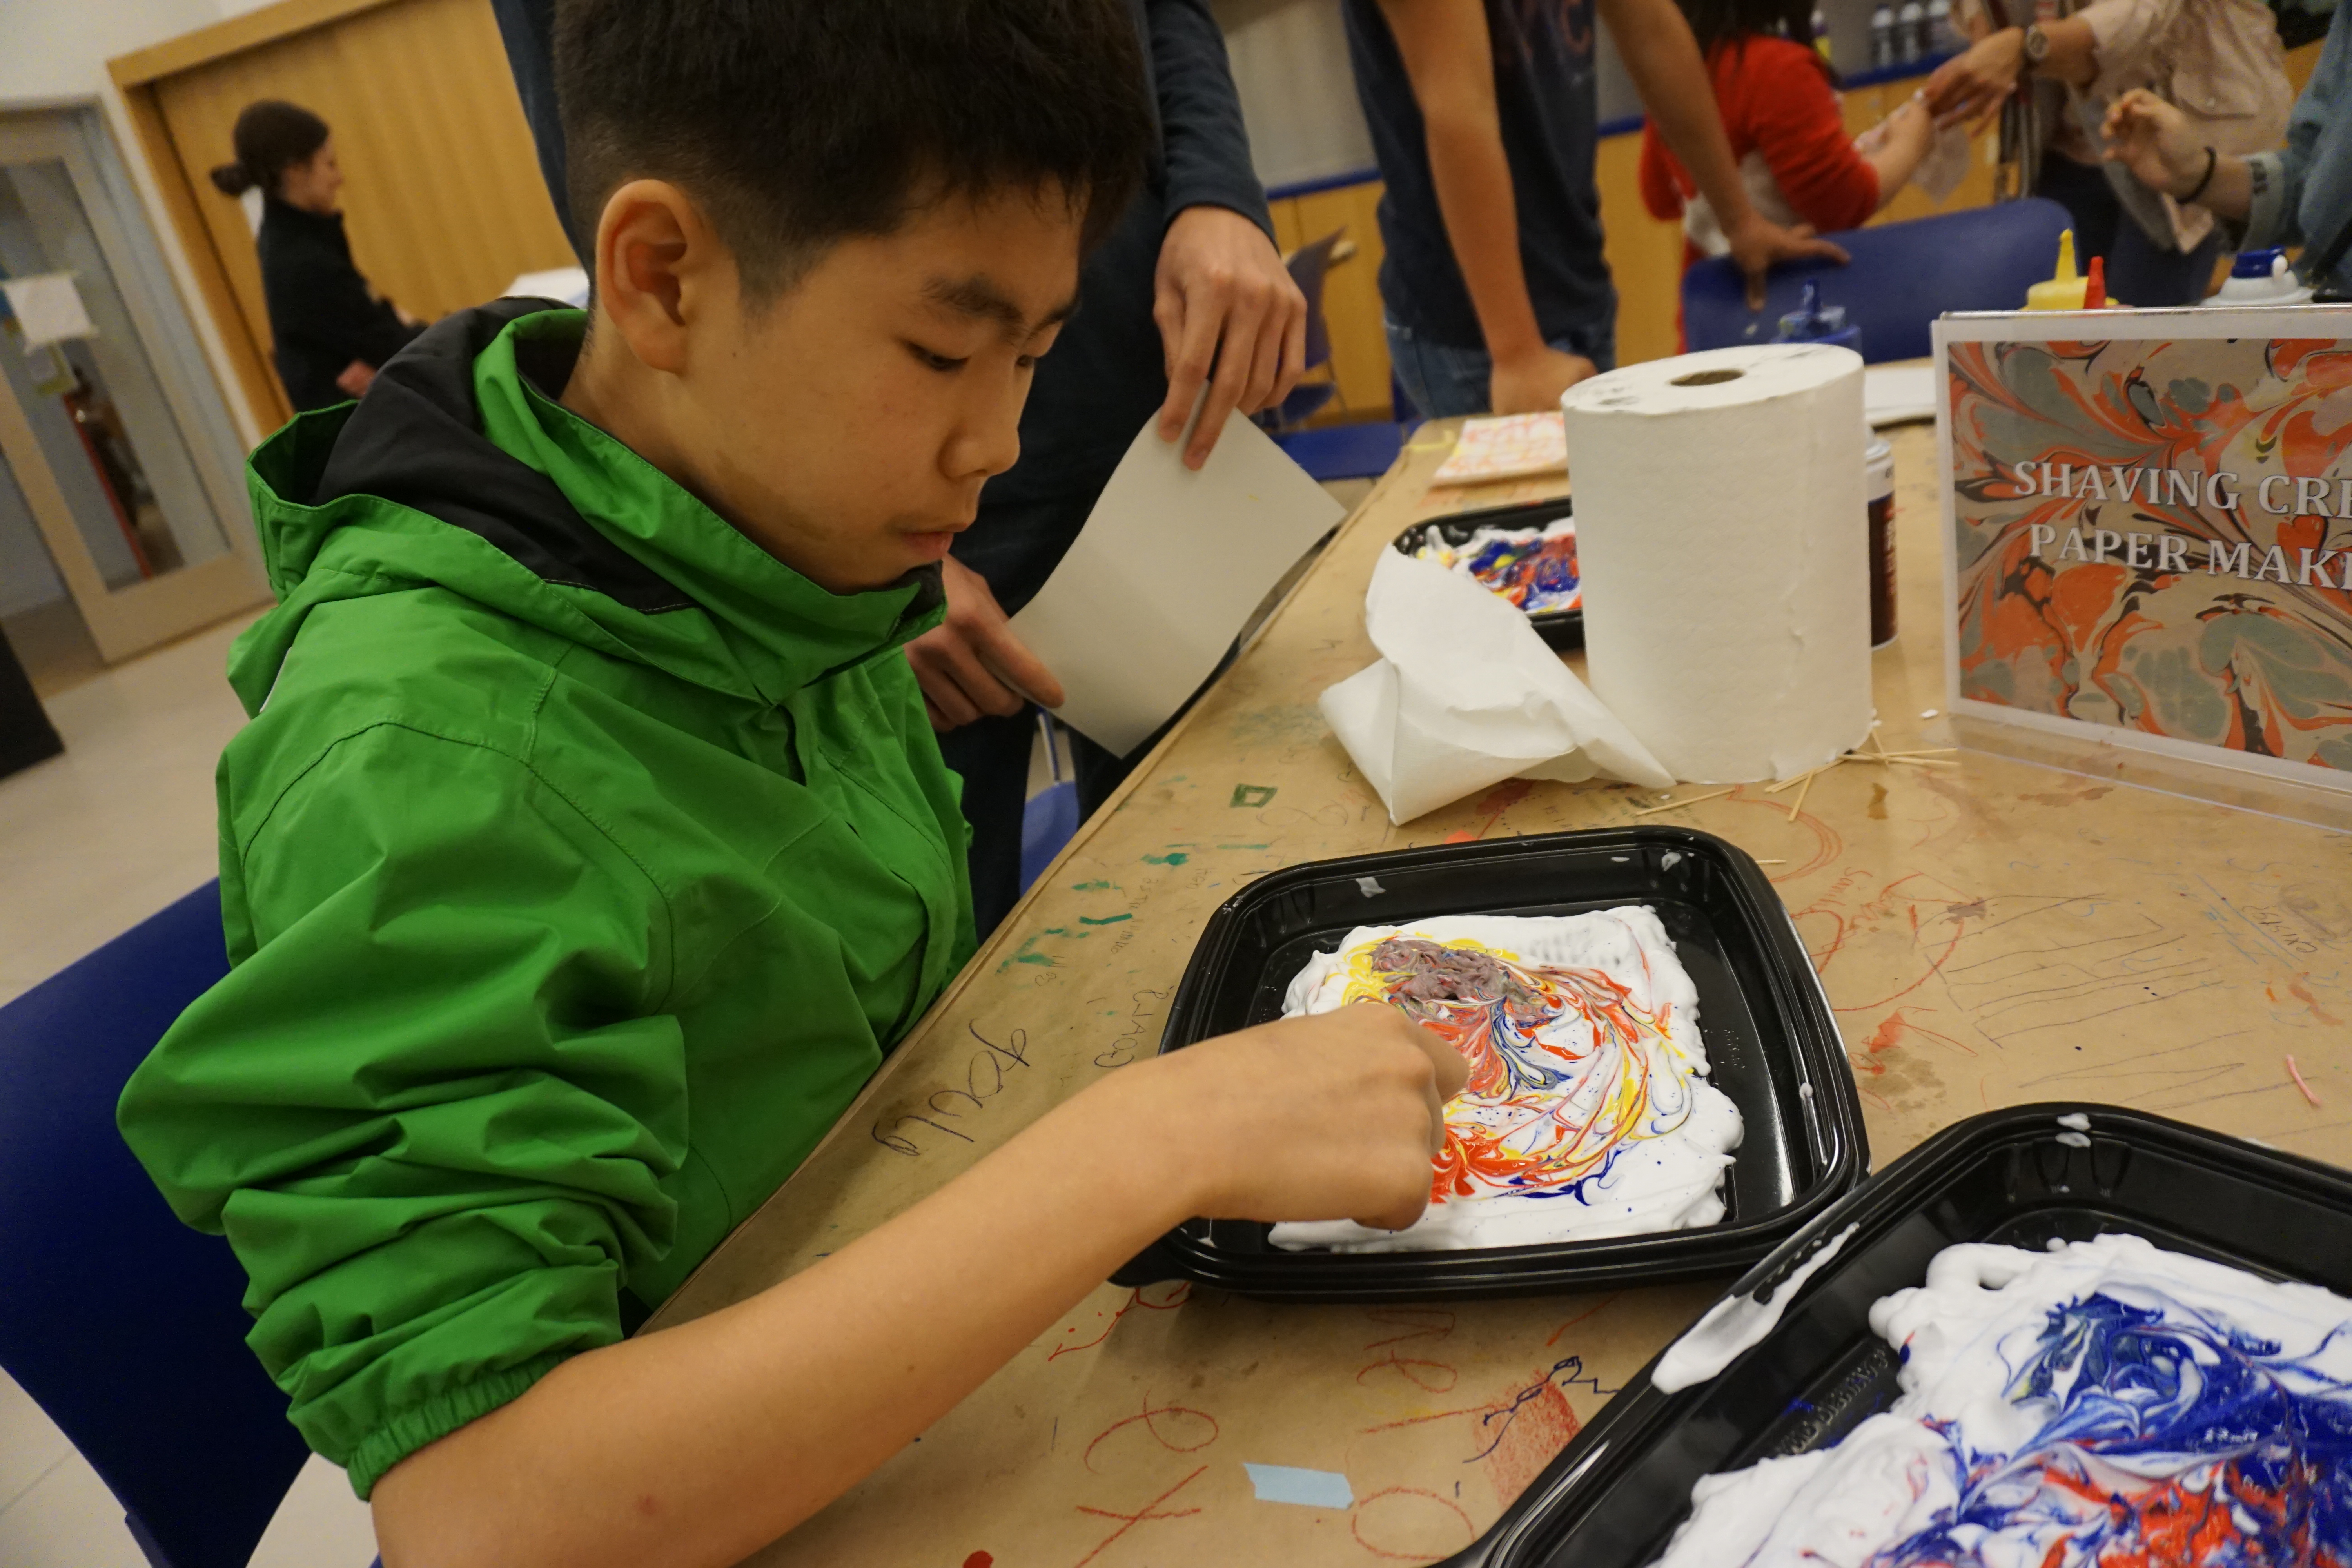
- Drip, drizzle, and drop paint over your flattened shaving cream surface.
-
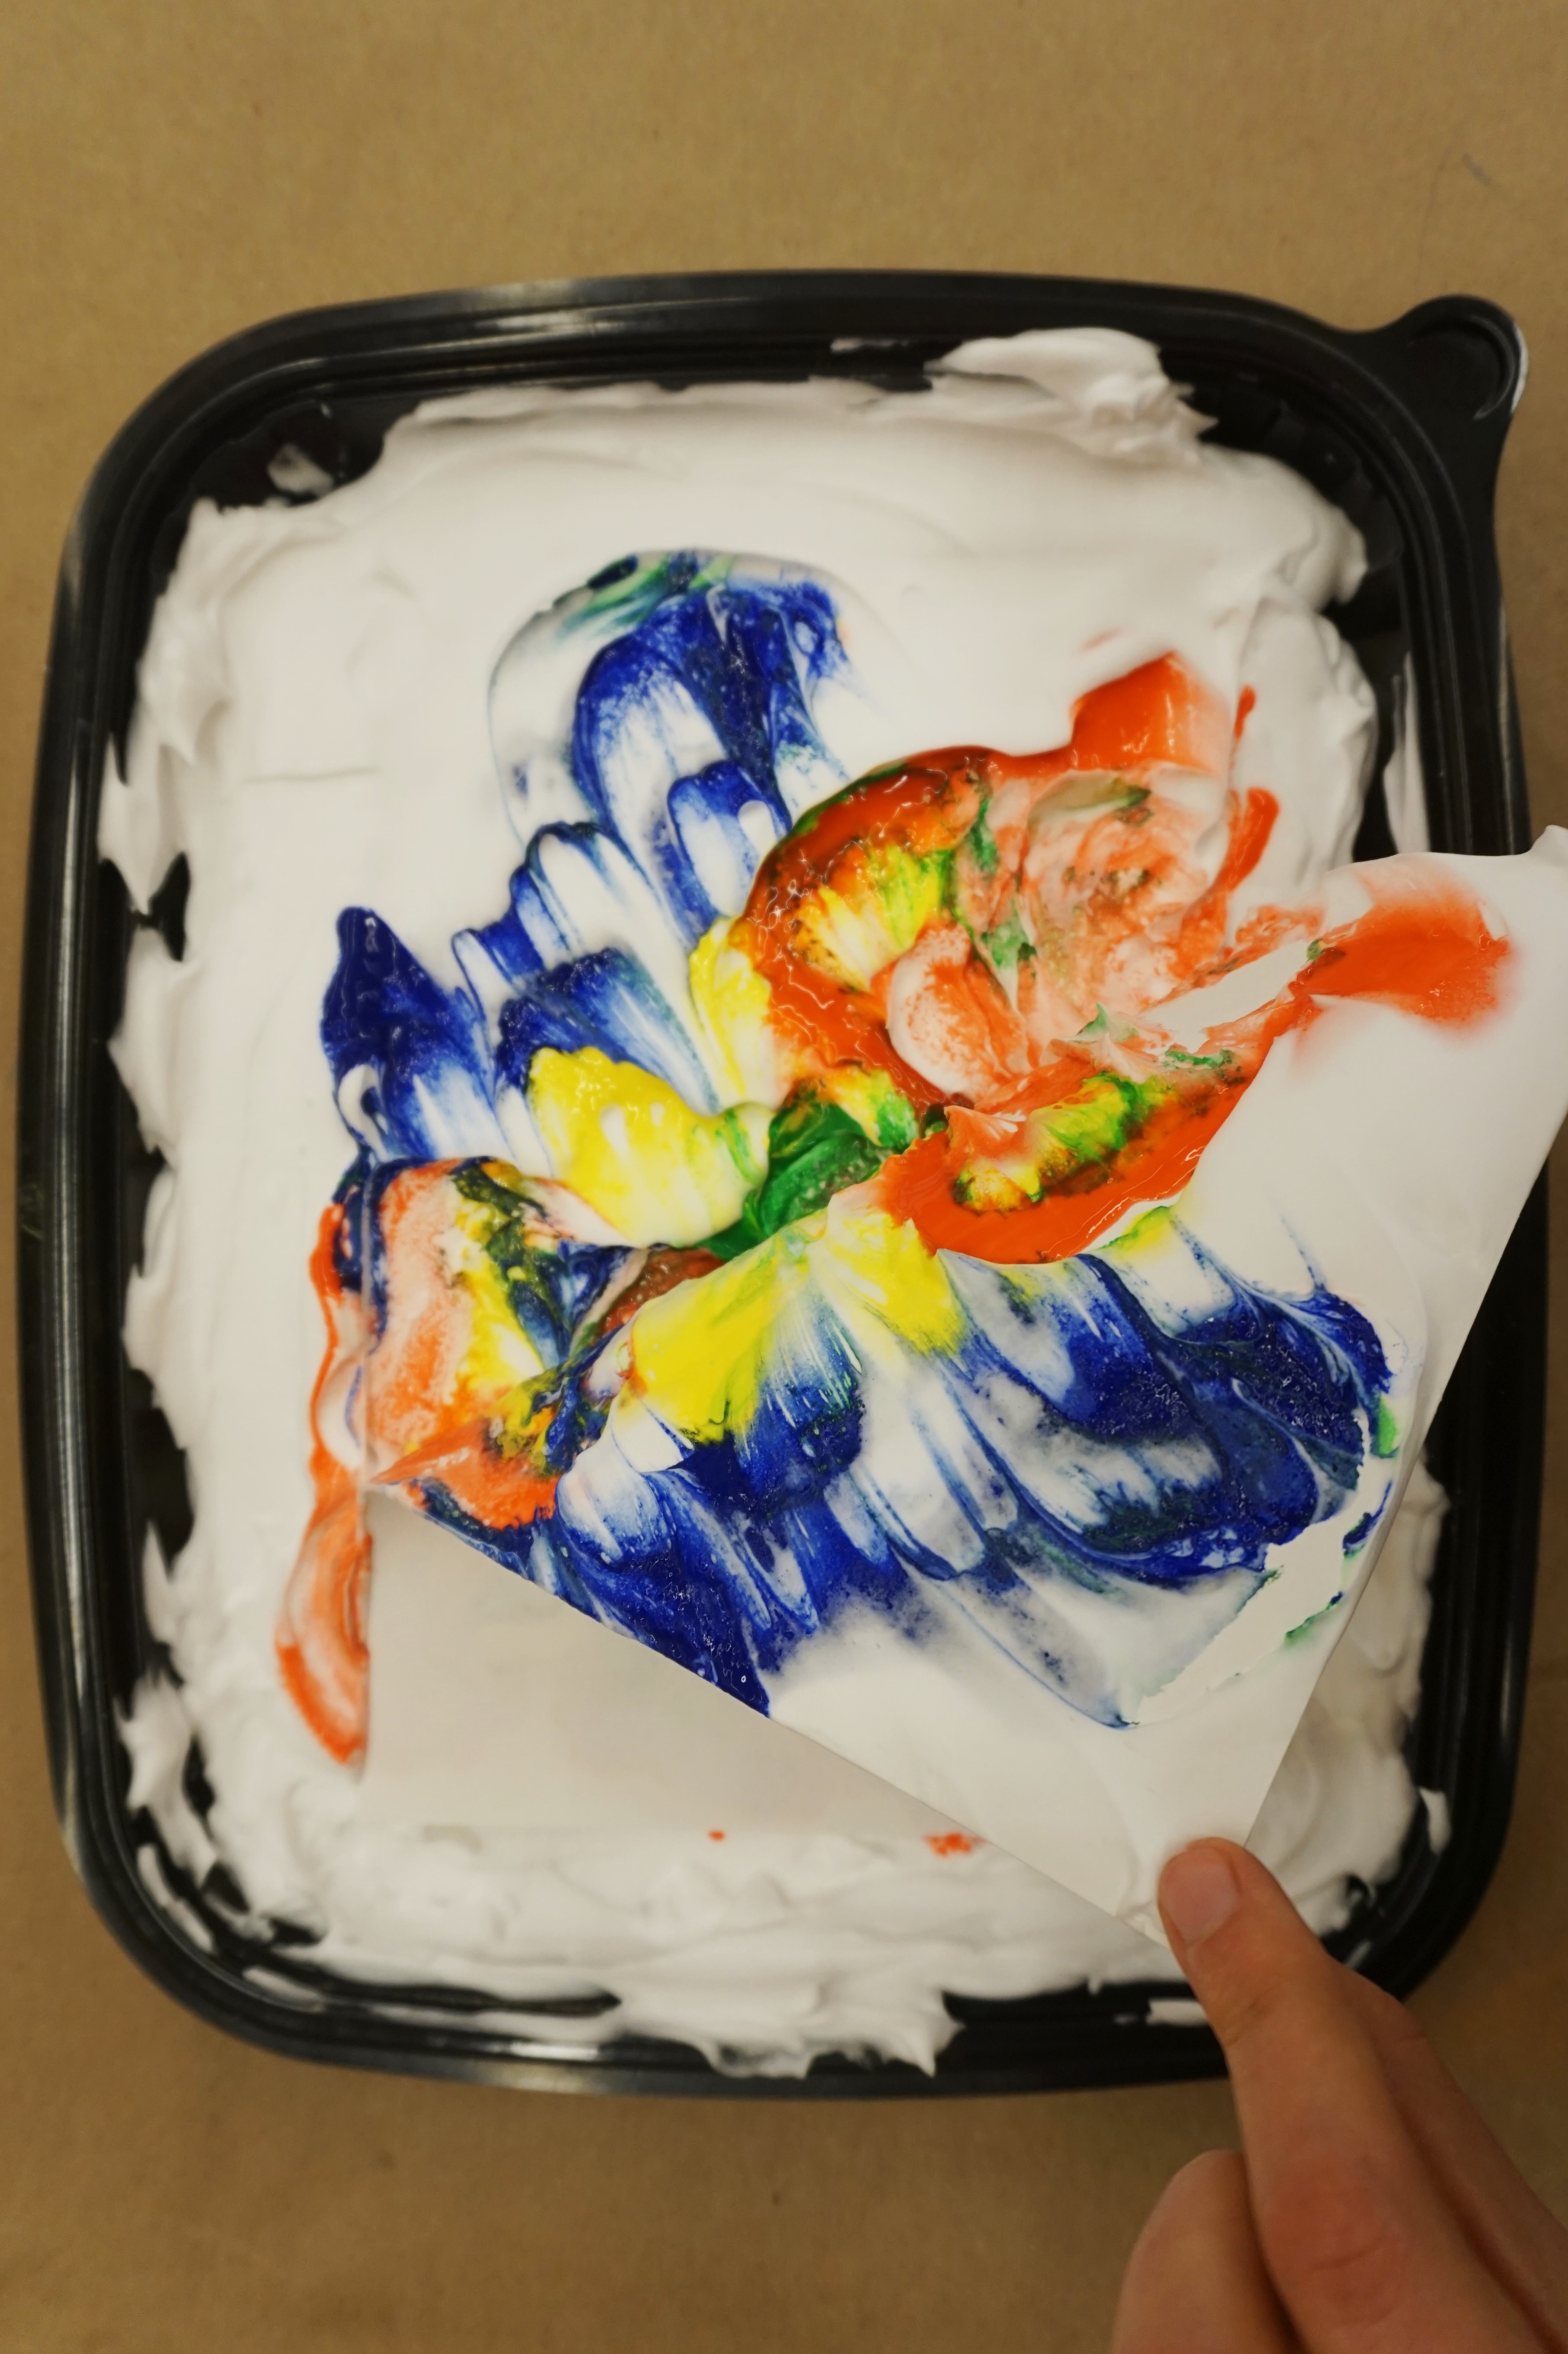
- Press your paper (gently) onto your paint pattern.
-

- Lay flat.
-
- Scrape excess foam and paint off! Your pattern will stay in place.
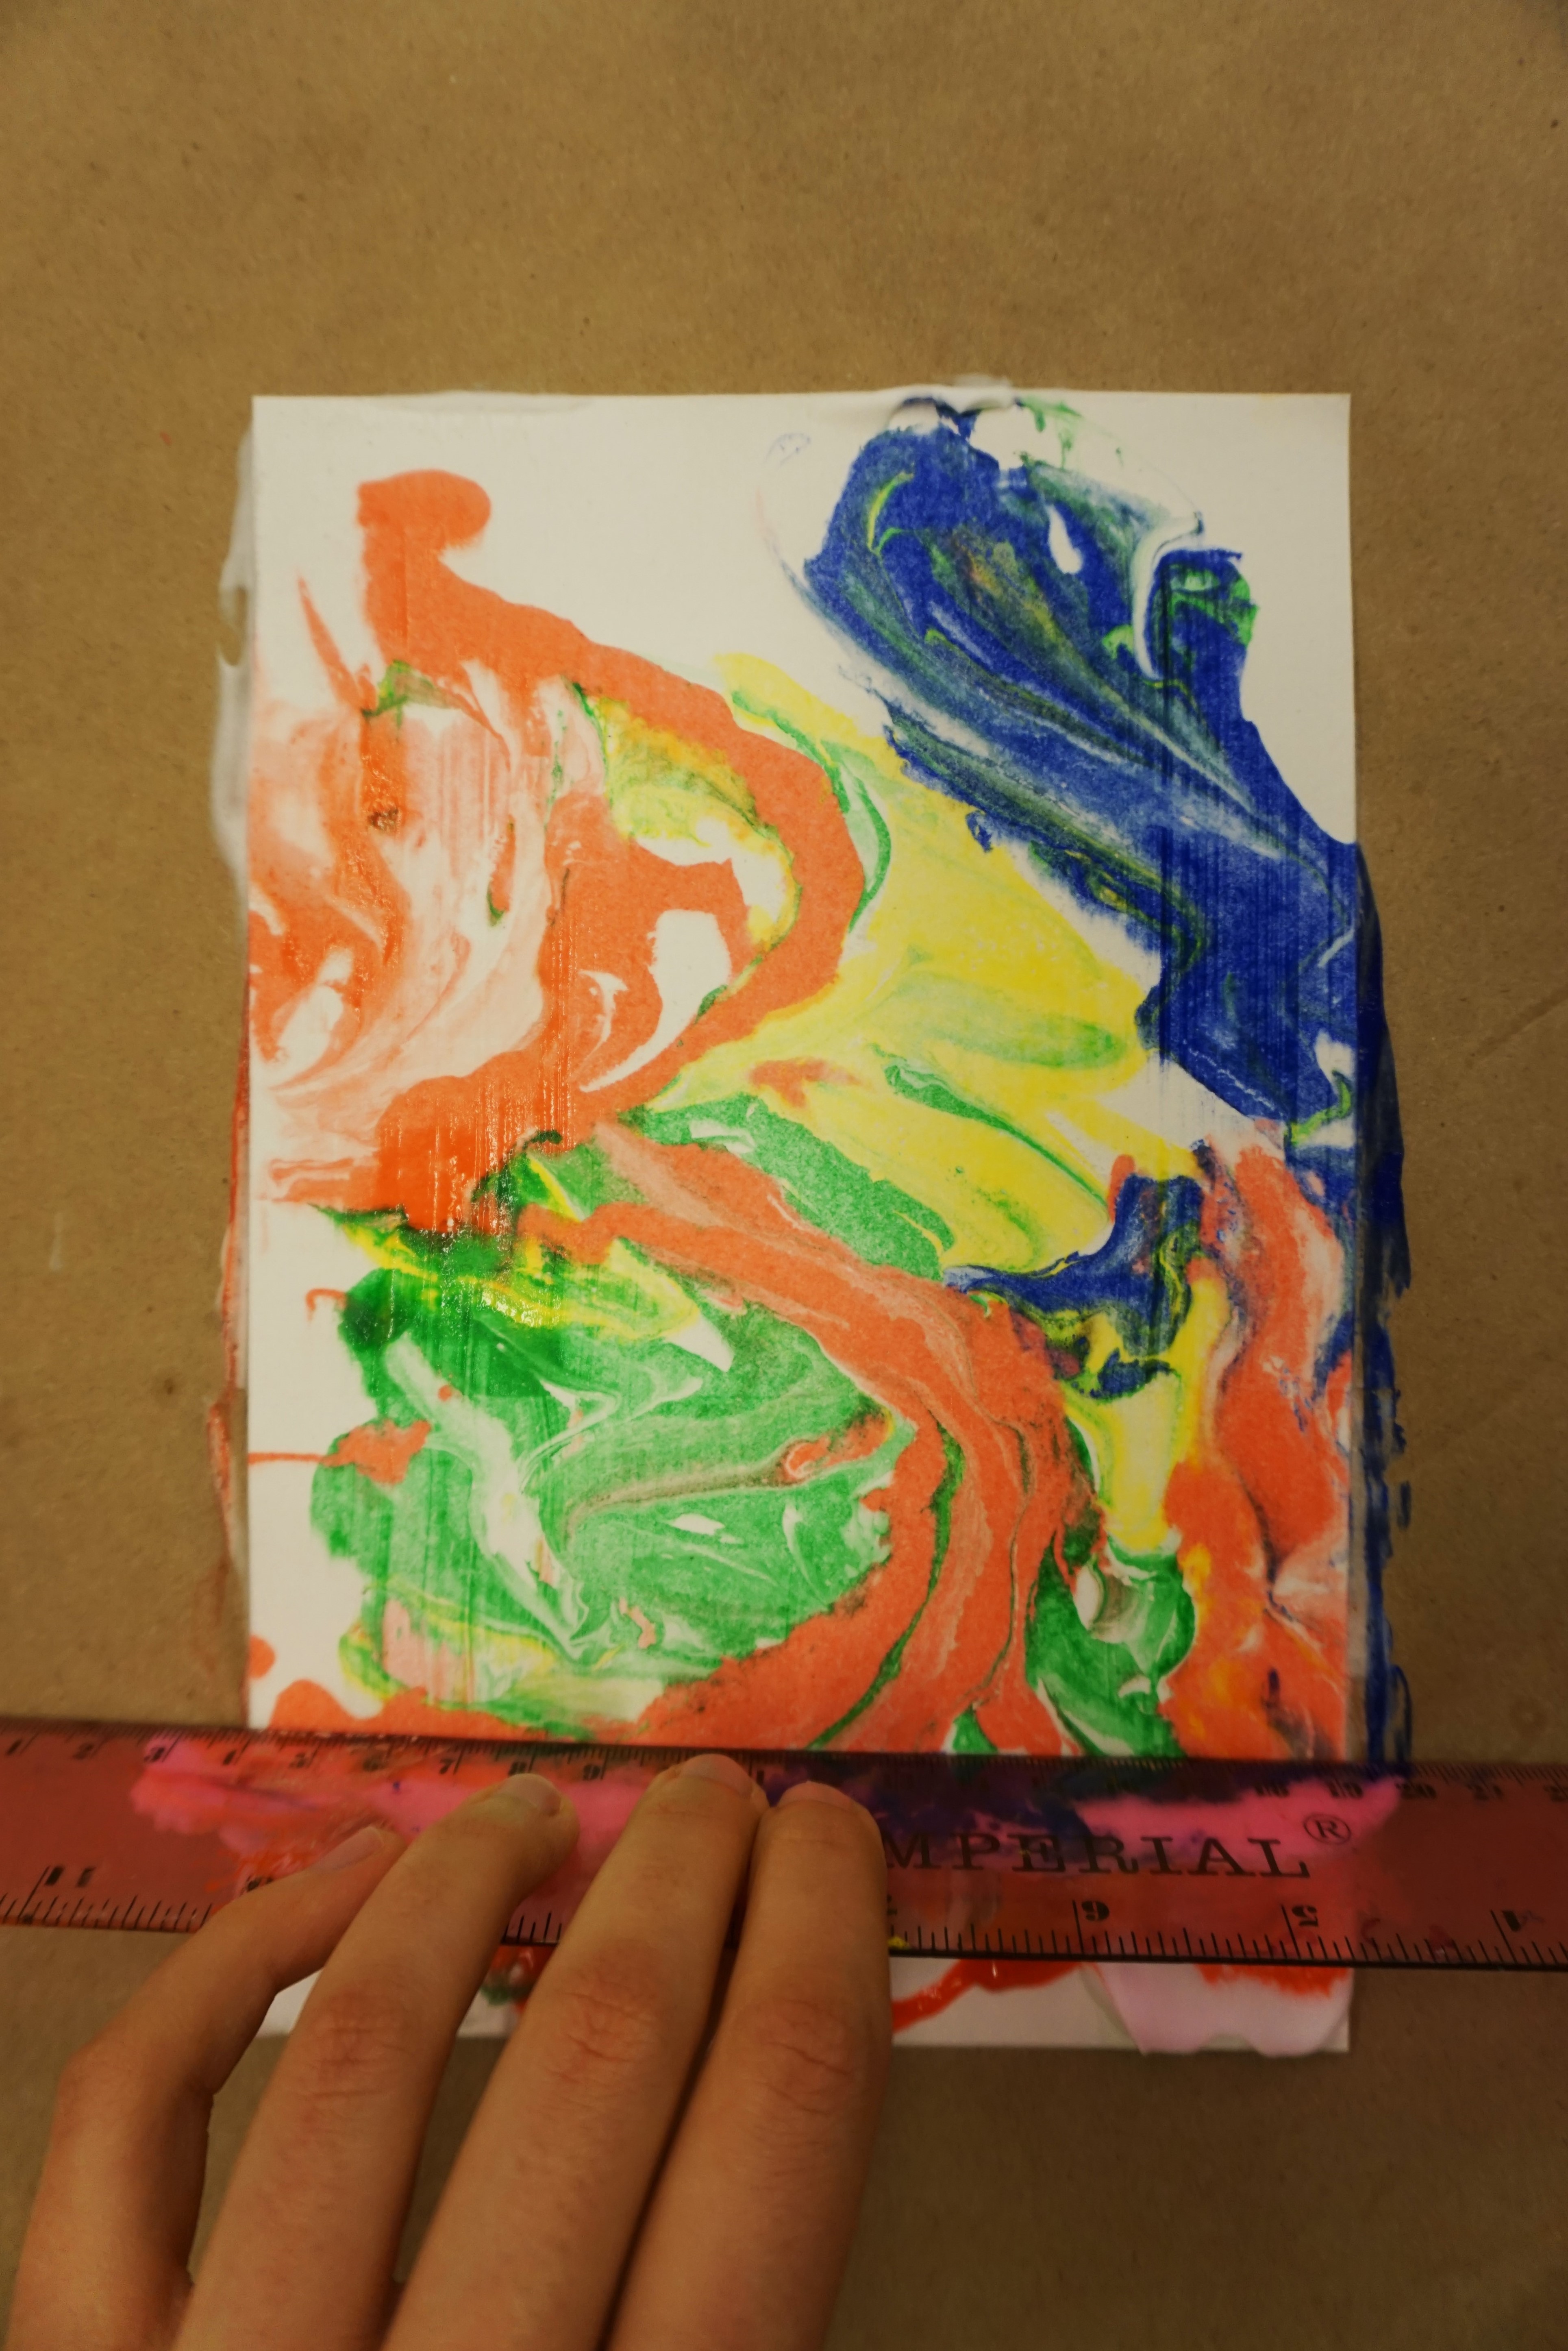
Once you’ve scraped the foam off your print, lay it flat so it can dry. Your paper may start to curl up at the corners, but that’s not anything a little time under a heavy book can’t fix. You can continue to make prints using the remaining shaving cream in your cookie sheet with the paint already there or by adding more paint and swirling with a craft stick again.
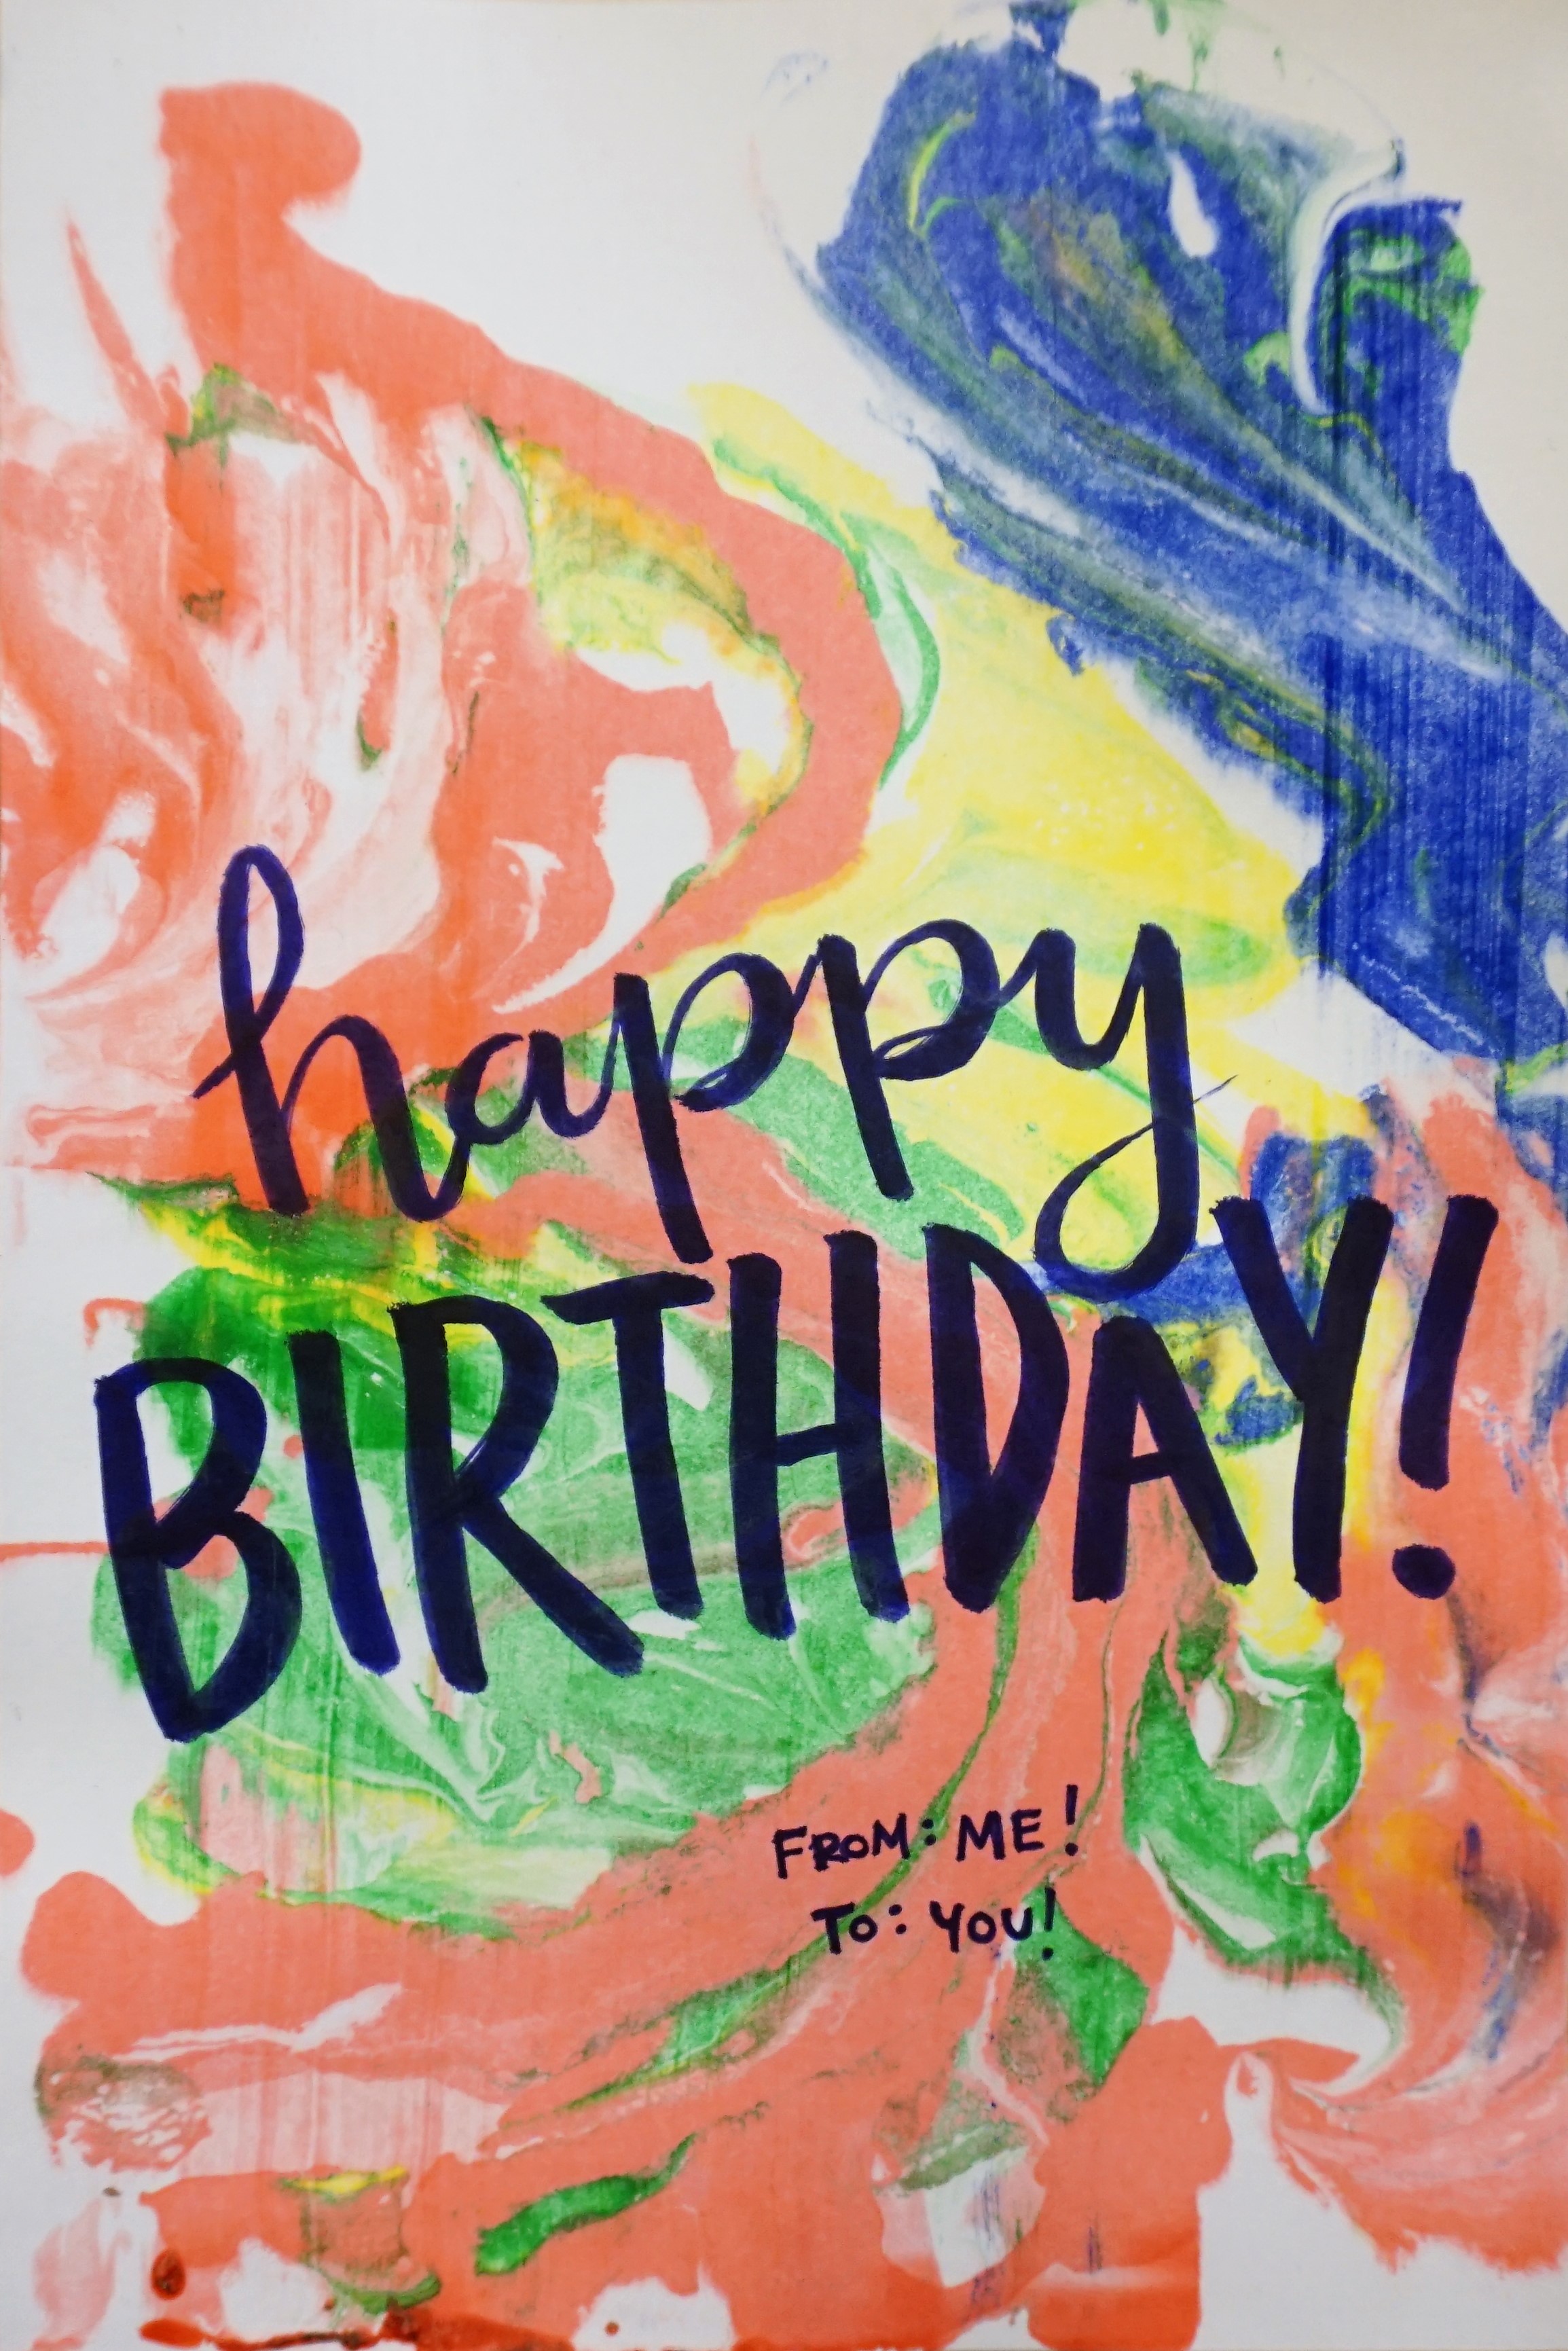
When you’re all done, admire your finished prints as they are or turn them into thank you cards, backgrounds for imaginative drawings, or anything else you can think of!
The neat part about this technique is that it can be used on more than just paper. Try using acrylic or fabric paint to print cool rainbow bandanas. Even food coloring can be used to dye Easter eggs! For more fun, check out these other shaving cream ideas:
- Shaving Cream Clouds on a Mirror
- Rainbow Rain Clouds
- Shaving Cream Kinetic Sand
- Shivery Snow Paint
- Color-Mixing Sensory Bags
- Drawing with Shaving Cream on a Window
What crazy craft can you come up with?
Jennifer Sheppard
Teaching Specialist