Have you ever wondered what a painting might sound like if you could listen to it? With conductive ink, a Makey Makey, and some basic software, you can add a new level of interactivity to your artwork through the use of sound! In this guide, I’ll show you how to make a print that will make sounds when you touch it. These sounds are completely reprogrammable and can be changed on the fly, giving you lots of possibilities for what you can create.
A Makey Makey is an interface that connects to your computer which allows you to create your own tactile inputs that will take the place of certain keys on your keyboard.
The Makey Makey can be connected to different conductive materials to replace your keyboard’s arrow keys, space bar, mouse button, and more
For the purpose of this project, you’ll be using conductive ink to create three interactive areas on your work of art that will be hooked up to the Makey Makey and act in place of the arrow keys on your computer. We’ll then use Soundplant to map different sounds to those keys, which will allow those areas to play a sound when touched.
Supplies:
- Copy paper for making a stencil
- Exacto knife
- Cutting mat
- Conductive ink
- Screen printing screen
- Squeegee
- Heavy printing paper
- Copper tape (optional)
- Makey Makey kit ($45; MakeyMakey.com)
- Soundplant software
- Computer
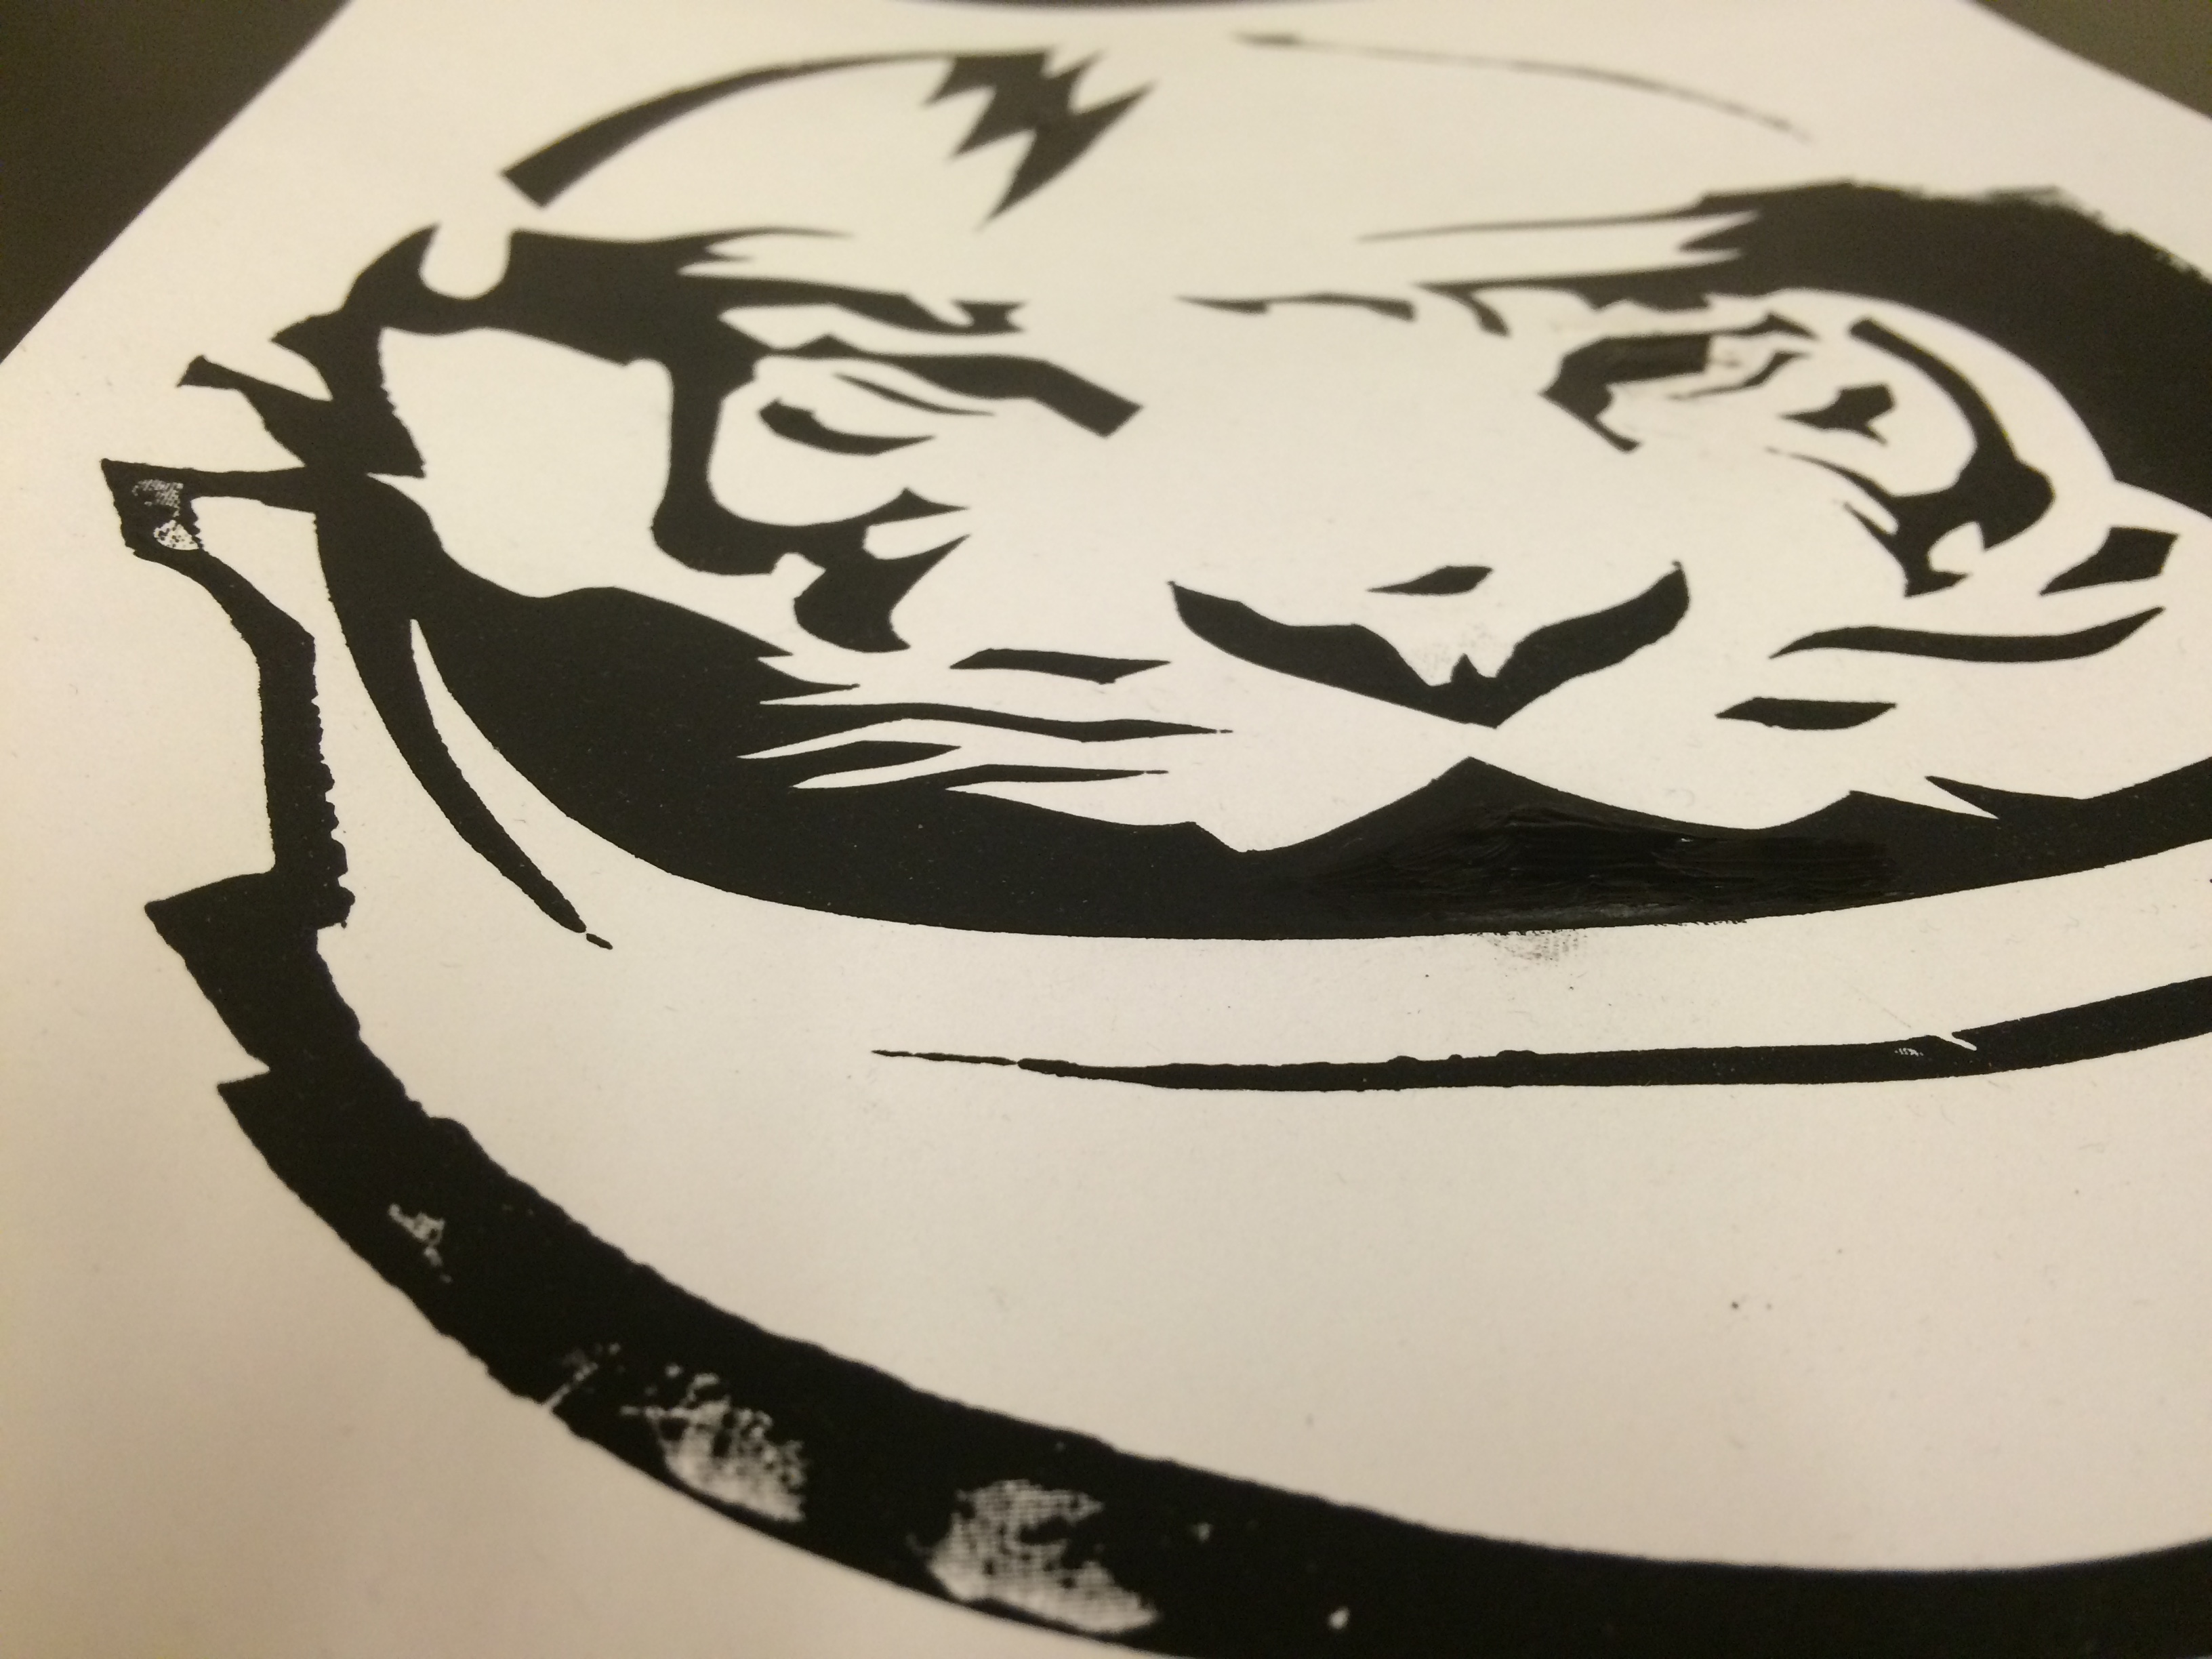
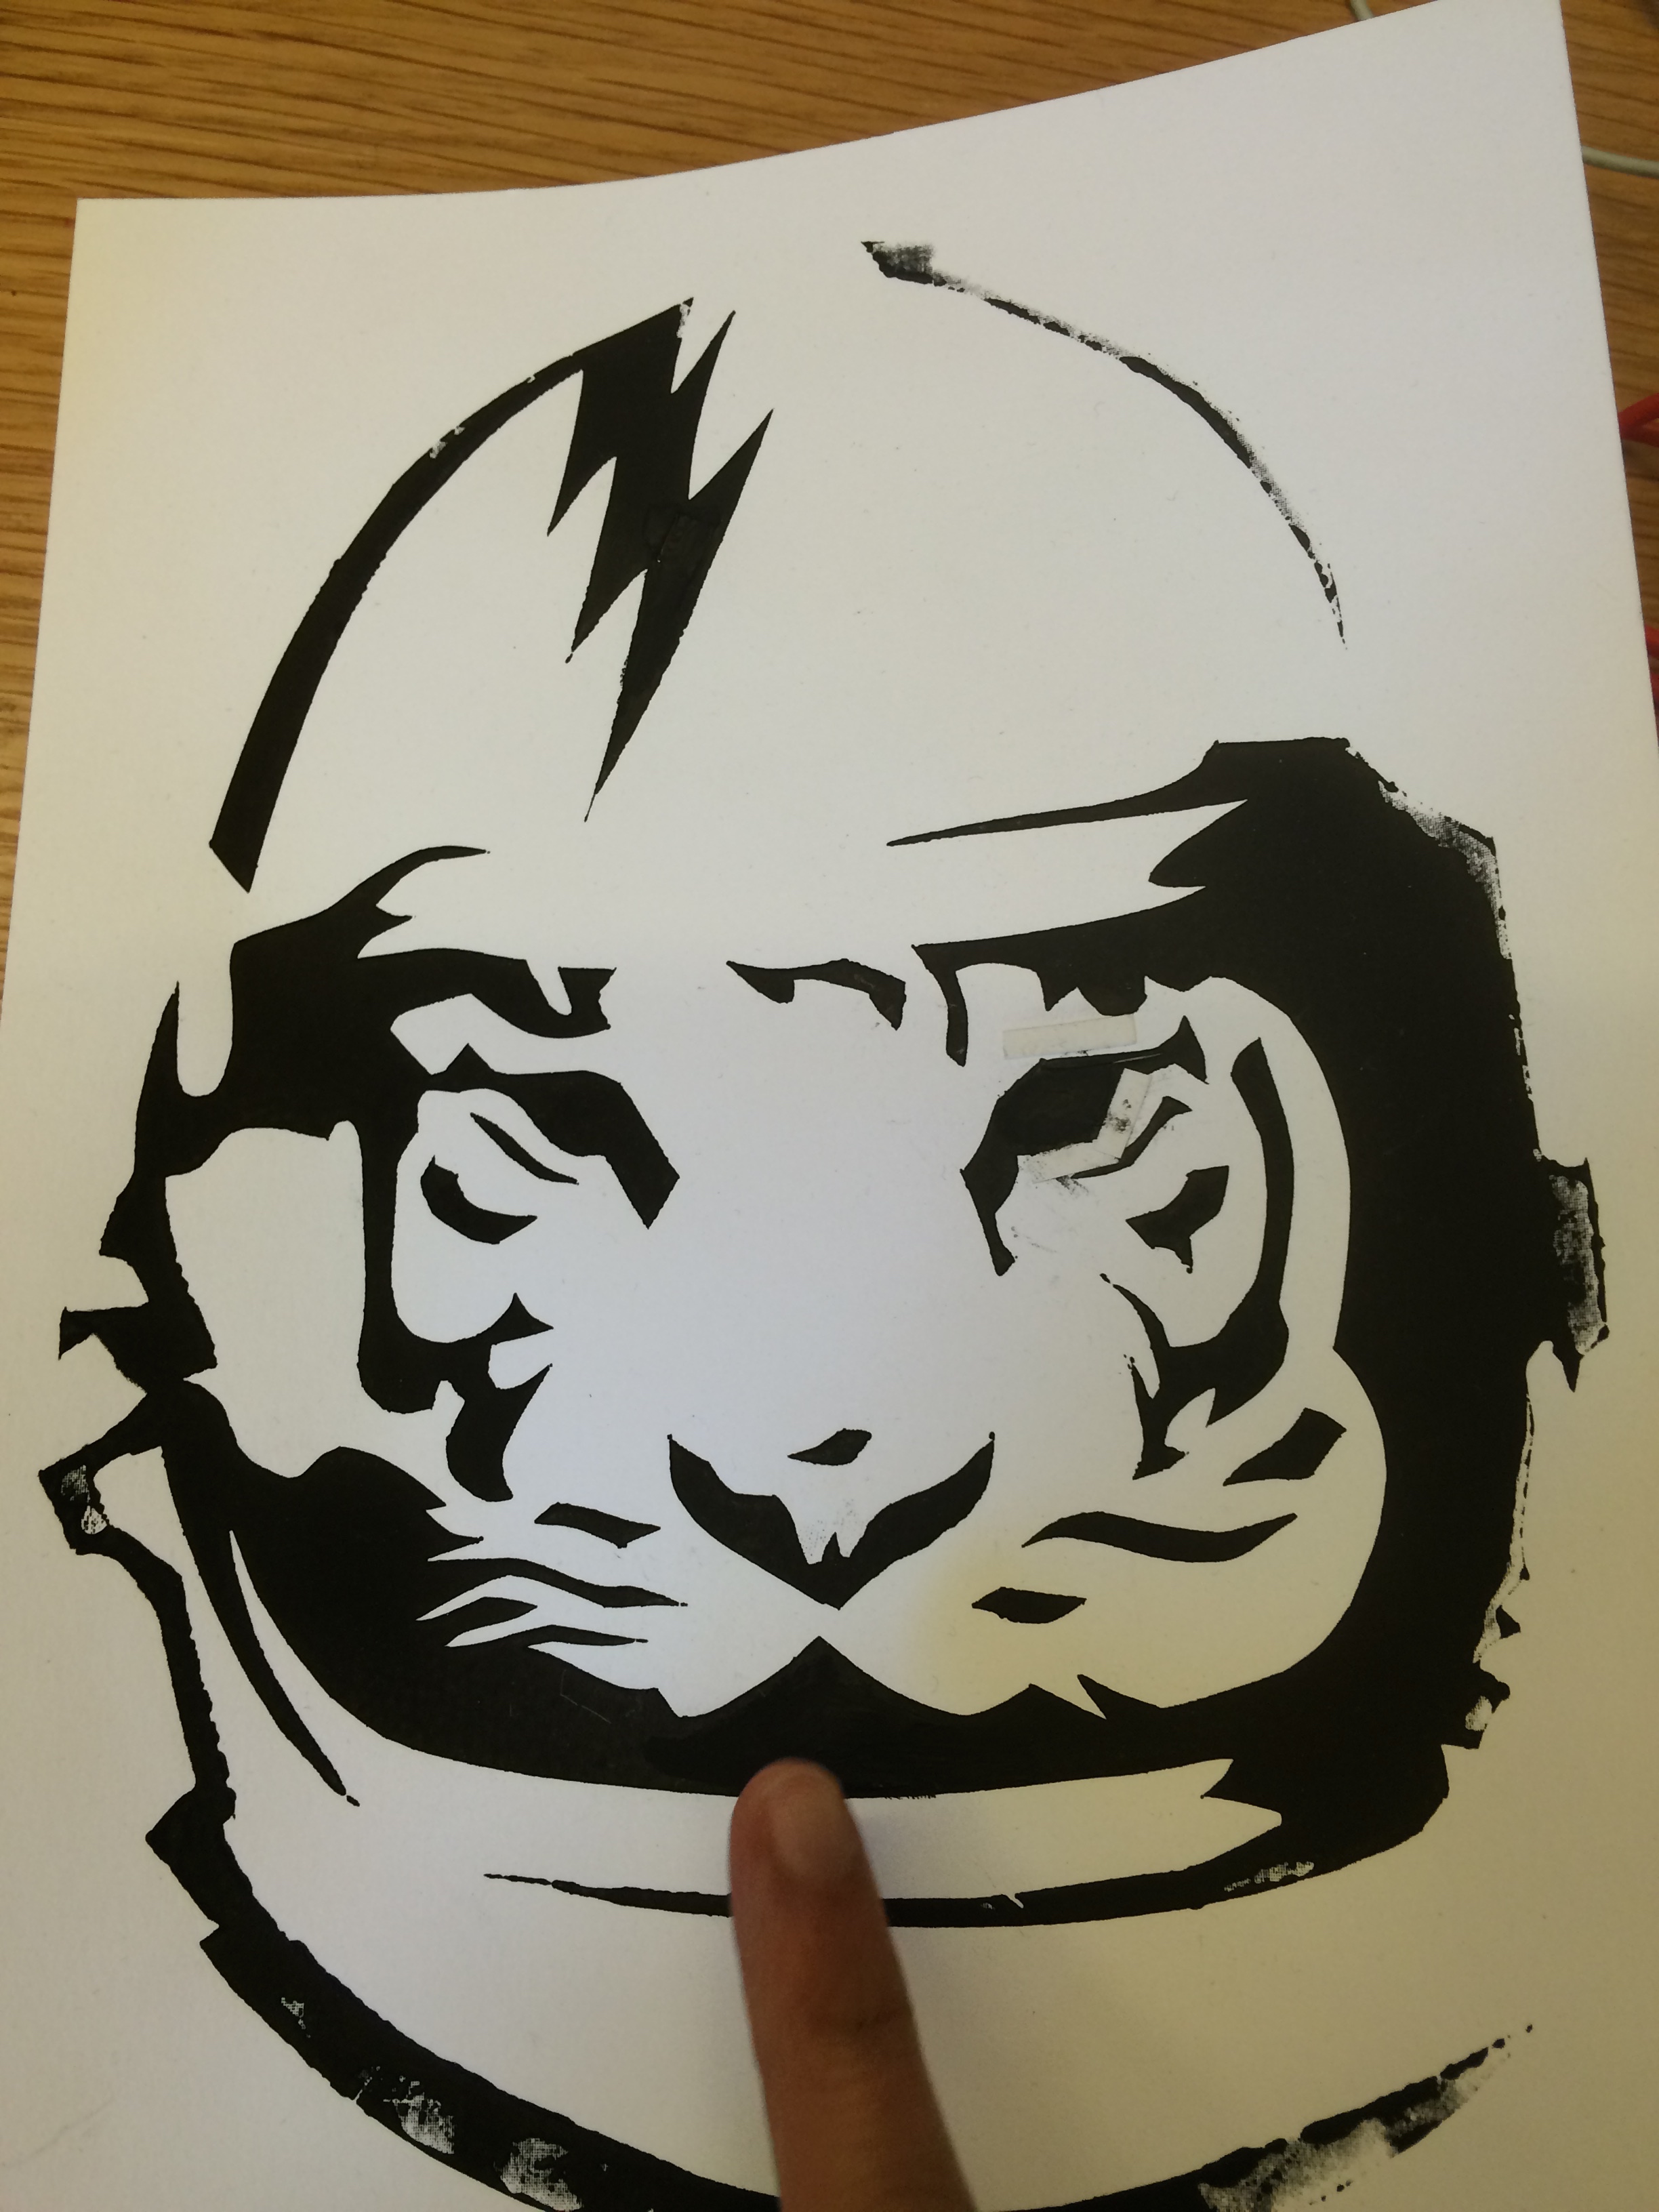
Step 1: Screen print your image with the conductive ink.
I like the paper stencil method, but use whatever technique you like best. For help on printmaking with stencils, check out my past post on screen printing. Let your print dry fully before proceeding. 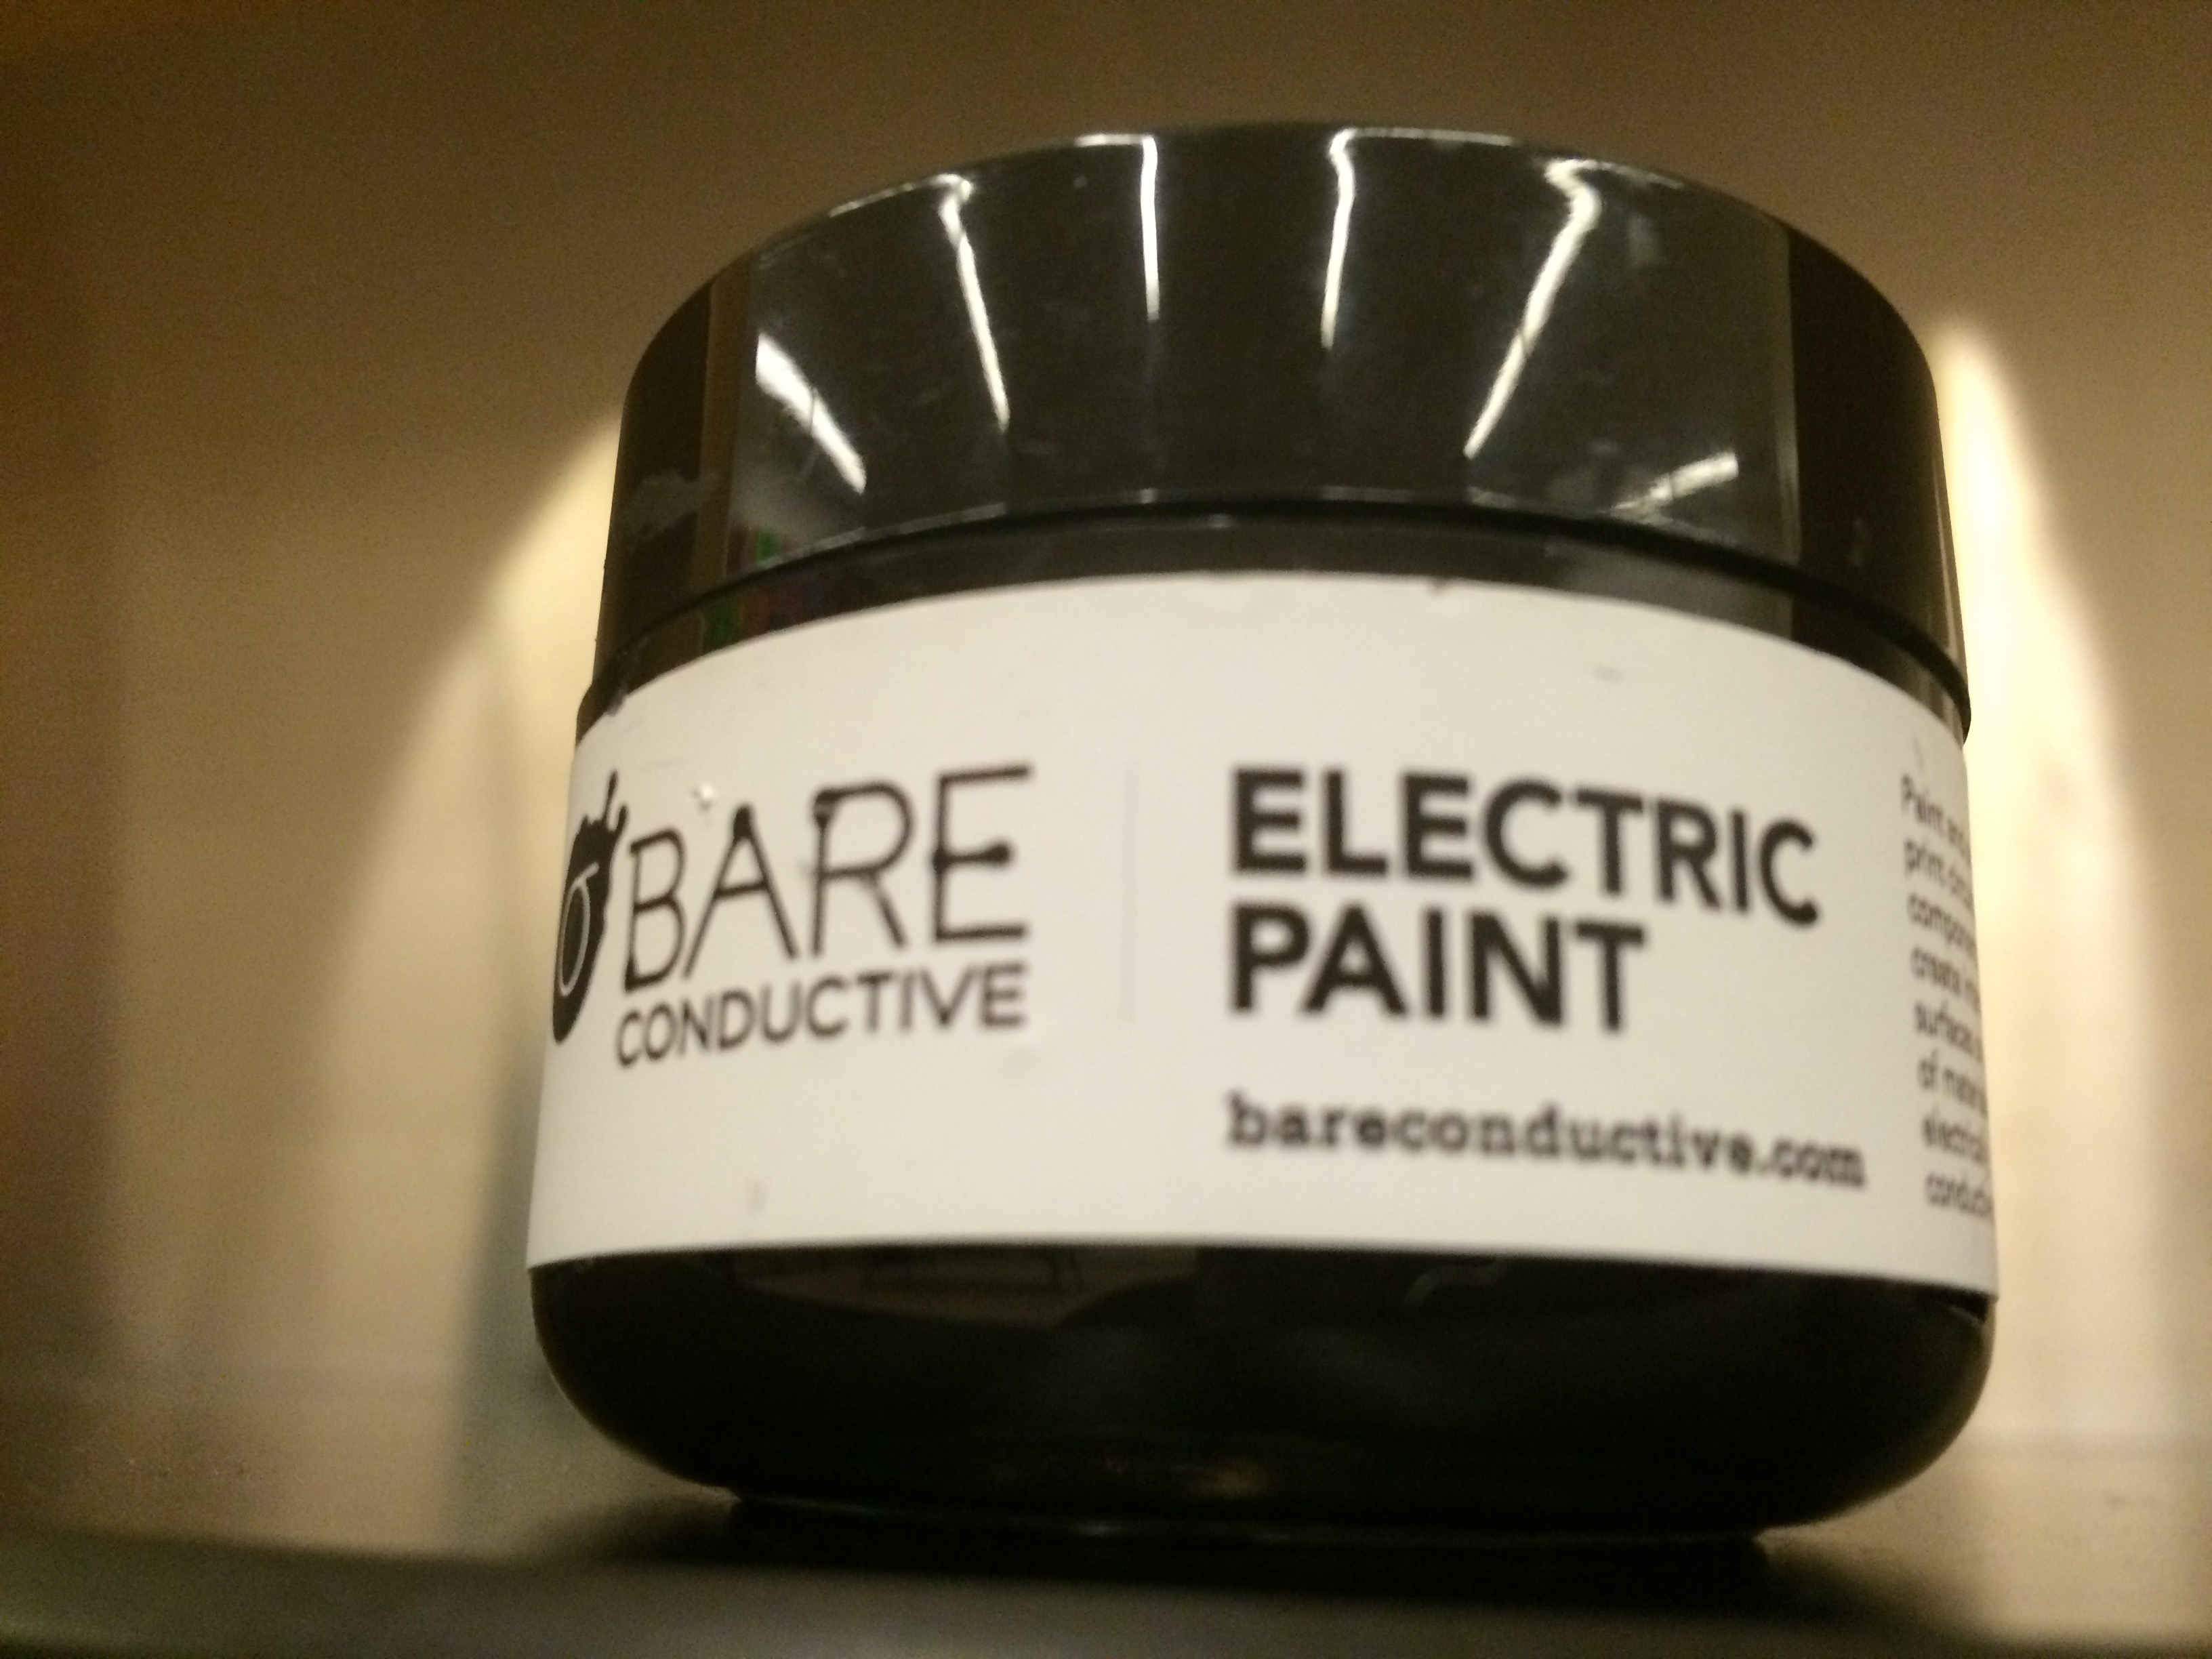

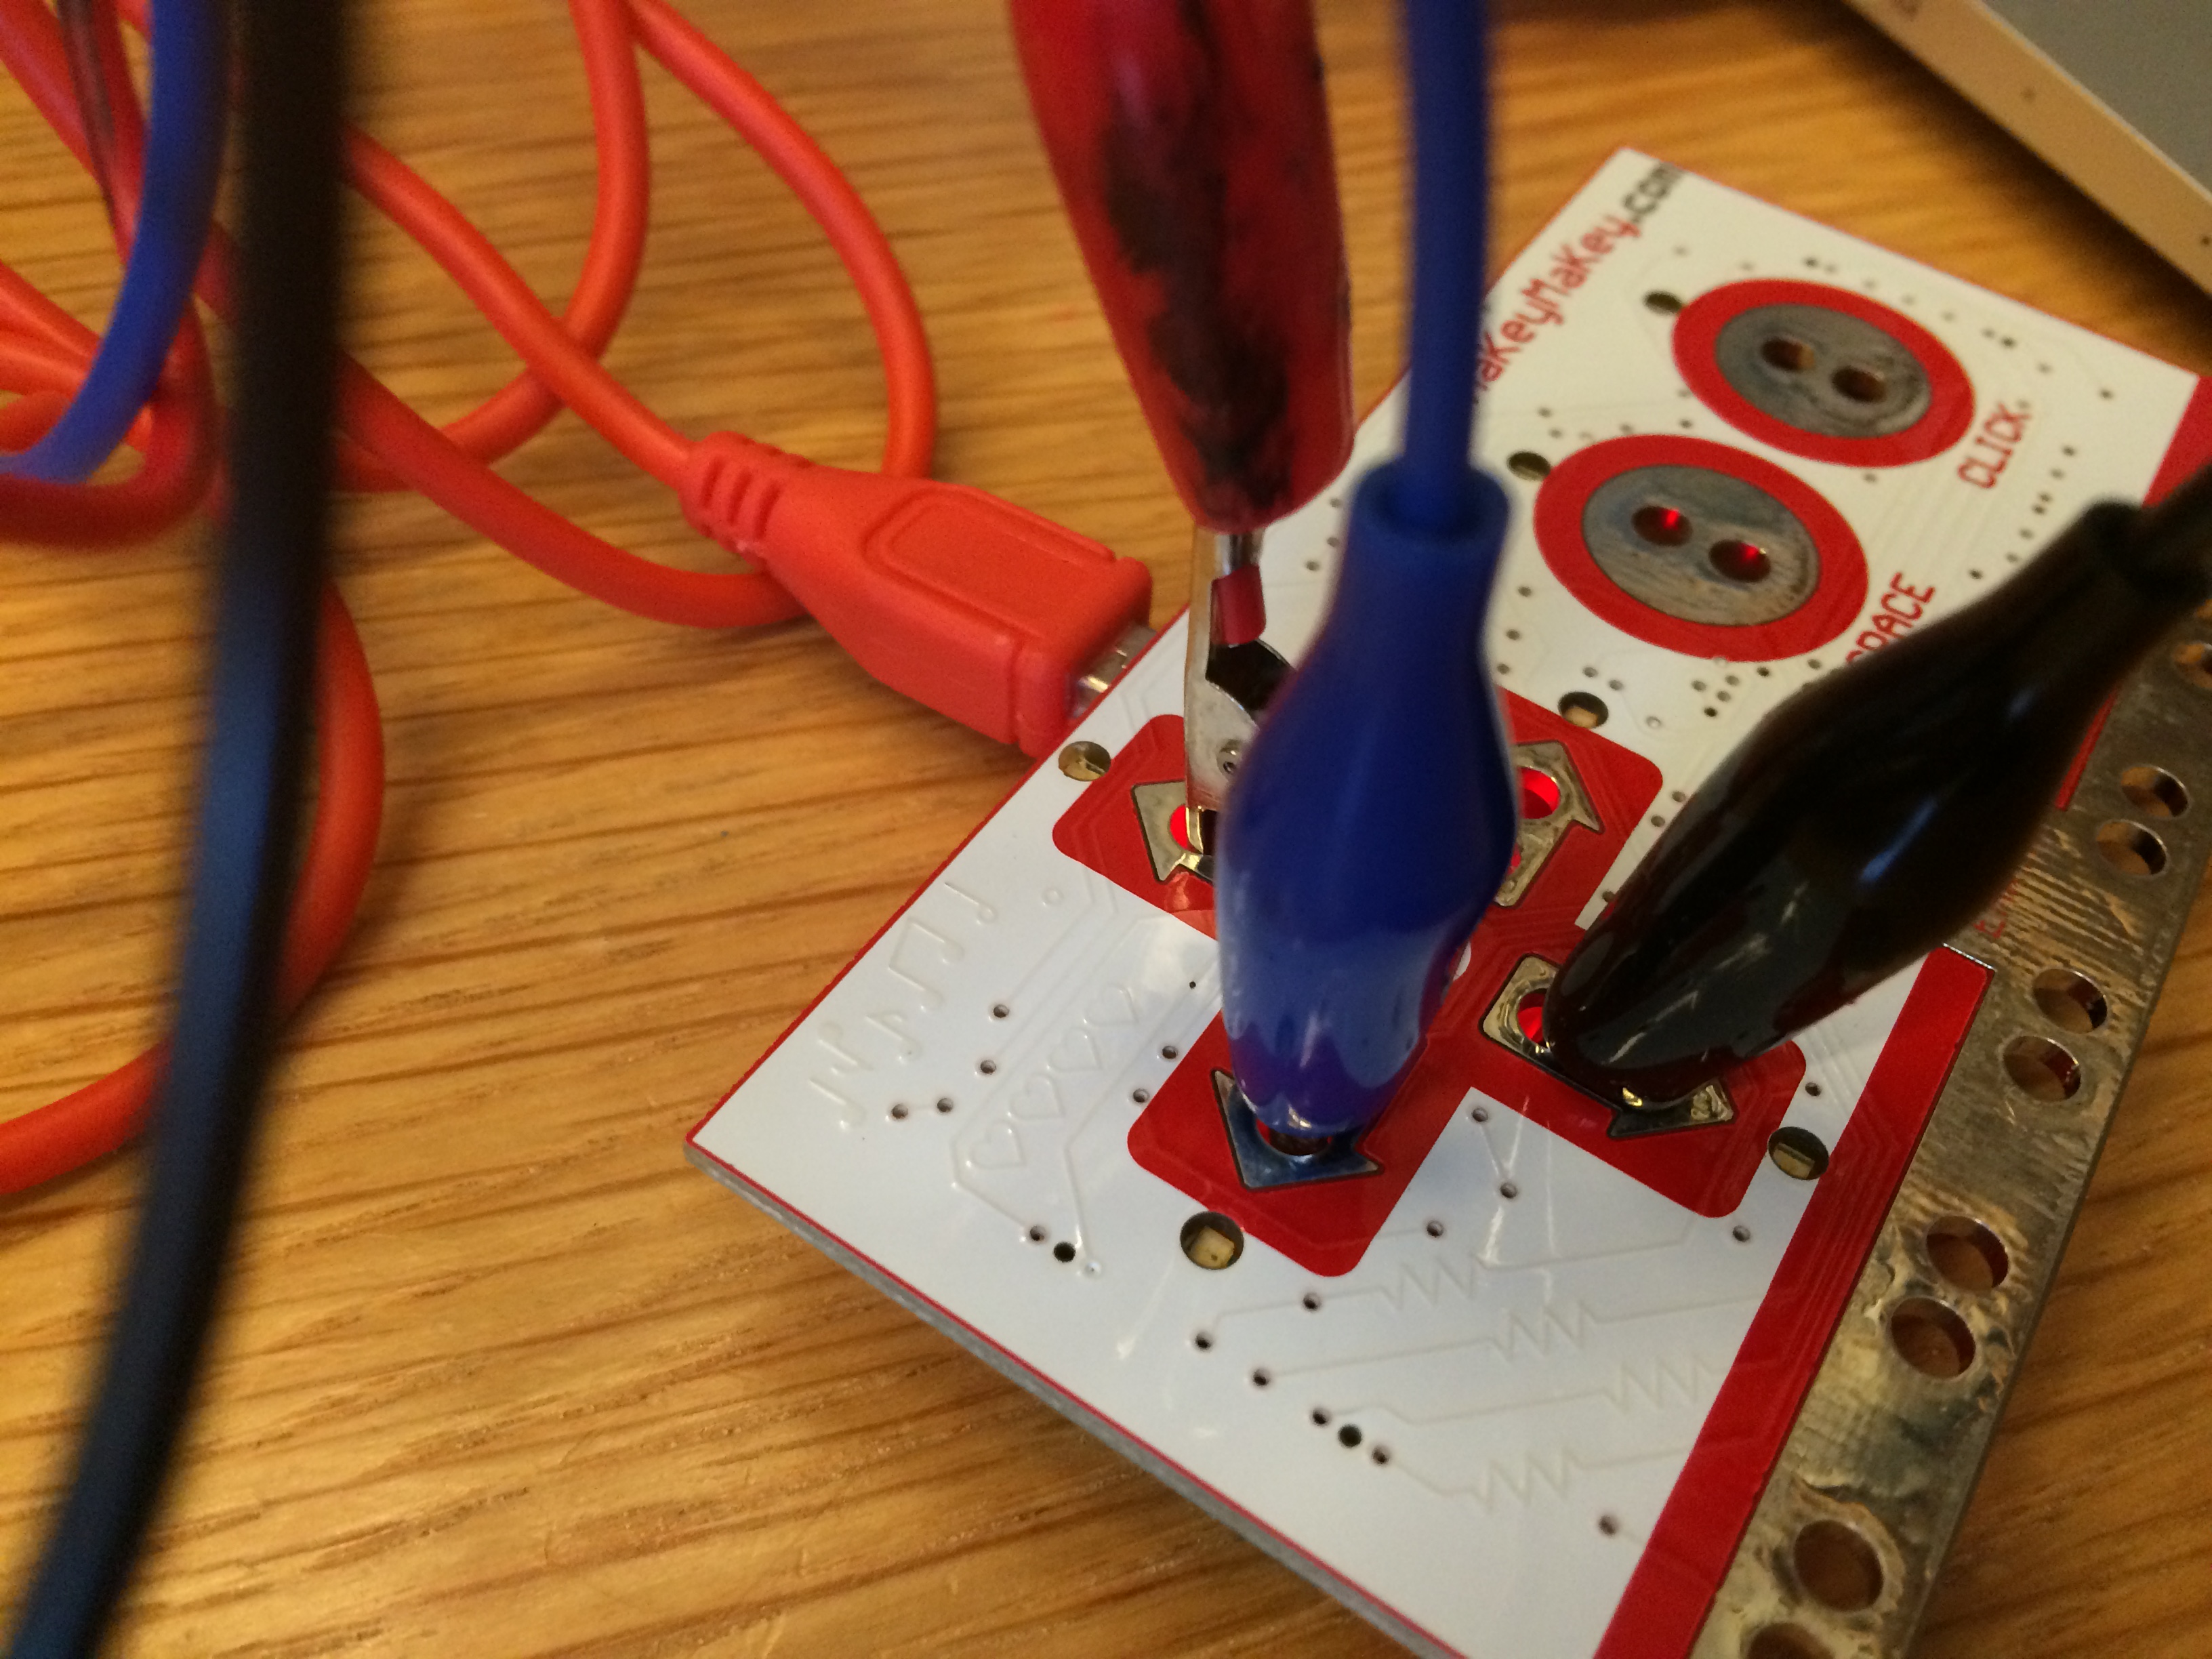
Step 2: Connect your print to the Makey Makey.
Again, for the purpose of this post, I’m choosing three areas on my print that will activate the Makey Makey when they are touched. You can connect them directly to the device using alligator clips (included in the kit). Remember to connect the clips to the proper inputs on the Makey Makey–in this case, the left, right, and up arrows.

Step 3: Upload some sounds.
I found a bunch of sounds for this project using free online sound libraries and saved them as mp3 flies on my computer. The Soundplant site has some good suggestions for libraries to use. I tried to look for sounds that would complement my print in a weird or unexpected way.
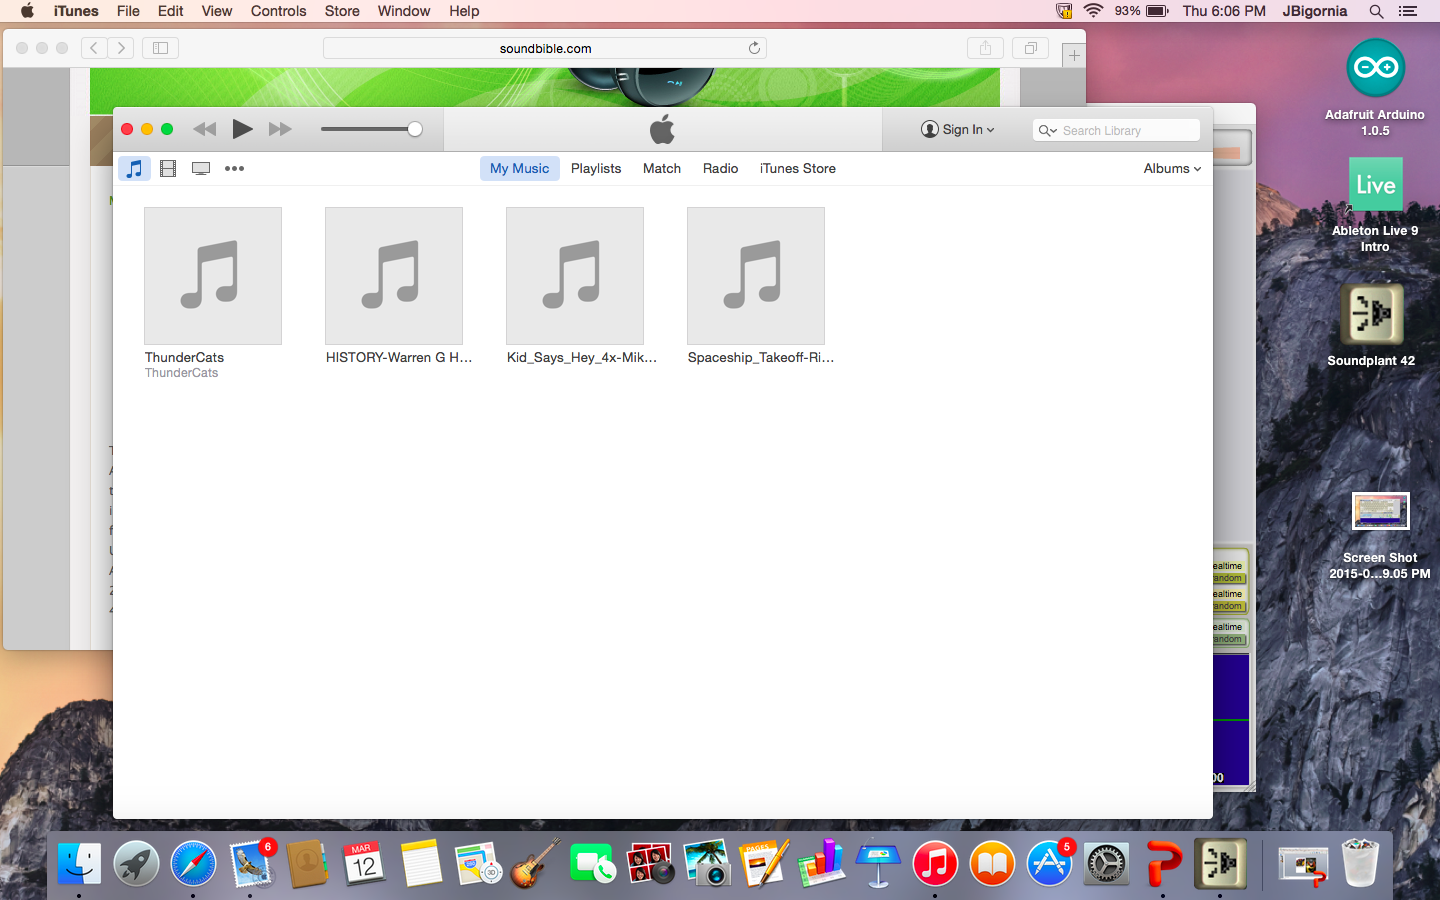
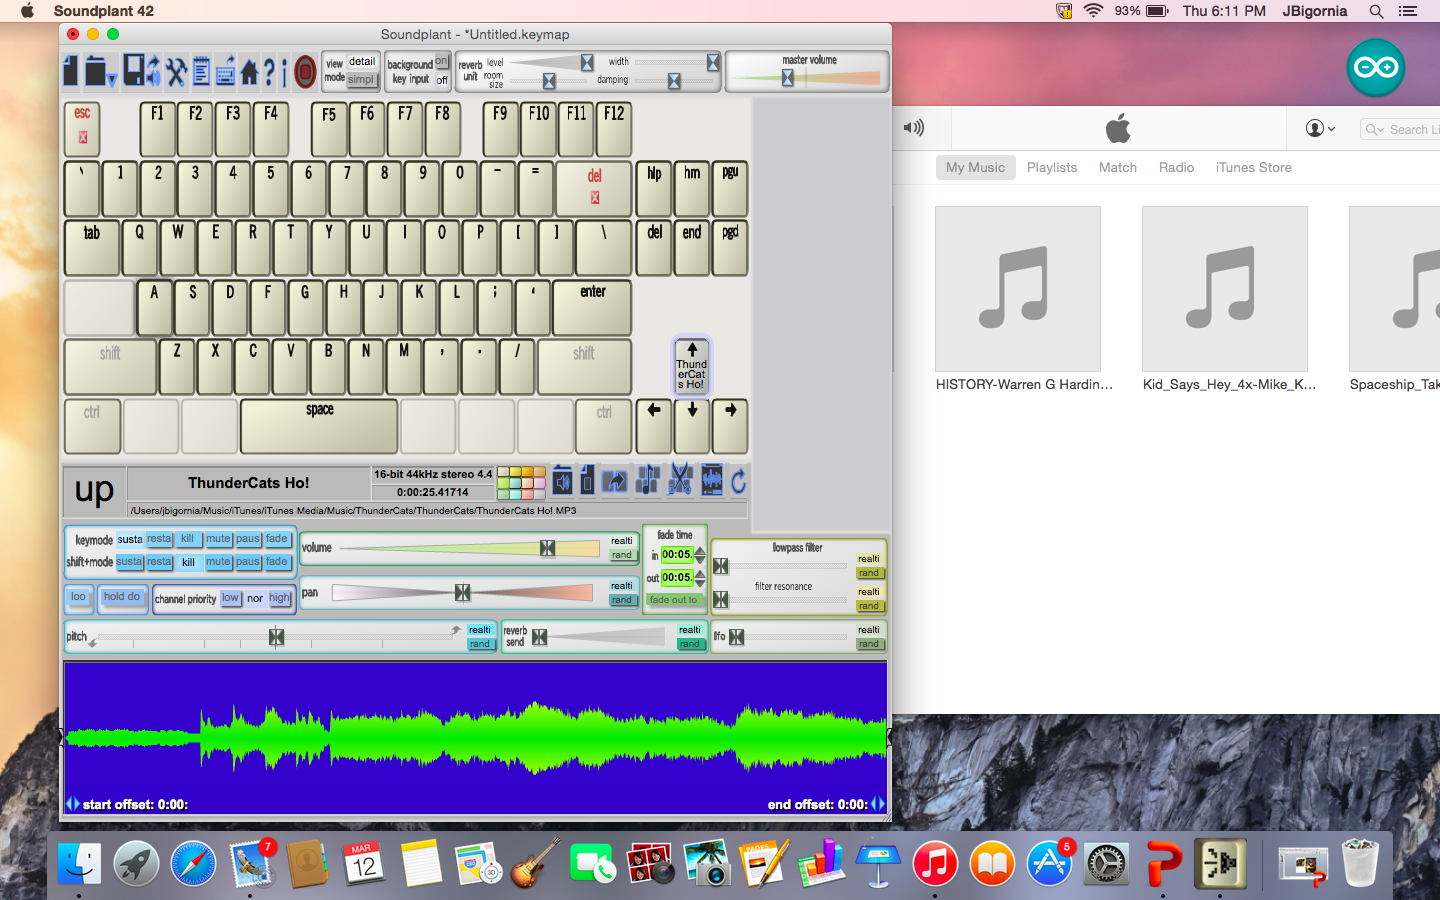
Step 4: Map your sounds to the keyboard using Soundplant.
Open up Soundplant and assign one sound file to each of the left, right, and up arrow keys by dragging the file onto the software’s virtual keyboard. Soundplant even offers some basic editing tools, allowing you to adjust the length of your sound clip, add various effects, and more!
Step 5: Connect the Makey Makey to the computer and play!
Plug the Makey Makey into your computer’s USB port. Be sure to also connect an extra alligator clip and wire to the space marked “Earth” at the bottom of the board. Hold the metal part of the alligator clip at the other end of the wire between your fingers and touch the interactive areas of your print with your other hand. Your computer should play the sounds you mapped to the different areas! You should also see the playback of your clip on the computer. If you’re having trouble getting it to work, make sure the volume is up on your computer, that all your connections are correct, and most importantly, that you are connected to the Makey Makey as well.
The fun part of this project is that the sounds you choose can totally change the way people experience your artwork. A set of funny, quirky sounds will provoke a very different response from the viewer versus ones that are dark and foreboding. And because the Makey Makey will work with most conductive materials, you can create interactive sculptures, installations, and more! Additional project ideas can be found on the Makey Makey website.
JC Bigornia
C3 Program Coordinator
1 Response to “Make This: Sound Prints”