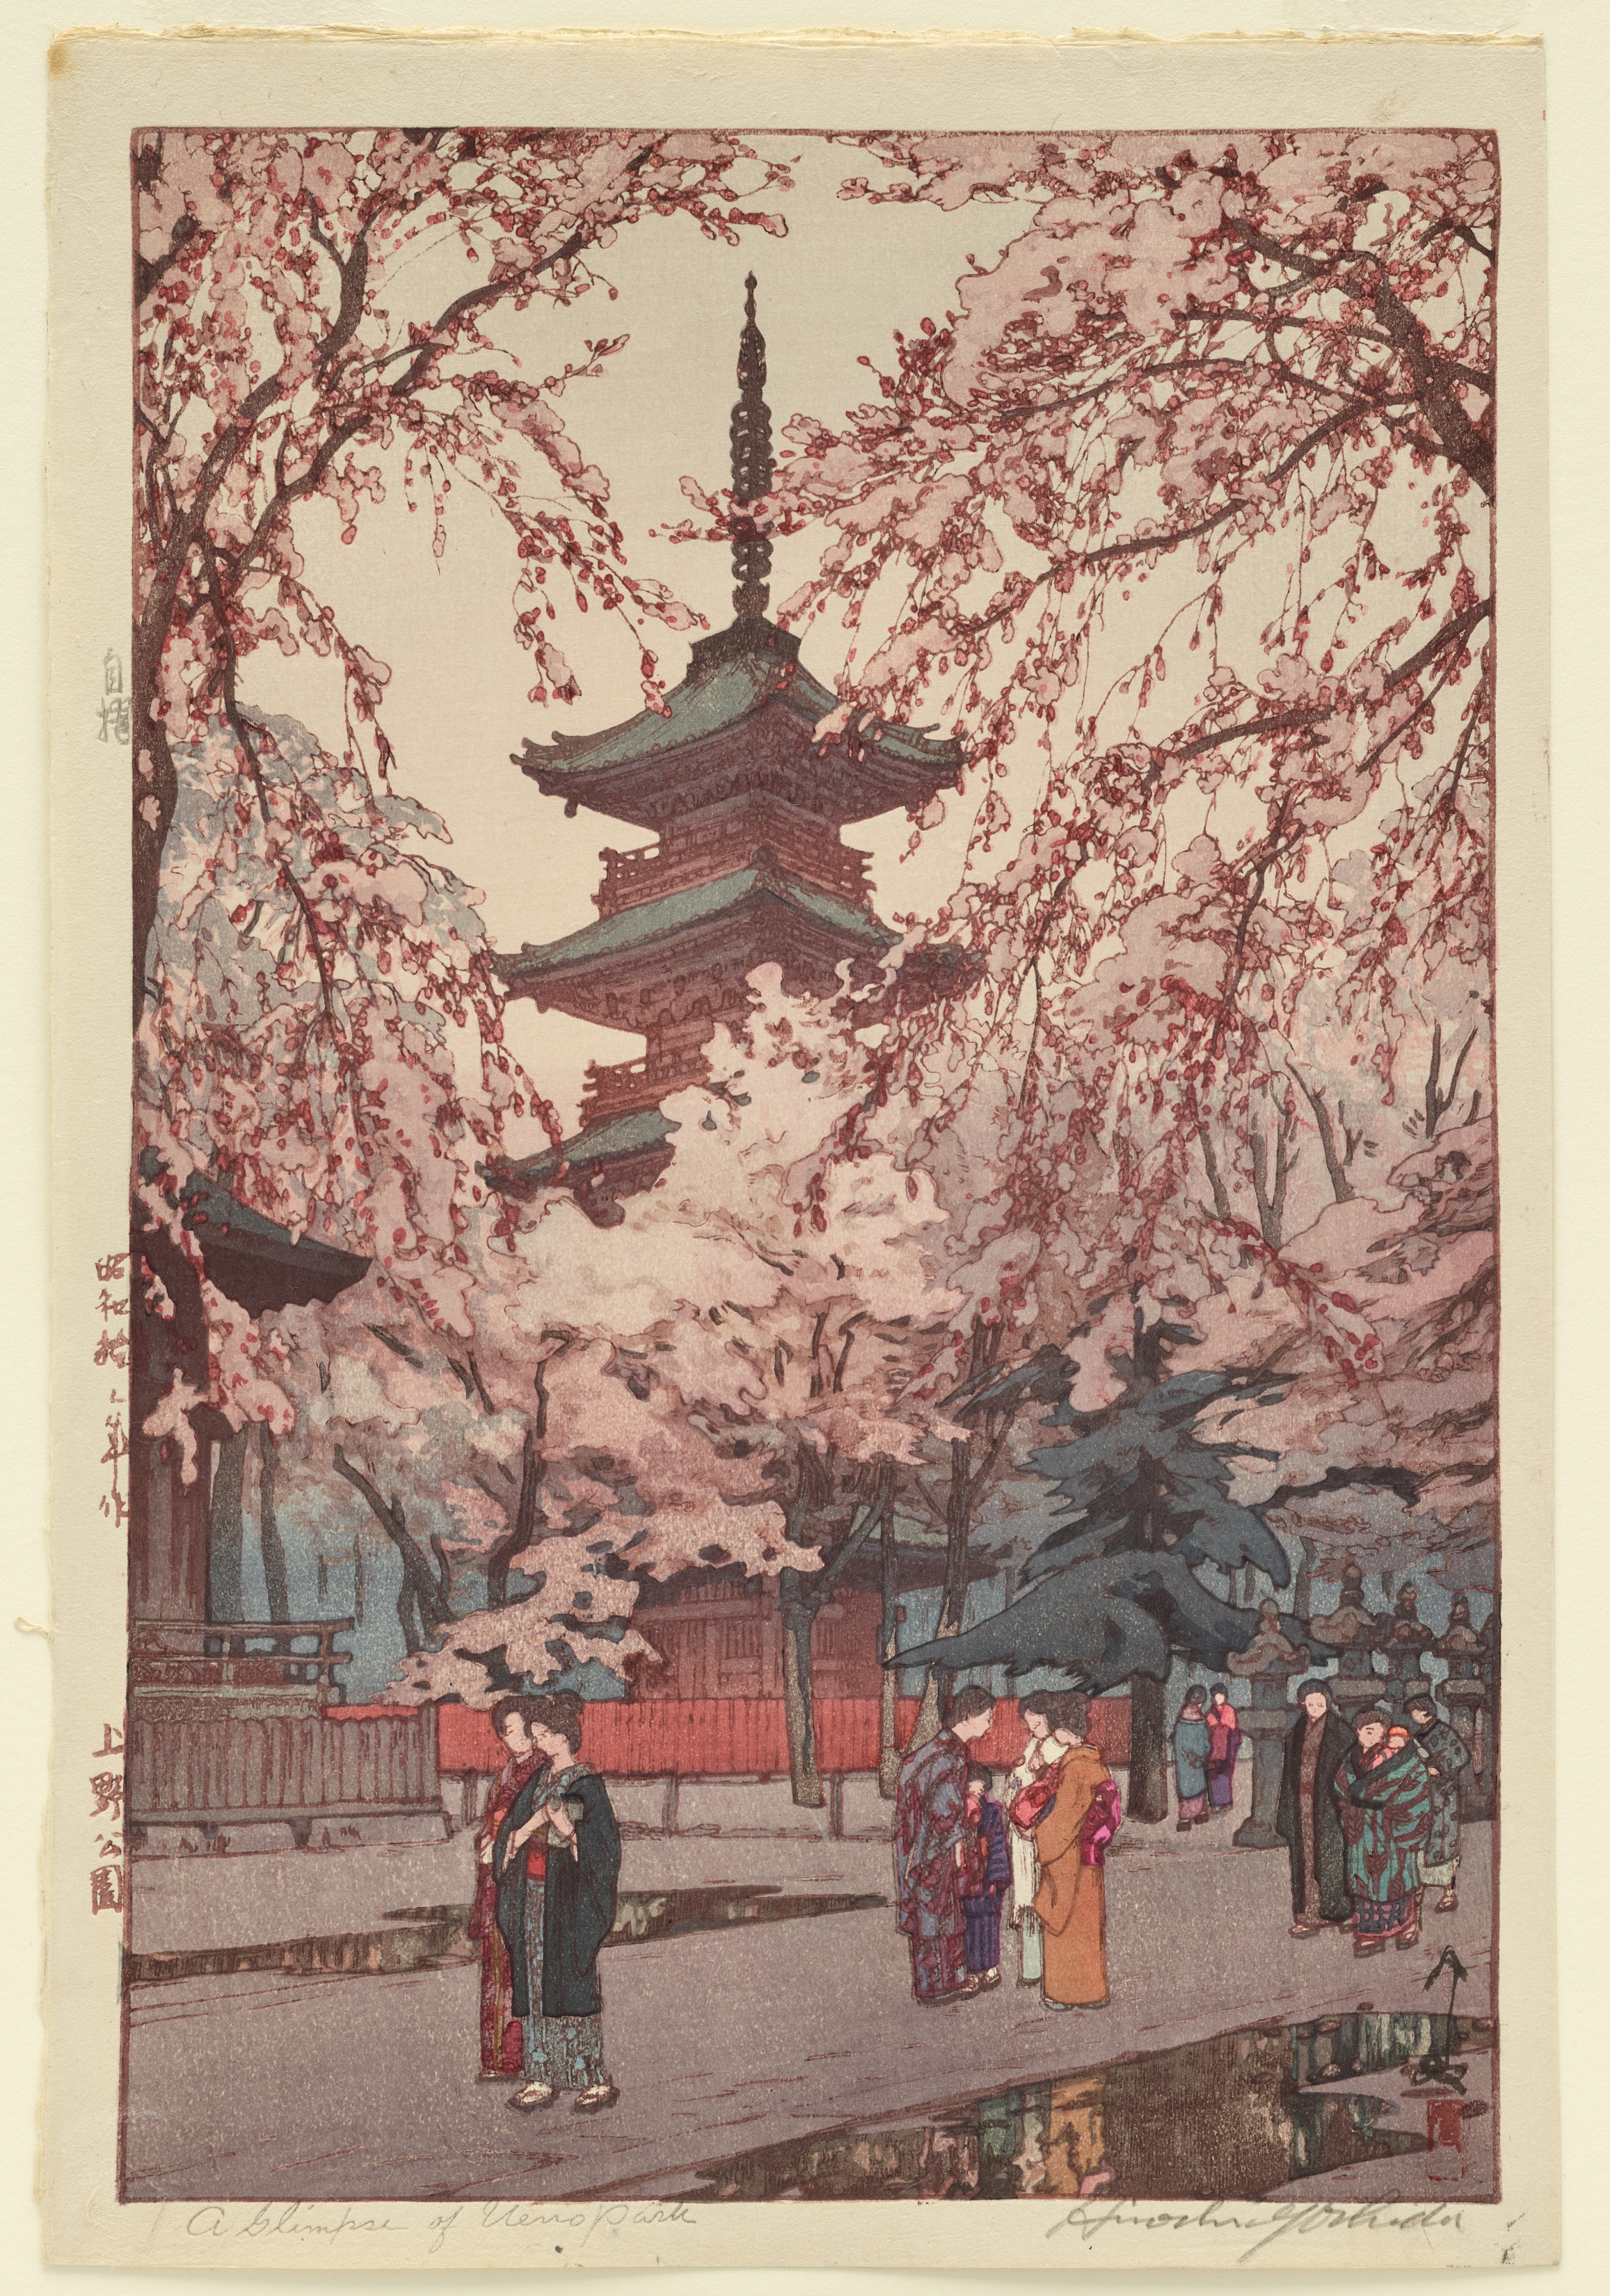
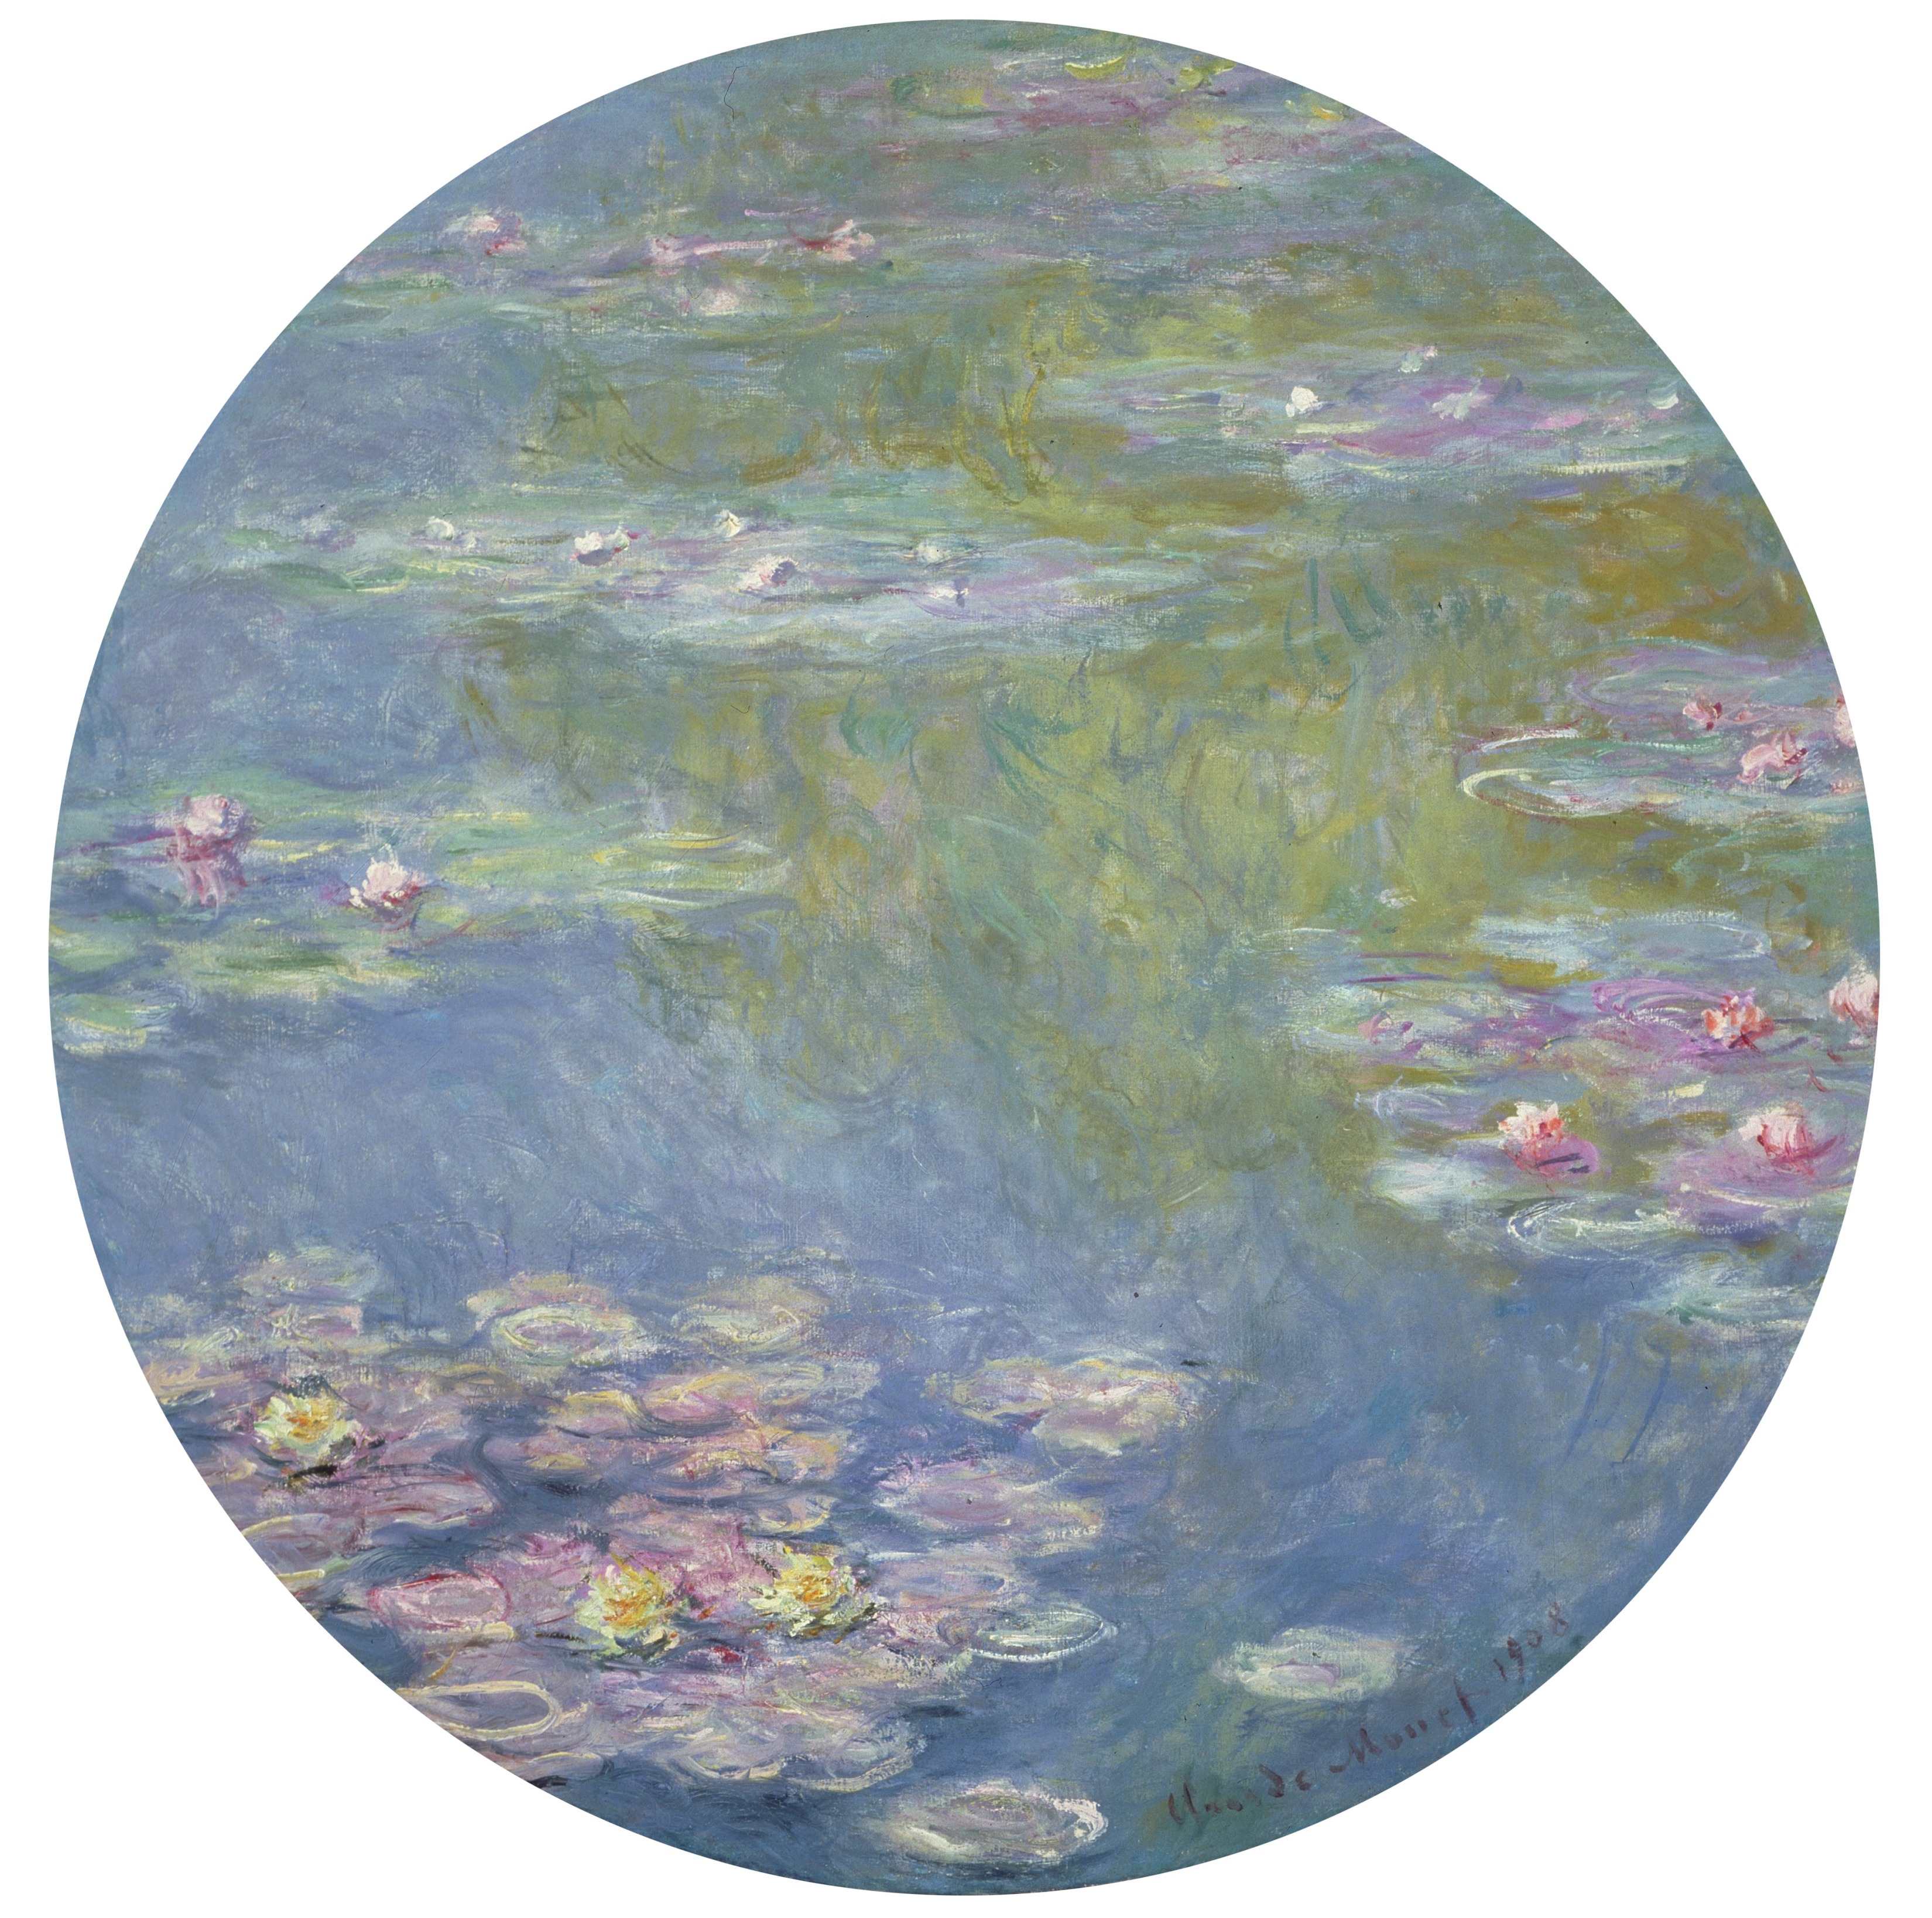
Johannes Vermeer, star of the eponymous Vermeer Suite: Music in 17th-Century Dutch Painting, is famous for his illusionism. Vermeer’s small, gem-like paintings are little windows into 17th century Dutch life. Instead of composing his images from naked-eye observation, however, some art historians believe that Vermeer used a device called a camera obscura.
A camera obscura, Latin for dark chamber, is the precursor to the modern camera, and has been known to artists, scientists, and philosophers since the time of Aristotle. At their most basic, they are made from light-tight boxes with a tiny hole on one side. Light enters the hole and casts an inverted image on a screen inside the box. Its earliest uses can be traced to astronomers, who used the camera obscura to safely view eclipses. However, it didn’t take long for artists to use it as a drawing tool. Camera obscuras can be built to reflect that image on a drawing surface, which artists can trace over to create compositions.
Although early camera obscuras were made from finely crafted wooden boxes, you can make one out of everyday materials. Here’s how to do it.
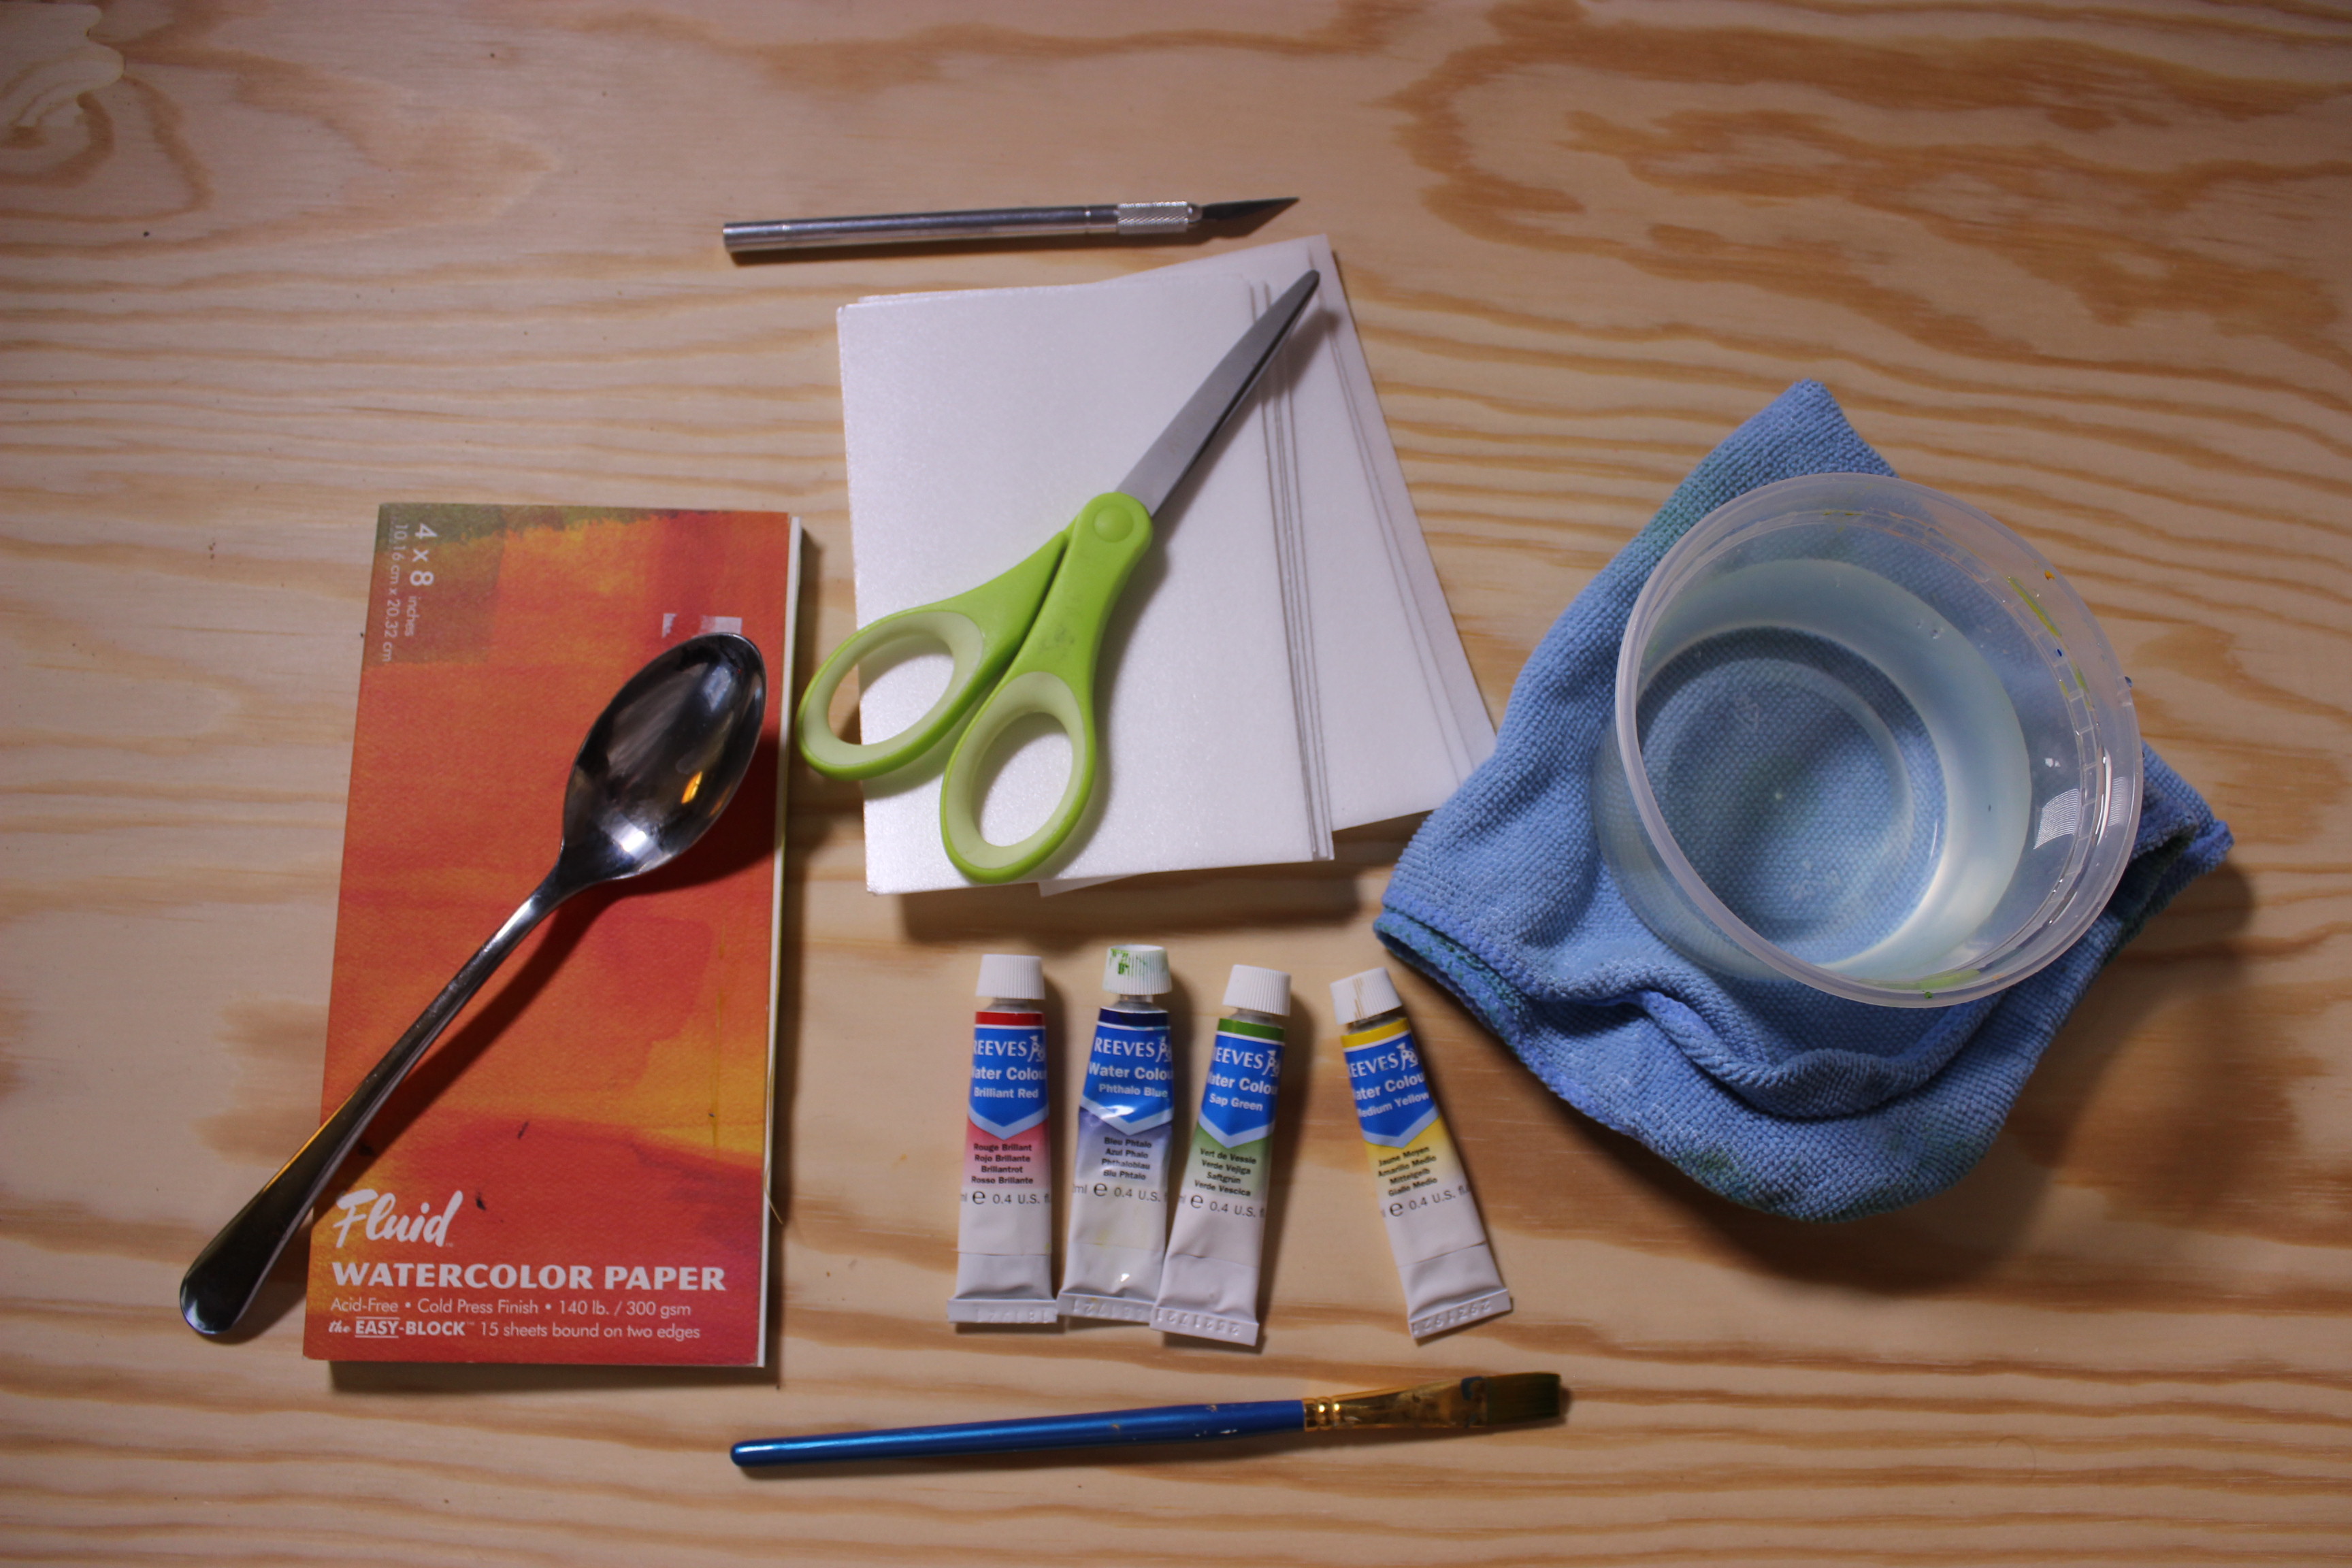
Supplies:
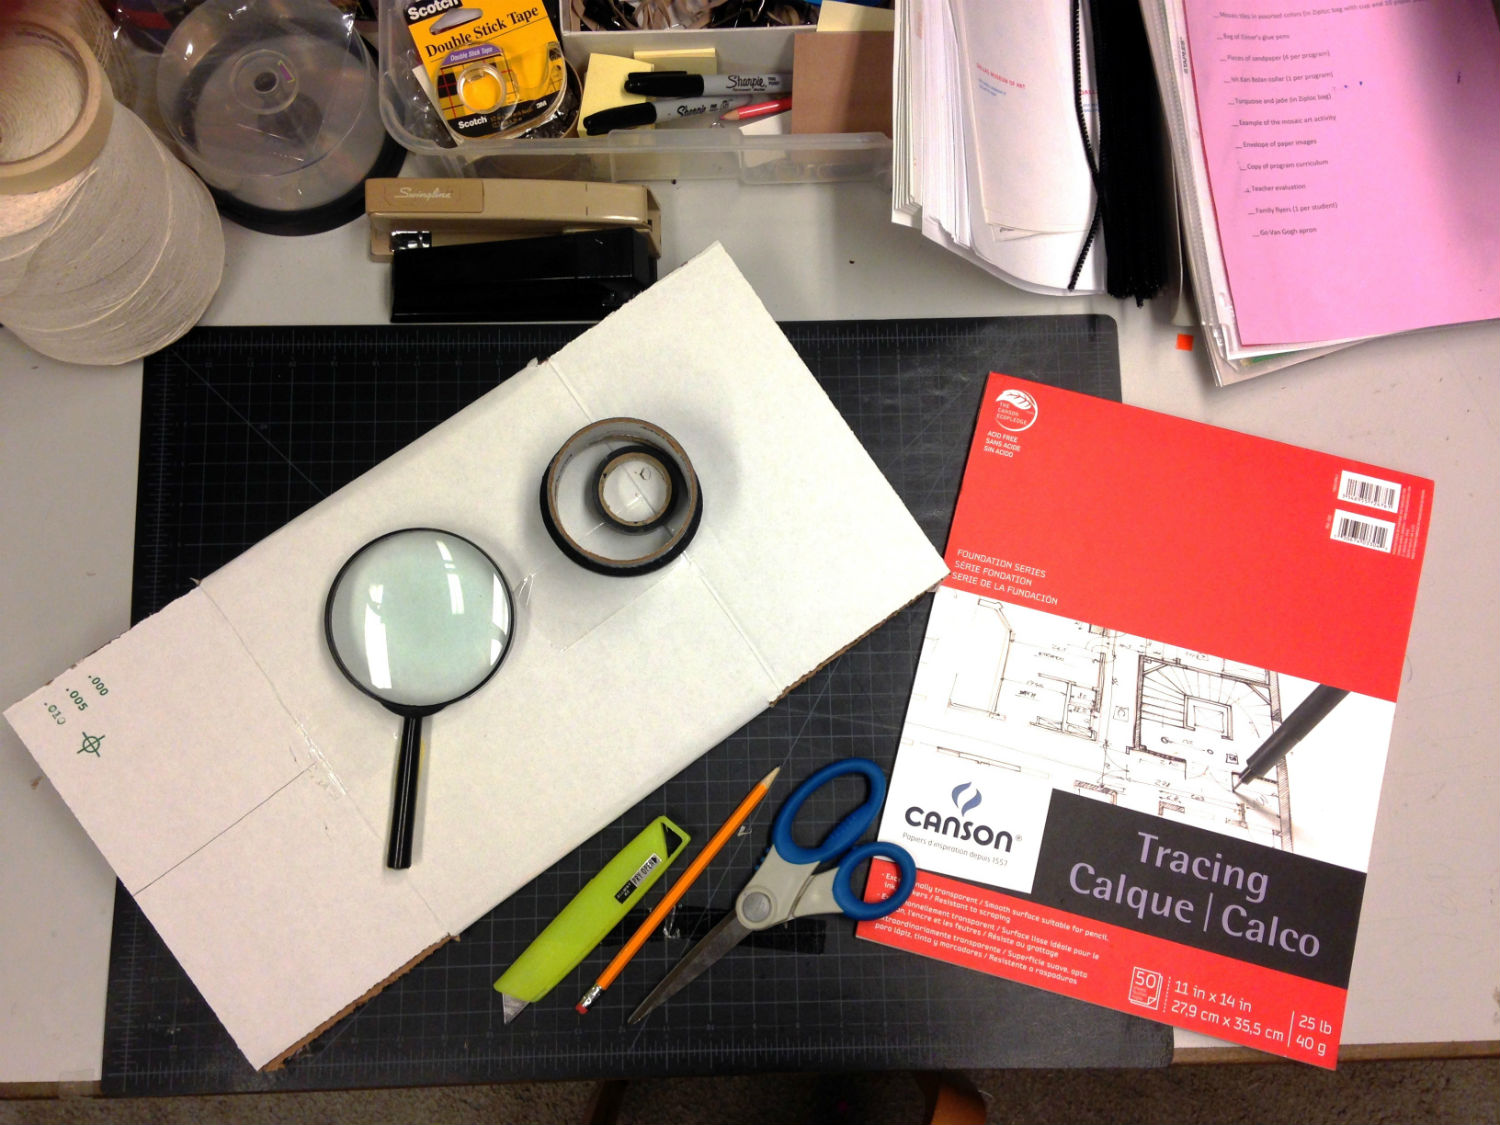
- Cardboard box
- Black tape (duct tape is the best, but I used a little black masking tape too!)
- Masking tape/painters tape
- Magnifying glass
- Tracing paper or vellum
- Box cutter
- Scissors
- Pencil or sharpie
Step 1: Fold down the flaps on one side of your box and tape them down with black duct tape. This will be the bottom of your camera obscura. Remember that camera obscuras need to be light-tight, so make sure to tape down the sides and corners of your box too! I make sure that I have the bottom sealed tight by holding the box up to a light.
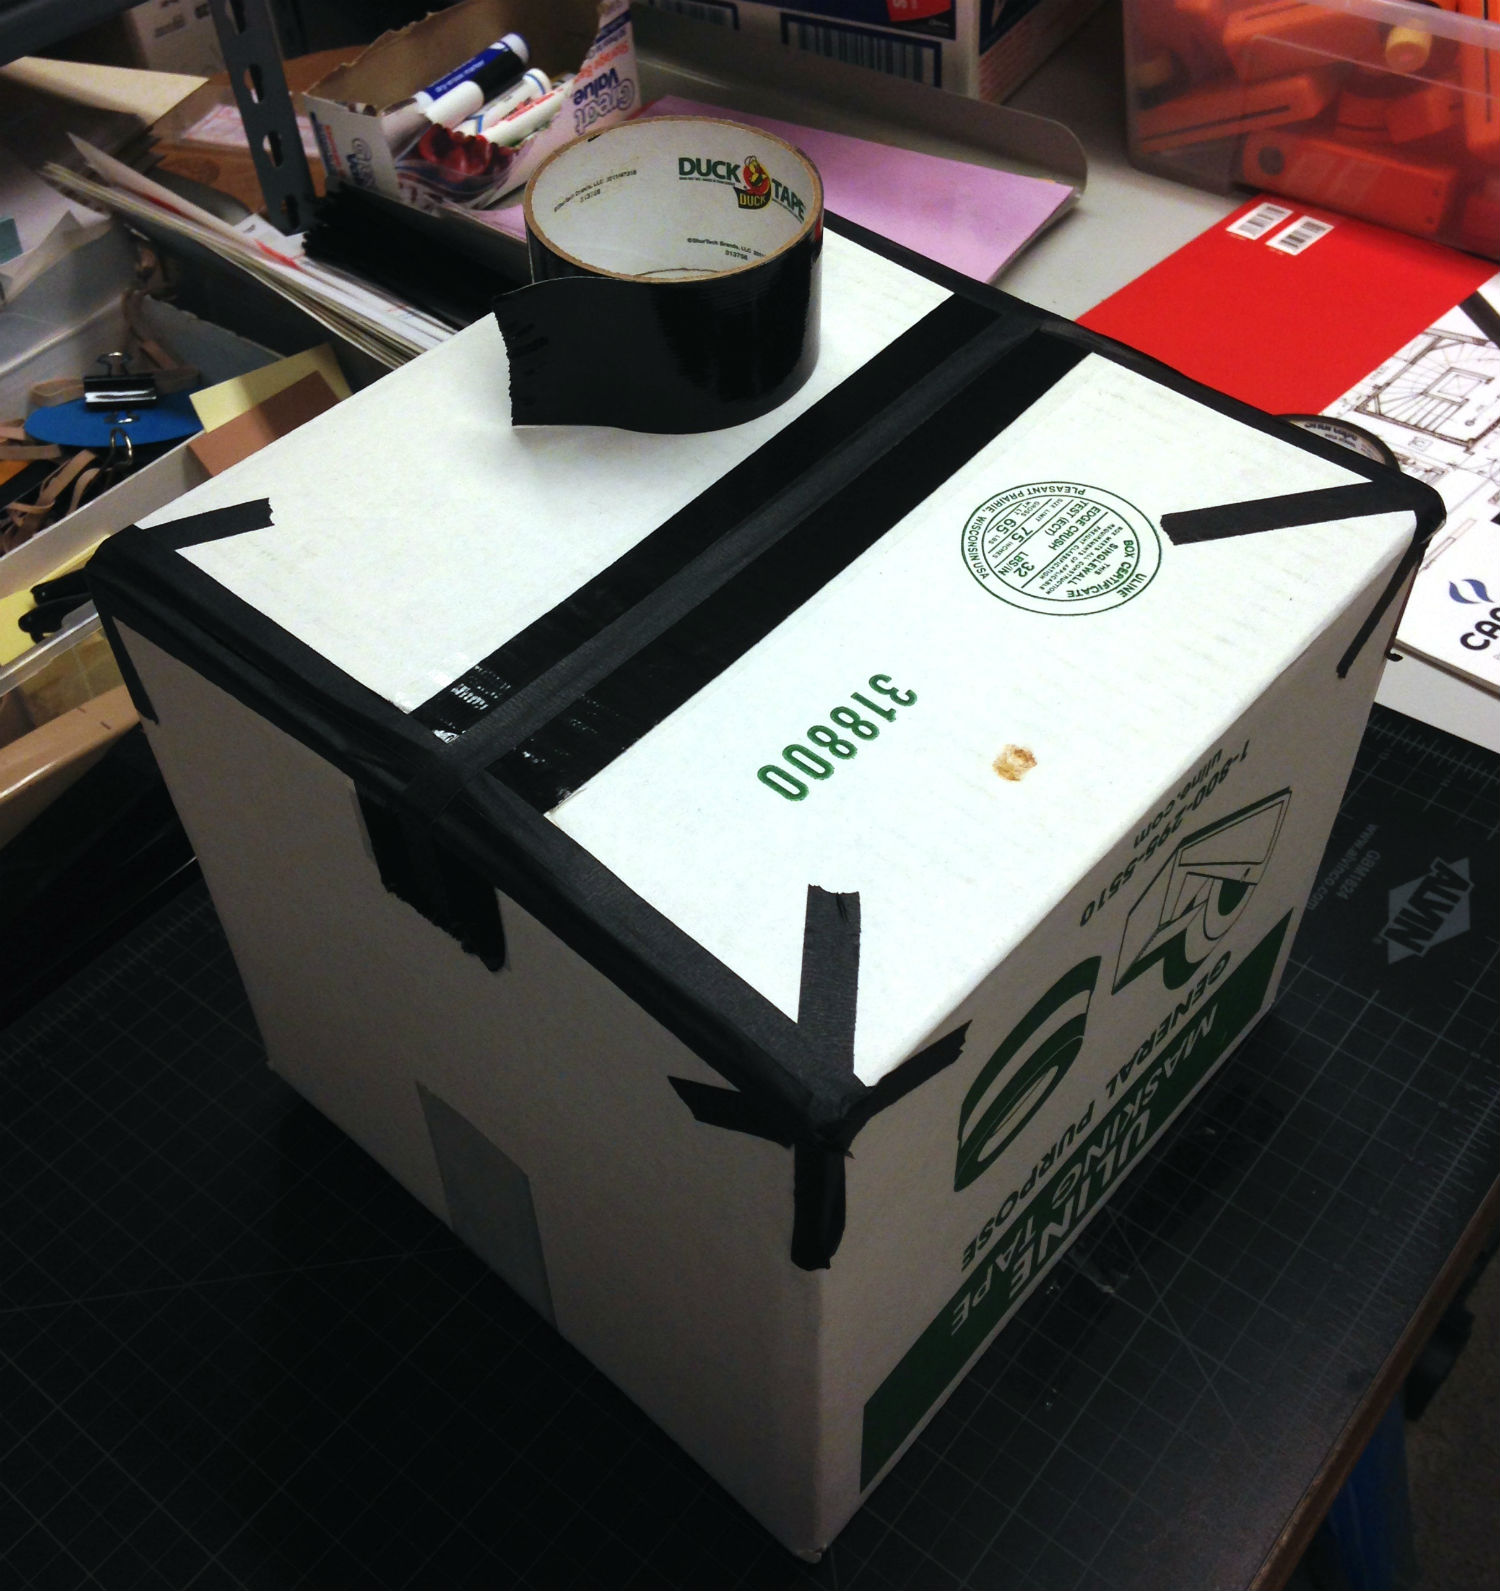
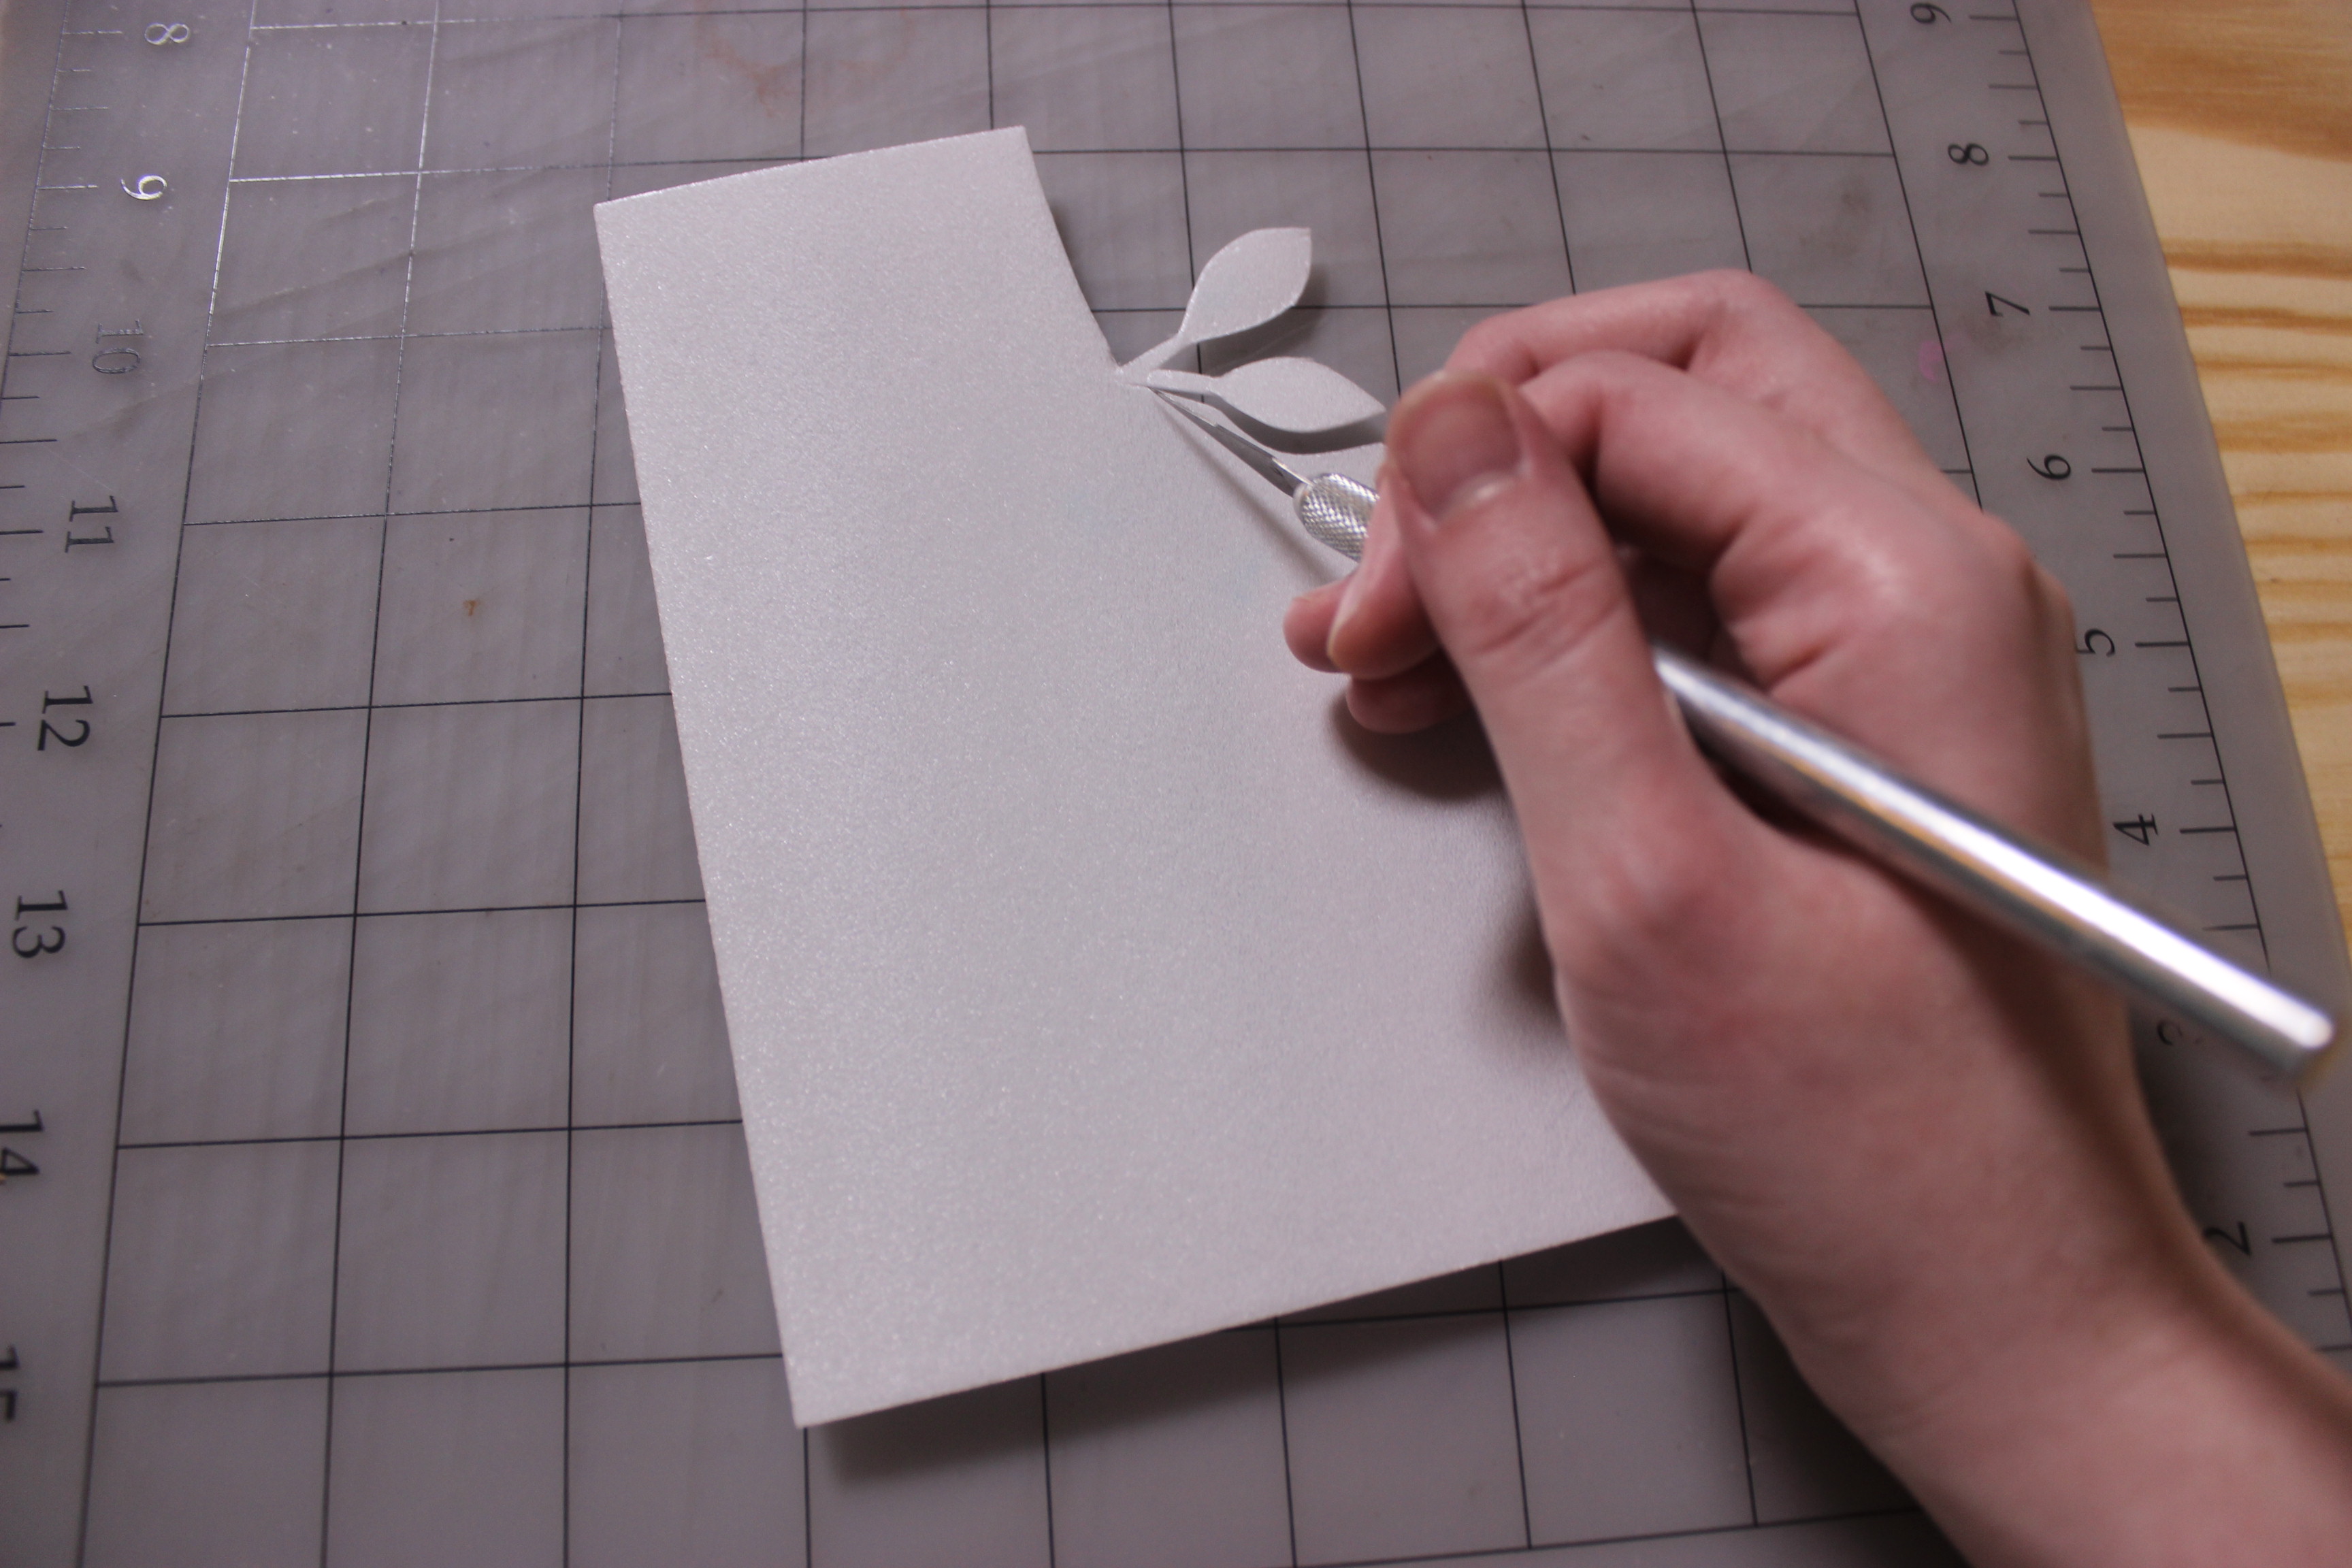
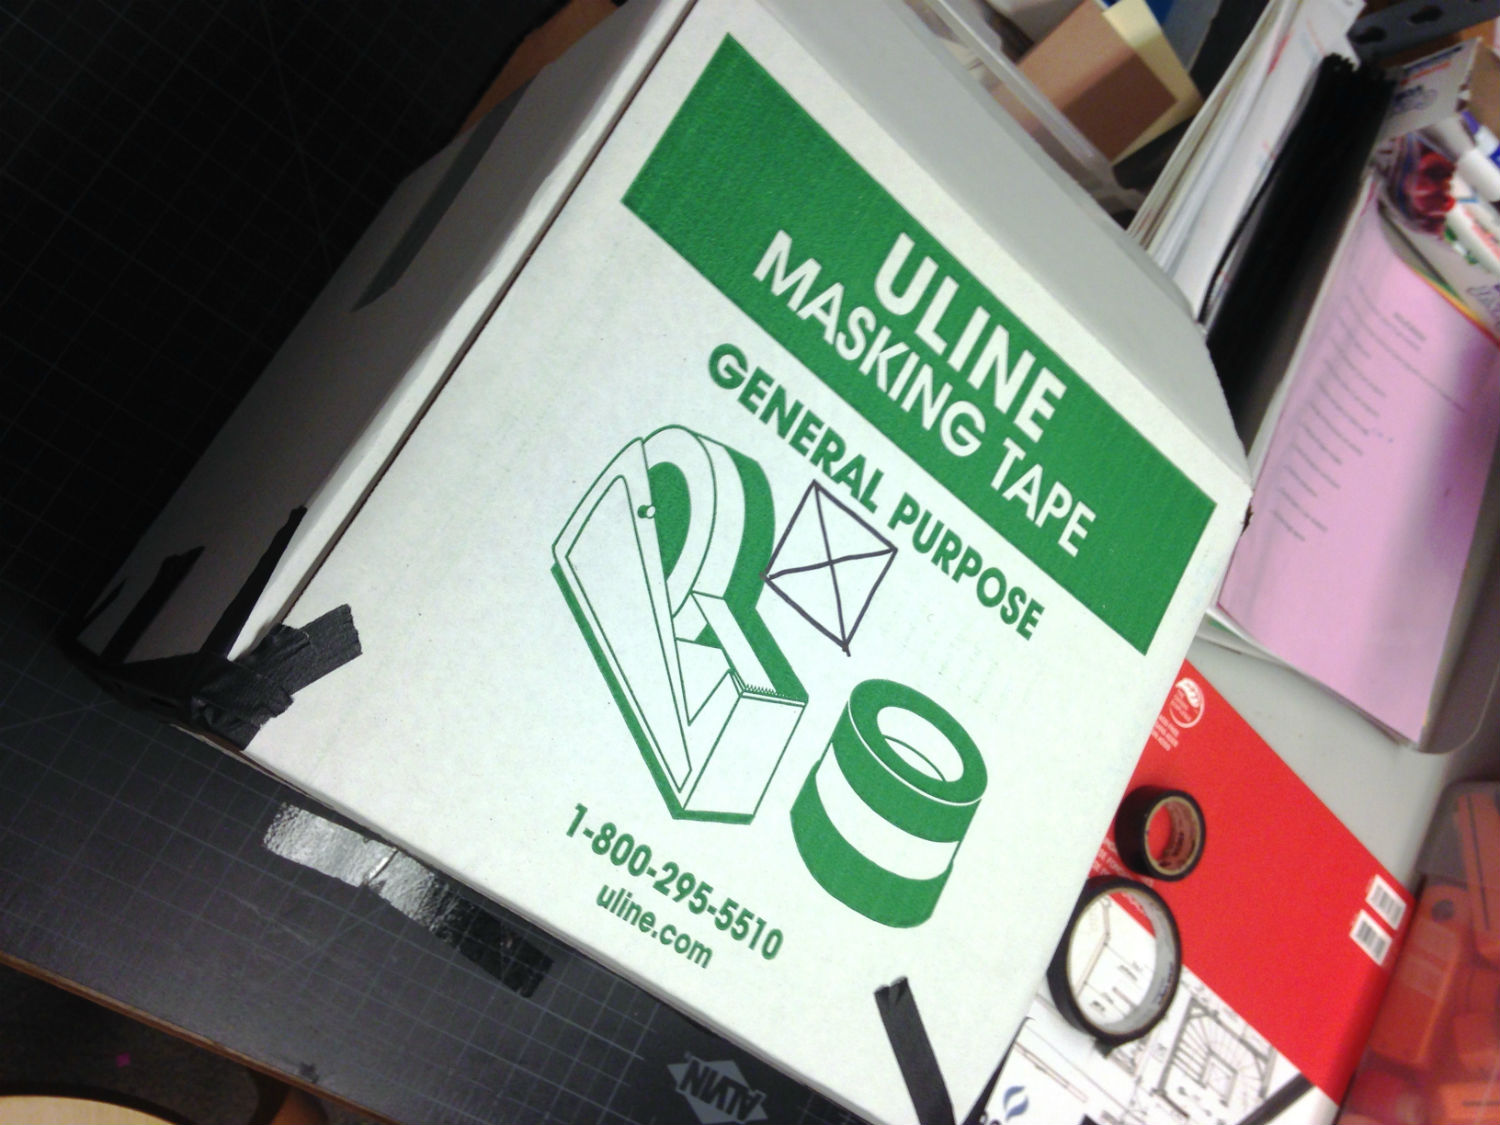
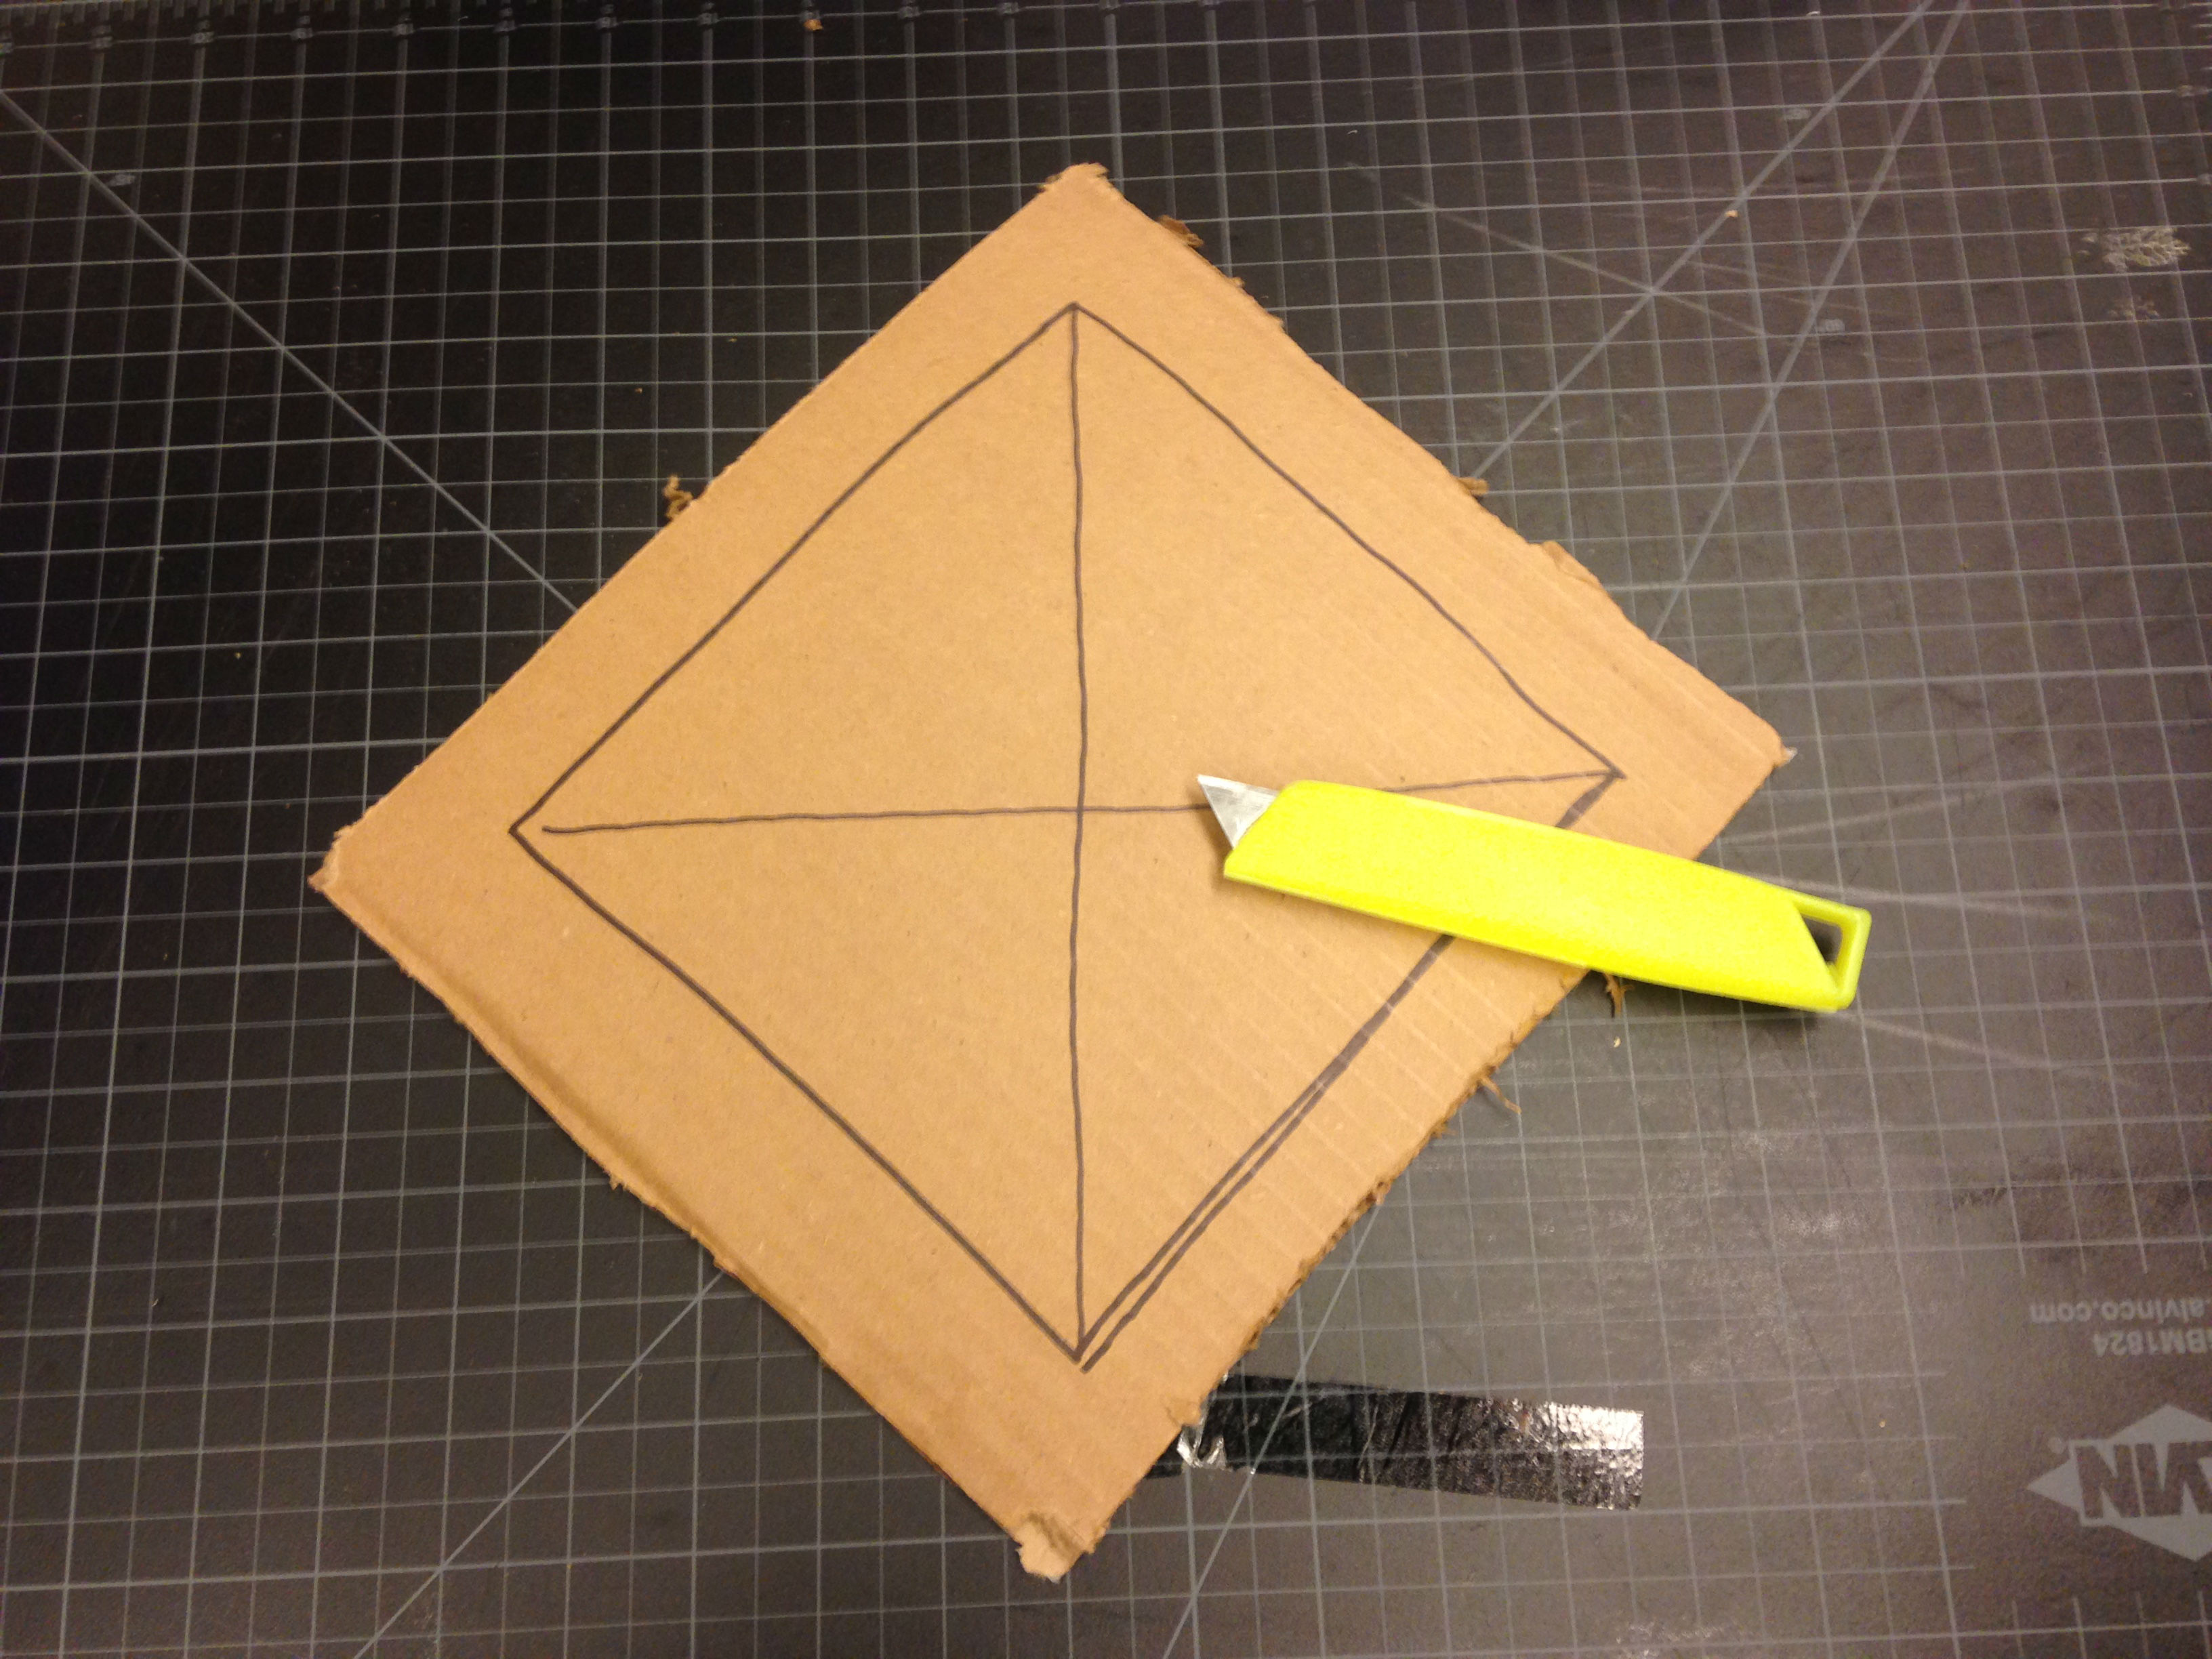
Step 2: Draw a small square in the middle of one of the sides of the box and cut it out with a box cutter. A 1-1 ½ inch square is a pretty good size to shoot for. Remember that the sides of the box with flaps, including the one you just taped down, should be the top and bottom of your camera obscura–don’t cut those!
Step 3: Tape a magnifying glass over the small hole. This will be the lens for the camera obscura. My magnifying glass was pretty heavy, so I used a lot of tape to make it secure.

Step 4: On the opposite side of the box from the lens, cut a large hole out of the box. This hole should be nearly as large as the side of the box. If cutting out this side weakens the box or one of the top flaps falls off, don’t worry–just reinforce the box with some tape! It should look like this when you’re finished.
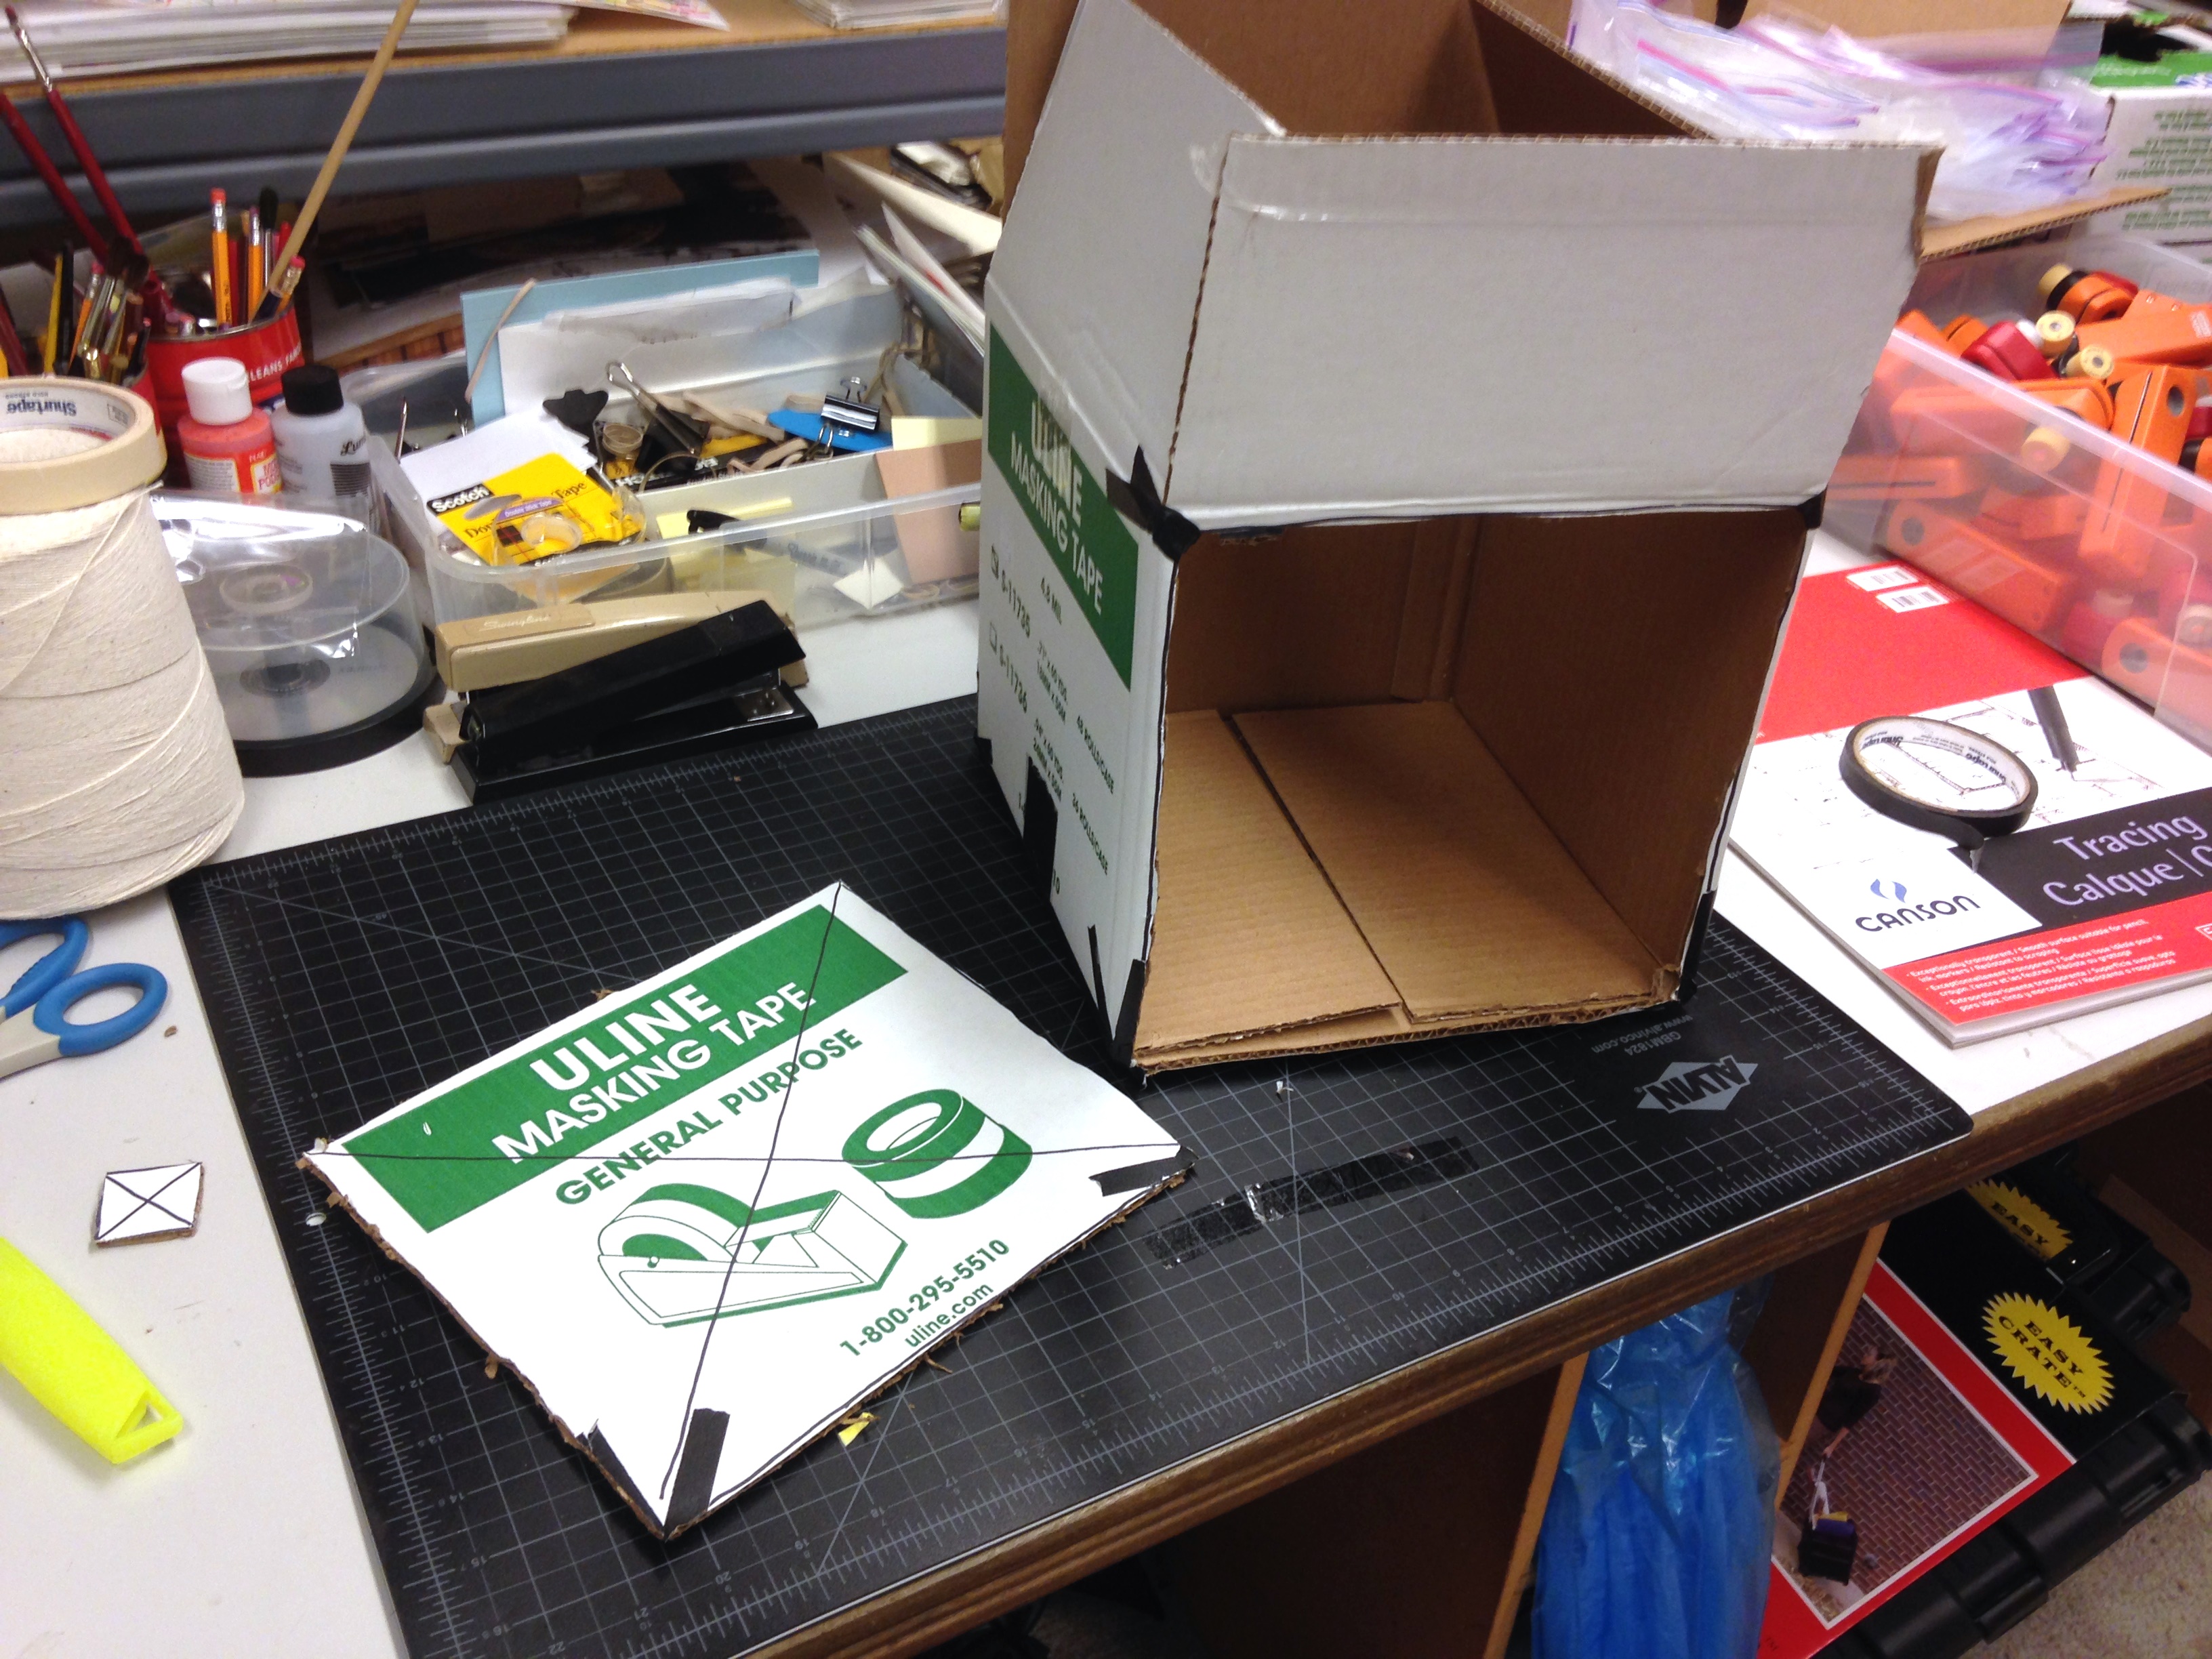
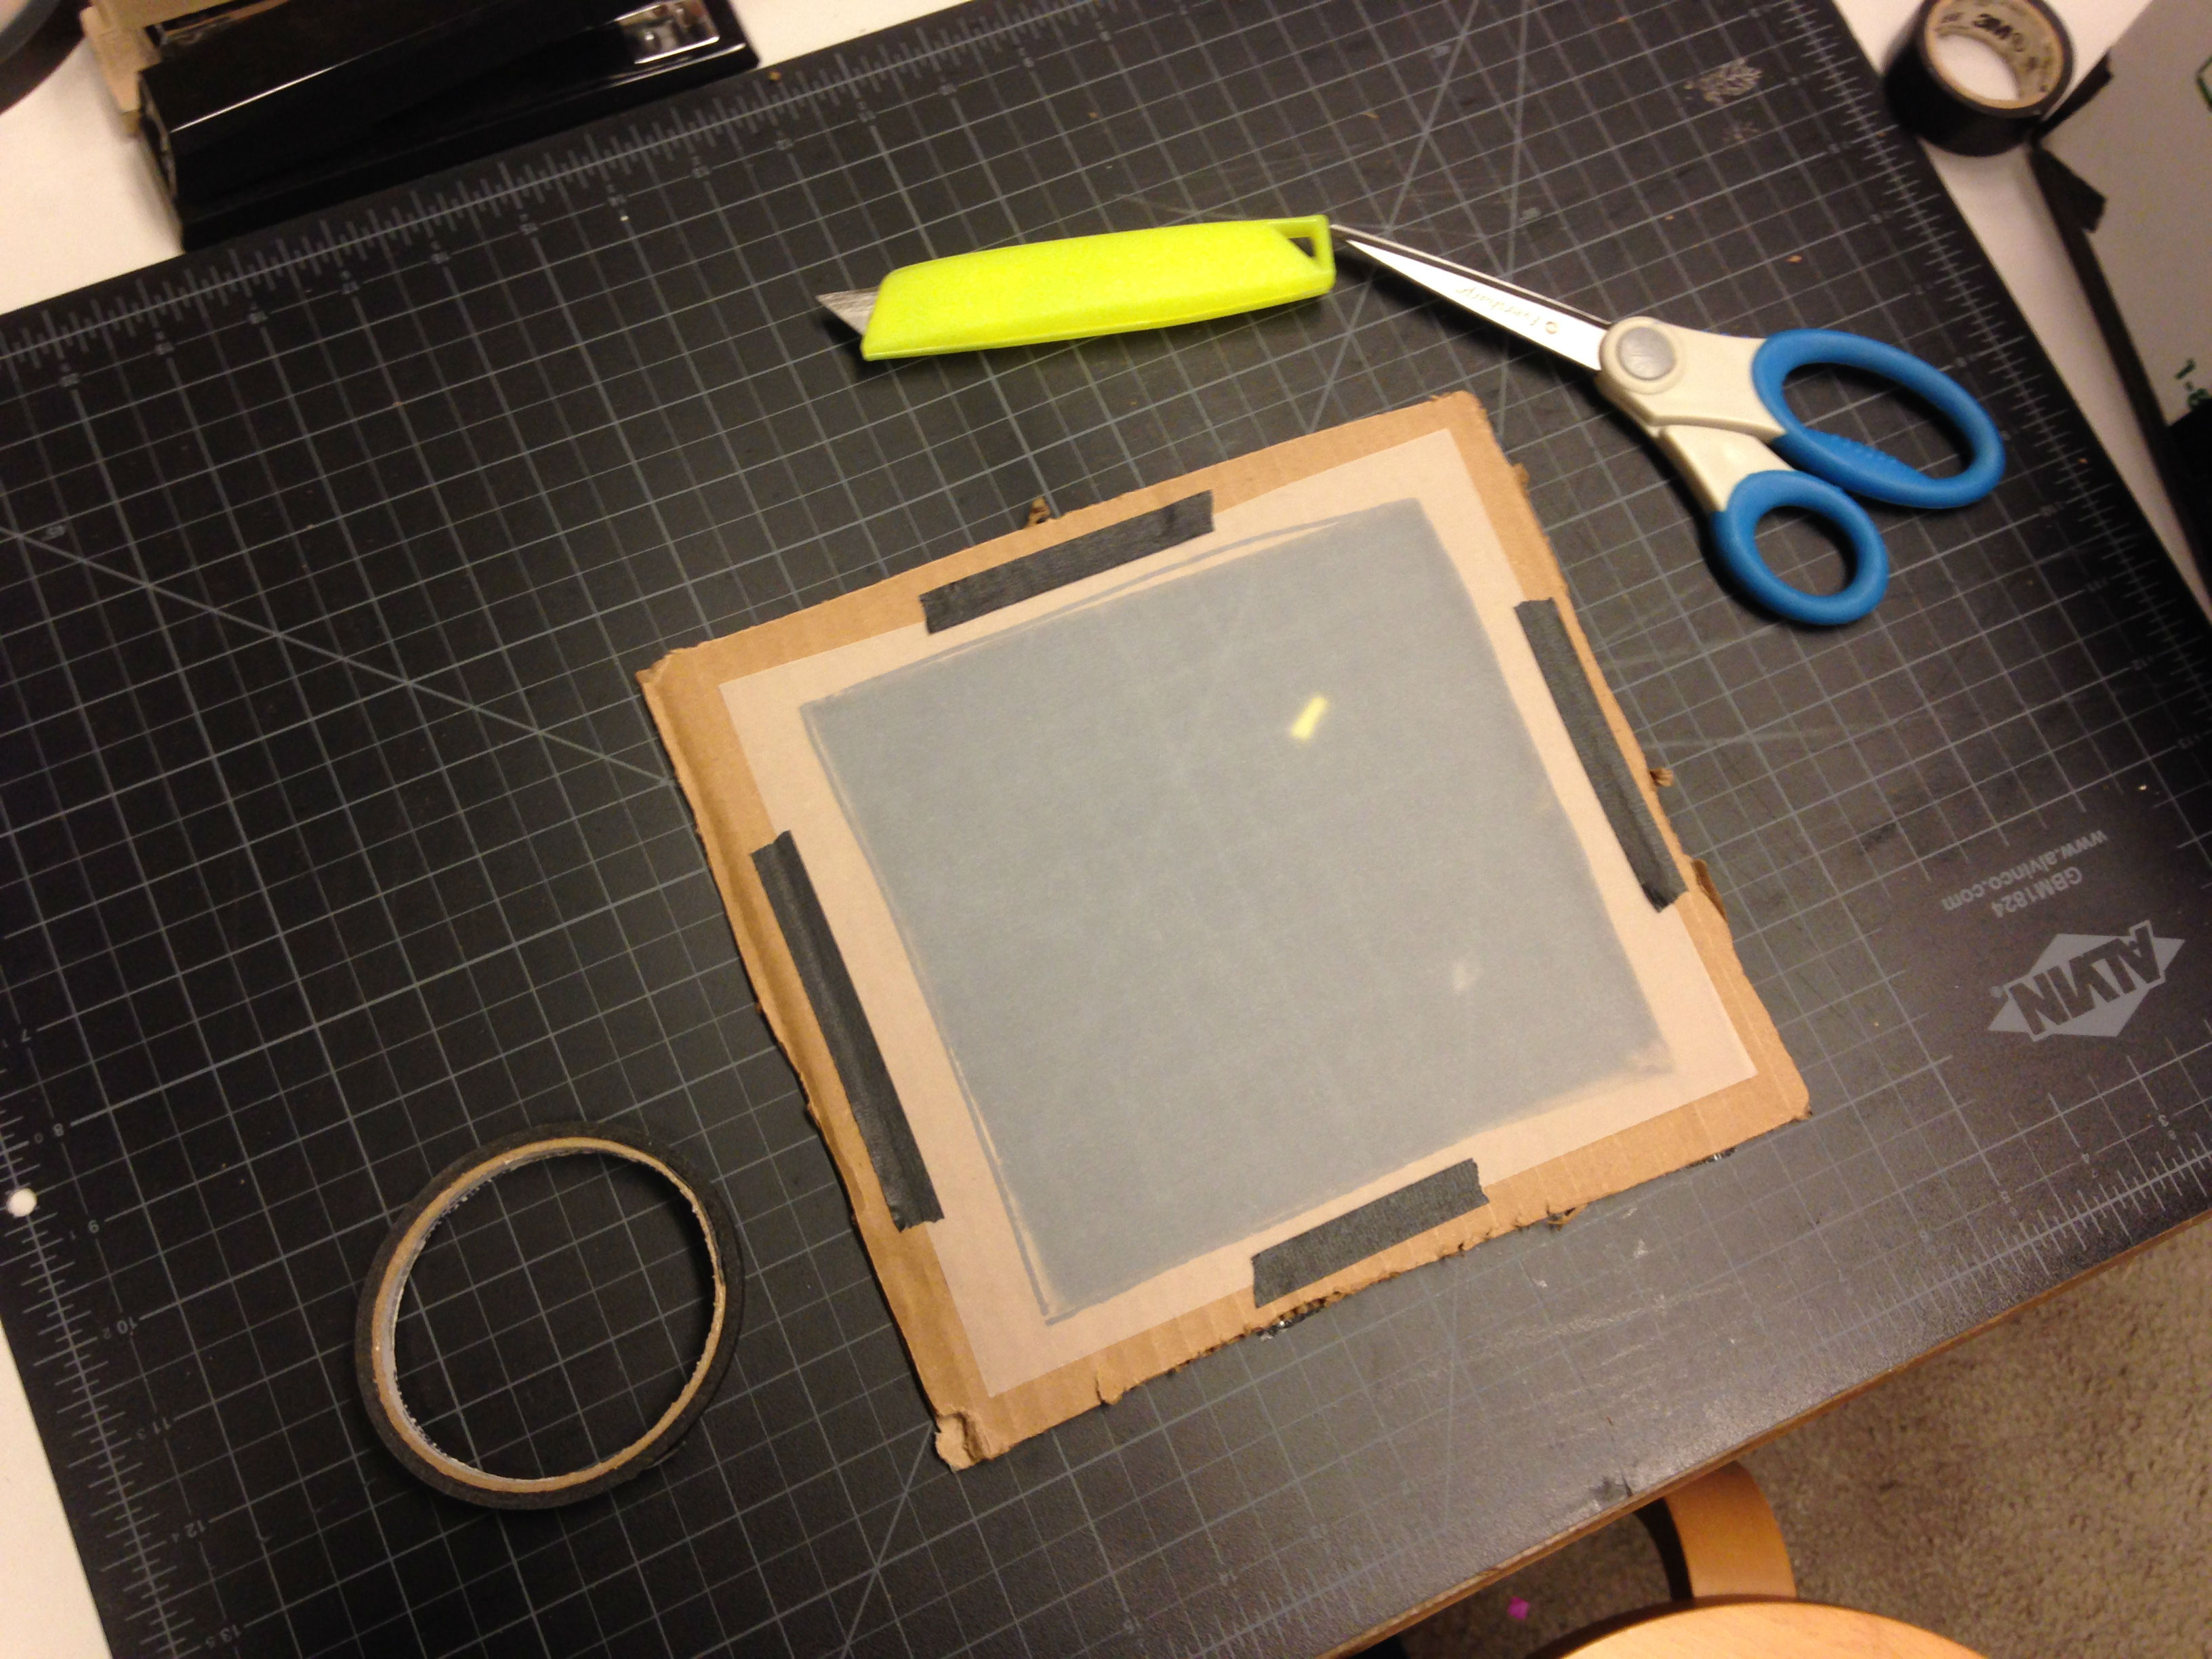
Step 5: Leaving about a 1 inch margin around the sides, cut a smaller hole from the piece of cardboard that was just cut out. This will be used to create a frame for the screen on which the image will be reflected.
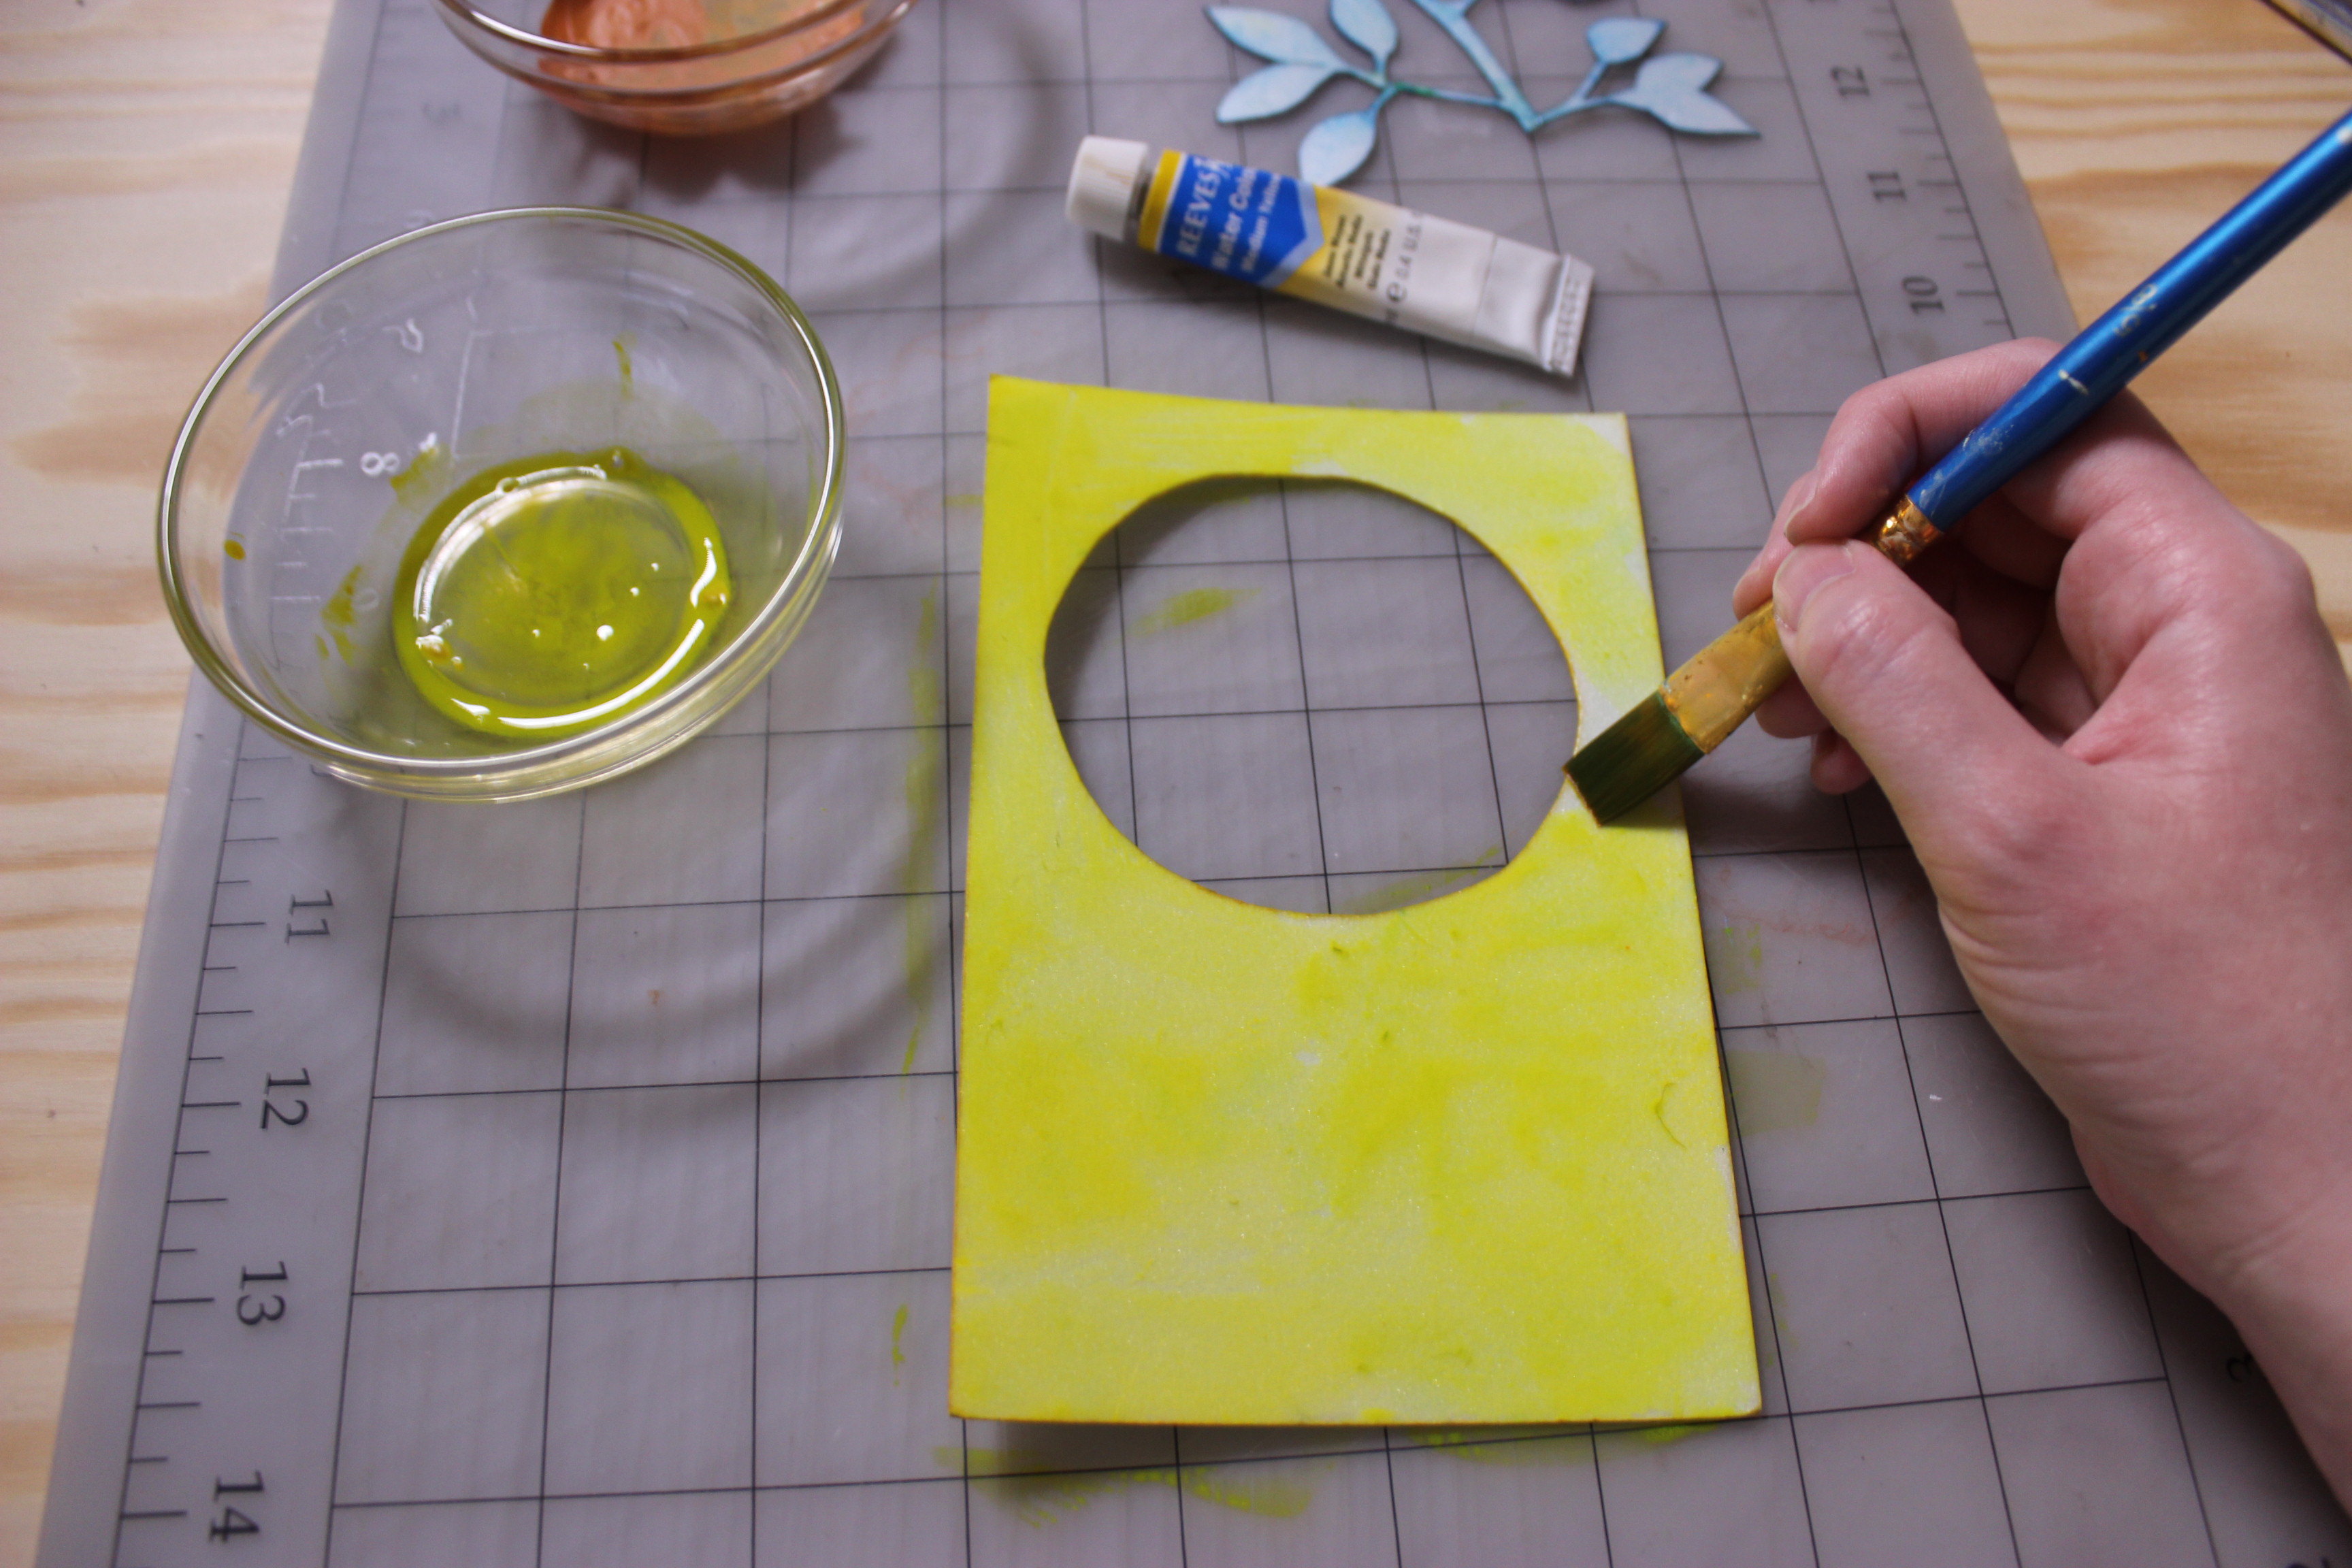
Step 6: Trim a piece of tracing paper and use four pieces of masking/painters tape to secure it to our frame. This is the screen for our camera obscura!
Step 7: Now for the exciting part–time to test! Find a brightly lit window in front of which to set your device. I chose a window overlooking our Sculpture Garden in the Barrel Vault, which is one of my favorite places in the Museum.

Step 8: Slide your screen through the top of your camera. An image should appear! Slide the screen closer or further away from the hole in the box to focus your image, or make it sharper. Once you’re satisfied with how the image looks, tape down the top flaps to keep the light out.

And viola! You have your own camera obscura. You can use a pencil to trace what you see on the tracing paper. The best part about this variation on the camera obscura is it’s reusable. Simply tape a new piece of tracing paper on the frame when you want to make another drawing.
Whether Vermeer used a camera obscura to compose his beautiful images is still up for debate. Historians often cite the blurry highlights on metallic objects in Vermeer’s paintings as evidence that he used the tool. These kinds of highlights, called halations, are typical of lens-based devices. However, it’s important to remember that a camera obscura is just another tool in an artist’s toolbox. Tools don’t make art–artists do! There’s no denying the skill it took to represent the tiny details in Vermeer’s paintings, even if he did use a camera obscura.
Try making a camera obscura of your own and see how it fits into your artistic practice. Report back with your findings – we’d love to see what you create!
And don’t forget to stop by the Museum to check out Vermeer Suite before it closes this summer!
Jessica Thompson
Manager of Teen and Gallery Programs