Posts Tagged 'family fun'

An Unbe-leaf-able Spring Break!

You are cordially invited to our Spring Break Garden Partyjust be sure to bring the whole family! Free family fun at the DMA will be in full bloom from March 12 to 15. Join the floral festivities during this week of garden-inspired story times, interactive tours, art making, and more! Our Museum mascot, Arturo, was eager to venture outside of his nest to test out some of our activities.

“Meet me in the courtyard!” Arturo couldn’t wait to try sketching outside.

It’s been a chilly winter and we’re crossing our fingers for great weather during Spring Break! Drop by the Fleischner Courtyard for a chance to sketch like never before. French Impressionist artists sketched outside, or, as they would say, en plein air, to accurately capture natural light in their works. Grab some paper and a pencil to find out if the elements are your friend or foe.

The competition heats up as Arturo plays wildflower bingo!

In the studio, create your own floral collage using paper, glue, and markers, and then stick around to add your own touch to the growing garden on the studio’s back wall. Already a garden guru? Drop by the Tech Lab to test your nose at our scent matching station or challenge your family to a game of wildflower bingo. Need some help navigating four floors of art? Be sure to catch our Girl Power (Half) Hour tour celebrating women in the art world.

“She loves me, she loves me not.” Arturo does some flower dissection of his own!

Wait—there’s more! On Friday, special guests from the Dallas Arboretum will be in the Fleischner Courtyard with a flower dissection activity. There is plenty to see and do this Spring Break at the Dallas Museum of Art. Stay for a little while or plant yourself down all day! Either way, we’re all excited to see(d) you here.

Denise Gonzalez is the Manager of Family and Early Learning Programs at the DMA.

Studio Doors Are Open—Come On In!

Calling all weekend crafters, makers, tinkerers, and artists! The DMA’s Art Studio is opening its doors to one and all starting in January 2019. On the first and third weekend of every month, drop by and give your creativity a workout with a hands-on art-making project for the entire family. Whether you prefer to wield a paintbrush or squish some clay, we’ll have something to inspire your inner artist. Materials and projects will switch up every month, and DMA staff will be on hand to demonstrate techniques and share fun facts about art and artists in the DMA’s collection.

In January we’re kicking off Open Studio by making landscape monotypes inspired by the exhibition Ida O’Keeffe: Escaping Georgia’s Shadow. We’ll supply the paint and paper—you bring the fun!

Open Studio 1

Open Studio is available for FREE on the first and third Saturday and Sunday of the month from noon to 4:00 p.m. All supplies are provided, and no registration or ticket is required.

Leah Hanson is the Director of Family, Youth, and School Programs at the DMA.

Spring Break Taking Shape!

Last week, spring breakers of all ages enjoyed exploring shapes at the DMA. Here’s a look at how the week shaped up!

This slideshow requires JavaScript.

Emily Wiskera
Manager of Access Programs

Blast Off Art for All!

Throughout January, our preschool visitors went on an imaginary space journey through the contemporary galleries where they learned about outer space and the roles of astronauts. We pretended Martin Puryear’s Noblesse O. was our rocket ship as we blasted off to look for new planets in the Museum. Some of the planets we discovered were John Chamberlain’s Dancing Duke and Alejandro Puente’s UntitledThe kids were asked which planet they would live on, and what else they would find there. Lots of young explorers said Dancing Duke would be full of robots and skyscrapers, while Untitled would be very cold and icy!

32372253082_dc012da363_z.jpg

After our gallery adventure, the kids went to the art studio to make some outer space art to take home. For Arturo’s Art and Me classes, the young space explorers made galaxy paintings. The studio was split into two stations: the first was a splatter paint station to fill up their night sky canvas with colorful stars, and the second, a shaving creme station where they made planets for their galaxy.

IMG_7002.JPG

The young artists gently dipped, dabbed, and dripped onto their backgrounds.

IMG_7149.JPG

(Some not so gently…Our friend here doesn’t seem too upset about the paint on her face and hair bow though!)

Once their backgrounds were completed, it was on to the shaving creme station. Here, kids dripped vibrant liquid watercolor into trays of shaving creme, then swirled it together to create a beautiful planet pattern. Next, they pressed pre-cut circles into the shaving creme, then squeegeed off the excess creme to reveal a beautiful intergalactic swirl left below!

Next, the young artists glued their planets onto their backgrounds, and viola! A whole new out of this world galaxy painting. Their work speaks for itself, I think!

IMG_6992 (1).JPGIMG_7148.JPG

This activity is super easy to do at home! If you don’t have liquid watercolor to add to the shaving creme, food coloring works great too! If you need some more instructions on the shaving creme prints, check out Jennifer’s great blog post on the topic, and if you are interested in attending Arturo’s Art and Me or any of the other great classes at the DMA, click here!

Grace Diepenbrock
McDermott Intern for Family and Access Teaching

DIY Shaving Cream Art

If you asked me what the most popular art supply was in camp this summer, my answer wouldn’t be paint. It wouldn’t be clay, it wouldn’t be paper – it wouldn’t even be hot glue. It would be…

dsc05535

shaving cream!

You read that correctly. Not just one but SIX of our summer camps had a day when they made masterpieces using shaving cream. Our teachers this year were certainly inspired by this unconventional material! What other material could you use to marble paper, mix your own textured paint, make the freshest smelling foam dough, AND clean everything up afterwards?

As for what the campers thought, let me offer this quote overheard in carpool:

“Mom, we made art out of SHAVING CREAM today!!!” (Extra exclamation marks included.)

What you need:

  • A can of foaming shaving cream. I used Barbasol; shaving cream that comes out as a gel won’t work here!
  • A cookie sheet, which you’ll fill with a layer of shaving cream.
  • Various colors of paint. Nearly anything will do: tempera, acrylic, liquid watercolor, and food coloring are just a few ideas.
  • Craft sticks.
  • A ruler.
  • Heavyweight paper. You need something like watercolor paper or thick cardstock – thinner paper will warp, dissolve, and tear from all the moisture in the shaving cream.

dsc08753-2

When coming up with the plan for my print, I looked to a piece of art that’s inspired cookie decorating (twice!) and marshmallow peep art made by DMA staffers: Odalisque (Hey, Hey Frankenthaler) by Lynda Benglis. The twisty poured latex shapes were fun to recreate by swirling paint through the shaving cream.

You can see how I made my print in the slideshow below:

This slideshow requires JavaScript.

Once you’ve scraped the foam off your print, lay it flat so it can dry. Your paper may start to curl up at the corners, but that’s not anything a little time under a heavy book can’t fix. You can continue to make prints using the remaining shaving cream in your cookie sheet with the paint already there or by adding more paint and swirling with a craft stick again.

When you’re all done, admire your finished prints as they are or turn them into thank you cards, backgrounds for imaginative drawings, or anything else you can think of!

dsc08955-3

The neat part about this technique is that it can be used on more than just paper. Try using acrylic or fabric paint to print cool rainbow bandanas. Even food coloring can be used to dye Easter eggs! For more fun, check out these other shaving cream ideas:

What crazy craft can you come up with?

Jennifer Sheppard
Teaching Specialist


Teen Ambassadors: Coolest Kids in Town

We know all too well that this summer’s going to be a scorcher, so the Museum is bringing back our free Summer Family Fun programs to offer families some seriously cool activities. Each day this summer will feature different experiences for families and visitors of all ages, from Story Times to Art-to-Go Family Tote Bags. We’re not alone in our efforts, though – we have a secret weapon to help families beat the heat. Introducing the next generation of museum educators…the DMA Teen Ambassadors!

Formerly the Teen Docent Program, Teen Ambassadors will lead Community Tours, Family Story Times, and visitor experiences at the Pop-up Art Spot and C3 Gallery this summer. These enthusiastic, art-loving teens attended a two day orientation where they learned how to engage with visitors (especially young ones!) to prepare for their volunteer shifts.

IMG_3450

The 2016 Class of Teen Ambassadors

This year’s class of Ambassadors is pretty impressive, so make sure to catch them in action!

Jennifer Sheppard
Teaching Specialist

Pollock for the People!

Art Babies Pollock.jpg

For the last few months here at the DMA, we’ve been proclaiming “Pollock for all!” From toddlers to teens, and grade schoolers to grannies, the exuberant and lyrical works of “Action Jackson” have inspired thoughtful discussions, messy art, and even a dance performance! As a museum educator, one of the things I love most about Pollock’s work is his approach to putting paint on a canvas by splattering, flinging, dripping, and dropping (a process we often refer to as action art). When you have a bunch of squirmy three year-olds, Pollock makes all kind of sense! But Jackson Pollock: Blind Spots goes beyond Pollock’s all-over paintings and explores a body of work known as the black pourings, in which Pollock’s trademark action is tightly controlled, sweeping and swooping over the canvas to create figures that almost seem to be hiding amidst black lines, puddles, and splatters.

The exhibition has inspired all kinds of Pollock-ing in the studio, proving that no matter how old or young you are, Pollock is for all ages! Read on for some Pollock-inspired ideas you can try at home.
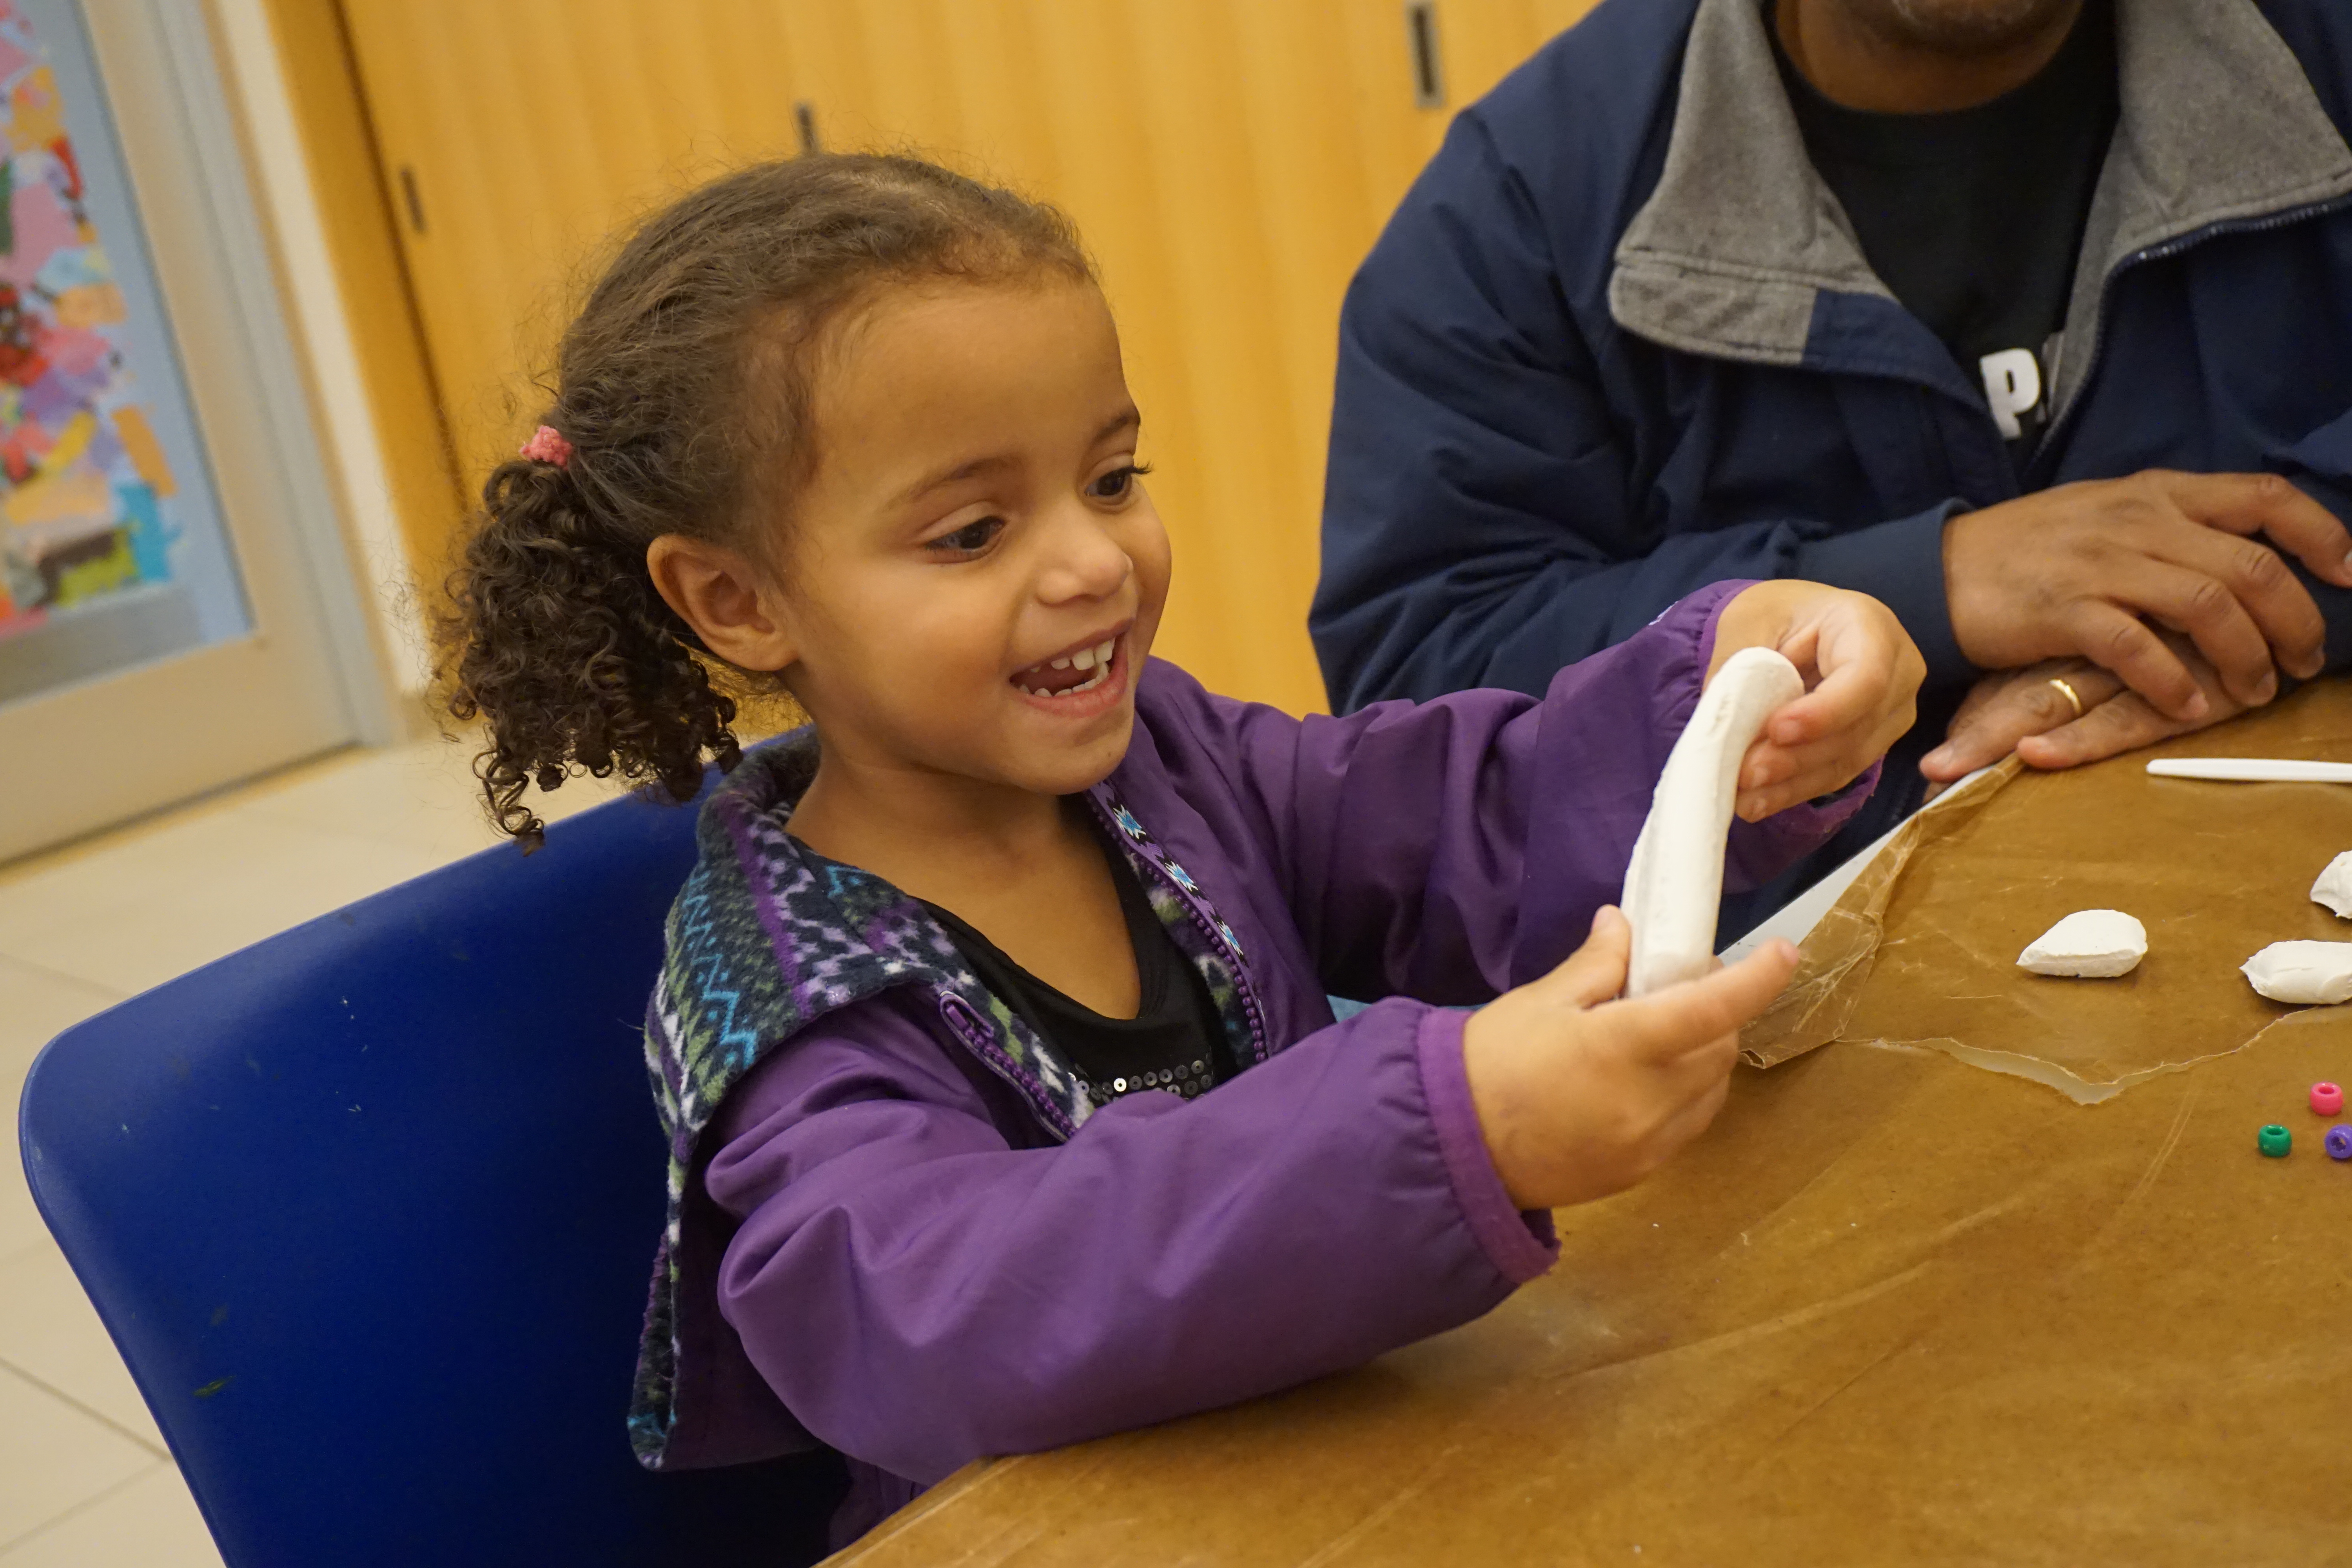
Art Babies Pollock 2

Babies

Our Art Babies class wiggled and giggled our way through the Pollock exhibition, then enjoyed sensory play inspired by the artist’s work. Pollock’s all-over paintings often remind me of a tangle of lines, with one line twisting and turning over another, so I created a sensory bin of “Pollock lines” for the little ones to explore. One little guy couldn’t get enough of throwing fistfuls of “noodles” into the air as high as he could. Recreate this at home with a large bin of either plastic cording or cooked spaghetti noodles (follow this helpful DIY recipe). But remember, since babies tend to put everything in their mouths, this activity does require grown-up supervision!

Arturo's Preschool Pollock

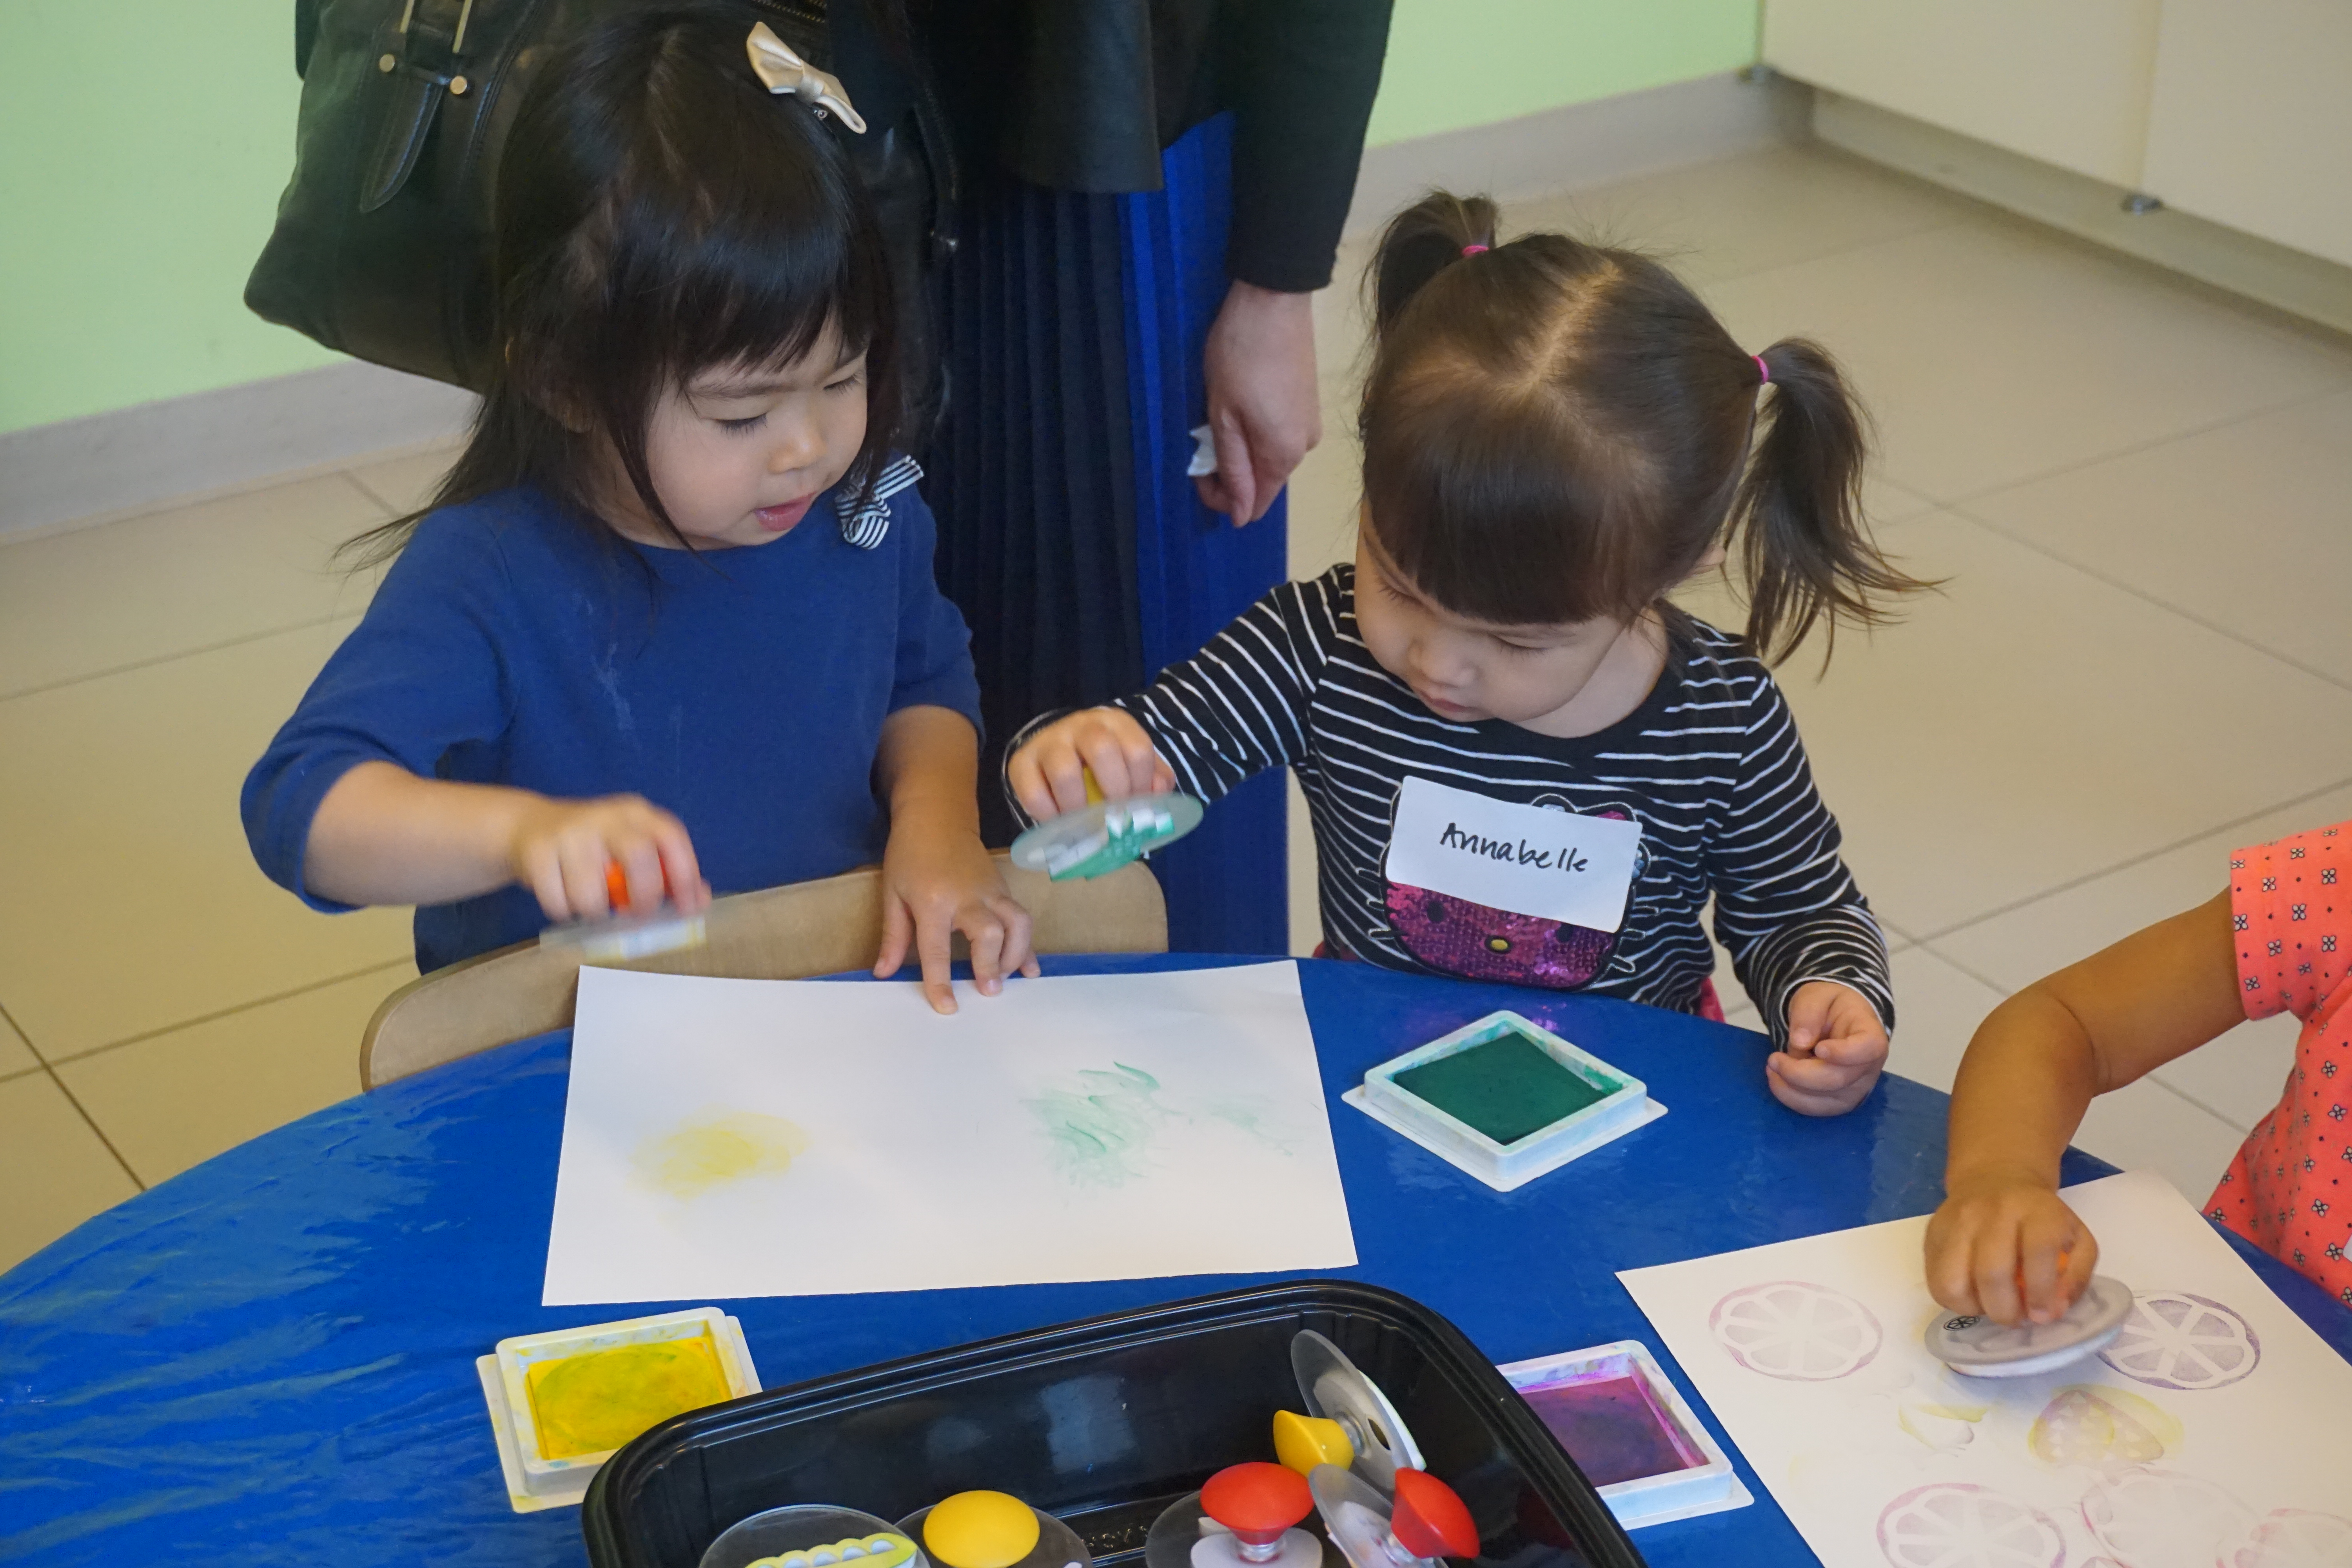
Toddlers and Preschoolers

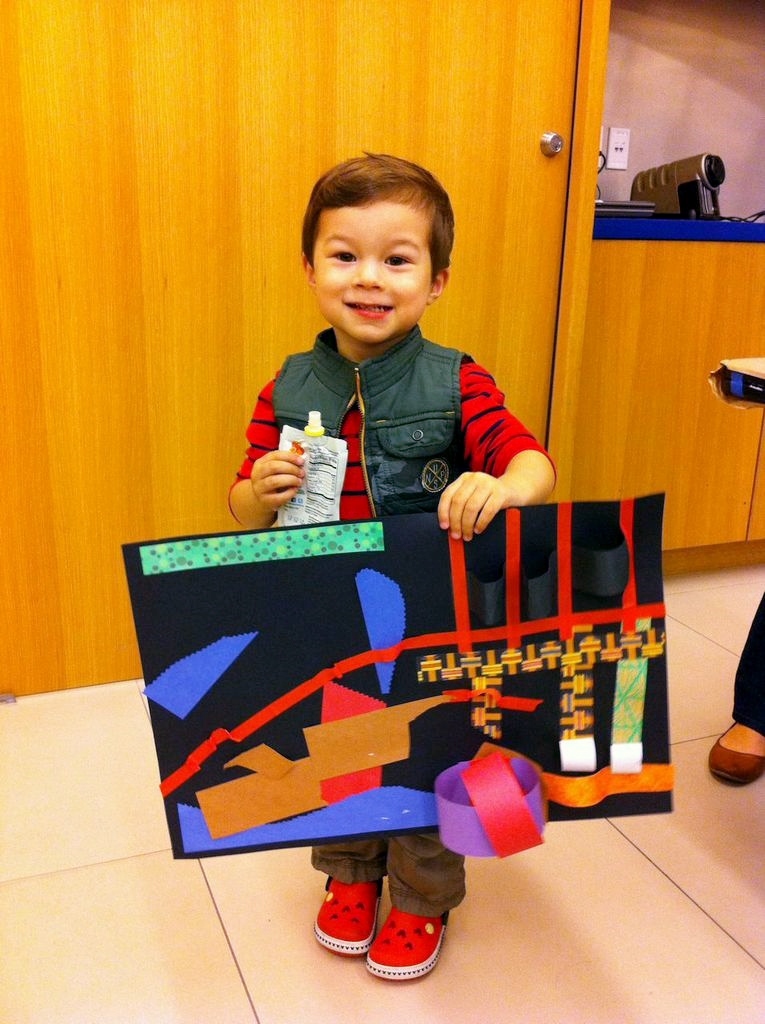
If you are feeling brave, suit up your children in their messiest clothes, cover the floor with a drop cloth (or paint outside), and let them go to town, dribbling and splattering paint onto paper. If that idea has convinced you that Pollock is not for you, here are some less messy alternatives.

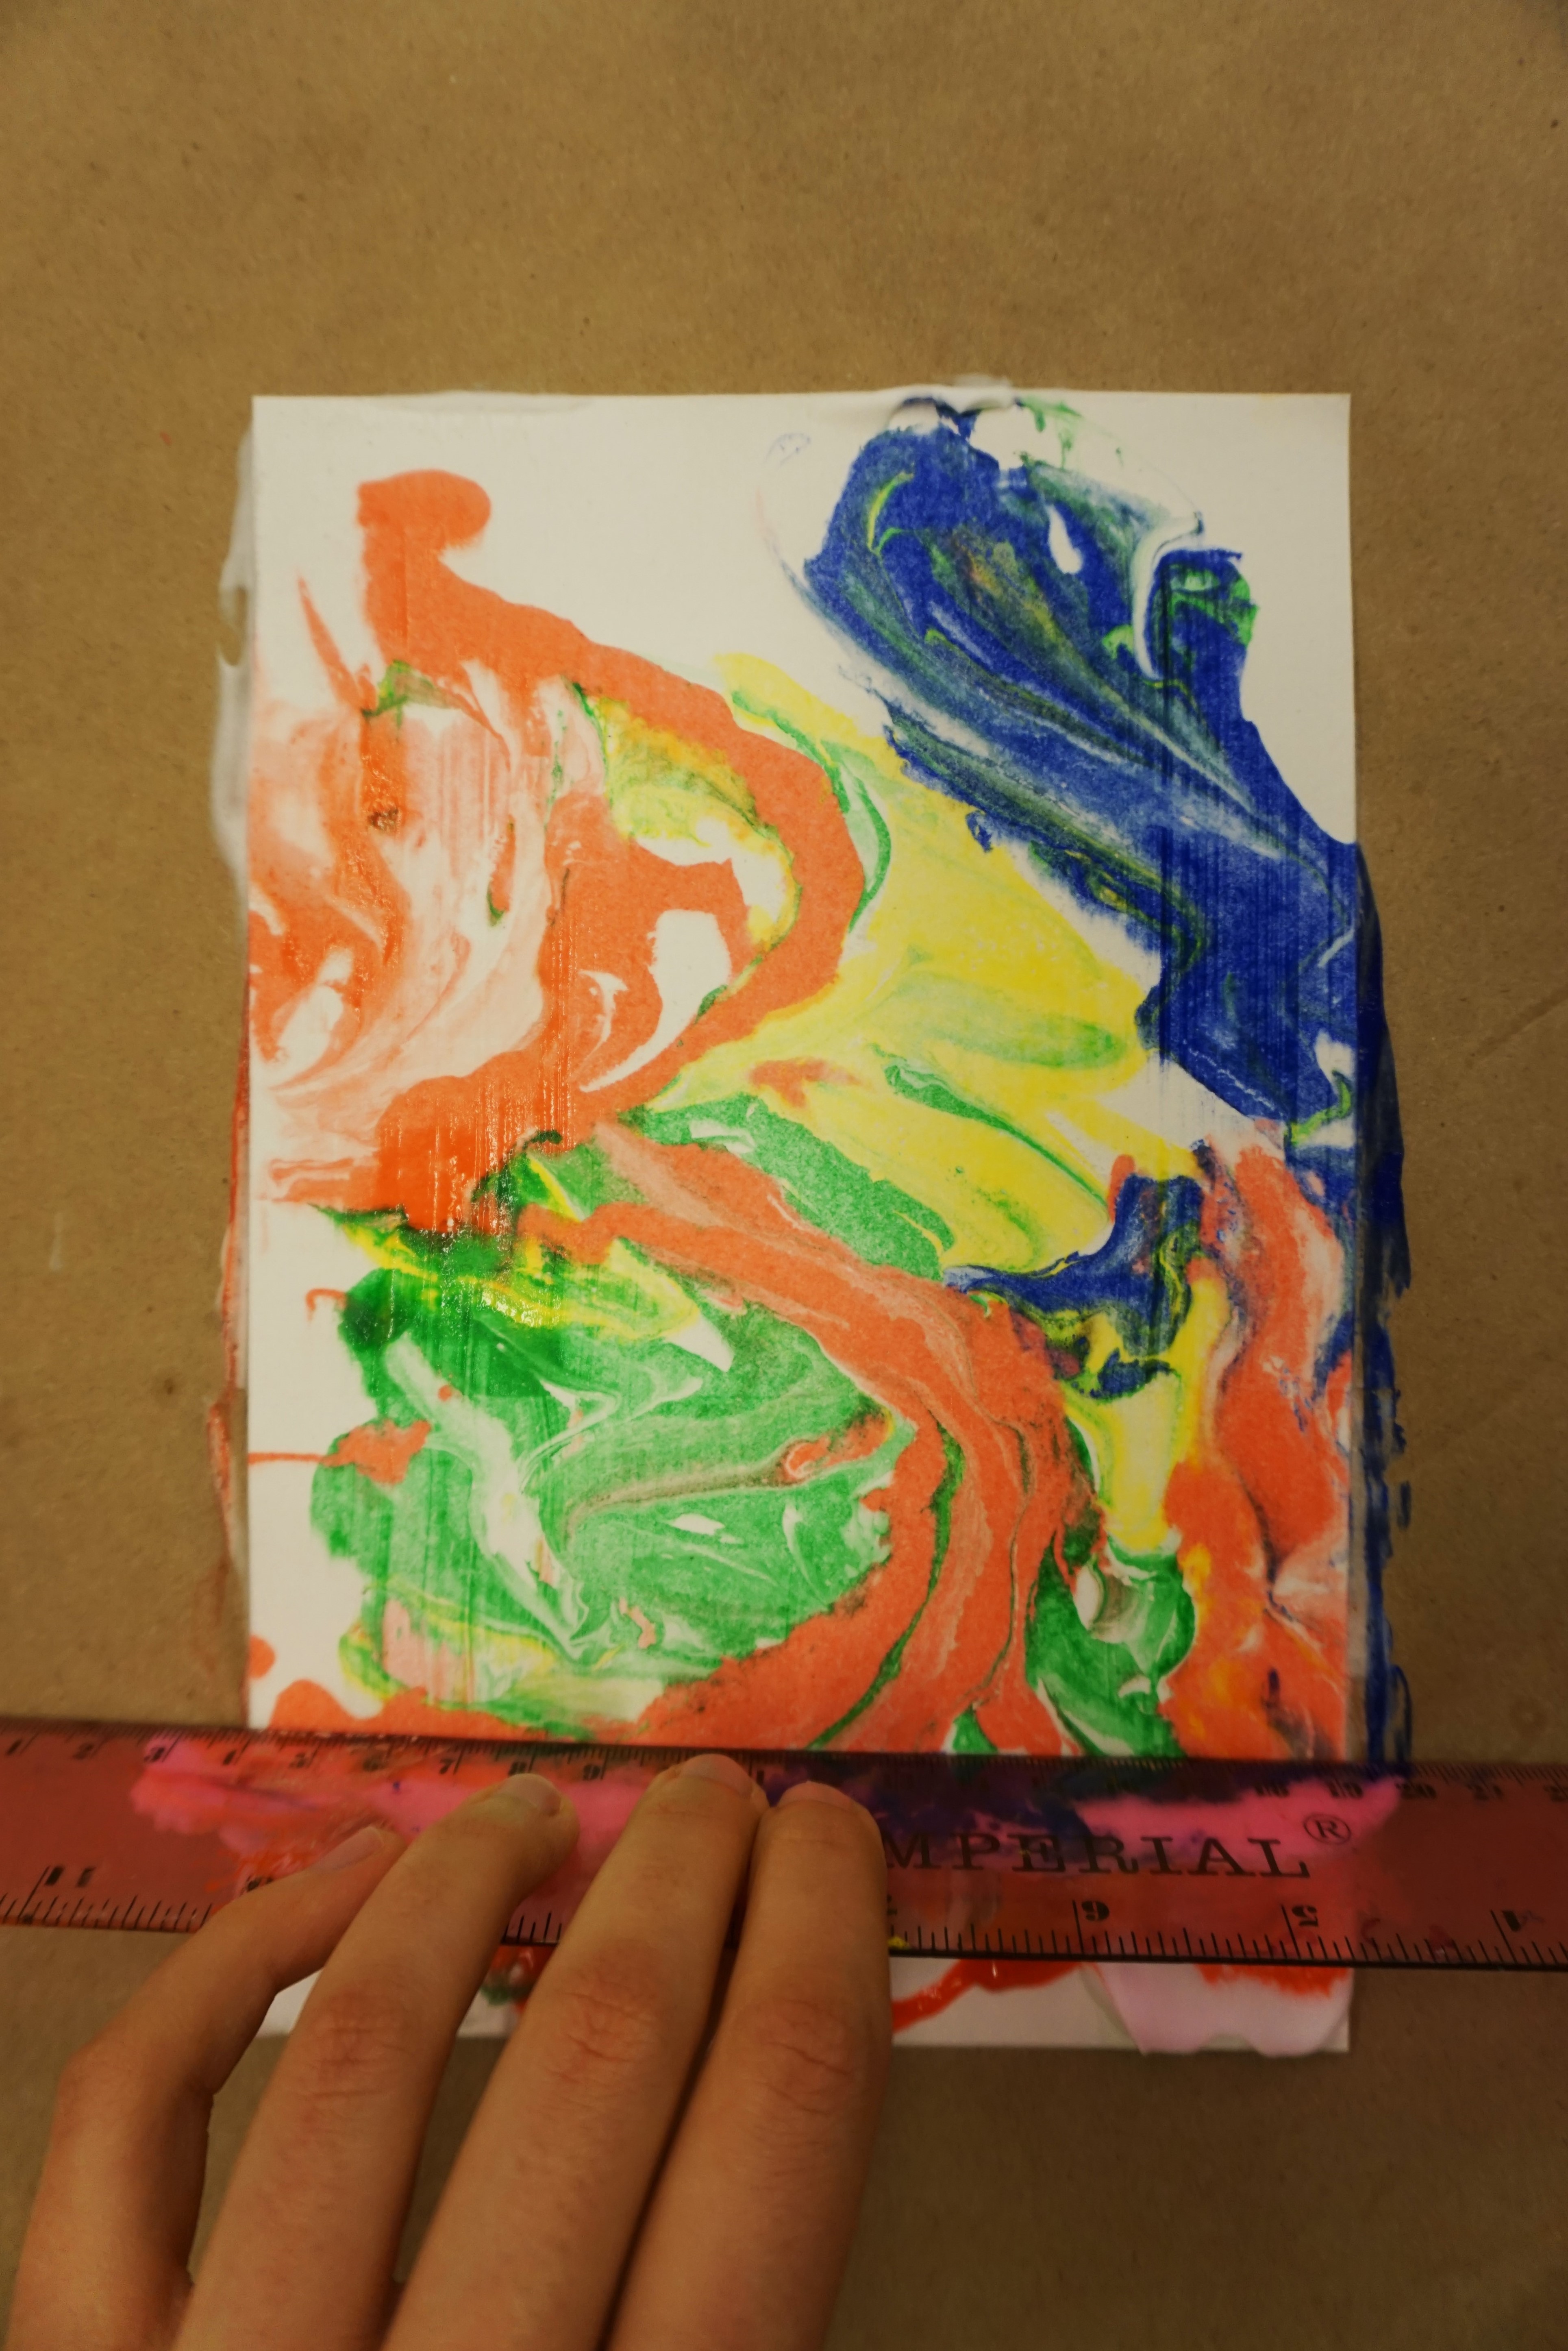
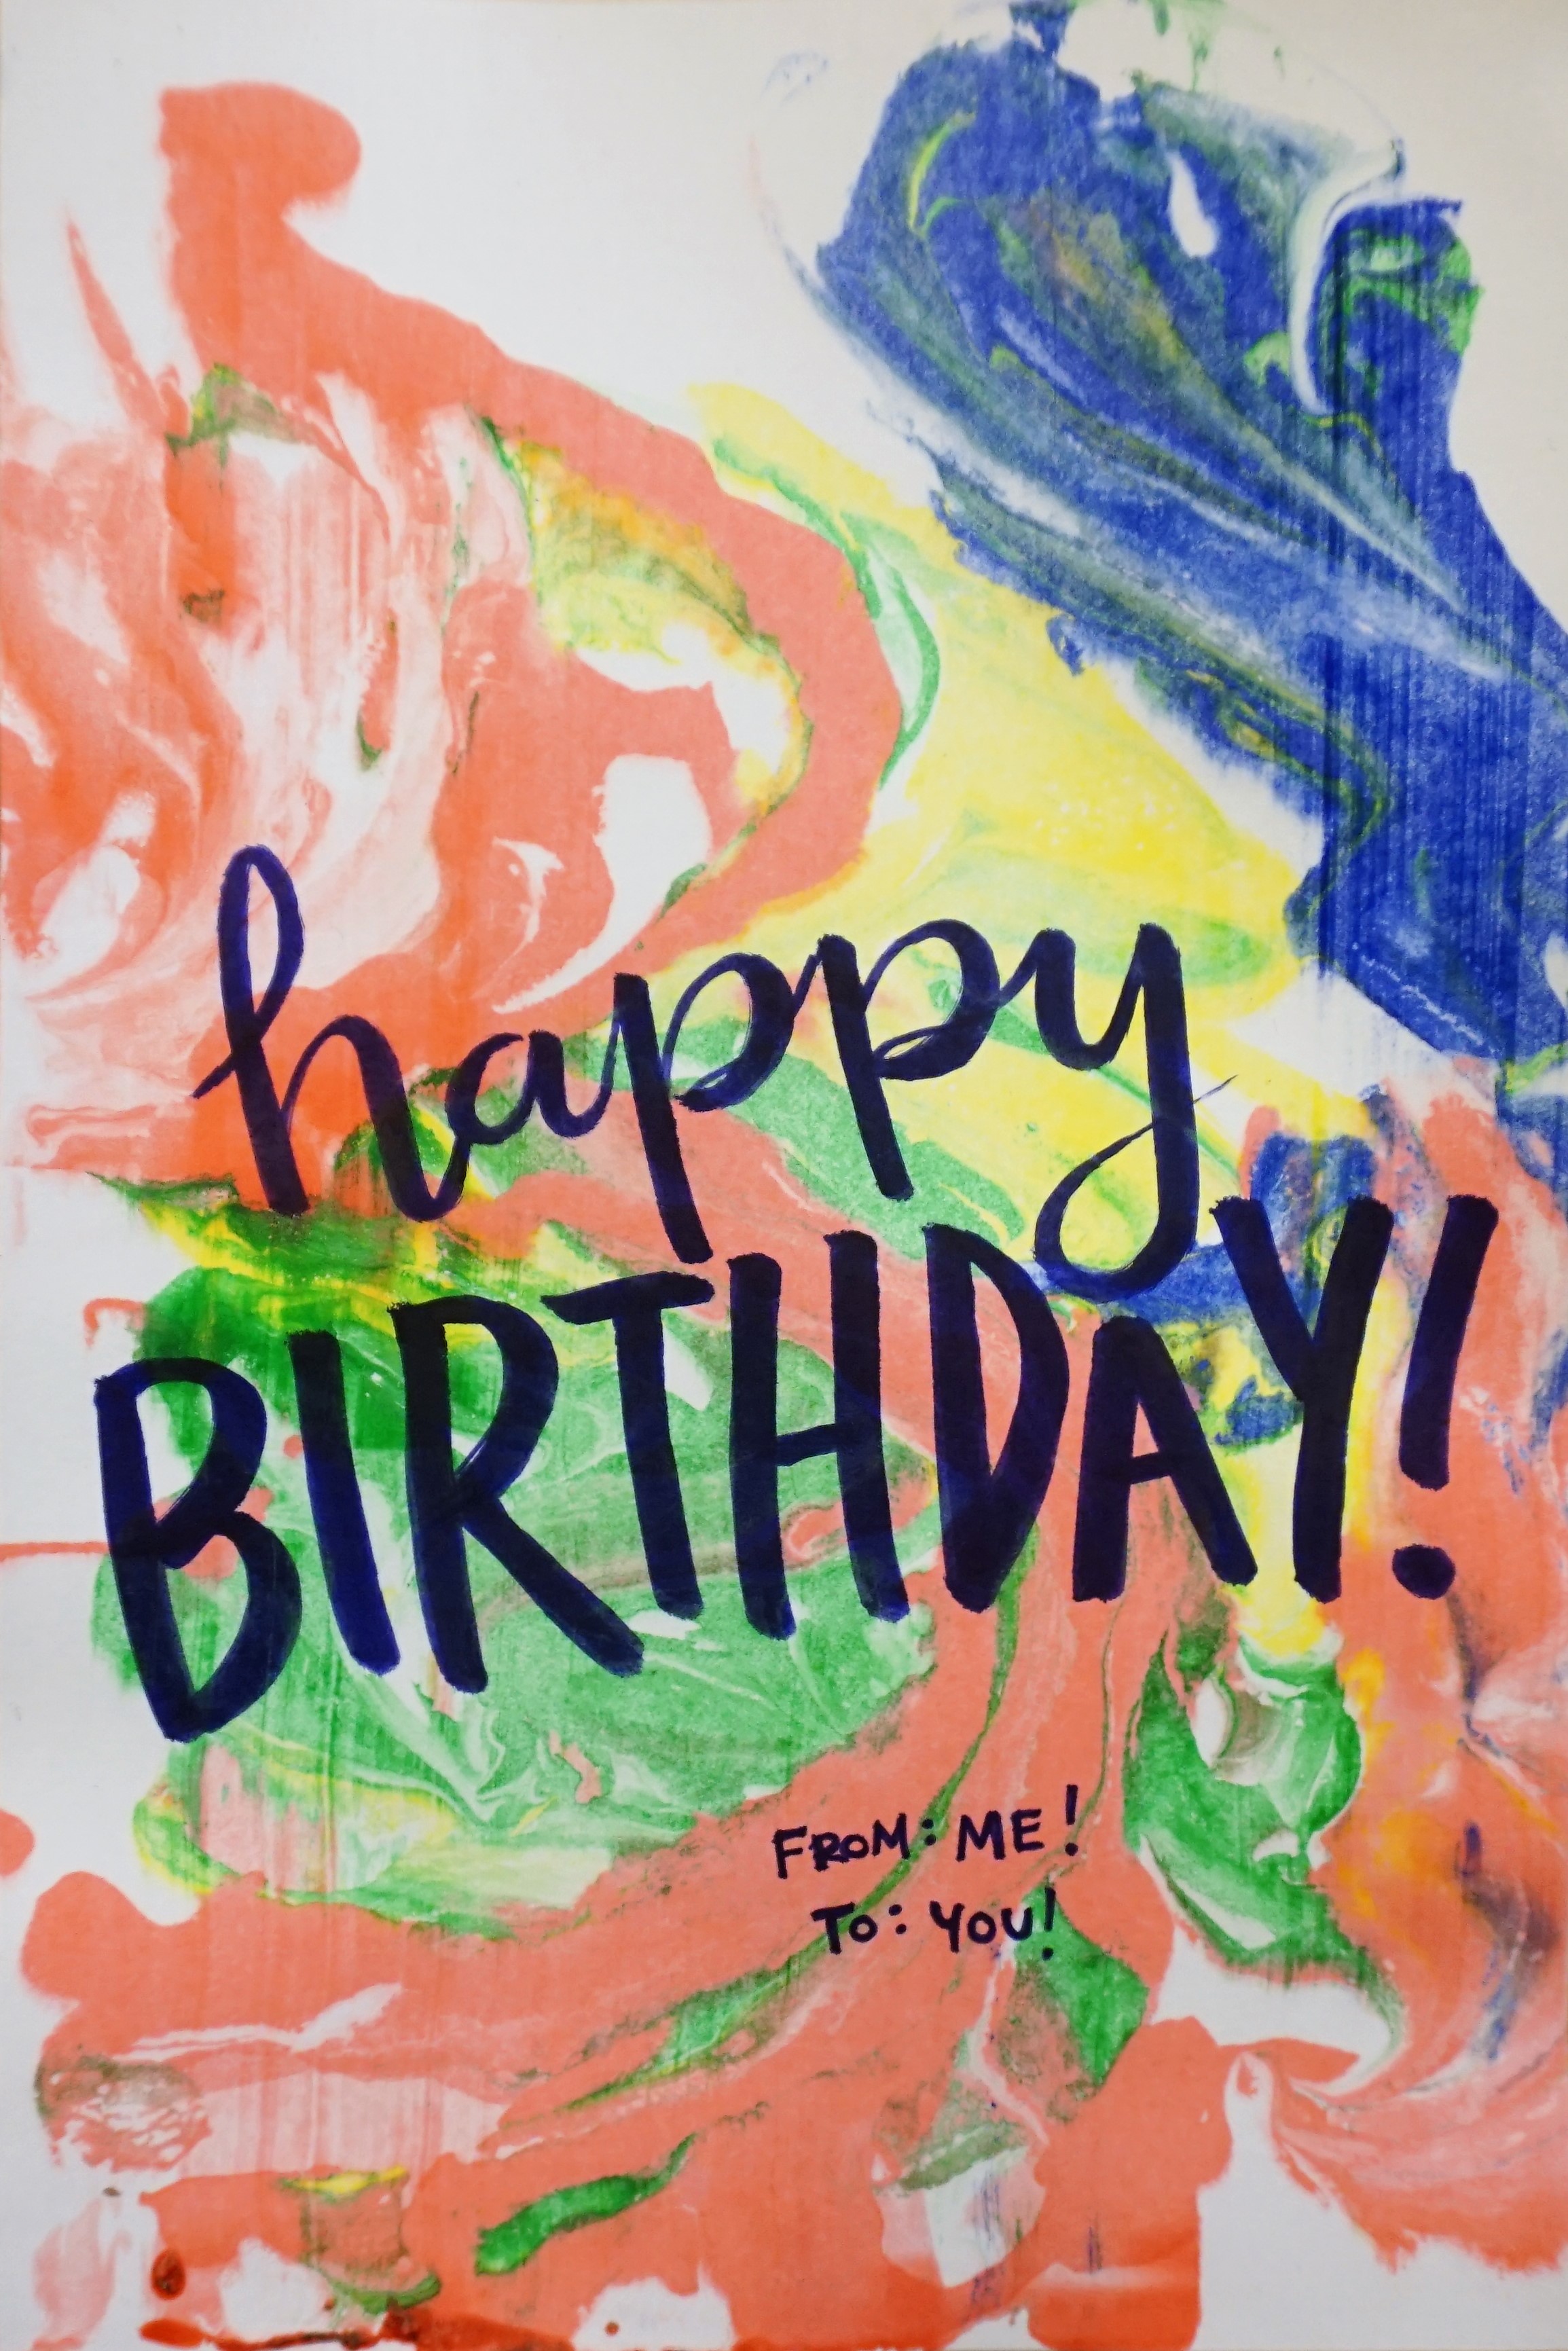
Marble painting is a fun way to get a feel for the energy and action Pollock might have used, while containing the mess. Place a piece of paper and a marble in a large box or box top, squeeze puddles of paint onto the paper, then have your child tip and shake the box back and forth to roll the marble through the paint. In no time at all, you’ll have a Pollock-ing, rollicking masterpiece.

Or if you want to avoid paint all together, substitute markers, yarn, and contact paper for the messy stuff. Have your child throw, dribble or drop pieces of yarn onto a piece of paper to create some Pollock-like lines. Cover the entire piece of paper with clear contact paper to seal the yarn in place. Then use colored markers (permanent works best on the contact paper) to create puddles of color. Pollock’s Convergence served as our inspiration for this project, and the children loved the layered effect.

Homeschool Pollock

Elementary & Middle School

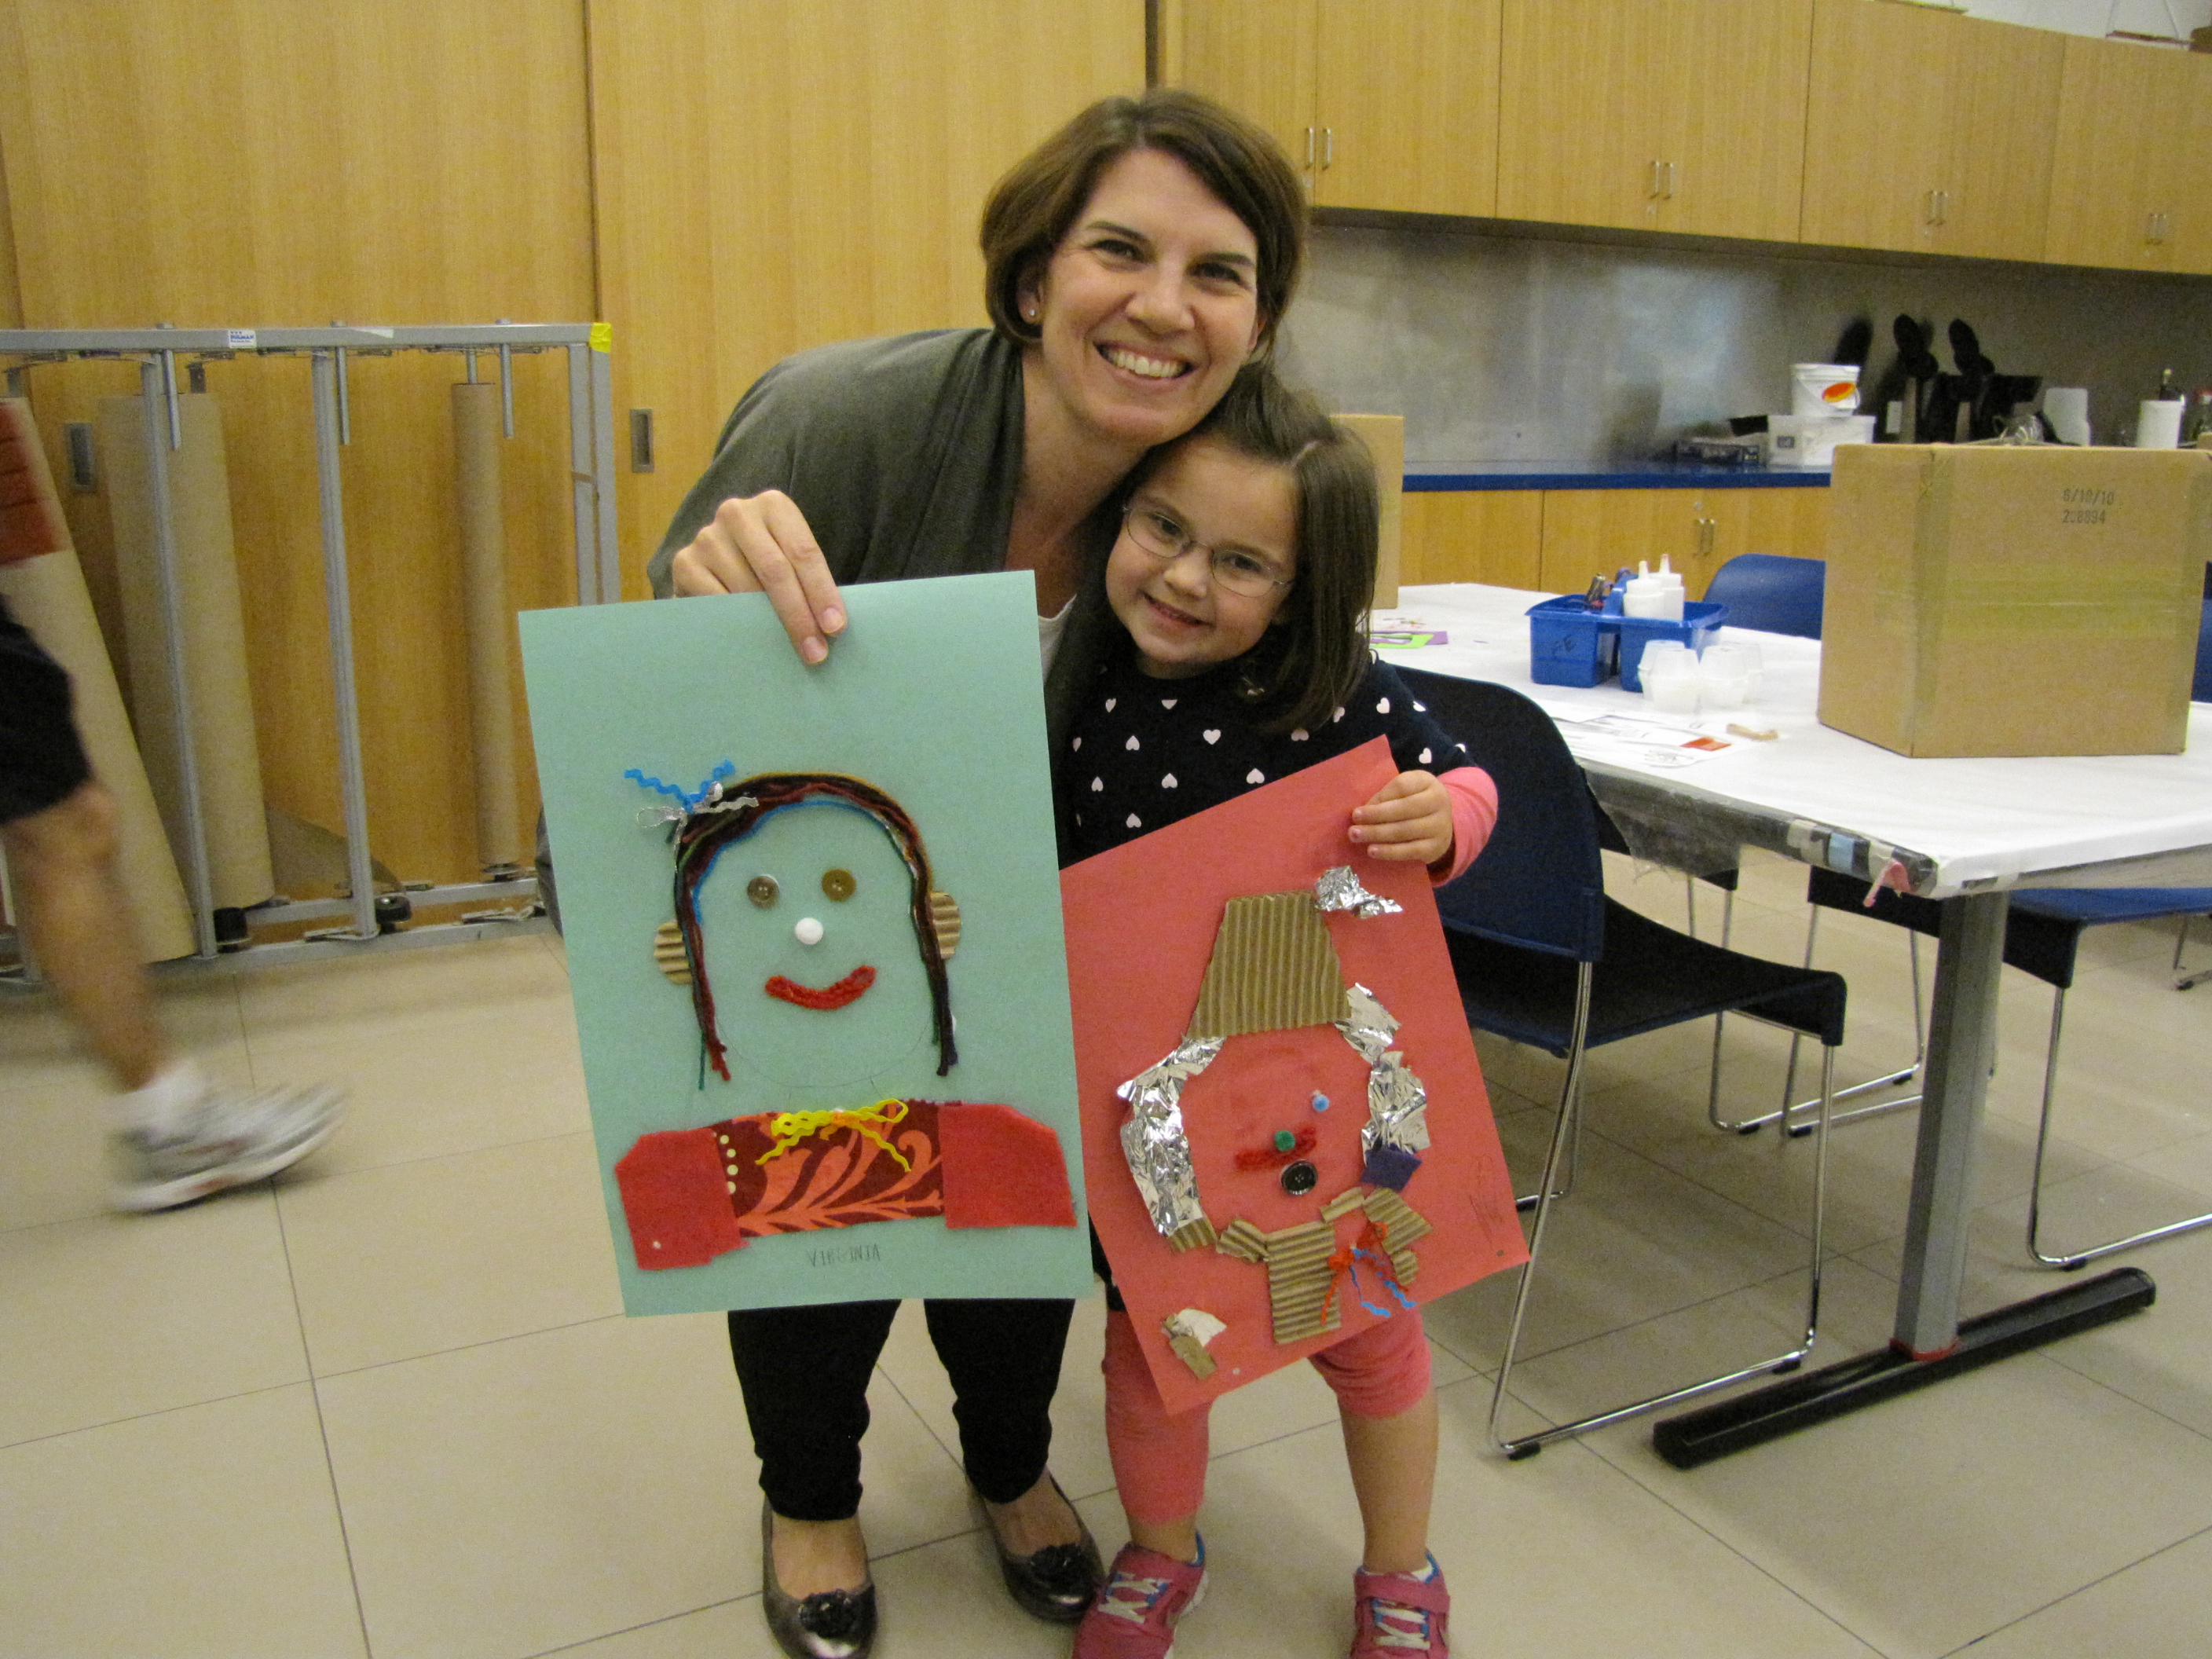
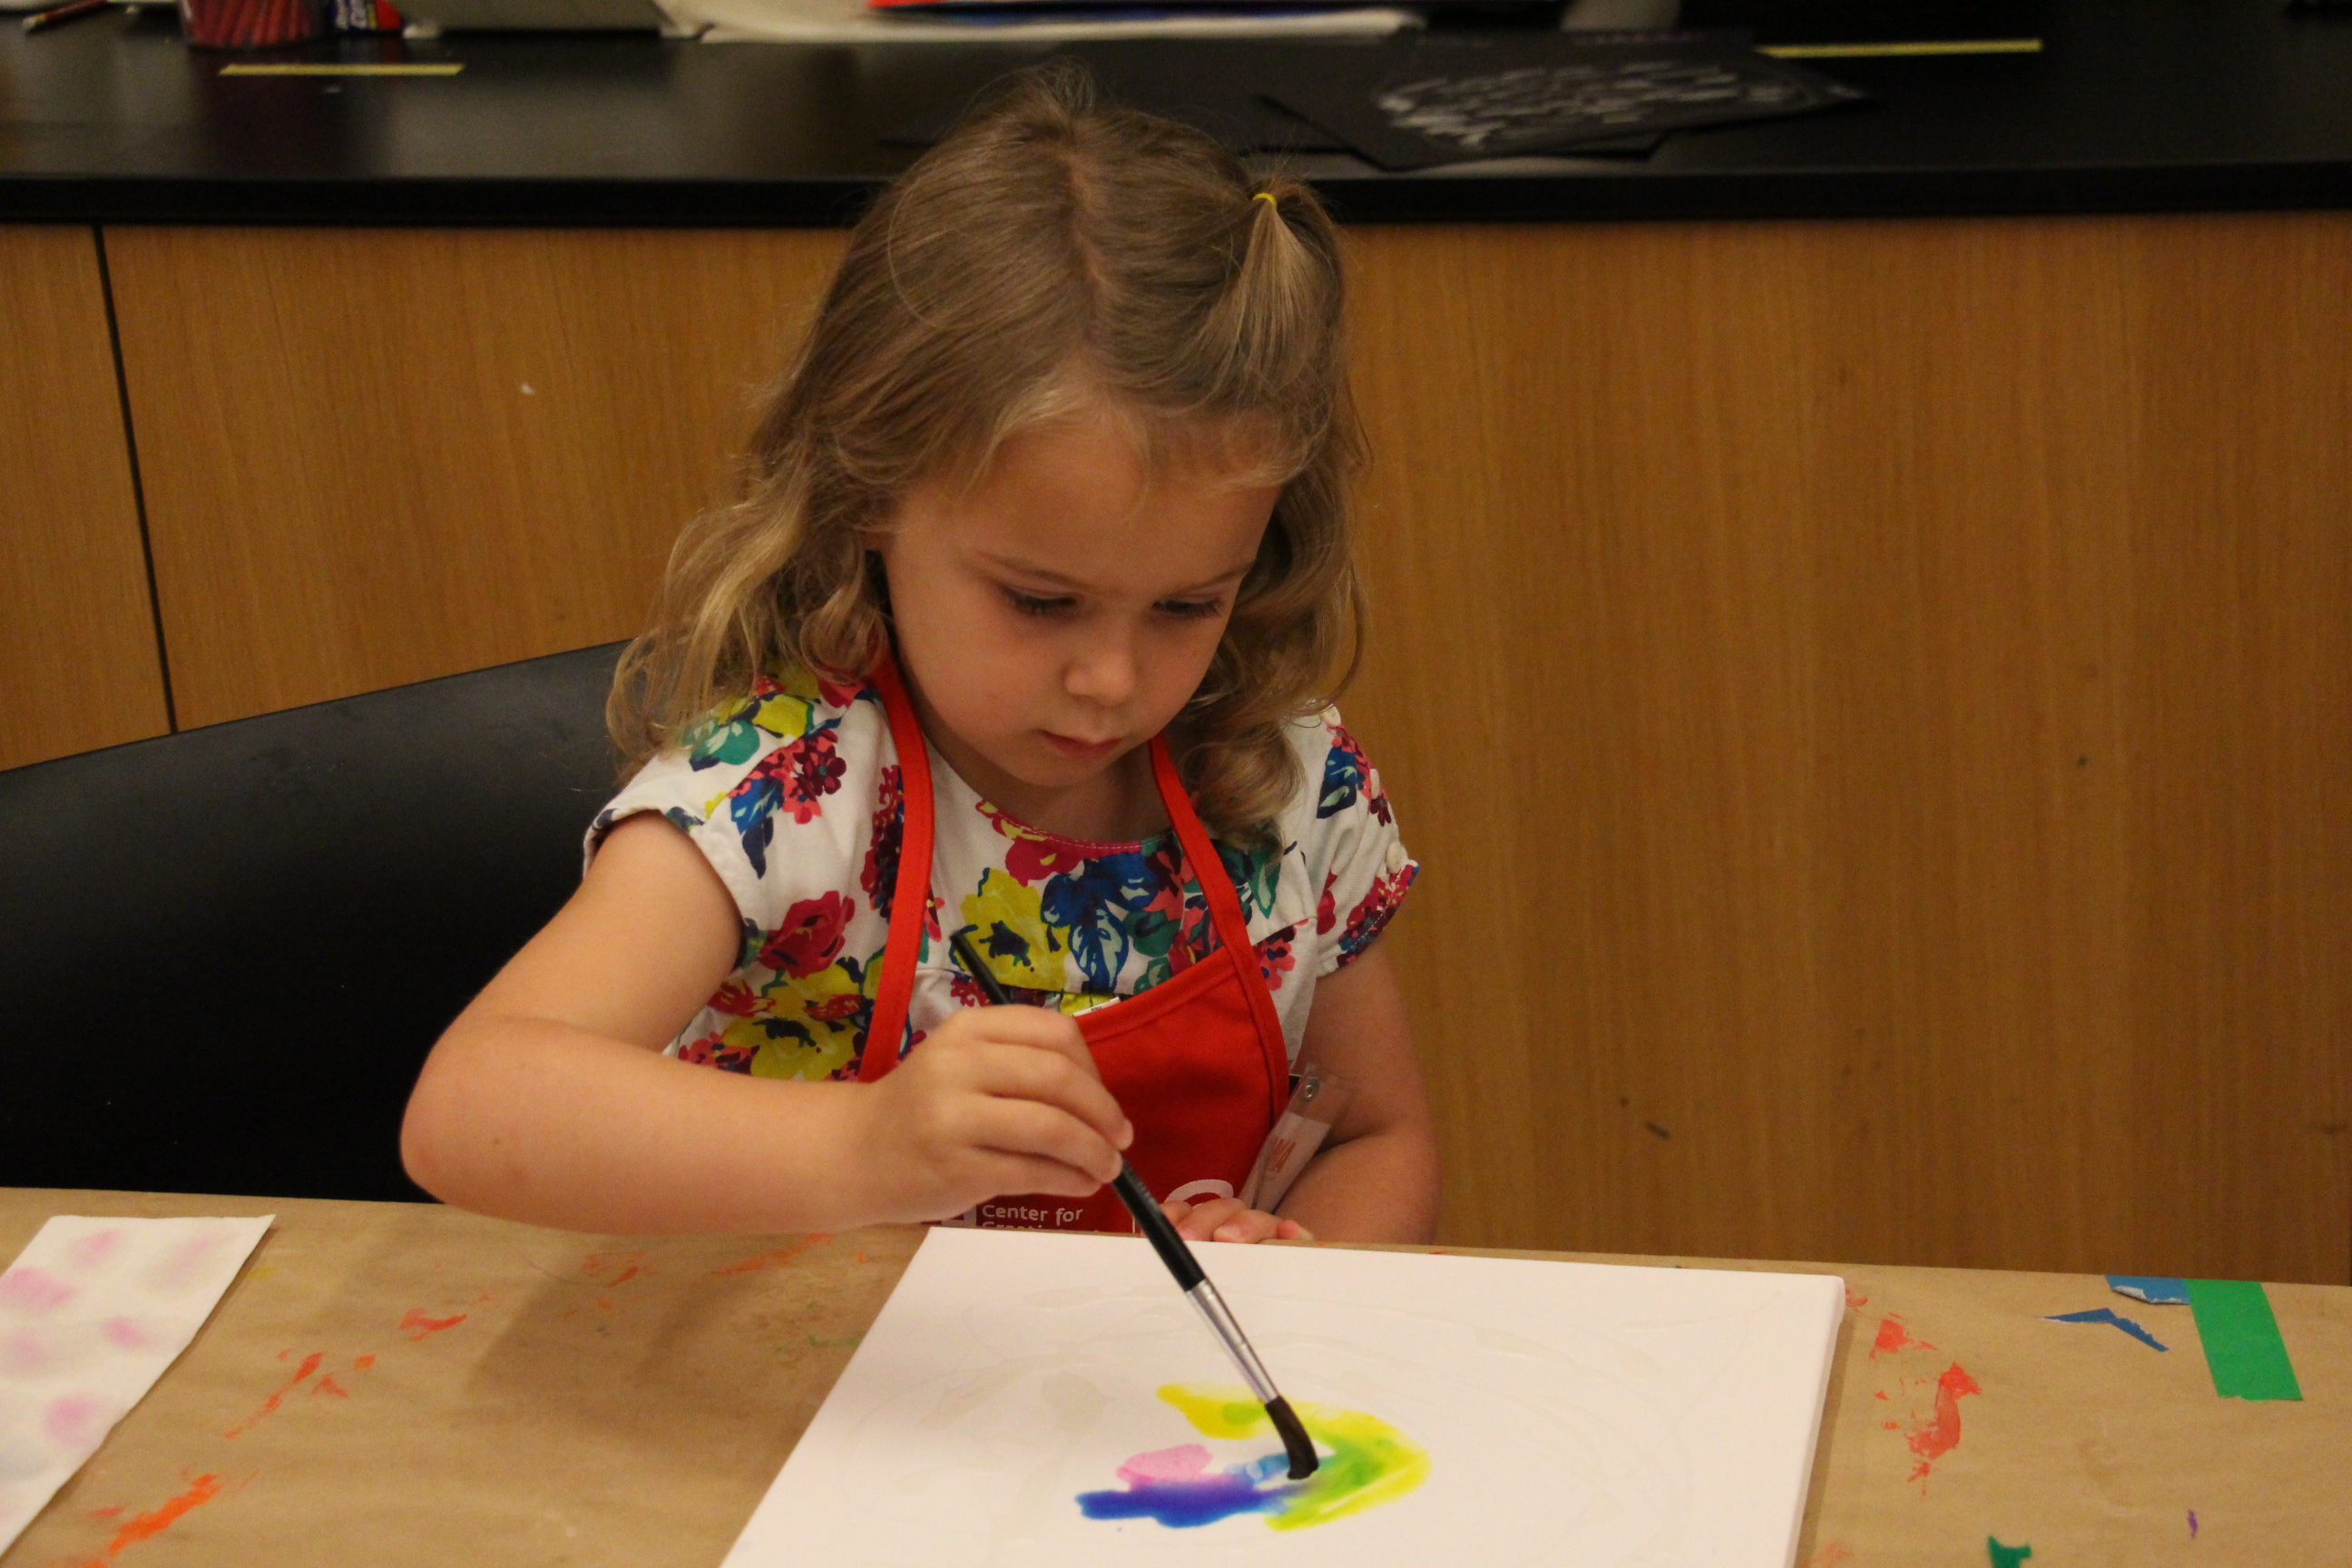
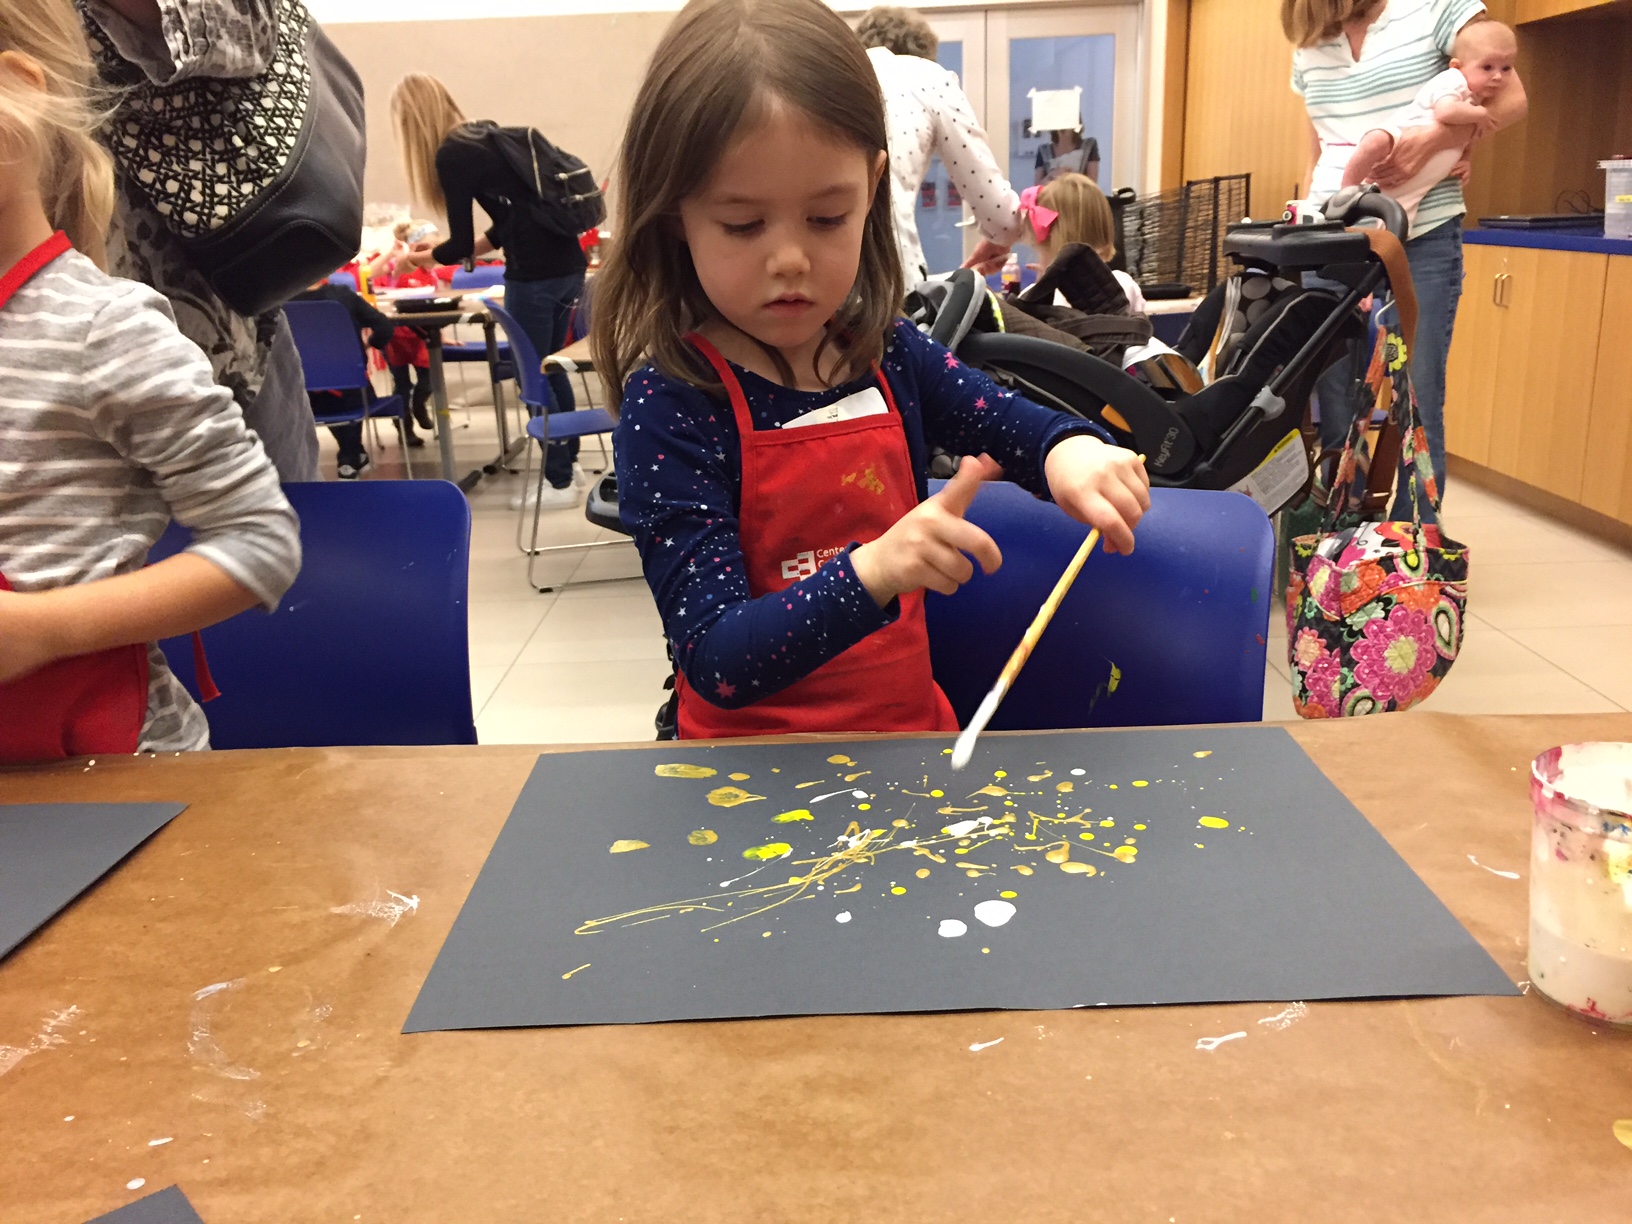
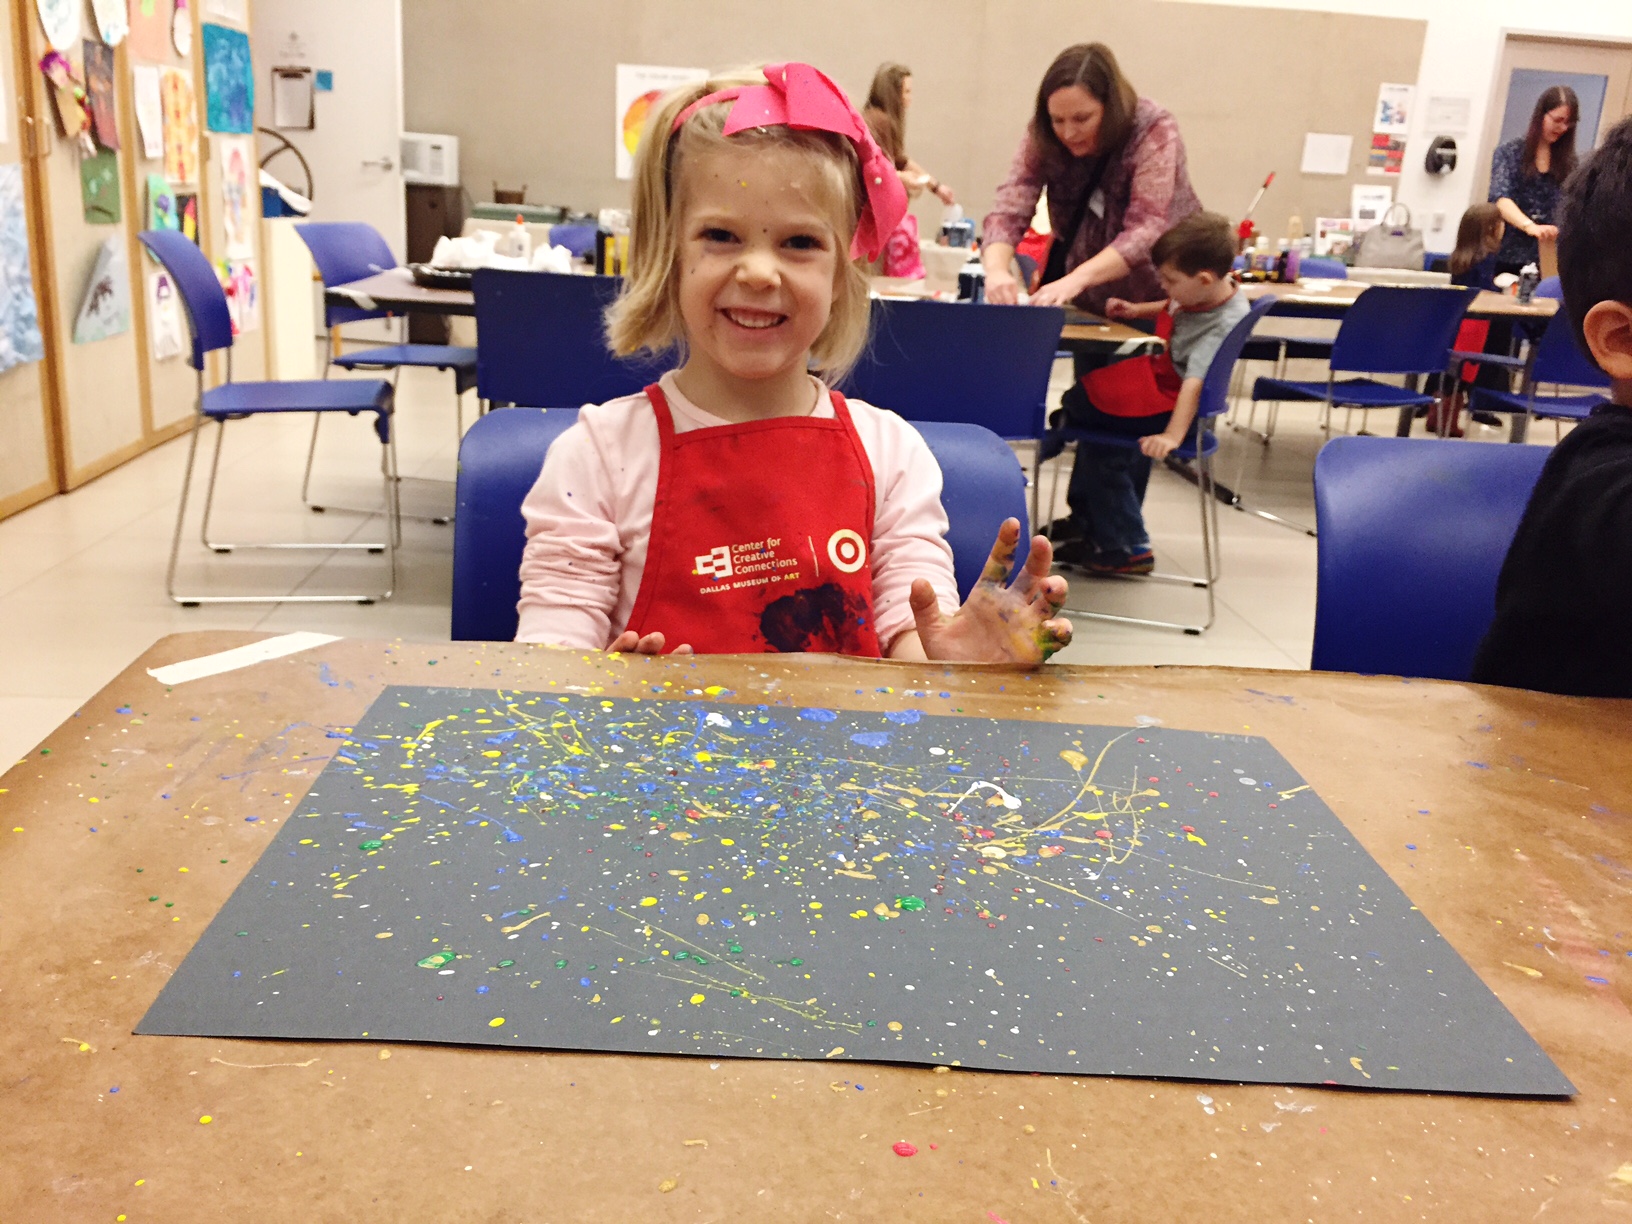
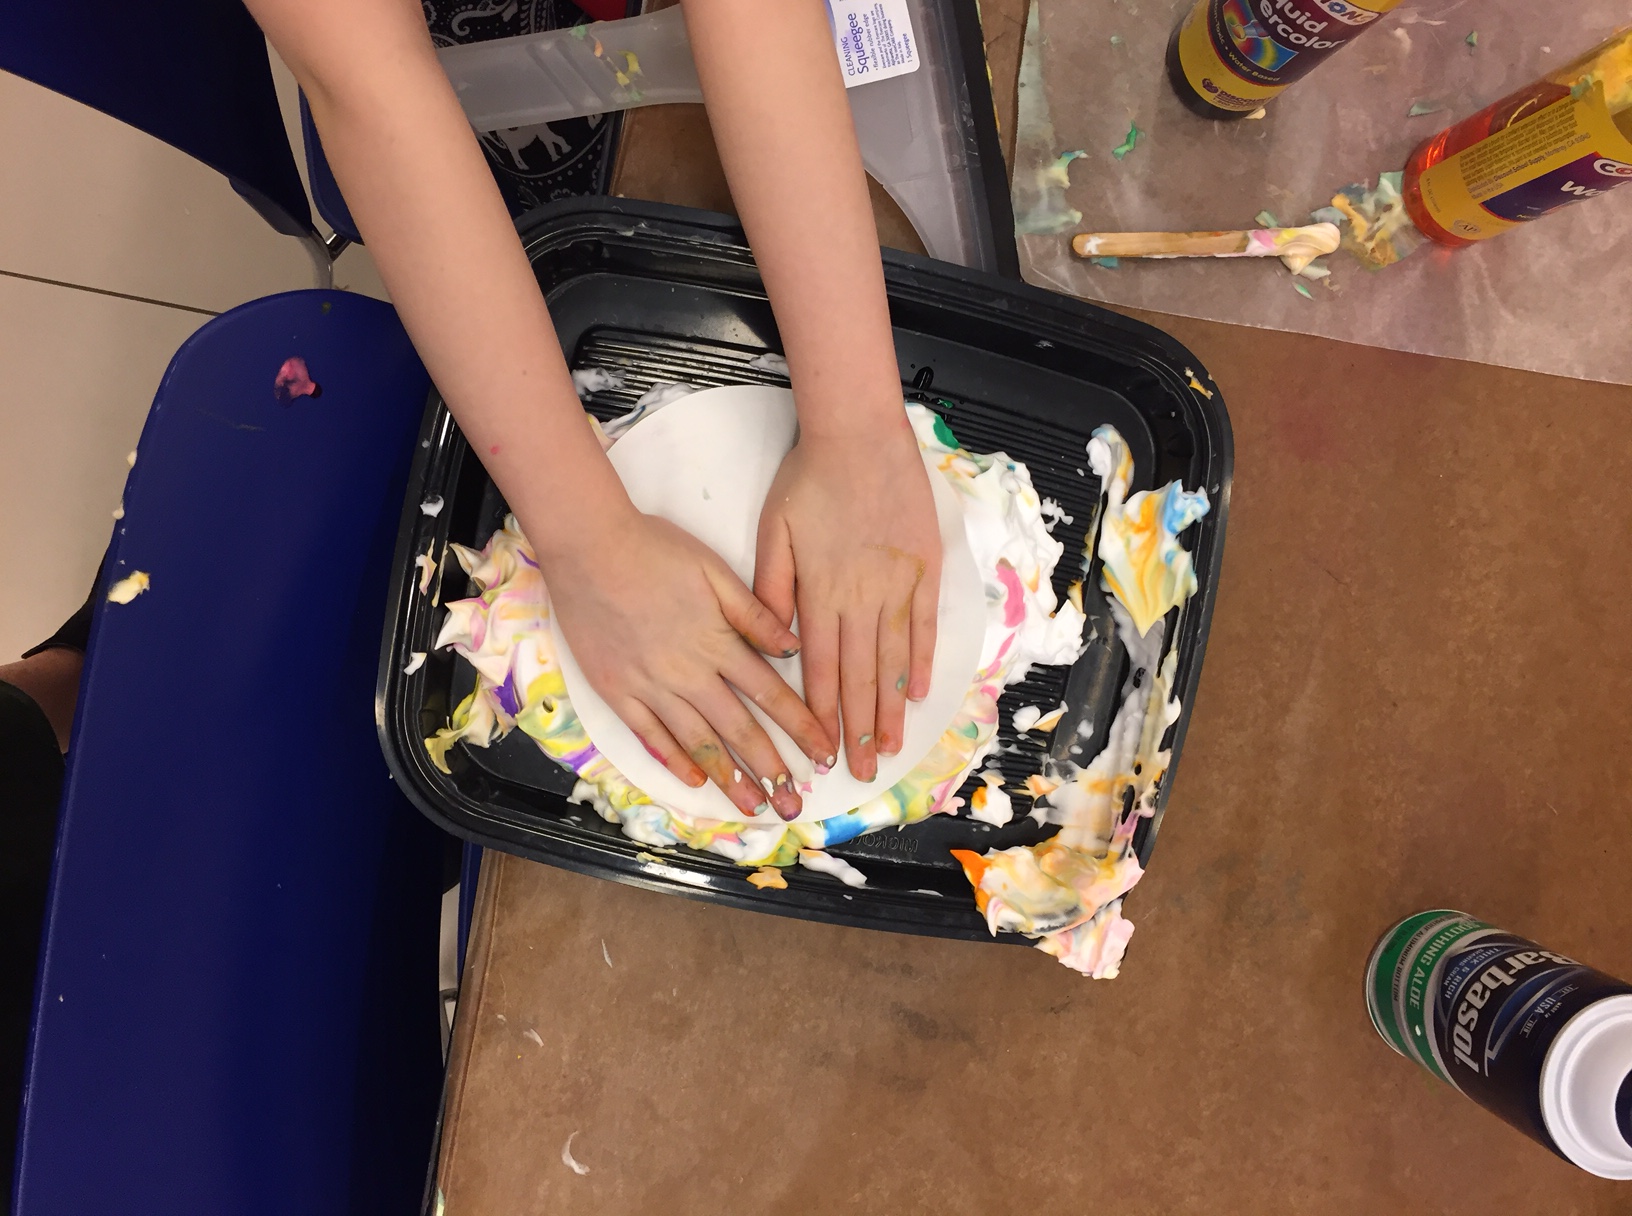
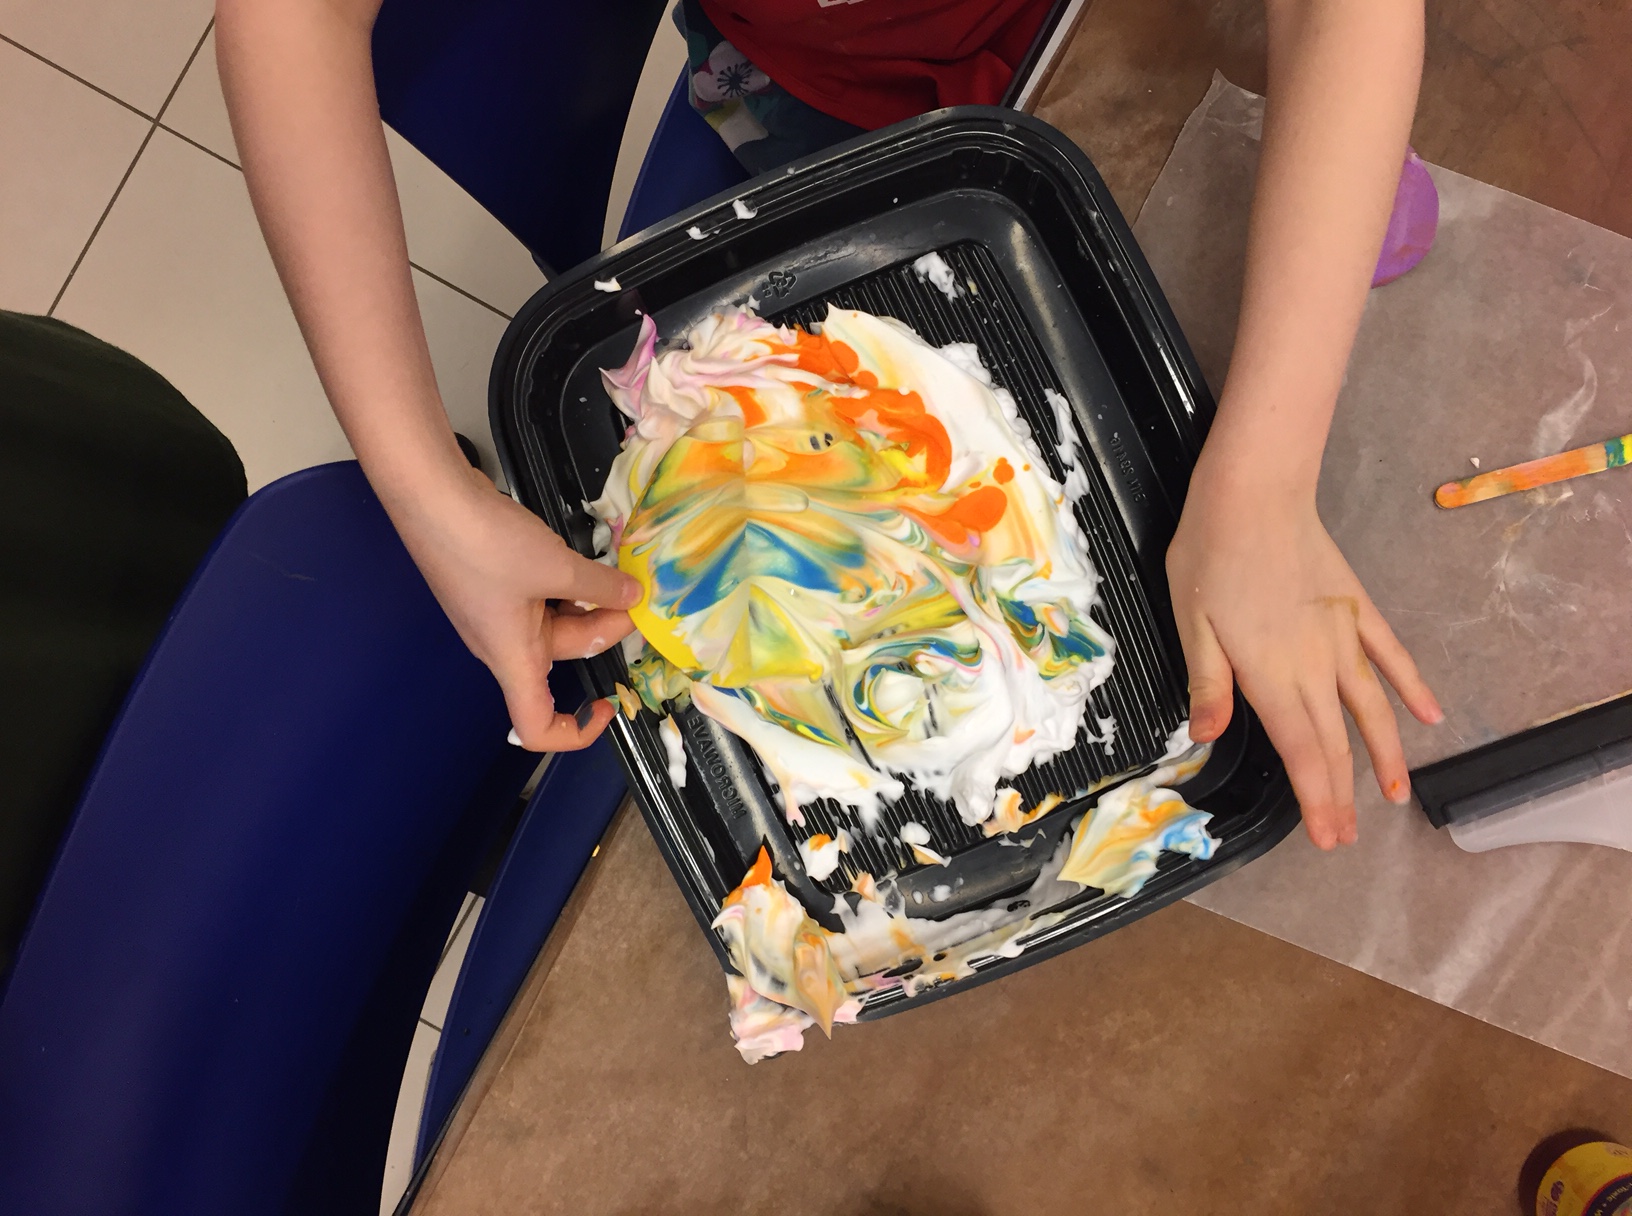
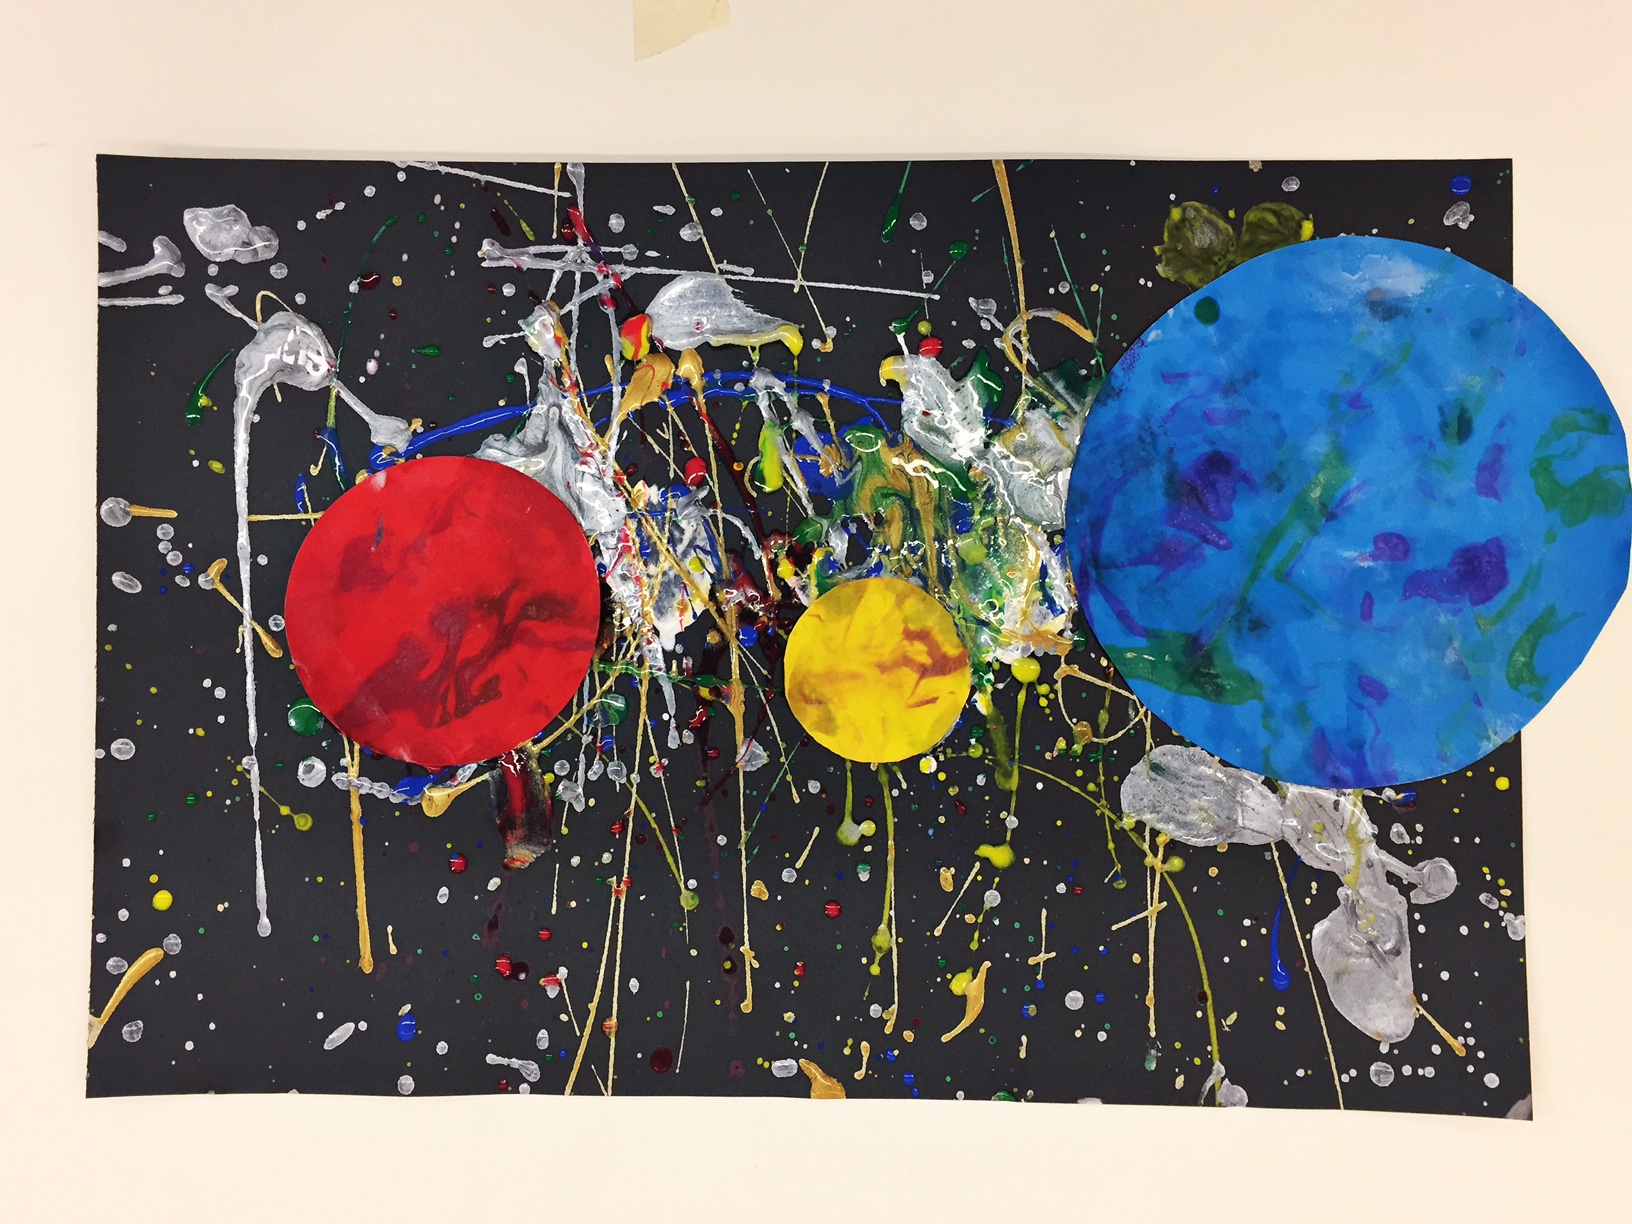
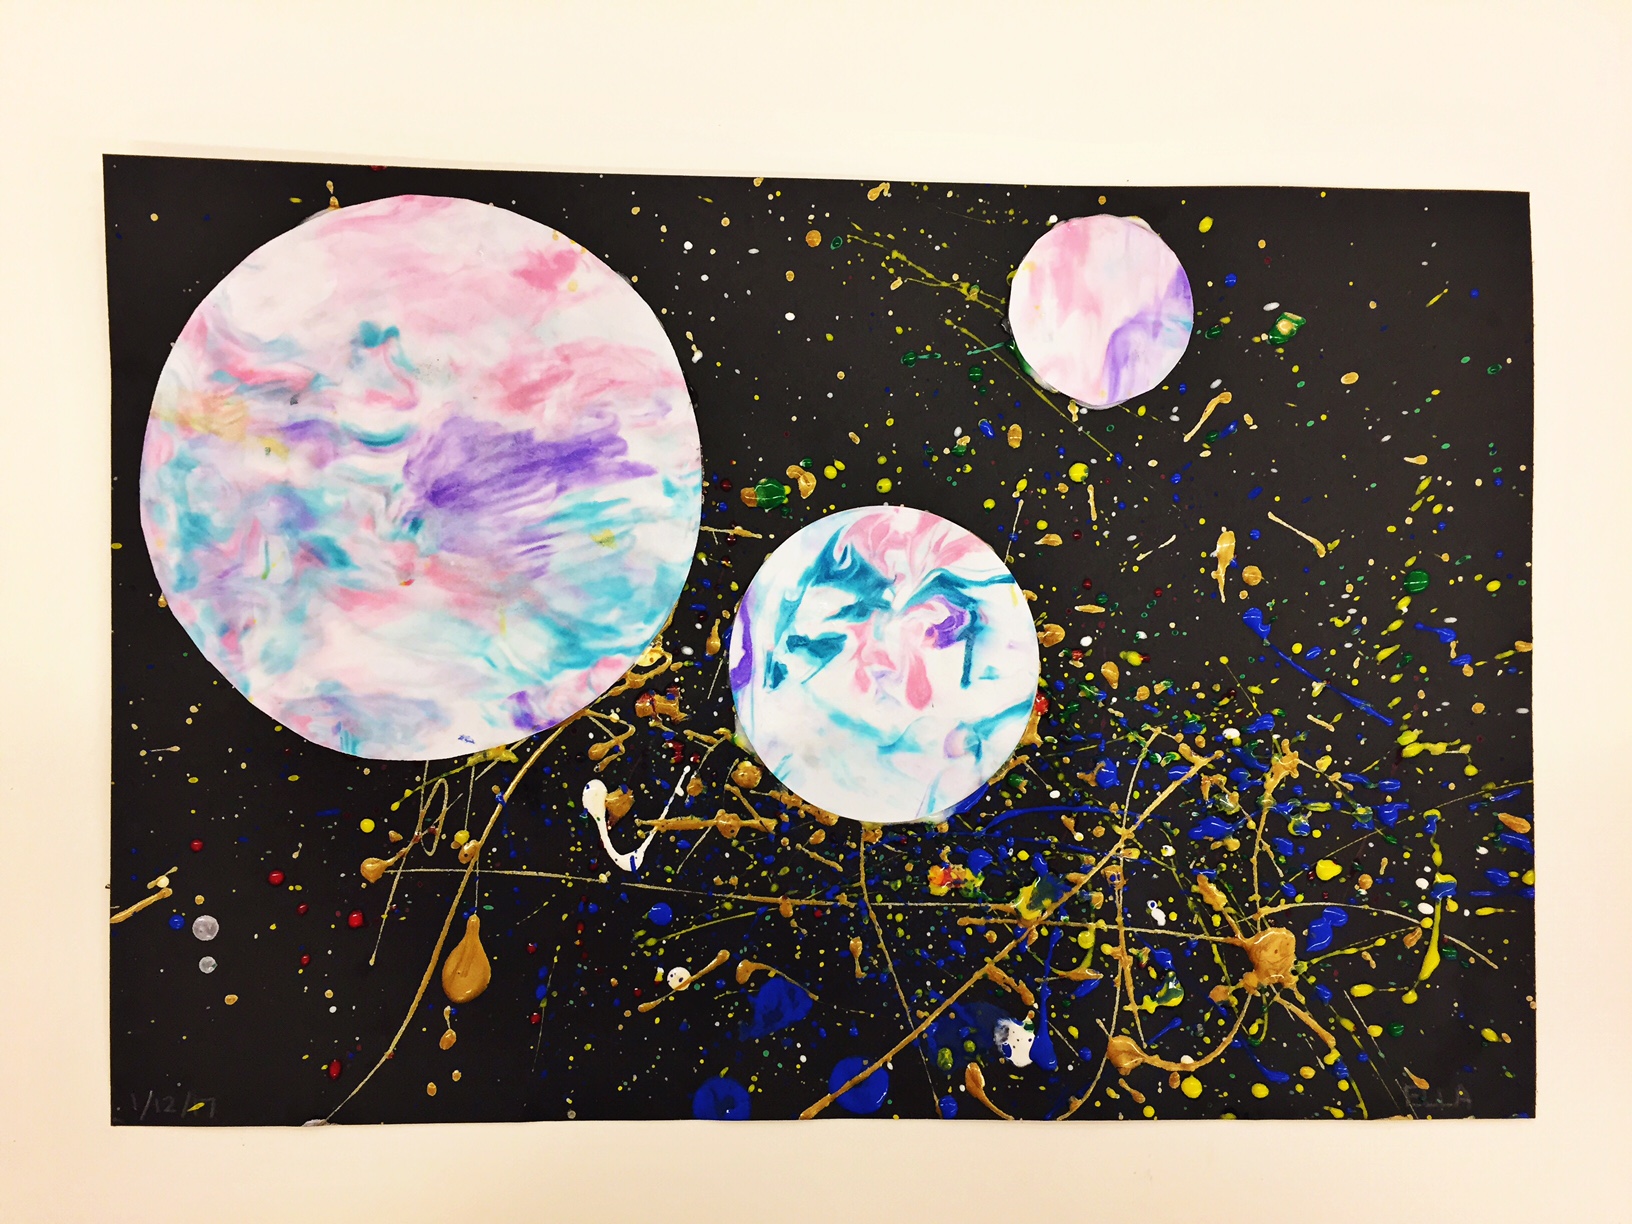
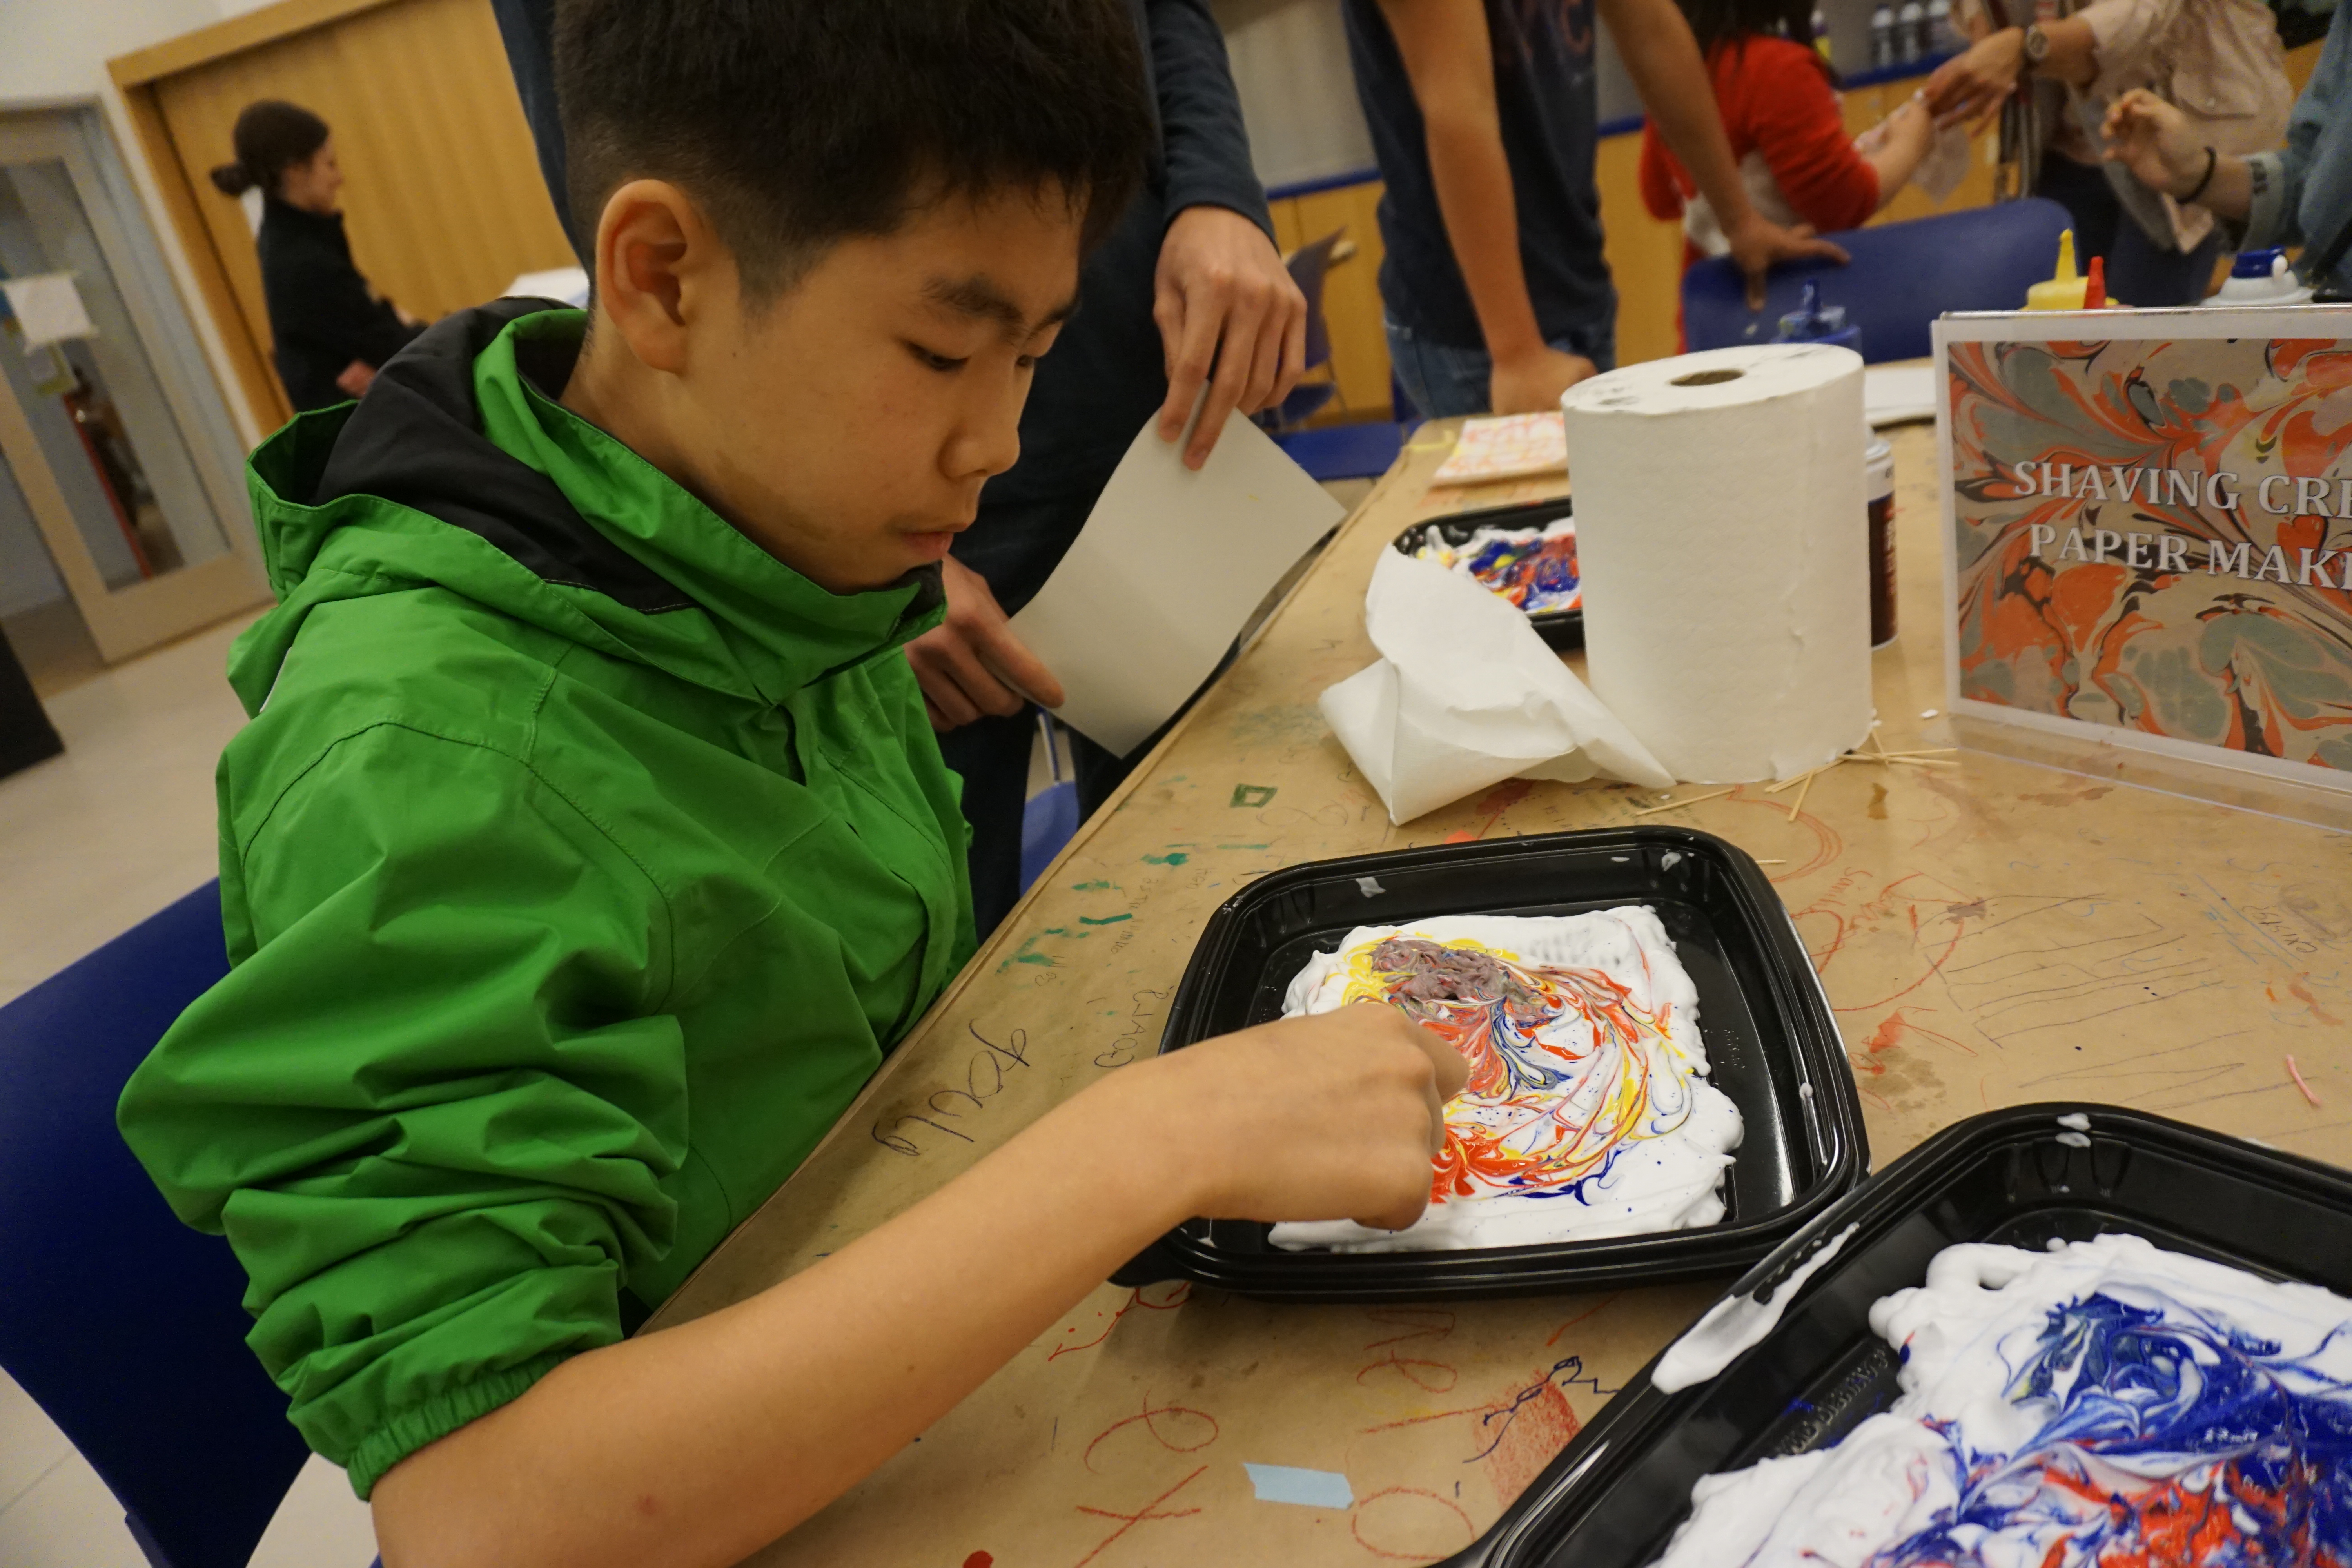
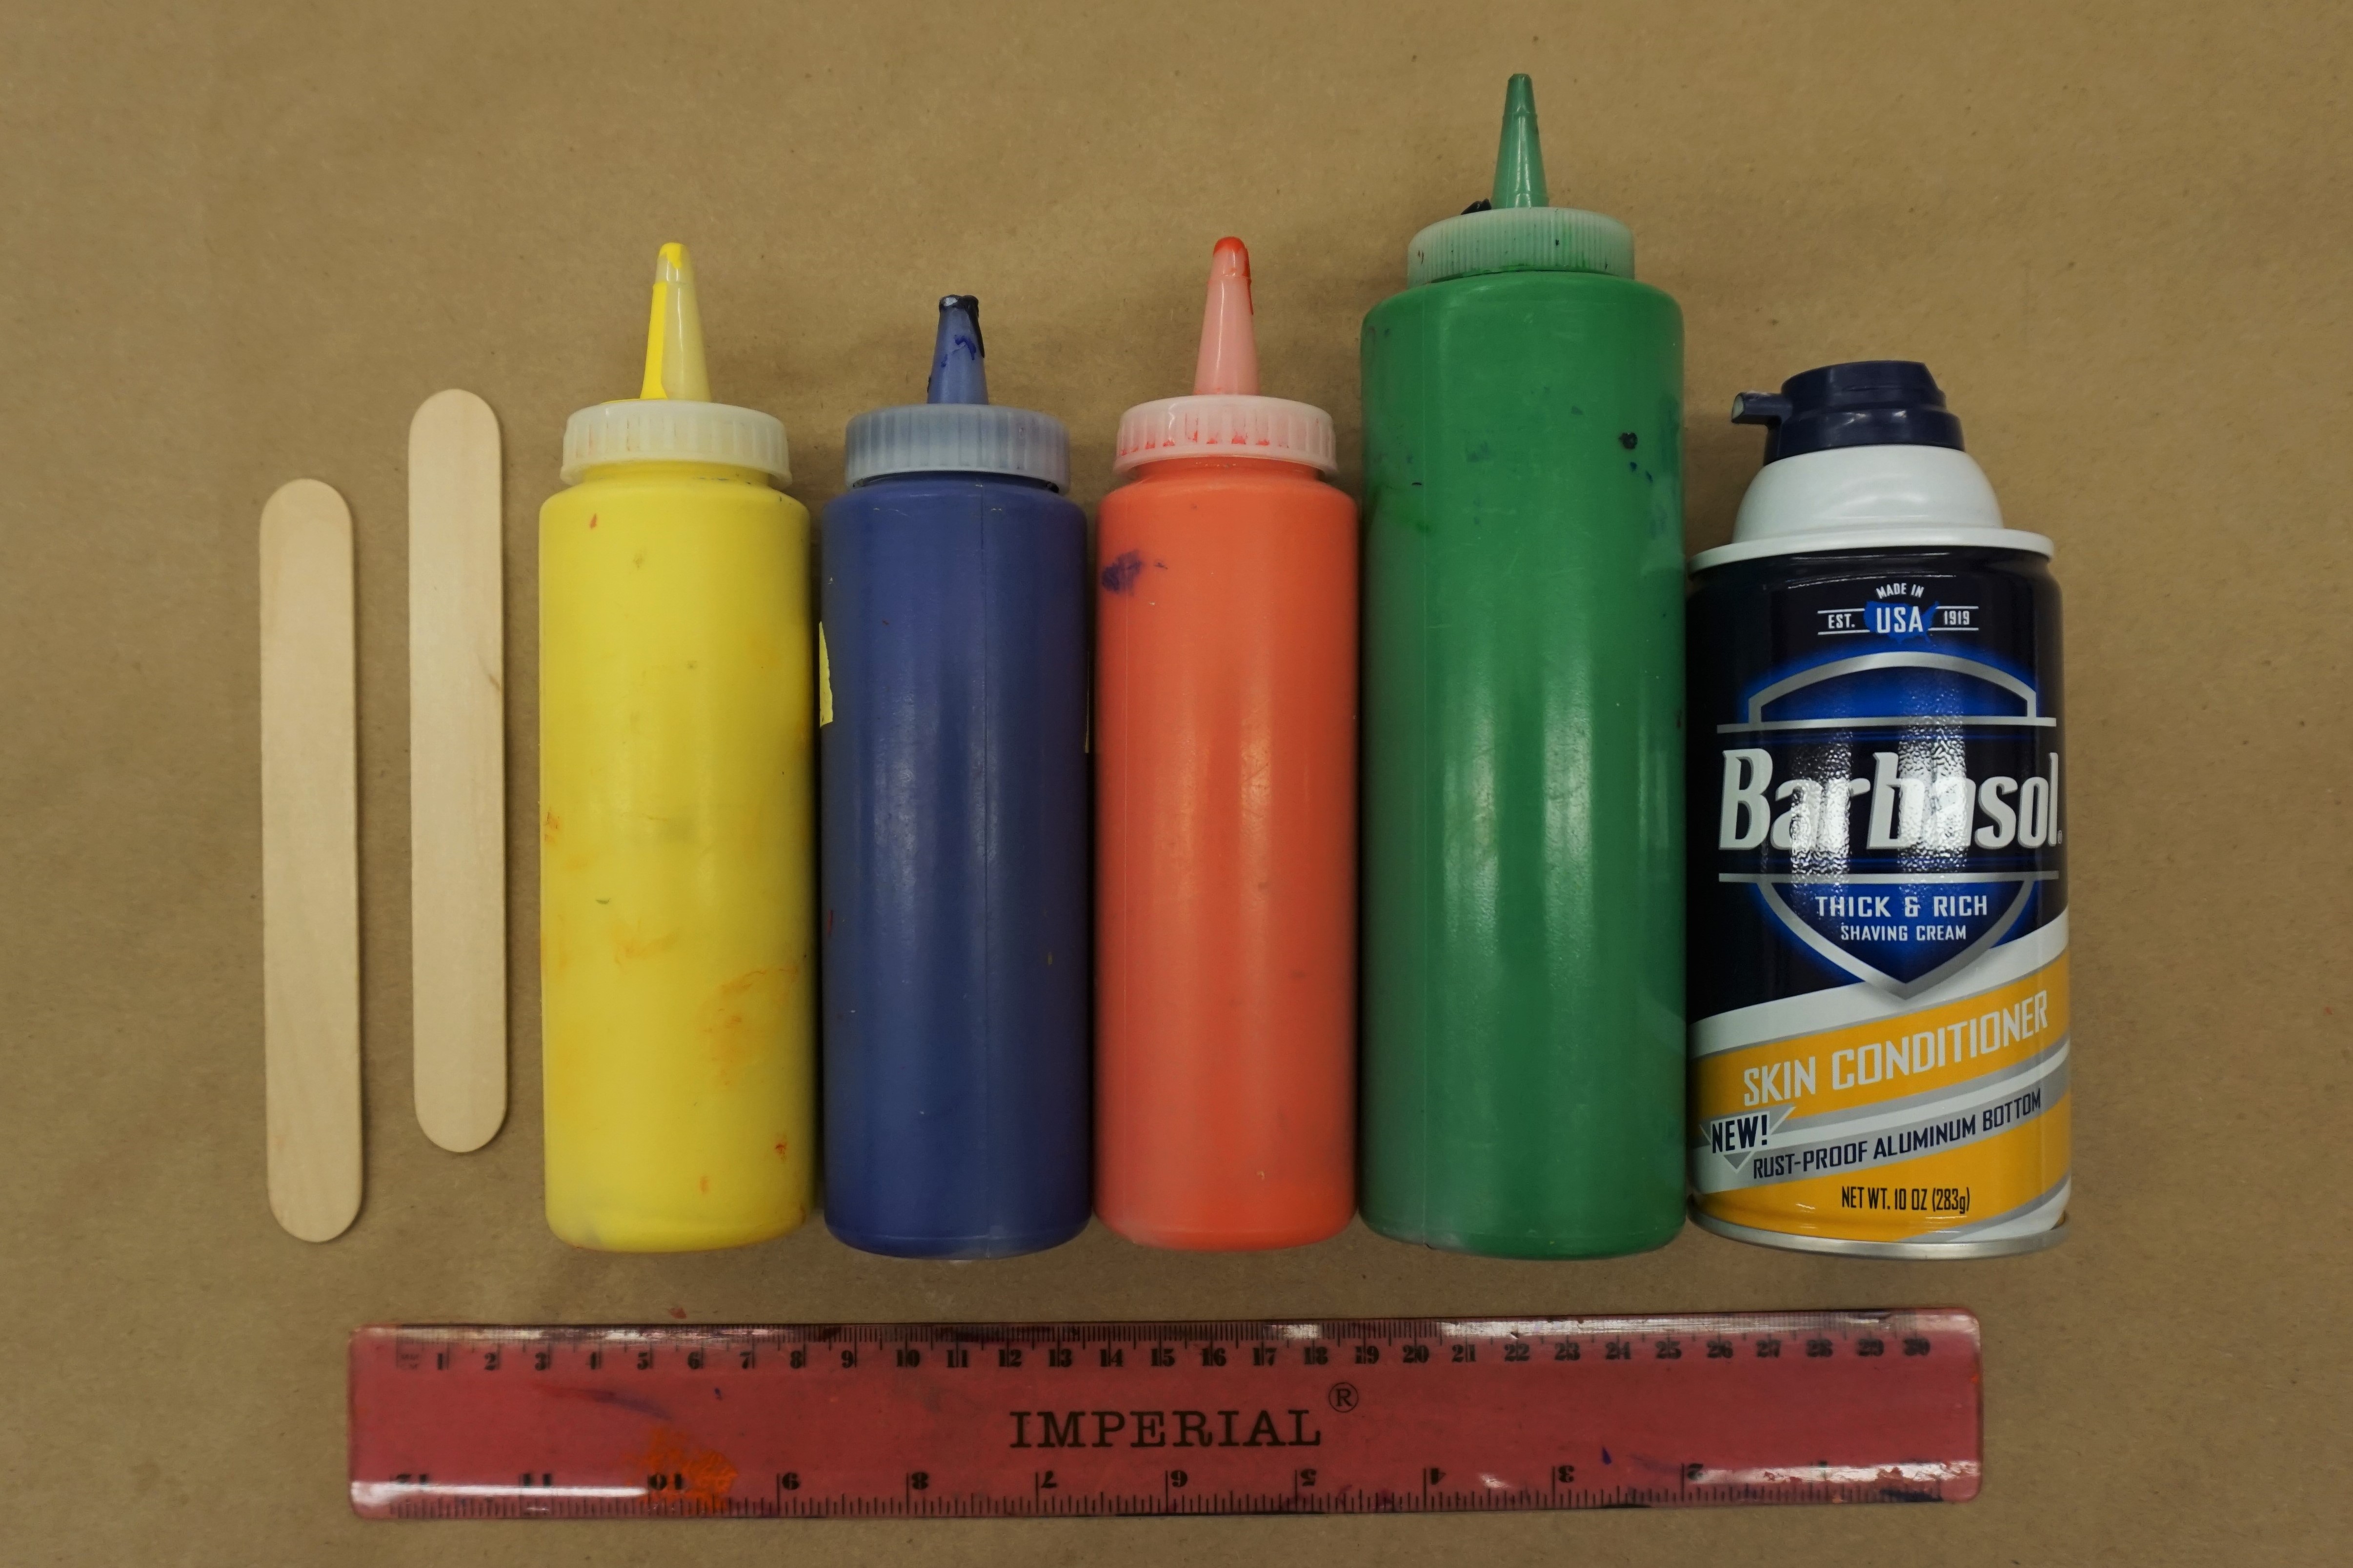
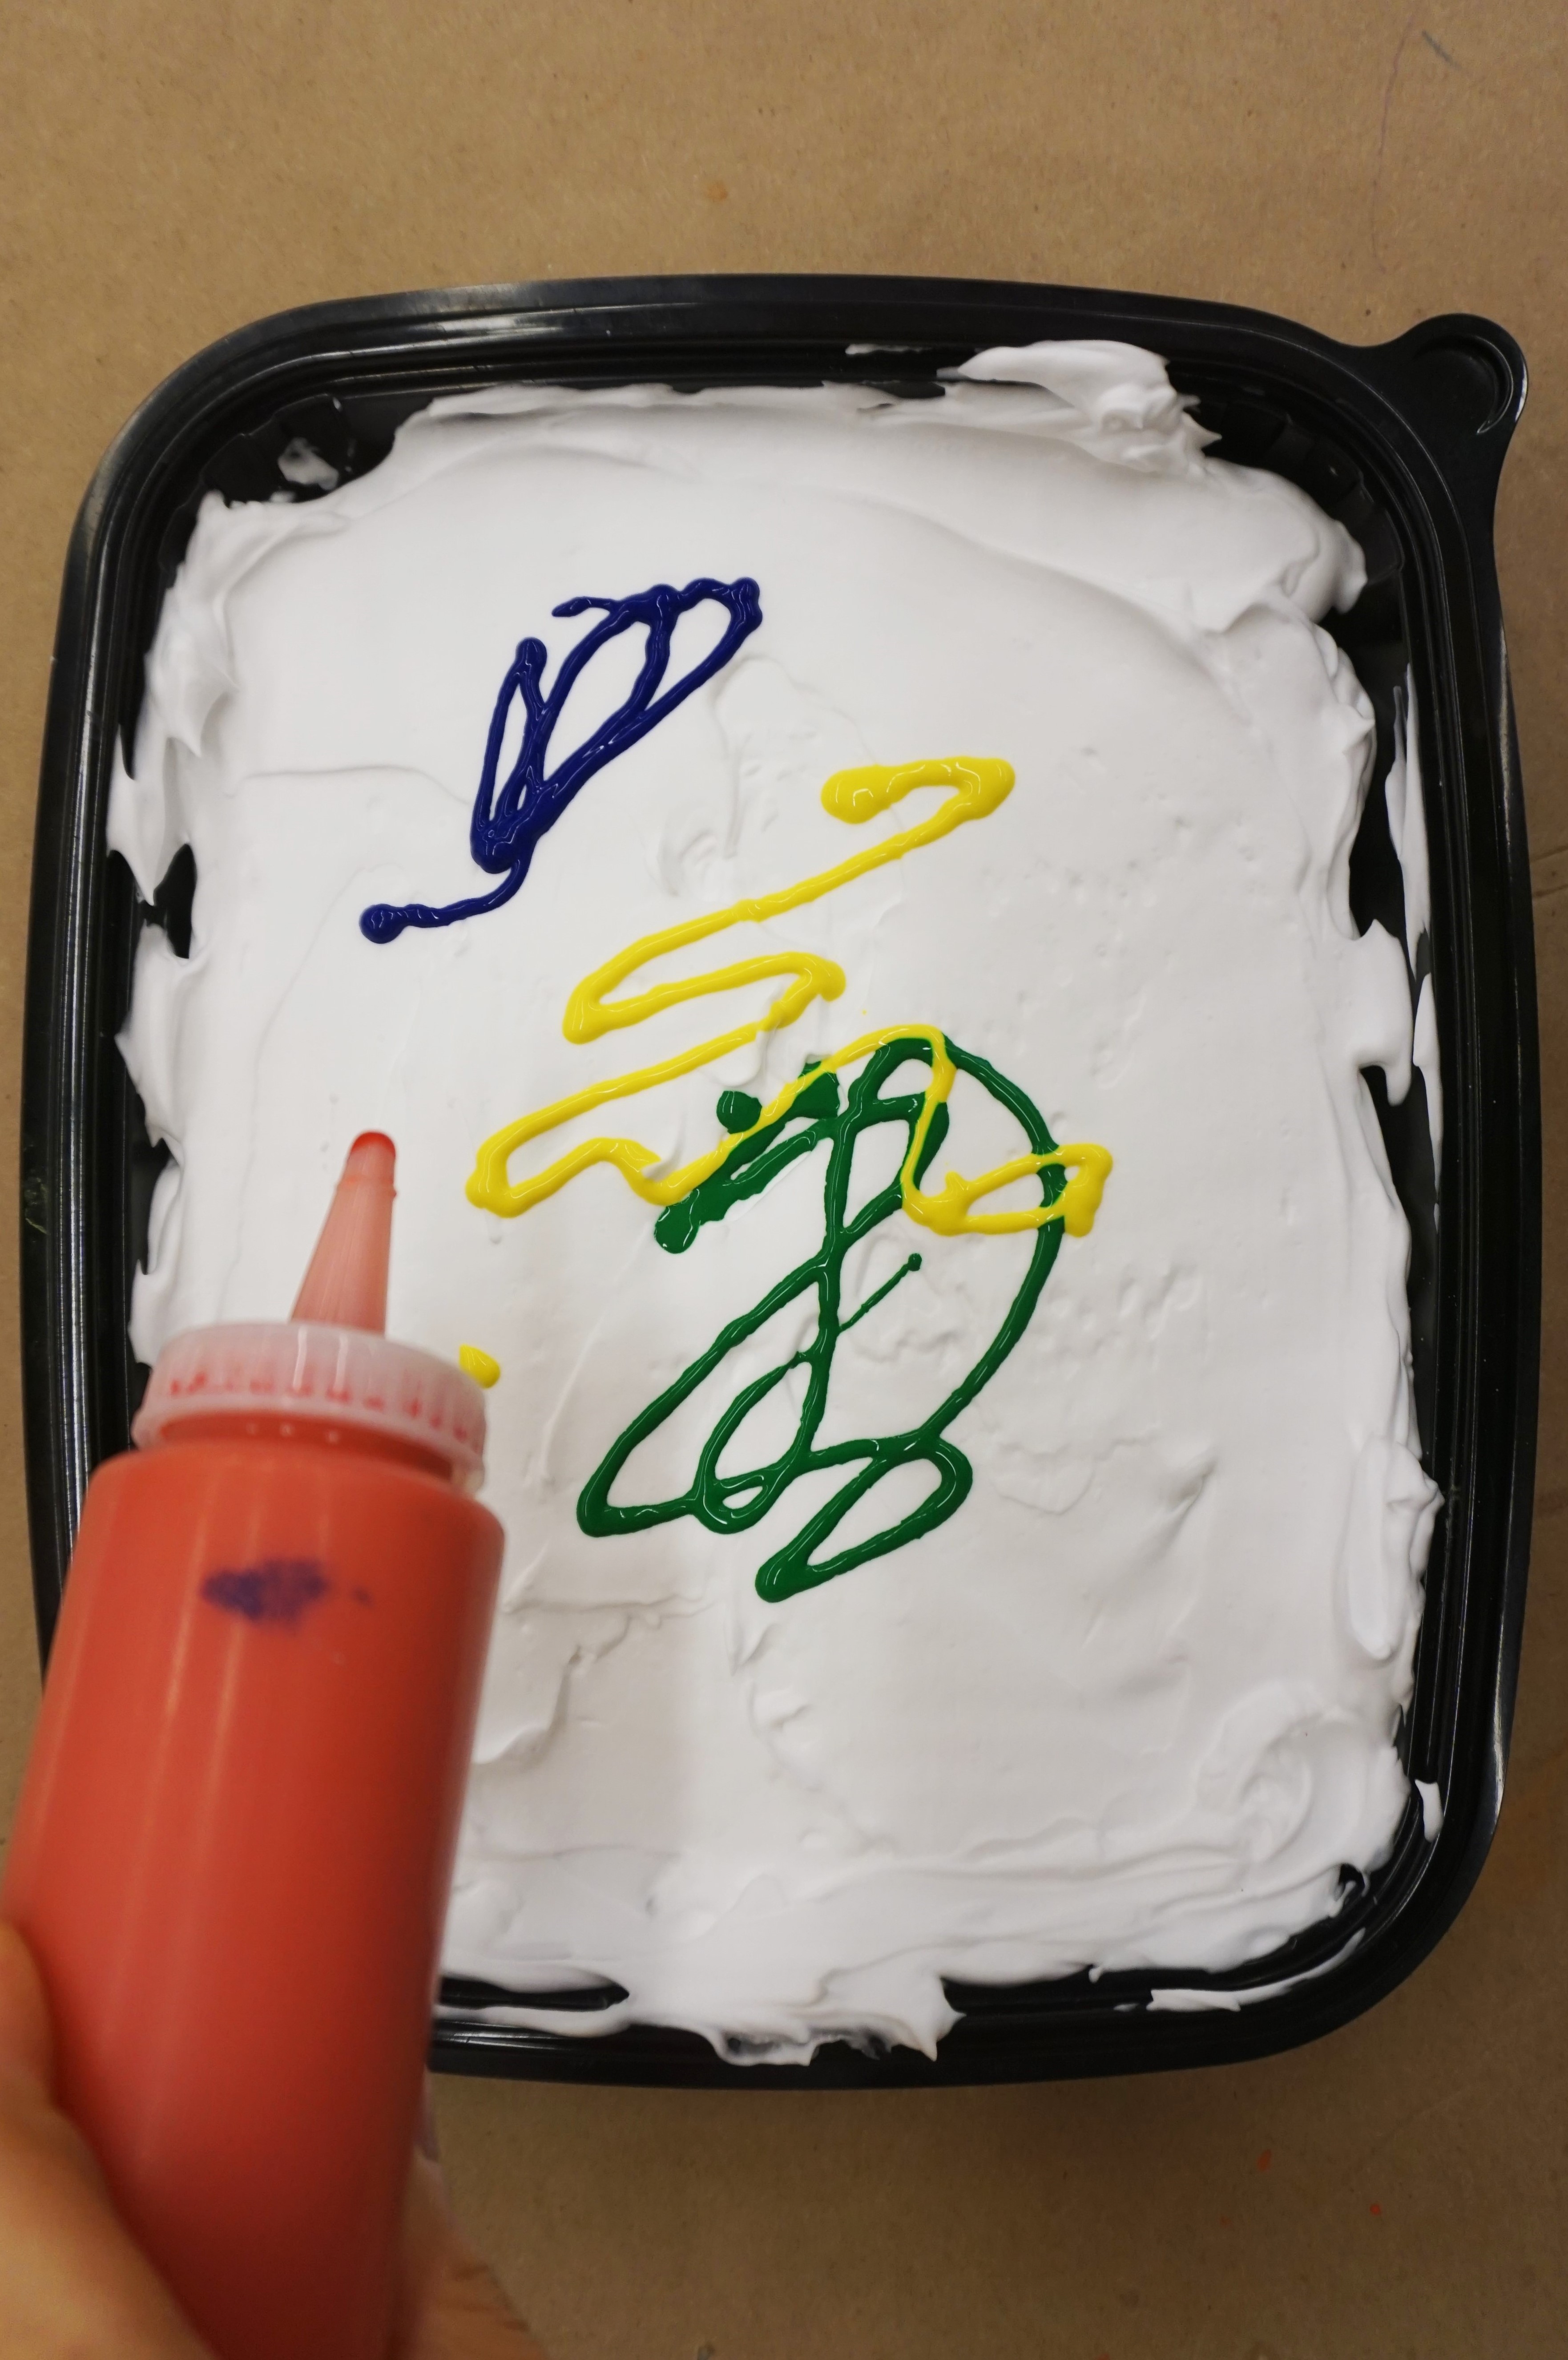
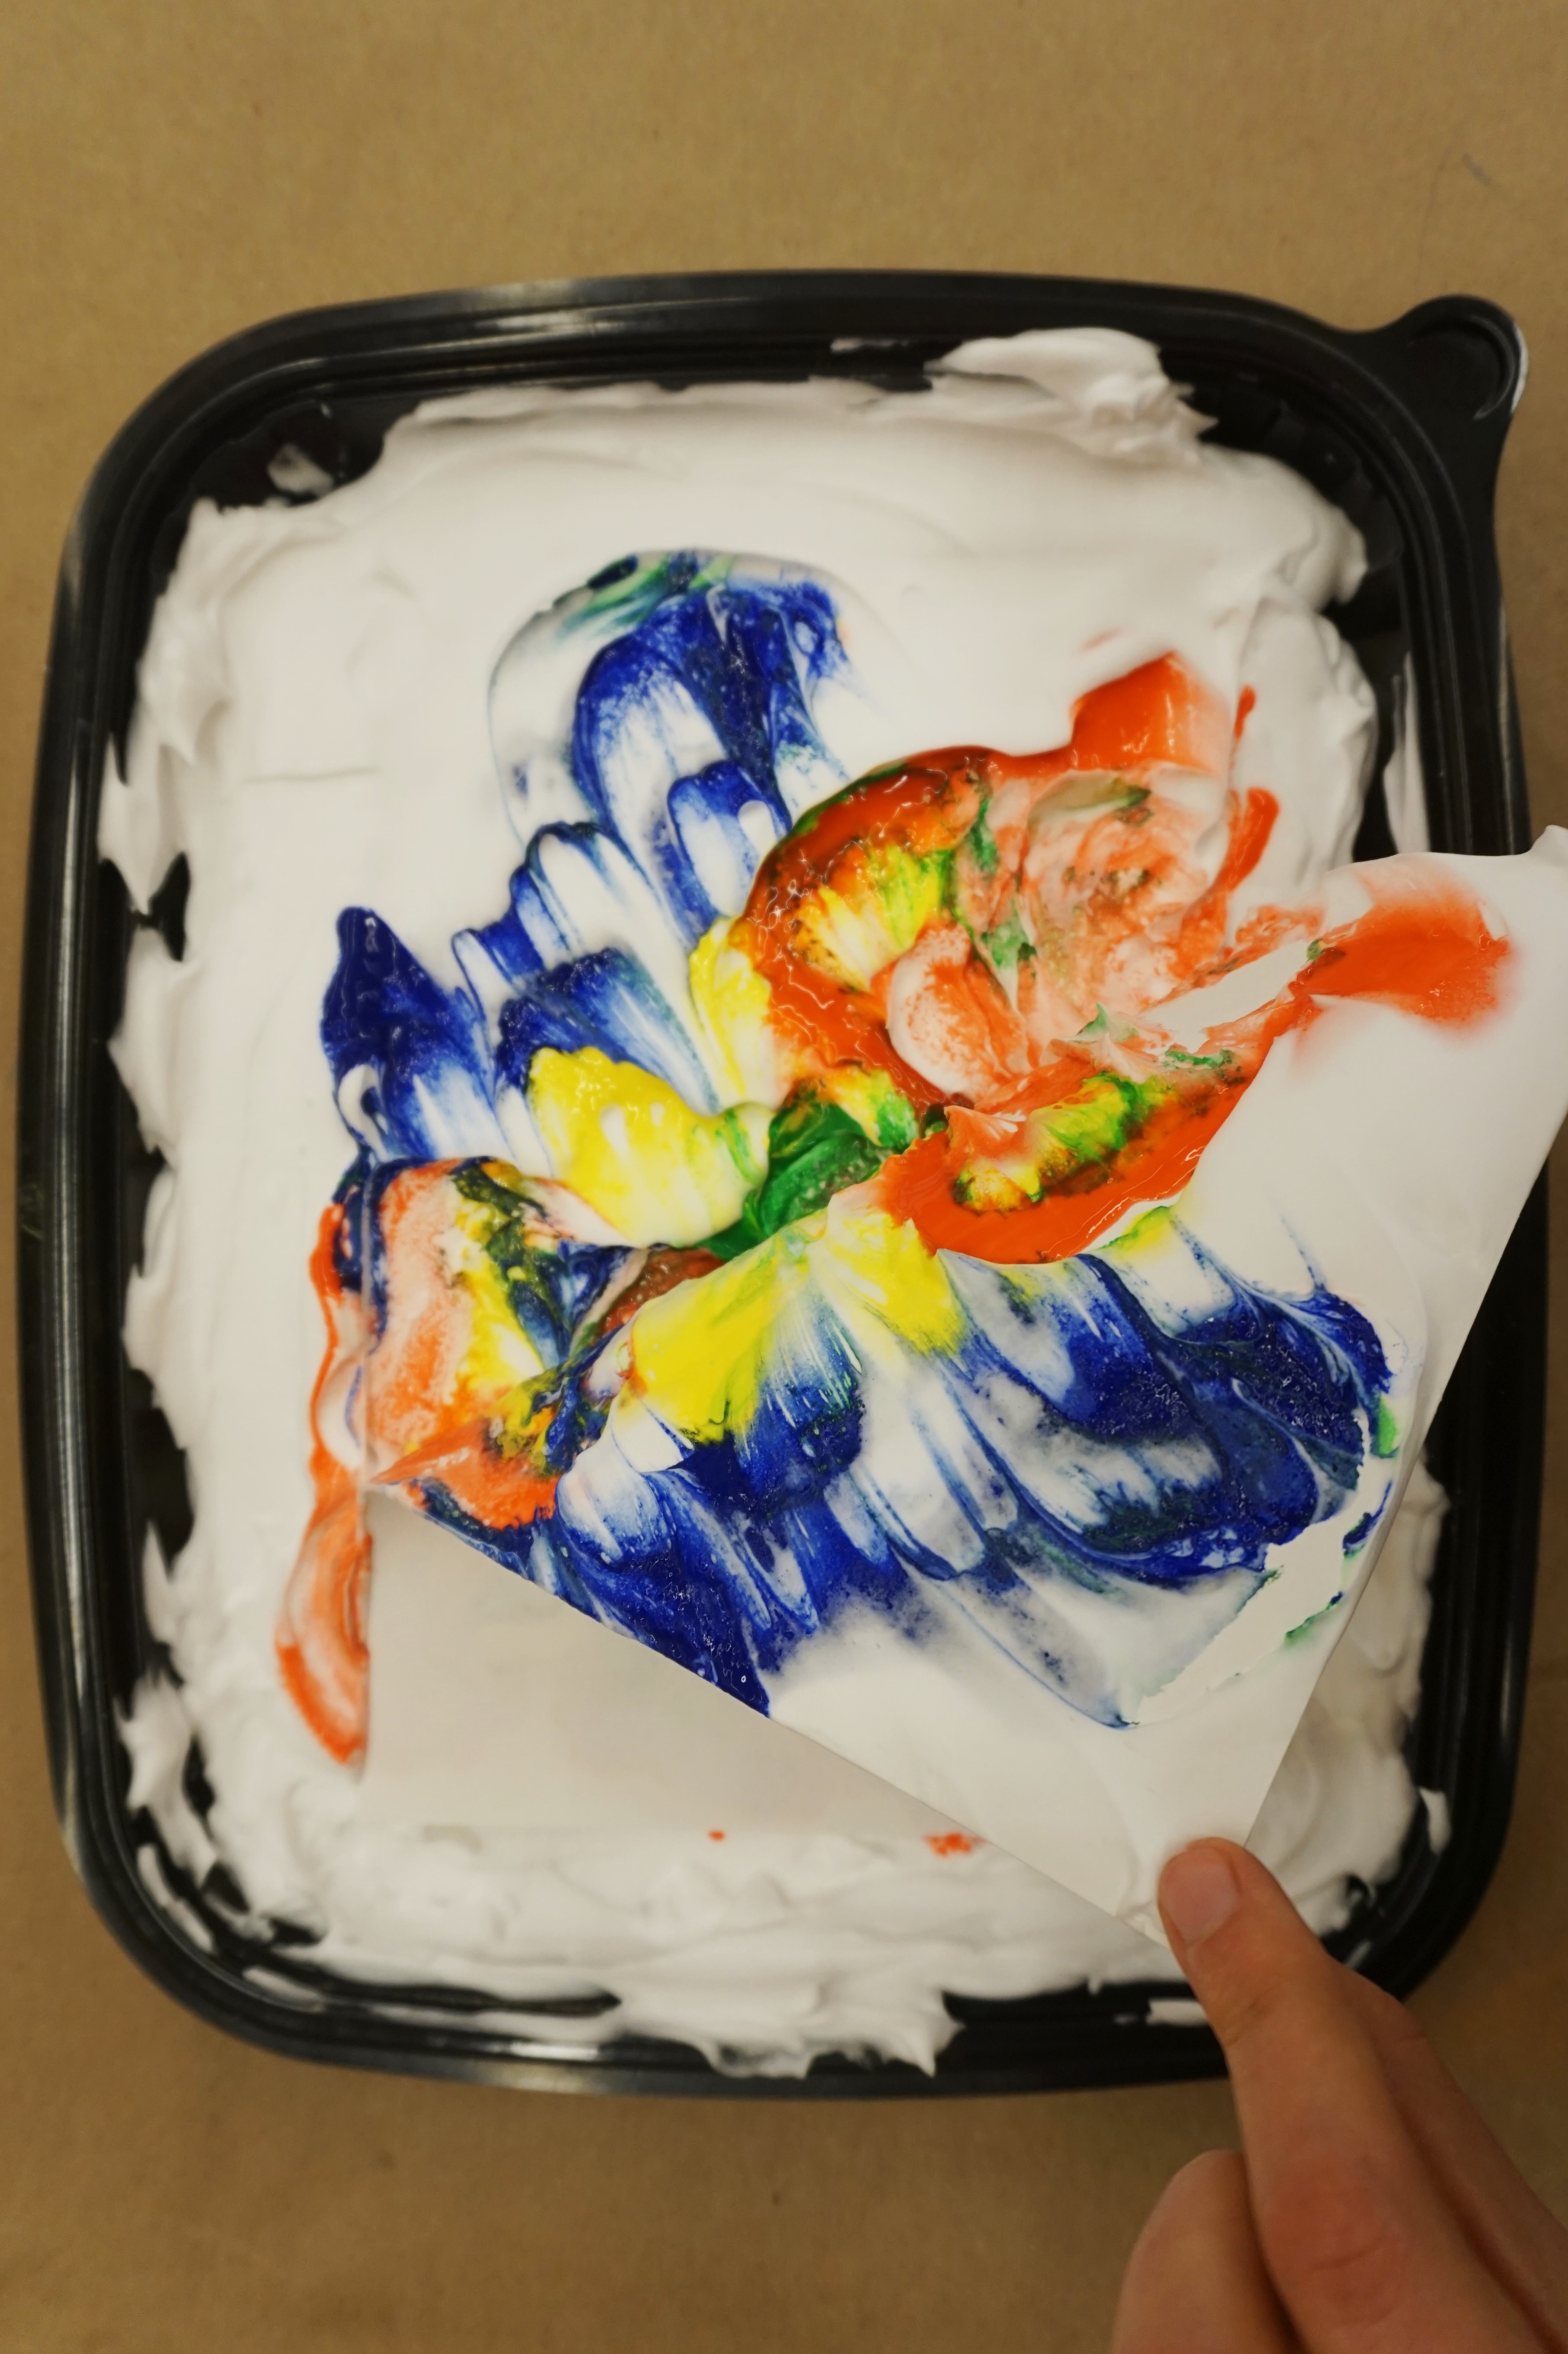
The Pollock exhibition at the DMA features an entire gallery of paintings Pollock created on paper rather than canvas. We tried a similar approach using Japanese paper, droppers, and liquid watercolor. Layer two or three sheets of paper together, then gently move the dropper around the paper, squeezing watercolor as you go. Watch as different colors swirl and puddle together, then separate the individual pieces of paper to discover what images have soaked through.
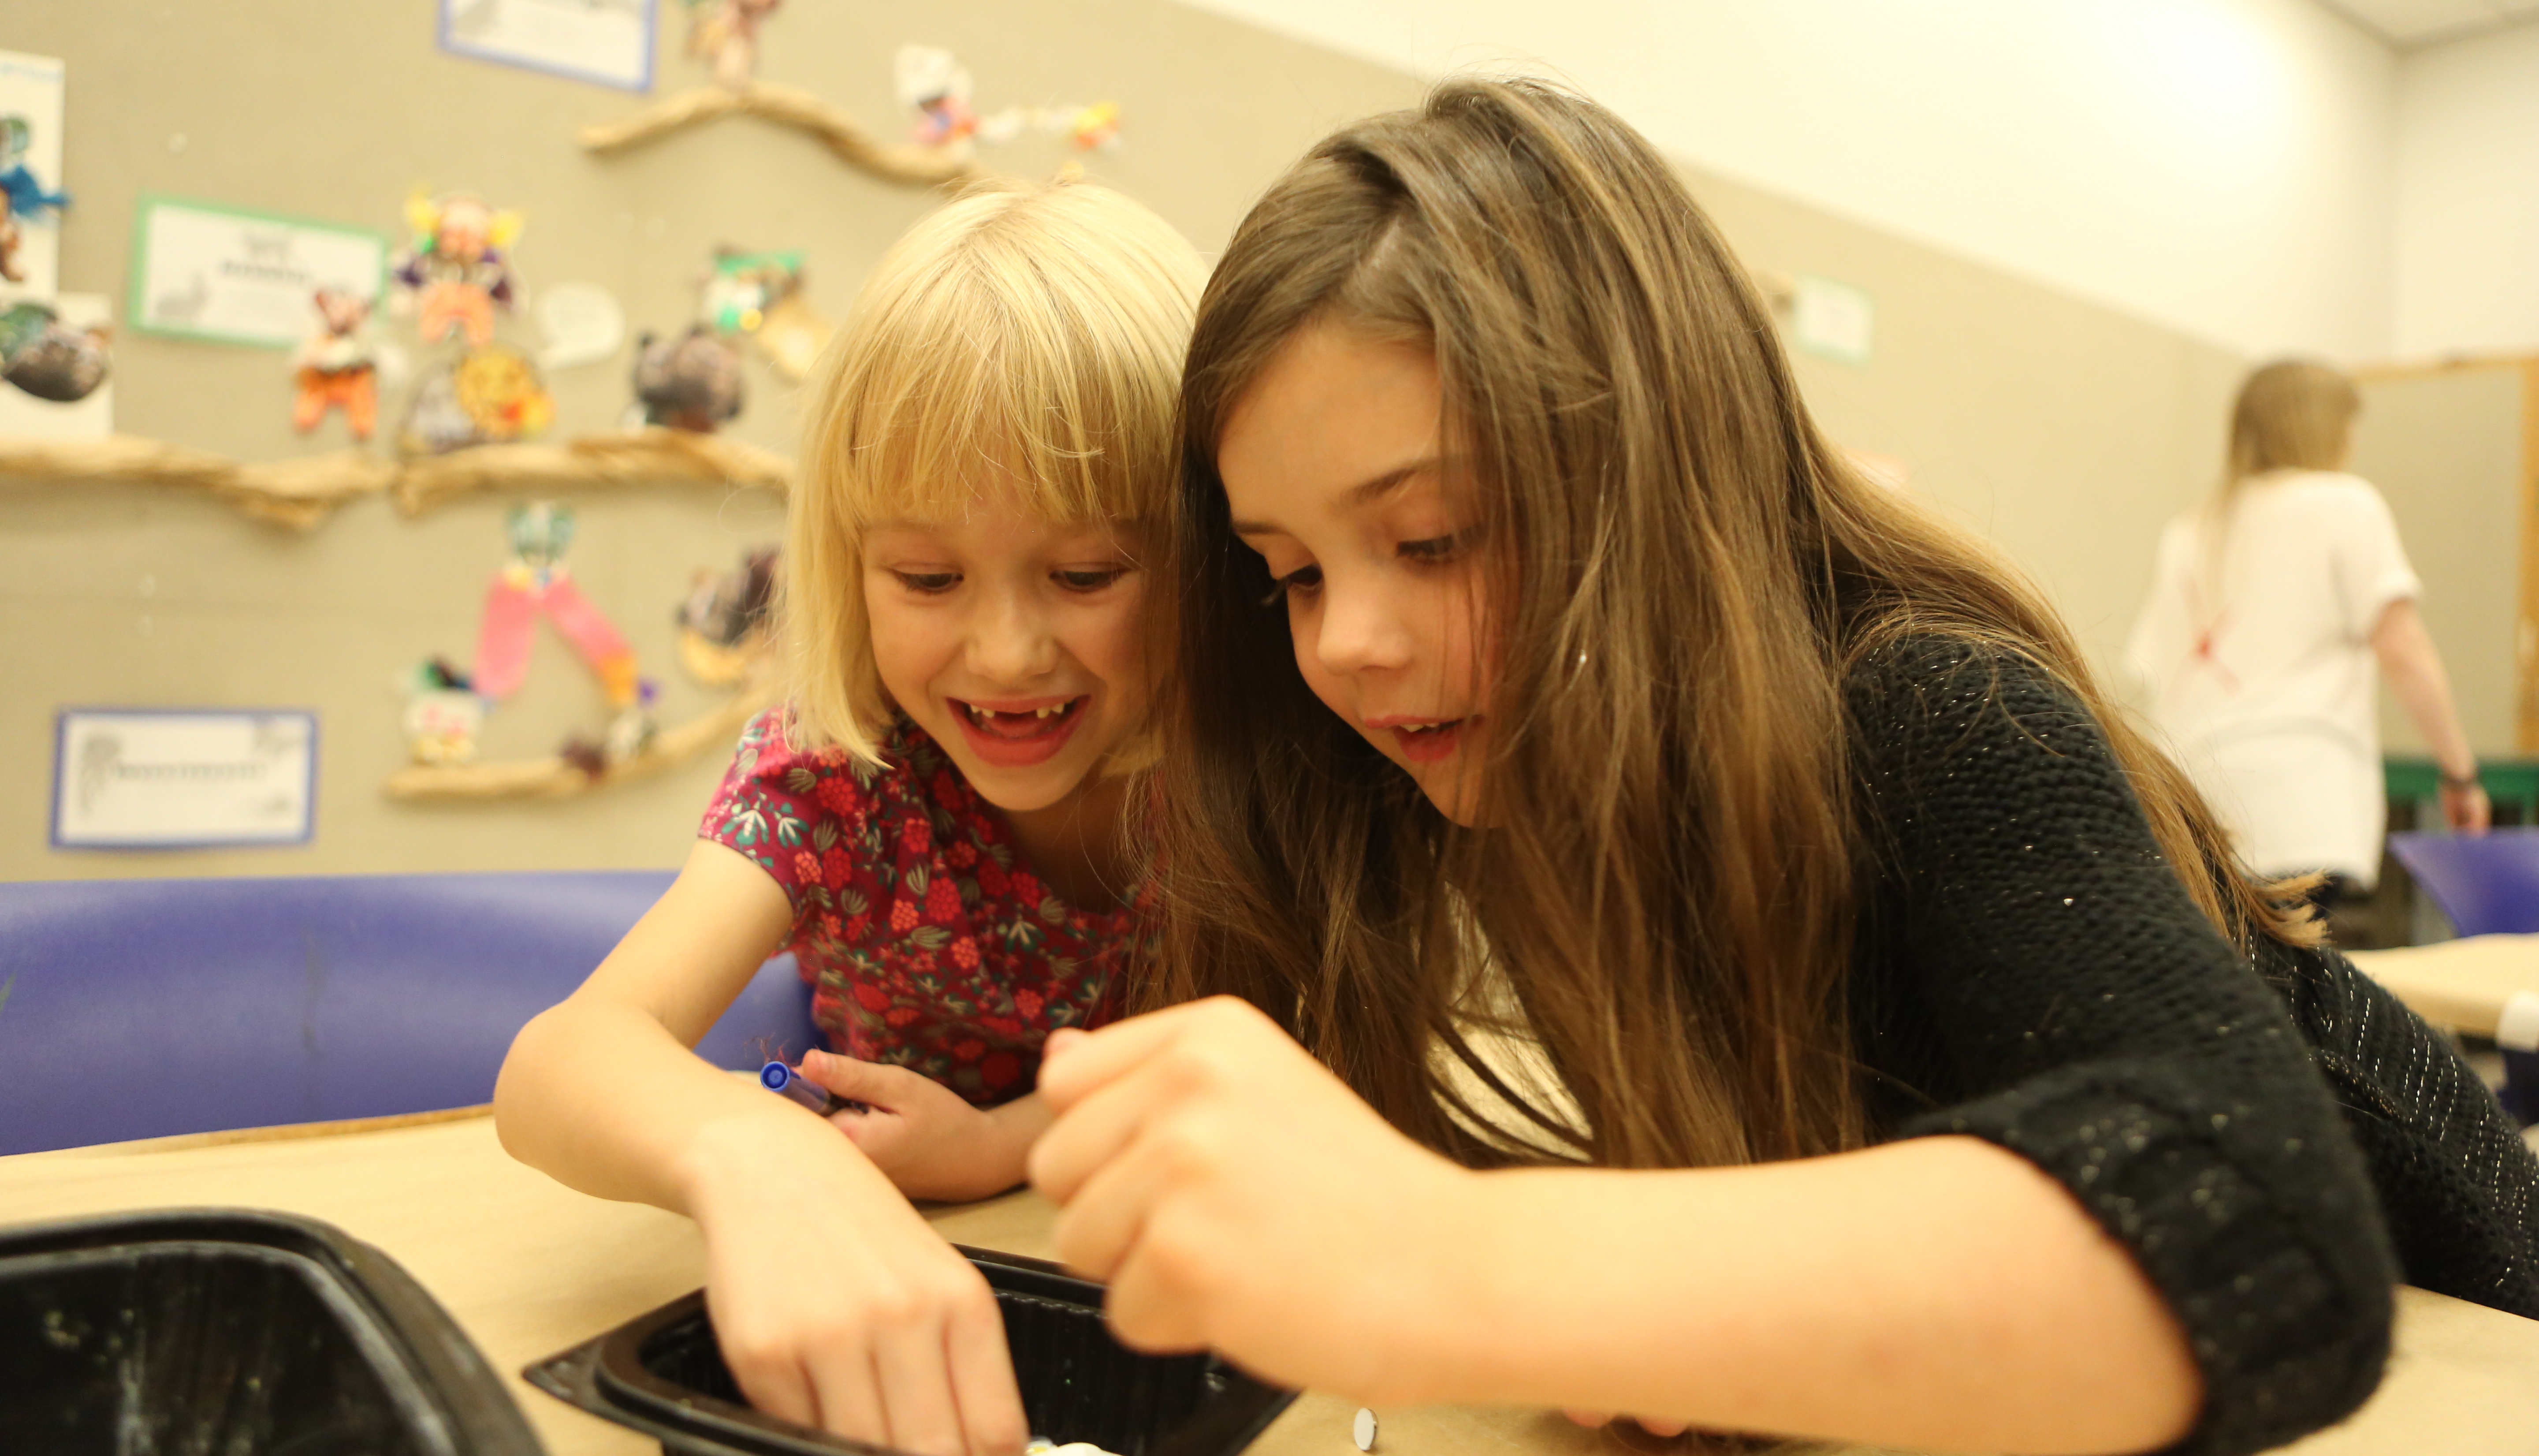
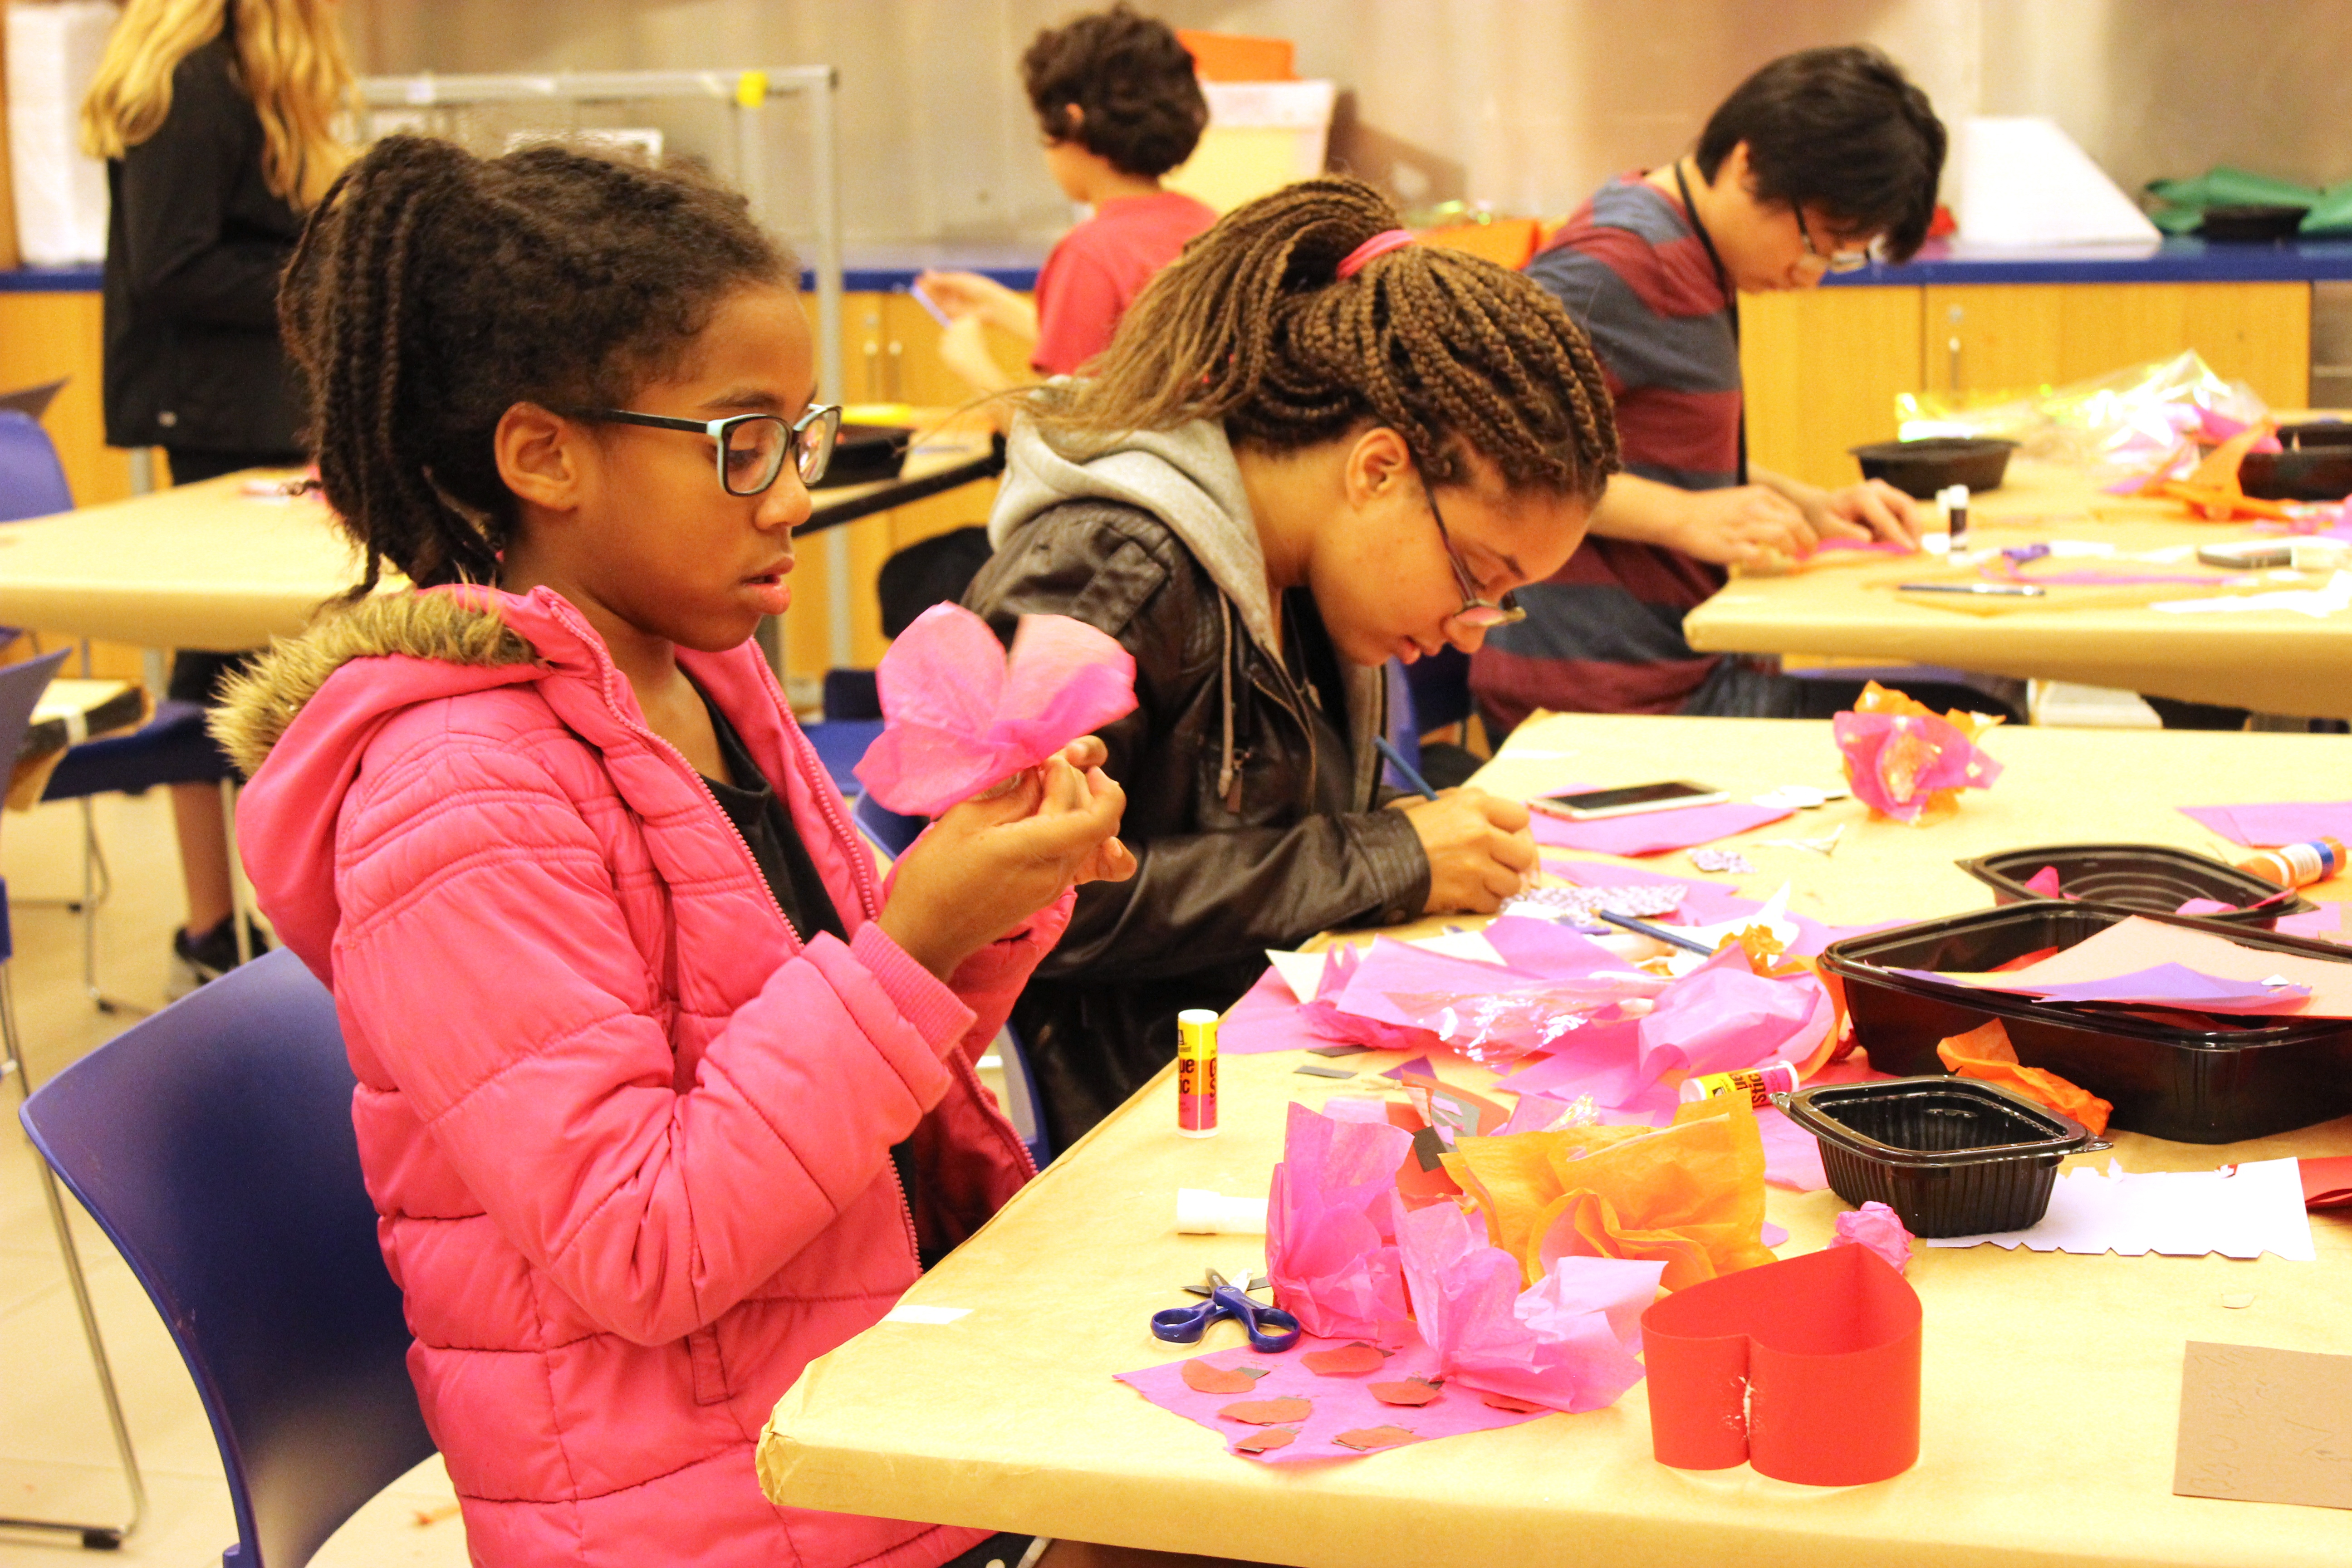
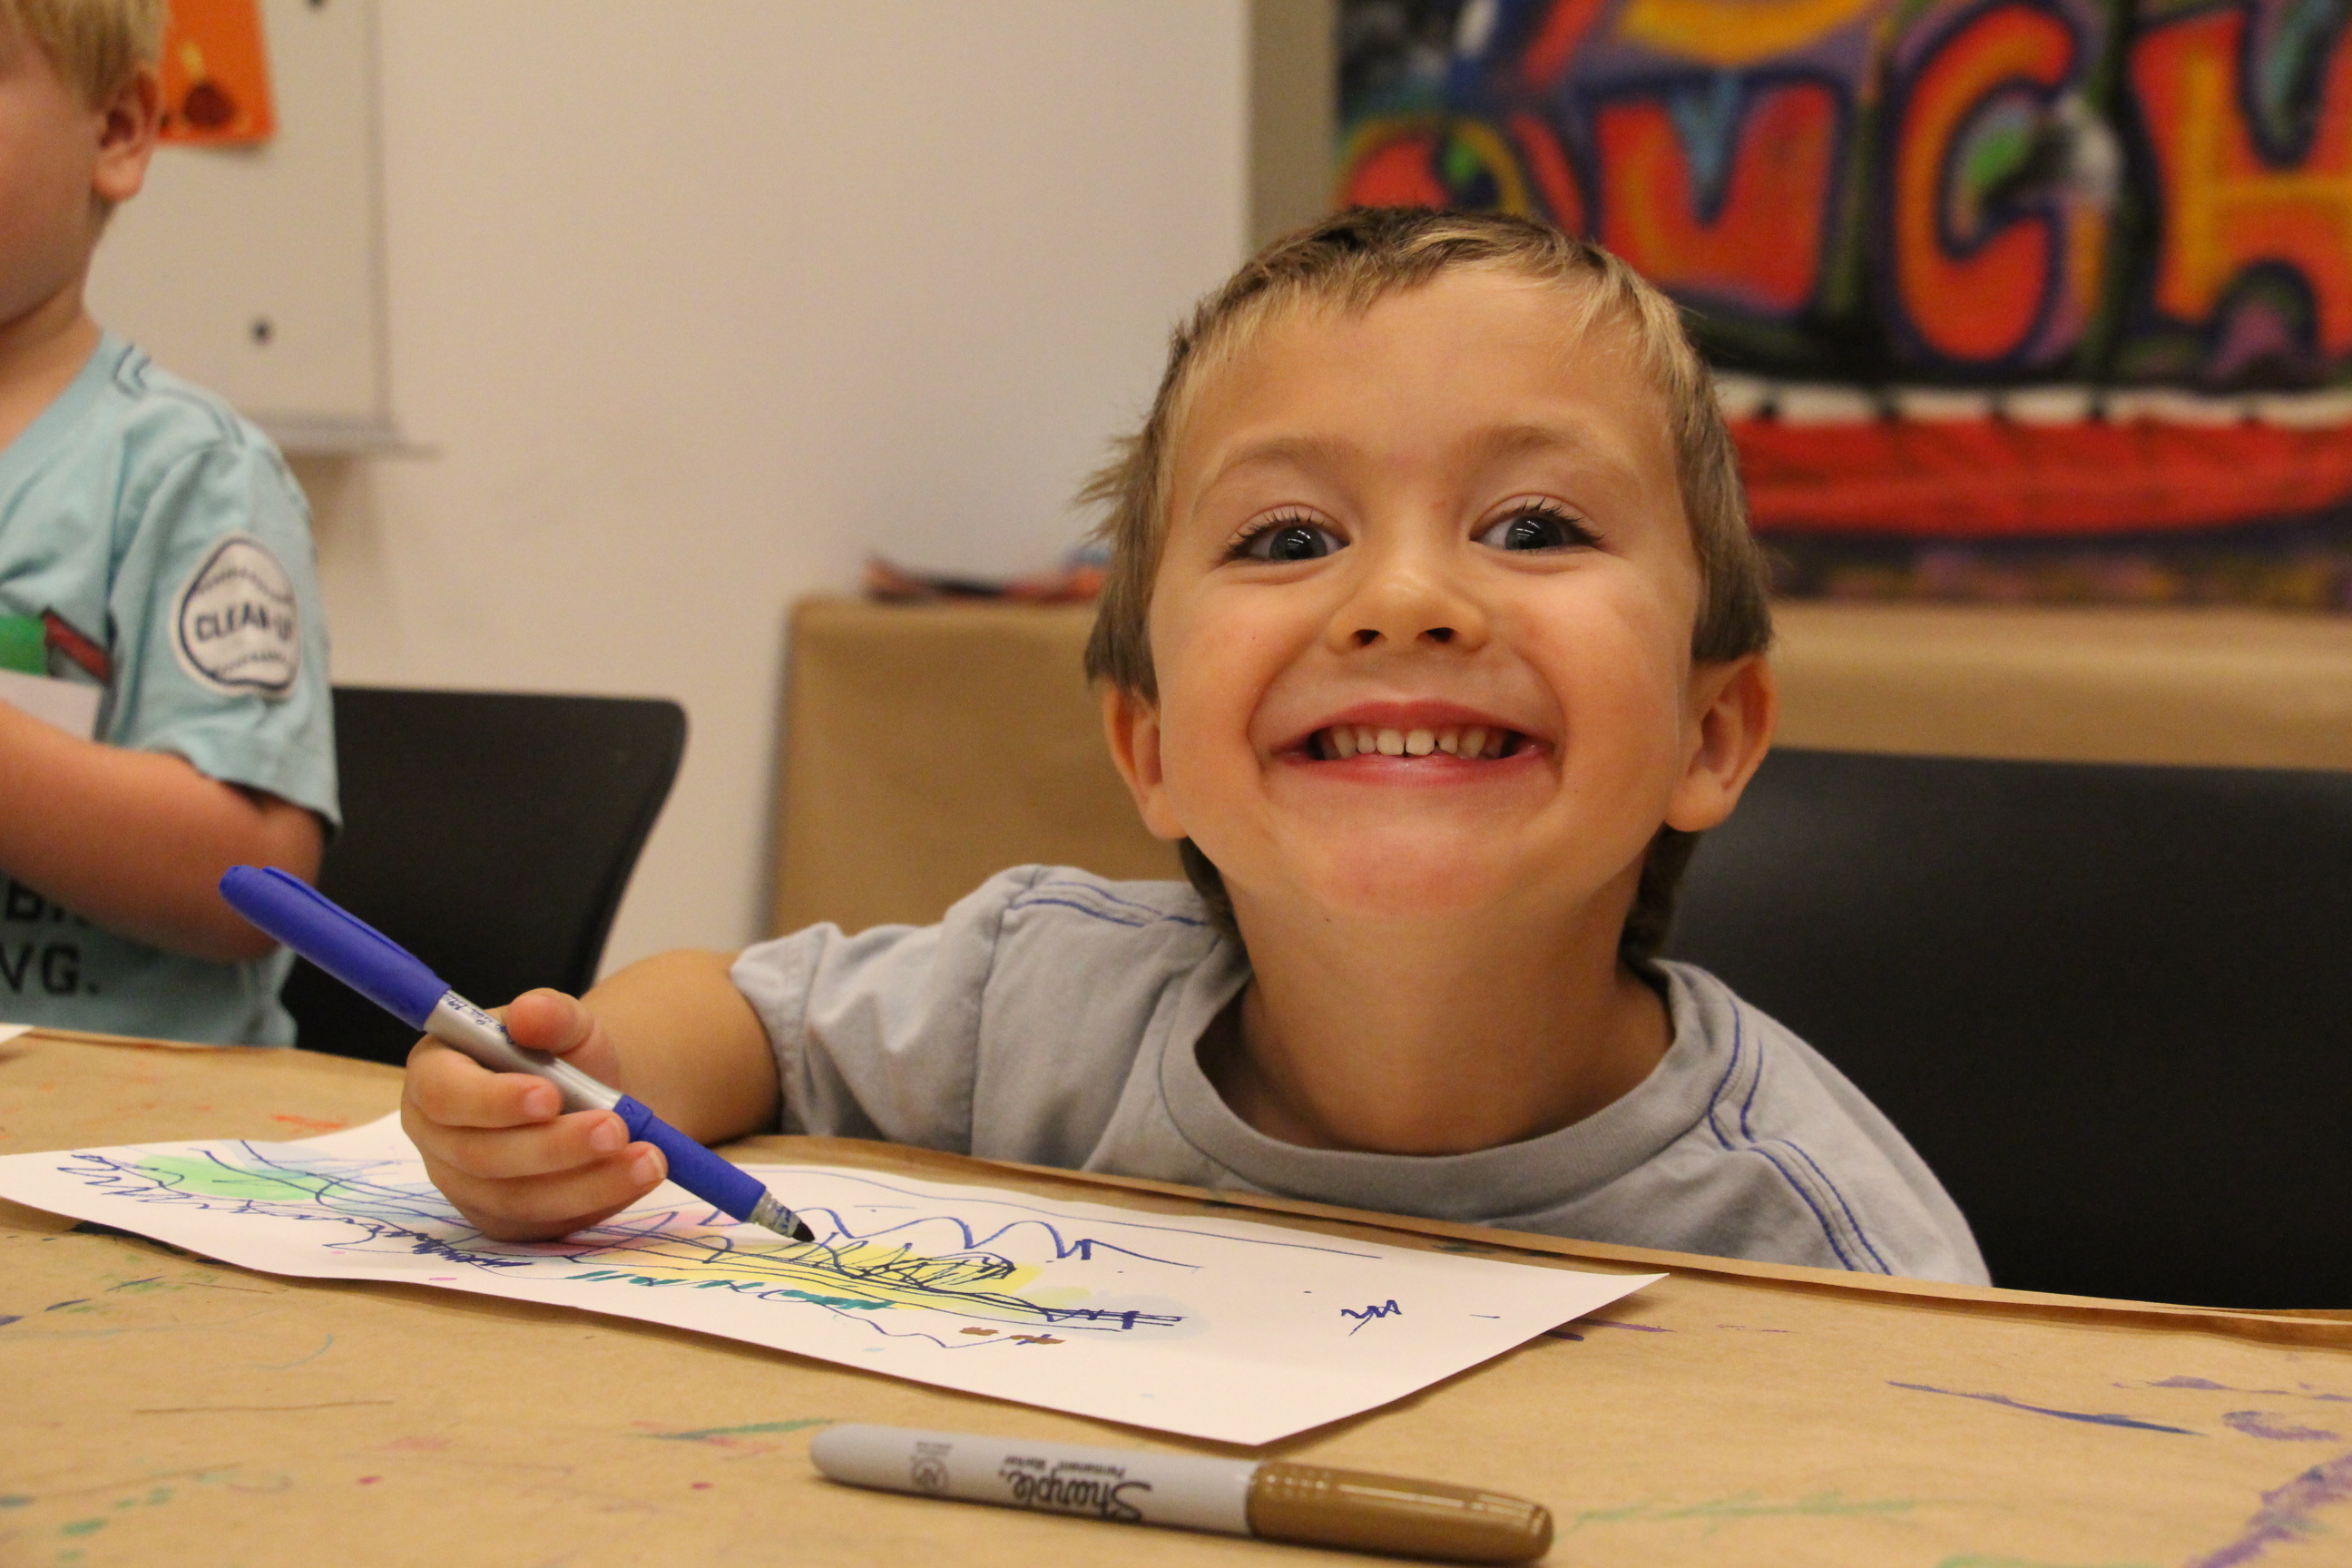
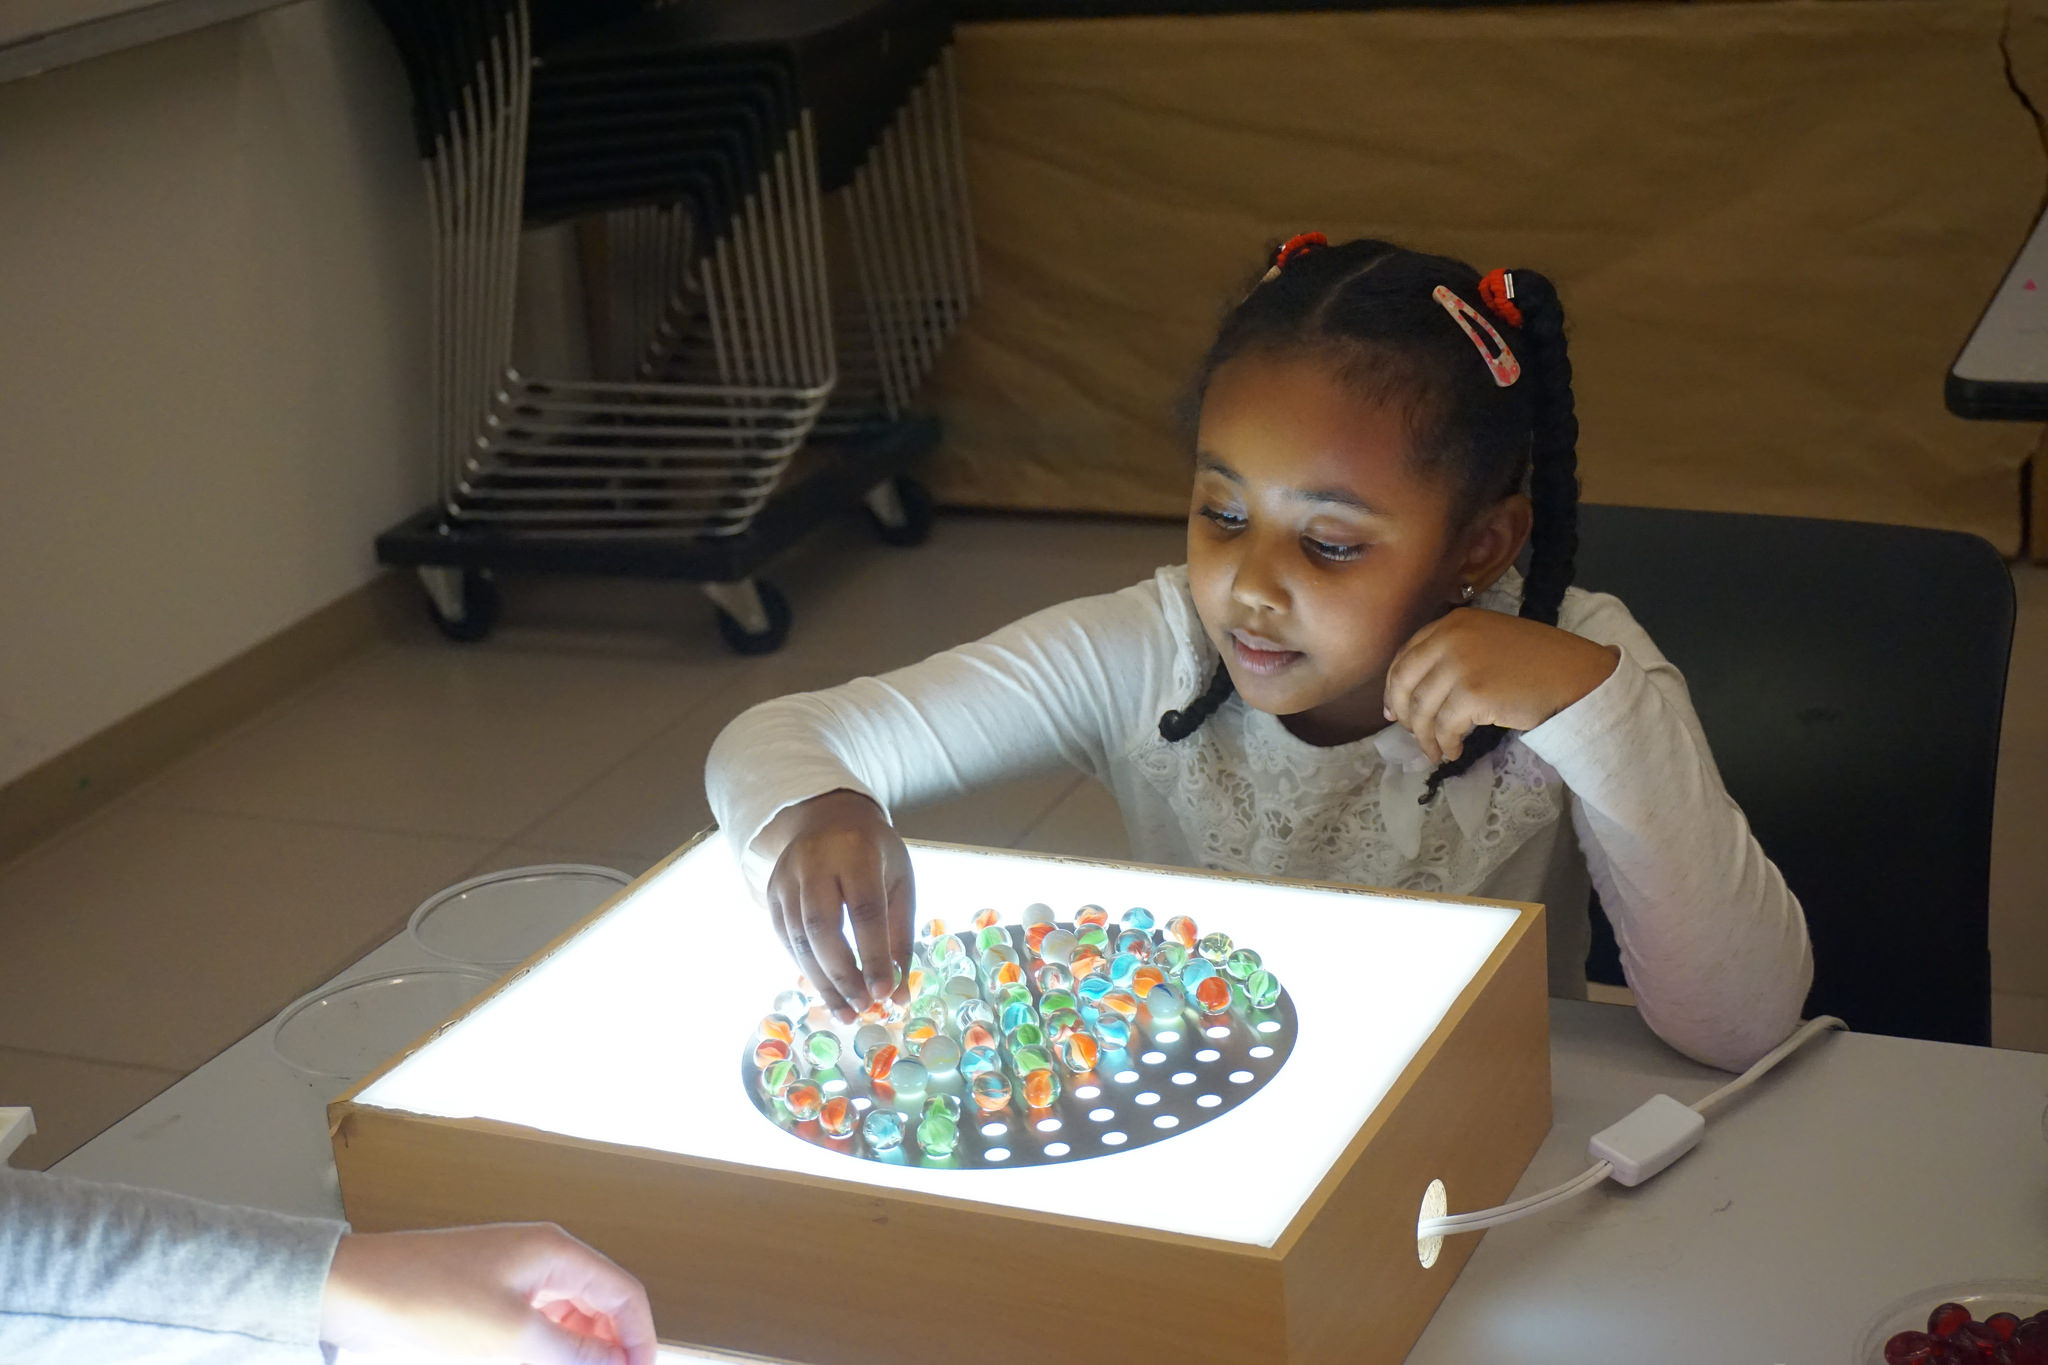
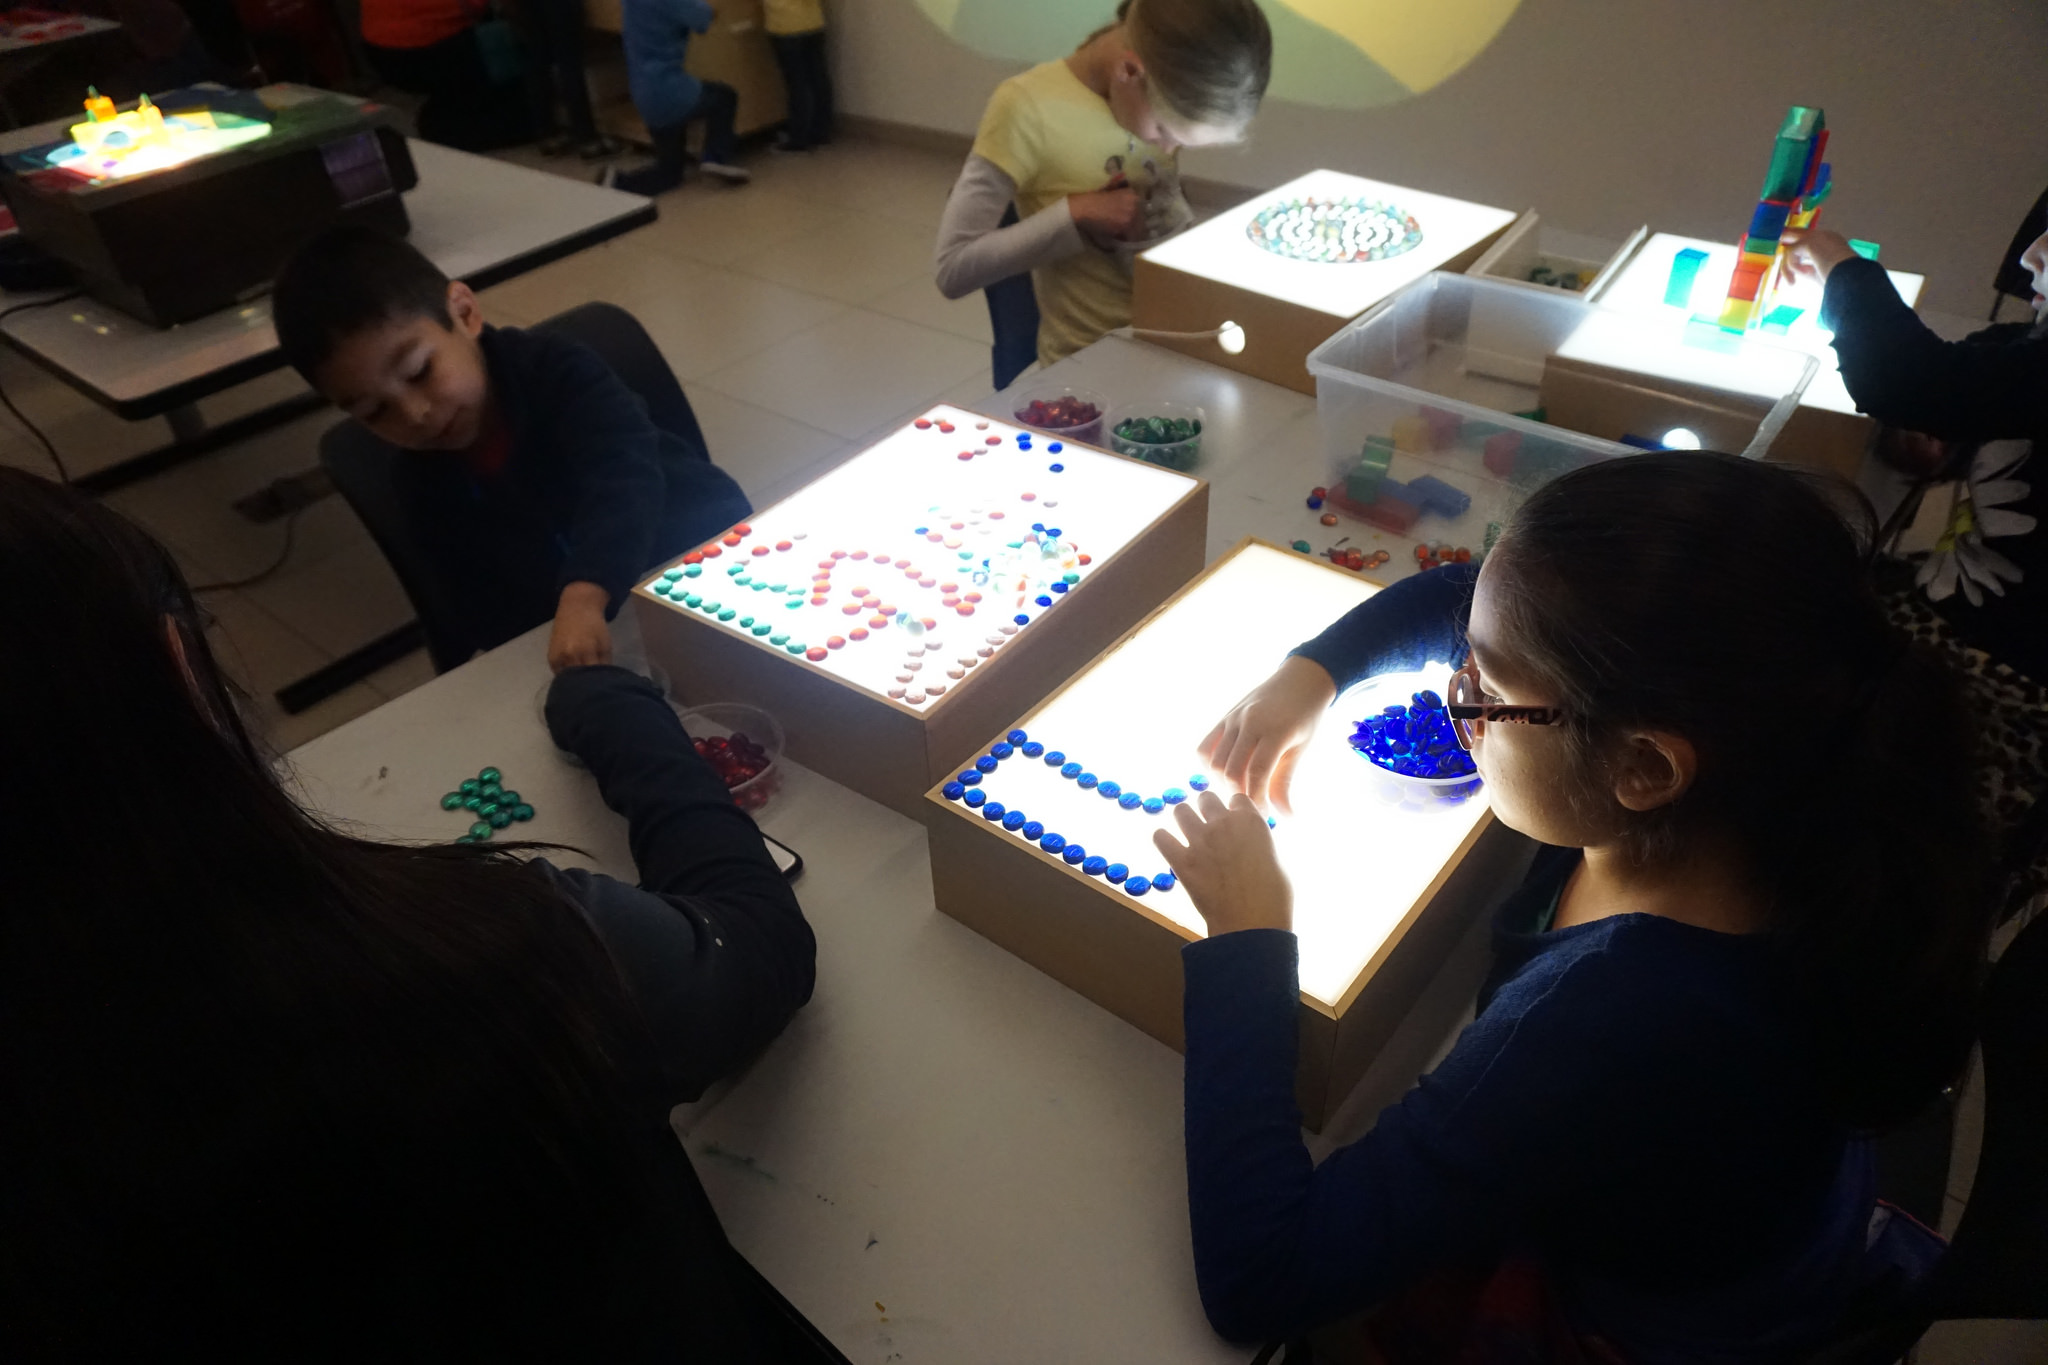
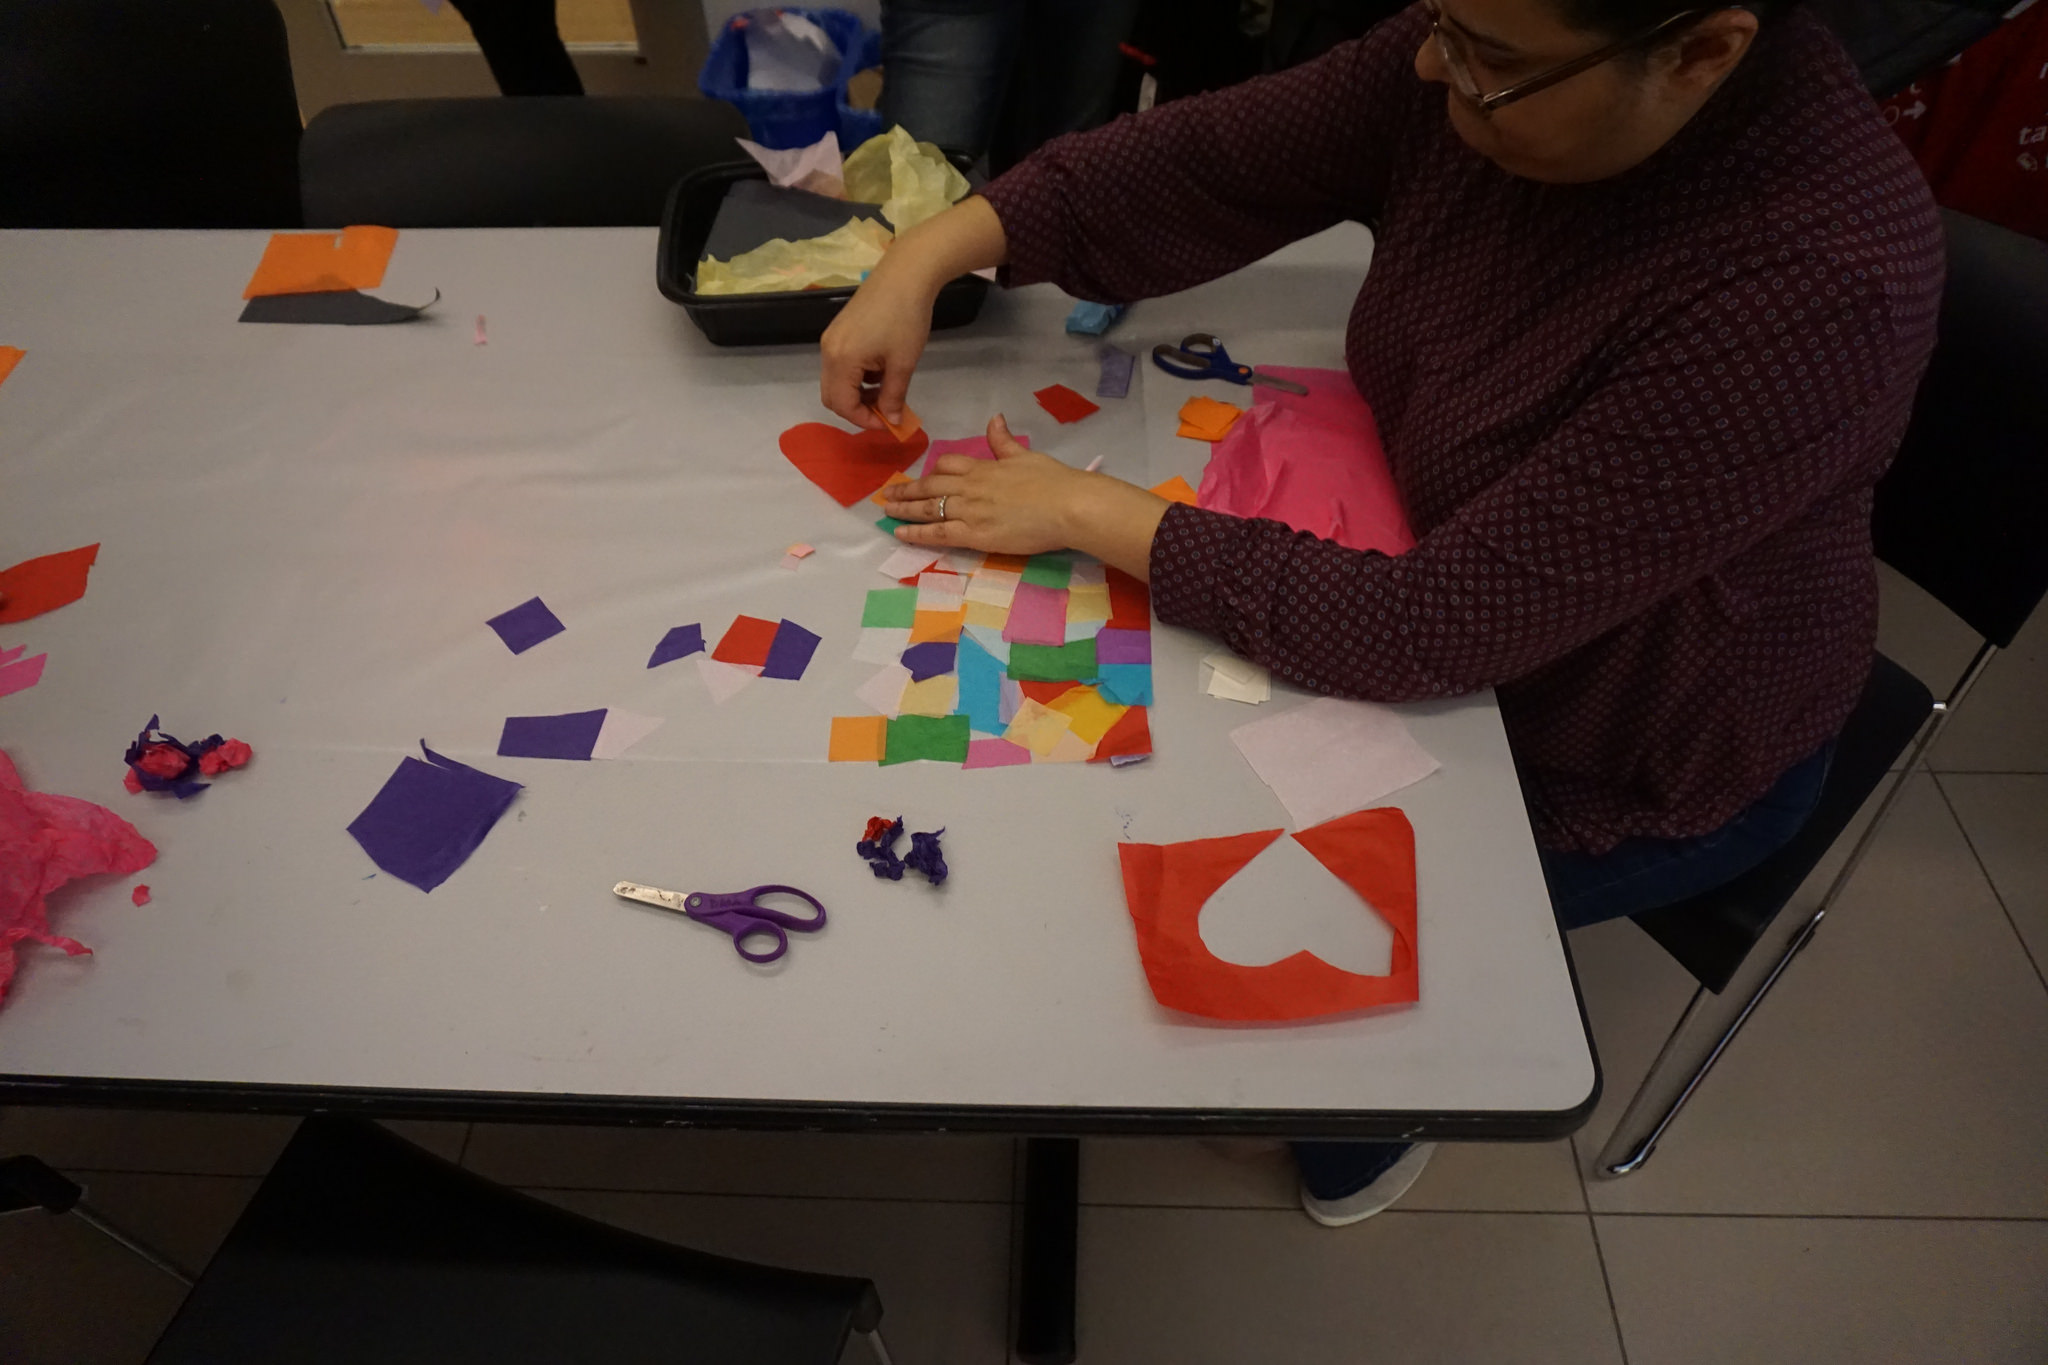
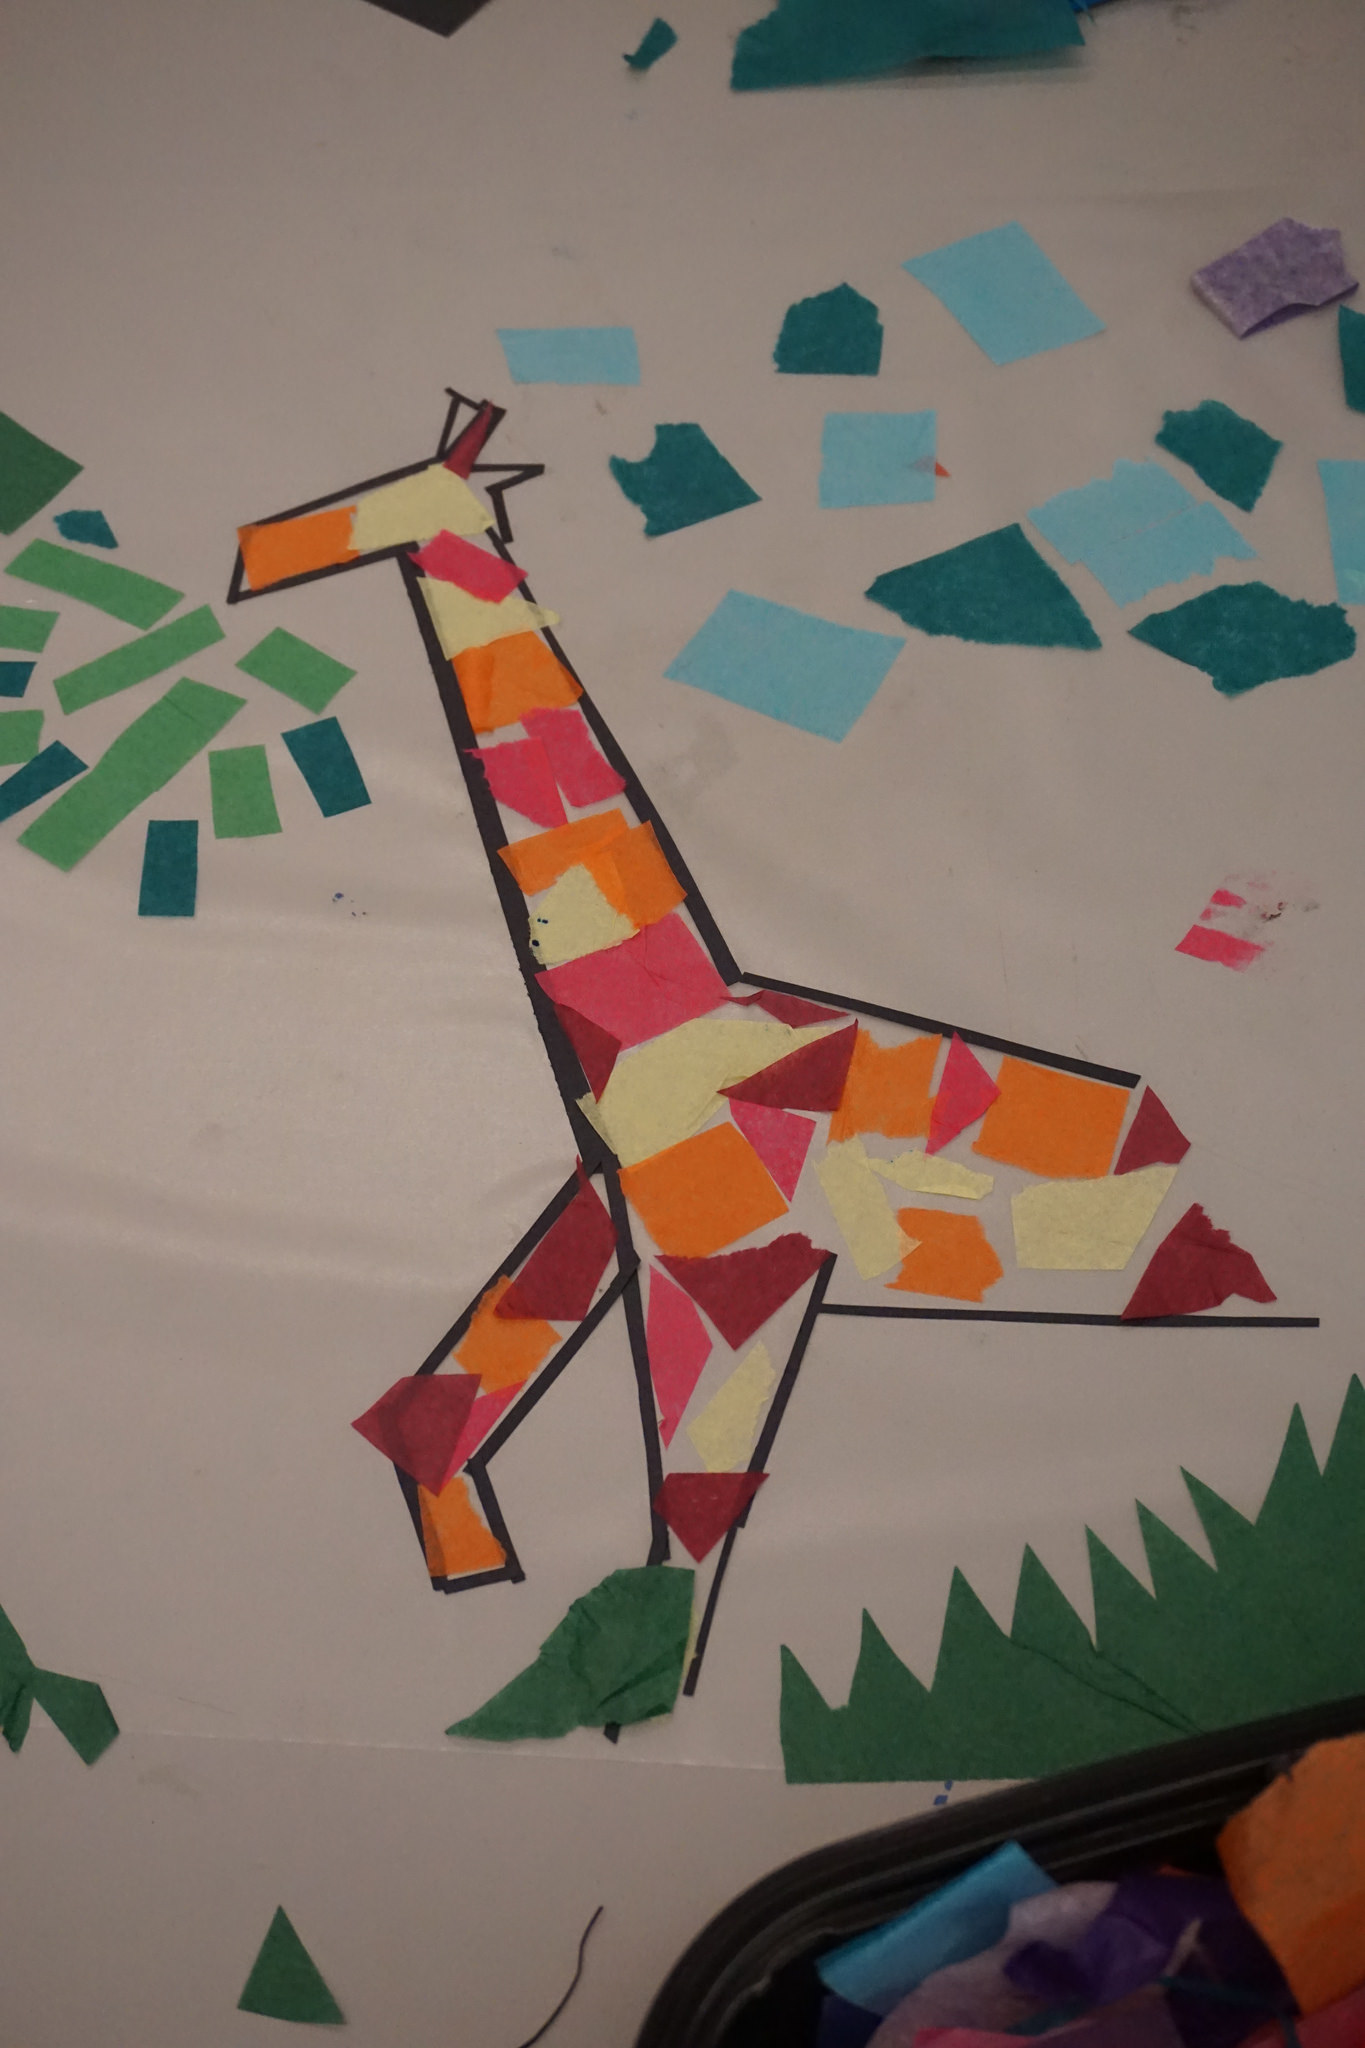
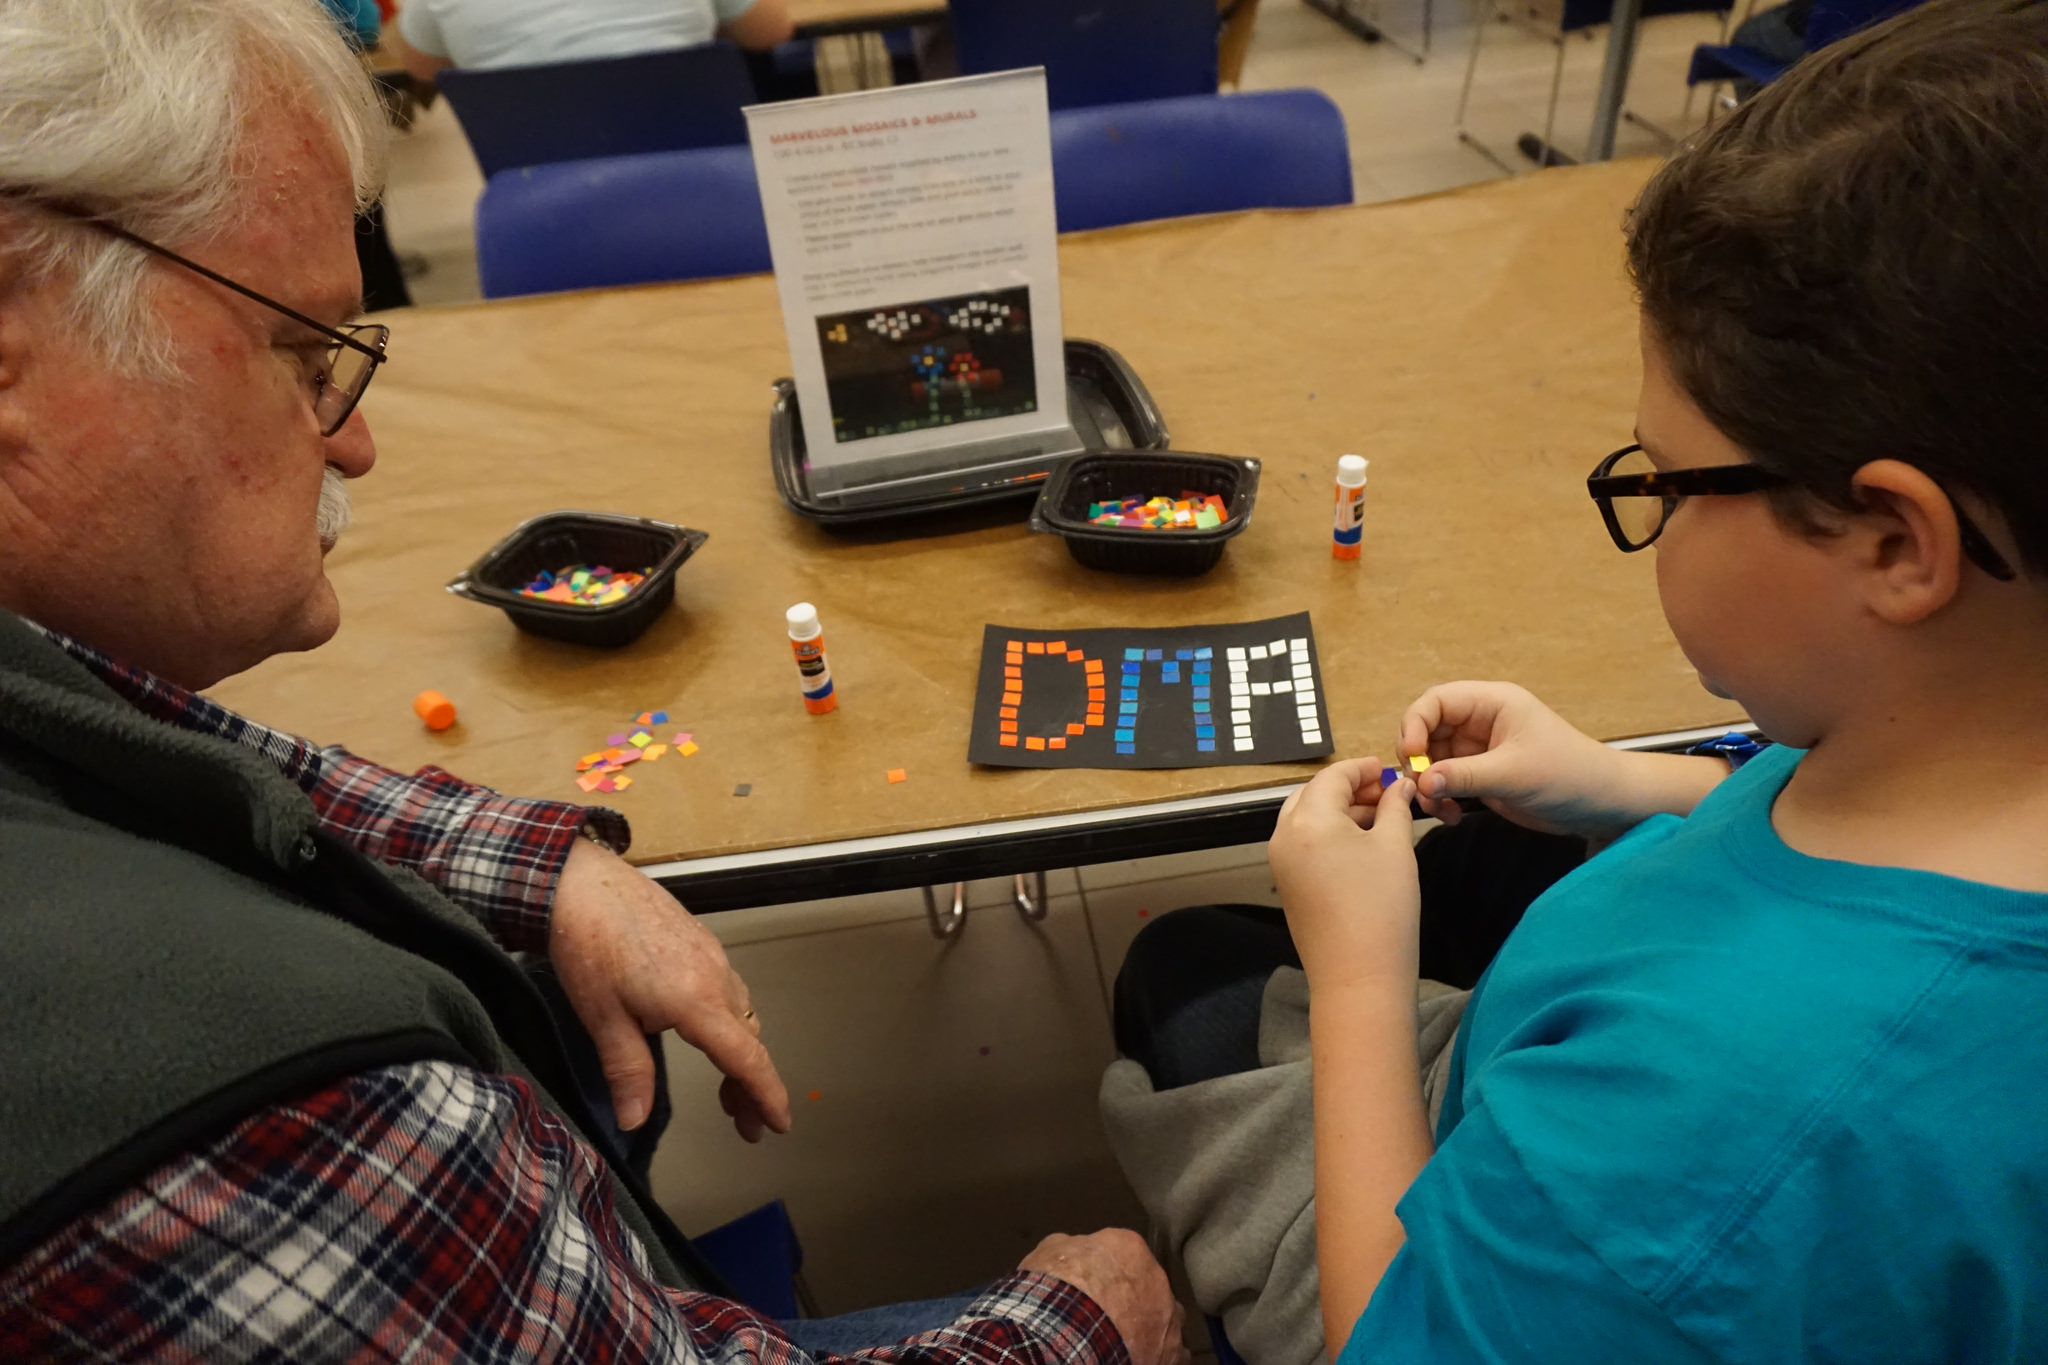
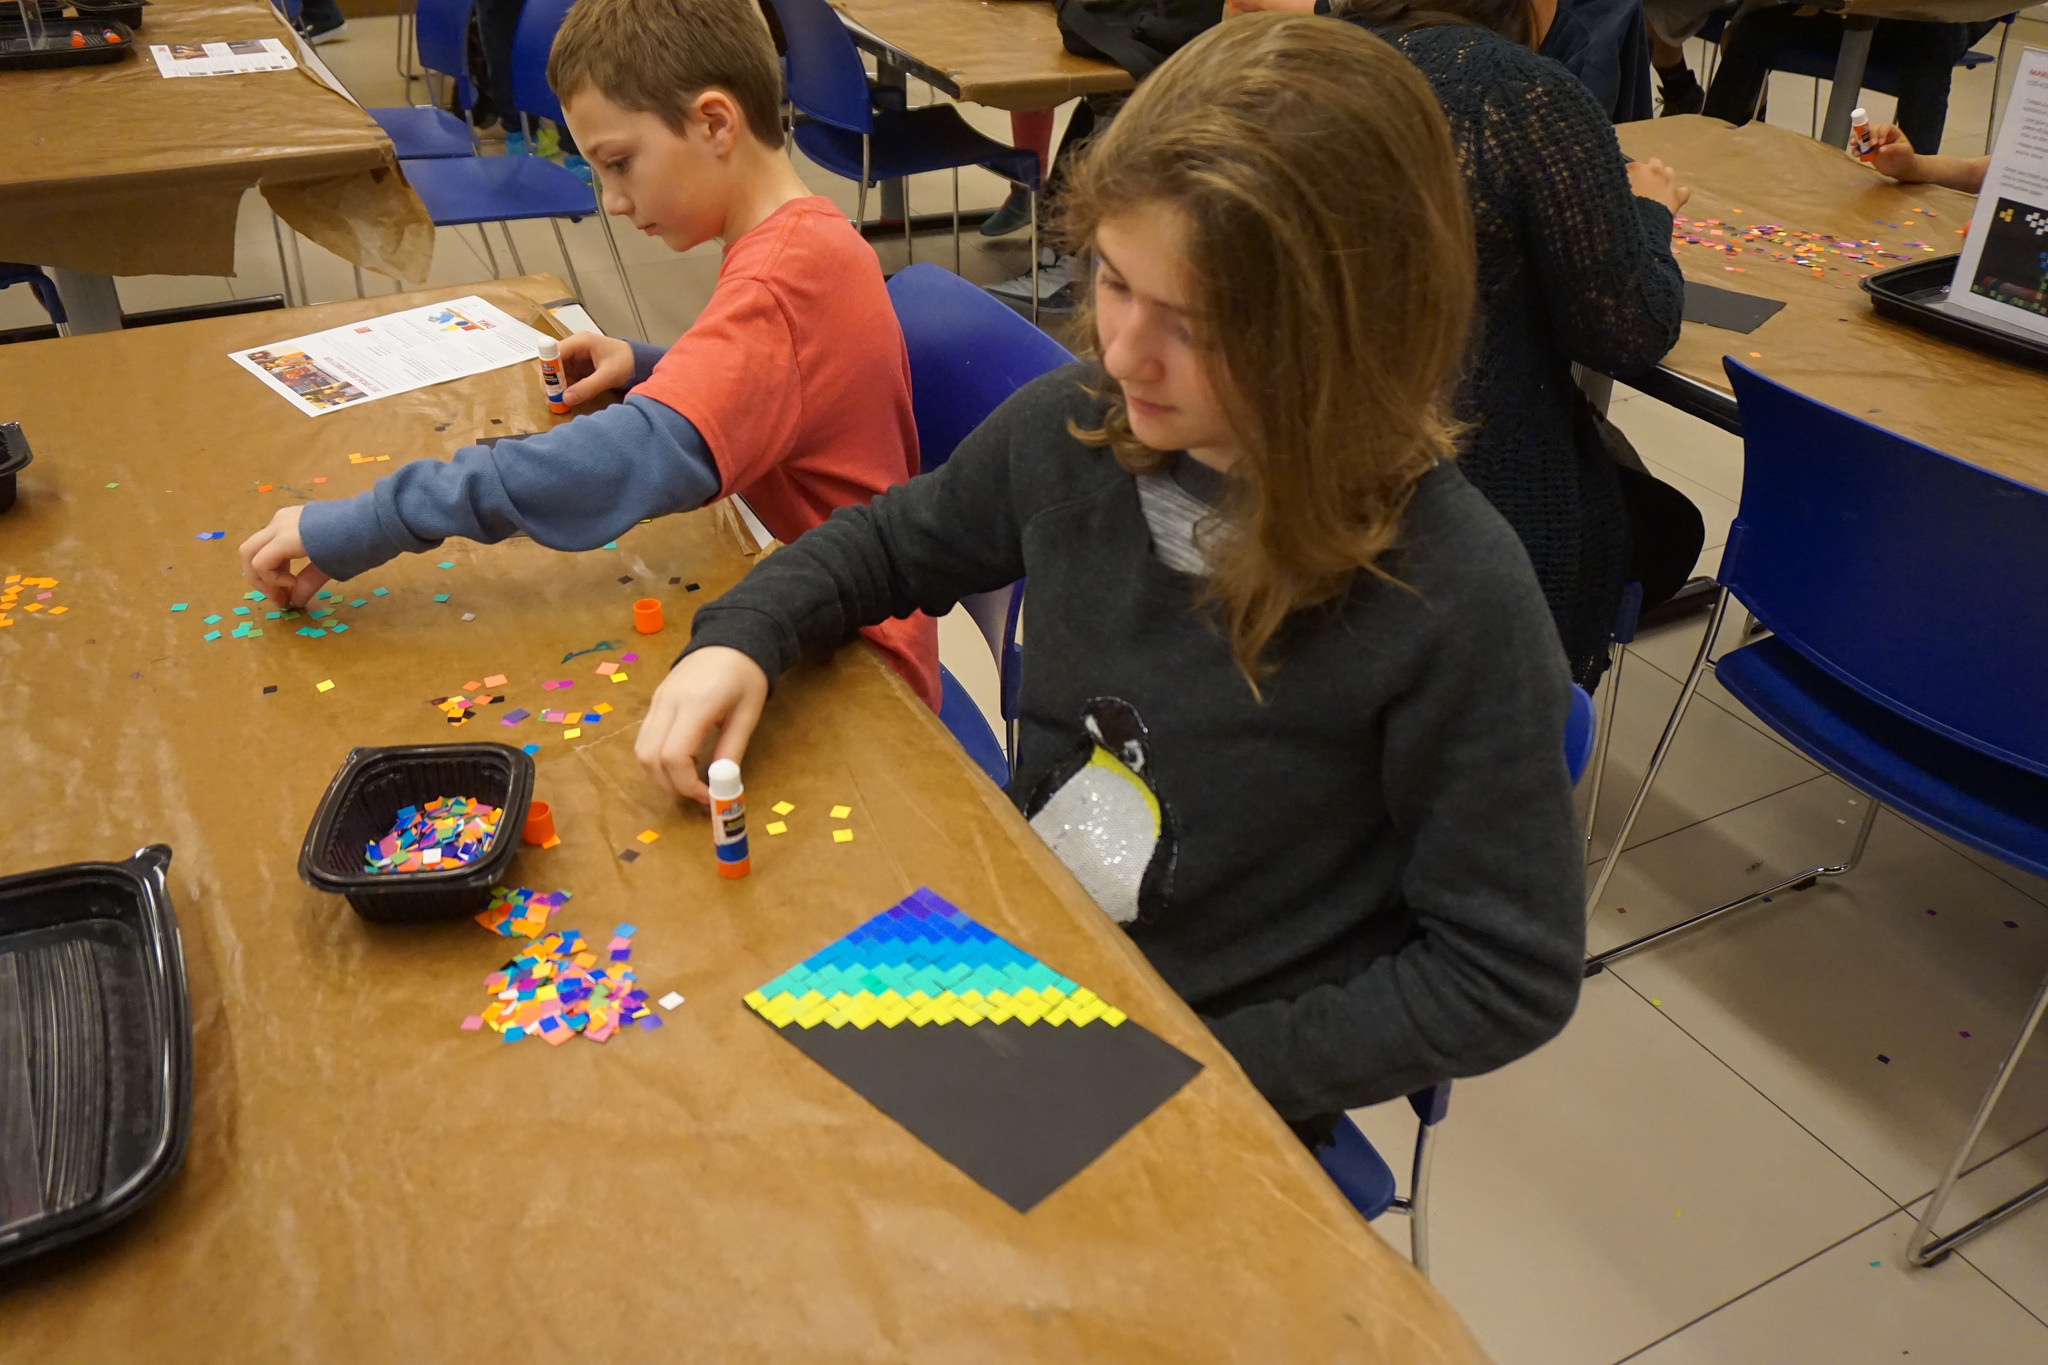
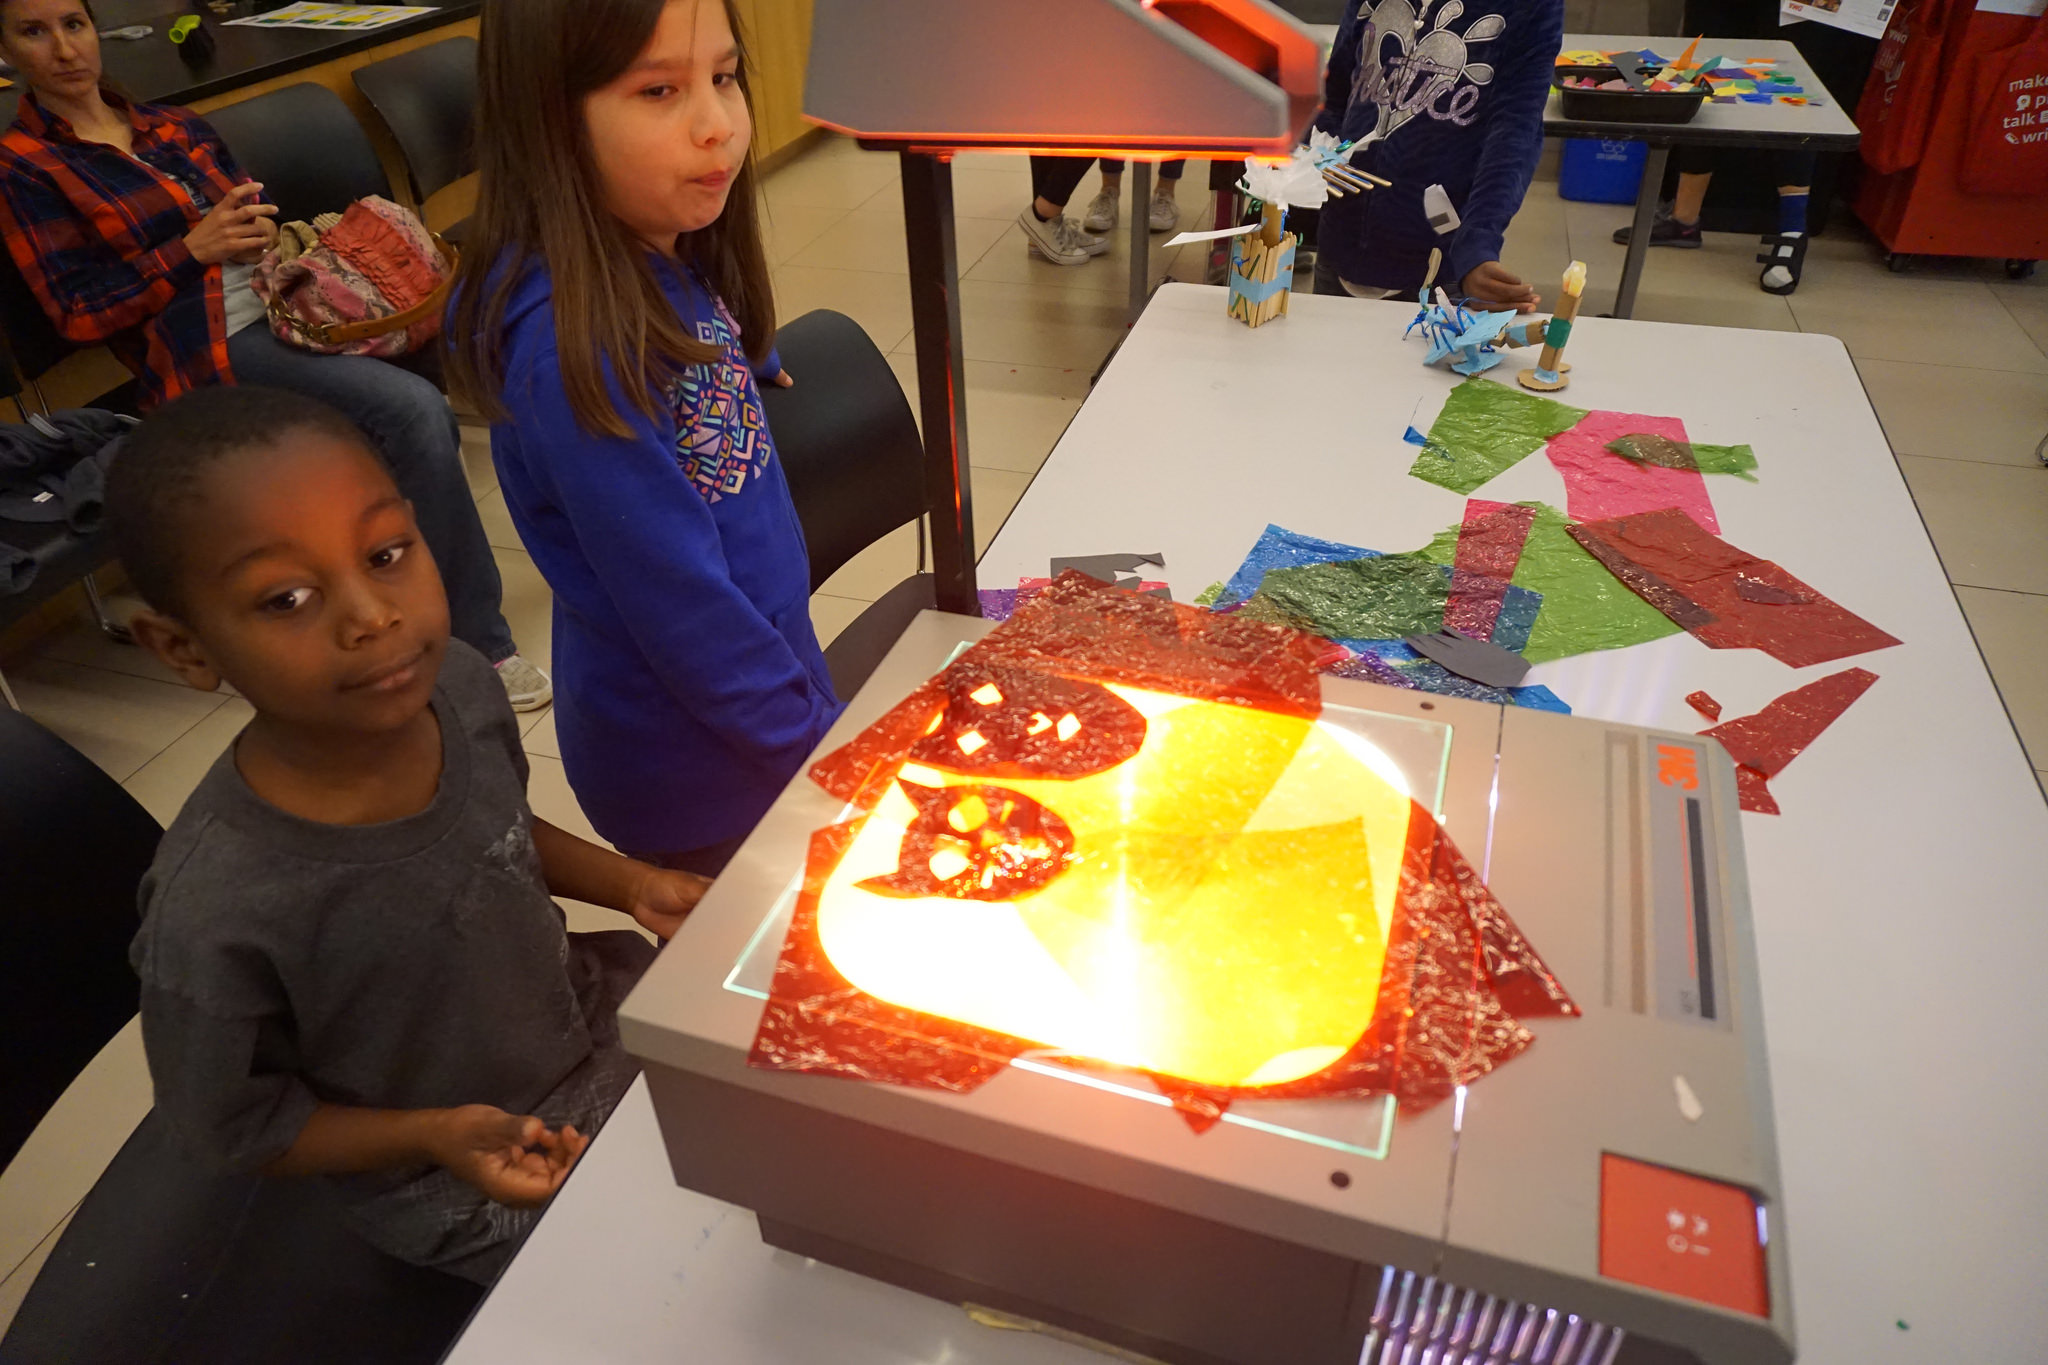
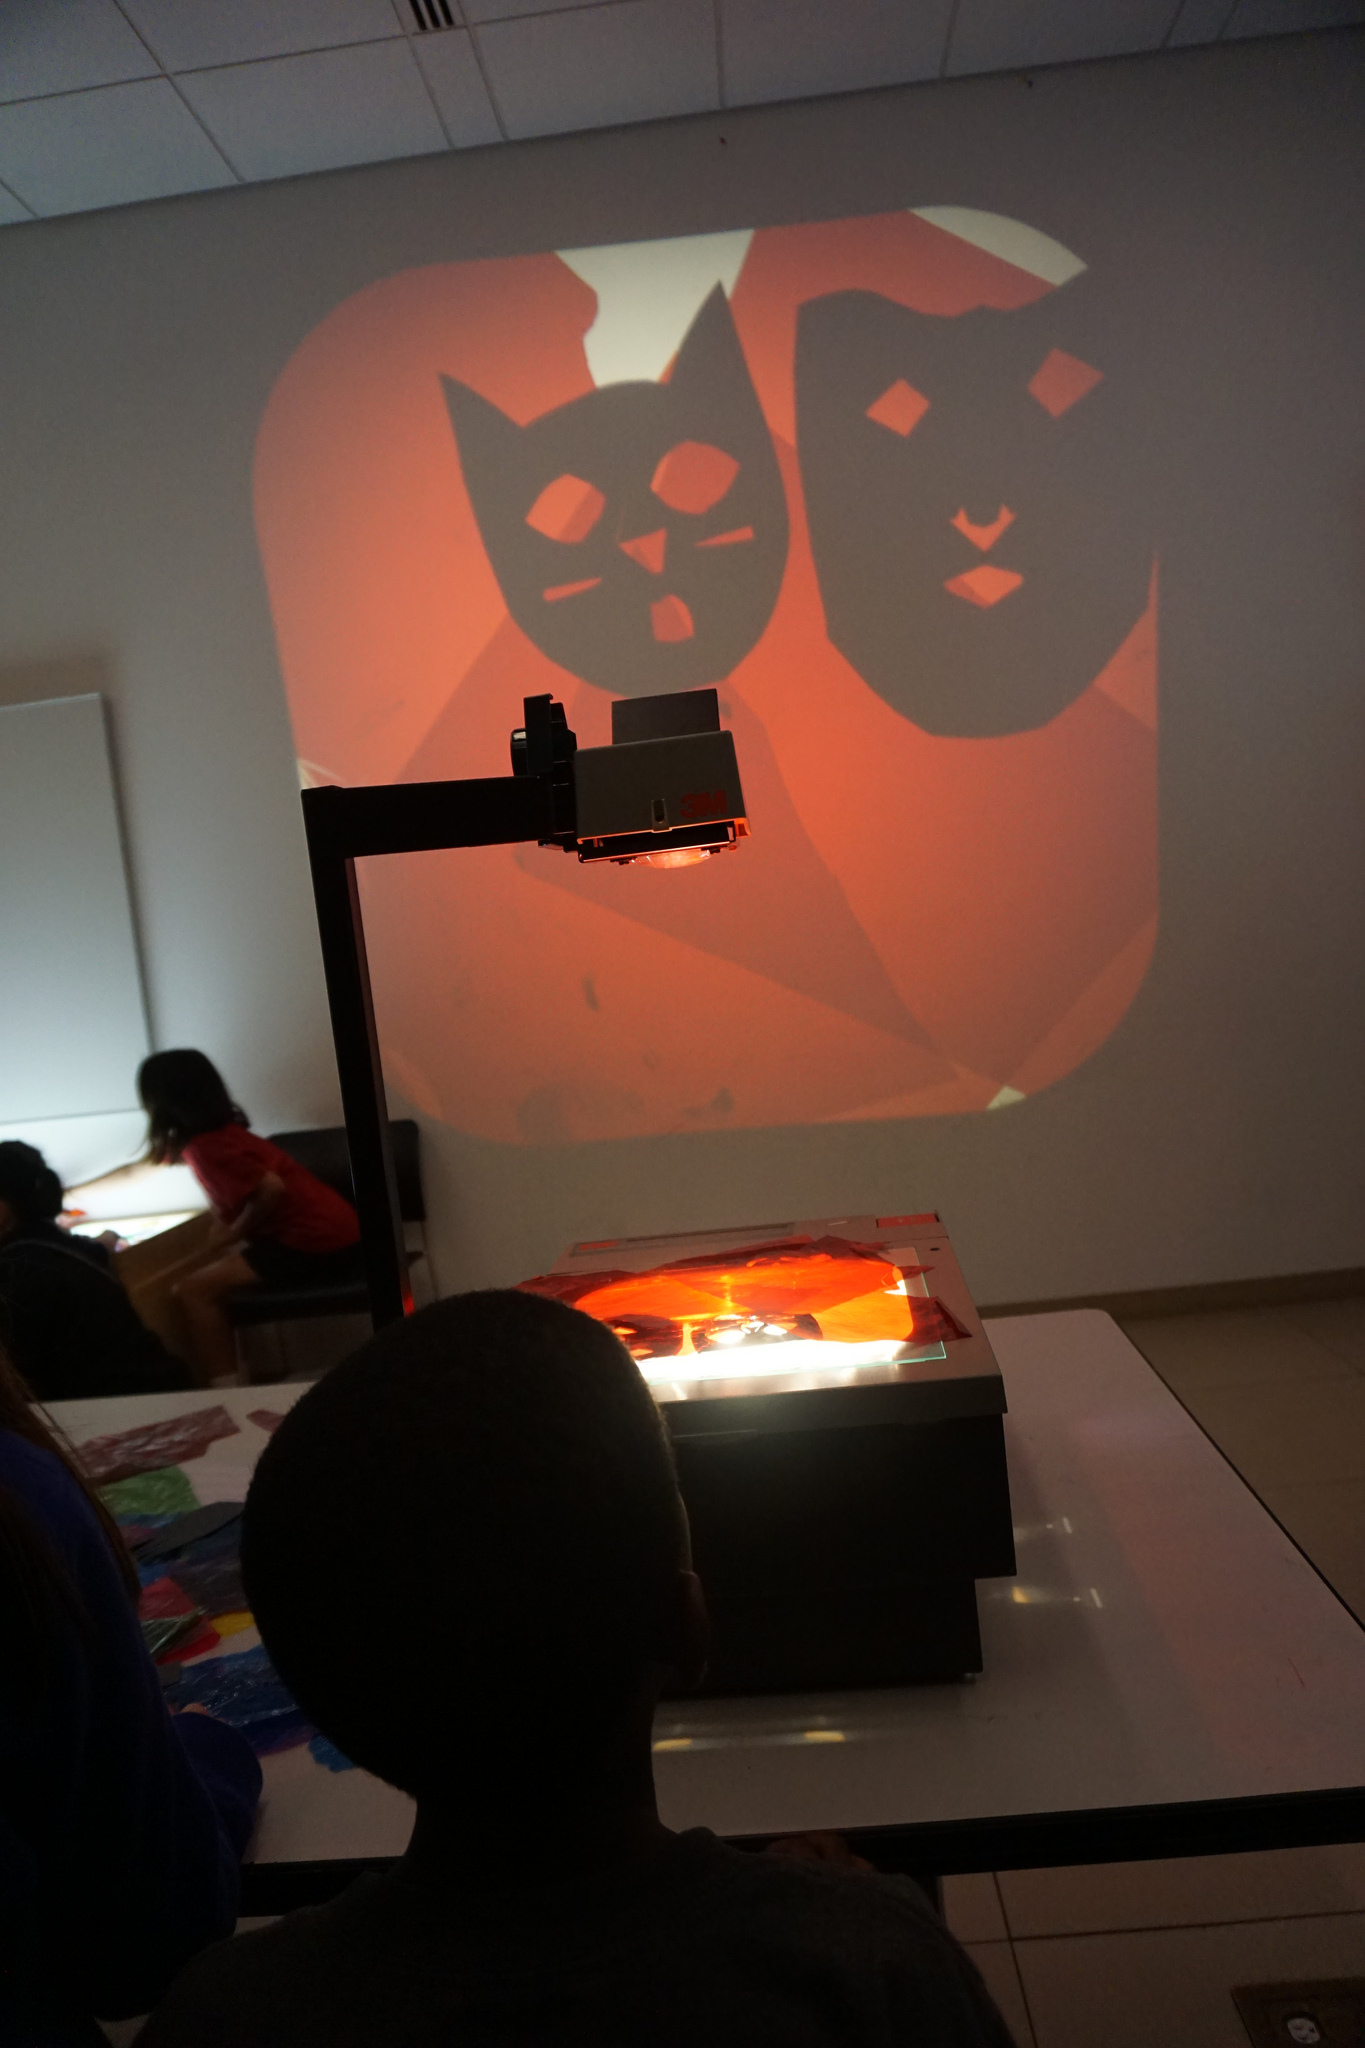
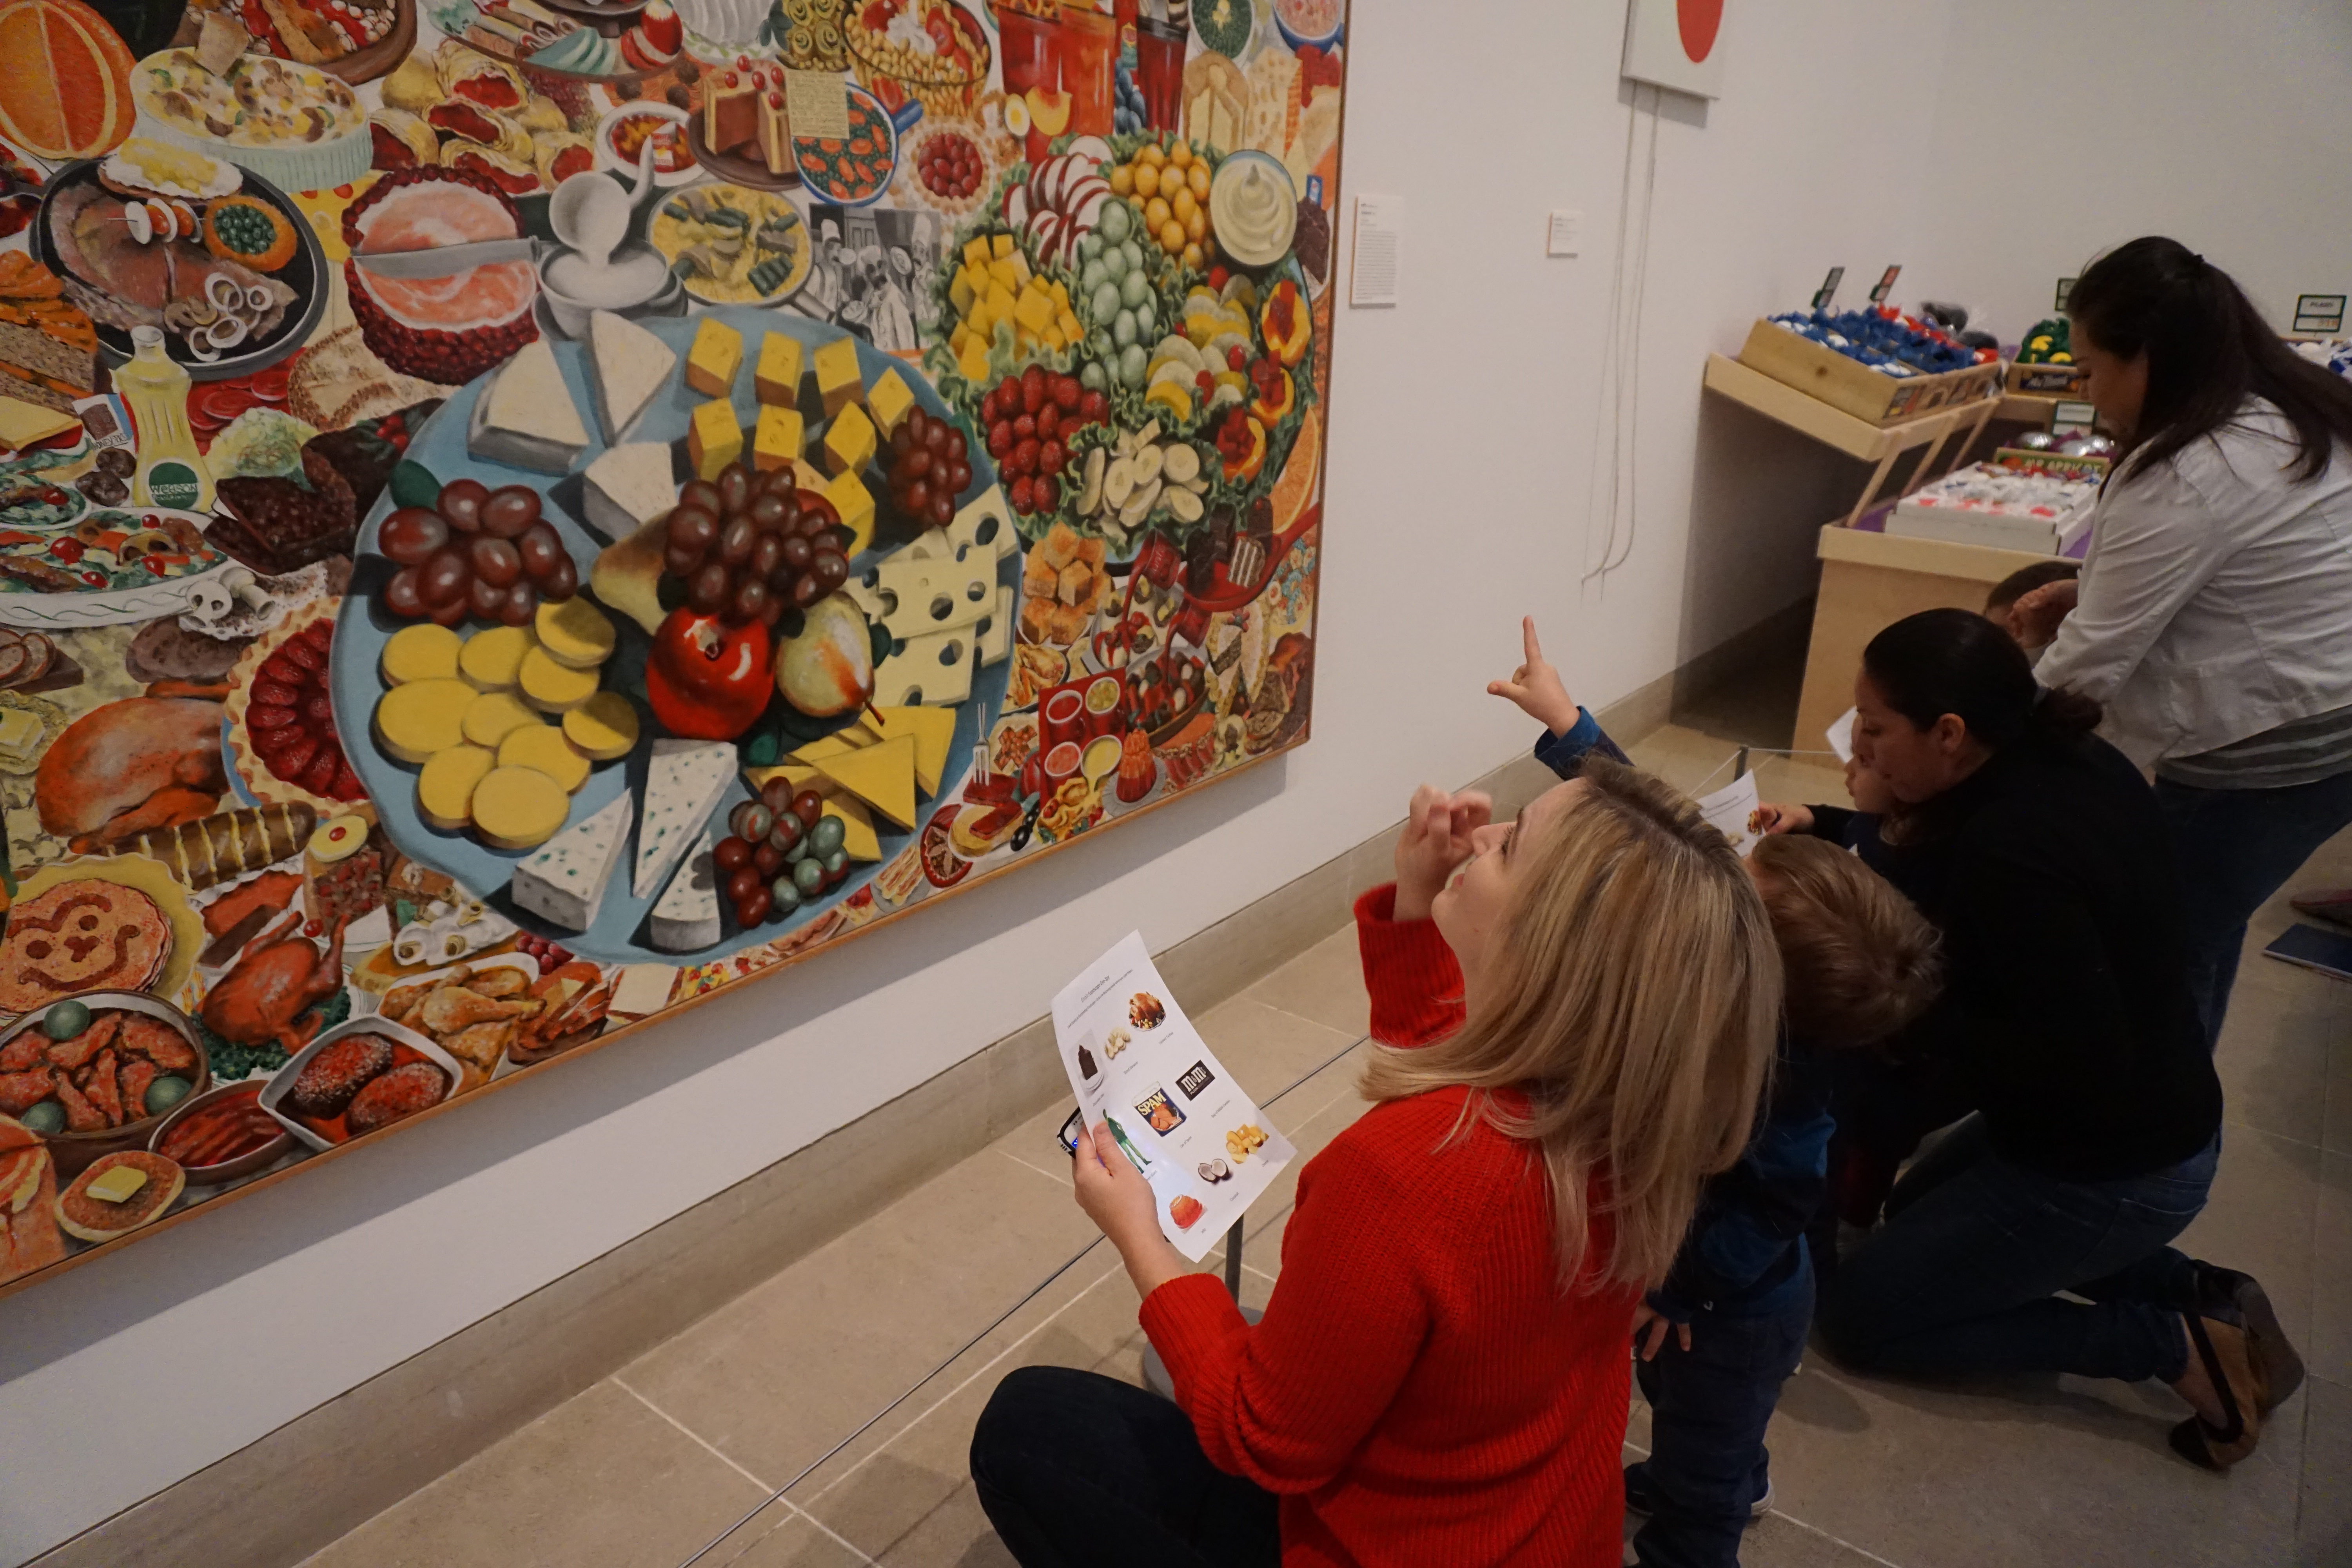
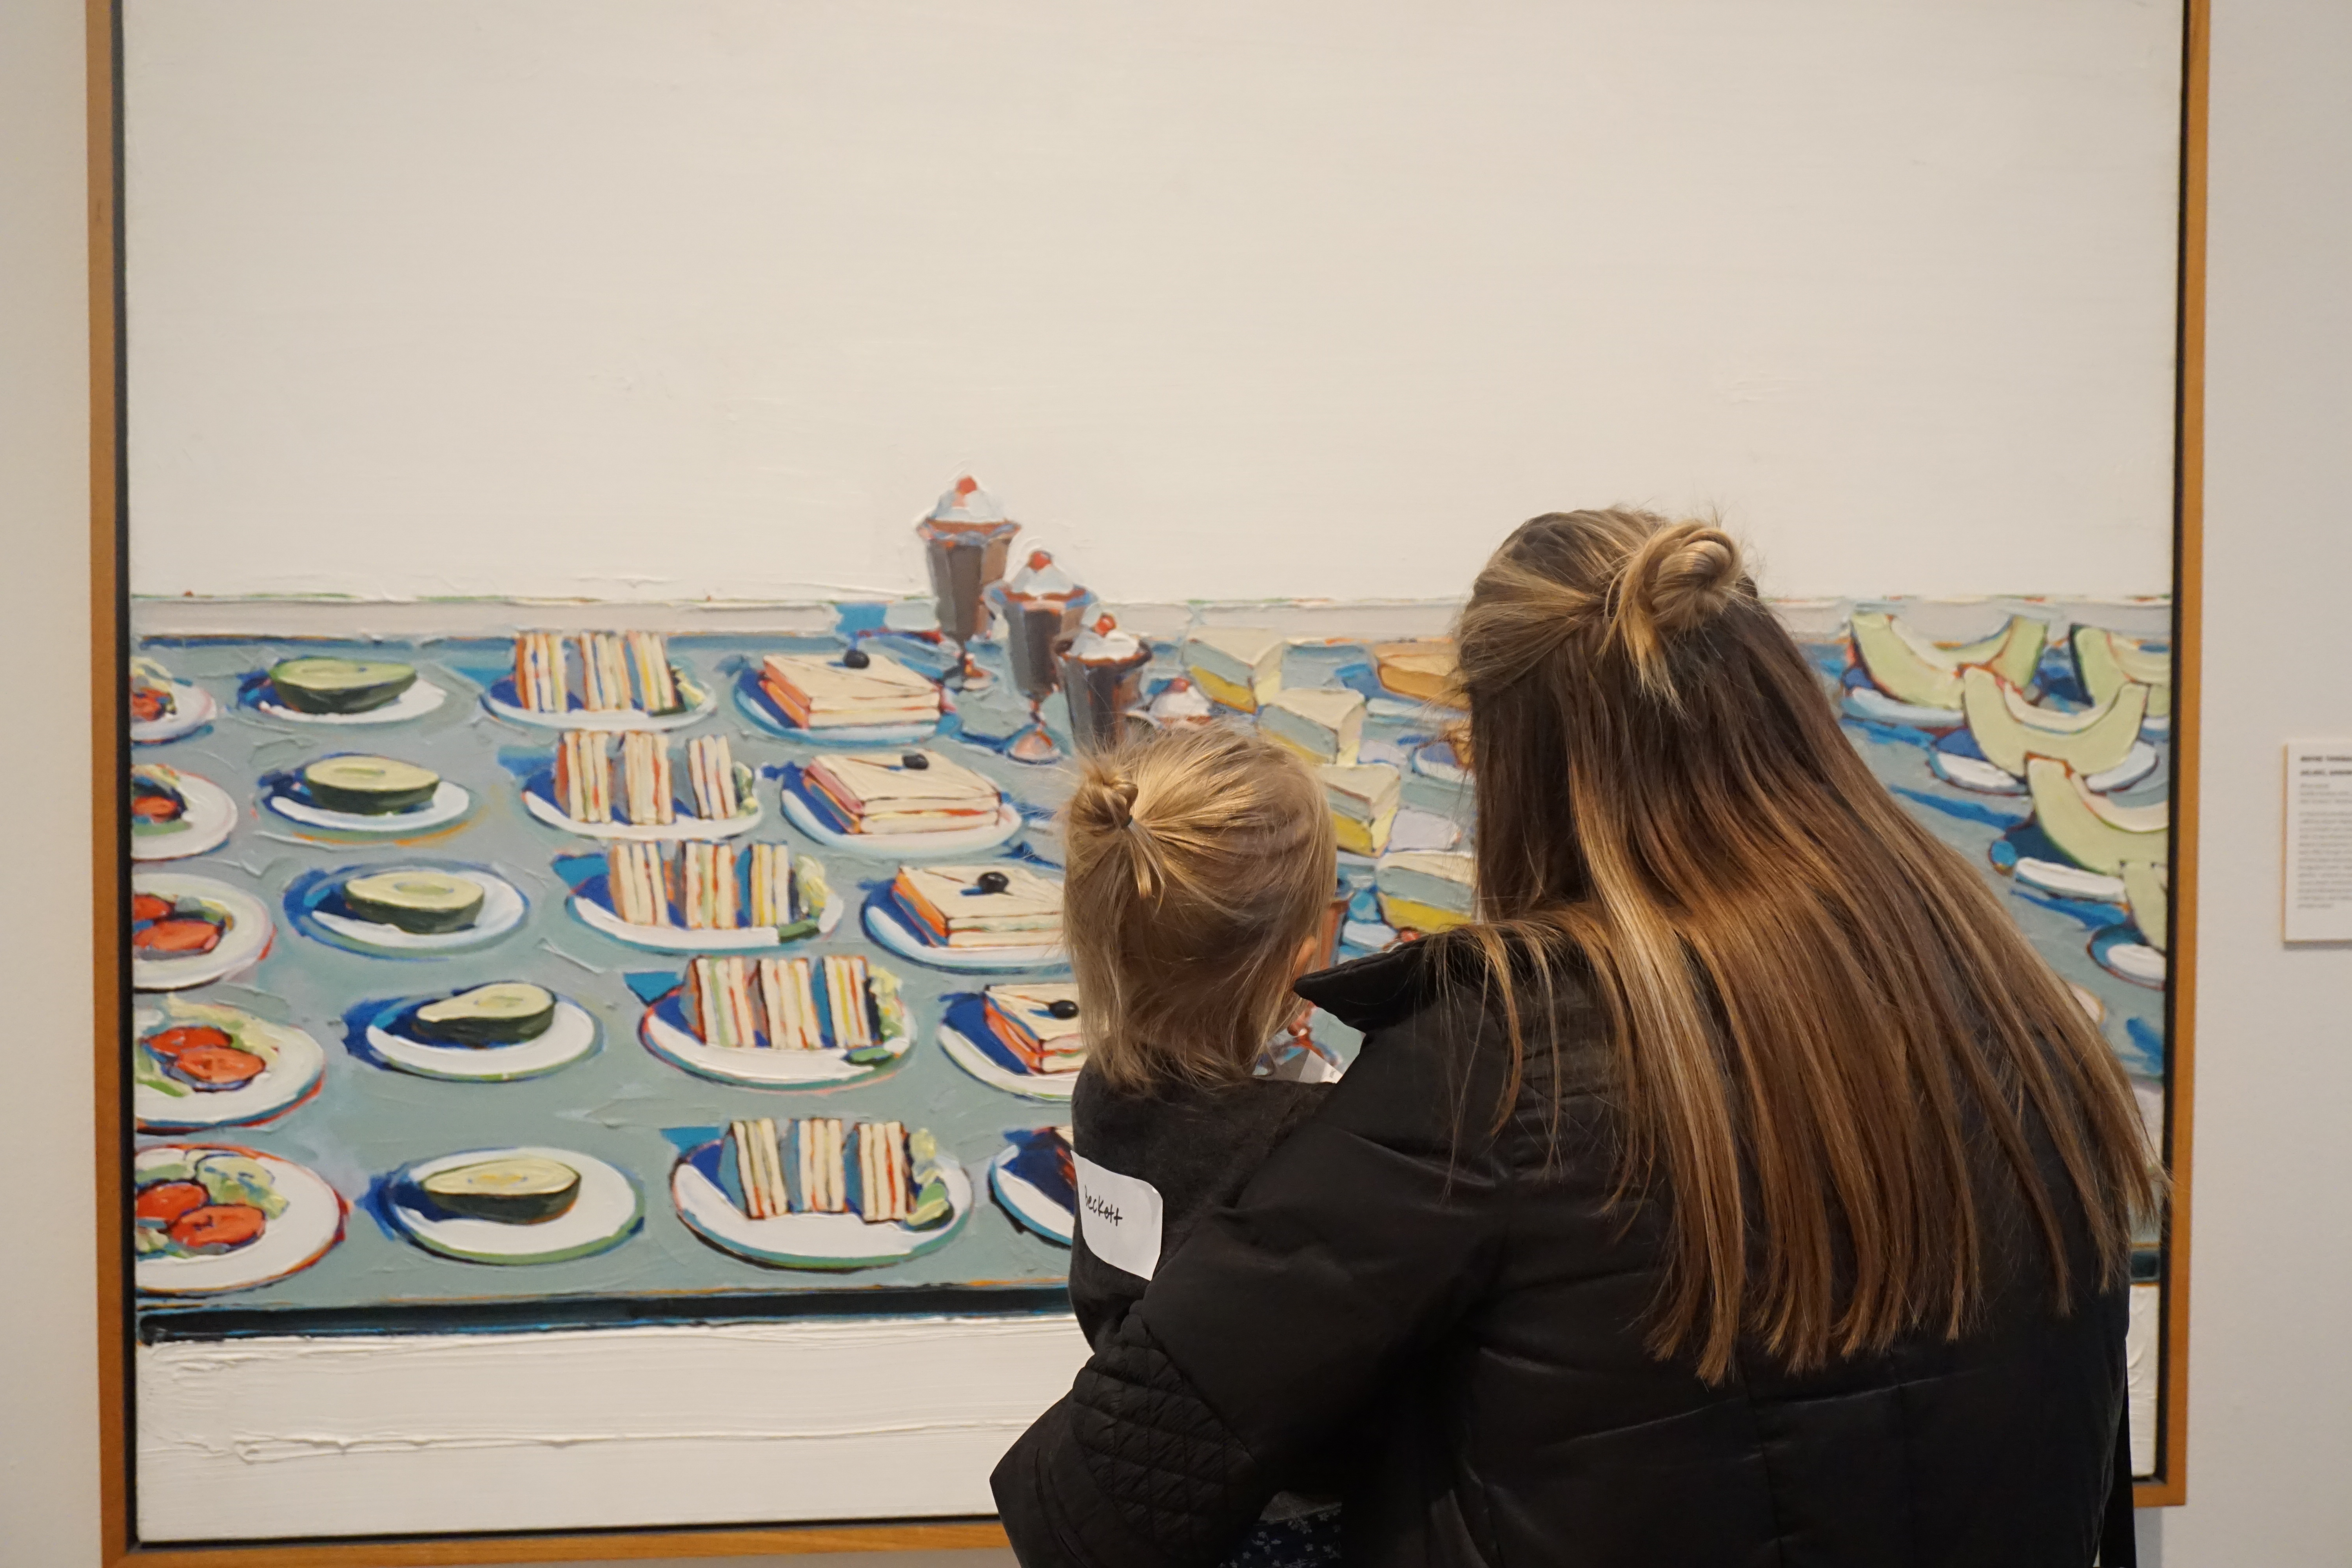
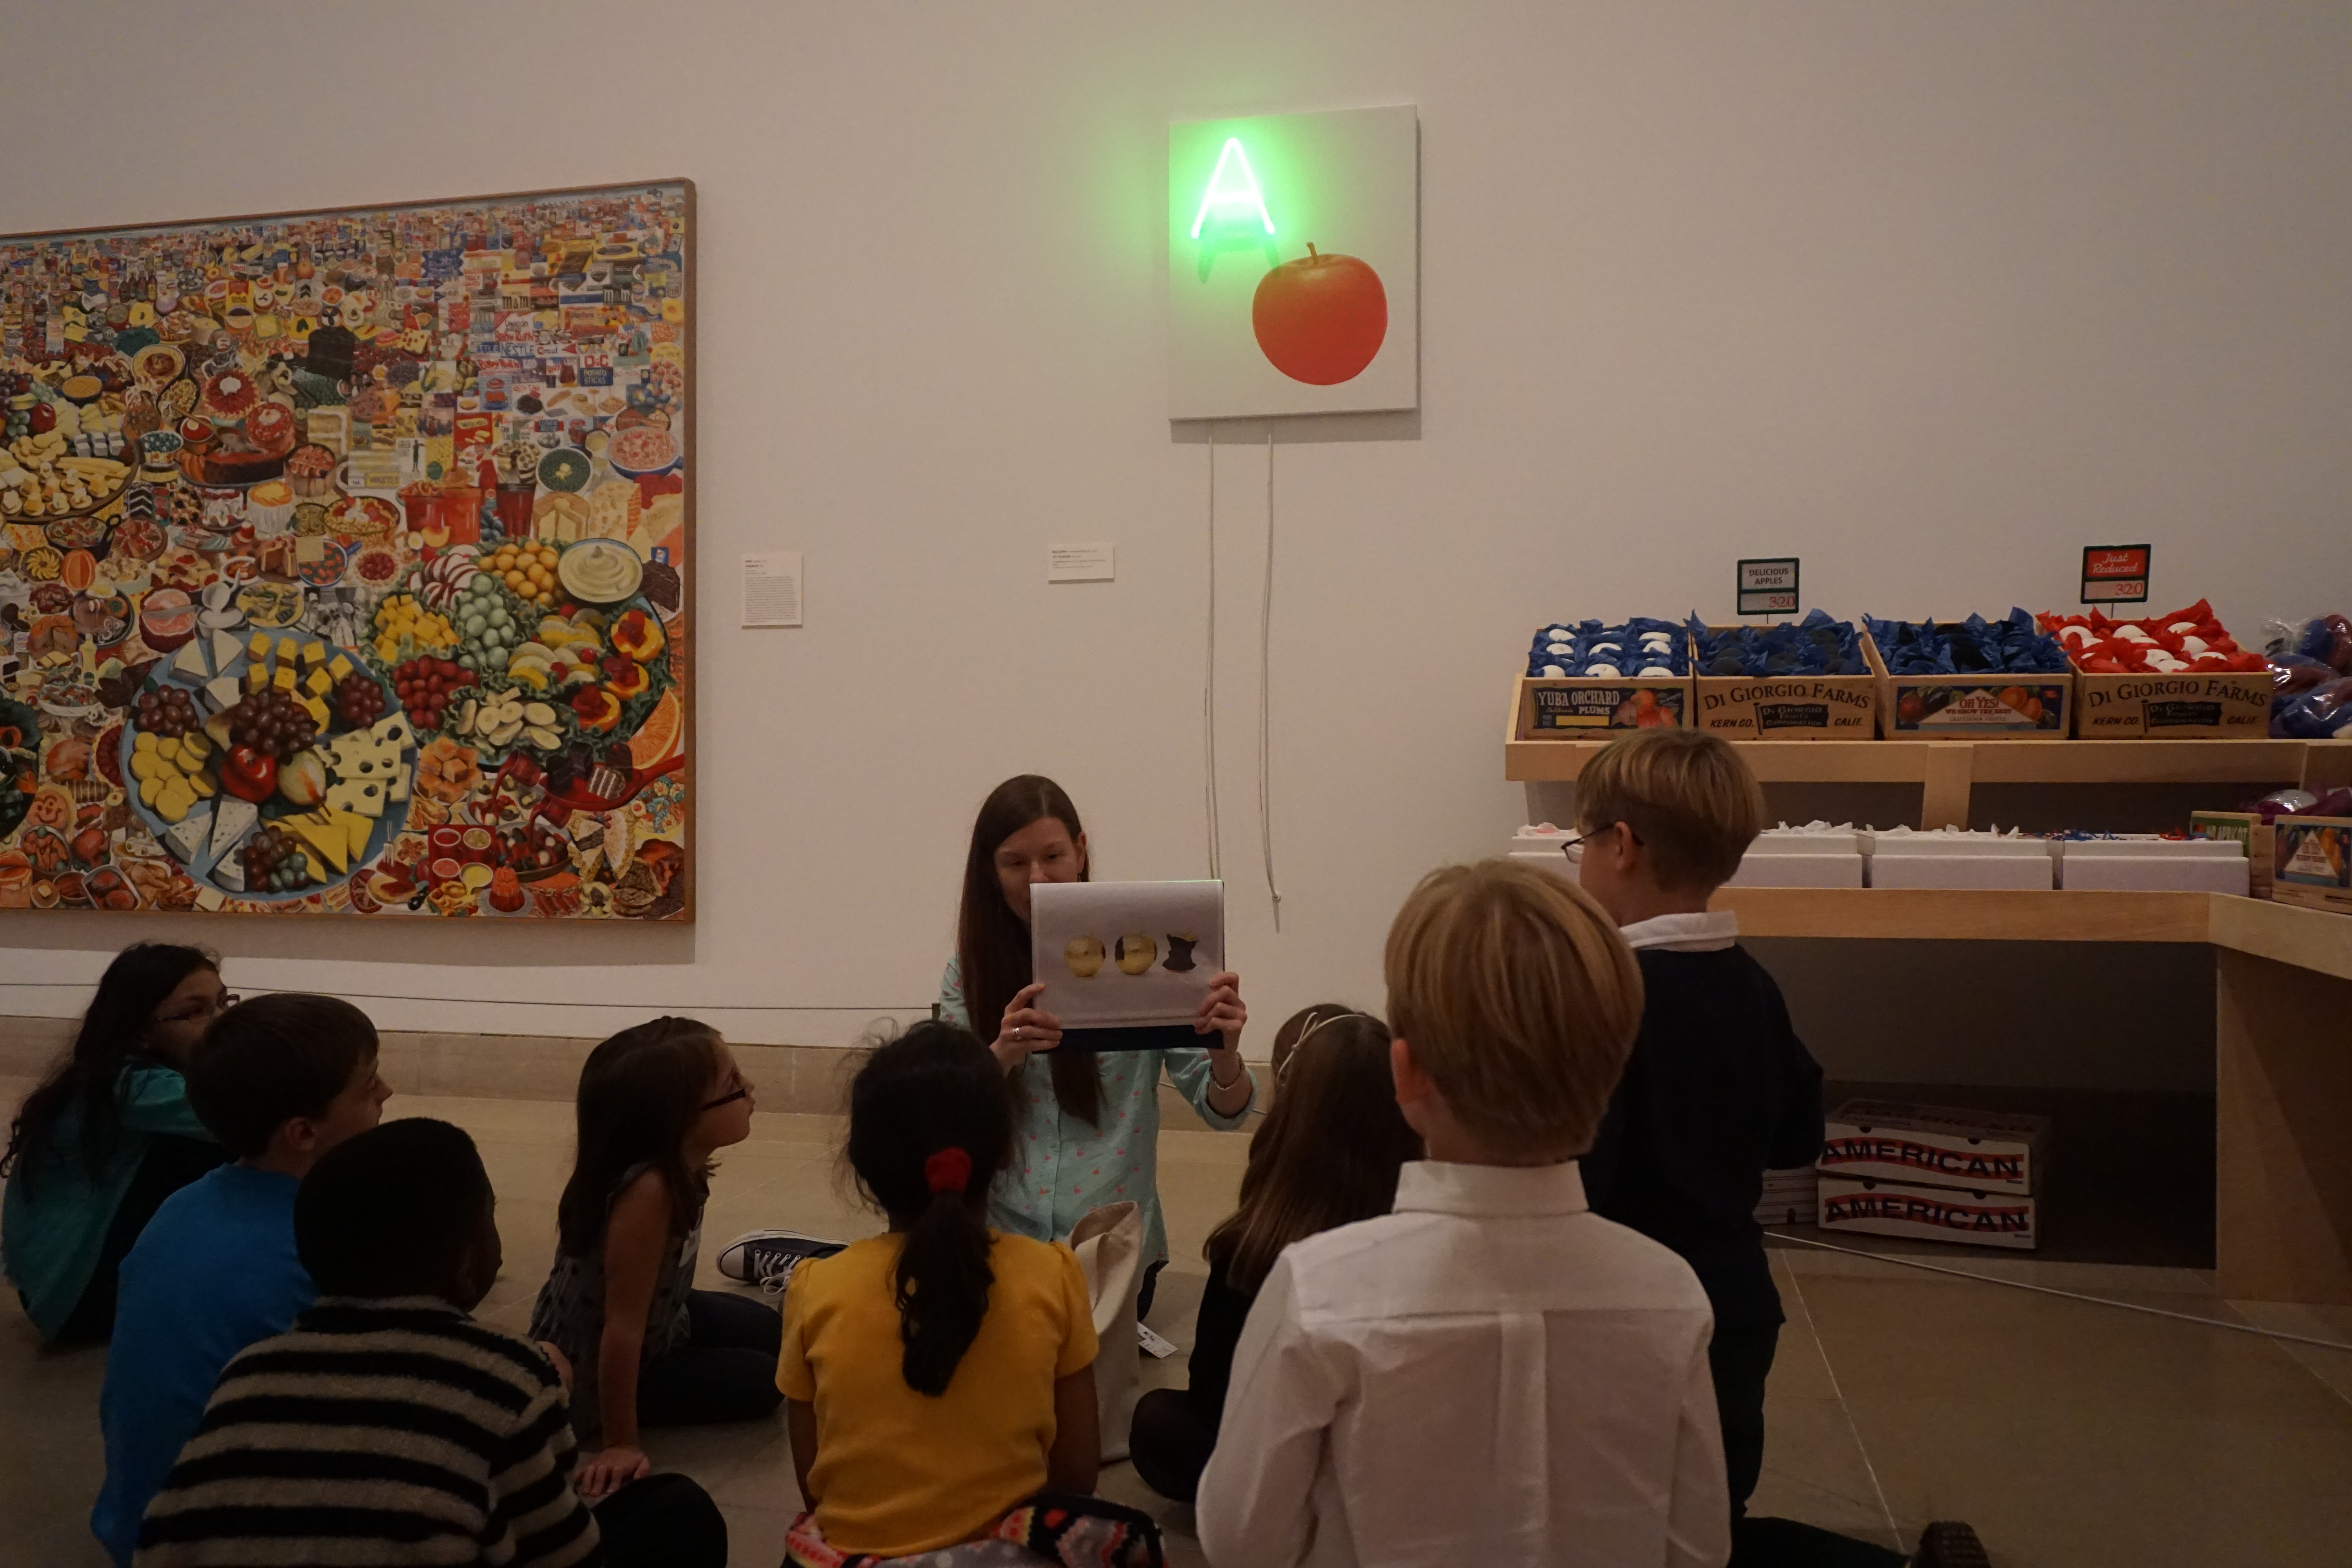
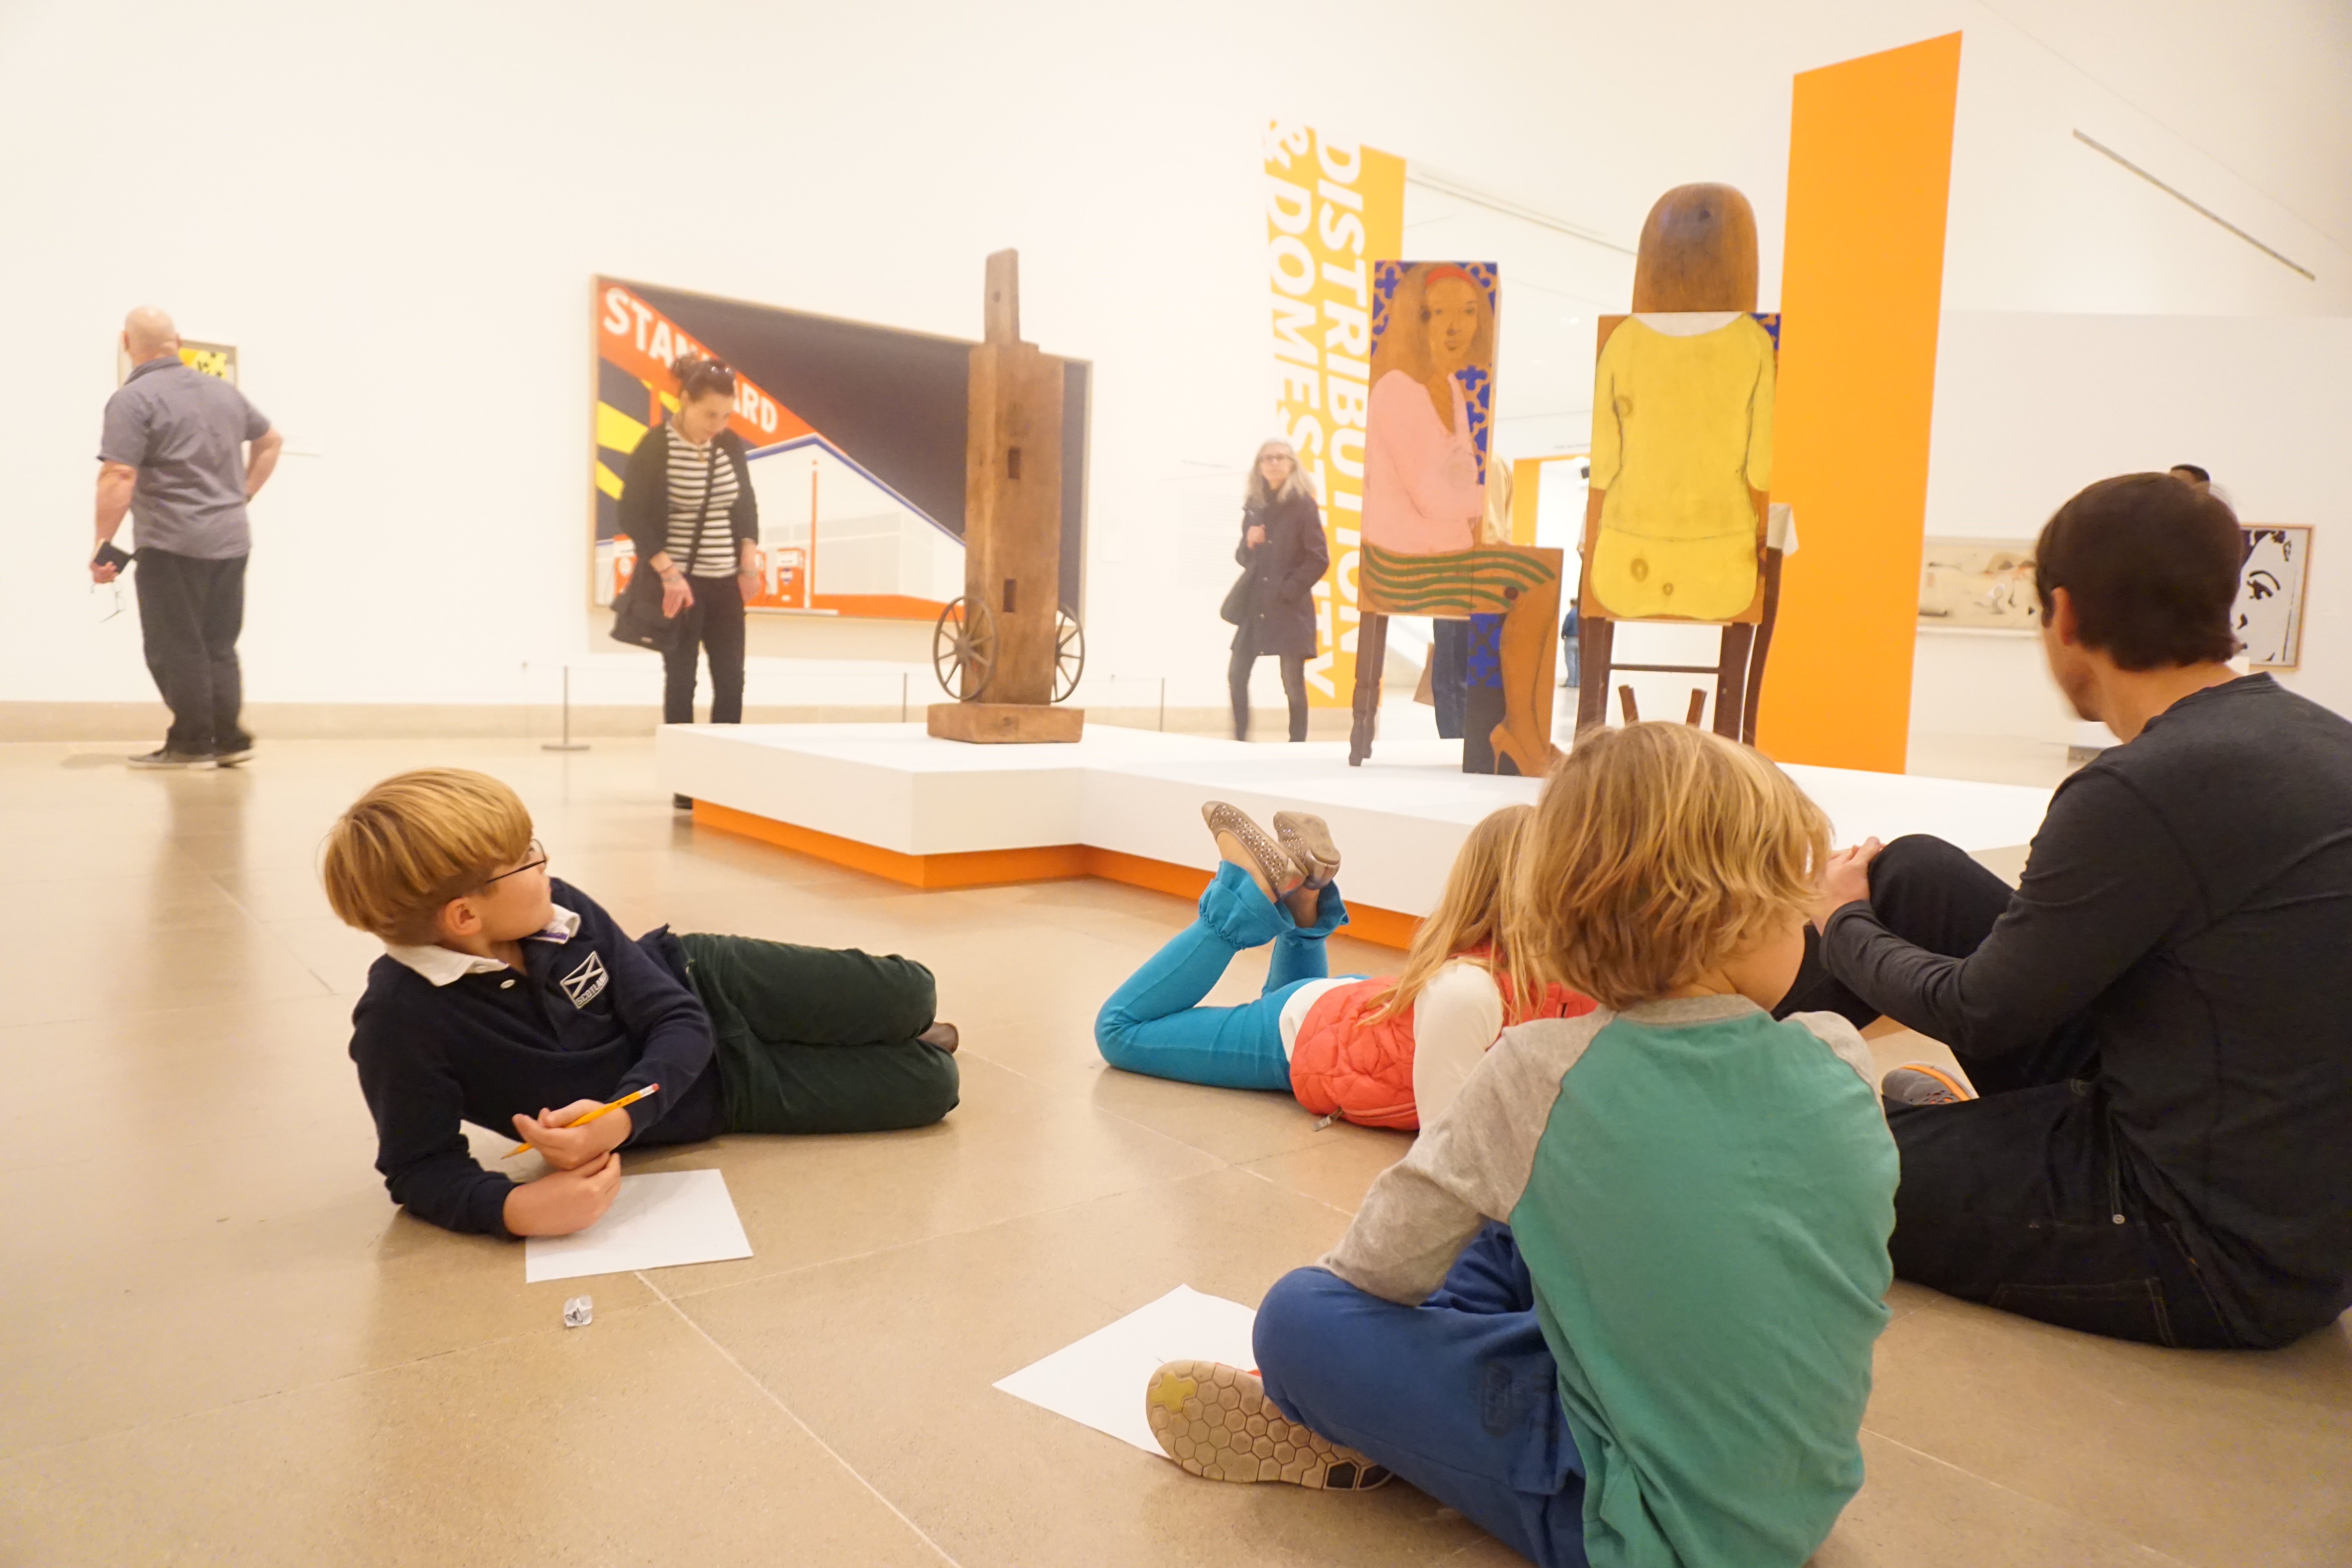
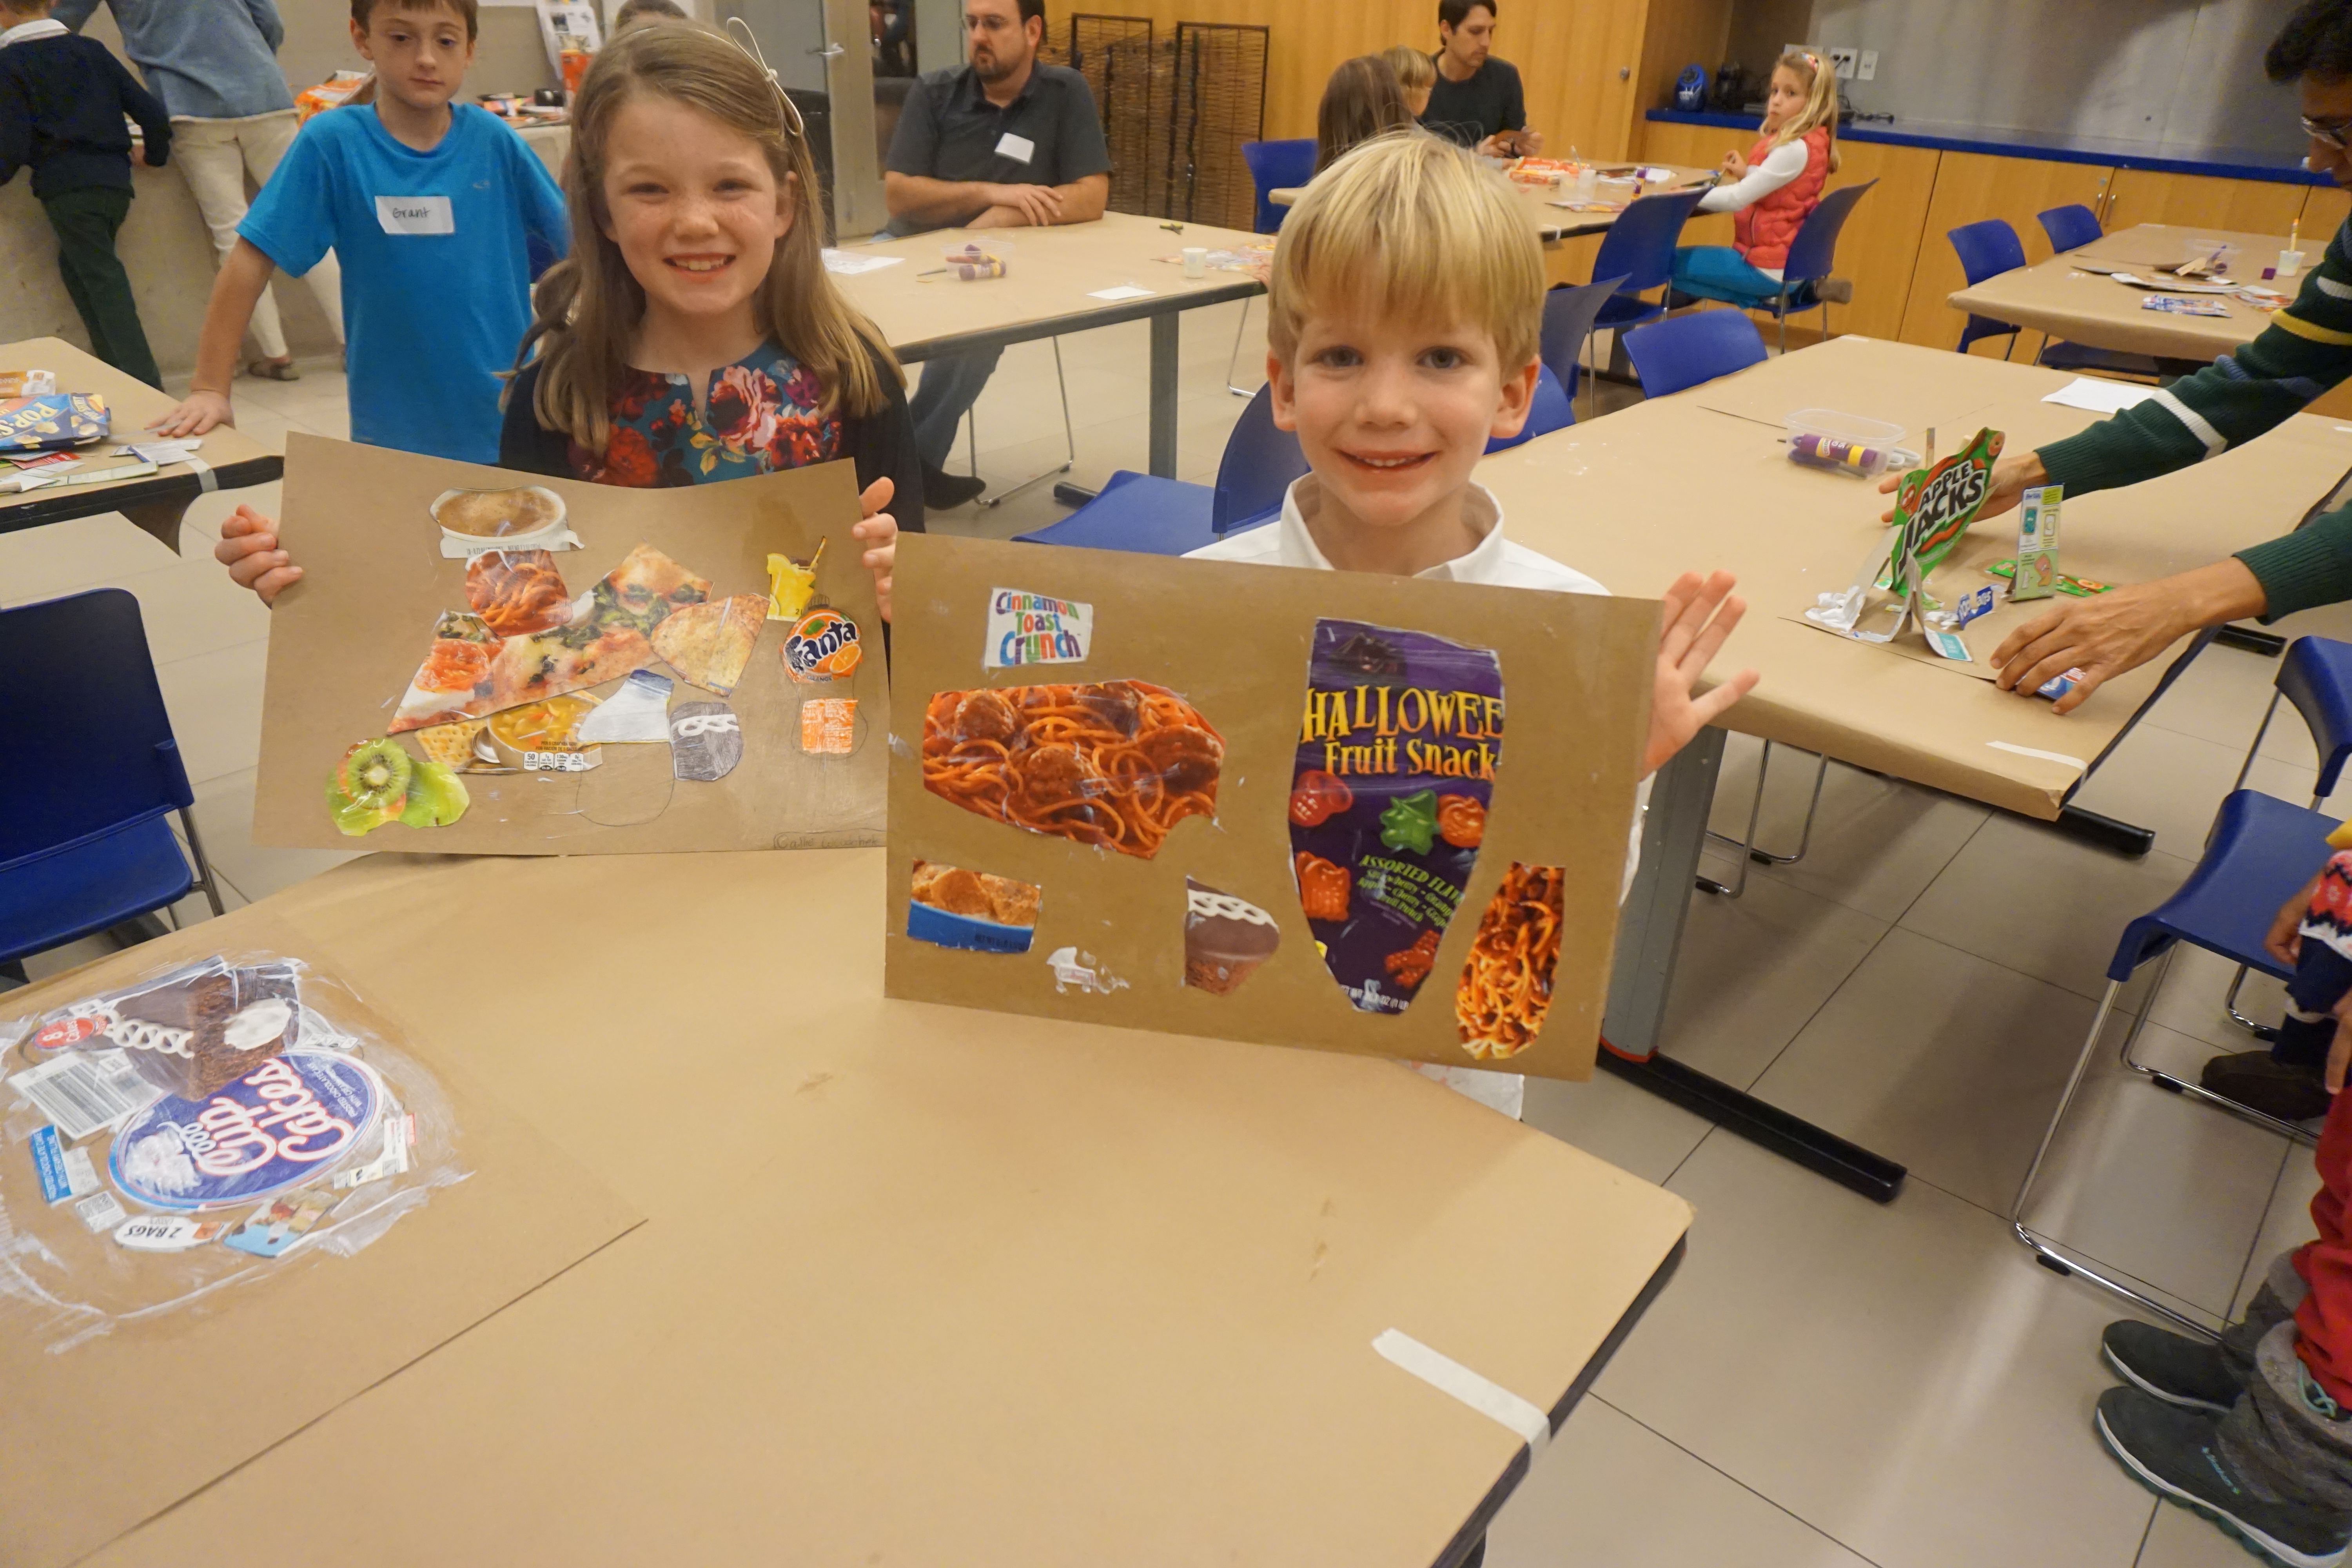
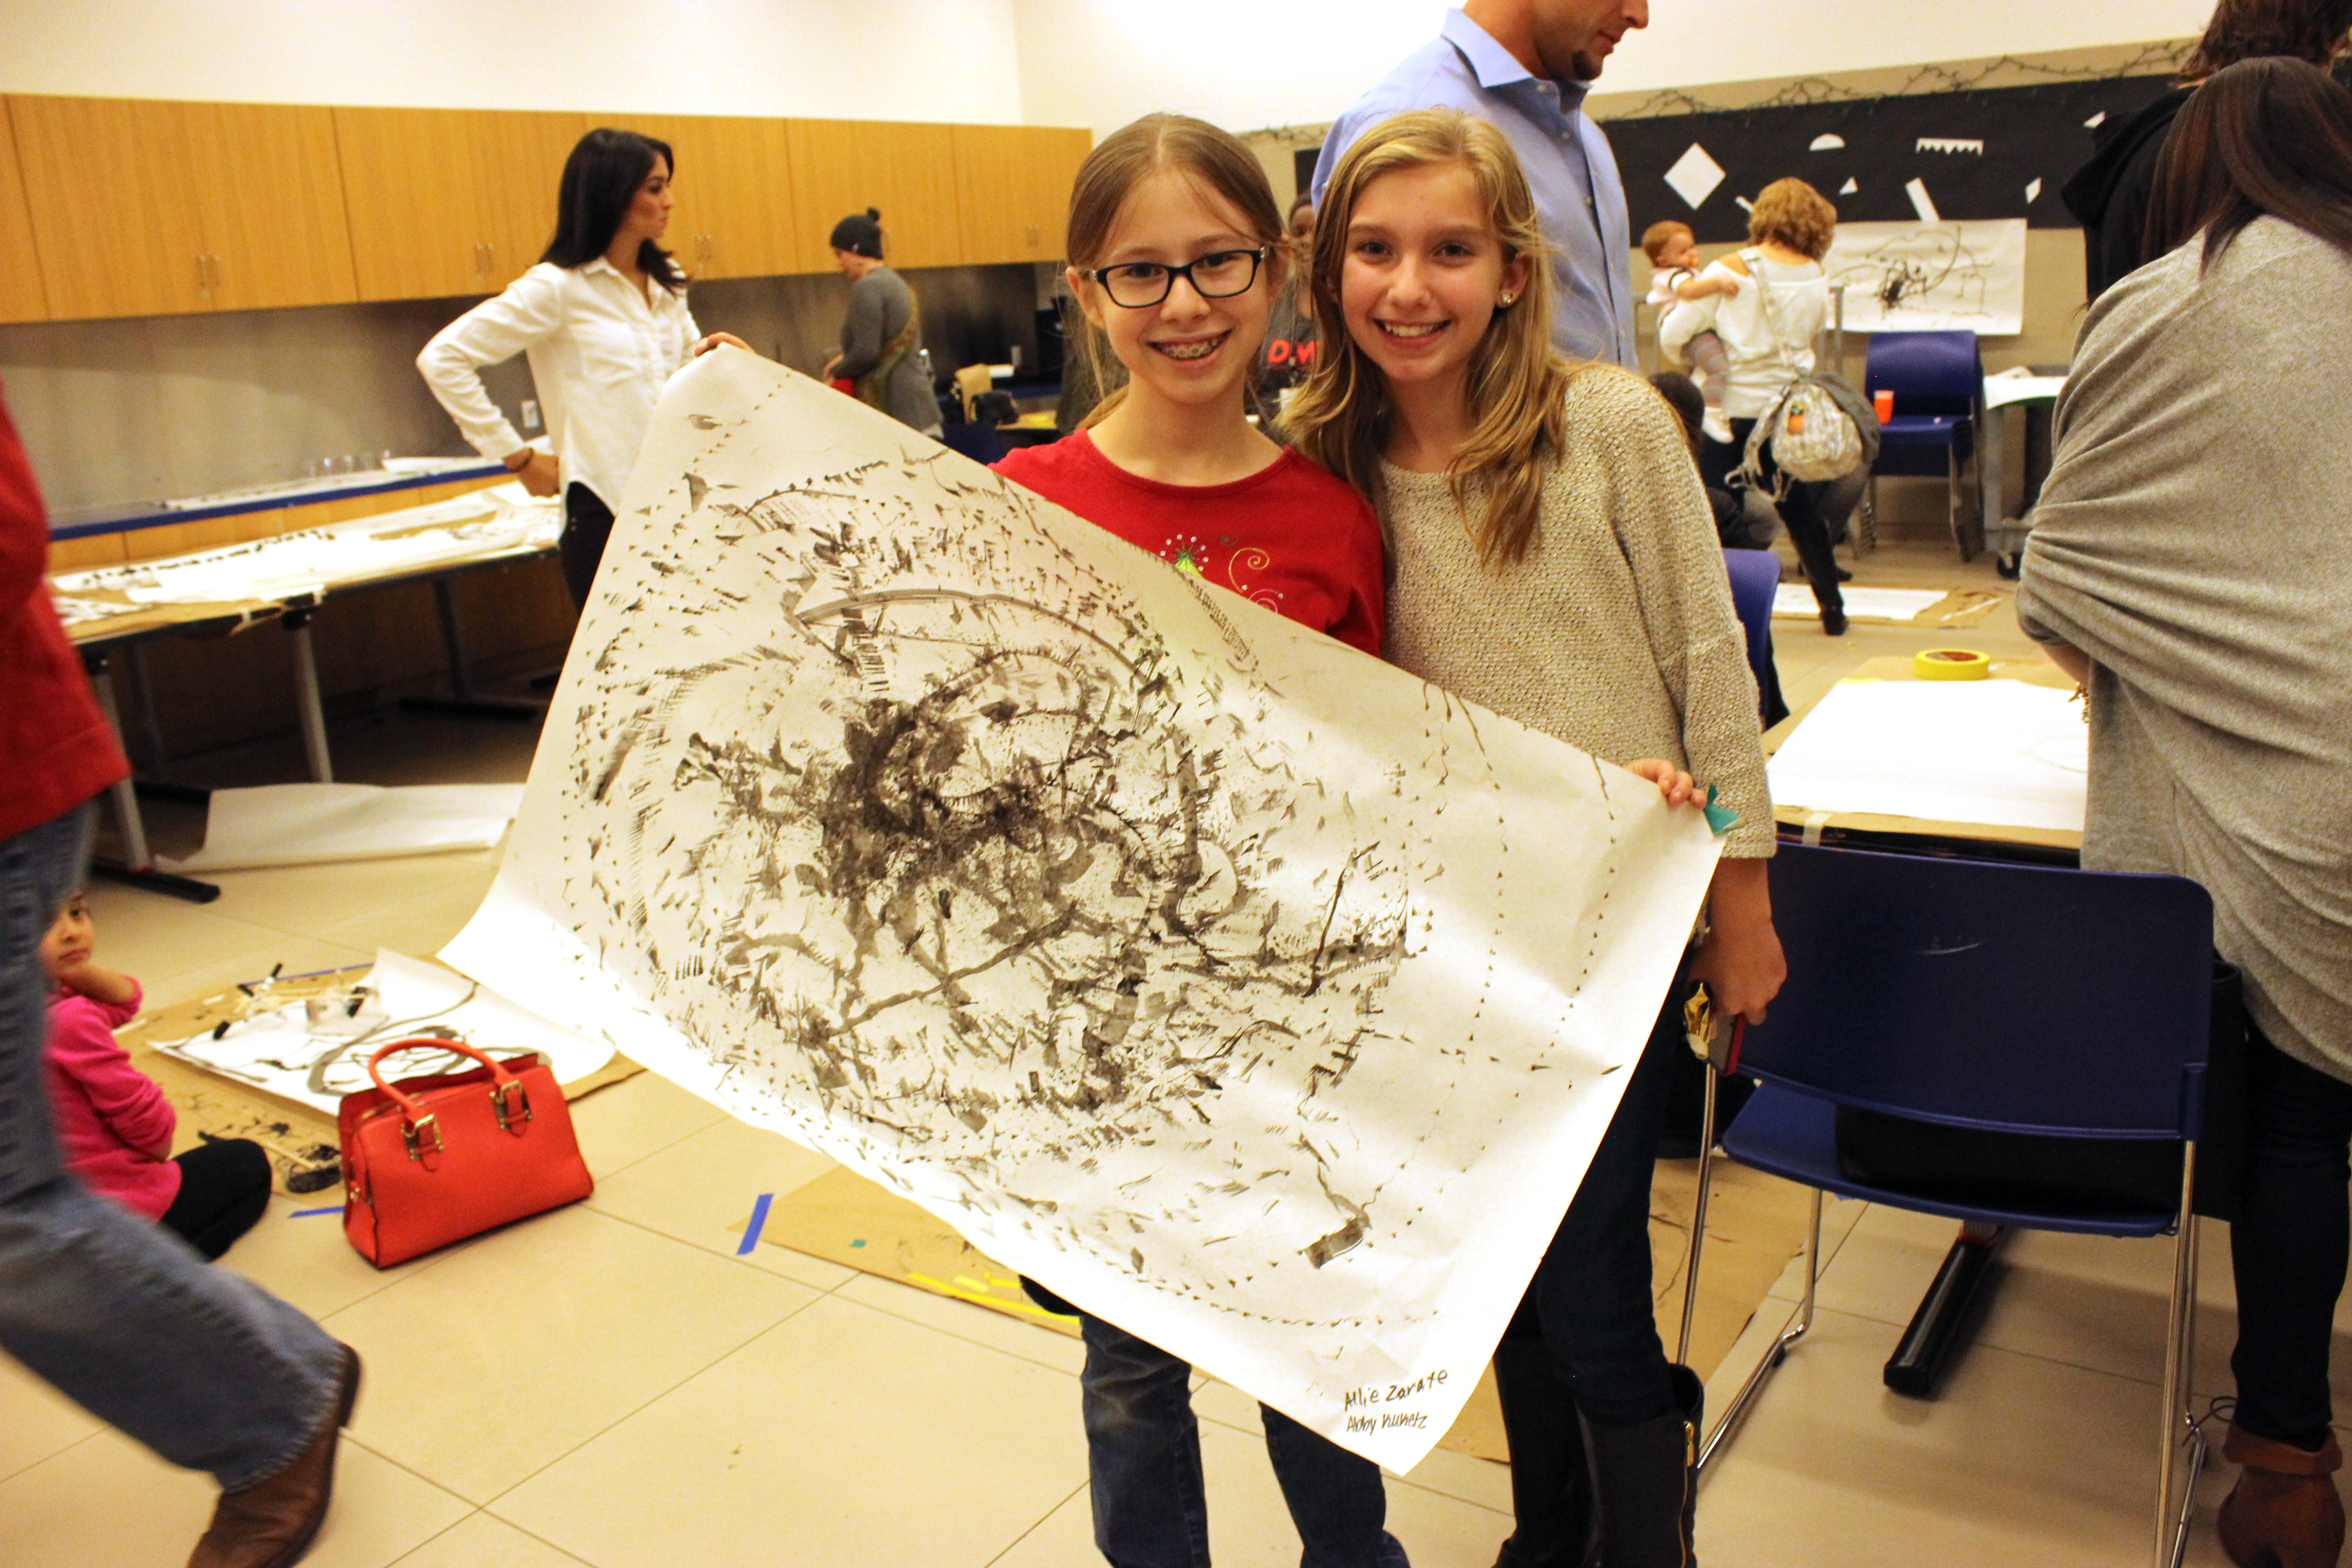
Teens

At a recent Late Night event, we used scribble bots to create a modern take on Pollock’s work. All you need is a plastic cup, a toy motor, a battery, and a brush to make your own painting robot! The motor sends the robot skittering across the paper, and the paintbrush “captures” the movement in visual form. Download step-by-step instructions here: Scribble Bot Instructions.

Dance for PD Pollock

Any Age

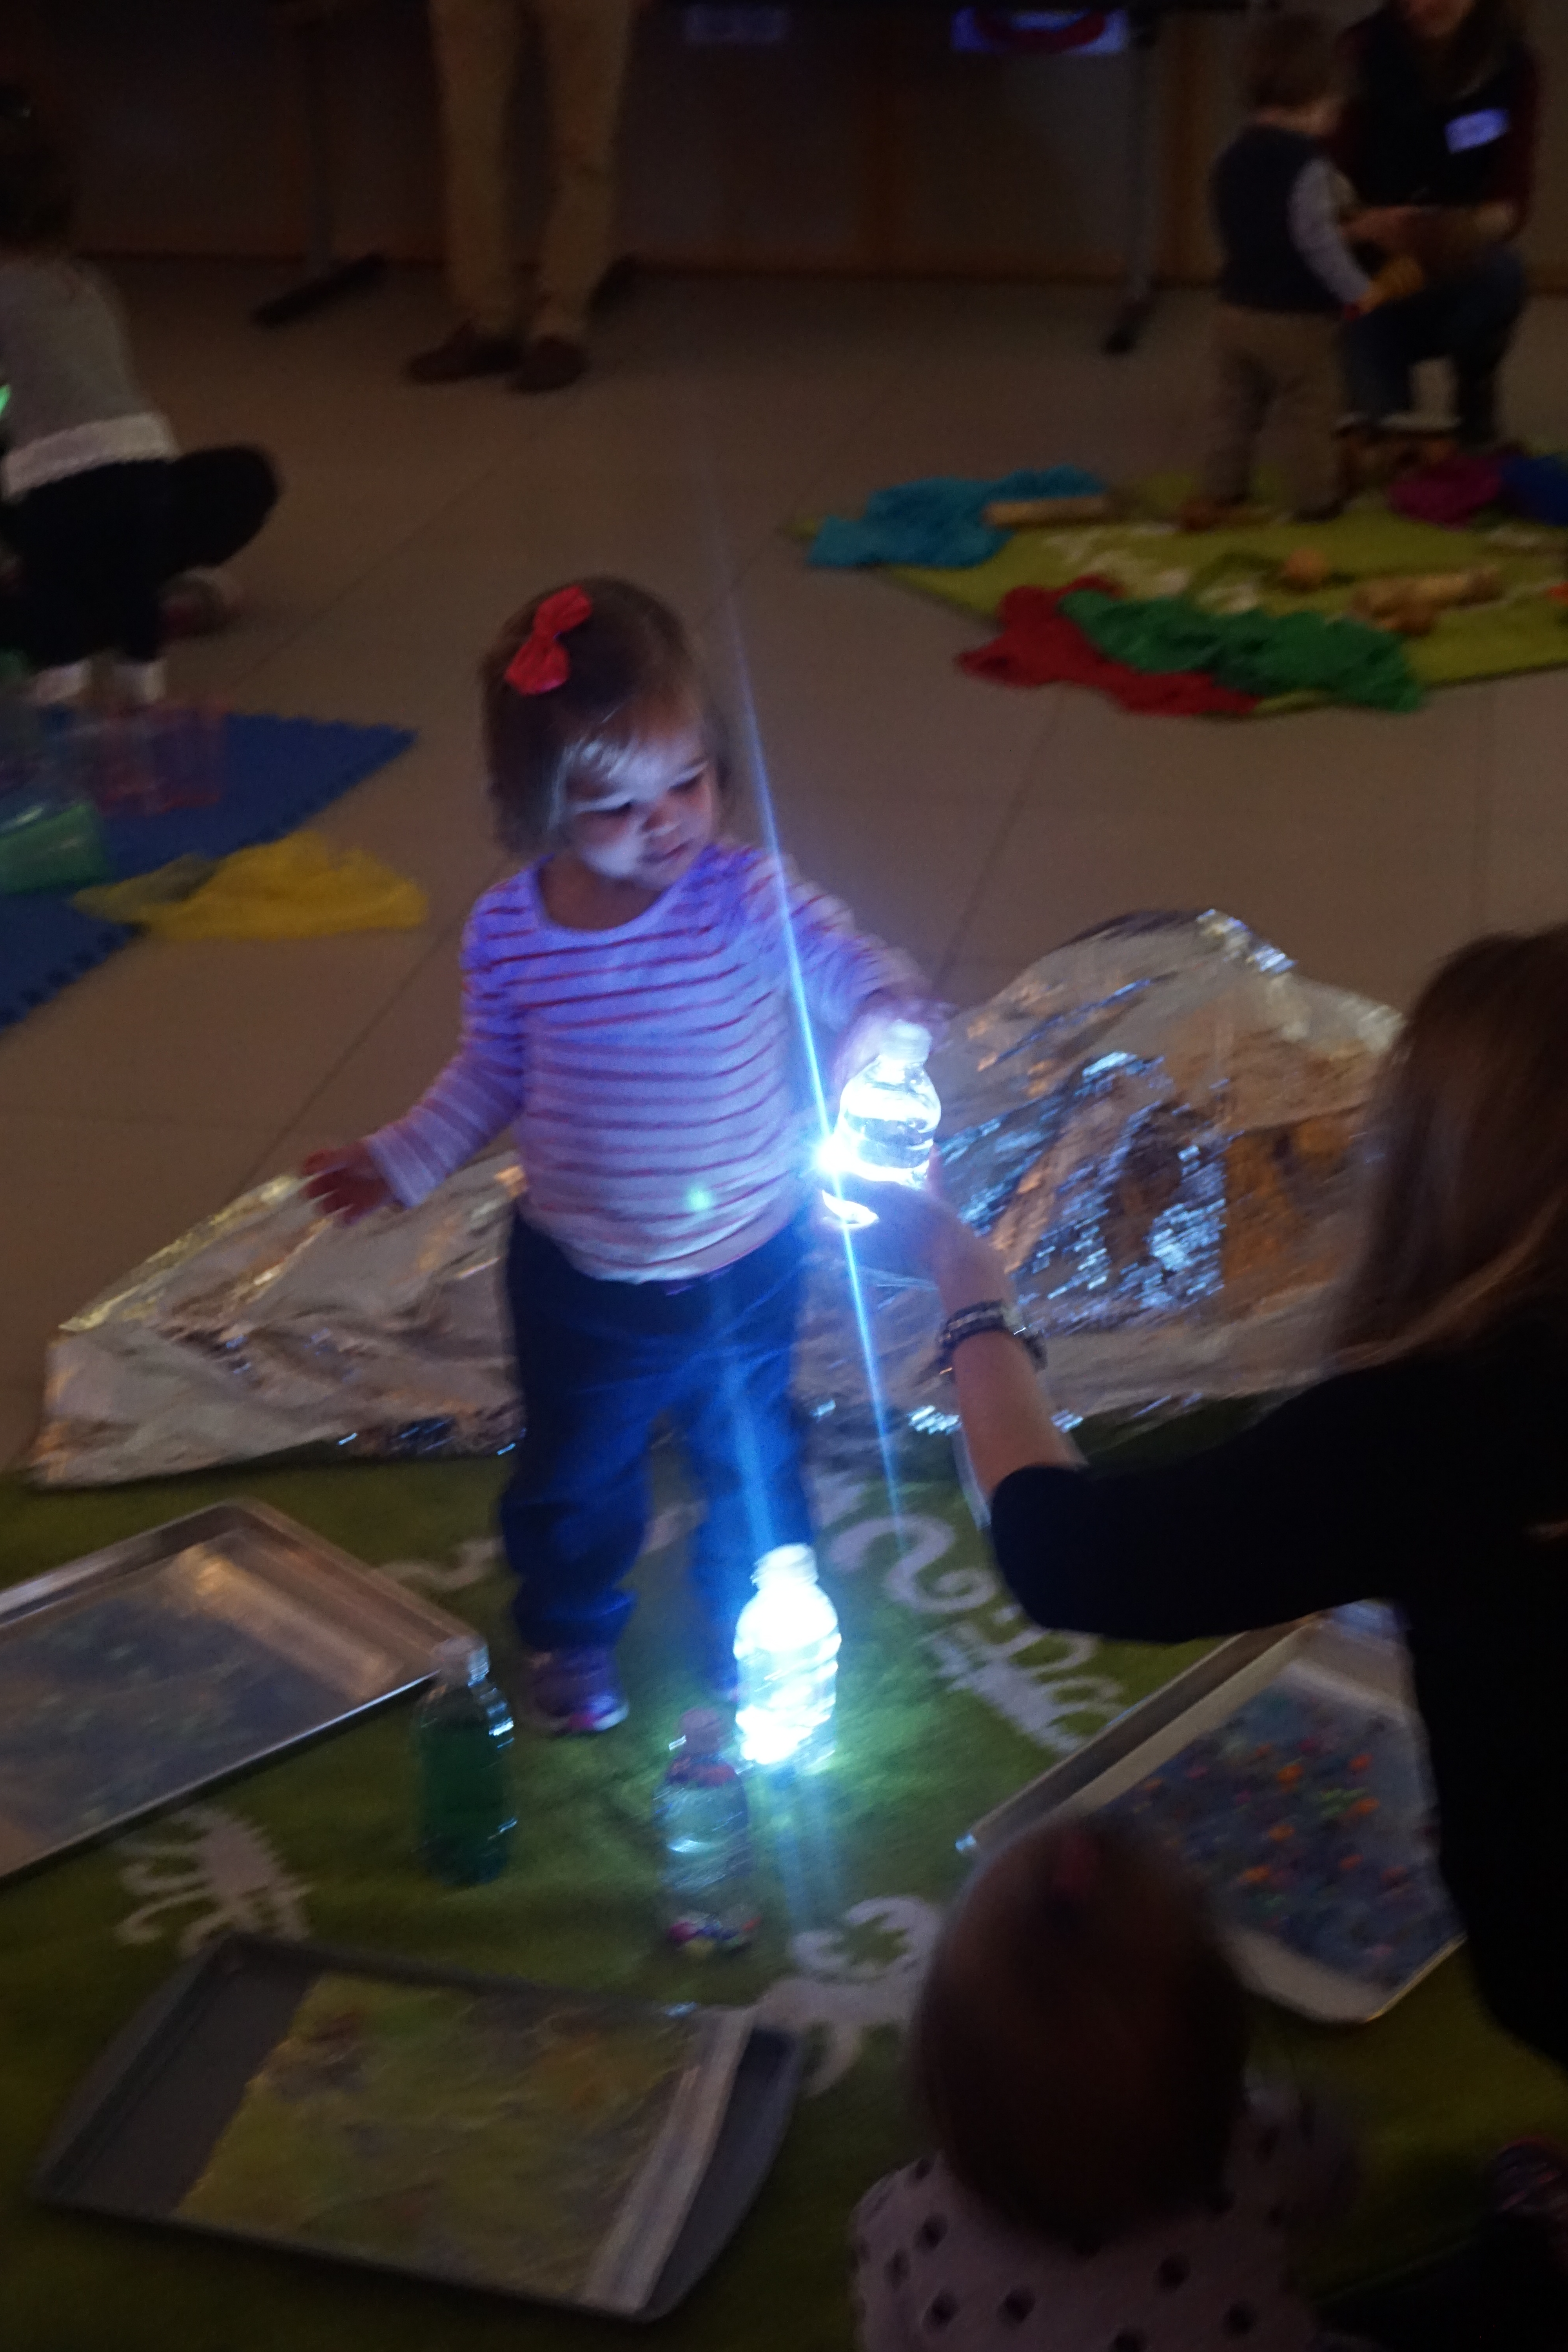
This final project is as mess-free as you can get! And it provides the most amazing results. Since November, we’ve been privileged to be a part of the Dance for Parkinson’s Disease program. We’ve hosted a wonderful group of individuals who have regularly visited the Museum galleries, and, under the direction of Misty Owens, choreographed a dance performance inspired by Jackson Pollock. As part of the choreography process, the group created light graffiti using laser pointers, flash lights, and a DSLR camera. It’s like painting in the air! This tutorial gives some great tips on creating your own light graffiti. To see Pollock in dance form, join us for the Dance for PD performance in the Center for Creative Connections on Friday, February 19 at 2:00 p.m.

So are you convinced? Ready to join our “Pollock for the People” crusade? We’d love to see what Pollock inspires you to do. Share your Pollock creations on social media with #DallasSpotsPollock and tag us @DallasMuseumArt.

Leah Hanson
Manager of Early Learning Programs


Groundhog Day Shadow Play

Celebrity groundhogPunxsutawney Phil, may not have seen his shadow today, but that didn’t stop me from being inspired by shadows here at the DMA!

Here are a few of my favorite shadowy works of art from our collection, followed by a selection of activities and books, so that you can explore shadows at home or in the classroom!

This slideshow requires JavaScript.

Shadow Art Activities:

Books for Exploring Shadows and Groundhogs:

See you soon, early spring!

Emily Wiskera
McDermott Graduate Intern for Family and Access Teaching

Friday Photos: Everybody Hop on Pop!

International Pop is coming to a close this weekend on January 17. We’ve had so much fun in this exhibition, so we wanted to share some of our favorite memories from our pop-tastic family programs. After all, as Andy Warhol said, “Pop art is for everyone.”

This slideshow requires JavaScript.

Come check out International Pop before it closes this Sunday!

Emily Wiskera
McDermott Graduate Intern for Family and Access Teaching

Art to Go Family Totes at Home: DIY Story Dice

Whether you’re seeking sunburn-free, sweat-free fun this summer or new experiences to share with your family, the DMA has what you’re looking for! As usual, the Art Spot in the Center for Creative Connections is open every day for art-making and exploration, and our Family Guides are always available at the front entrance for exploring the galleries. Weekdays and Saturdays through June and July will also offer different (air-conditioned!) activities as part of the DMA’s Summer Family Fun. These activities include the Pop-Up Art Spot, story time and family tours, and our wonderful Art to Go Family Totes.

A family using the Color Art to Go Family Tote and story dice in Between Action and the Unknown: Shiraga/Motonaga.

A family using the Color Art to Go Family Tote and story dice in Between Action and the Unknown: Shiraga/Motonaga.

An important thing to note is that the Art to Go Family Totes are only available this summer on Tuesdays between 11:00 a.m. and 1:00 p.m.! In June, we’ll have them out for use in Between Action and the Unknown: The Art of Kazuo Shiraga and Sadamasa Motonaga, and in July you can find them up on Level 4 in Formed/Unformed: Design from 1960 to the Present.

If you can’t wait to make it to the Museum to try out our Totes, or have already enjoyed them and wished you could have the Art to Go experience at home, here’s a quick and easy DIY to help you recreate one of the activities from our Color Tote.

DIY Story Dice

Art to Go Family Tote - Color, Writing Activity

Color Art to Go Family Tote – Writing Activity: Once Upon a Time

The Art to Go Family Totes include activities to MAKE, PLAY, TALK, and WRITE. This “Once Upon a Time” writing activity is one of our favorites and includes two ‘story dice’ to inspire a story written with a piece of artwork as its setting. Our dice are pretty simple–images of possible main characters and colors are pasted on the sides of two cube-shaped cardboard boxes (small ones that fold down for easy storing).

Color Art to Go Family Tote - Writing Activity Story Dice

Color Art to Go Family Tote – Writing Activity Story Dice

To make your own story dice at home, you could use boxes like we have here (big or small – play with proportions!). Other options include small wooden craft blocks or making your own paper cubes. If you’re feeling ambitious, you could even put together this twelve-sided paper dodecahedron to use instead of the traditional six-sided dice shape!

Once you have the base for your die, all that’s left is to decide which theme you’re going to assign to it, pick out images or words to convey different ideas for each side, and attach your images. The possibilities are absolutely endless. To get you started, here are a few ideas for combinations of themes:

  • Attach images of family members on one die and parts of an adventure on others: settings for the adventure, modes of transportation, treasures to hunt, etc.
  • Fill one die with superhero images and another with giant monsters to face off in an epic battle!
  • Make murder mystery themed dice (for older storytellers) with possible murder weapons, locations of the murder, and prime suspects.
  • Have entirely artwork-based dice: cover one with your favorite portraits, one with landscapes, and one with still lifes or ancient artifacts–or anything else you might think of.

With a little imagination and teamwork, any kind of story dice you create can lead to a GREAT story and a serious brain workout! You can even re-purpose your story dice. Maybe on a day when you’re feeling more like an illustrator and less like an author, just give your dice a roll and voilà! Your story ideas work just as well for creating a new piece of artwork. Have a go at it and let us know in the comments how your efforts turn out. And don’t forget to stop by the Museum to check out the rest of our Art to Go Family Tote activities and other Summer Family Fun experiences!

Jennifer Sheppard
McDermott Intern for Family and Access Teaching


Archives

Flickr Photo Stream

Categories