Archive for the 'Culinary Canvas' Category

Culinary Canvas: Lavender Cookies

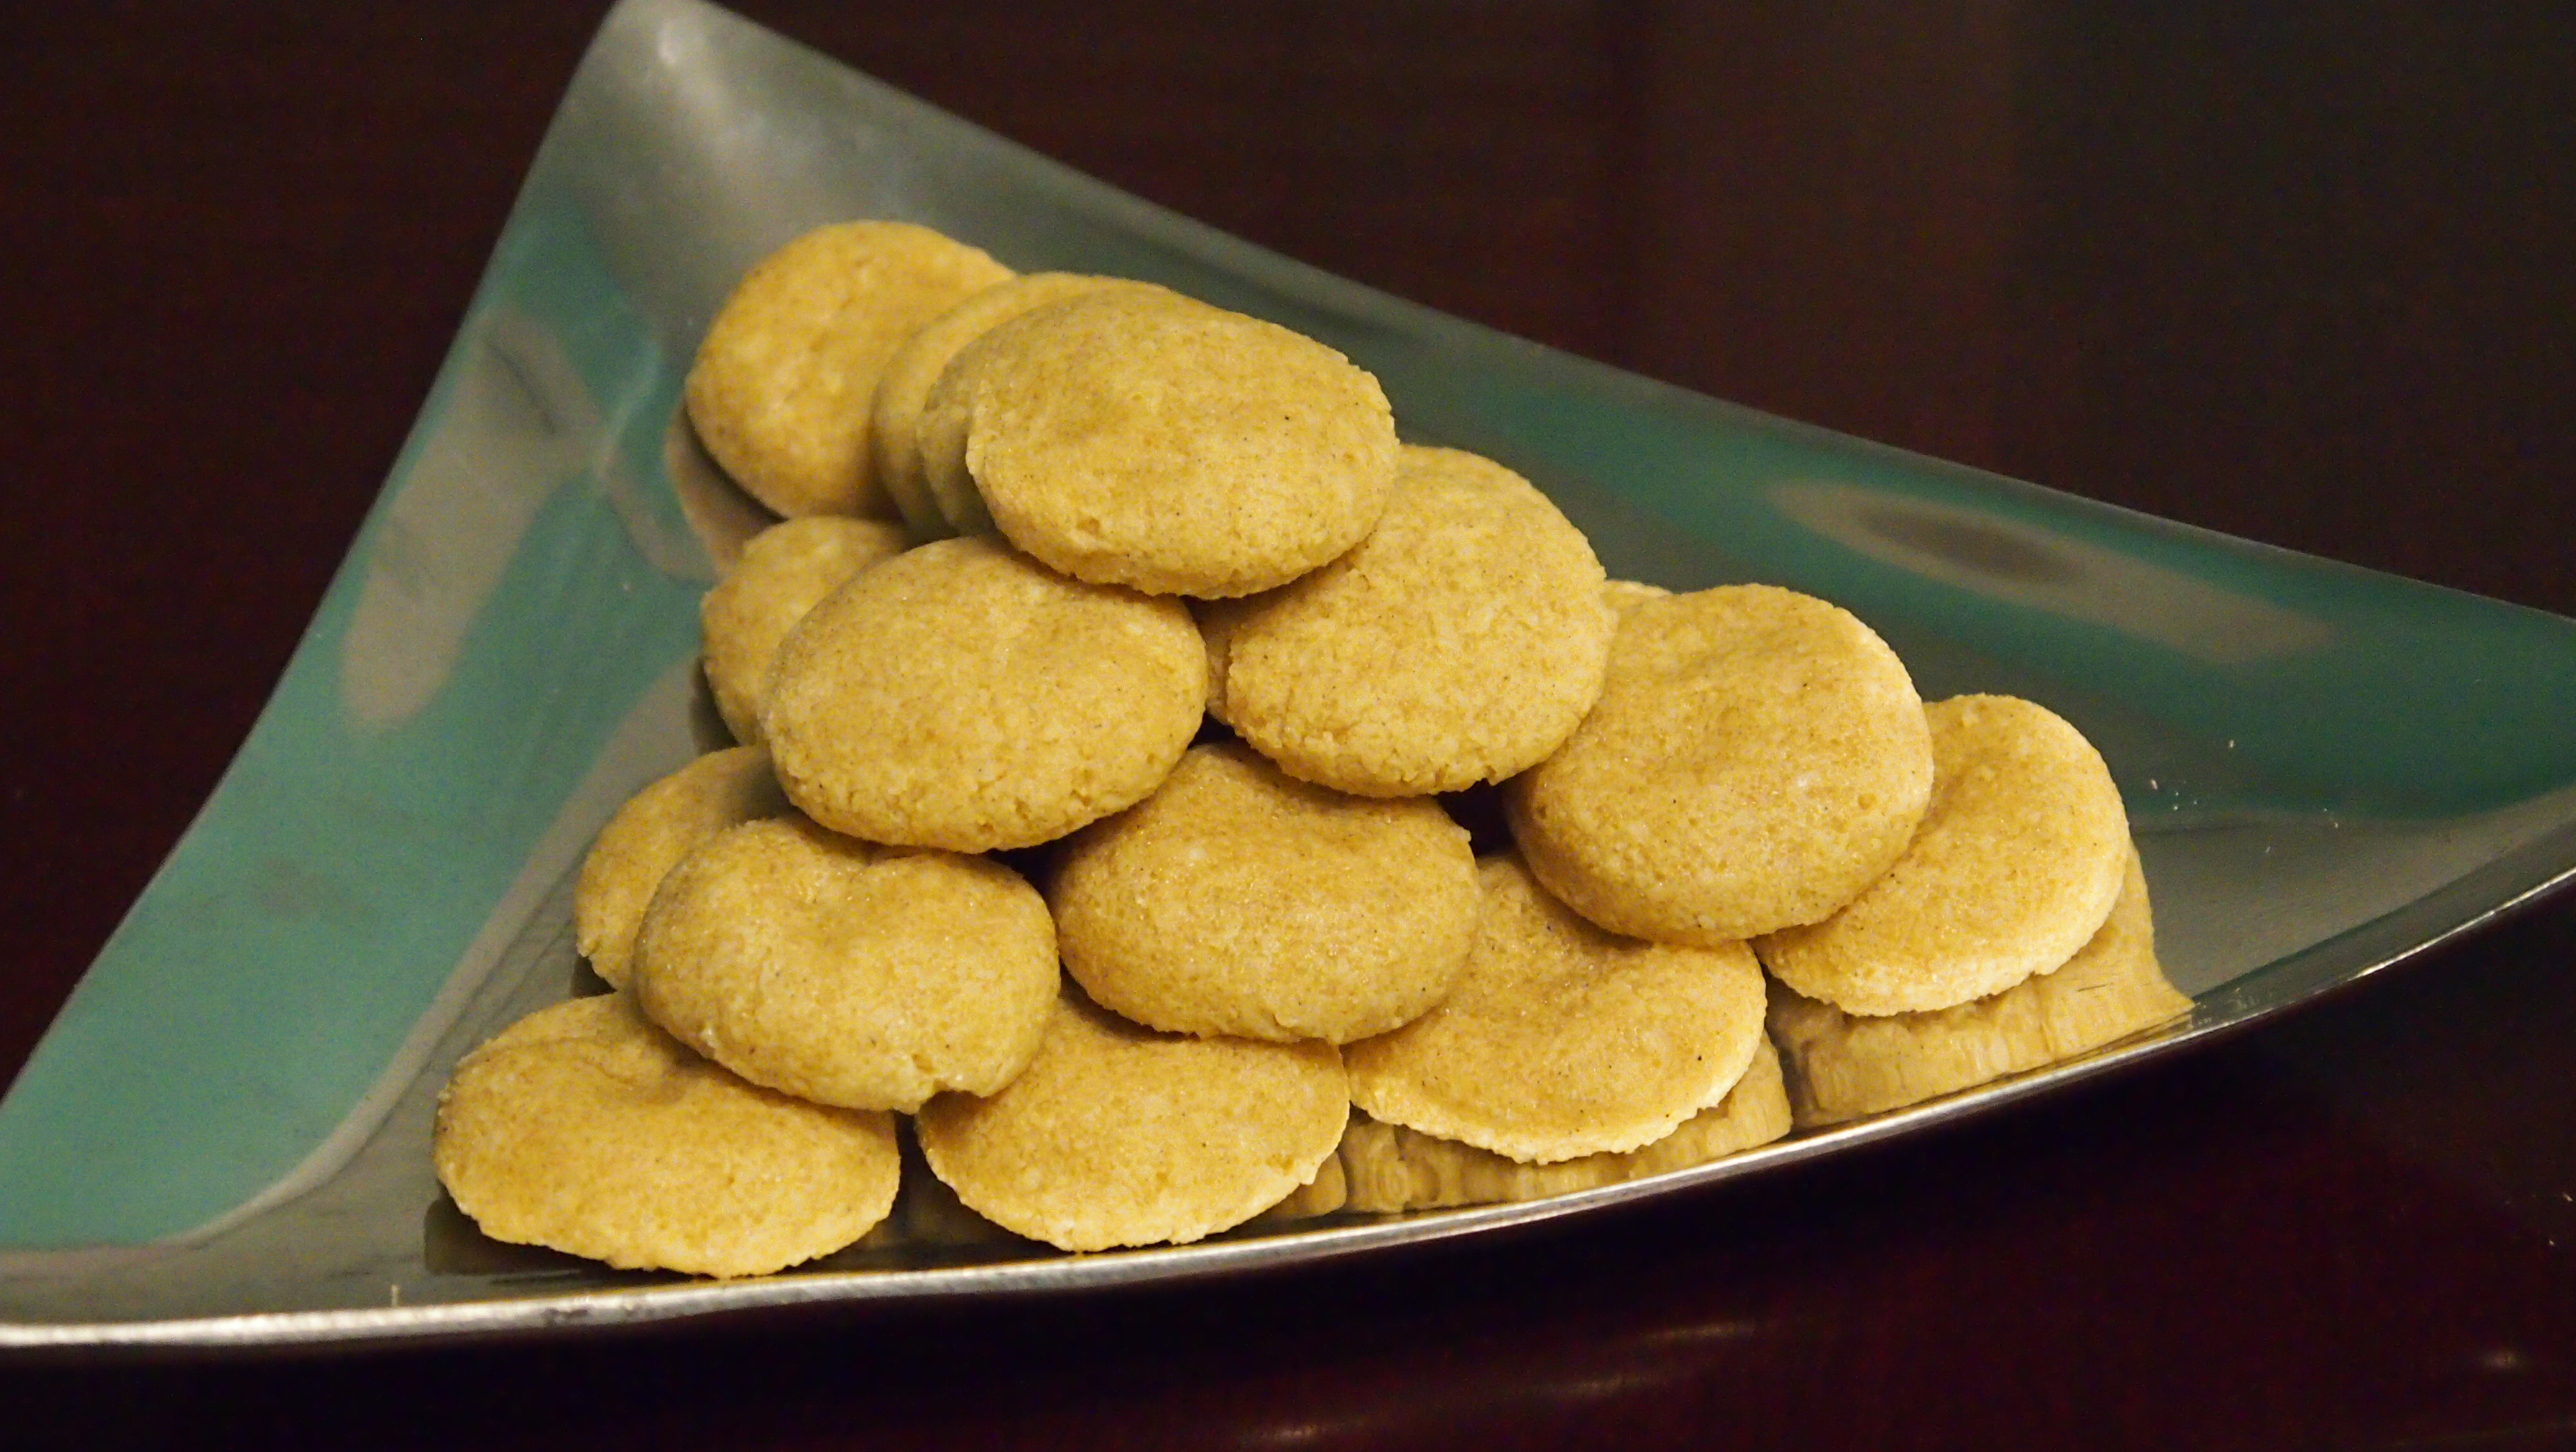
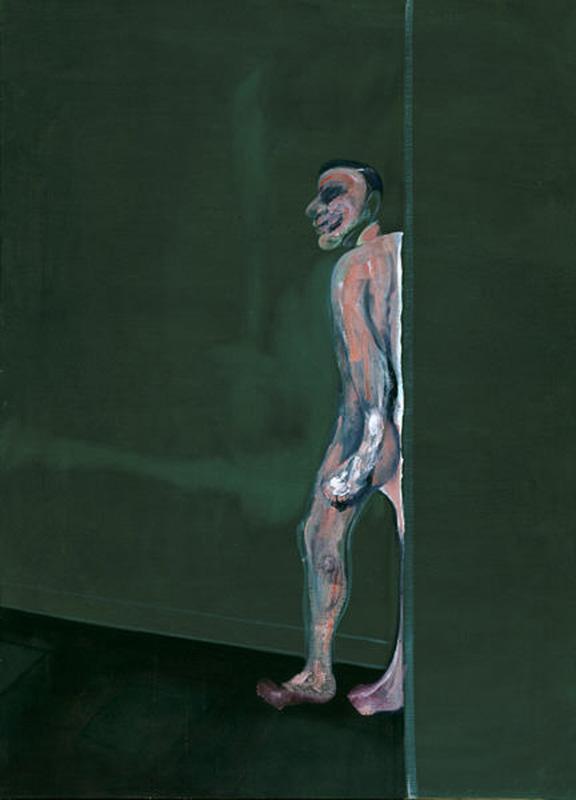
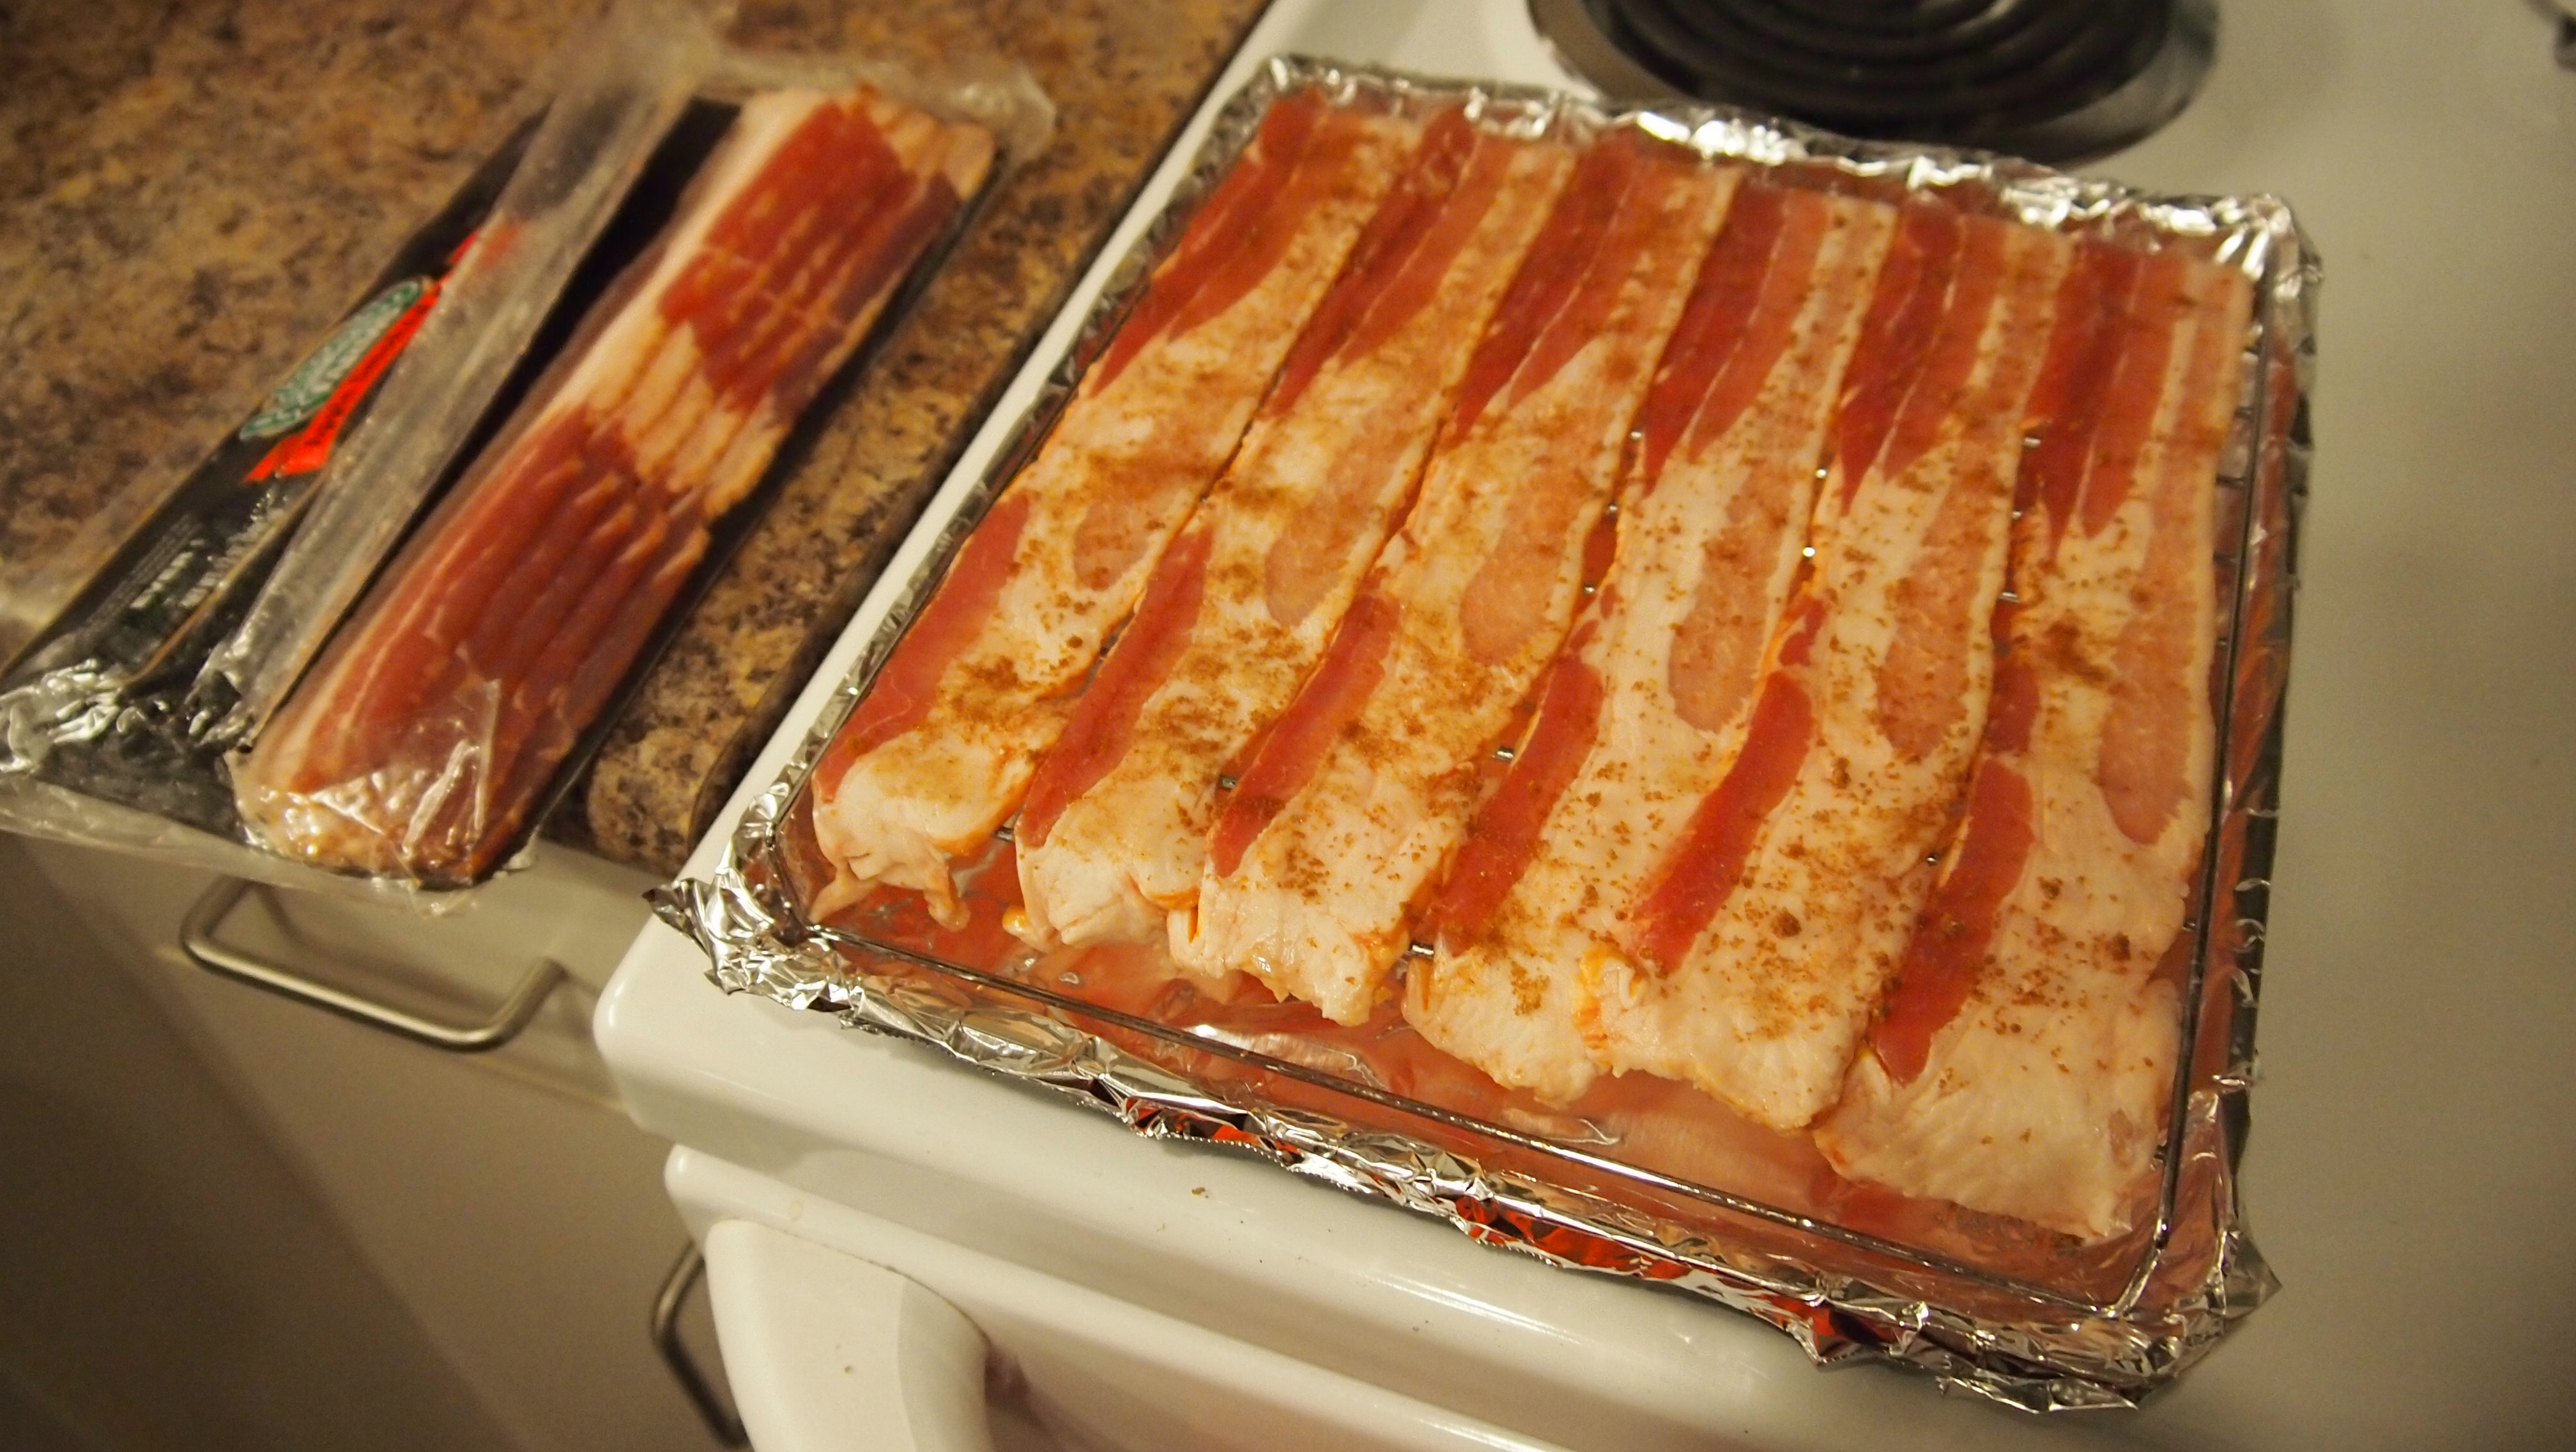
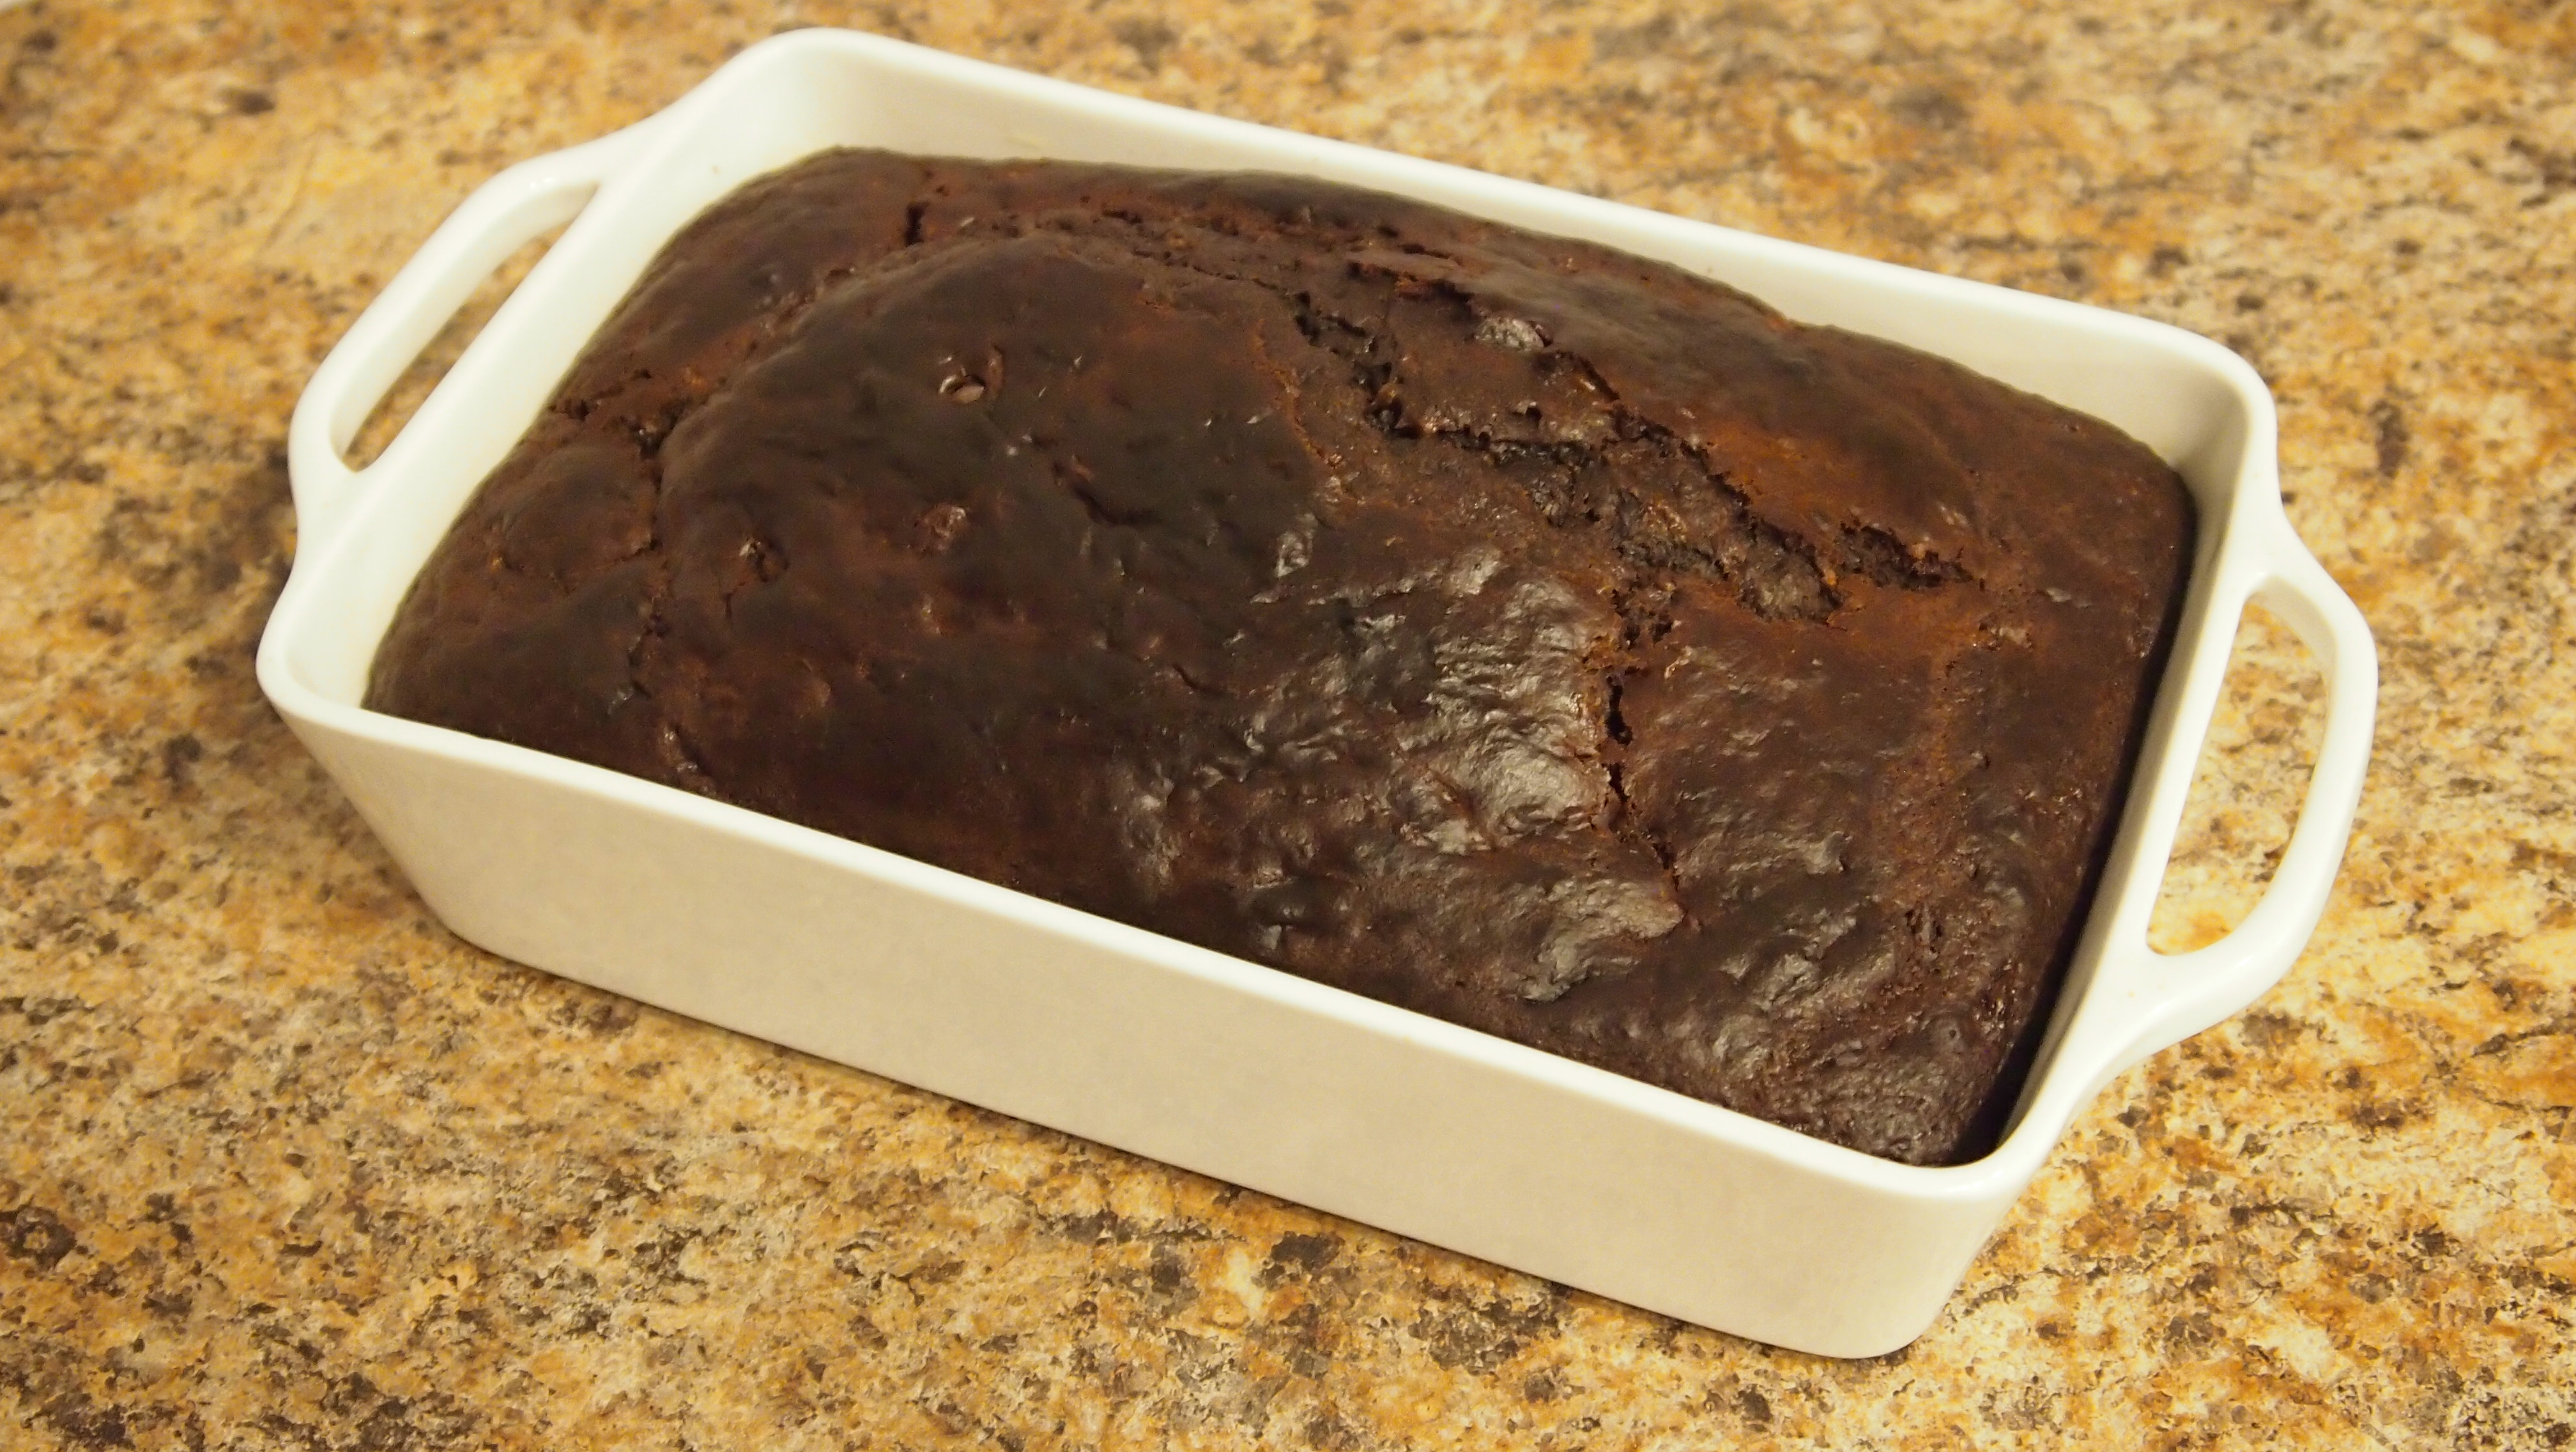
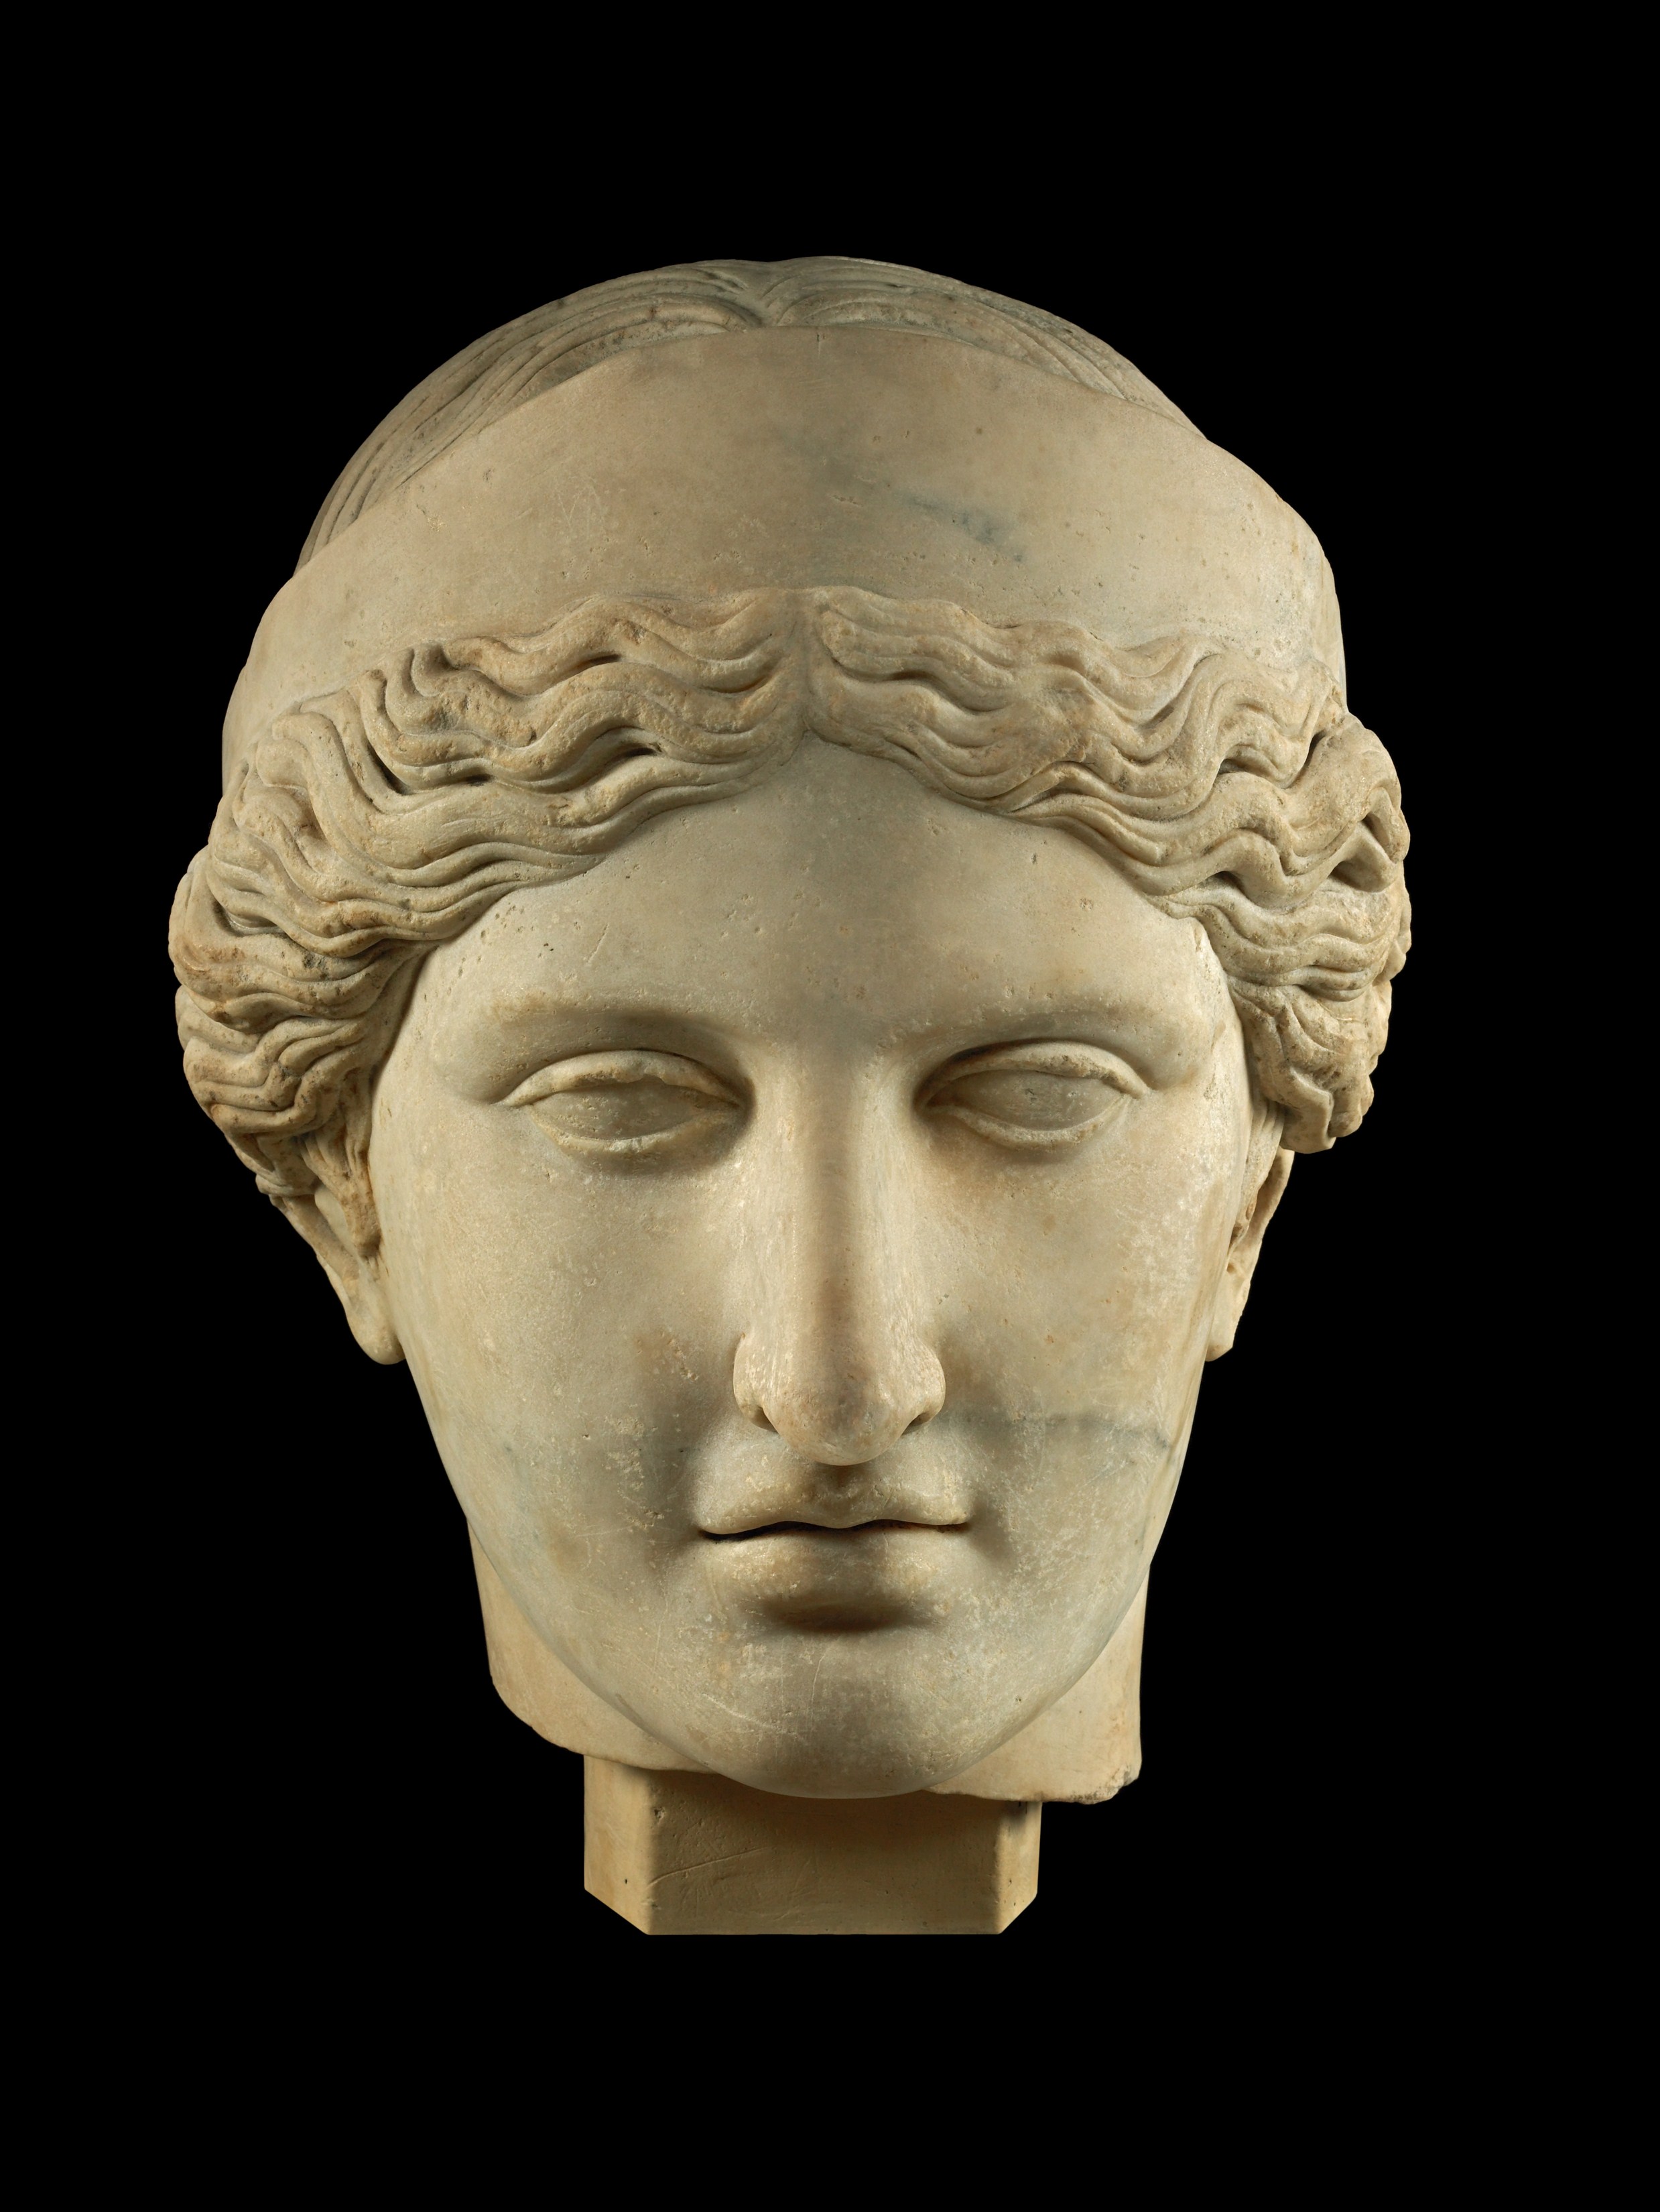
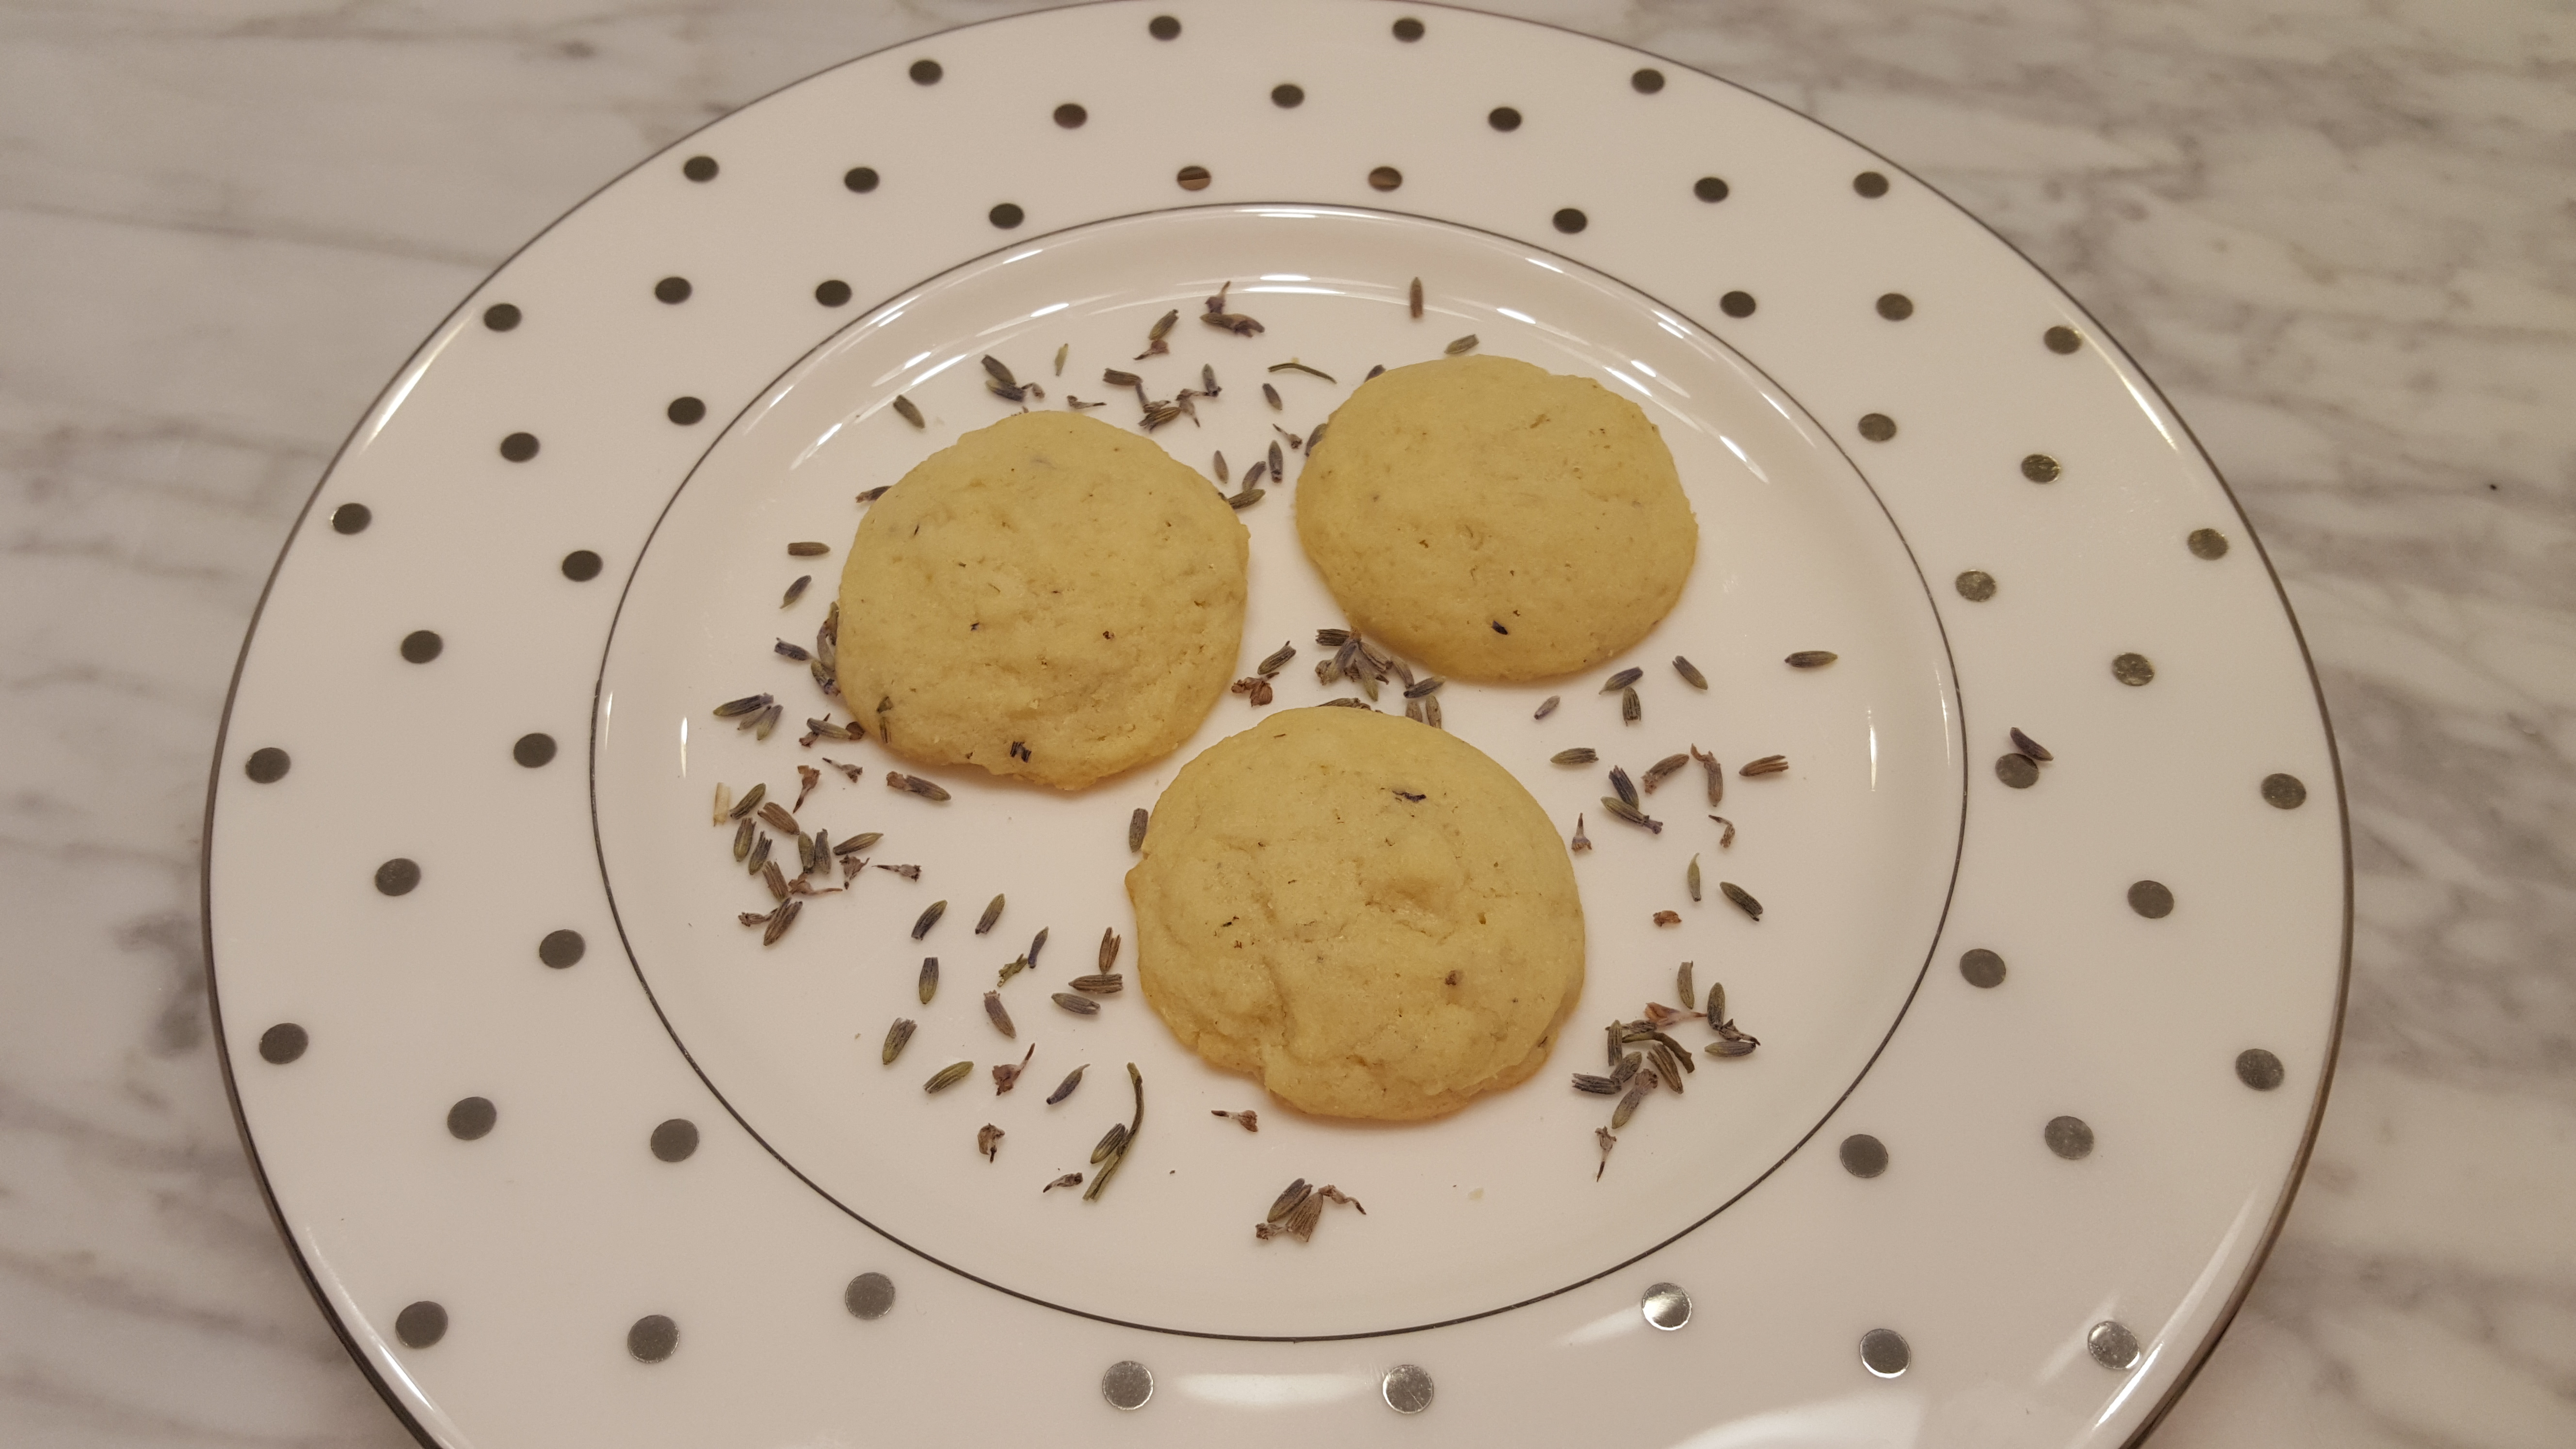
Lavender is a plant prized for its healing properties, pleasant fragrance, and–particularly in France–its unique flavor. Fragrant purple fields of these flowers can be found across the south of France, especially in the Provence region. Van Gogh moved from Paris to this area in 1888, to the ancient city of Arles. One September evening, he set up his easel on the square and painted the cafe, which he later translated into this reed pen drawing from the Museum’s Reves Collection. I think these delicate lavender cookies would be the perfect treat to enjoy while sipping a café au lait at this charming spot.

1985.R.79

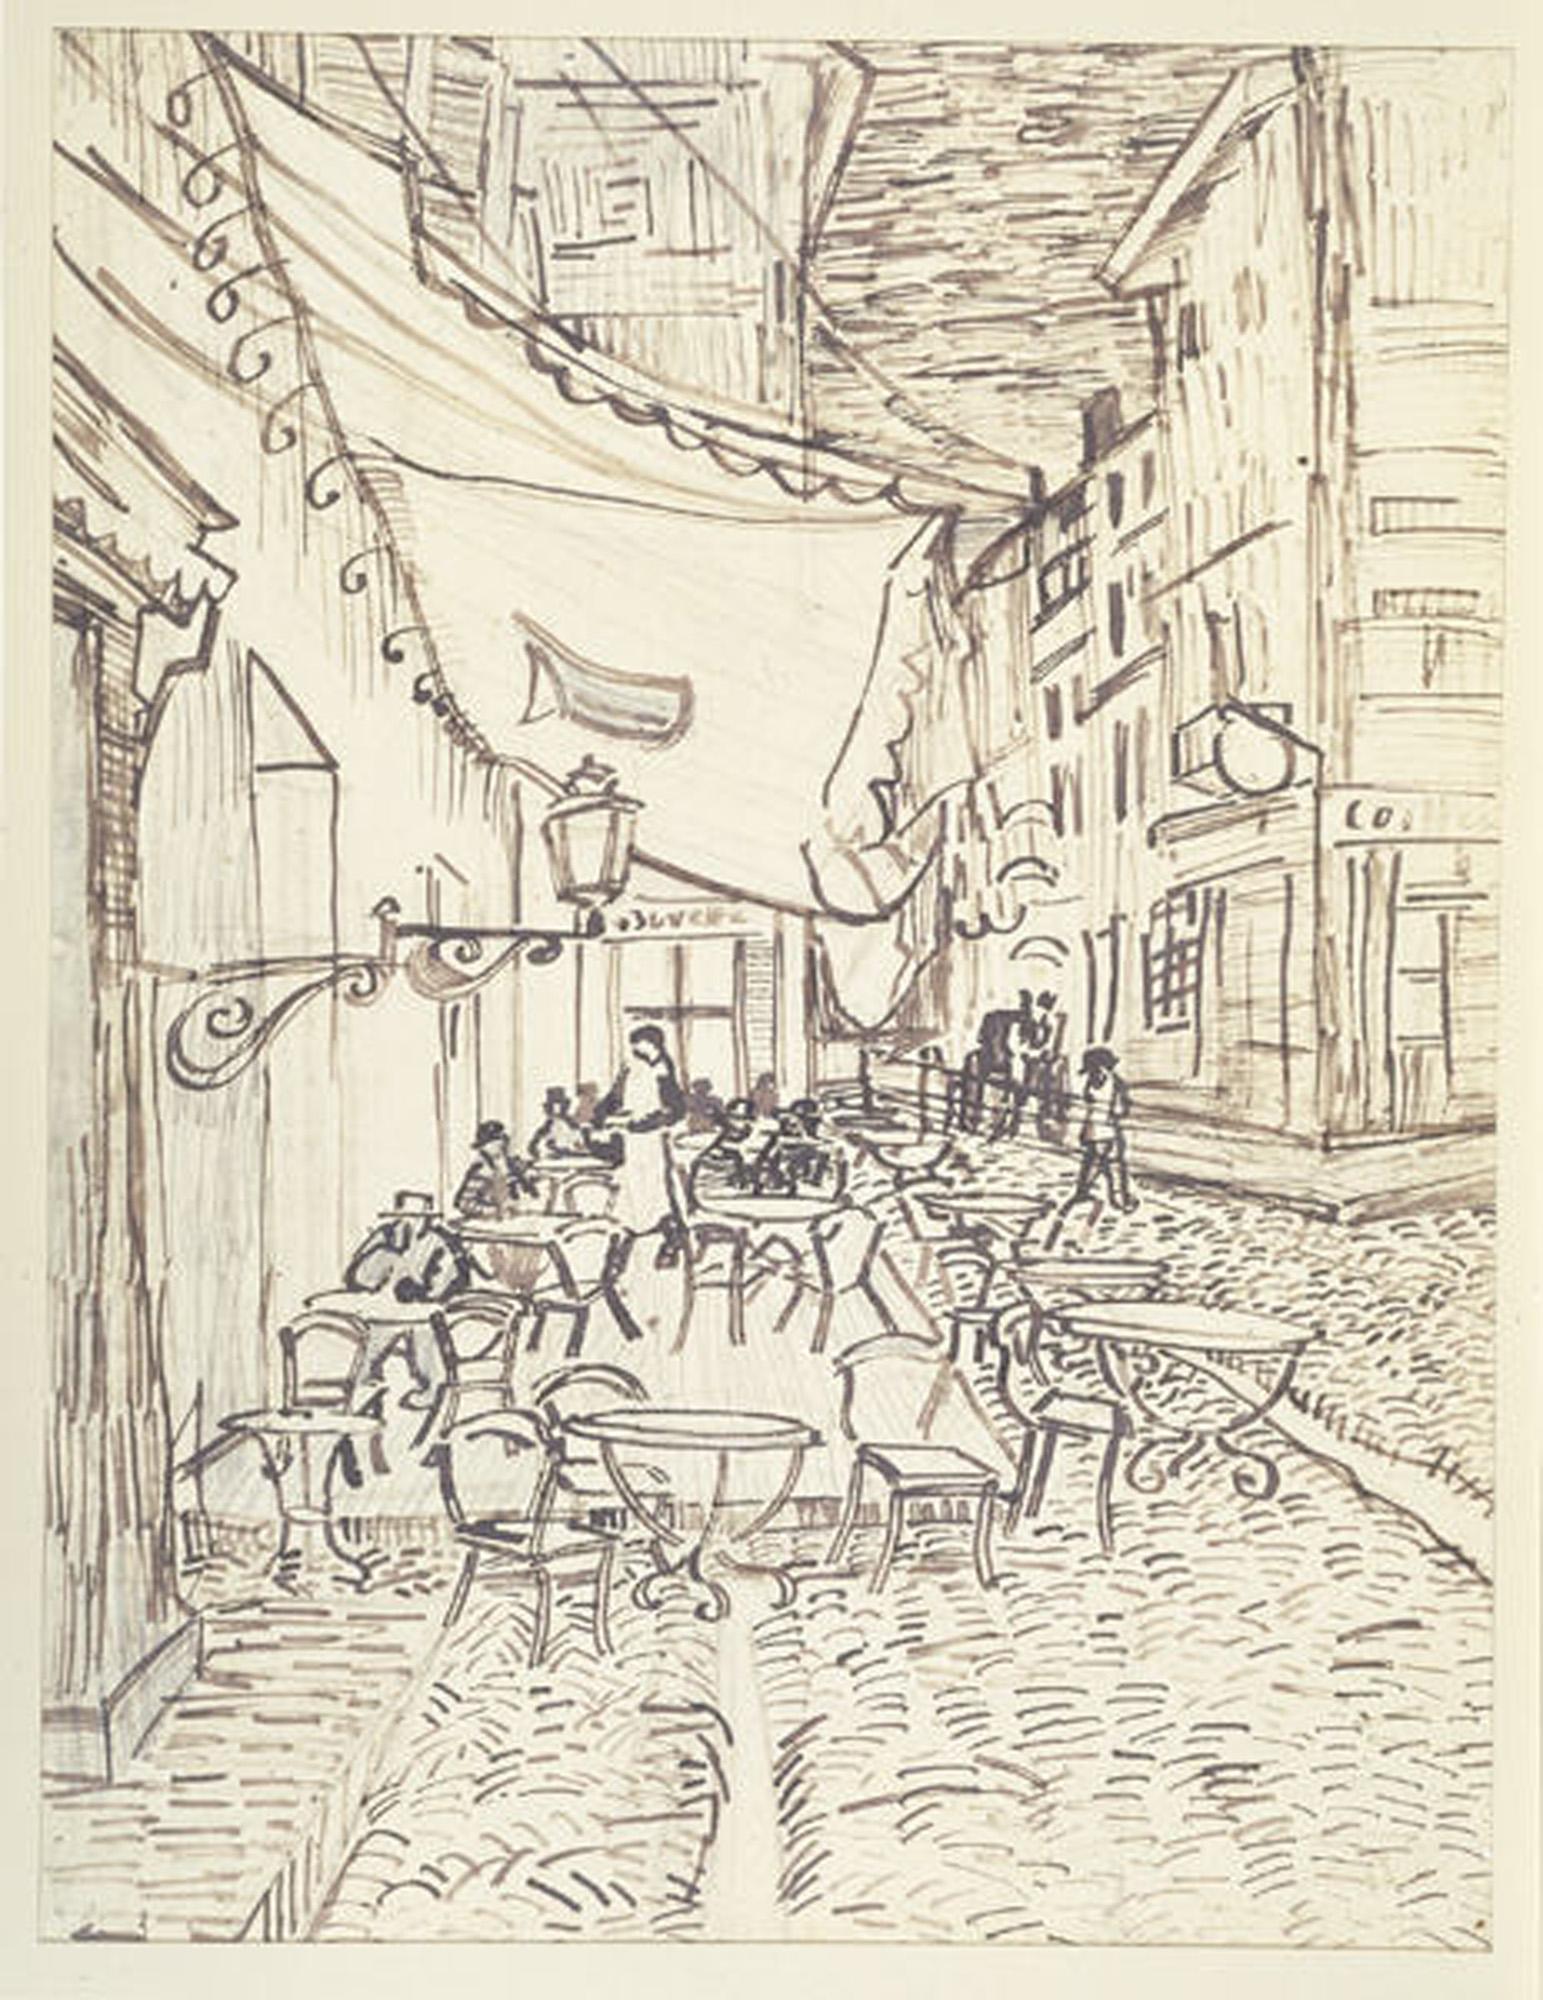
Vincent Van Gogh, Café Terrace on the Place du Forum, 1888, Dallas Museum of Art, The Wendy and Emery Reves Collection.
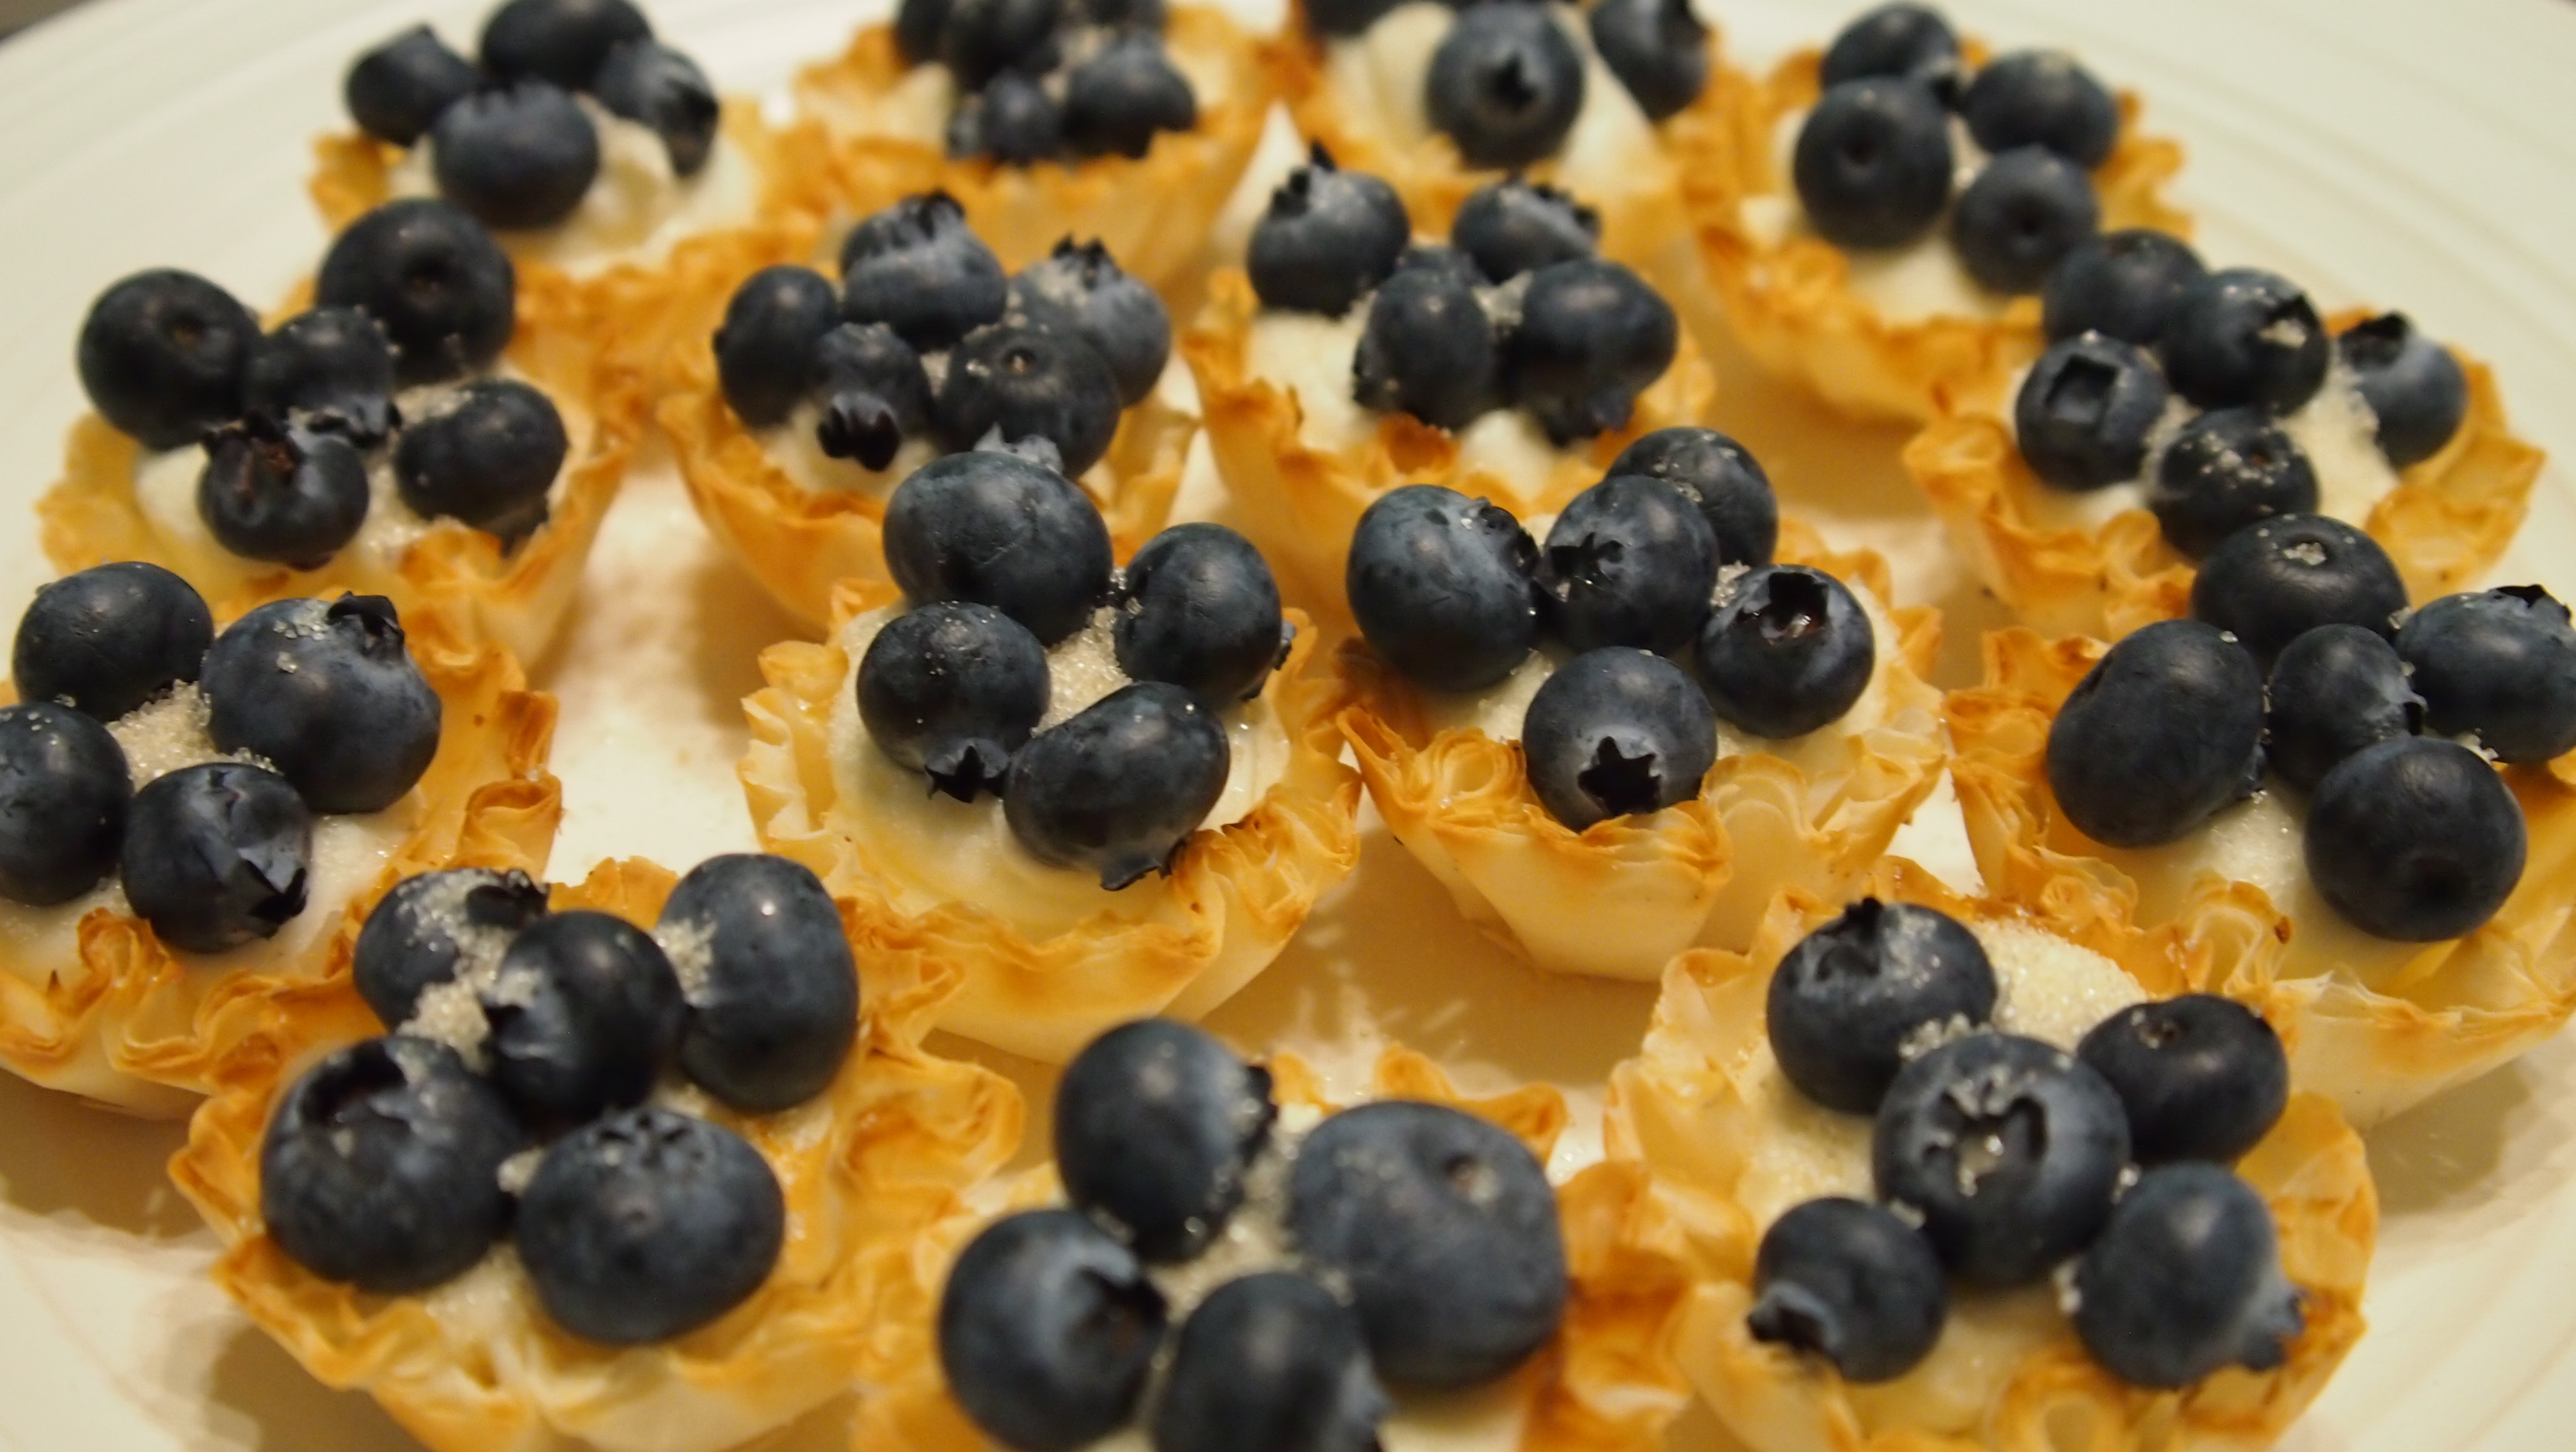
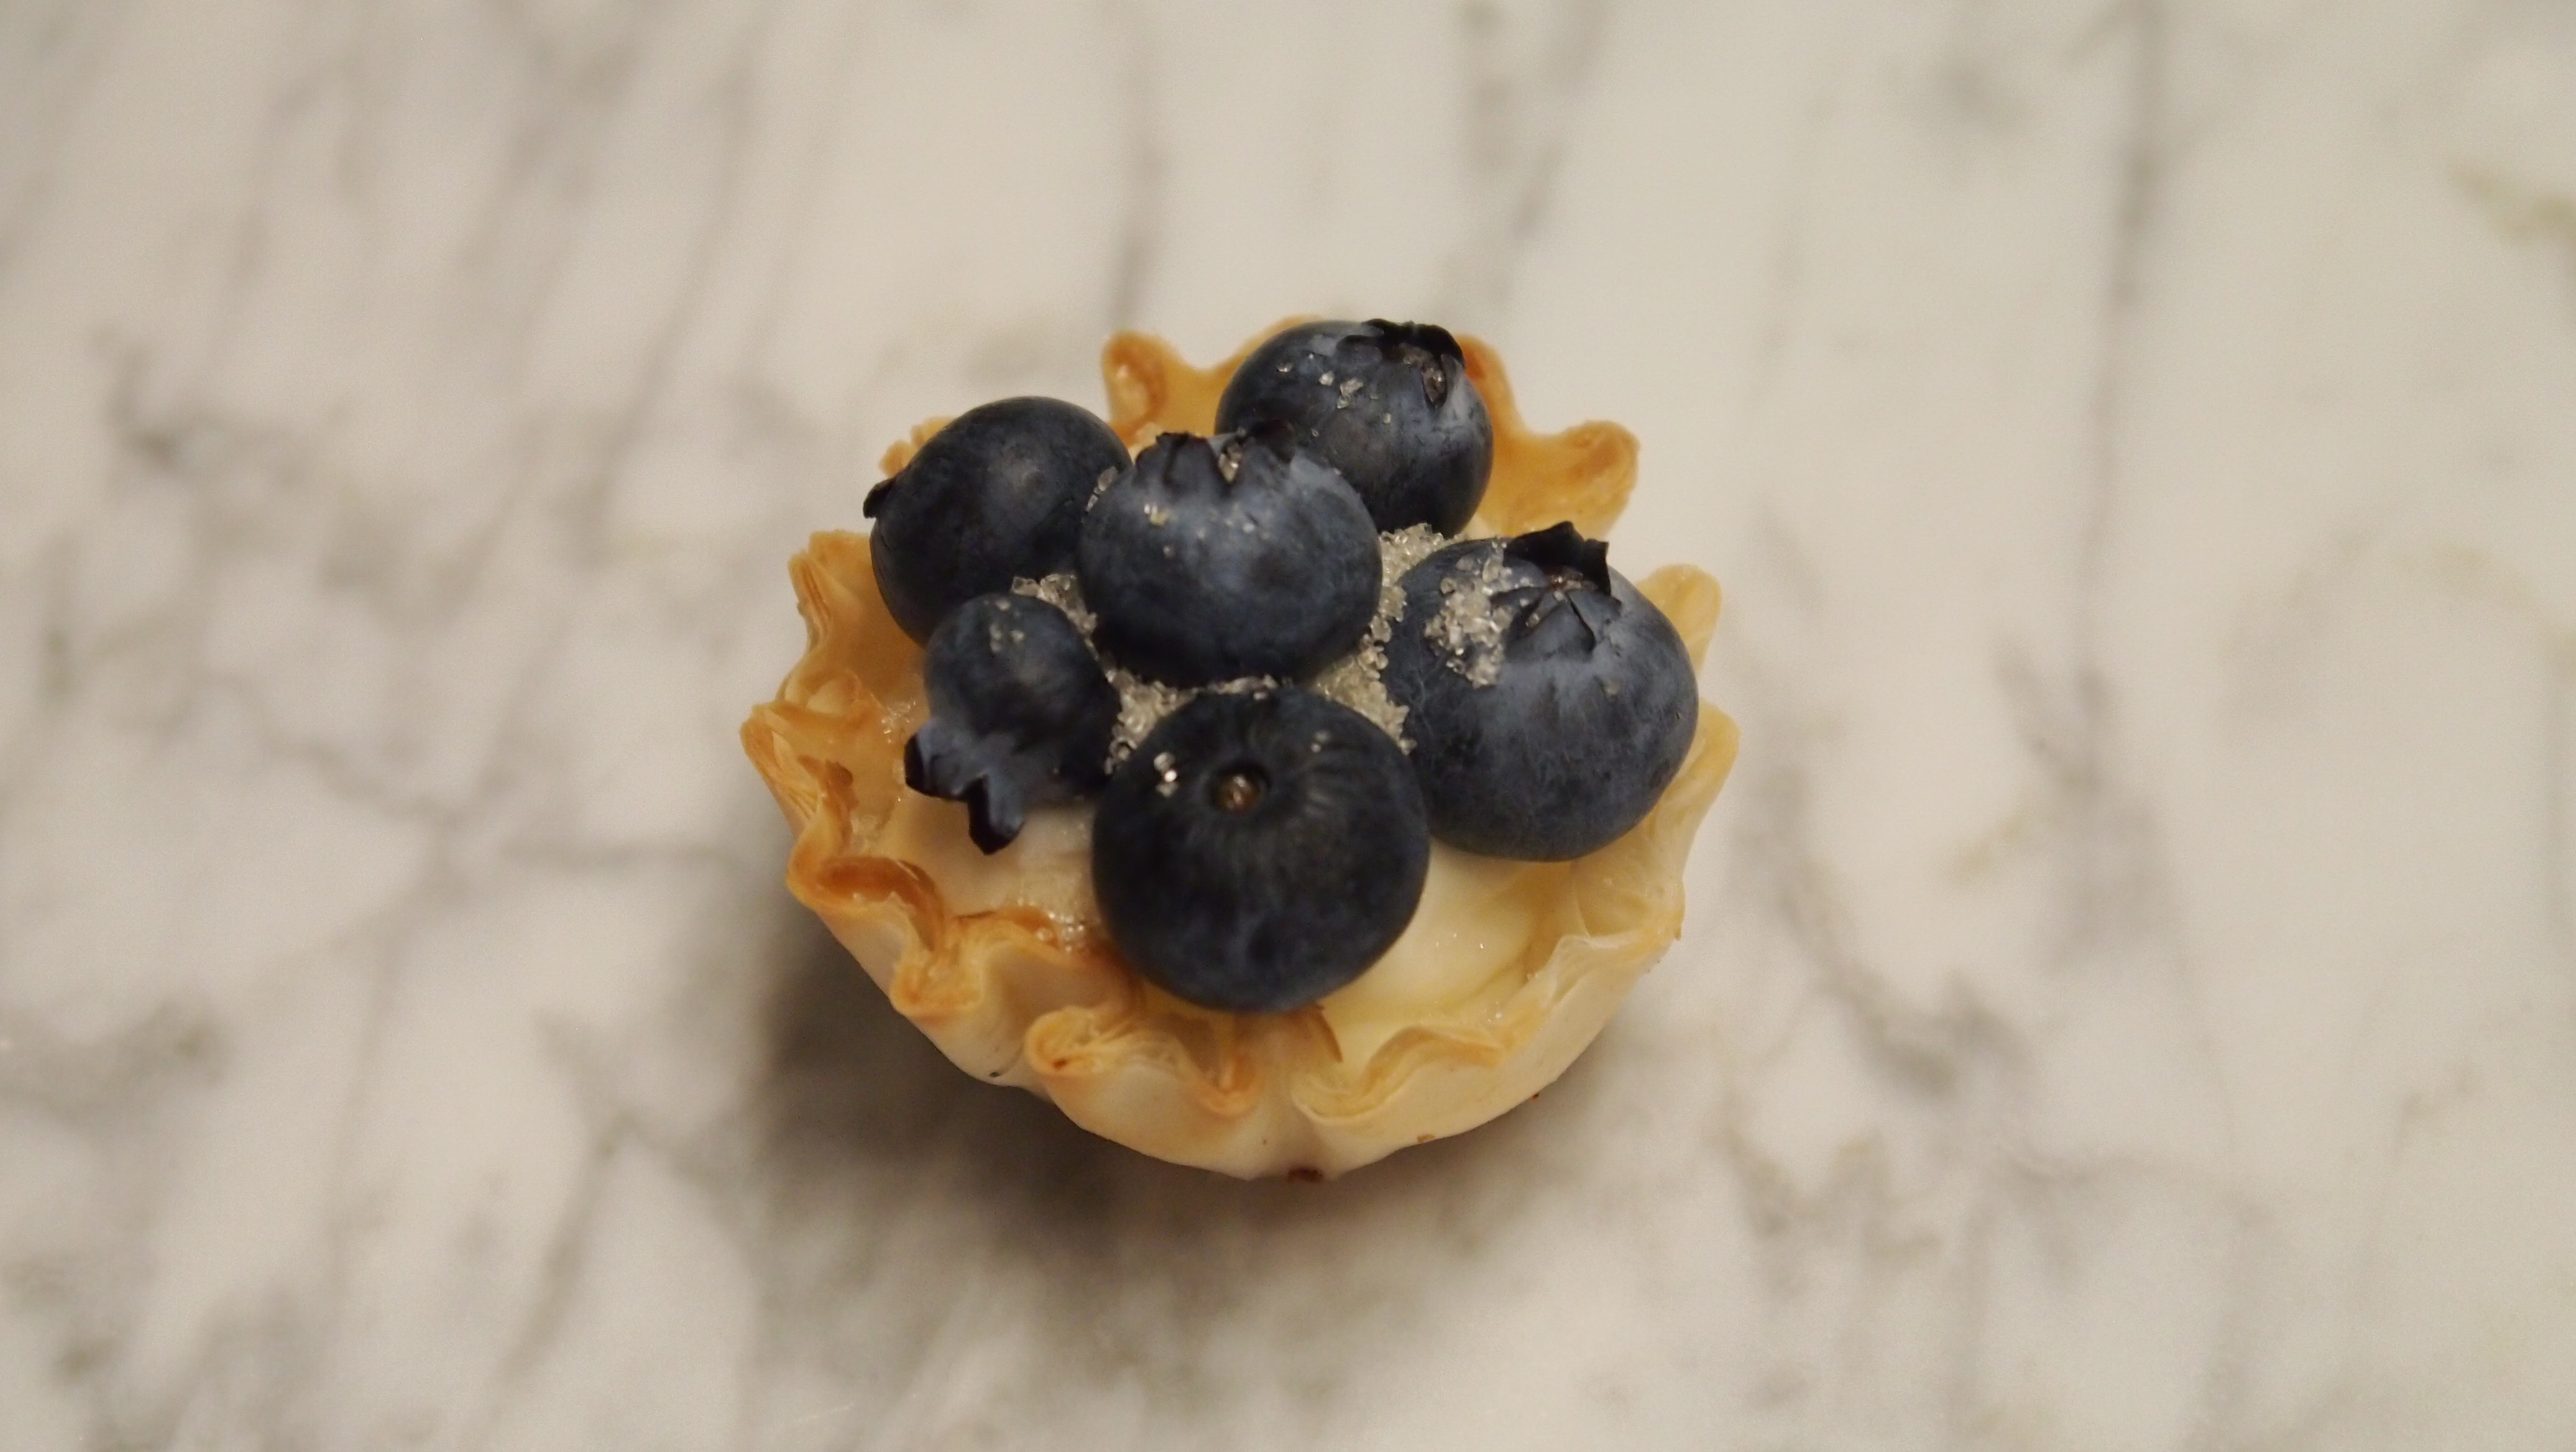
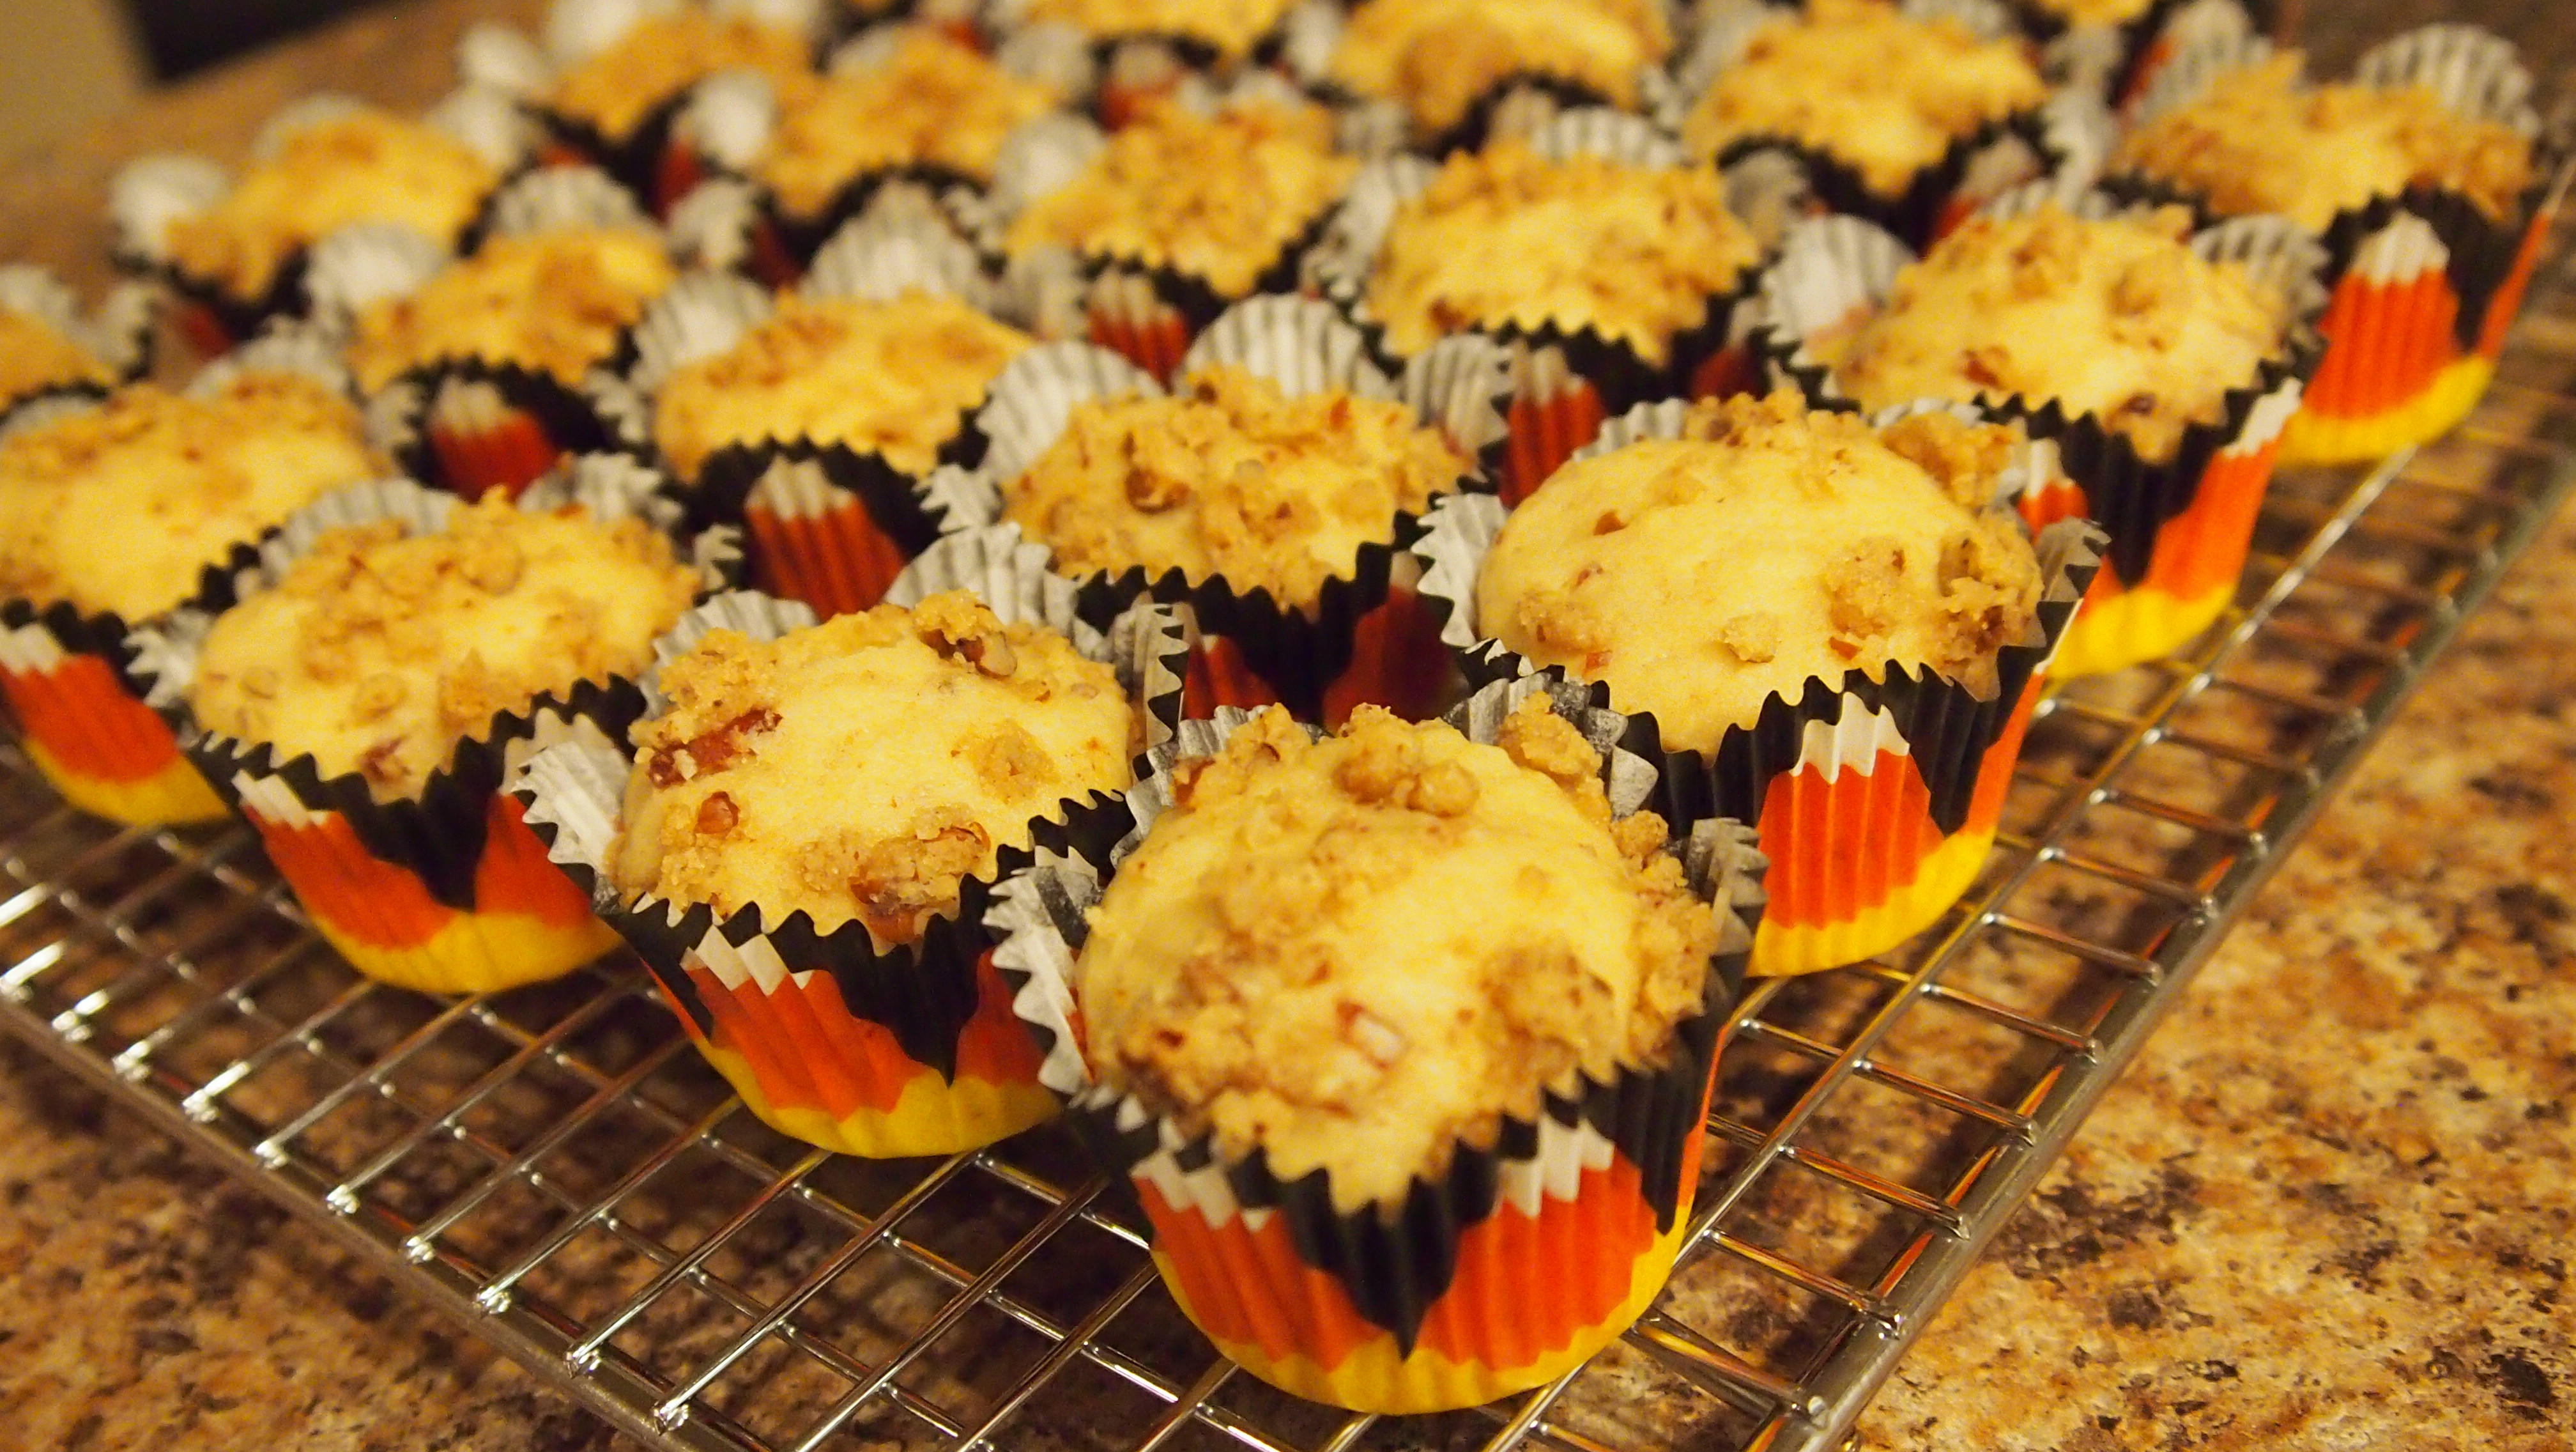
Lavender Cookies

Yields about 60 cookies
Level: Easy

2 teaspoons dried lavender, chopped or ground
1 cup sugar
2½ cups flour
1 teaspoon baking powder
½ teaspoon salt
½ cup shortening
½ cup (1 stick) unsalted butter, room temperature
½ teaspoon almond extract
1 egg plus 2 egg yolks, room temperature

Preheat oven to 375° F. Line rimmed baking sheets with parchment paper.

In the bowl of a stand mixer fitted with paddle attachment, stir together lavender and sugar. Set aside for a few minutes, allowing lavender to infuse. In a separate bowl, stir together flour, baking powder and salt.

Add shortening and butter to lavender sugar and beat at medium speed until light. Add almond extract, then slowly incorporate eggs, mixing well until combined. Slowly add dry ingredients to mixer, stirring on low speed and scraping down sides of bowl until fully incorporated.

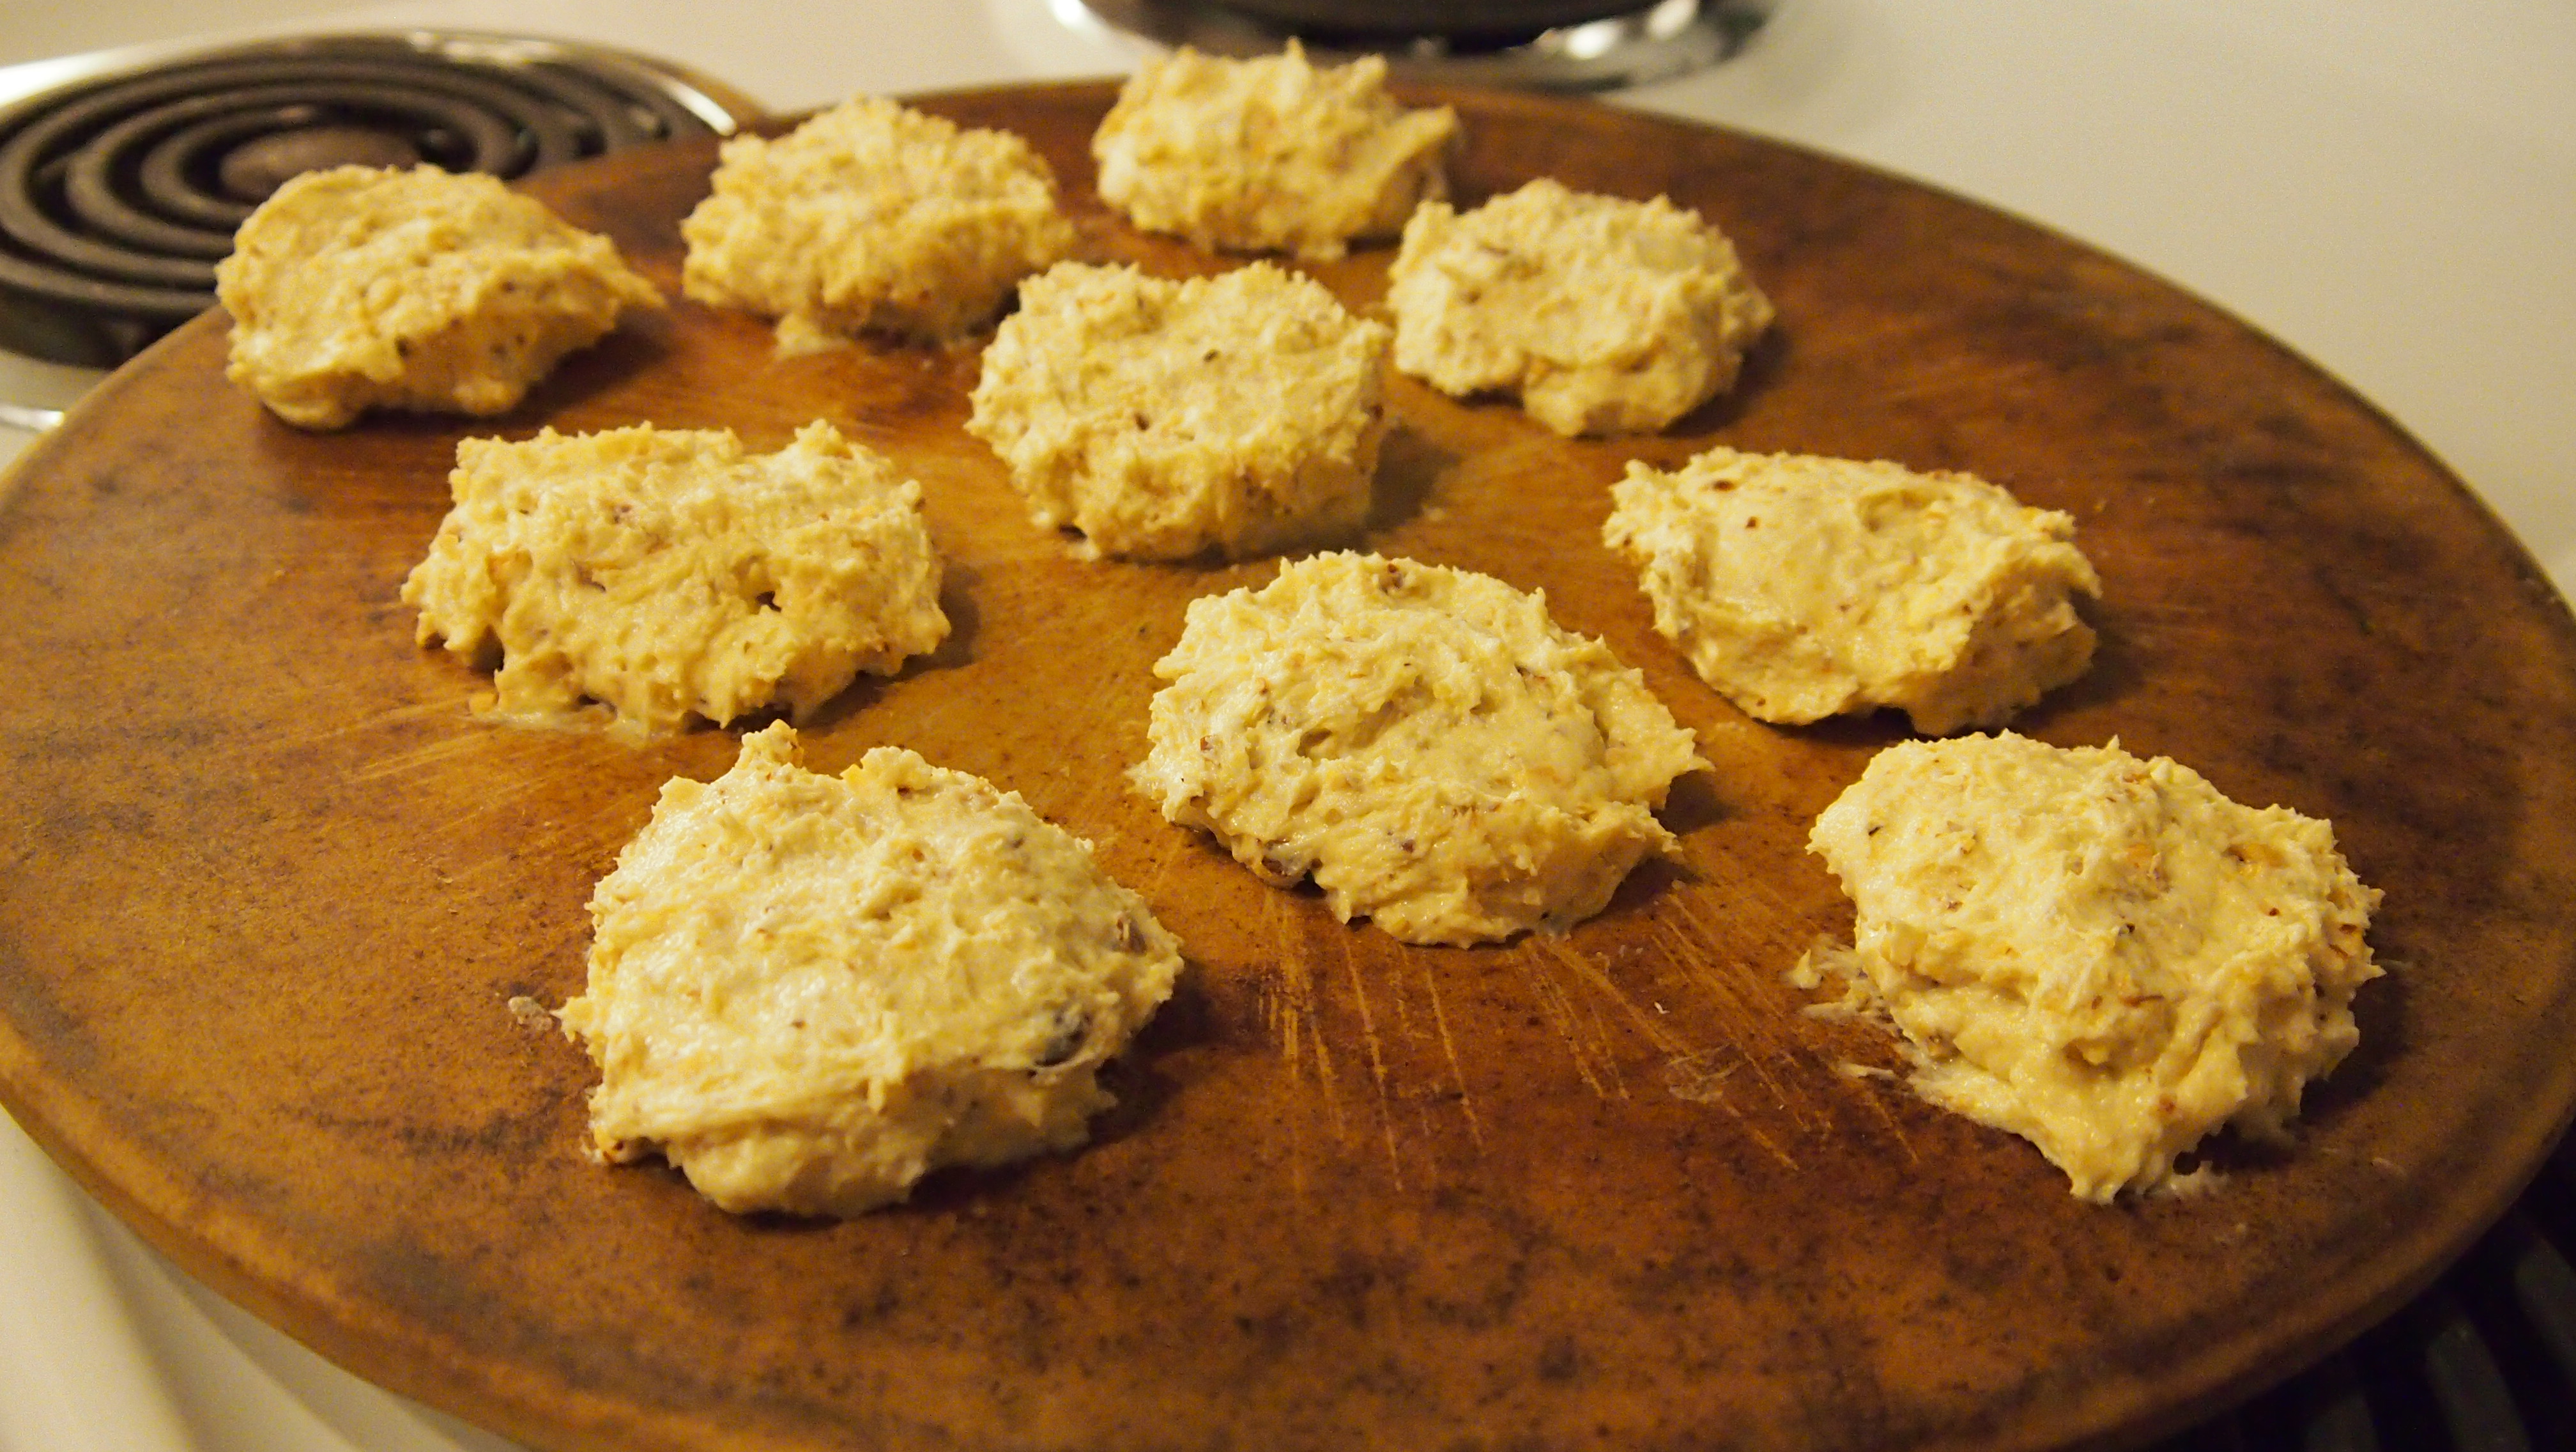
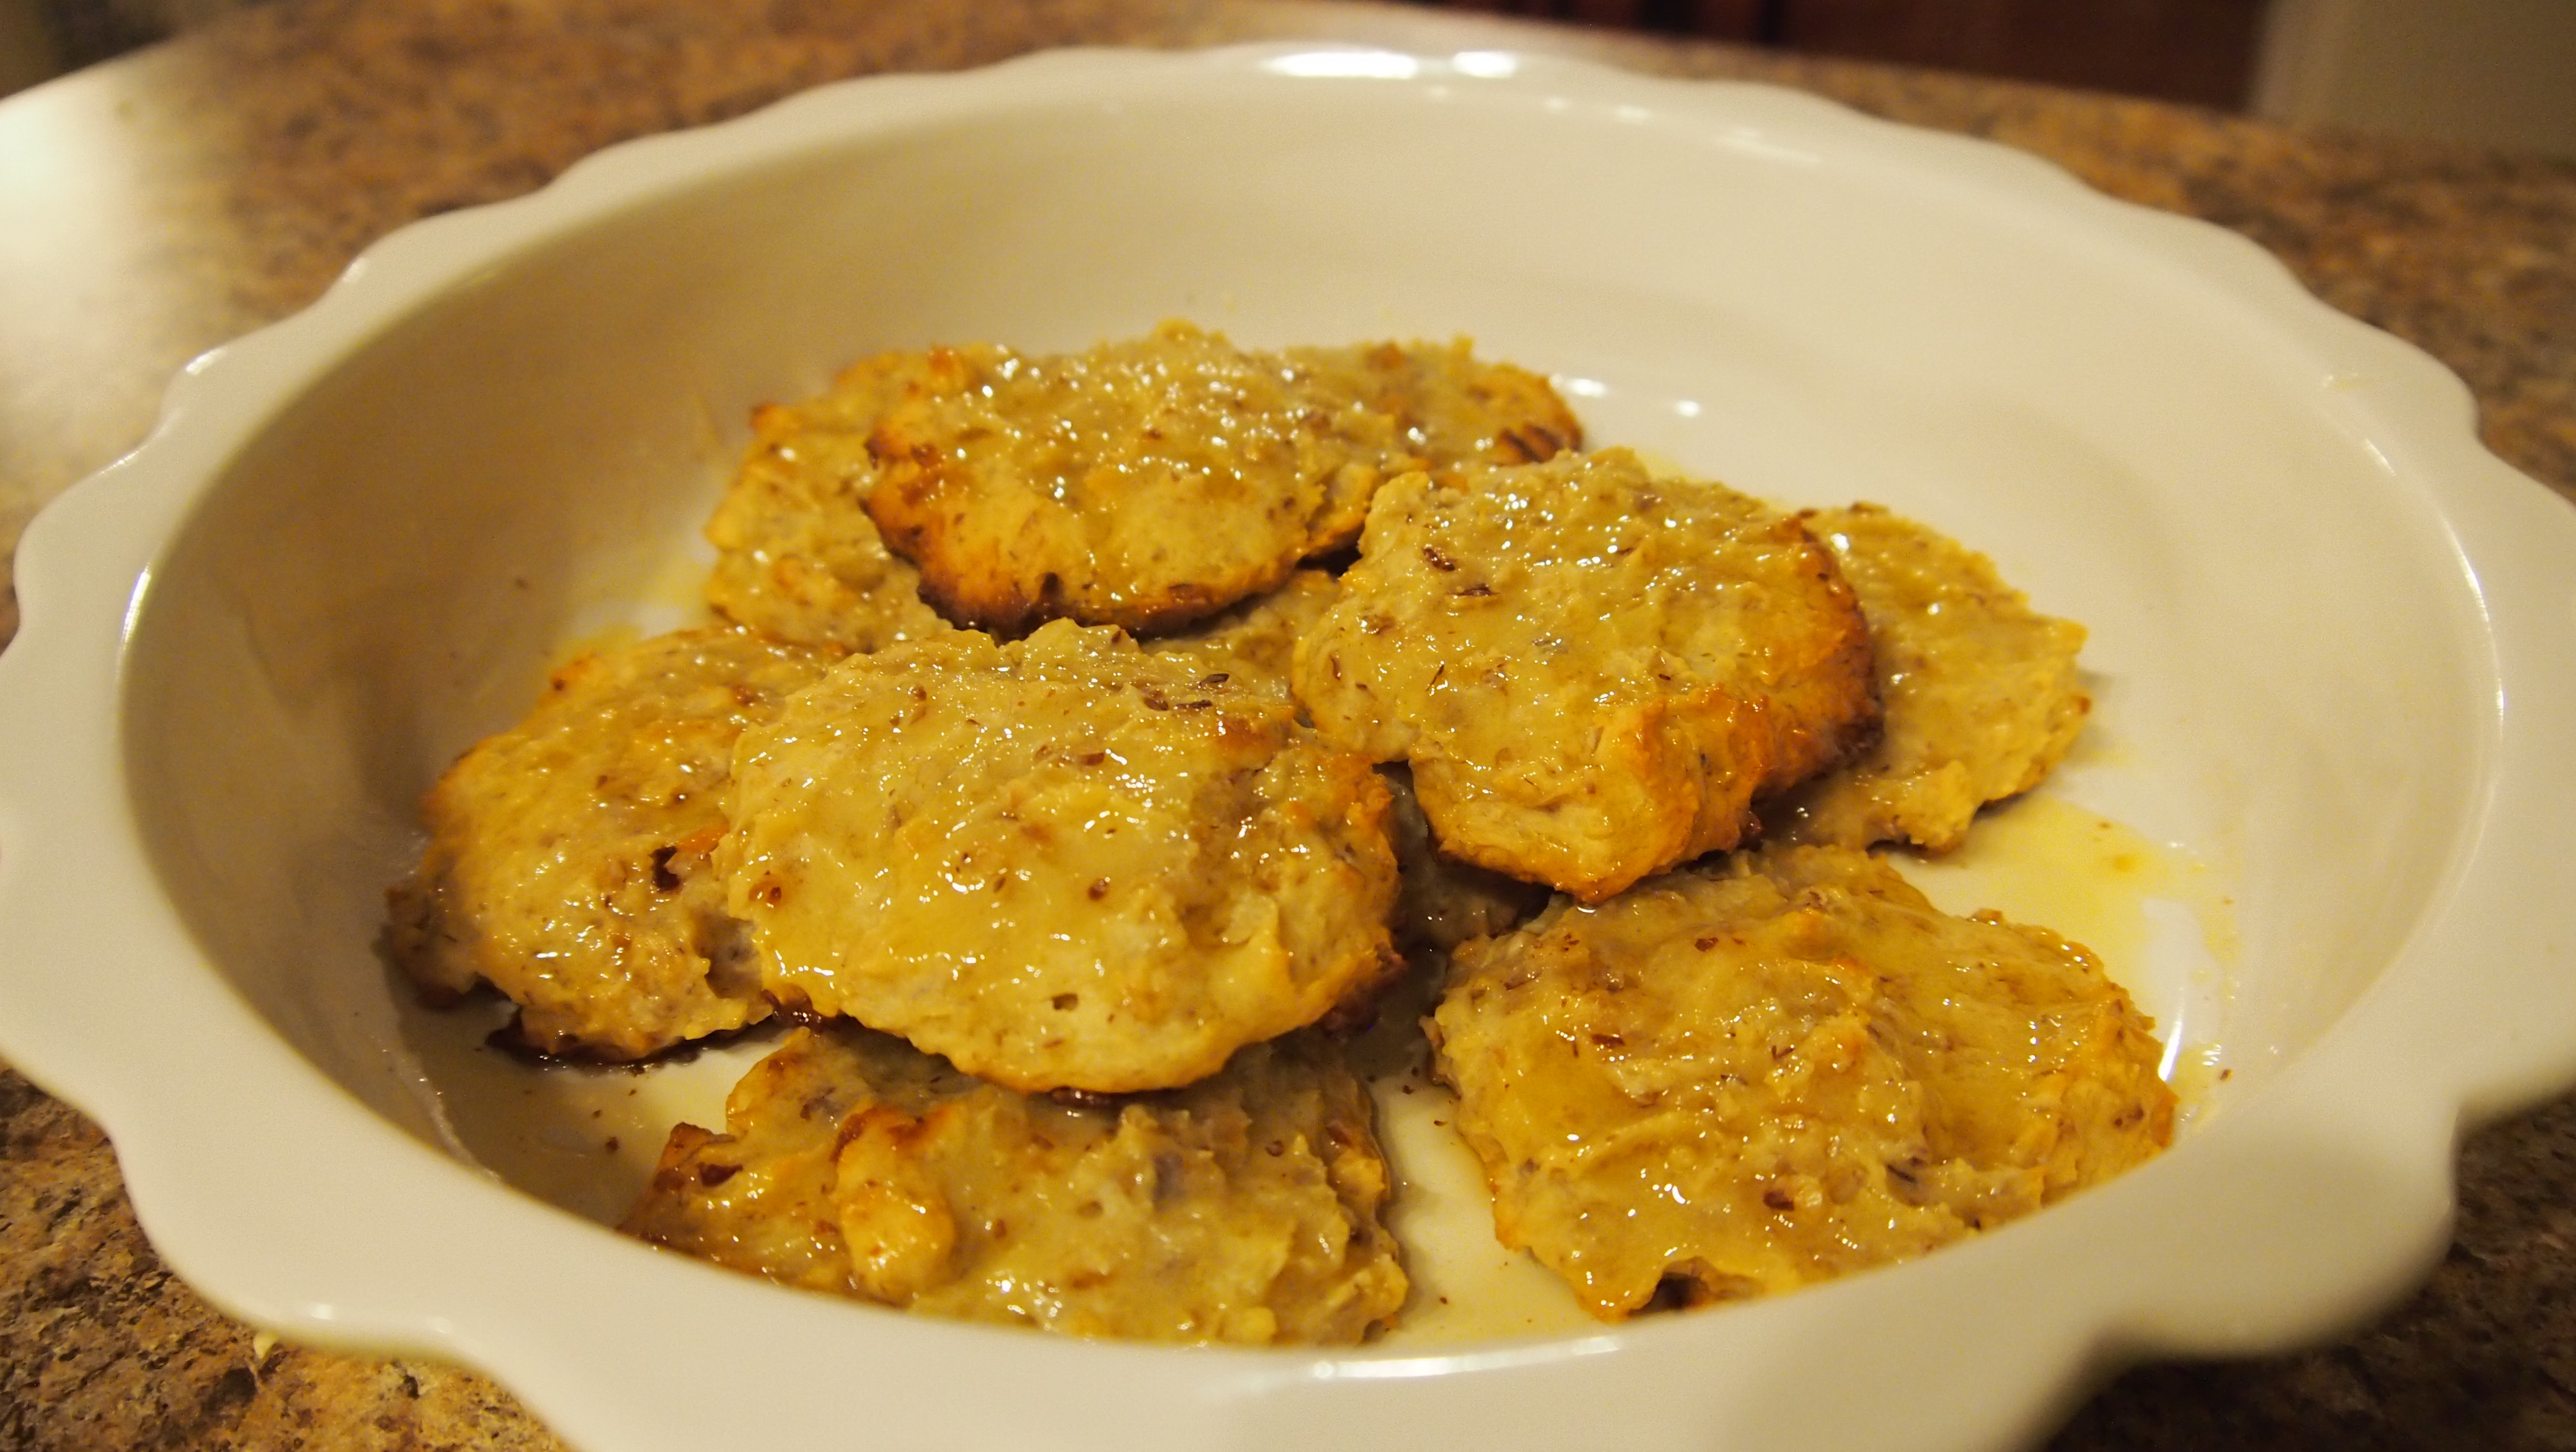
Using a tablespoon scoop, drop dough onto prepared baking sheets. Bake 9-11 minutes until tops begin to crinkle.

When removed from oven, cookies will look soft and should remain so at room temperature. Allow to cool slightly on baking sheet then transfer to metal rack to cool completely.

Note: Dried lavender can usually be found in the bulk area of specialty grocery stores.

 
Lavender Cookies

Recipe adapted from Taste of Home.

Sarah Coffey
Education Coordinator

Culinary Canvas: Mango Blueberry Puree

Last week, my little guy and I attended Art Babies. We started the class in our exhibition, Between Action and the Unknown: The Art of Kazuo Shiraga and Sadamasa Motonaga, exploring the large, abstract works of art. He smiled and kicked his little feet, so I could tell he really enjoyed the bright and engaging colors!

Rhys_SM

Color is something that I’ve been thinking about a lot when it comes to his diet–the more colorful the better! As you might have expected, I enjoy making food for him at home, so I wanted to share a simple recipe that you could try, inspired by the deep and vibrant colors in the exhibition. Be sure to bring your little one on your next visit, then make some colorful food for him or her to enjoy at home–you’ll be feeding his body and his mind! If you’re brave, you might even let him paint his high chair tray–at least you’ll know the paint is safe to eat!

Sadamasa Motonaga, Work 66-1, 1966, oil and synthetic resin on canvas, The National Museum of Modern Art, Tokyo © 2015 Estate of Motonaga Sadamasa

Sadamasa Motonaga, Work 66-1, 1966, oil and synthetic resin on canvas, The National Museum of Modern Art, Tokyo © 2015 Estate of Motonaga Sadamasa

Mango Blueberry Puree

Yields about 16 ounces
Appropriate for 8+ months
Level: Very Easy

1 ripe mango
1 cup fresh or frozen organic blueberries

Prepare the mango by cutting it around the skin, similar to how you would cut an avocado. Note that the pit can be a bit tricky, so do your best to remove it, separating the fruit into two halves. Using a knife, score the fruit up to the skin, being careful not to cut through it. Scoop out fruit pieces and juice, and add to saucepan set on medium-low heat. Add fresh or frozen berries to pan and lightly simmer for about 5 minutes, allowing the fruits to break down slightly and meld their flavors.

Transfer fruit to the bowl of a baby food maker, small food processor, or large measuring bowl, if using an immersion blender. Puree into desired consistency for your baby.

Divide puree into any portion size you’d like and freeze. I find that an ice cube tray works well for small portions that can be pulled out when needed and added to oatmeal, mixed with other fruits, or combined into a larger meal.


baby food maker

Cooked fruit in the baby food maker

blueberry mango puree

Finished puree in ice trays

Original recipe. And of course, be sure to always check with your pediatrician on the appropriate diet for your special little one.

Sarah Coffey
Education Coordinator

Culinary Canvas: Almond Cookies (Nan-e Badami)

This month’s recipe is inspired by our current exhibition Nur: Light in Art and Science from the Islamic World, which explores Islamic art and science throughout the centuries and around the world. Several beautifully decorated pieces of pottery can be found in the exhibition, including this striking bowl from Kashan, located in modern Iran. The Persian Empire spanned this area during ancient times and its cultural thread has continued, influencing food in the region today. In fact, Persians were one of the first to produce sugar and create recipes for cookies–some dating back to the 12th century–and sweets remain an important part of Persian celebrations today. Try this simple Persian recipe to add an interesting new flavor to your cookie repertoire and then be sure to stop by the Museum before Nur closes next month!

Blue and White Bowl with Radial Design, 13th Century , Iran, Kashan, fritware, painted in cobalt blue under transparent glaze, Brooklyn Museum, Gift of Mr. and Mrs. Thomas S. Brush, Brooklyn, USA

Blue and White Bowl with Radial Design, 13th Century , Iran, Kashan, fritware, painted in cobalt blue under transparent glaze, Brooklyn Museum, Gift of Mr. and Mrs. Thomas S. Brush, Brooklyn, USA

Almond Cookies

Yields about 60 cookies
Level: Very Easy

5 egg yolks
1 ½ cups sugar
3 tablespoons rosewater (optional, can be purchased at Middle Eastern markets)
2 cups finely ground almonds or almond flour
2 teaspoons cardamom
½ teaspoon baking powder

Preheat oven to 250° F. Line rimmed baking sheet with parchment paper.

In the bowl of a stand mixer fitted with paddle attachment, beat yolks and sugar at medium speed until light. Add rosewater if desired.

In a separate bowl, stir together almond flour, cardamom, and baking powder. Slowly add almond mixture to mixer, stirring on low speed and scraping down sides of bowl until fully incorporated. Resulting dough should be slightly sticky.

To form cookies, scoop off about a teaspoon of dough then roll between hands to shape into a ball. Flatten ball between palms and place on baking sheet. Bake about 25 minutes, watching closely to ensure cookies do not brown.

When removed from oven, cookies will look very soft and should remain so at room temperature. Allow to cool on baking sheet then transfer to metal rack to cool completely.


OLYMPUS DIGITAL CAMERA

Recipe adapted from Food of Life: A Book of Ancient Persian and Modern Iranian Cooking and Ceremonies.

Sarah Coffey
Assistant to the Chair of Learning Initiatives

Culinary Canvas: Hazelnut Coffee Cake

Cakes have been around since ancient times, but what we think of as coffee cake was introduced to America during the Colonial period by European immigrants. Coffee was a favorite beverage in the new colonies, and coffee cake became a delicious accompaniment. This coffeepot from our silver collection is a lovely example of how early Americans served this ever popular drink, and perhaps a simple coffee cake would have accompanied it on a Colonial table. And in fact, we just missed National Coffee Cake Day on Monday, April 7. Even though it’s a bit late, this recipe is still sure to take the cake!

Coffeepot, c. 1780-1785, Joseph Anthony Jr., maker, Dallas Museum of Art, gift of the Alvin and Lucy Owsley Foundation, The Eugene and Margaret McDermott Art Fund, Inc., and Mr. and Mrs. H. Ross Perot

Coffeepot, c. 1780-1785, Joseph Anthony Jr., maker, Dallas Museum of Art, gift of the Alvin and Lucy Owsley Foundation, The Eugene and Margaret McDermott Art Fund, Inc., and Mr. and Mrs. H. Ross Perot

Hazelnut Coffee Cake

Yields 1 loaf
Level: Moderate

Topping:

¼ cup hazelnuts, finely chopped
2 tablespoons packed brown sugar
1 tablespoon flour
Pinch of salt
1 tablespoon cold unsalted butter

Filling:

¼ cup Nutella hazelnut spread
¼ cup hazelnuts, finely chopped or ground
¼ cup mini chocolate chips

Cake:

½ cup (1 stick) unsalted butter, room temperature
¾ cup sugar
1 teaspoon vanilla extract
2 eggs, room temperature
6 ounces vanilla Greek yogurt, room temperature
1 ½ cups flour
2 teaspoons baking powder
½ teaspoon salt

Preheat oven to 350° F. Butter loaf pan using butter wrapper.

Topping: Stir together hazelnuts, brown sugar, flour and salt in small bowl. Using a fork, cut in cold butter until mixture forms into small crumbs with a texture resembling coarse sand. Chill until ready to use.

Filling: Combine Nutella, hazelnuts and chocolate chips. Set aside.

Cake: In the bowl of a stand mixer fitted with paddle attachment, cream butter and sugar, beating at medium speed until light. Add vanilla, then incorporate eggs one at a time, mixing well after each addition. Add yogurt and mix until fully combined.

In another bowl, stir together flour, baking powder and salt. Add flour mixture to mixer in two batches, stirring on medium until flour is mostly combined. Remove bowl from mixer and stir by hand with rubber spatula for two revolutions to incorporate remainder. Do not over mix.

Spread half of batter into prepared pan. Cover with filling, then top with remaining batter. Run knife through batter about 3-4 times, across both length and width of pan. Smooth batter and evenly spoon on topping across the top.

Bake 30 minutes at 350° F. Reduce oven to 325° F and continue baking for 15 minutes or until a tester inserted in the center comes out clean.


Filling

Filling

OLYMPUS DIGITAL CAMERA

Original recipe.

Sarah Coffey
Assistant to the Chair of Learning Initiatives

Culinary Canvas: Mini Blueberry Tarts

You can find this stunning silver centerpiece, created for the 1964 New York World’s Fair, on the fourth floor in our Formed/Unformed exhibition. Its delicate central shape is made up of 19 clusters that burst forth with 7 sapphires each. This month’s recipe is also studded with little blue gems, though these are of the berry variety. And while they don’t include such precious materials as our Celestial Centerpiece, these mini treats will certainly serve as the perfect centerpiece for your next party–delighting your guests with their bursting blueberry flavor!

Celestial Centerpiece, Robert J. King, 1964, Silver and spinel sapphires, Dallas Museum of Art, The Jewel Stern American Silver Collection, acquired through the Patsy Lacy Griffith Collection, gift of Patsy Lacy Griffith by exchange and gift of Jewel Stern in honor of Kevin W. Tucker

Celestial Centerpiece, 1964, Robert J. King, designer, Dallas Museum of Art, The Jewel Stern American Silver Collection, acquired through the Patsy Lacy Griffith Collection, gift of Patsy Lacy Griffith by exchange and gift of Jewel Stern in honor of Kevin W. Tucker

Mini Blueberry Tarts

Yields 30 tarts
Level: Very Easy

8 ounces cream cheese, room temperature
½ cup powdered sugar
1 teaspoon vanilla extract
30 frozen mini phyllo shells
1 pint fresh blueberries, rinsed and dried
Coarse sugar (optional, for sprinkling)

In the bowl of a stand mixer fitted with whisk attachment, beat cream cheese and sugar at medium speed. Add vanilla extract and continue whisking until fluffy. Using a rubber spatula, transfer filling mixture to ziploc bag. Press filling into one corner, leaving enough room to hold bag without overflowing contents.

Arrange phyllo shells onto work surface. Snip corner of bag and squeeze filling into each shell, leaving space at top. Cover filling with 4-5 blueberries and sprinkle tops with coarse sugar if desired.

Refrigerate tarts in air tight container and serve chilled. Consume within 2 days.


OLYMPUS DIGITAL CAMERA

OLYMPUS DIGITAL CAMERA

Original recipe.

Sarah Coffey
Assistant to the Chair of Learning Initiatives

Culinary Canvas: Meyer Lemon Mini Cupcakes

A pair of tiny gold earrings in our Ancient Mediterranean gallery was the inspiration for this month’s recipe. Of course jewelry always makes a perfect gift for Valentine’s Day, but these little beauties are particularly appropriate since they depict Eros, the Greek god and Valentine’s Day icon better known as Cupid. But if you can’t afford any ancient golden jewelry for your Valentine this year, how about whipping up some miniature golden cupcakes instead? And be sure to use Meyer lemons to make these goodies extra sweet for your sweetie!

1995_25_a_b

Eros earrings, Greek, late 4th century B.C., Dallas Museum of Art, the Cecil and Ida Green Acquisition Fund

Meyer Lemon Mini Cupcakes

Yields about 48 cupcakes
Level: Easy

Cupcakes:

½ cup (1 stick) unsalted butter, room temperature
1 cup sugar
3 large eggs, room temperature
Zest and juice of 2 Meyer lemons
6 ounces vanilla yogurt
2 cups all-purpose flour
1 teaspoon baking powder
½ teaspoon salt

Preheat oven to 350° F. Line mini muffin pan with paper liners.

In the bowl of a stand mixer fitted with paddle attachment, cream butter and sugar, beating at medium speed until light. Add lemon zest, then incorporate eggs one at a time, mixing well after each addition. Add lemon juice and yogurt and mix until fully combined.

In a separate bowl, stir together flour, baking powder, and salt. Slowly add flour mixture to mixer, mixing on low speed and scraping down sides of bowl until just incorporated.

Divide batter into muffin cups, using a tablespoon scoop to fill each cup ¾ full. Bake about 11 minutes, or until a toothpick inserted in the center comes out clean. Allow to cool completely before frosting.

Frosting:

¼ cup (½ stick) unsalted butter, room temperature
4 ounces cream cheese, room temperature
Zest and juice of 1 Meyer lemon
2 teaspoons limoncello liqueur (optional)
3 cups powdered sugar, sifted

Whip butter and cream cheese in the bowl of a stand mixer fitted with whisk attachment on medium-high speed until creamy. Continue to mix on low while adding lemon zest, limoncello, and half the powdered sugar. Squeeze in juice from half the lemon and incorporate remaining sugar, mixing on low until combined. Add additional juice to reach desired consistency for spreading or piping.


OLYMPUS DIGITAL CAMERA

Recipe adapted from Brown Eyed Baker.

Sarah Coffey
Assistant to the Chair of Learning Initiatives

Culinary Canvas: Apple Pie Cupcakes

This month’s recipe is inspired by our wonderful Pointillist painting by Pissarro, Apple Harvest. I imagine this painting, like most apple picking, takes place in the fall. But that doesn’t mean there aren’t still bountiful varieties of apples to be had at this time of year–just check your local grocery store! And one of our very own McDermott Interns–whose favorite dessert is apple pie–just happened to have a birthday last week. But much like the Neo-Impressionists, I wanted to do my own thing. So I decided on an apple pie inspired cupcake, which combines apples and spice into a scrumptious handheld bite. Try these out for your next holiday get together and impress your friends with your artistic hand. Happy Holidays!

Camille Pissarro, Apple Harvest, 1888, Dallas Museum of Art, Munger Fund

Camille Pissarro, Apple Harvest, 1888, Dallas Museum of Art, Munger Fund

Apple Pie Cupcakes

Yields 24 cupcakes
Level: Moderate

Topping:

2 Jonagold (or similar) apples, diced small
2 tablespoons unsalted butter
1 tablespoon sugar
2 tablespoons caramel sauce (left over from last month’s recipe)

In medium saucepan, melt butter and sugar over medium heat until sugar is dissolved. Add diced apples and sauté for 8-10 minutes, stirring frequently, until apples are soft and lightly caramelized. Remove from heat and stir in caramel sauce. Set aside to cool. Note: 2 tablespoons sugar can be substituted for caramel sauce.

Cupcakes:

1 cup (2 sticks) unsalted butter, room temperature
1 cup sugar
½ cup brown sugar
1 ½ teaspoons vanilla
4 eggs, room temperature
2 cups all-purpose flour
1 teaspoon baking powder
1 teaspoon cinnamon
½ teaspoon nutmeg
½ teaspoon salt
1 cup milk

Preheat oven to 325° F. Line muffin pan with paper liners.

In the bowl of a stand mixer fitted with paddle attachment, cream butter and both sugars, beating at medium speed until light. Add vanilla and continue beating at medium speed. Incorporate eggs one at a time, mixing until fully combined.

In medium bowl, whisk together flour, baking powder, cinnamon, nutmeg, and salt. Beginning and ending with dry ingredients, slowly add flour mixture to mixer, alternating with milk. After each addition, mix on low speed until just incorporated, scraping down sides of bowl as needed.

Divide batter into muffin cups, filling each cup slightly more than ½ full. Bake 18-20 minutes, or until a toothpick inserted in the center comes out with sparse crumbs. Allow to cool slightly in pan, then transfer to metal rack to cool completely.

Frosting:

½ cup (1 stick) butter, room temperature
½ cup shortening
2 ½ cups powdered sugar
1 teaspoon vanilla
1 teaspoon cinnamon
Splash of milk as needed

Beat butter and shortening in the bowl of a stand mixer fitted with paddle attachment on medium-high speed until creamy. Add powdered sugar, vanilla, and cinnamon, mixing on low until combined. Add splash of milk and additional sugar as needed to achieve thickened, slightly firm consistency.

Assembly: Fill quart size Ziploc bag with frosting. Squeeze frosting to one corner and snip to create opening. Outline the rim of each cupcake with a line of frosting. Place a spoonful of apple filling in the middle of each cupcake. Cross filling with lines of additional frosting in a basket weave pattern, mimicking pie crust.

Store finished cupcakes in refrigerator until ready to serve.

 
OLYMPUS DIGITAL CAMERA

OLYMPUS DIGITAL CAMERA

Recipe adapted from Alpineberry.

Sarah Coffey
Assistant to the Chair of Learning Initiatives

Culinary Canvas: Bacon Streusel Muffins

This month’s recipe is inspired by Francis Bacon, whose birthday is on October 28. Walking Figure, the DMA’s only work by Bacon, evokes a sense of ominous, eerie isolation, which is characteristic of his work and rather appropriate for this month of Halloween. But perhaps you might be wondering–how does this relate back to bacon bacon? Well, it may be hard to believe, but some people are still horrified to think of this breakfast meat as a salty sweet treat. So don’t be scared! Embrace Bacon in all its forms and I promise you won’t be disappointed.

Francis Bacon, Walking Figure, 1959-1960, Dallas Museum of Art, Foundation for the Arts Collection, gift of Mr. and Mrs. J.O. Lambert, Jr. and Mr. and Mrs. David Garrison

Francis Bacon, Walking Figure, 1959-1960, Dallas Museum of Art, Foundation for the Arts Collection, gift of Mr. and Mrs. J.O. Lambert, Jr. and Mr. and Mrs. David Garrison

Bacon Streusel Muffins

Yields 48 mini muffins
Level: Easy

Streusel:

¼ cup flour
¼ cup pecans, finely chopped
¼ cup packed brown sugar
½ teaspoon cinnamon
Pinch of salt
3 tablespoons unsalted butter, melted

Muffins:

6 pieces of bacon
2 cups flour
¼ cup packed brown sugar
1 tablespoon baking powder
½ teaspoon salt
¼ cup pure maple syrup
2 tablespoons unsalted butter, melted
2 tablespoons bacon fat, room temperature
1 egg, beaten
1 cup whole milk
1 teaspoon vanilla extract
2 tablespoons whiskey (optional)

Preheat oven to 400° F. Line small, rimmed baking sheet with foil.

Bacon: Spread bacon slices onto small metal rack and, if desired, sprinkle each side with a pinch of brown sugar. Bake 18-20 minutes, flipping slices half way through. Remove bacon from oven and transfer to paper towels, reserving 2 tablespoons of fat. Once bacon has cooled, coarsely chop and set aside.

Reduce oven to 350° F. Line muffin pan with paper liners or lightly spray with nonstick cooking spray.

Streusel: Stir together flour, pecans, brown sugar, cinnamon and salt in small bowl. Pour in melted butter and continue stirring with fork until mixture forms into small crumbs. Set aside.

Muffins: In medium bowl, whisk together flour, brown sugar, baking powder, and salt. In another bowl, whisk together maple syrup, melted butter, bacon fat, and beaten egg. Add milk, vanilla, and whiskey to maple mixture and stir until combined.

Add maple mixture to flour mixture, stirring with a rubber spatula until just combined. Fold bacon pieces into batter until evenly distributed.

Divide batter into muffin cups, using a tablespoon scoop to fill each cup ¾ full. Sprinkle streusel on top of batter.

Bake 10 minutes, or until a toothpick inserted in the center comes out clean.

Note: Batter can be baked in regular muffin pans for approximately 15 minutes. If making larger muffins, add layer of streusel to middle of each muffin as described here.

 
bacon

bacon muffins

Recipe adapted from On Sugar Mountain.

Sarah Coffey
Assistant to the Chair of Learning Initiatives

Culinary Canvas: Chocolate Caramelized Banana Bread

You might have noticed this little fellow standing watch on the third floor in our Indonesian galleries. In his original Indonesian habitat, he would have adorned a clan house, on top of a tall post or beam. If he could ever find a moment to relax, I bet he could unwind nicely with a piece of this banana chocolate concoction. I mean, who doesn’t love banana bread–and this one packs a double chocolate punch!

Architectural sculpture depicting a monkey, Indonesia, late 19th-20th century, Dallas Museum of Art, The Eugene and Margaret McDermott Art Fund, Inc.

Architectural sculpture depicting a monkey, Indonesia, late 19th-20th century, Dallas Museum of Art, The Eugene and Margaret McDermott Art Fund, Inc.

Chocolate Caramelized Banana Bread

Yields 1 loaf
Level: Easy

3 tablespoons unsalted butter
¾ cup packed brown sugar
3 very ripe bananas, sliced
6 ounces plain yogurt
2 tablespoons vegetable oil
3 tablespoons bourbon
2 eggs, room temperature
1 ½ cups all-purpose flour
½ cup cocoa
1 teaspoon baking soda
½ teaspoon salt
½ cup chocolate chips (optional)

Preheat oven to 350° F. Spray loaf pan with cooking spray.

Melt butter in a saucepan over medium heat. Add brown sugar and sliced bananas. Sauté until mixture is melted and nicely caramelized, about 4 minutes. Remove from heat and set aside to cool.

In medium bowl, whisk together yogurt, oil, and bourbon. Add eggs one at a time, whisking until fully incorporated. In separate bowl, mix together flour, cocoa, baking soda, and salt.

Place cooled banana mixture In the bowl of a stand mixer fitted with paddle attachment and beat at medium speed until smooth. Beginning and ending with dry ingredients, add flour mixture to mixer, alternating with yogurt mixture. After each addition, mix on low speed until just incorporated. Remove bowl from mixer and stir in chocolate chips by hand with rubber spatula if desired.

Scrape batter into loaf pan. Bake 50-60 minutes, or until a toothpick inserted in the center comes out with moist crumbs.


caramelizing the bananas

caramelizing the bananas

OLYMPUS DIGITAL CAMERA

Recipe adapted from Cooking Light.

Sarah Coffey
Assistant to the Chair of Learning Initiatives

Culinary Canvas: Ancient Cakes (Pemma)

In honor of our current exhibition The Body Beautiful in Ancient Greece, I thought it would be fun to explore ancient baking this month. The general word for cake is pemma in Ancient Greek or libum in Latin. Several texts survive which mention different types of ancient cakes, but the actual recipes themselves are much more elusive. Roman writer and statesman M. Porcius Cato recorded one such recipe for libum in his De Agri Cultura, a sort of practical manual for farmers. Using Cato as a starting point, I created this simple recipe with ingredients and materials available in the ancient world. Similar honey-cheesecakes would have been given as offerings to the gods or perhaps enjoyed during a wedding feast. Hera, the Greek goddess of women and marriage, may have even enjoyed one herself.

British_Museum_AN00393231

Head of marble figure of Hera
Roman period, AD 30–180, from Agrigento, Sicily
GR 1873,0820.740 (Sculpture 504)
© The Trustees of the British Museum (2013). All rights reserved.

Pemma

Yields 10 small cakes
Level: Easy

8 ounces goat cheese
¼ cup honey, plus more for drizzling
1 egg
¾ cup spelt flour or all-purpose flour
½ cup sliced almonds, toasted

Preheat oven to 400° F.

Allow goat cheese to soften slightly on counter. Crush toasted almonds with mortar and pestle.

In medium bowl, beat together goat cheese and honey with a whisk or wooden spoon. Add egg and continue beating until smooth. Sprinkle in flour and mix until just incorporated. Mix in crushed almonds.

Drop batter by large spoonfuls onto baking stone. Cover stone with aluminum foil and bake 26-30 minutes, until cakes begin to turn light brown. Allow to cool just slightly on stone, then transfer cakes to separate dish. Drizzle warm cakes with additional honey until each is saturated.


OLYMPUS DIGITAL CAMERA

Batter on baking stone

OLYMPUS DIGITAL CAMERA

Cakes drizzled with honey

Recipe inspired by Cato’s ancient recipe for libum.

P.S. – If you love the ancient world as much as I do, you won’t want to miss An Illustrated Course: The Body Beautiful in Ancient Greece, a two-night course taught by our own Director Maxwell L. Anderson. DMA Friends can redeem a reward to attend the course for free, and then earn even more points for attending. I’ll see you there!

Sarah Coffey
Assistant to the Chair of Learning Initiatives


Archives

Flickr Photo Stream

Categories