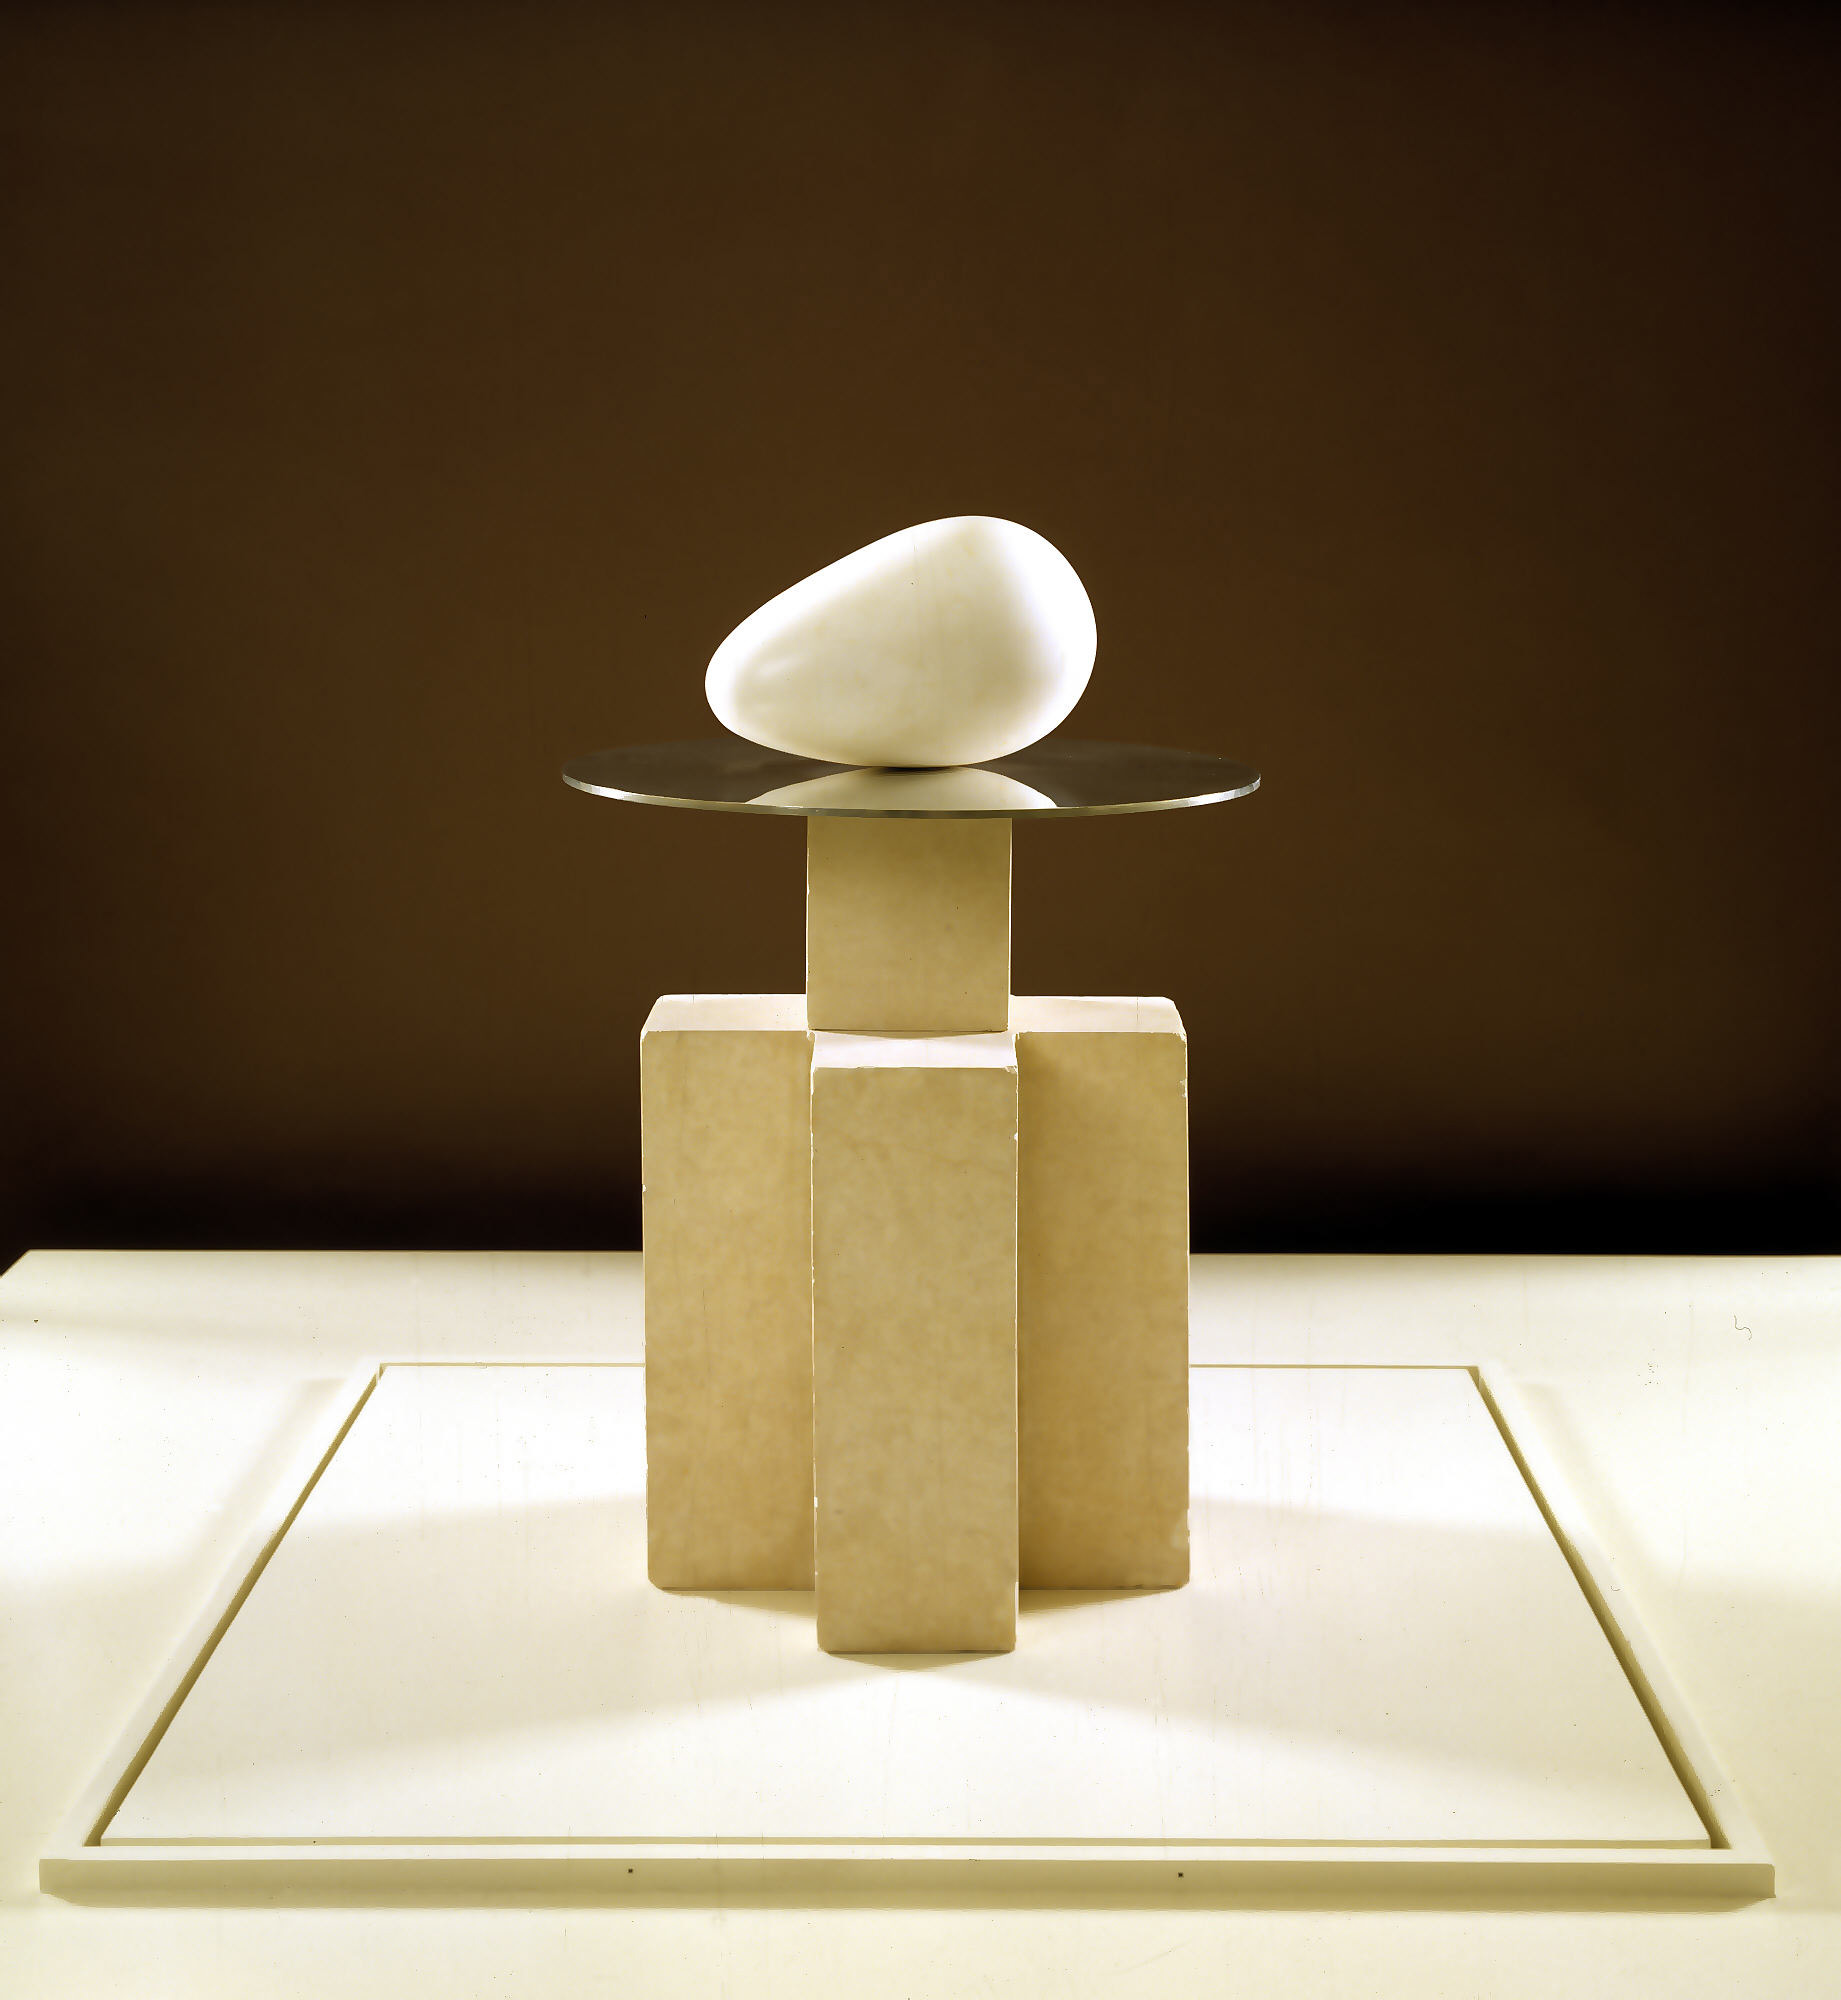
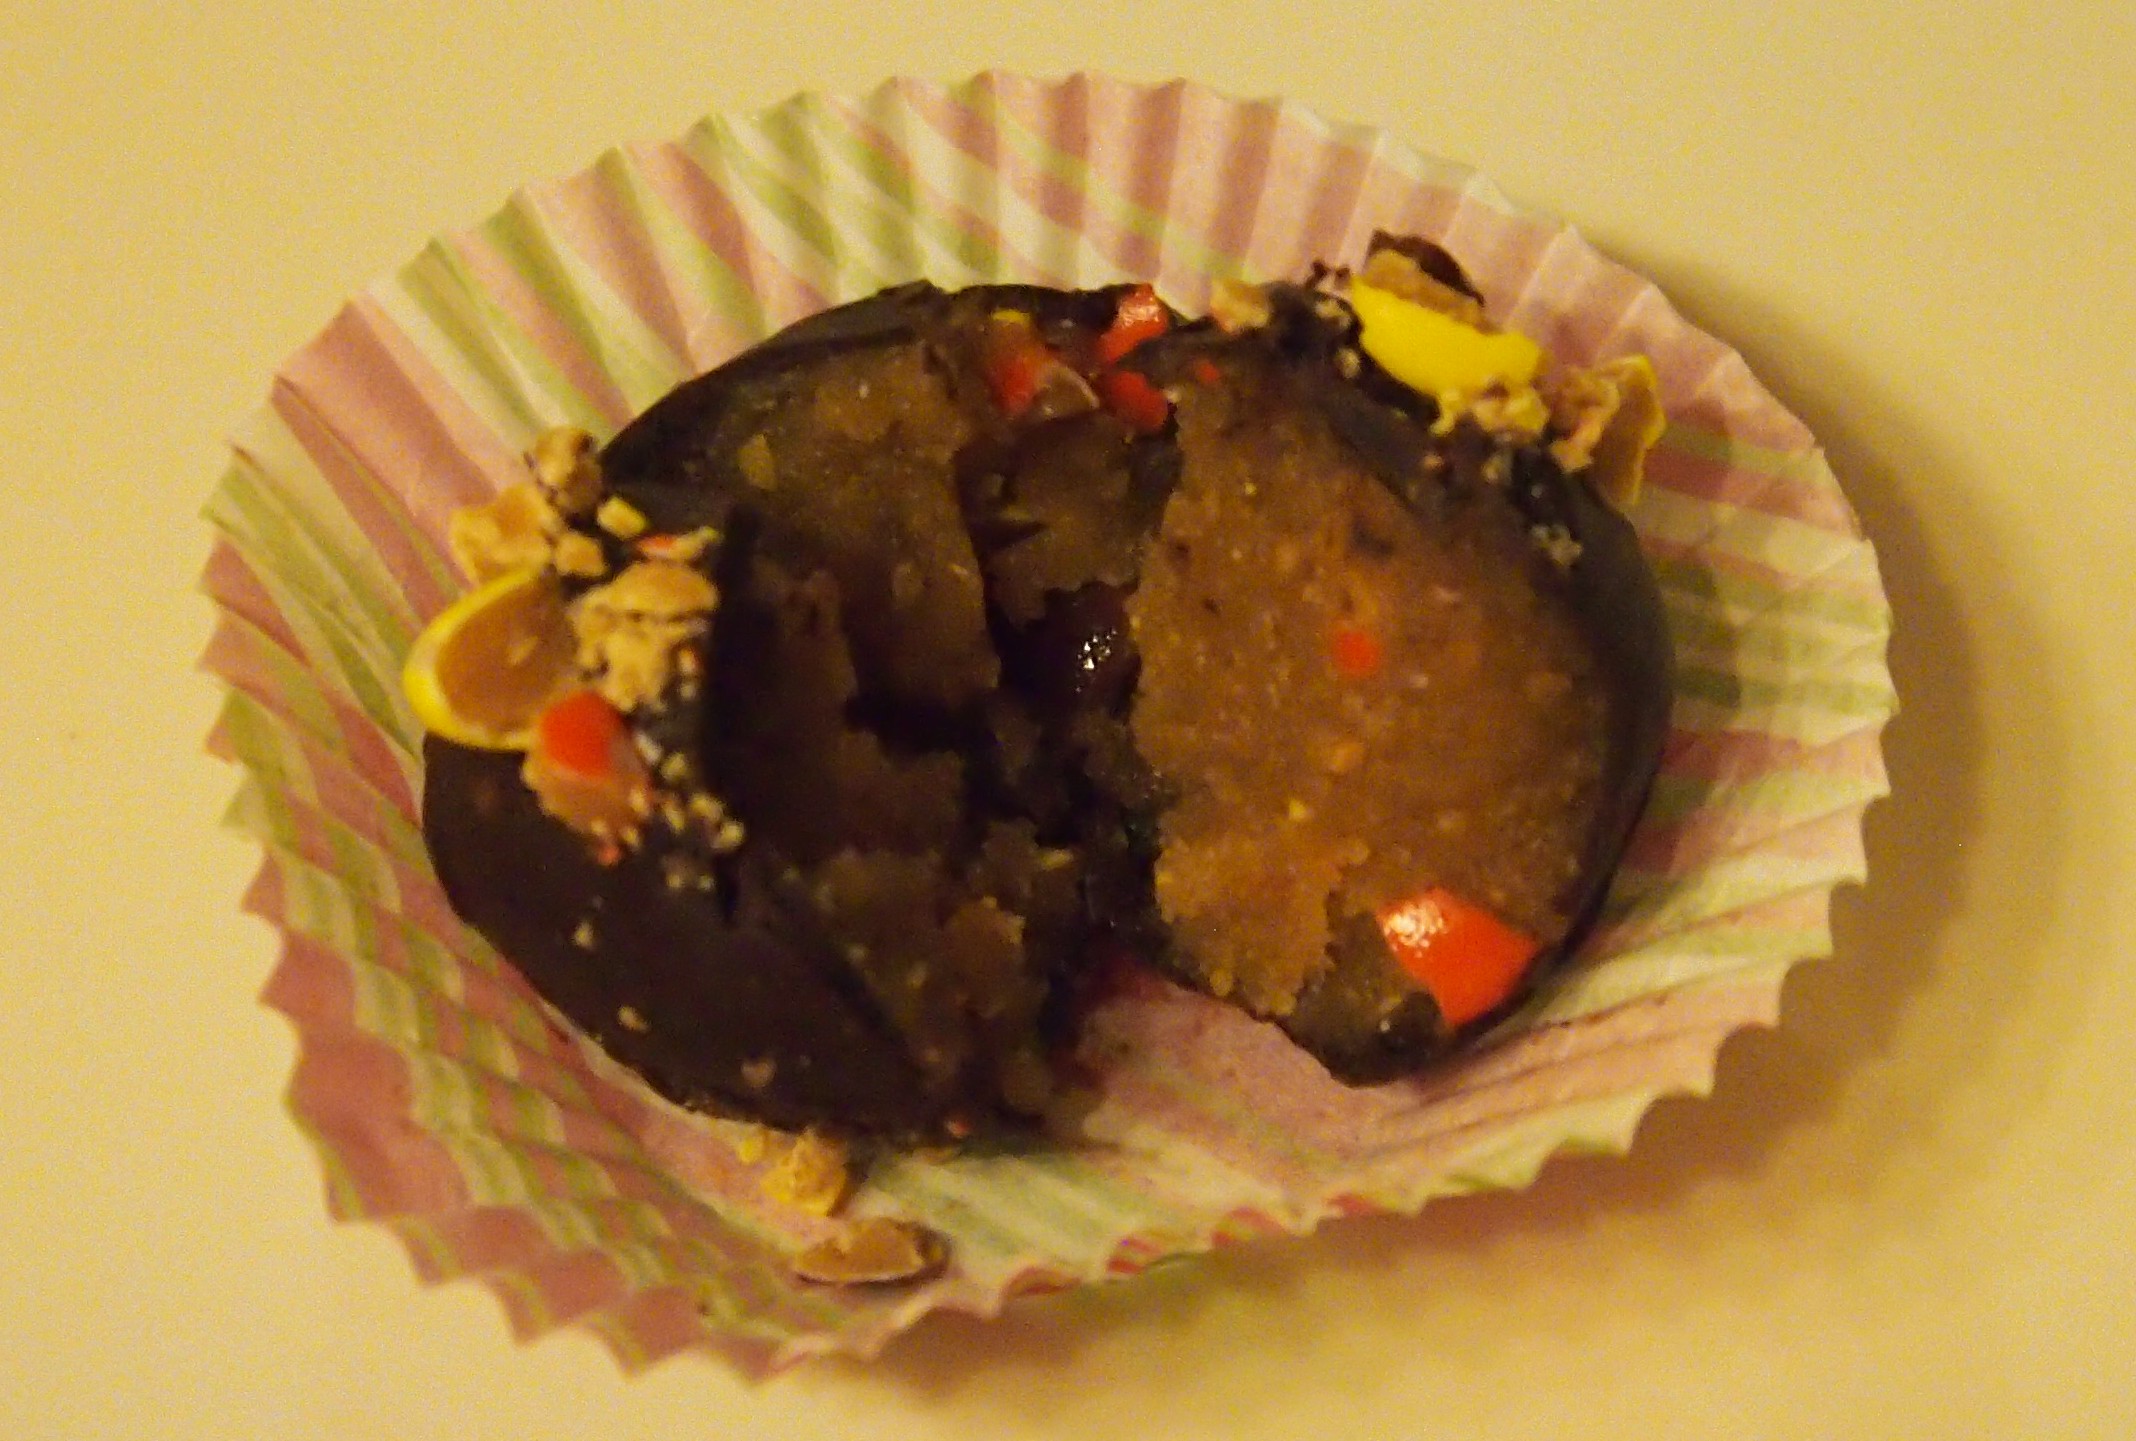
You might have noticed this little fellow standing watch on the third floor in our Indonesian galleries. In his original Indonesian habitat, he would have adorned a clan house, on top of a tall post or beam. If he could ever find a moment to relax, I bet he could unwind nicely with a piece of this banana chocolate concoction. I mean, who doesn’t love banana bread–and this one packs a double chocolate punch!
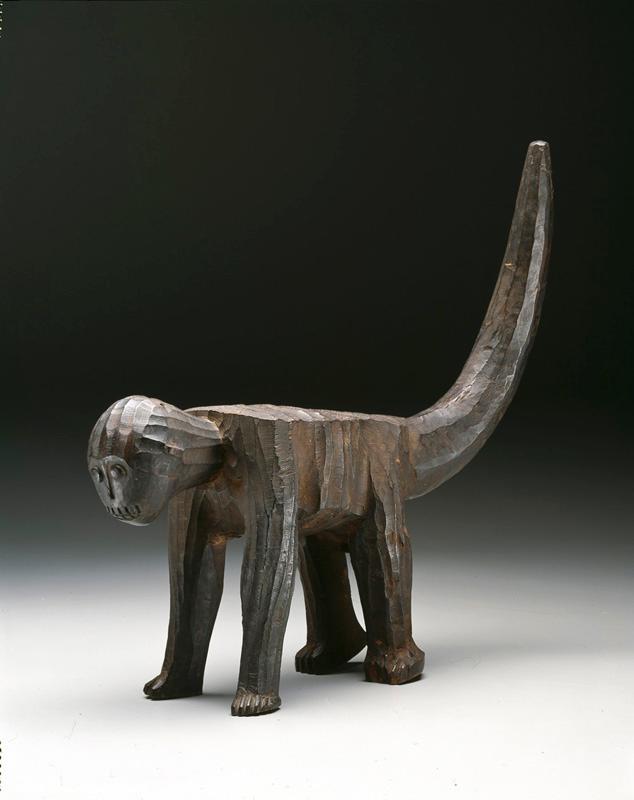
Architectural sculpture depicting a monkey, Indonesia, late 19th-20th century, Dallas Museum of Art, The Eugene and Margaret McDermott Art Fund, Inc.
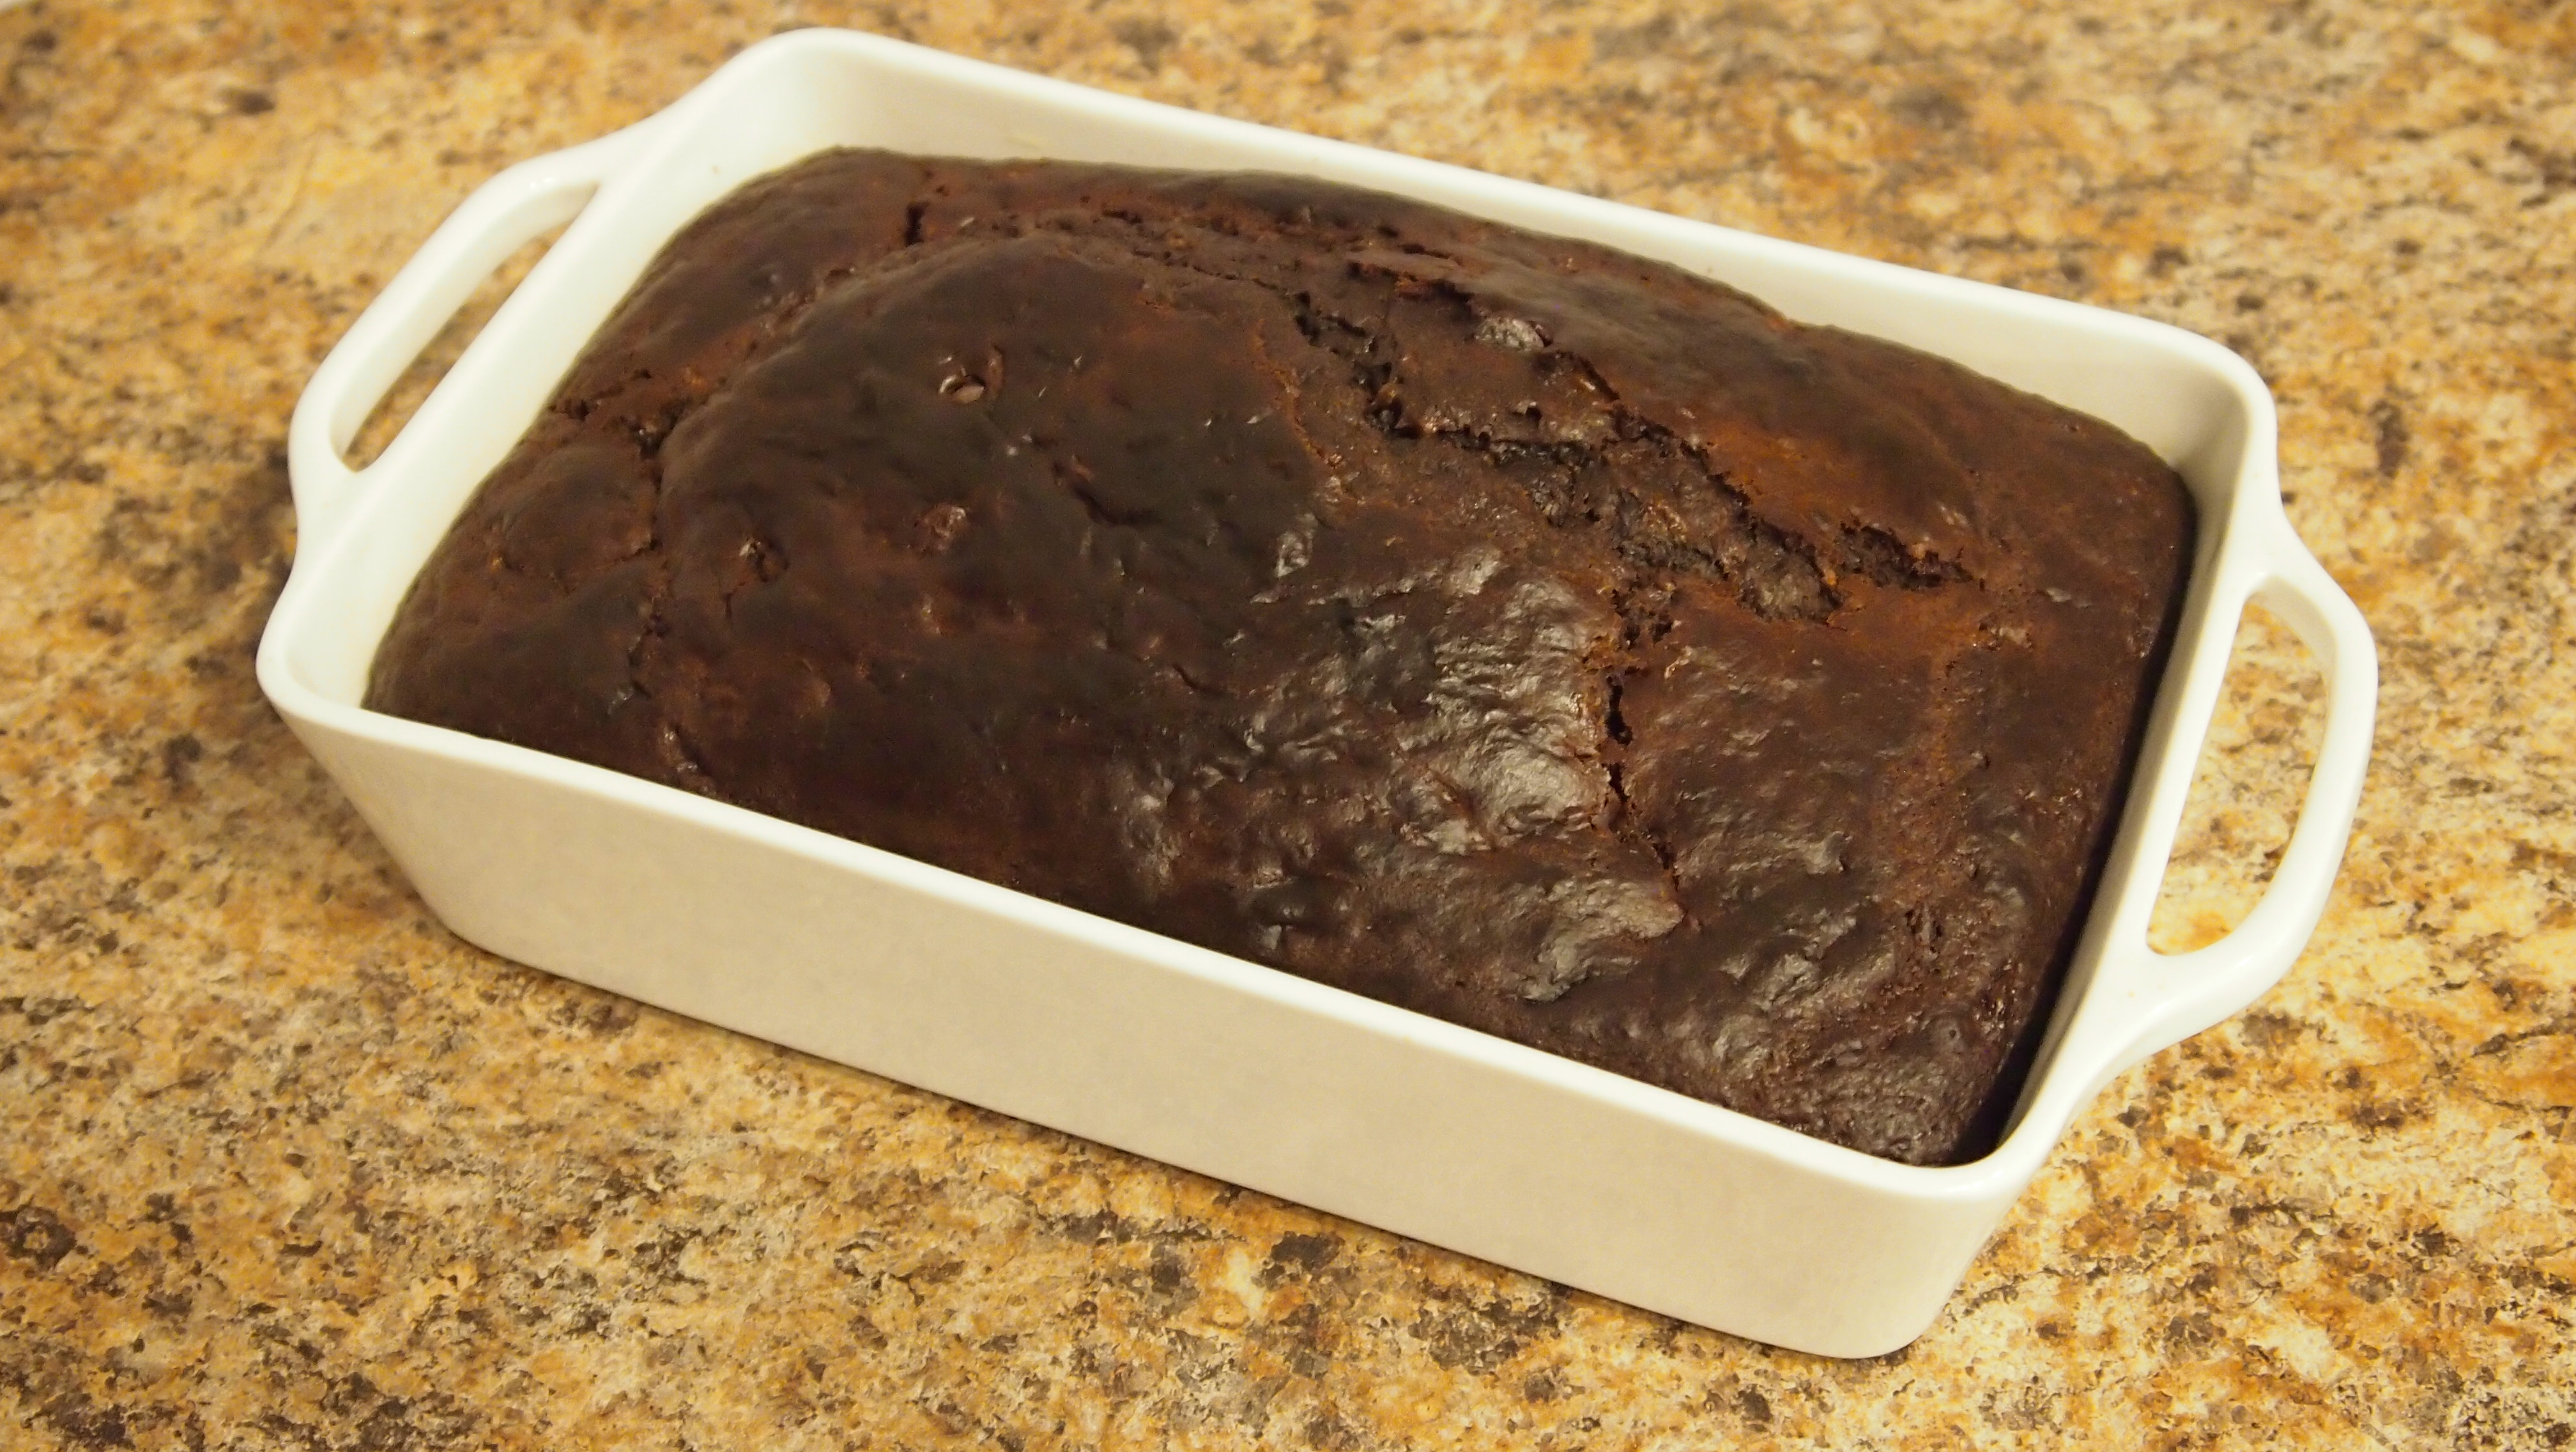
Chocolate Caramelized Banana Bread
Yields 1 loaf
Level: Easy
3 tablespoons unsalted butter
¾ cup packed brown sugar
3 very ripe bananas, sliced
6 ounces plain yogurt
2 tablespoons vegetable oil
3 tablespoons bourbon
2 eggs, room temperature
1 ½ cups all-purpose flour
½ cup cocoa
1 teaspoon baking soda
½ teaspoon salt
½ cup chocolate chips (optional)
Preheat oven to 350° F. Spray loaf pan with cooking spray.
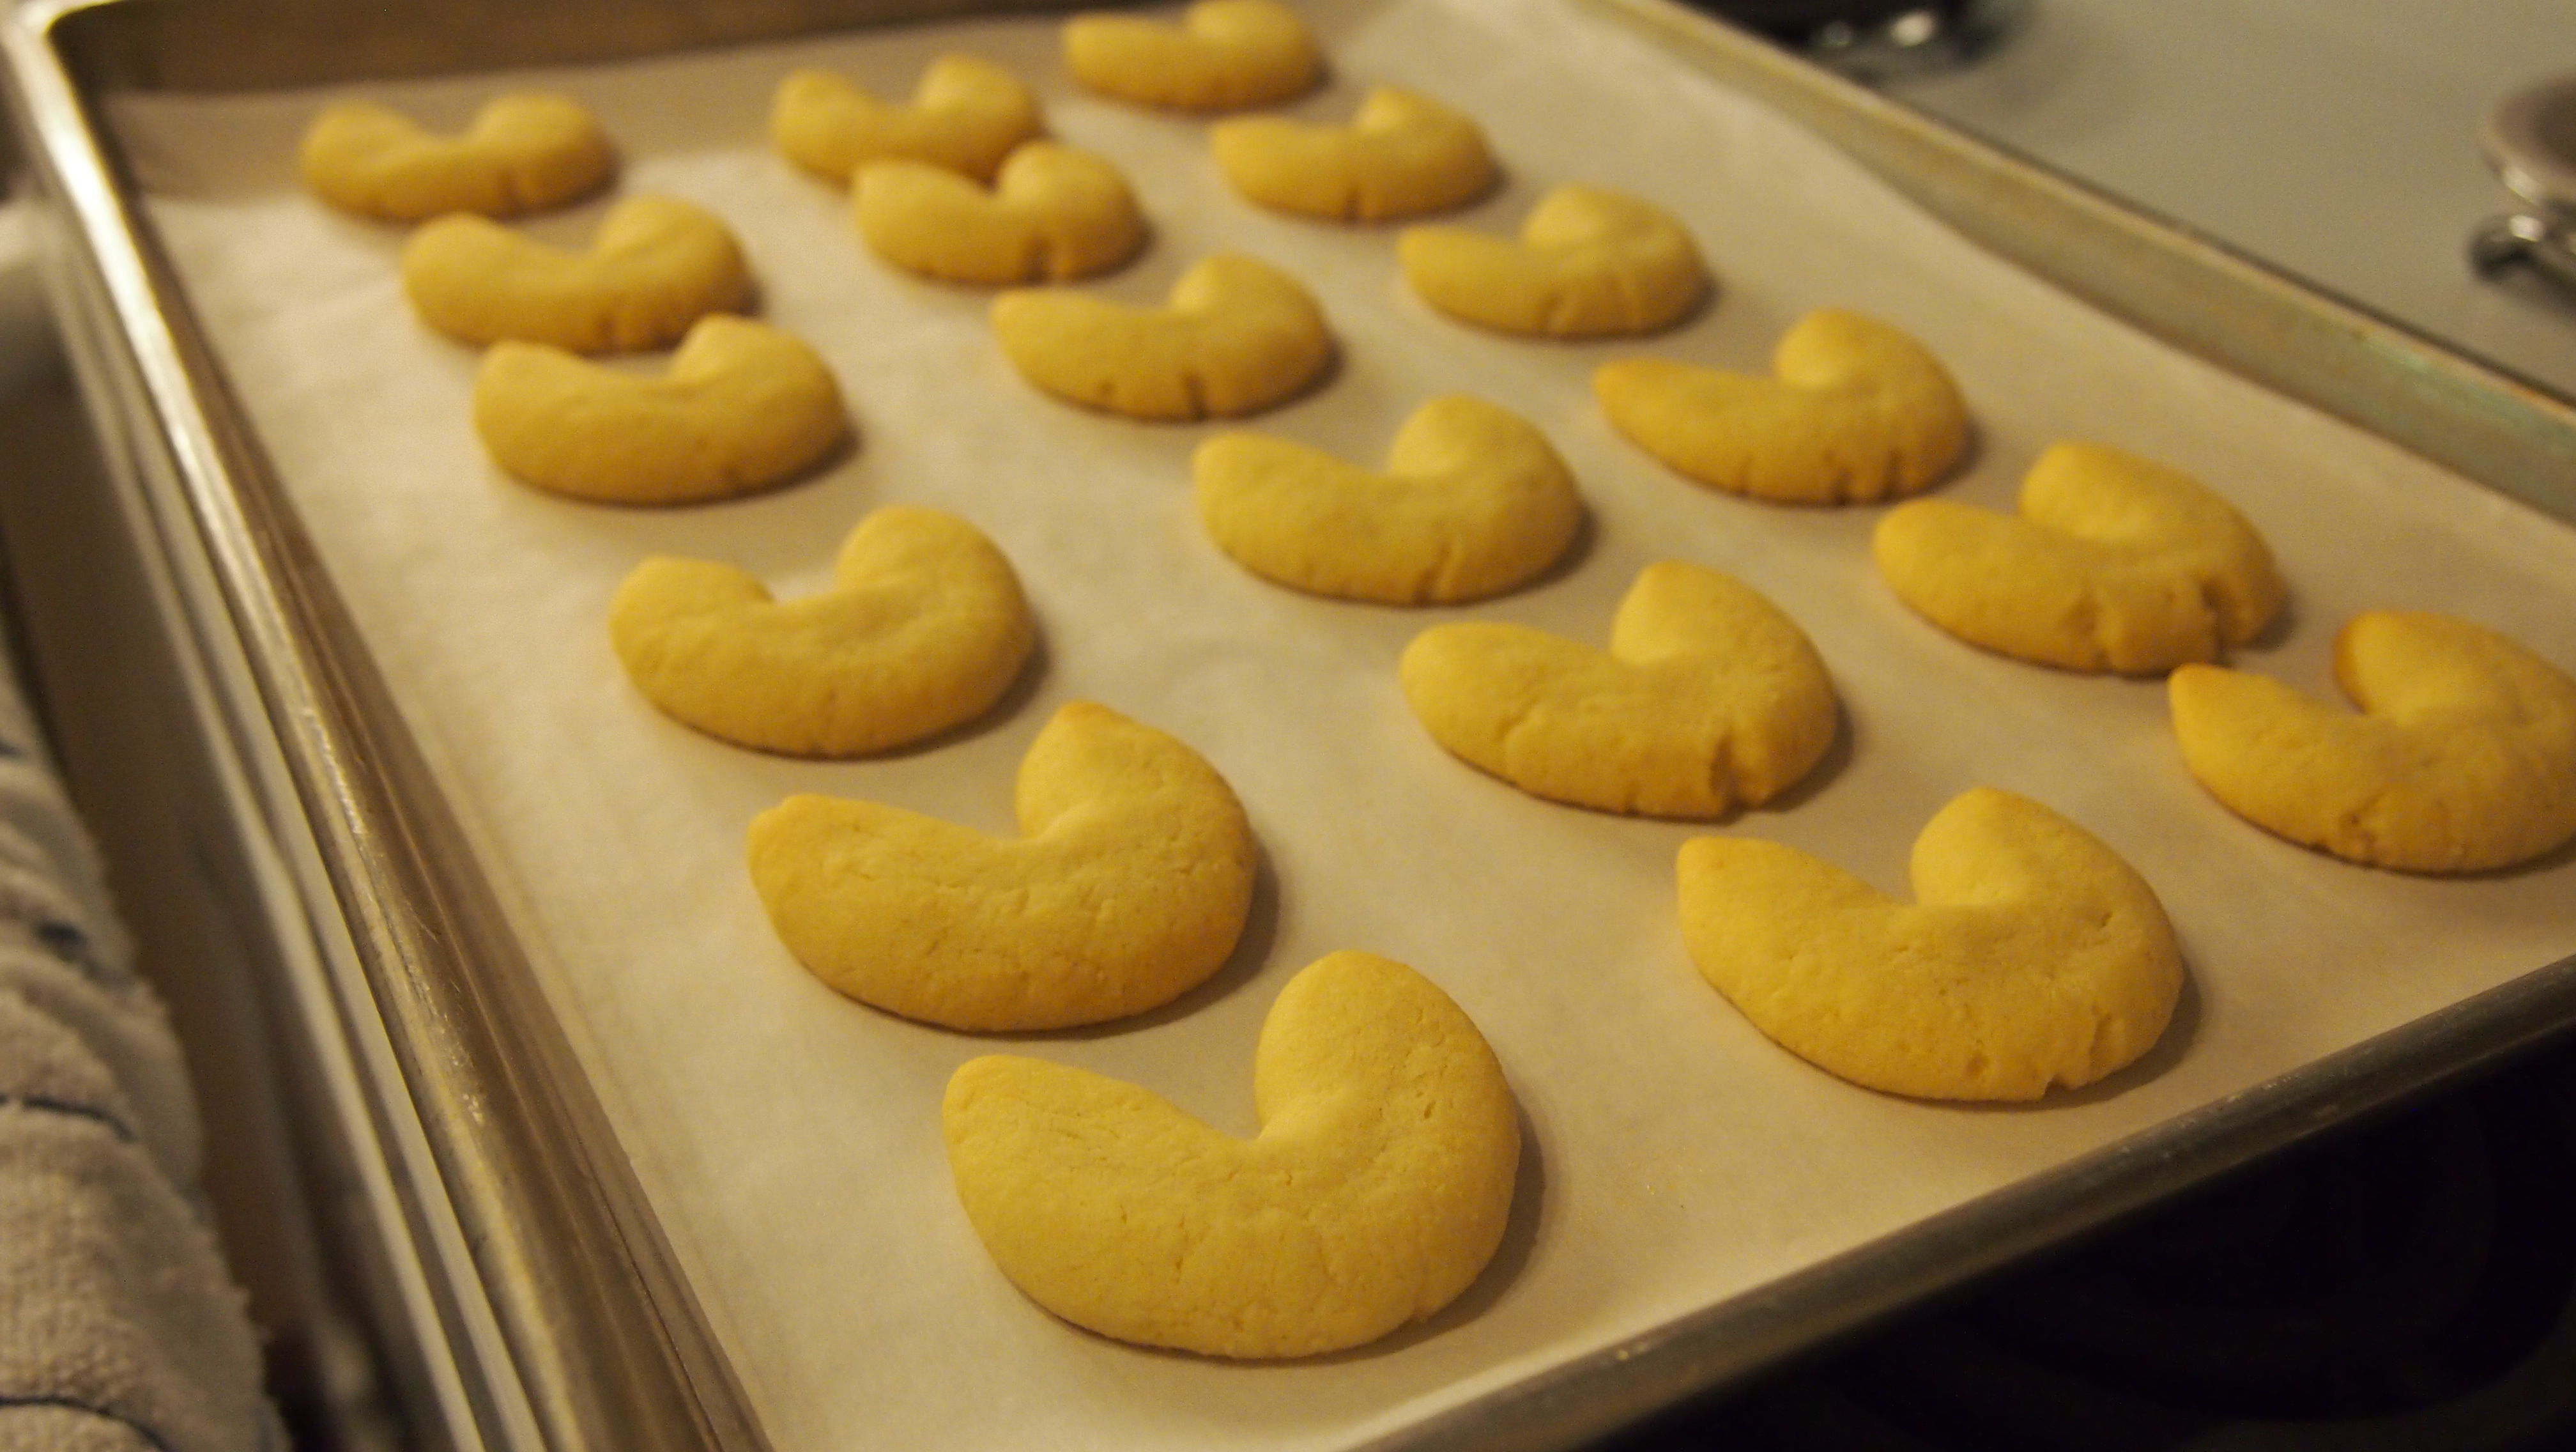
Melt butter in a saucepan over medium heat. Add brown sugar and sliced bananas. Sauté until mixture is melted and nicely caramelized, about 4 minutes. Remove from heat and set aside to cool.
In medium bowl, whisk together yogurt, oil, and bourbon. Add eggs one at a time, whisking until fully incorporated. In separate bowl, mix together flour, cocoa, baking soda, and salt.
Place cooled banana mixture In the bowl of a stand mixer fitted with paddle attachment and beat at medium speed until smooth. Beginning and ending with dry ingredients, add flour mixture to mixer, alternating with yogurt mixture. After each addition, mix on low speed until just incorporated. Remove bowl from mixer and stir in chocolate chips by hand with rubber spatula if desired.
Scrape batter into loaf pan. Bake 50-60 minutes, or until a toothpick inserted in the center comes out with moist crumbs.
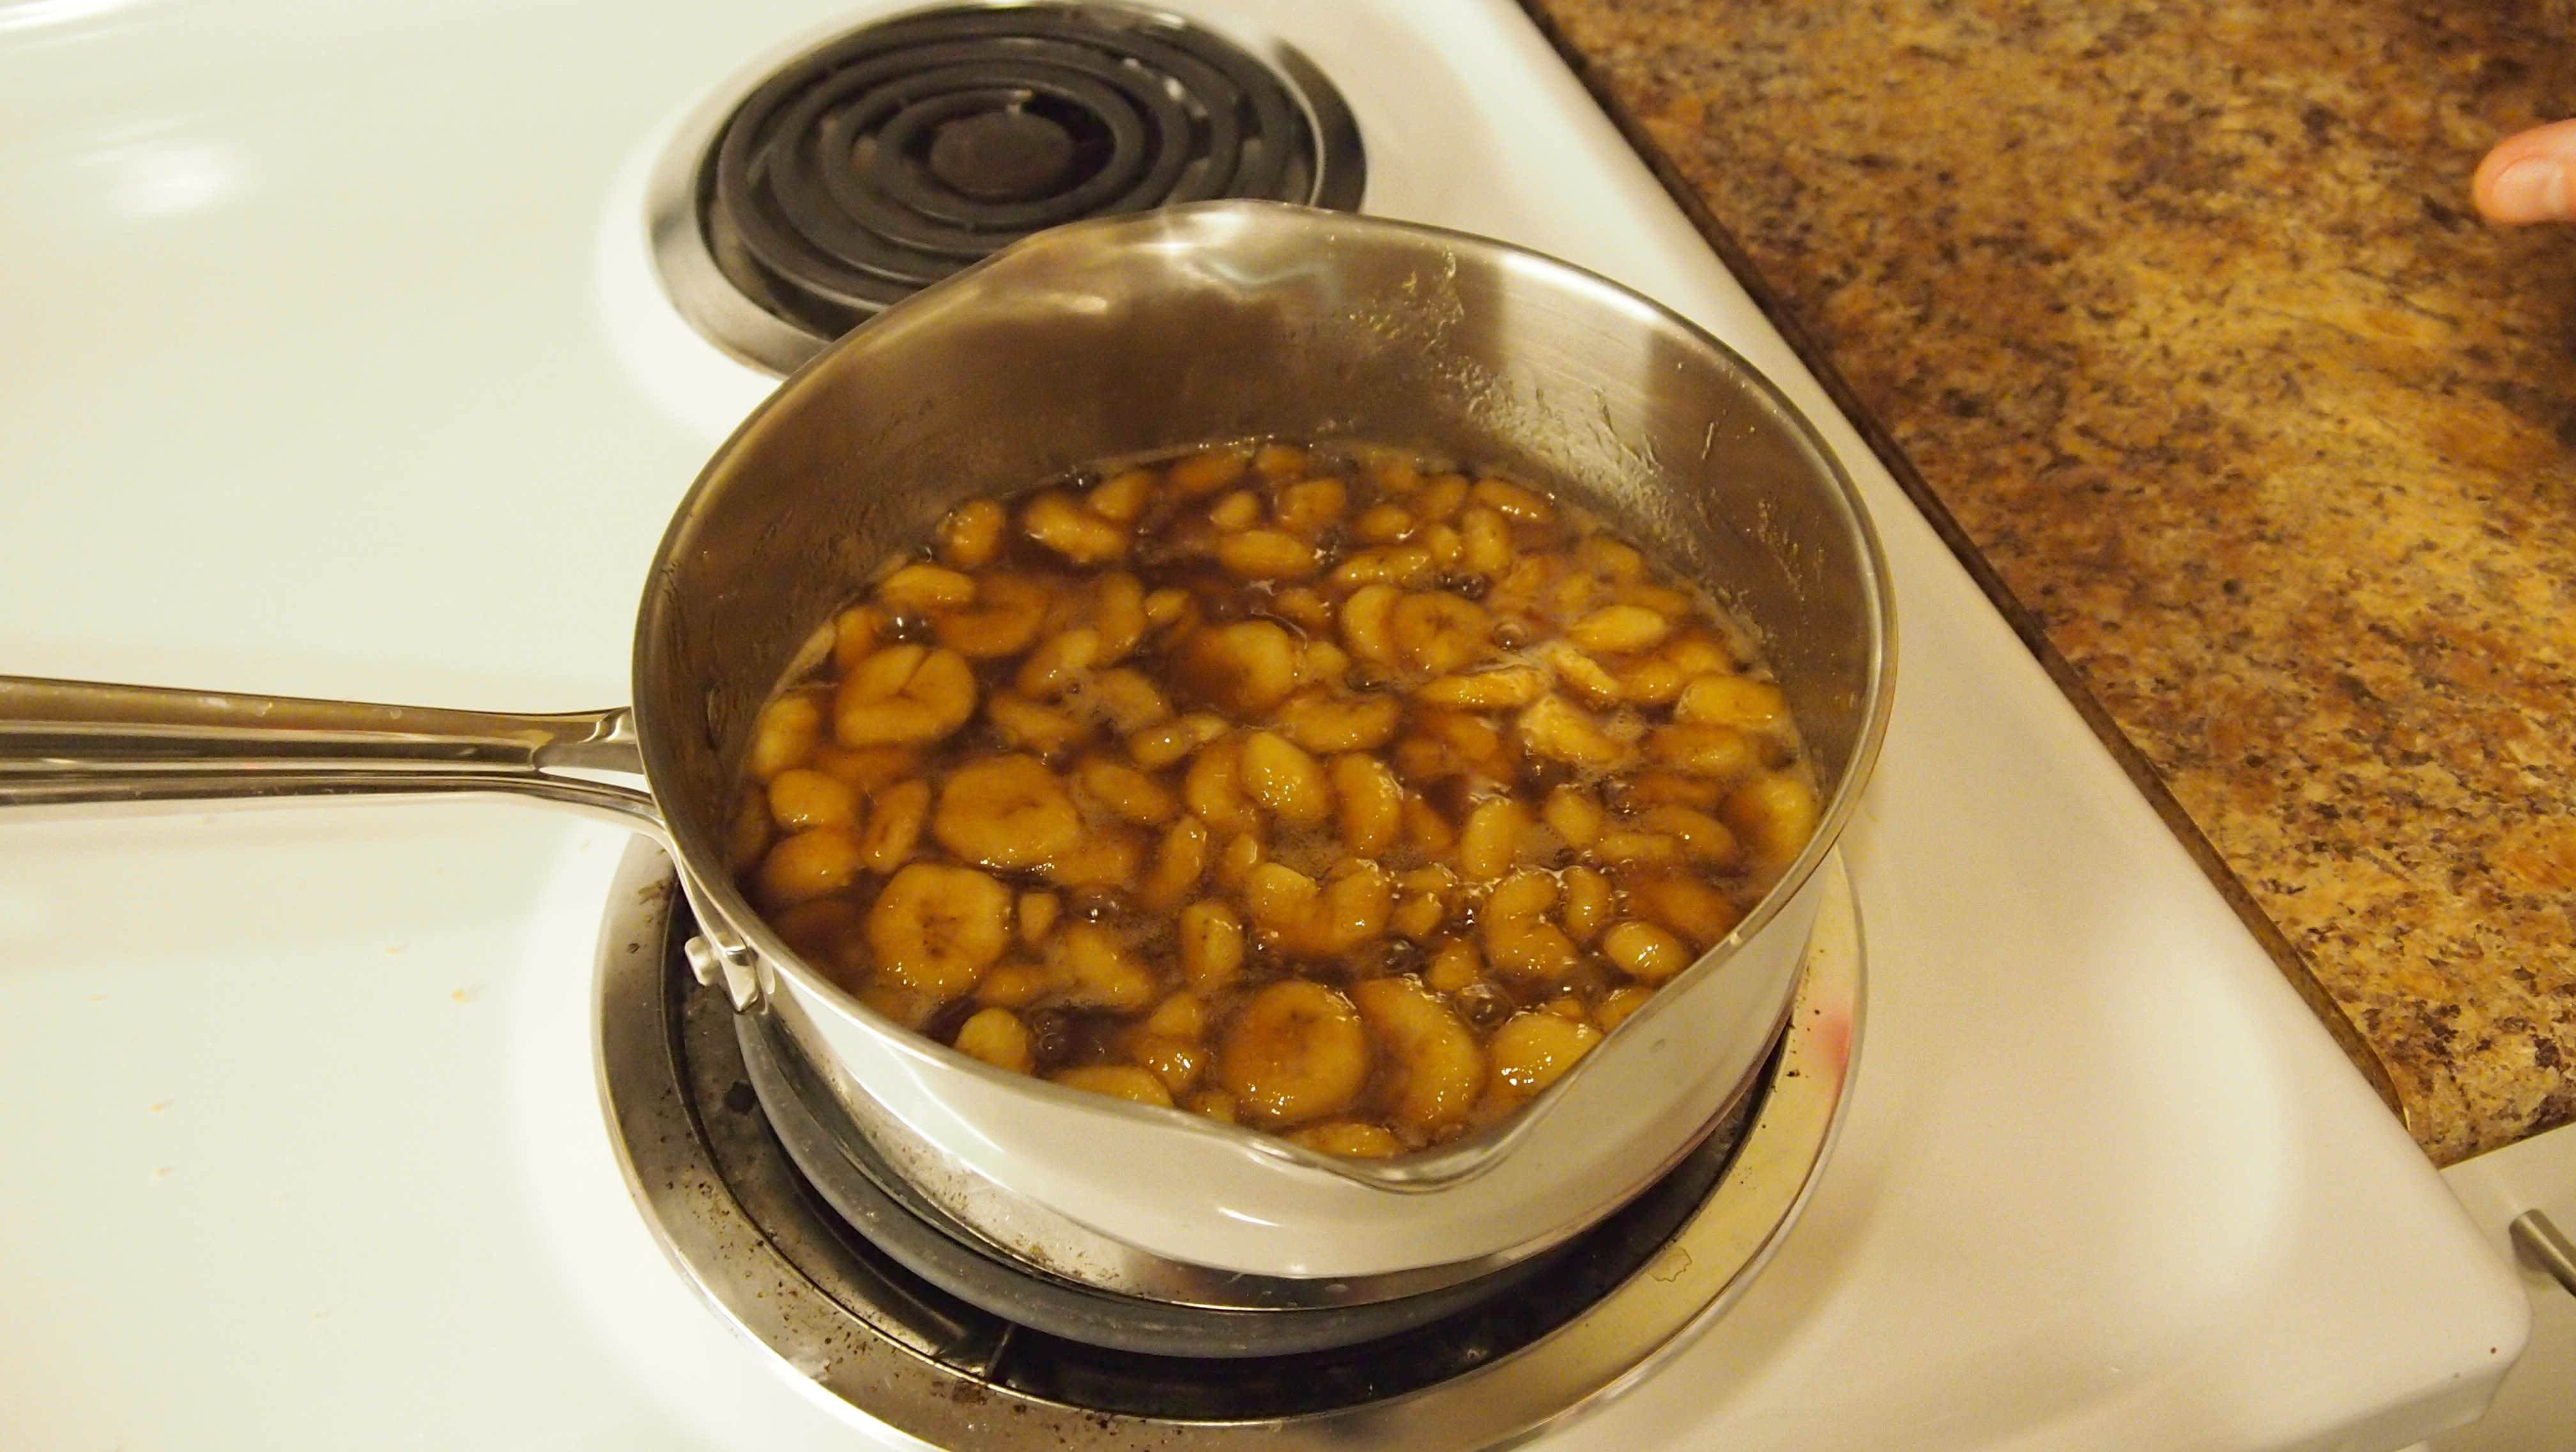
caramelizing the bananas
Recipe adapted from Cooking Light.
Sarah Coffey
Assistant to the Chair of Learning Initiatives