Archive for the 'Culinary Canvas' Category


Culinary Canvas: Cornflake Cookies

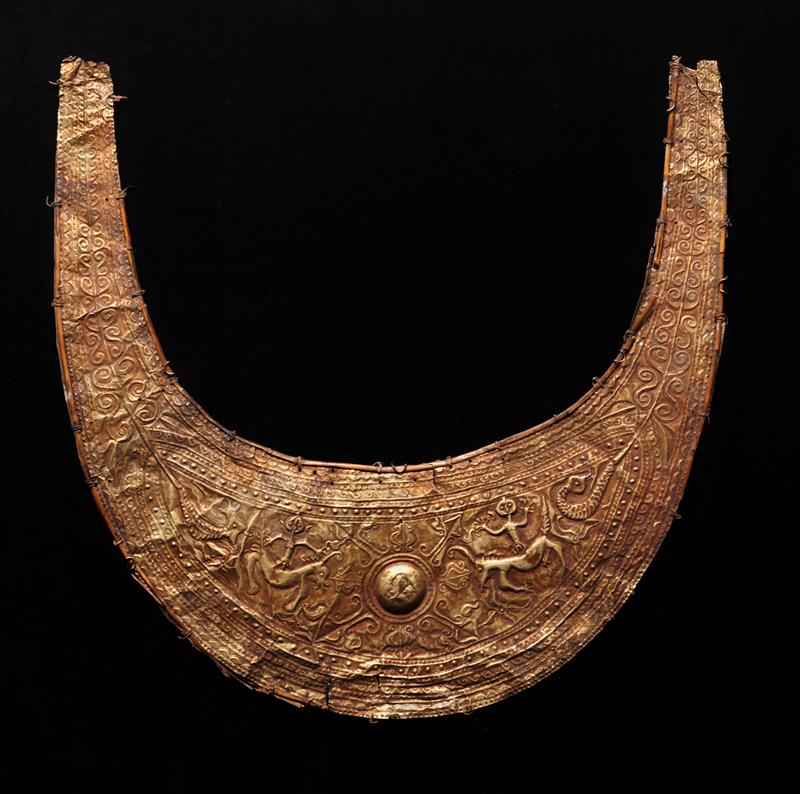
The Roaring Twenties continue to hold a certain allure in pop culture today, with movies like The Great Gatsby providing just one recent example. The era was not only one of glamour and excess, but also one of innovation and modernization, characterized by new inventions, new music, and the “New Woman,” who had greater freedom than ever before. The booming economy provided the average consumer with extra money to spend, and the advent of mass advertising ensured that name brands were in high demand. Razor, the DMA’s iconic 1924 painting by Gerald Murphy, perfectly embodies this period: the matches, pen, and razor would have been easily recognizable and understood as the necessary accoutrement of the modern man. As part of this burgeoning commercial era, newly available food products like boxed cereal and marshmallows became a favorite addition to recipes of the time, which focused on quick yet dainty dishes that could be easily whipped up by the busy working girl. Try out this month’s vintage recipe and and see if you find it just as nifty as the decade itself.

1963_74_FA

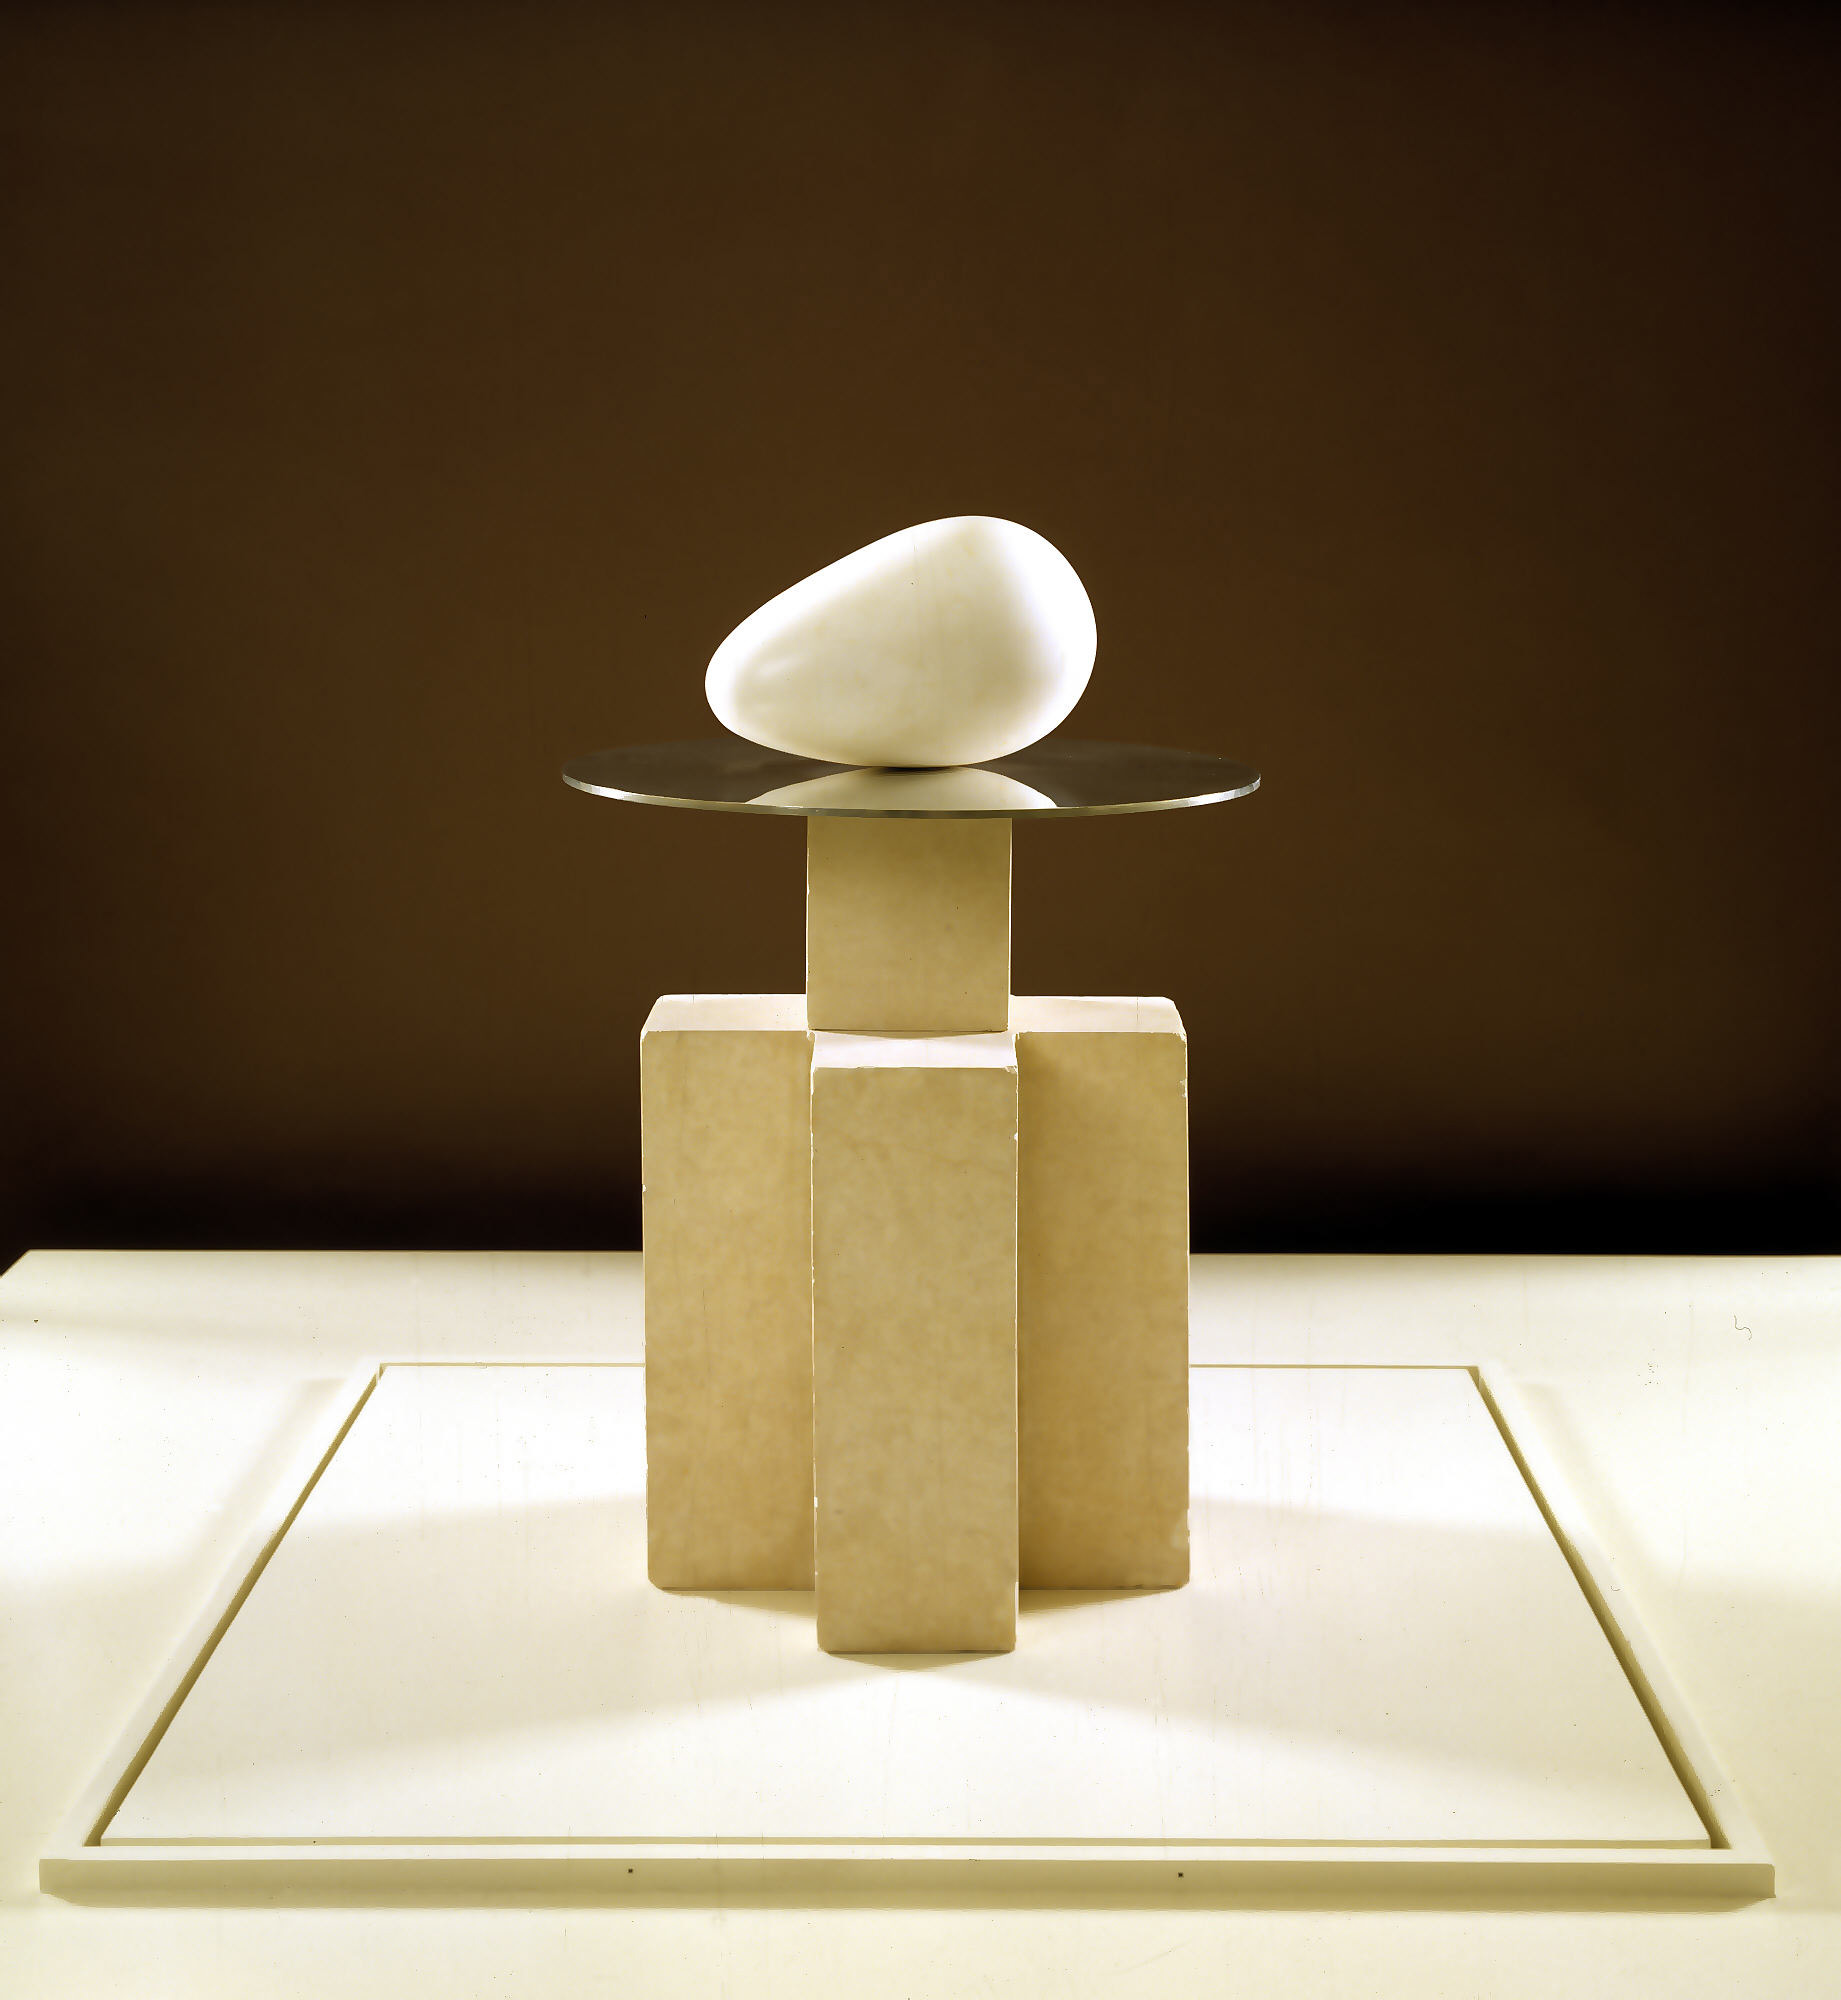
Gerald Murphy, Razor, 1924, Dallas Museum of Art, Foundation for the Arts Collection, gift of the artist
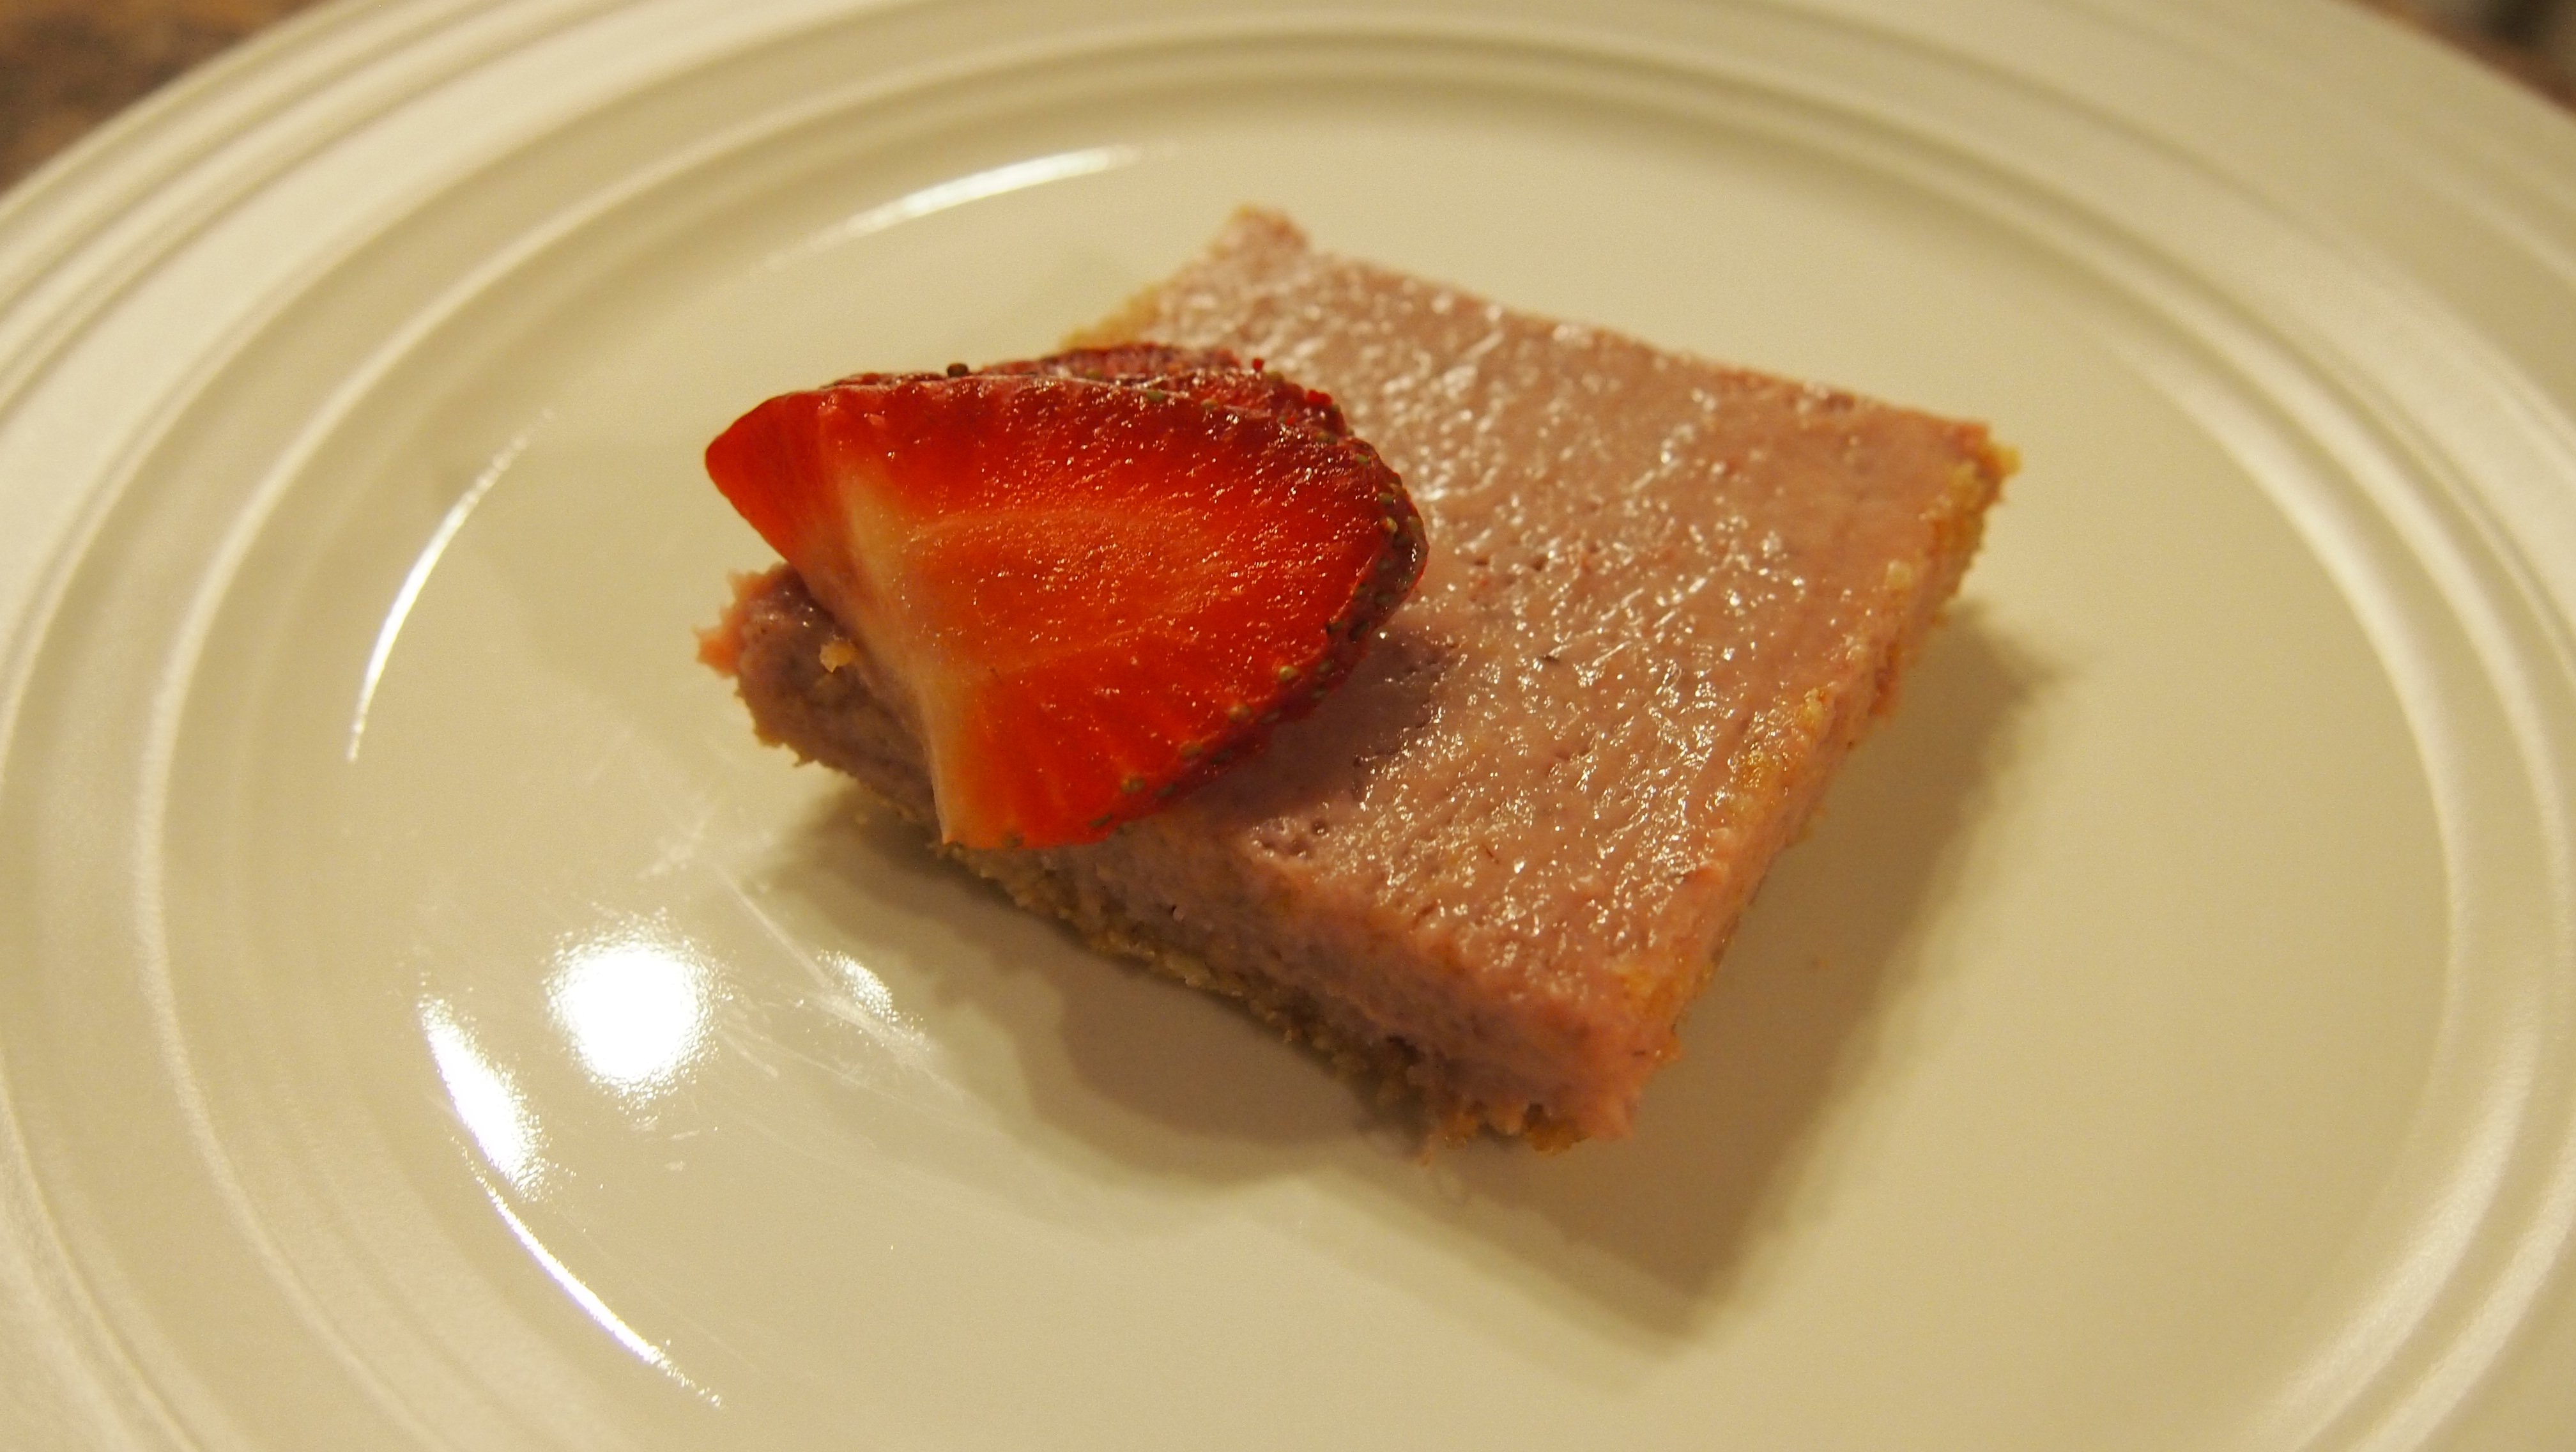
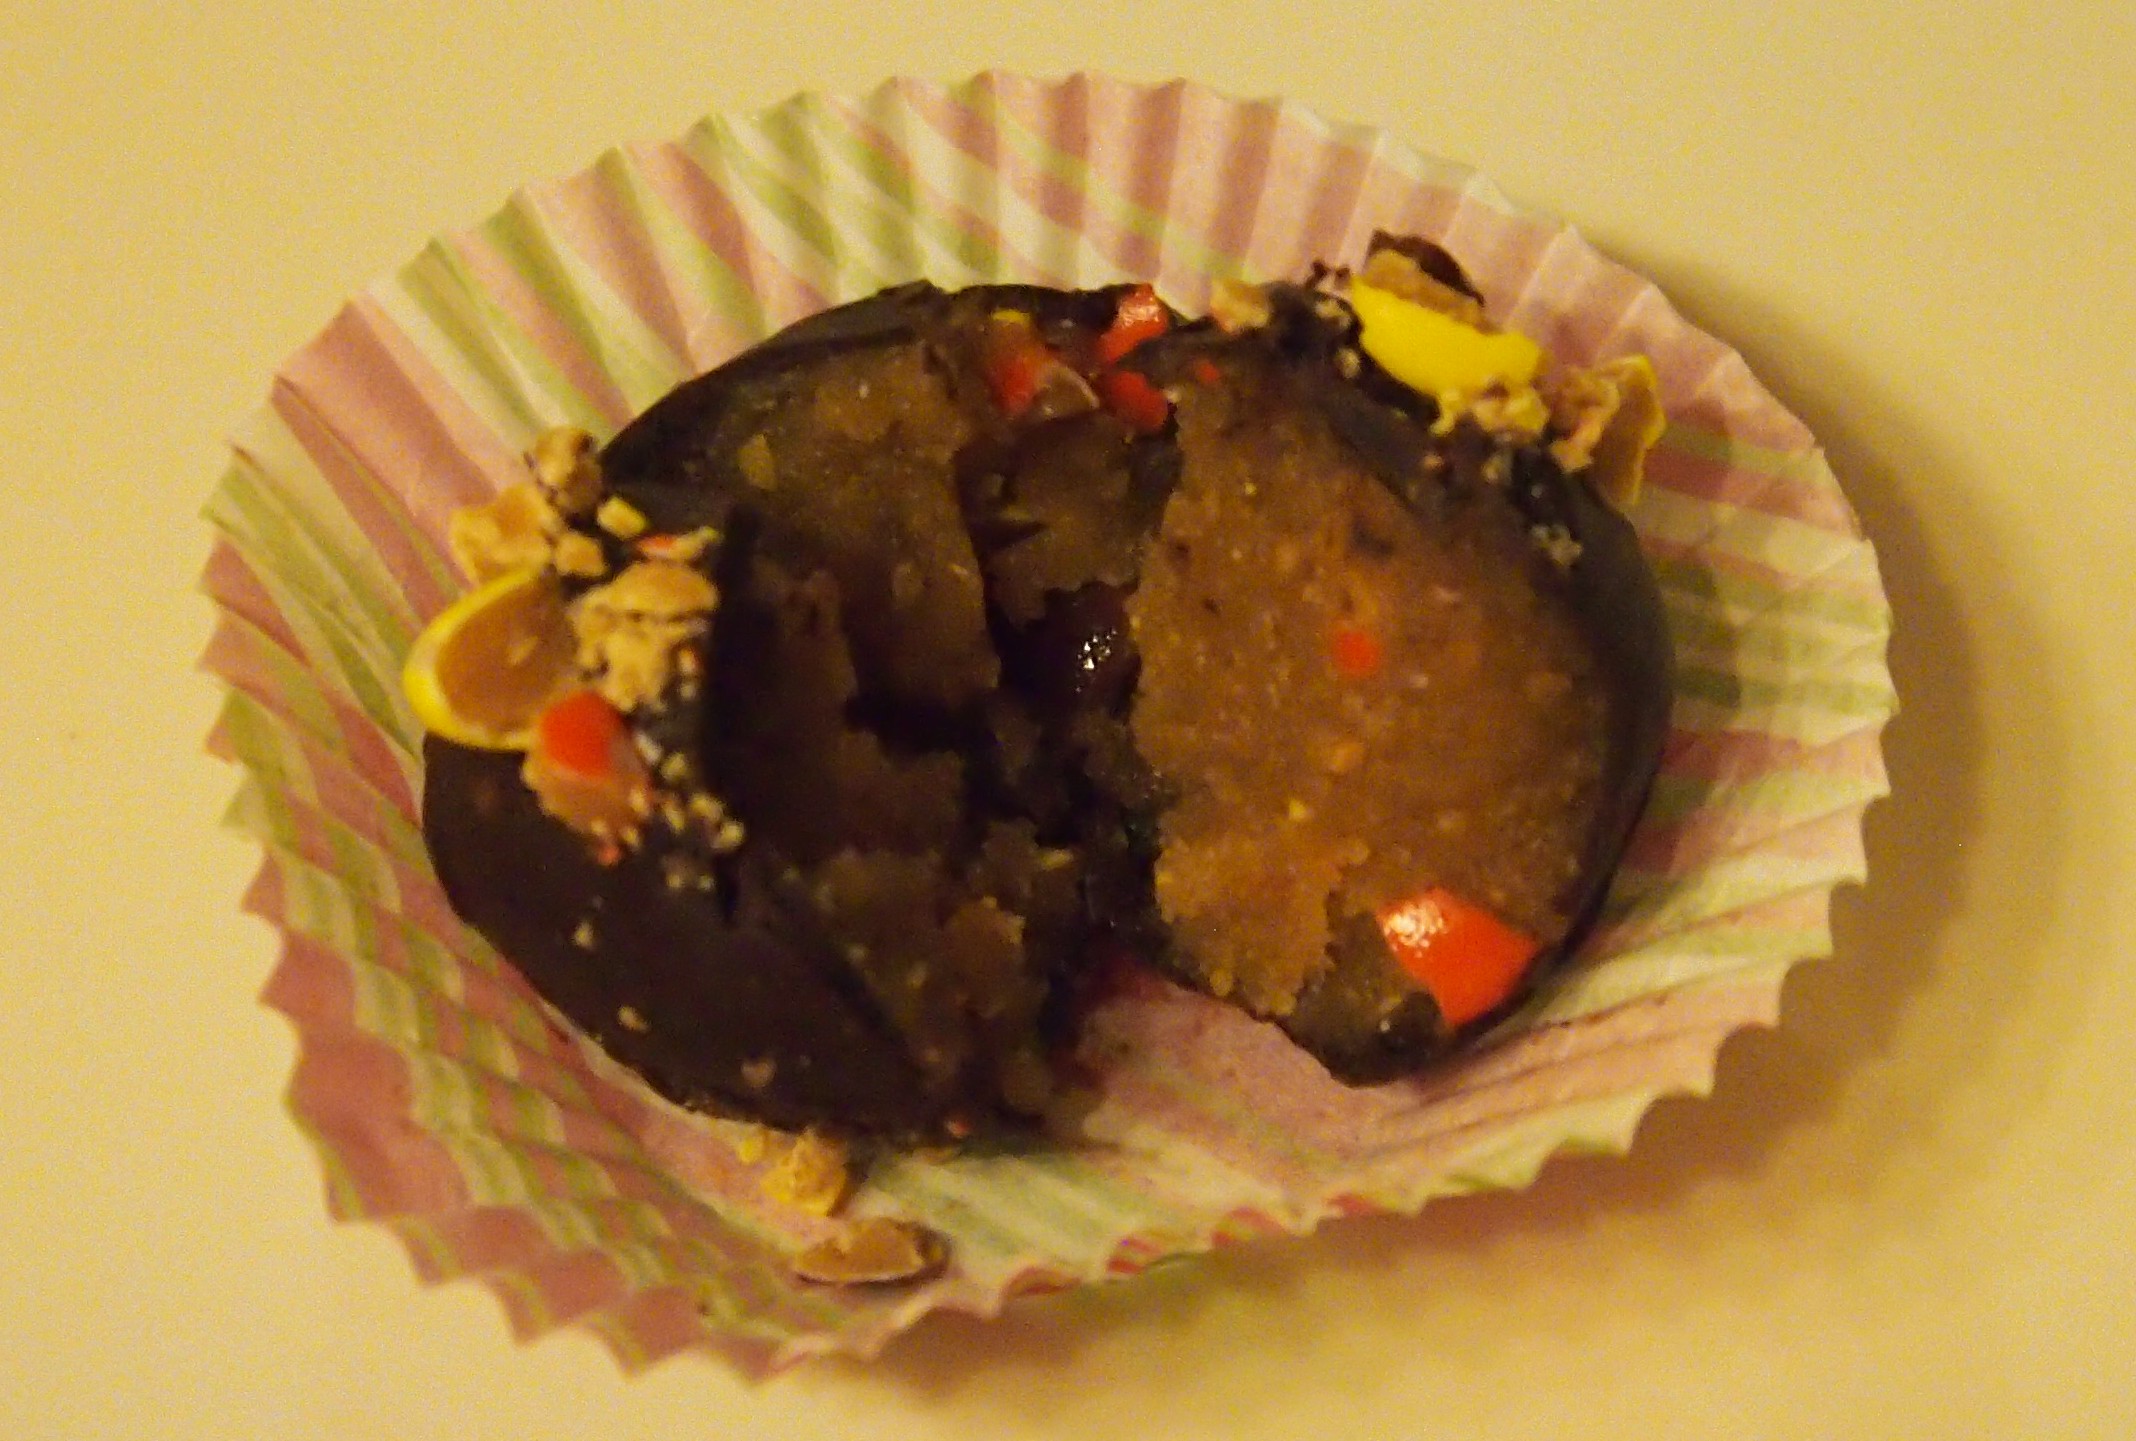
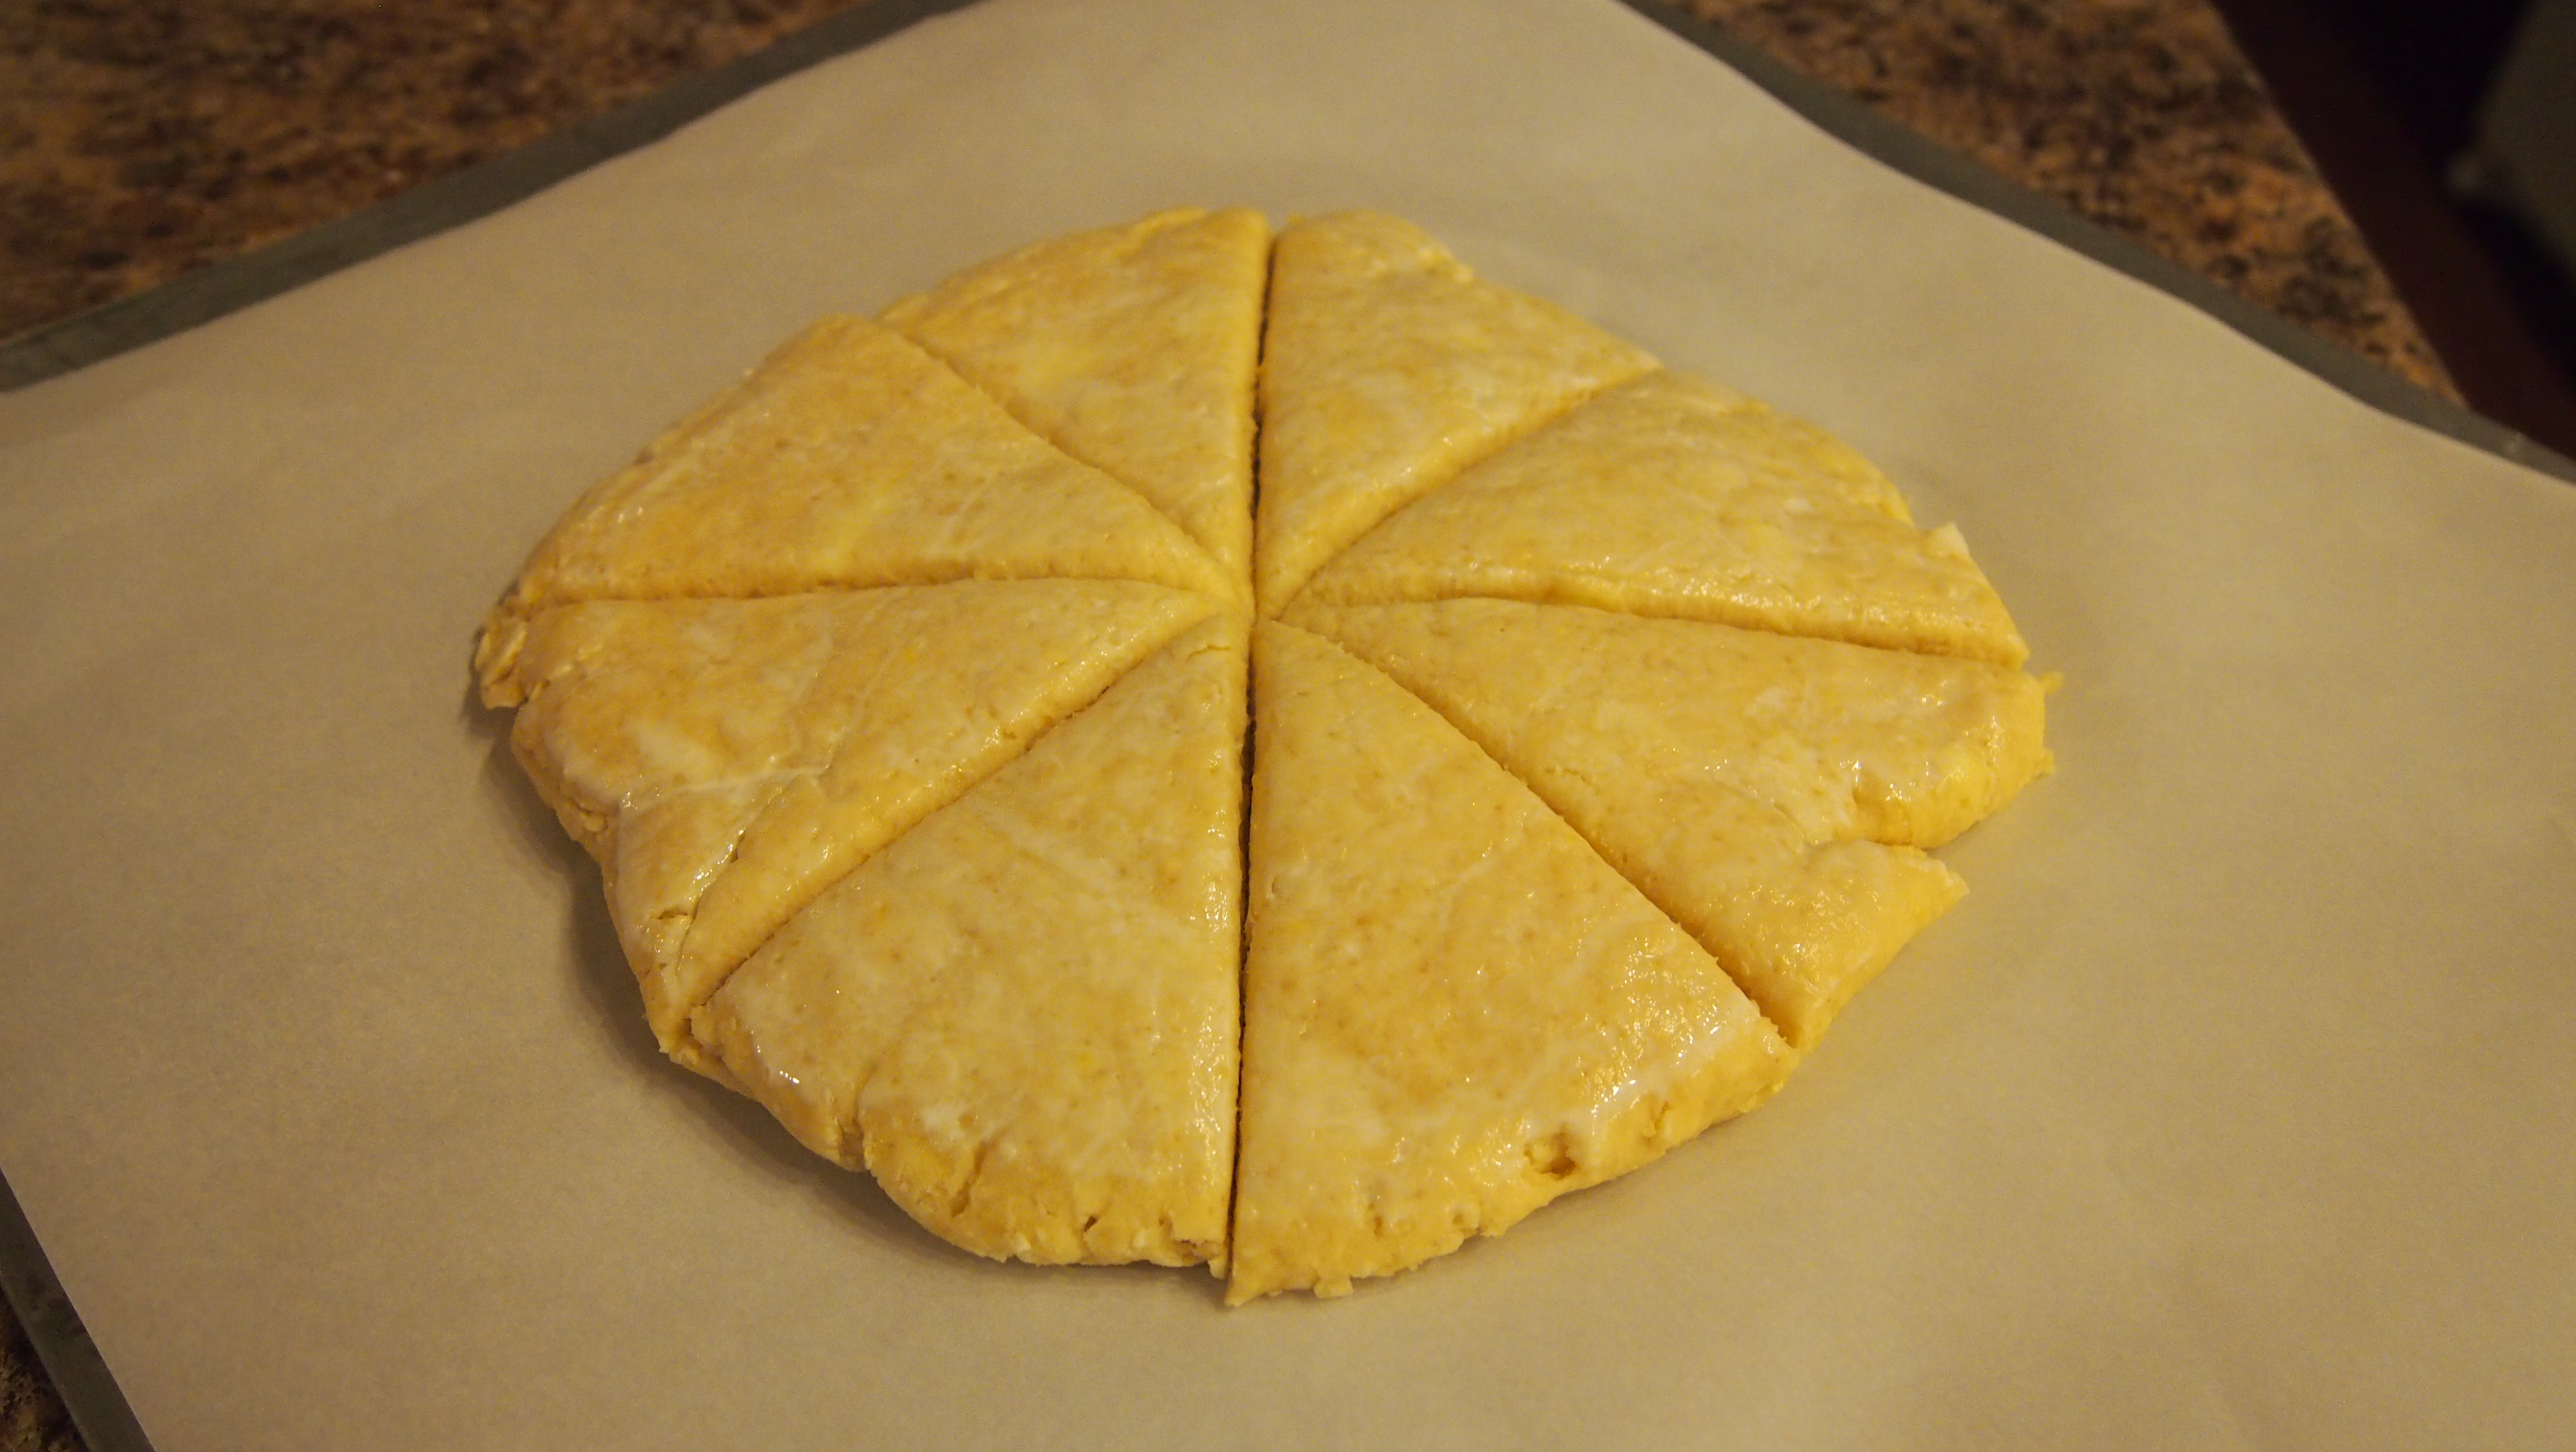
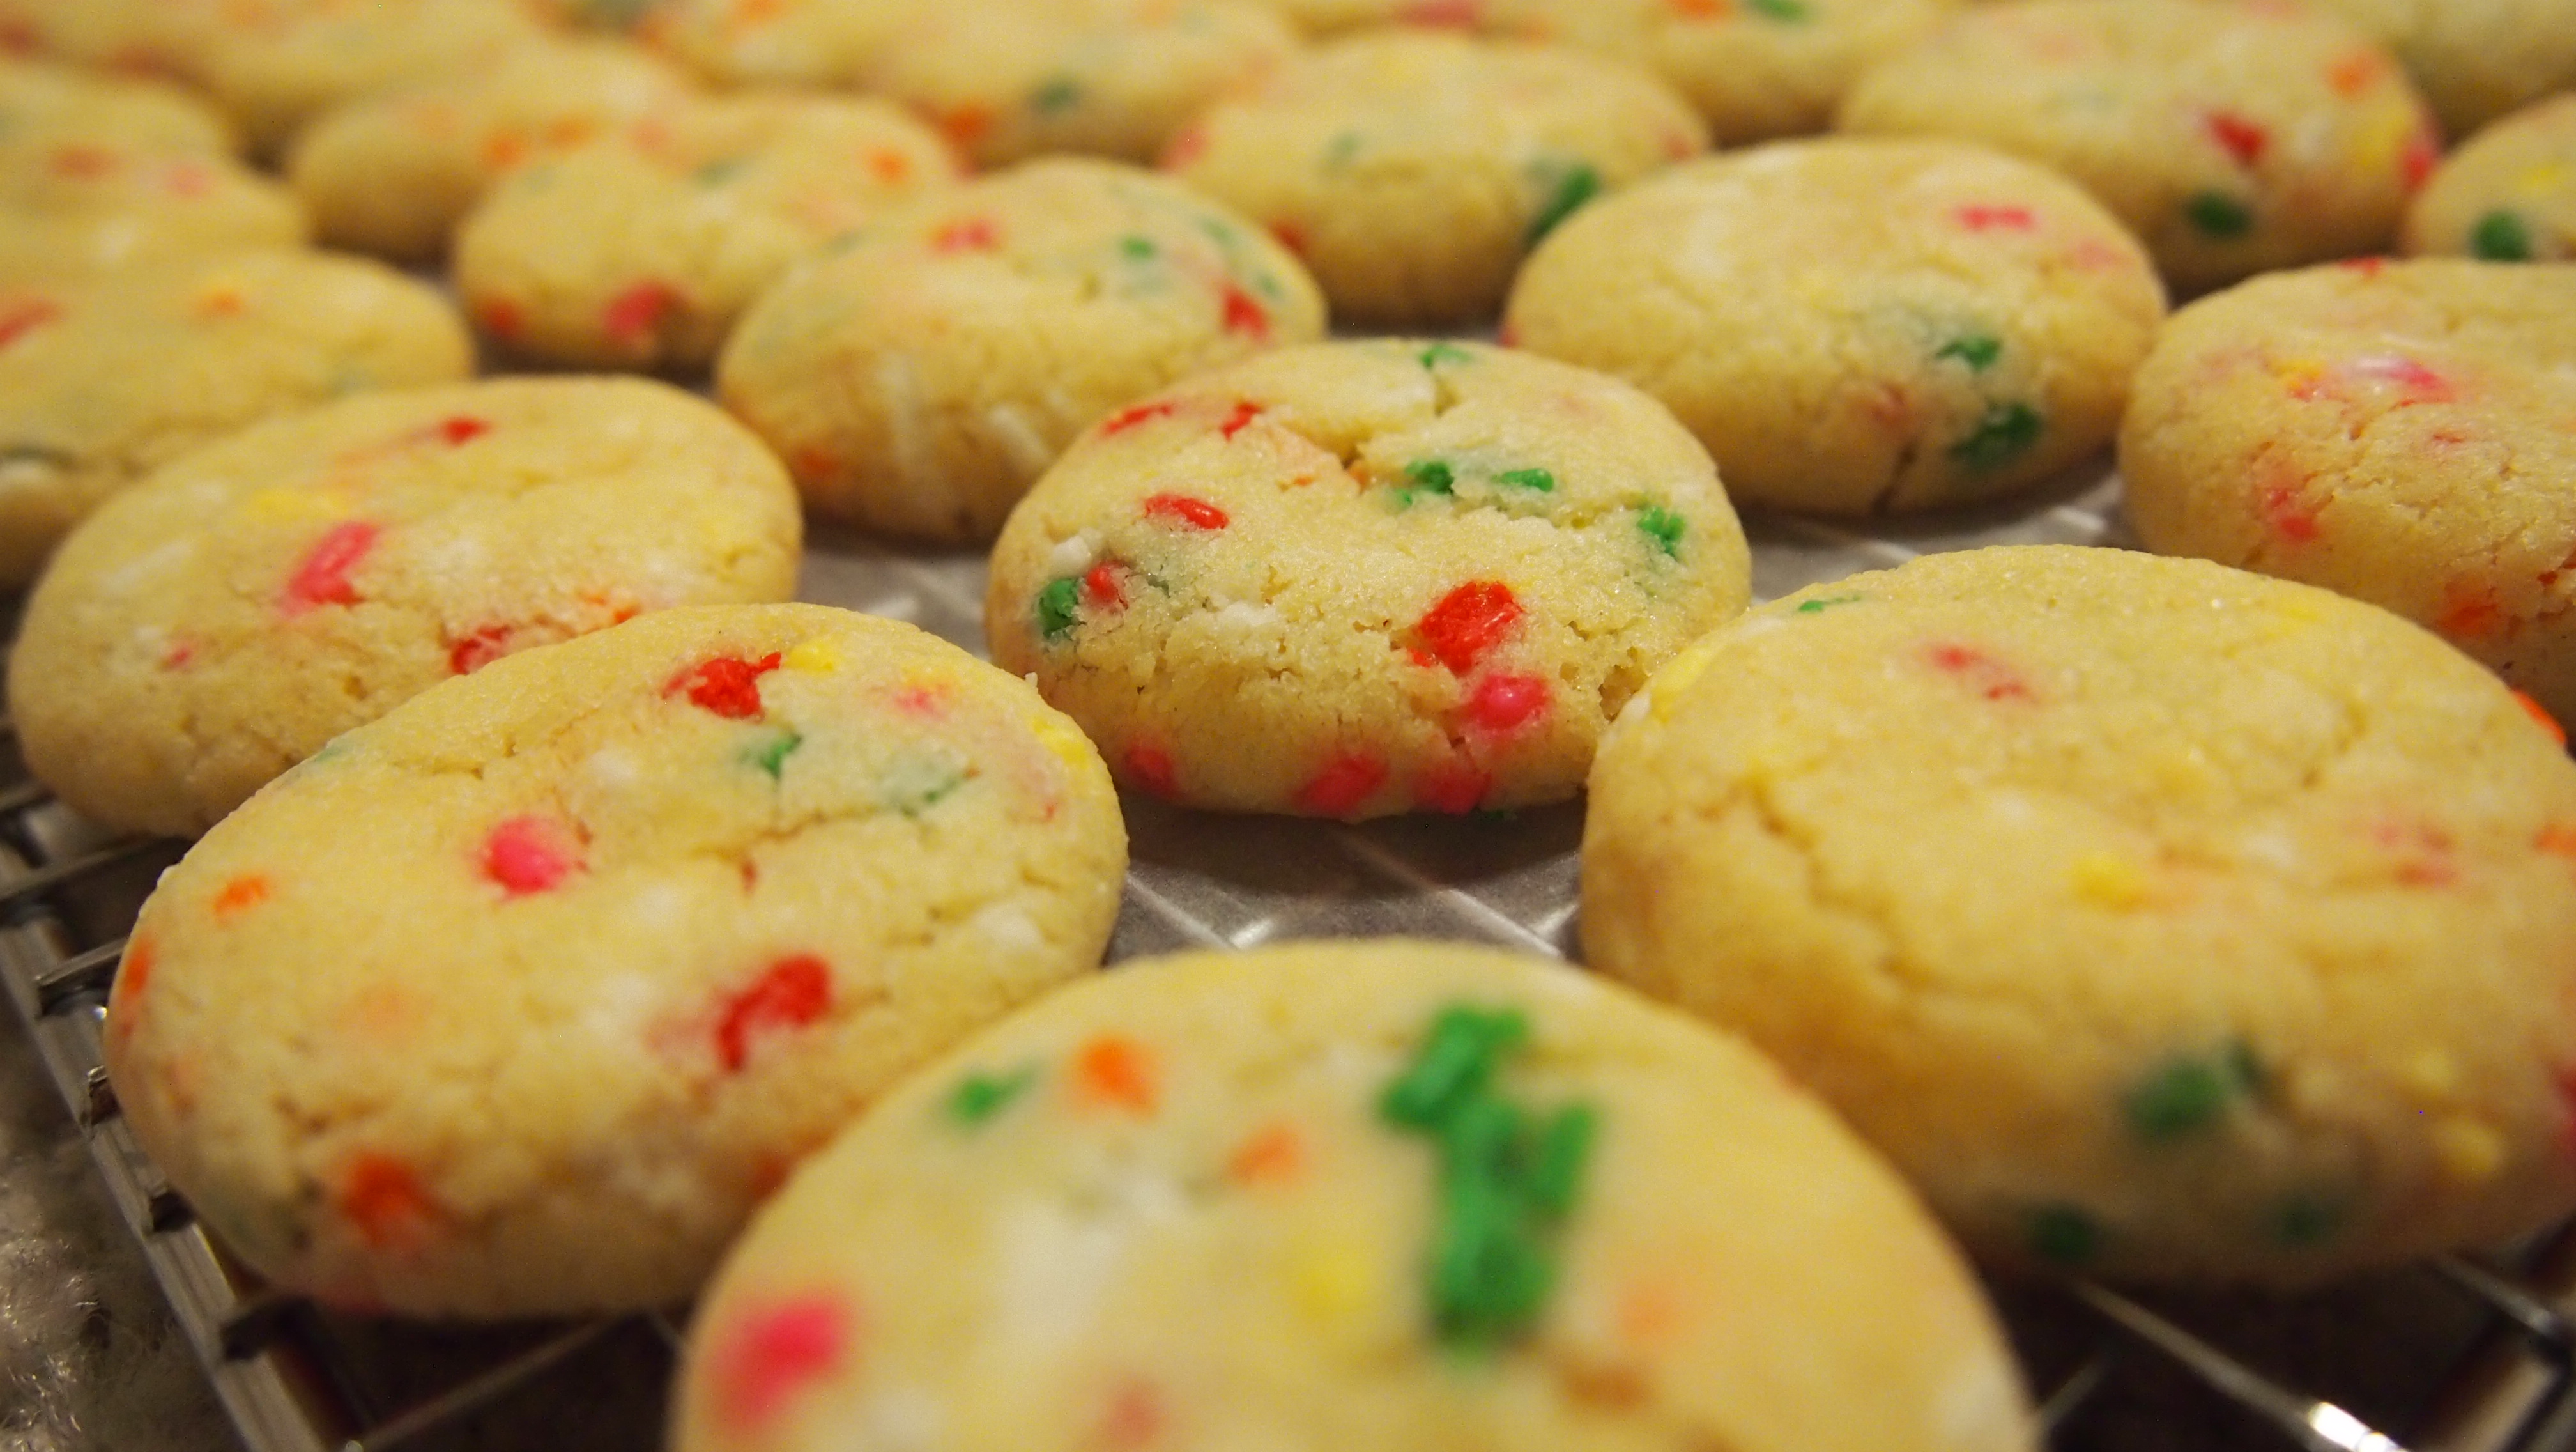
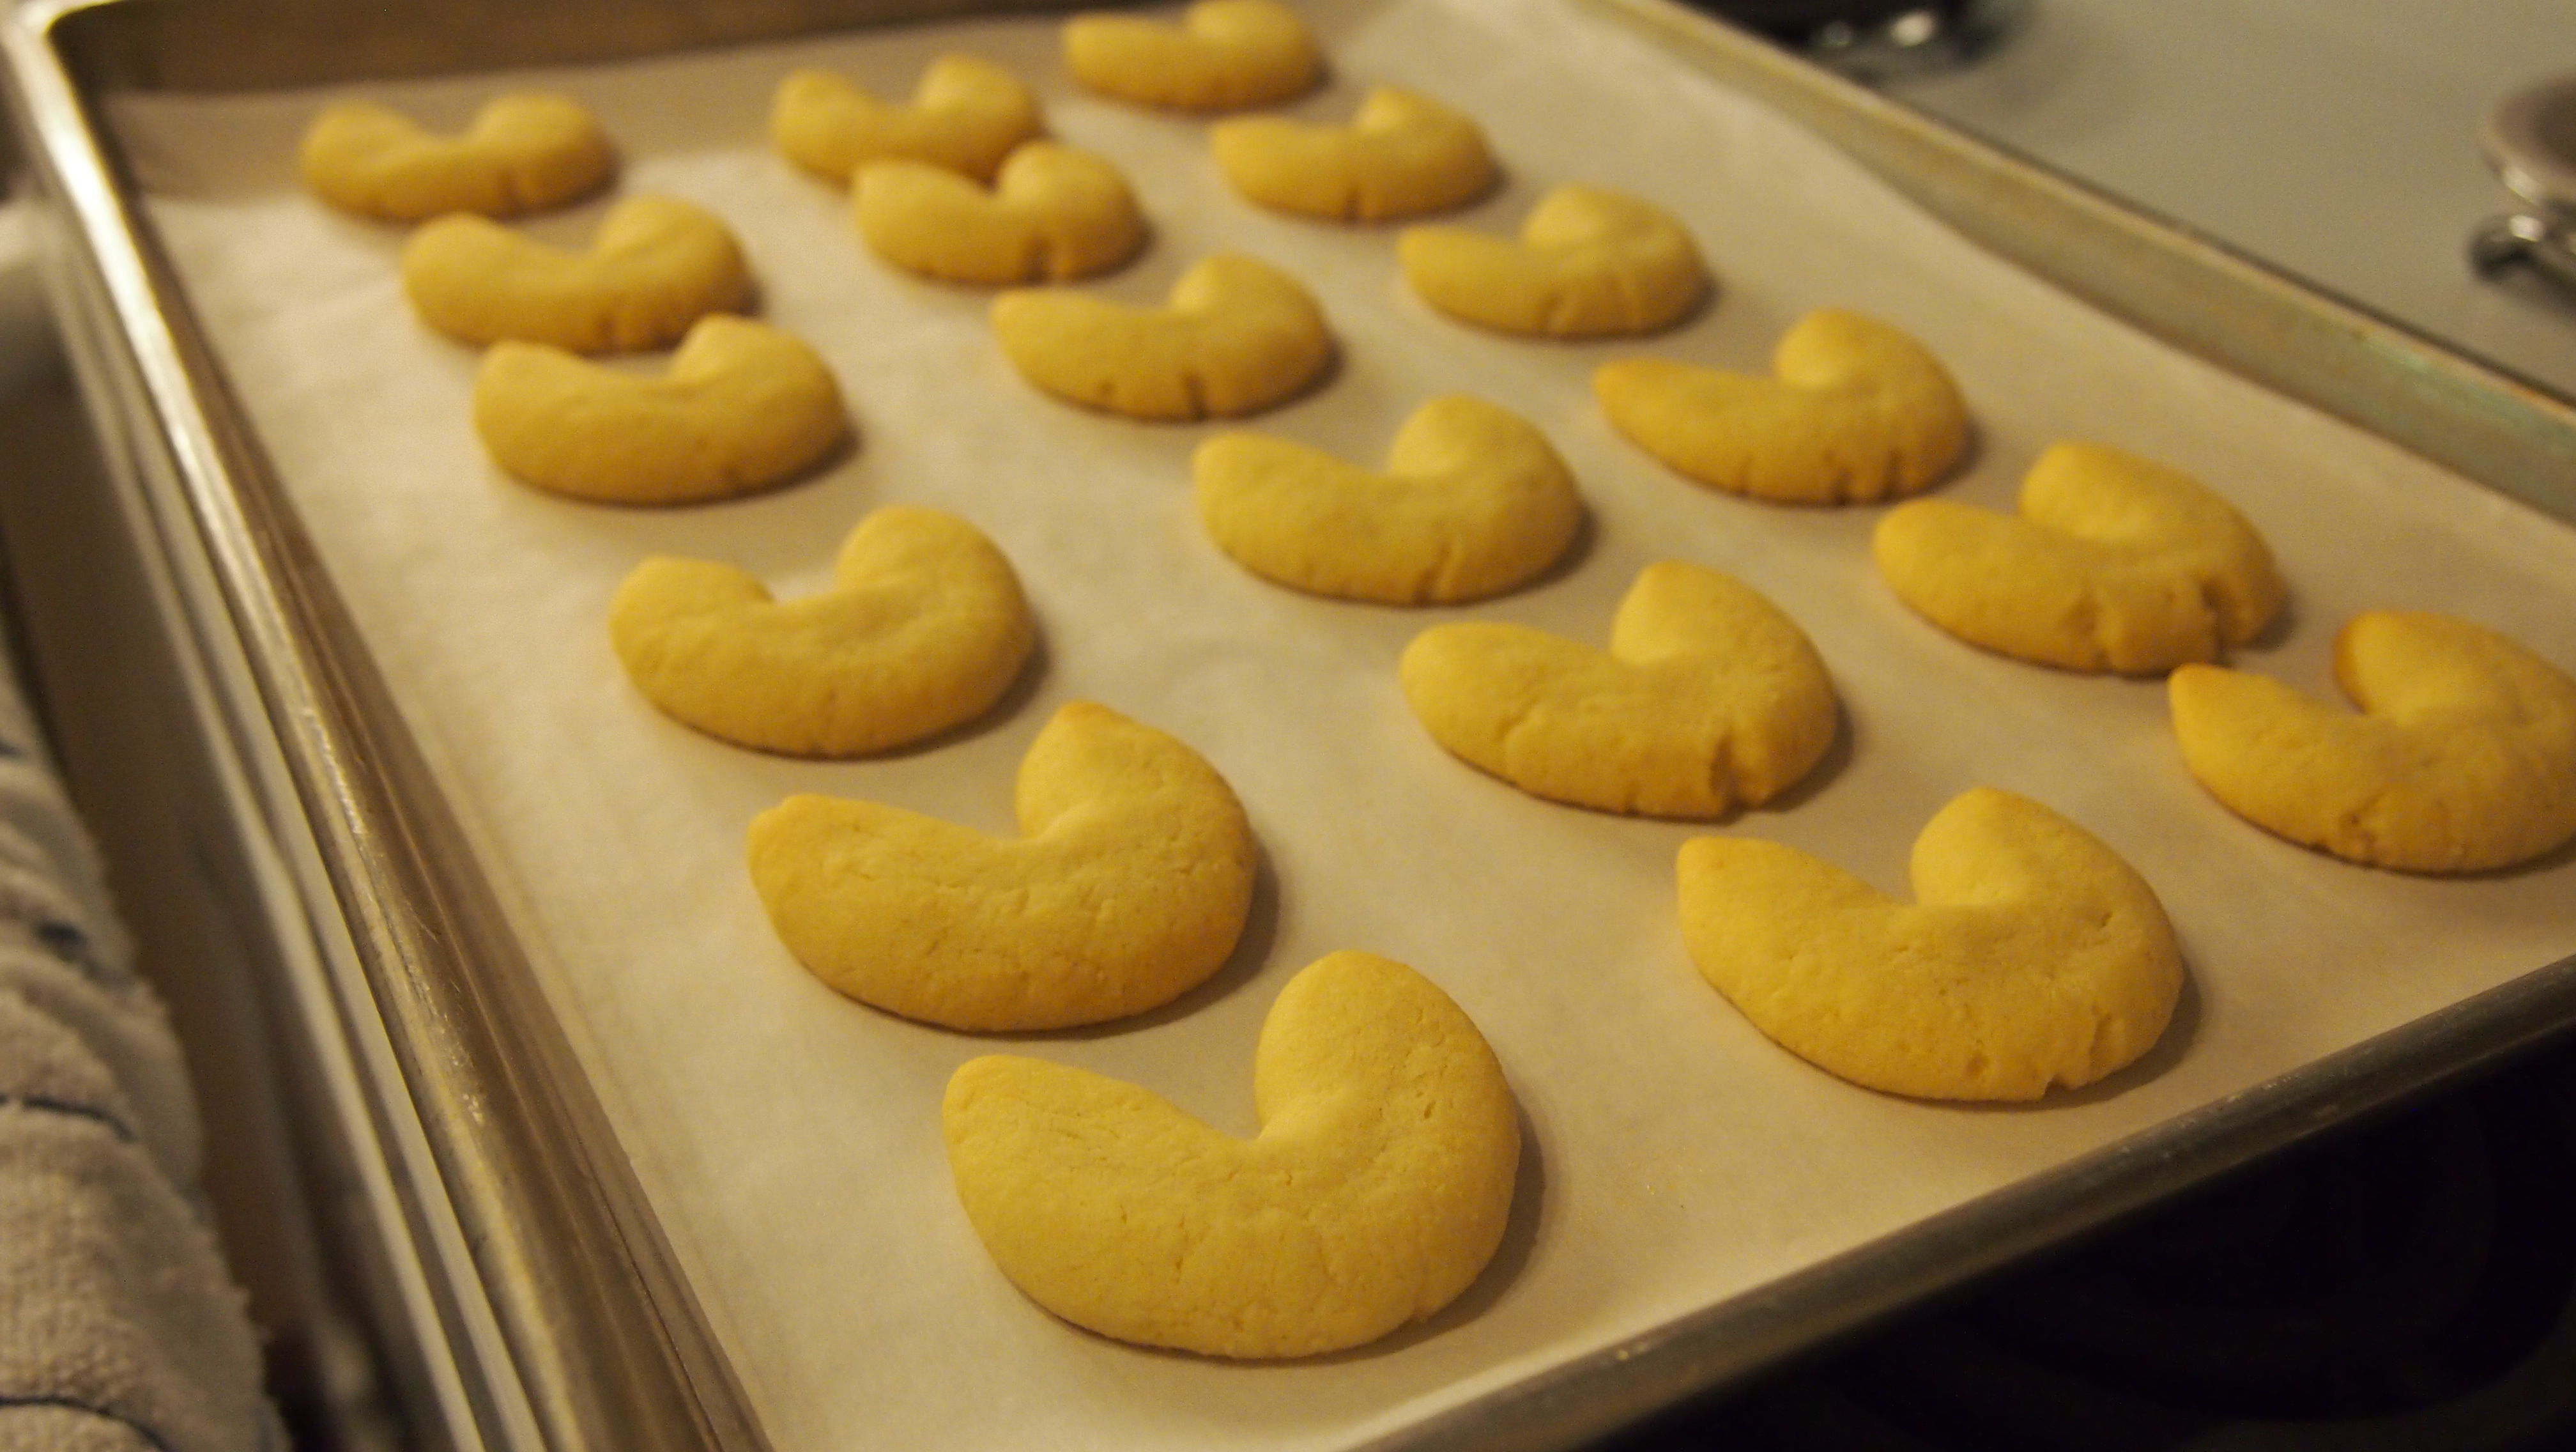
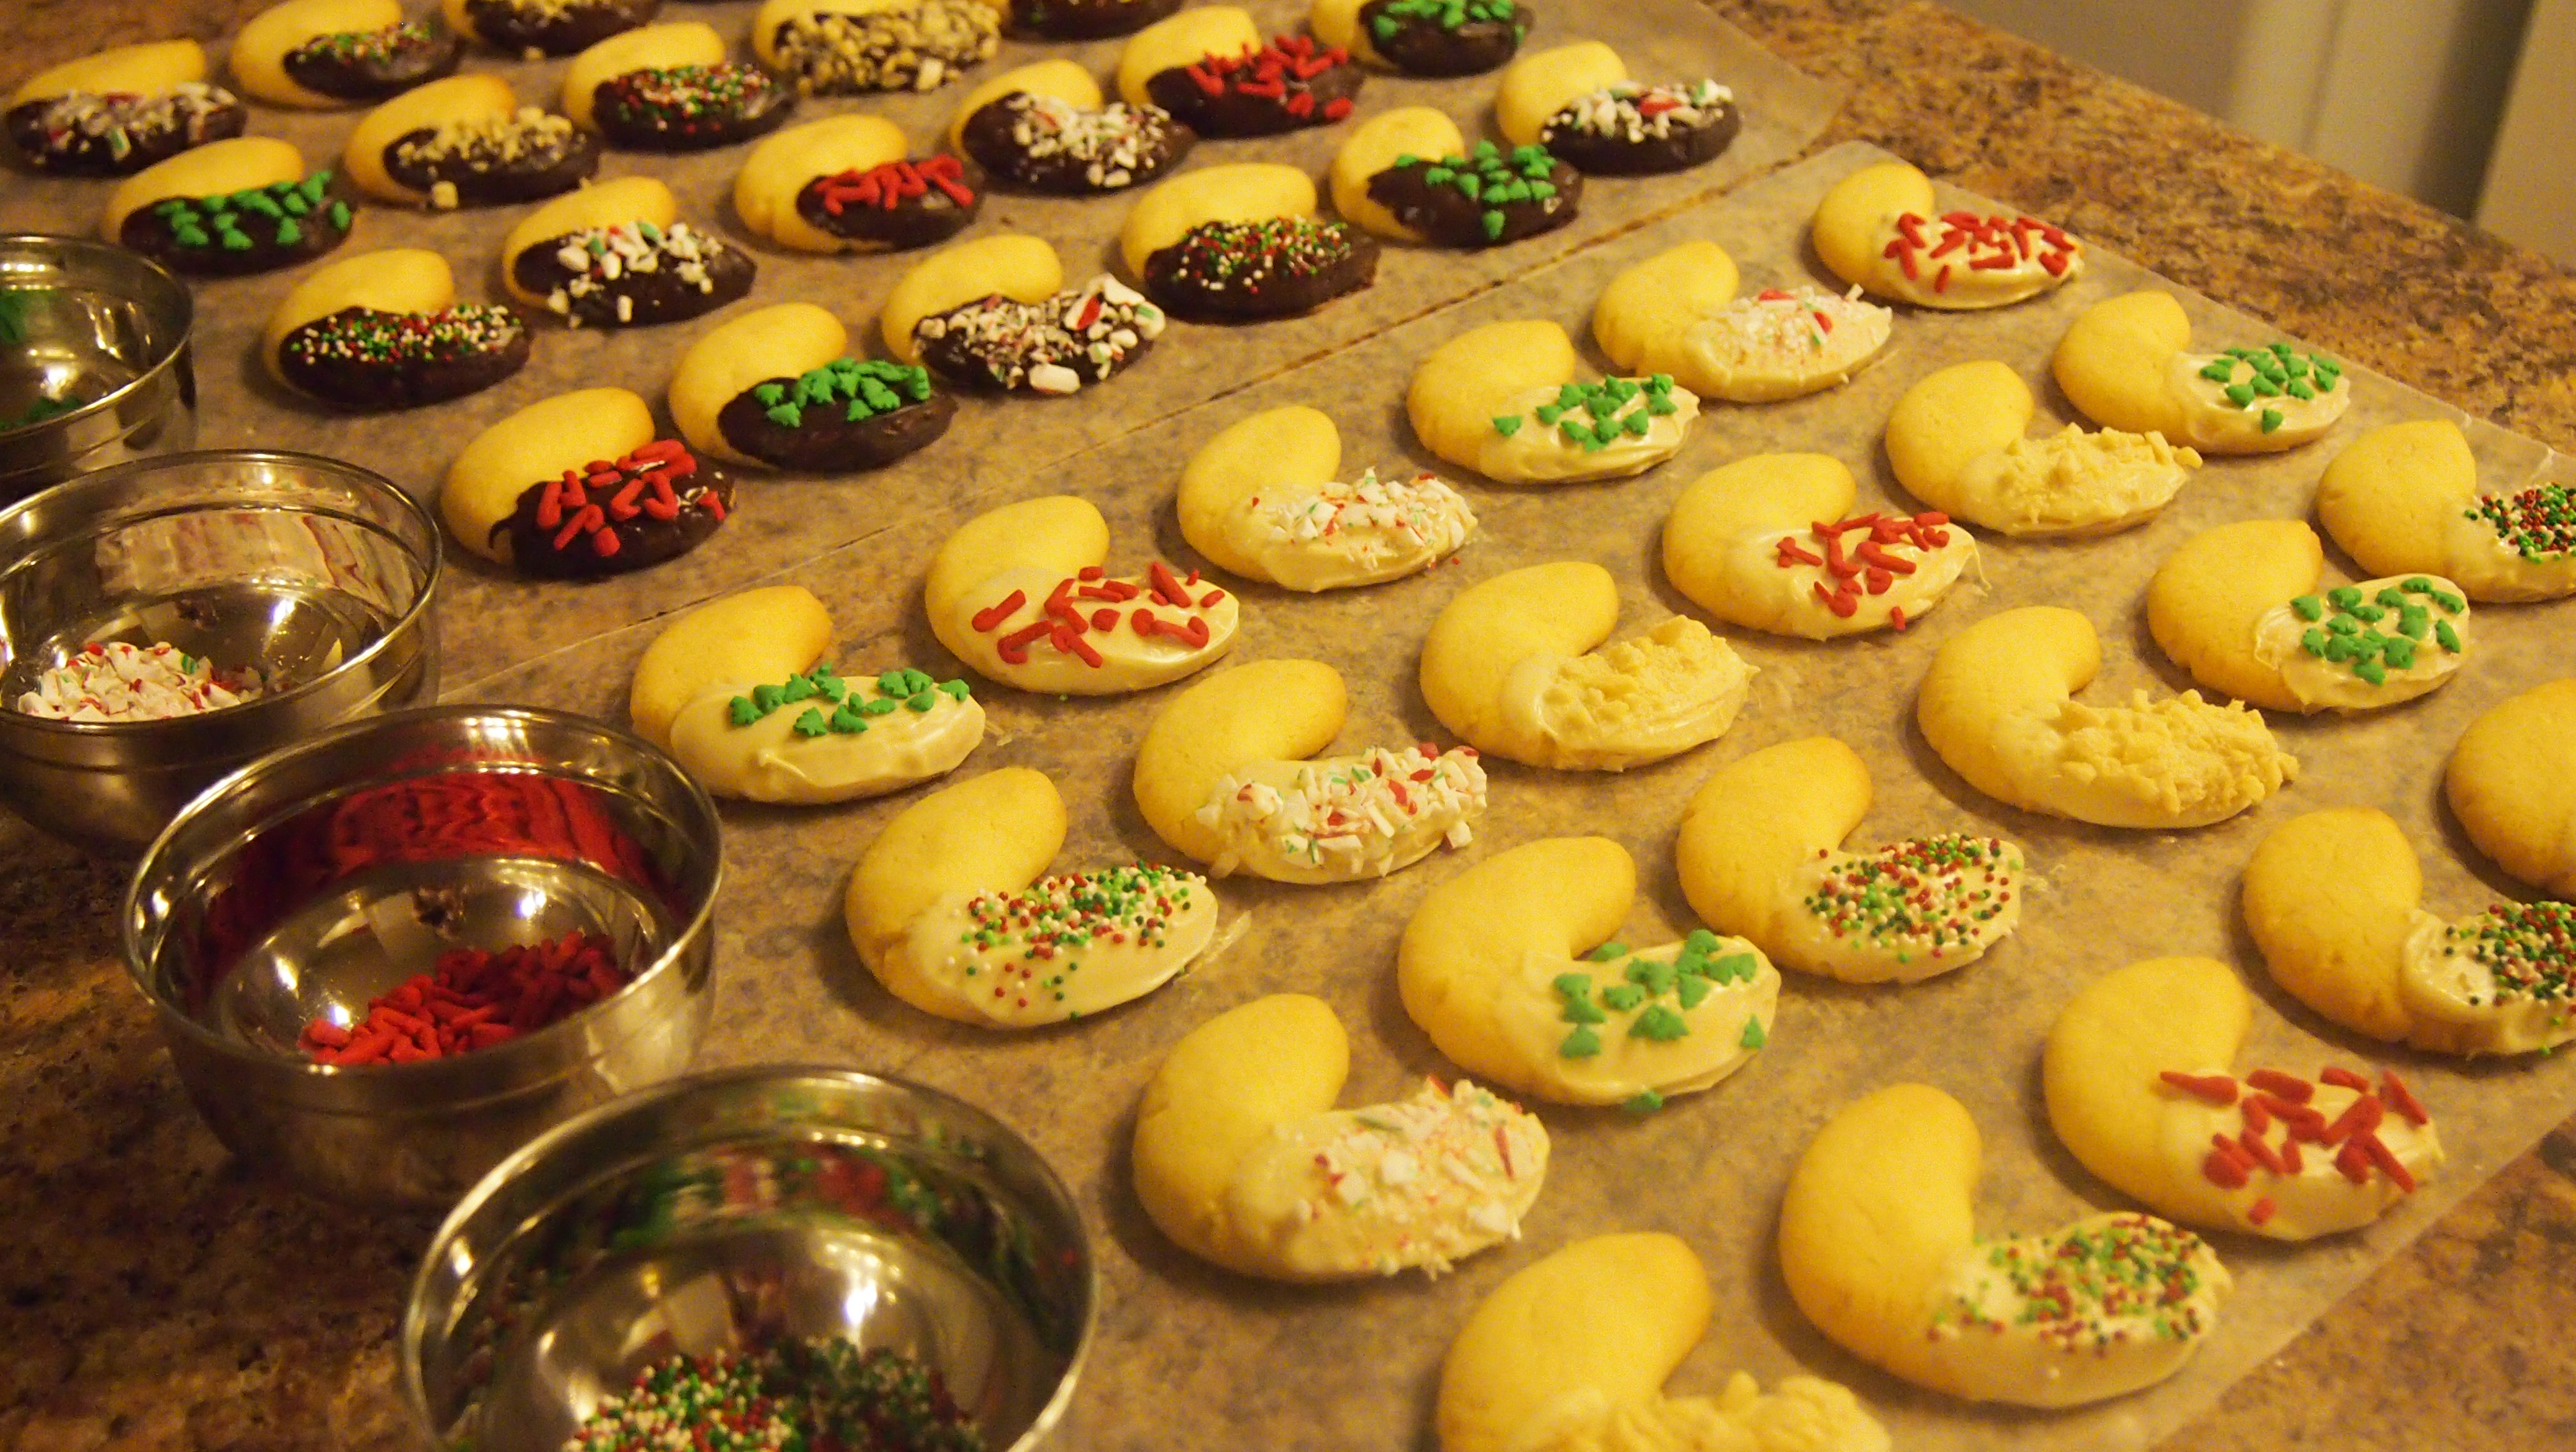
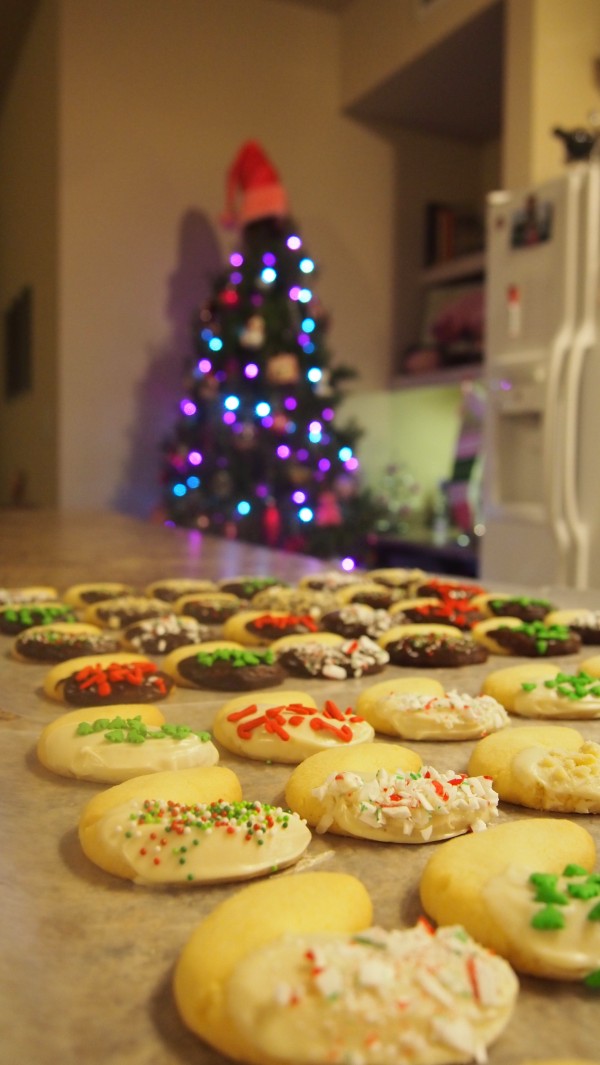
Cornflake Cookies

Yields about 24 cookies
Level: Easy

¾ cup packed brown sugar
¼ cup white sugar
4 egg whites, room temperature
pinch of salt
1 teaspoon vanilla
1 cup toasted walnuts, finely chopped
1 cup cornflake cereal, crushed
1 cup marshmallows
½ cup chocolate chips (optional, for additional sweetness)

Preheat oven to 325° F. Line rimmed baking sheet with parchment paper.

In small bowl, stir together brown sugar and white sugar. In the bowl of a stand mixer fitted with whisk attachment, beat egg whites on low until frothy, about 30 seconds. Add salt and vanilla. Continue beating on medium-high, slowly adding sugar, until stiff peaks form. Watch closely to ensure whites are not over-beaten.

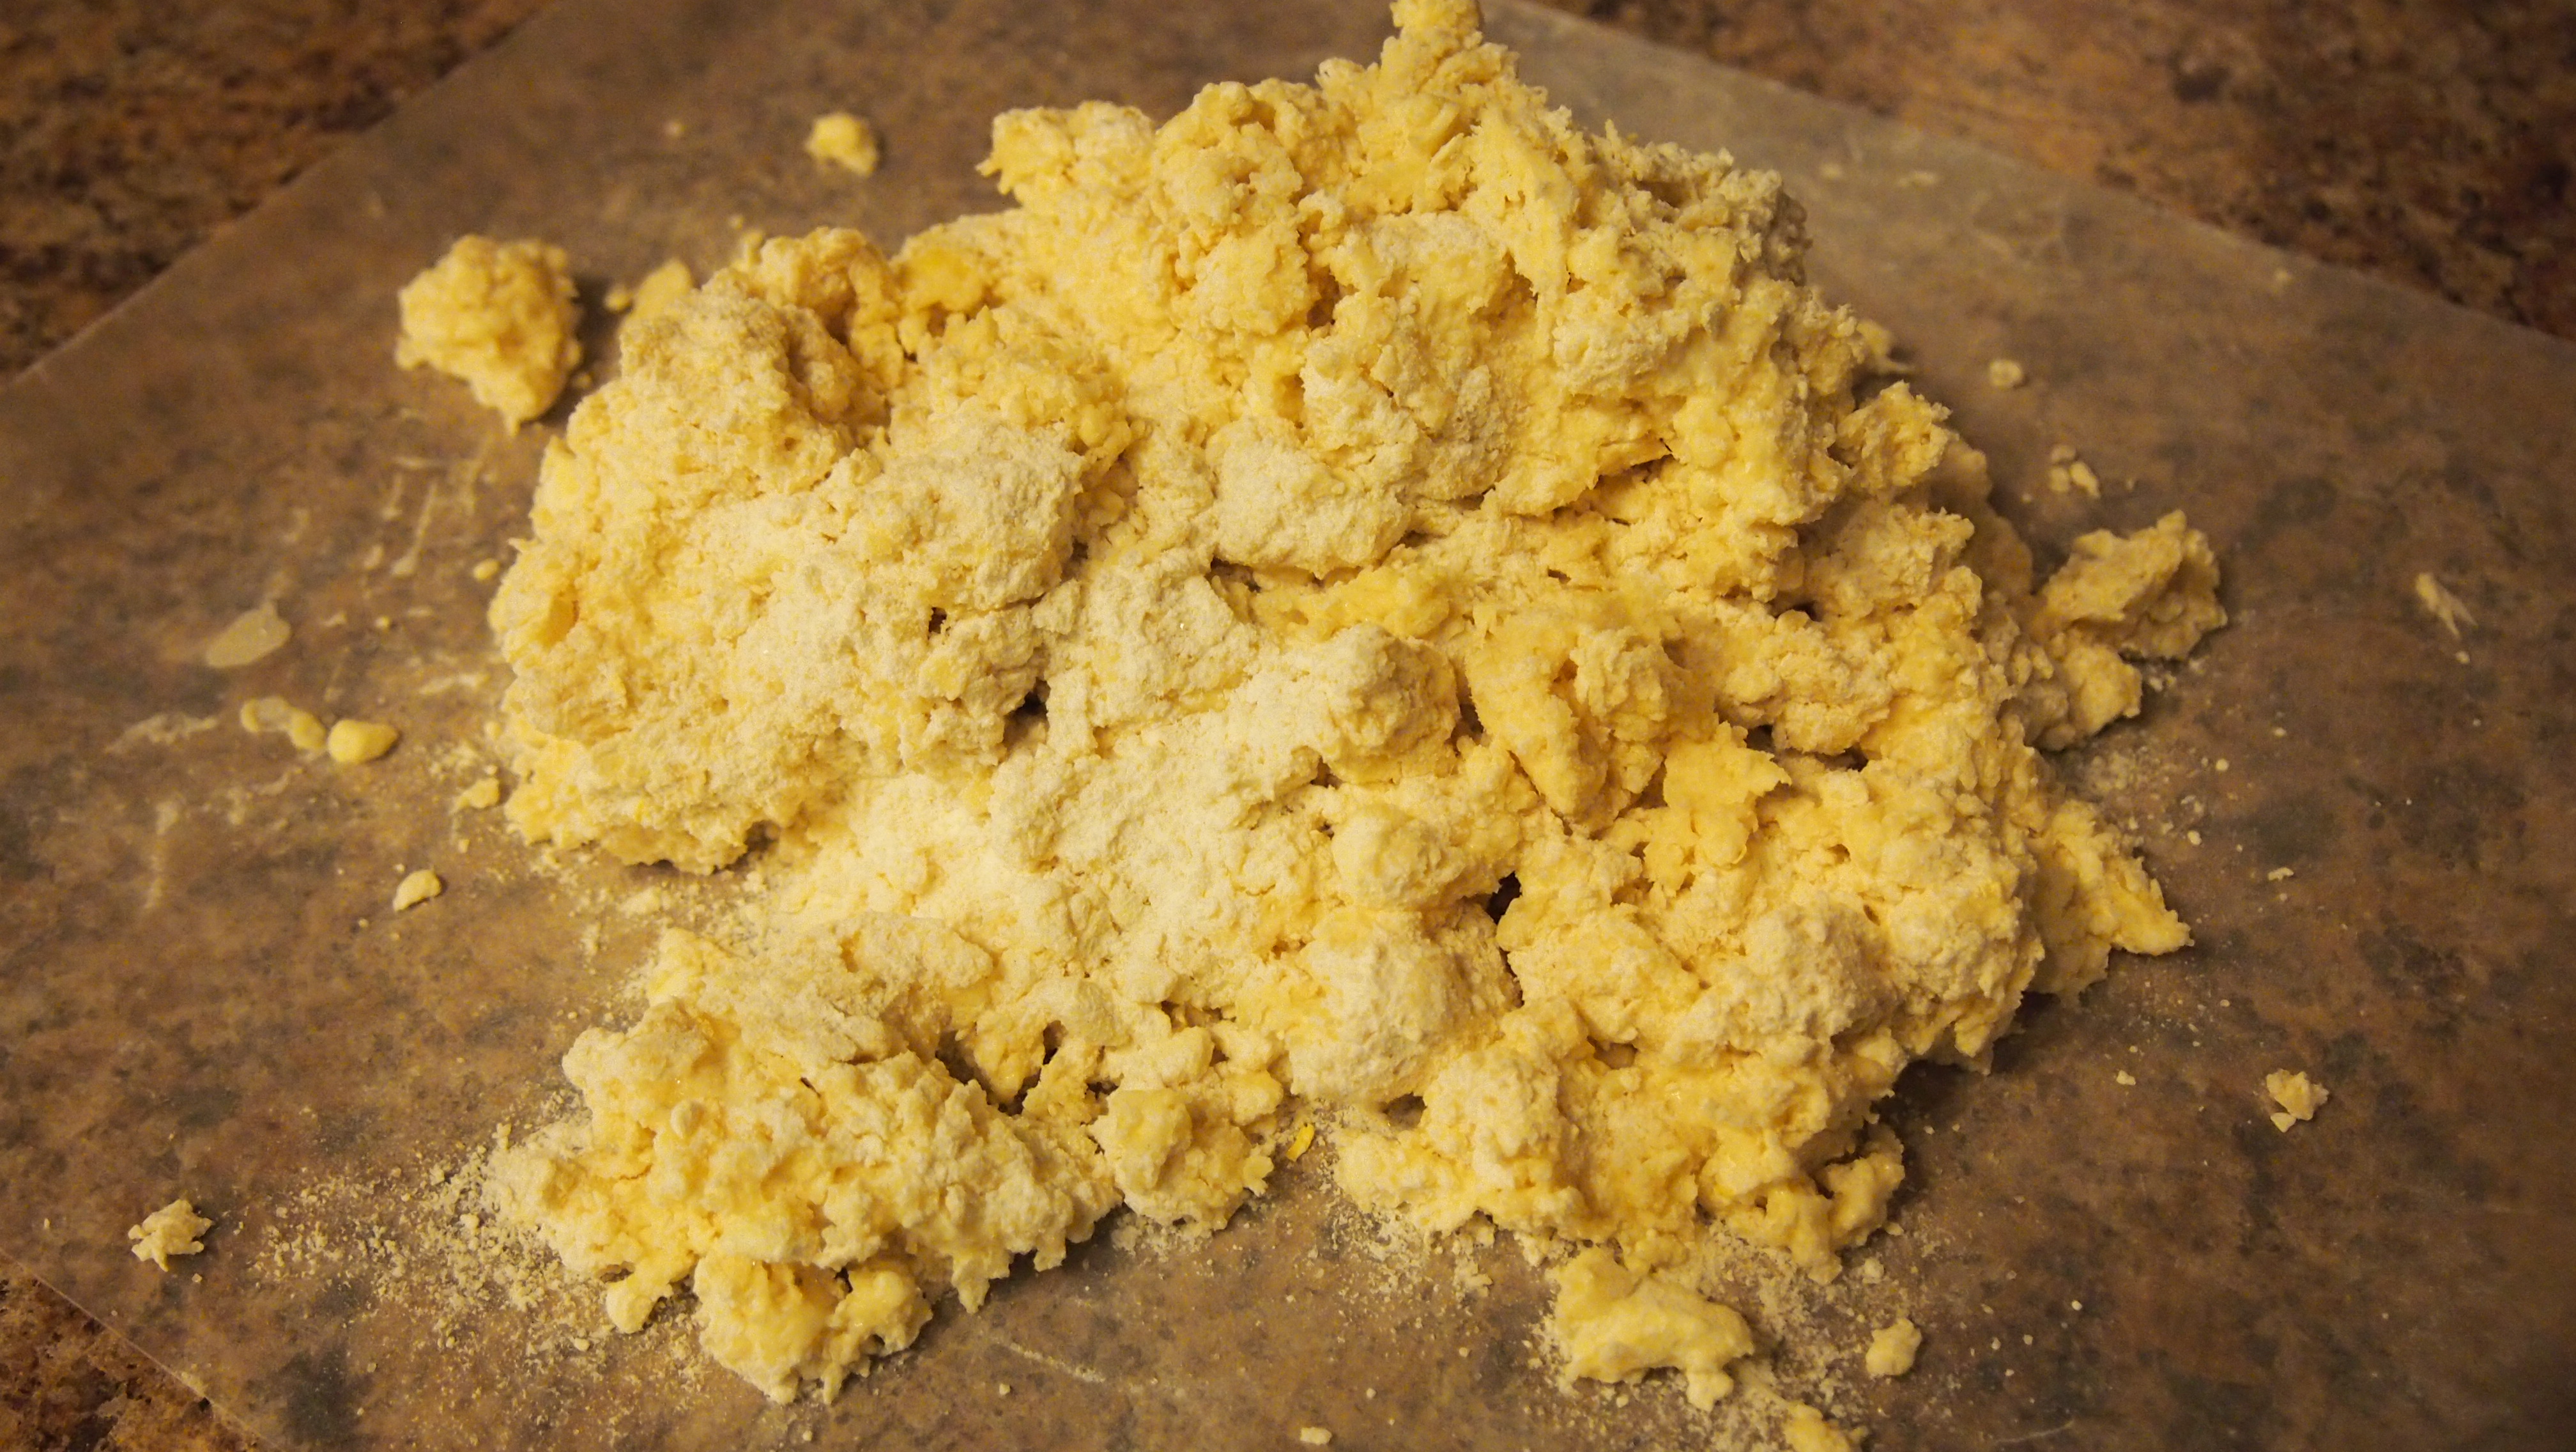
In separate bowl, mix together chopped walnuts, cereal, marshmallows, and chocolate chips if desired. Gently fold nut mixture into batter with a rubber spatula until evenly incorporated. Batter will be thick and sticky.

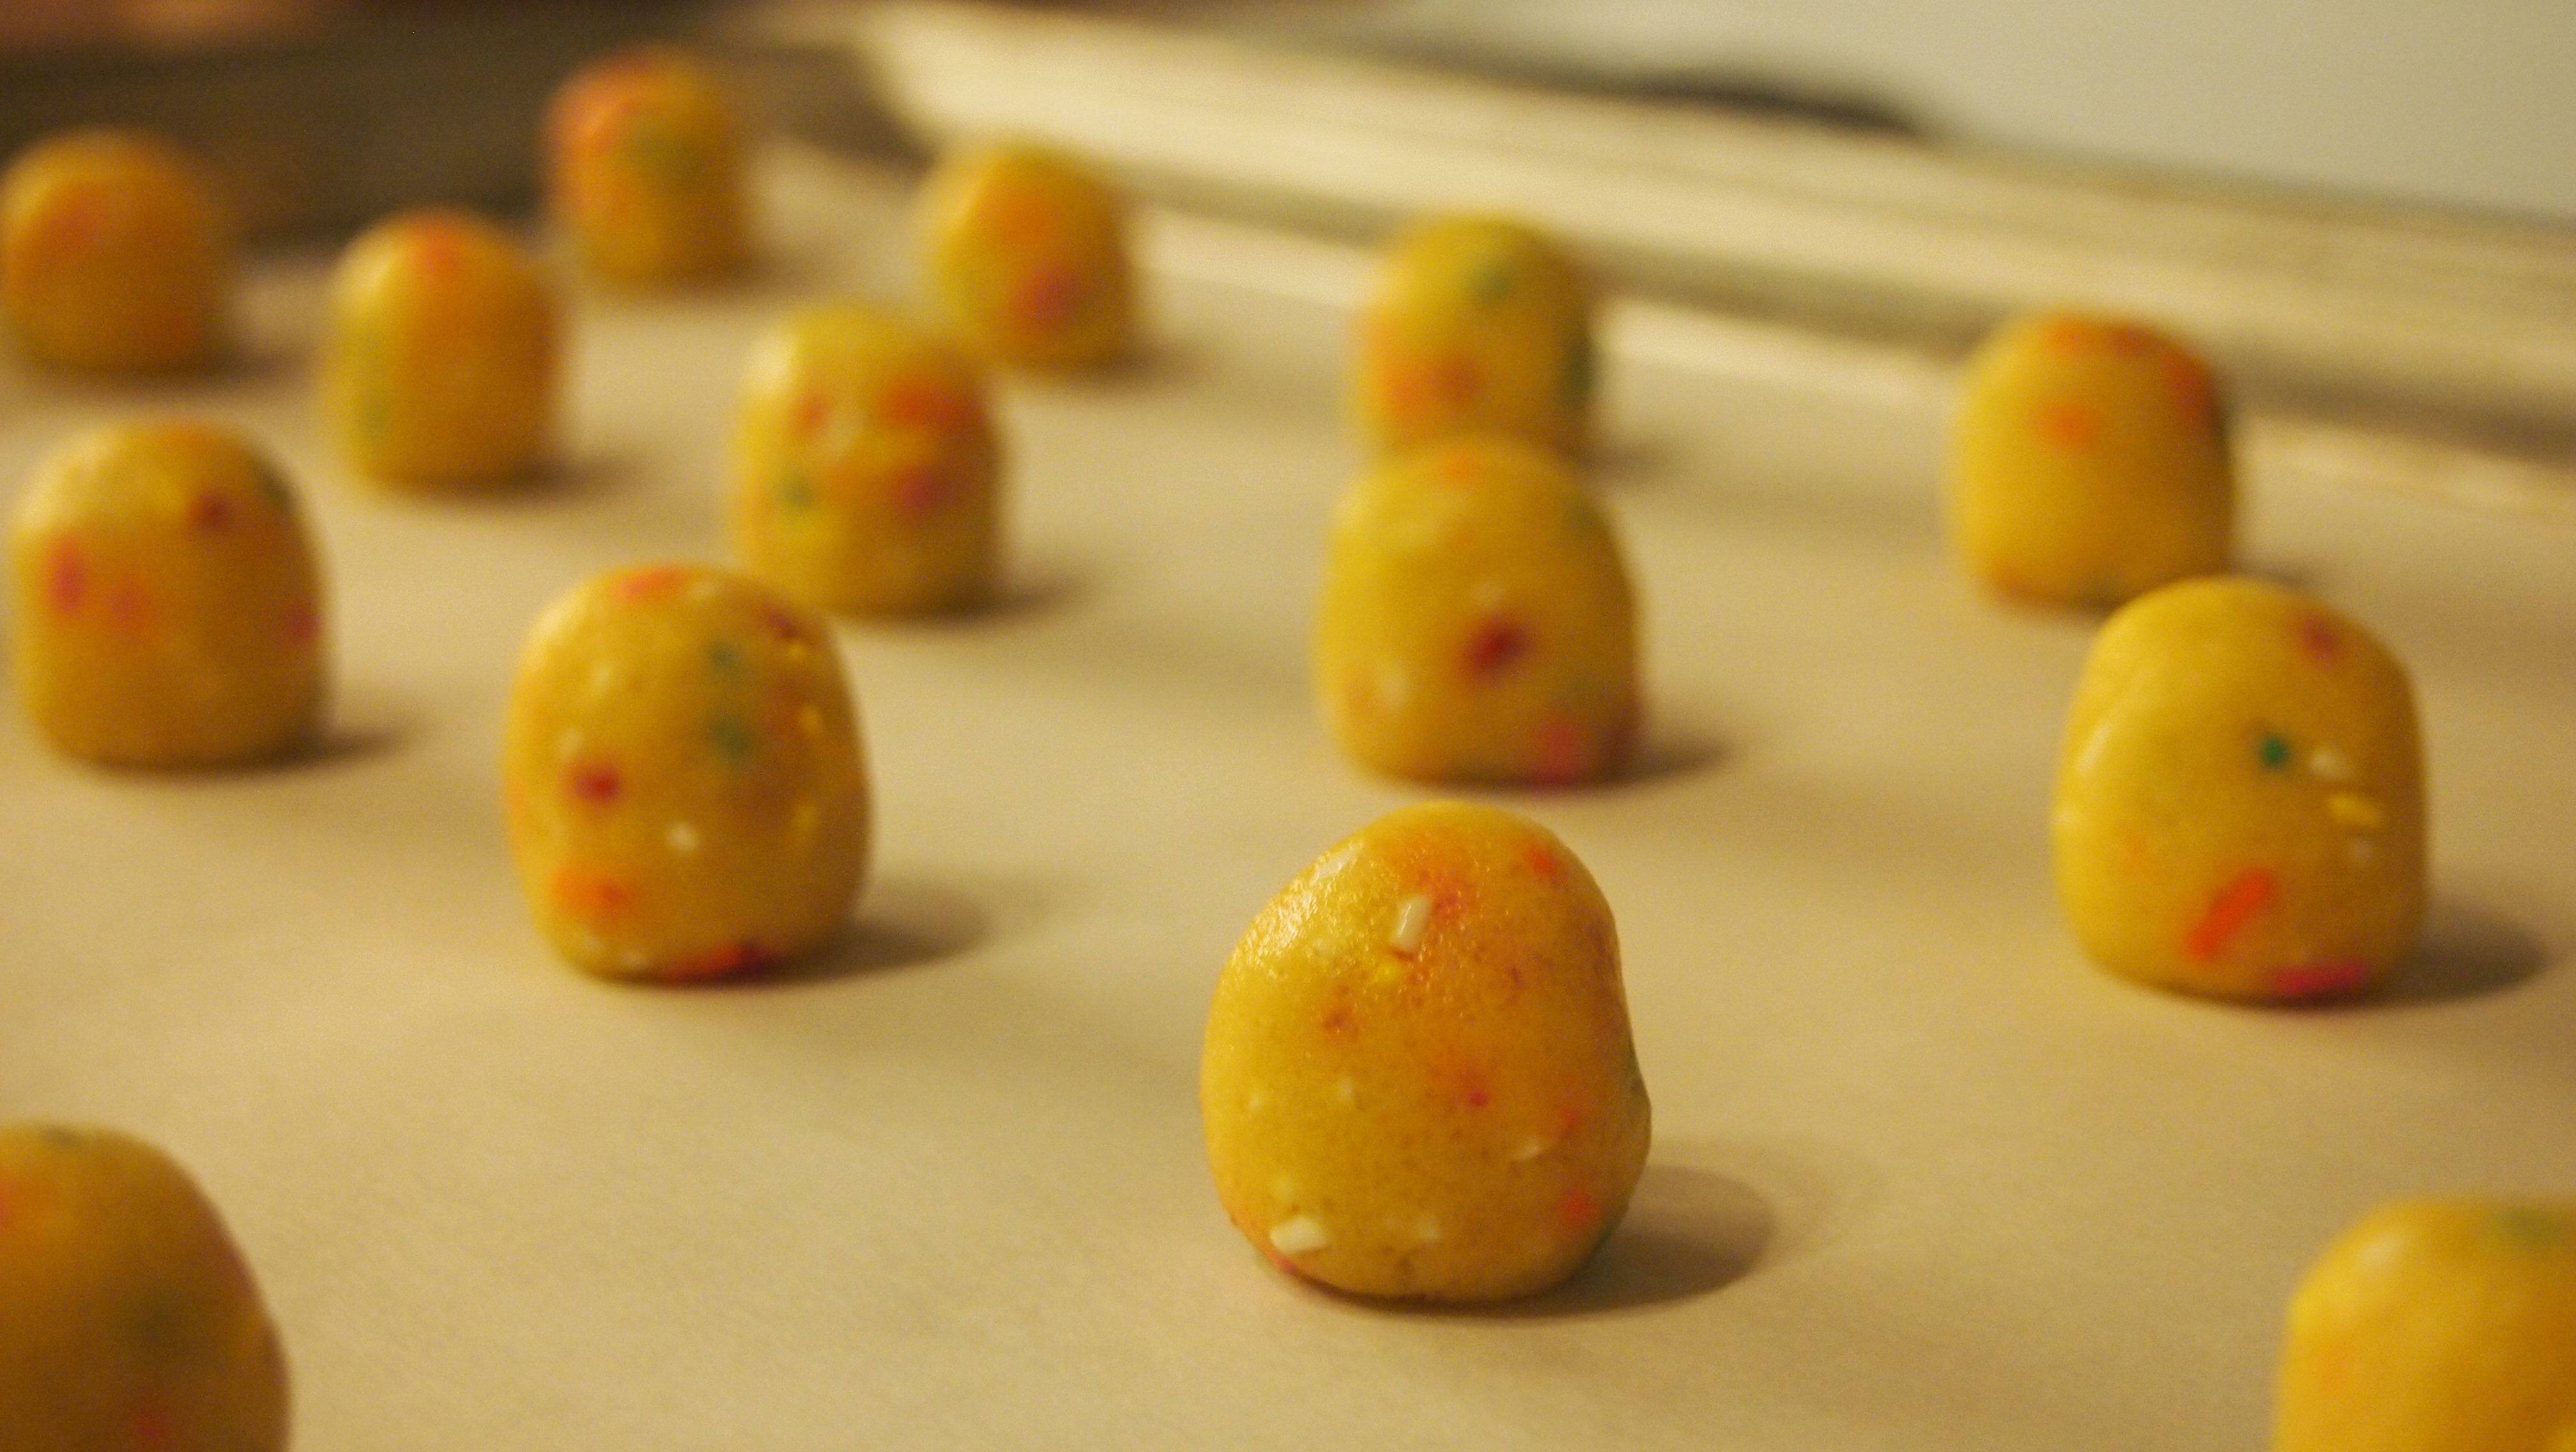
Drop batter by large spoonfuls onto prepared baking sheet. Bake 11-13 minutes until tops are crinkled and golden, watching closely to ensure cookies do not brown. Allow to cool slightly on baking sheet then transfer to metal rack to cool completely.
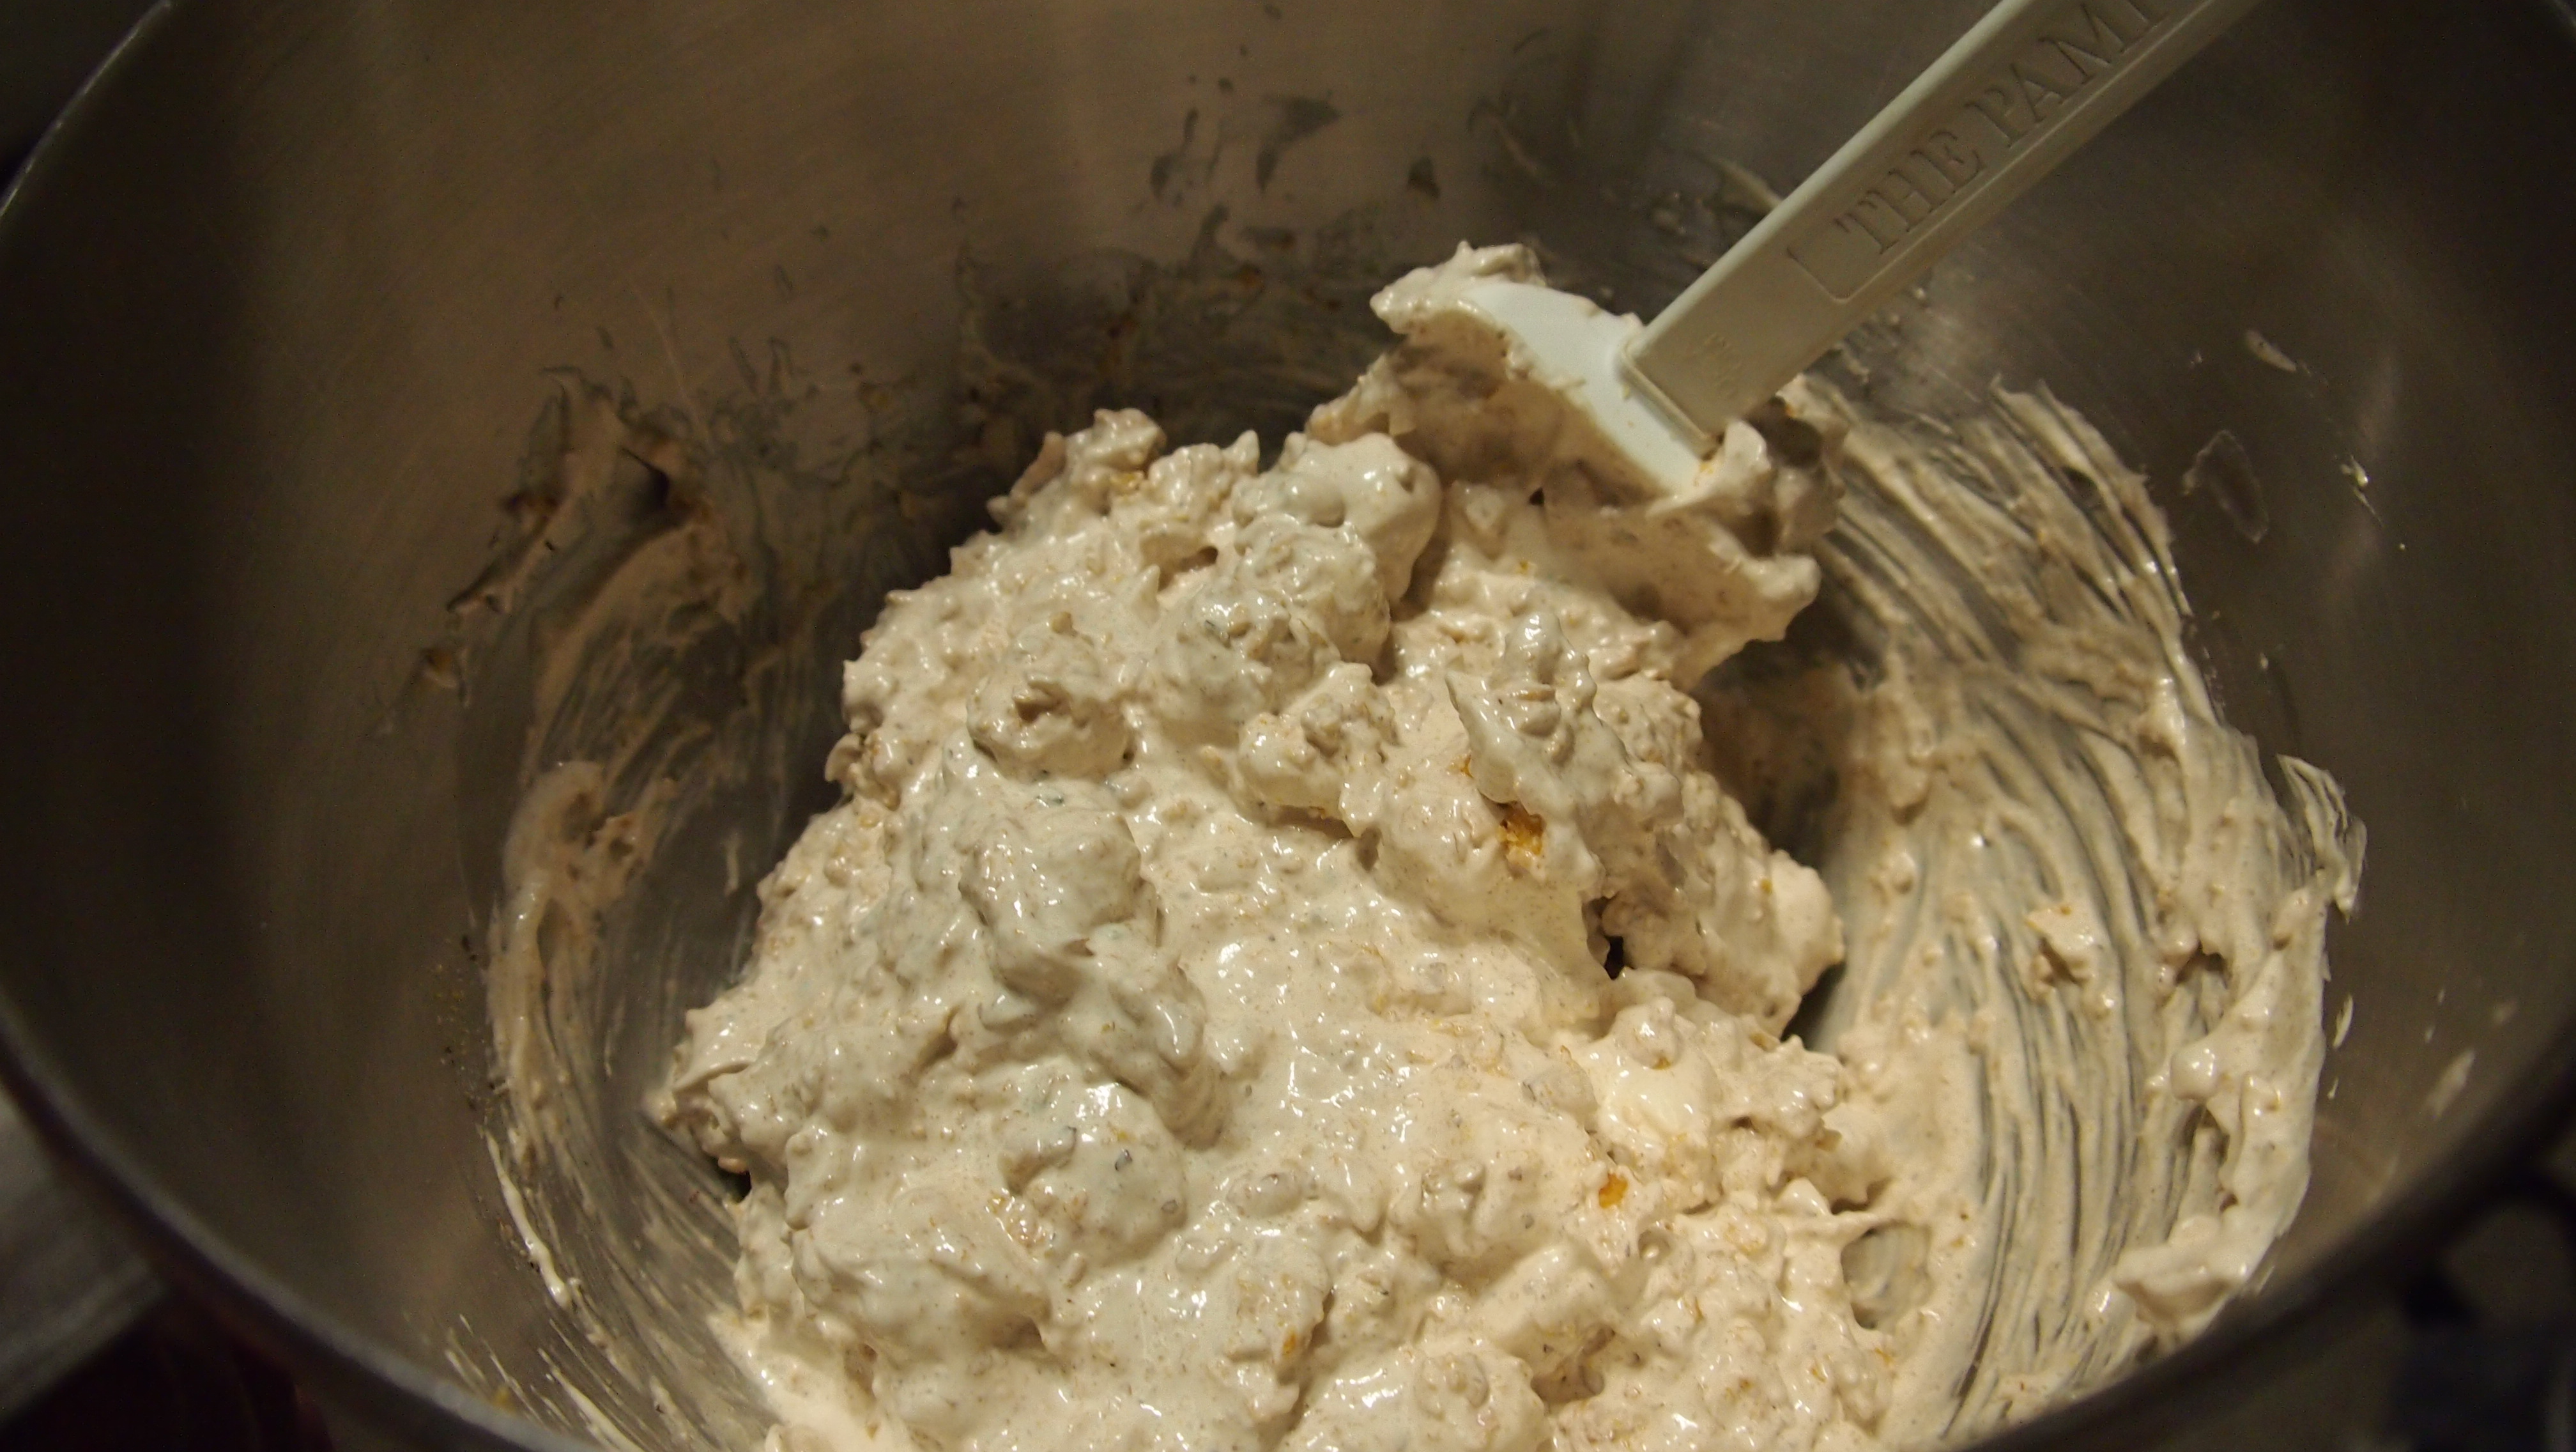
 

OLYMPUS DIGITAL CAMERA

Finished batter

OLYMPUS DIGITAL CAMERA

Recipe adapted from Fashionable Food: Seven Decades of Food Fads.

Sarah Coffey
Assistant to the Chair of Learning Initiatives

Culinary Canvas: Strawberry Squares

This month’s recipe was an experiment that started with a pound of strawberries and turned into a tasty breakfast treat. The inspiration, Untitled (Yellow Table on Green) by Hans Hofmann, is a wonderful abstract still life that can really only be appreciated when viewed in person. The vibrant colors and thick use of paint make the table seem so enticing, you’ll want to pull up a seat and pile your plate full of colorful eats. I imagine my strawberry creation would fit right in.

Hans Hofmann, Untitled (Yellow Table on Green), 1936, Dallas Museum of Art, fractional gift of The Rachofsky Collection in honor of Dr. Dorothy Kosinski, the Barbara Thomas Lemmon Curator of European Art

Hans Hofmann, Untitled (Yellow Table on Green), 1936, Dallas Museum of Art, fractional gift of The Rachofsky Collection in honor of Dr. Dorothy Kosinski, the Barbara Thomas Lemmon Curator of European Art

Strawberry Squares

Yields about 15 squares
Level: Easy

Crust:

¾ cup (about 7 sheets) graham crackers
¾ cup slivered almonds, toasted
3 tablespoons sugar
2 tablespoons butter, melted

Filling:

1 cup fresh strawberries (about 10 medium berries), hulled
8 ounces cream cheese, room temperature
1 cup sugar
½ teaspoon almond extract
1 egg
¼ teaspoon salt
¼ cup flour

Preheat oven to 350° F. Lightly butter a 9×13 baking dish.

Crust: Crush graham crackers into food processor or blender and process until crumbled. Add toasted almonds, sugar, and melted butter, and continue processing into a moist crumb. Press crust mixture evenly into dish. Bake 12-15 minutes. Remove from oven and set aside to cool.

Filling: Quarter strawberries. Add berries to blender and puree until smooth. Set aside.

Place cream cheese and sugar into the bowl of an electric mixer fitted with a paddle attachment. Beat at medium speed until smooth. Mix in almond extract and egg. Add strawberry puree and continue mixing until fully combined. Sprinkle in salt and flour and mix until just incorporated.

Pour filling over prepared crust. Bake for 18-20 minutes. Cool completely and refrigerate. Serve chilled with fresh strawberries on top.

 
OLYMPUS DIGITAL CAMERA

Original recipe.

Sarah Coffey
Assistant to the Chair of Learning Initiatives

Culinary Canvas: Peanut Butter Eggs

Continuing our Easter egg theme this week, I wanted to create a recipe that recalls the yummy Easter candy everyone enjoys at this time of year. For my inspiration, I looked to our striking Brancusi sculpture, Beginning of the World, which uses imagery associated with birth. This imagery is fitting for Easter and spring, a season of rebirth and new life. And of course, it is shaped like an egg! I am a huge fan of cake balls and this recipe not only yields a delicious result, it provides the opportunity to decorate more eggs with your family. Enjoy!

Constantin Brancusi, The Beginning of the World, c. 1920, Dallas Museum of Art, Foundation for the Arts Collection, gift of Mr. and Mrs. James H. Clark

Constantin Brancusi, Beginning of the World, c. 1920, Dallas Museum of Art, Foundation for the Arts Collection, gift of Mr. and Mrs. James H. Clark

Peanut Butter Eggs

Yields 50-100 cake balls, depending on size
Level: Intermediate

Cake Balls:

1 yellow cake
1 cup peanut butter frosting (recipe follows)
1 ¼ cups Reese’s Pieces candy
Coating (recipe follows)

Peanut Butter Frosting:

1 cup powdered sugar
2 tablespoons unsalted butter, room temperature
½ teaspoon pure vanilla extract
Pinch of salt
½ cup natural creamy peanut butter
4 tablespoons whole milk

Coating:

12-16 ounces good quality dark chocolate, coarsely chopped
½ tablespoon vegetable shortening

Prepare cake as directed, using a favorite recipe or box mix if desired. Allow cake to cool completely.

Peanut Butter Frosting: Place the powdered sugar, butter, vanilla and salt in the bowl of an electric mixer fitted with a paddle attachment. Mix on medium speed until mostly combined. Add peanut butter and continue mixing, scraping down the bowl with a rubber spatula as needed. Increase speed to high and add milk one tablespoon at a time. Continue beating an additional 3-5 minutes, until the mixture is light and smooth. Set aside.

Cake Balls: Break up cake into bowl of food processor and process into an even crumb. Transfer cake crumbs to medium mixing bowl.

Roughly chop Reese’s Pieces candy with food processor or by hand. Add approximately 1 cup of candy to mixing bowl, reserving remainder for use as decoration. Stir to distribute candy evenly through crumbs.

Beginning with ½ cup, add frosting to crumb mixture and stir with rubber spatula. Amount of frosting needed will vary depending on moisture of original cake. Final mixture should be evenly moist but not greasy and able to hold its shape.

To form cake balls, scoop off about a teaspoon of dough then roll between hands into egg shape. Place eggs onto wax paper lined dish and transfer to freezer. Allow to firm for at least 30 minutes.

Coating: Whisk chocolate in a glass bowl set over a small pot of simmering water until mostly melted. Remove from heat and stir in shortening, whisking until smooth.

Remove half of eggs from freezer. Insert toothpick into egg and dip into coating until fully covered, allowing excess chocolate to drip off. A small espresso spoon is useful for distributing chocolate evenly over egg. Quickly sprinkle with reserved candy while still wet. Place toothpick into foam board and allow chocolate to set.

Remove remaining eggs from freezer and repeat process until complete. Once dry, remove toothpicks and refrigerate in air tight container.

 
OLYMPUS DIGITAL CAMERA

OLYMPUS DIGITAL CAMERA

OLYMPUS DIGITAL CAMERA

Original recipe utilizing cake ball tips from 52 Kitchen Adventures and Miss Candiquik.

Sarah Coffey
Assistant to the Chair of Learning Initiatives

Culinary Canvas: Lemon Scones

Afternoon tea is an activity I have come to thoroughly enjoy, especially after having experienced it at Harvey Nichols in London. While I do like a good cup of tea, really I’m just a sucker for the delightful assortment of goodies that accompany it–and scones are definitely my favorite! So this month I was inspired by our striking lemon yellow tea service to make a lemon scone. This tasty, not too sweet treat is the perfect companion to a nice spot of tea.

Margarete Heymann-Marks, Tea Service, designed c. 1930, designer, Dallas Museum of Art, 20th-Century Design Fund

Margarete Heymann-Marks, Tea Service, designed c. 1930, Dallas Museum of Art, 20th-Century Design Fund

Lemon Scones

Yields 8 scones
Level: Easy

Scones:

2 cups all-purpose flour
1 tablespoon baking powder
3 heaping tablespoons sugar
½ teaspoon salt
Zest of 1 small lemon
4 tablespoons (½ stick) cold unsalted butter, cut into cubes
1 egg, lightly beaten
¾ cup heavy cream

Glaze:

Juice of 1 small lemon
Heaping ½ cup powdered sugar

Preheat oven to 425° F. Line baking sheet with parchment paper.

Scones: In medium mixing bowl, whisk together flour, baking powder, sugar, salt, and lemon zest. Using a pastry blender or two forks, cut in cold butter until mixture resembles coarse meal.

Combine beaten egg with cream and stir into dry ingredients with rubber spatula just until dough begins to form. Turn out mixture onto wax paper and knead lightly by hand until most flour is combined. Pat dough into a flat, slightly circular mass about 1 inch thick.

Place dough on baking sheet and cut into 8 wedges. Brush top with additional cream if desired and spread out wedges on sheet. Bake until tops of scones are light brown and centers are flaky, about 13-15 minutes. Allow to cool slightly on baking sheet then transfer to metal rack to cool completely.

Glaze: Whisk together lemon juice and sugar in small bowl until smooth. Additional sugar or juice can be added to achieve desired consistency.

Pour glaze onto cooled scones until completely covered. Allow glaze to set and serve at room temperature.


OLYMPUS DIGITAL CAMERA

Dough prior to kneading

OLYMPUS DIGITAL CAMERA

Dough cut into wedges

OLYMPUS DIGITAL CAMERA

Recipe adapted from Baking Illustrated.

Sarah Coffey
Assistant to the Chair of Learning Initiatives

Culinary Canvas: Cake Batter Sprinkle Cookies

This month, I wanted to solve one of my cooking conundrums: What to do with leftover egg yolks? After only using the whites in a recipe or for breakfast, the poor yolks might end up wastefully tossed in the trash. In the spirit of reducing waste and making something out of materials on hand, the inspiration for this month’s recipe is Family Portrait 1963, currently on view in C3. Martin Delabano created this unique sculpture of his family out of recycled and reused objects, like a coffee can and a guitar. These tasty cookies will undoubtedly bring your family together, all while making use of something you might have thrown away.

2001_358_A_F

Martin Delabano, Family Portrait 1963, 2001, Dallas Museum of Art, gift of Mr. and Mrs. Bryant M. Hanley, Jr., Lorine and David H. Gibson, and Sonny Burt and Bob Butler

Cake Batter Sprinkle Cookies

Yields about 50 cookies
Level: Very Easy

½ cup (1 stick) unsalted butter, room temperature
1 cup sugar
1 teaspoon almond extract
3 egg yolks
1 ½ cups all-purpose flour
½ teaspoon baking powder
½ teaspoon salt
½ cup colorful sprinkles, preferably jimmies

Preheat oven to 350° F. Line rimmed baking sheet with parchment paper.

In the bowl of a stand mixer fitted with paddle attachment, cream butter and sugar, beating at medium speed until light. Add almond extract and egg yolks and continue mixing until fully combined.

Sift together flour, baking powder, and salt onto wax paper. Slowly add flour mixture to mixer, mixing on low speed and scraping down sides of bowl until just incorporated. Remove bowl from mixer and stir in sprinkles by hand with rubber spatula.

To form cookies, scoop off about a teaspoon of dough then roll between hands to shape a ball slightly taller than it is wide. Bake until just crinkled on top, about 11-12 minutes, watching closely to ensure cookies do not brown.

When removed from oven, cookies will look very soft and should remain so at room temperature. Allow to cool slightly on baking sheet then transfer to metal rack to cool completely.


OLYMPUS DIGITAL CAMERA

Recipe adapted from Sally’s Baking Addiction.

Sarah Coffey
Assistant to the Chair of Learning Initiatives

Culinary Canvas: Almond Crescents

The inspiration for this month’s recipe is a crescent-shaped tobelo, a sacred object from Indonesia used to connect with ancestral spirits. In my family, baking serves as a connector between generations, and at no time is this more true than the holiday season. In that spirit, be sure to bake this crescent-shaped cookie with your family and let everyone explore their artistic side with the decorations!

2008_65

Crescent-shaped ornament (tobelo), 19th Century, Dallas Museum of Art, gift of The Nasher Foundation in honor of Patsy R. and Raymond D. Nasher

Almond Crescents

Yields about 60 cookies
Level: Easy

Cookies:

1 cup blanched slivered almonds, lightly toasted
2 ¼ cups all-purpose flour
1 cup (2 sticks) unsalted butter, room temperature
¾ cup sugar
1 ½ teaspoons vanilla extract

Topping:

2 ounces good quality dark chocolate, coarsely chopped
2 ounces good quality white chocolate, coarsely chopped
Decorations: crushed candy cane, chopped toasted almonds, coarse sugar, sprinkles

Preheat oven to 350° F. Line rimmed baking sheet with parchment paper.

Cookies: Place almonds in food processor and process into a fine crumb. In a medium bowl, stir together processed almonds with flour. In the bowl of a stand mixer fitted with paddle attachment, cream butter, sugar, and vanilla, beating at medium speed until light and fluffy, about 2-3 minutes. Add flour mixture to mixer in three batches, mixing on low speed until just combined.

To form cookies, scoop off about a tablespoon of dough then roll between hands to shape into a log about 3 inches long. Place on baking sheet, then pull ends down and pinch to form a crescent shape, leaving about 1 inch between each cookie. When sheet is full, gently press down each cookie to flatten slightly. Bake until golden on bottom, about 13-15 minutes. Allow to cool slightly on baking sheet then transfer to metal rack to cool completely.

Topping: Whisk dark chocolate in a glass bowl set over a small pot of simmering water until mostly melted, then remove from heat and whisk until smooth. Once cookies have cooled, dip one end of each into chocolate then sprinkle with desired decoration. Place on wax paper to dry. Repeat process with white chocolate.

 
OLYMPUS DIGITAL CAMERA

OLYMPUS DIGITAL CAMERA

OLYMPUS DIGITAL CAMERA

Recipe adapted from Very Merry Cookie Party.

Sarah Coffey
Assistant to the Chair of Learning Initiatives

Culinary Canvas: Pumpkin Streusel Muffins

This month’s recipe is inspired by one of my favorite artworks in the collection, Orange, Red and Red. Like Rothko’s work, these muffins are composed of layers that add to a more complex flavor. And with Thanksgiving only yesterday, they’re the perfect way to utilize that leftover pumpkin for a Black Friday breakfast. Enjoy!

Mark Rothko, Orange, Red and Red, 1962, Dallas Museum of Art, gift of Mr. and Mrs. Algur H. Meadows and the Meadows Foundation, Incorporated

Pumpkin Streusel Muffins

Yields 12 regular or 6 large muffins
Level: Easy

Streusel:

¼ cup flour
¼ cup walnuts or pecans, finely chopped
¼ cup packed brown sugar
¼ teaspoon cinnamon
Pinch of salt
3 tablespoons cold unsalted butter

Muffins:

½ cup (1 stick) unsalted butter, melted
1 cup sugar
1 cup pumpkin puree
3 ounces nonfat vanilla yogurt
2 eggs, beaten
1 ½ teaspoons vanilla extract
½ teaspoon fresh ginger, finely grated
1 ½ cups all-purpose flour
1 teaspoon cinnamon
1 teaspoon baking soda
1 teaspoon salt
½ teaspoon baking powder
½ teaspoon nutmeg

Preheat oven to 350° F. Line muffin pan with paper liners or lightly spray muffin pan with nonstick cooking spray.

Streusel: Stir together flour, nuts, brown sugar, cinnamon and salt in small bowl. Using a pastry blender or two forks, cut in cold butter until mixture forms into small crumbs. Set aside.

Muffins: In medium bowl, whisk together melted butter, sugar, pumpkin, yogurt, eggs, vanilla and ginger until combined. In another bowl, stir together flour, cinnamon, baking soda, salt, baking powder and nutmeg. Add flour mixture to pumpkin mixture in two batches, stirring with a rubber spatula until just combined.

Divide batter evenly between muffin cups, filling each cup slightly less than ½ full. Spoon an even layer of streusel into each cup. Cover streusel with remaining batter until each cup is ¾ full. Spoon remaining streusel on top of batter, evenly covering each muffin.

Bake 18-22 minutes, or until a toothpick inserted in the center comes out clean.


Recipe adapted from CHEFS Pumpkin Walnut Bread with Streusel.

Sarah Coffey
Assistant to the Chair of Learning Initiatives

Culinary Canvas: Sarah Bernhardt Cookies

For this month’s recipe, we’re taking a trip through Paris with our new exhibition, Posters of Paris: Toulouse-Lautrec and His Contemporaries. Alphonse Mucha created this poster for Sarah Bernhardt, one of the most renowned actresses of the 19th century. She was so loved, in fact, that a Scandinavian baker named a cookie for her. Though somewhat complex, these multilayered confections are sure to dazzle, much like their namesake and her posters.

Alphonse Mucha, Gismonda, 1894-1895, Los Angeles County Museum of Art, Kurt J. Wagner, M.D., and C. Kathleen Wagner Collection, M.87.294.1

Sarah Bernhardt Cookies

Yields about 60 cookies
Level: Advanced

Filling:

6 ounces good quality dark chocolate, coarsely chopped
Scant ½ cup sugar
Scant ½ cup water
3 large egg yolks, room temperature
¼ cup heavy cream, room temperature
½ teaspoon vanilla extract

Cookies:

3 cups blanched slivered almonds
1 ½ cups sugar
3 large egg whites, room temperature
1 ½ teaspoons almond extract
Splash of water

Coating:

12 ounces good quality dark chocolate, coarsely chopped
2 tablespoons vegetable shortening

Filling: Whisk chocolate in a glass bowl set over a small pot of simmering water until smooth and melted. Remove chocolate from heat and set aside to cool. Combine sugar and water in small saucepan and simmer until syrup becomes clear, about 5 minutes, then set aside. In the bowl of a stand mixer set over a small pot of simmering water, whisk egg yolks until warm, about 2 minutes.

Transfer bowl to stand mixer fitted with whisk attachment. Add cream and beat mixture on medium until combined. Reduce speed and slowly pour in hot syrup. Return speed to medium and continue beating until cool and fluffy, about 3 minutes. Add melted chocolate, scraping down sides of bowl as needed until fully incorporated. Refrigerate filling until firm, about 1 hour (or up to 1 week).

Cookies: Preheat oven to 325° F. Line rimmed baking sheet with parchment paper. Place almonds in food processor and process for 1 minute. Add sugar and process into a fine crumb, about 3 minutes. Add egg whites and almond extract and process until mixture wads around blade. Scrape bowl with spatula and add splash of water. Process a few more seconds until paste is firm yet smooth enough to pipe.

Transfer paste to pastry bag fitted with coupler only (no tip). Pipe small rounds onto prepared baking sheet, applying pressure to bag for about 4 seconds per cookie and leaving 1 inch between each. Bake until golden around the edges, about 20 minutes, rotating sheet halfway through. Allow to cool slightly on baking sheet then transfer to metal rack to cool completely.

Once cookies are completely cool, transfer filling to pastry bag fitted with coupler only or with #11 tip. Pipe a peaked mound of filling on top of each cookie. Transfer cookies to freezer until filling is very firm, about 1 hour.

Coating: Whisk chocolate in a glass bowl set over a small pot of simmering water until smooth and melted. Remove from heat and stir in shortening. Cool until barely warm.

Remove cookies from freezer and place on cooling rack. Working quickly so filling doesn’t melt, spoon melted chocolate over cookies until filling is completely covered. Refrigerate finished cookies and serve chilled.


Sarah with a finished Sarah, dusted in gold like her beautiful posters.

Almond macaroon recipe adapted from Baking Illustrated and used with Sarah Bernhardt cookie recipe, adapted from Martha Stewart’s Cookies.

Sarah Coffey
Assistant to the Chair of Learning Initiatives

Culinary Canvas: Blood Orange Vanilla Cupcakes

The many wonderful artworks at the DMA can certainly be a rich source of inspiration for all types of artists. One art form I enjoy is cooking, so I thought it would be fun to take a culinary tour through the collection and see what works could inspire me in the kitchen.

For my first recipe, I’m starting in the Reves Collection with a Cézanne and something sweet—who can resist a cupcake? Try it out and let me know what you think!

Paul Cézanne, Still Life with Carafe, Milk Can, Bowl, and Orange, 1879-1880, Dallas Museum of Art, The Wendy and Emery Reves Collection

Blood Orange Vanilla Cupcakes with Vanilla Buttercream

Yields about 30 cupcakes
Level: Easy

Cupcakes:

1 cup (2 sticks) unsalted butter, room temperature
2 cups sugar
1 vanilla bean
2 tablespoons finely grated blood orange zest, from about 2 blood oranges
4 large eggs, room temperature
¾ cup heavy cream
¾ cup nonfat milk
½ cup freshly squeezed blood orange juice
1 ½ tablespoons pure vanilla extract
1 tablespoon orange liqueur, such as Cointreau (optional)
3 ½ cups all-purpose flour
1 teaspoon baking powder
½ teaspoon baking soda
½ teaspoon salt

Preheat oven to 350° F. Line standard muffin pan with paper liners.

Split vanilla bean lengthwise and scrape out seeds with the edge of a knife. Cream butter, sugar, vanilla seeds and orange zest in the bowl of a stand mixer with paddle attachment, beating at medium speed until light and fluffy, about 2-3 minutes. Add eggs one at a time, mixing until combined and scraping down sides of bowl after each addition.

In measuring cup, whisk together cream, milk, orange juice, vanilla extract and orange liqueur. In medium bowl, sift together flour, baking powder, baking soda and salt. Beginning and ending with dry ingredients, add flour mixture to mixer in 3 batches, alternating with 2 batches of cream mixture.  After each addition, mix on low speed until just combined.

Divide batter evenly between liners, filling each cup about ¾ full. Bake 18-20 minutes, or until a toothpick inserted in the center comes out clean.

Frosting:

1 cup (2 sticks) unsalted butter, room temperature
3 cups powdered sugar, sifted
1 tbsp pure vanilla extract
Pinch of salt
Splash of heavy cream

Beat butter in the bowl of a stand mixer with whisk attachment on medium-high speed for 5 minutes, until pale and shiny. Add powdered sugar, vanilla, and salt, mixing on low until combined. Add cream. Increase speed to medium-high and continue whipping mixture for 5 minutes until light and creamy. Additional sugar or cream can be added to achieve desired consistency.

The tasty result: my interpretation of the painting in fondant and frosting

Cupcake recipe adapted from Annie’s Eats and frosting recipe adapted from Savory Sweet Life.

Sarah Coffey
Assistant to the Chair of Learning Initiatives


Archives

Flickr Photo Stream

Categories