Posts Tagged 'make'

Made This: Celebrating the DMA’s Resident McGuyver

After 16.5 years at the DMA, JC Bigornia, Manager of C3 Programs, is heading across the freeway to take the position of Manager of Mobile Innovation at the Perot Museum of Nature and Science. JC is our McGuyver, always ready with an ingenious, perfect solution for any and every art-making challenge we throw his way. For his last day at the Museum, we’re taking a look not just at the countless small and brilliant projects he brought to life through his freakish artistic talent, but the way in which his worked shaped our department in larger ways.

Susan Diachisin, The Kelli and Allen Questrom Director of the Center for Creative Connections, perfectly captures what it is we all enjoy about our resident DIY expert:

JC is a creative and diligent art educator who has managed and taught thousands of programs for museum visitors during his tenure here. He worked with people of all ages, guiding them in careful looking at works of art from the collection and then making connections through an art making process.  He was at the helm of our popular Late Night Studio Creations, the drop-in art making program that hosts over 250 multi-age visitors each month. And for many years he led the drop-in weekend family Studio Creations that took place on every Saturday and Sunday all year long. He spent the summers managing logistics for the Summer Camp Program for children and teens, as well as many other family programs too numerous to mention here.

JC has a pretty high coolness factor that was perfect for his accomplishments of working with teens—a focus he originally started back in 2008. In 2013 he was the Project Manager of the IMLS Teen Learning Lab planning grant in partnership with the Perot. For that he spent extensive time researching teen developmental learning, designing innovative programs, and launching a DMA/Perot Teen Advisory Council (TAC). This project boosted his already popular Urban Armor program and launched Maker Club the Thursday night program focusing on the intersection of art and science. He recruited and met bi-monthly with the thirteen member TAC team, and collaboratively led experimental programs, visiting artist projects, and community projects in partnership with other Dallas organizations.

JC brings extensive artistic skills to the programs he designed. I can’t tell you how many times during the development process he had to test and produce project samples. He would say, “I’ll just make that.” And a short time later he would share a creation that was absolutely incredible.

As humble a person as JC is, there are a few memorable projects that you might have seen and may not know they were his:

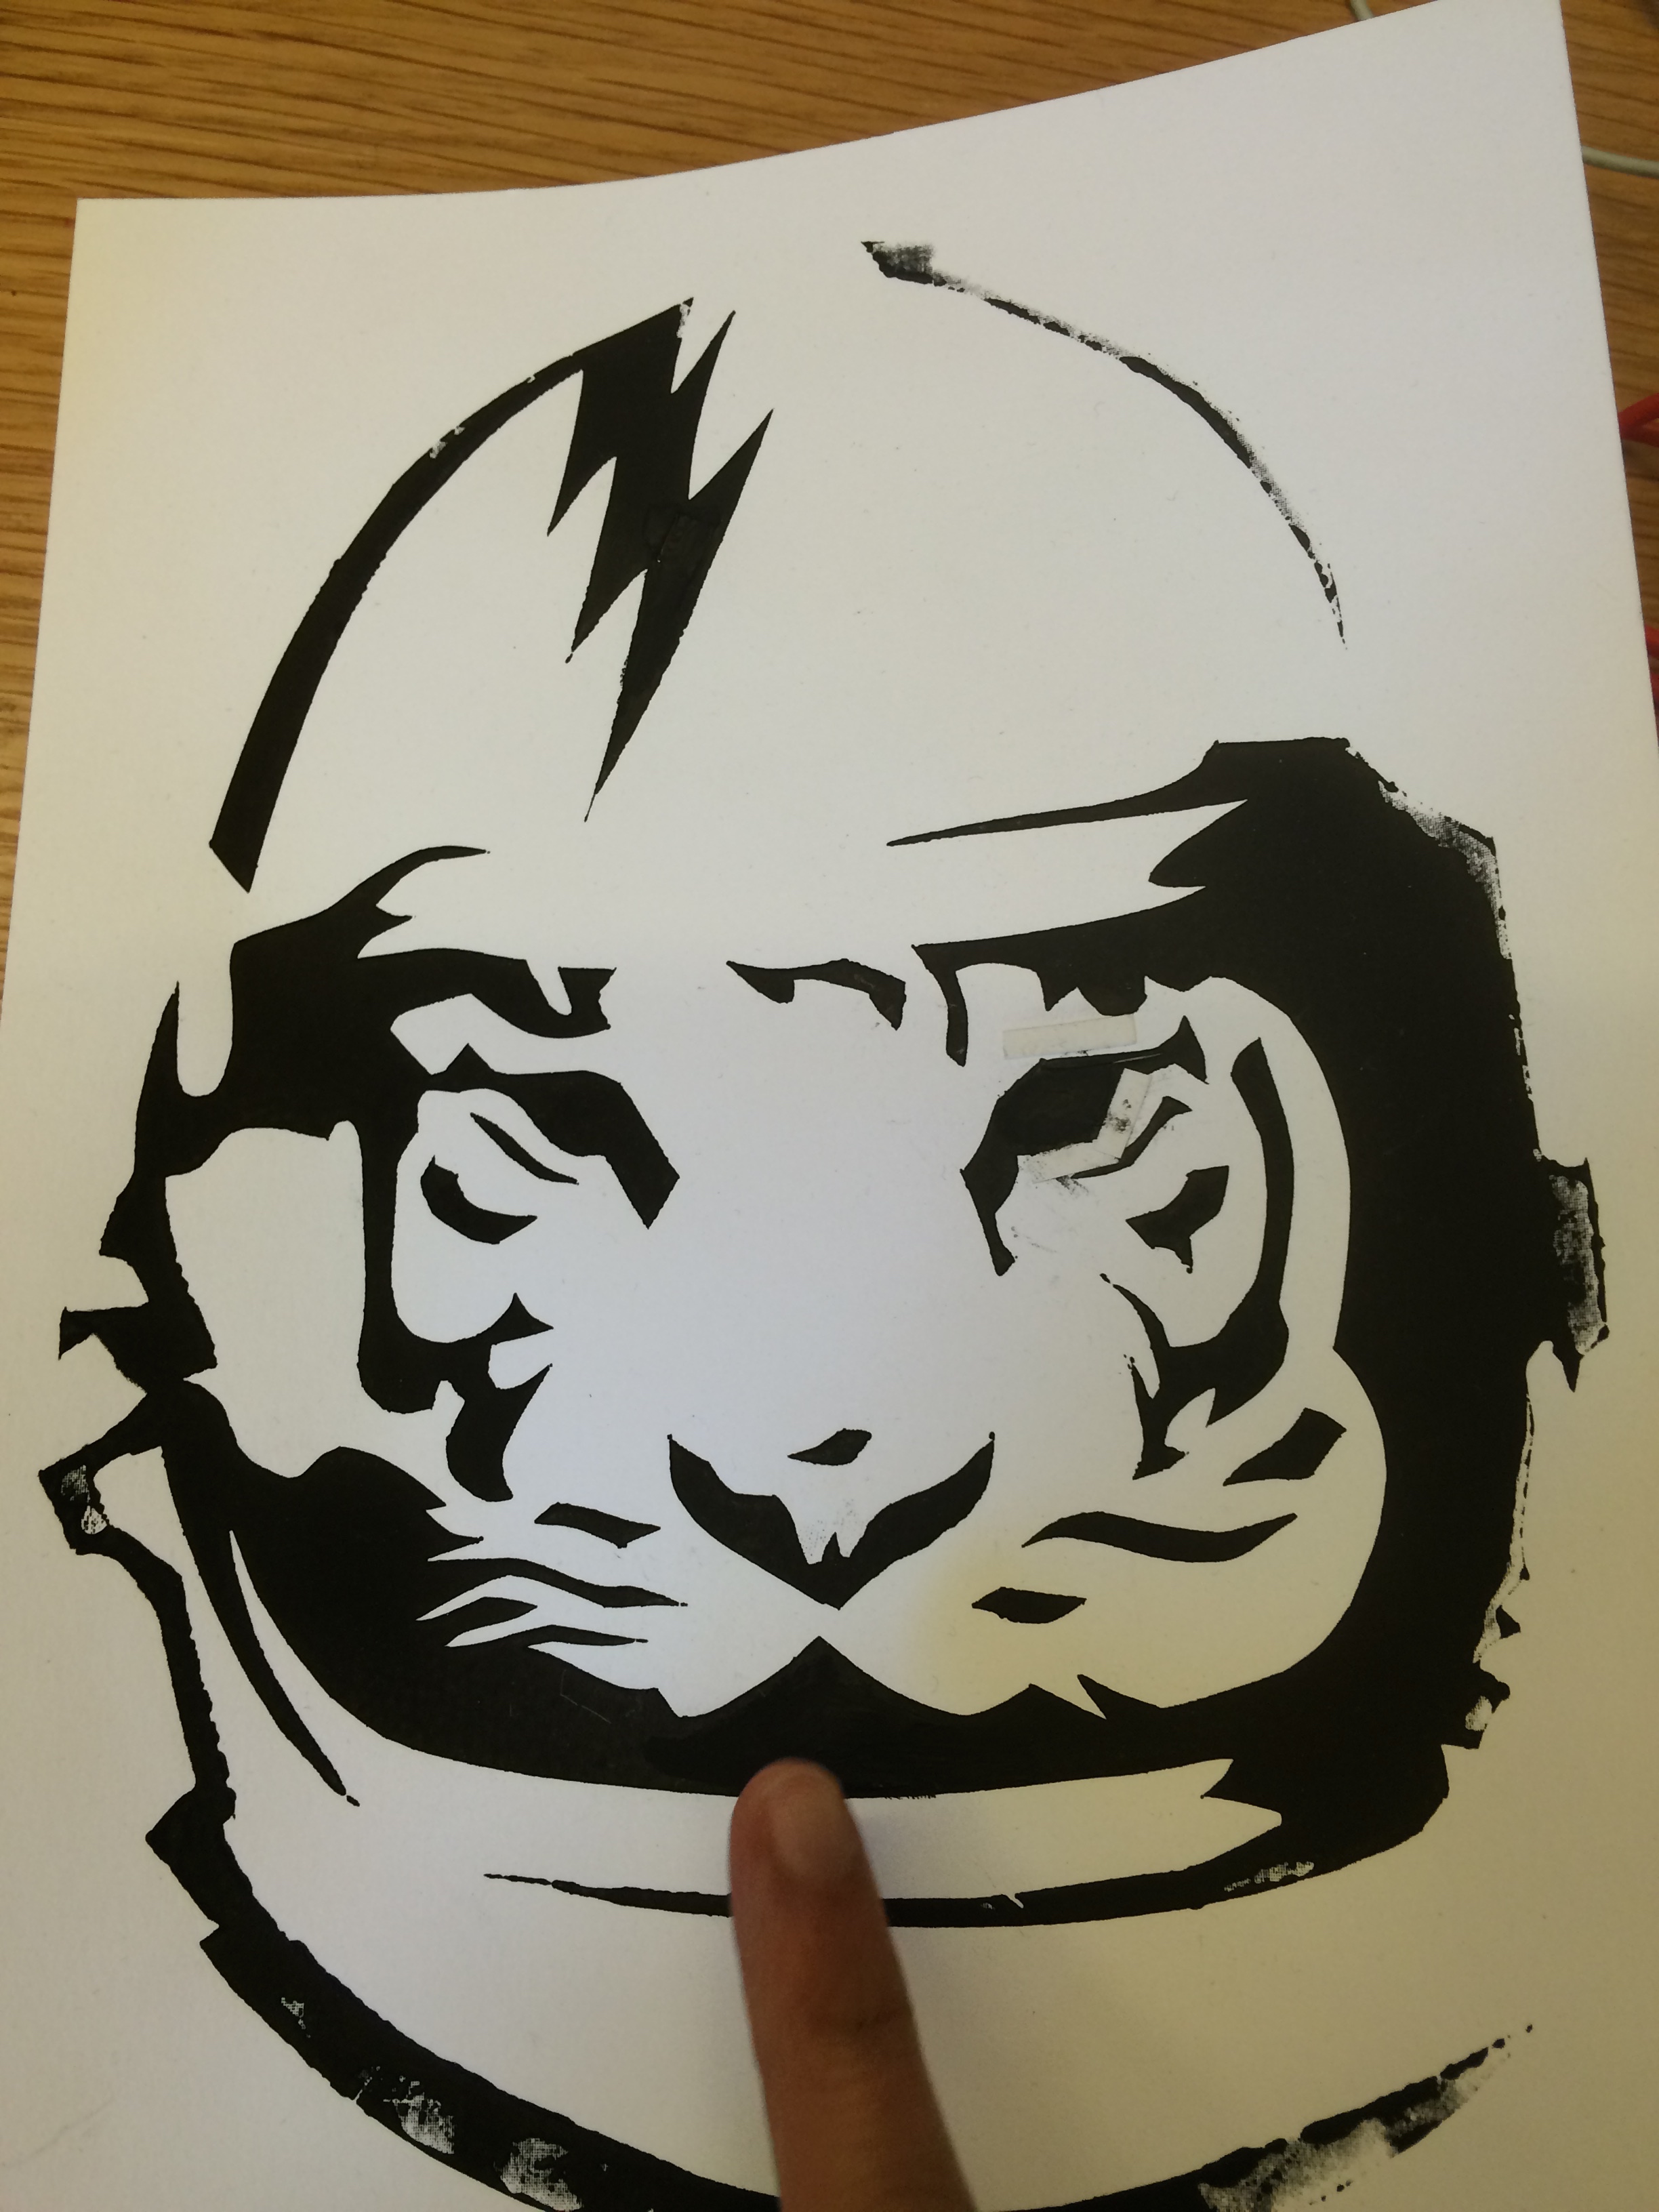
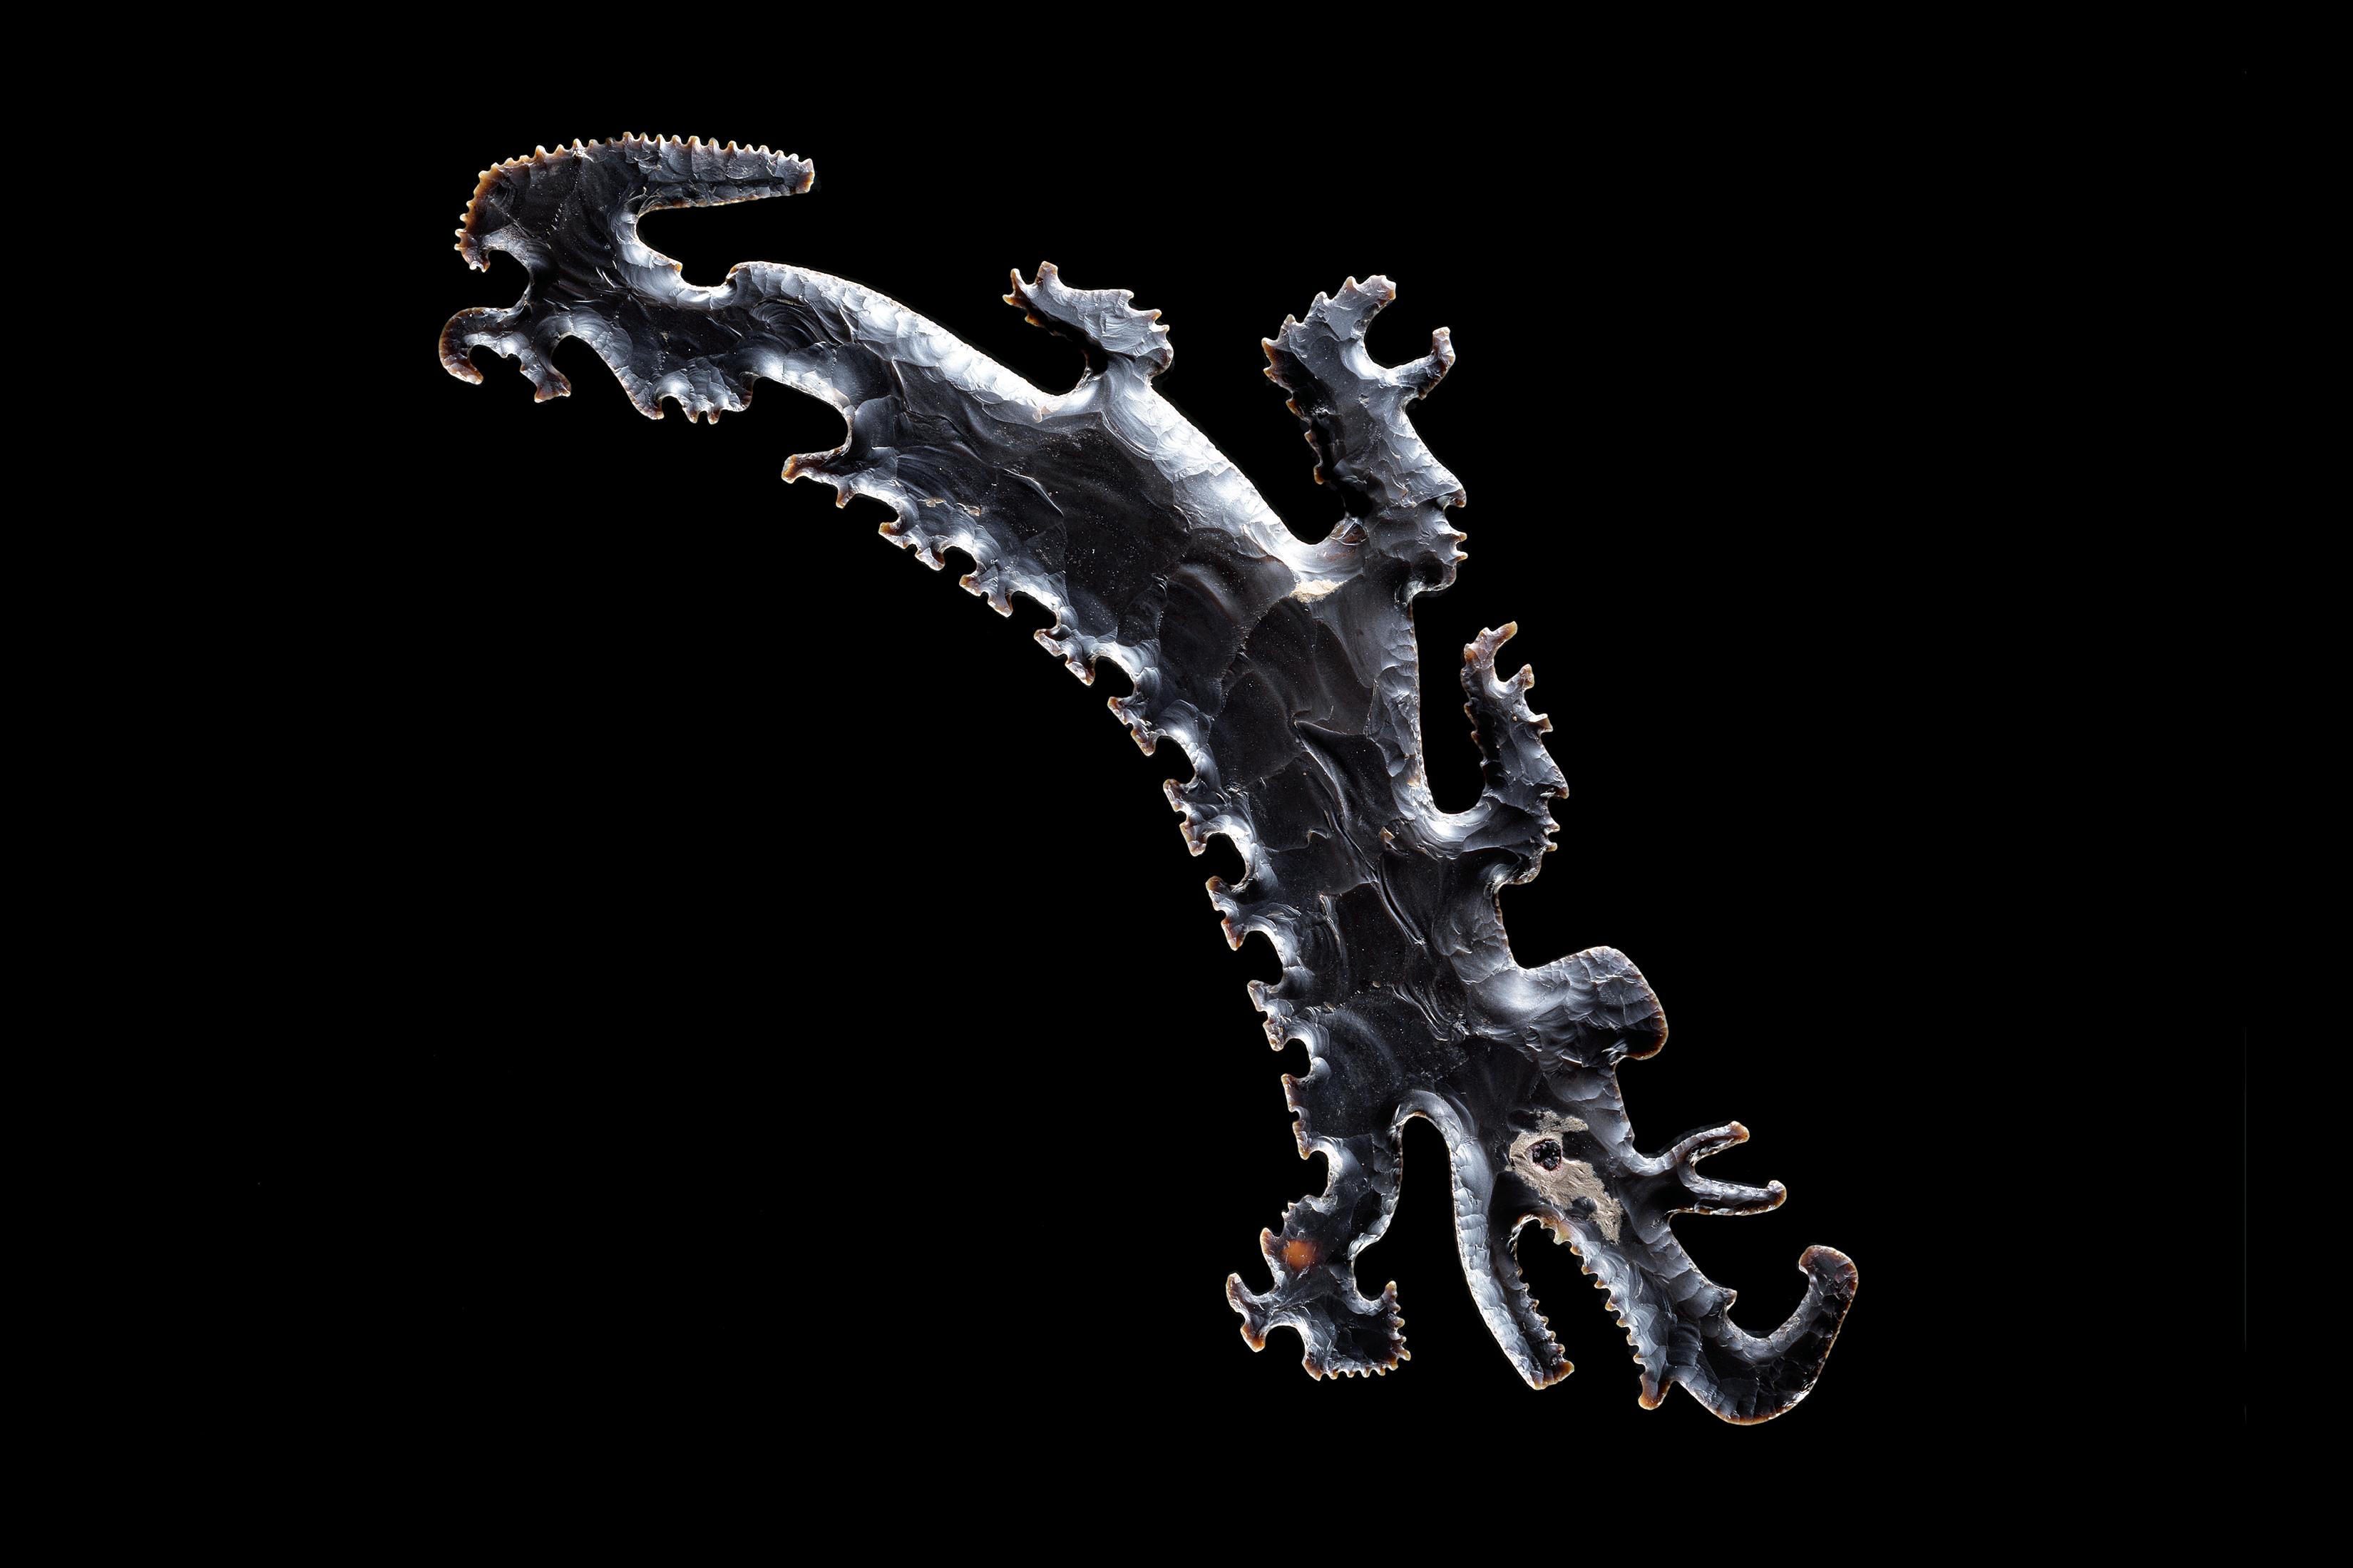
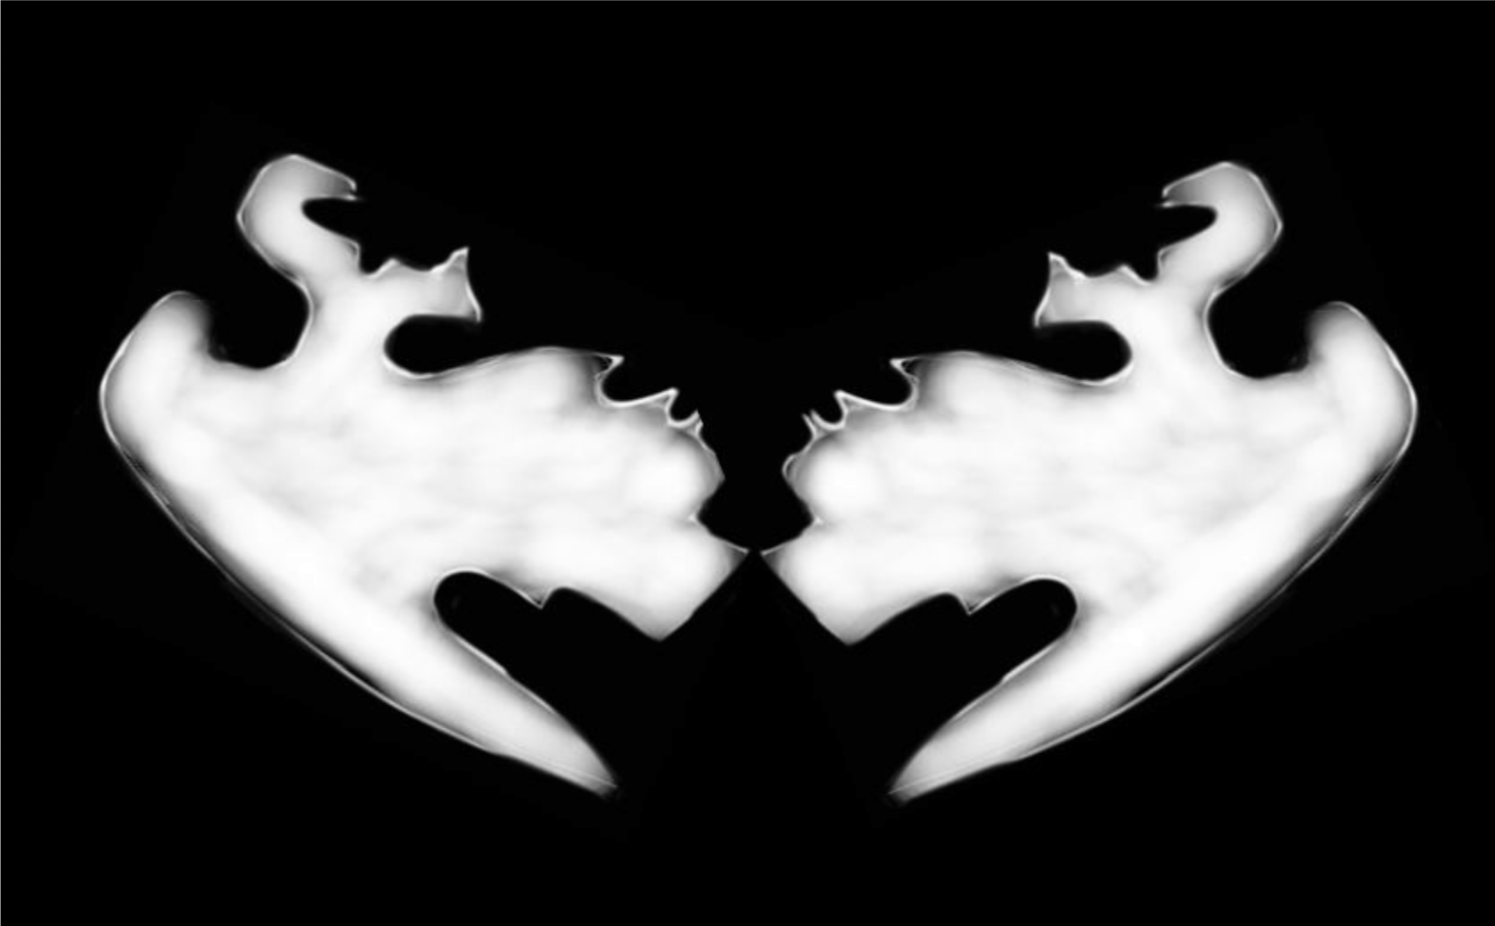
If you were ever at the Materials Bar in the C3 Materials & Meanings exhibition you might have caught JC’s creative hands demonstrating how to work with materials on the video screens:

JC's hands demo art-making ideas in C3

JC’s hands demo art-making ideas in C3

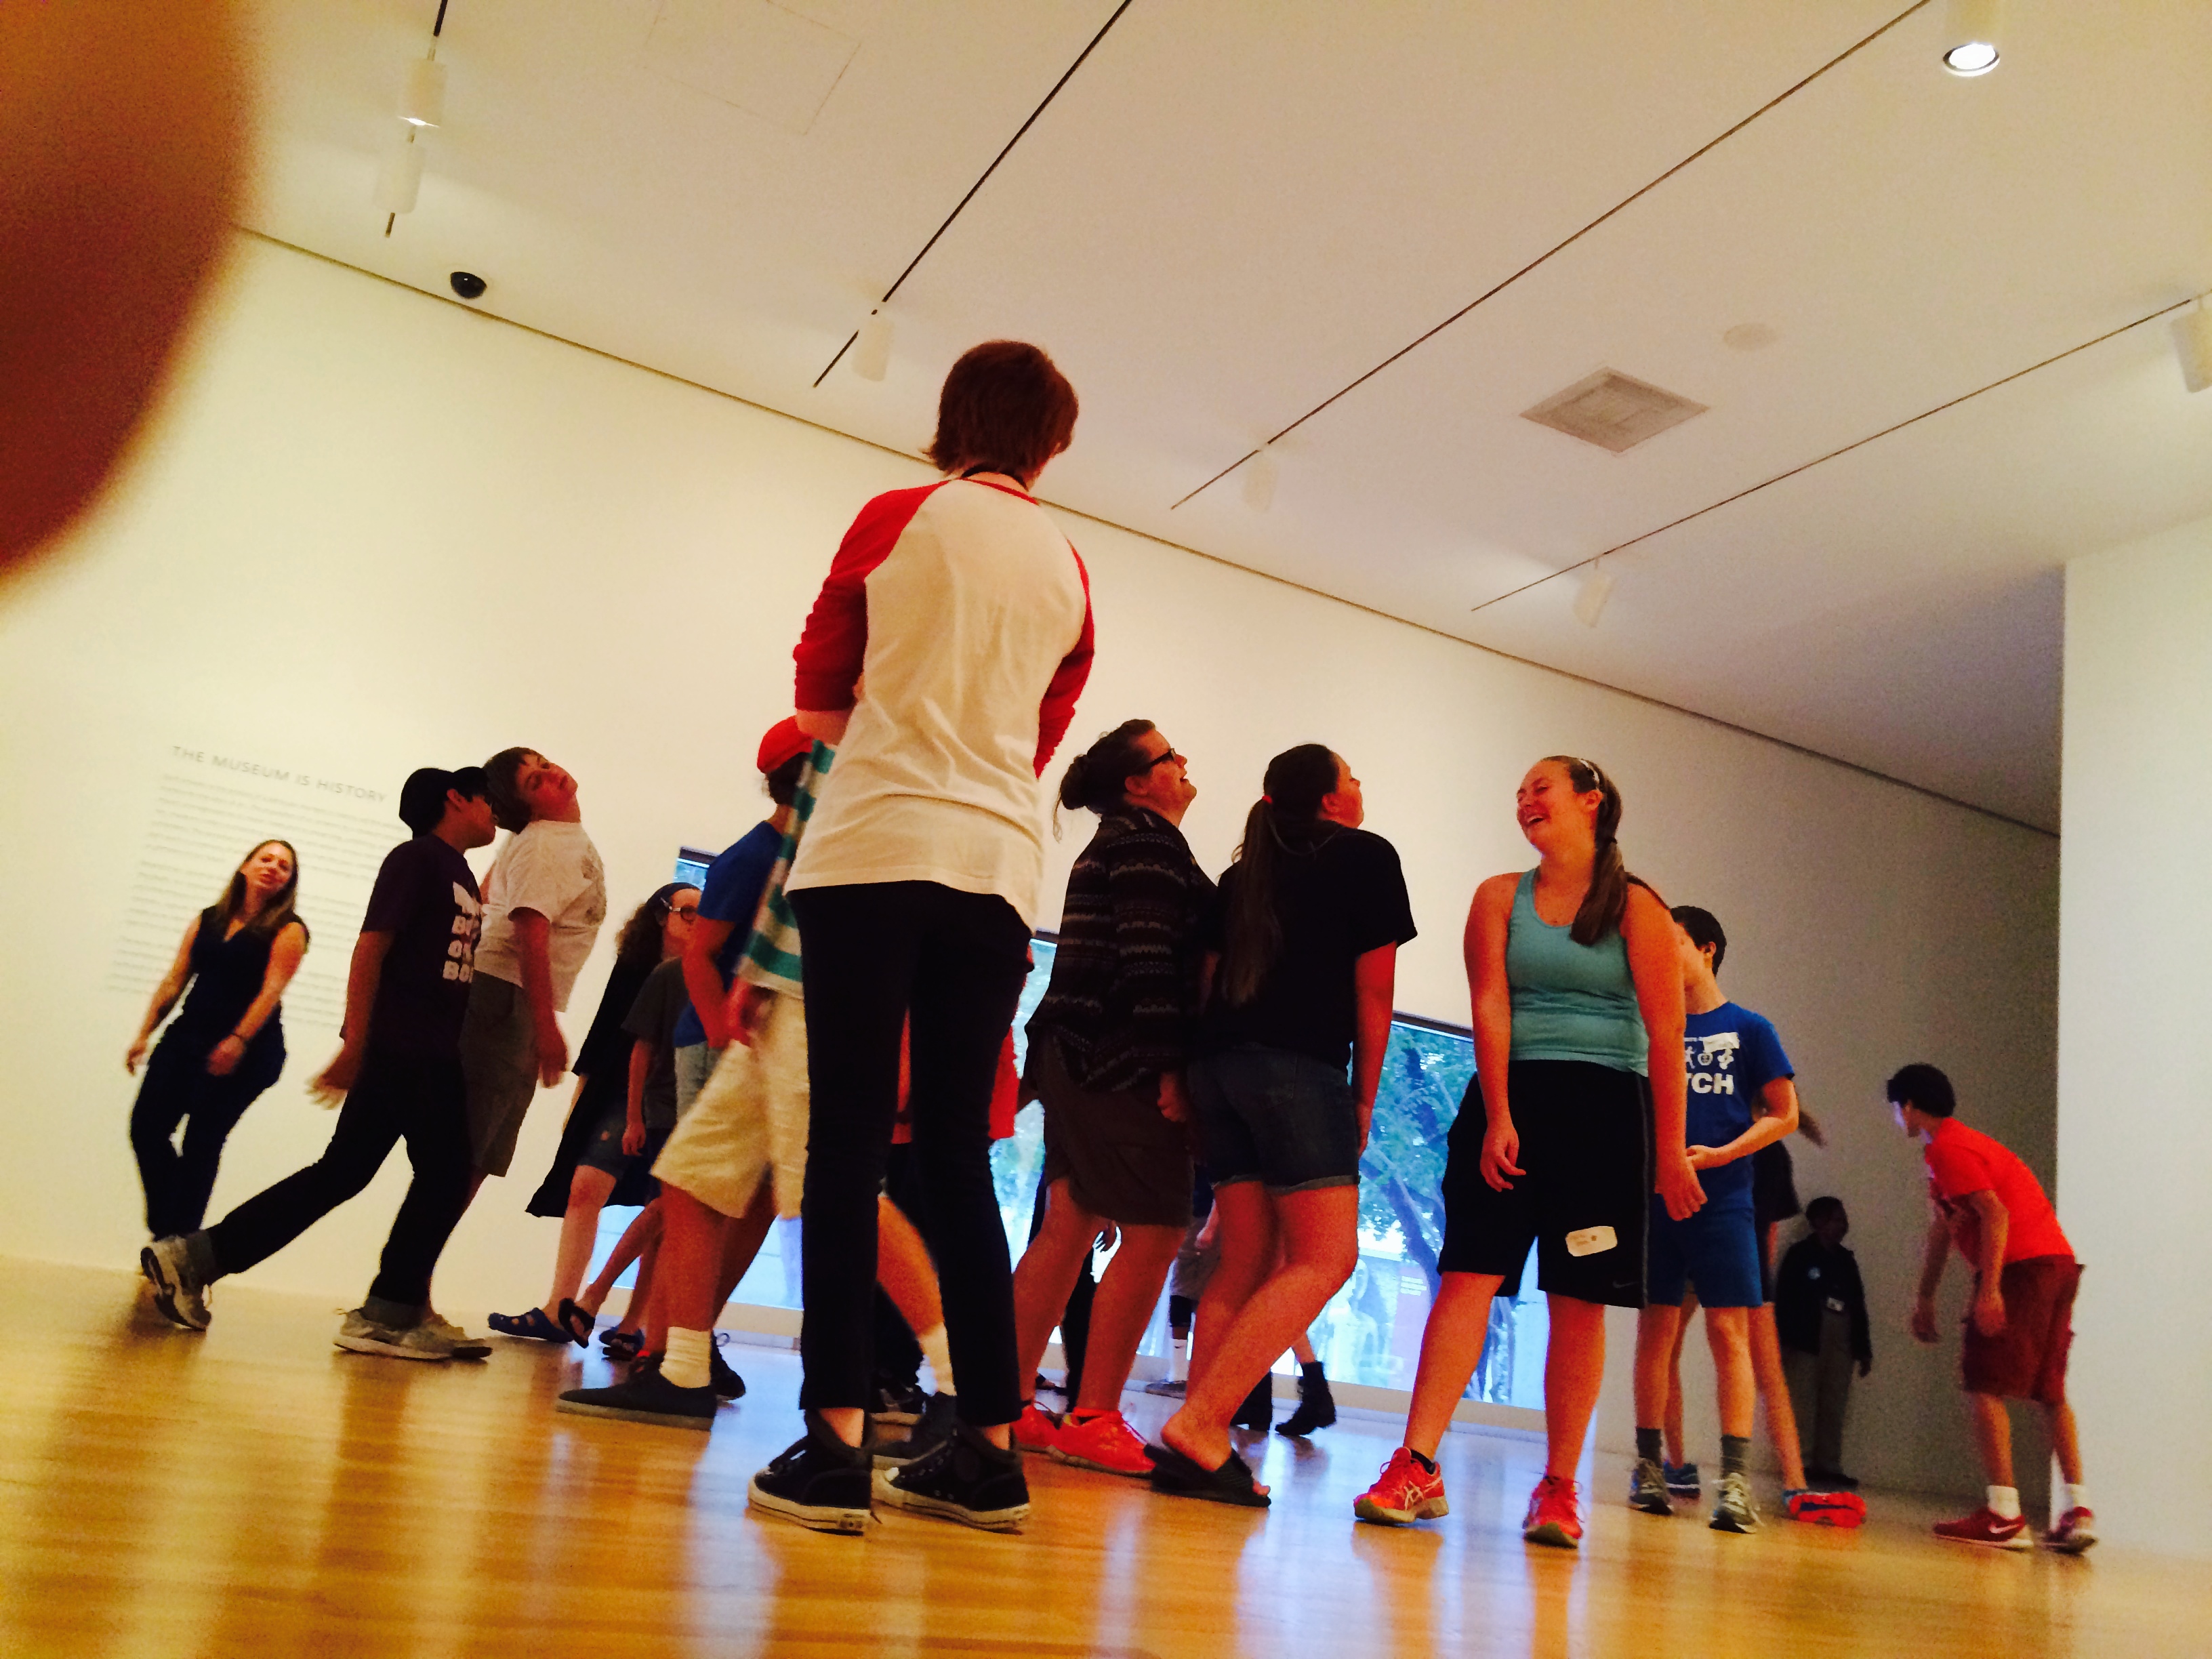
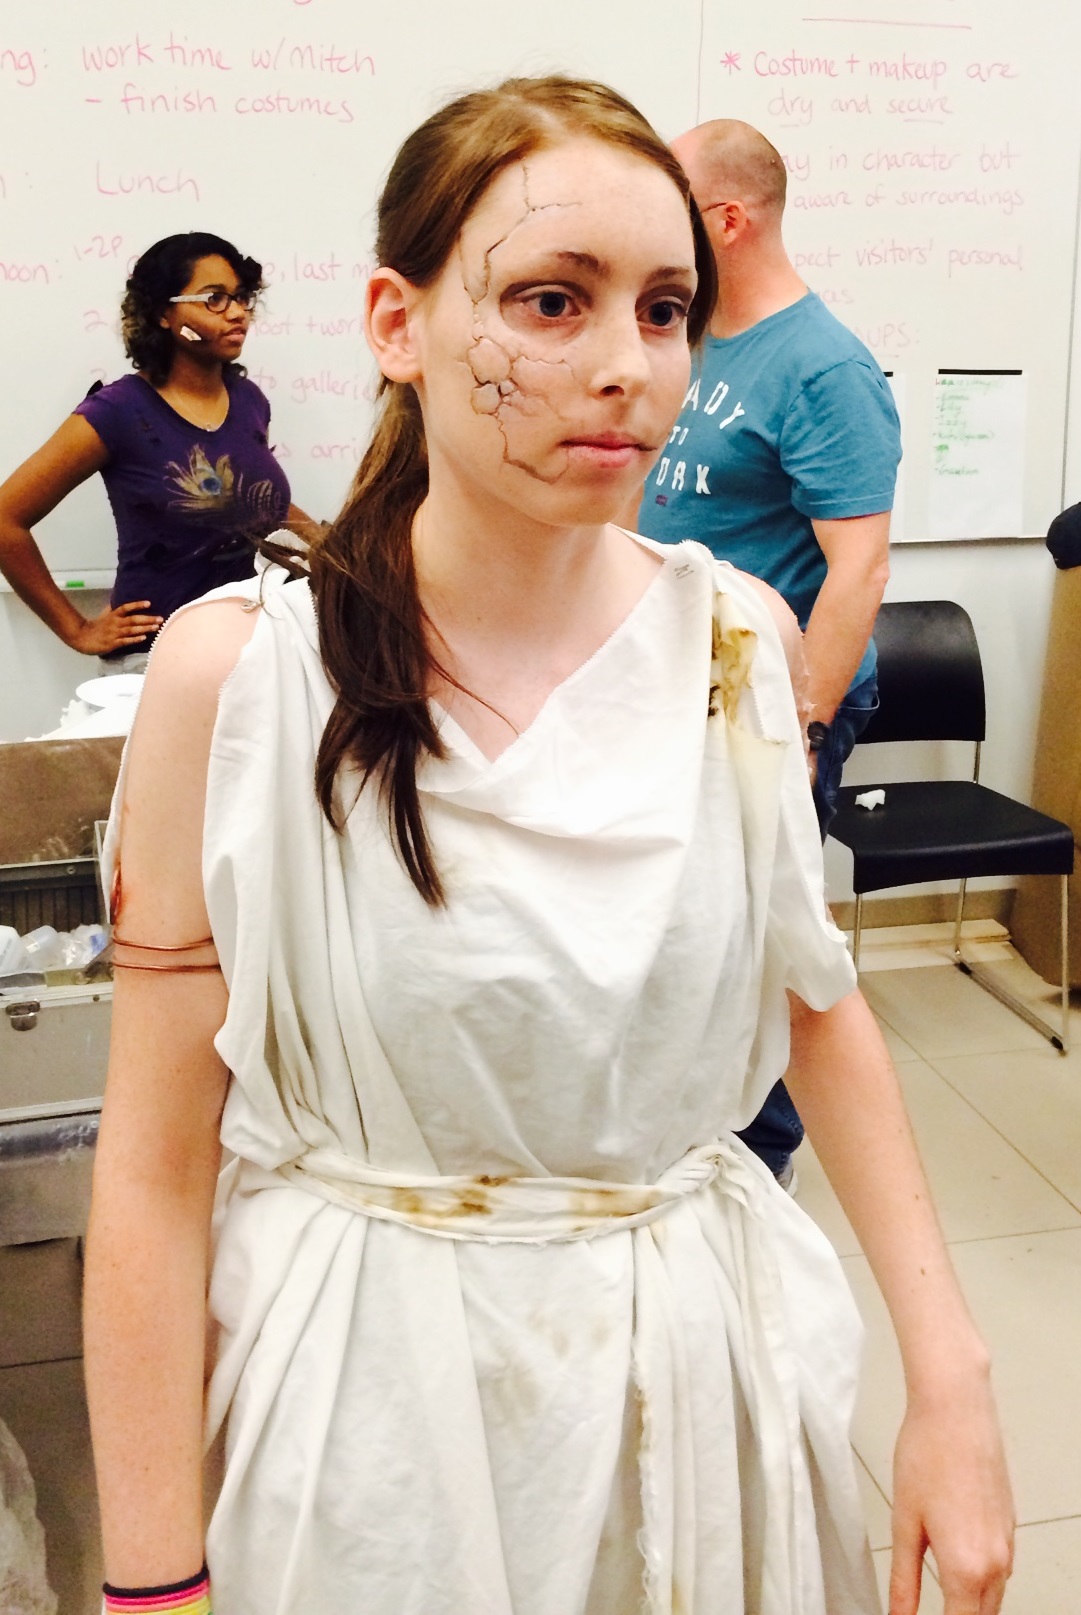
Last year, JC developed a week-long teen summer camp program call Brains, Brains, Brains where the participants learned about the art and science of zombie culture. Inspired by our collection, they transformed themselves into zombies and went roaming in the galleries:

The Perot Museum entrance featured a mural designed by the TAC students led by JC:

Teen Art Council mural

Teen Art Council mural

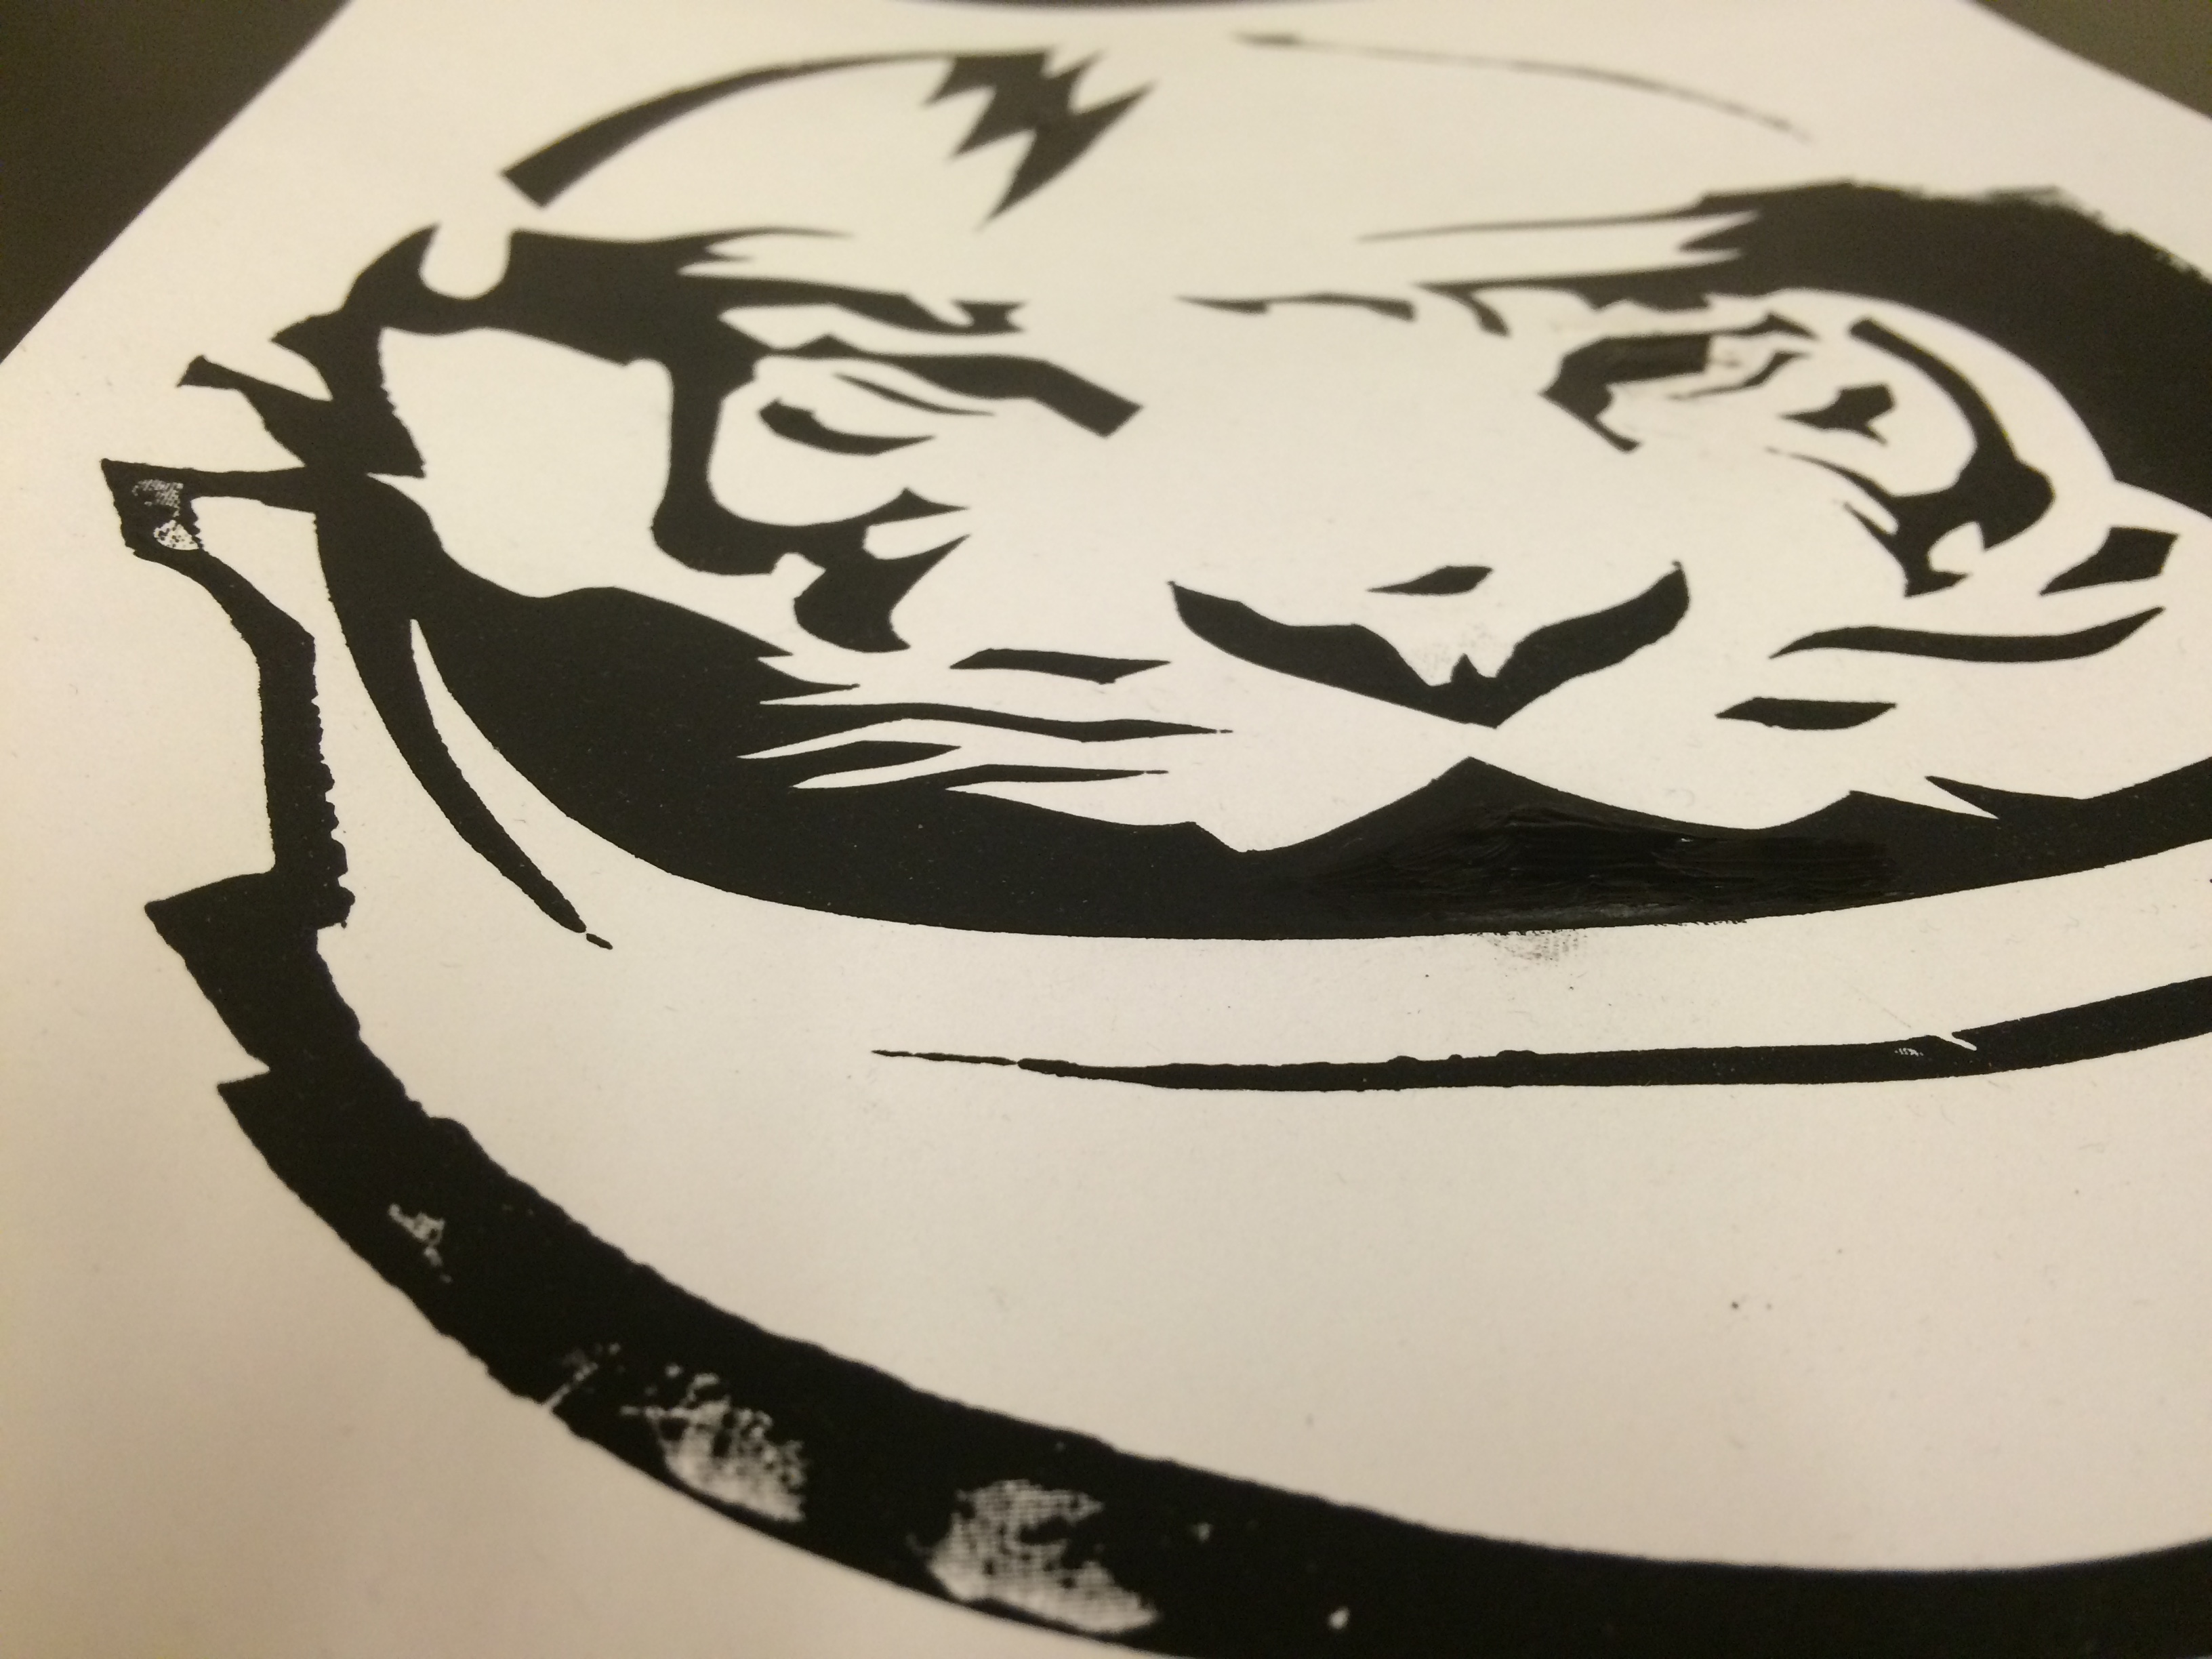
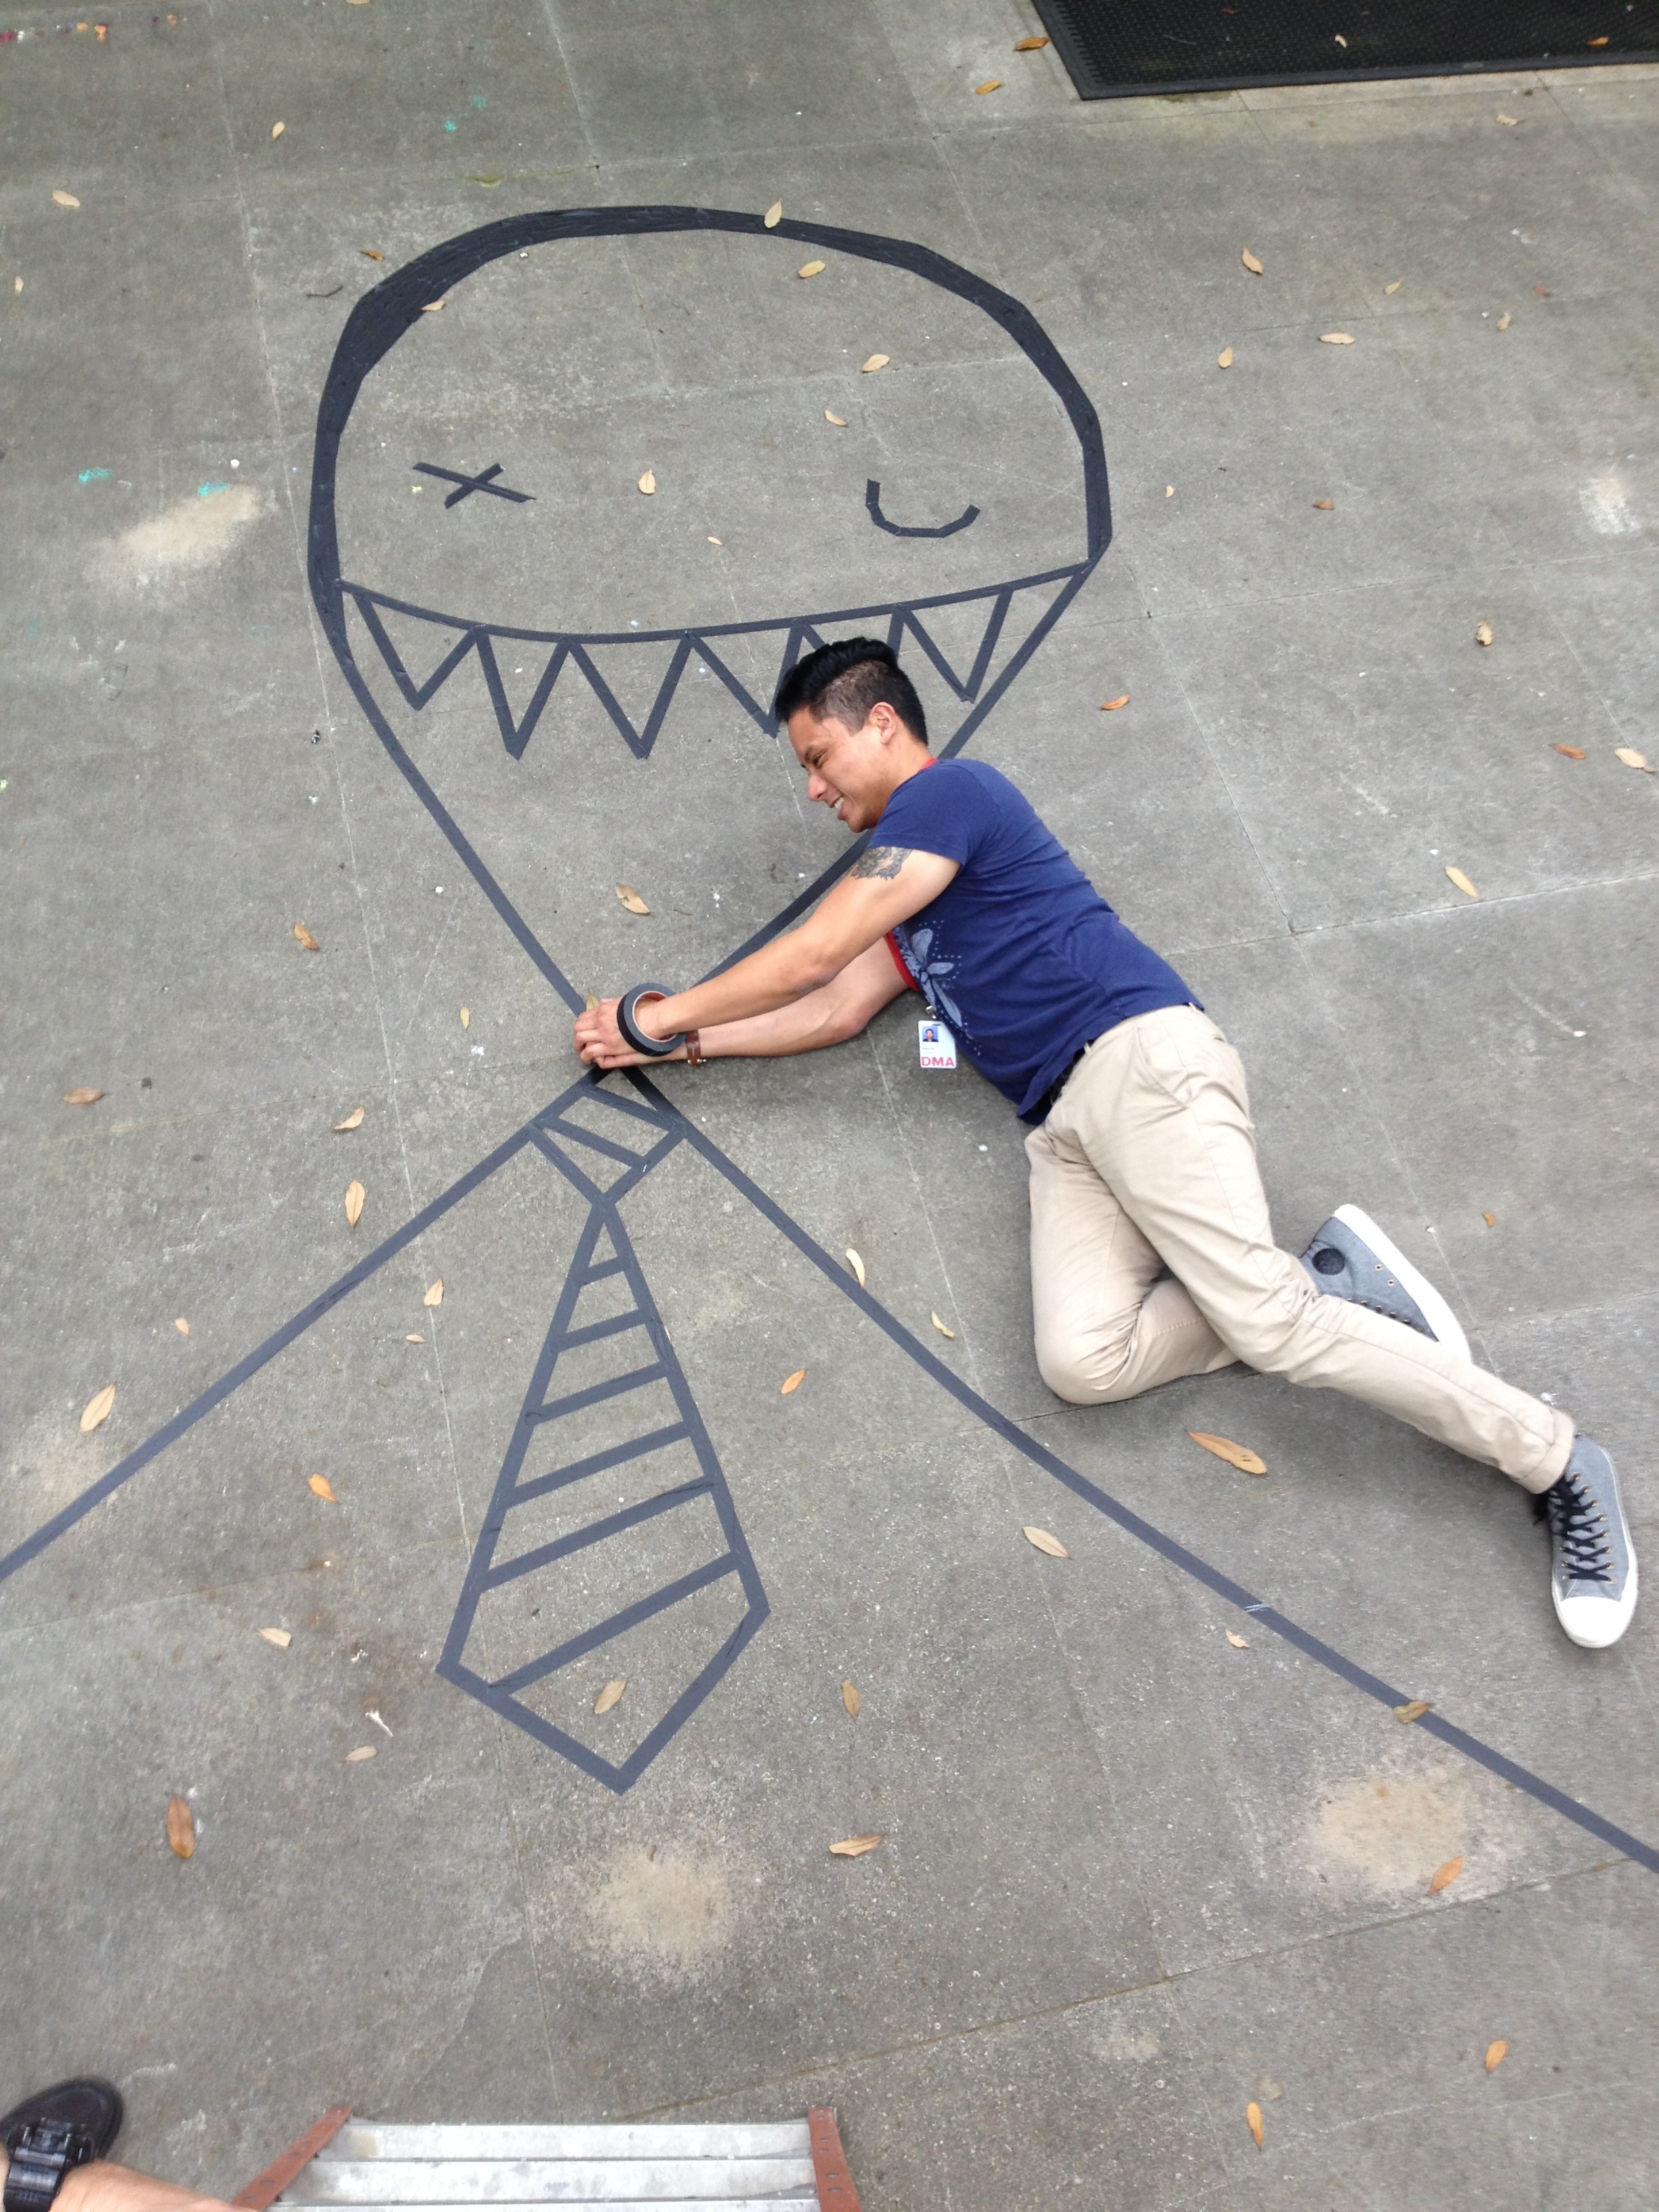
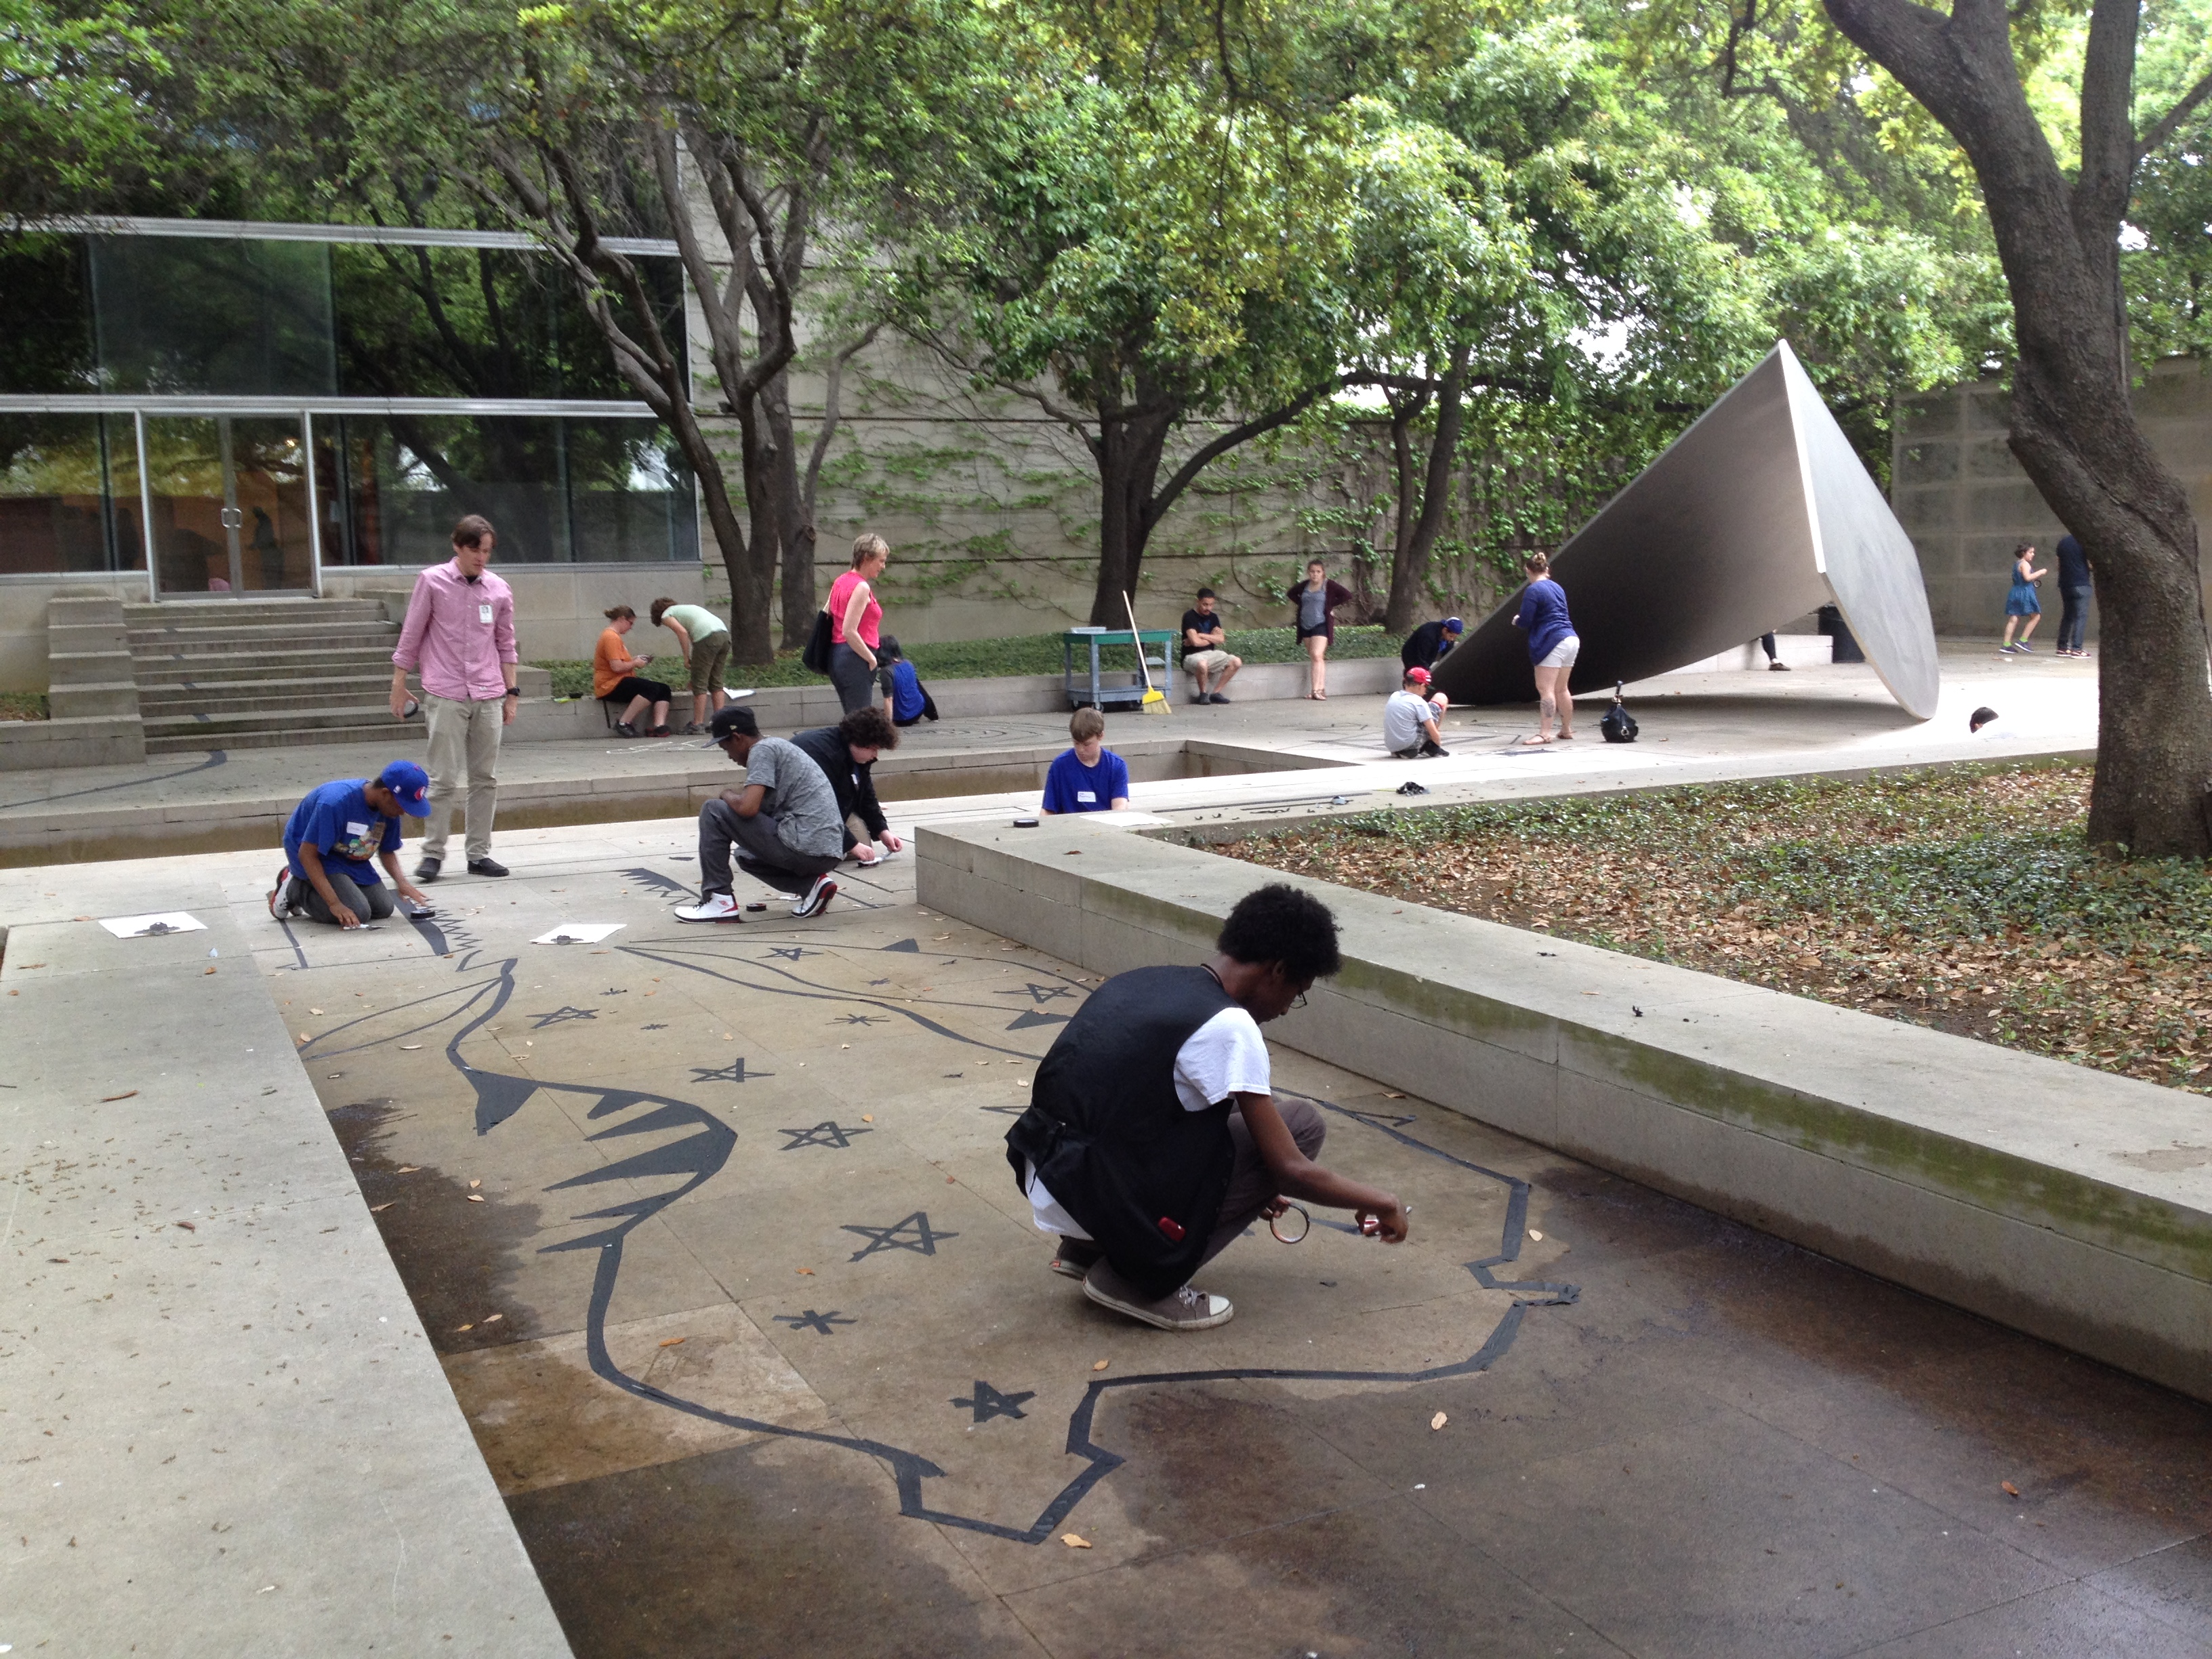
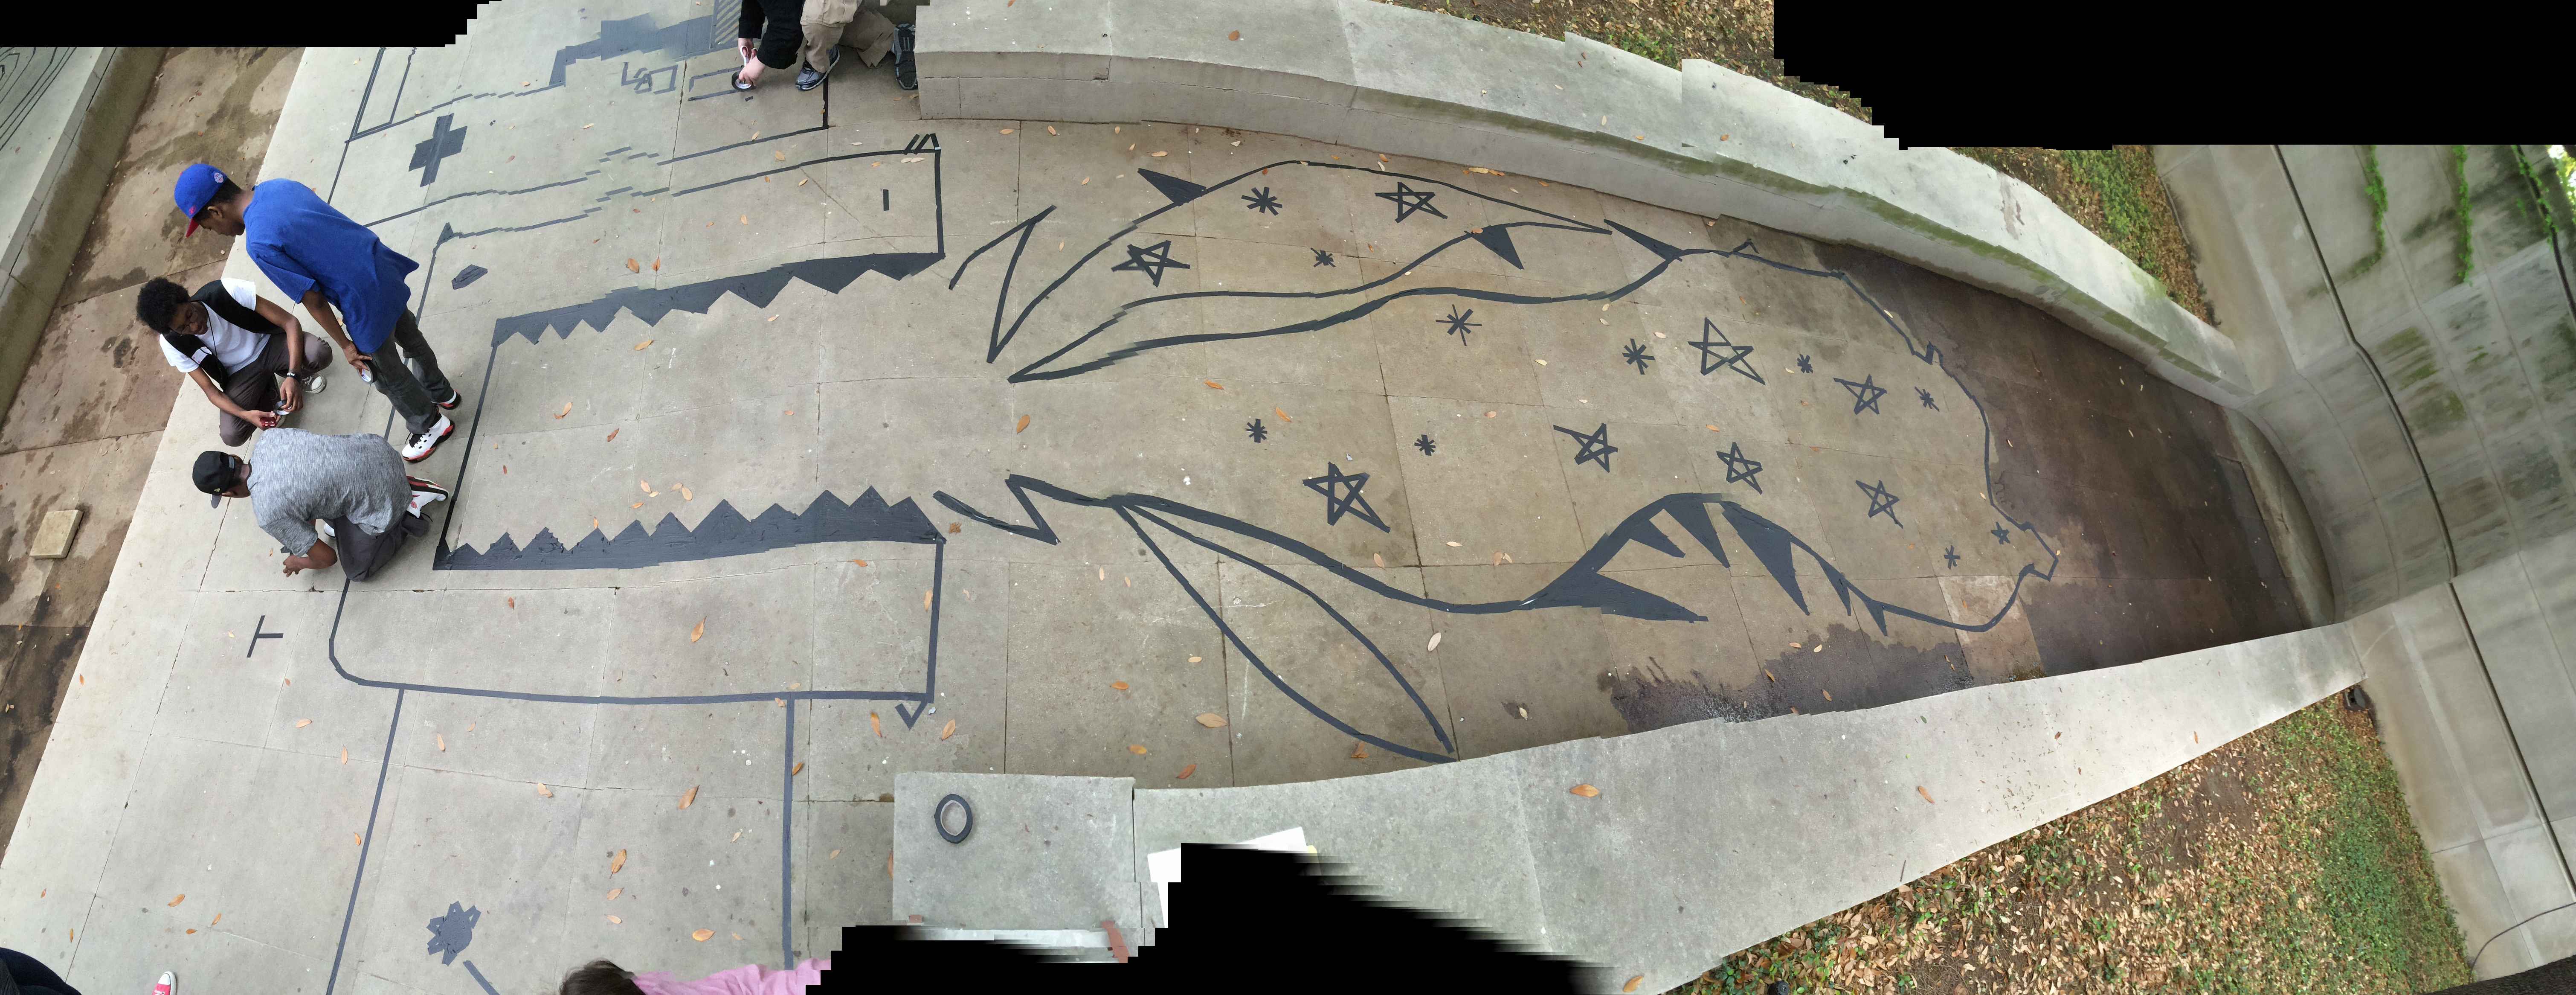
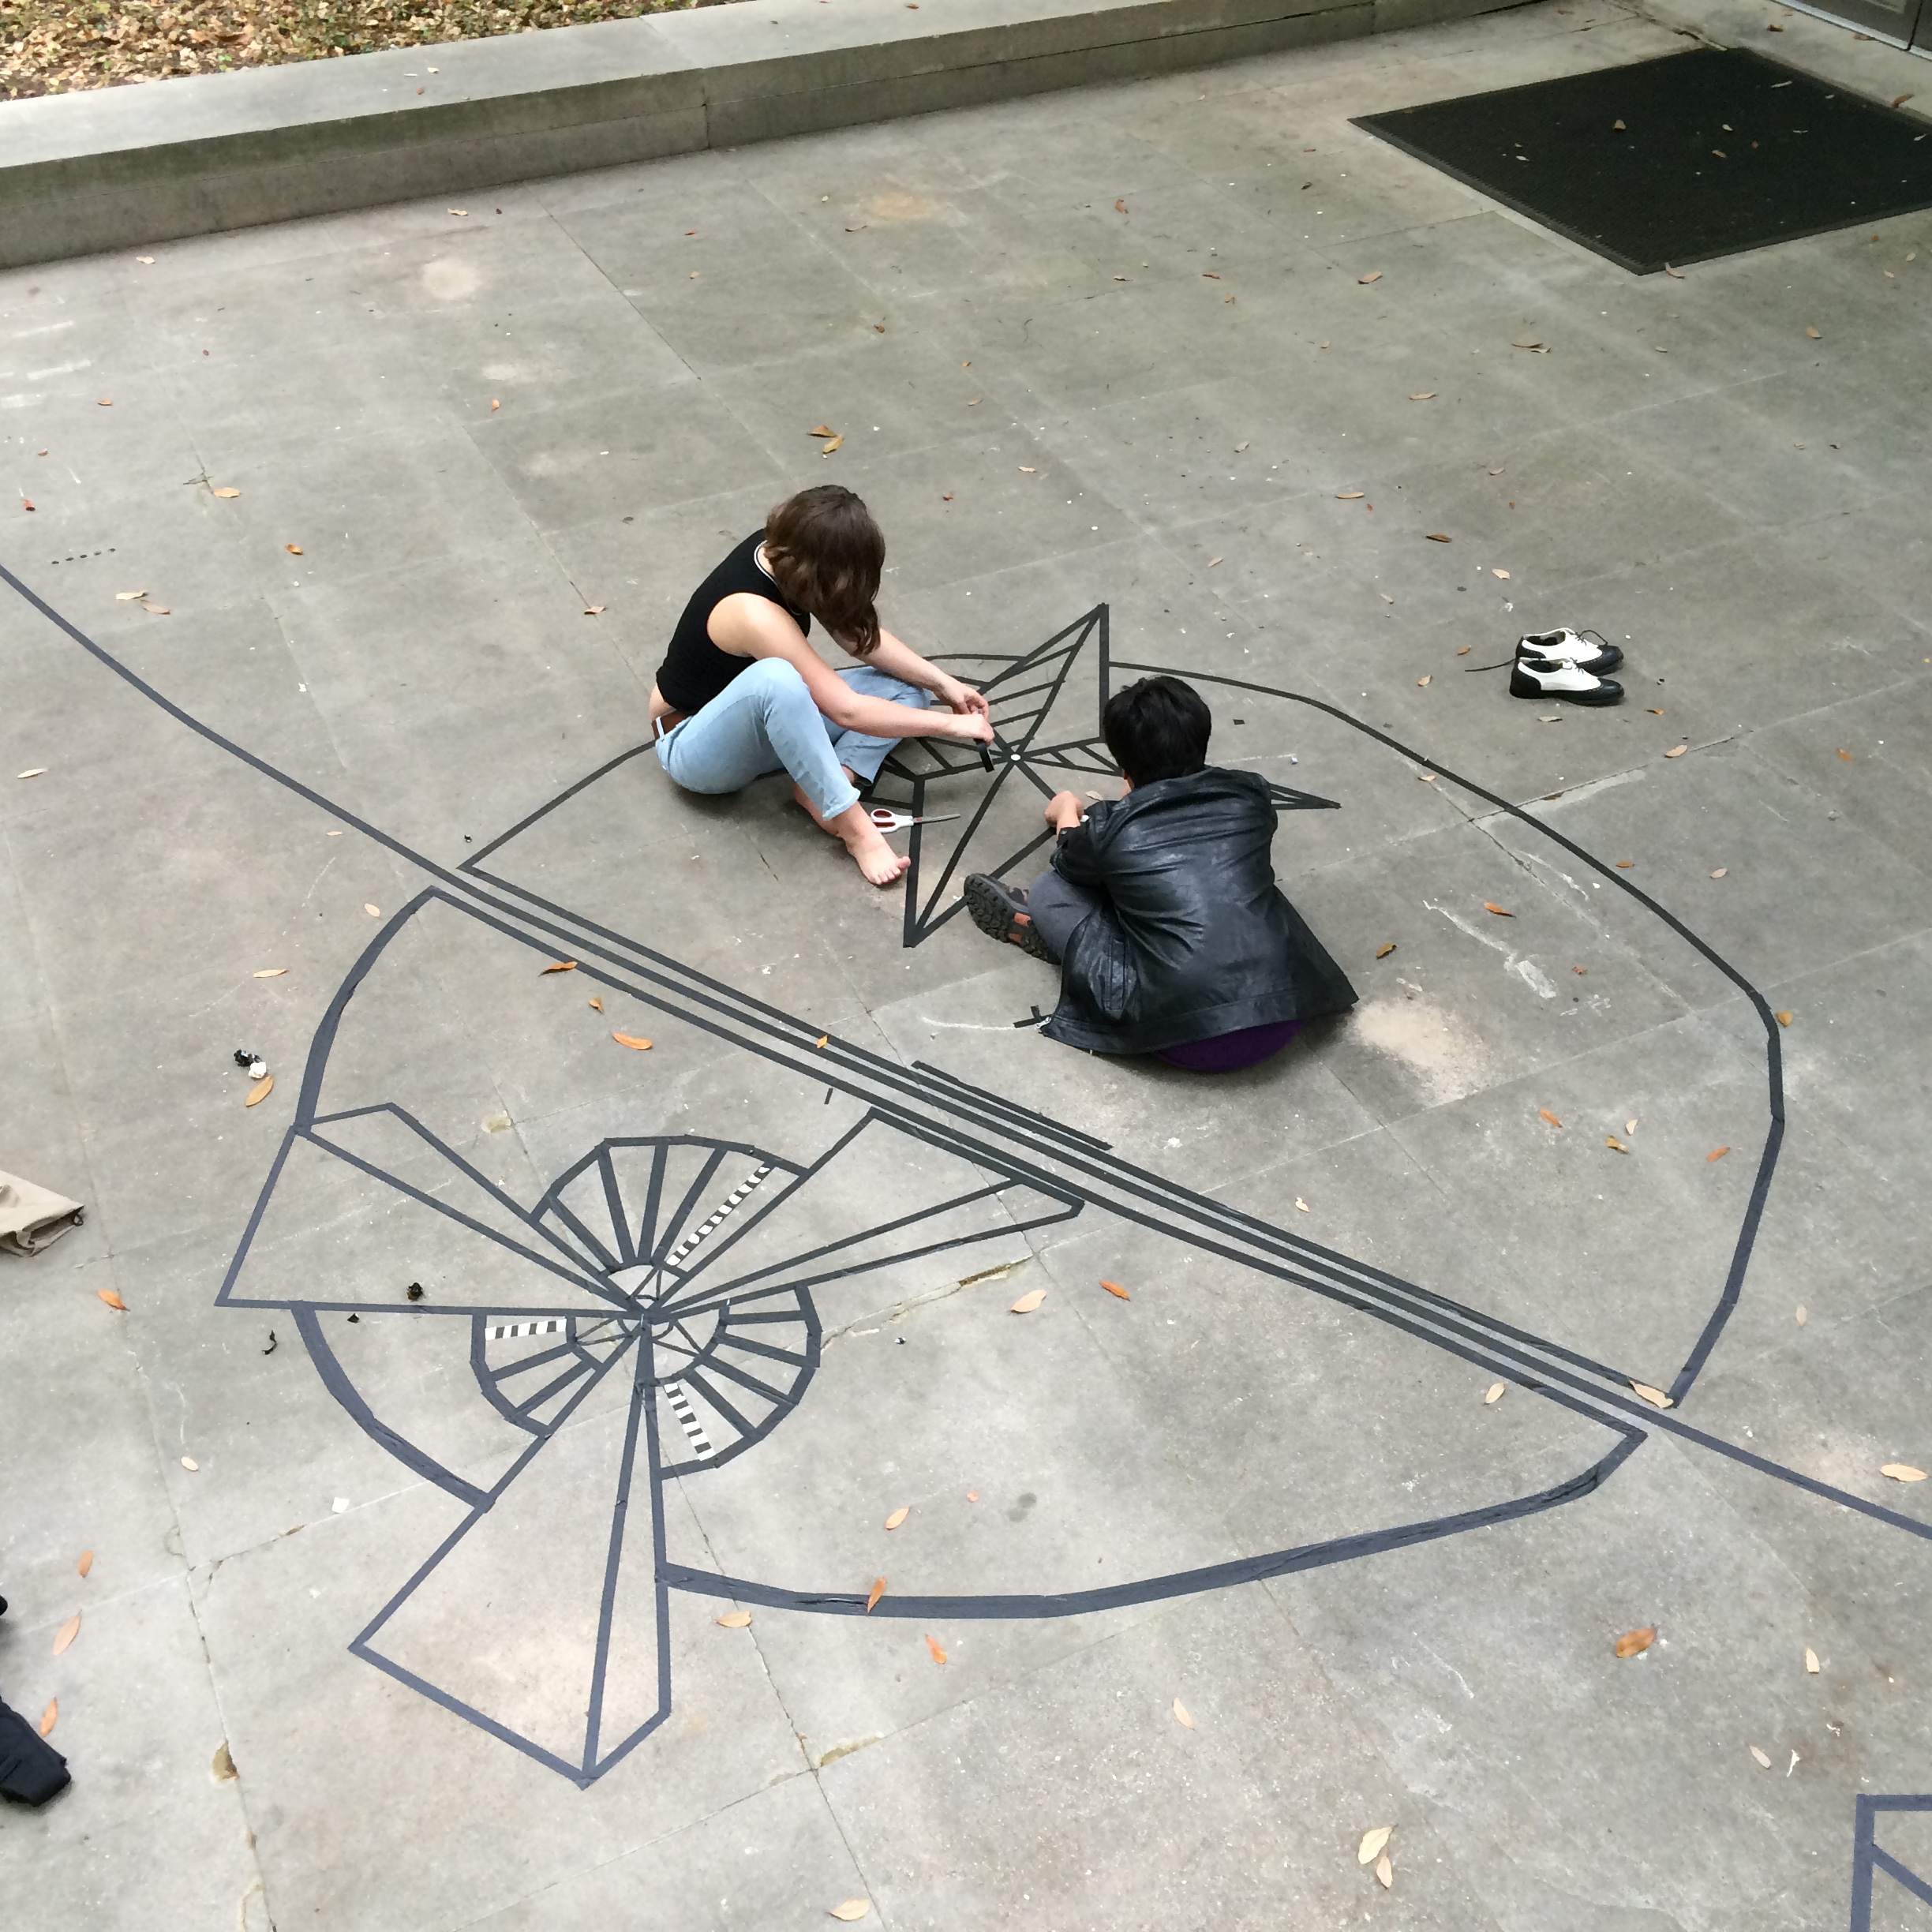
JC’s students in the Urban Armor: Street Art Workshop transformed the DMA Sculpture Garden with masking tape:

And this year, the popular teen themed Late Night in June was developed and run by JC’s teens.

JC is a terrific listener and thoughtful which makes him an excellent supervisor to our volunteers and interns. They adore working with him. They enjoy his creative ideas as well as the support he gives them. He is genuinely interested in the people he works with and takes the time to get to know everybody. I’d like to publically thank him for his outstanding work at the DMA with our visitors.

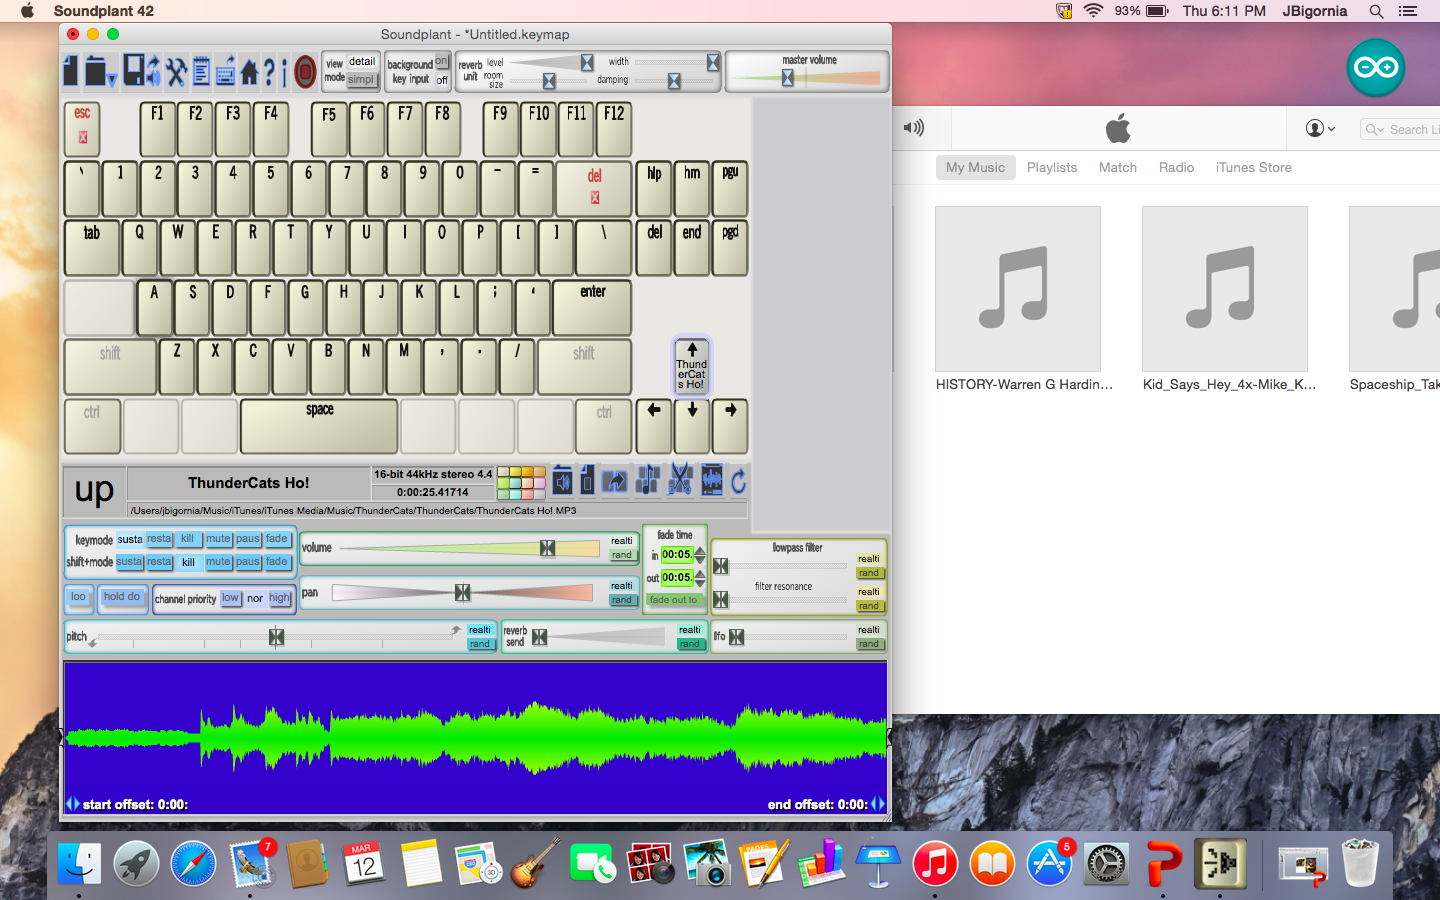
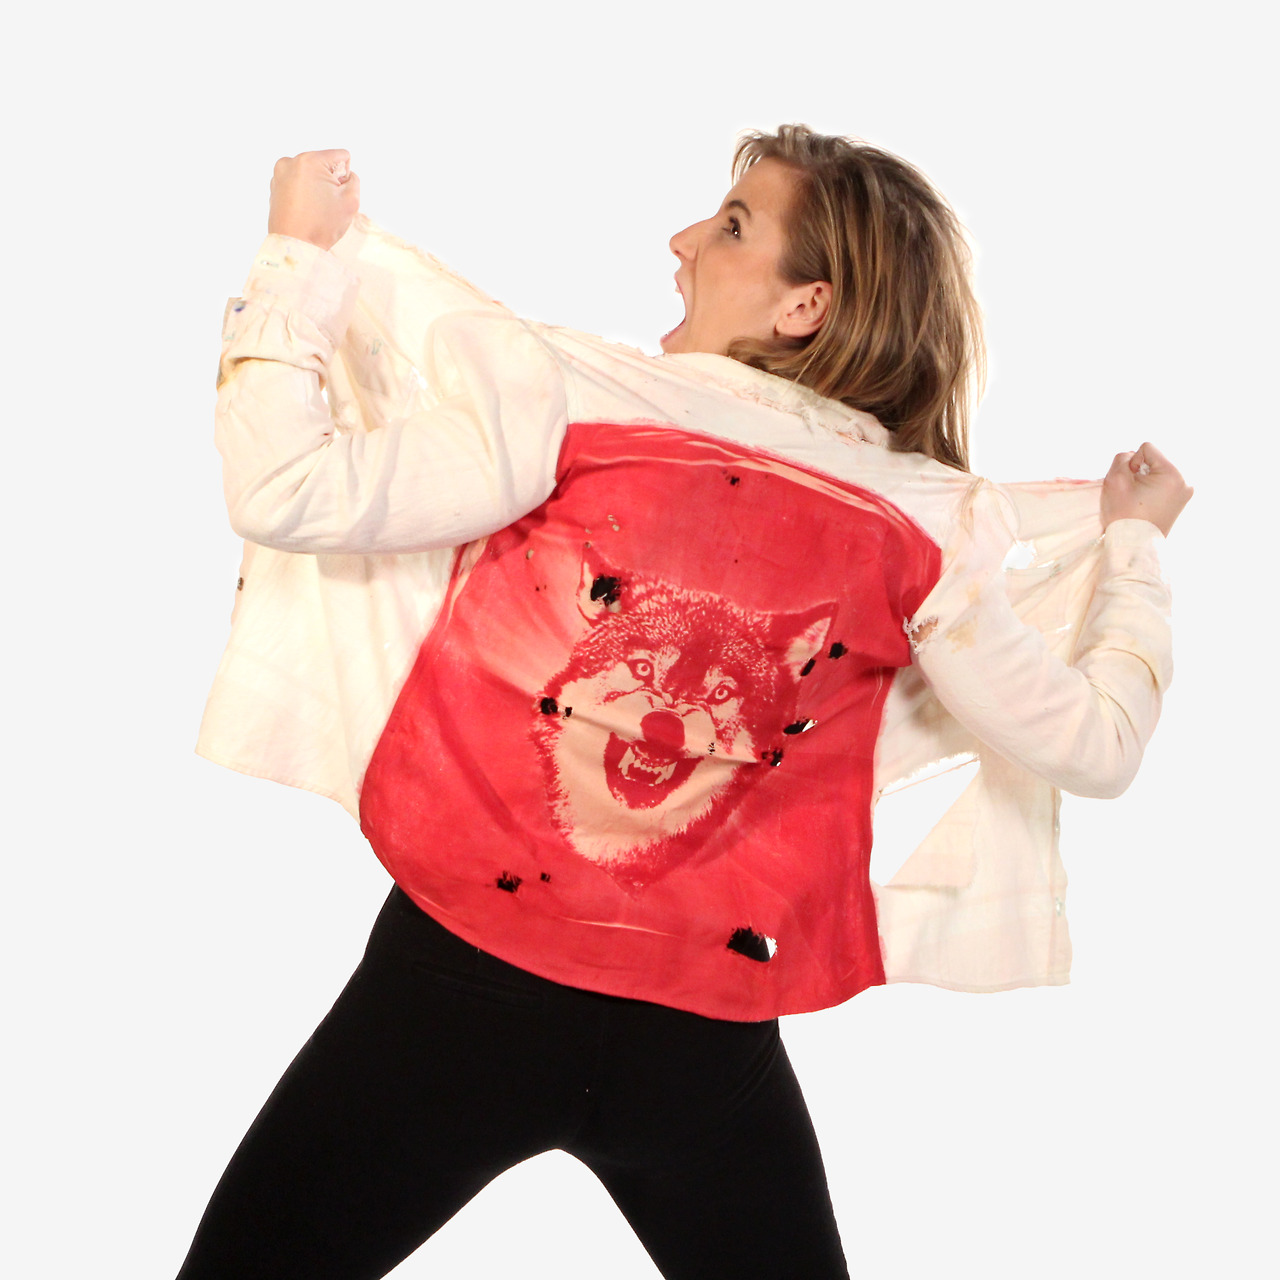
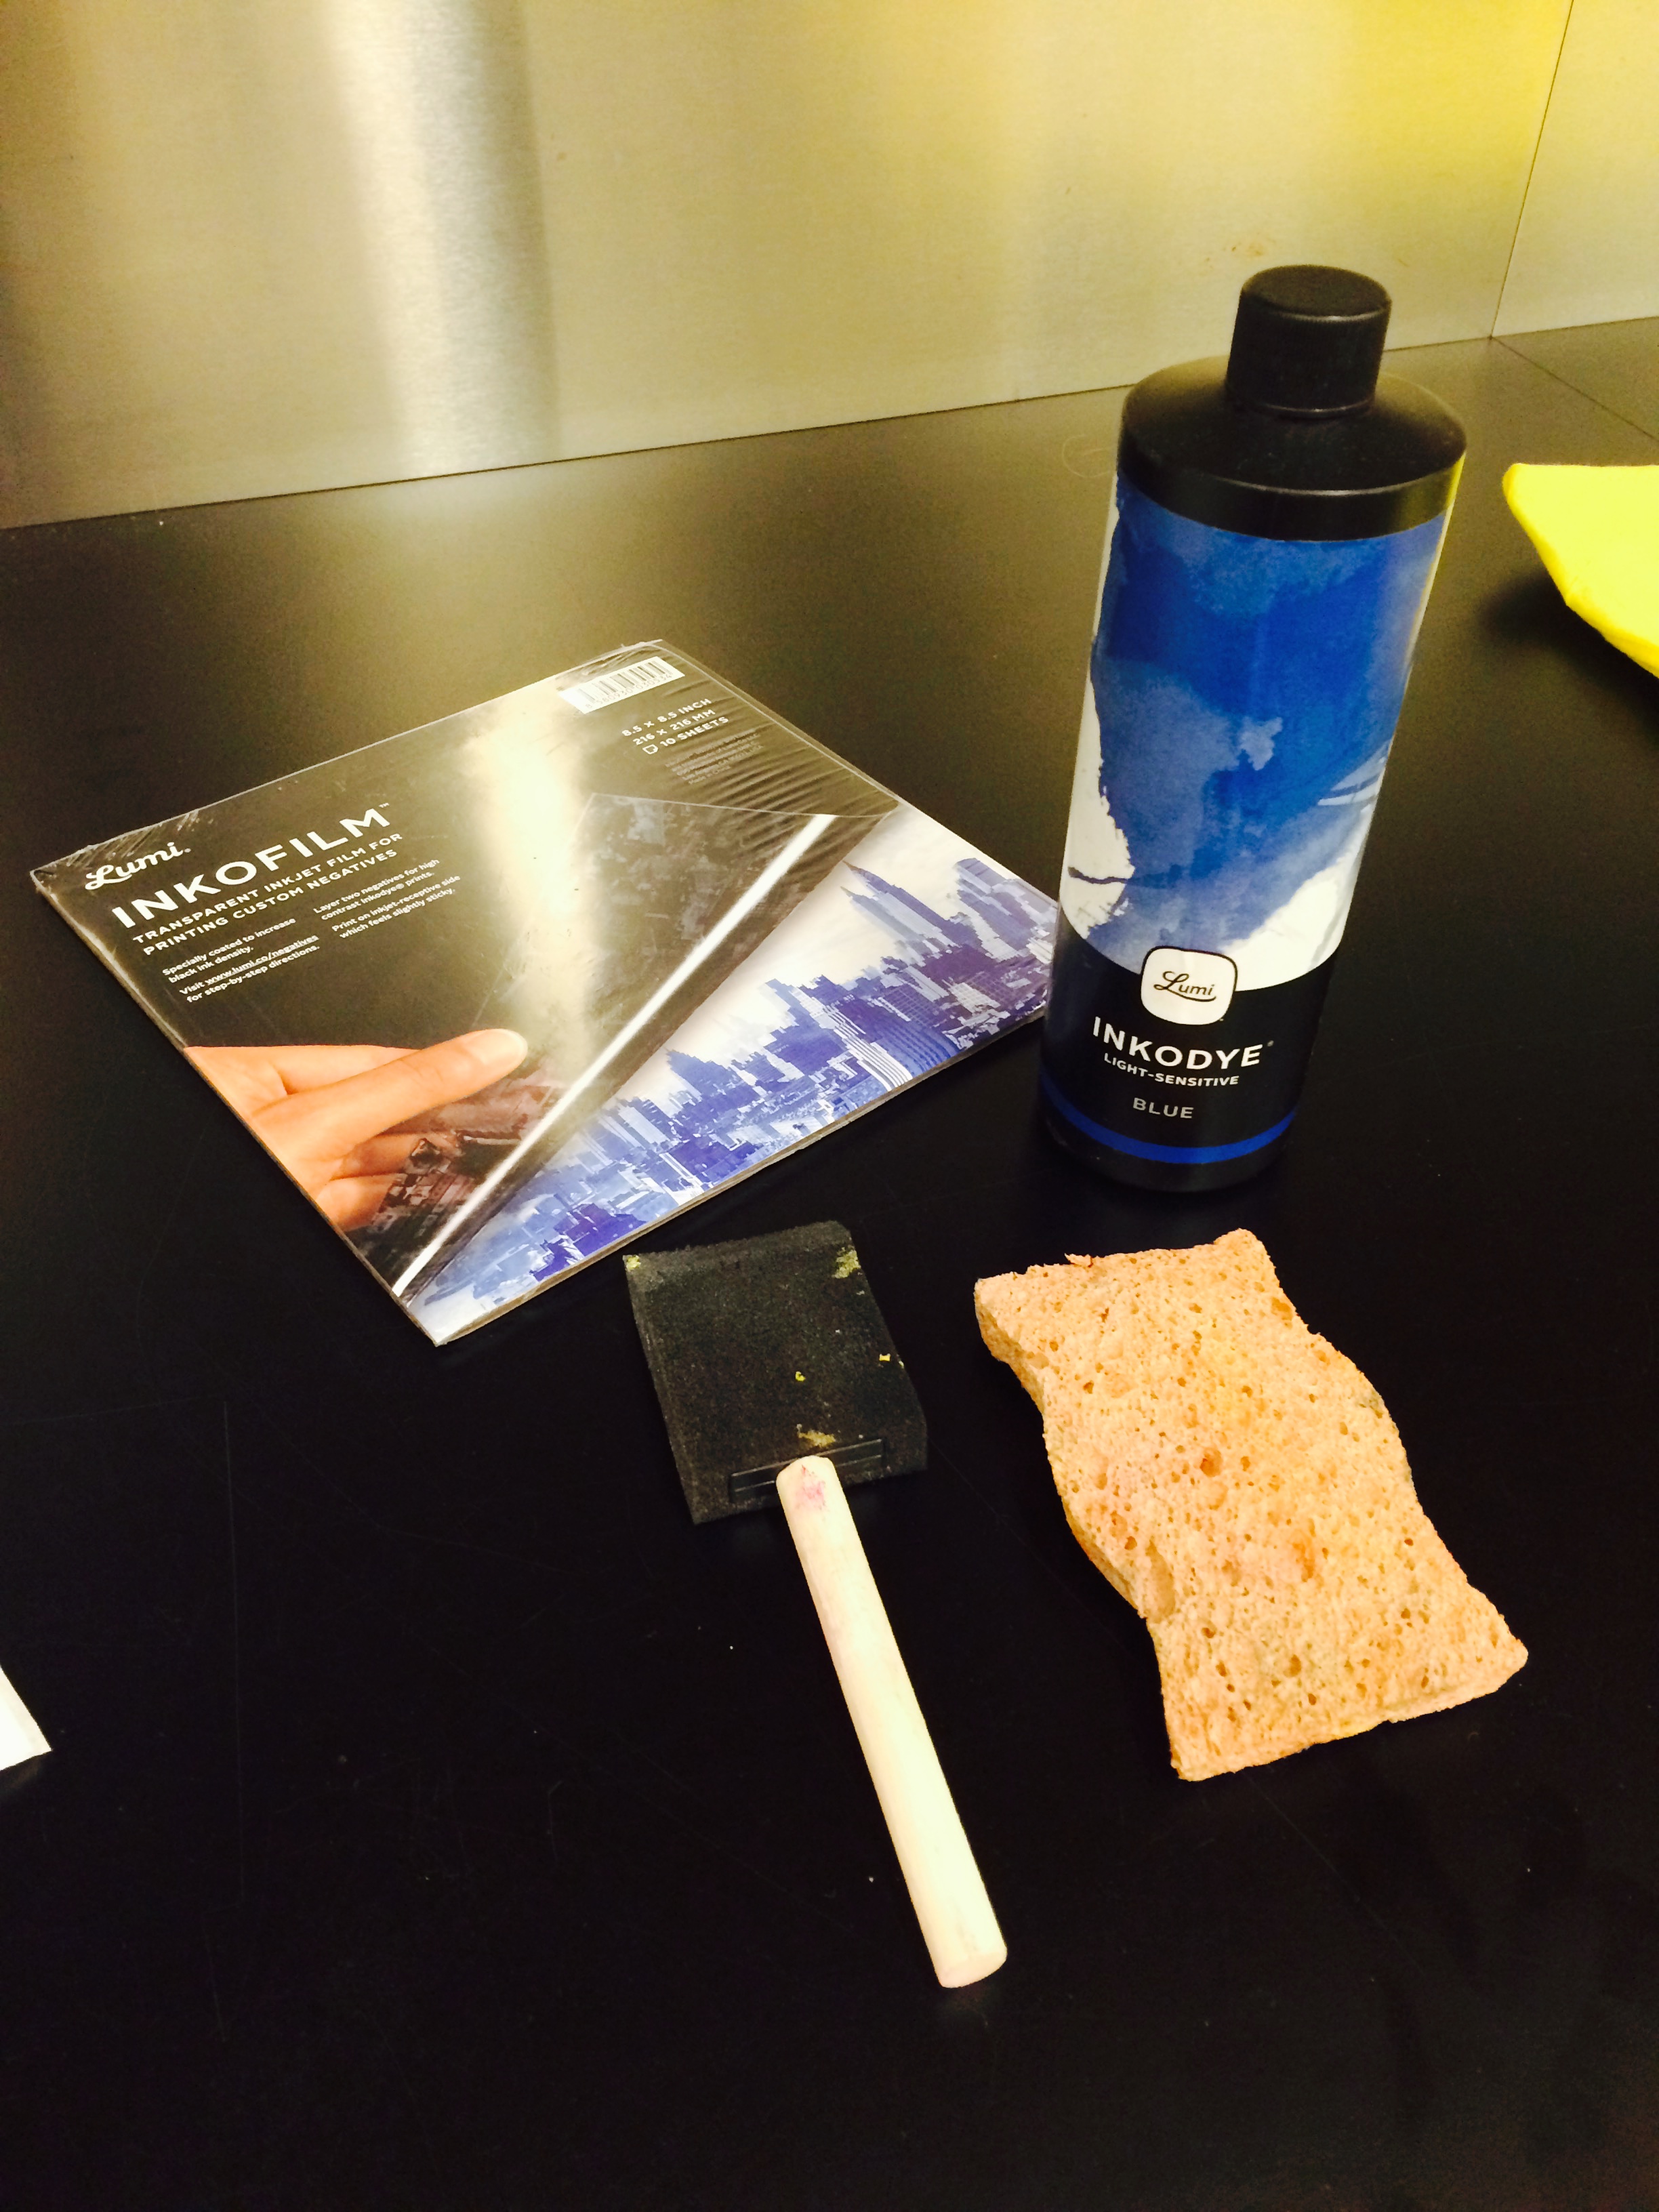
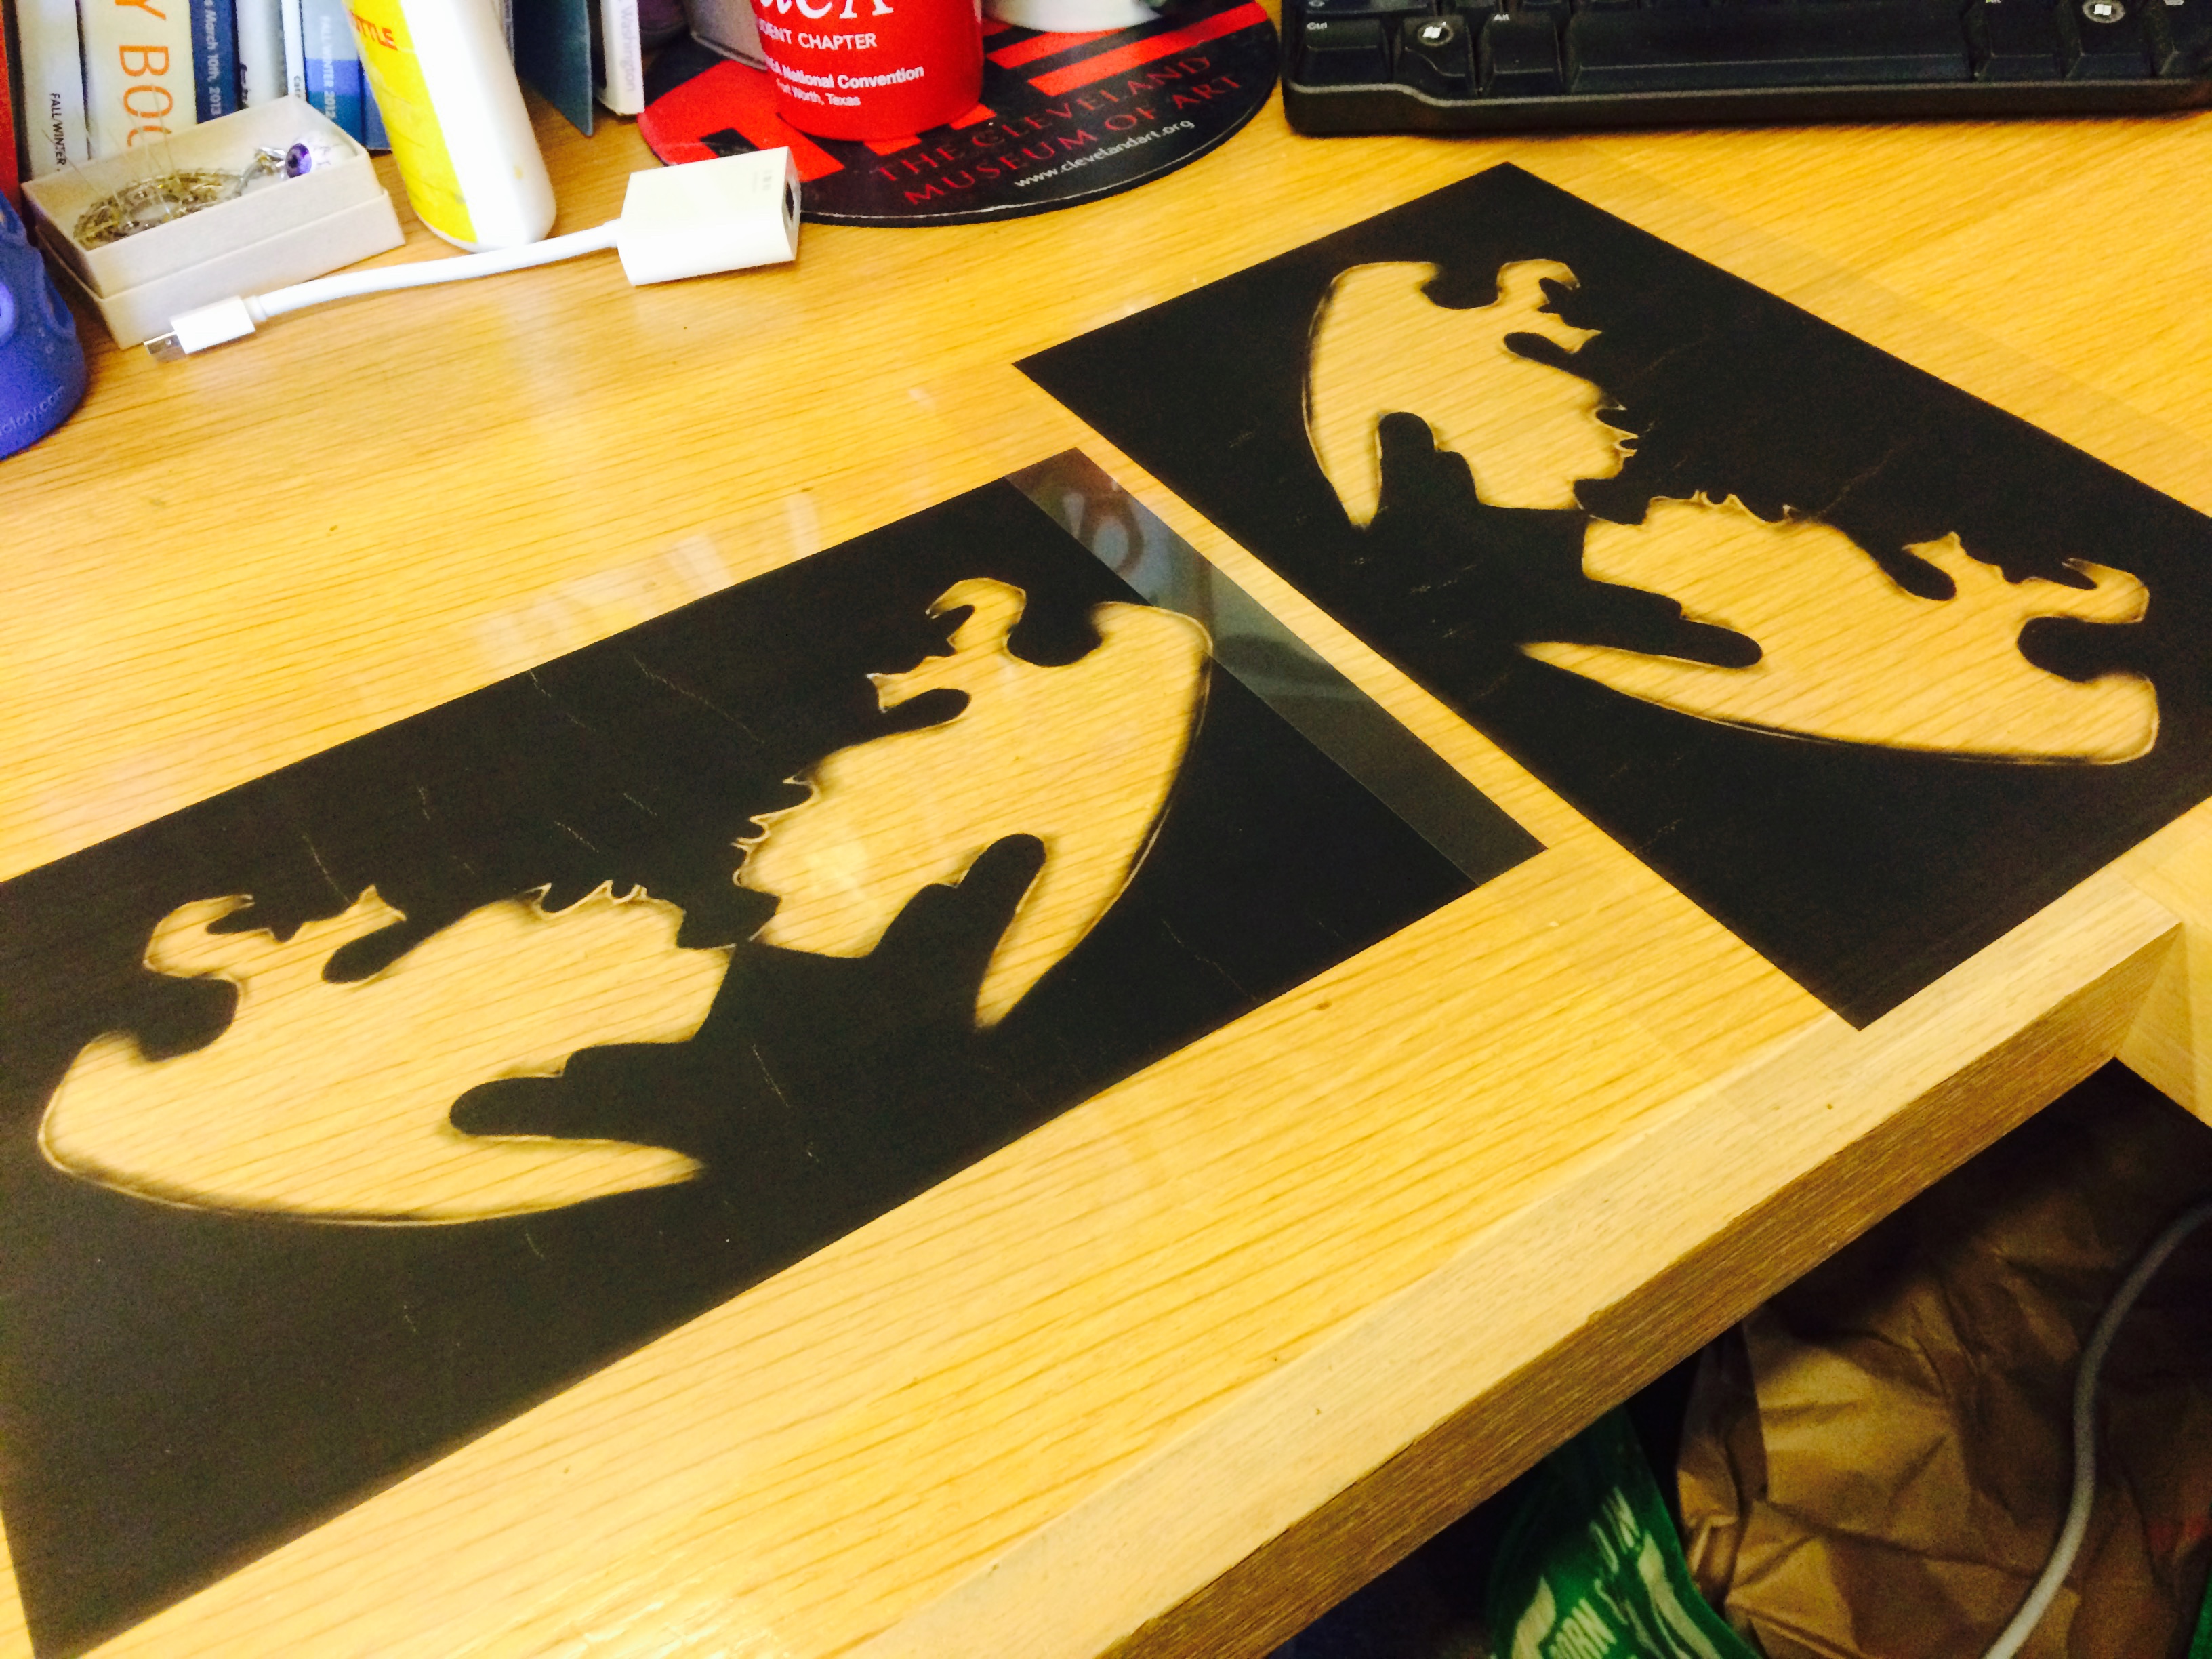
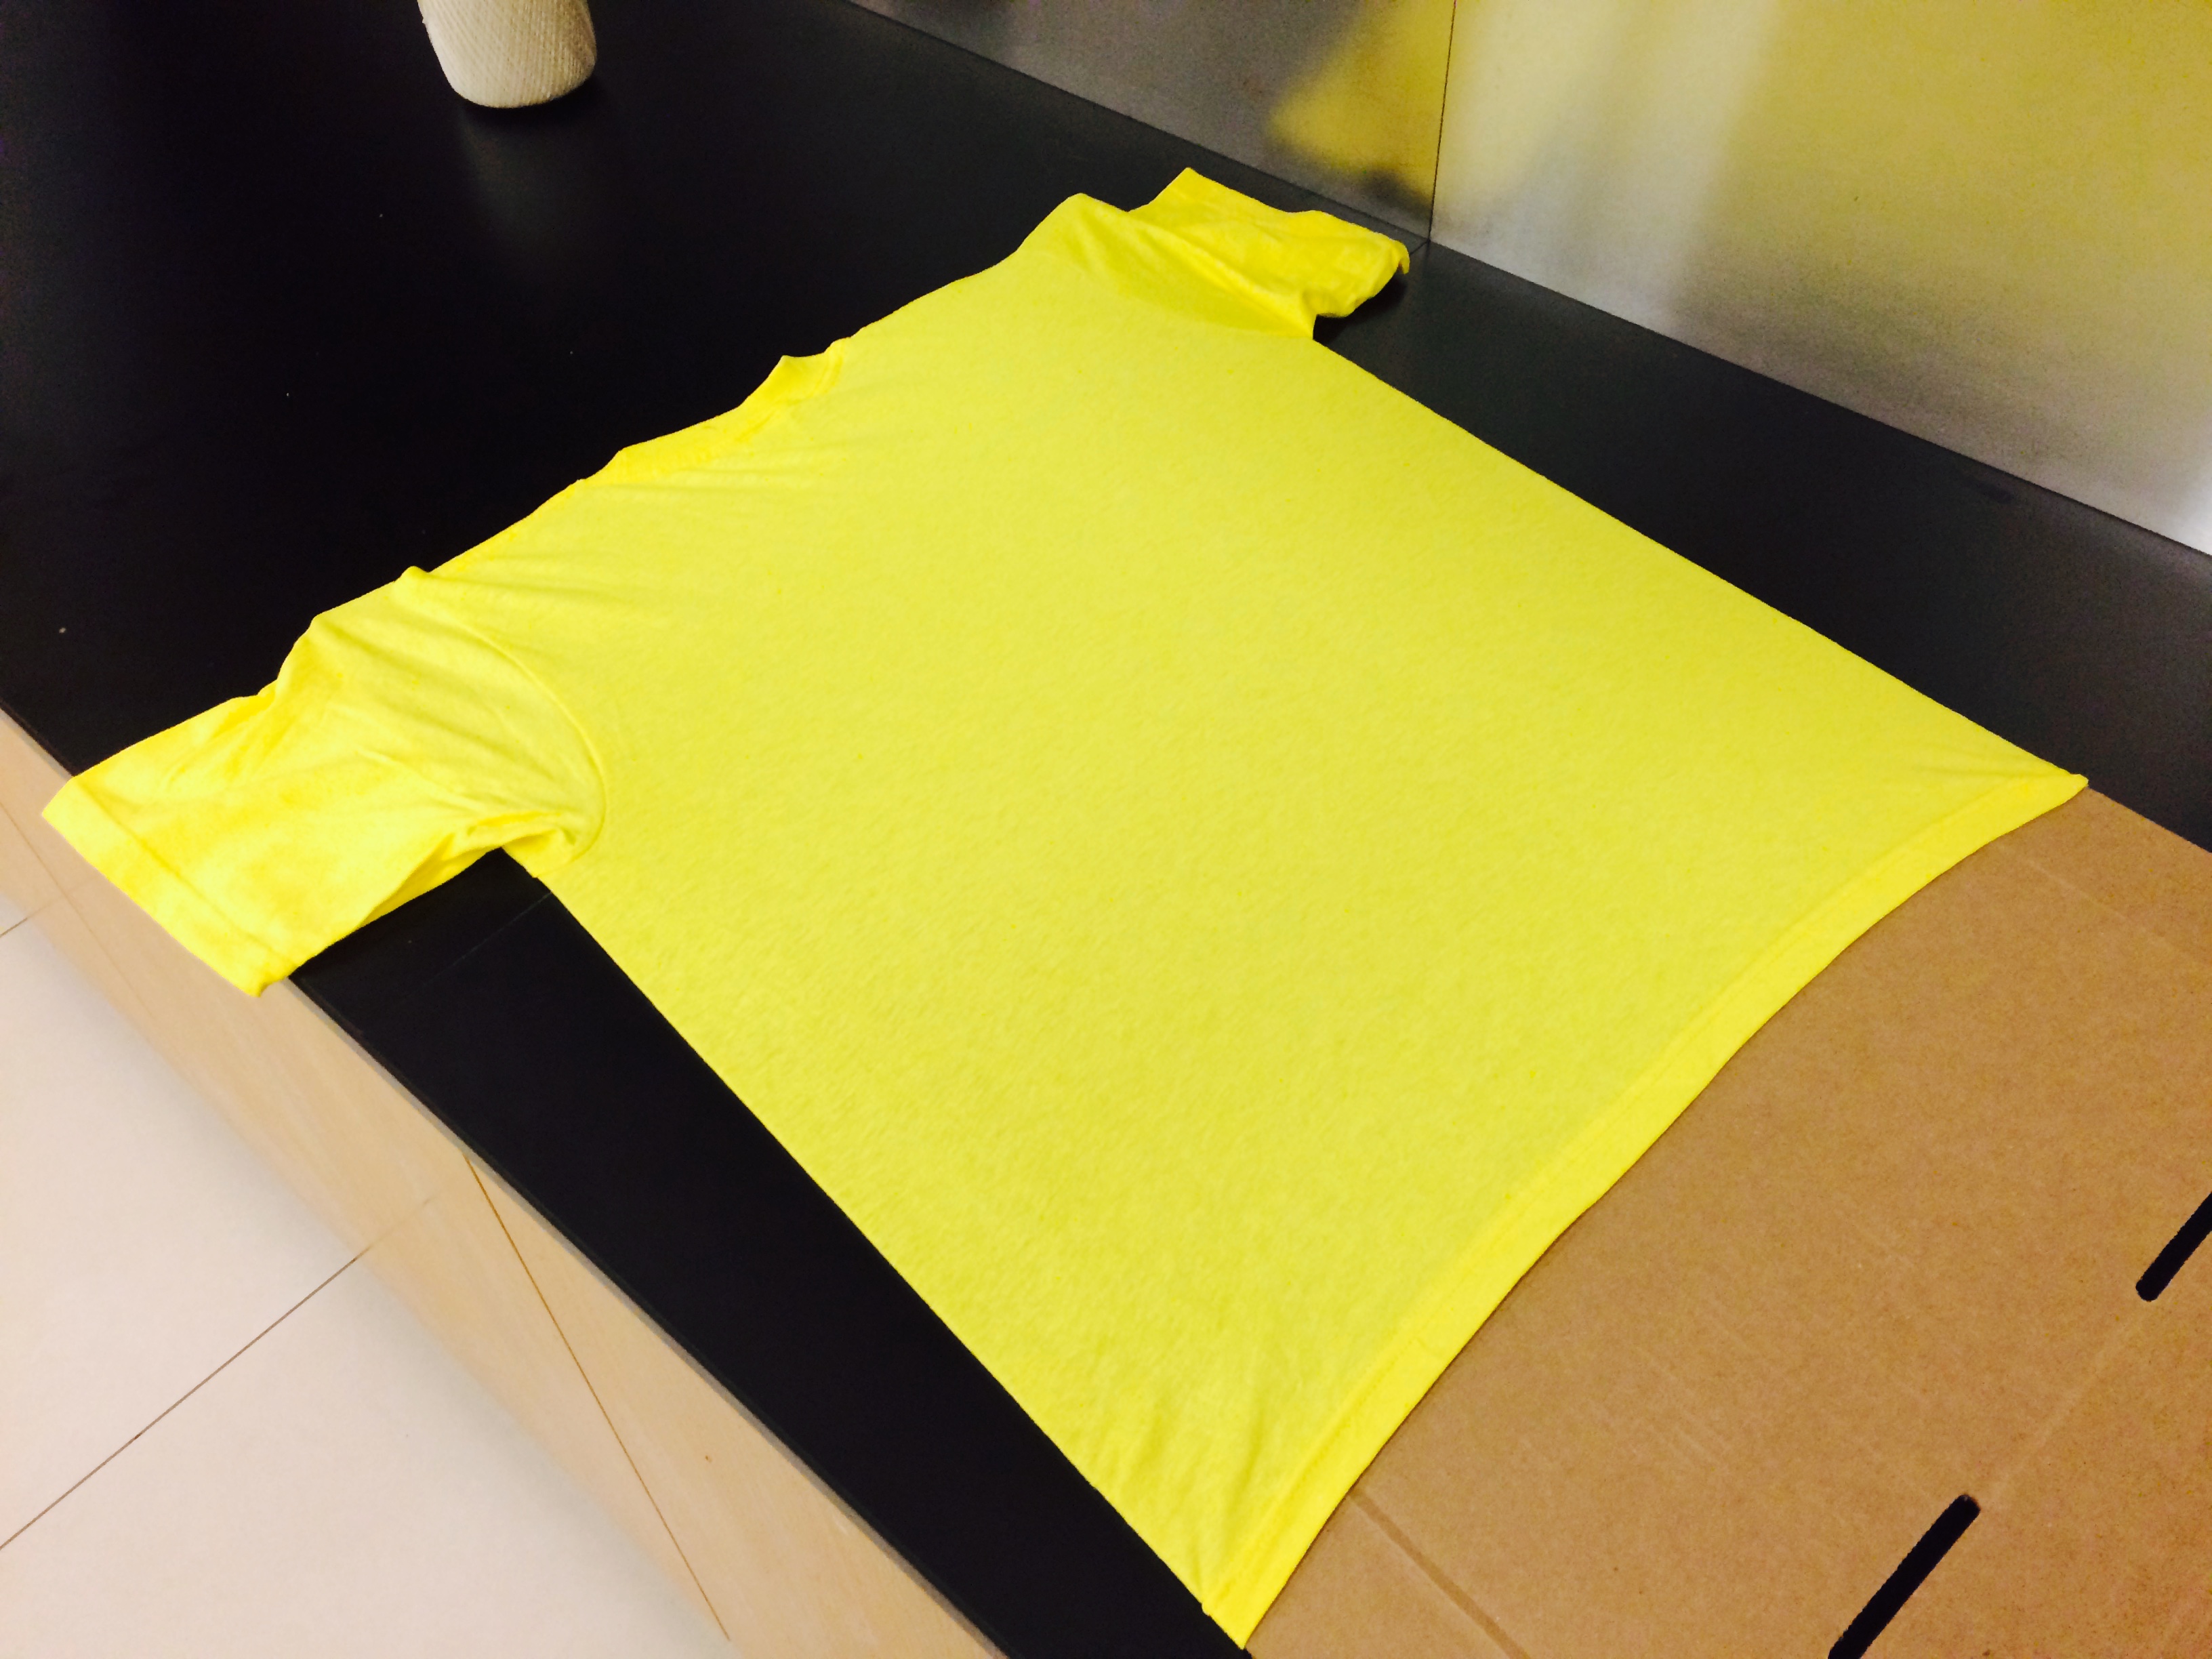
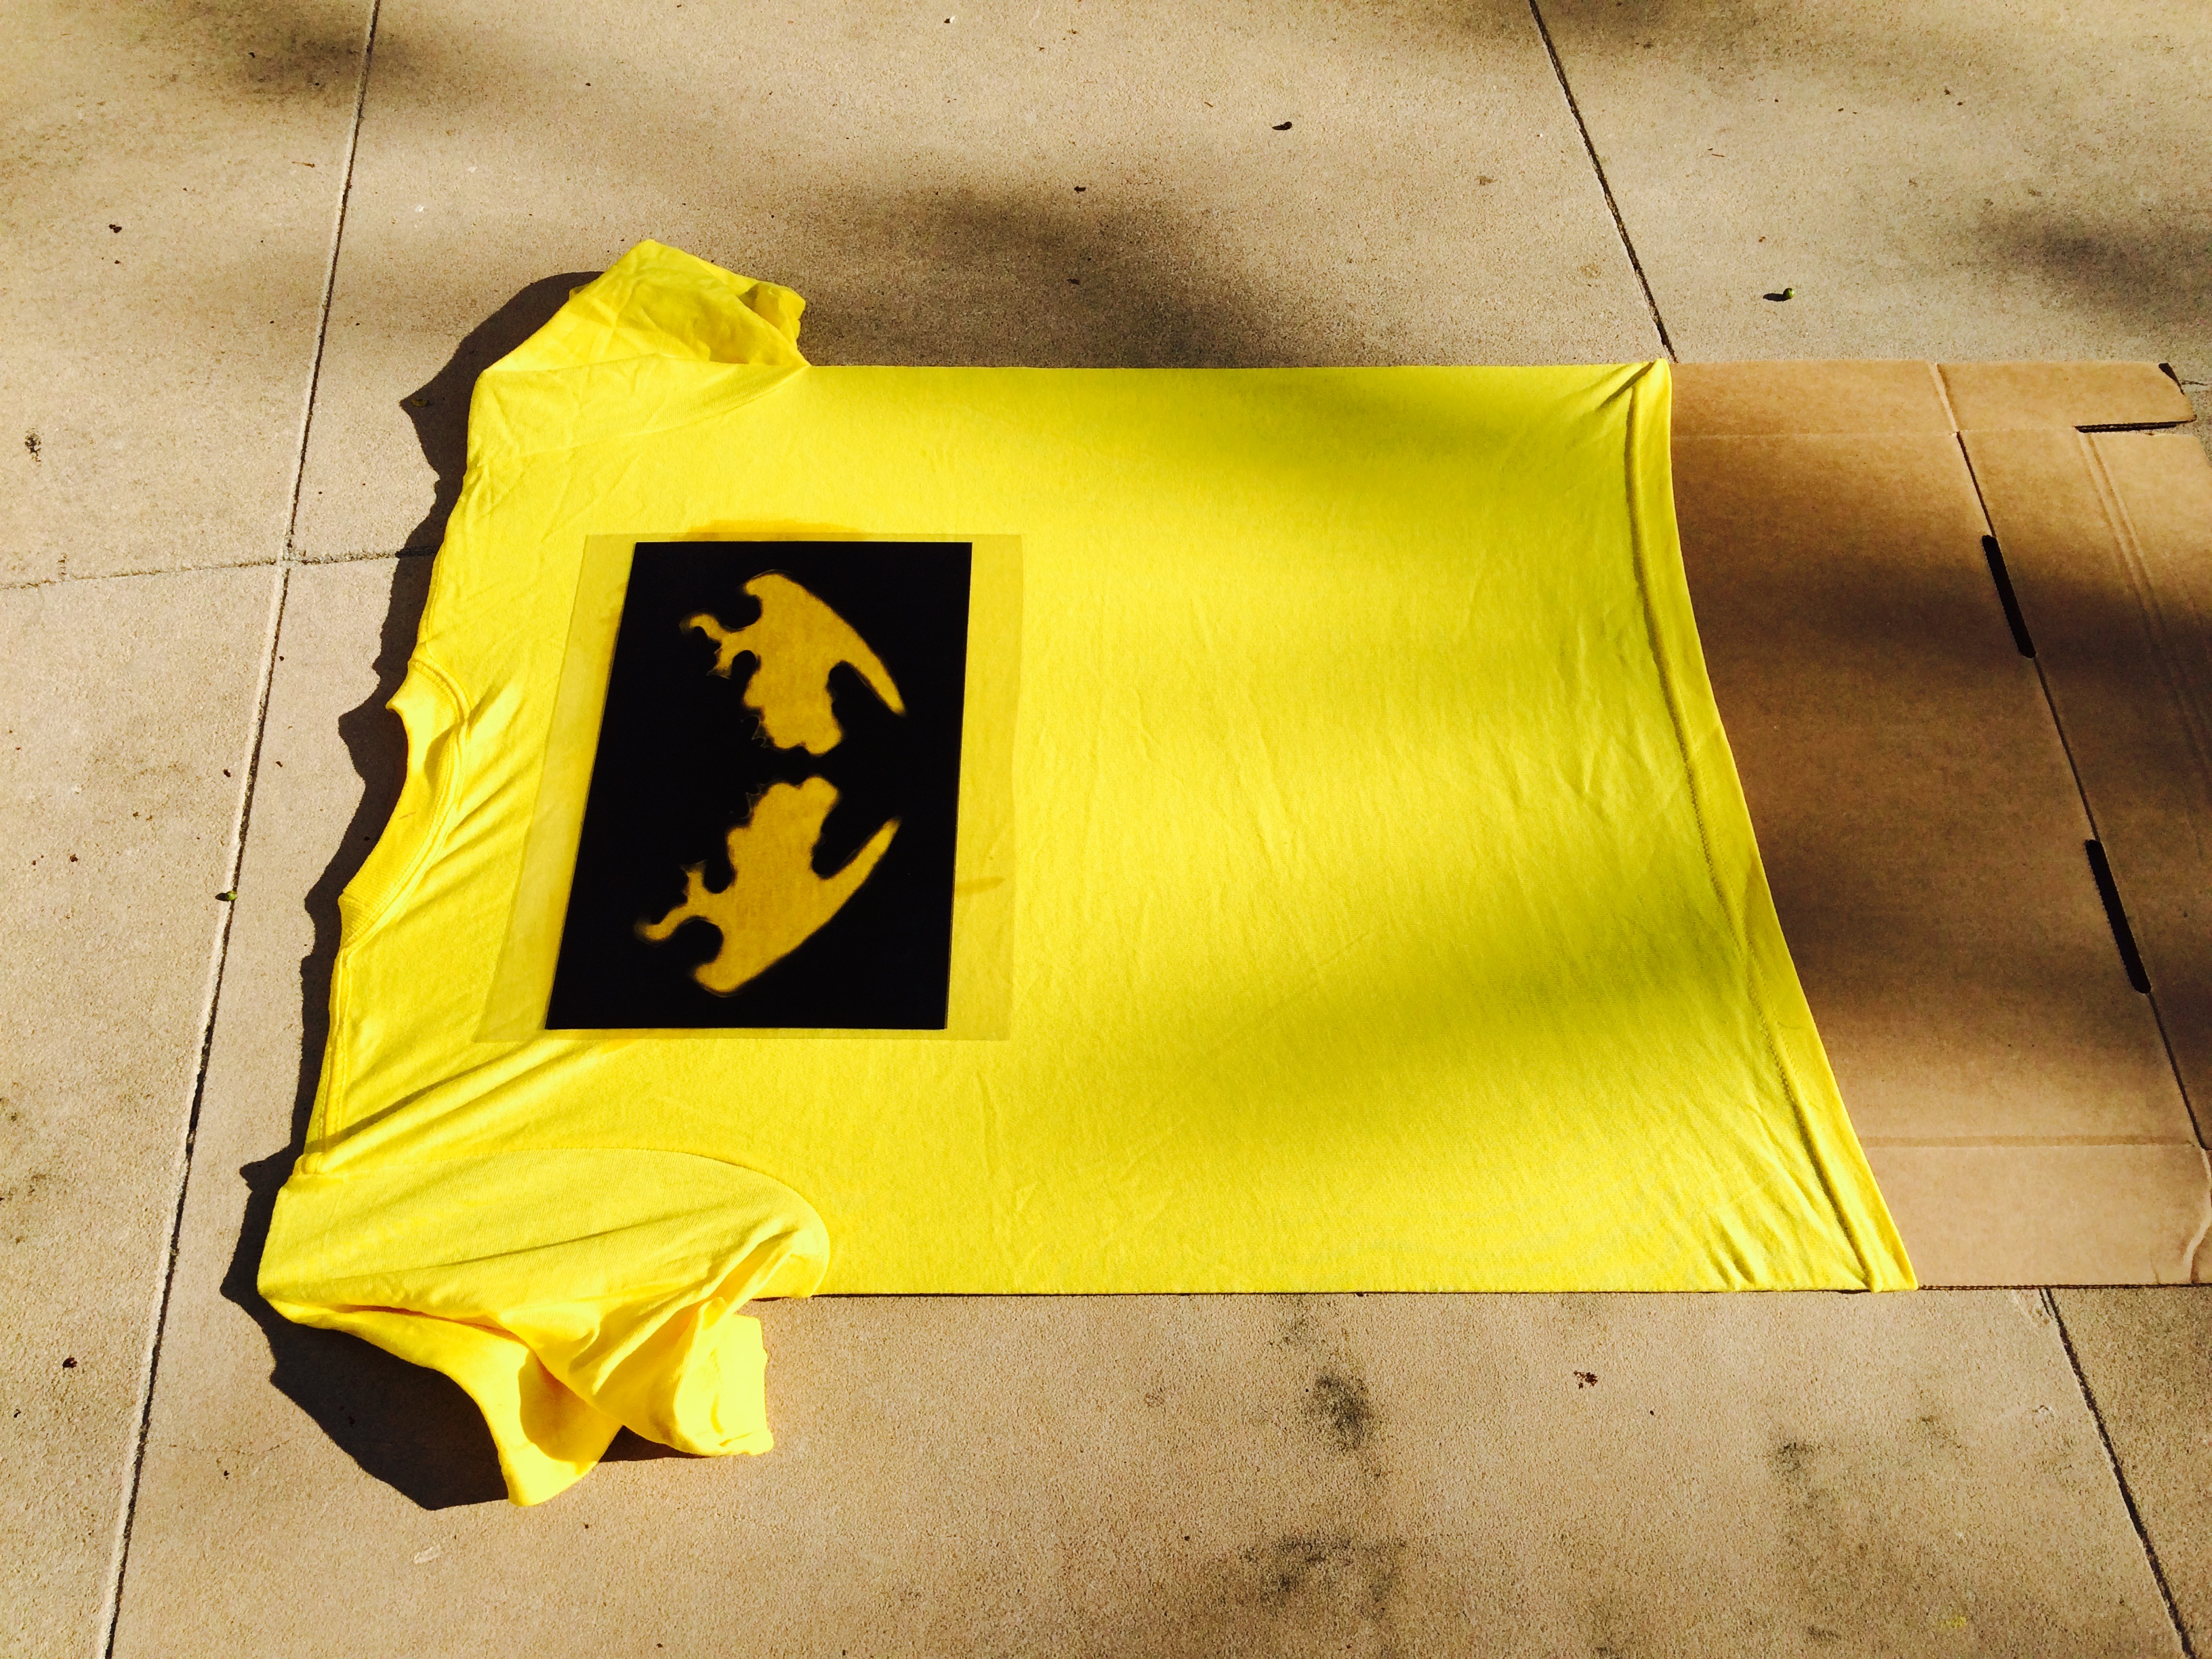
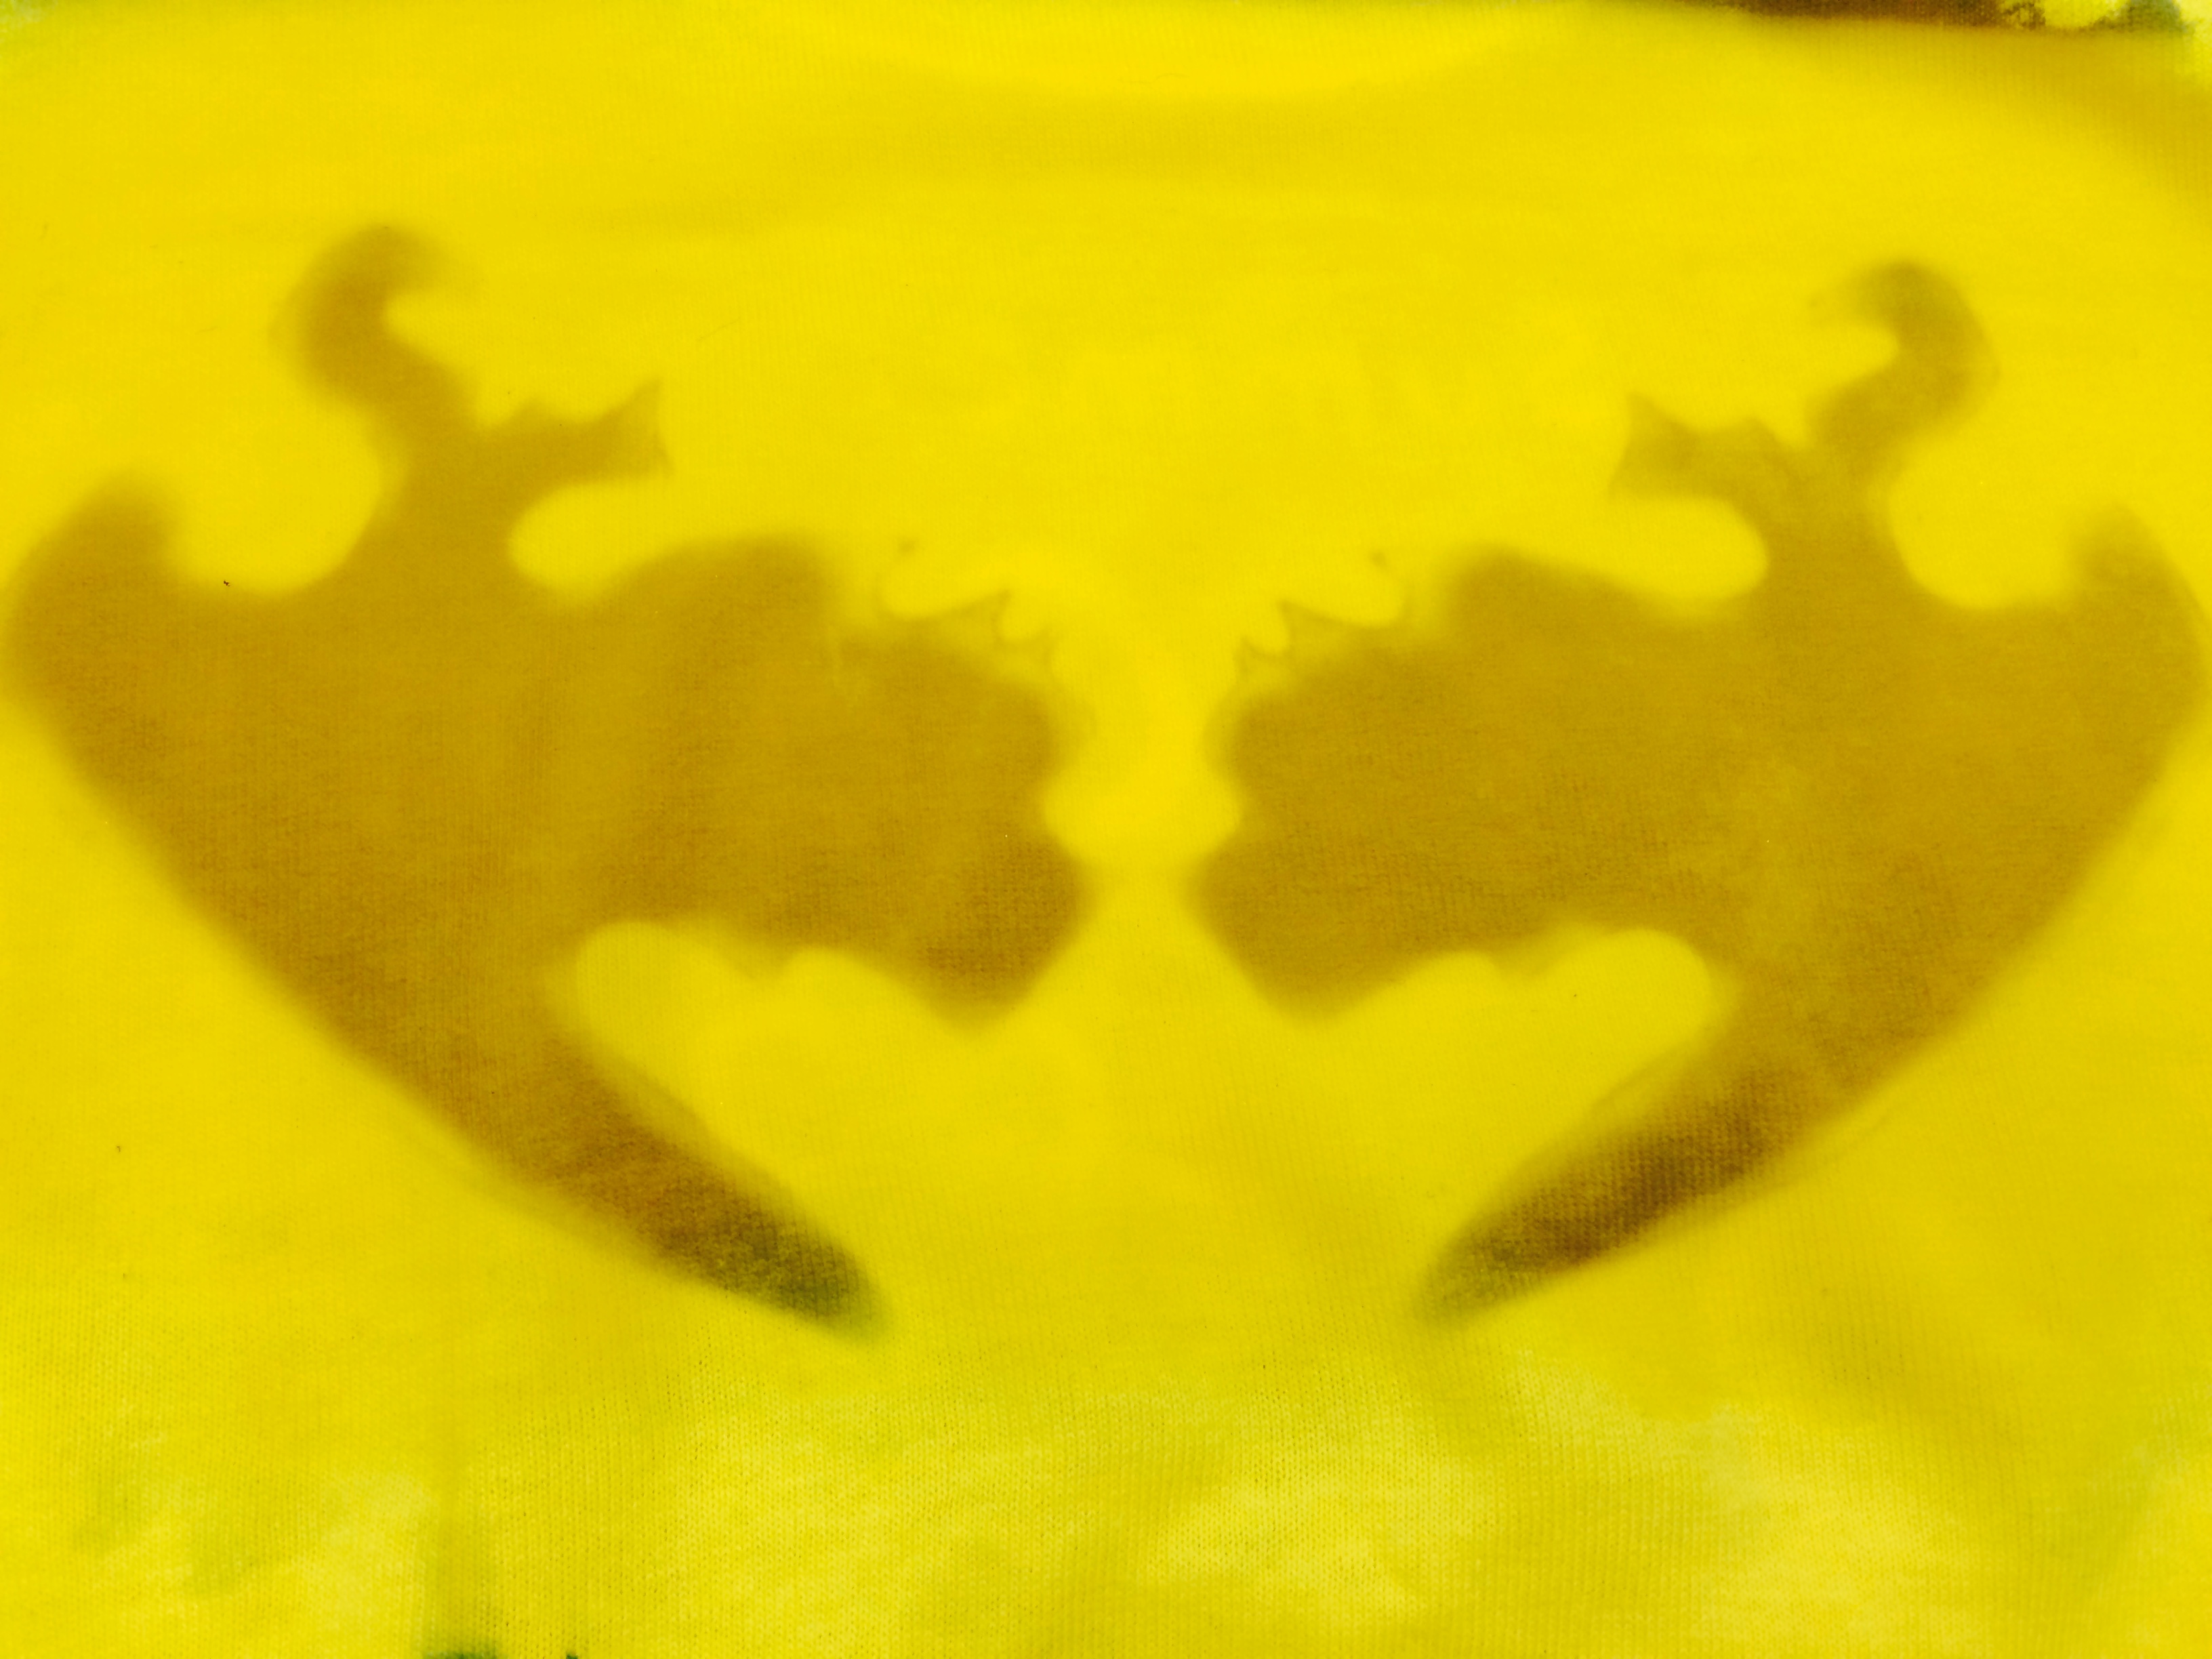
In case you—like all the rest of us here—would like to siphon off a little of JC’s talent and take some art-making adventures of your own, check out his many DIY tutorial blog posts on how to make: sounds prints, printed t-shirts, etchings with cola, vinyl toy mini-amps, collagraphs, and cosplay armor and accessories.

In his new position, JC will oversee the Perot’s fleet of Mobile Innovation trucks so look for him on the streets–taking learning into the community!  We’re gonna miss ya, JC!

Amy Copeland
Manager of Go van Gogh and Community Teaching Programs

Make This: Sound Prints

Have you ever wondered what a painting might sound like if you could listen to it? With conductive ink, a Makey Makey, and some basic software, you can add a new level of interactivity to your artwork through the use of sound! In this guide, I’ll show you how to make a print that will make sounds when you touch it. These sounds are completely reprogrammable and can be changed on the fly, giving you lots of possibilities for what you can create.

A Makey Makey is an interface that connects to your computer which allows you to create your own tactile inputs that will take the place of certain keys on your keyboard.

IMG_2684

The Makey Makey can be connected to different conductive materials to replace your keyboard’s arrow keys, space bar, mouse button, and more

For the purpose of this project, you’ll be using conductive ink to create three interactive areas on your work of art that will be hooked up to the Makey Makey and act in place of the arrow keys on your computer. We’ll then use Soundplant to map different sounds to those keys, which will allow those areas to play a sound when touched.

Supplies:

  • Copy paper for making a stencil
  • Exacto knife
  • Cutting mat
  • Conductive ink
  • Screen printing screen
  • Squeegee
  • Heavy printing paper
  • Copper tape (optional)
  • Makey Makey kit ($45; MakeyMakey.com)
  • Soundplant software
  • Computer

Step 1: Screen print your image with the conductive ink. 

I like the paper stencil method, but use whatever technique you like best. For help on printmaking with stencils, check out my past post on screen printing. Let your print dry fully before proceeding. IMG_2673 IMG_2674 IMG_2676

Step 2: Connect your print to the Makey Makey. 

Again, for the purpose of this post, I’m choosing three areas on my print that will activate the Makey Makey when they are touched. You can connect them directly to the device using alligator clips (included in the kit). Remember to connect the clips to the proper inputs on the Makey Makey–in this case, the left, right, and up arrows.

IMG_2686

Step 3: Upload some sounds. 

I found a bunch of sounds for this project using free online sound libraries and saved them as mp3 flies on my computer. The Soundplant site has some good suggestions for libraries to use. I tried to look for sounds that would complement my print in a weird or unexpected way.

Screen Shot 2015-03-12 at 6.06.10 PM

Step 4: Map your sounds to the keyboard using Soundplant.

Open up Soundplant and assign one sound file to each of the left, right, and up arrow keys by dragging the file onto the software’s virtual keyboard. Soundplant even offers some basic editing tools, allowing you to adjust the length of your sound clip, add various effects, and more!

Screen Shot 2015-03-12 at 6.11.02 PM

Step 5: Connect the Makey Makey to the computer and play!

Plug the Makey Makey into your computer’s USB port. Be sure to also connect an extra alligator clip and wire to the space marked “Earth” at the bottom of the board. Hold the metal part of the alligator clip at the other end of the wire between your fingers and touch the interactive areas of your print with your other hand. Your computer should play the sounds you mapped to the different areas! You should also see the playback of your clip on the computer. If you’re having trouble getting it to work, make sure the volume is up on your computer, that all your connections are correct, and most importantly, that you are connected to the Makey Makey as well.

IMG_2687

The fun part of this project is that the sounds you choose can totally change the way people experience your artwork. A set of funny, quirky sounds will provoke a very different response from the viewer versus ones that are dark and foreboding. And because the Makey Makey will work with most conductive materials, you can create interactive sculptures, installations, and more! Additional project ideas can be found on the Makey Makey website.

JC Bigornia
C3 Program Coordinator

Make This: Printing T-shirts with Inkodye

tshirt2

I love screen printing–there’s something so satisfying about creating a design and wearing it proudly for everyone to see. I also love learning new printing techniques, so when I ran across a product called Inkodye about a year ago, I knew I had to give it a try. Produced by a company called Lumi, Inkodye is a photosensitive dye that allows you to print an image onto fabric using only a photo negative. When exposed to sunlight, the ink develops and binds permanently with the fibers of the fabric. You can even use Inkodye to create shadow prints!

tumblr_mi2tbcppku1s3h59no1_1280 I’m going to take you through the basic process of creating a print using Inkodye and a photo negative. Keep in mind that while the examples on Lumi’s website look perfect and make it seem easy to do, it will probably take several tries to get it to turn out the way you want.

What You’ll Need:

  • T-shirt to print on
  •  Inkodye
  • Transparency film for copiers (at least two sheets)
  • Copier/printer
  • Computer
  • Foam brush or sponge
  • Two large sheets of cardboard
  • Masking tape (optional)
  • Laundry detergent

2

Step 1: Create your design

I wanted to create an example for the teen t-shirt design class and contest that the DMA is offering, so I created a drawing on my iPad that was inspired by a work of art at the Museum:

77804457407173_original (1)

Eccentric flint depicting a crocodile canoe with passengers, Pre-Columbian, 600 – 900 A.D., Dallas Museum of Art, The Eugene and Margaret McDermott Art Fund, Inc., in honor of Mrs. Alex Spence

flint1I then manipulated the image using Microsoft Word, but any basic editing program would do–even better, Photoshop, if you have it:

tshirt2

Leaving my image as above will create a reverse, or negative print on my shirt–the white space around the faces will be black and the faces themselves will be white. If you want to make a positive-image print, you’ll have to create a negative of your design (Photoshop allows you to do this, or you can use Lumi’s handy app to make one):

lumi-negative

Step 2: Print two copies of your image on transparency film

Lumi says that it’s important to use two copies so that they can be stacked on top of each other during the printing process. This will make the dark areas of your image block out more light, increasing the contrast of your print and giving you a better end product.

FullSizeRender

3. Prep your t-shirt for printing

Insert one of your sheets of cardboard into your shirt to prevent the ink from soaking through. The cardboard should be big enough that it stretches the fabric of your t-shirt and gives you a good printing surface. Choose the area of your shirt where your image will be printed. If you want, you can mask the area off with tape to give your design a clean edge.

1

4. Spread the Inkodye onto your shirt

This is one of the trickiest steps. Flip off the lights for this–since Inkodye is photosensitive, you don’t want it to start developing yet. Working in the darkened room (but with enough light to see what you’re doing!),  cover the printing area with a thin, even layer of dye–don’t get it too wet! Use your sponge or brush to blot the fabric. Cover your t-shirt with the second sheet of cardboard and take it and your design outside!

5. Print your shirt

Find a nice sunny spot to lay your t-shirt down. Uncover it and position your transparencies on top of the printing area. Leave everything undisturbed for the sunlight to do its magic. In about 10-15 minutes (depending on how cloudy it is) your print should be developed! When you’re satisfied with how it looks, cover your shirt back up to prevent overexposure and take it back inside.

FullSizeRender (7)

FullSizeRender (8)

This is what my design looks like after 10 minutes in late afternoon sun–as you can see, the edges are starting to fully develop and turn black.

6. Wash

Remove the masking tape from your t-shirt as well as the cardboard insert. Throw the shirt into the wash by itself with a little detergent and run it using a hot cycle. Lumi suggests washing it twice for full color-fastness; washing also removes all excess or undeveloped dye.

7. Wear!

I’d suggest practicing with a scrap piece of fabric before printing on your t-shirt. If your print is a little blotchy, it probably means that the Inkodye wasn’t spread evenly enough. For lots of great project ideas and in-depth tutorials, visit Lumi’s website! And if you have a teen who’s interested in participating in the t-shirt design class or submitting something for the design contest, feel free to email me for more information.

JC Bigornia
C3 Program Coordinator


Archives

Flickr Photo Stream

Categories