Are you looking to add to your teacher-toolkit, collaborate with other educators, and discover what’s new at the Dallas Museum of Art? Be sure to sign up for our Educator Newsletter so you don’t miss out on special opportunities for teachers at the Museum!
We recently wrapped up our final teacher workshop of the school year, Mexican Modernism for All. Inspired by the exhibition México 1900–1950: Diego Rivera, Frida Kahlo, José Clemente Orozco, and the Avant-Garde, this workshop introduced learning strategies to teach, interpret, and use works of art in the classroom and in museum galleries. In partnership with Stacey Callaway, Ph.D., this workshop also introduced adaptive strategies geared to incorporate students with autism spectrum disorders into art classes, projects, and museum visits. Workshop participants created their own scent jars, sensory boards, and brainstormed mess-free adaptations for a studio mosaic project. Here’s what our participants had to say about the program:
The strategies for looking at art were helpful. I enjoyed the time with the artwork.
I found doing the different prompts as we walked among the artwork really helped make a connection in how to implement observing and thinking about art in the classroom. Also being able to walk away with so many resources! Everything was above and beyond.
Doing an outstanding job as always! Love the bilingual labels [in the exhibition].
Not only did workshop participants enjoy themselves, DMA programs for teachers are accredited by the Texas Education Agency and may be taken for Continuing Professional Education hours, unless otherwise noted. That’s a win-win!
-
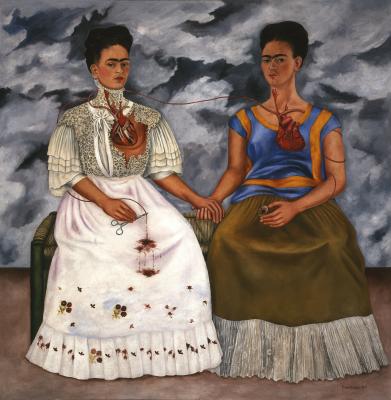
- Frida Kahlo, The Two Fridas (Las dos Fridas), 1939, oil on canvas, Mexico, INBA, collection Museo de Arte Moderno © 2017 Banco de México Diego Rivera Frida Kahlo Museums Trust, Mexico, D.F. / Artists Rights Society (ARS), New York
-
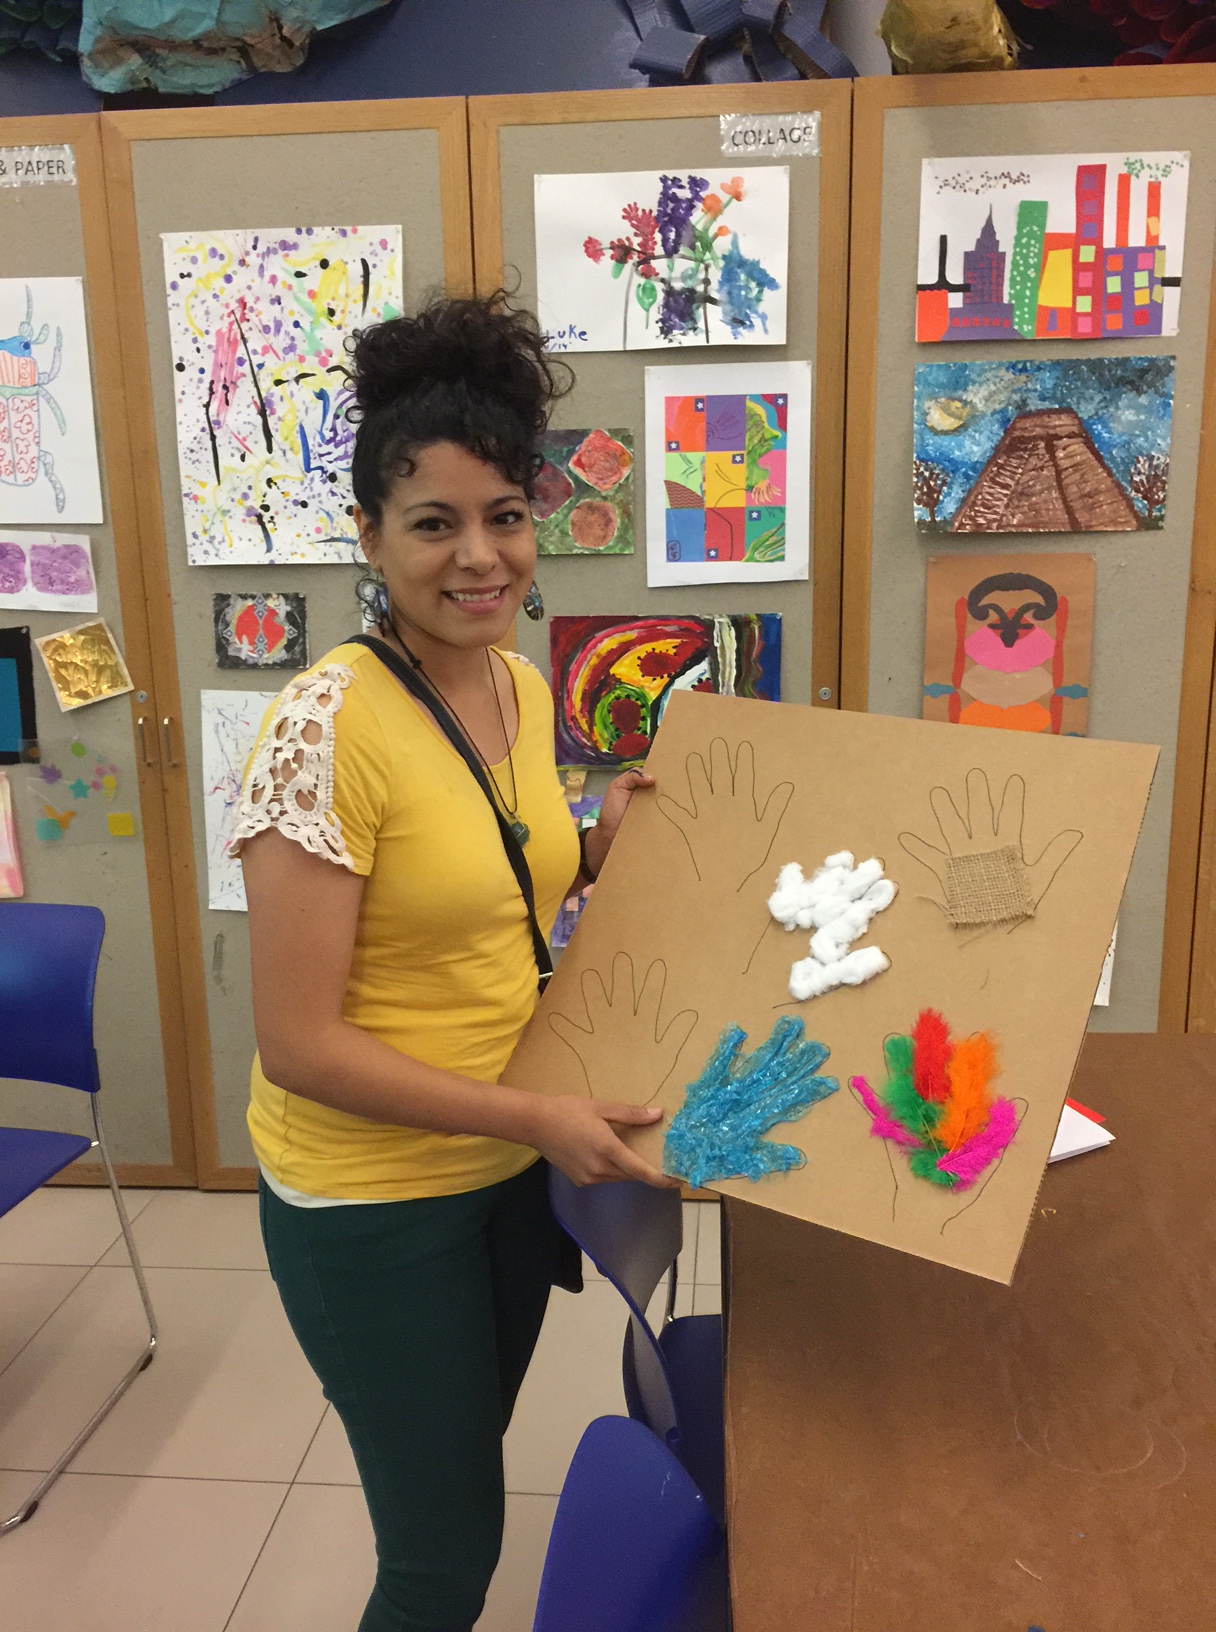
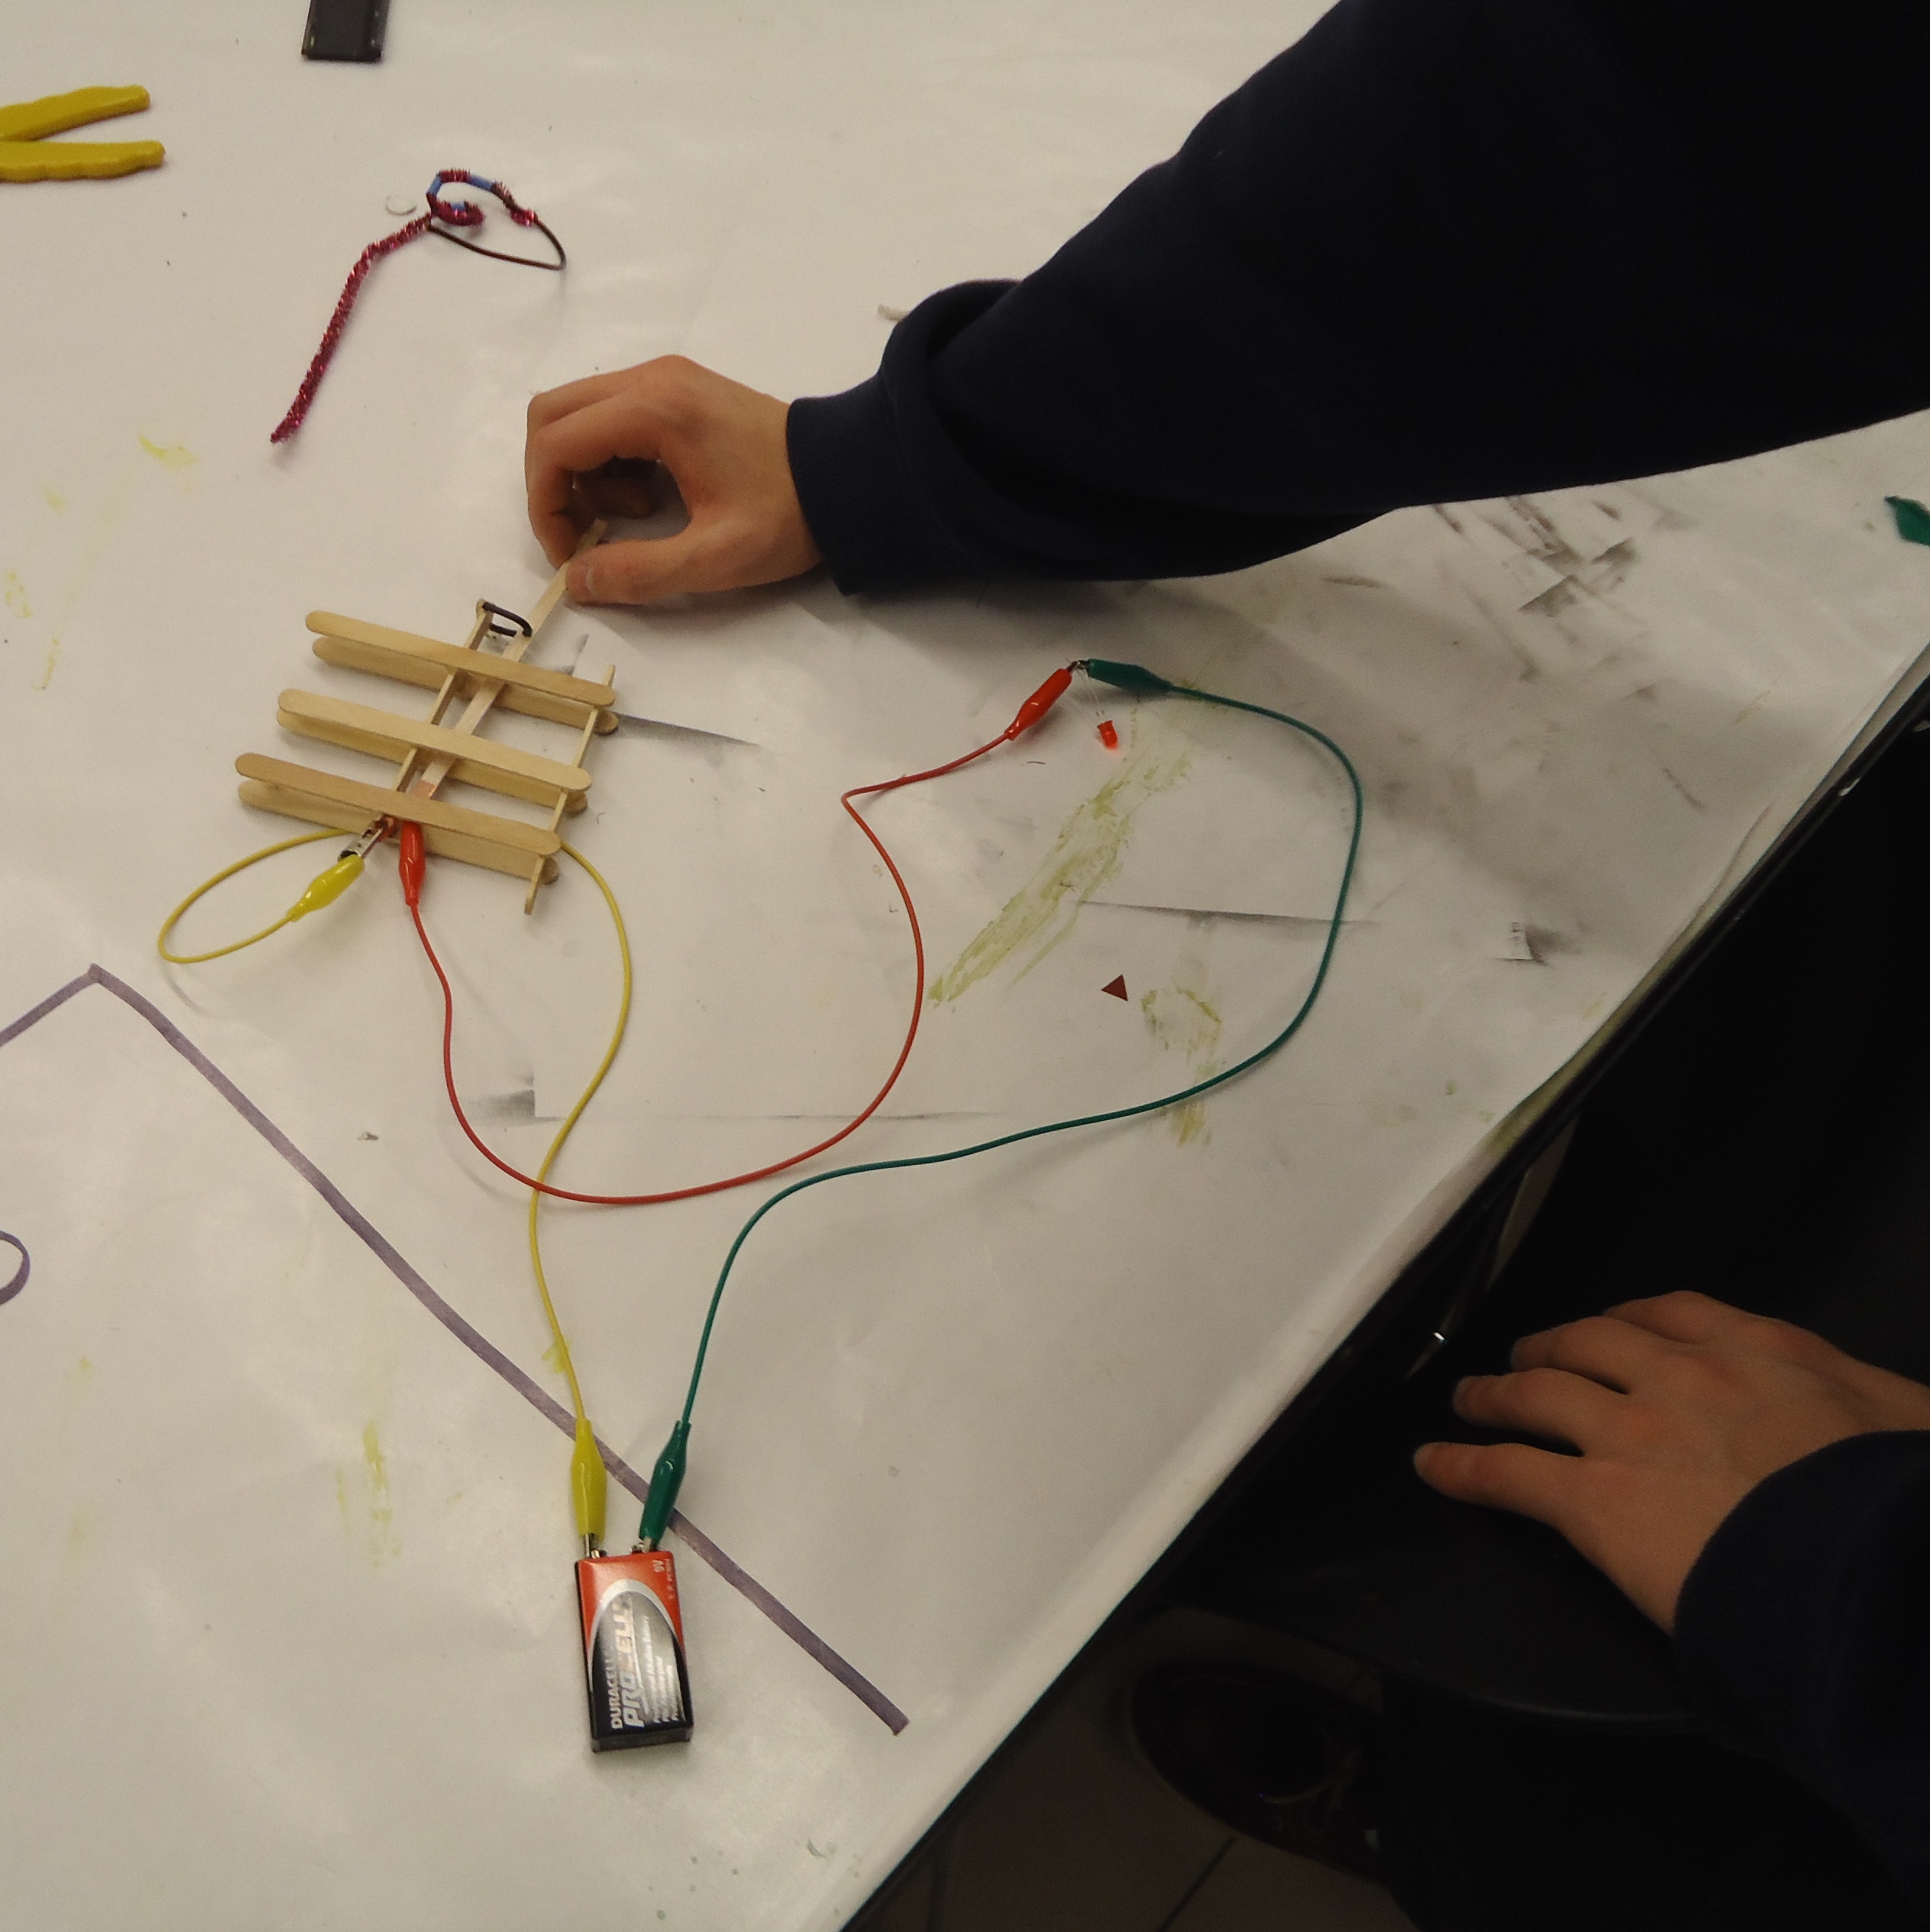
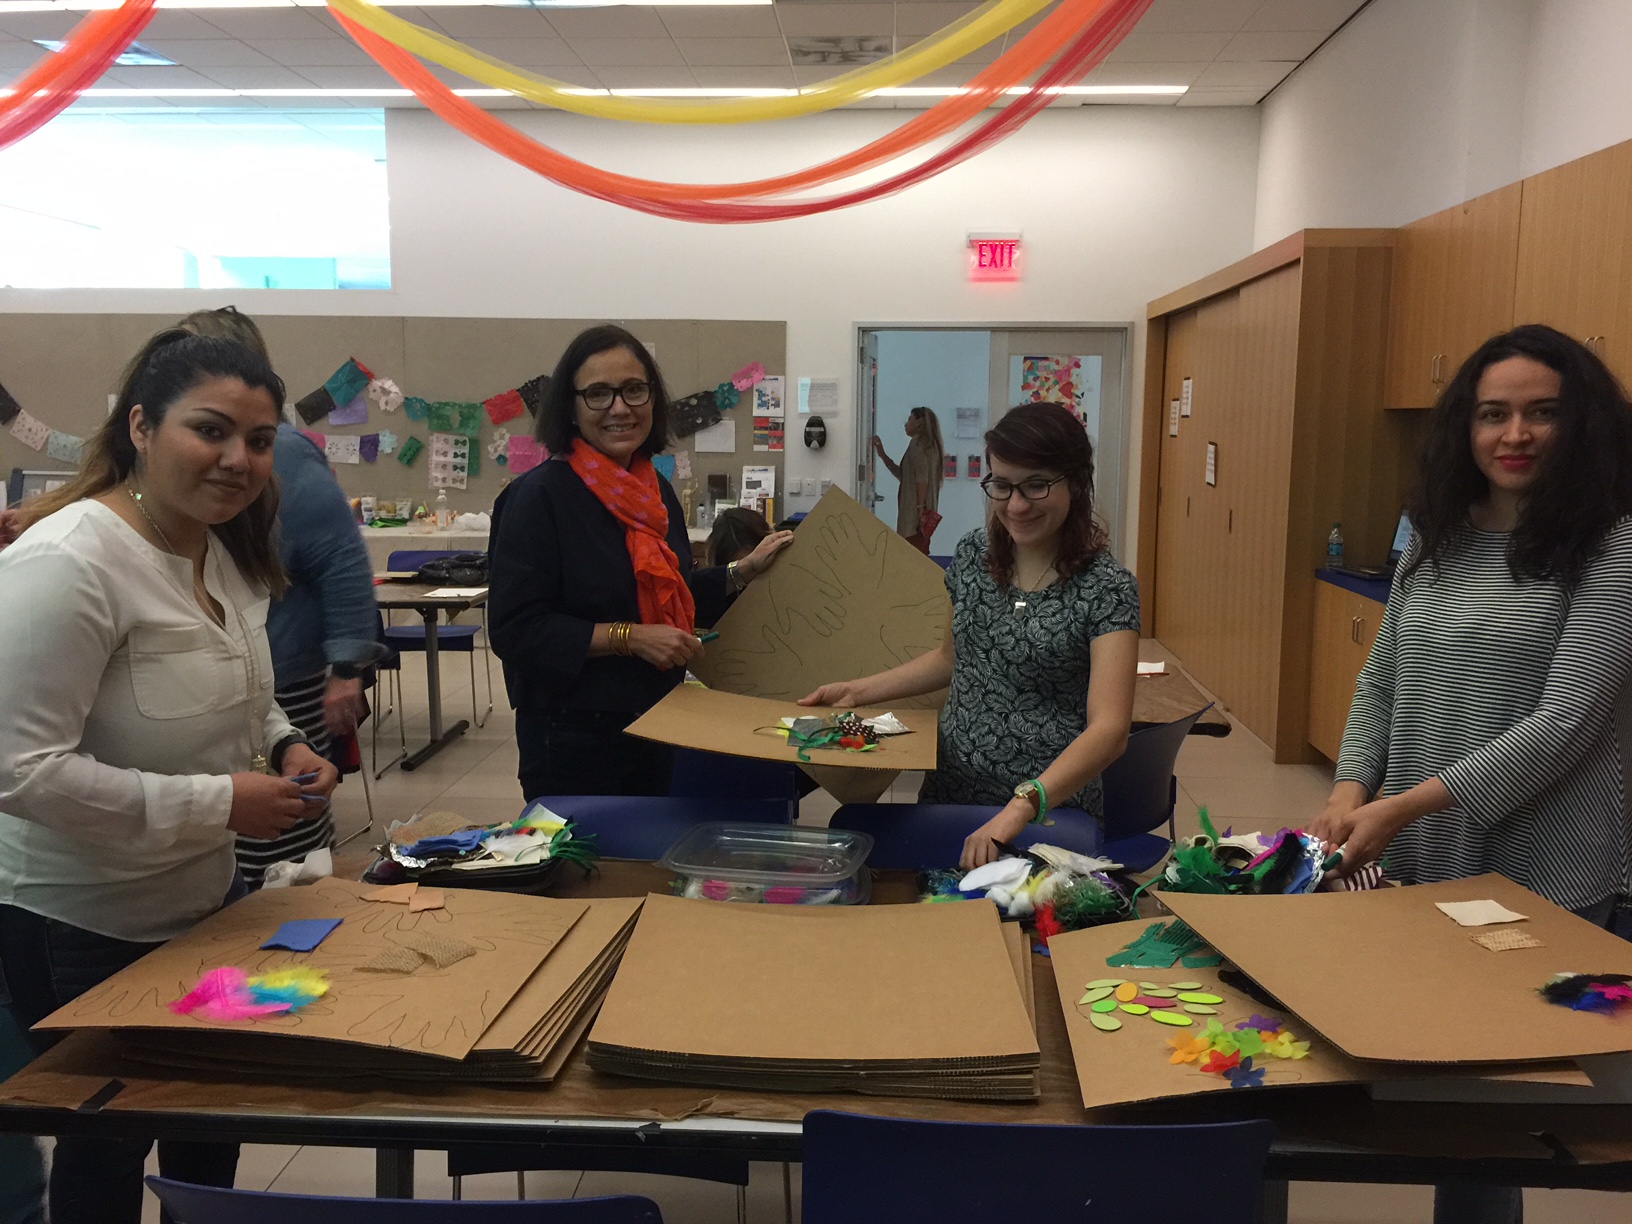
- A workshop participant shows off her sensory board.
-
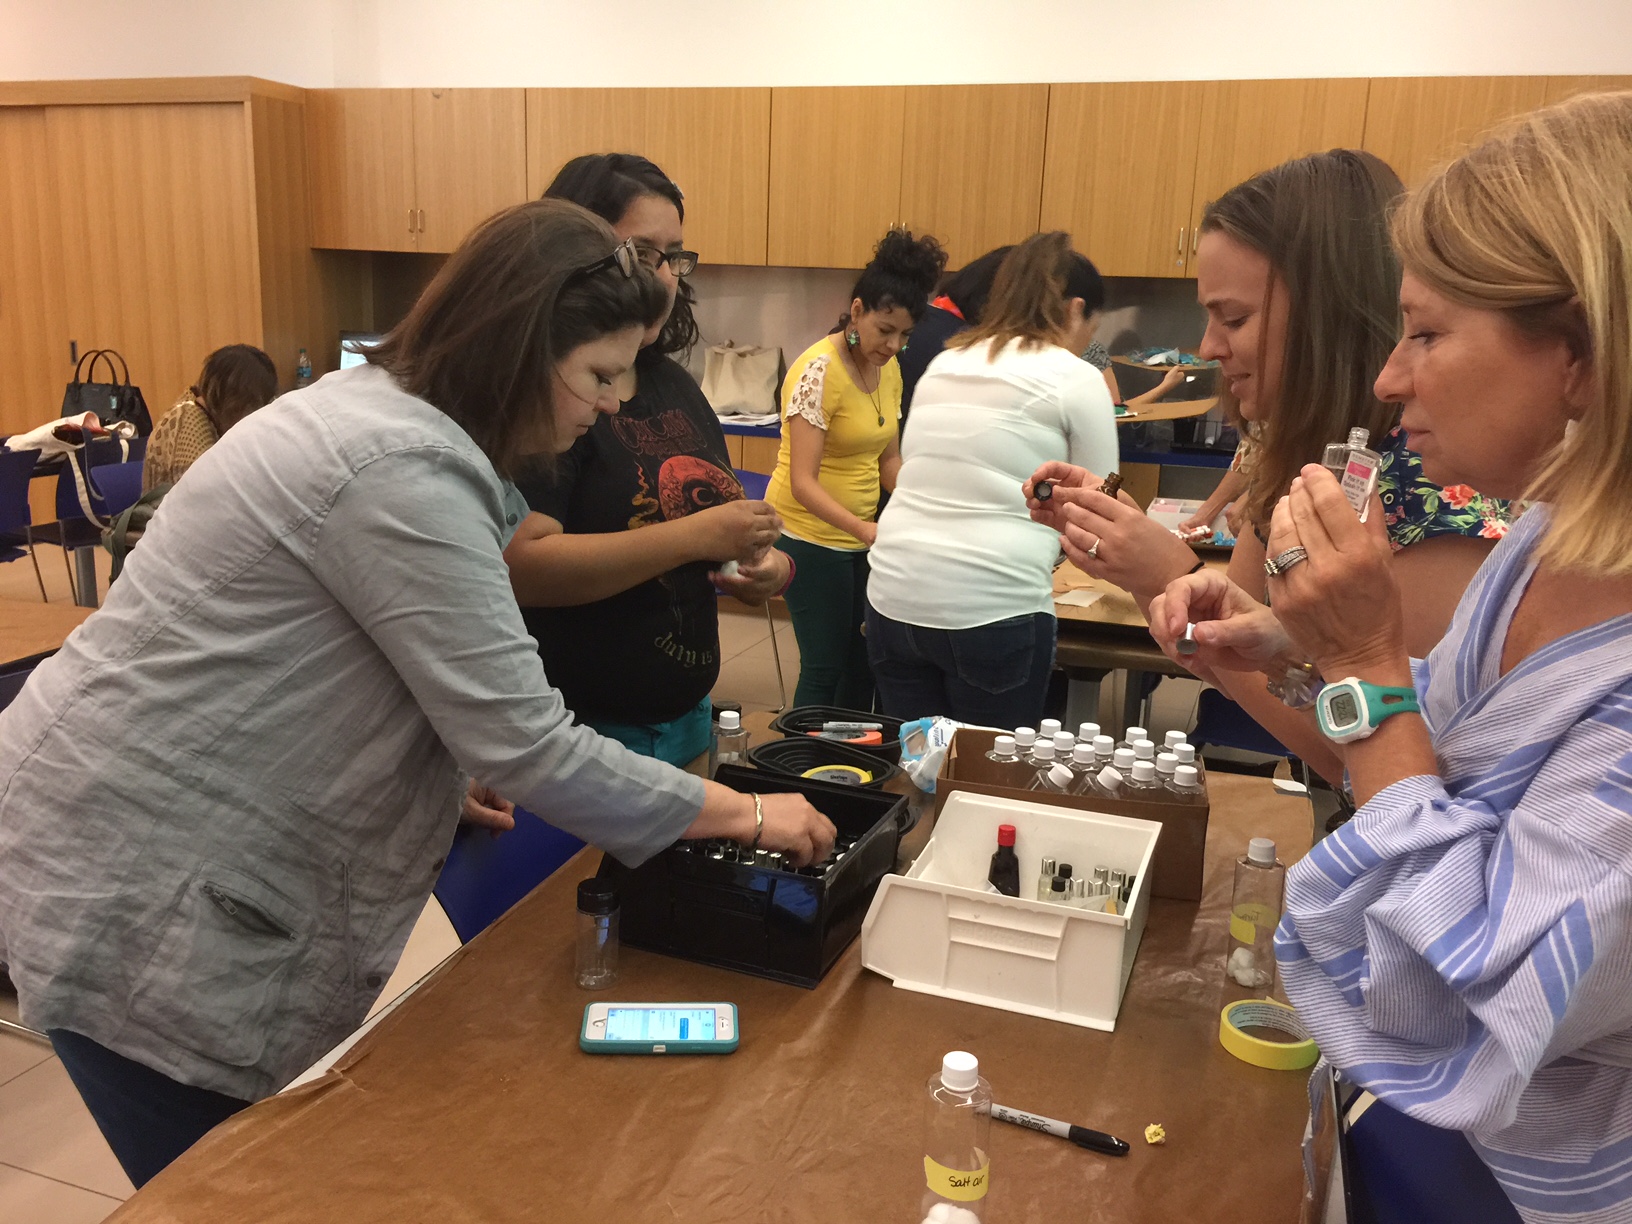
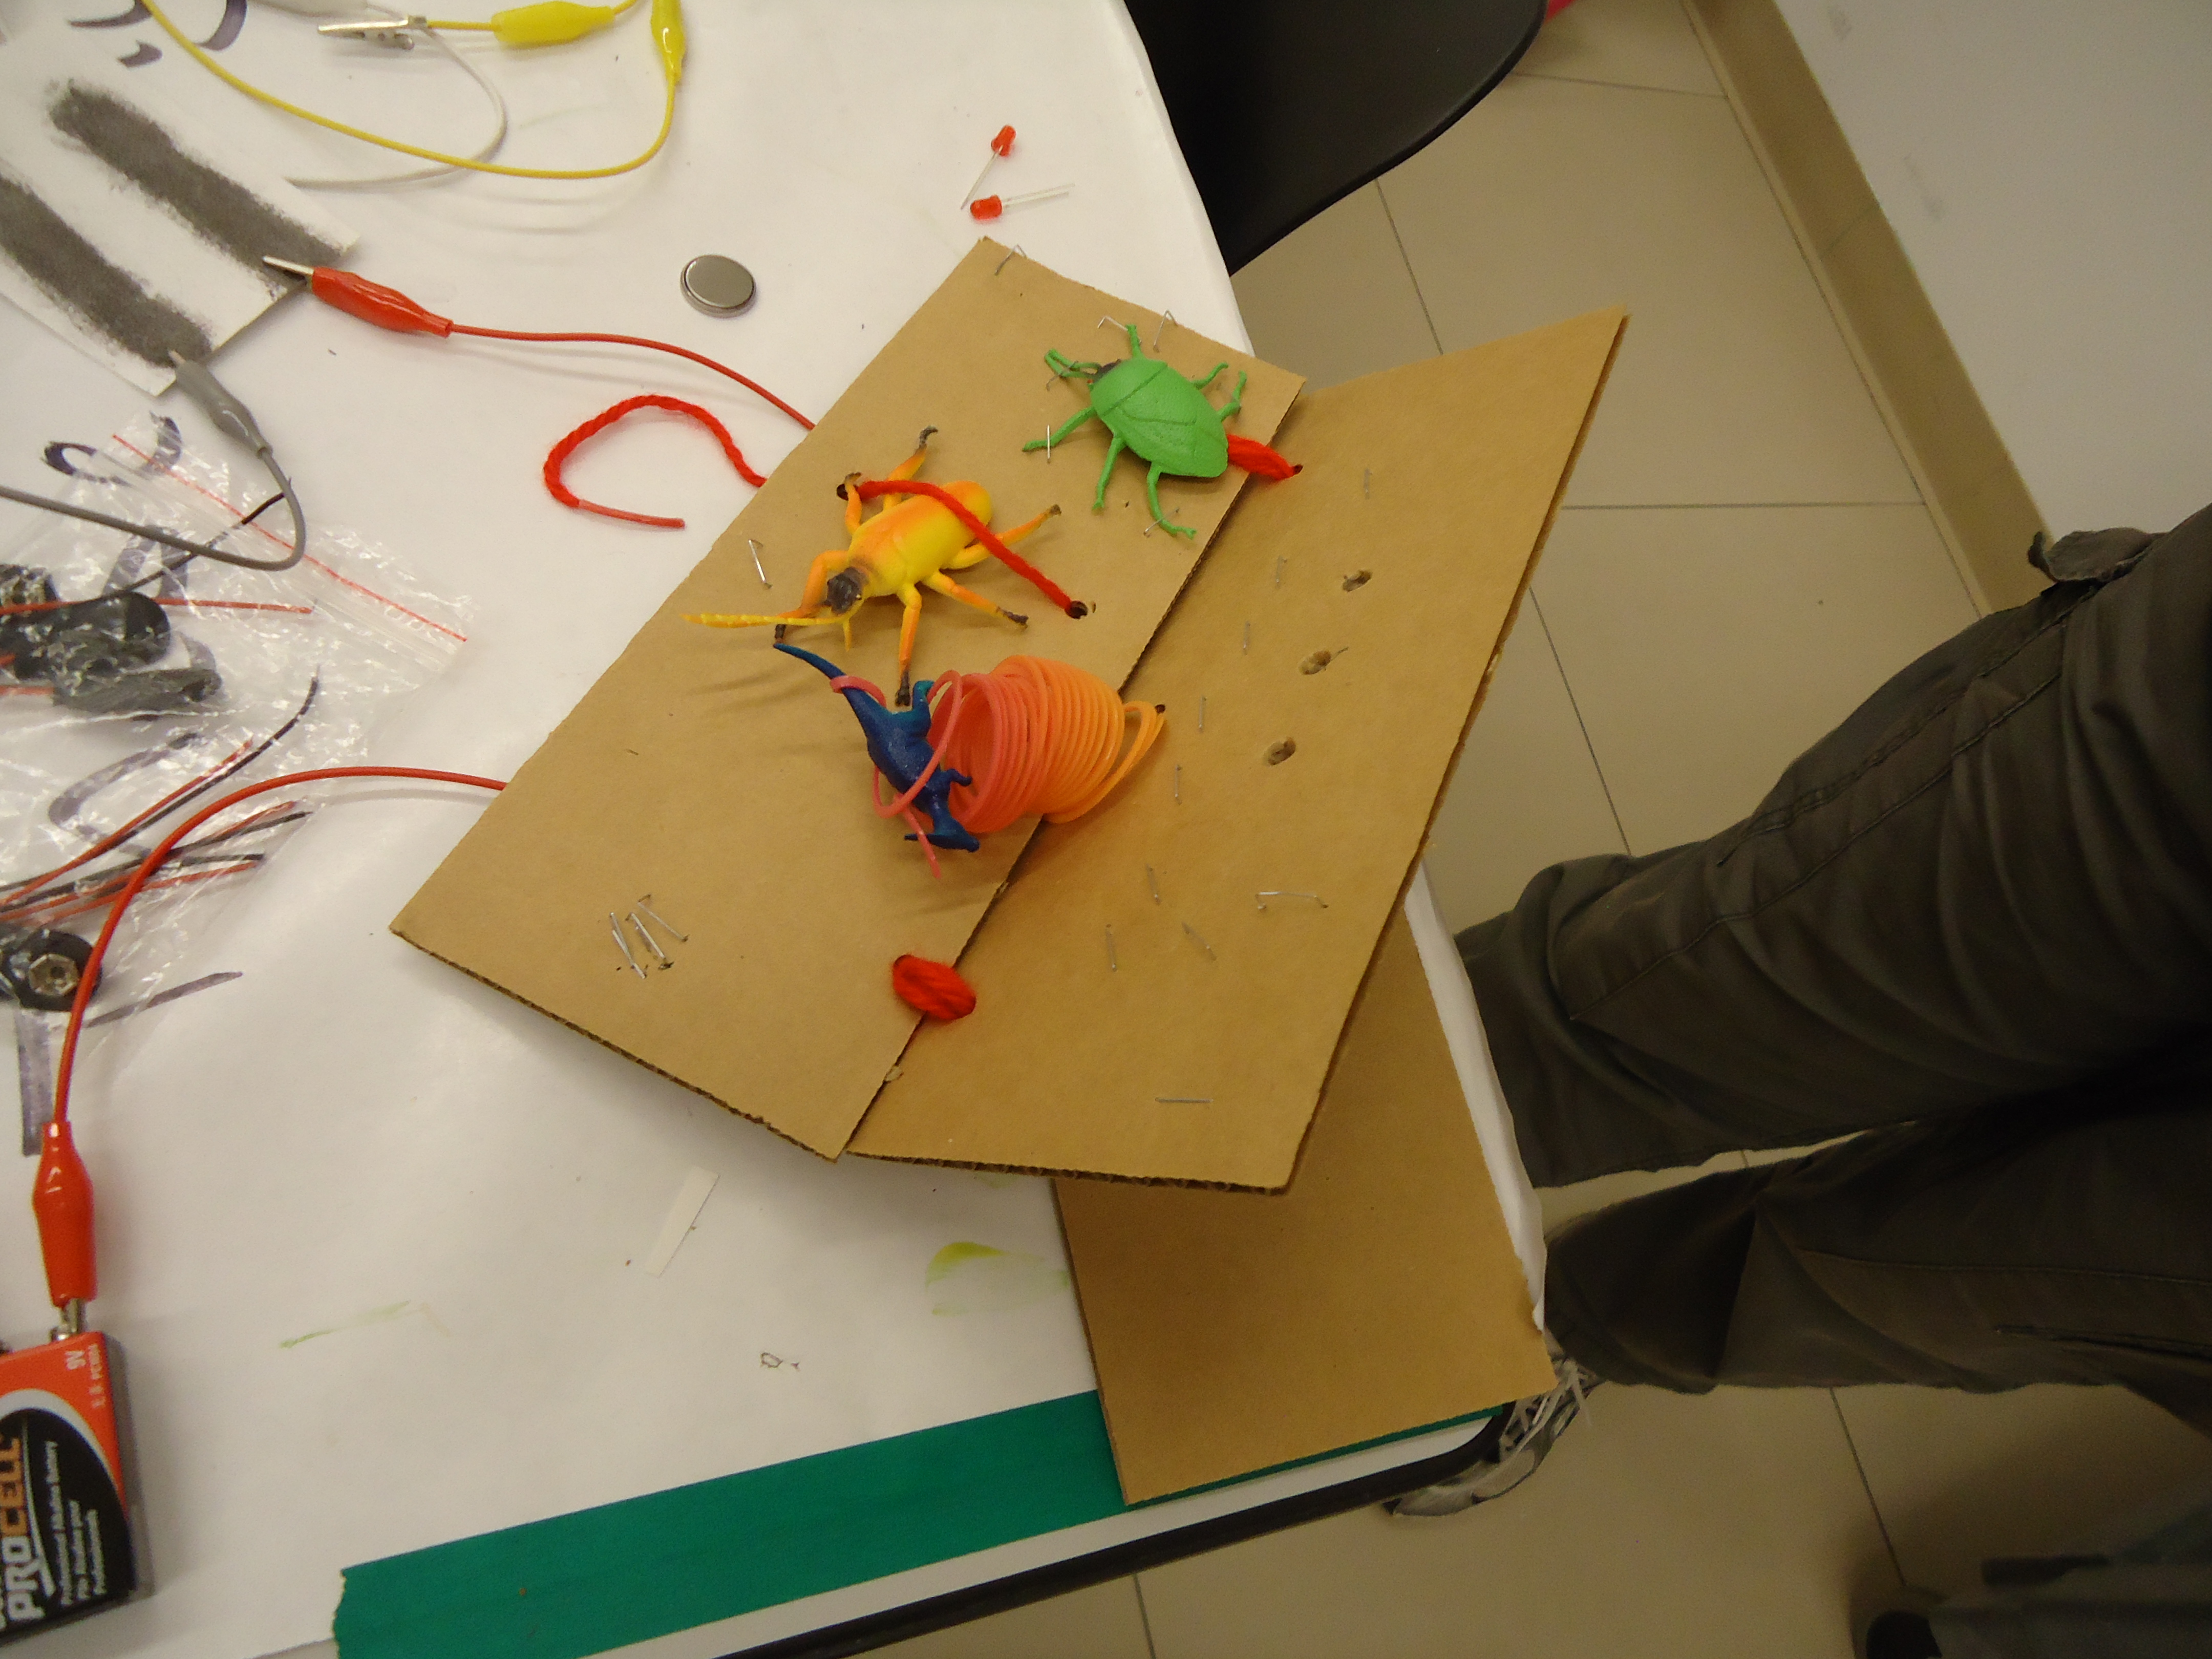
- Creating scents jars appropriate for museum galleries or the classroom.
-
- Putting together sensory boards that feature different textures.
-
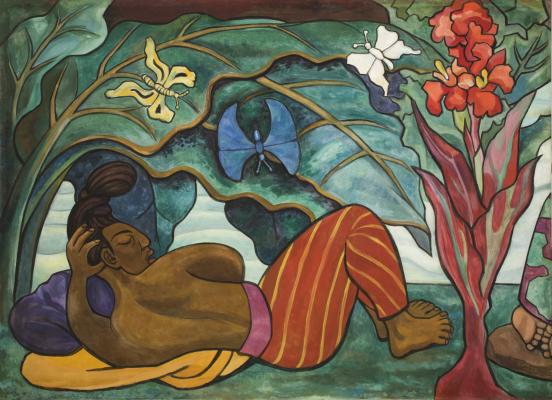
- Diego Rivera, Juchitán River (Río Juchitán), 1953–1955, oil on canvas on wood, Mexico, INBA, Museo Nacional de Arte © 2017 Banco de México Diego Rivera Frida Kahlo Museums Trust, Mexico, D.F. / Artists Rights Society (ARS), New York
We hope to see you at our next event for educators! In the meantime, be sure to take advantage of DMA Family Day this Sunday, and check out the wonderful exhibitions at the Museum this summer.
Lindsay O’Connor
Manager of Docent and Teacher Programs