I love screen printing–there’s something so satisfying about creating a design and wearing it proudly for everyone to see. I also love learning new printing techniques, so when I ran across a product called Inkodye about a year ago, I knew I had to give it a try. Produced by a company called Lumi, Inkodye is a photosensitive dye that allows you to print an image onto fabric using only a photo negative. When exposed to sunlight, the ink develops and binds permanently with the fibers of the fabric. You can even use Inkodye to create shadow prints!
 I’m going to take you through the basic process of creating a print using Inkodye and a photo negative. Keep in mind that while the examples on Lumi’s website look perfect and make it seem easy to do, it will probably take several tries to get it to turn out the way you want.
What You’ll Need:
- T-shirt to print on
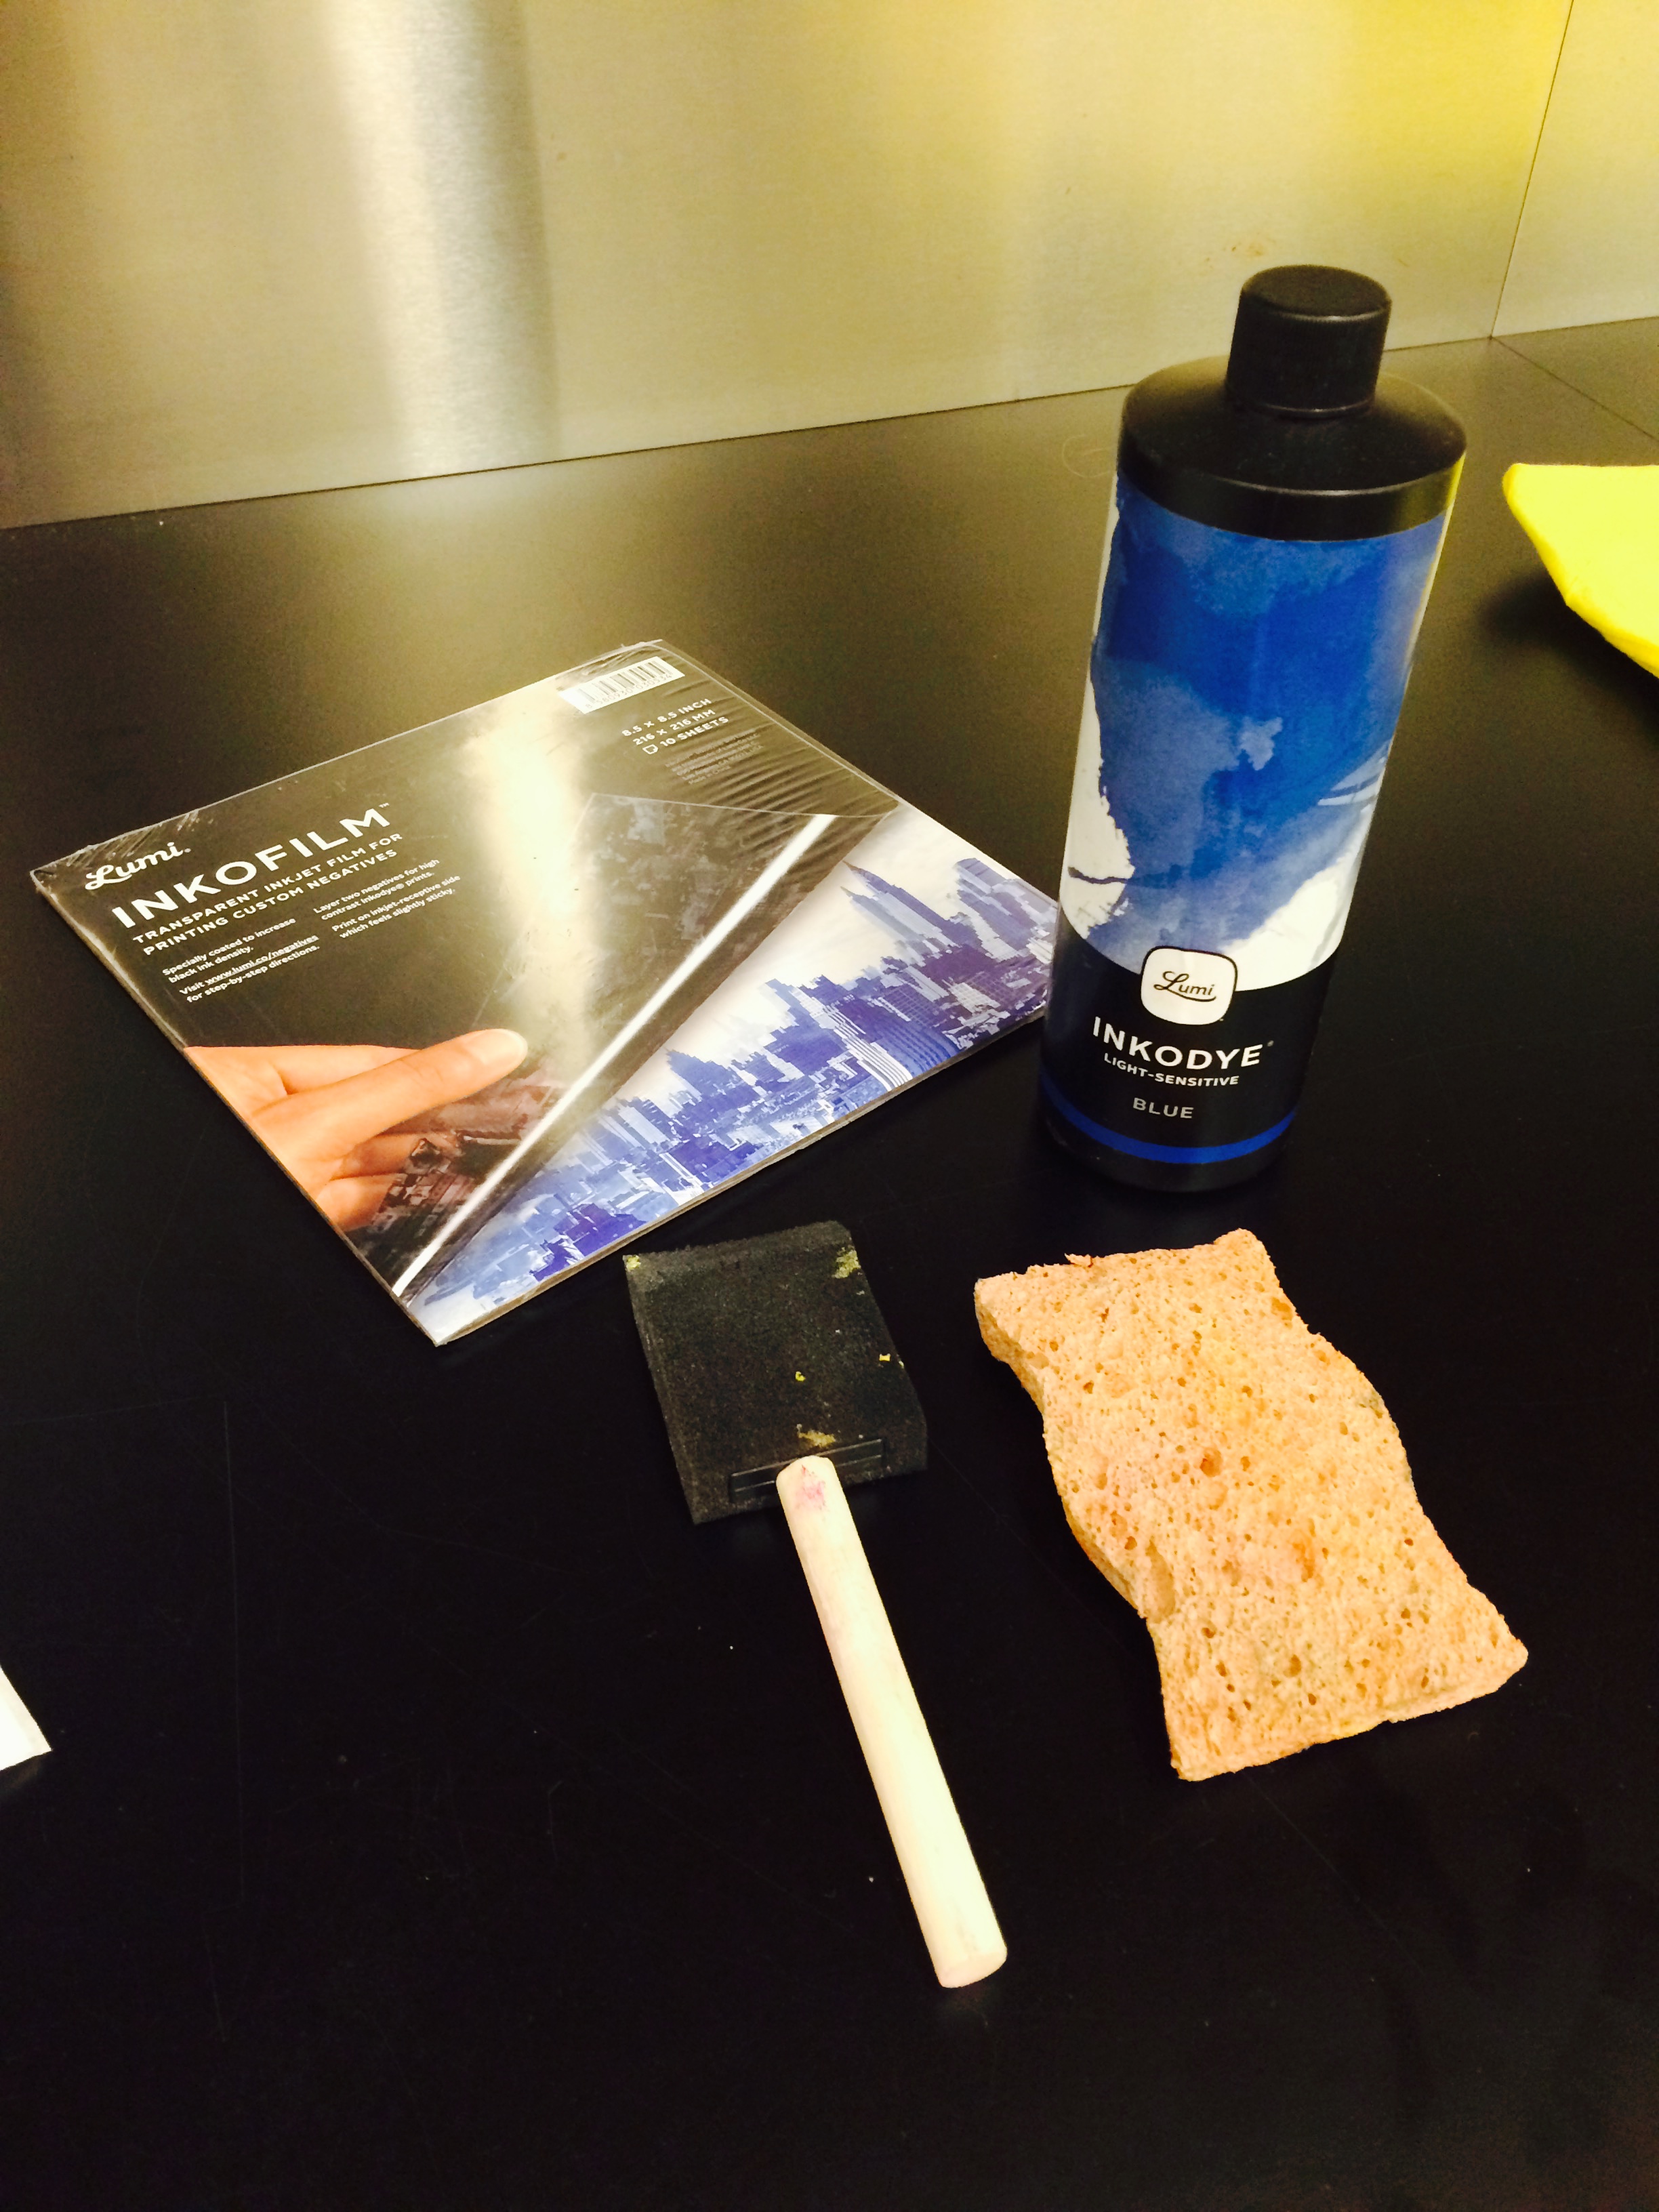
- Inkodye
- Transparency film for copiers (at least two sheets)
- Copier/printer
- Computer
- Foam brush or sponge
- Two large sheets of cardboard
- Masking tape (optional)
- Laundry detergent
Step 1: Create your design
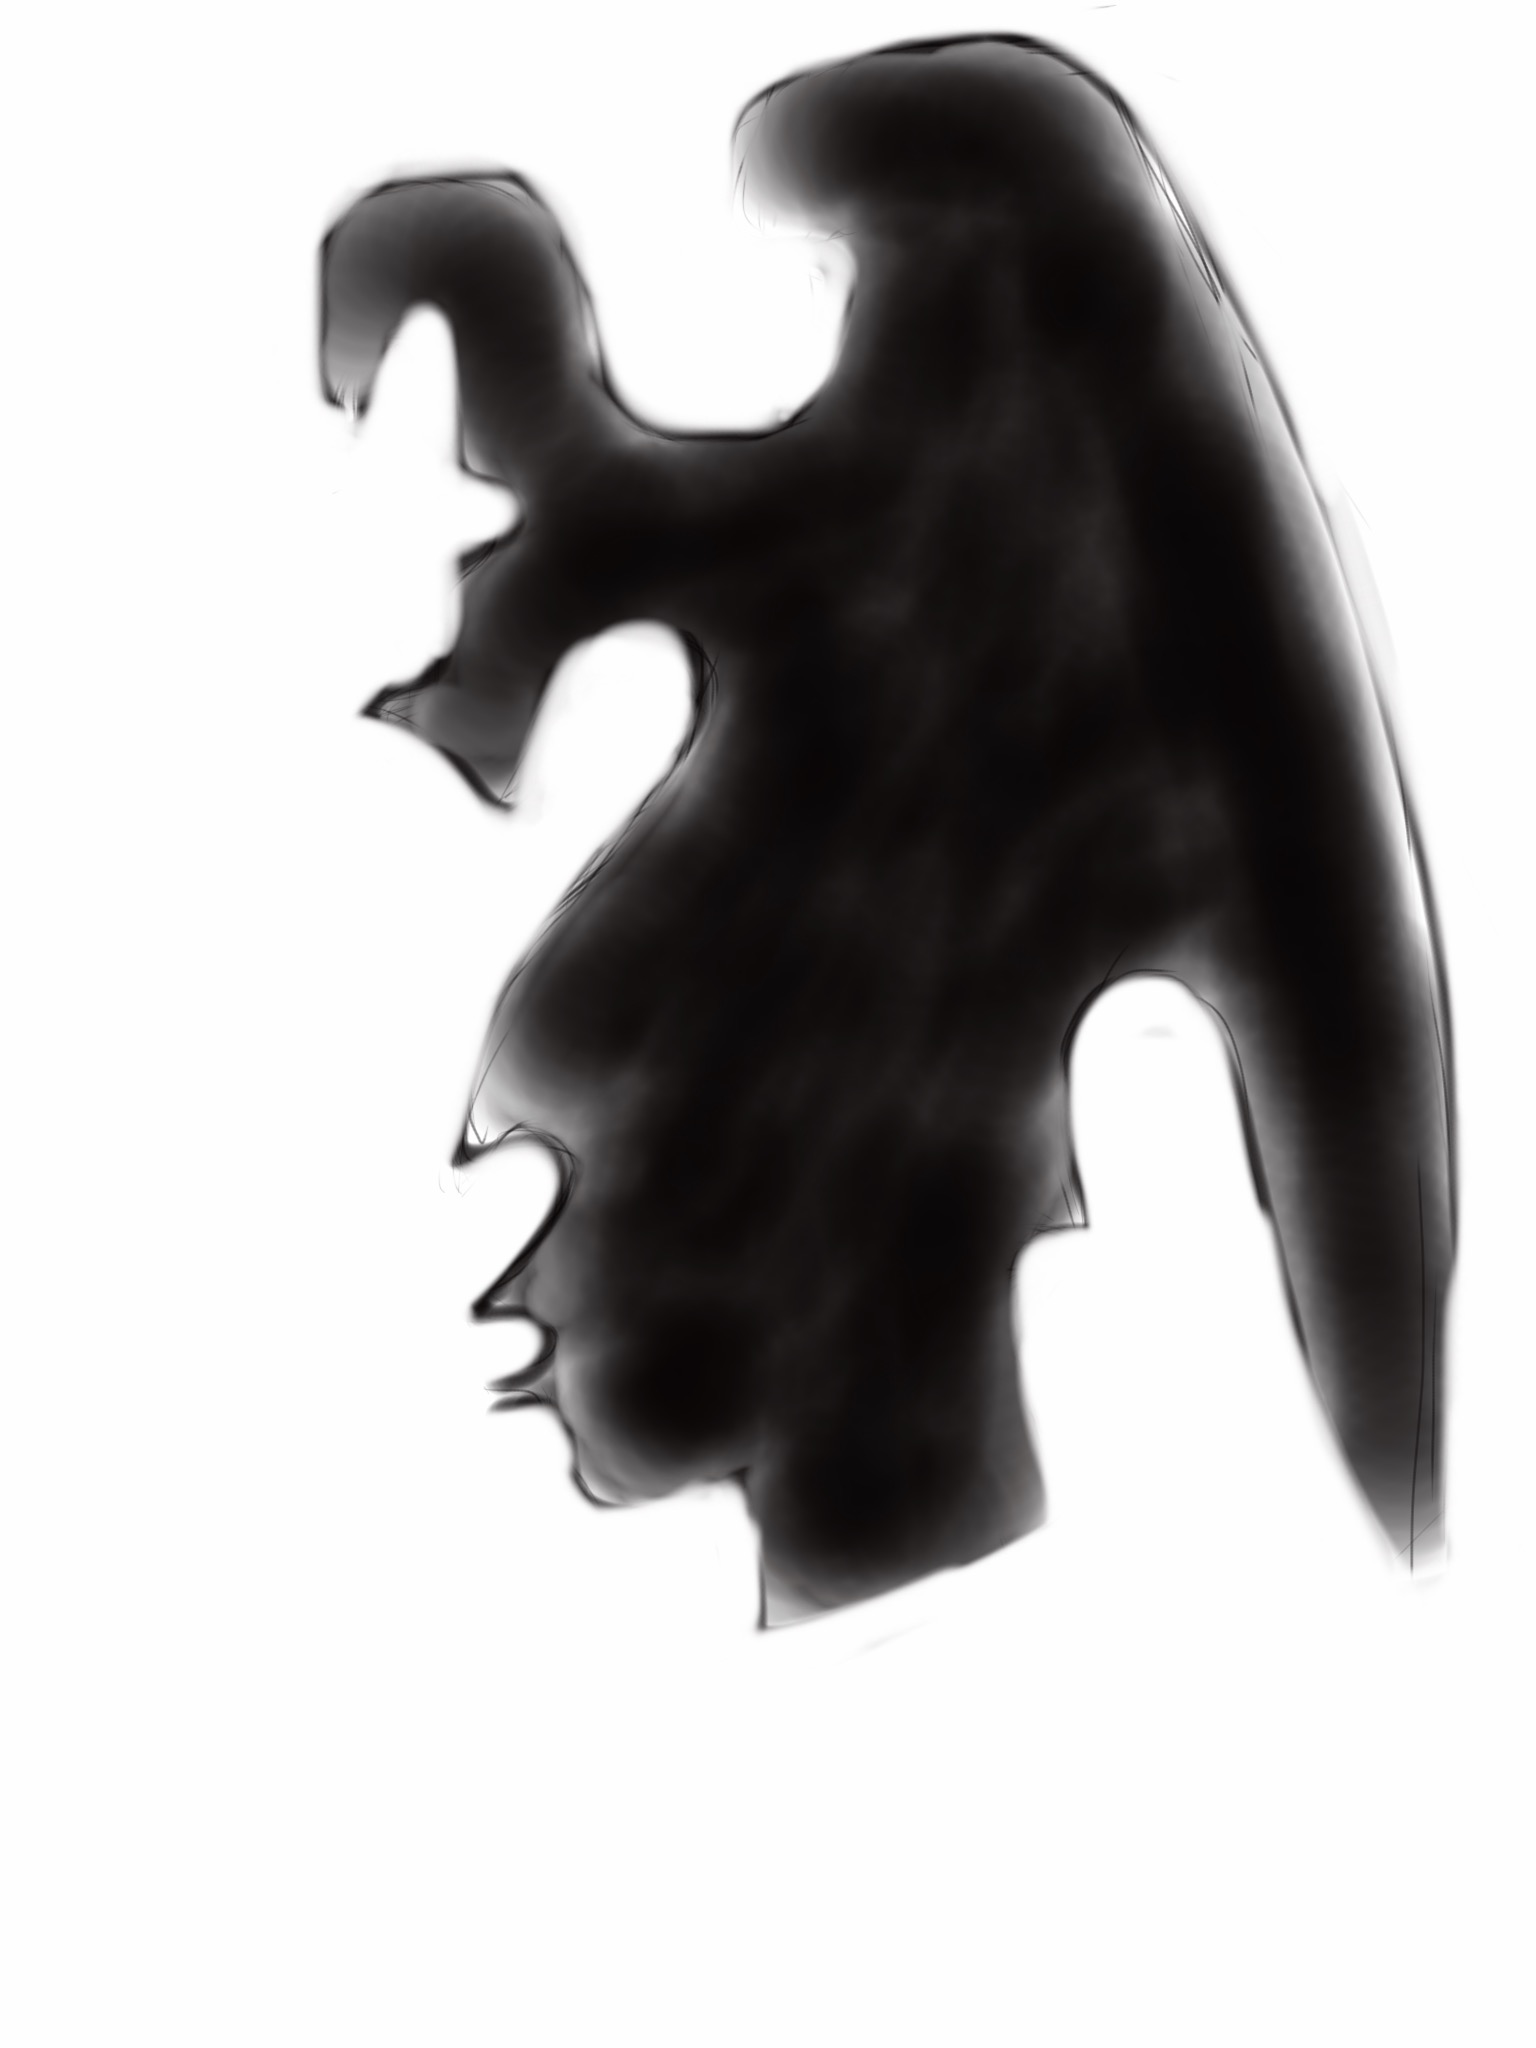
I wanted to create an example for the teen t-shirt design class and contest that the DMA is offering, so I created a drawing on my iPad that was inspired by a work of art at the Museum:
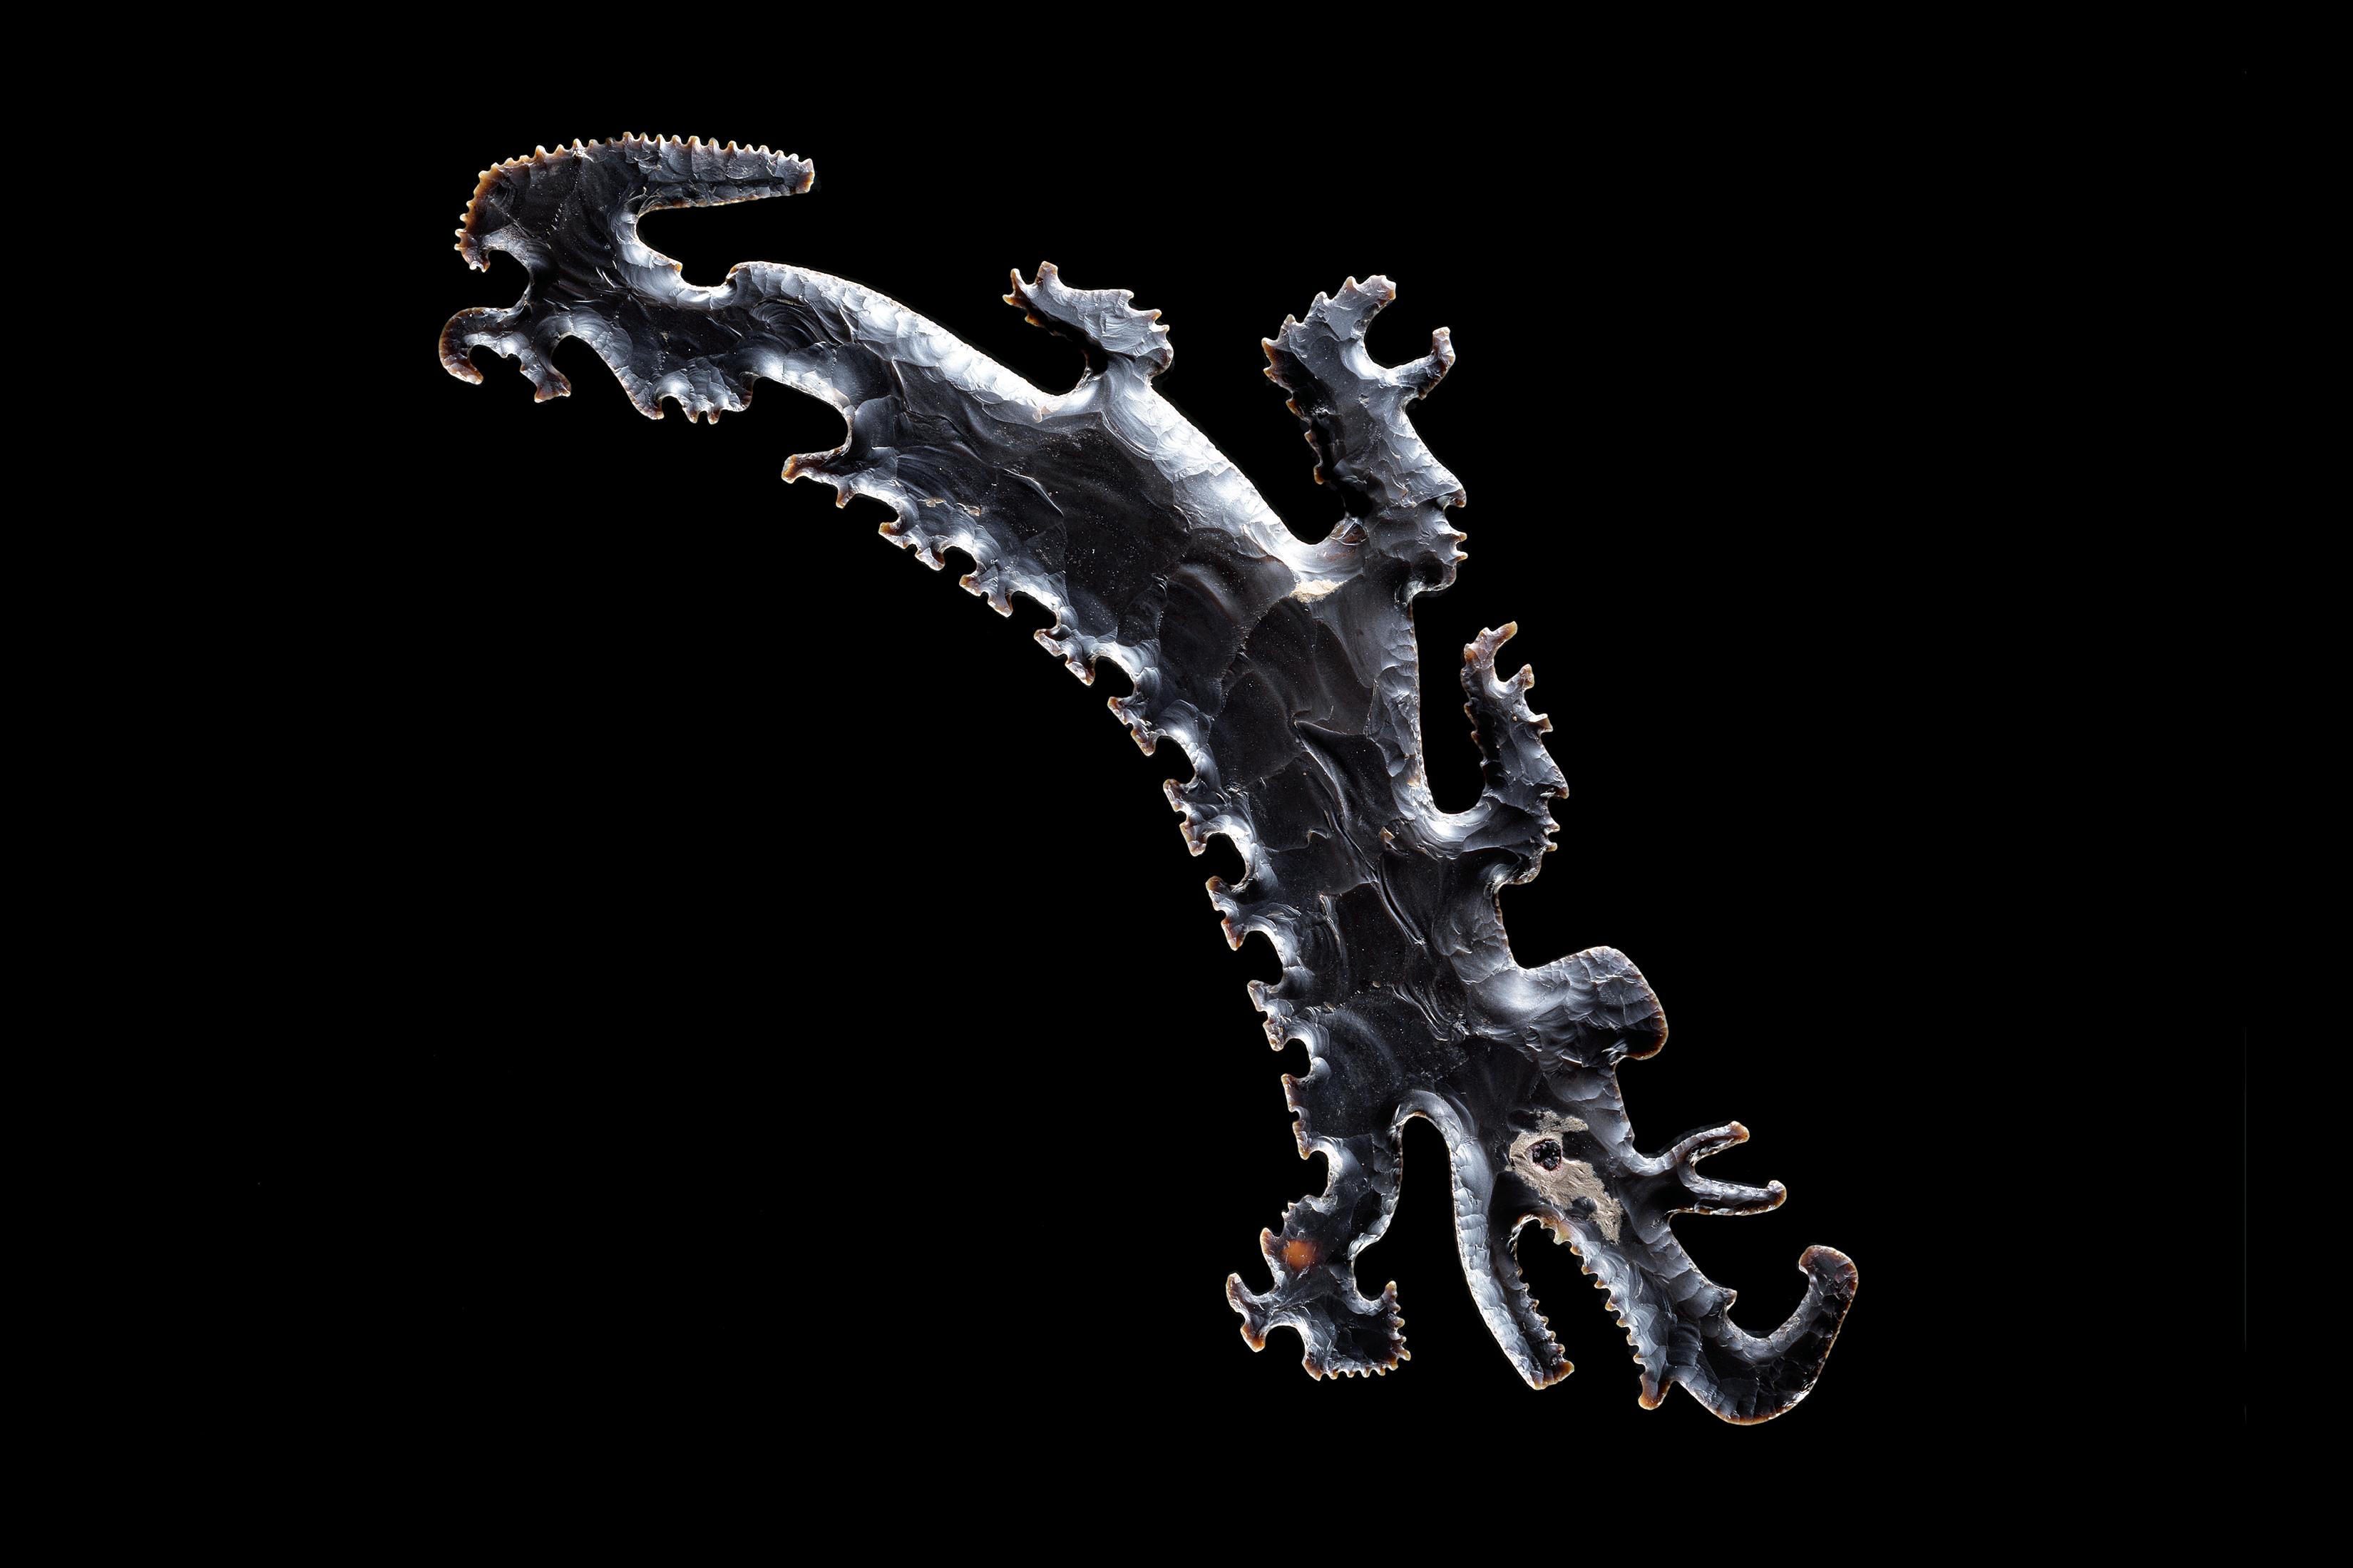
Eccentric flint depicting a crocodile canoe with passengers, Pre-Columbian, 600 – 900 A.D., Dallas Museum of Art, The Eugene and Margaret McDermott Art Fund, Inc., in honor of Mrs. Alex Spence
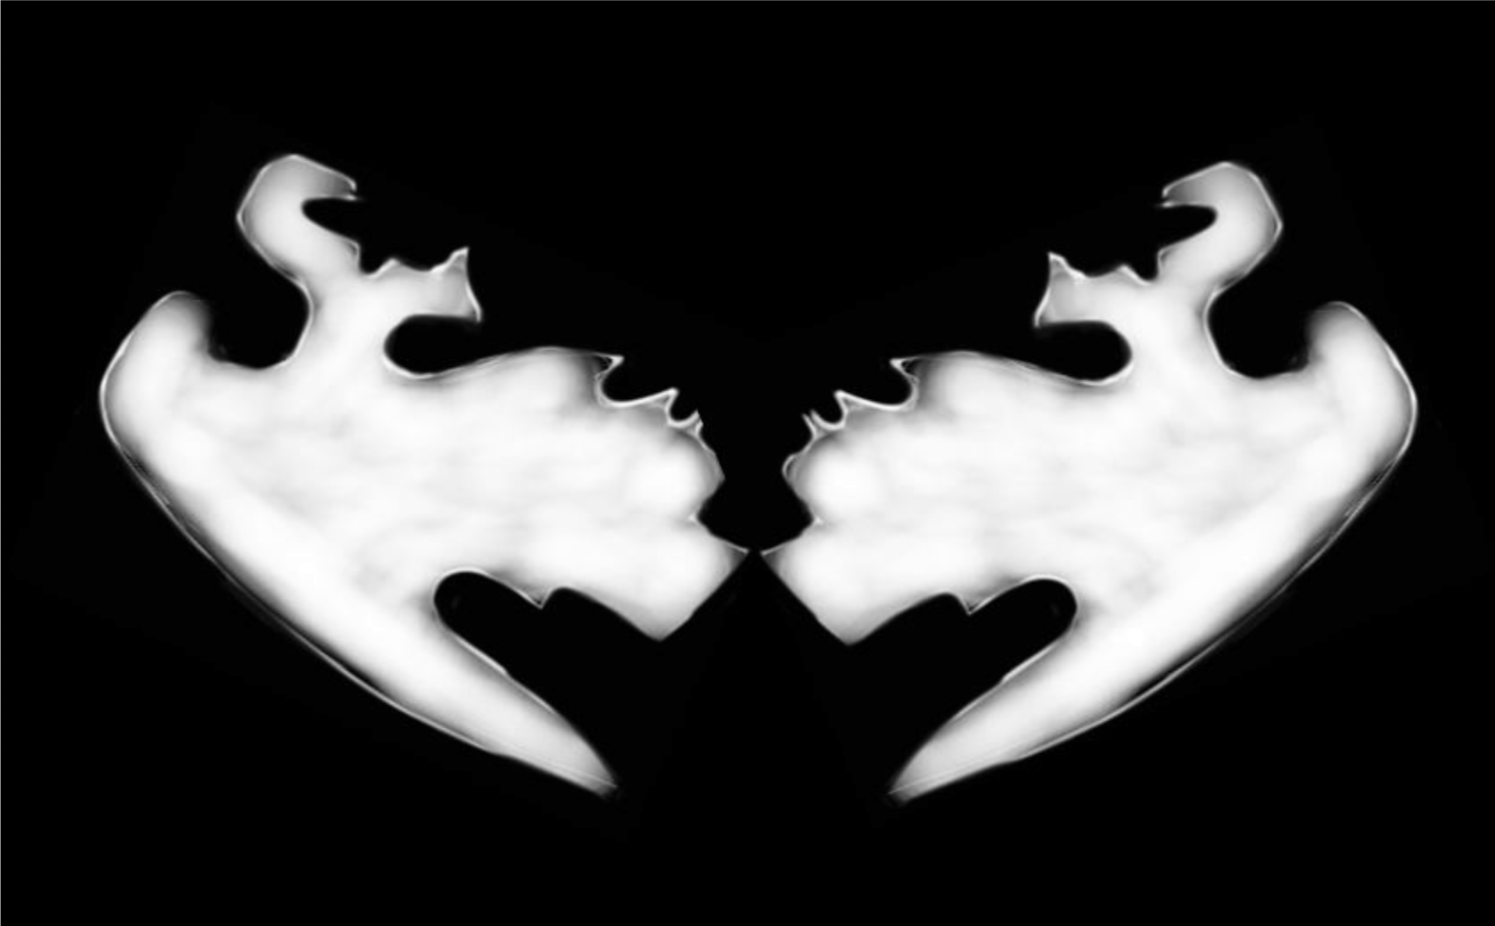
 I then manipulated the image using Microsoft Word, but any basic editing program would do–even better, Photoshop, if you have it:
Leaving my image as above will create a reverse, or negative print on my shirt–the white space around the faces will be black and the faces themselves will be white. If you want to make a positive-image print, you’ll have to create a negative of your design (Photoshop allows you to do this, or you can use Lumi’s handy app to make one):
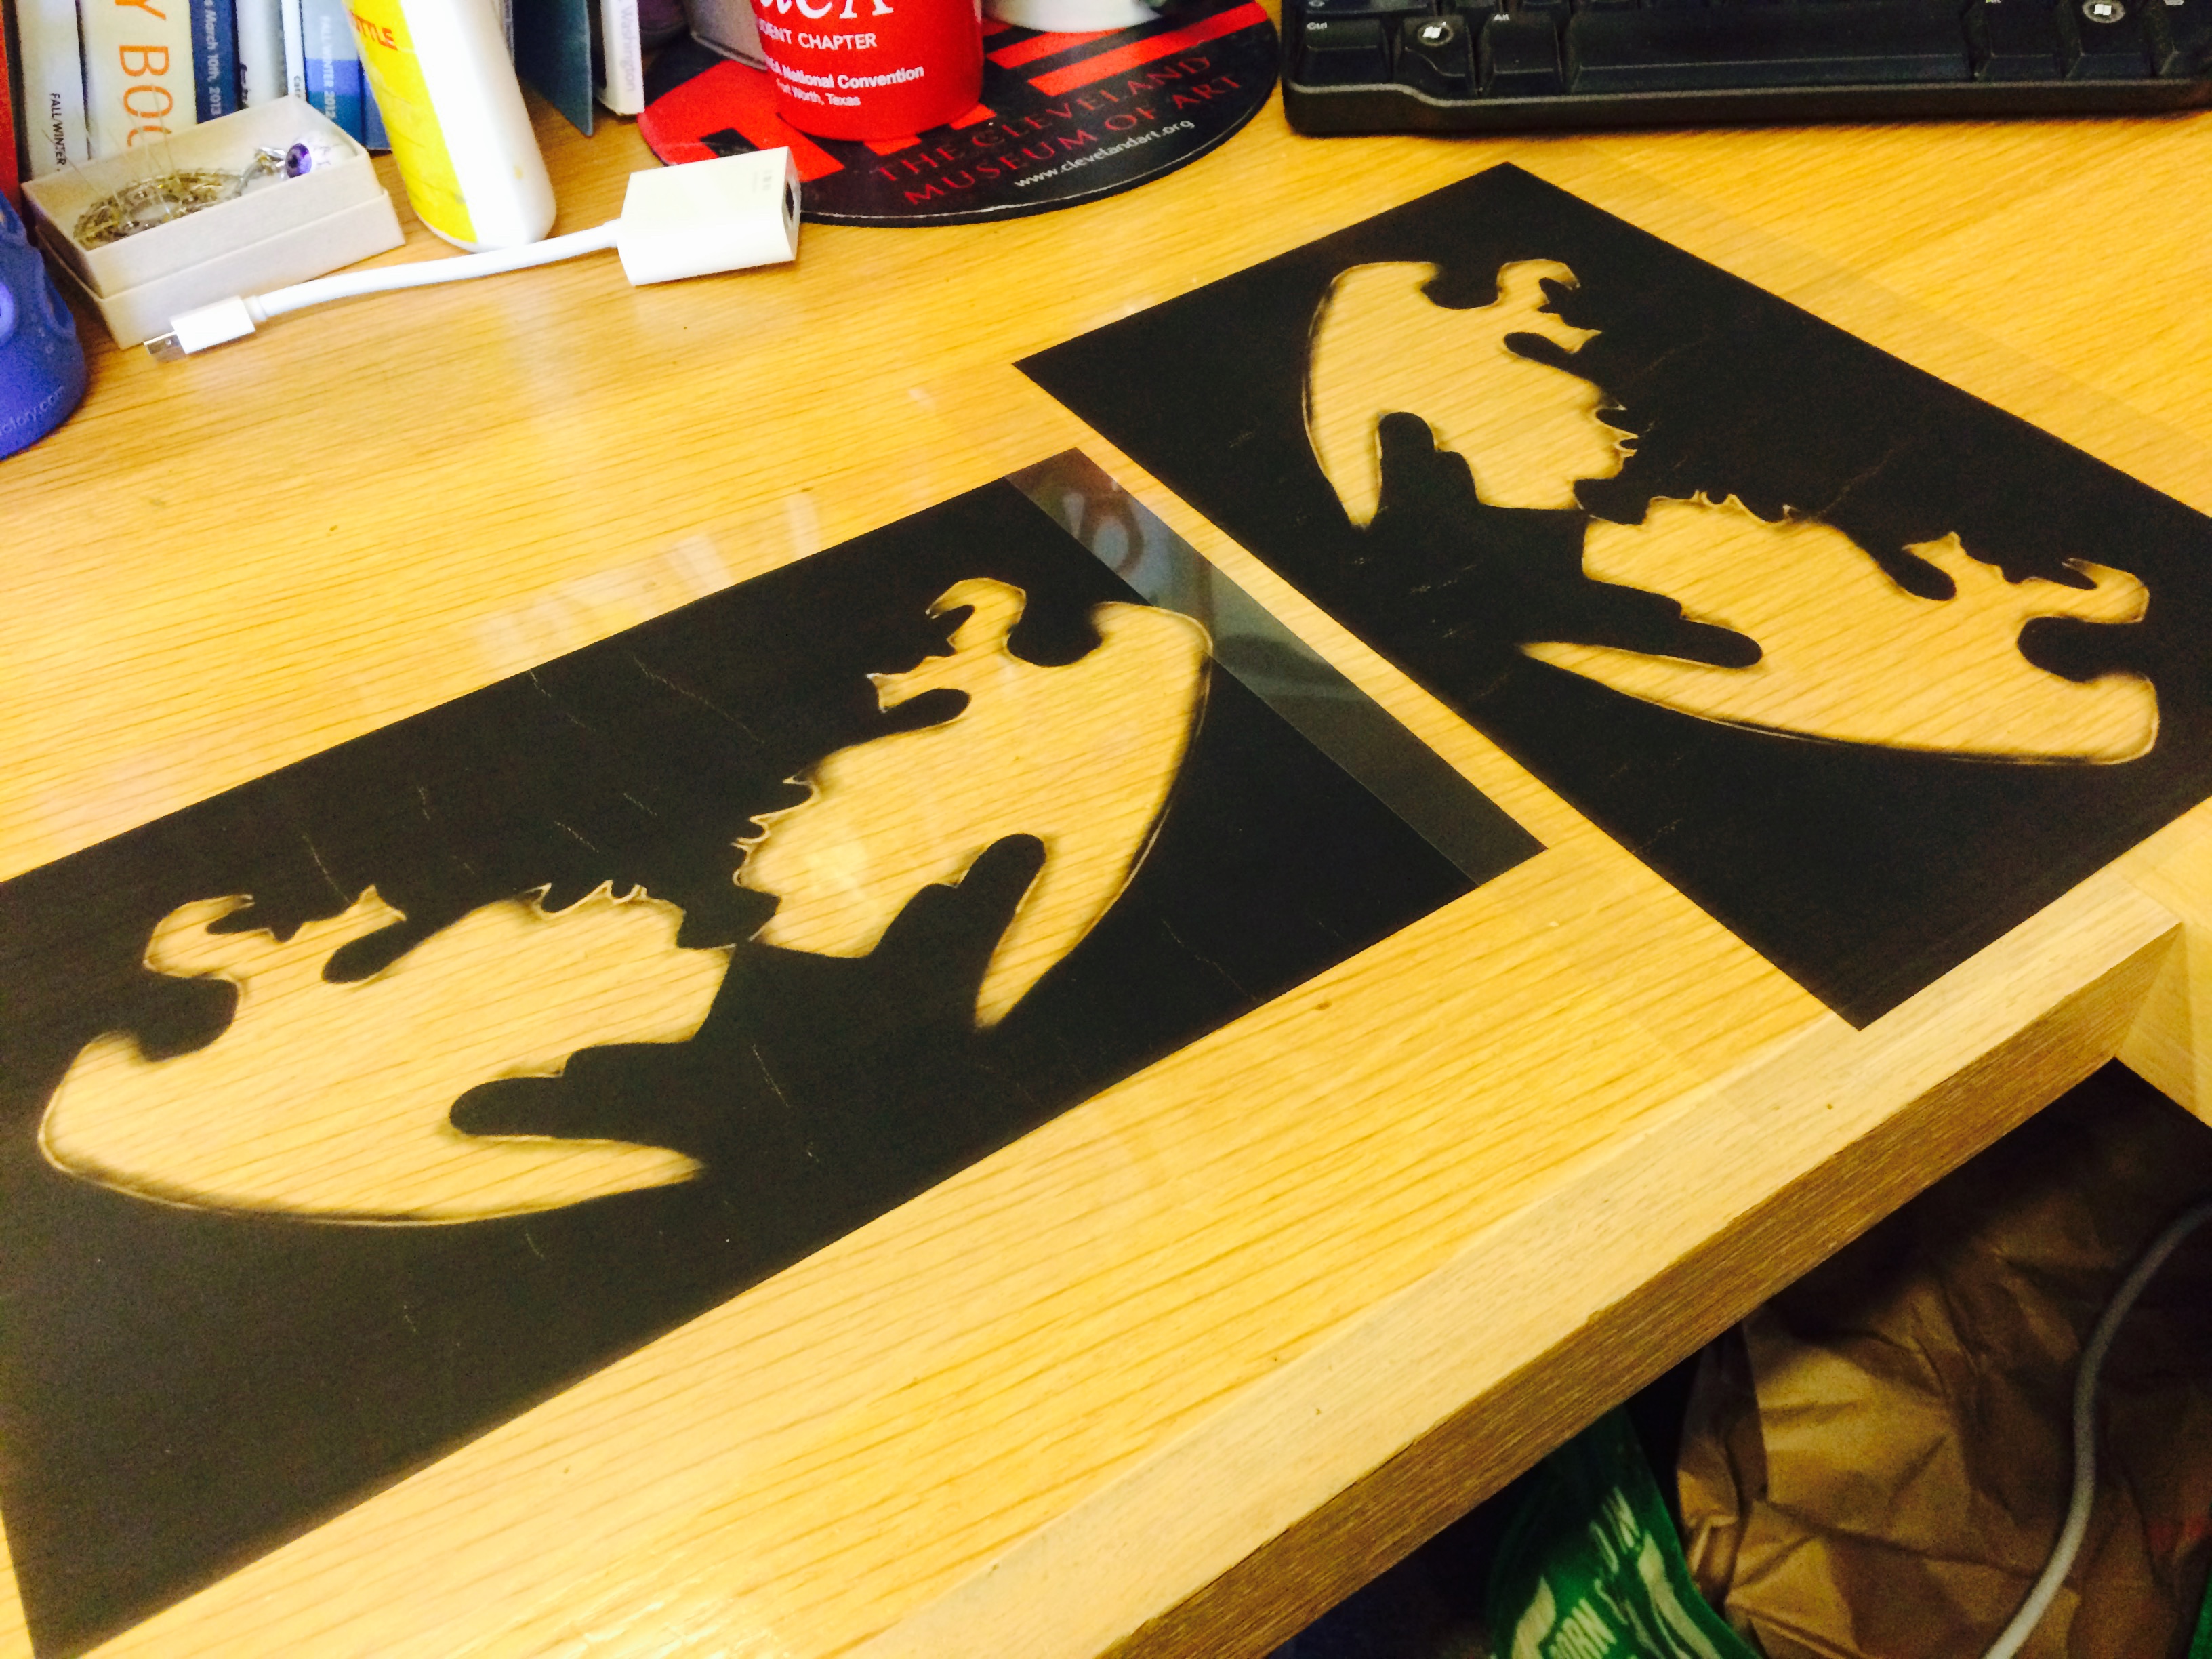
Step 2: Print two copies of your image on transparency film
Lumi says that it’s important to use two copies so that they can be stacked on top of each other during the printing process. This will make the dark areas of your image block out more light, increasing the contrast of your print and giving you a better end product.
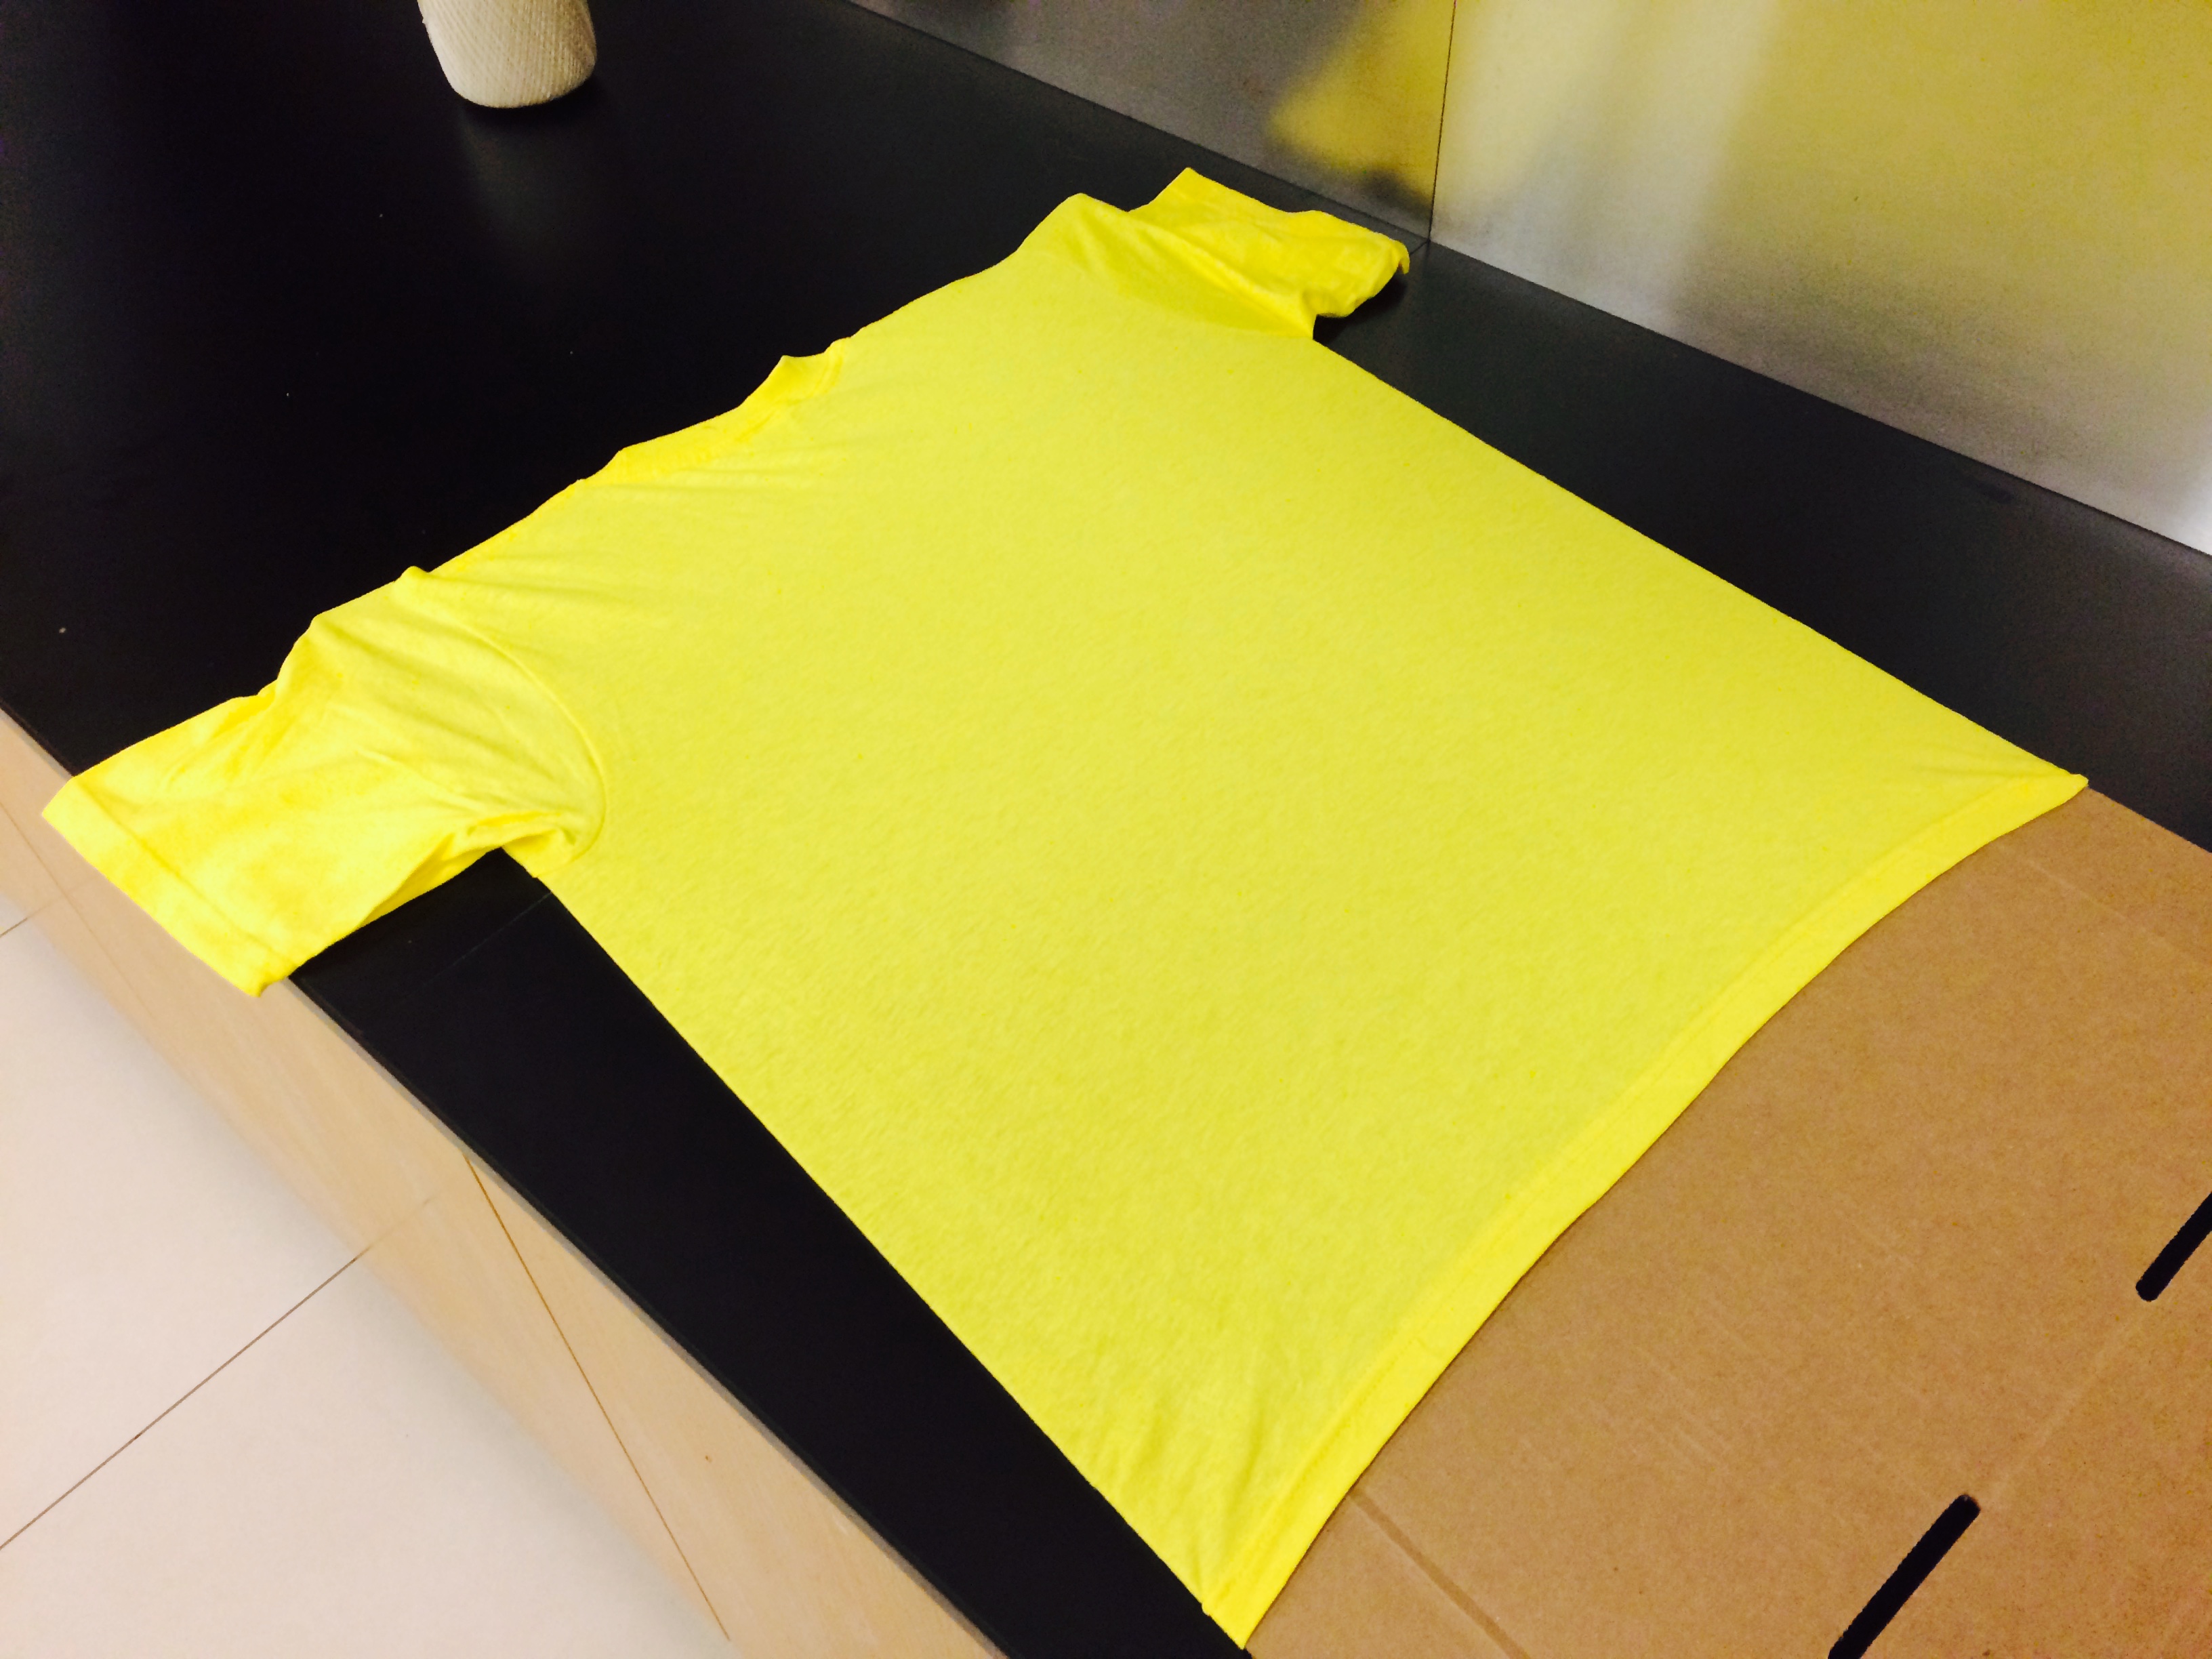
3. Prep your t-shirt for printing
Insert one of your sheets of cardboard into your shirt to prevent the ink from soaking through. The cardboard should be big enough that it stretches the fabric of your t-shirt and gives you a good printing surface. Choose the area of your shirt where your image will be printed. If you want, you can mask the area off with tape to give your design a clean edge.
4. Spread the Inkodye onto your shirt
This is one of the trickiest steps. Flip off the lights for this–since Inkodye is photosensitive, you don’t want it to start developing yet. Working in the darkened room (but with enough light to see what you’re doing!), cover the printing area with a thin, even layer of dye–don’t get it too wet! Use your sponge or brush to blot the fabric. Cover your t-shirt with the second sheet of cardboard and take it and your design outside!
5. Print your shirt
Find a nice sunny spot to lay your t-shirt down. Uncover it and position your transparencies on top of the printing area. Leave everything undisturbed for the sunlight to do its magic. In about 10-15 minutes (depending on how cloudy it is) your print should be developed! When you’re satisfied with how it looks, cover your shirt back up to prevent overexposure and take it back inside.
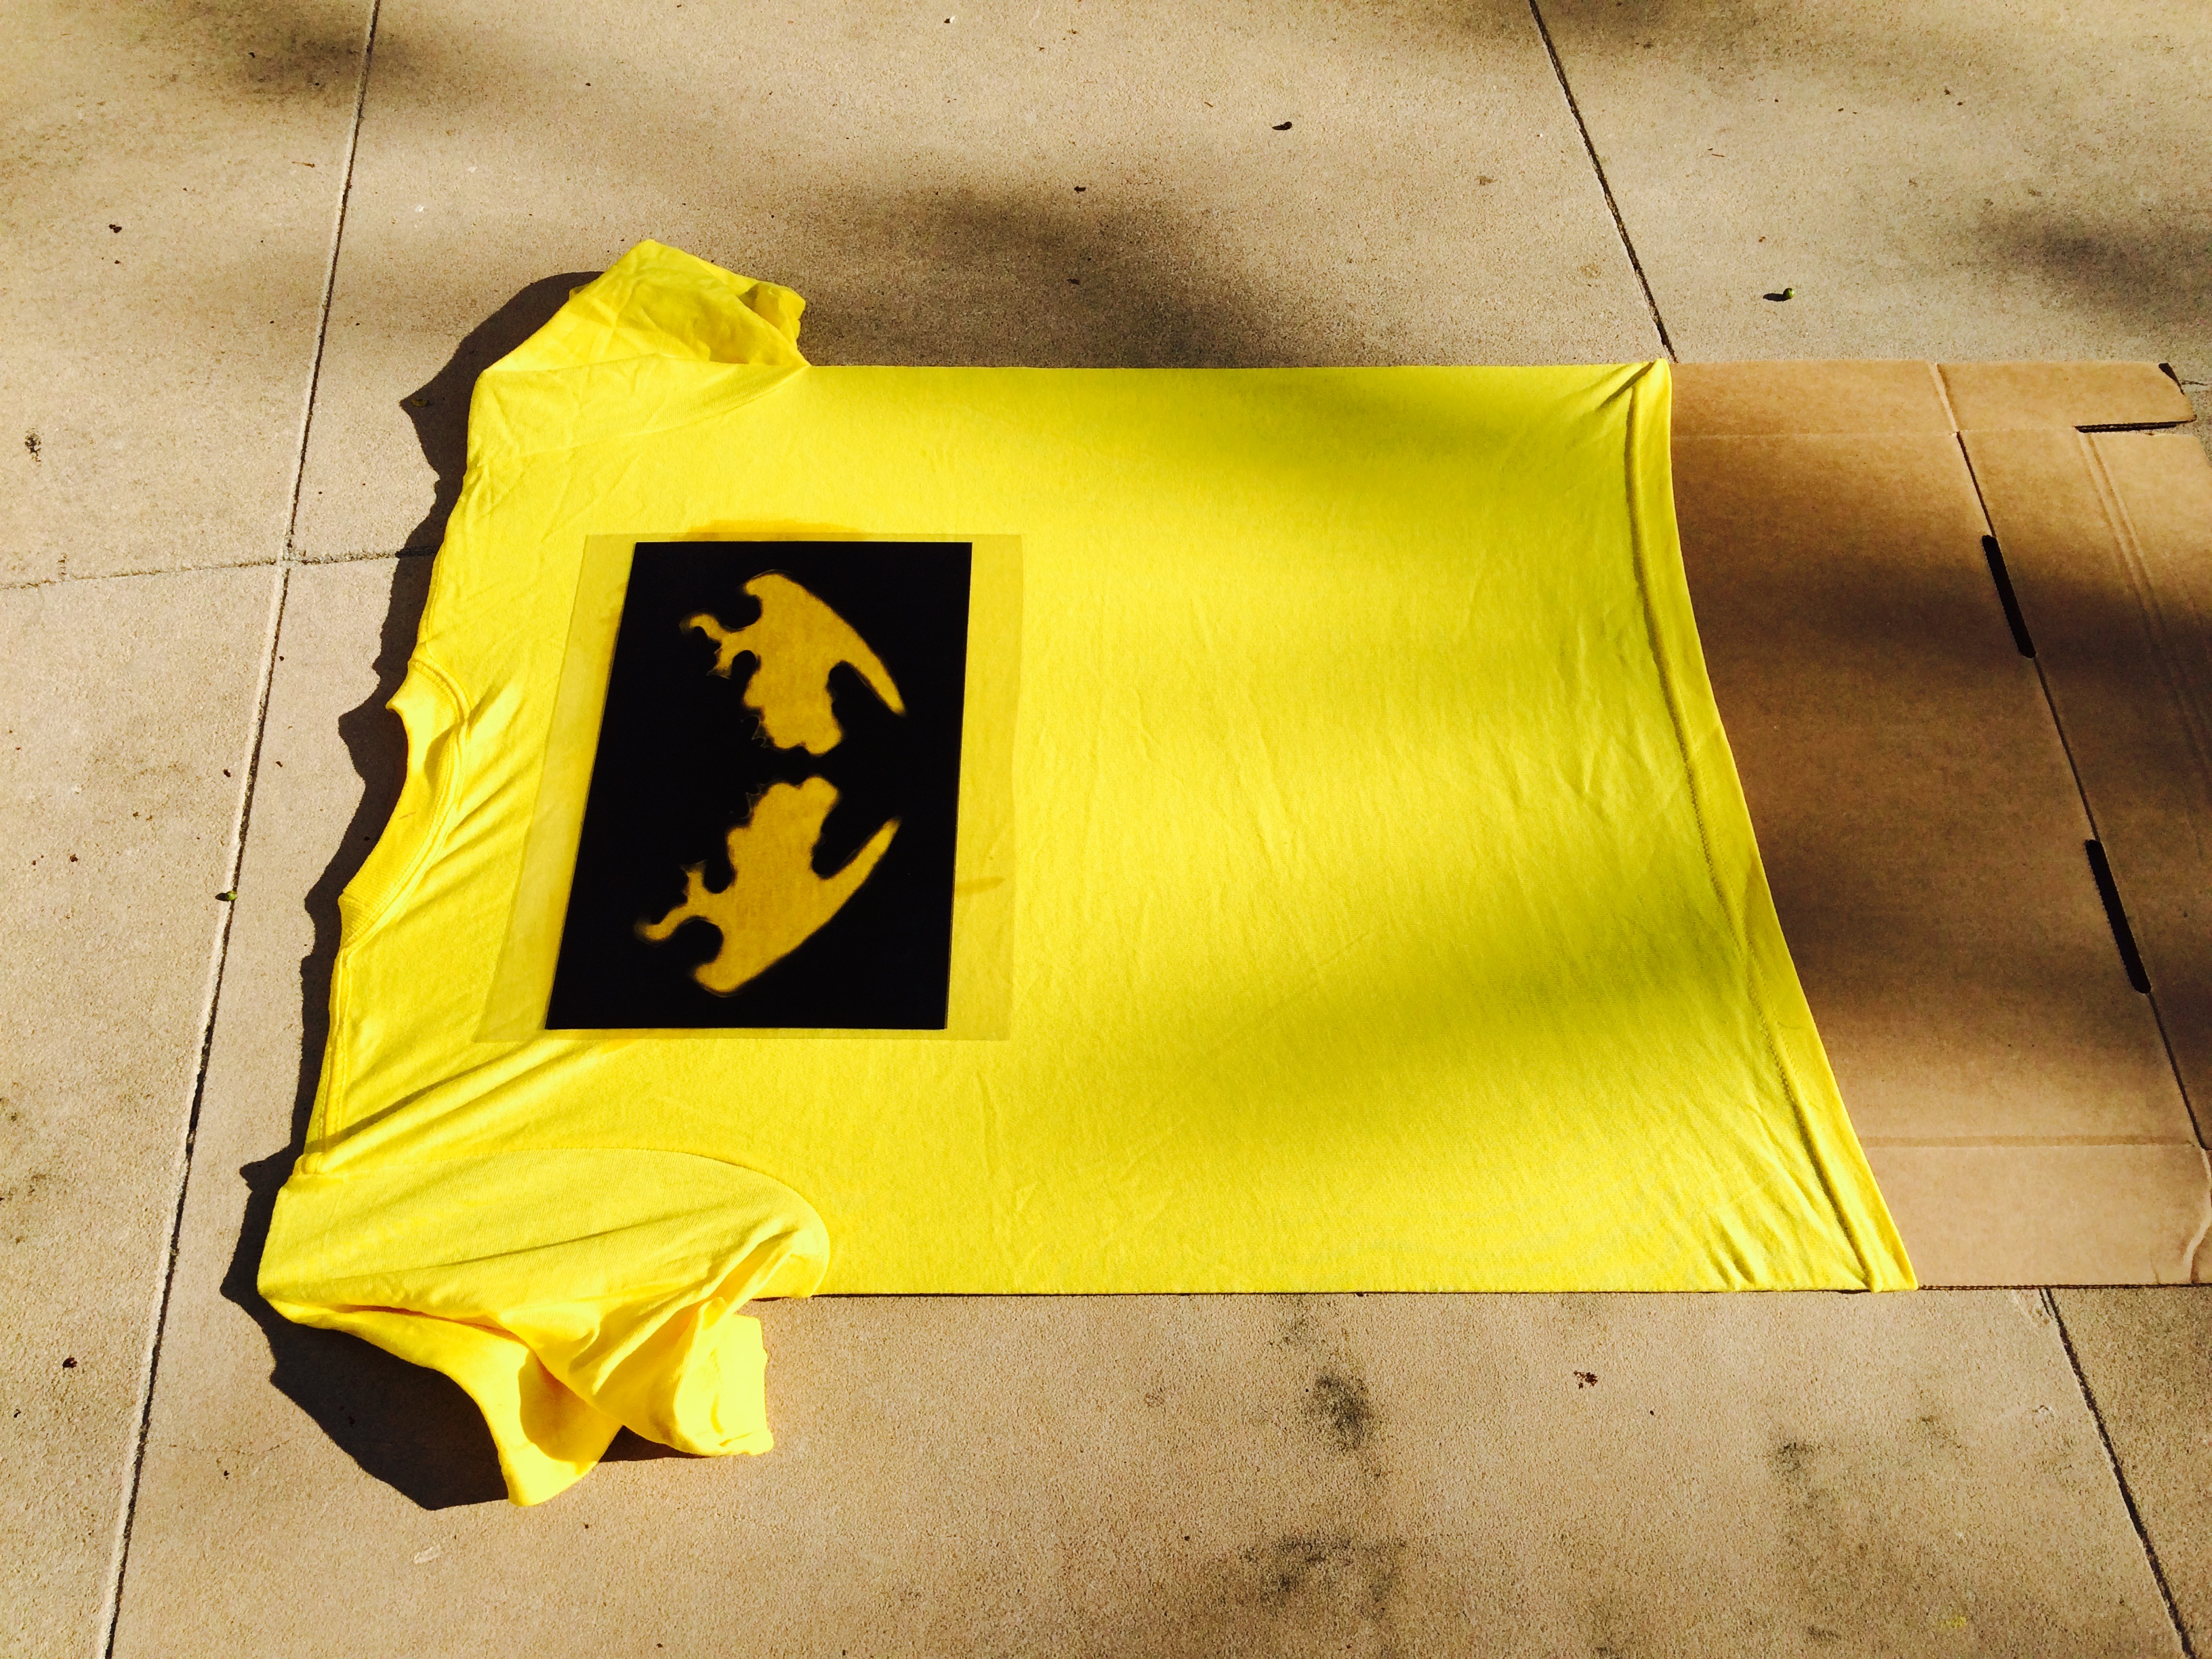
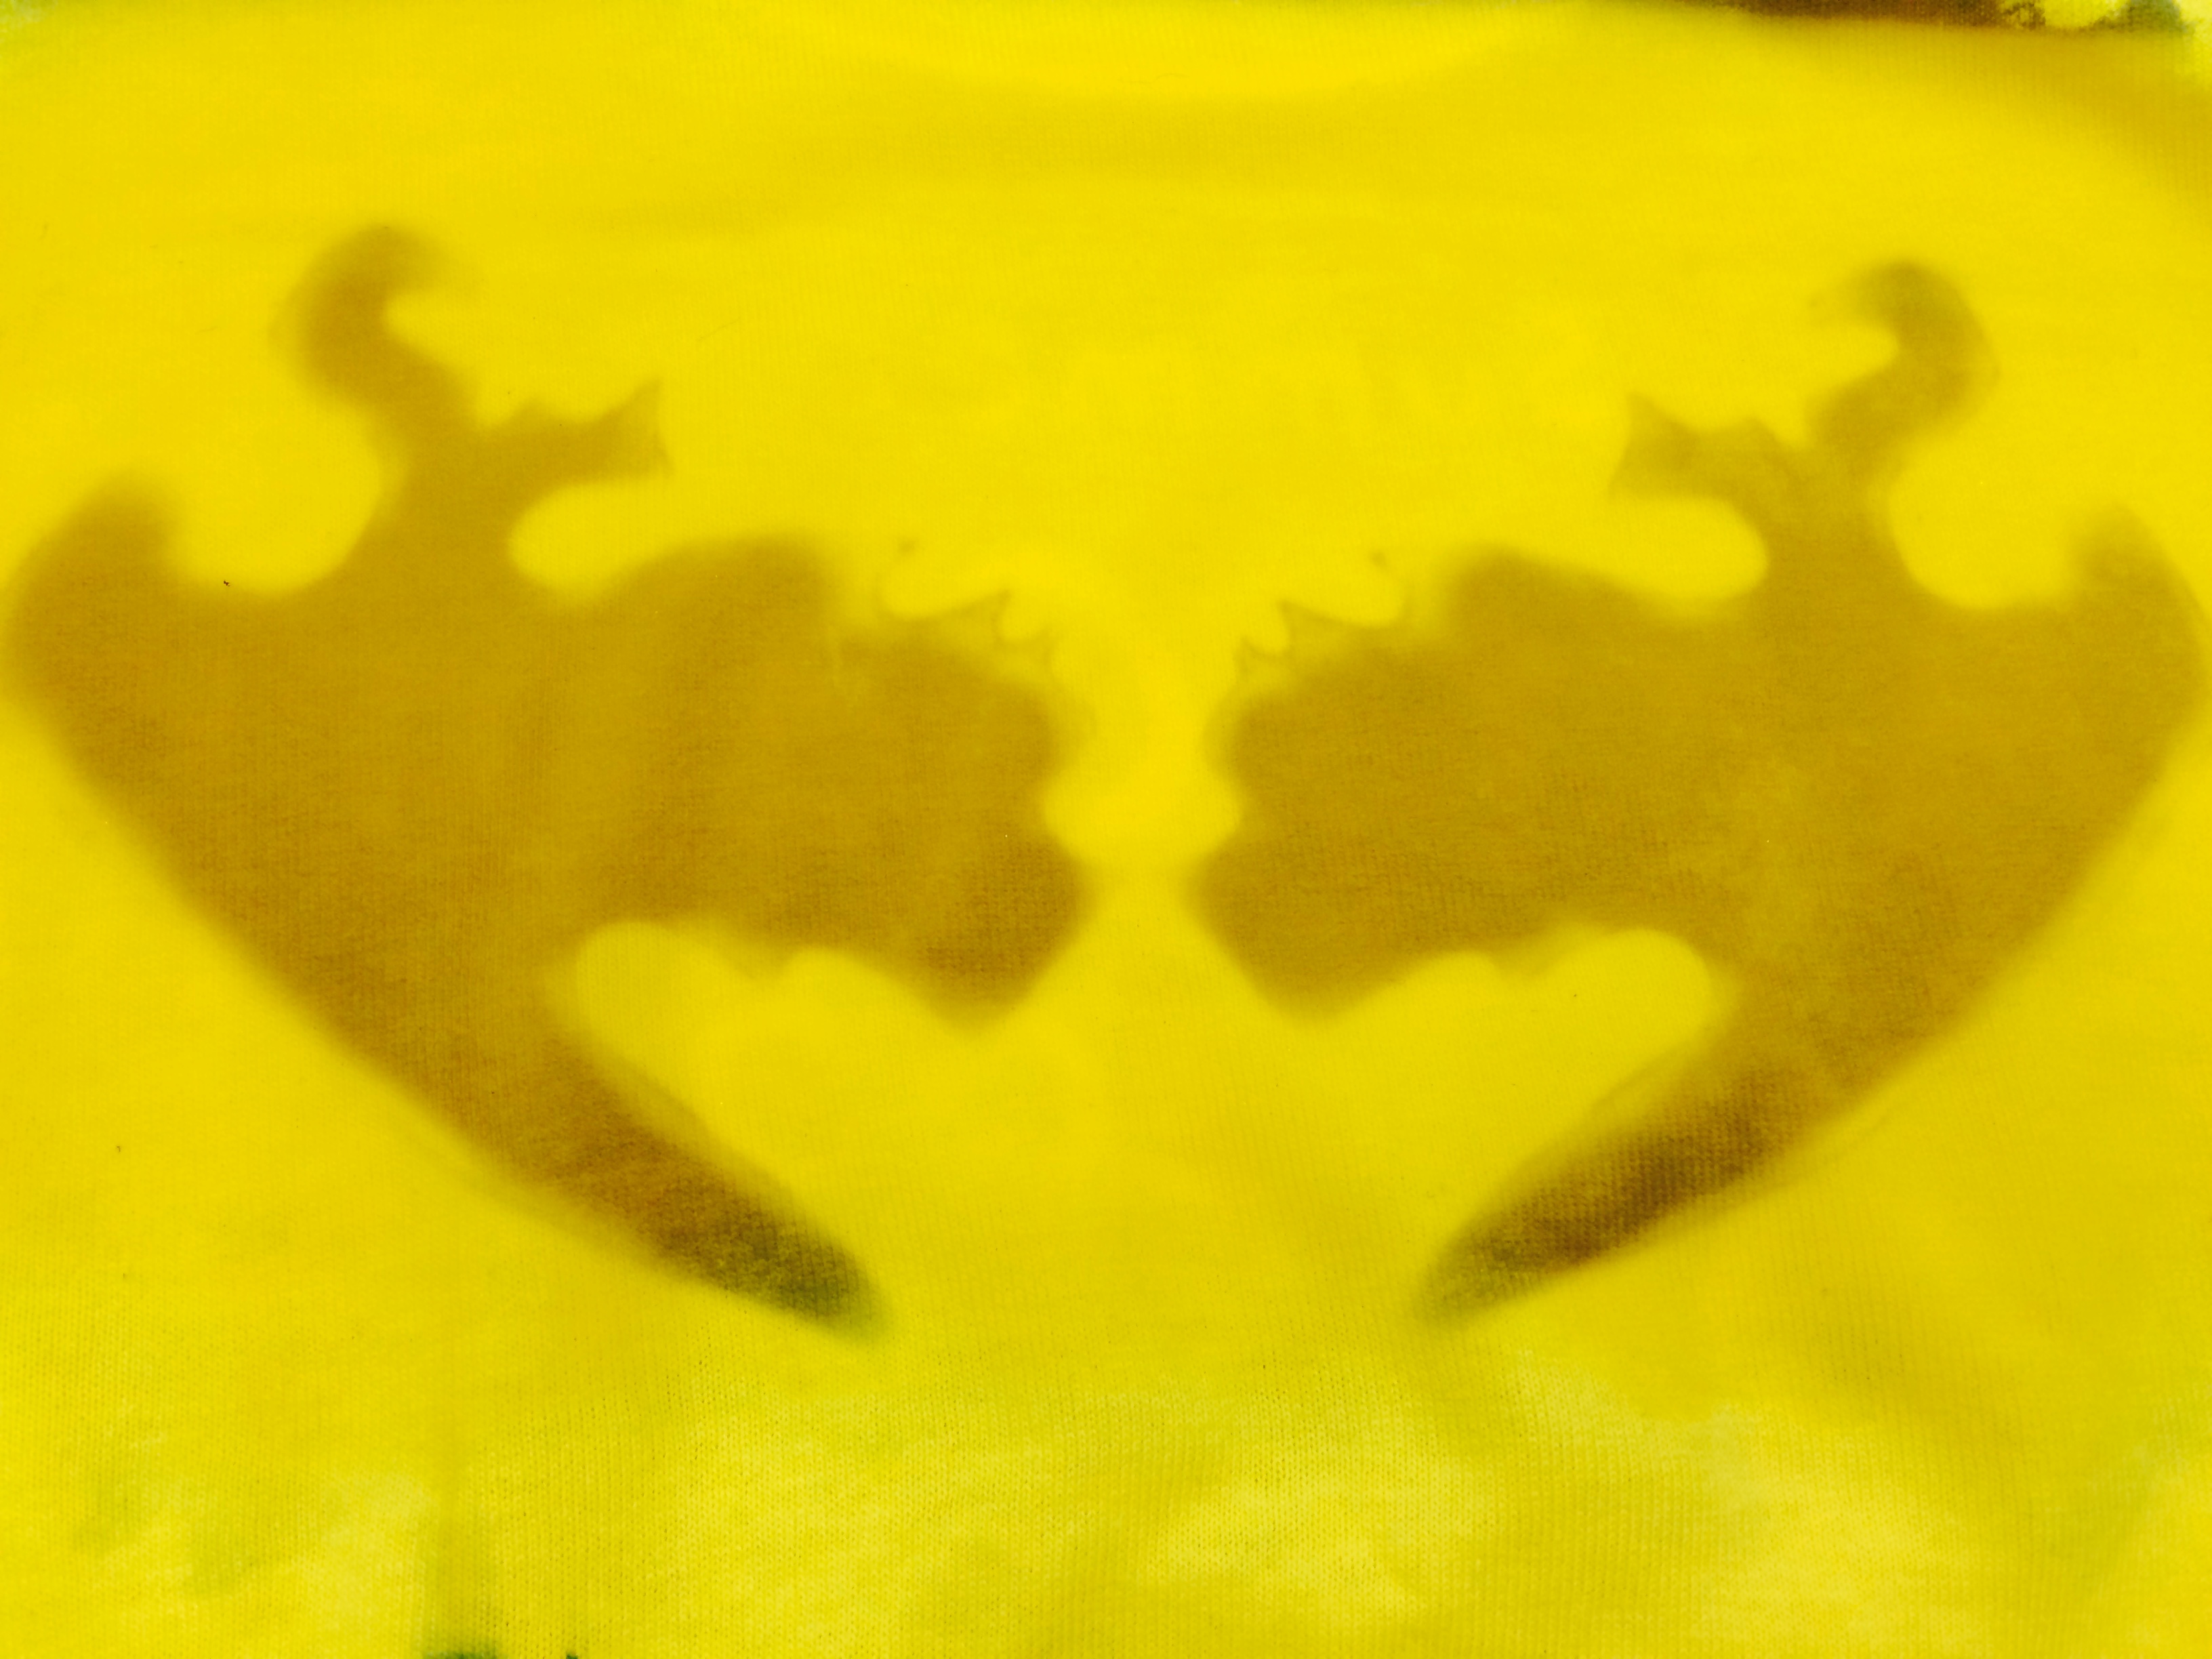
This is what my design looks like after 10 minutes in late afternoon sun–as you can see, the edges are starting to fully develop and turn black.
6. Wash
Remove the masking tape from your t-shirt as well as the cardboard insert. Throw the shirt into the wash by itself with a little detergent and run it using a hot cycle. Lumi suggests washing it twice for full color-fastness; washing also removes all excess or undeveloped dye.
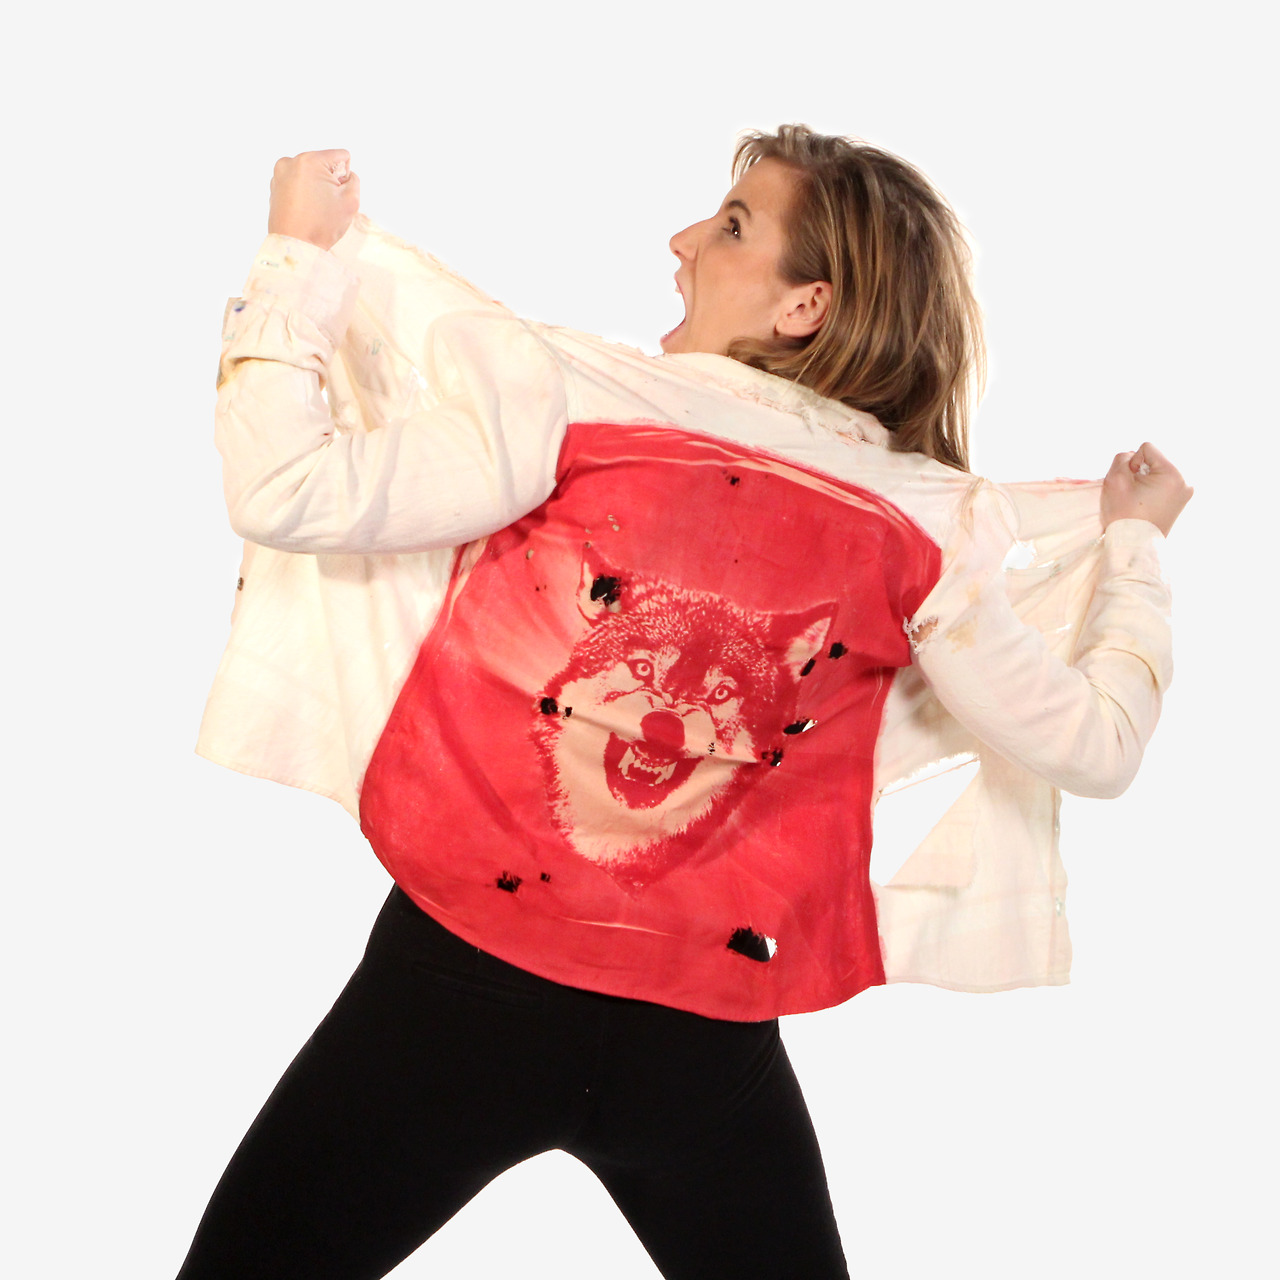
7. Wear!
I’d suggest practicing with a scrap piece of fabric before printing on your t-shirt. If your print is a little blotchy, it probably means that the Inkodye wasn’t spread evenly enough. For lots of great project ideas and in-depth tutorials, visit Lumi’s website! And if you have a teen who’s interested in participating in the t-shirt design class or submitting something for the design contest, feel free to email me for more information.
JC Bigornia
C3 Program Coordinator