
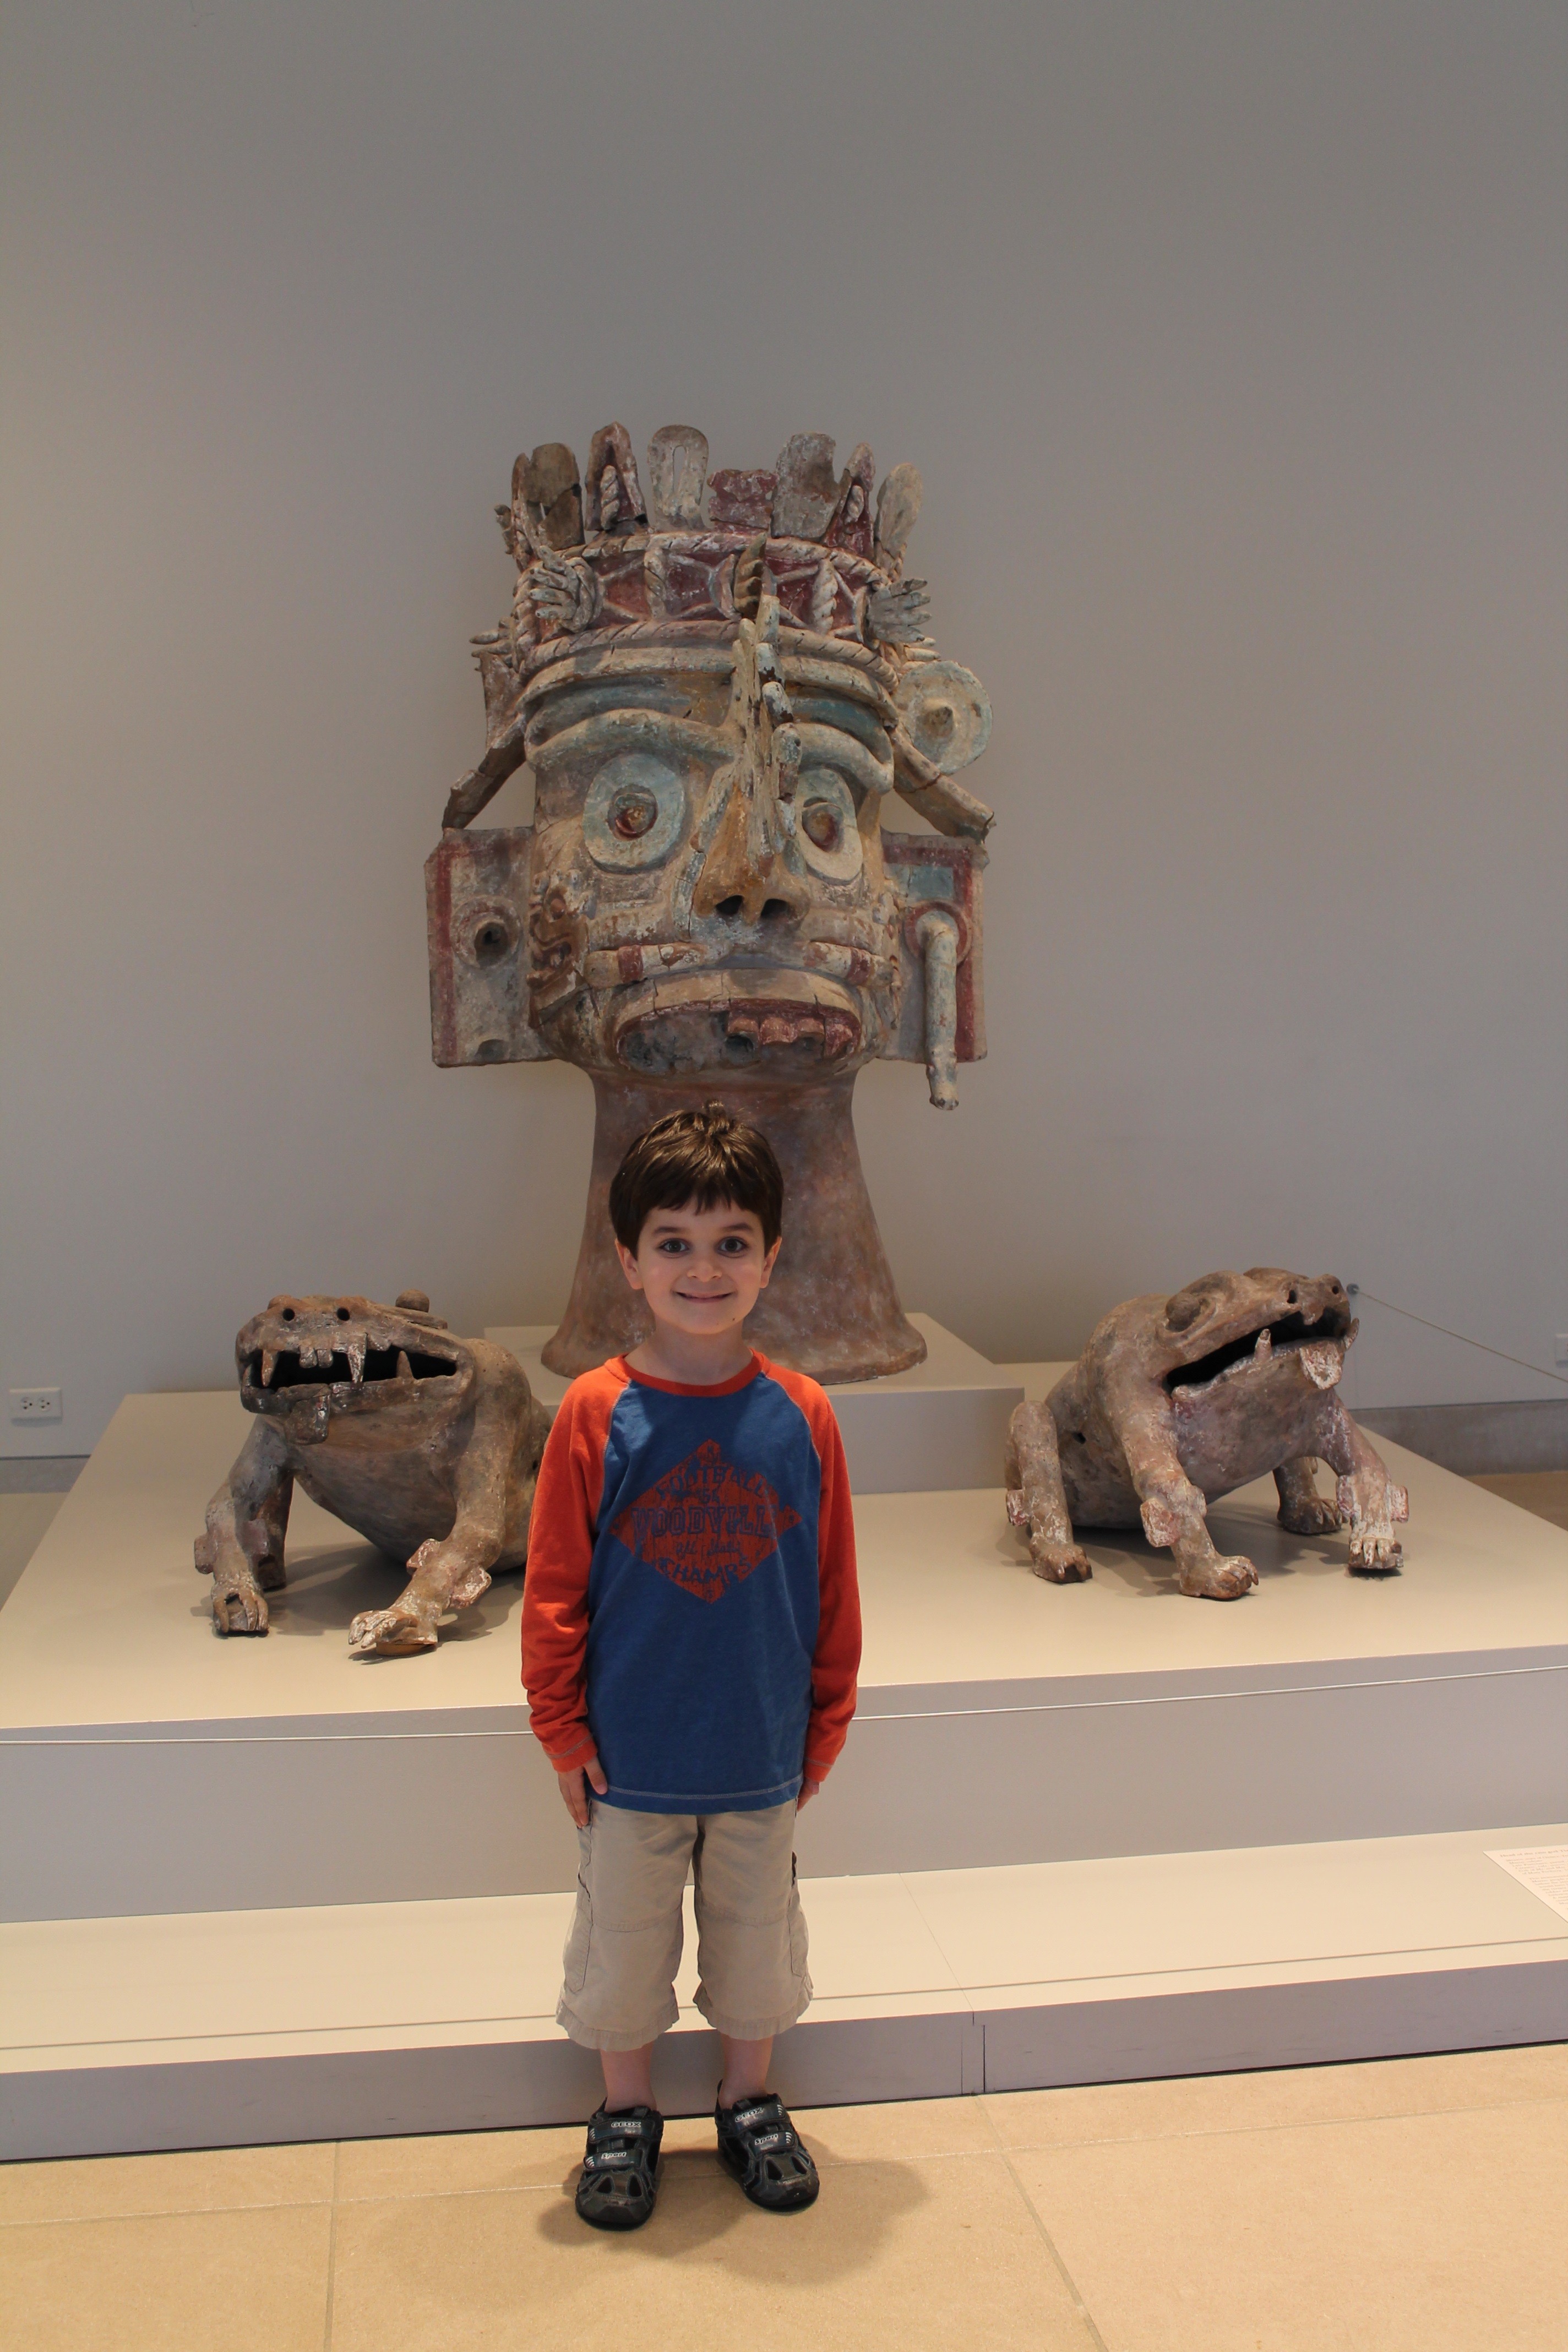
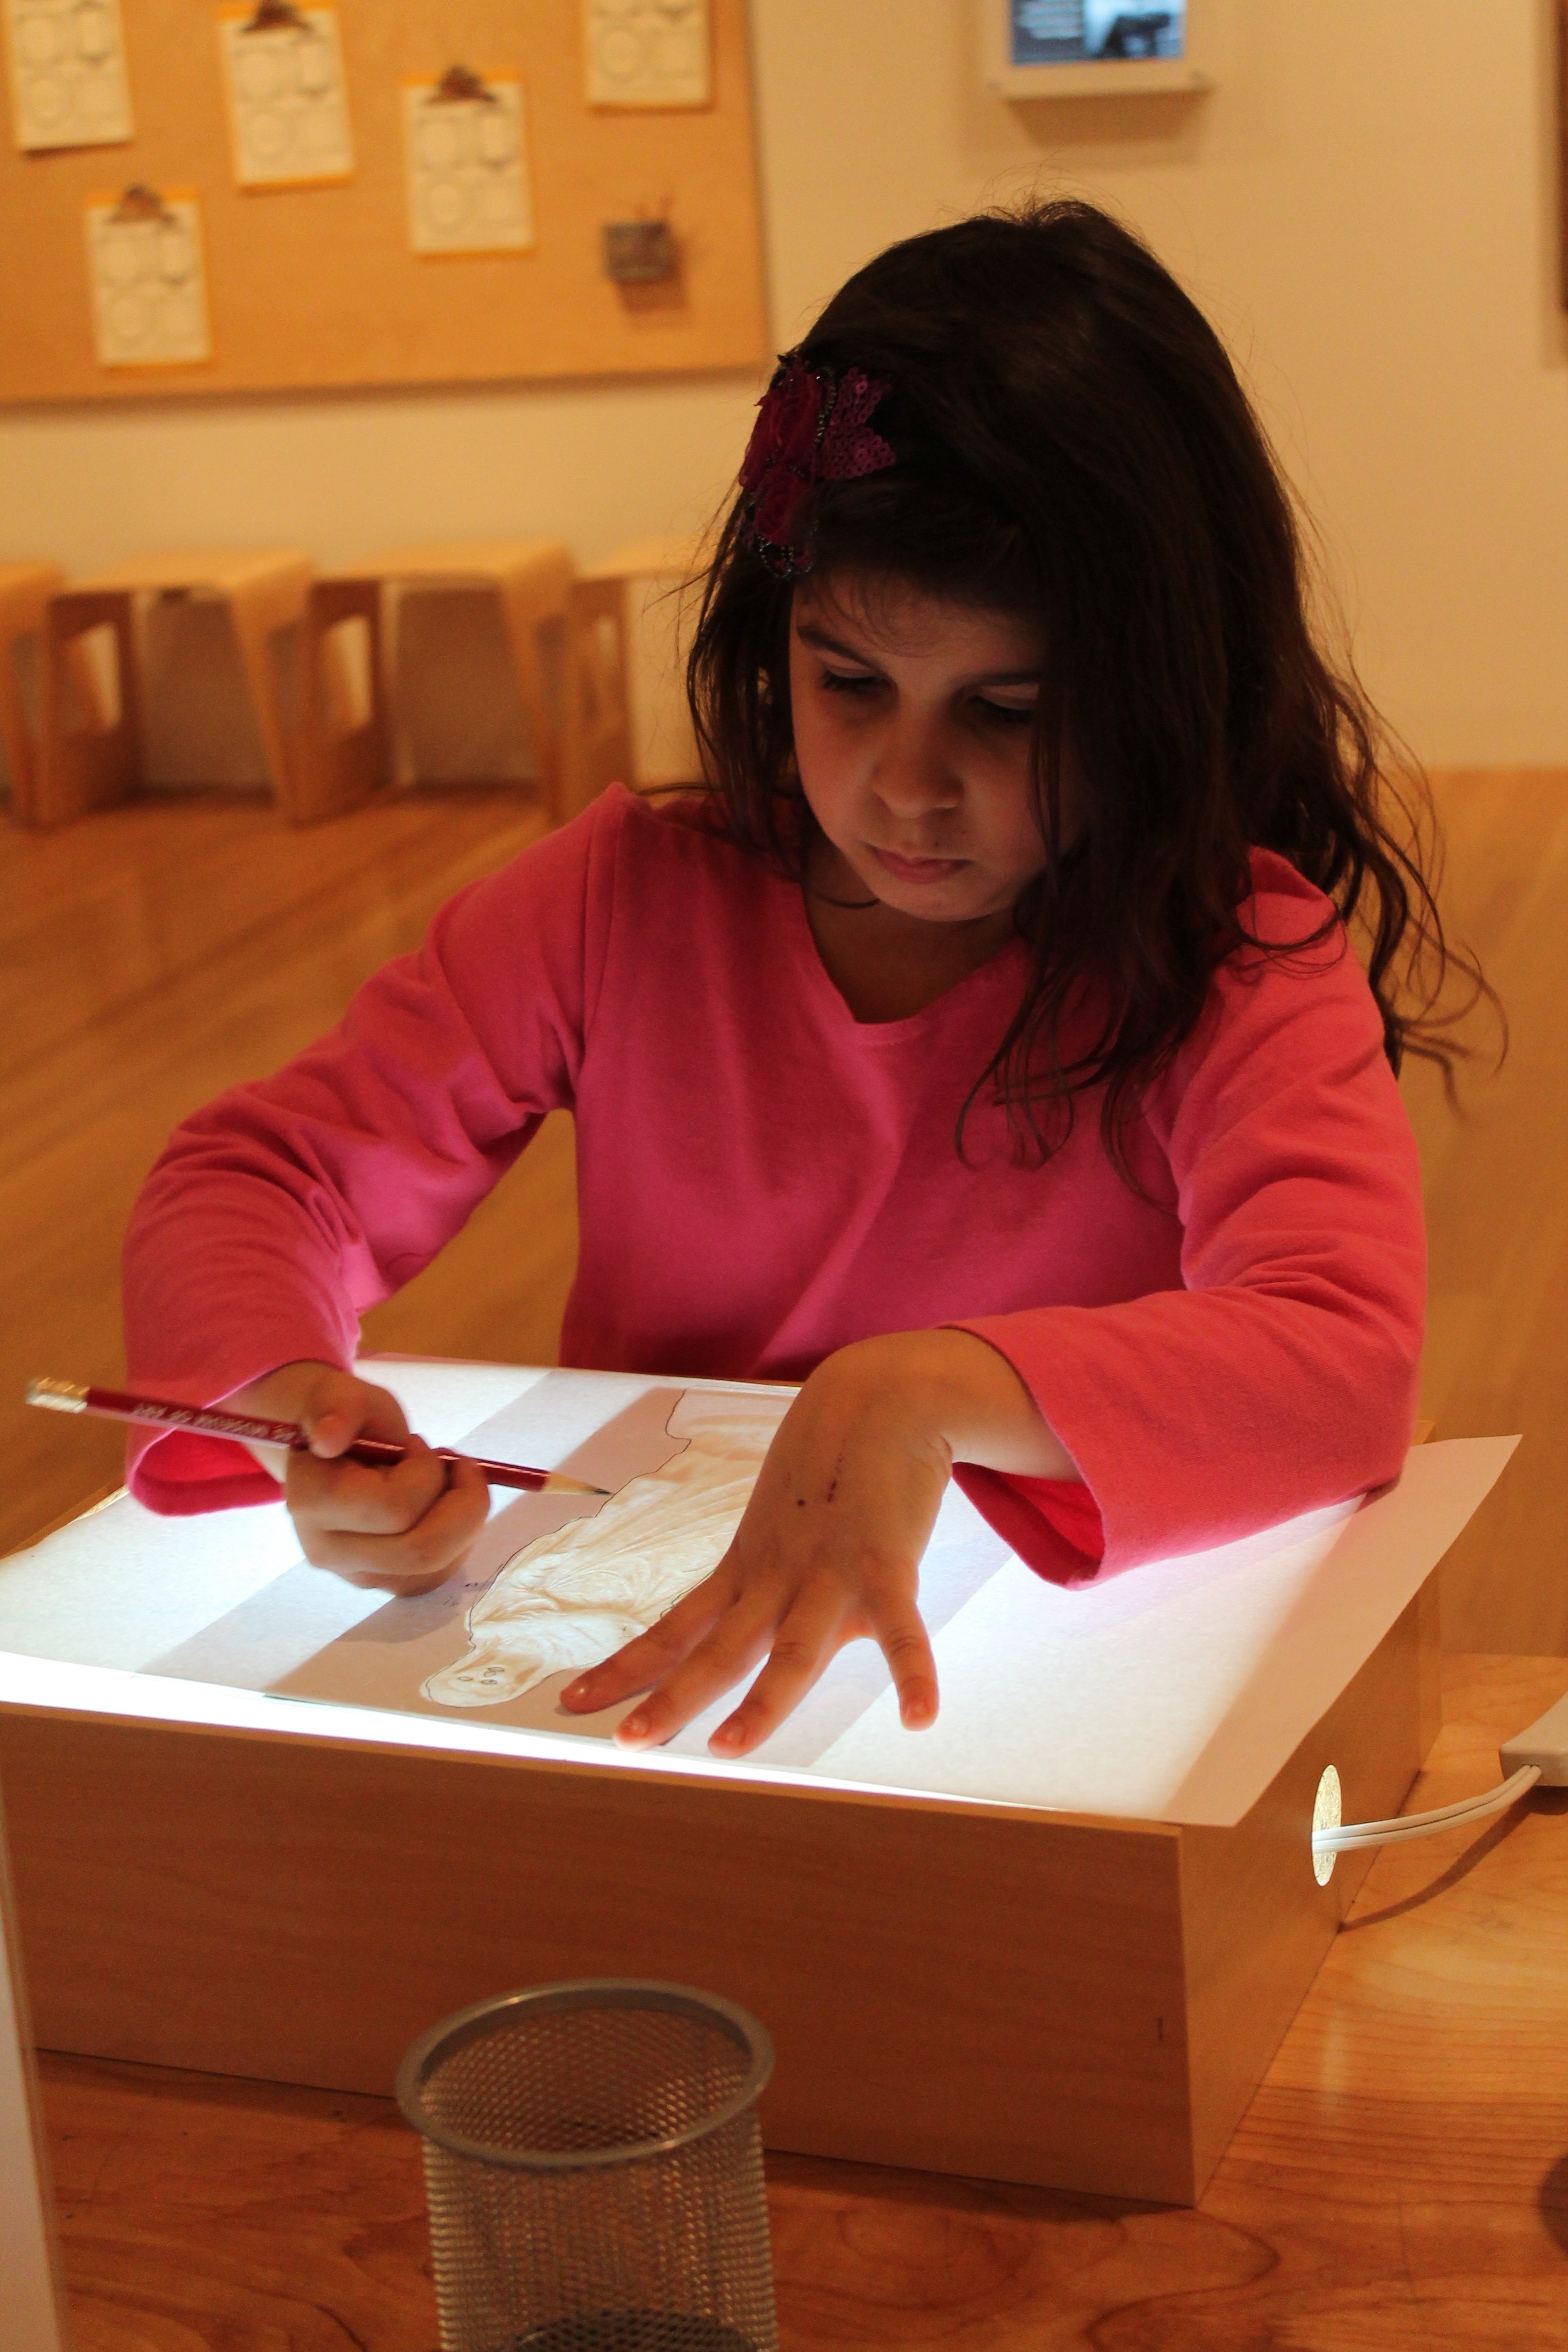
The Costantino Family
The Costantino family has been coming to the DMA for years, and we’ve had the pleasure of watching the children grow up with art as a regular part of their childhood. Mom Rose is a homeschooling extraordinaire with a background in play therapy who brings her children to the Museum at least twice a month. When the Family Programs team decided to experiment with the idea of kids creating activities for kids, we knew just who to turn to! The Costantino kids (above, ages 10, 6, 3 and 8), stepped into the role quite easily and helped us create a brand new Art to Go family tote that will soon be available for all visitors to check out and use in the galleries while at the DMA. Here’s a peek into life with these fantastic kids from their mom, Rose.
What was your first visit to the DMA with your children like?
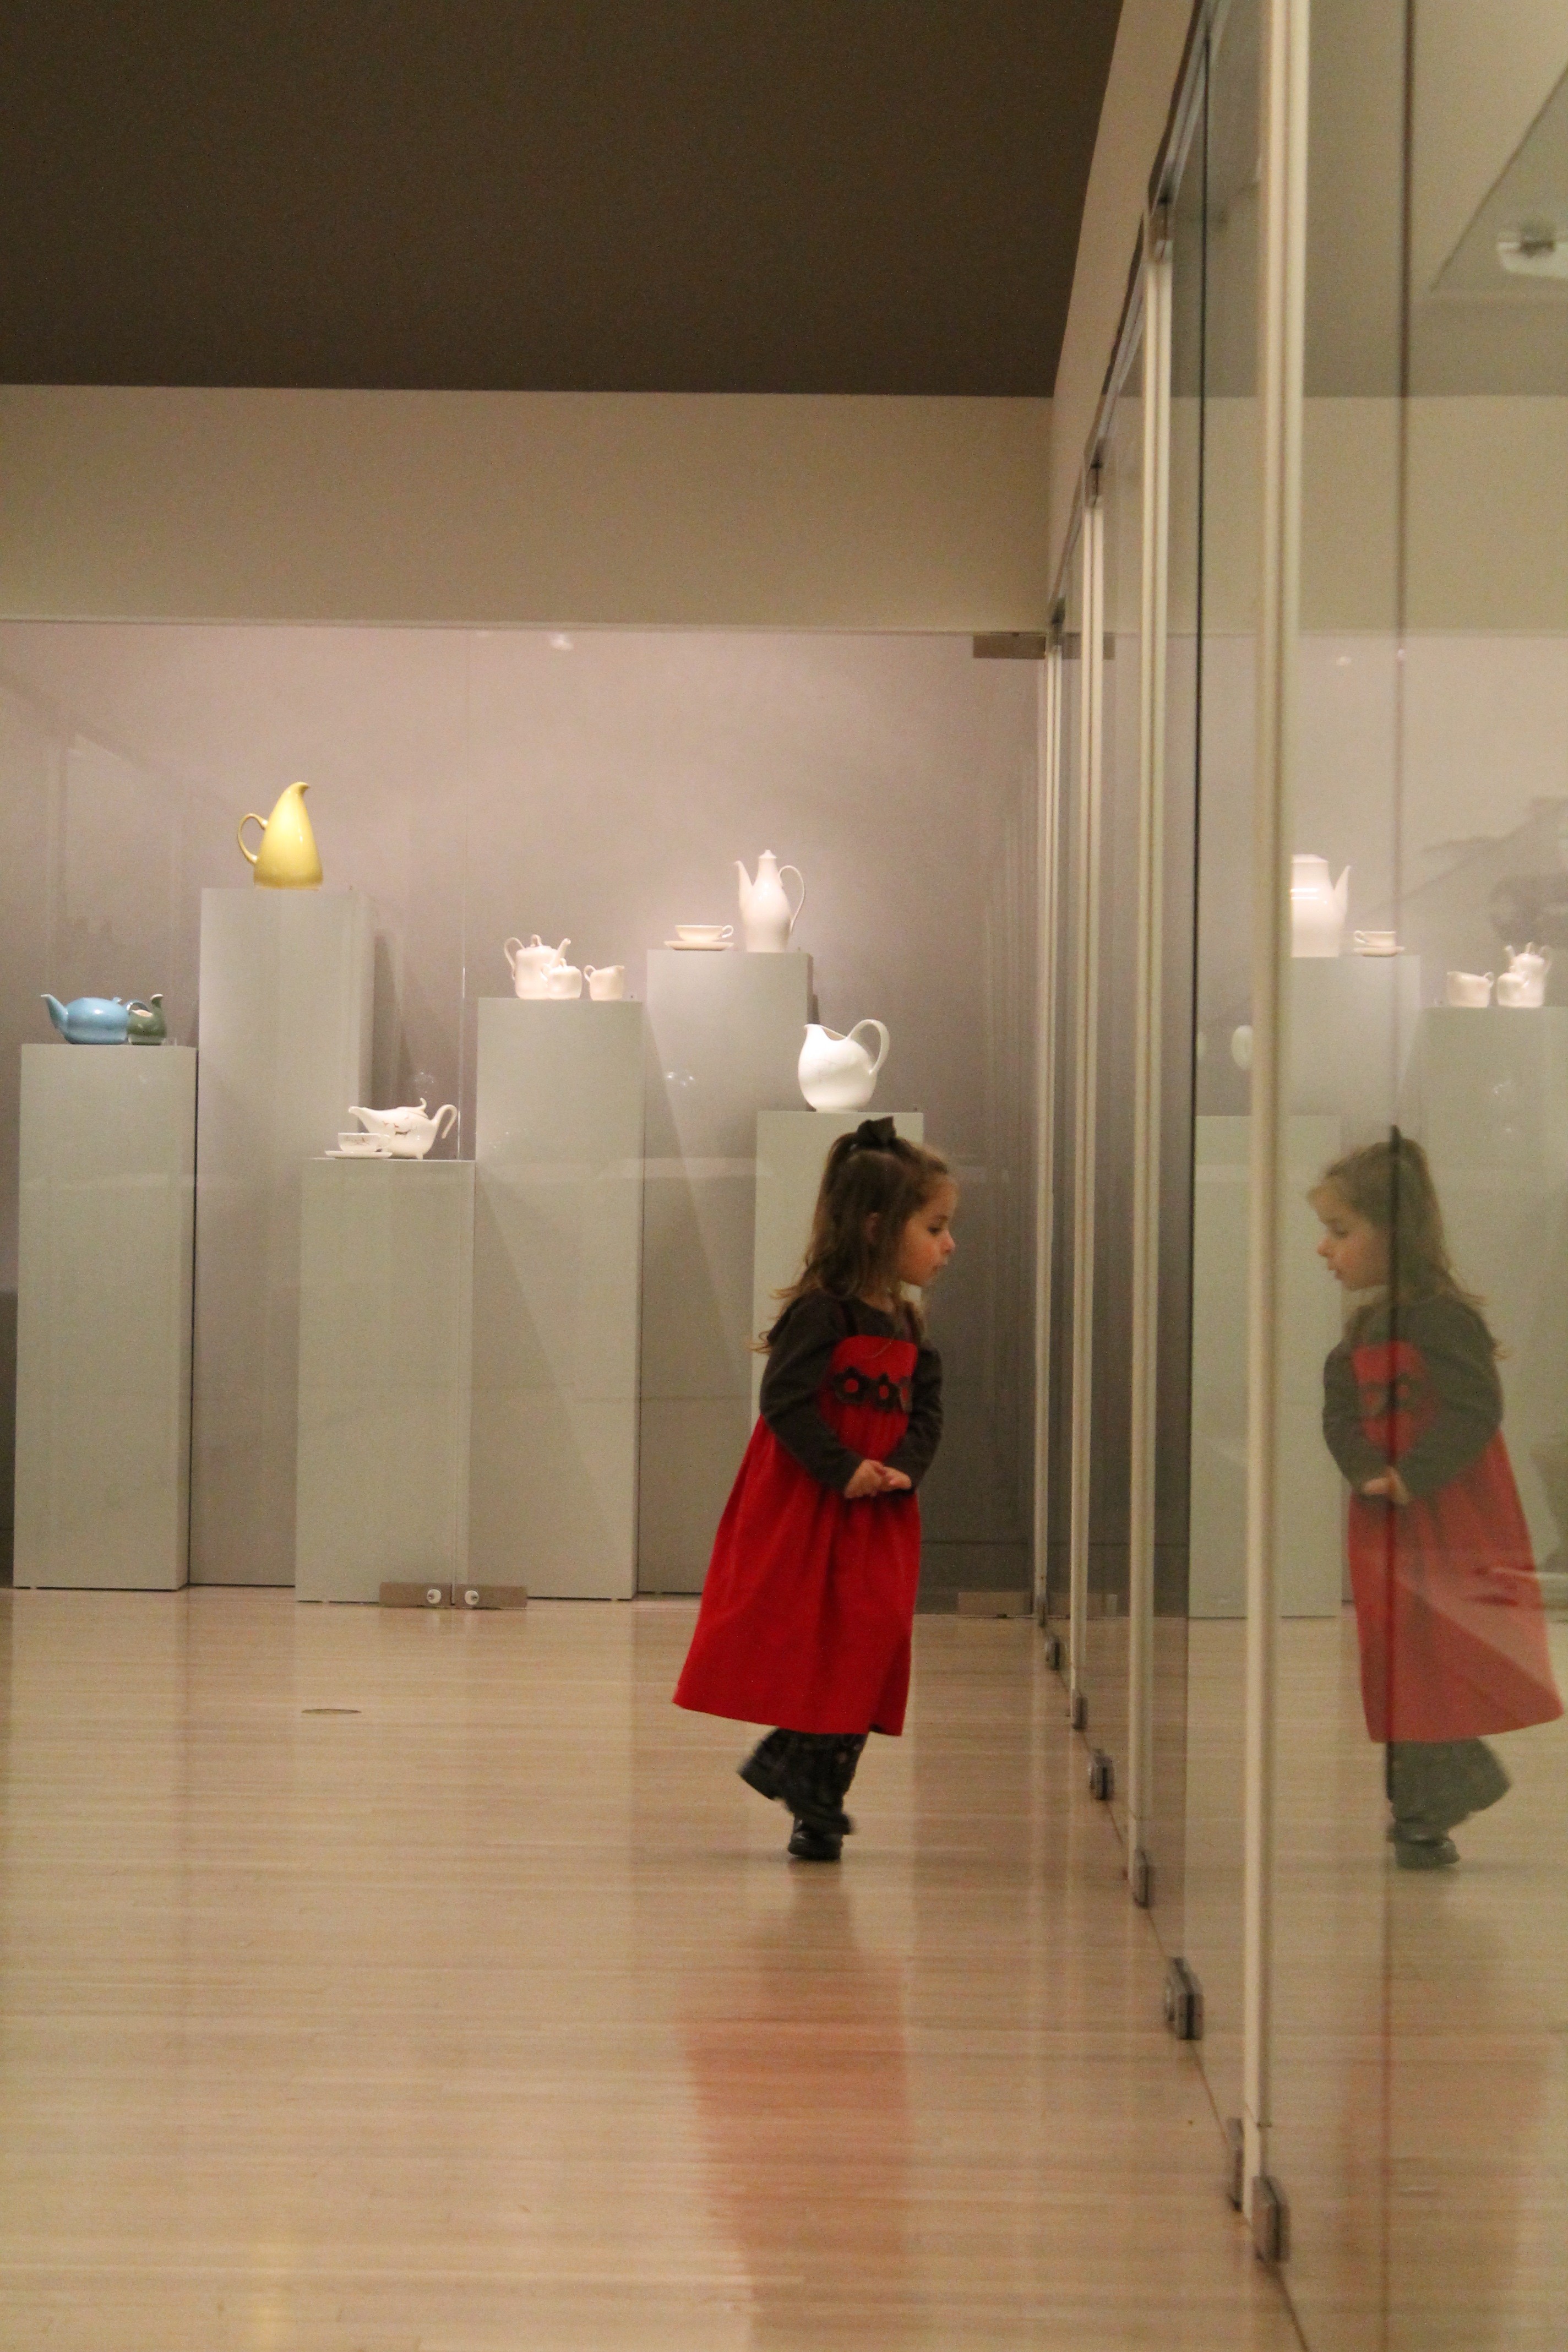
The first time I took all four kids to the Museum, I was overwhelmed. I was worried that they would touch something they shouldn’t or act completely crazy. We stayed too long that first time. It felt like such a victory to even get there in one piece, that I wanted them to see everything.
What actually happened was the Museum guards were very nice and helpful. The kids loved all the different things to see. Then once we found Arturo’s Nest, we were hooked. The Nest is a super fun play room. It is a great way to end the day.
Now that you’ve been coming regularly to the Museum for years, what has changed about the way you visit with your children?
We talk about what we are going to see before we get there. I try and weigh everyone’s opinion. We all enjoy seeing a new exhibit. We might take 10 minutes to walk through–the kids are eager to see what’s around the corner, so we walk through quickly. The next visit we might go back to the same exhibit to look at just one piece. Not trying to see it all in one visit is the best way we have changed our visits.
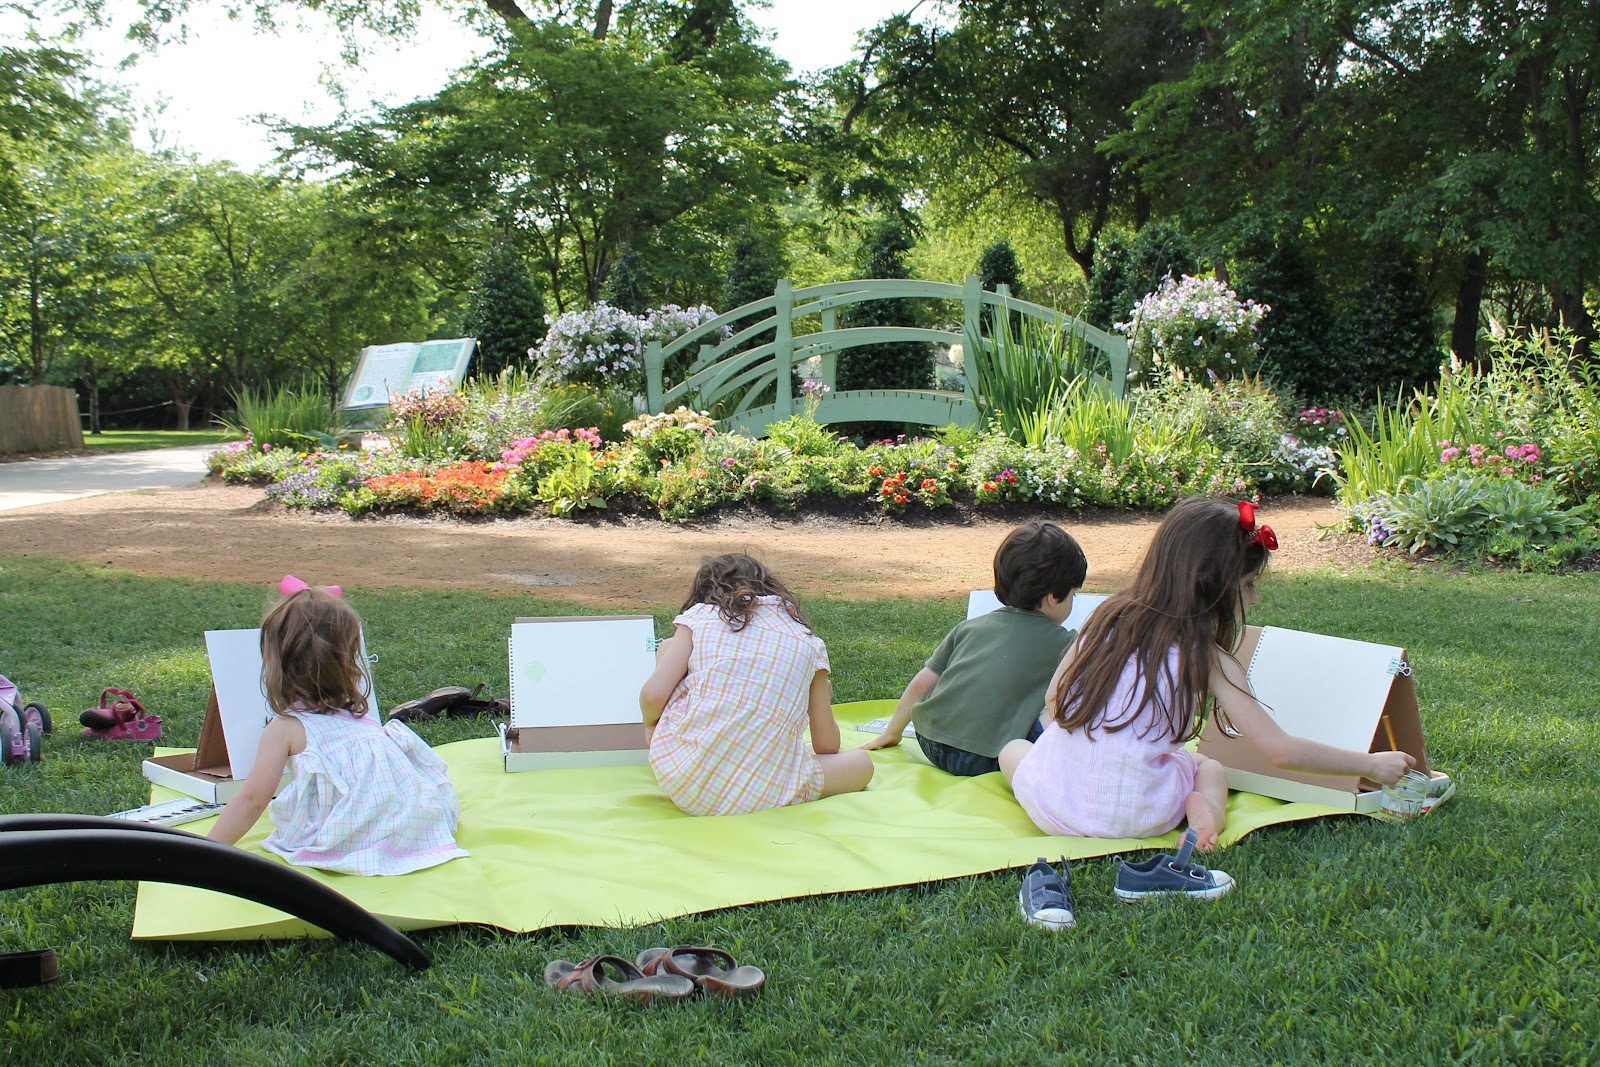
Painting like Monet at the Arboretum
How have regular visits to the Museum influenced your children beyond the gallery walls?
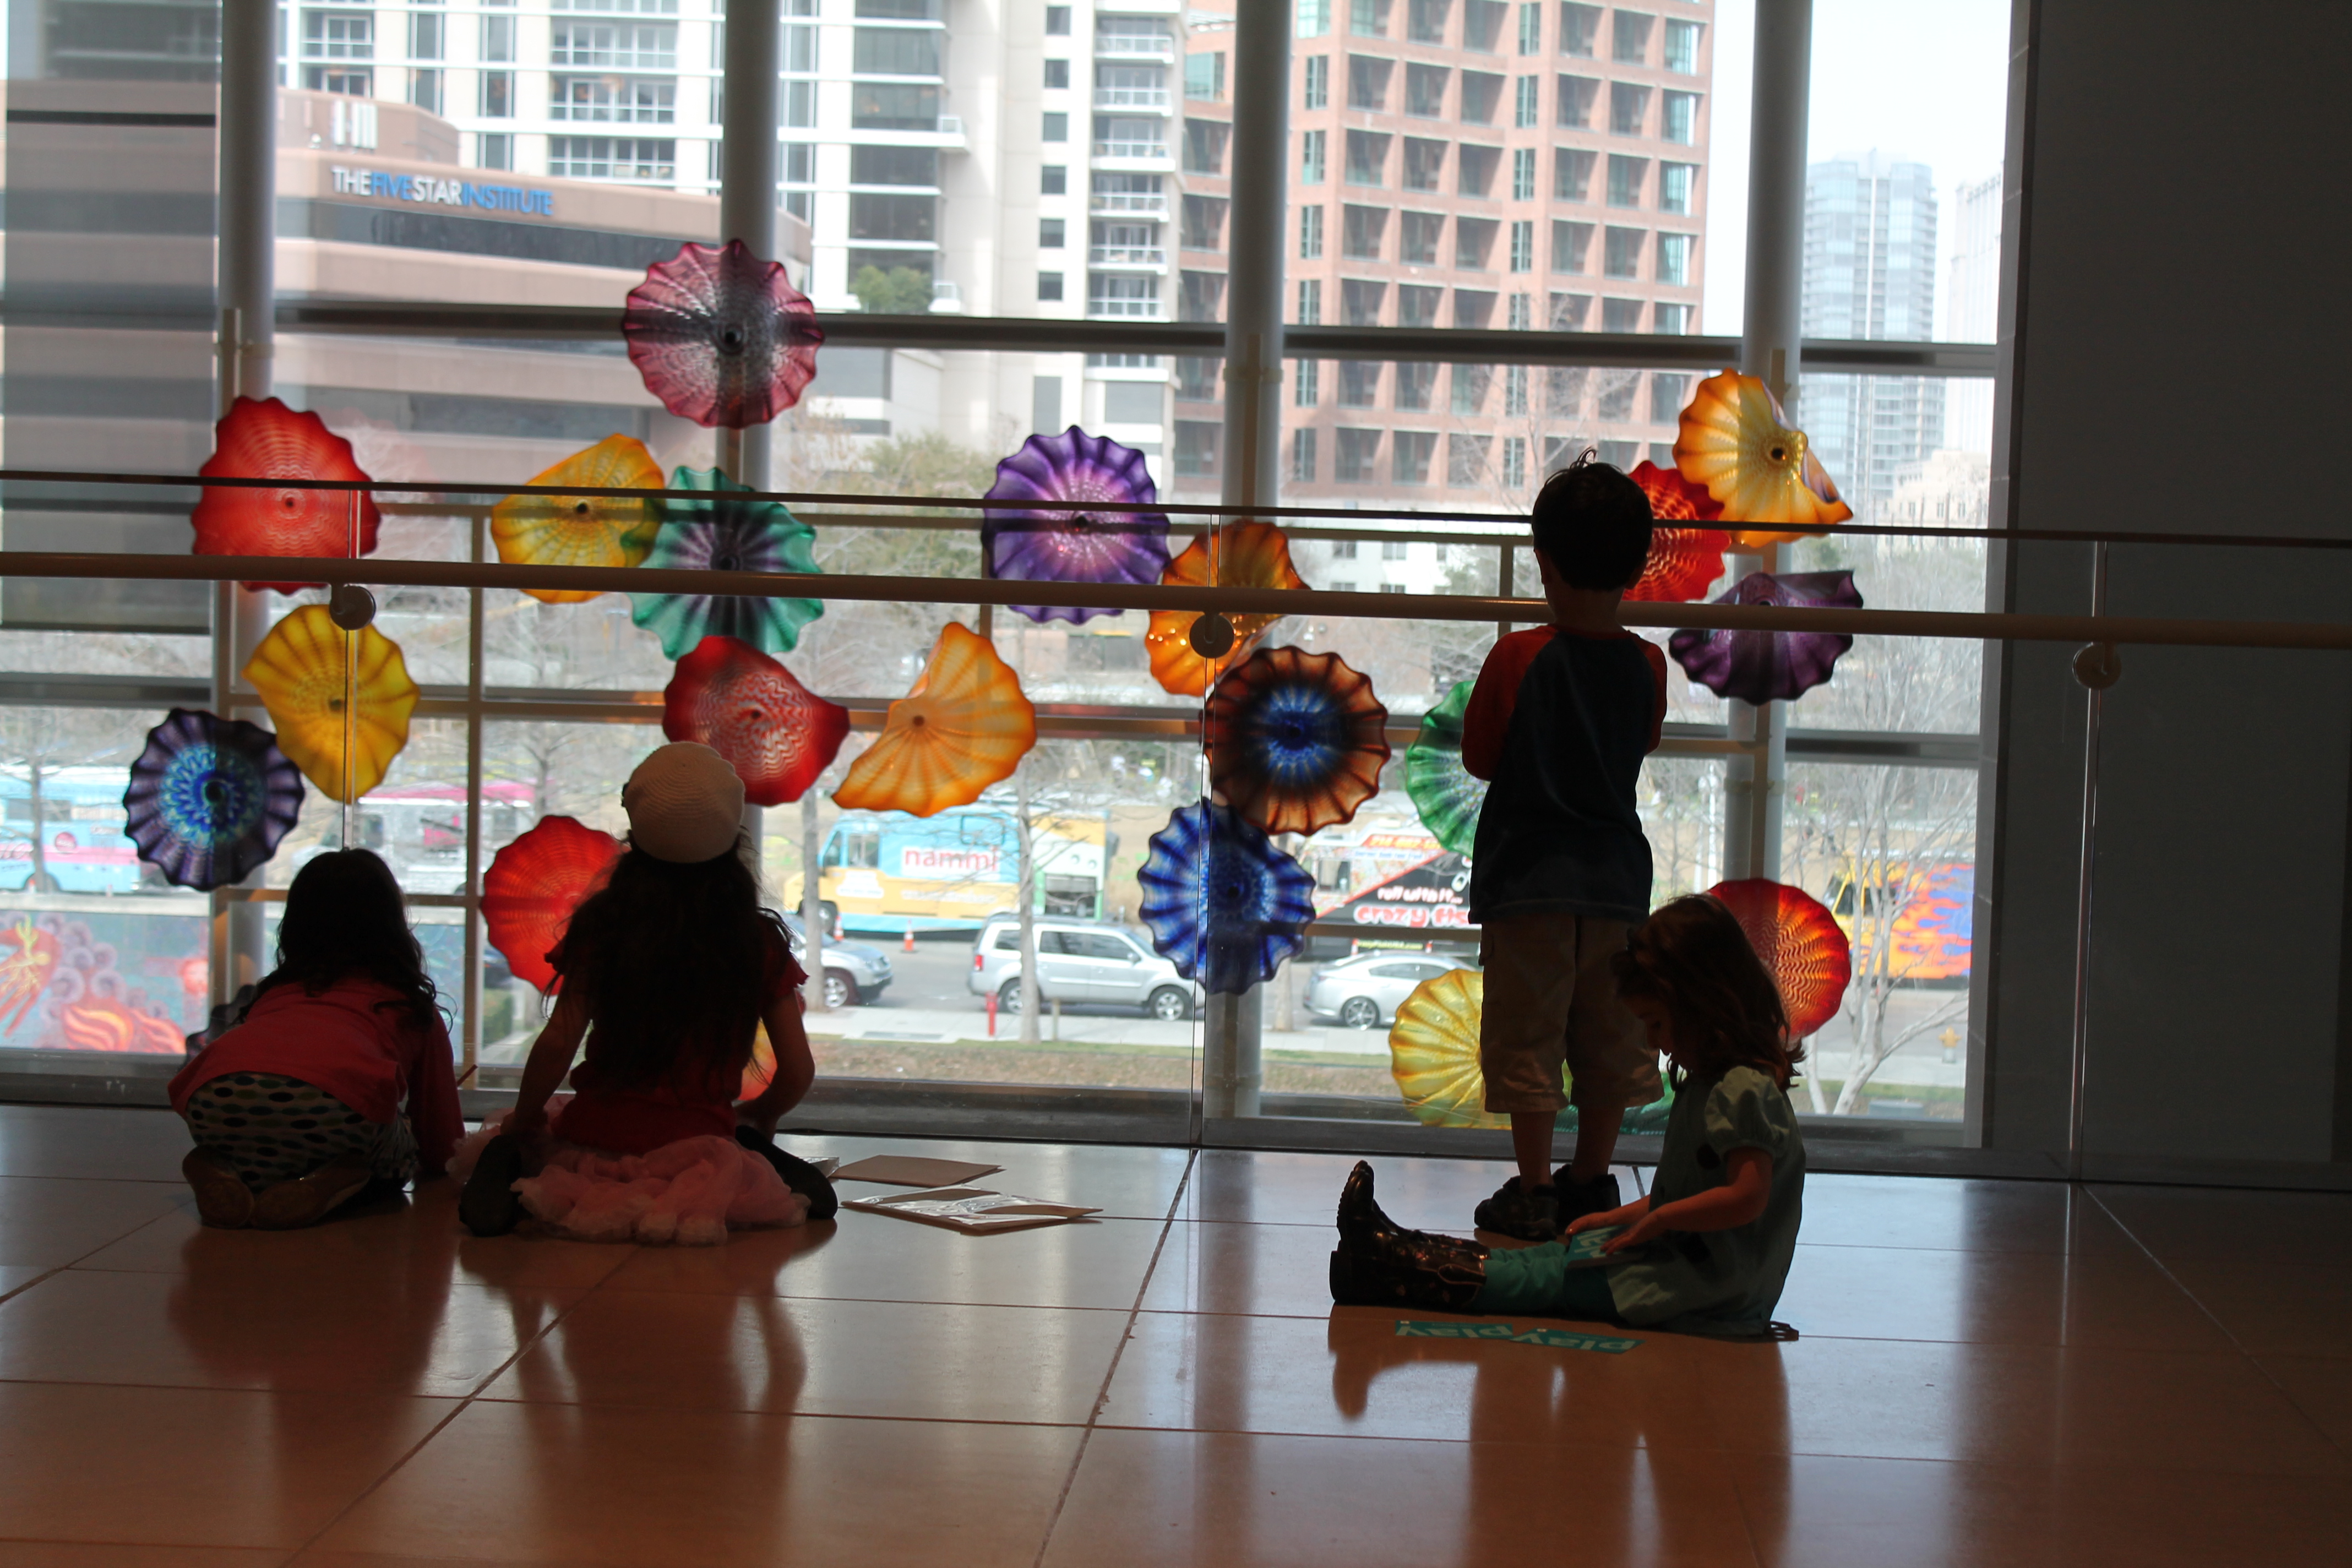
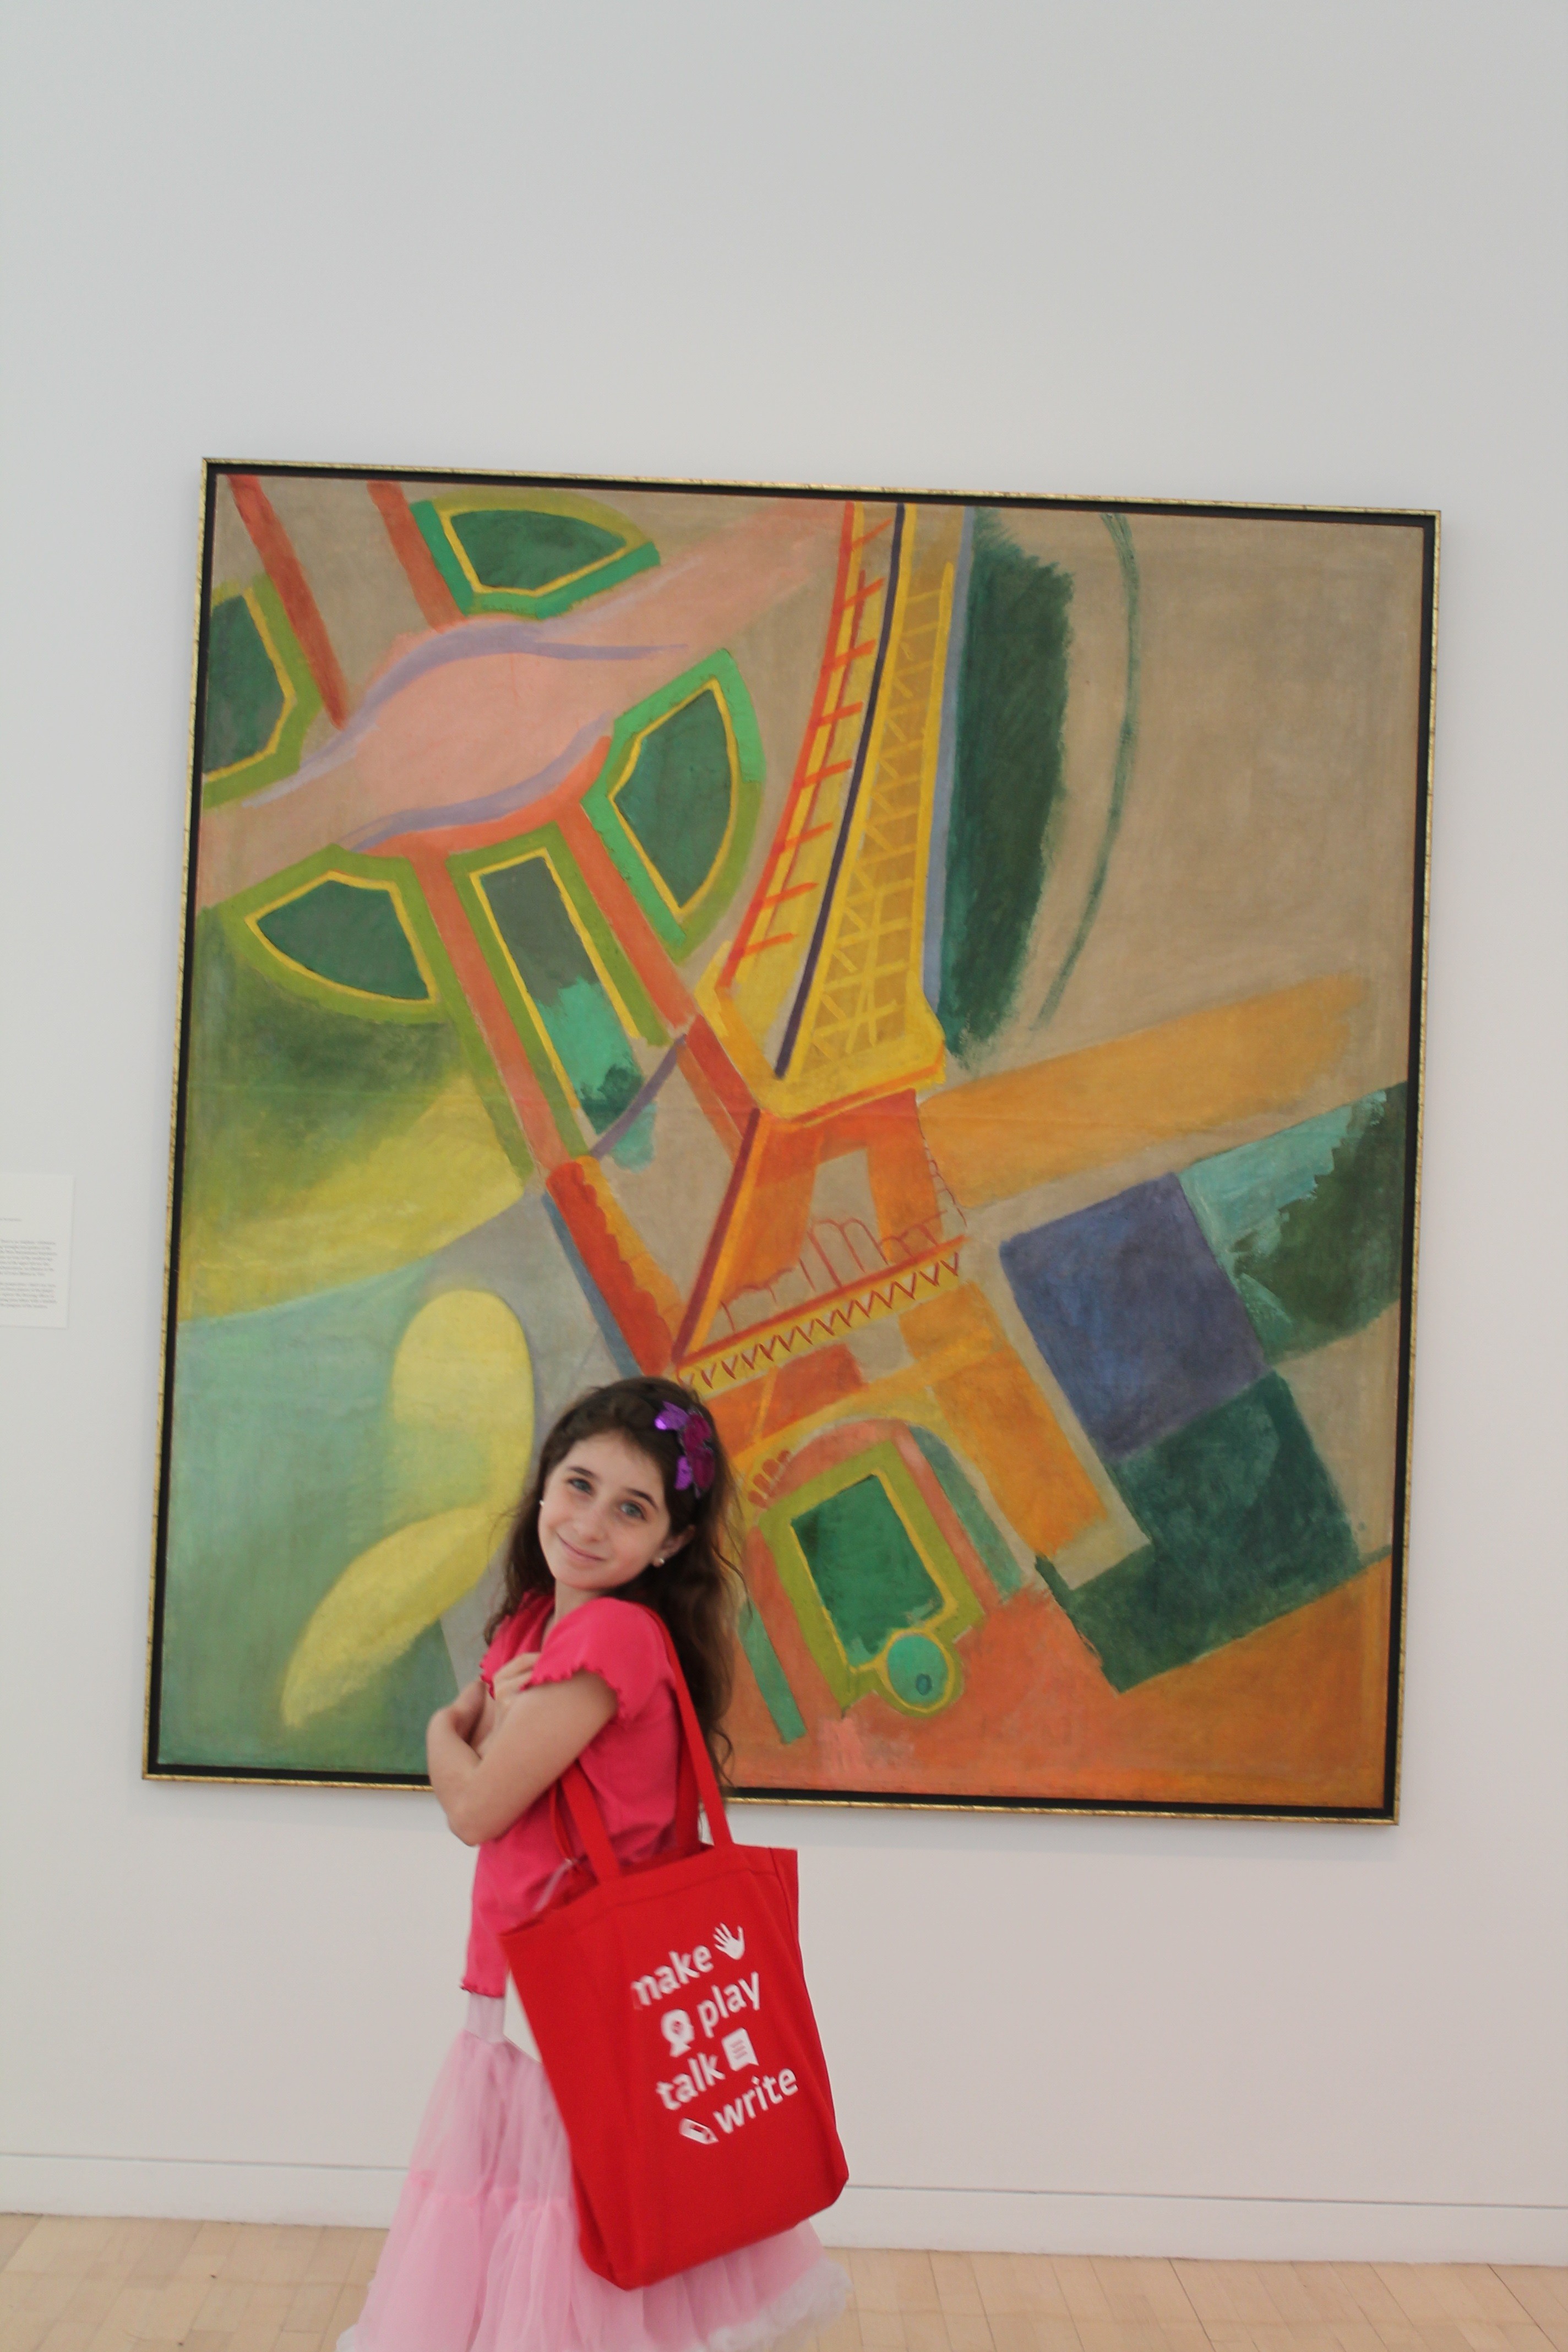
They have become so confident in any museum setting. They recognize artists and their work in a variety of places. And, they love creating their own works of art!
I know your kids have seen many different exhibitions come and go here at the DMA. What have been some of their favorites?
Some of their favorites include: The Body Beautiful in Ancient Greece: Masterworks from the British Museum, Nur: Light in Art and Science from the Islamic World, Jim Hodges: Give More than You Take, and The Fashion World of Jean Paul Gaultier: From the Sidewalk to the Catwalk.
We specifically chose to feature your family as our “Guest Family Curators” for a new Art to Go Tote because we knew your children have a lot of experience interacting with art in a variety of ways. They know that there’s so much more to do at a museum than just stand in front of a painting! What was it like for you and the children to come up with ideas for other families to use in the Museum?
We had a blast creating this bag! The kids had tons more ideas. Art for them is an extension of play.

What piece of advice would you give to parents who feel like they don’t know enough about art to enjoy a visit to the Museum with their children?
Don’t be intimidated! When you take your child to the art museum, try to let your child lead. Think broadly. Look for colors, shapes or themes. Walk around and see what your child is drawn to. Take some of their ideas and try them out at home. Enjoy yourself and your family!
Thanks for sharing, Rose! The Costantino Family Favorites Art to Go tote will debut in early summer. Be sure to check it out and see what fun activities the kids came up with!
{All photos courtesy of Rose Costantino.}
Leah Hanson
Manager of Early Learning Programs


