Last weekend, the Dallas Museum of Art teamed up with the Perot Museum of Nature and Science for our Art + Science Festival. Visitors enjoyed activities ranging from light graffiti to digital microscope observations to a film about artists and scientists who devote their lives to origami.
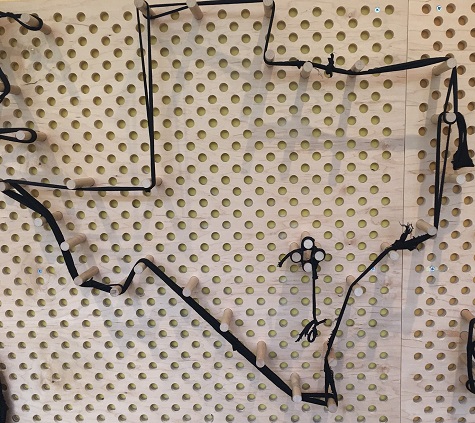
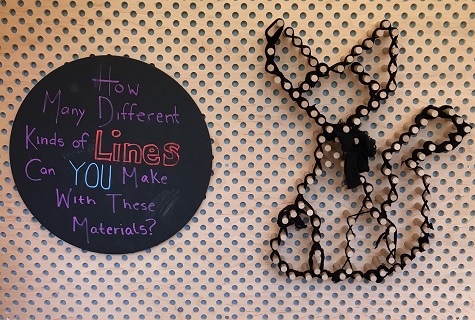
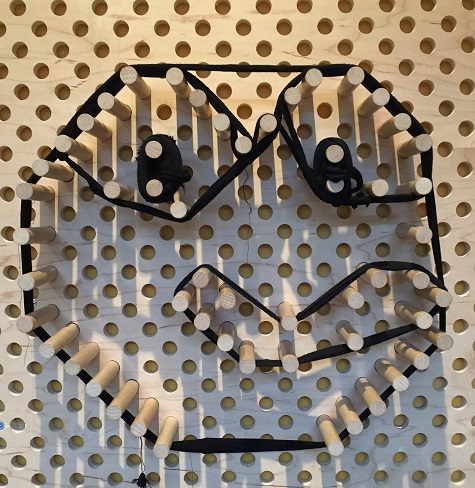
If you ventured to the DMA’s Fleischner Courtyard during the festival, you probably noticed a colorful creation of string being woven through the trees. That’s because guest artist Amie Adelman was leading a workshop which involved visitors helping her create a sculpture of geometric lines and angles using just the courtyard’s trees and string as supplies.

Although it may be difficult to create a work of art on your own as immense as the one that graced the DMA’s courtyard last weekend, there’s a simple way to create your own string art with supplies that you can find in your own home:
What you need:
- Cardboard square (our example is 8″ X 8″)
- Pencil
- Ruler
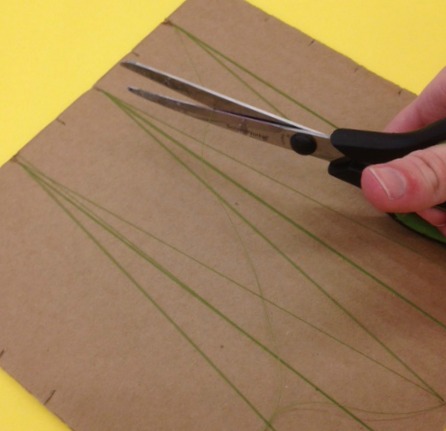
- Exacto knife
- Scissors
- Thread
Step 1
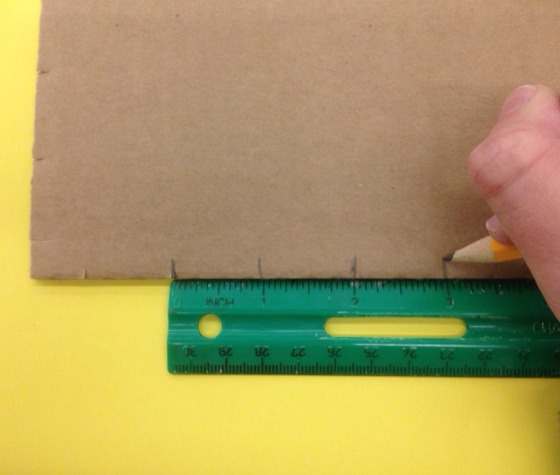
Using a ruler as a guide, make small marks with a pencil on all four sides of your cardboard square that are one inch apart from each other.
Step 2
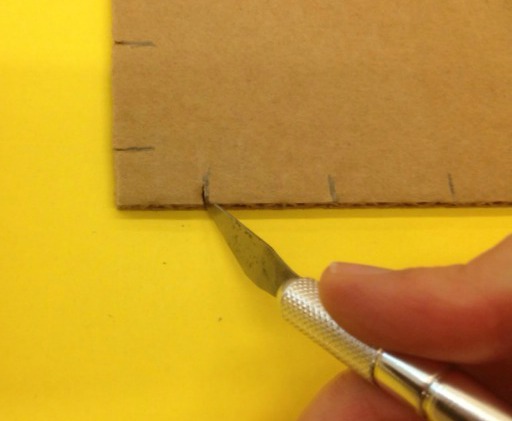
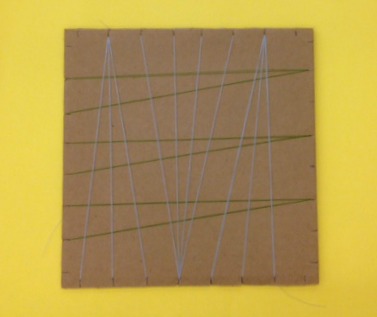
Once you have drawn marks on all four sides of your cardboard square, score the marks all the way through the cardboard with an exacto knife.
Step 3
After all pencil marks are scored, wrap your cardboard square with thread. Make sure that the thread is wrapped tight enough through the scored marks that they do not easily slip out. This will also keep you from having to knot the thread when you’re finished creating your design.
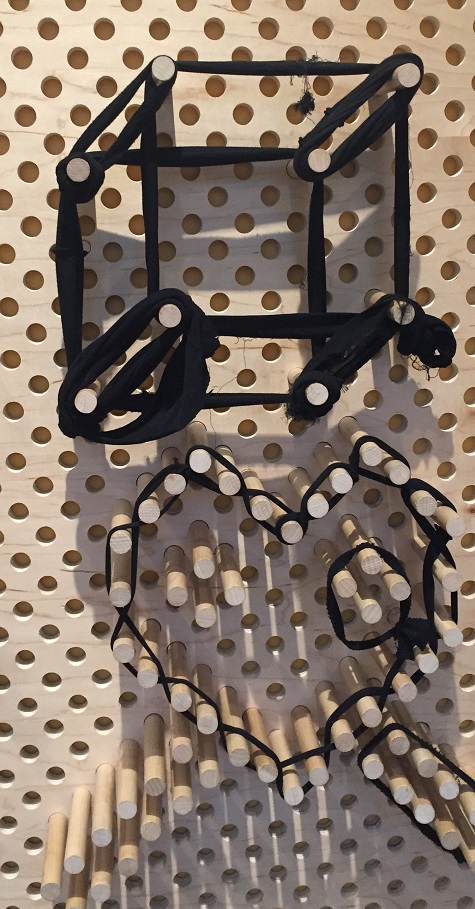
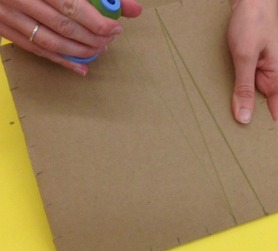
Think about the different geometric designs that you want to make with the thread. The more layers of thread that you add to your cardboard, the thicker and more visible it will appear when you’re finished.
Step 4
Once you’re through using your thread of choice, cut the thread on the back of your string art creation.
Step 5
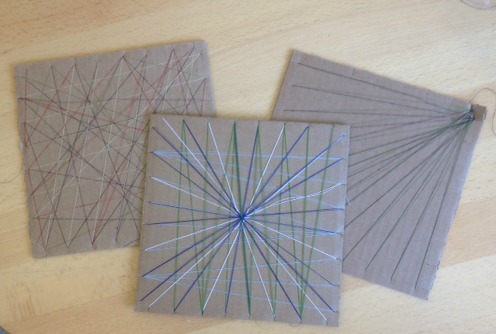
Optional: Keep adding more colors of thread to your design. If you choose to add more colors, repeat steps 3 and 4 for each color of thread that you add.
There are a lot of different geometric designs that you can create with string art! Share what colors and designs you decide to incorporate into your own string art creation in the comments!
Amy Elms
McDermott Intern for Visitor Engagement