To make browsing through our online collection easier, there are filters to see smaller samples so you aren’t wading through thousands of artworks. For instance, you can search through culture of origin or look at the period in which an artwork was made—maybe you enjoy 18th-century French, or you want to go back to B.C.E. But one place where you might not normally look is our section labeled “Medium,” which lets you know how each artwork was made and what it is made from. While there are plenty of works made with oil paint, bronze, and marble, there are also those made of neon, bone, and soda cans.
What better time to showcase the interesting materials in our collection than the same week we celebrate the original “Material Girl” herself, Madonna. Second Thursdays with a Twist on September 13 is all about Madonna’s style, music, and the decade she helped shape: the 1980s. Until then, you can learn more about the materials in our collection that, like Madonna herself, are anything but ordinary!
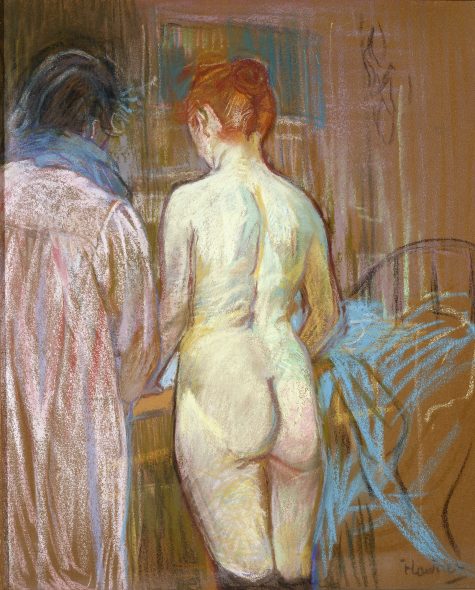
Henri de Toulouse-Lautrec, Prostitutes, c. 1893–95, pastel on emery board, Dallas Museum of Art, The Wendy and Emery Reves Collection, 1985.R.75
There are unique materials scattered among all the cultures that make up our collection. As you look at the different materials, some might stick out as interesting or odd, but for the artist making that piece it would not have been such a strange choice. This is the case in the pastel work by Henri de Toulouse-Lautrec in which he used emery board, or emery cloth, as the base. This has similar qualities to sandpaper—slightly rough and coarse compared to traditional canvas. Using a delicate medium like pastel on something that will rip apart the creamy texture was a technique he learned from studying 18th-century pastellistes. Lautrec used the technique to create the beautiful, modeled shadows on the woman’s back with the heavier application of pastel. Although today we might think of emery board as an interesting material, at the time the work was created it would have been somewhat traditional for the pastel medium.
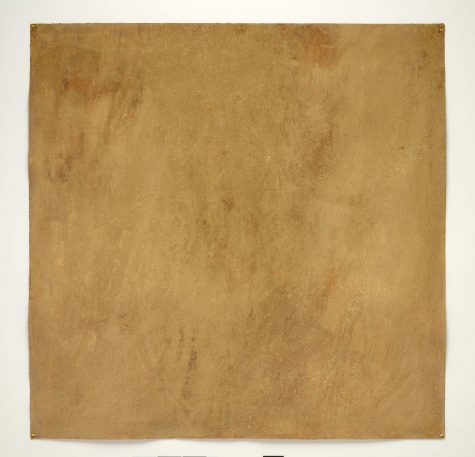
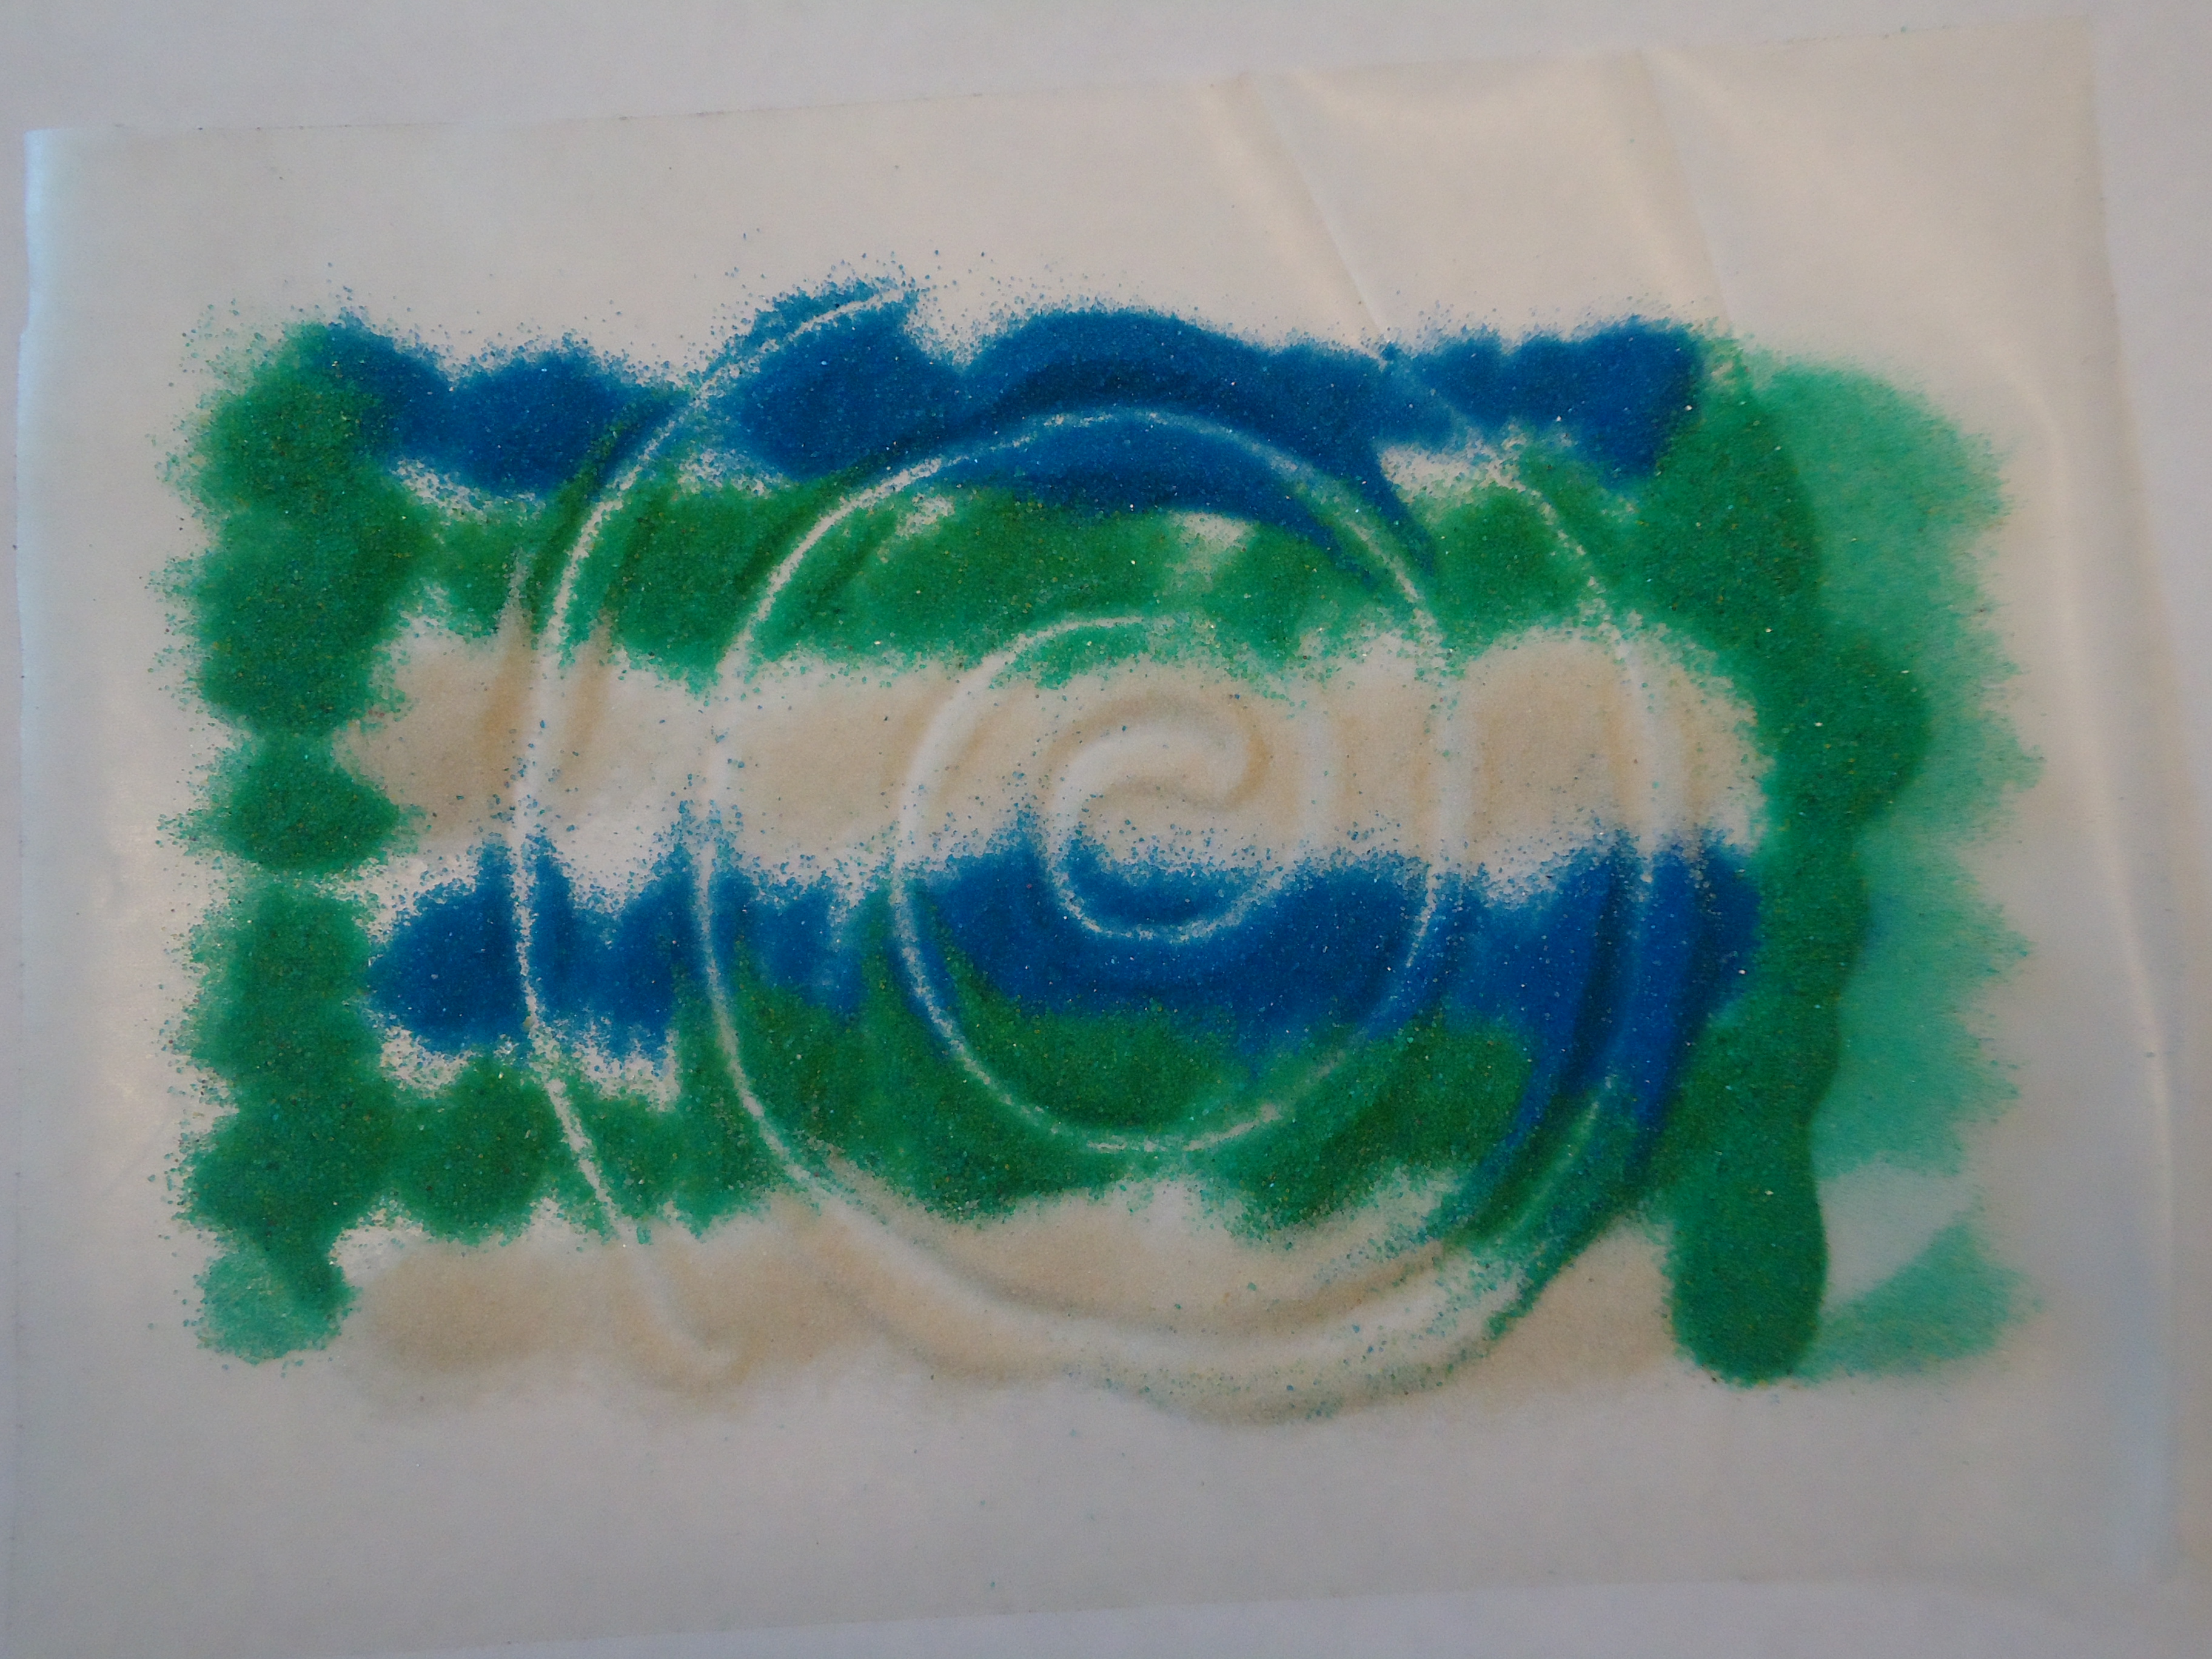
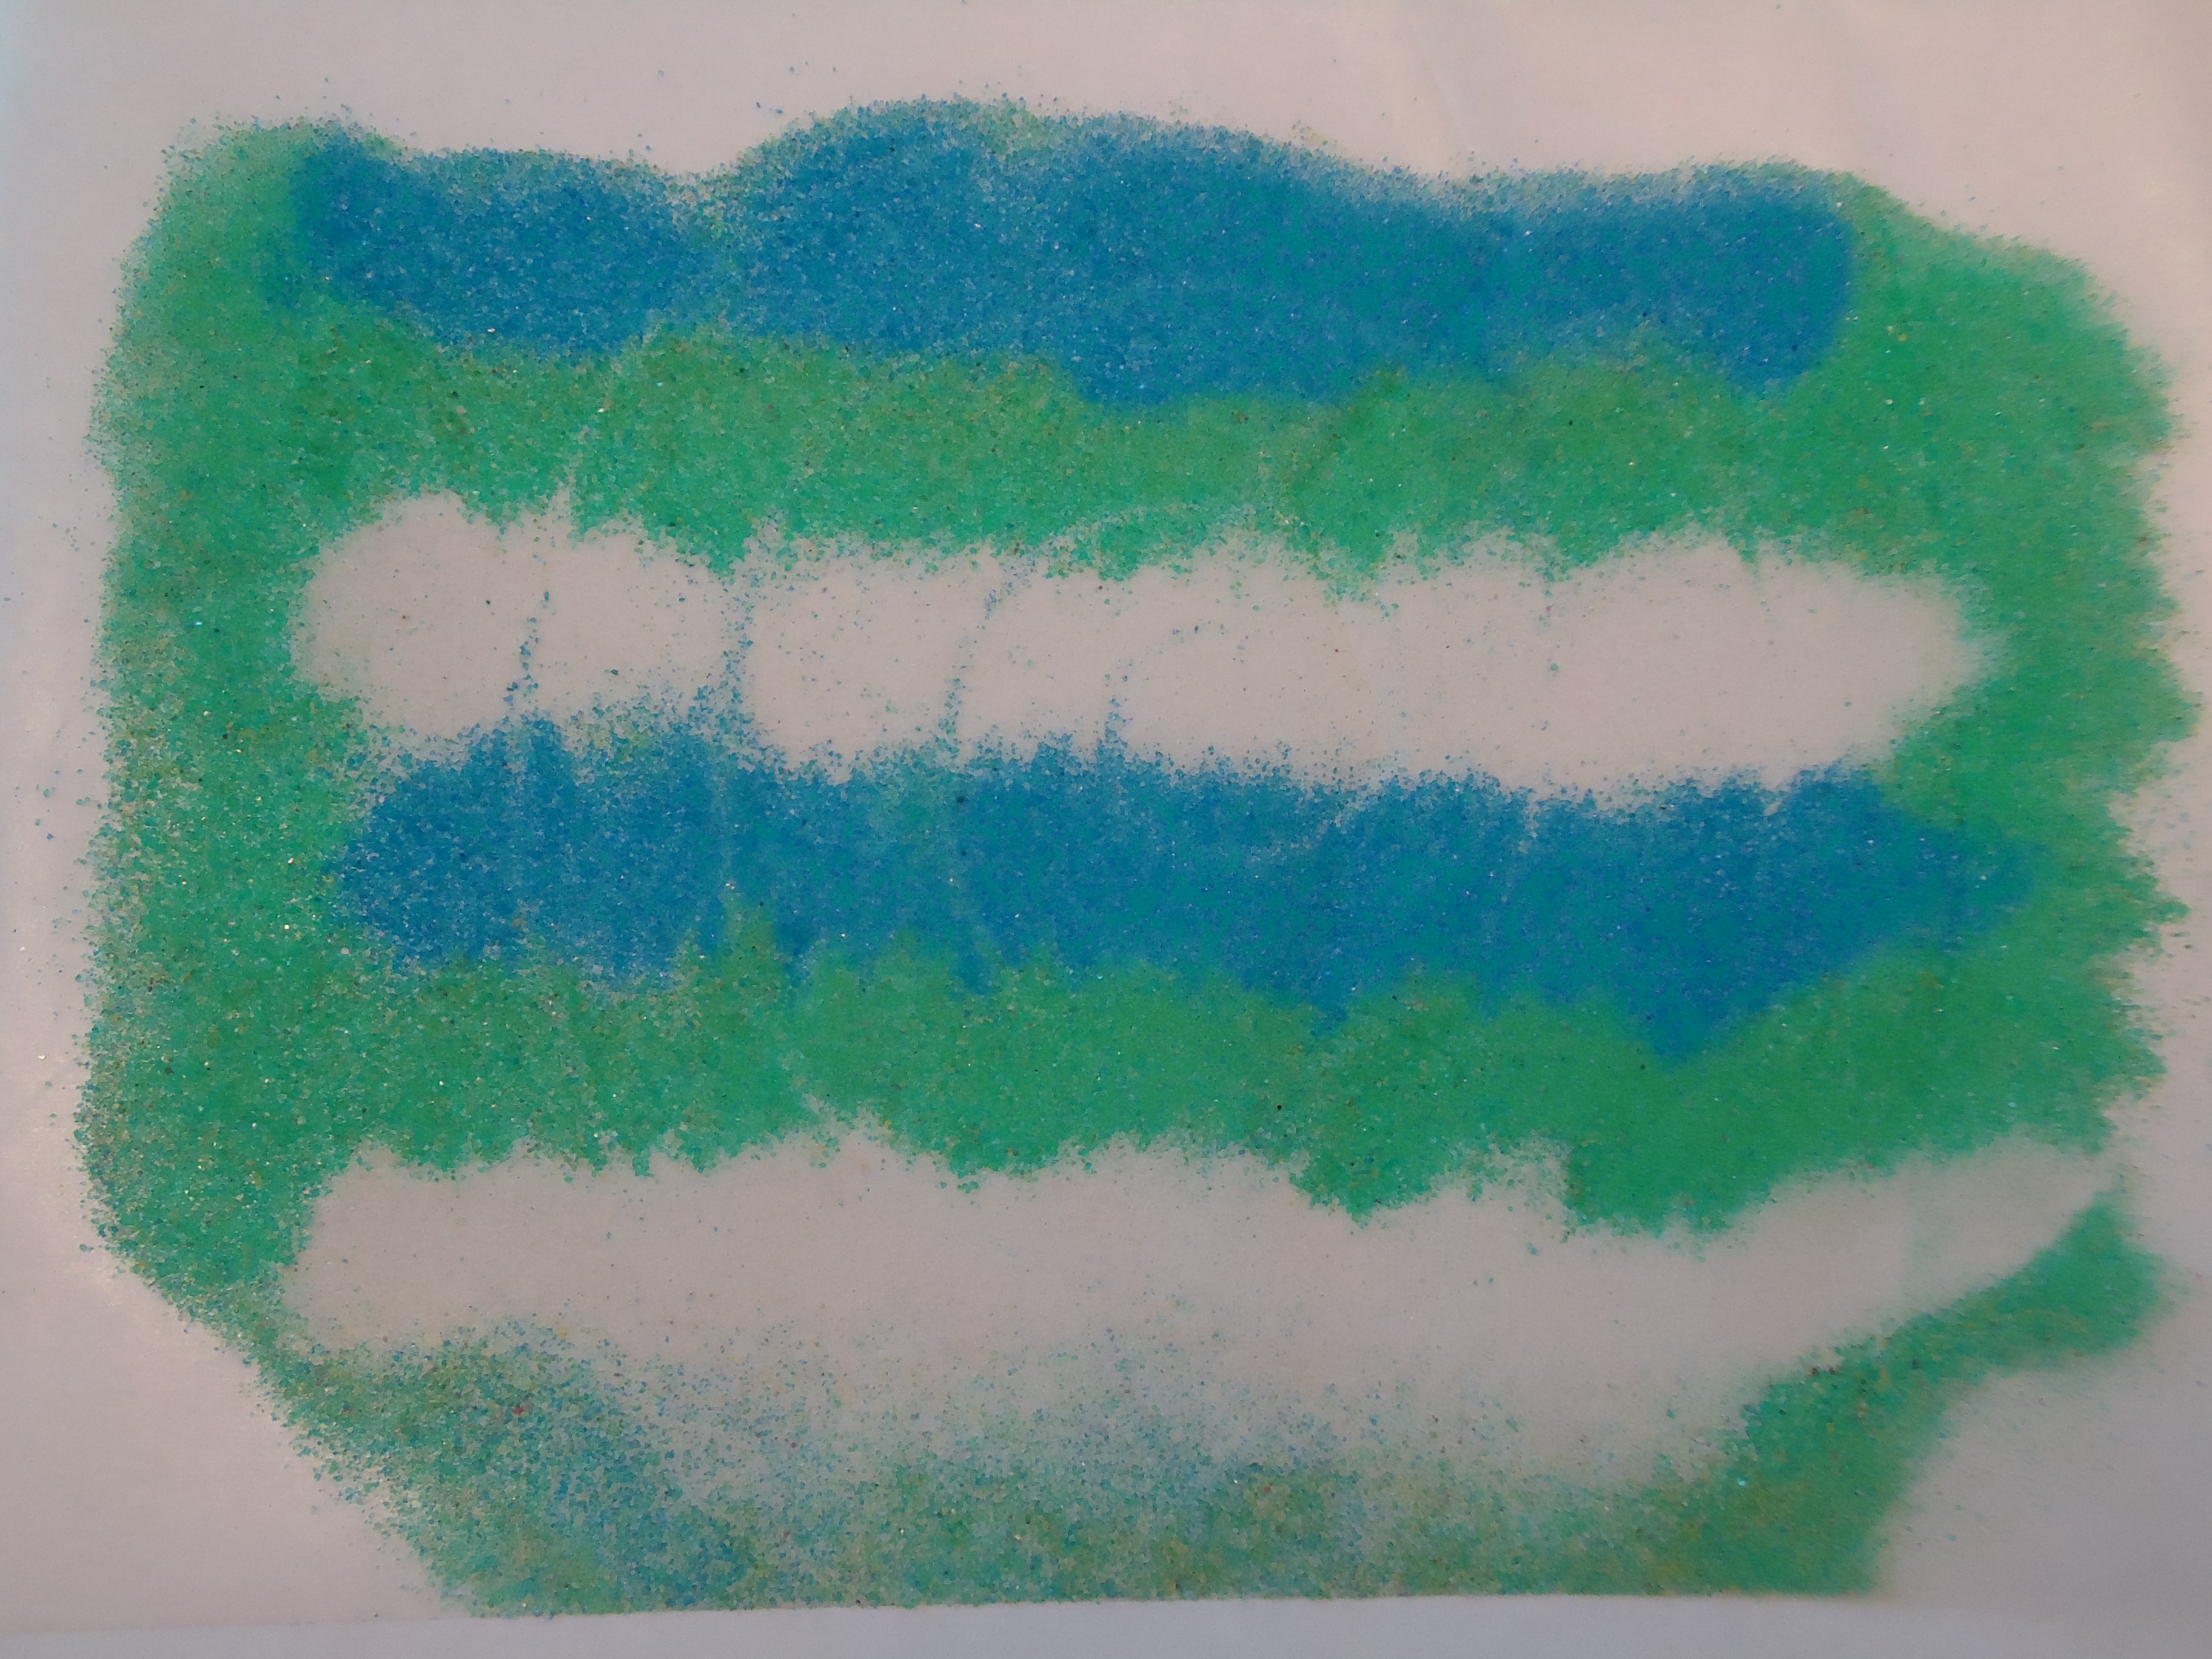
Meg Webster, Untitled (Turmeric), date unknown, jade adhesive on arches paper, Dallas Museum of Art, gift of Caroline and Michael Van Valkenburgh, 2017.47.3, © Meg Webster
Contemporary artist Meg Webster was influenced by the Land art movement in the 1970s and studied under Michael Heizer. This influence led her to work primarily in sculpture using natural elements like plants. Webster’s untitled work in our collection is not a sculpture but one of her works on paper. These works share the same focus on the earth and connection to nature with her use of materials such as soil, ash, beeswax, and spices. Untitled uses turmeric to create a textured, dyed element on the paper. She uses natural materials in this series, but on a more intimate scale compared to her room-sized works with living plants. Using natural elements to dye or paint isn’t new, but using turmeric in its raw form shows Webster’s ability to create art without changing the natural form of the materials she uses, while also giving the piece a multisensory effect through smell and the visually distinct color.
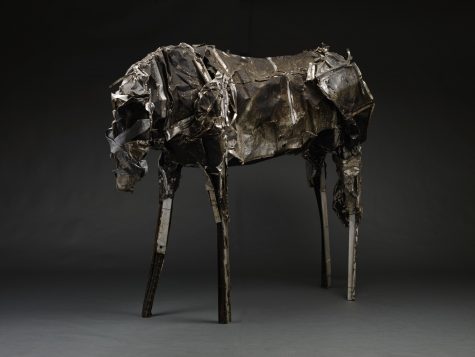
Deborah Butterfield, Horse #6-82 – Steel, 1982, sheet aluminum, wire, and tar, Dallas Museum of Art, Foundation for the Arts Collection, Edward S. Marcus Fund, 1982.96.FA, © 1982 Deborah Butterfield, Bozeman, Montana
Artist Deborah Butterfield has been making organic sculptures of horses almost her entire career. She has experimented with many different materials to make the animals to scale. In her early career, she used mostly wood and organic materials. The horse in our collection is made from steel, sheet aluminum, wire, and tar during the period in which Butterfield used mainly found metals to make the horse’s form. Even though the materials are rough, she contrasts them by creating smooth, precise forms, making the inorganic look organic. Butterfield is still working today, and now combines the materials from earlier in her career. She finds wood to create the shape of the horse, and then casts the pieces in bronze and reassembles it, Combining the two mediums to make one sculpture.
Katie Cooke is Manager of Adult Programs at the DMA.