Archive Page 23


Paper Peonies and Tissue Tulips: Build Your Own Beautiful Bouquet!

With last week’s opening of Bouquets: French Still-Life Painting from Chardin to Matisse, you might say we’re all abuzz with excitement here at the Museum. Although fall is just arriving, all we can think of are these beautiful blooms!

It’s easier than you might think to recreate some of your floral favorites at home. Try modeling your bouquet after one you might have seen or put together the posy of your wildest dreams. I took my inspiration from the DMA’s own Bouquet of Flowers in a Blue Porcelain Vase.
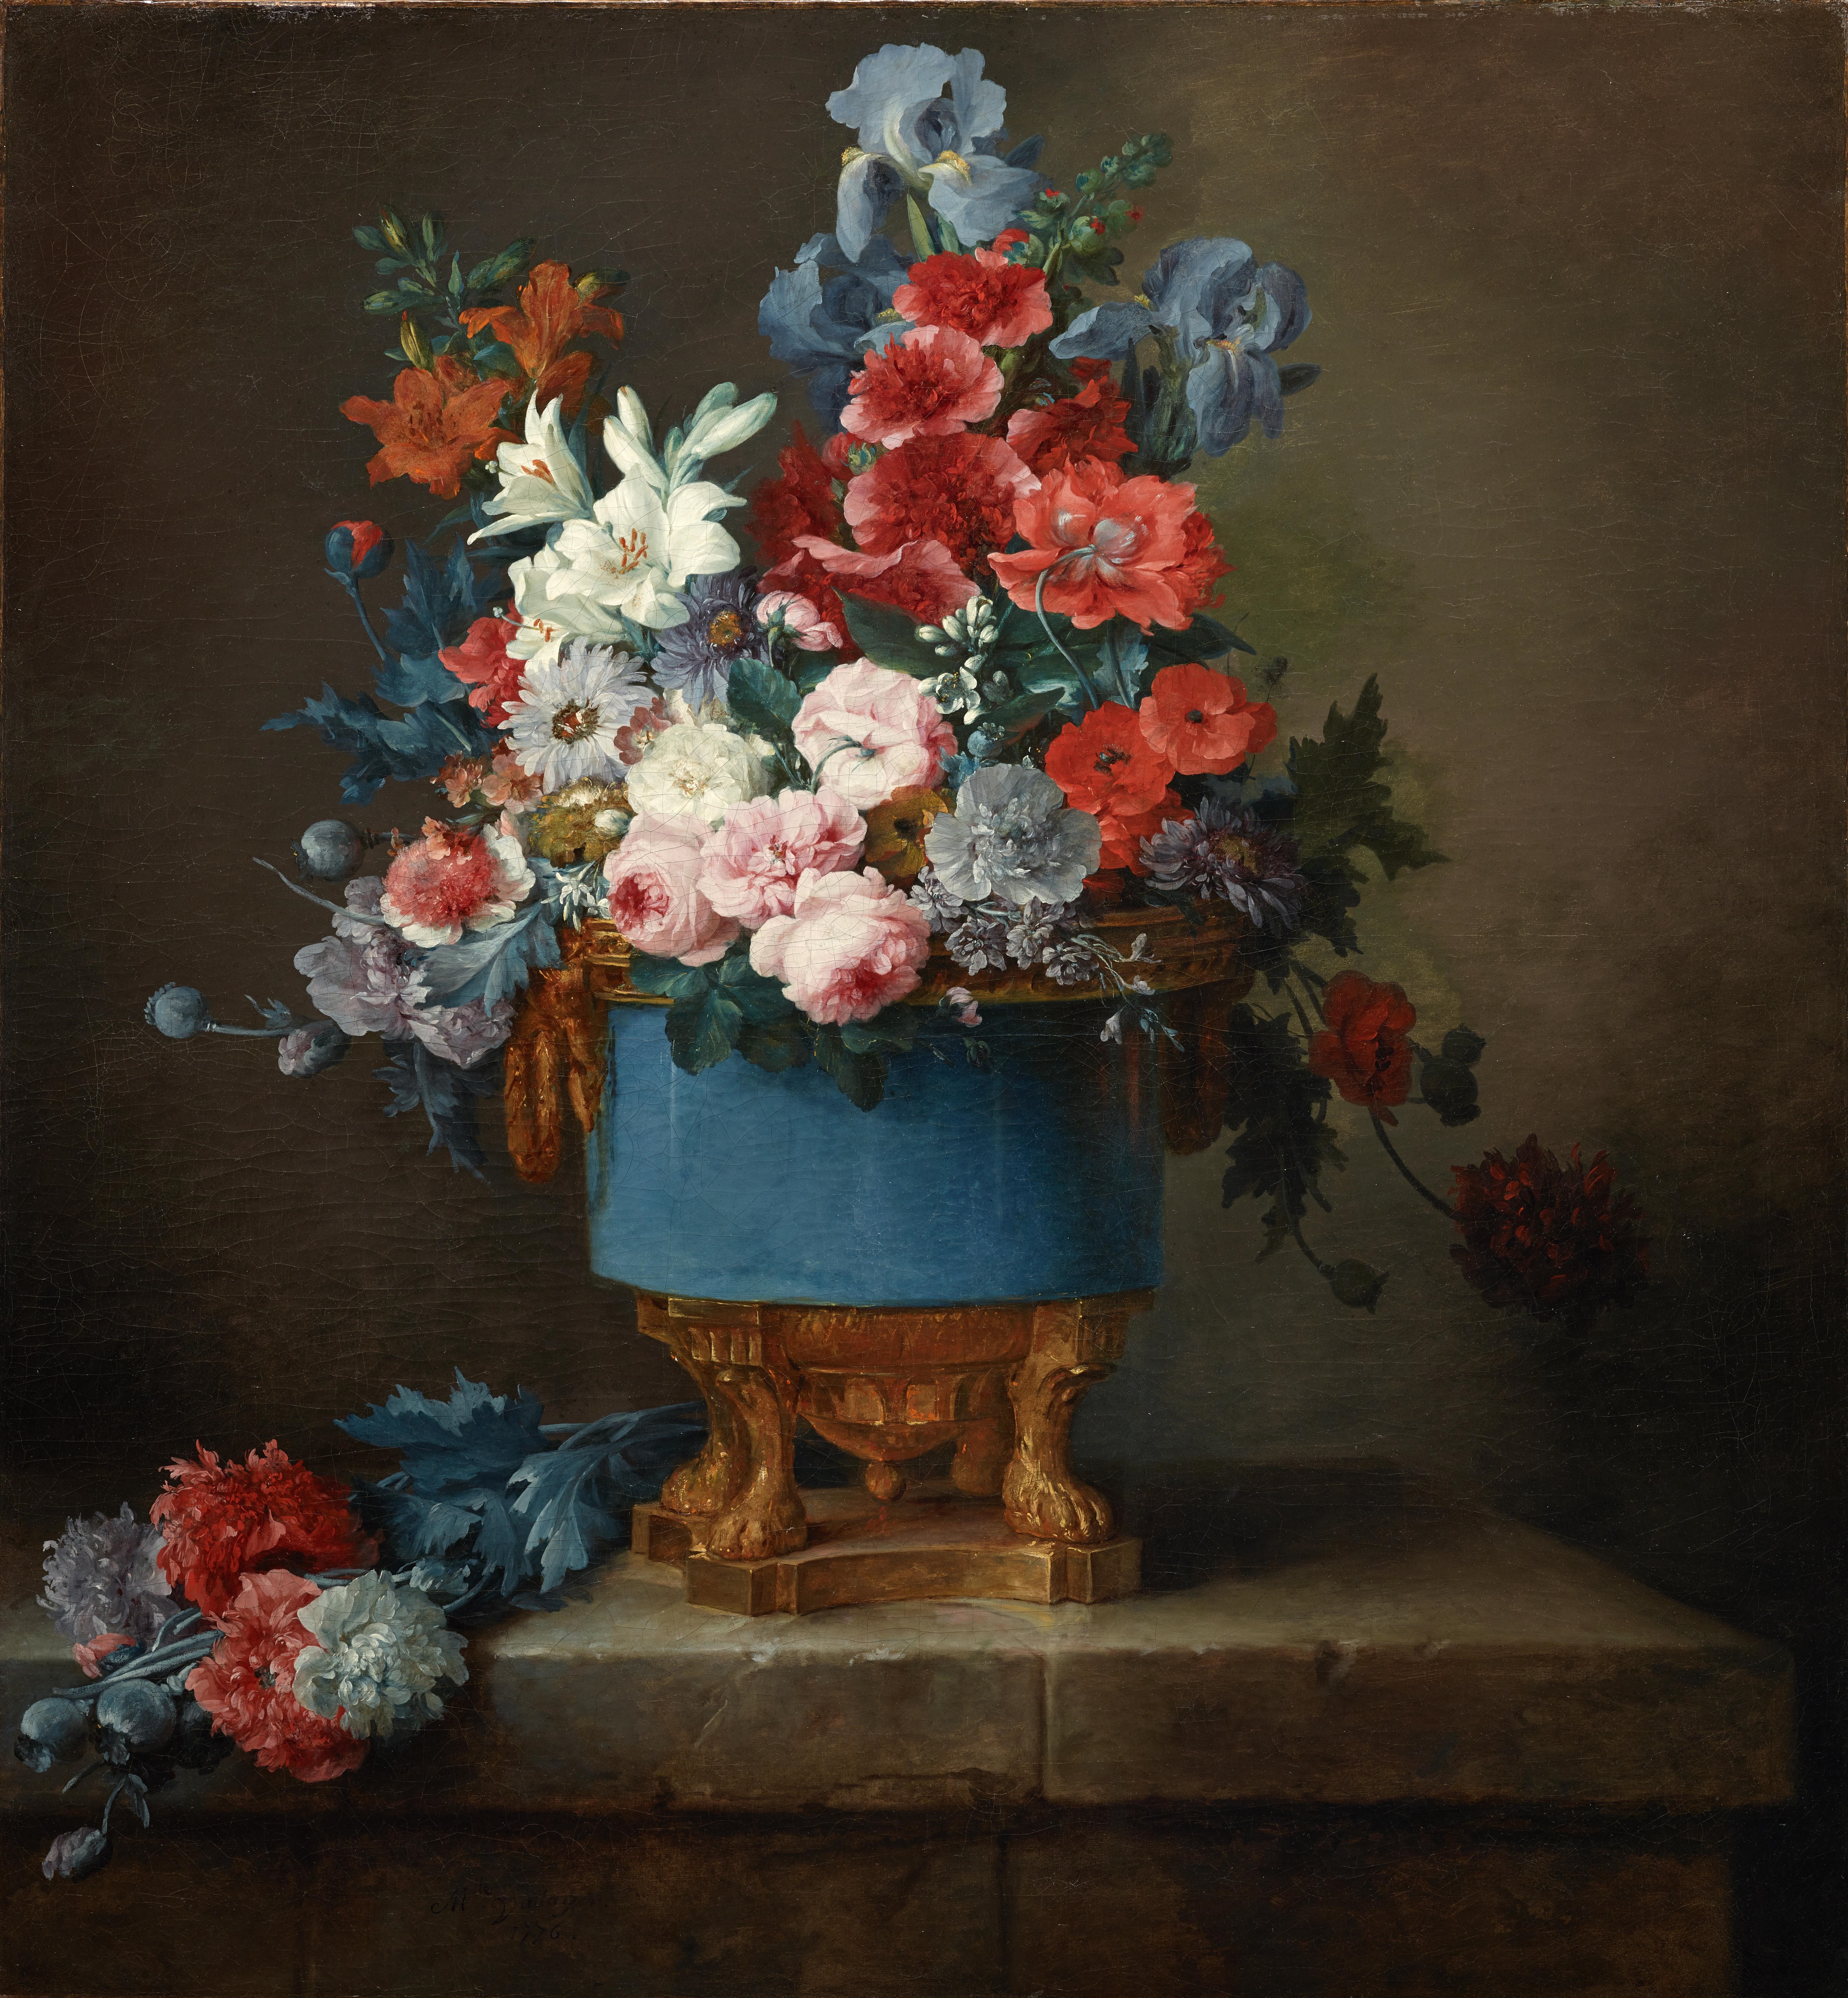
Bouquet of Flowers in a Blue Porcelain Vase (1776), Anne Vallayer-Coster

Anne Vallayer-Coster, Bouquet of Flowers in a Blue Porcelain Vase, 1776, Dallas Museum of Art, Foundation for the Arts Collection, Mrs. John B. O’Hara Fund and gift of Michael L. Rosenberg

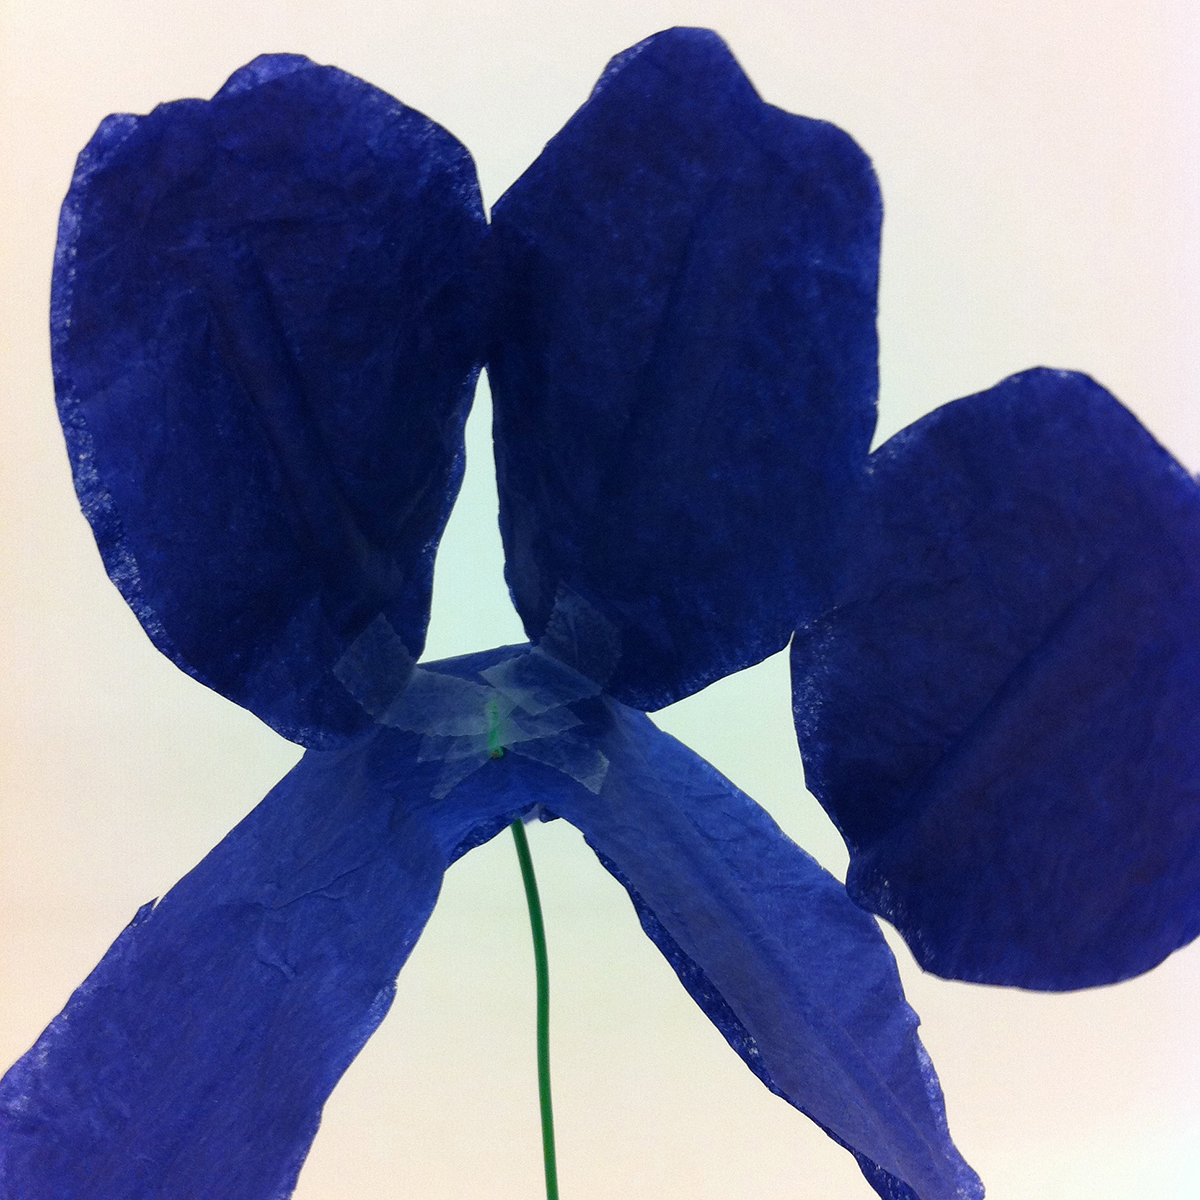
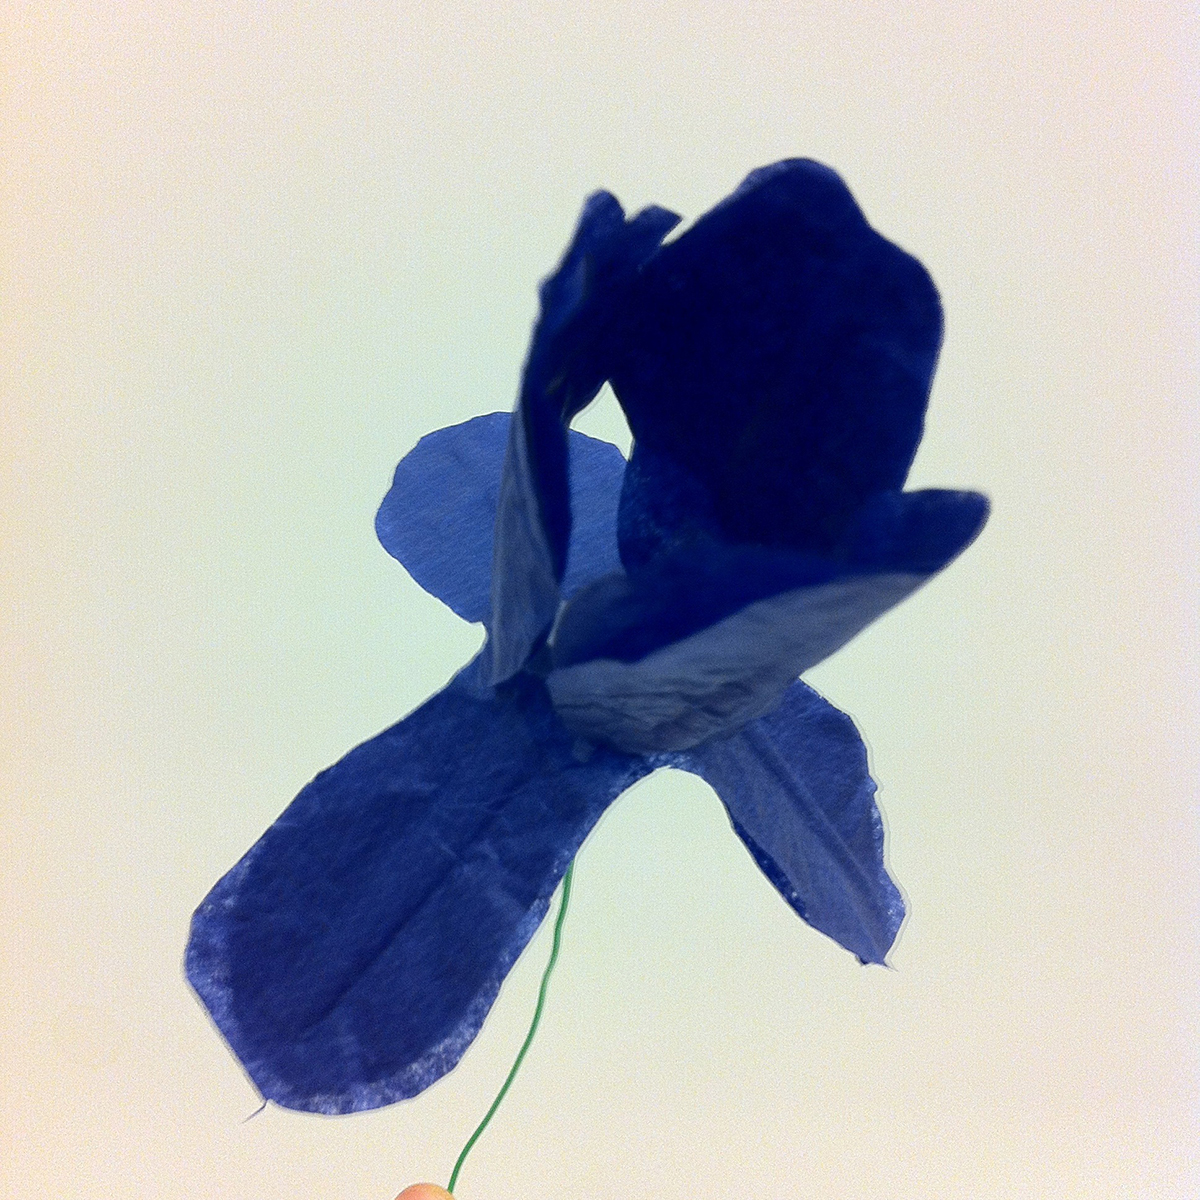
There are some great tutorials online for making your own paper flowers. Martha Stewart Weddings can show you how to make some really lovely, delicate flowers here, and the Rust and Sunshine blog (here) has easy to follow instructions to make a variety of blooms with a little bit of inventive folding. With the help of these tutorials, I made carnations, roses, and star lilies. I couldn’t find a tutorial I liked for making irises, so I designed my own! You can print off this template and follow the directions below to make them too.

A quick note before we get started: for some flowers (particularly irises and lilies, whose petals you want to stand up a little bit), you might find that a sturdier paper works better for you. This is the perfect time and place to experiment! I liked the unified look of having all my flowers made out of tissue paper, but it’s your bouquet, so you’re the boss.

What you’ll need to make irises:

  • Tissue paper in a variety of colors – blue, purple, and yellow are pretty common for irises, though they come in a number of other colors as well
  • Pipe cleaners or art wire (for the stems)
  • Scissors
  • Clear tape
  • Optional: paint, glitter, glue, markers, colored tape, vase

If you opted to use something like card stock instead of tissue paper, cut out only one each of Iris A and Iris B and skip ahead to Step 4. If you’re using tissue paper like me, you’ll need to take an extra step or two to give the petals a little structure, so start here.

1. Trace and cut out two each of Iris A and Iris B in your tissue paper of choice. Double-layering the tissue paper will help beef up the flower.

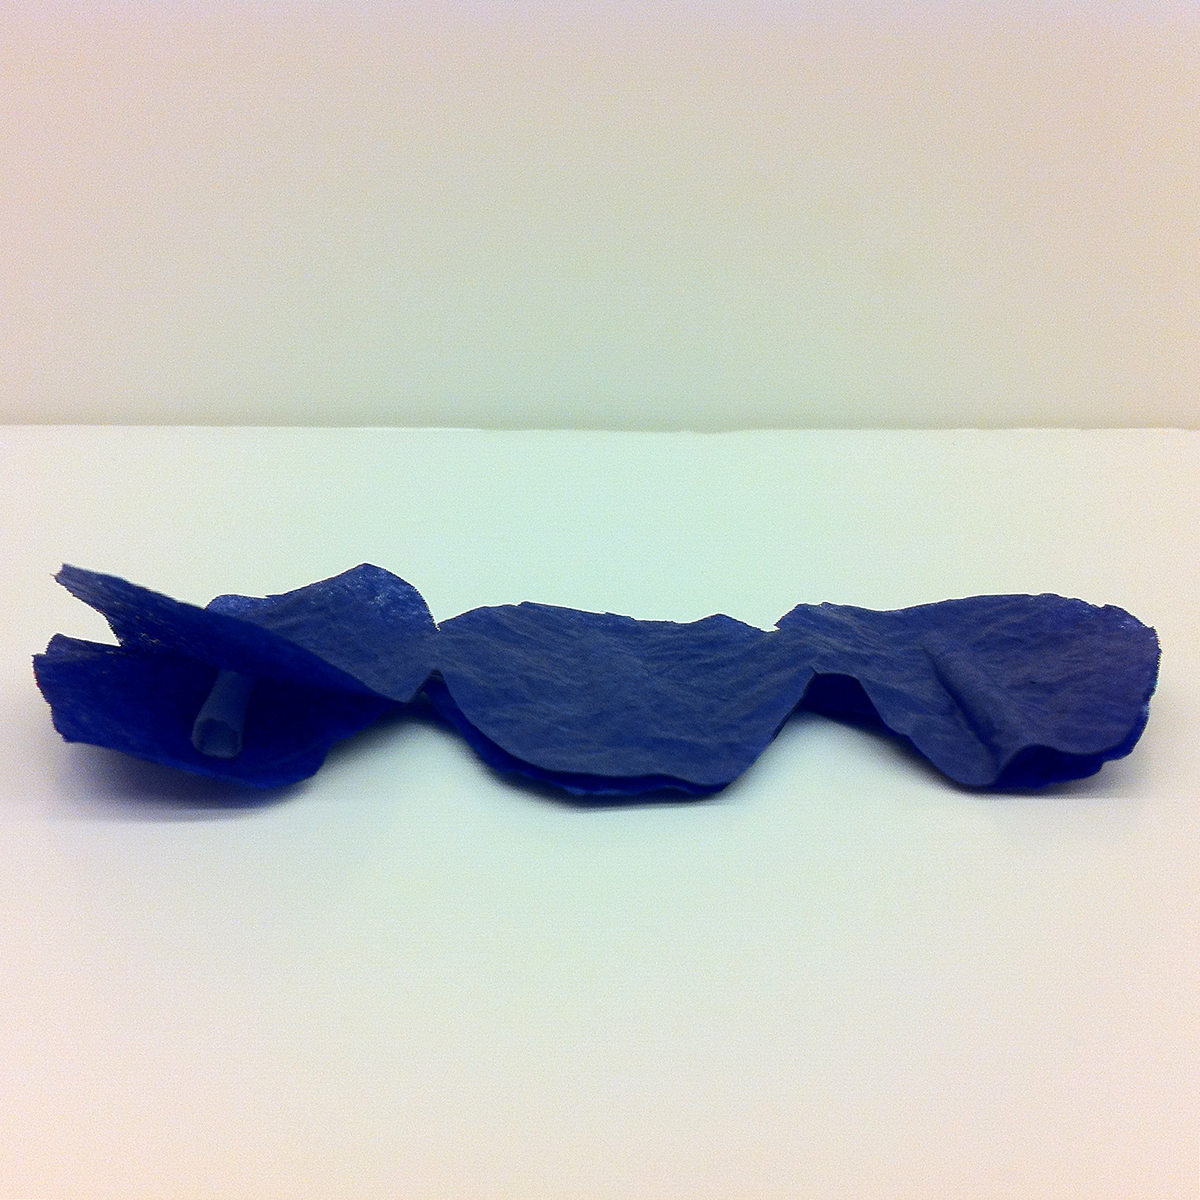
2. Roll six pieces of tape – one for each pair of petals – in on themselves, sticky side out. Lay one tape roll lengthwise along each petal of one set of Iris A and Iris B. Make sure you don’t cover up the very center of Iris B! This will make Step 4 a little easier.
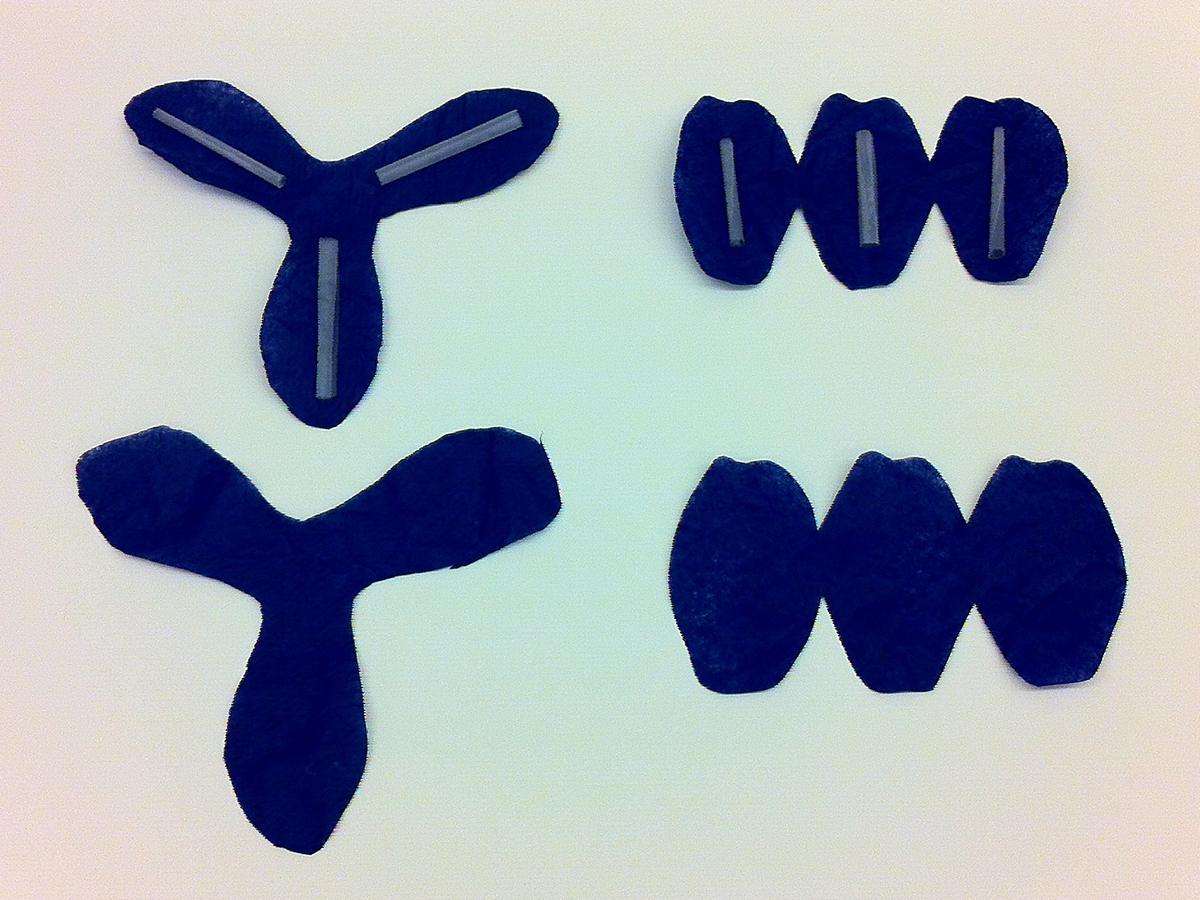
3. Match up the second set of Iris A and Iris B with the first and press down, sandwiching the rolls of tape between the two layers of tissue paper.

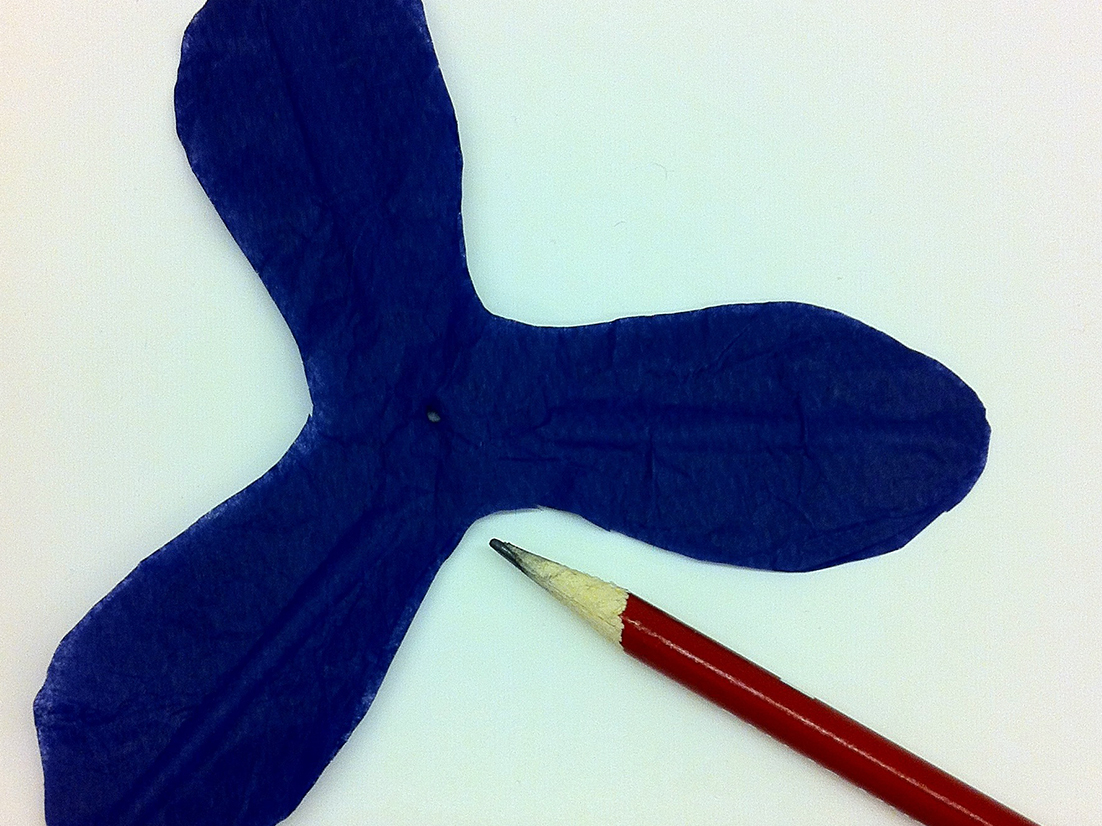
4. With the point of a pen or pencil, poke a small hole right through the center of your Iris B cutout or tissue paper and tape sandwich. This is why you didn’t want to block the very middle with tape in Step 2! Be careful not to press too strongly – you don’t want to accidentally rip your flower base in half.
5. Make an L-shaped bend in the end of your wire or pipe cleaner and thread it through the hole you just made in Iris B. Adjust so that the bend end lies flat on Iris B and the remaining wire/pipe cleaner extends downwards in a straight line. Secure with tape.
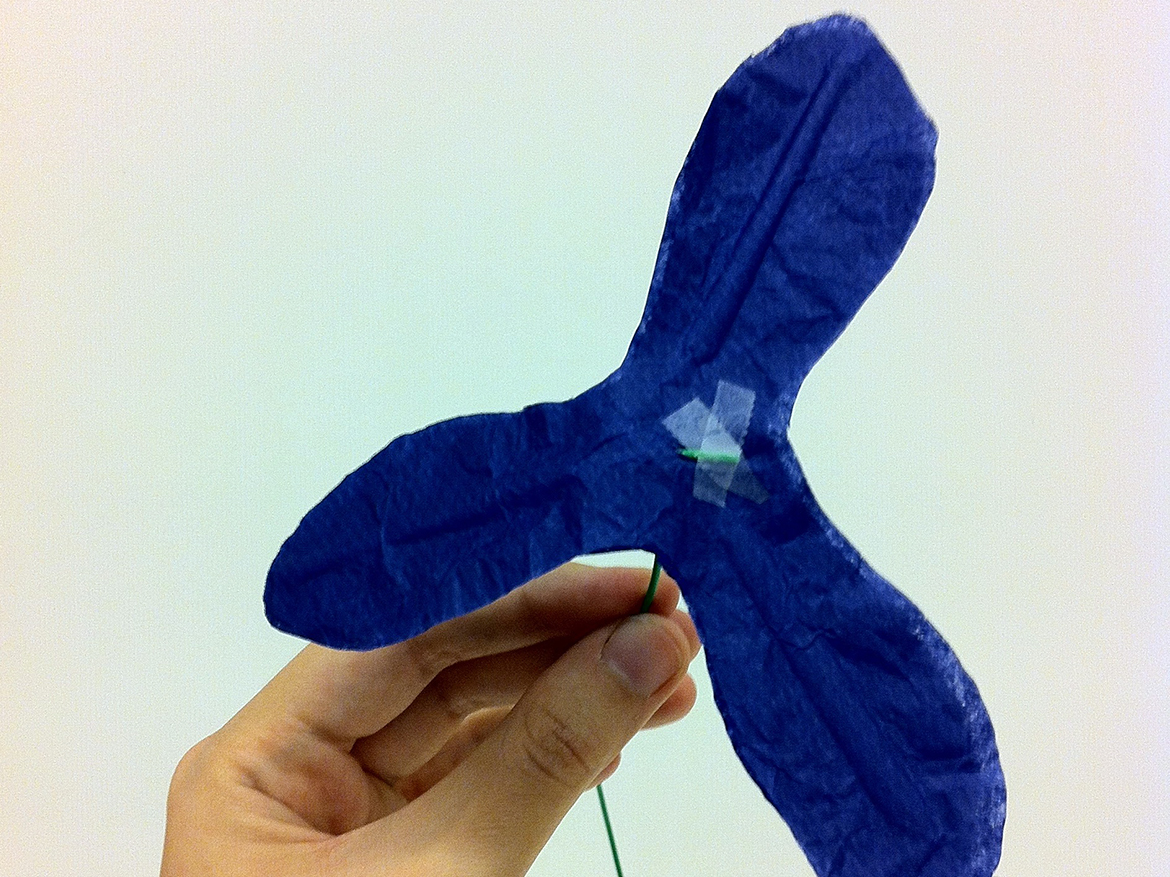
6. Using three narrow pieces of tape, attach the bases of Iris A’s petals to the spots marked in the template with dashed lines. I suggest doing this so the tape pieces end up on the interior of the flowerand aren’t visible.

7. Finally, embellish with whatever extras strike your fancy – paint, markers, glitter, you name it – and arrange your completed iris with your other flower creations in a vase.
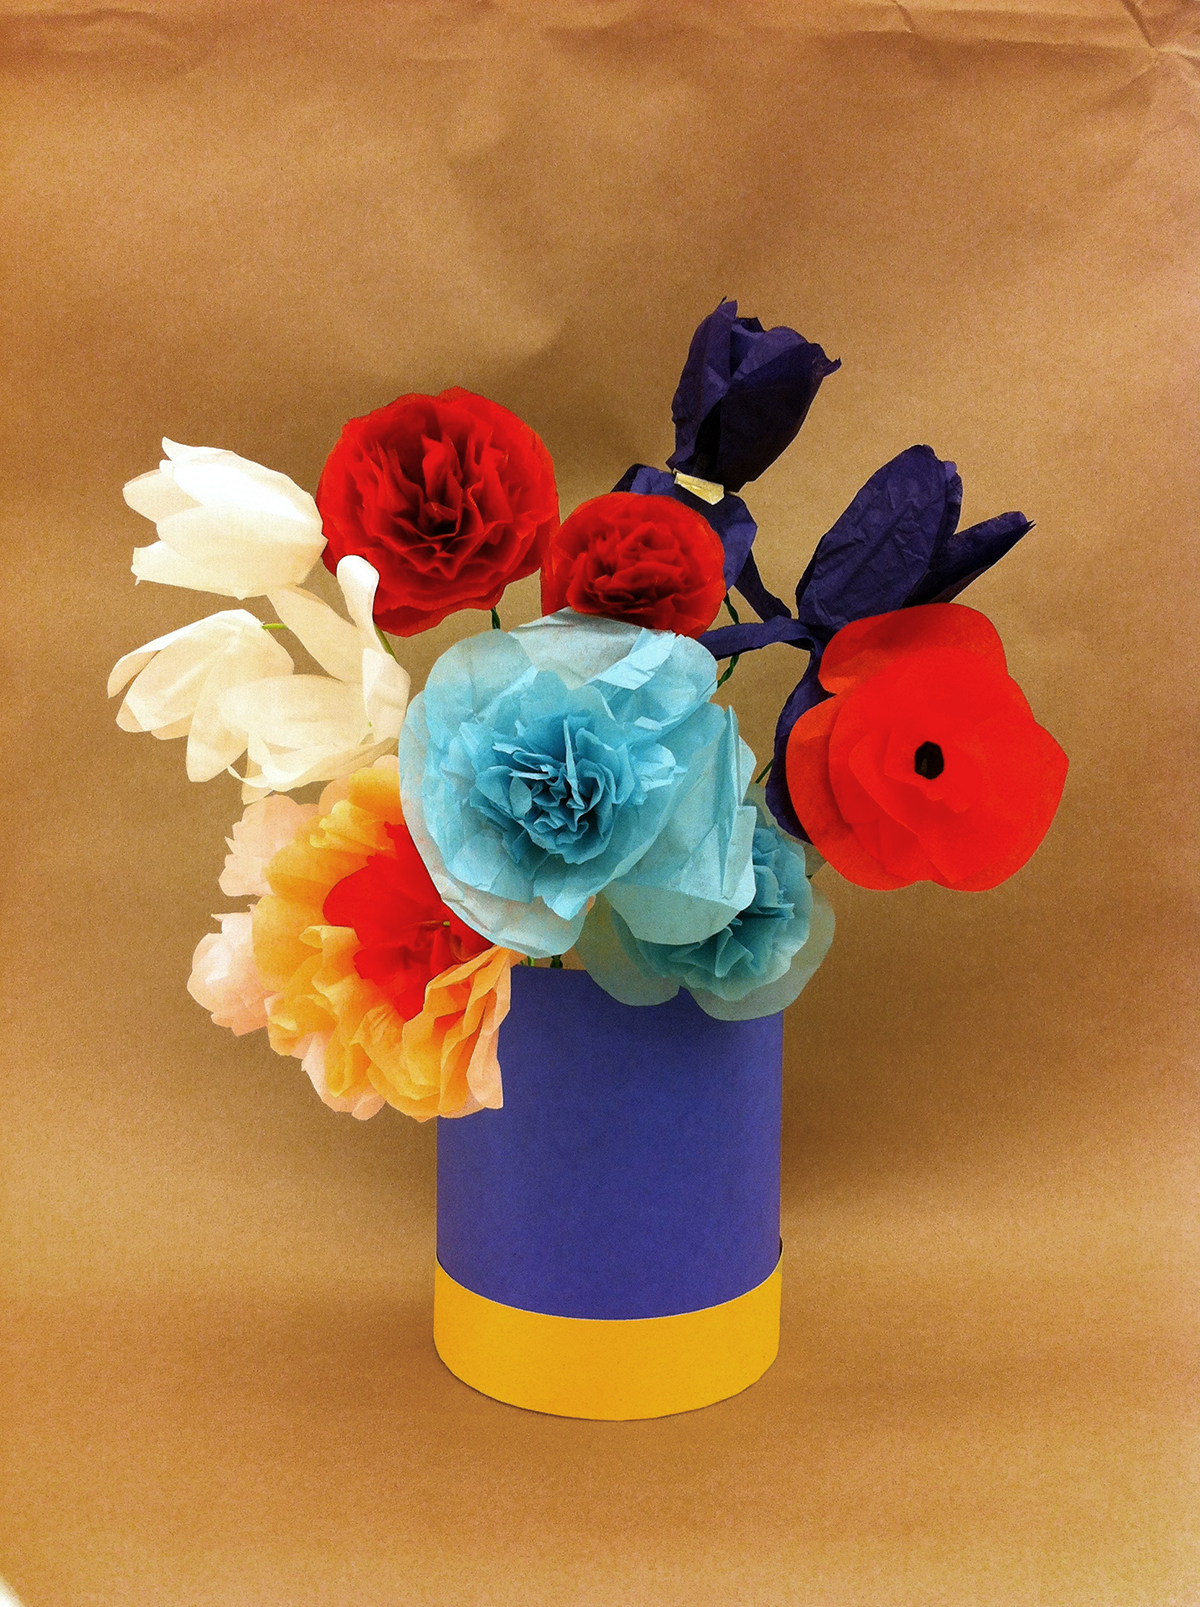
Bouquet of (Paper!) Flowers in a Blue Vase (2014), Jennifer Sheppard

Jennifer Sheppard, Bouquet of Paper Flowers in a Blue Vase, 2014

Voila! You now have a beautiful bouquet that needs no water…in fact, you probably shouldn’t have water anywhere near your nice new paper flowers, unless soggy is the look you’re going for! So skip that annoying watering step and enjoy these low maintenance blooms — and our blooming exhibition!

Jennifer Sheppard
McDermott Intern for Family and Access Teaching
Friday Photos: All Saints’ Day

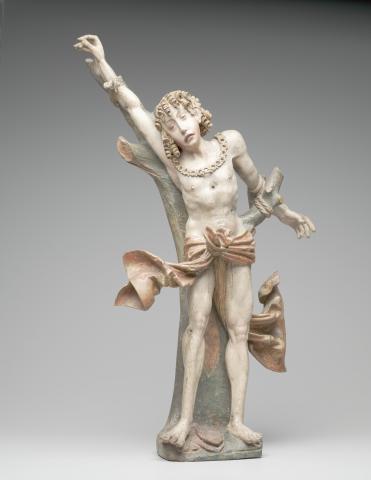
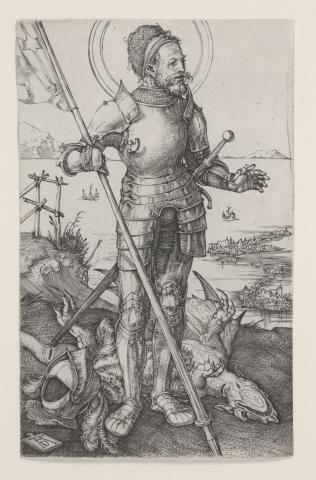
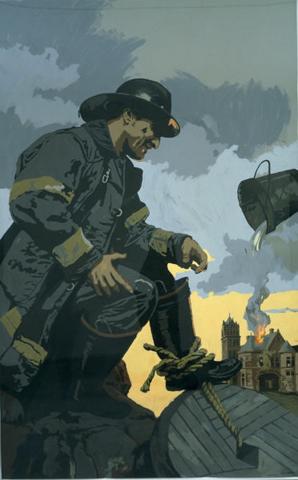
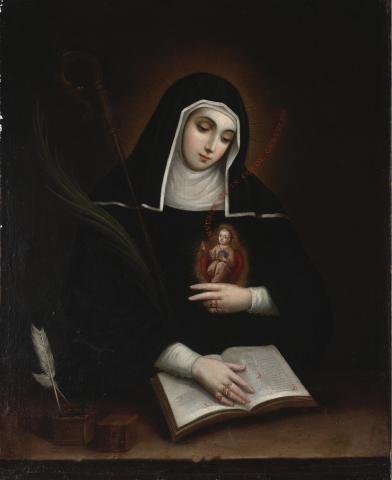
This time of year, it feels as if the city is overflowing with costumes, jack-o-lantern’s and trick-or-treaters! But in all the festivity, many of us tend to forget the origin of the holiday. Halloween, also known as All Hallows’ (Saints’) Eve, was historically a day for Christian worshipers to pray and prepare themselves for November 1, All Saints’ Day, a feast day dedicated to all the saints and martyrs of Christianity.

The DMA has a large number of artworks that depict saints, ranging in time period and media. I would like to take this occasion to highlight some of my favorites, from St. George slaying a dragon to St. Florian, the patron saint of firefighters.

For more information on any of these saints or works of art, check out the DMA Collections webpage! And from all of us here at the DMA, enjoy your All Saints’ Eve and Day!

Liz Bola
McDermott Graduate Intern for Gallery and Community Teaching
Art Beyond Sight at the DMA

October is nearly over and at the DMA we have had another fun month of Art Beyond Sight programing. This is our eighth year of presenting programs related to Art Beyond Sight and many of our programs focused on exploring works of art using senses other than vision. Art Beyond Sight Awareness Month, sponsored by Art Education for the Blind, is celebrated by over 250 cultural institutions all over the world and focuses on the idea that everyone must have access to the world’s visual arts in order to fully participate in his or her community. At the DMA, we hope to not only make our programs welcoming to visitors of all abilities, but to specifically raise awareness of making art accessible to people with vision impairment.

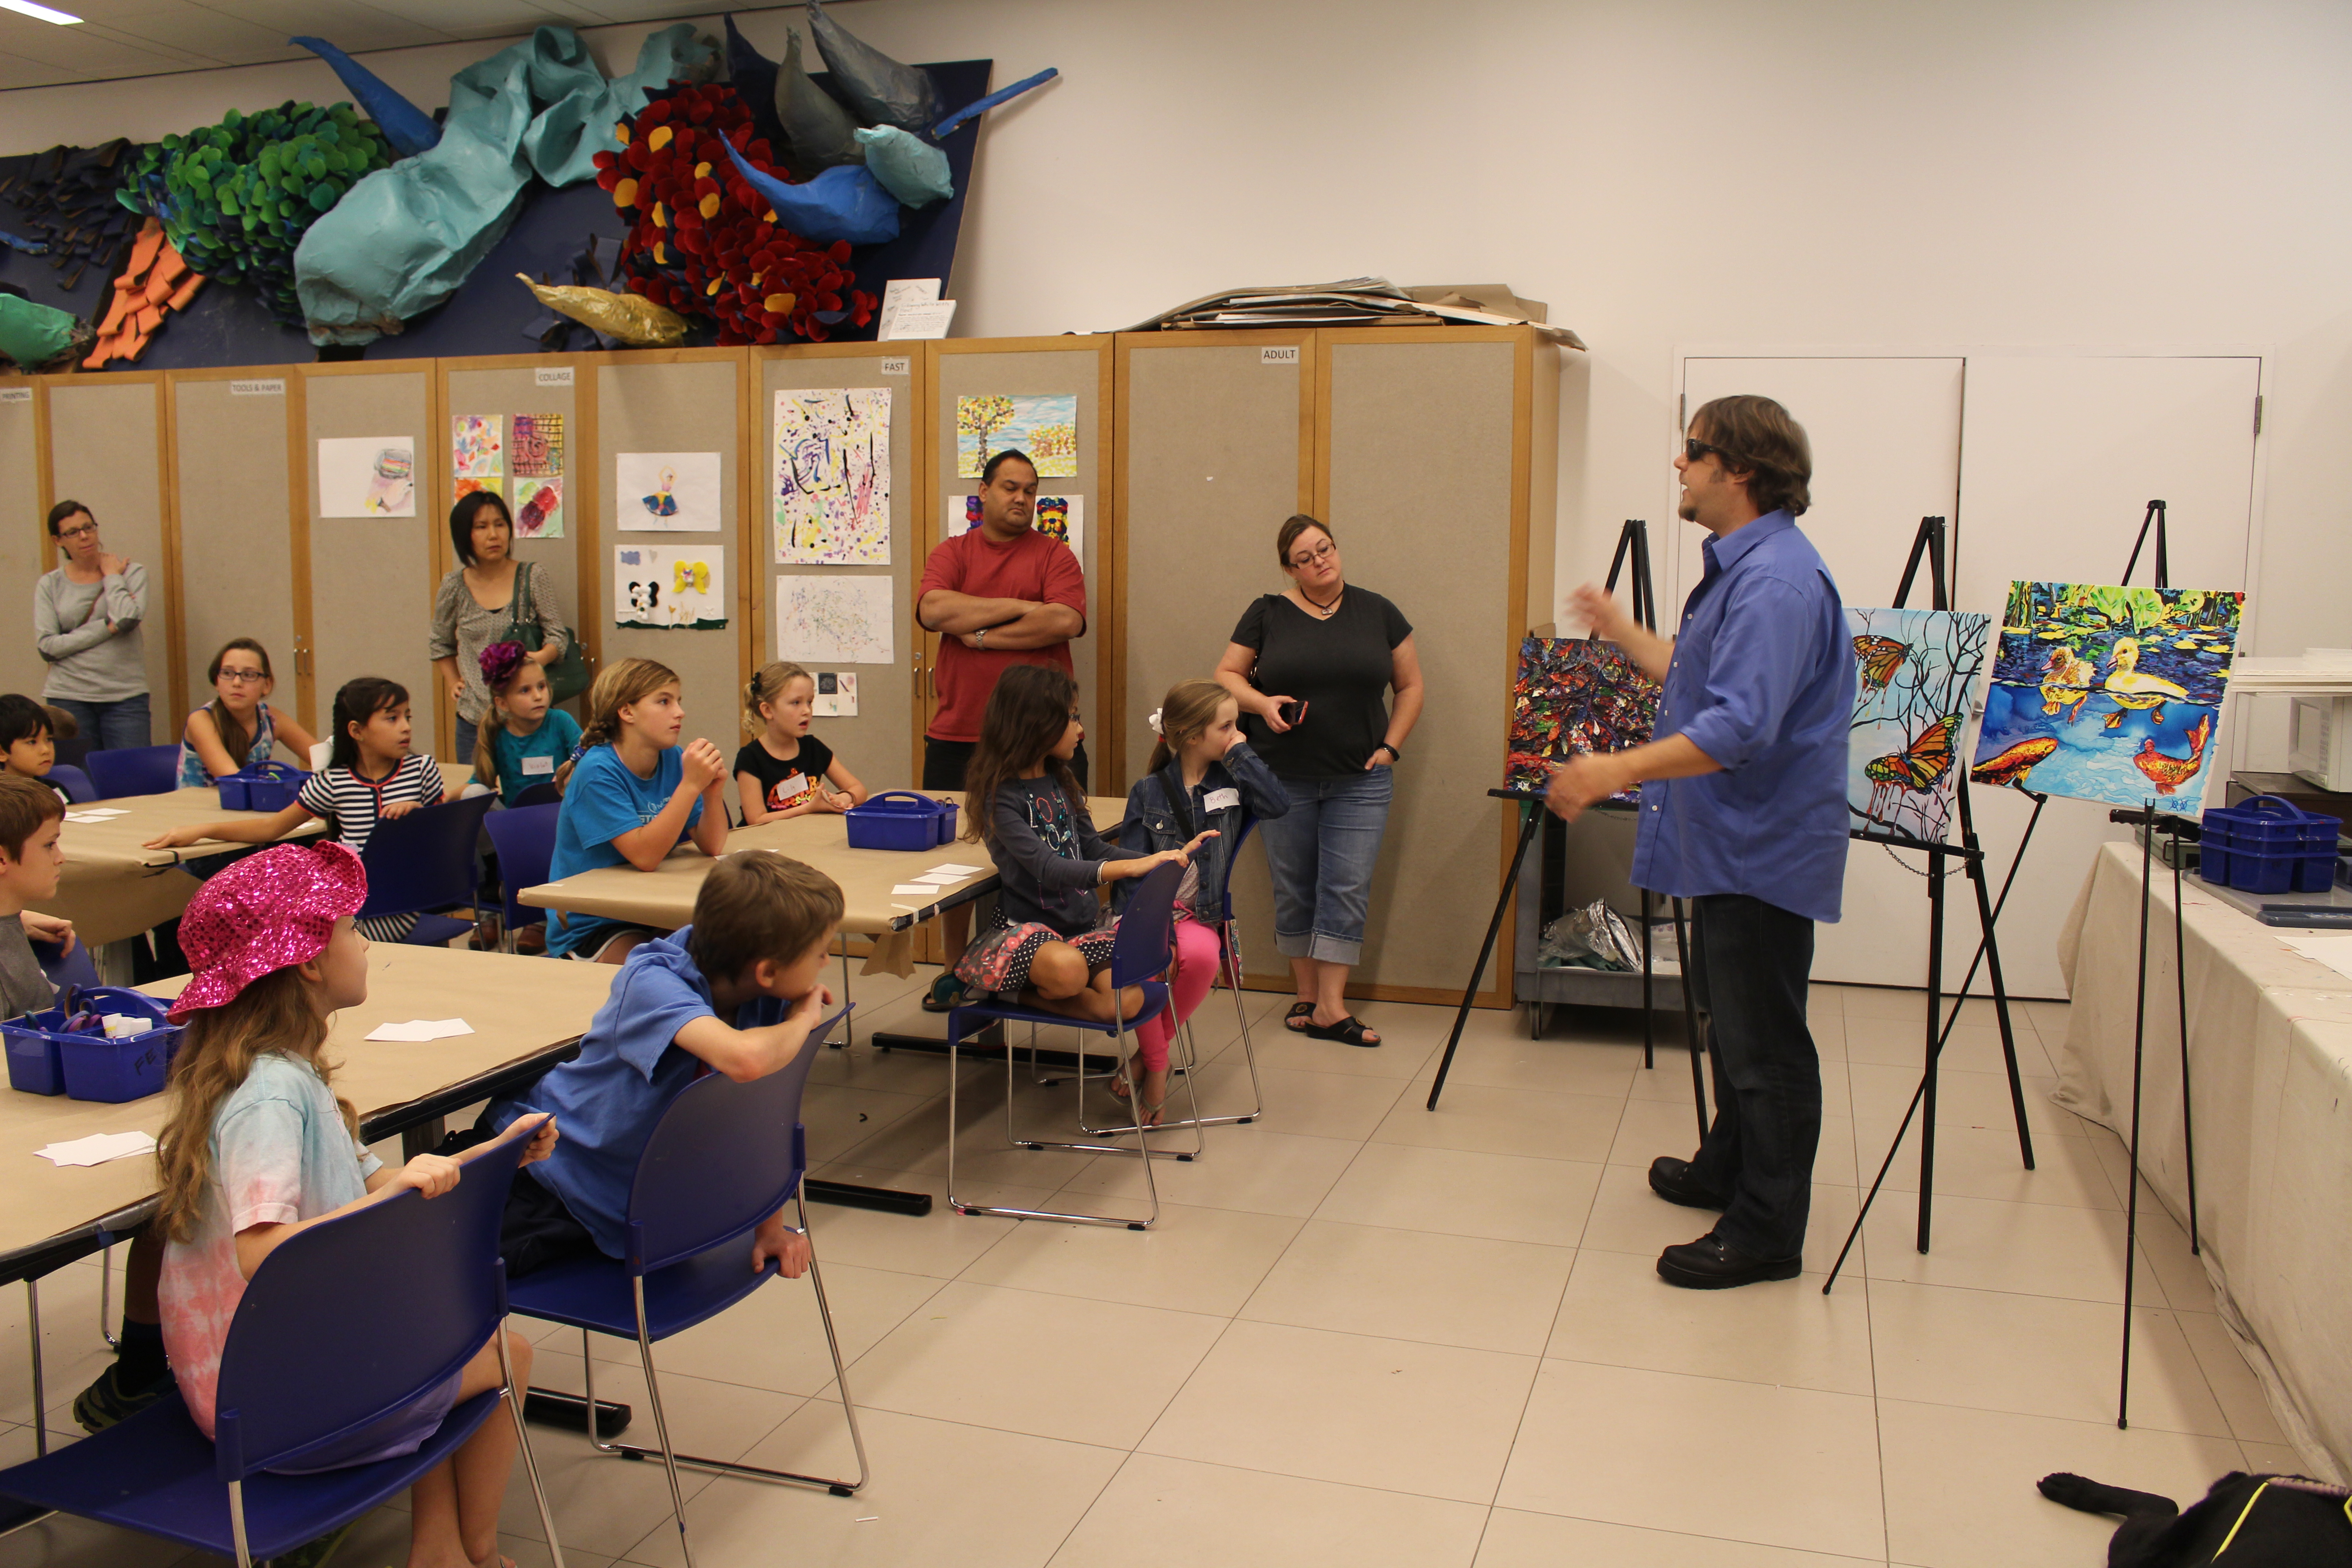
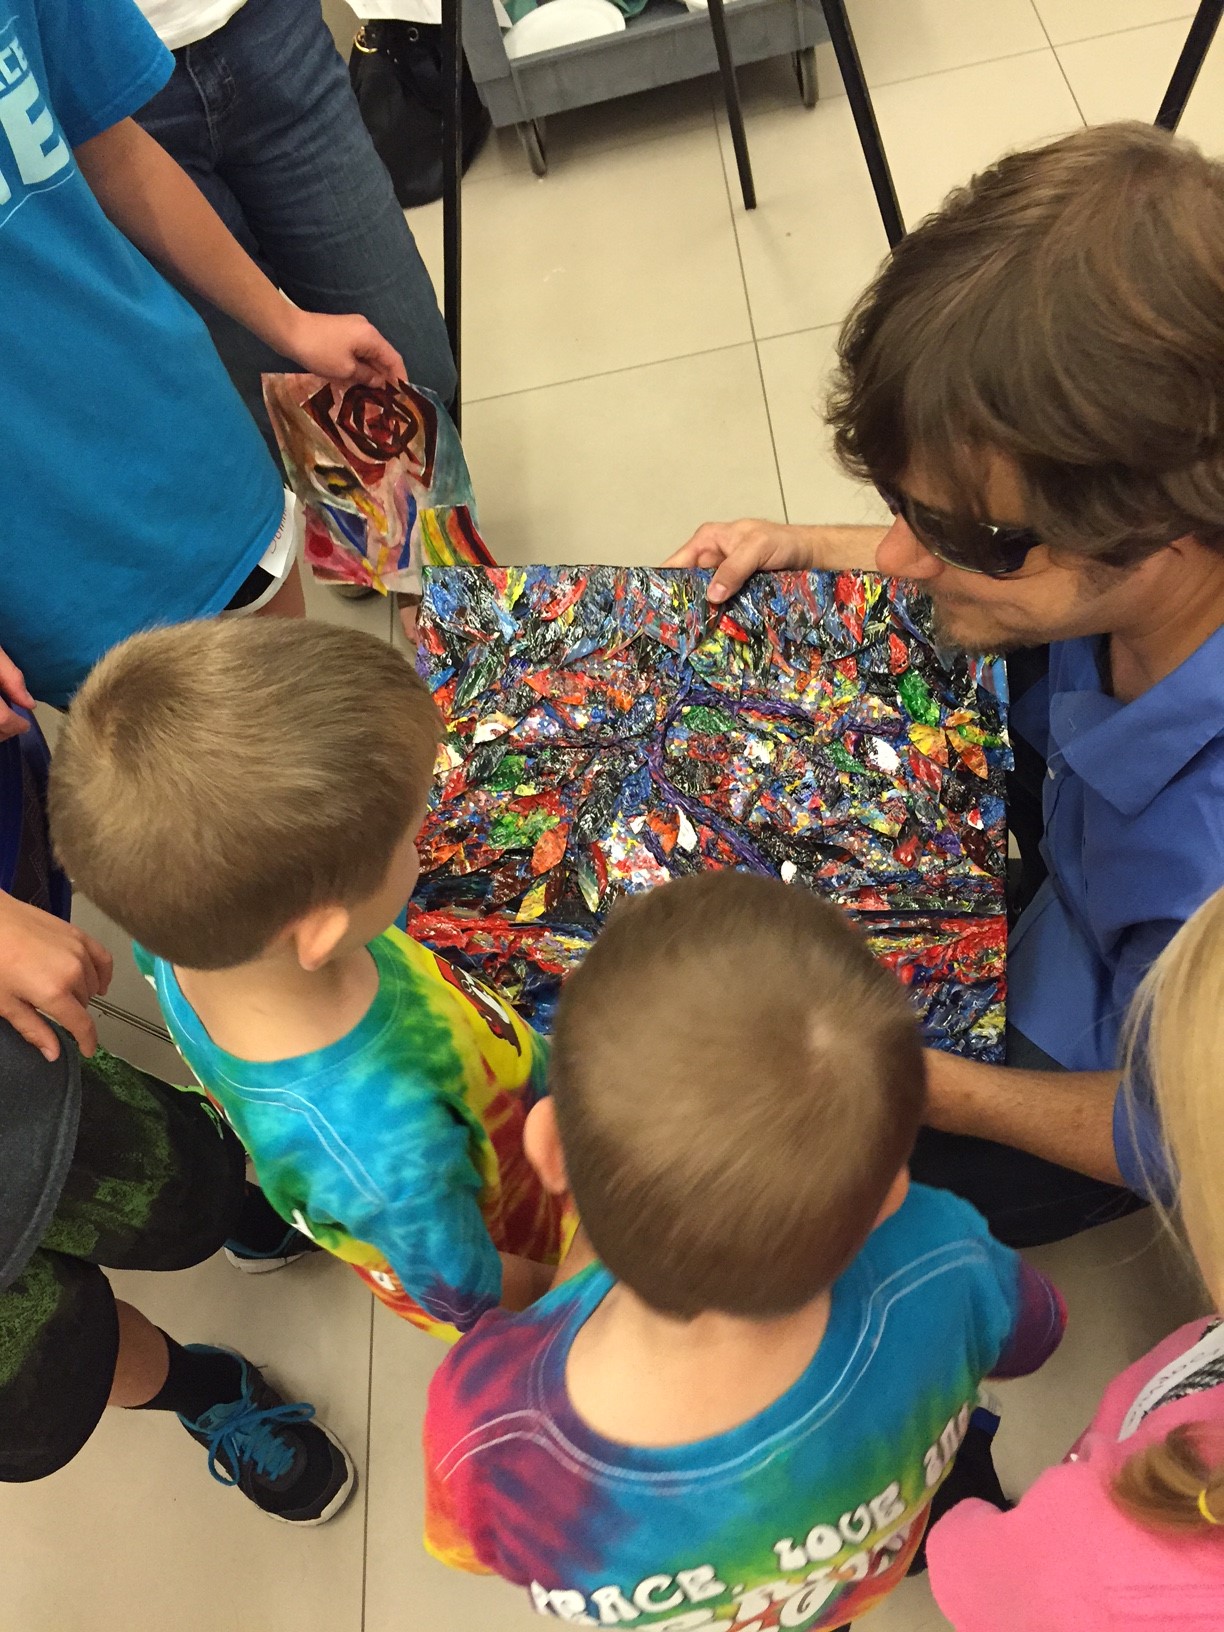
John Bramblitt talking about his artistic process with visitors in the studio.

John Bramblitt talking about his artistic process with visitors in the studio.

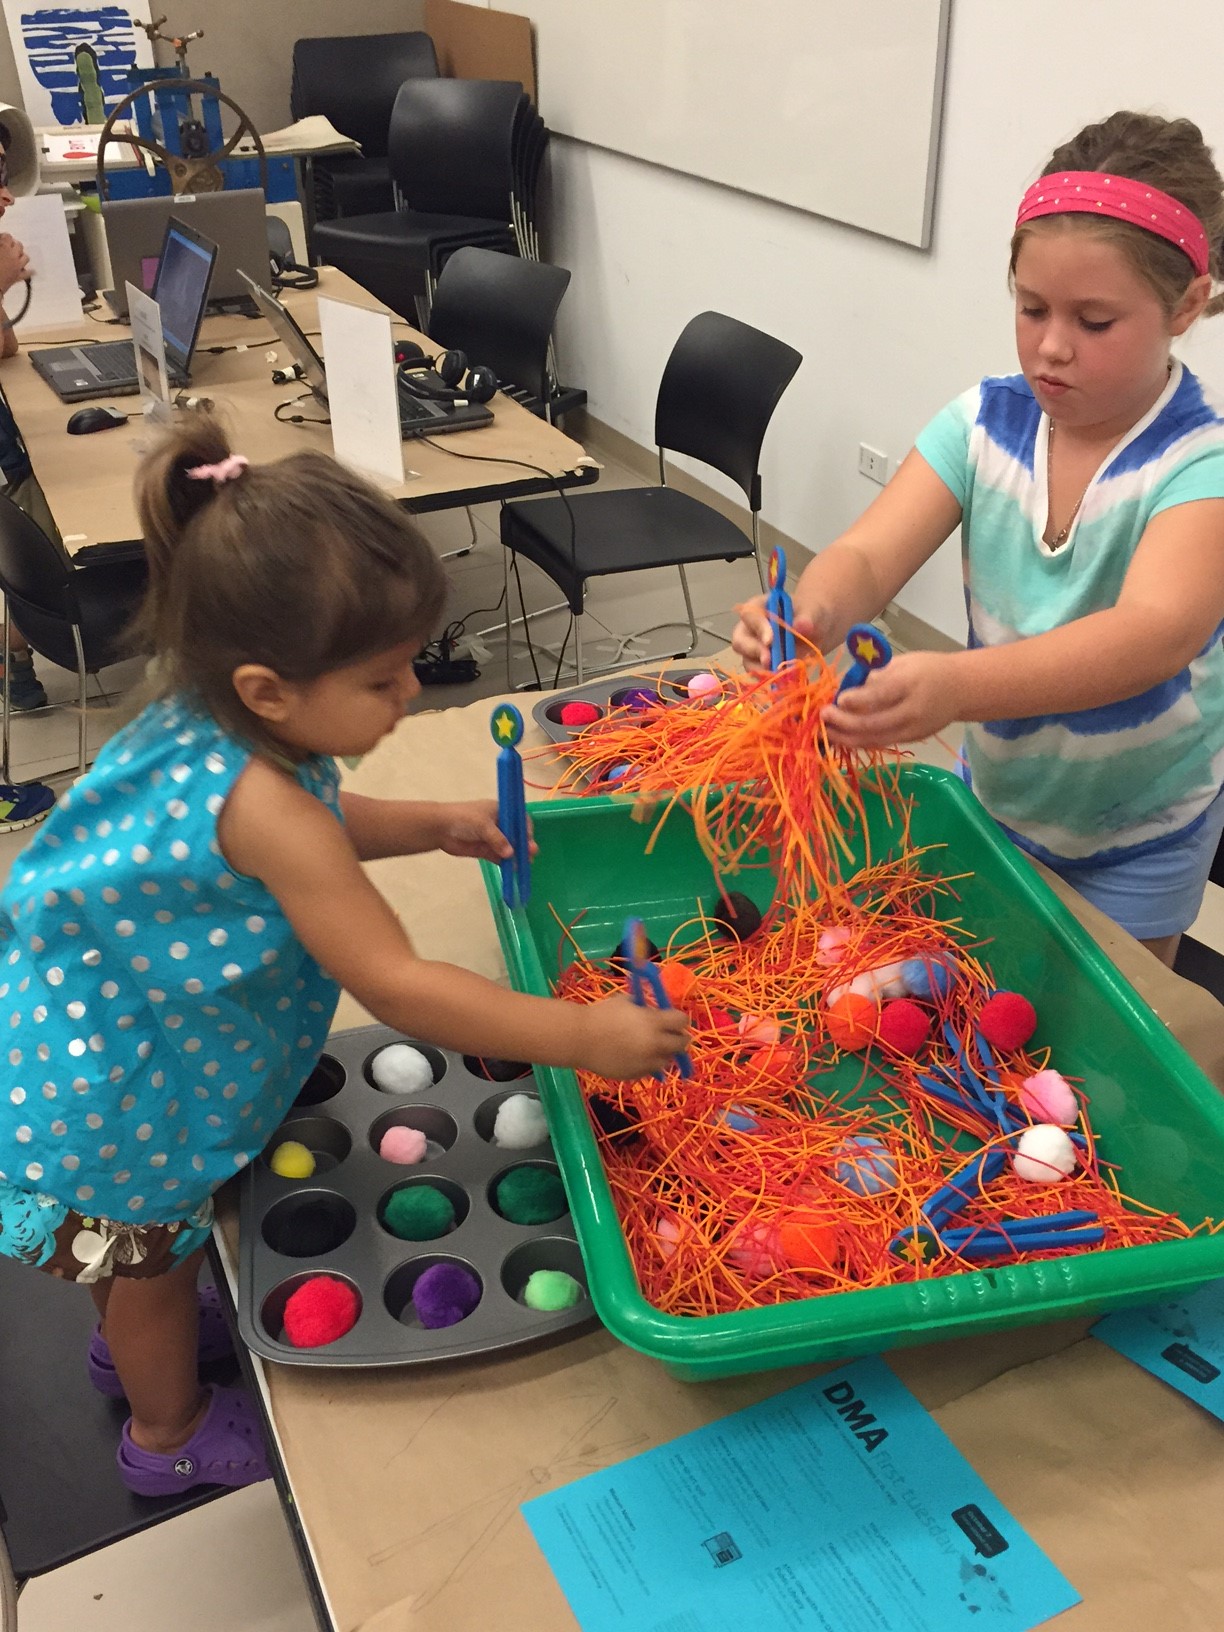
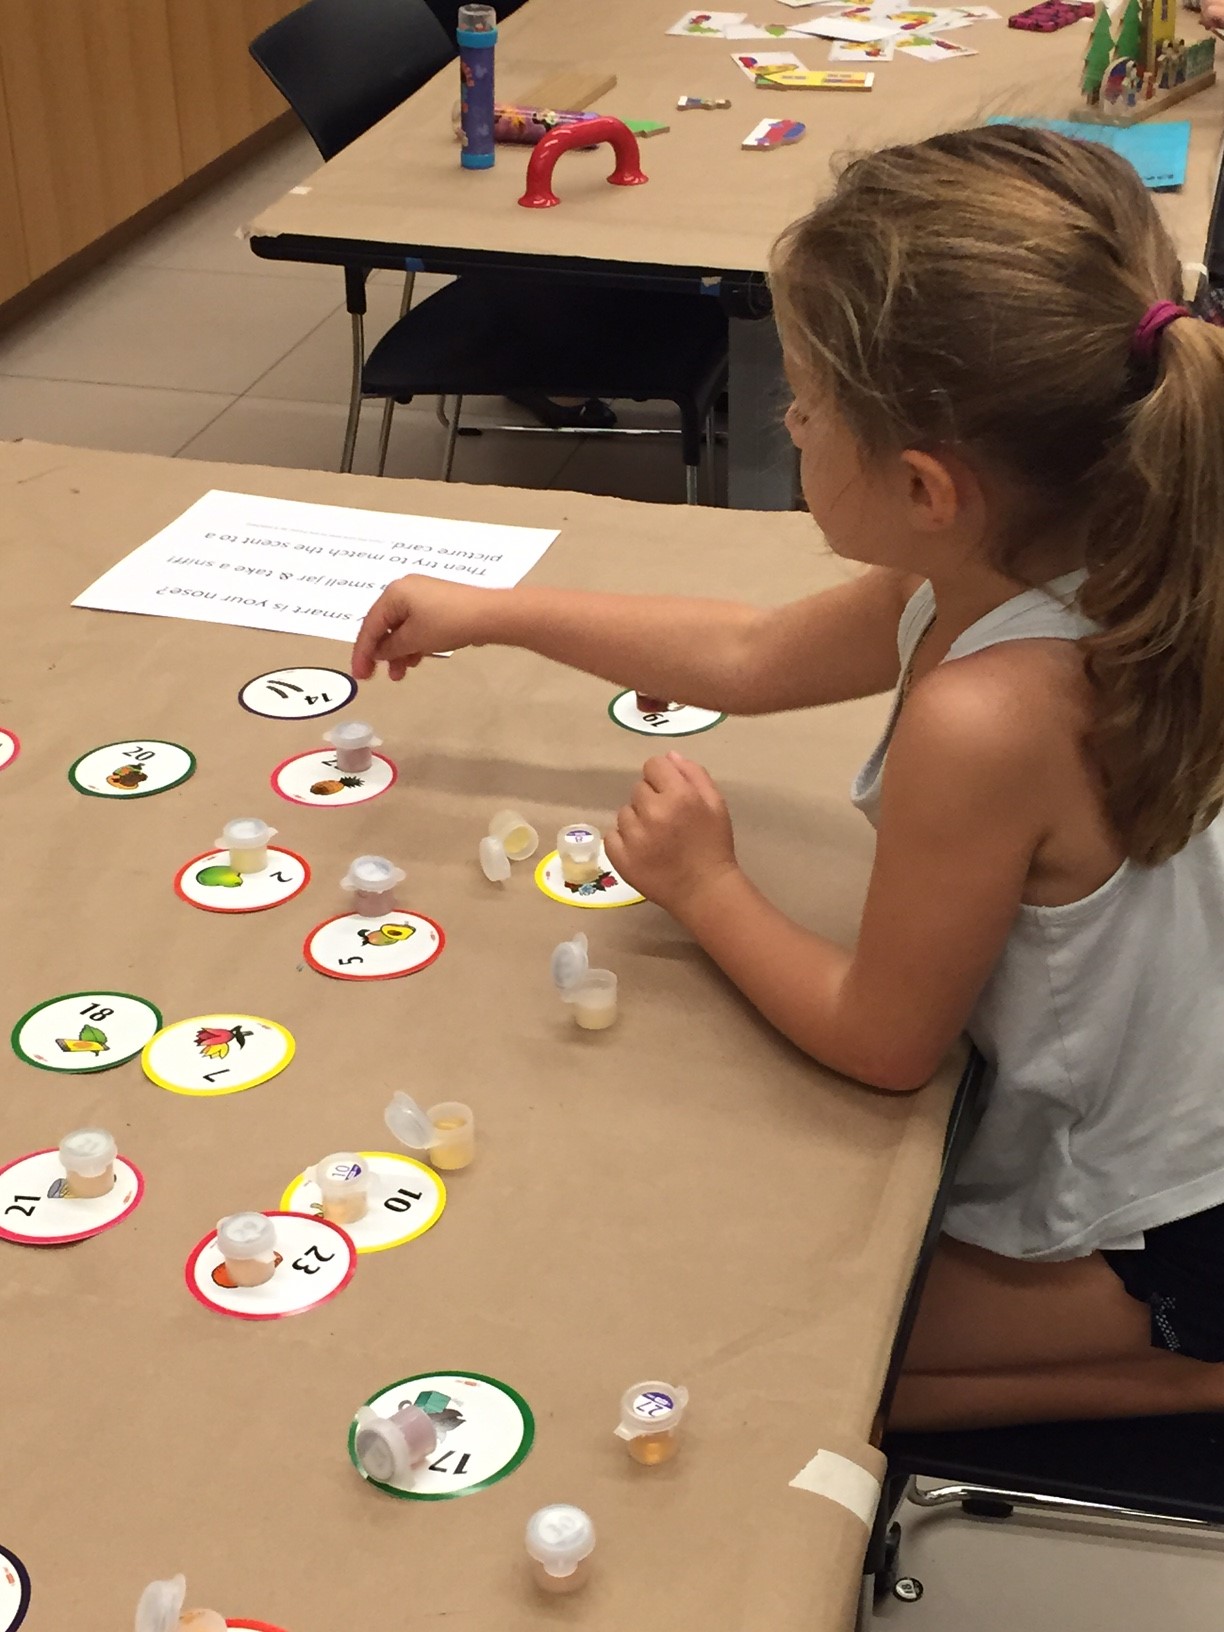
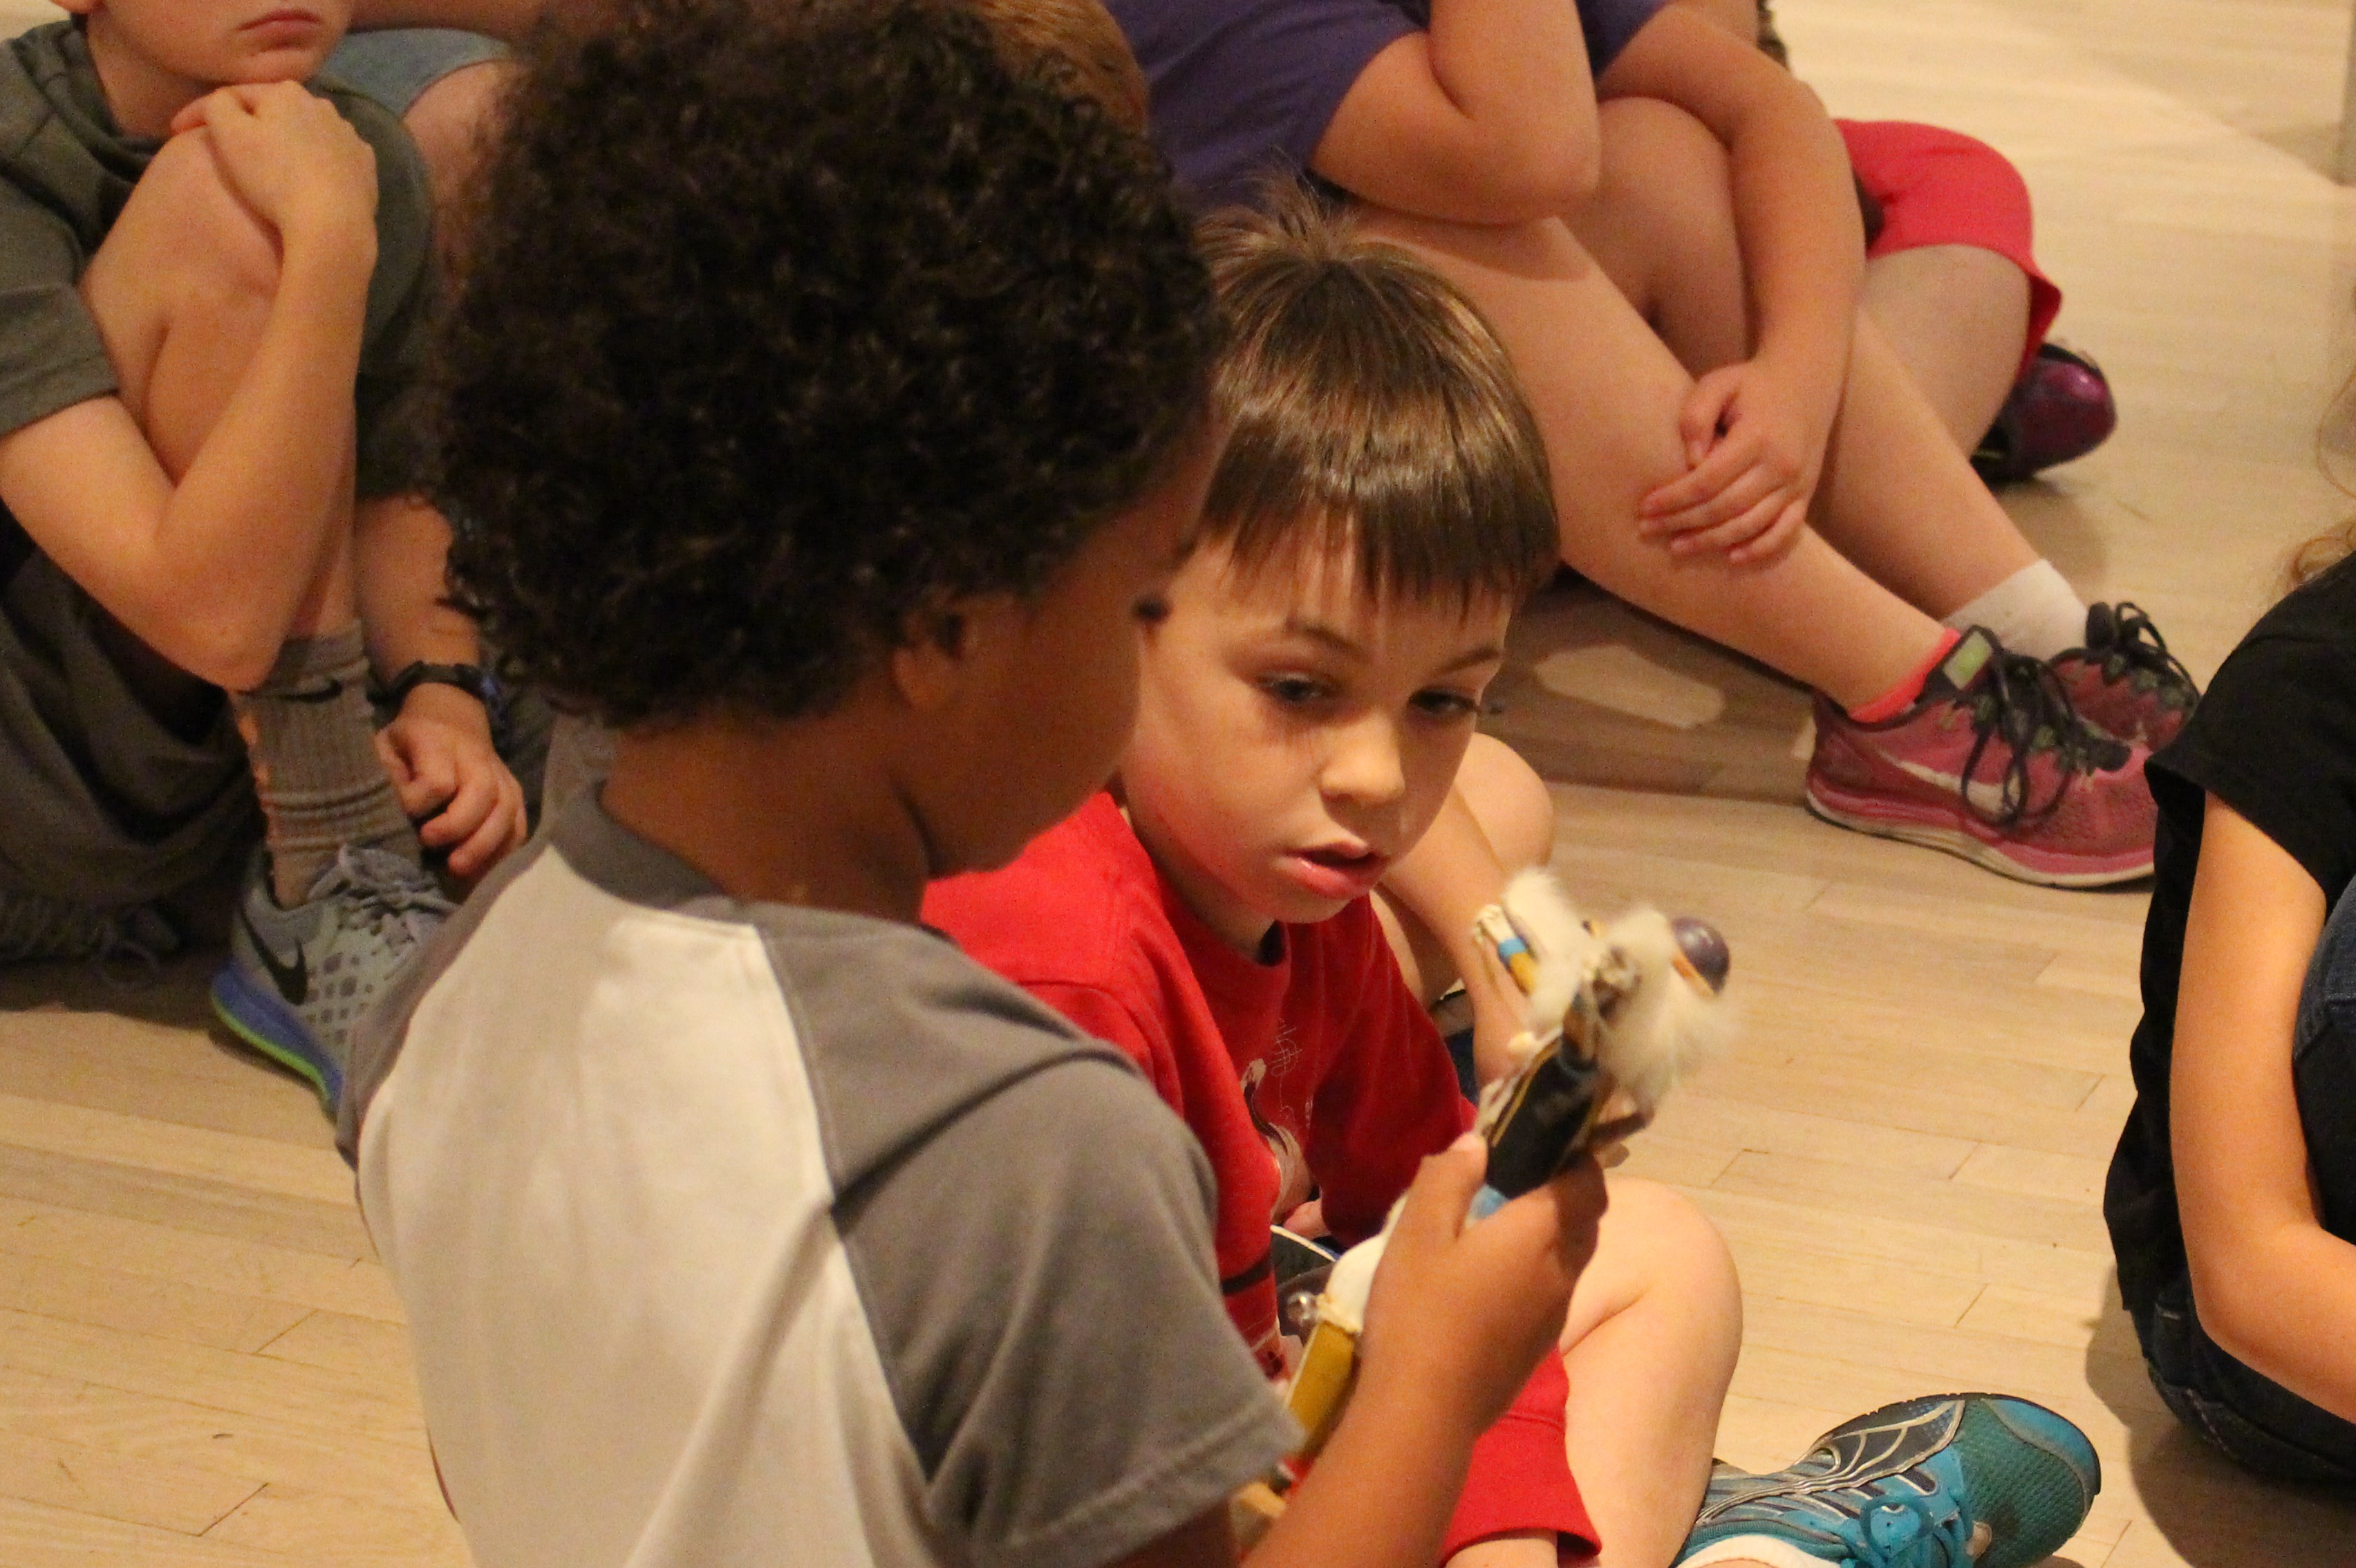
This year several of our programs for families, from First Tuesday to Arturo’s Art and Me related to Art Beyond Sight themes. Children had the chance to experience tables full of various textures and smells on First Tuesday and explore the galleries on a family tour focused on the senses. Toddlers explored texture in the African Art gallery and learned about Braille and raised line drawings. Even Arturo’s Nest, our space for children aged four and under, was stocked with toys and interactives that highlight the senses.

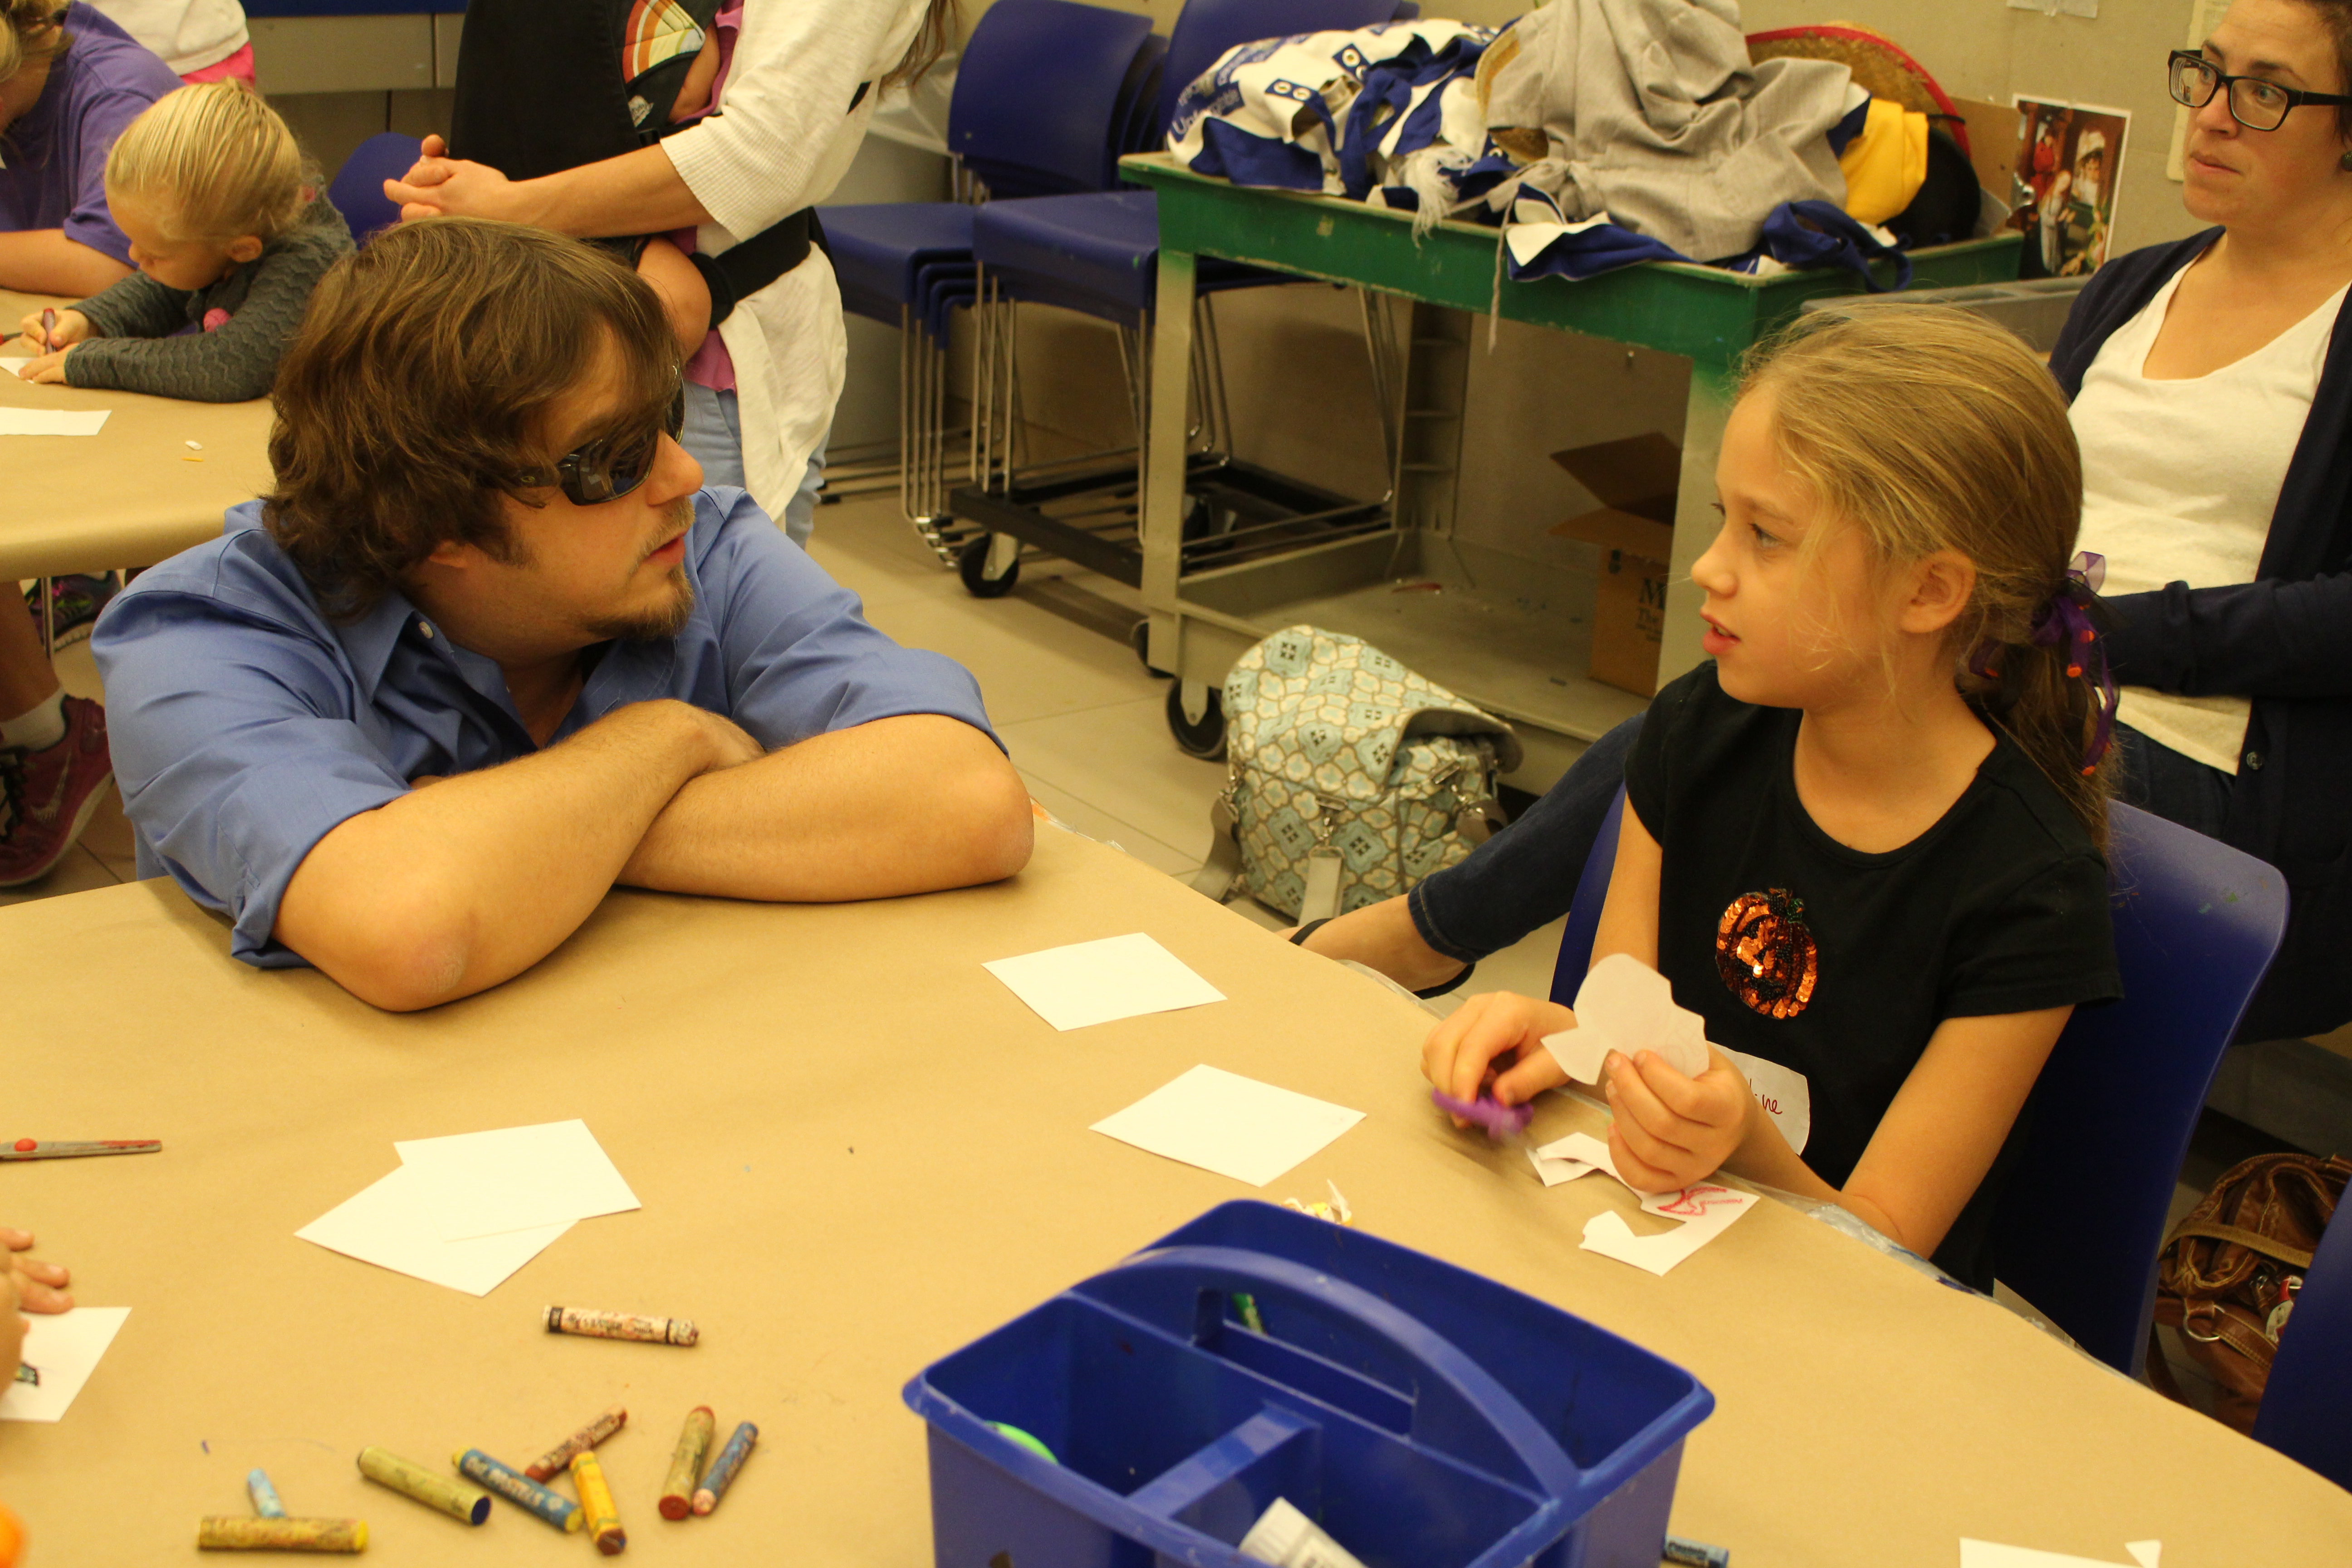
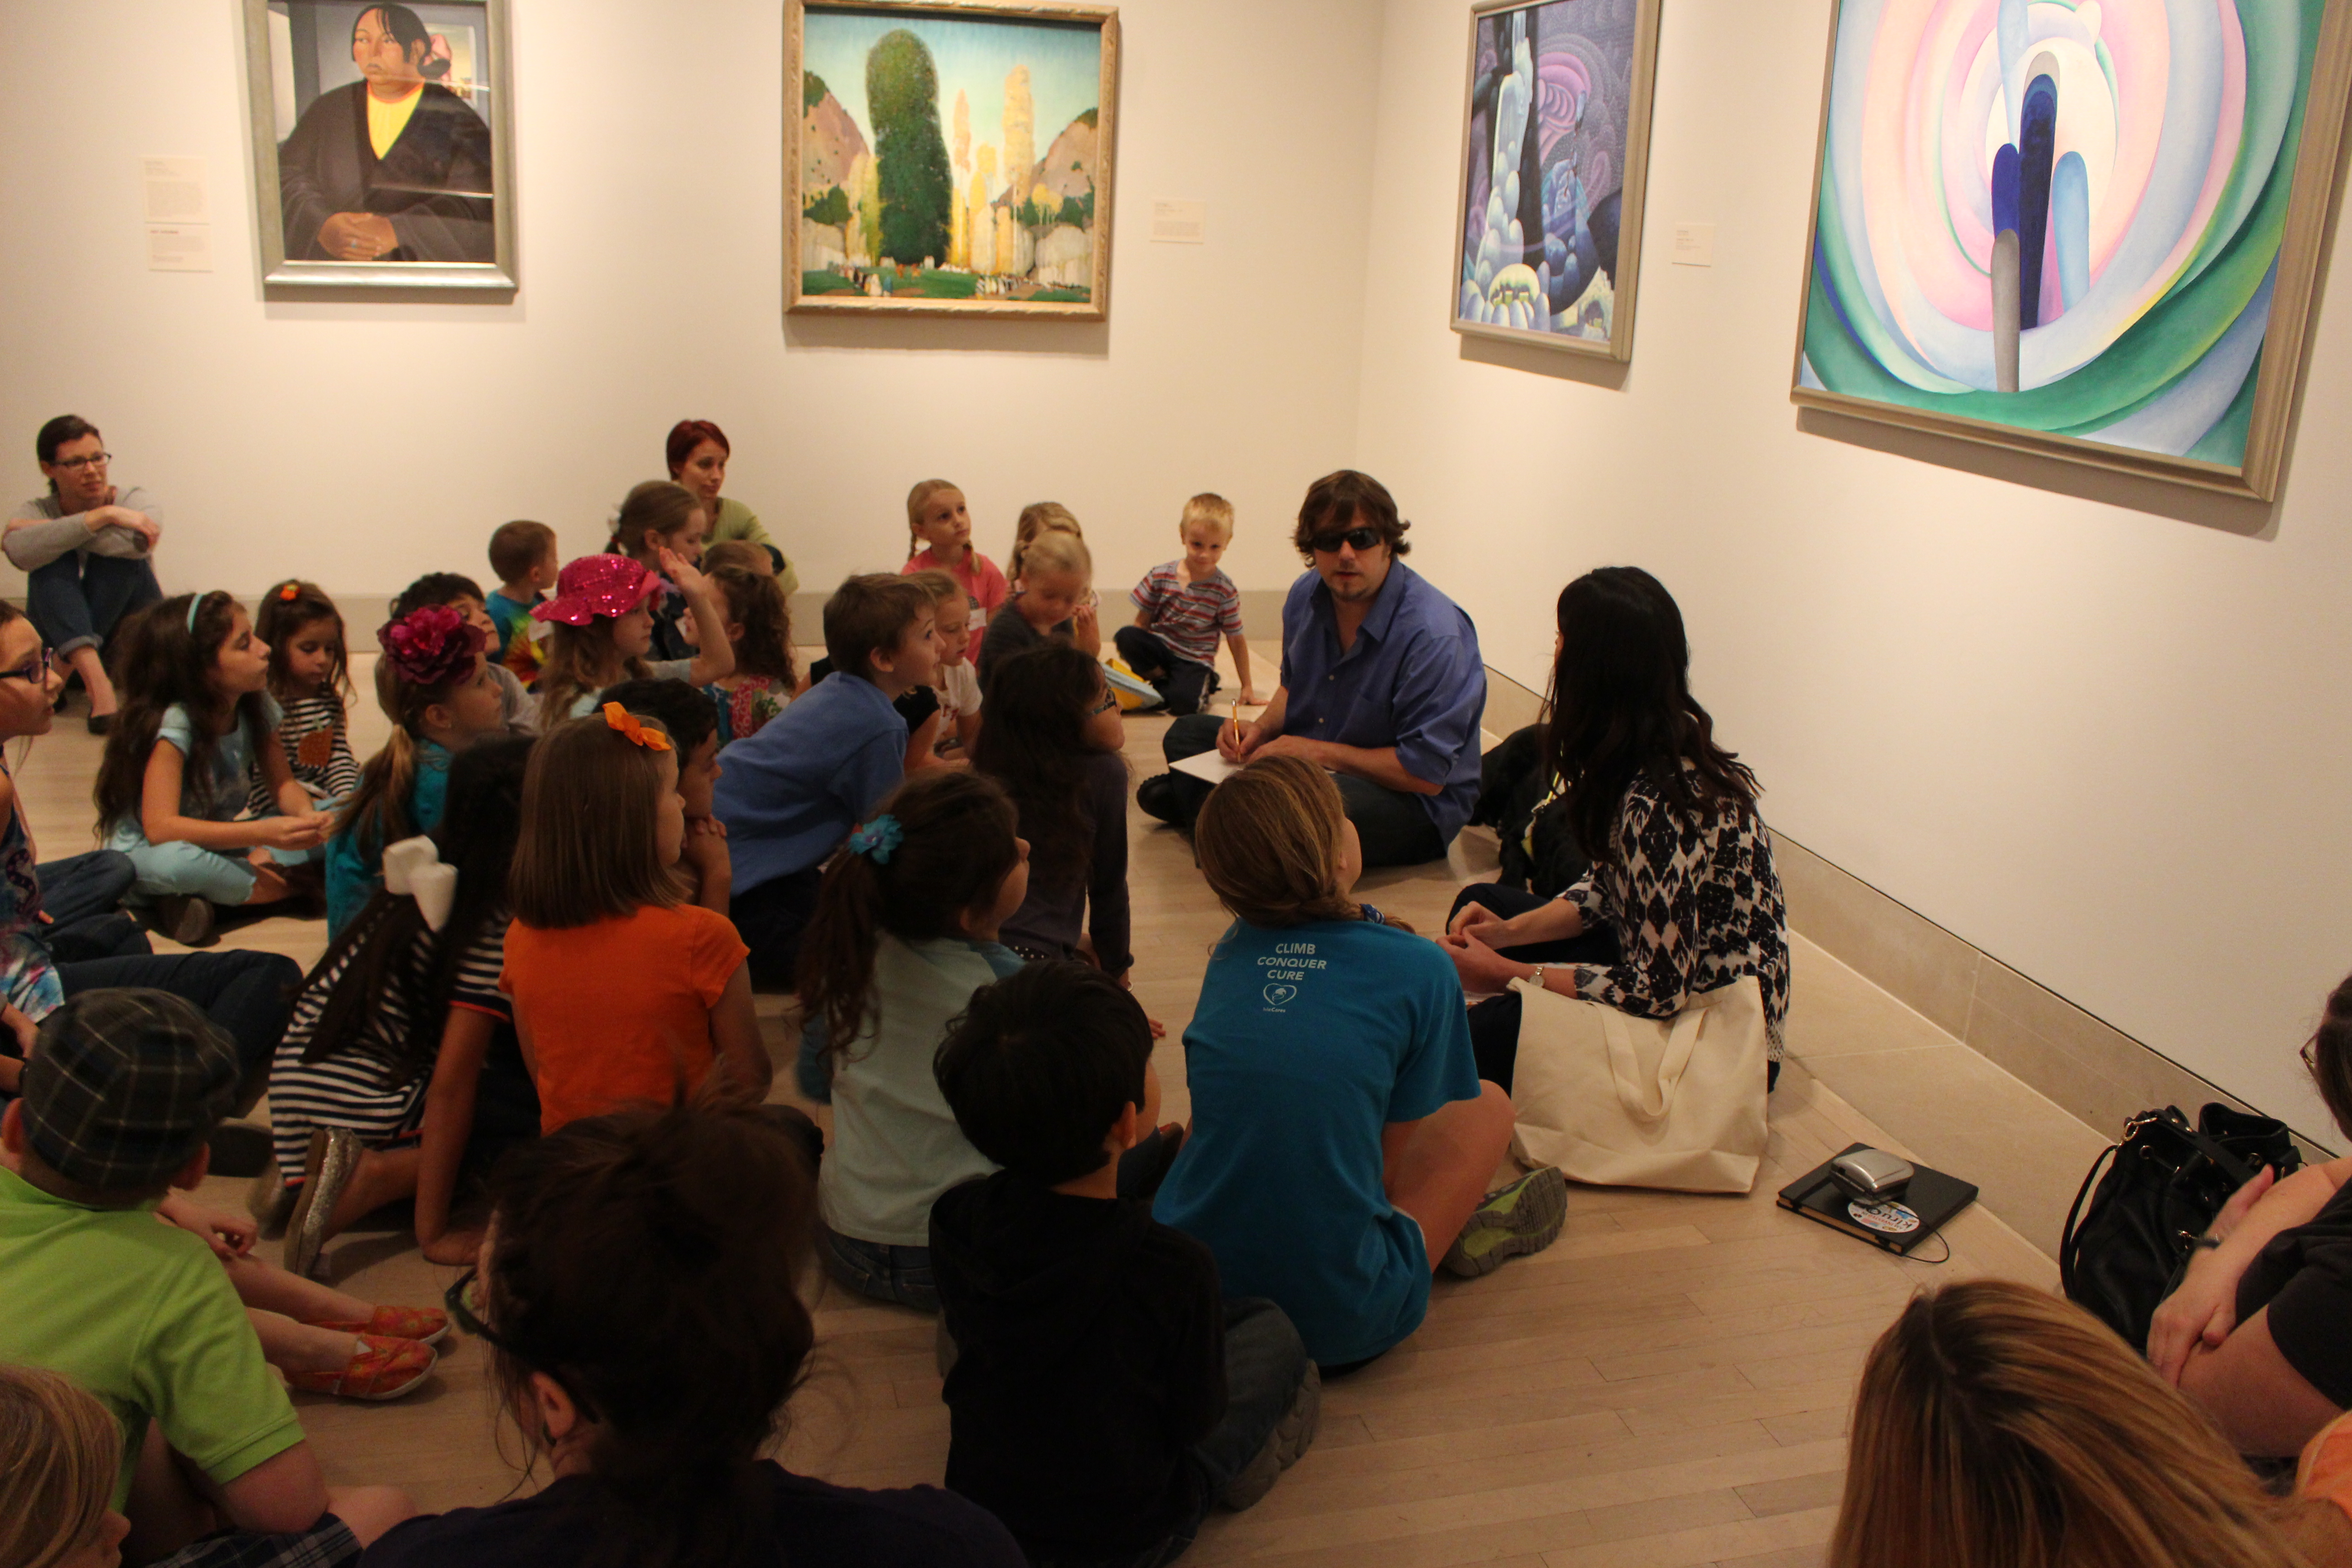
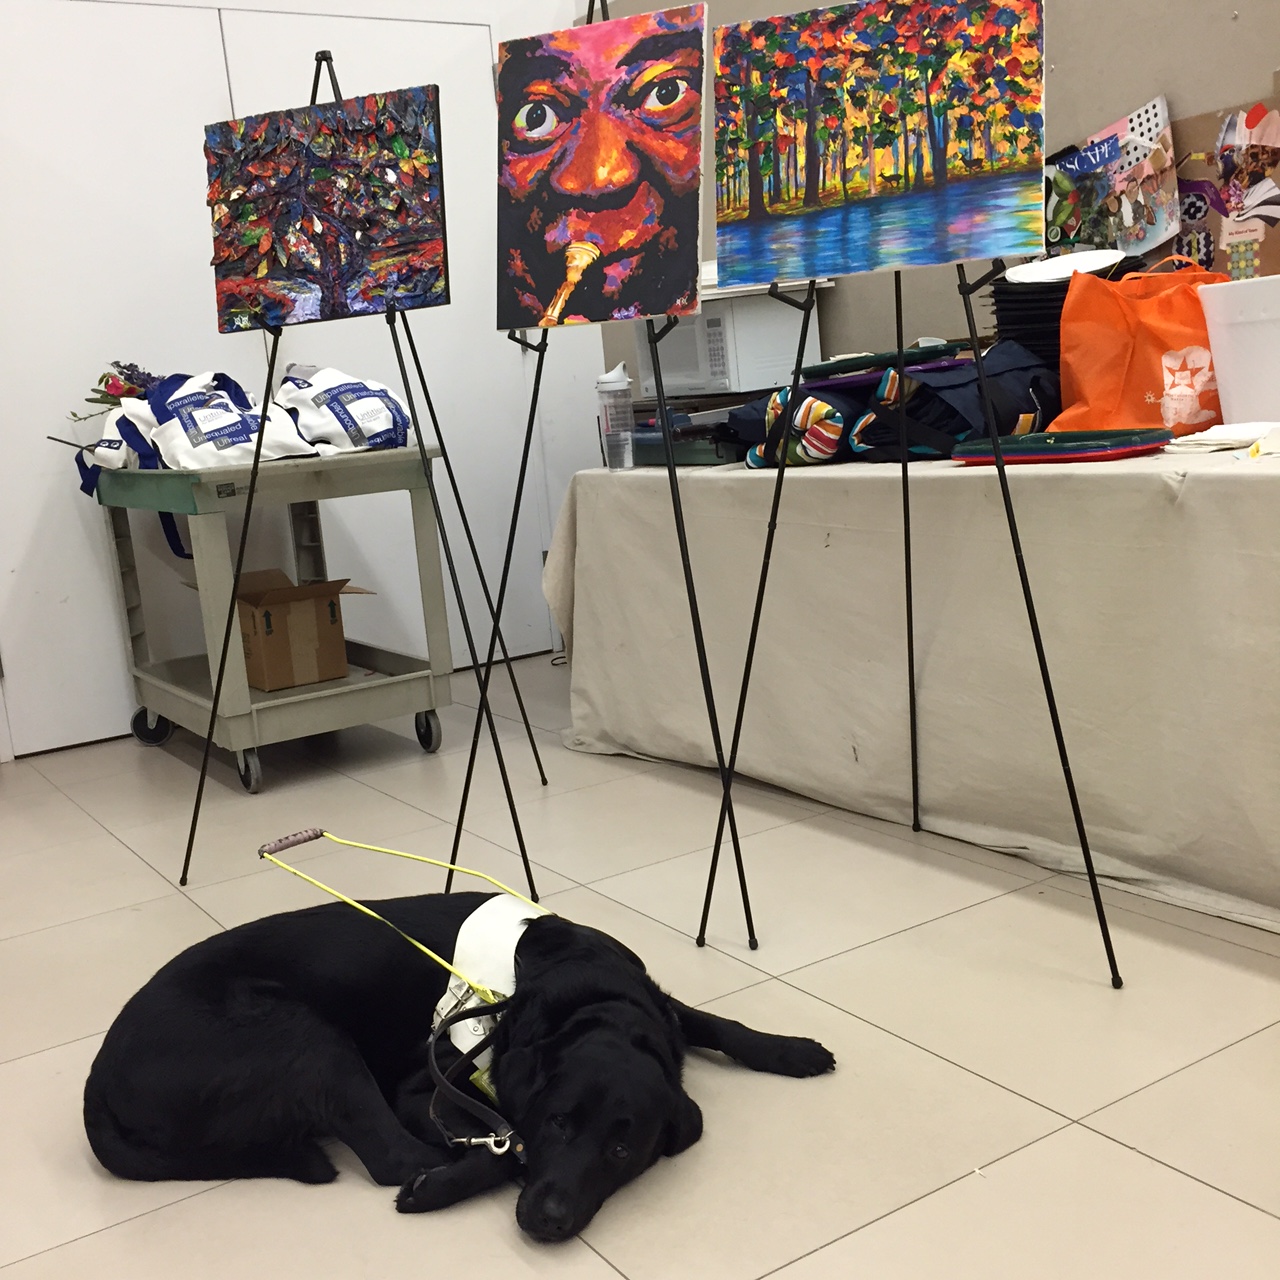
For several of our programs, we welcomed artist John Bramblitt, who has collaborated with us on ABS programming for the past 5 years. We love having John as an integral part to our programs; he is a favorite summer art camp special guest and often a featured artist at past large Museum-wide events. This year, John gave a gallery talk with an overview of his process as a painter who is blind. John focused on the way that he integrates music, texture, and even taste into his artwork. John brought several paintings and invited visitors to look closely–even to touch, something that is rare in an art museum!

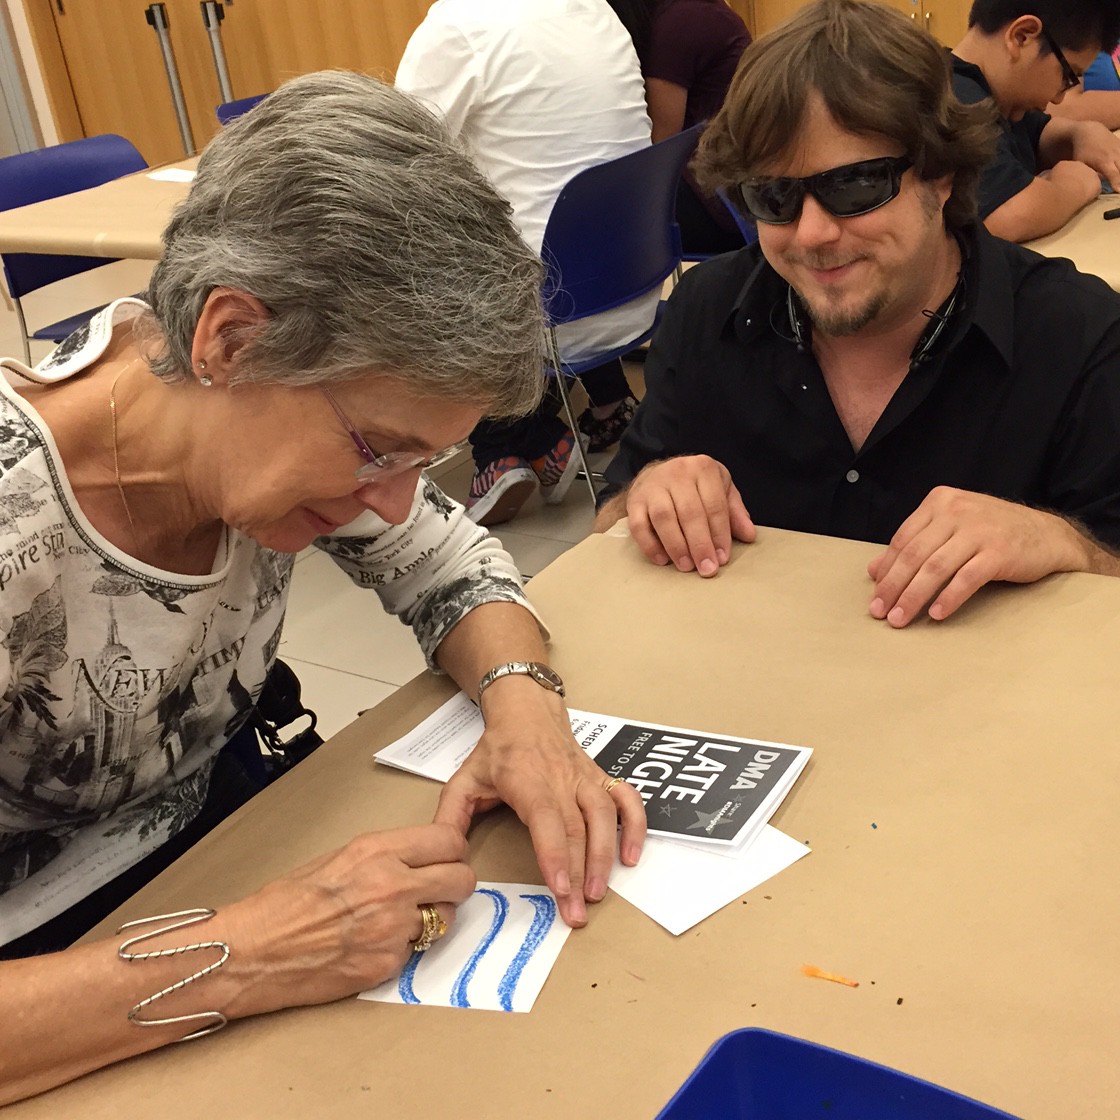
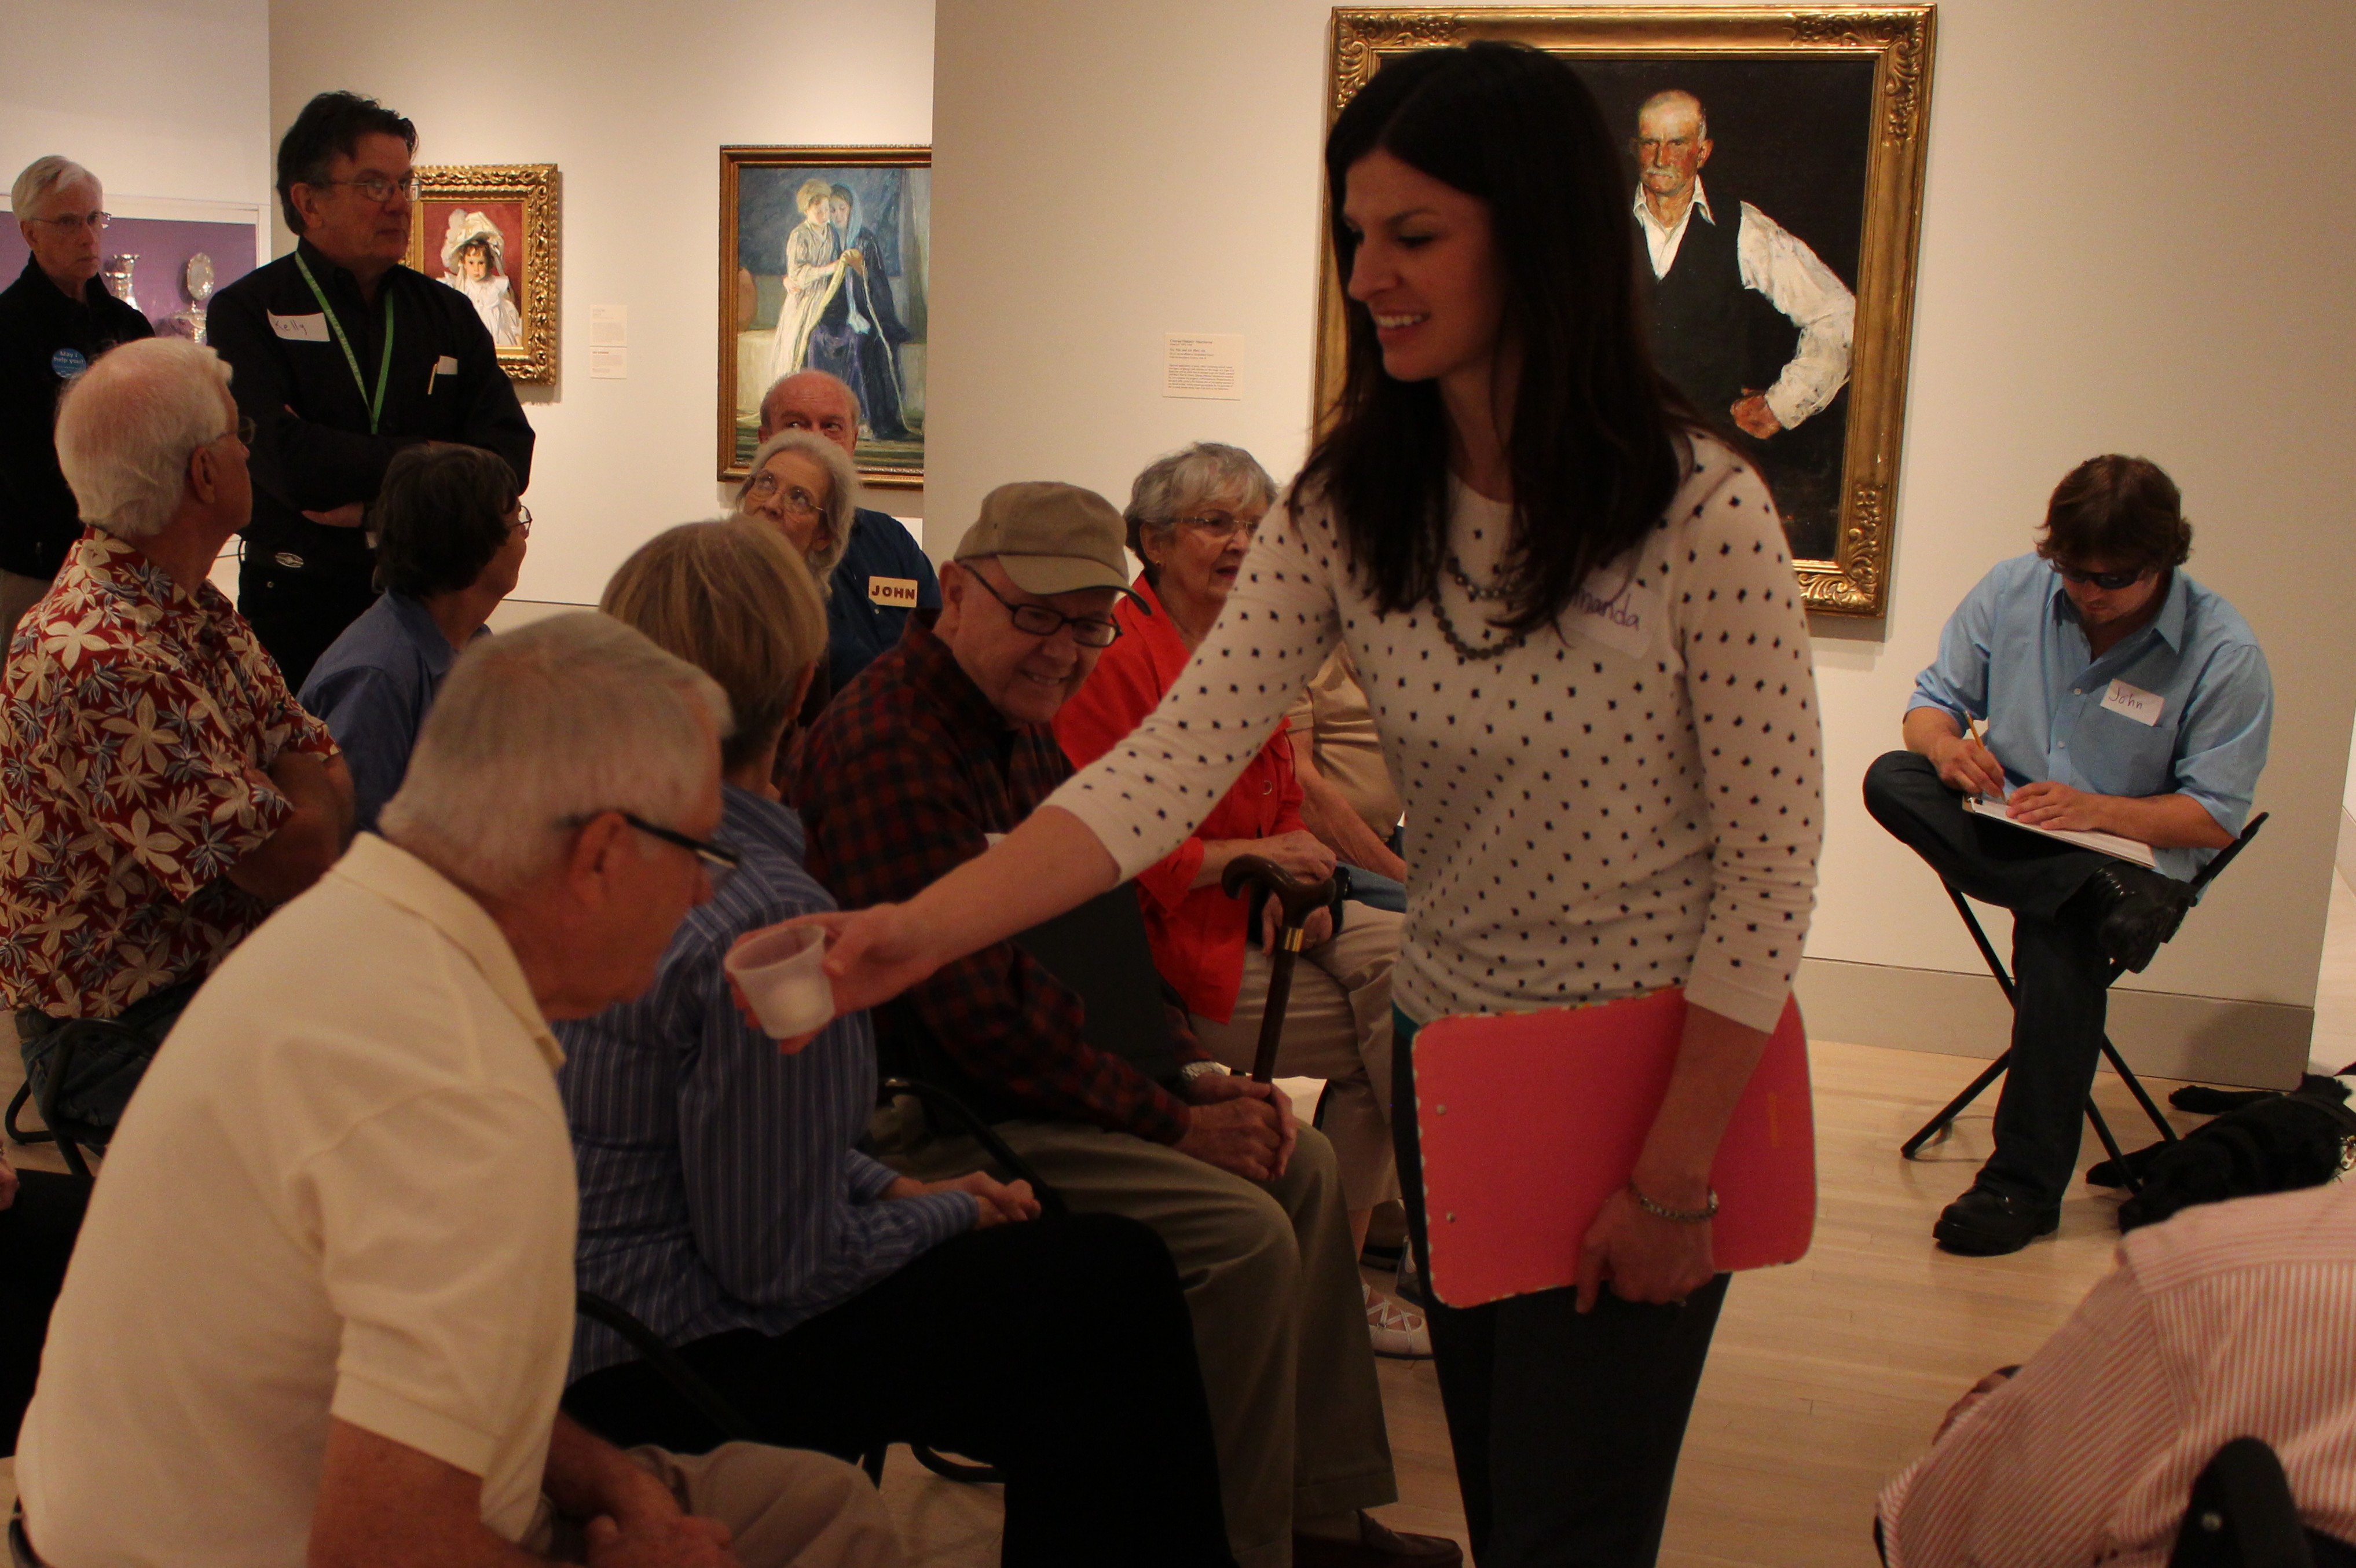
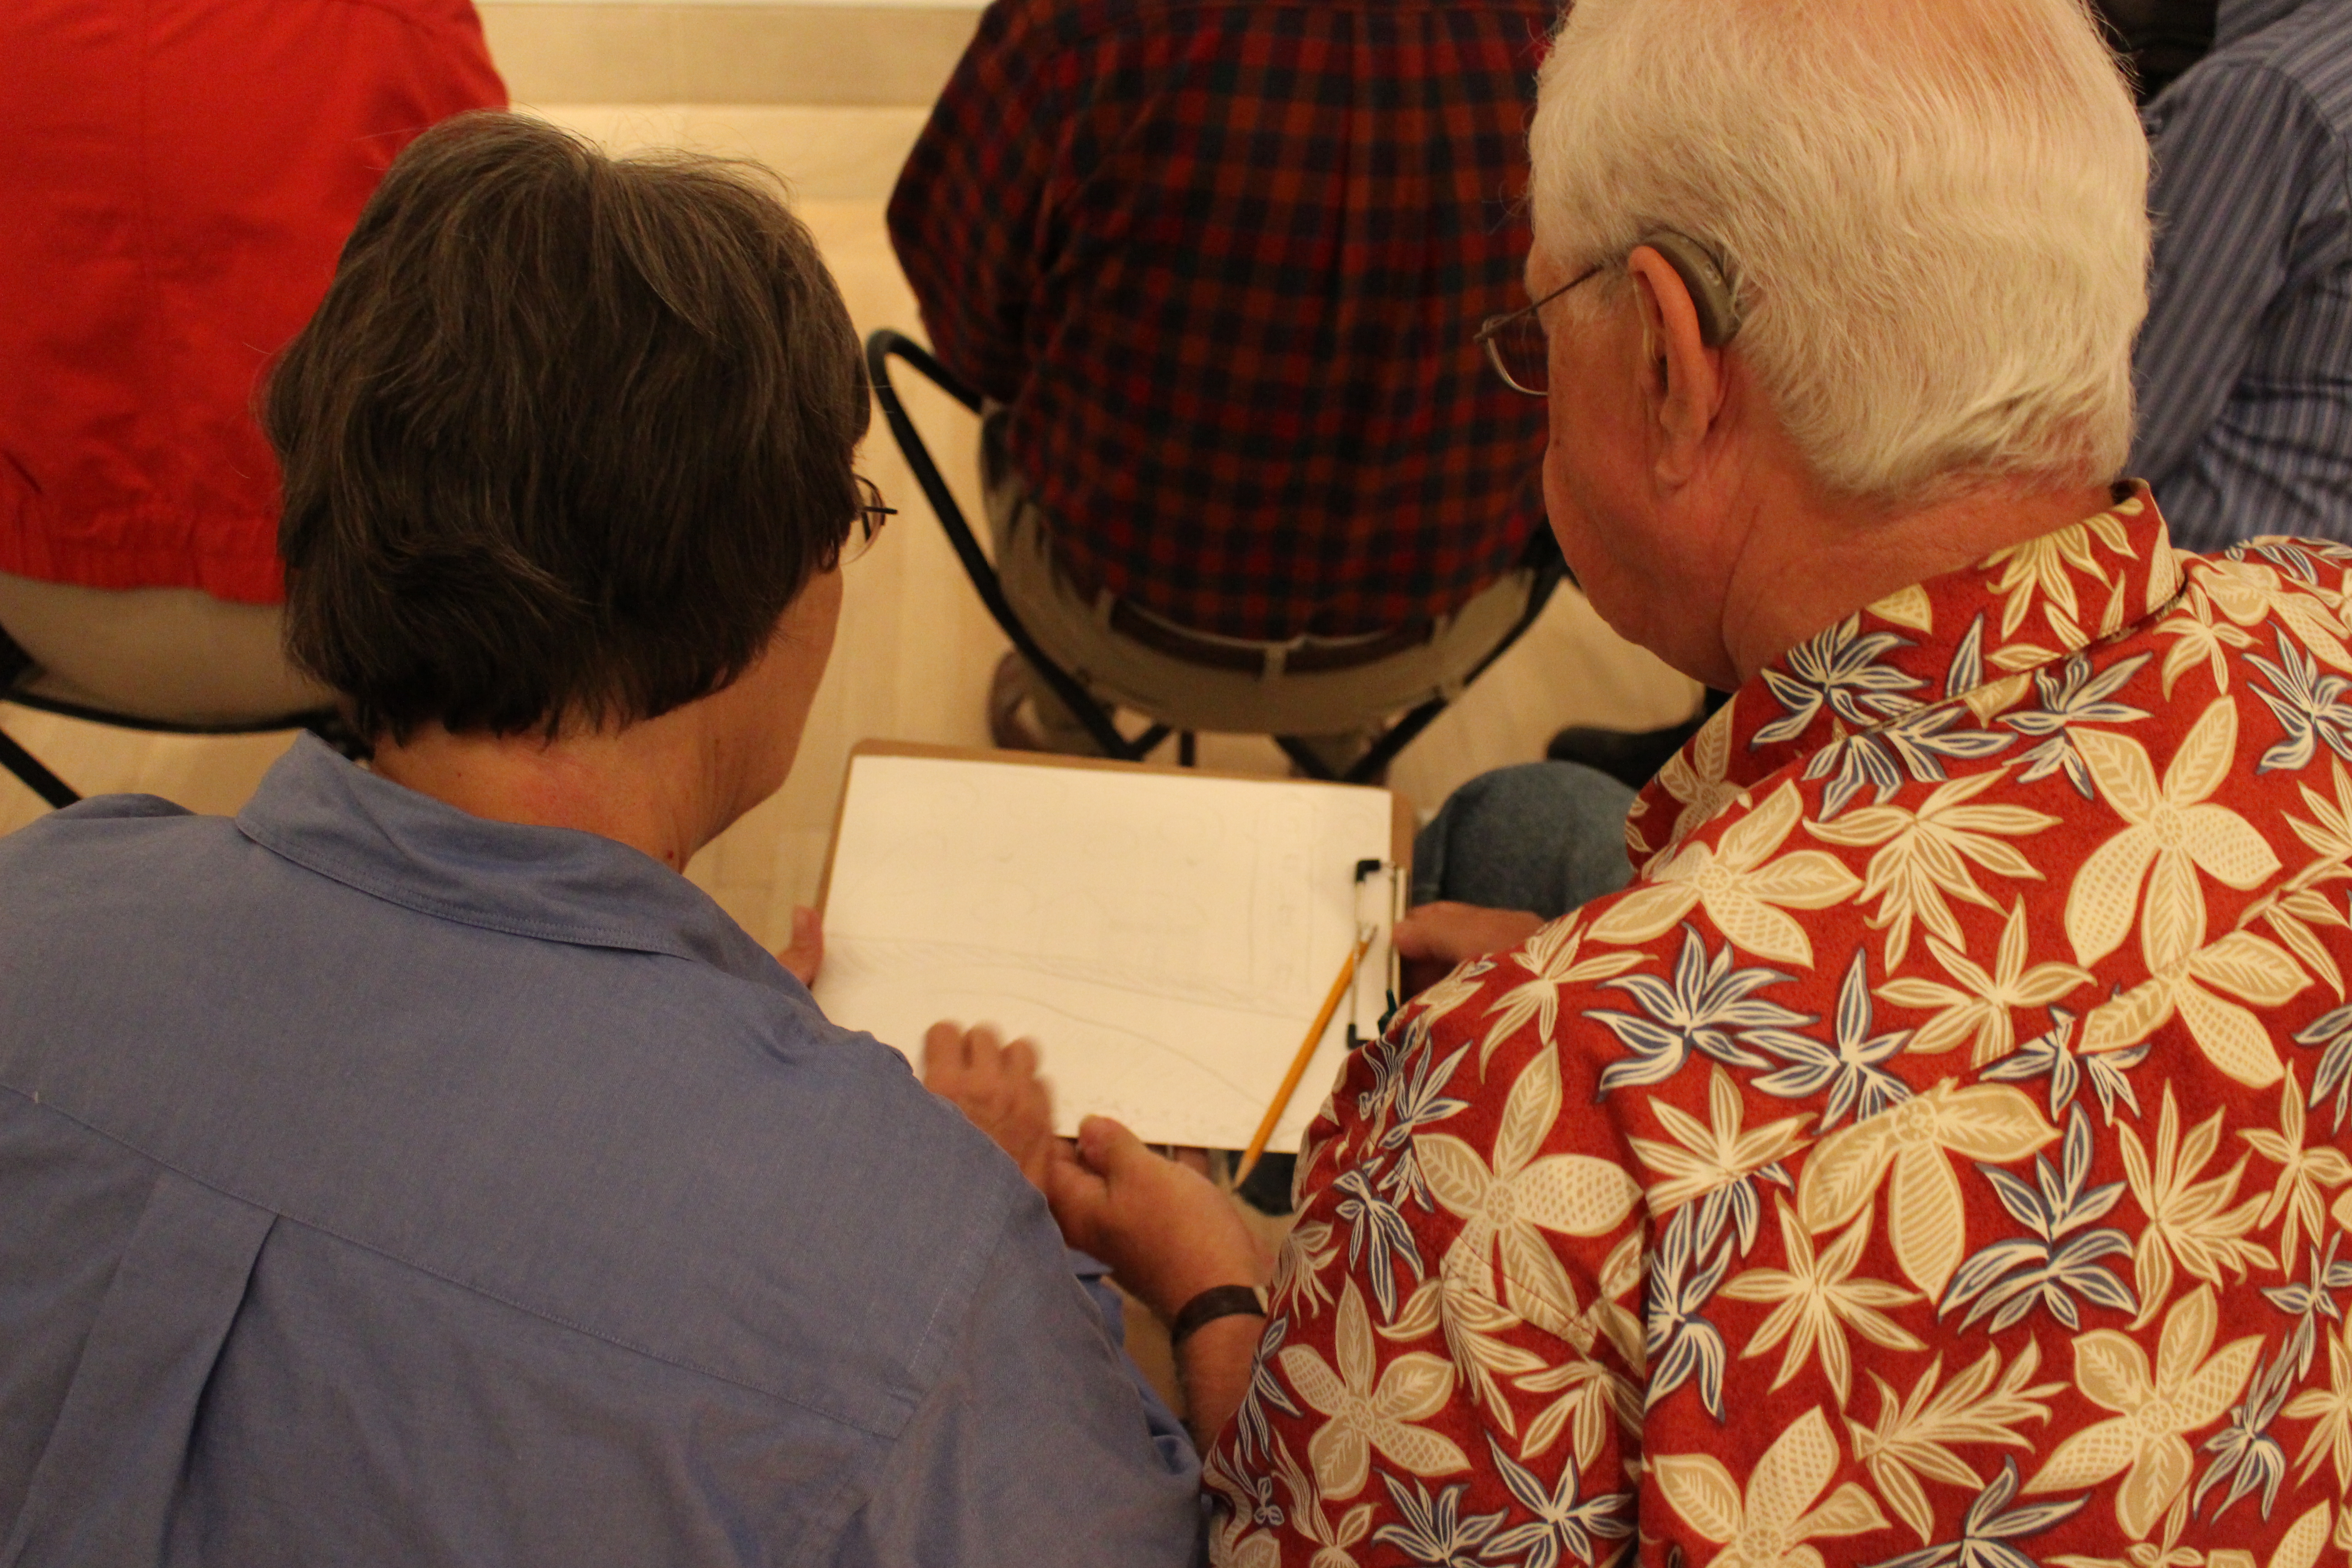
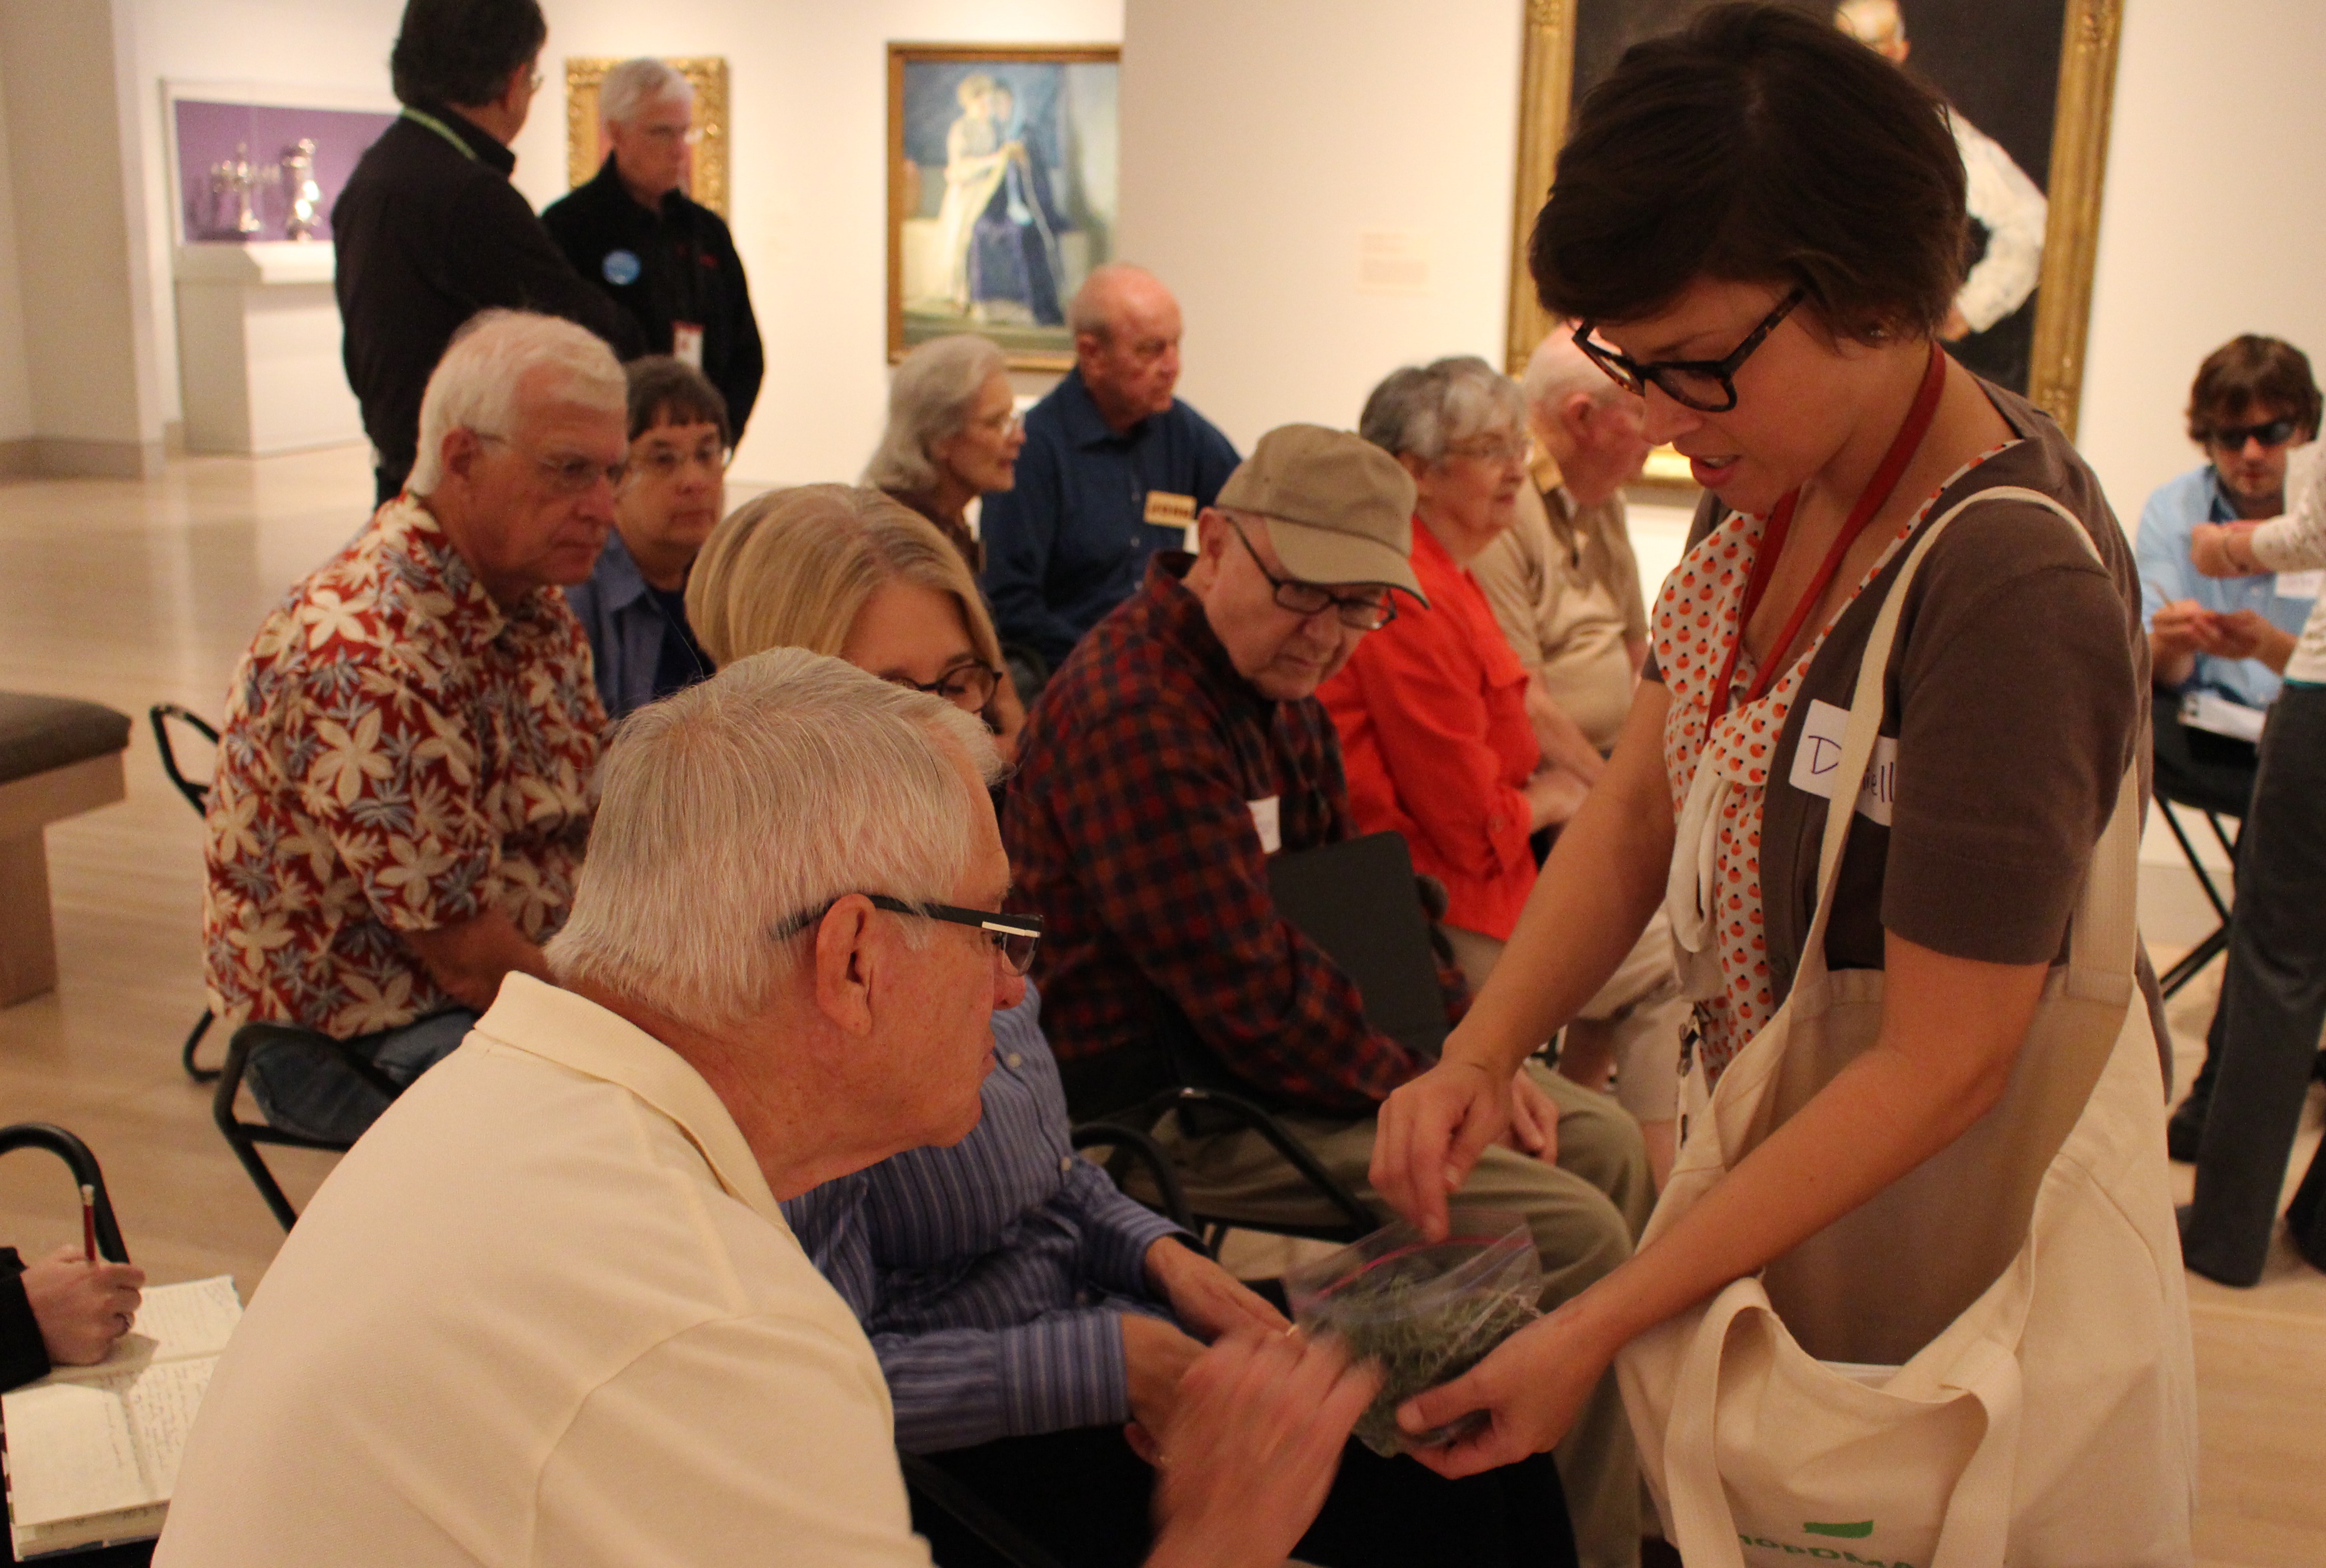
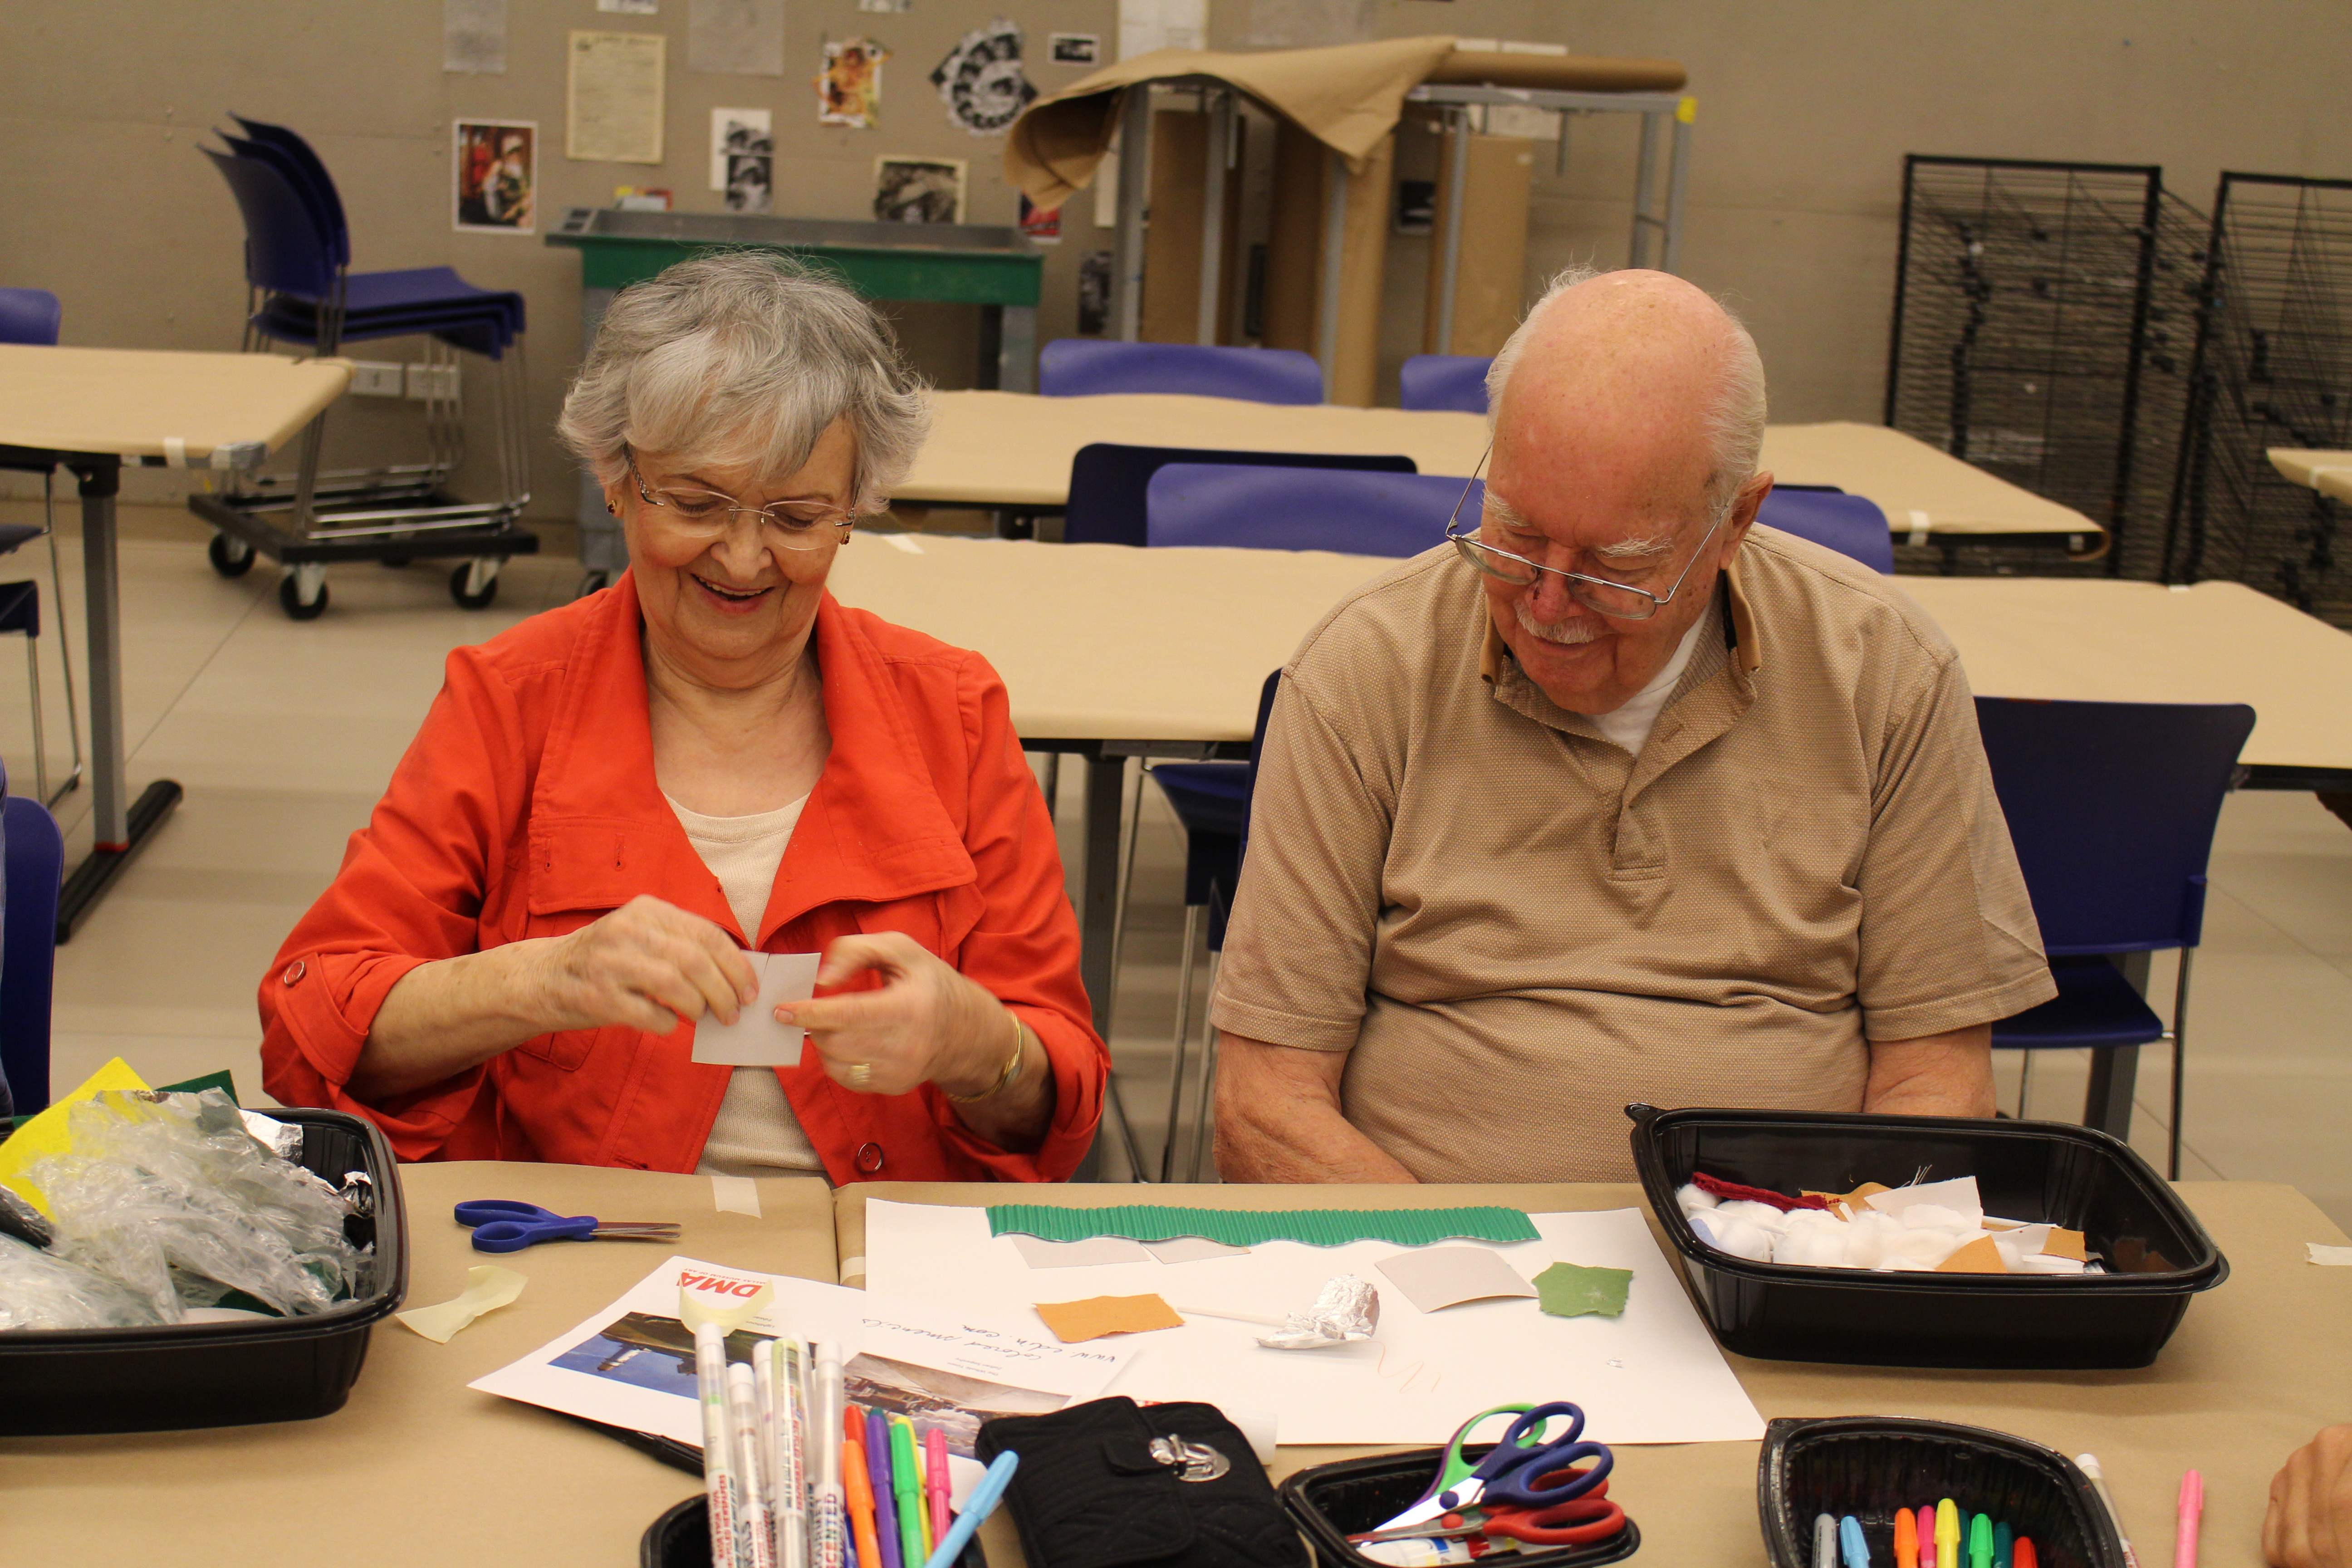
John also helped to lead Meaningful Moments, our program for visitors with Alzheimer’s disease. This is John’s fourth year to be a part of the program and he is definitely a crowd favorite! This year, we focused on immersing participants in a sensory experienced focused on two paintings in the American galleries. John shared how he integrates a sense of place into his landscapes and then participants described the paintings in detail to John, as he sketched their descriptions onto a Styrofoam sheet. Over the years, I have noticed that visitors give some of the best and most detailed descriptions of artwork when asked to share their thoughts with John–and his drawing of the described painting certainly amazes! To help immerse visitors into each artwork, we played related sounds, shared scents that connect to the paintings, and passed around tactile objects inspired by the works. In the studio, participants used numerous materials with a range of textures to create their own textural landscape.

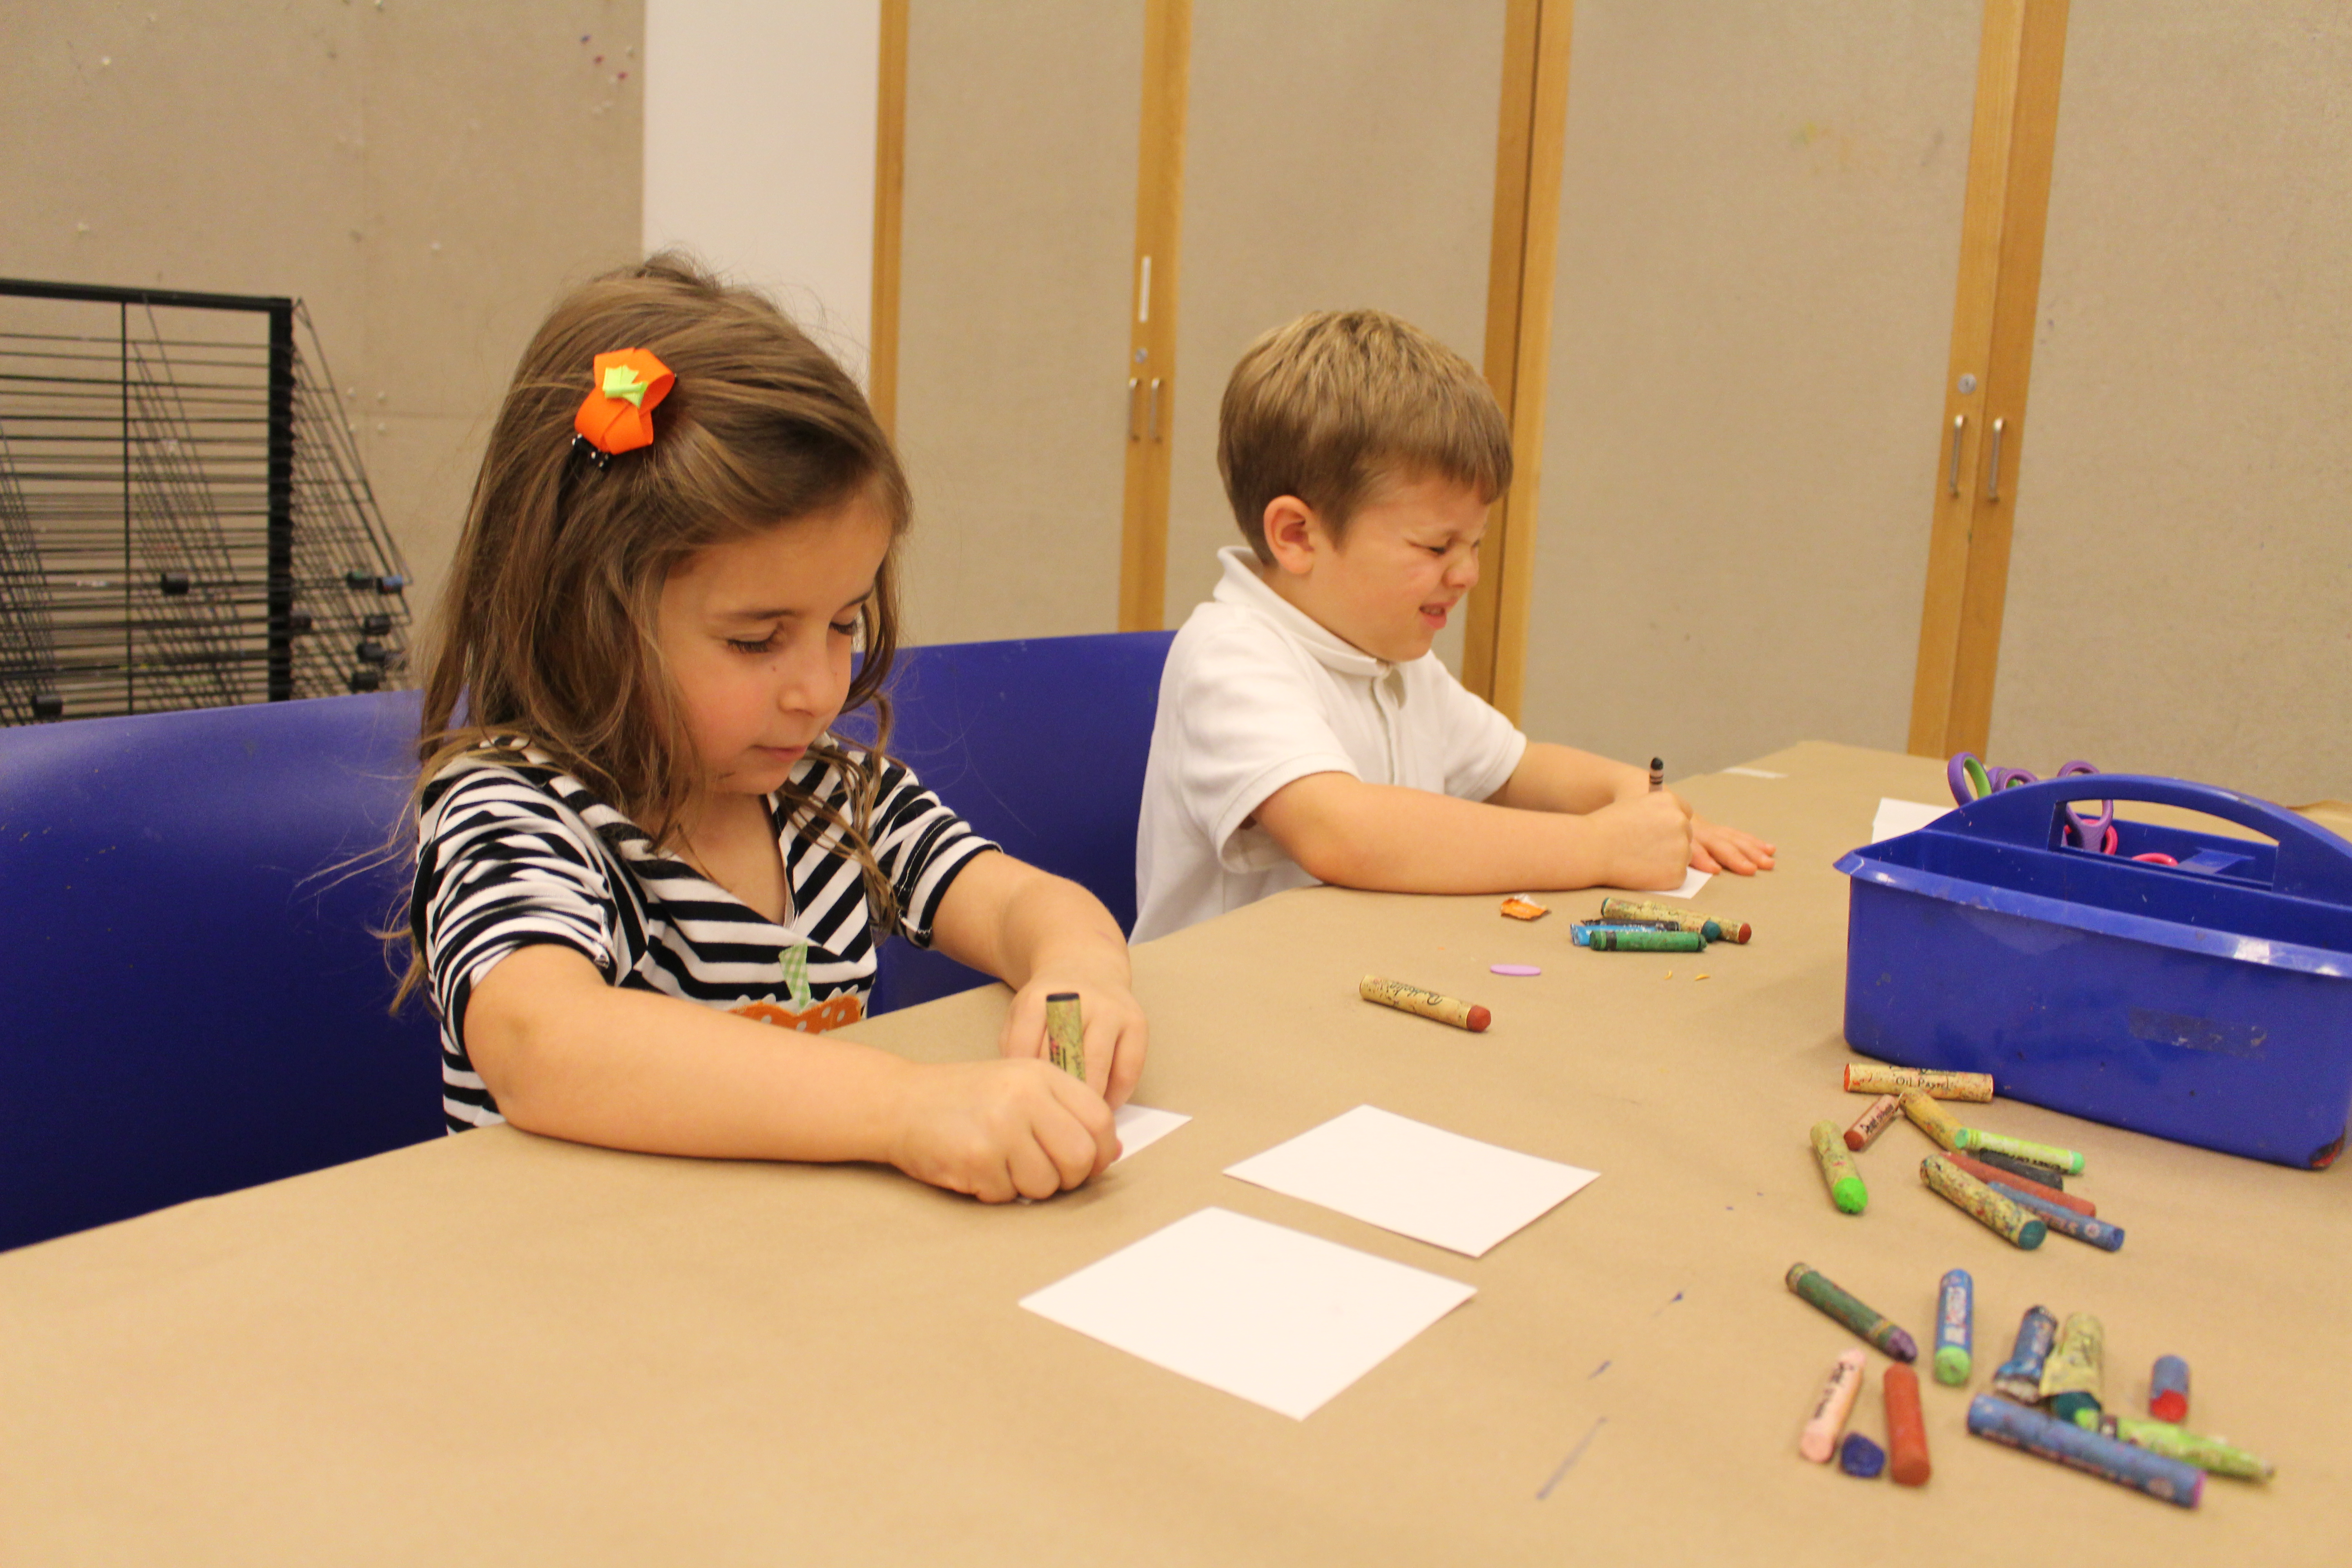
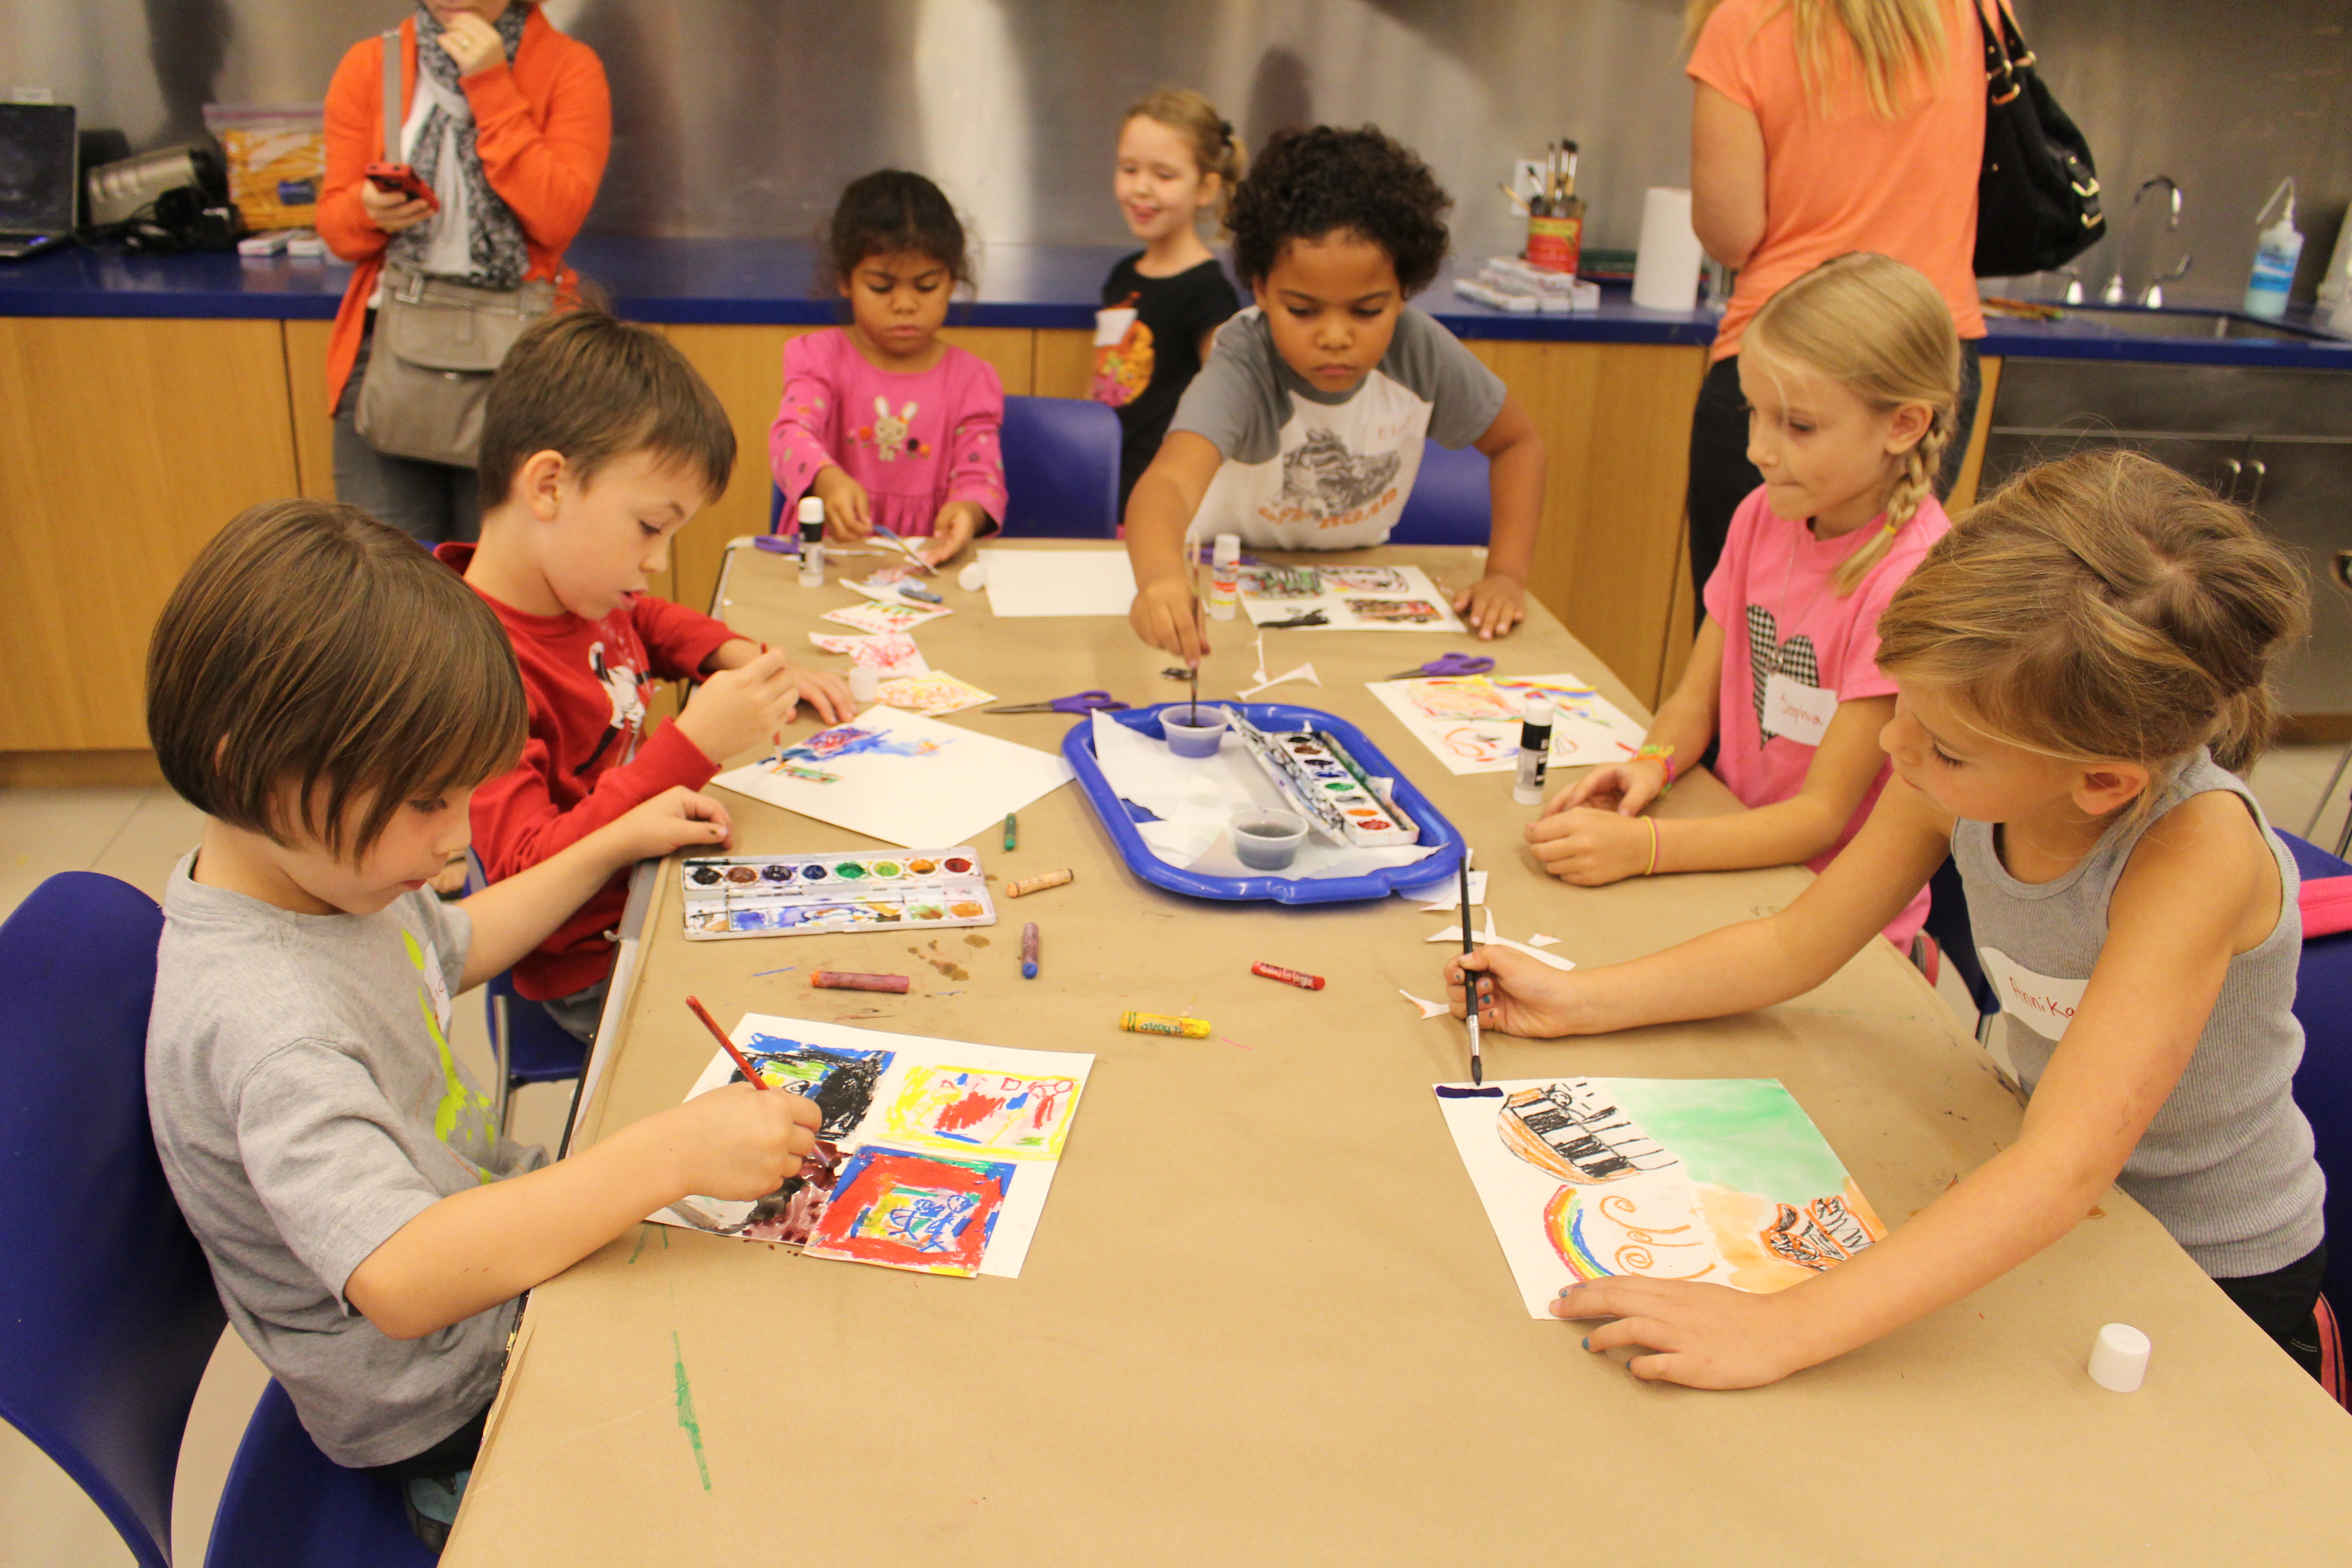
For both Late Night Studio Creations and our homeschool program, John helped us to explore artwork with music. In the studio, participants listened to different elements of the same song (vocals, piano, or the percussion instruments) and imagined a color for the song before creating a shape or design with oil pastel using their chosen color. After gluing their shapes to a larger piece of paper, John played the song in its entirety and invited visitors to imagine a color for the song. Visitors used watercolor paint to paint over their shapes to create their own musical-inspired artworks. The process of cutting shapes and piecing them together was inspired by one of John’s recent studio experiments of cutting up and reassembling dried paint. For the homeschool program, we linked the musical studio activity to the galleries through a discussion with John about a painting by Georgia O’Keeffe that was inspired by music and movement.

We have had so much fun with John this October for an enjoyable month of sensory exploration. For more information about the Art Beyond Sight programs at the DMA, please click here.

Amanda Blake
Head of Family, Access, and School Experiences

Friday Photos: FAST Fashion

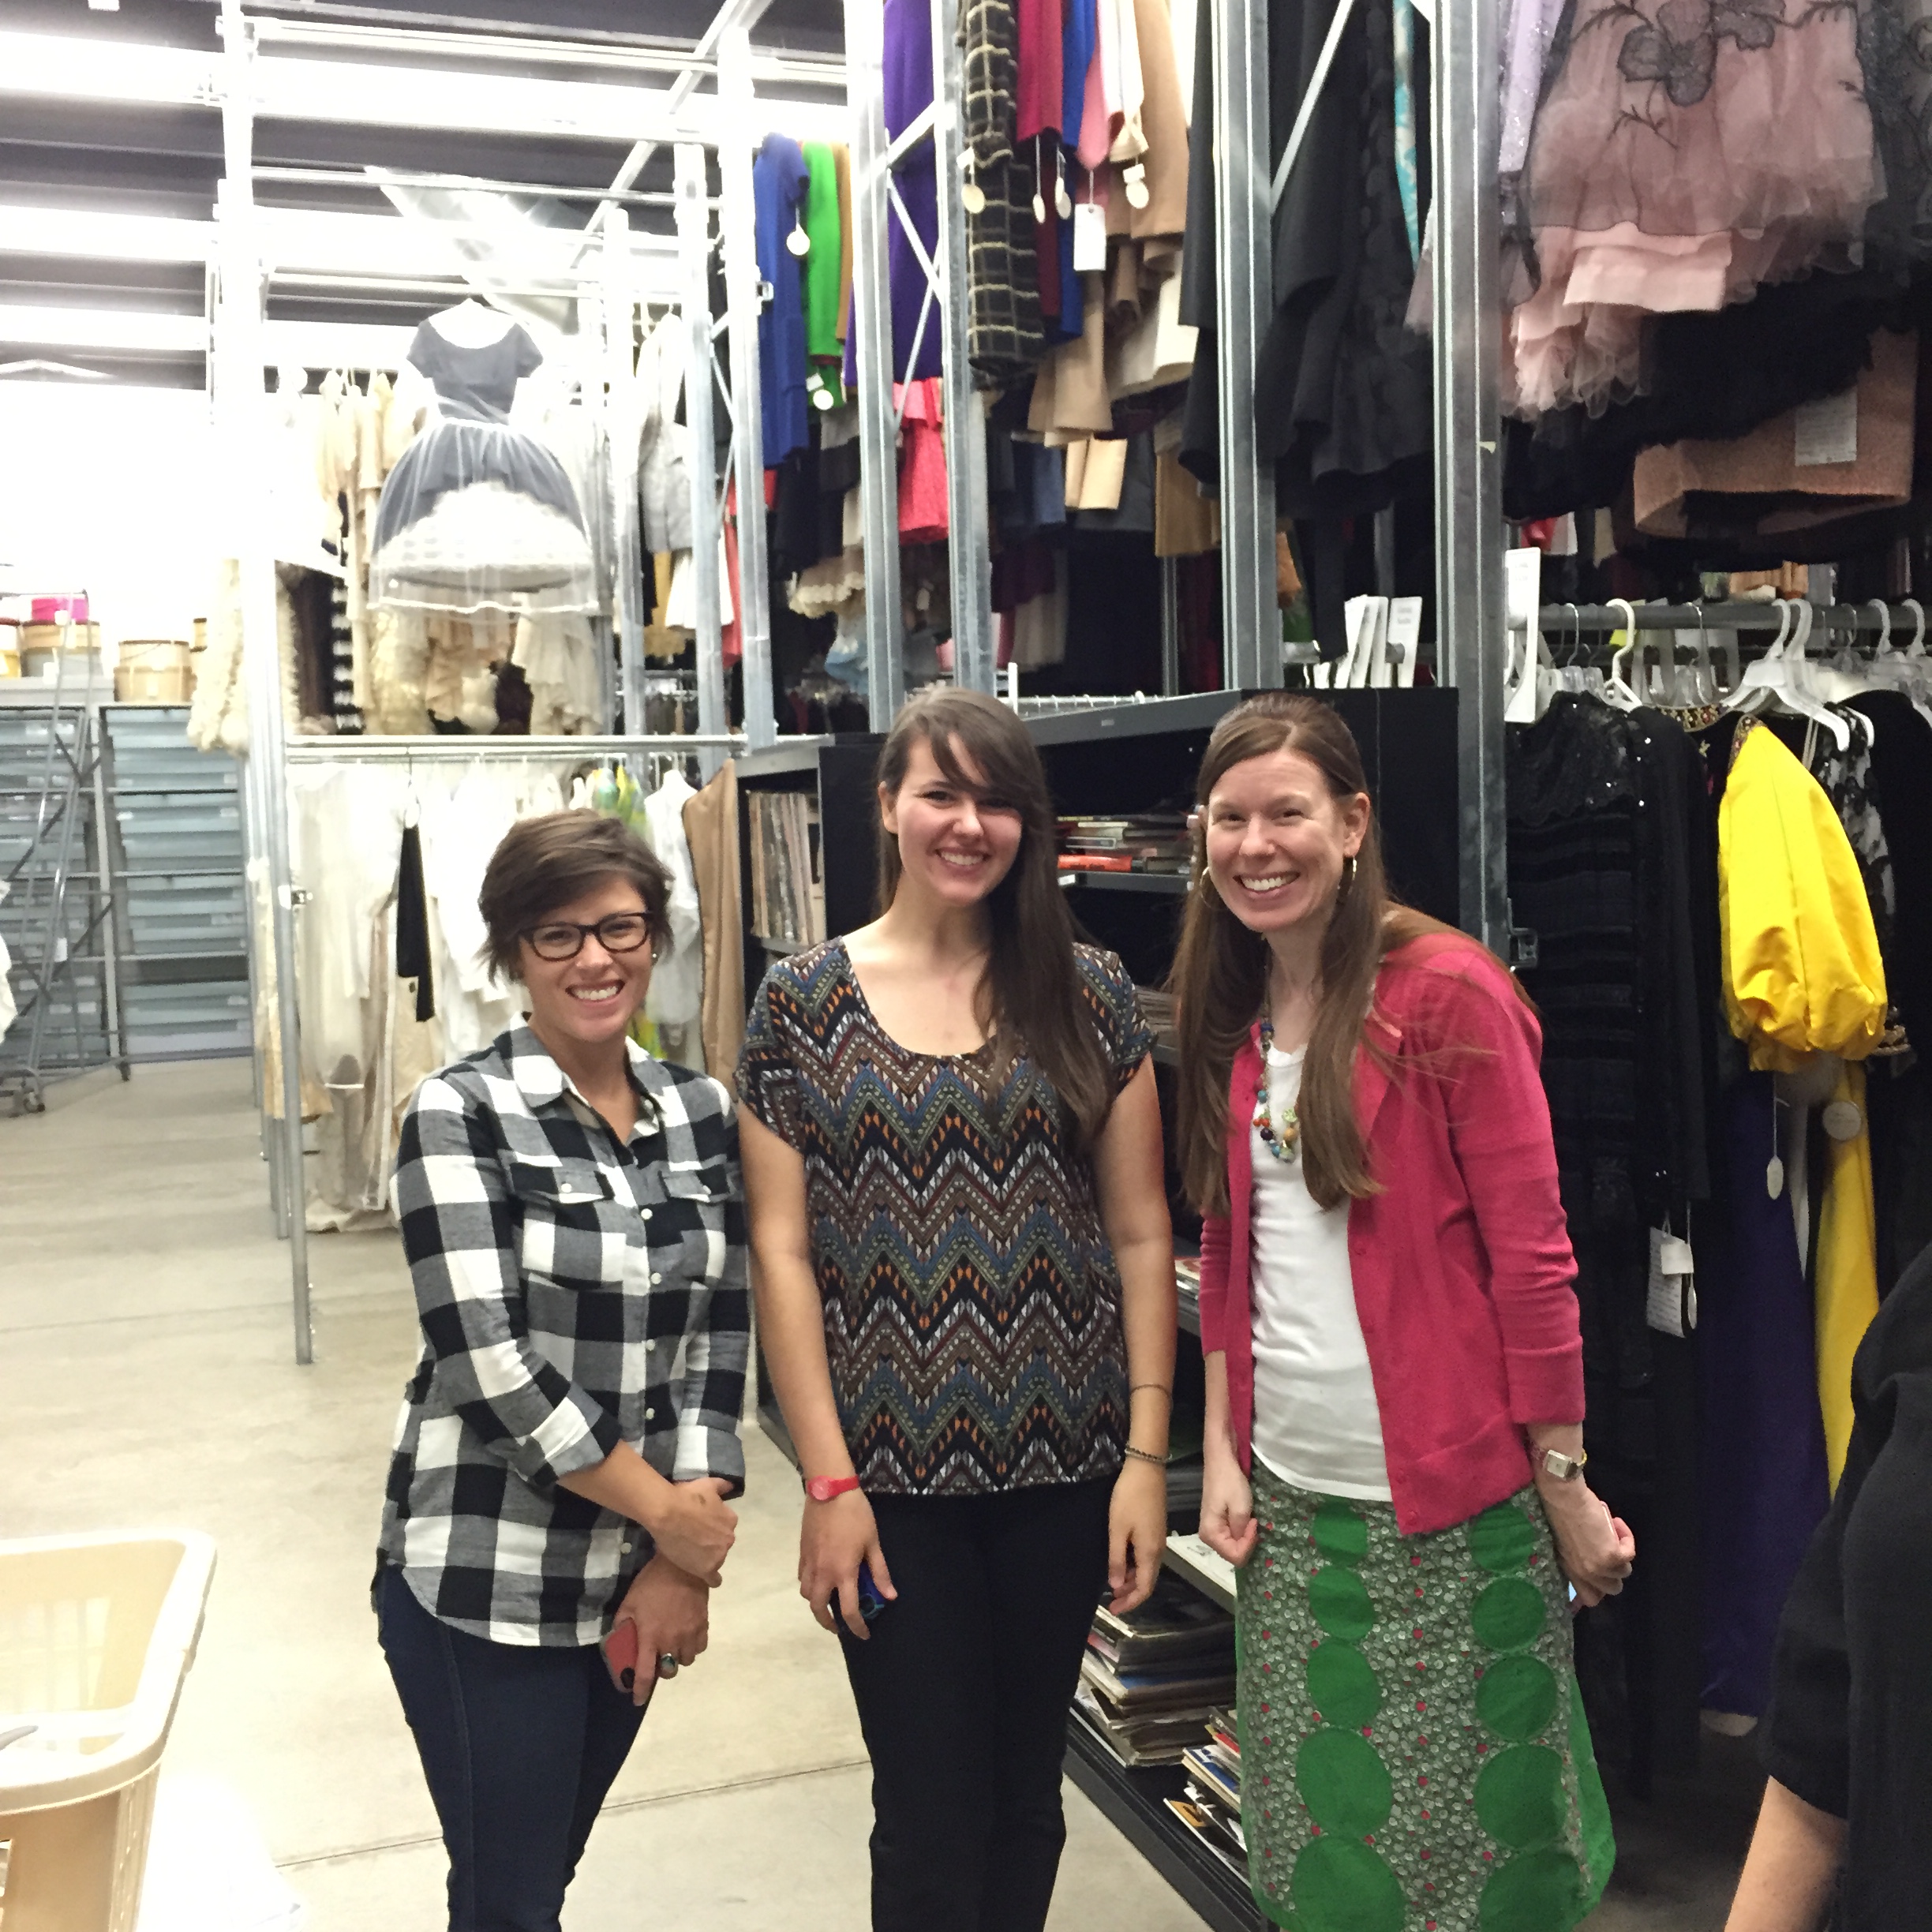
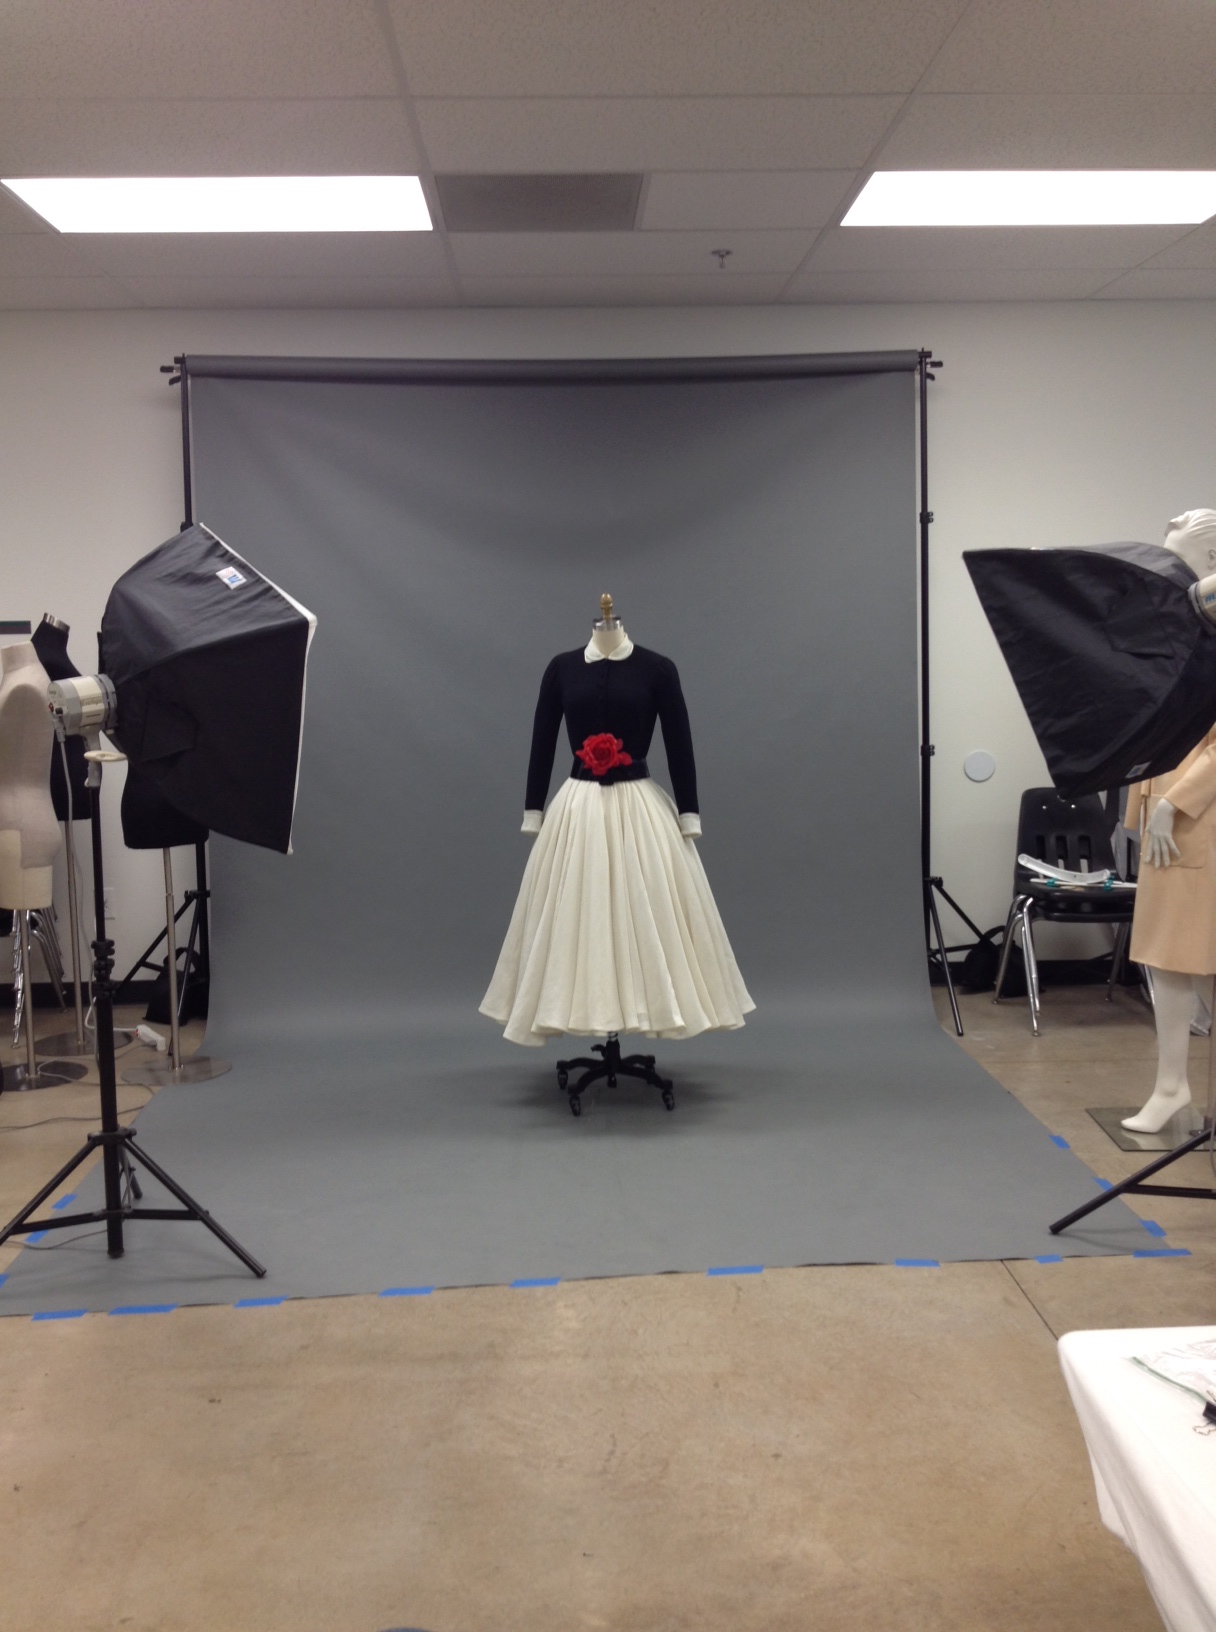
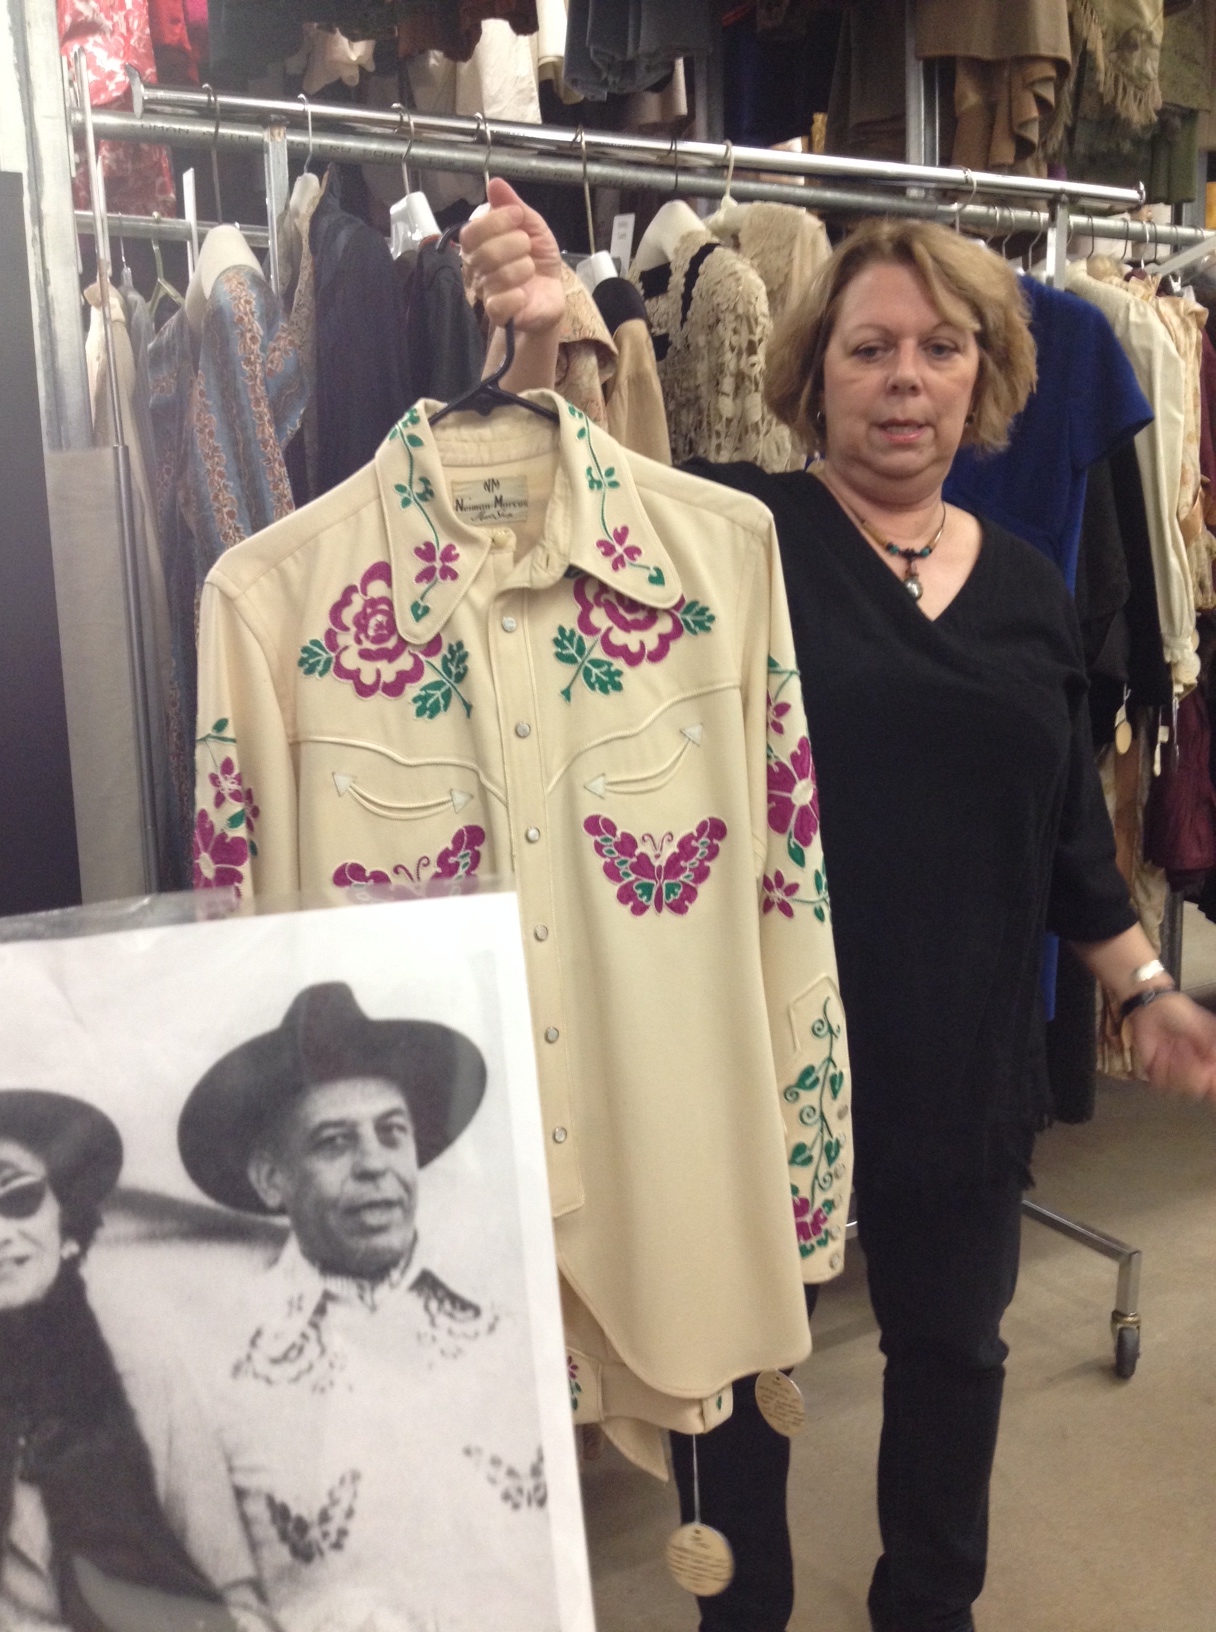
On Wednesday, members of the Family, Access, Schools and Teachers (FAST) team were lucky enough to take an educational field trip to Denton to visit the Texas Fashion Collection (TFC), housed on the University of North Texas campus in the College of Visual Arts & Design. Curator and Director, Myra Walker, gave us a behind the scenes tour of the collection, which preserves and documents more than 15,000 items of historically significant fashion. The collection was first assembled in 1938 by Stanley and Edward Marcus, of Neiman Marcus fame, and exists today as an educational resource for students, researchers, and the general public who have a passion for great design and a love of fashion history.

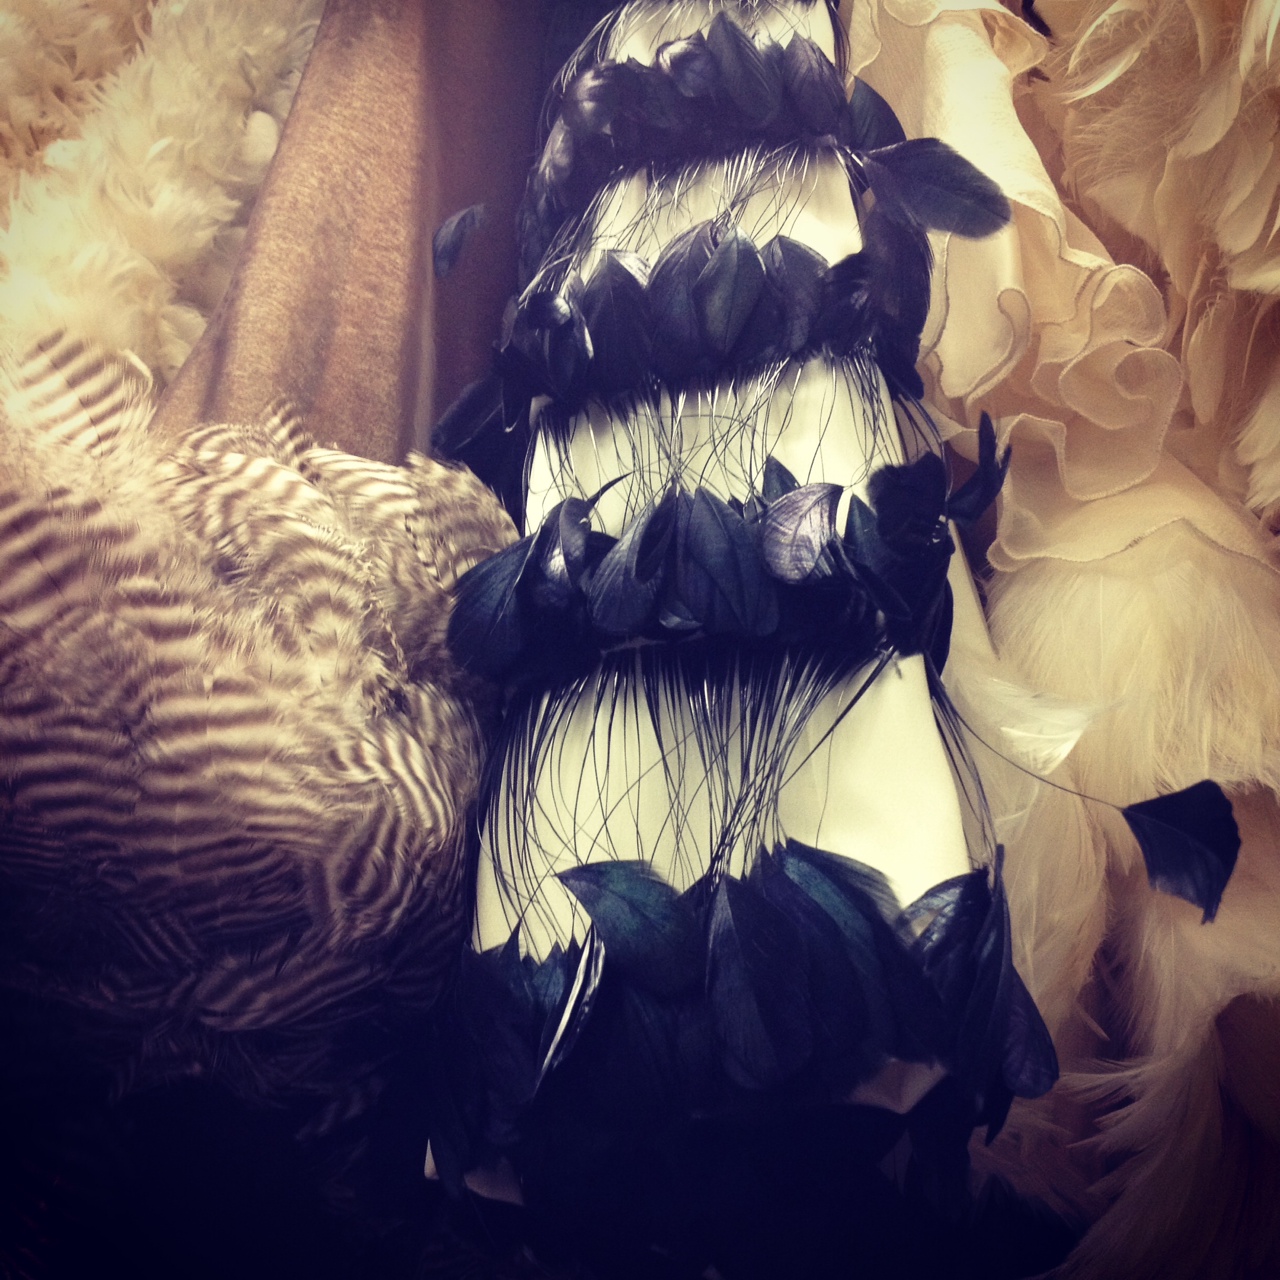
During our visit, we walked through rack after rack of historical and designer clothing, dating from the 1840s up to contemporary times from designers like Chanel, Oscar de la Renta, and Betsy Johnson. Our visit concluded with a viewing of American Brides: Inspiration and Ingenuity, TFC’s current exhibition on view at the Patterson-Appleton Center for the Visual Arts. The exhibition included forty wedding gowns, dresses, and ensembles dating from 1840 to the present, which emphasized the various significant bridal traditions that were handed down through time and culture.

Our field trip was a wonderful experience and we were grateful to be able to play the role of student while visiting the amazing Texas Fashion Collection!

Danielle Schulz
Teaching Specialist
Make This: Printing T-shirts with Inkodye

tshirt2

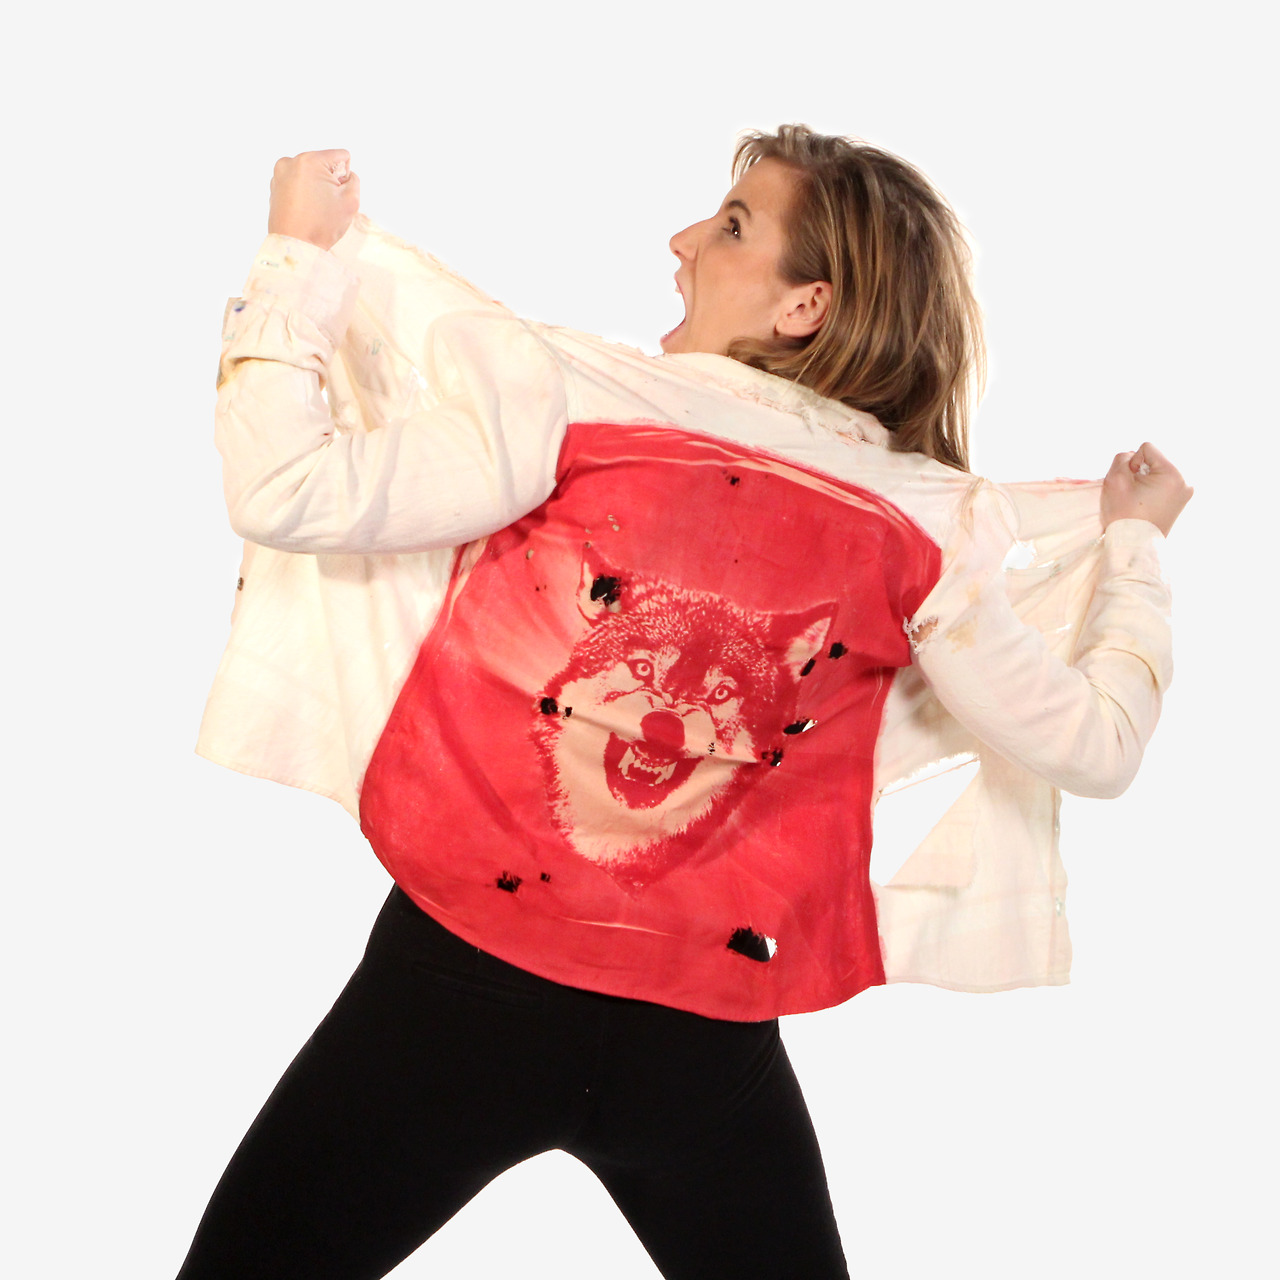
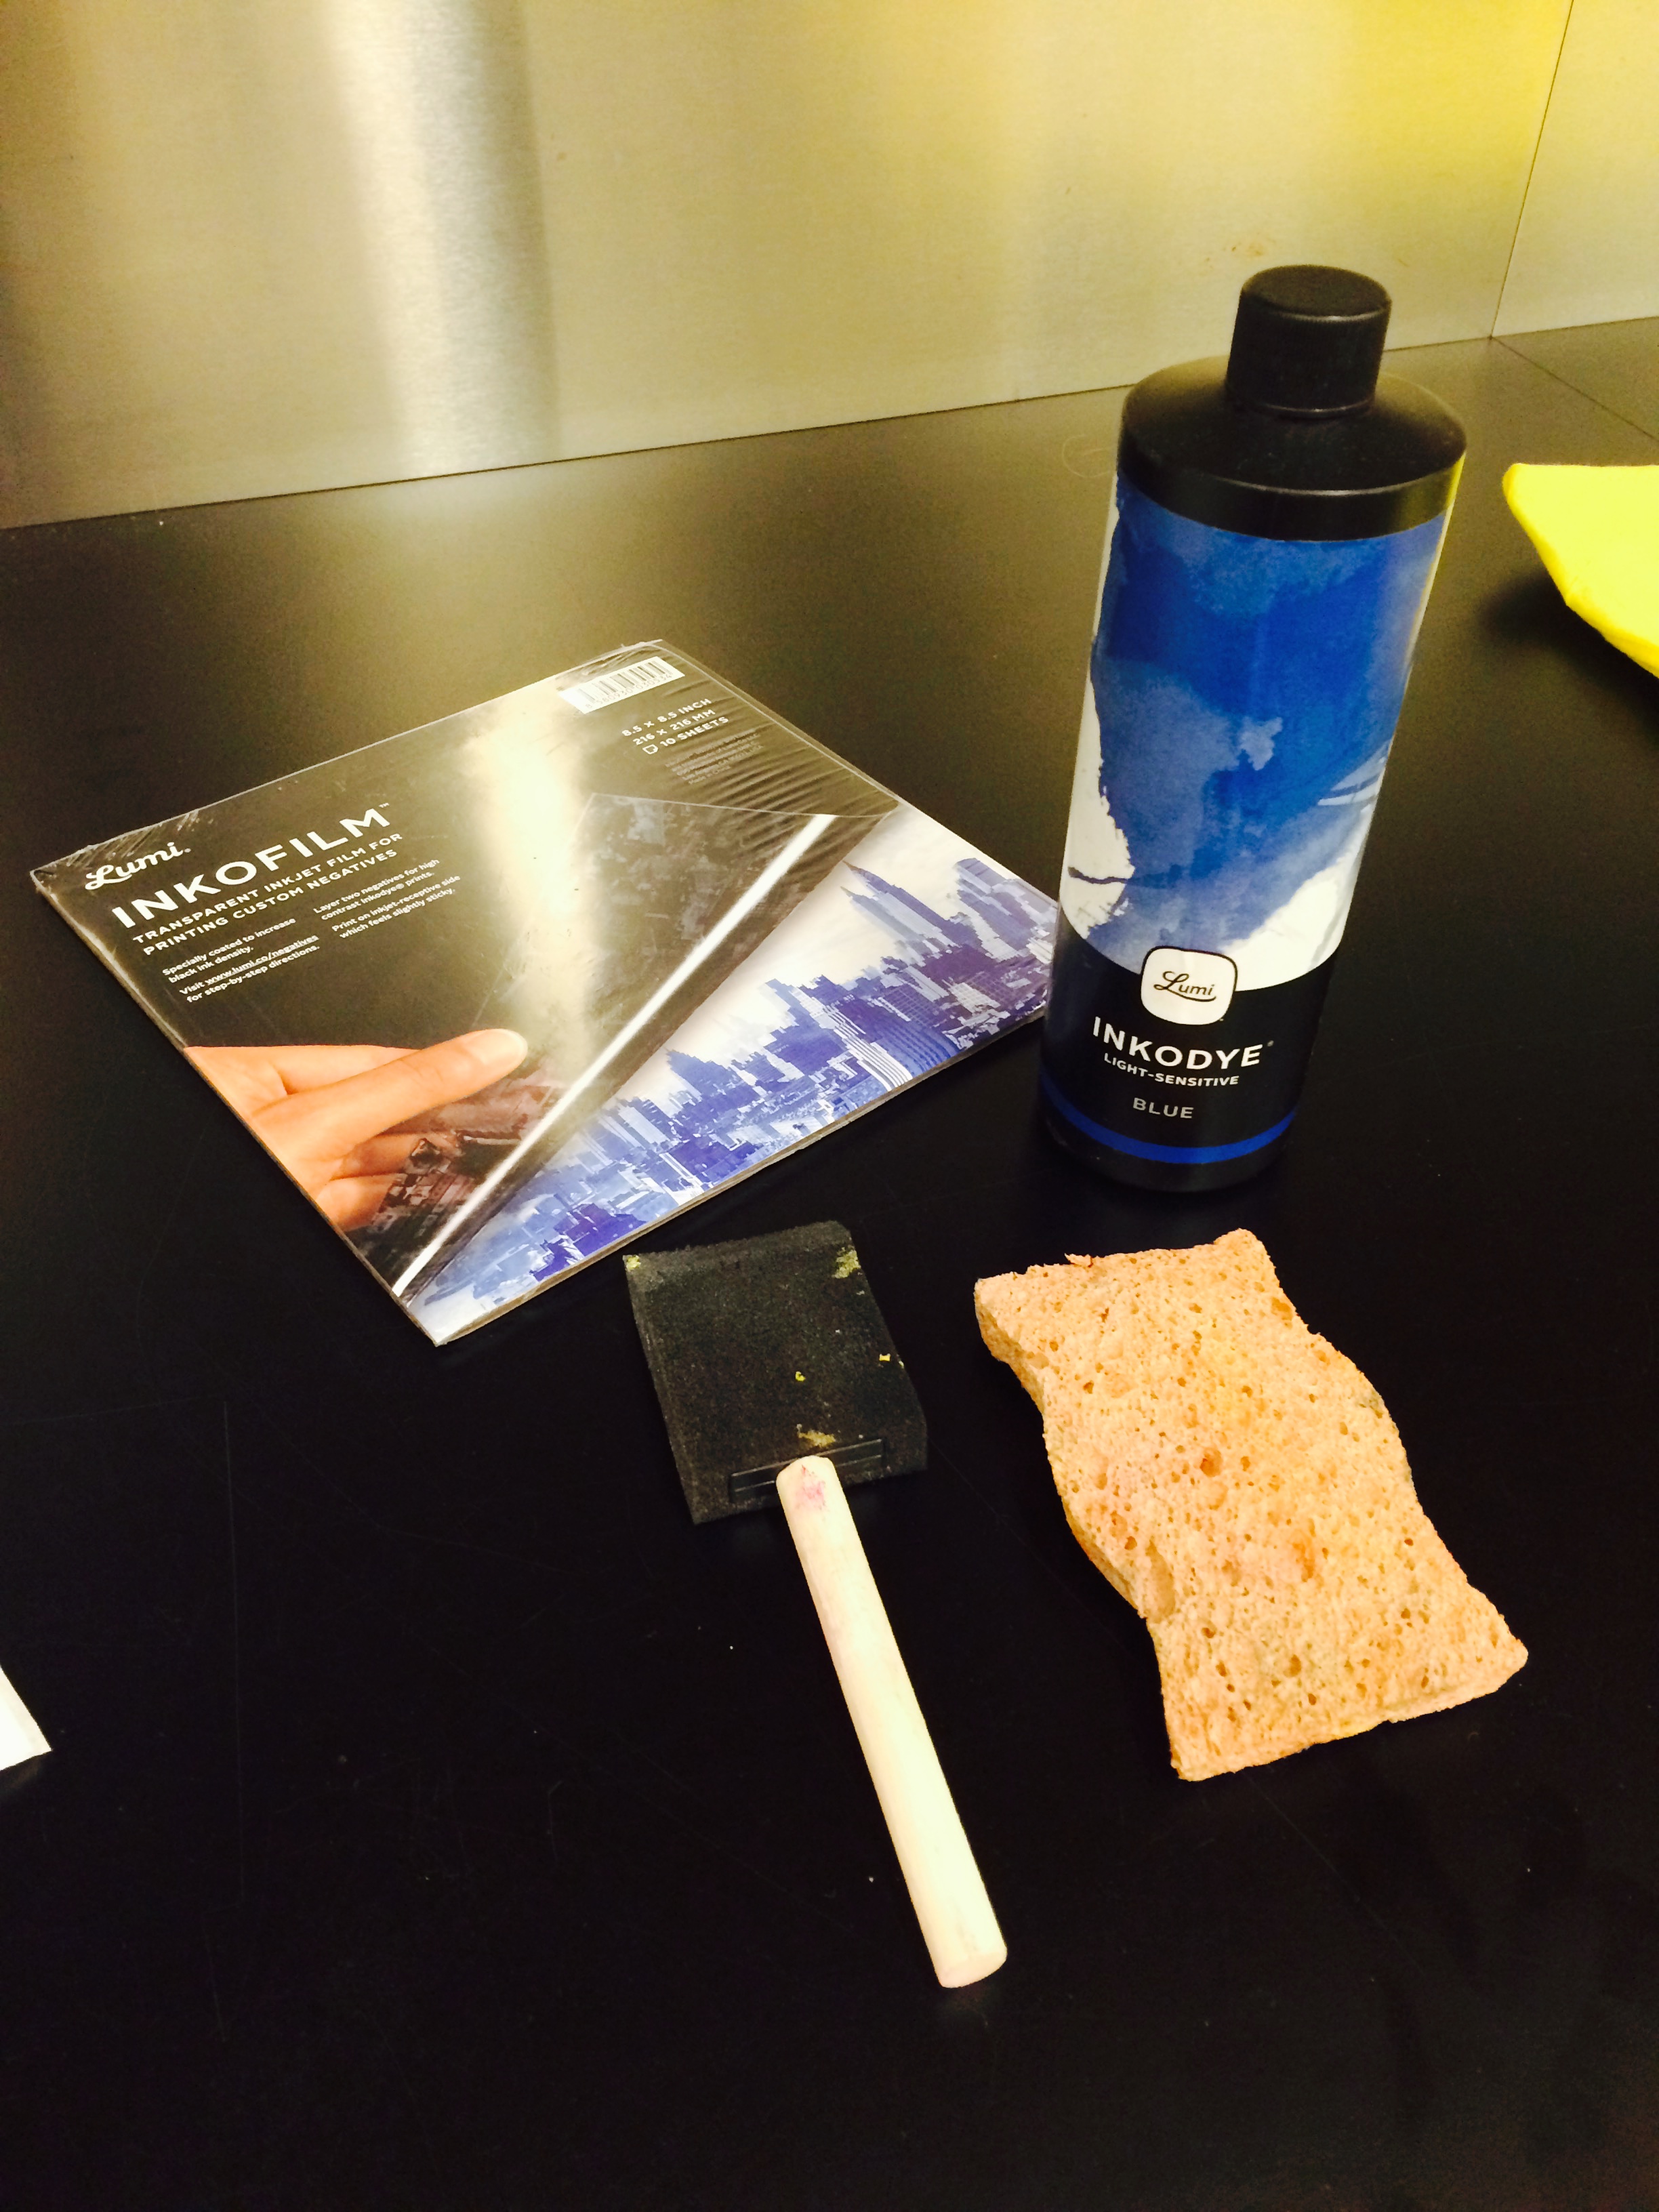
I love screen printing–there’s something so satisfying about creating a design and wearing it proudly for everyone to see. I also love learning new printing techniques, so when I ran across a product called Inkodye about a year ago, I knew I had to give it a try. Produced by a company called Lumi, Inkodye is a photosensitive dye that allows you to print an image onto fabric using only a photo negative. When exposed to sunlight, the ink develops and binds permanently with the fibers of the fabric. You can even use Inkodye to create shadow prints!

tumblr_mi2tbcppku1s3h59no1_1280 I’m going to take you through the basic process of creating a print using Inkodye and a photo negative. Keep in mind that while the examples on Lumi’s website look perfect and make it seem easy to do, it will probably take several tries to get it to turn out the way you want.

What You’ll Need:

  • T-shirt to print on
  •  Inkodye
  • Transparency film for copiers (at least two sheets)
  • Copier/printer
  • Computer
  • Foam brush or sponge
  • Two large sheets of cardboard
  • Masking tape (optional)
  • Laundry detergent

2

Step 1: Create your design

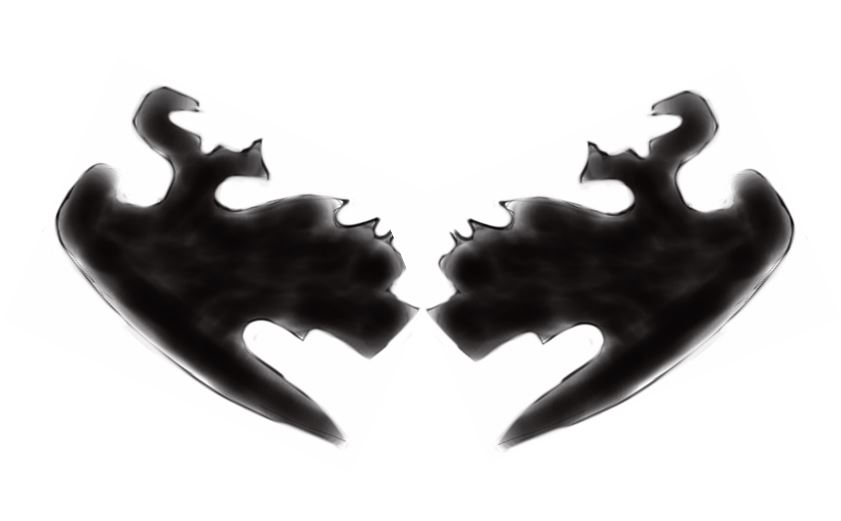
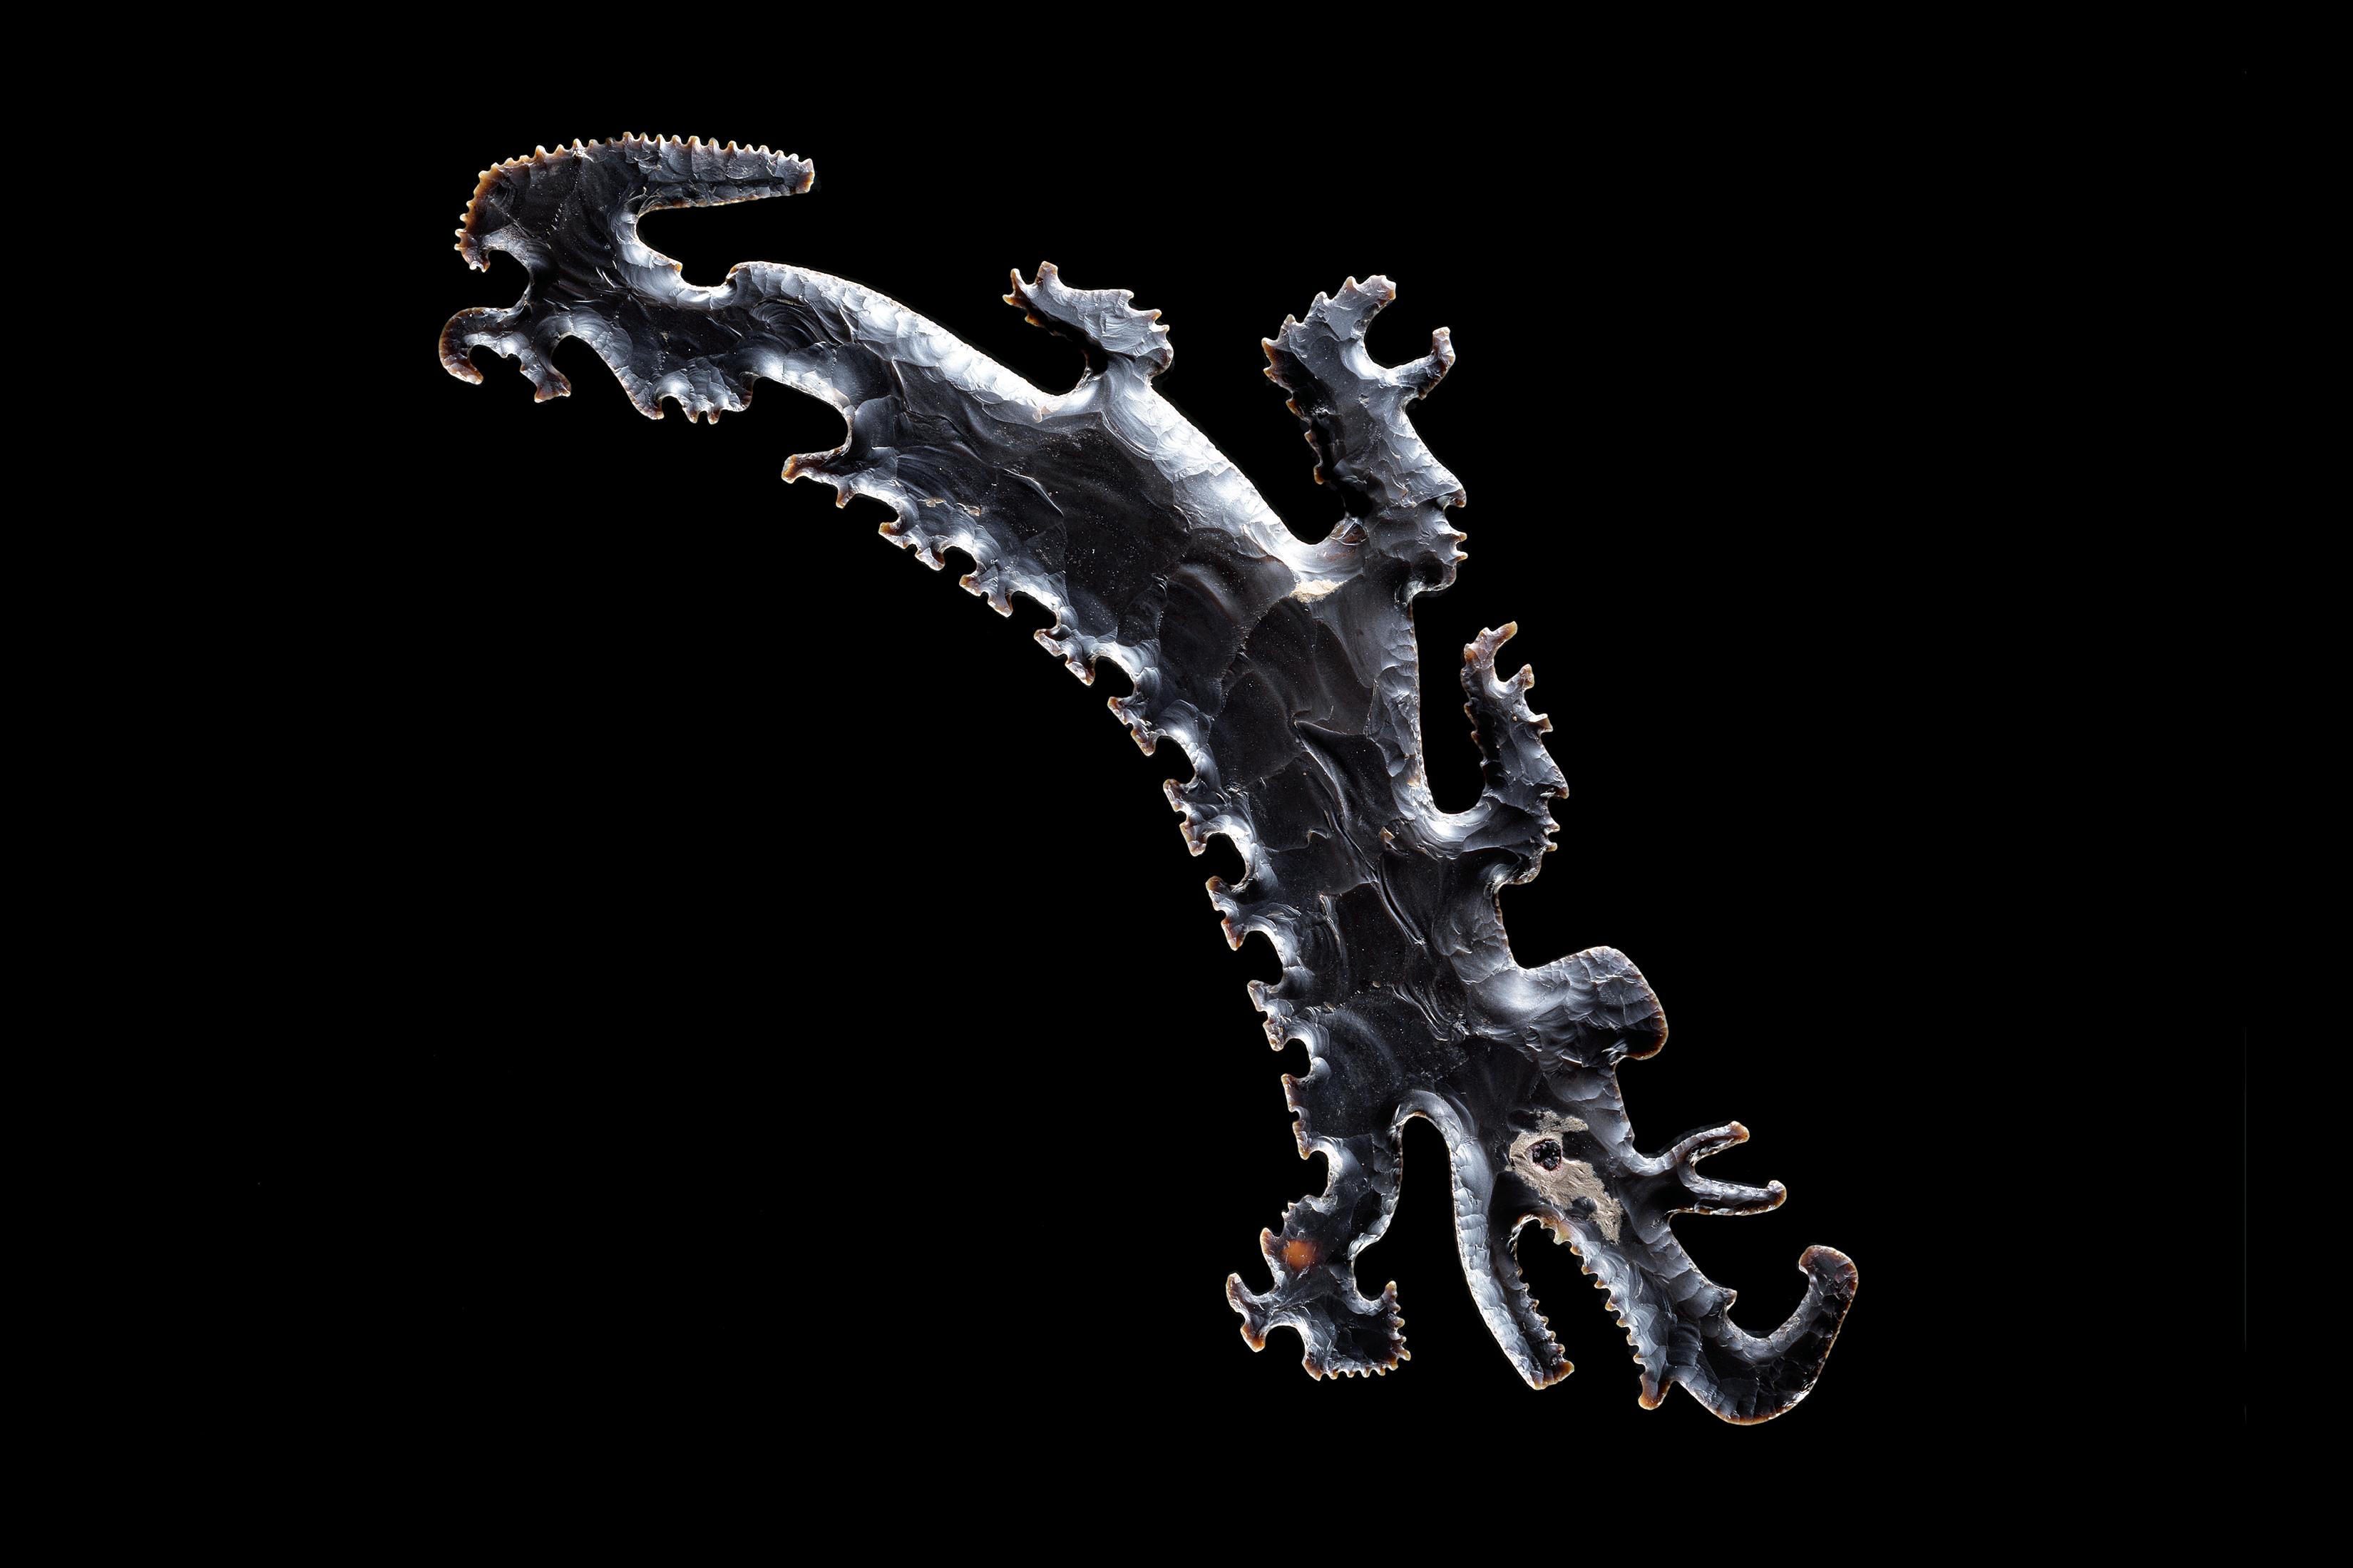
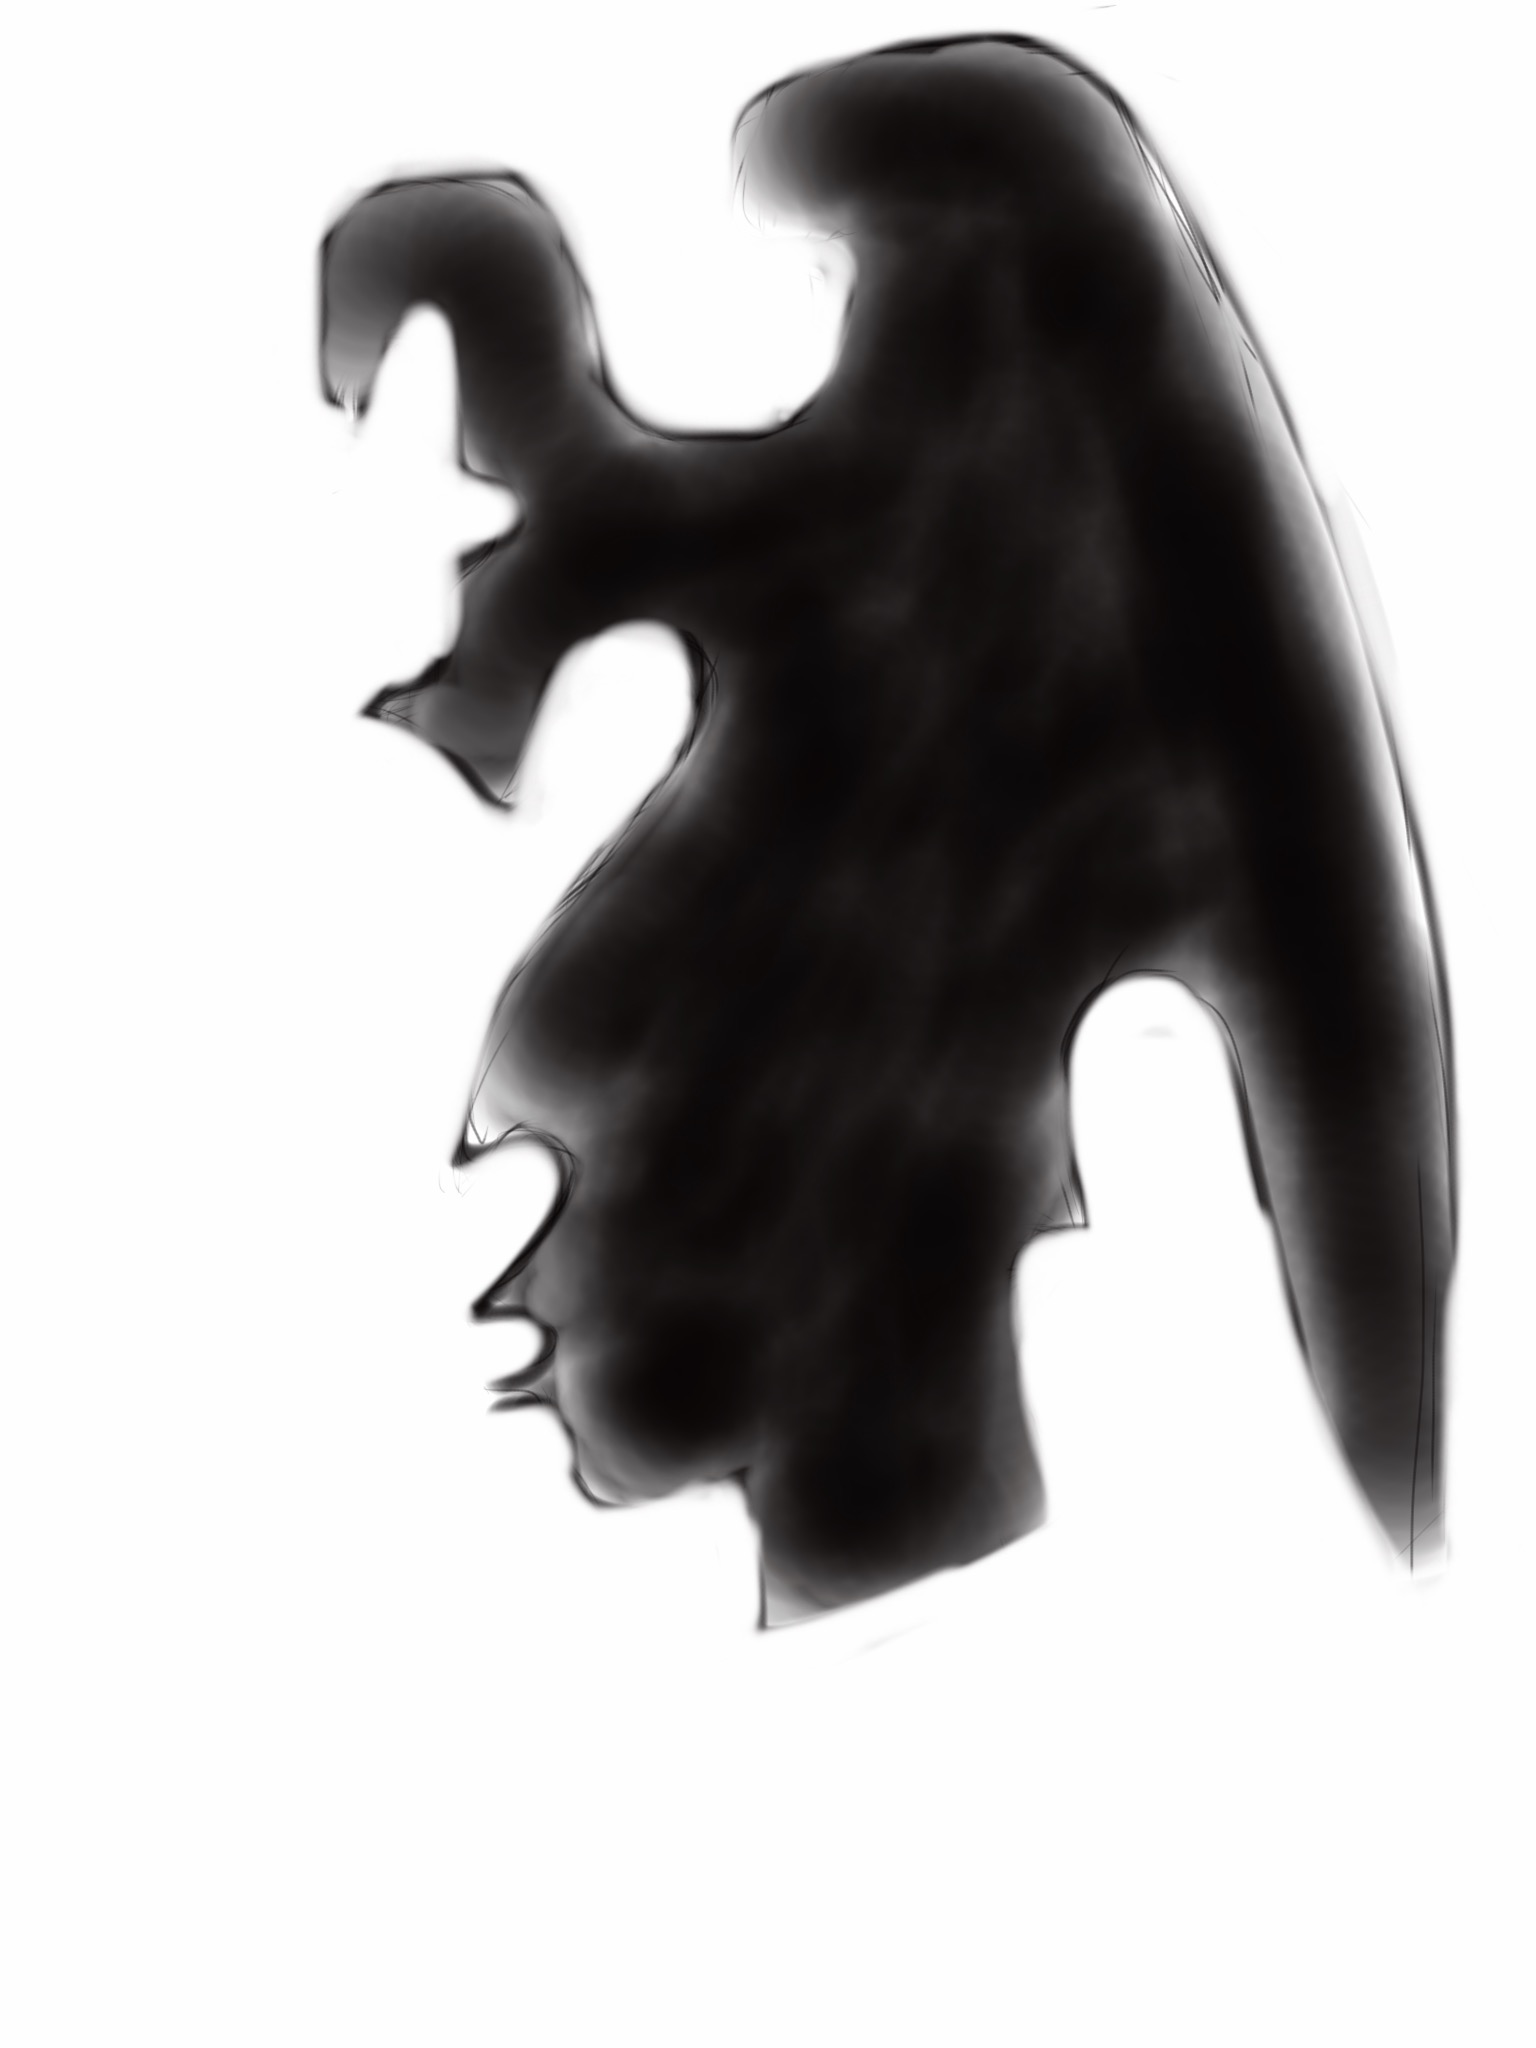
I wanted to create an example for the teen t-shirt design class and contest that the DMA is offering, so I created a drawing on my iPad that was inspired by a work of art at the Museum:

77804457407173_original (1)

Eccentric flint depicting a crocodile canoe with passengers, Pre-Columbian, 600 – 900 A.D., Dallas Museum of Art, The Eugene and Margaret McDermott Art Fund, Inc., in honor of Mrs. Alex Spence

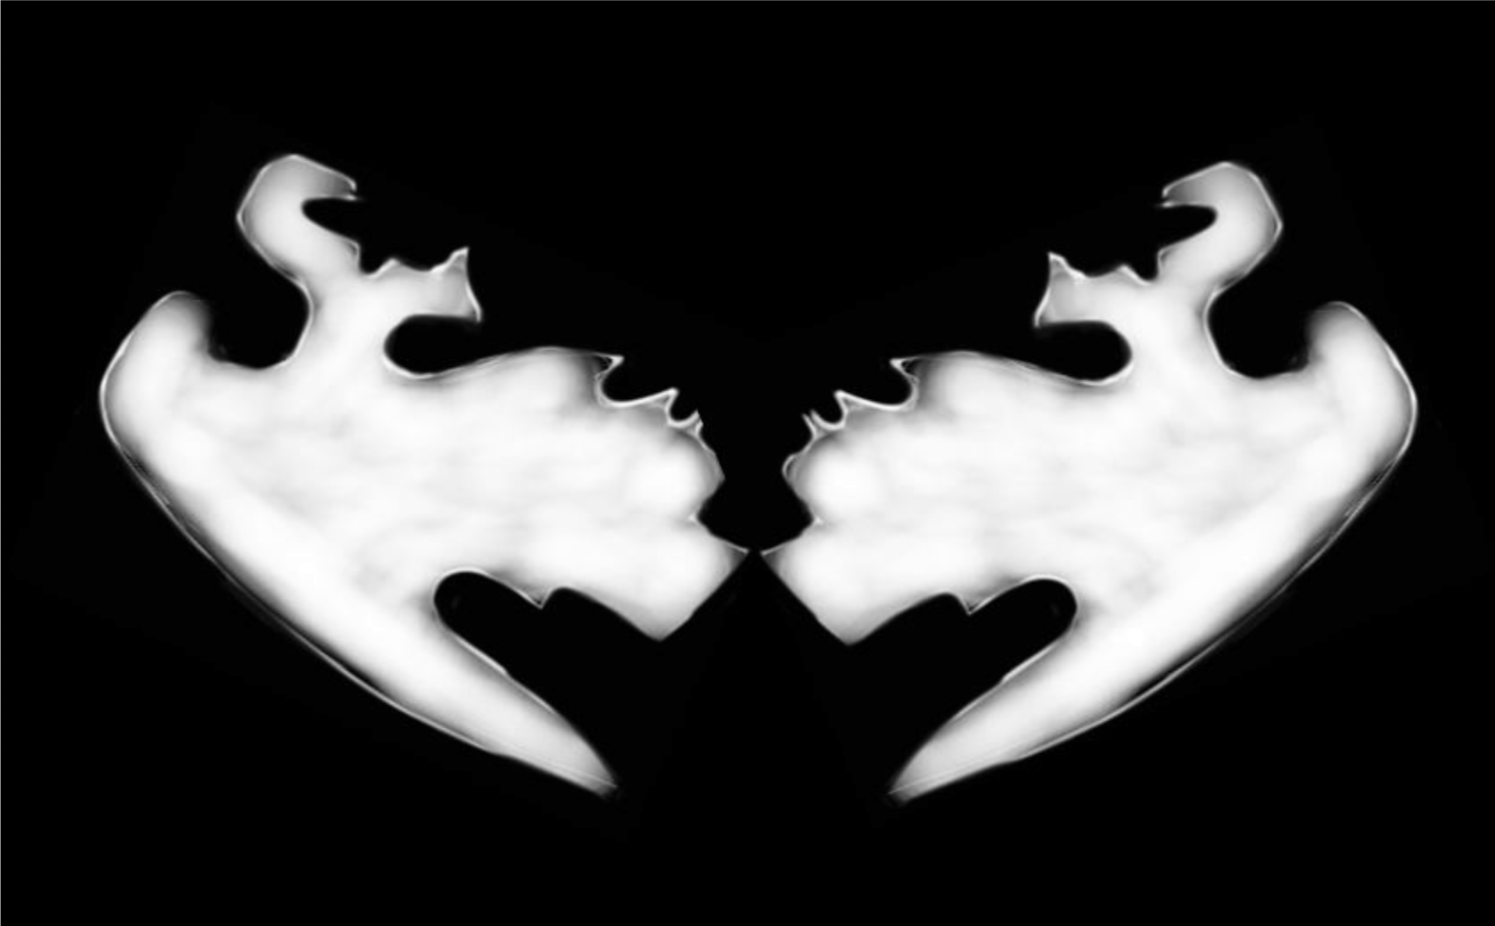
flint1I then manipulated the image using Microsoft Word, but any basic editing program would do–even better, Photoshop, if you have it:

tshirt2

Leaving my image as above will create a reverse, or negative print on my shirt–the white space around the faces will be black and the faces themselves will be white. If you want to make a positive-image print, you’ll have to create a negative of your design (Photoshop allows you to do this, or you can use Lumi’s handy app to make one):

lumi-negative

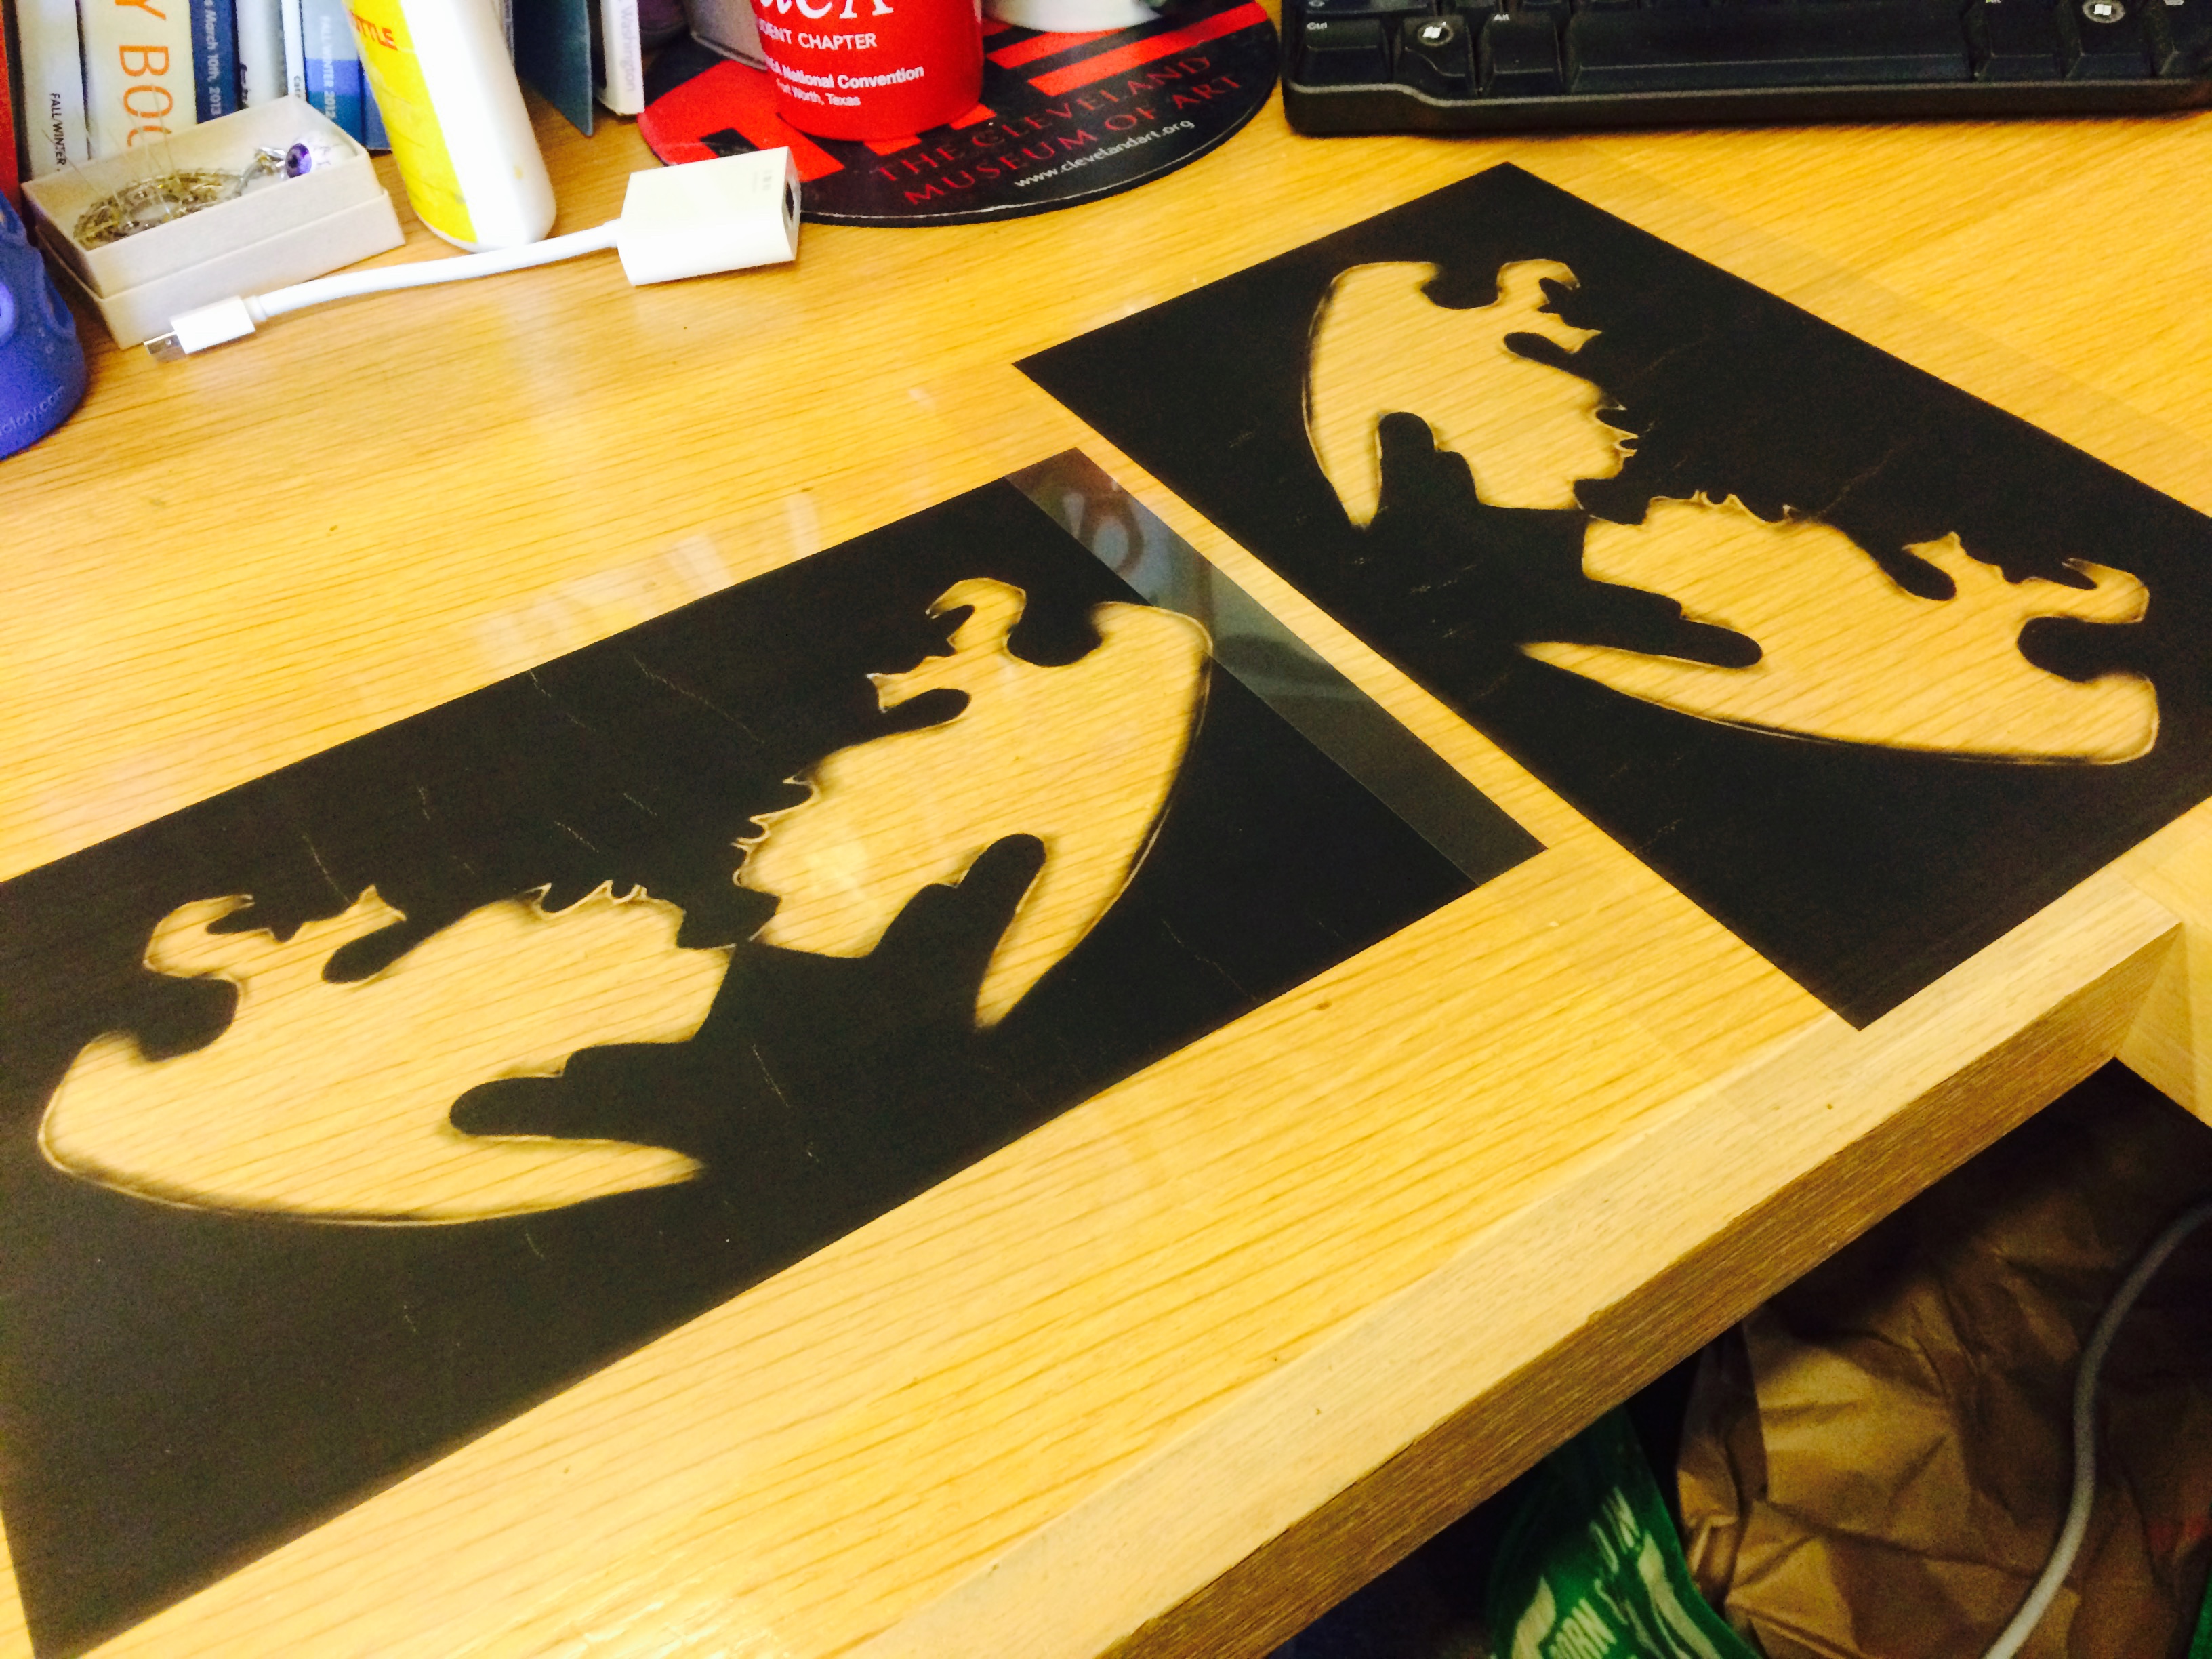
Step 2: Print two copies of your image on transparency film

Lumi says that it’s important to use two copies so that they can be stacked on top of each other during the printing process. This will make the dark areas of your image block out more light, increasing the contrast of your print and giving you a better end product.

FullSizeRender

3. Prep your t-shirt for printing

Insert one of your sheets of cardboard into your shirt to prevent the ink from soaking through. The cardboard should be big enough that it stretches the fabric of your t-shirt and gives you a good printing surface. Choose the area of your shirt where your image will be printed. If you want, you can mask the area off with tape to give your design a clean edge.

1

4. Spread the Inkodye onto your shirt

This is one of the trickiest steps. Flip off the lights for this–since Inkodye is photosensitive, you don’t want it to start developing yet. Working in the darkened room (but with enough light to see what you’re doing!),  cover the printing area with a thin, even layer of dye–don’t get it too wet! Use your sponge or brush to blot the fabric. Cover your t-shirt with the second sheet of cardboard and take it and your design outside!

5. Print your shirt

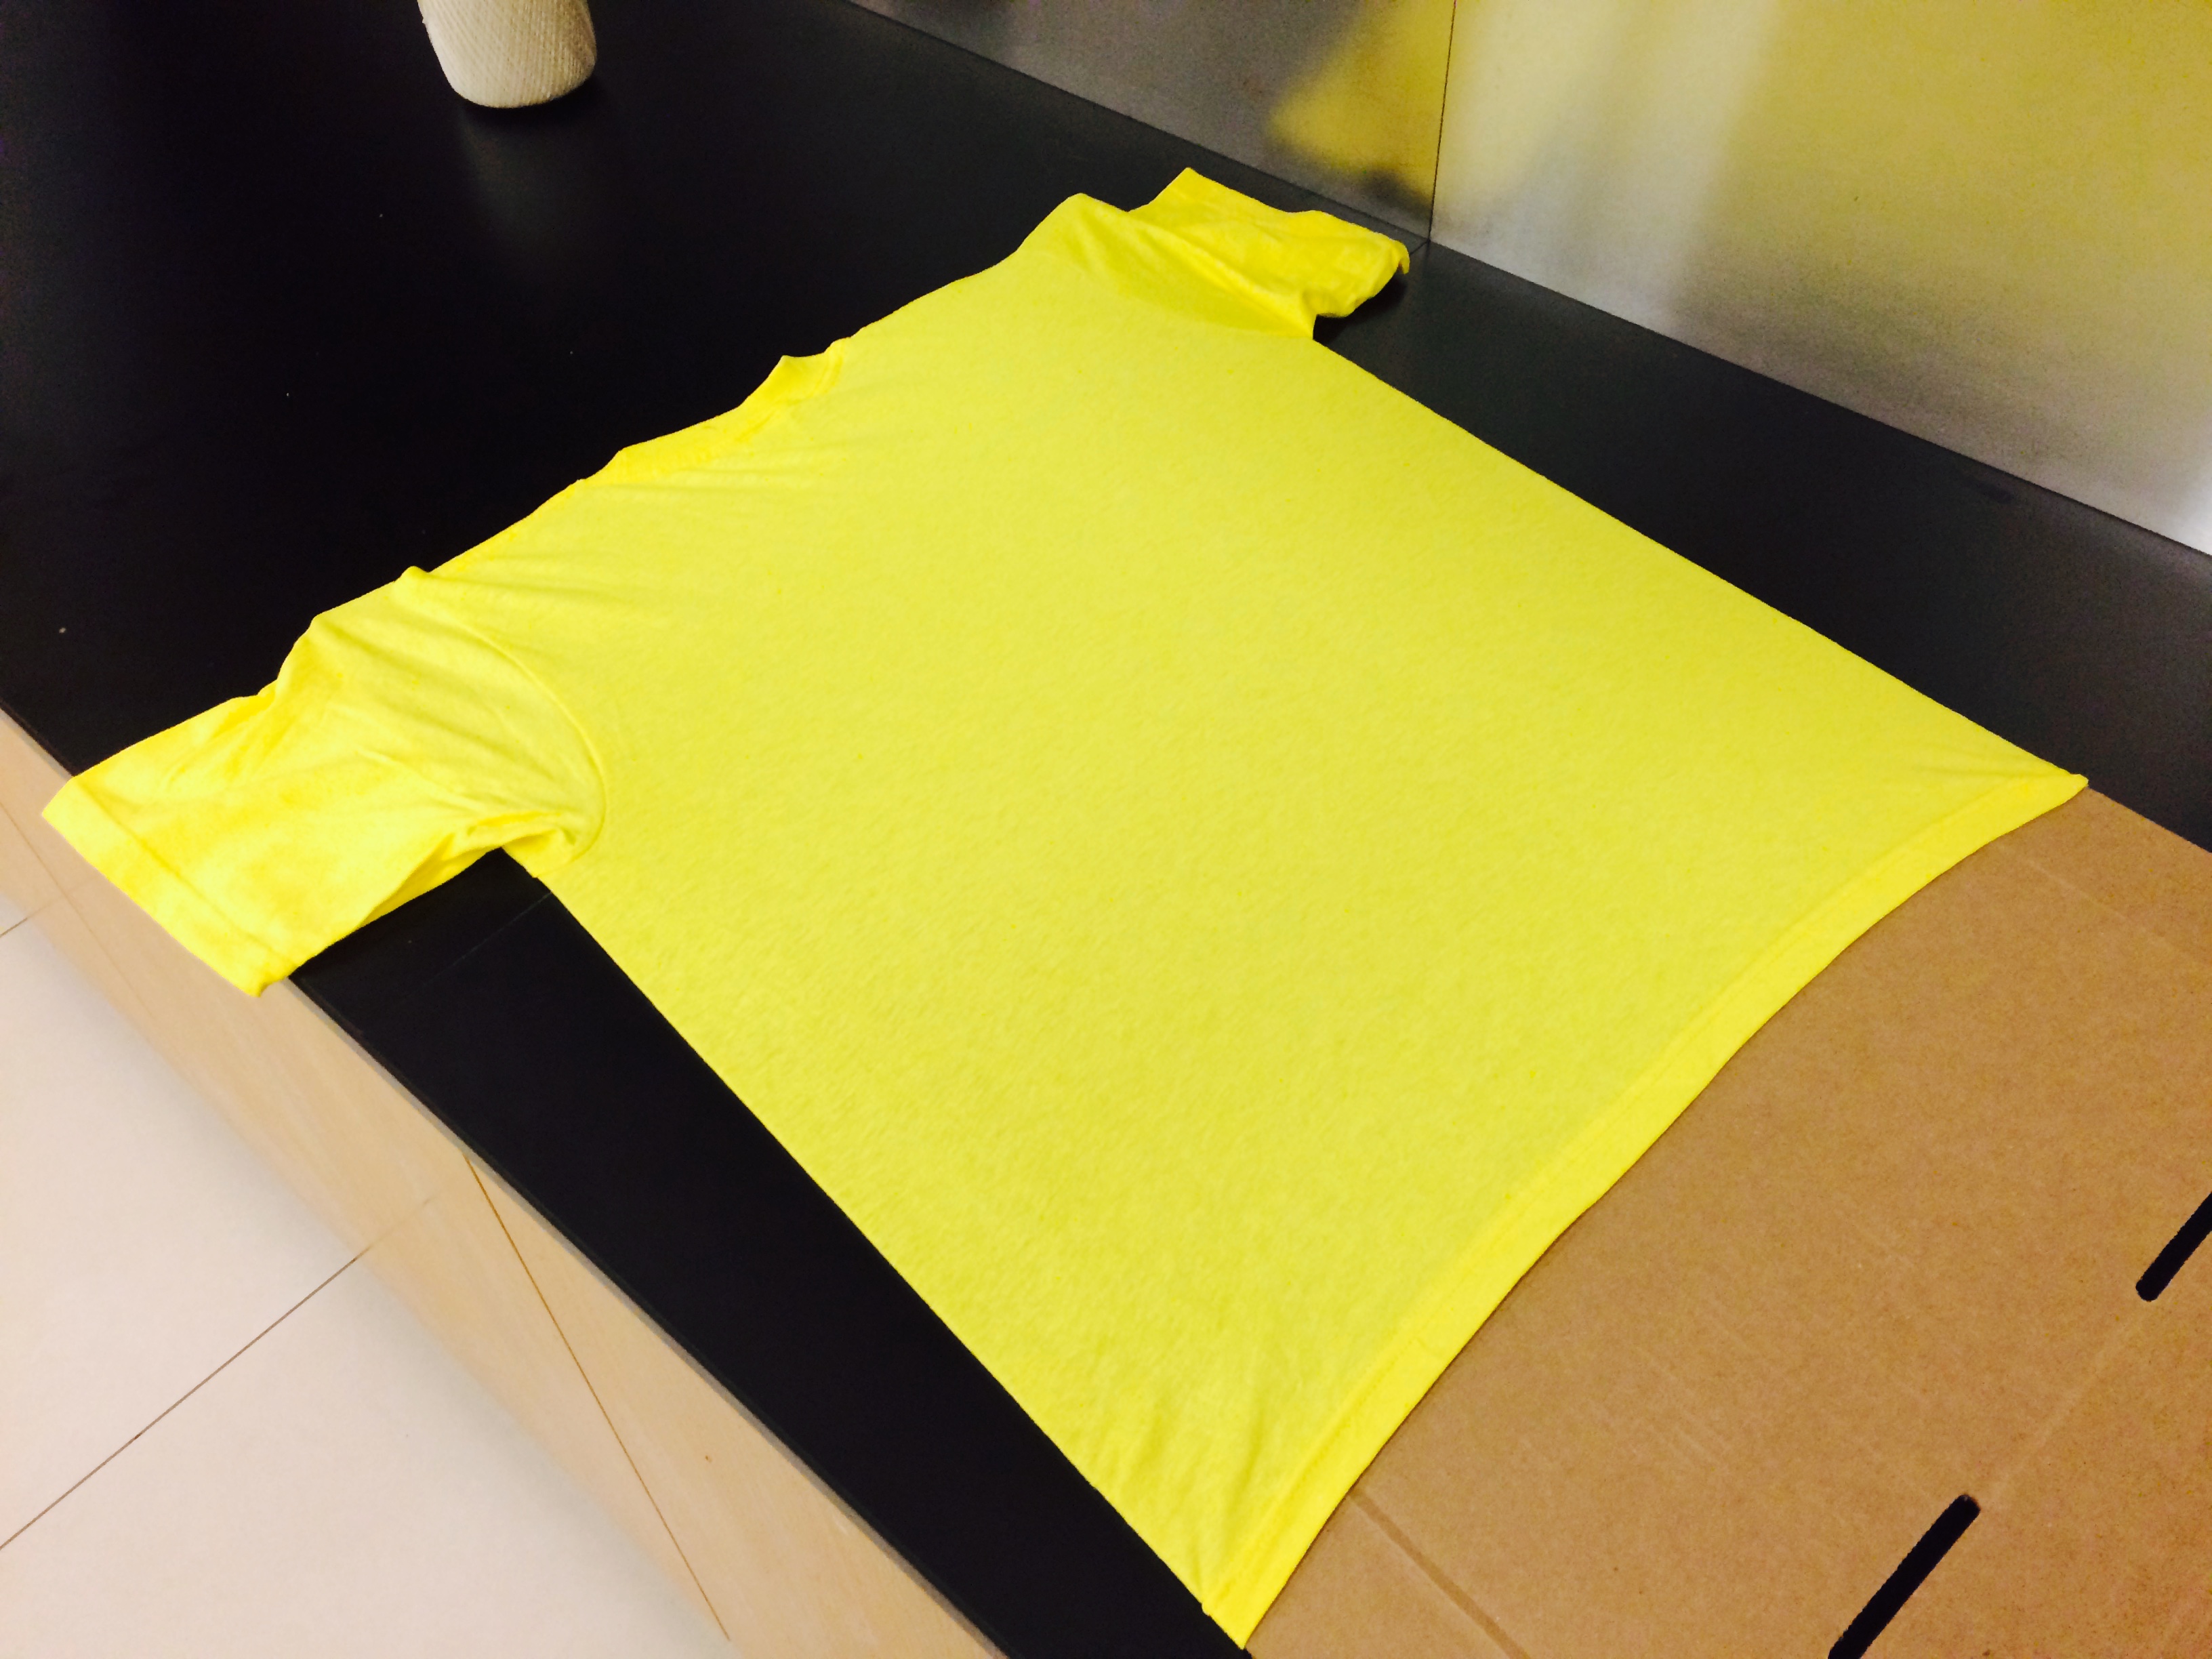
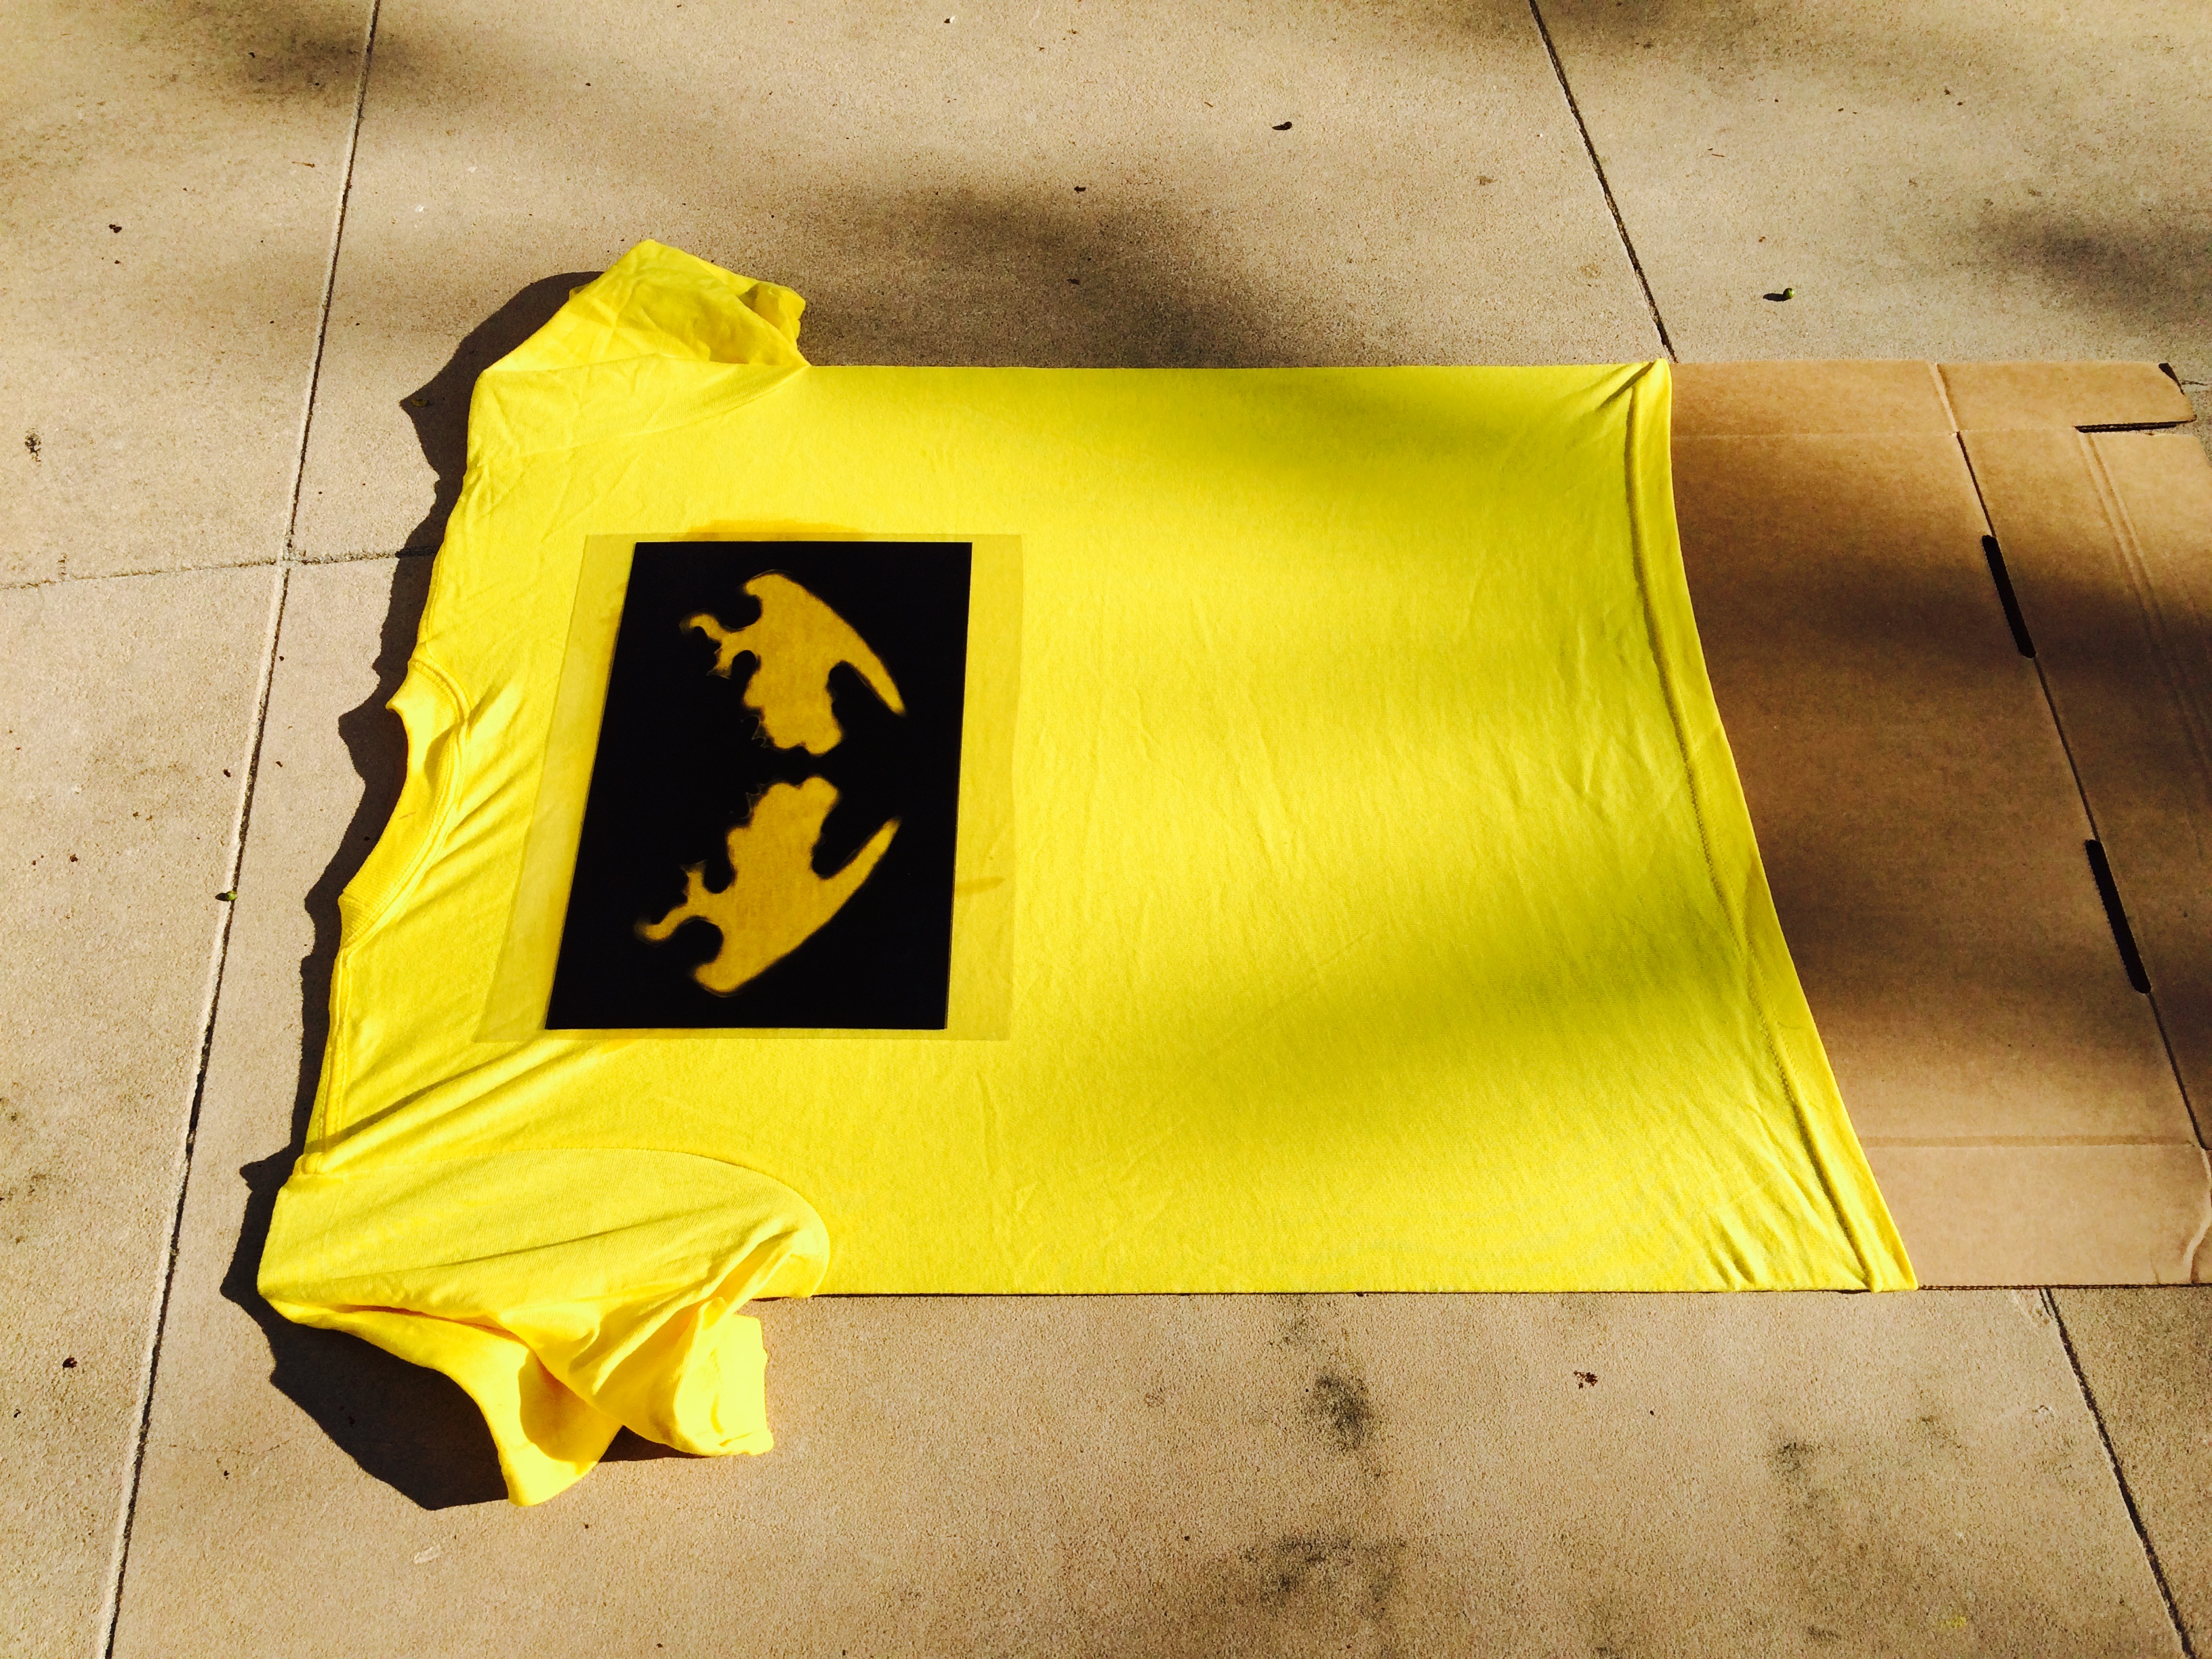
Find a nice sunny spot to lay your t-shirt down. Uncover it and position your transparencies on top of the printing area. Leave everything undisturbed for the sunlight to do its magic. In about 10-15 minutes (depending on how cloudy it is) your print should be developed! When you’re satisfied with how it looks, cover your shirt back up to prevent overexposure and take it back inside.

FullSizeRender (7)

FullSizeRender (8)

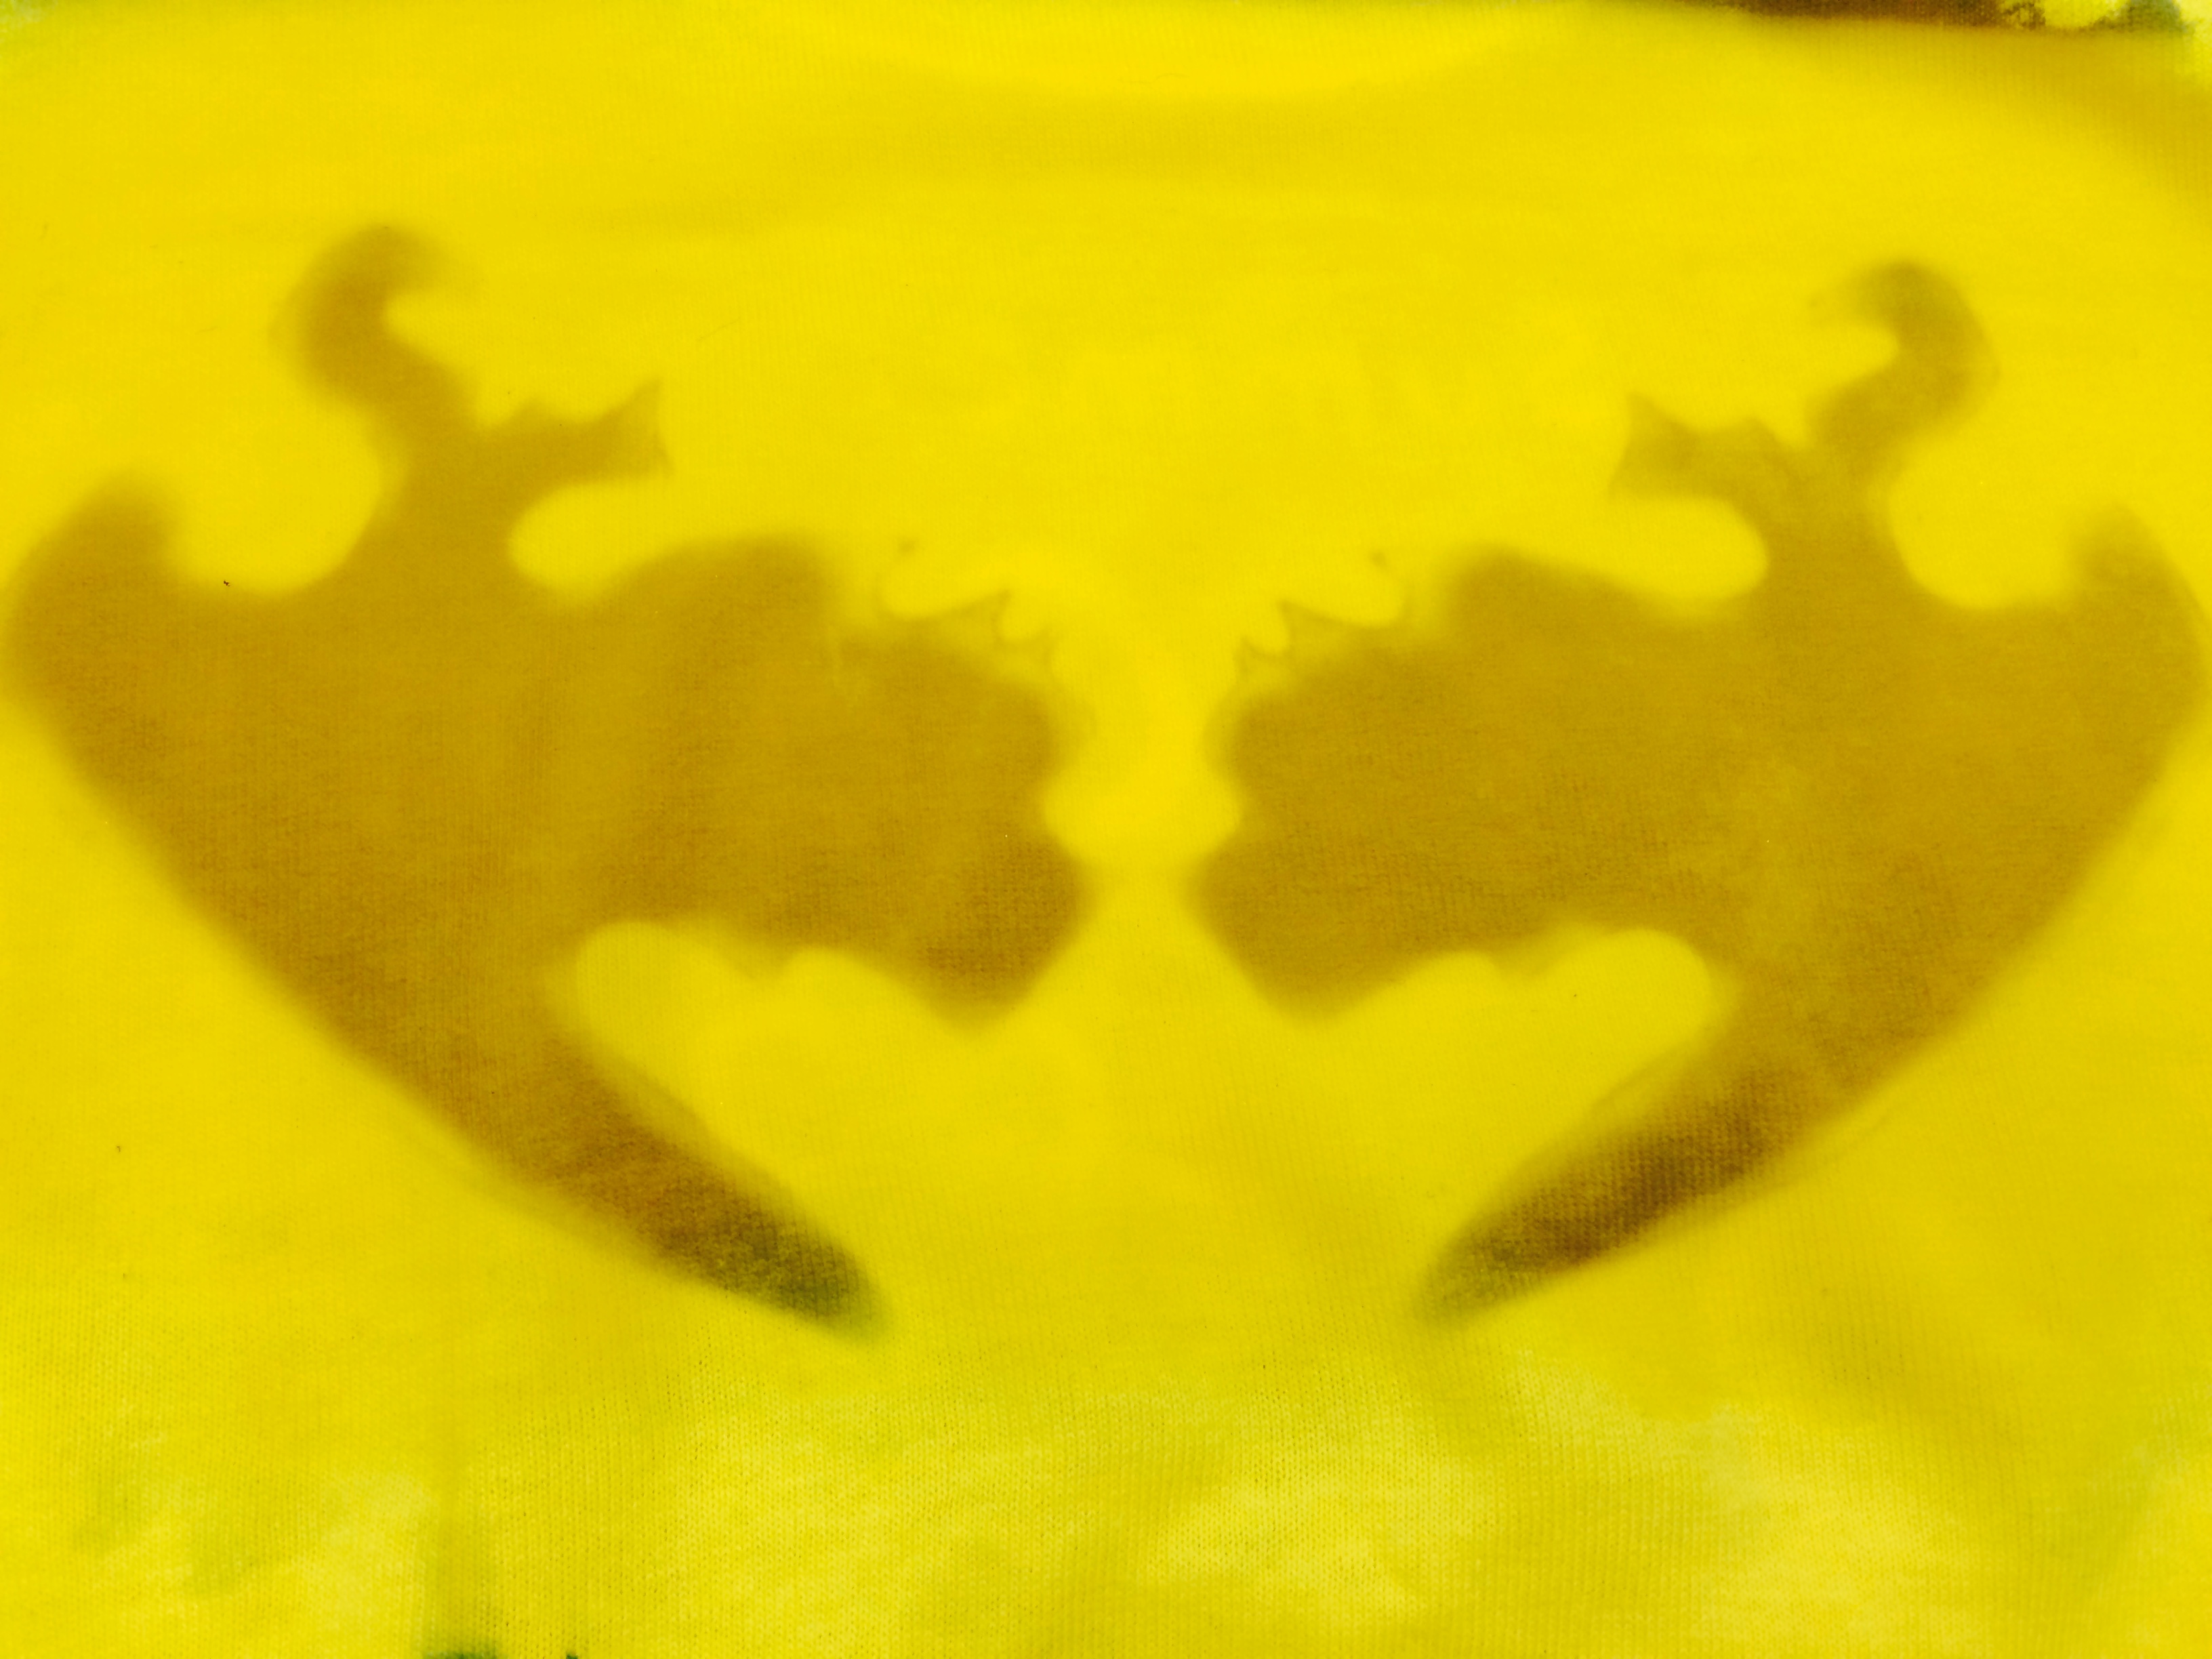
This is what my design looks like after 10 minutes in late afternoon sun–as you can see, the edges are starting to fully develop and turn black.

6. Wash

Remove the masking tape from your t-shirt as well as the cardboard insert. Throw the shirt into the wash by itself with a little detergent and run it using a hot cycle. Lumi suggests washing it twice for full color-fastness; washing also removes all excess or undeveloped dye.

7. Wear!

I’d suggest practicing with a scrap piece of fabric before printing on your t-shirt. If your print is a little blotchy, it probably means that the Inkodye wasn’t spread evenly enough. For lots of great project ideas and in-depth tutorials, visit Lumi’s website! And if you have a teen who’s interested in participating in the t-shirt design class or submitting something for the design contest, feel free to email me for more information.

JC Bigornia
C3 Program Coordinator

Friday Photos: C3 In Bloom

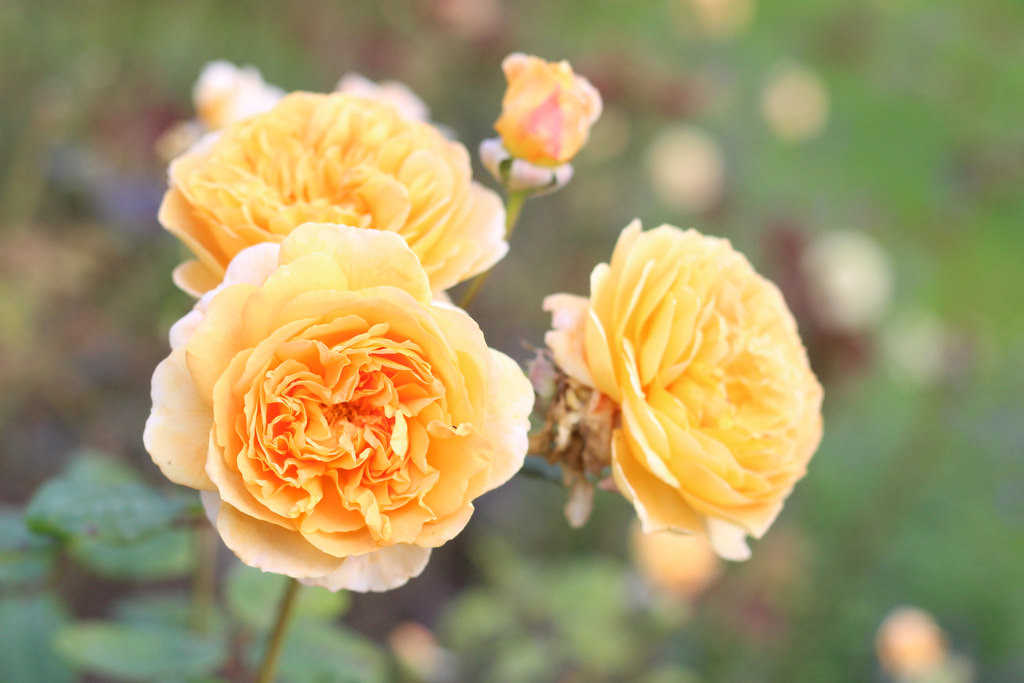
Though the weather is getting cooler and the leaves will soon be falling, here at the Museum, the Center for Creative Connections is in full bloom!  In conjunction with the DMA’s upcoming exhibition Bouquets: French Still-Life Painting from Chardin to Matisse, we have updated our monitor wall to display visitor submitted photographs of flowers. We’ve also stocked the Art Spot with supplies to make flowery creations.

Stop by and make a flower to add to our garden of creations, or join our Flickr Group, DMA In Bloom and submit your flowery photos to have them displayed on the monitor wall. We look forward to your blooming creativity!

Jessica Fuentes
C3 Gallery Coordinator

New Family Fun: Arturo’s Library Totes

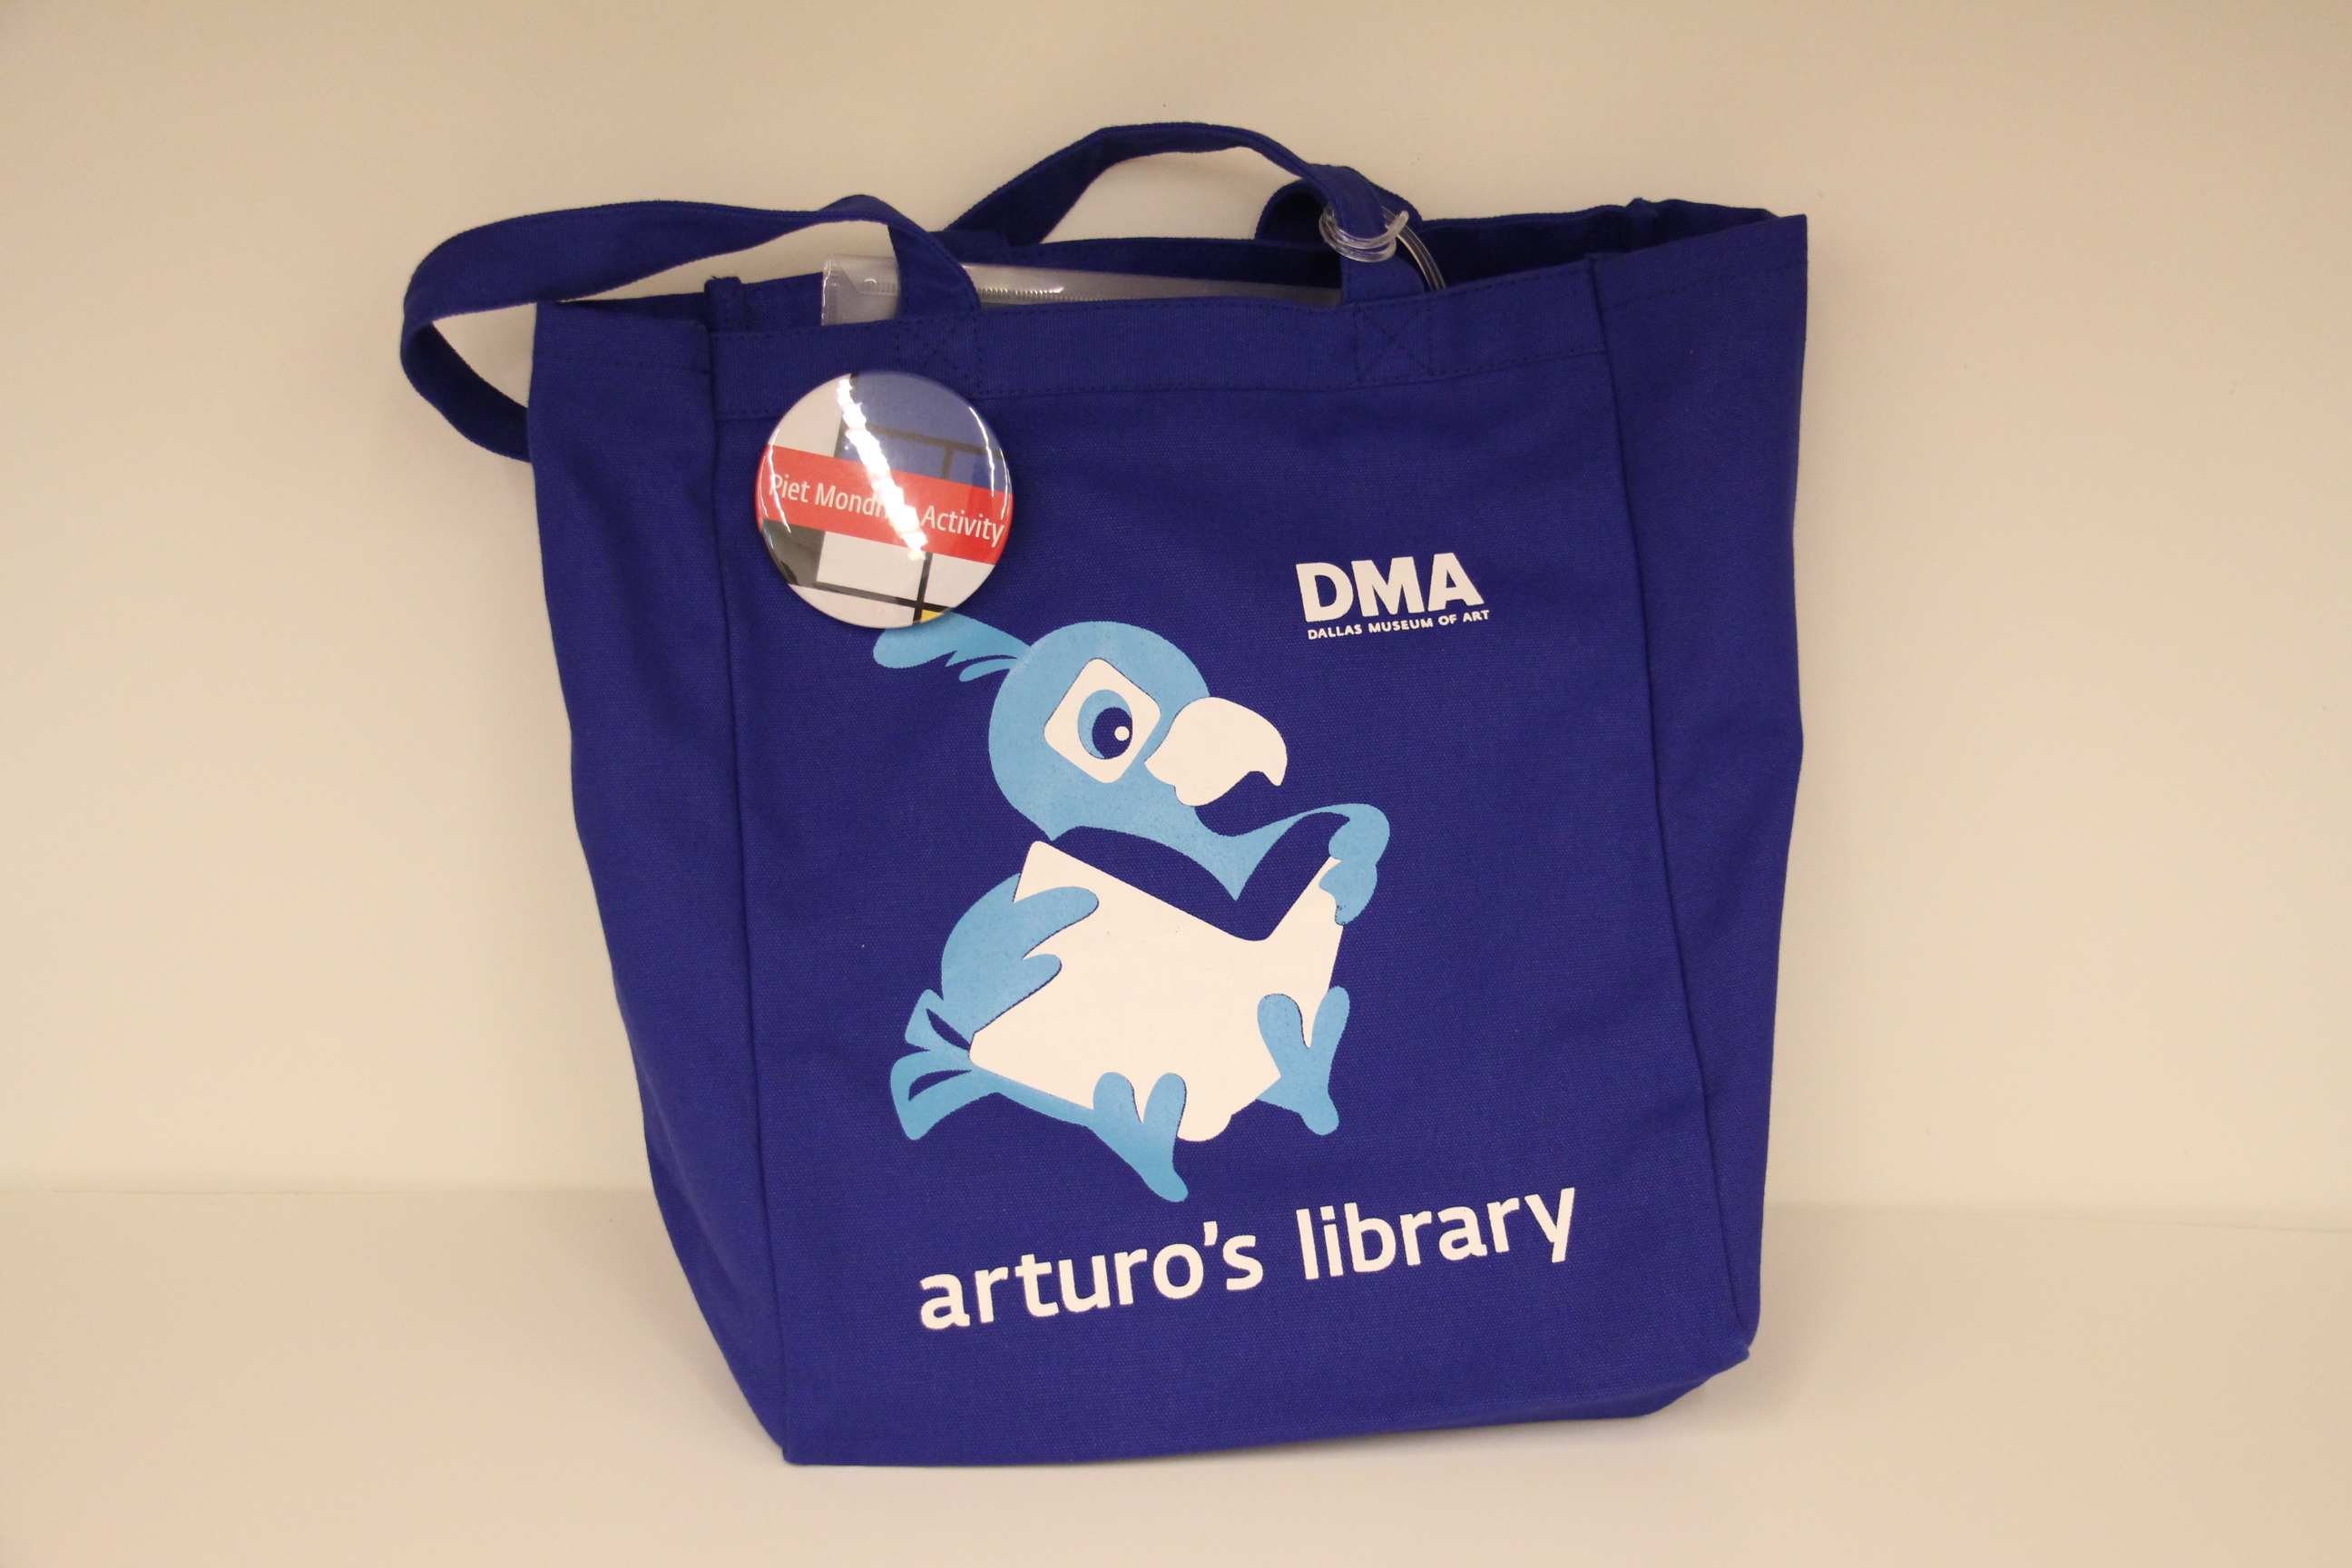
If you’re a regular blog follower, you’ve probably picked up on the fact that I love picture books {proof here, here, and here}. So it should be no surprise that I’ve been working on getting more picture books into the hands of our visitors! I think stories and art are perfect partners, especially for young children and am thrilled to announce the launch of a new gallery activity for families here at the DMA. Drum roll please… announcing Arturo’s Library totes!

IMG_4935

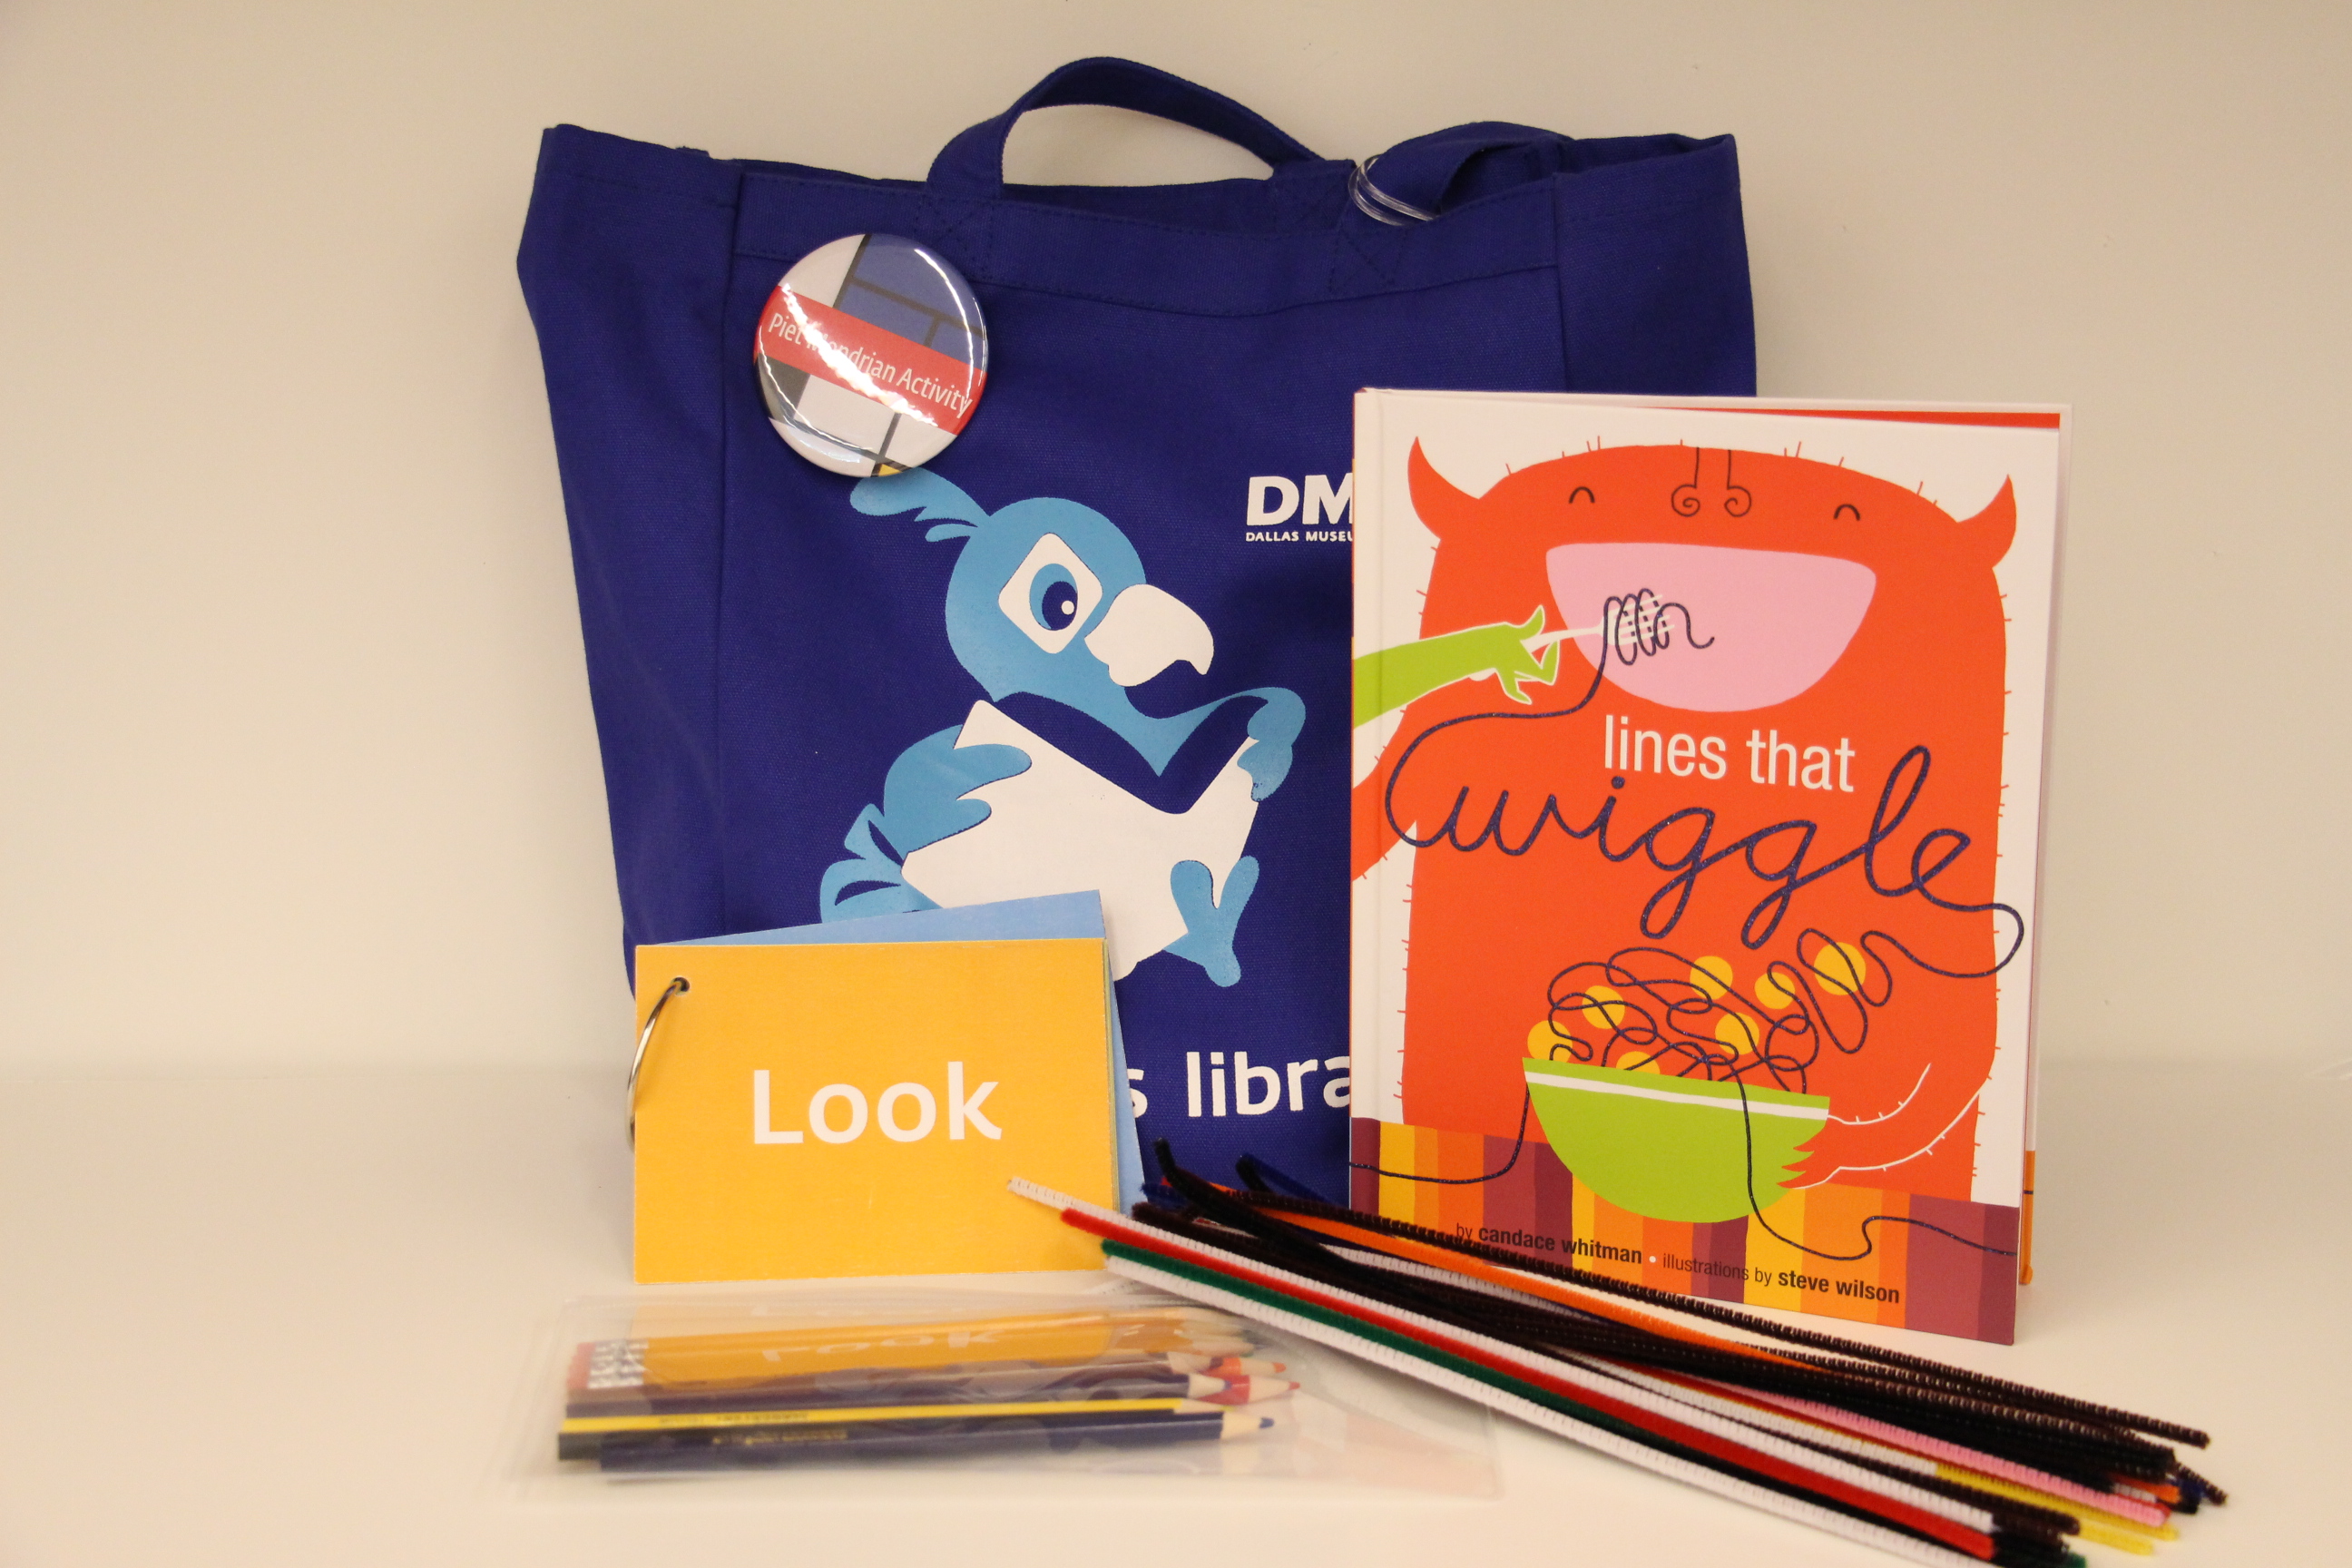
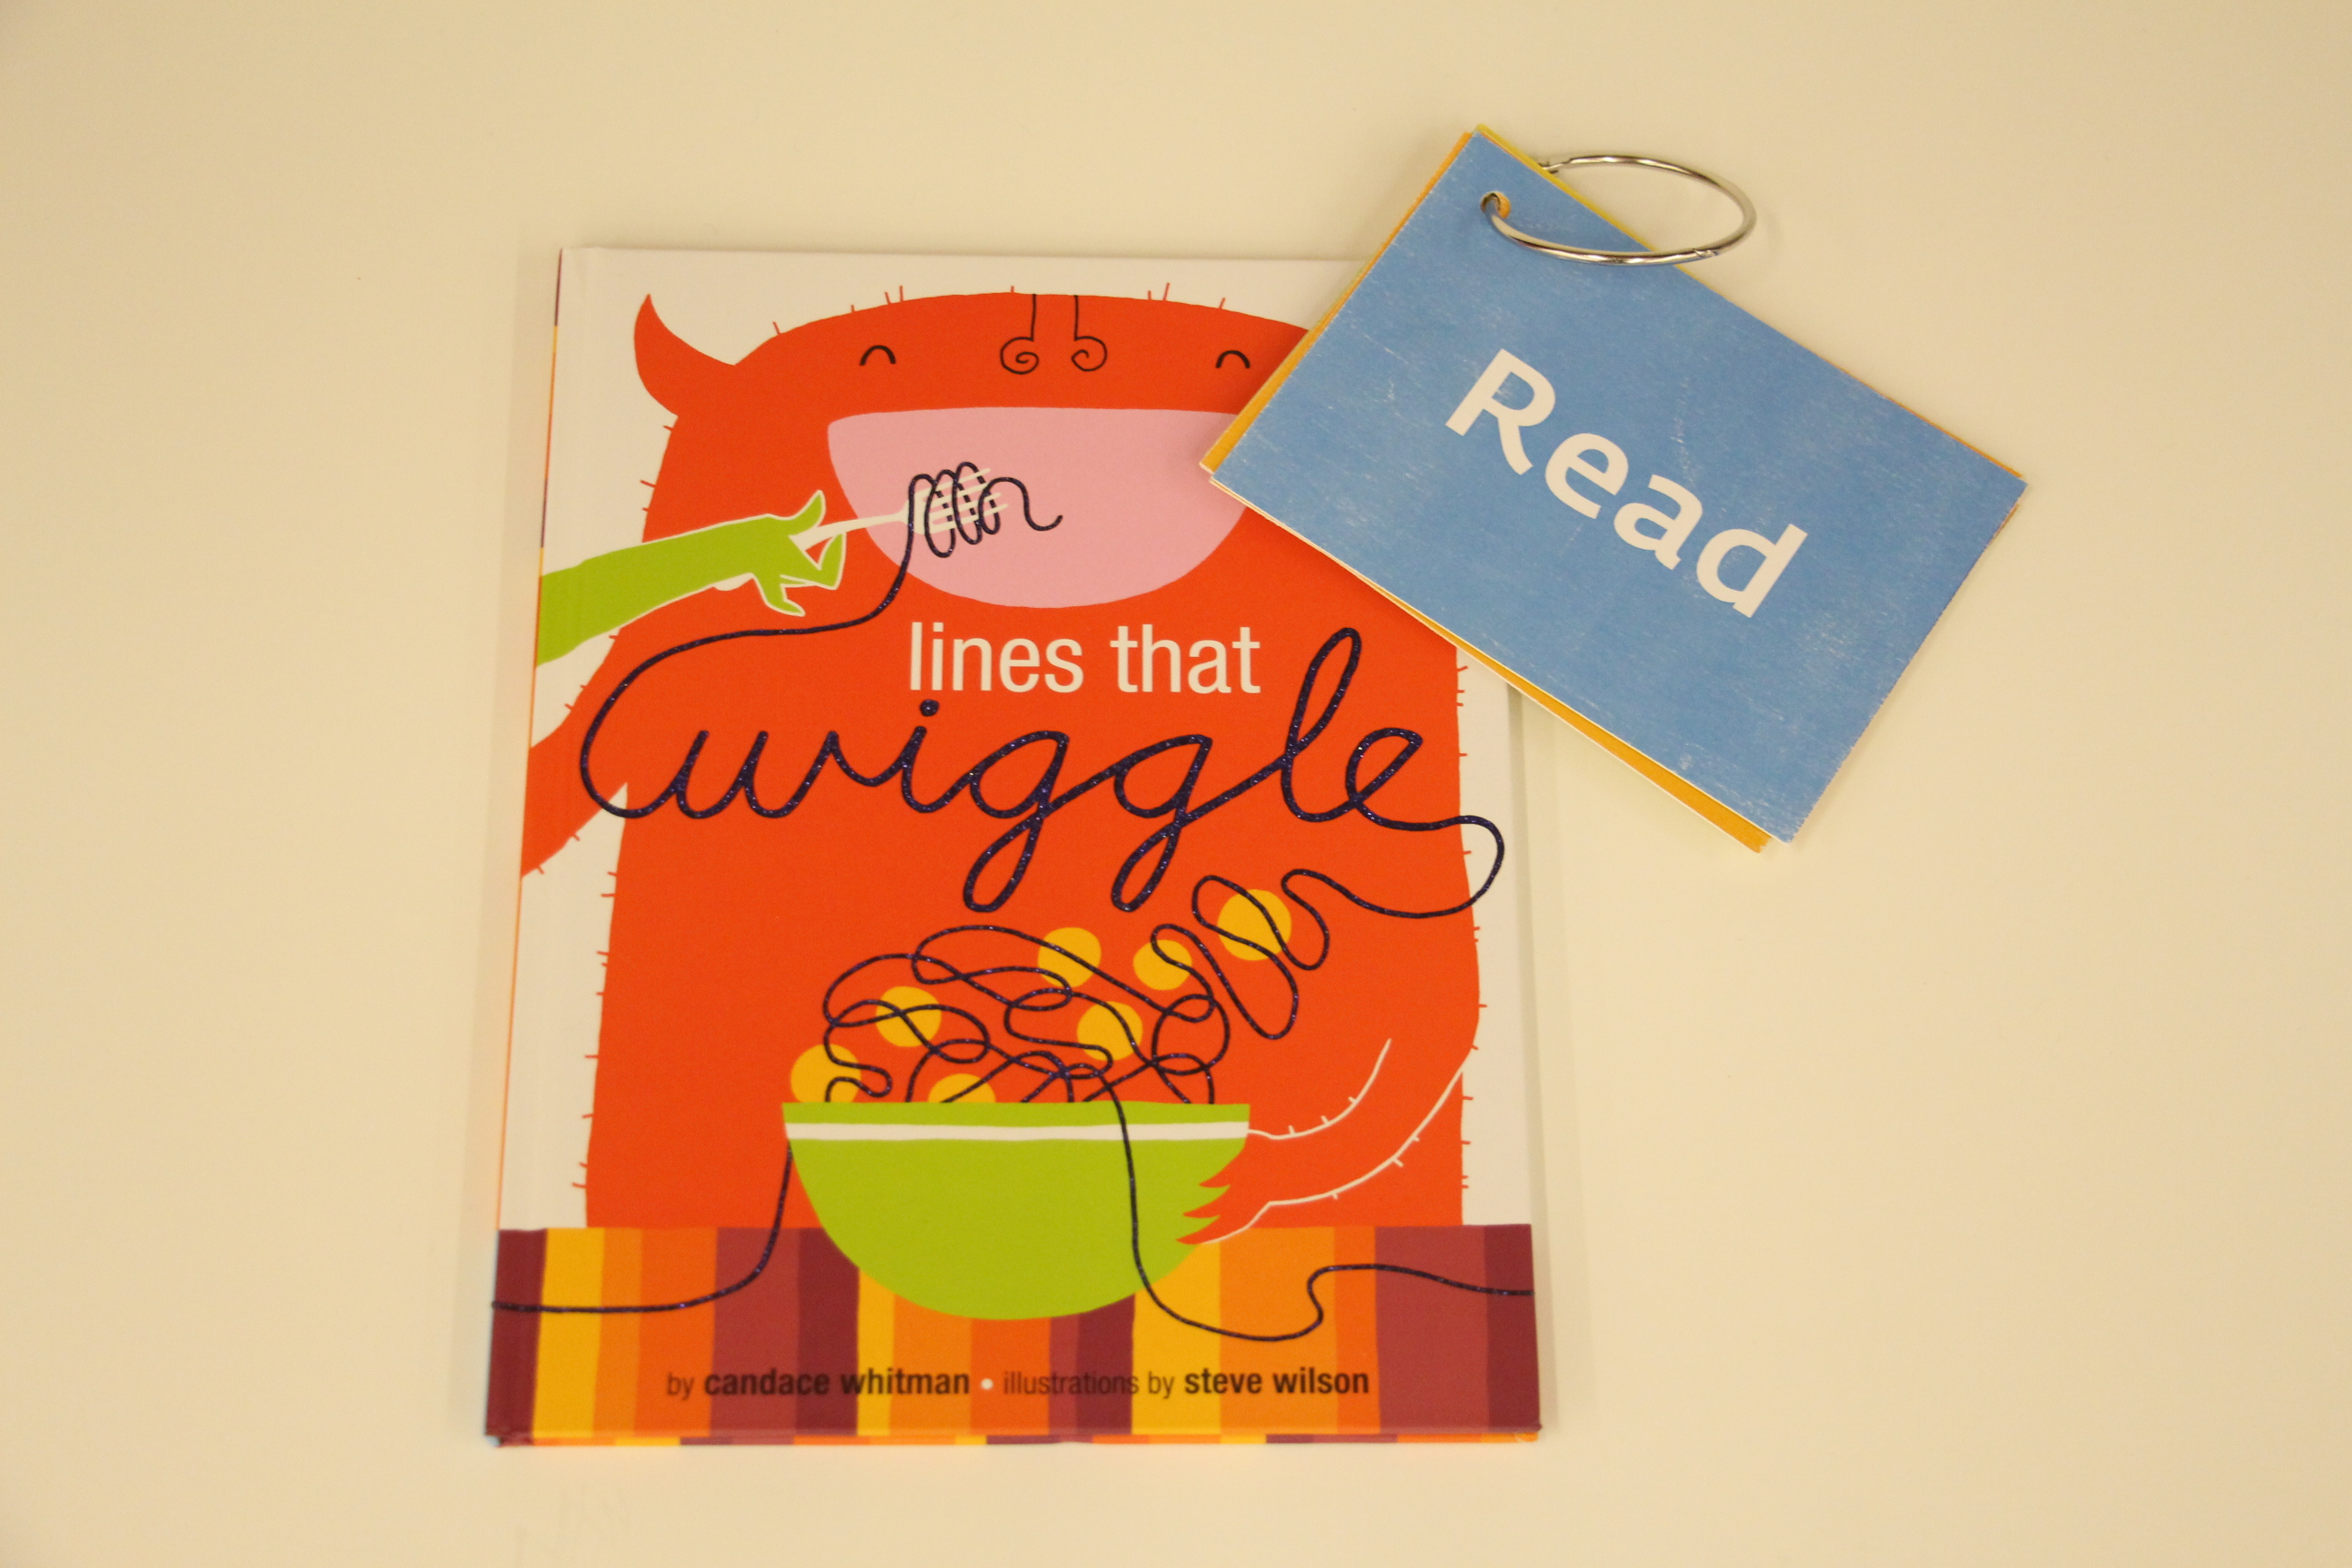
Arturo’s Library totes can best be described as a storytime-to-go. The totes are designed particularly for families with children ages two to five, and include a picture book, a deck of activity cards, and materials for hands-on activities.

IMG_4937

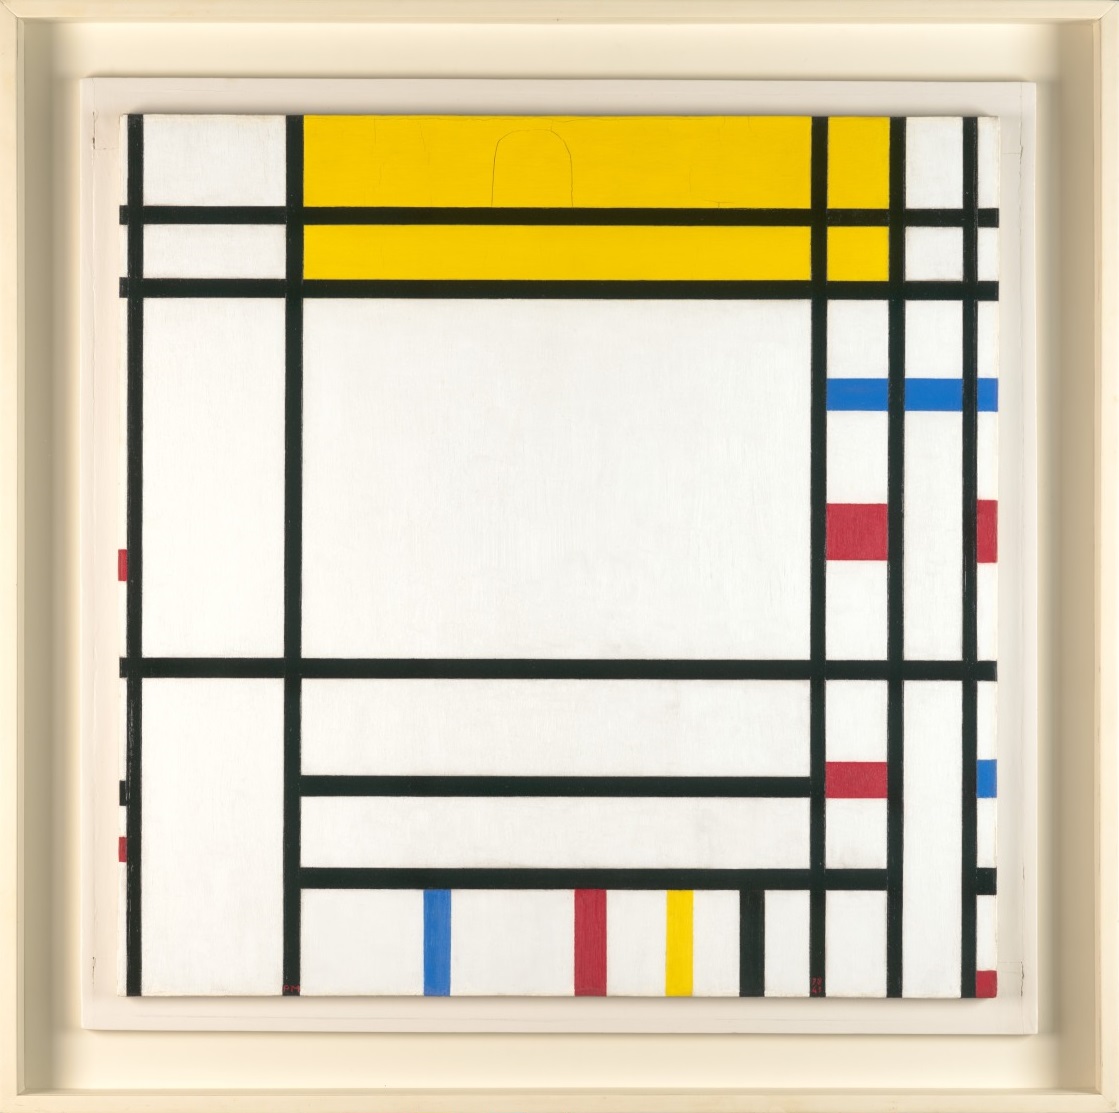
With our friendly mascot Arturo as your guide, you can take the tote into the Museum galleries and use the contents to explore a specific work of art. The debut Arturo’s Library tote is all about lines—wiggly, squiggly, zig zaggy, straight lines—and coordinates with Place de la Concorde, by Dutch artist Piet Mondrian.

Piet Mondrian, Place de la Concorde, 1938-1943, Dallas Museum of Art, Foundation for the Arts Collection, gift of the James H. and Lillian Clark Foundation

Piet Mondrian, Place de la Concorde, 1938-1943, Dallas Museum of Art, Foundation for the Arts Collection, gift of the James H. and Lillian Clark Foundation

Using the bag is simple—find the work of art in the galleries, plop down on the floor, and try one of the suggested activities in the activity card deck. There are four categories to choose from—READ, LOOK, PLAY, and LEARN MORE.

IMG_4941

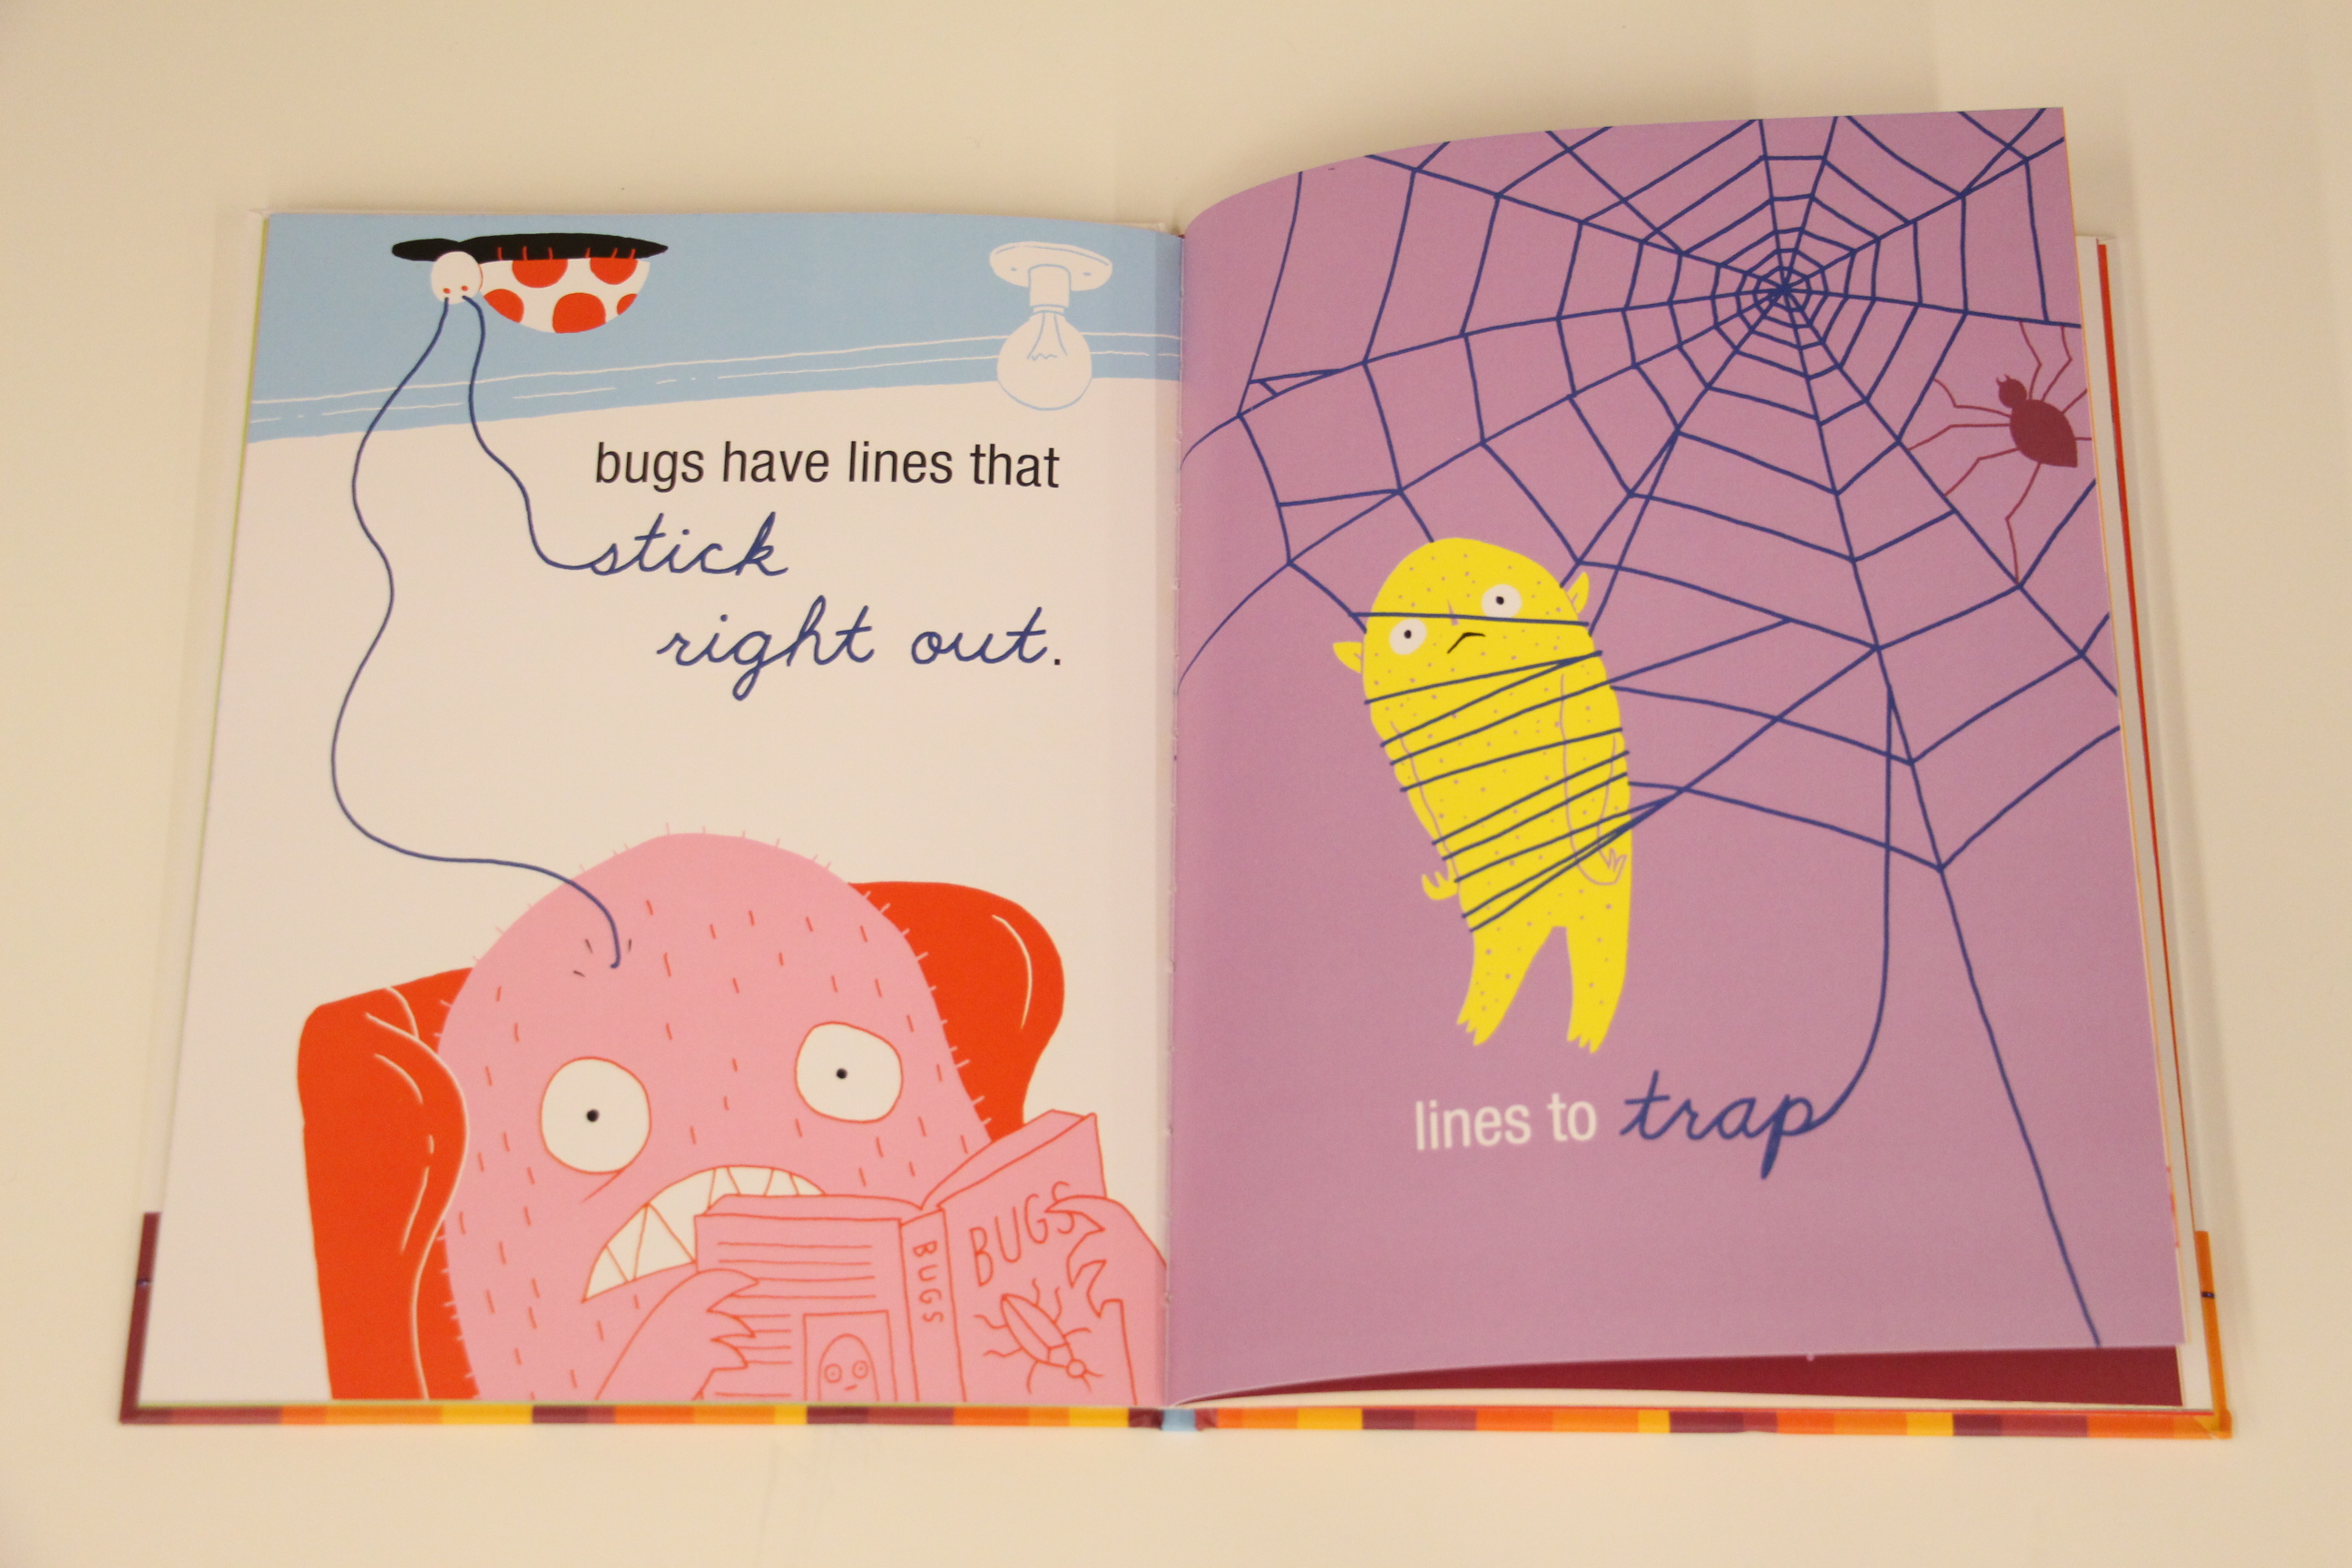
Lines that Wiggle by Candace Whitman is one of my favorite books to use when talking about lines in art. The illustrations are cheerful, bright and sometimes silly, and the text has a beautiful rhythm to it.

IMG_4940
After reading the book, you and your child can LOOK at the lines in the Mondrian painting and compare and contrast the artist’s lines to those you found in the book.

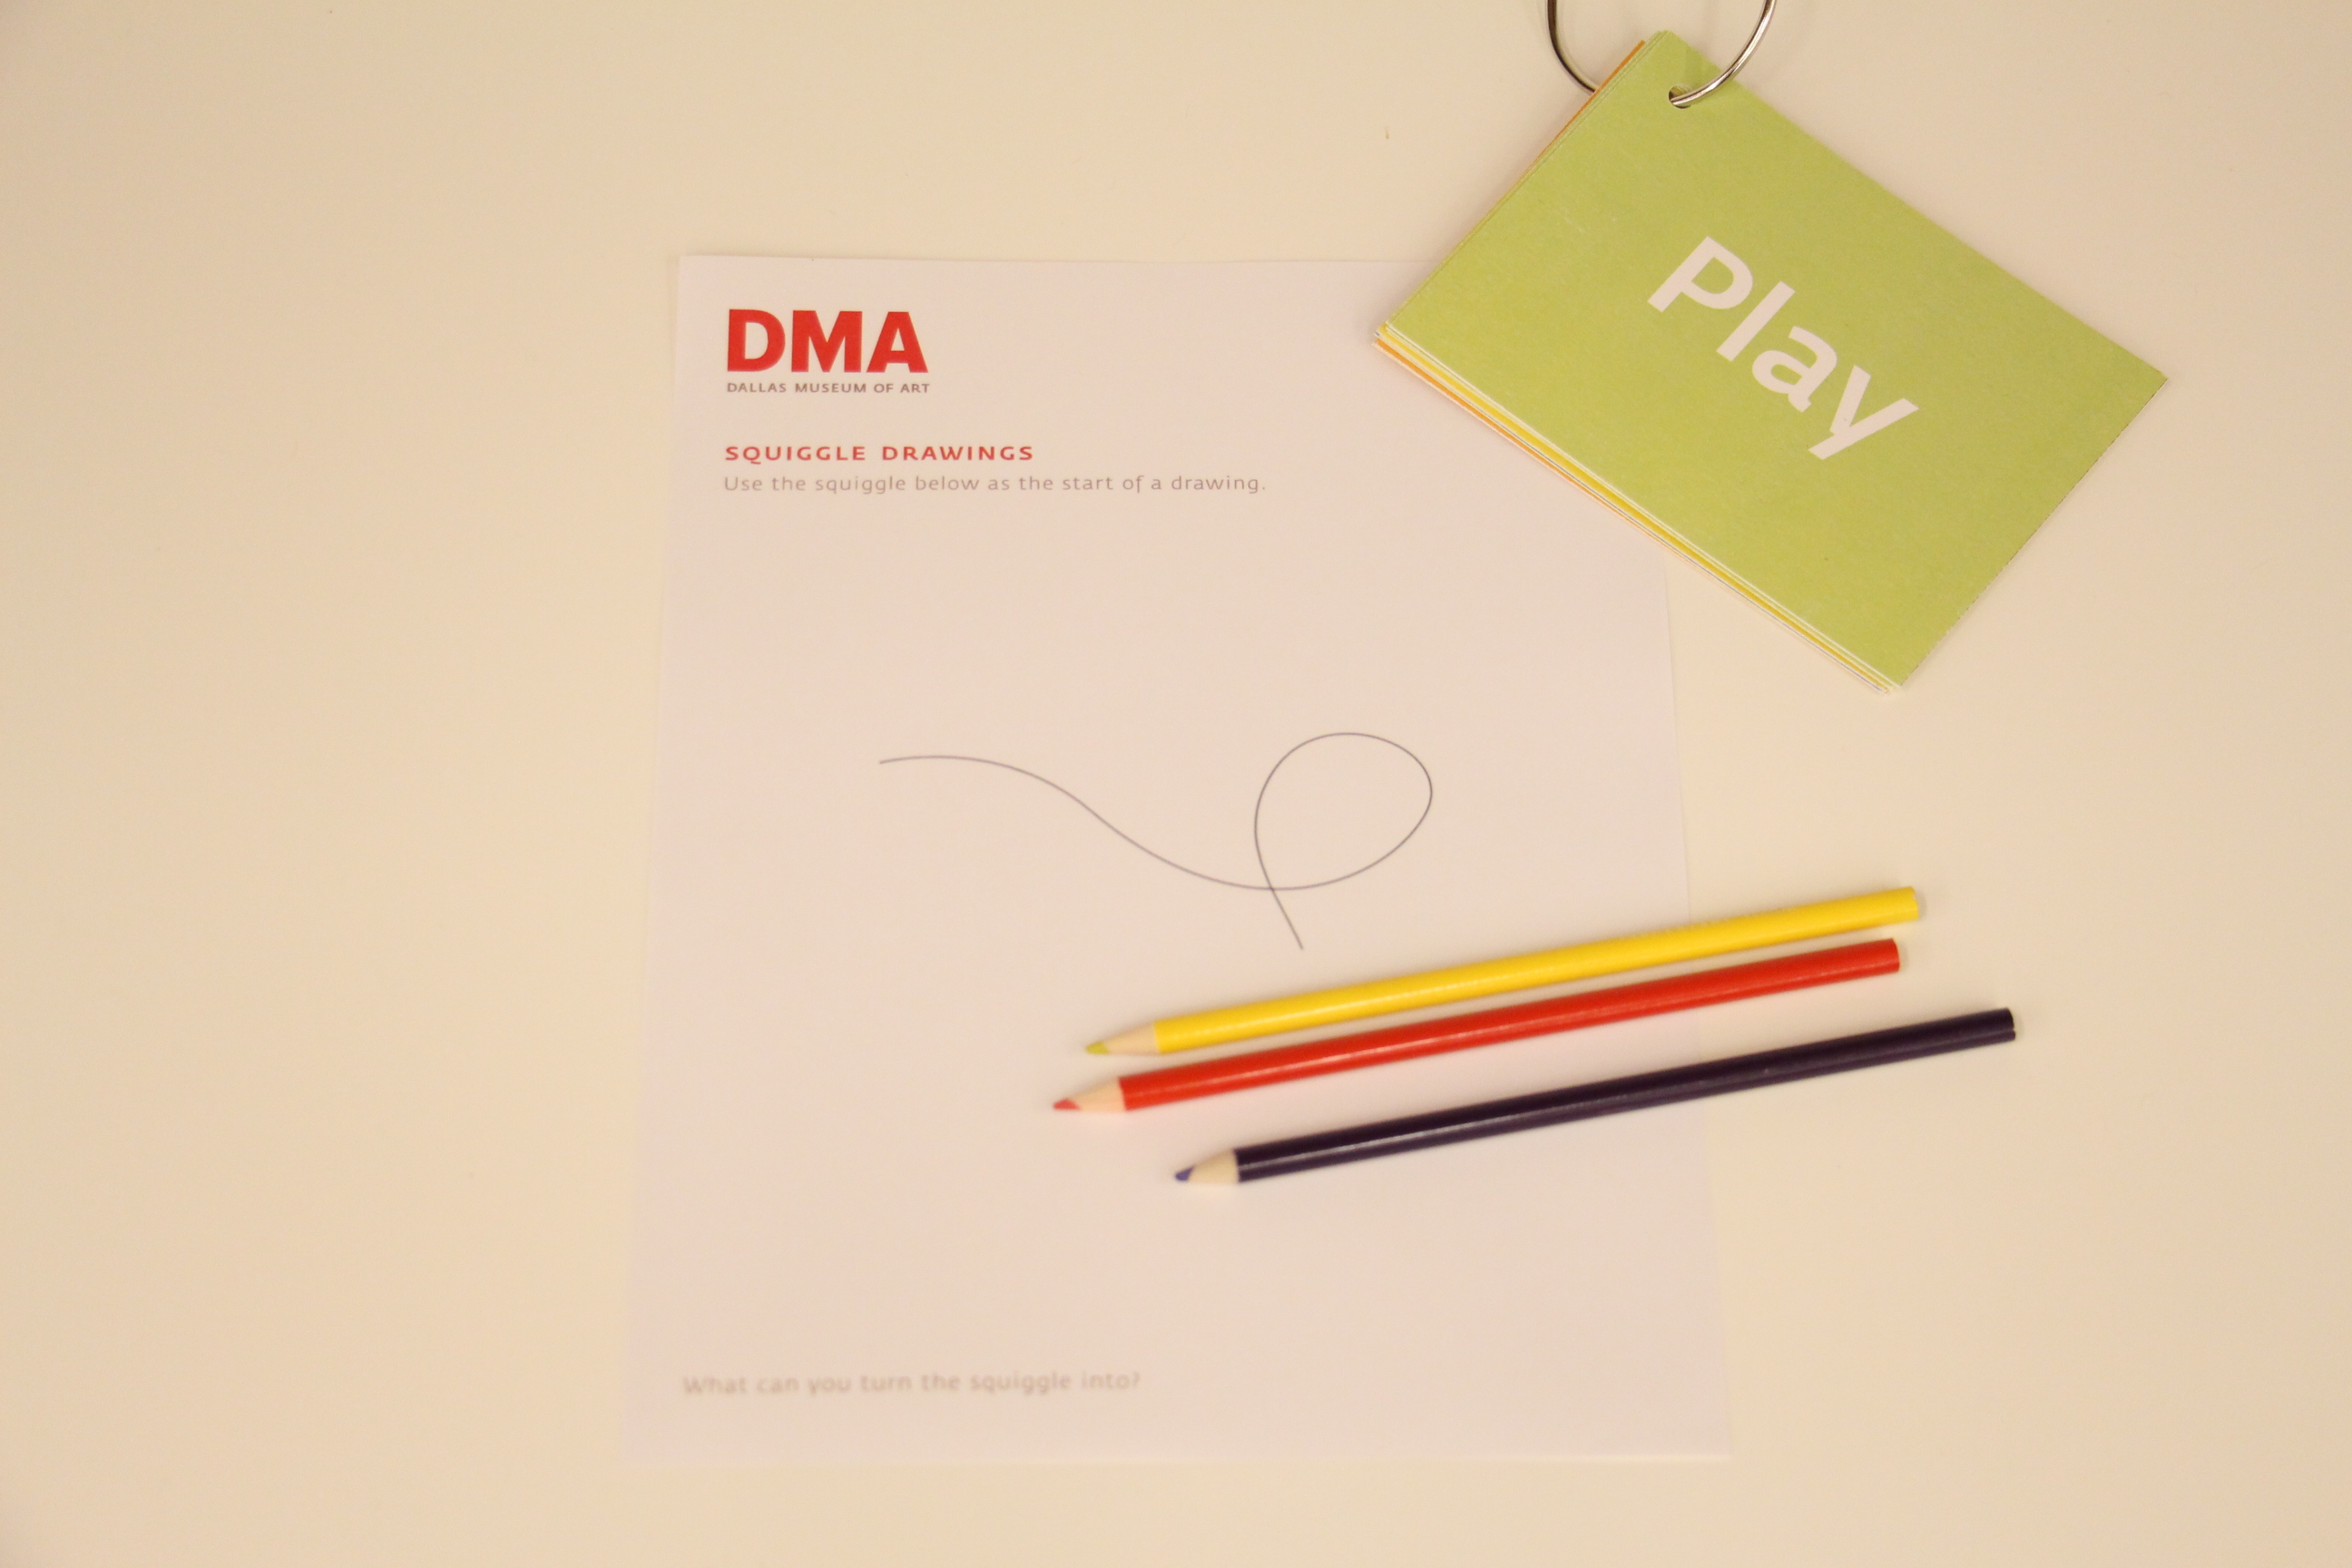
If you’re in the mood for drawing, follow the directions on one of the PLAY cards and create your own Mondrian-inspired masterpiece or try your hand at a squiggle drawing.

IMG_4944

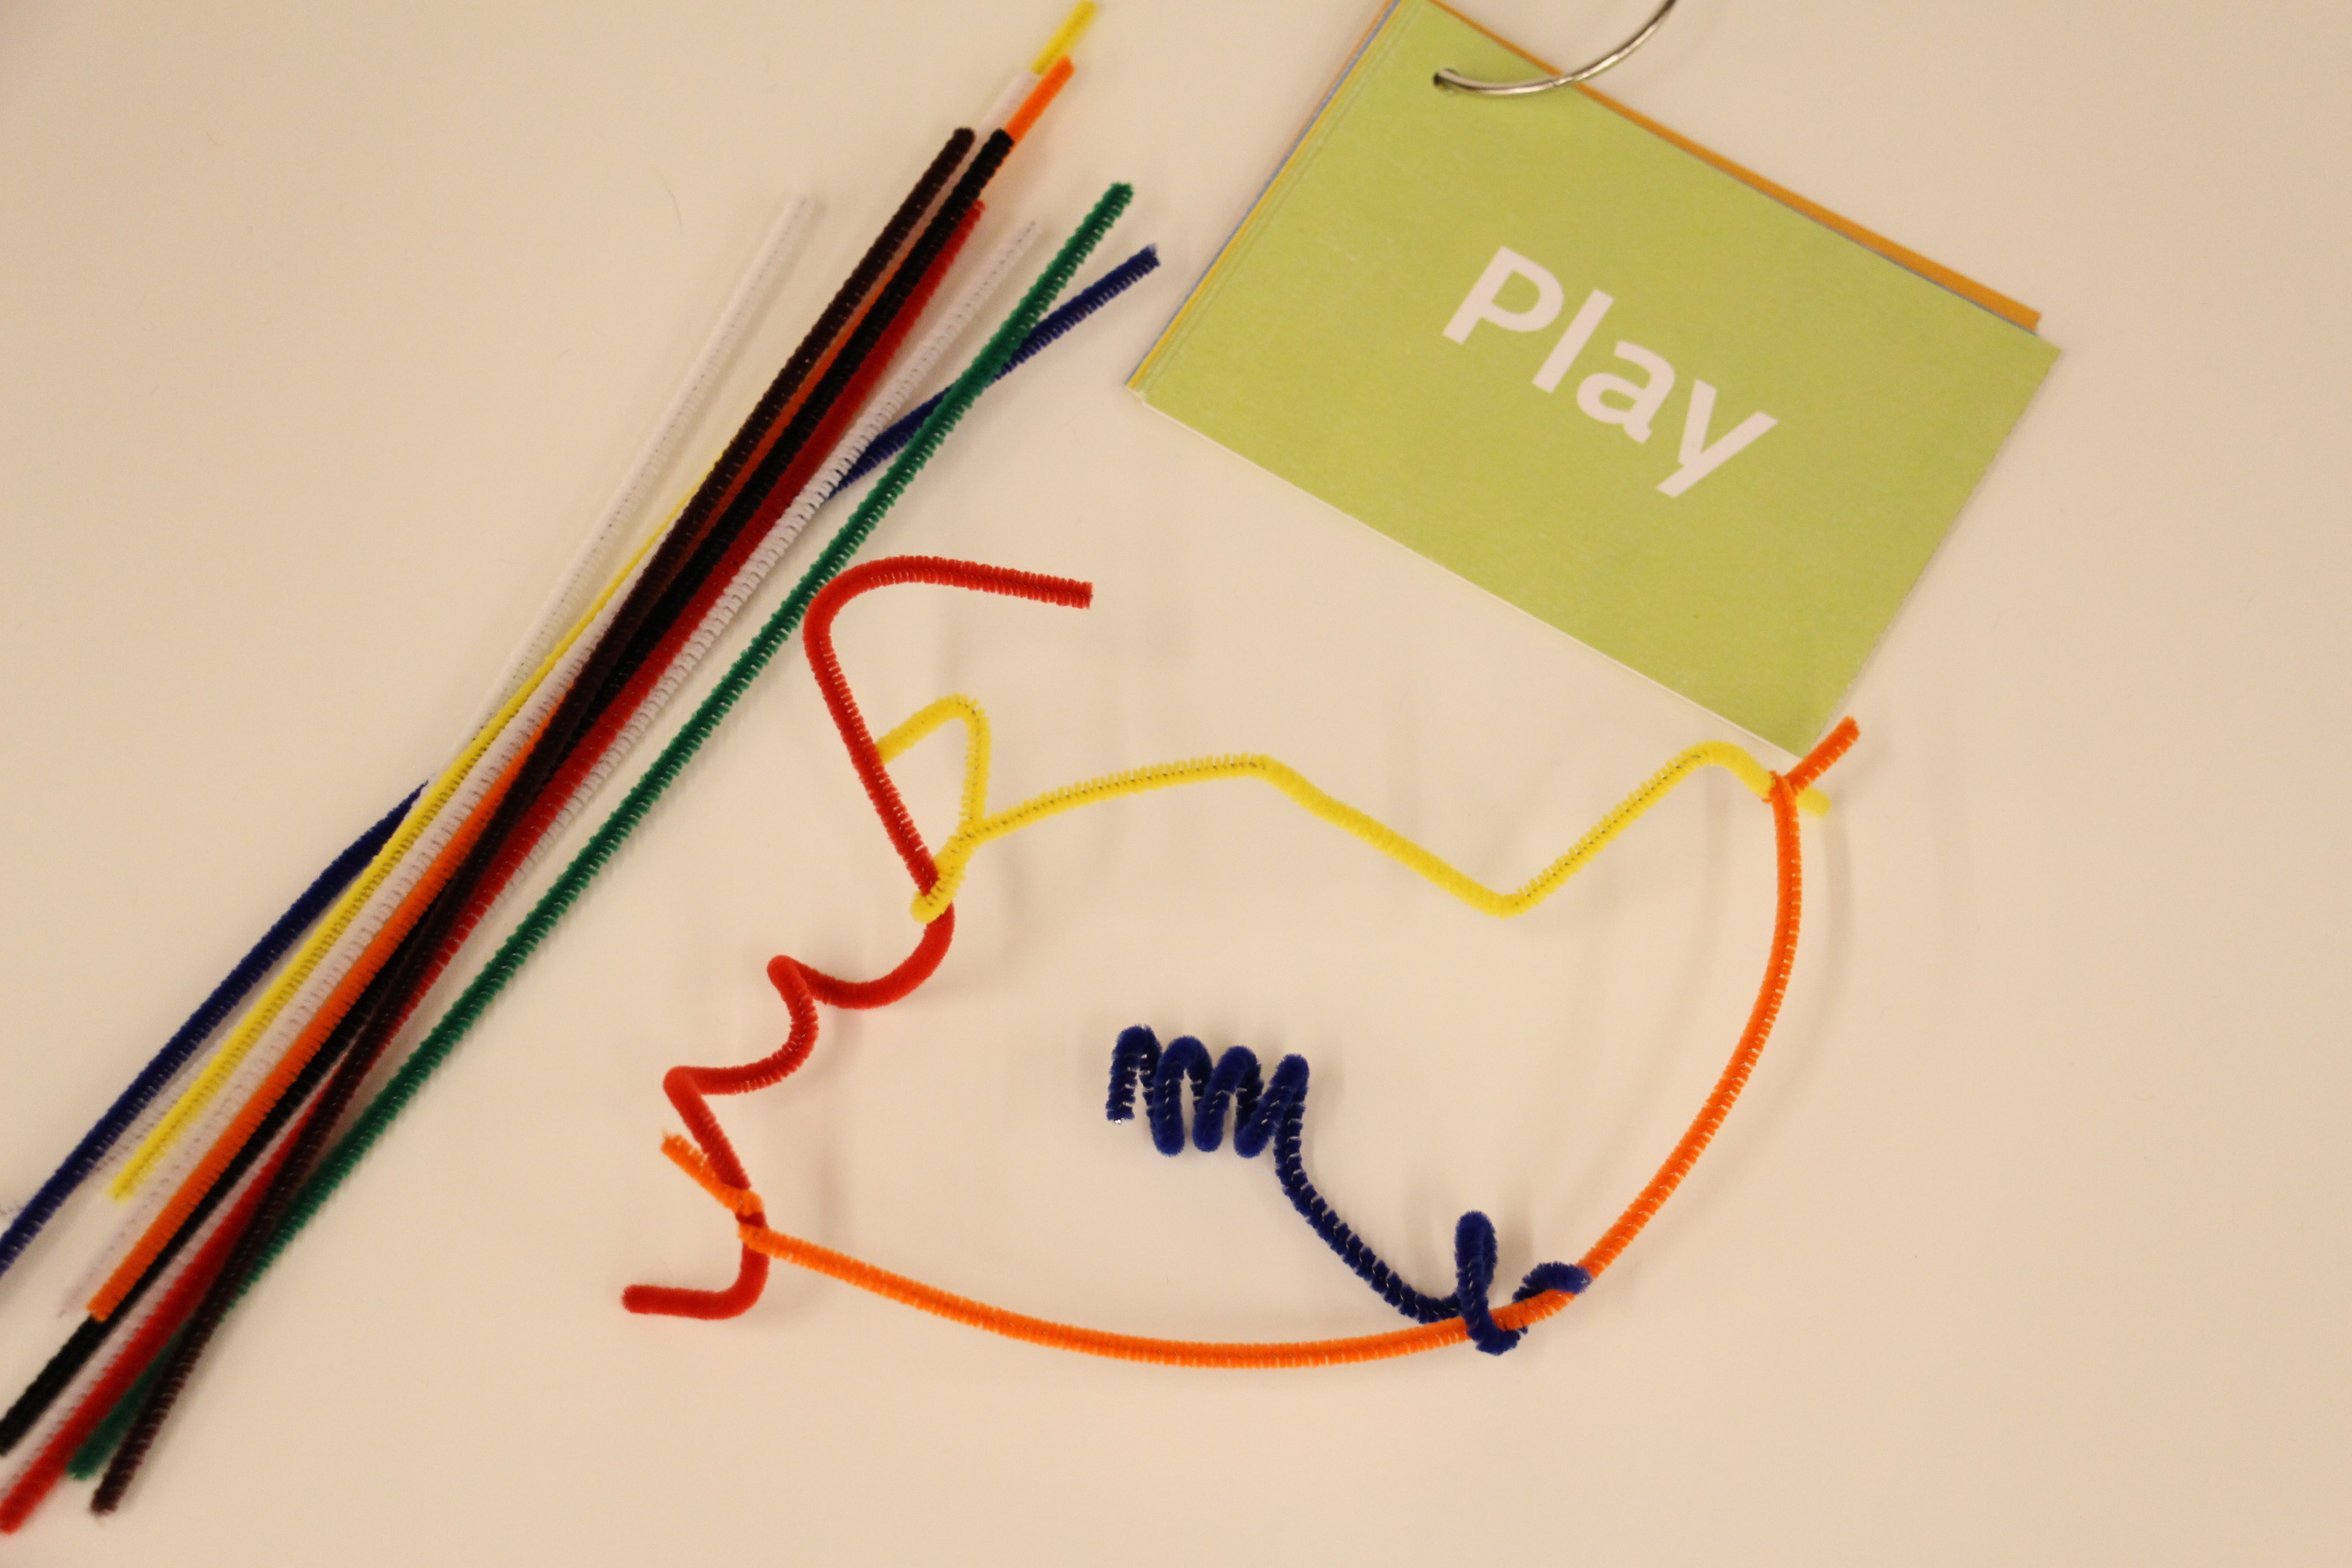
If you’re more of a 3D type of artist, use pipe cleaners to craft a squiggle sculpture to take home with you.

IMG_4947

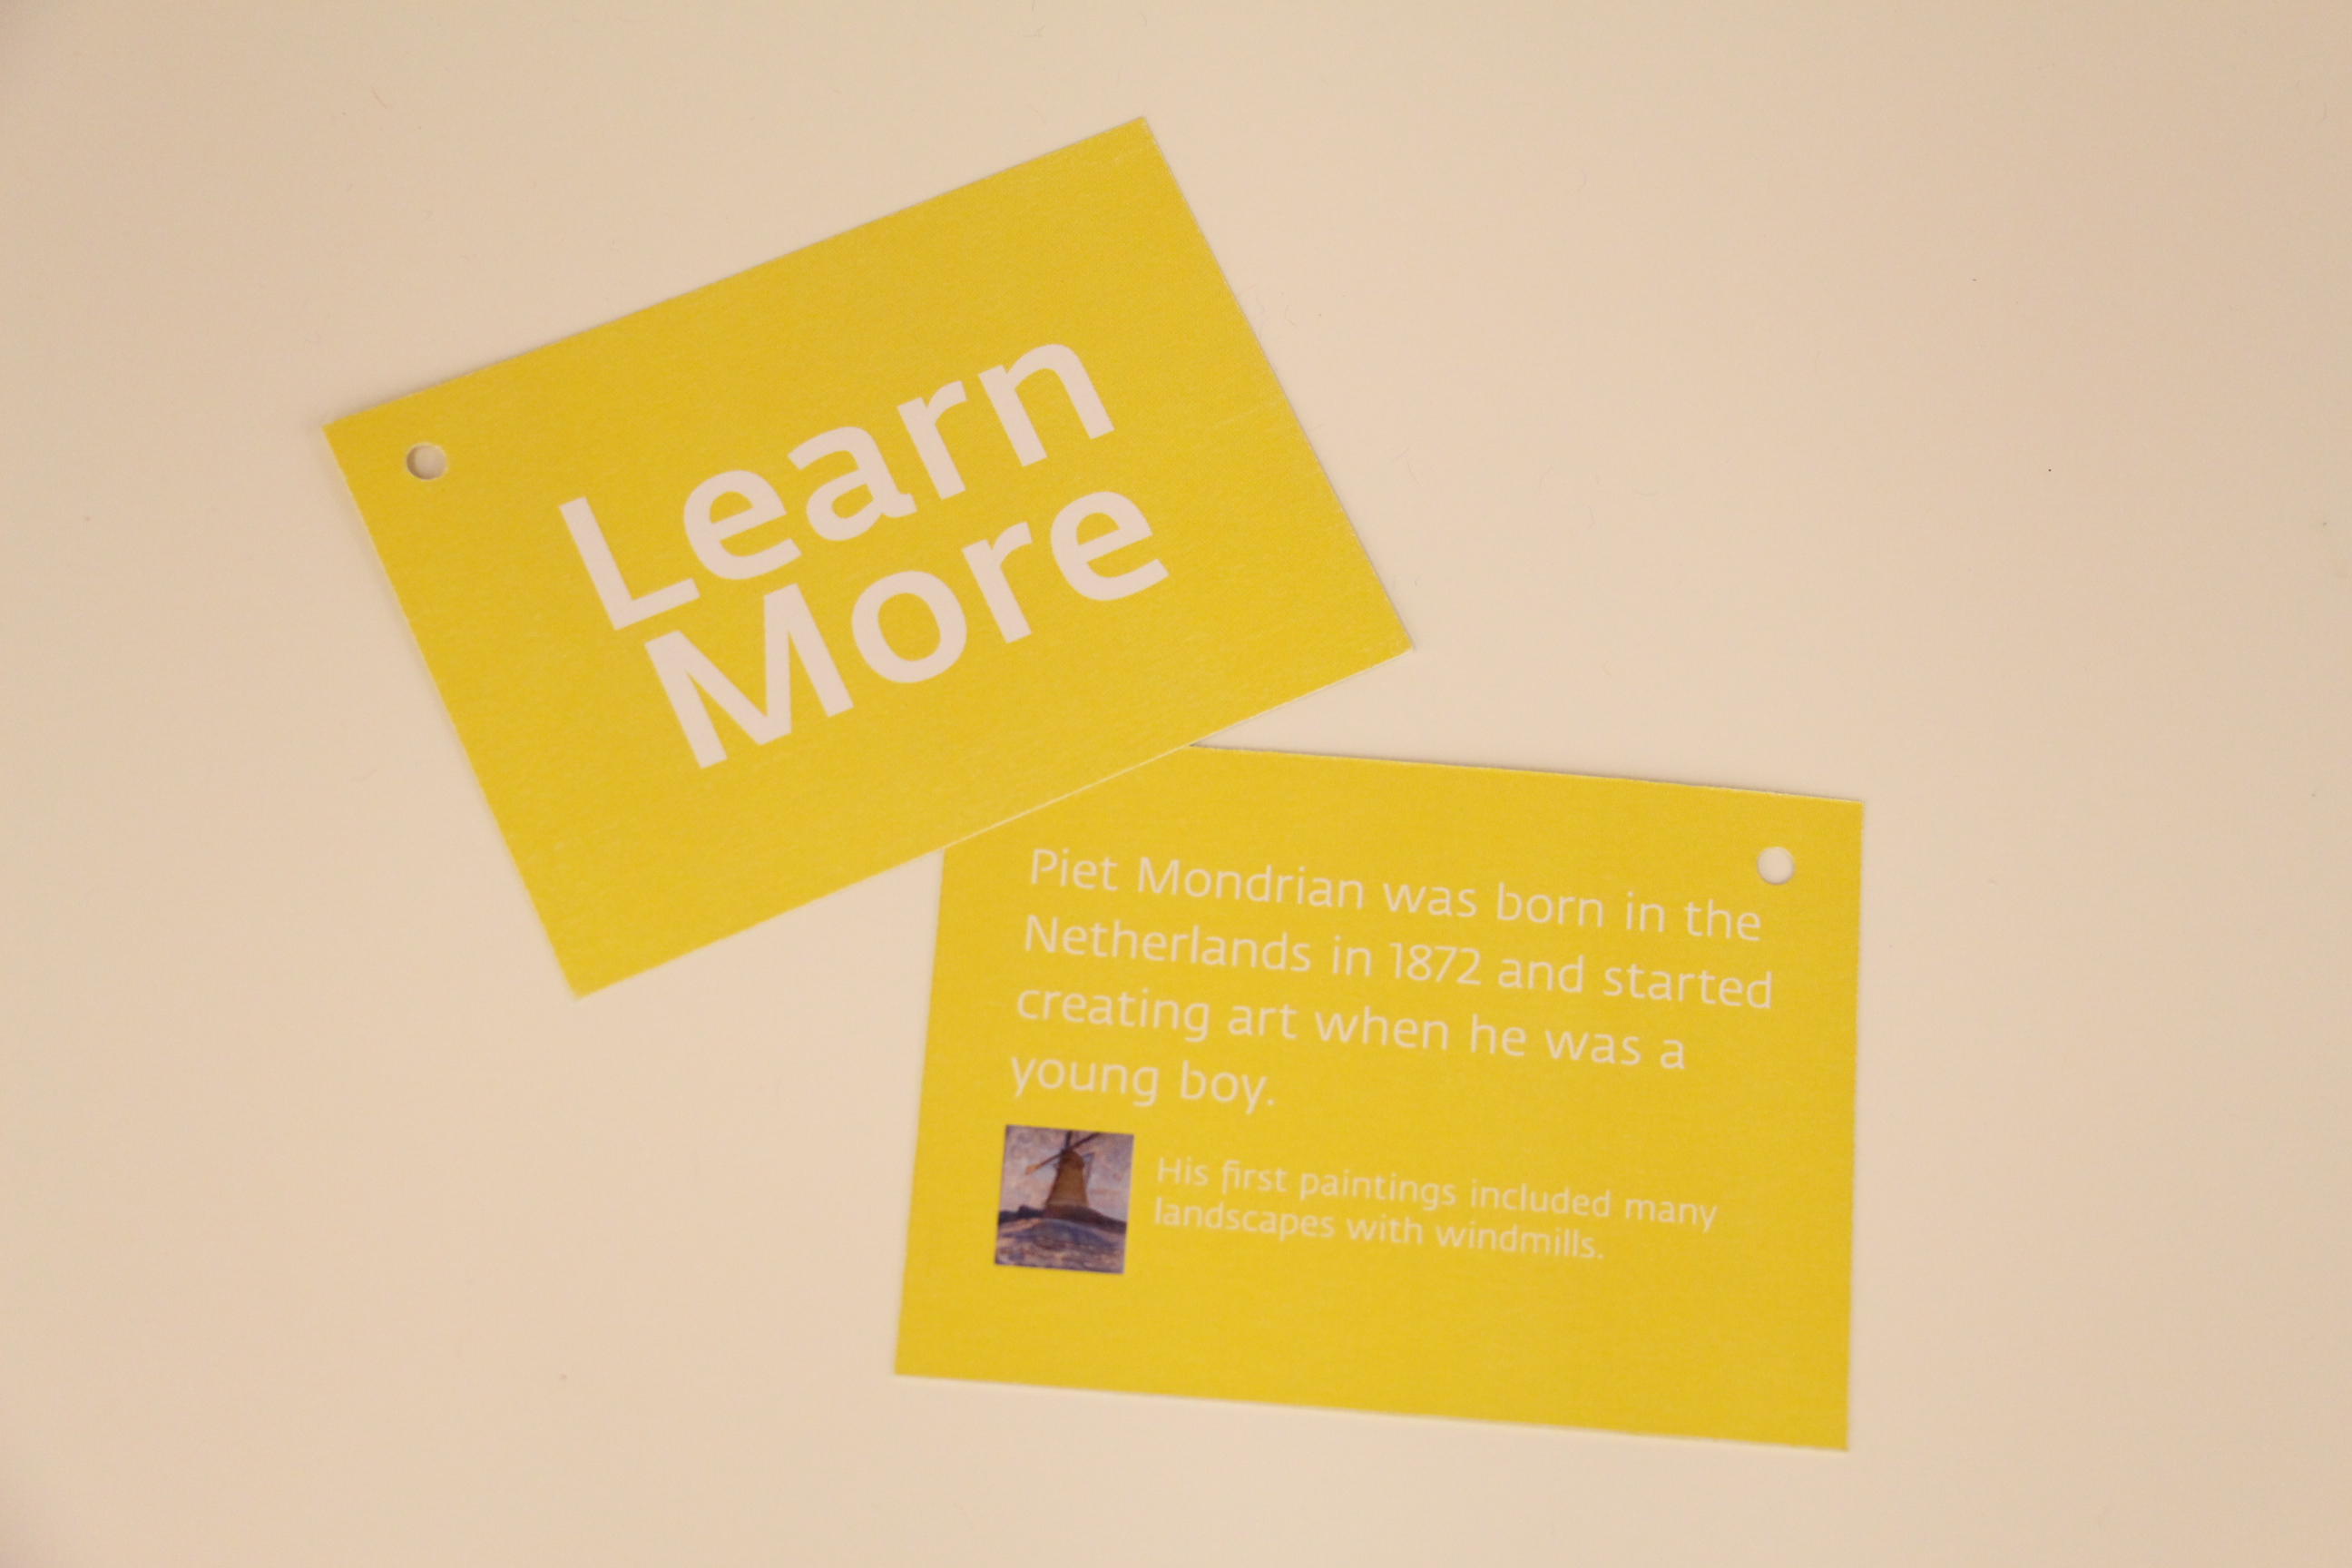
Then take some time to learn a little more about Piet Mondrian and his unique painting style.

Each activity has minimal instructions, is easy to dive right into, and offers a fun way to spend a little more time with a work of art. Over the next year or so, we’ll introduce new book themes and new activities, so that you can explore the Museum from top to bottom. Is one of your favorite books up next? Cast your vote to let us know which book you would be most excited to see next in an Arturo’s Library tote!

What book would you like to see in the next Arturo's Library tote?

On your next visit to the DMA, be sure to stop by our Family Fun Cart at the main museum entrance and check out one of the new Arturo’s Library totes!

Leah Hanson
Manager of Early Learning Programs


Friday Photos: Educator Block Party 2014

My colleague and office pal Amy Copeland and I had the pleasure of spending Thursday evening at the Meyerson Symphony Center for this year’s Educator Block Party. Over twenty cultural institutions participated at this event, including the Sixth Floor Museum, the Crow Collection of Asian Art, and the Dallas Holocaust Museum, to name only a few! It was wonderful getting a chance to chat with teachers, administrators, and homeschool instructors from around the Metroplex over the course of a relaxing evening. If you missed it this year, we hope to see you at the gathering next time around!

Josh Rose
Manager of Docent and Teacher Programs

London Calling!

15104160945_015a70fc1a_o

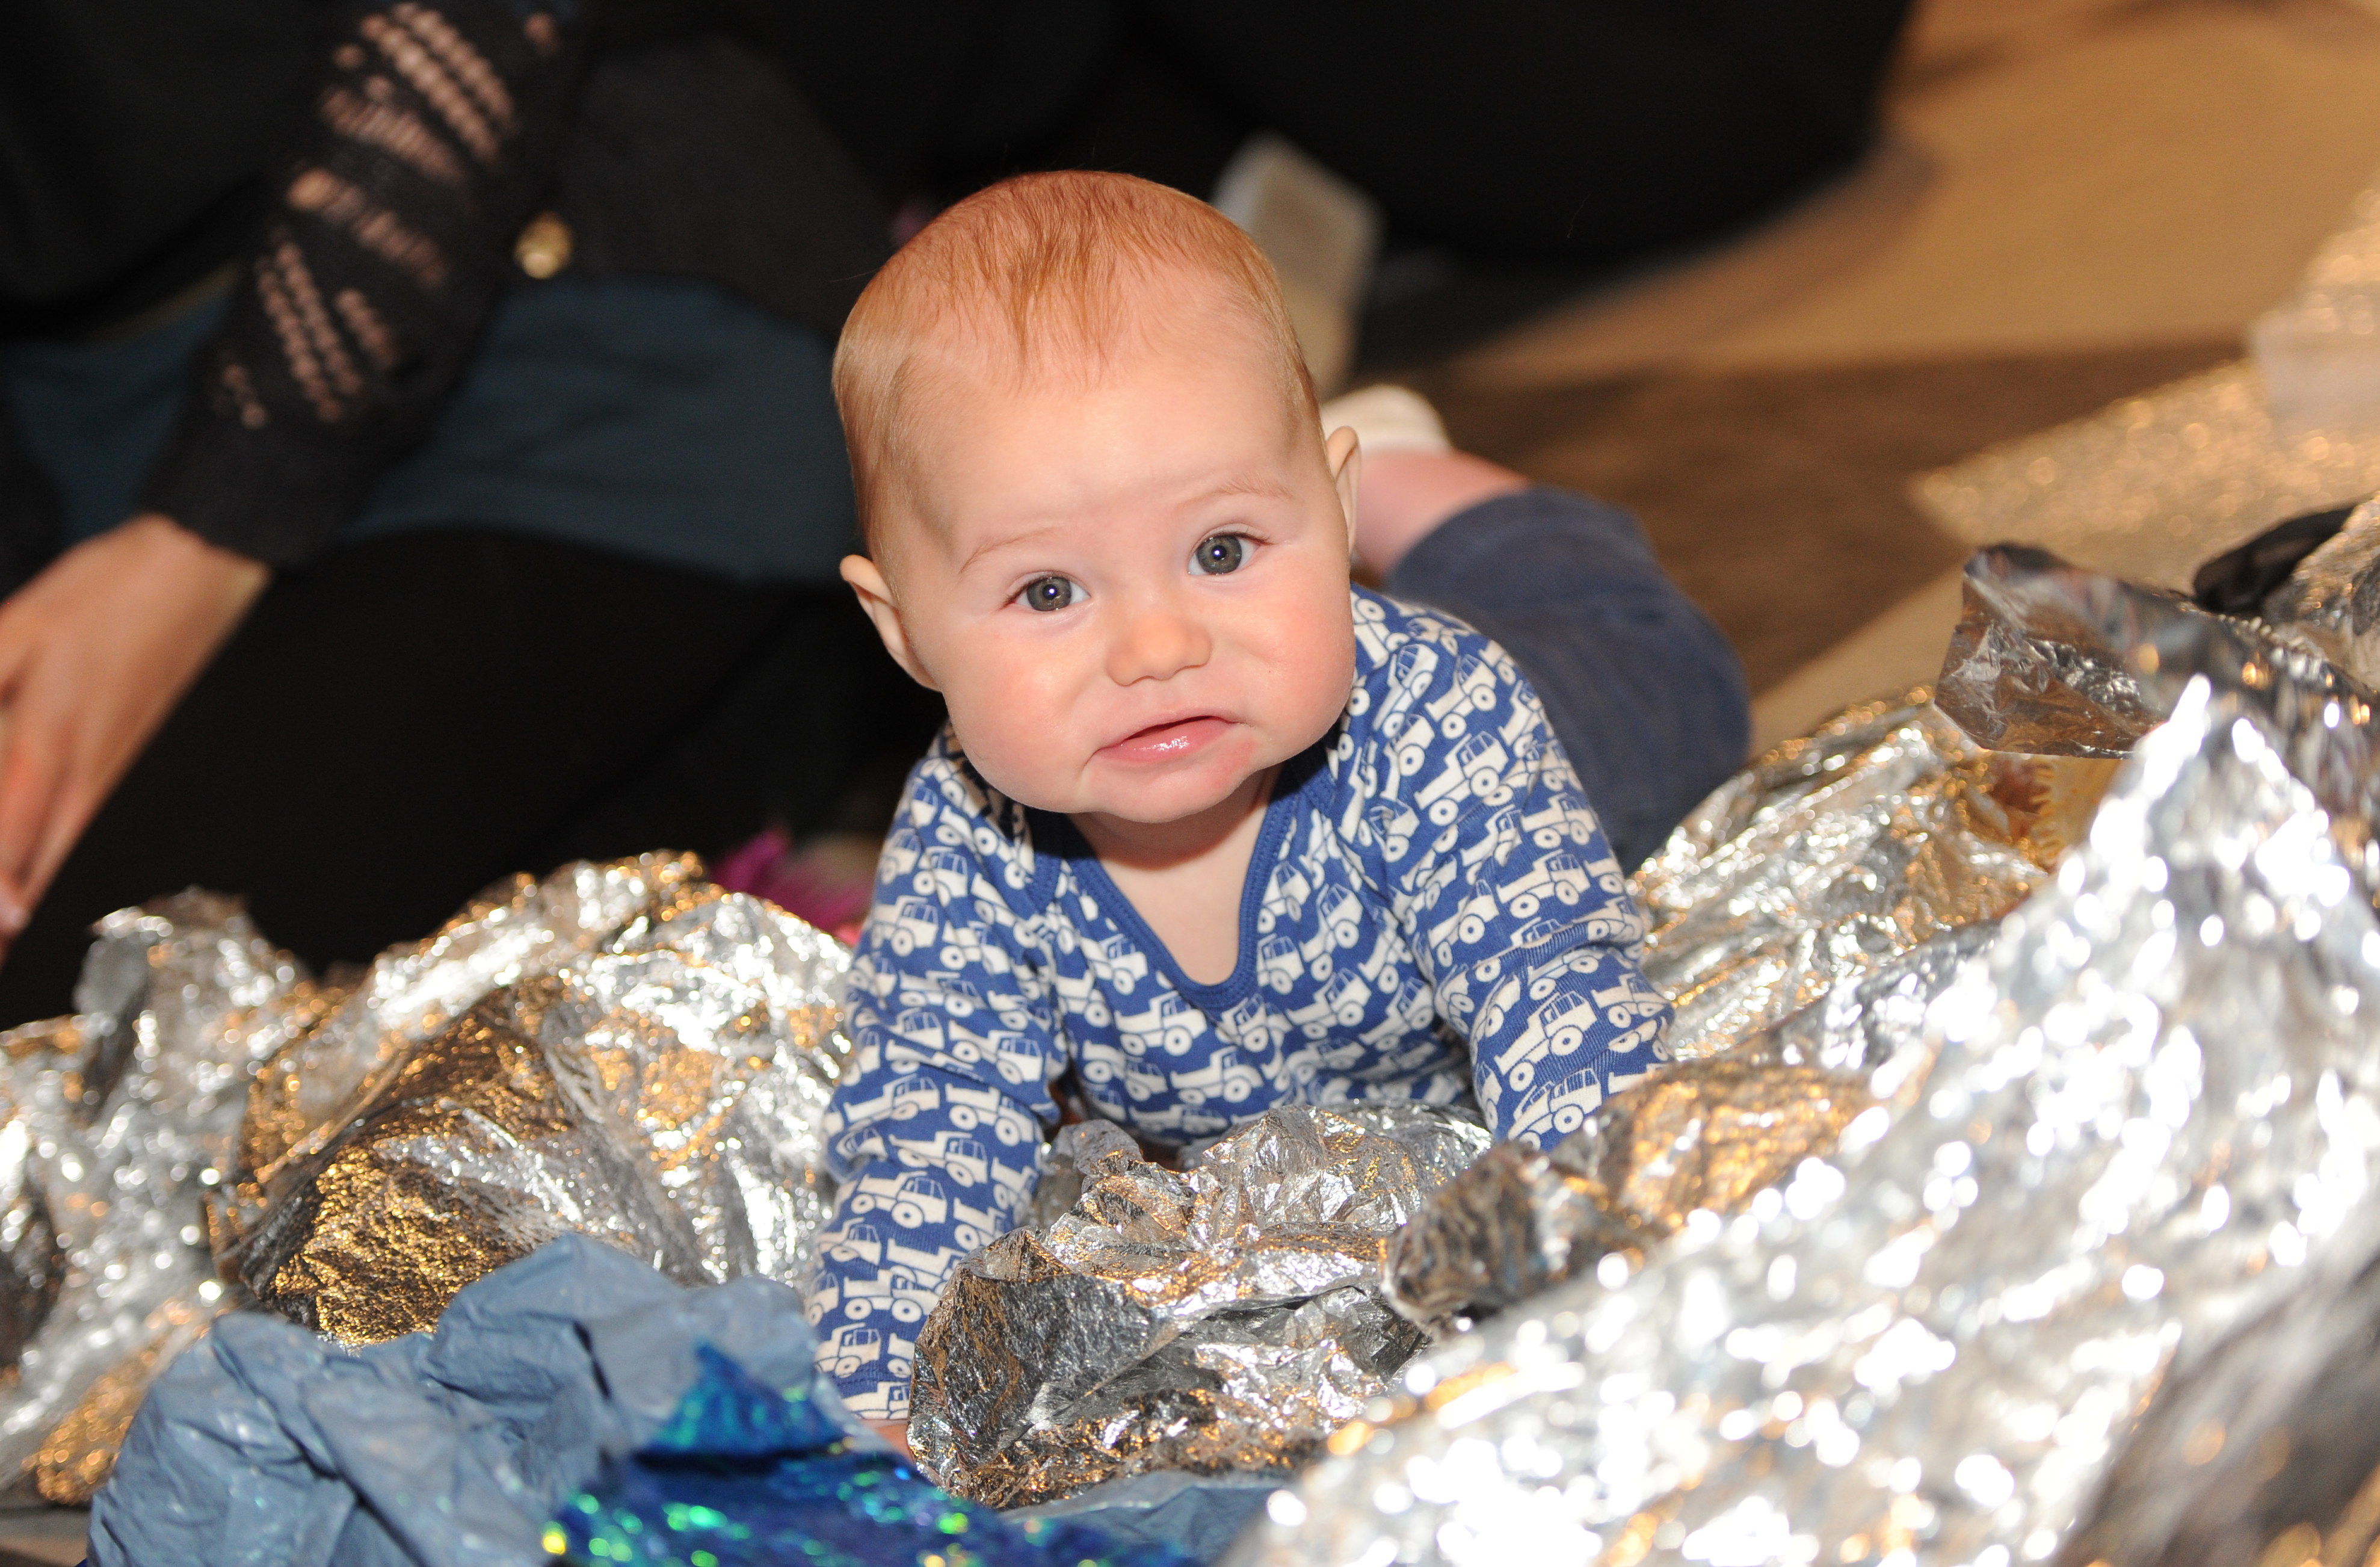
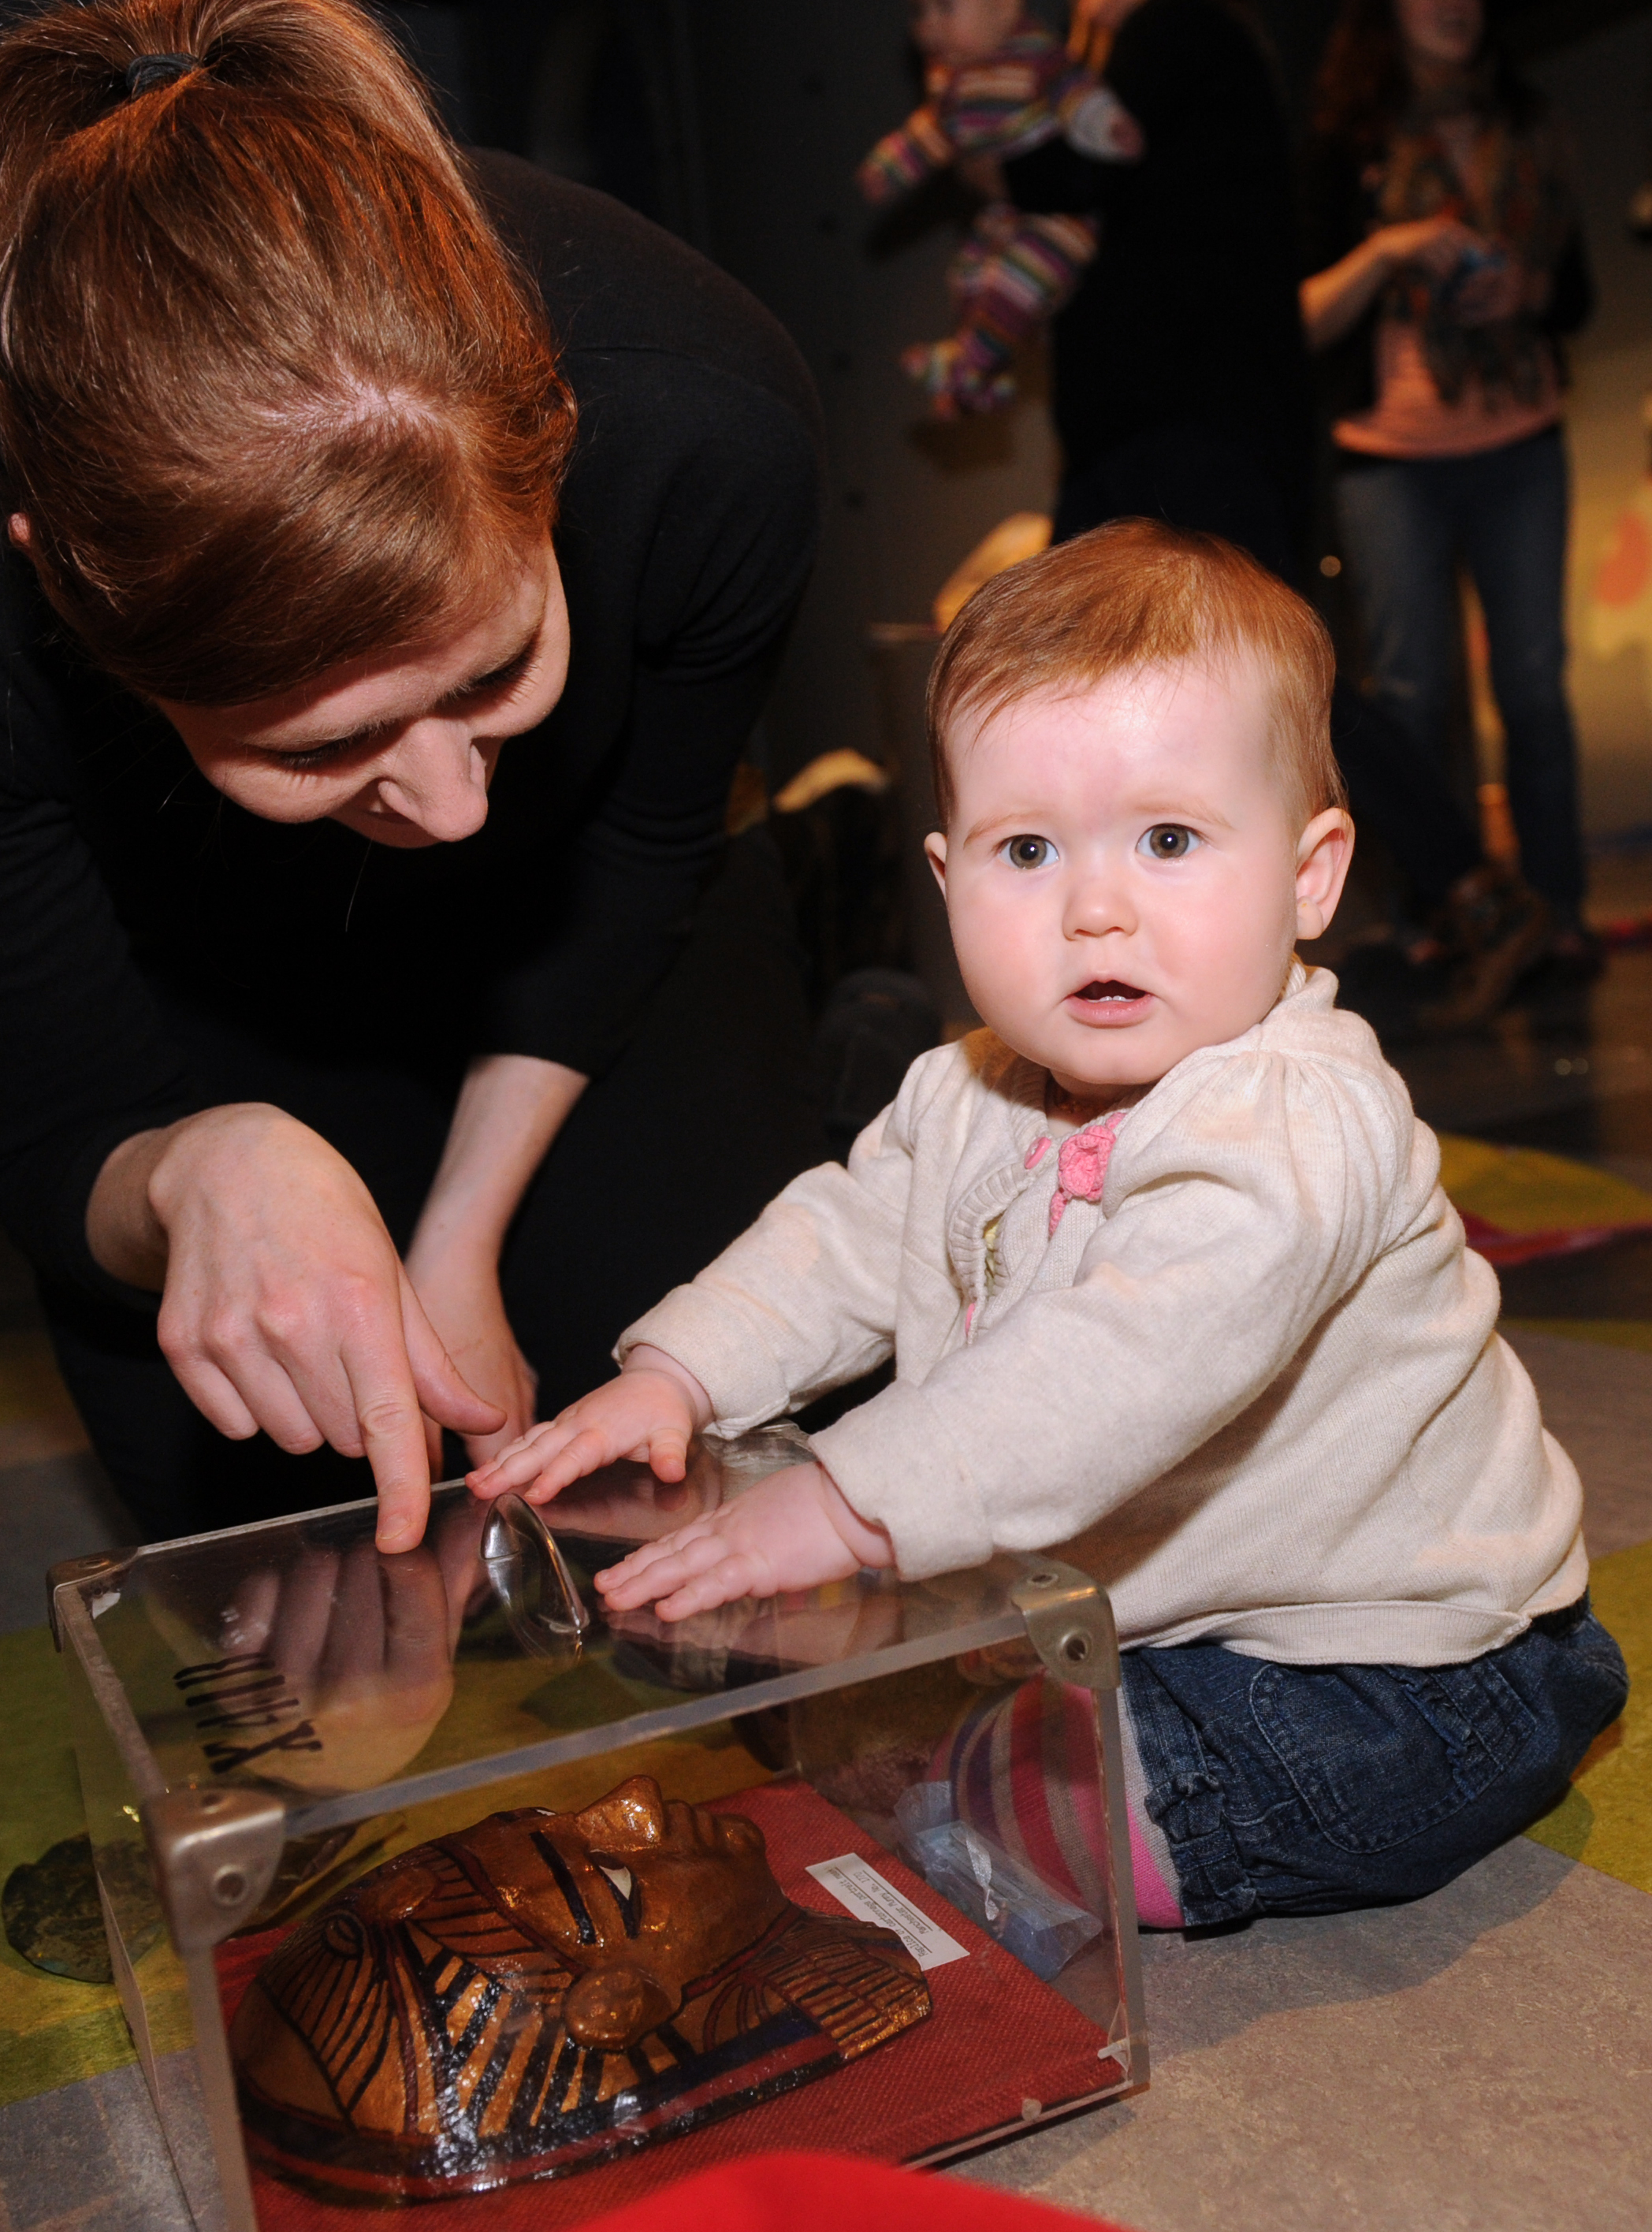
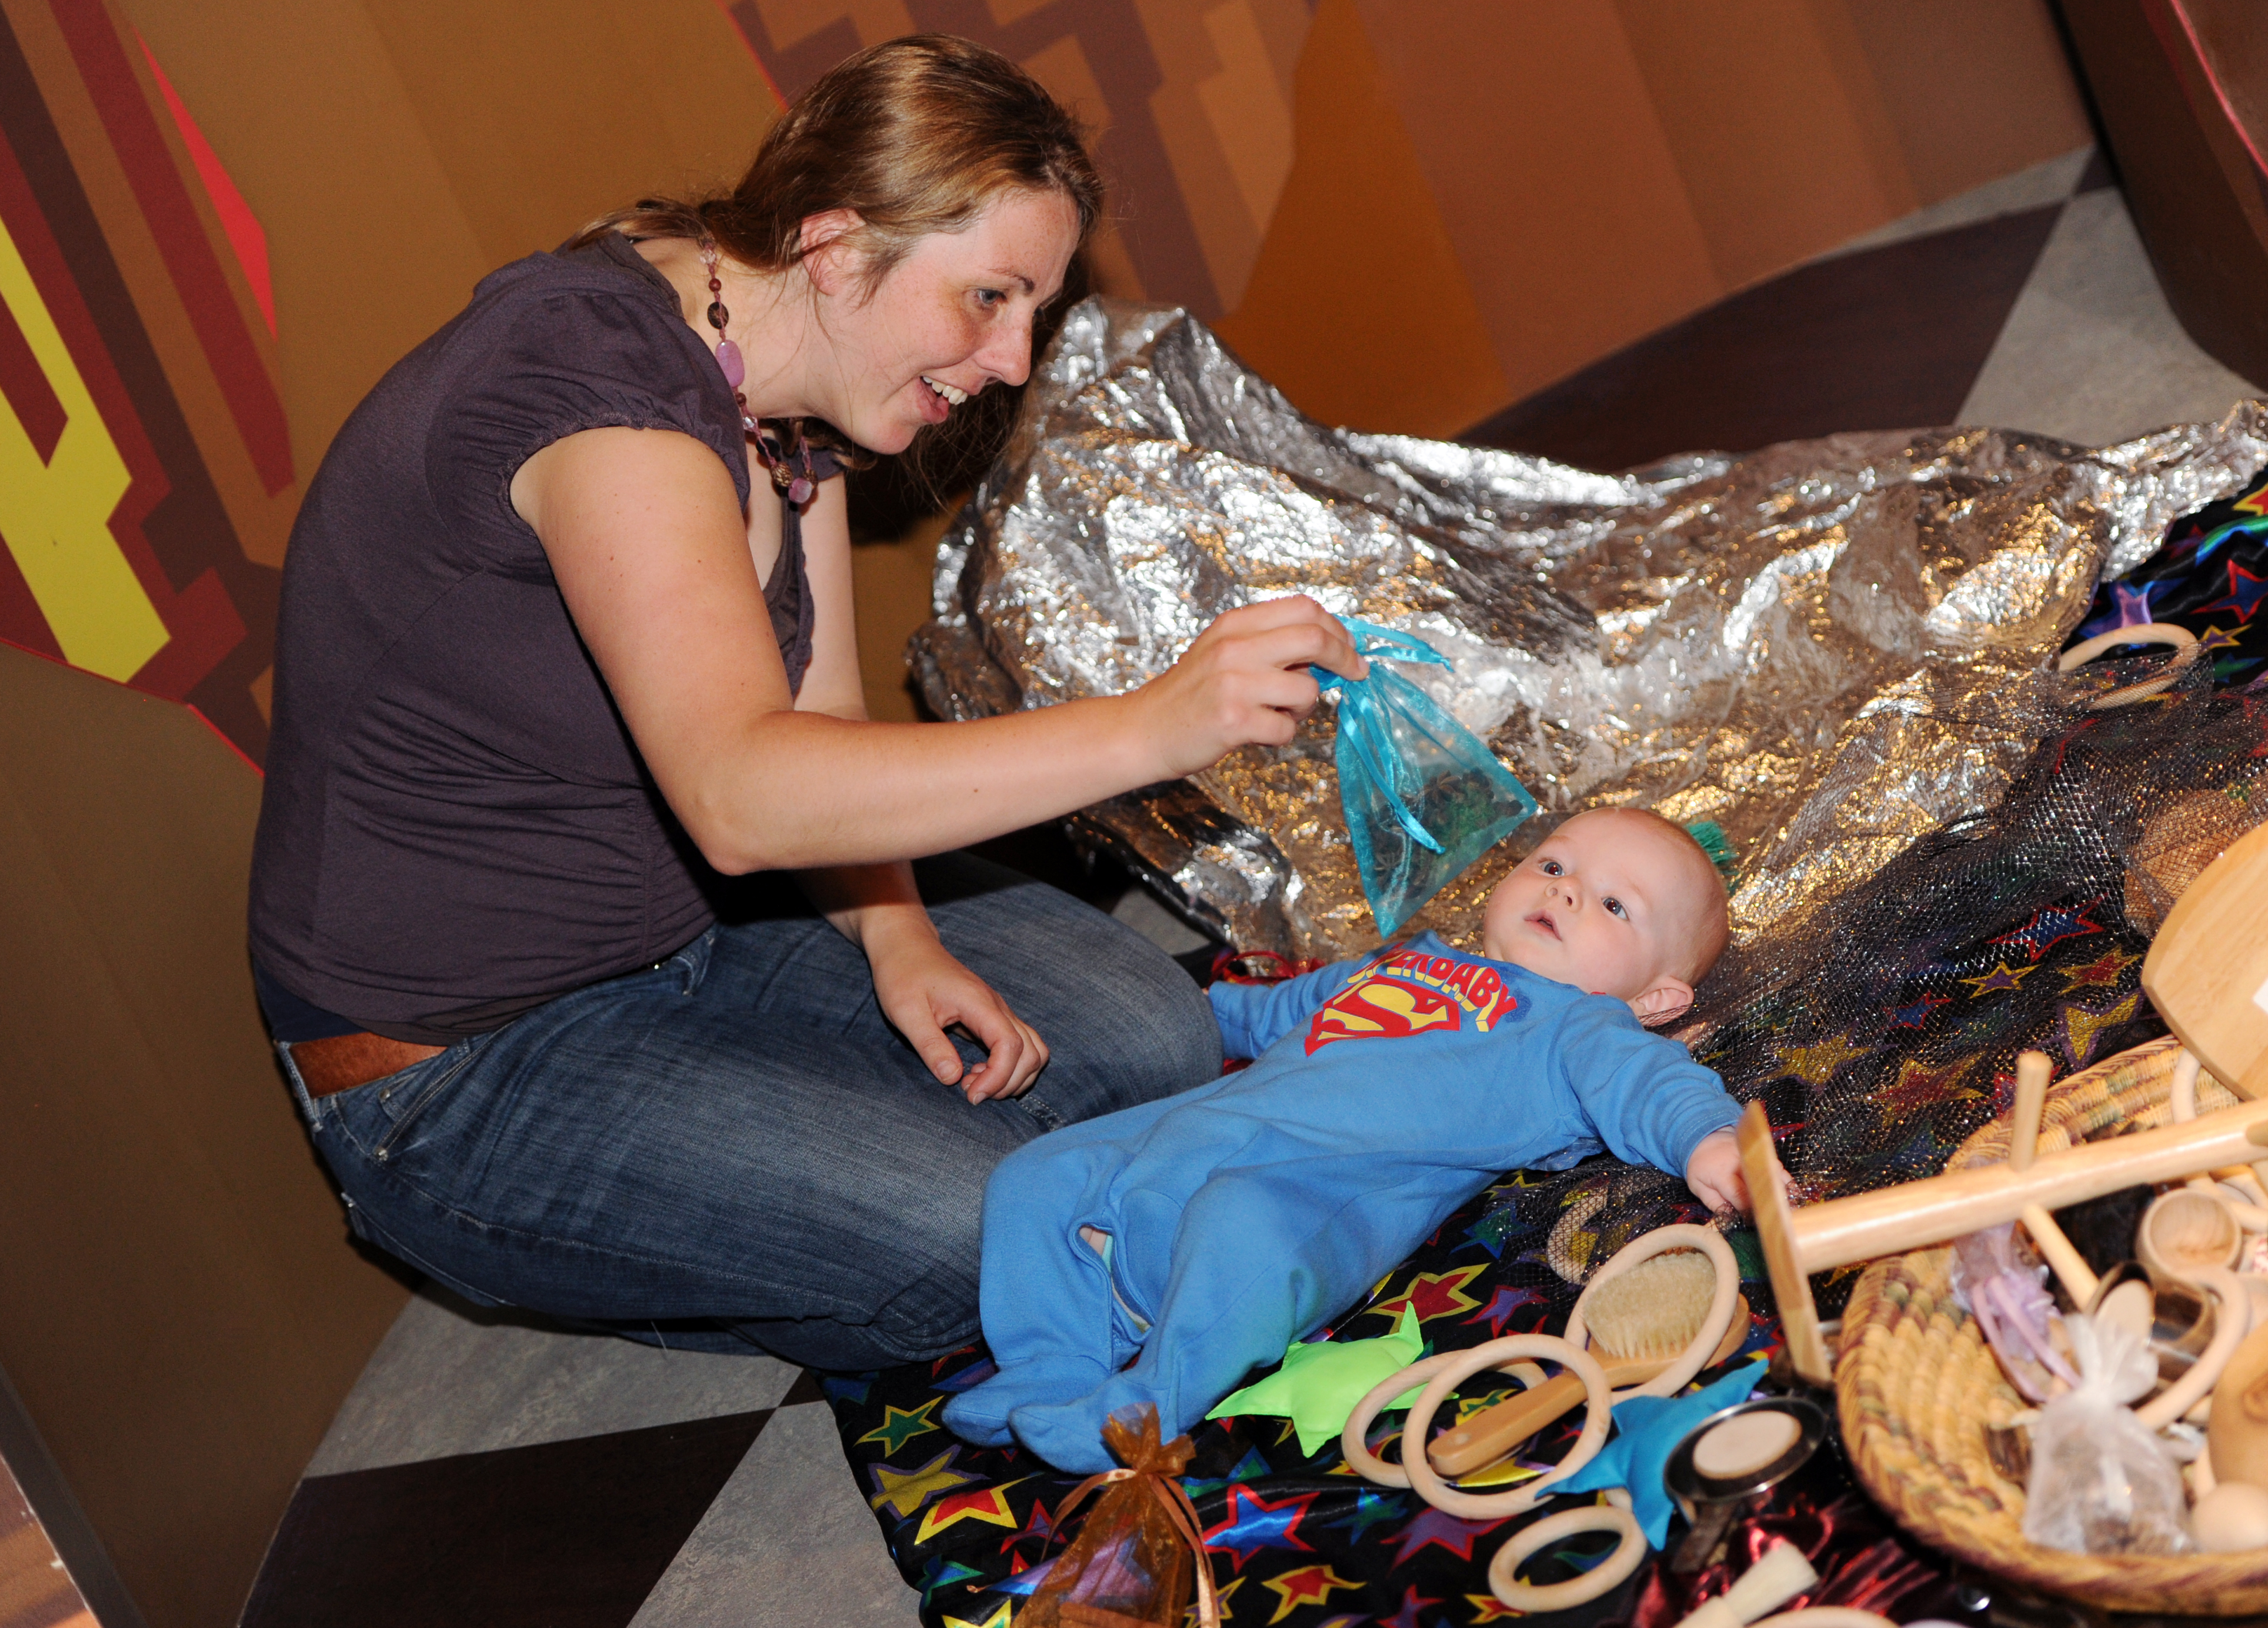
Baby Explorers at the Manchester Museum, used with permission

Some people go to London for Big Ben, or to see the Queen, or to attend a Shakespearean play. I went to London for the babies! Thanks to a generous grant from the Carl B. and Florence E. King Foundation, I was able to take a research trip to the United Kingdom a few weeks ago to investigate what museums there are doing for children ages 0-2.

More than a year ago, I stumbled across the CultureBabies blog, which highlighted the great work focused on babies happening in museums in Manchester and London. While many museums in the US offer a variety of programs and classes for toddlers and preschoolers, classes actually focused on babies seem to be harder to come by. I knew I had to see what was happening in the UK in person. (And let’s face it, I’d never refuse a trip across the pond!)

I started off in Manchester, where I visited both the Manchester Museum and the Manchester Art Gallery. These two institutions, along with the Whitworth Art Gallery (which is temporarily closed for renovation), have created a suite of programs that focus solely on babies who haven’t started walking. So we’re talking about really young children—the children that most people probably think don’t get much out of a visit to the museum. But what a mistake to think that!

Both the Manchester Museum and the Manchester Art Gallery focus on sensory play as a way for caregivers to interact with their babies, and for babies to explore their world. Educators at each institution were inspired by the Reggio Emilia approach, an educational approach which champions the value of allowing children to direct their own learning, to learn through their senses, and to learn with one another. The Reggio Emilia approach also puts an emphasis on the importance of environment, and calls for early childhood classrooms to be filled with natural light, beautiful real-world materials, and to have open community spaces where children interact with one another.

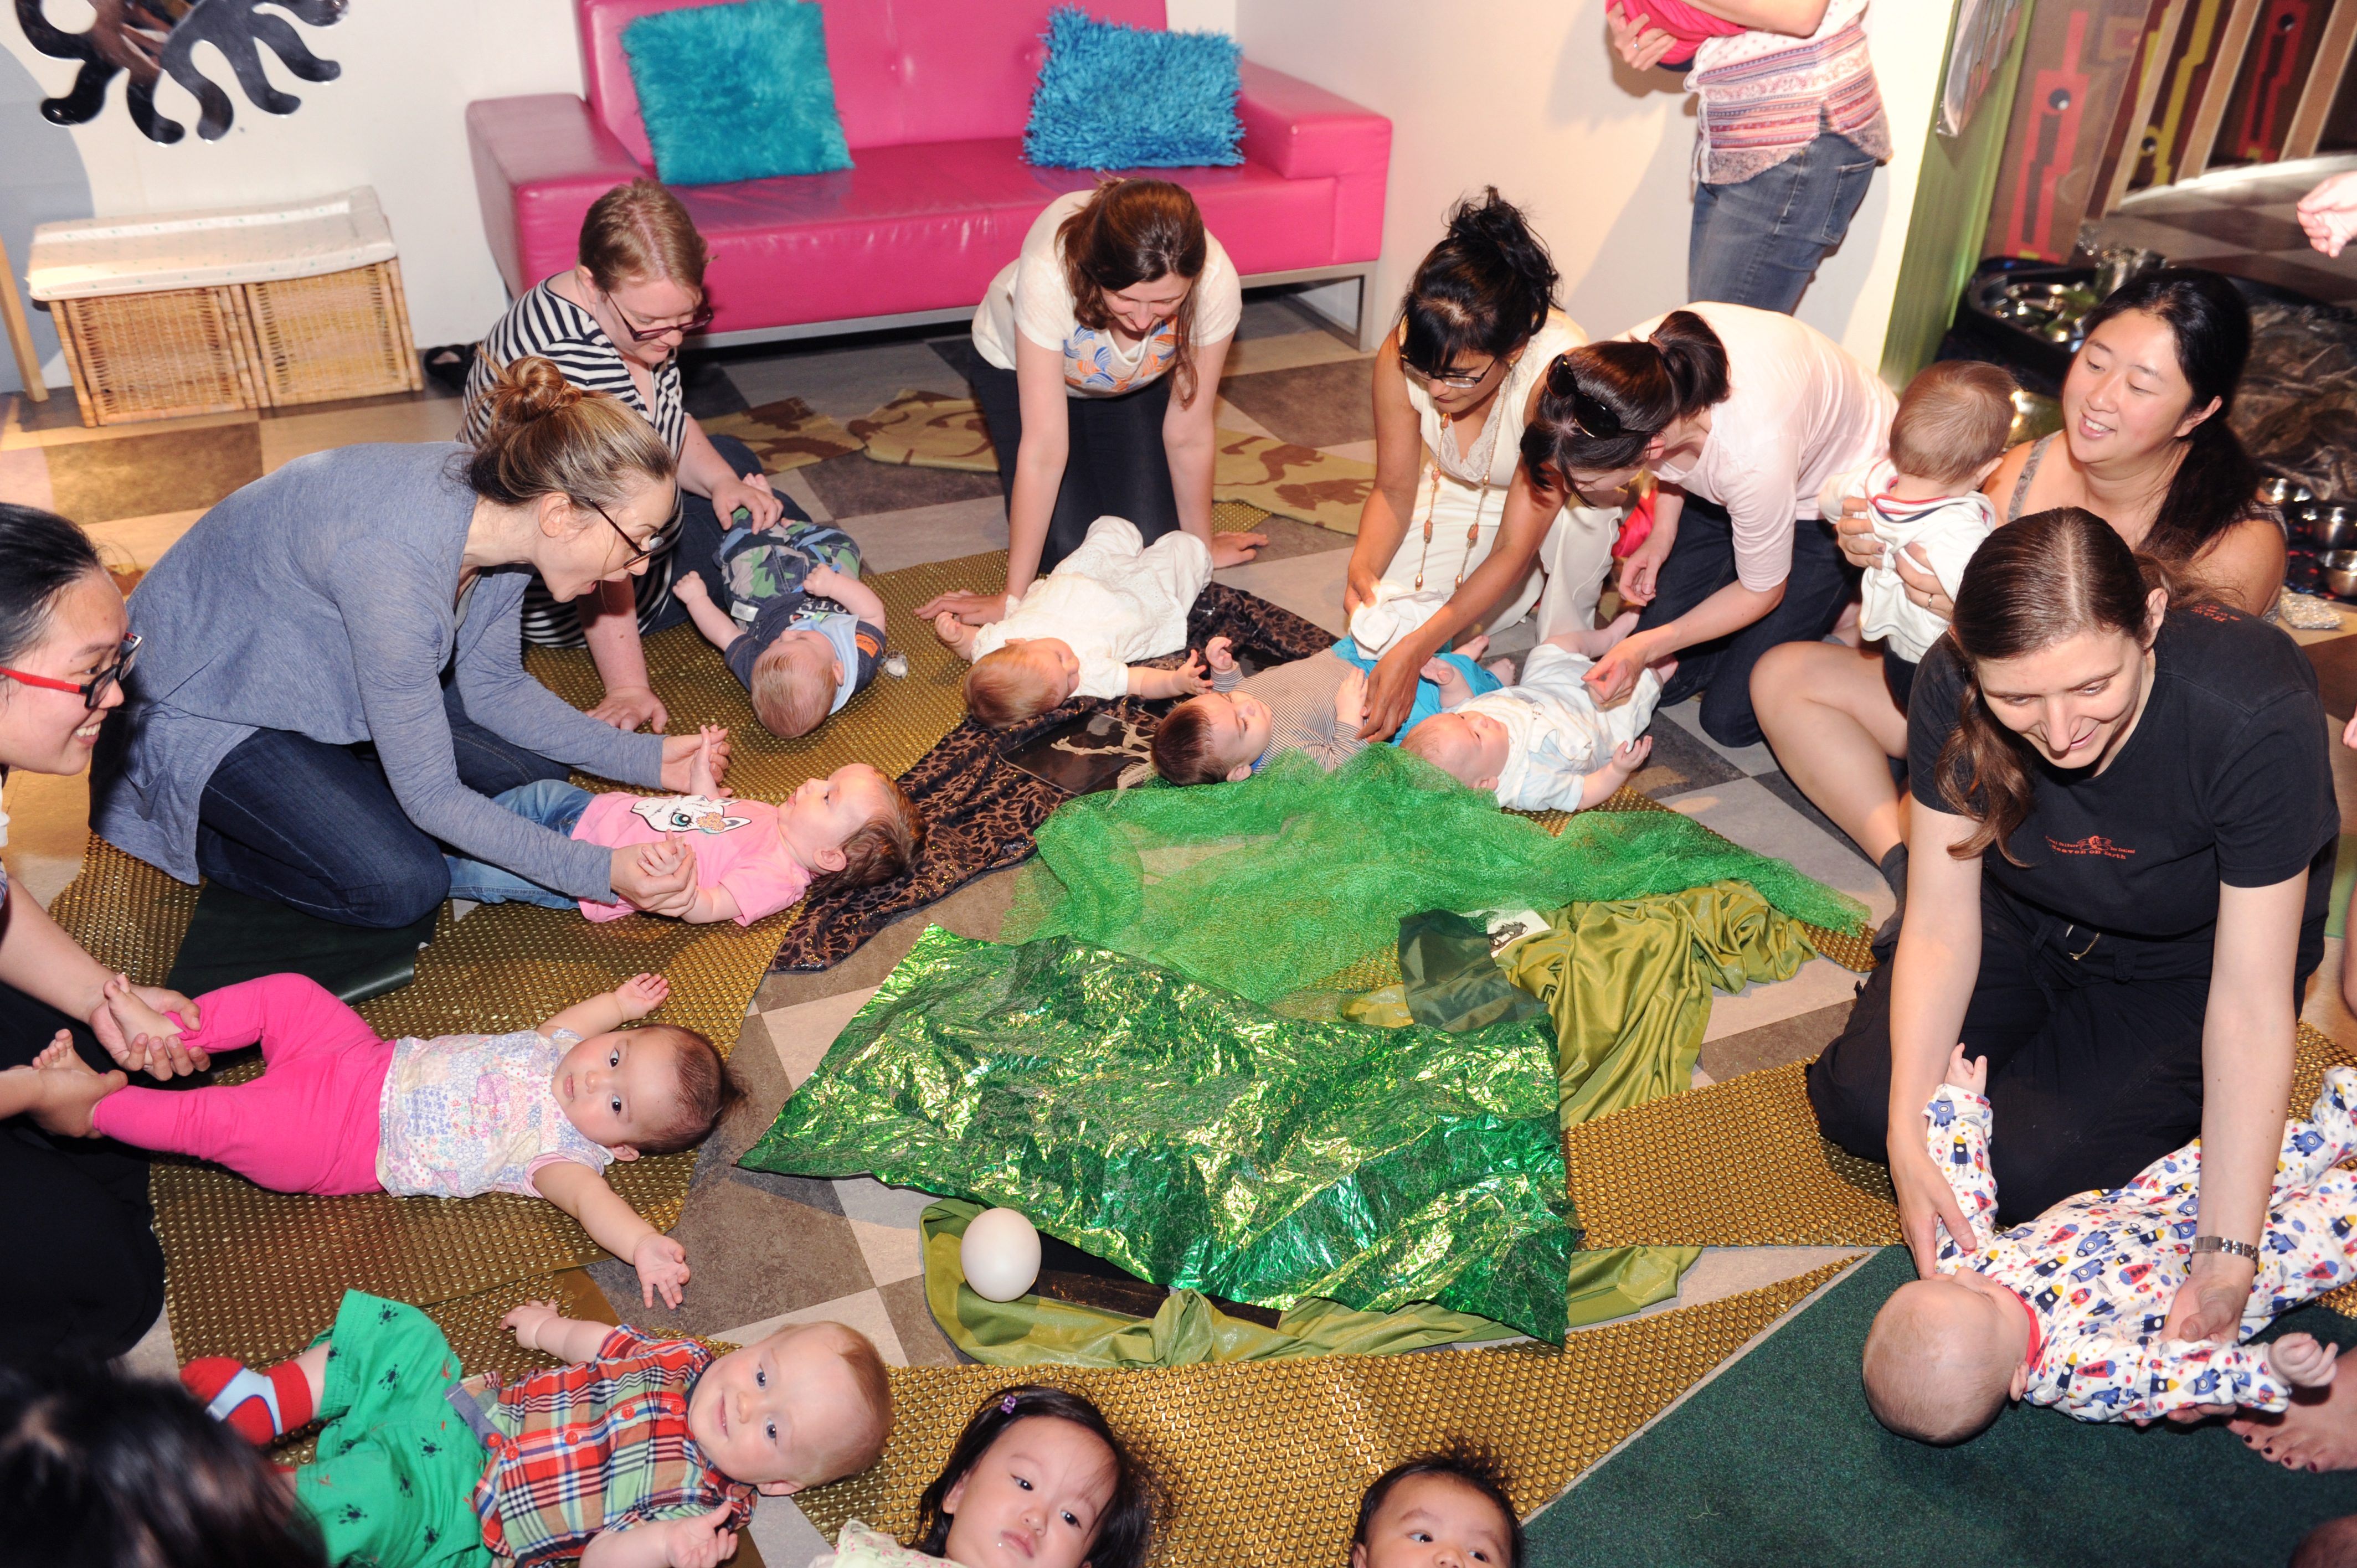
Baby Explorers at the Manchester Museum, used with permission

Baby Explorers at the Manchester Museum, used with permission

The Manchester museums have translated Reggio Emilia principles into a museum setting by transforming exhibit and studio spaces into beautiful, engaging environments filled with things babies can touch, smell, taste, see, and hear. At the art gallery, an artist takes inspiration from an exhibition on display, and then creates a temporary installation for the babies in the studio. The sessions I observed focused on the work of artist Ryan Gander, and the Baby Art Club session was an exploration of traditional childhood play like making forts, playing peek-a-boo, building with blocks, and playing in the kitchen. Babies were knocking over cardboard boxes, burrowing into mounds of fabric, playing in a bowl of flour, and clanging metal spoons together. There were shrieks of delight, lots of happy babbling, and adults and children giving themselves completely over to enjoying play.

At the Manchester Museum, the Baby Explorers session begins with an interactive story-song time in which caregivers cuddle, sing to and bounce their babies as a teaching artist introduces the theme of the class and the gallery connection. I observed a class focused on ancient cultures, so the singing time included songs about a mummy and a camel. Babies and adults then had time to explore sensory “islands” that educators had set up in the children’s exhibit area—a sound station with musical instruments, a texture area with lots of natural materials, a metal area with shiny objects, and a light box with sparkly, translucent materials. Images of objects in the Museum’s collection or actual objects in protective boxes were scattered throughout the entire area, allowing babies to investigate ancient cultures in an age-appropriate way.

Baby Explorers at the Manchester Museum, used with permission

Baby Explorers at the Manchester Museum, used with permission

I was struck in both sessions by how ordinary objects became things of beauty. In the metal sensory play area at the Manchester Museum, metal bowls, spoons, whisks, and kitchen containers were transformed from utilitarian utensils into light, reflection, and shine. I observed one mother shining a flashlight through a metal object, and watched as her baby focused on the light and reached for the object as the light reflected around her. The next minute, the baby was waving a whisk through the air, experimenting with its weight and feel.

I saw tremendous value in both programs for adults and babies. For the adults, these classes seem to give them permission to leave behind all the usual tasks that build up in a day, and allow them to simply enjoy being with their babies. The adult-child interactions I observed as an on-looker were definitely sweet, but even more importantly, were contributing to positive social-emotional growth and language development for the children. Caregivers also leave these sessions with ideas for how to use everyday materials at home as playthings, learning that items as simple as a wooden spoon and a bowl of flour can provide endless entertainment and valuable open-ended learning opportunities for babies.

Baby Explorers at the Manchester Museum, used with permission

Baby Explorers at the Manchester Museum, used with permission

But perhaps the greatest outcome of these baby classes from a museum educator point of view, is that the families create strong relationships with the museums and see them as valuable partners in the journey of raising a child. At the Manchester Museum, one little girl has been attending the Baby Explorers class for the past few months with her foster mother. This month, she attended for the first time with her new adoptive parents. It was truly beautiful to see this little girl so confident in her surroundings, sure of herself as she crawled from one space to another, even as she adjusts to a new family and home life. The adoptive parents too were warmly welcomed into the museum family and appreciated the observations museum educators were able to share about their new daughter.

Art Babies at the DMA

Art Babies at the DMA

I came back to the DMA inspired and ready to try new ways of playing and learning with babies in our own galleries. We launched the Art Babies class for children under 2 years old here at the Museum in January, and the class has been a fun educational journey for me personally as we experiment with how to best serve our very youngest visitors. Over the coming months, I hope to incorporate some of the ideas and strategies I gathered from our colleagues across the way. Stay tuned for our own version of the British (baby) invasion!

Leah Hanson
Manager of Early Learning Programs

Calligrams & Concrete Poetry

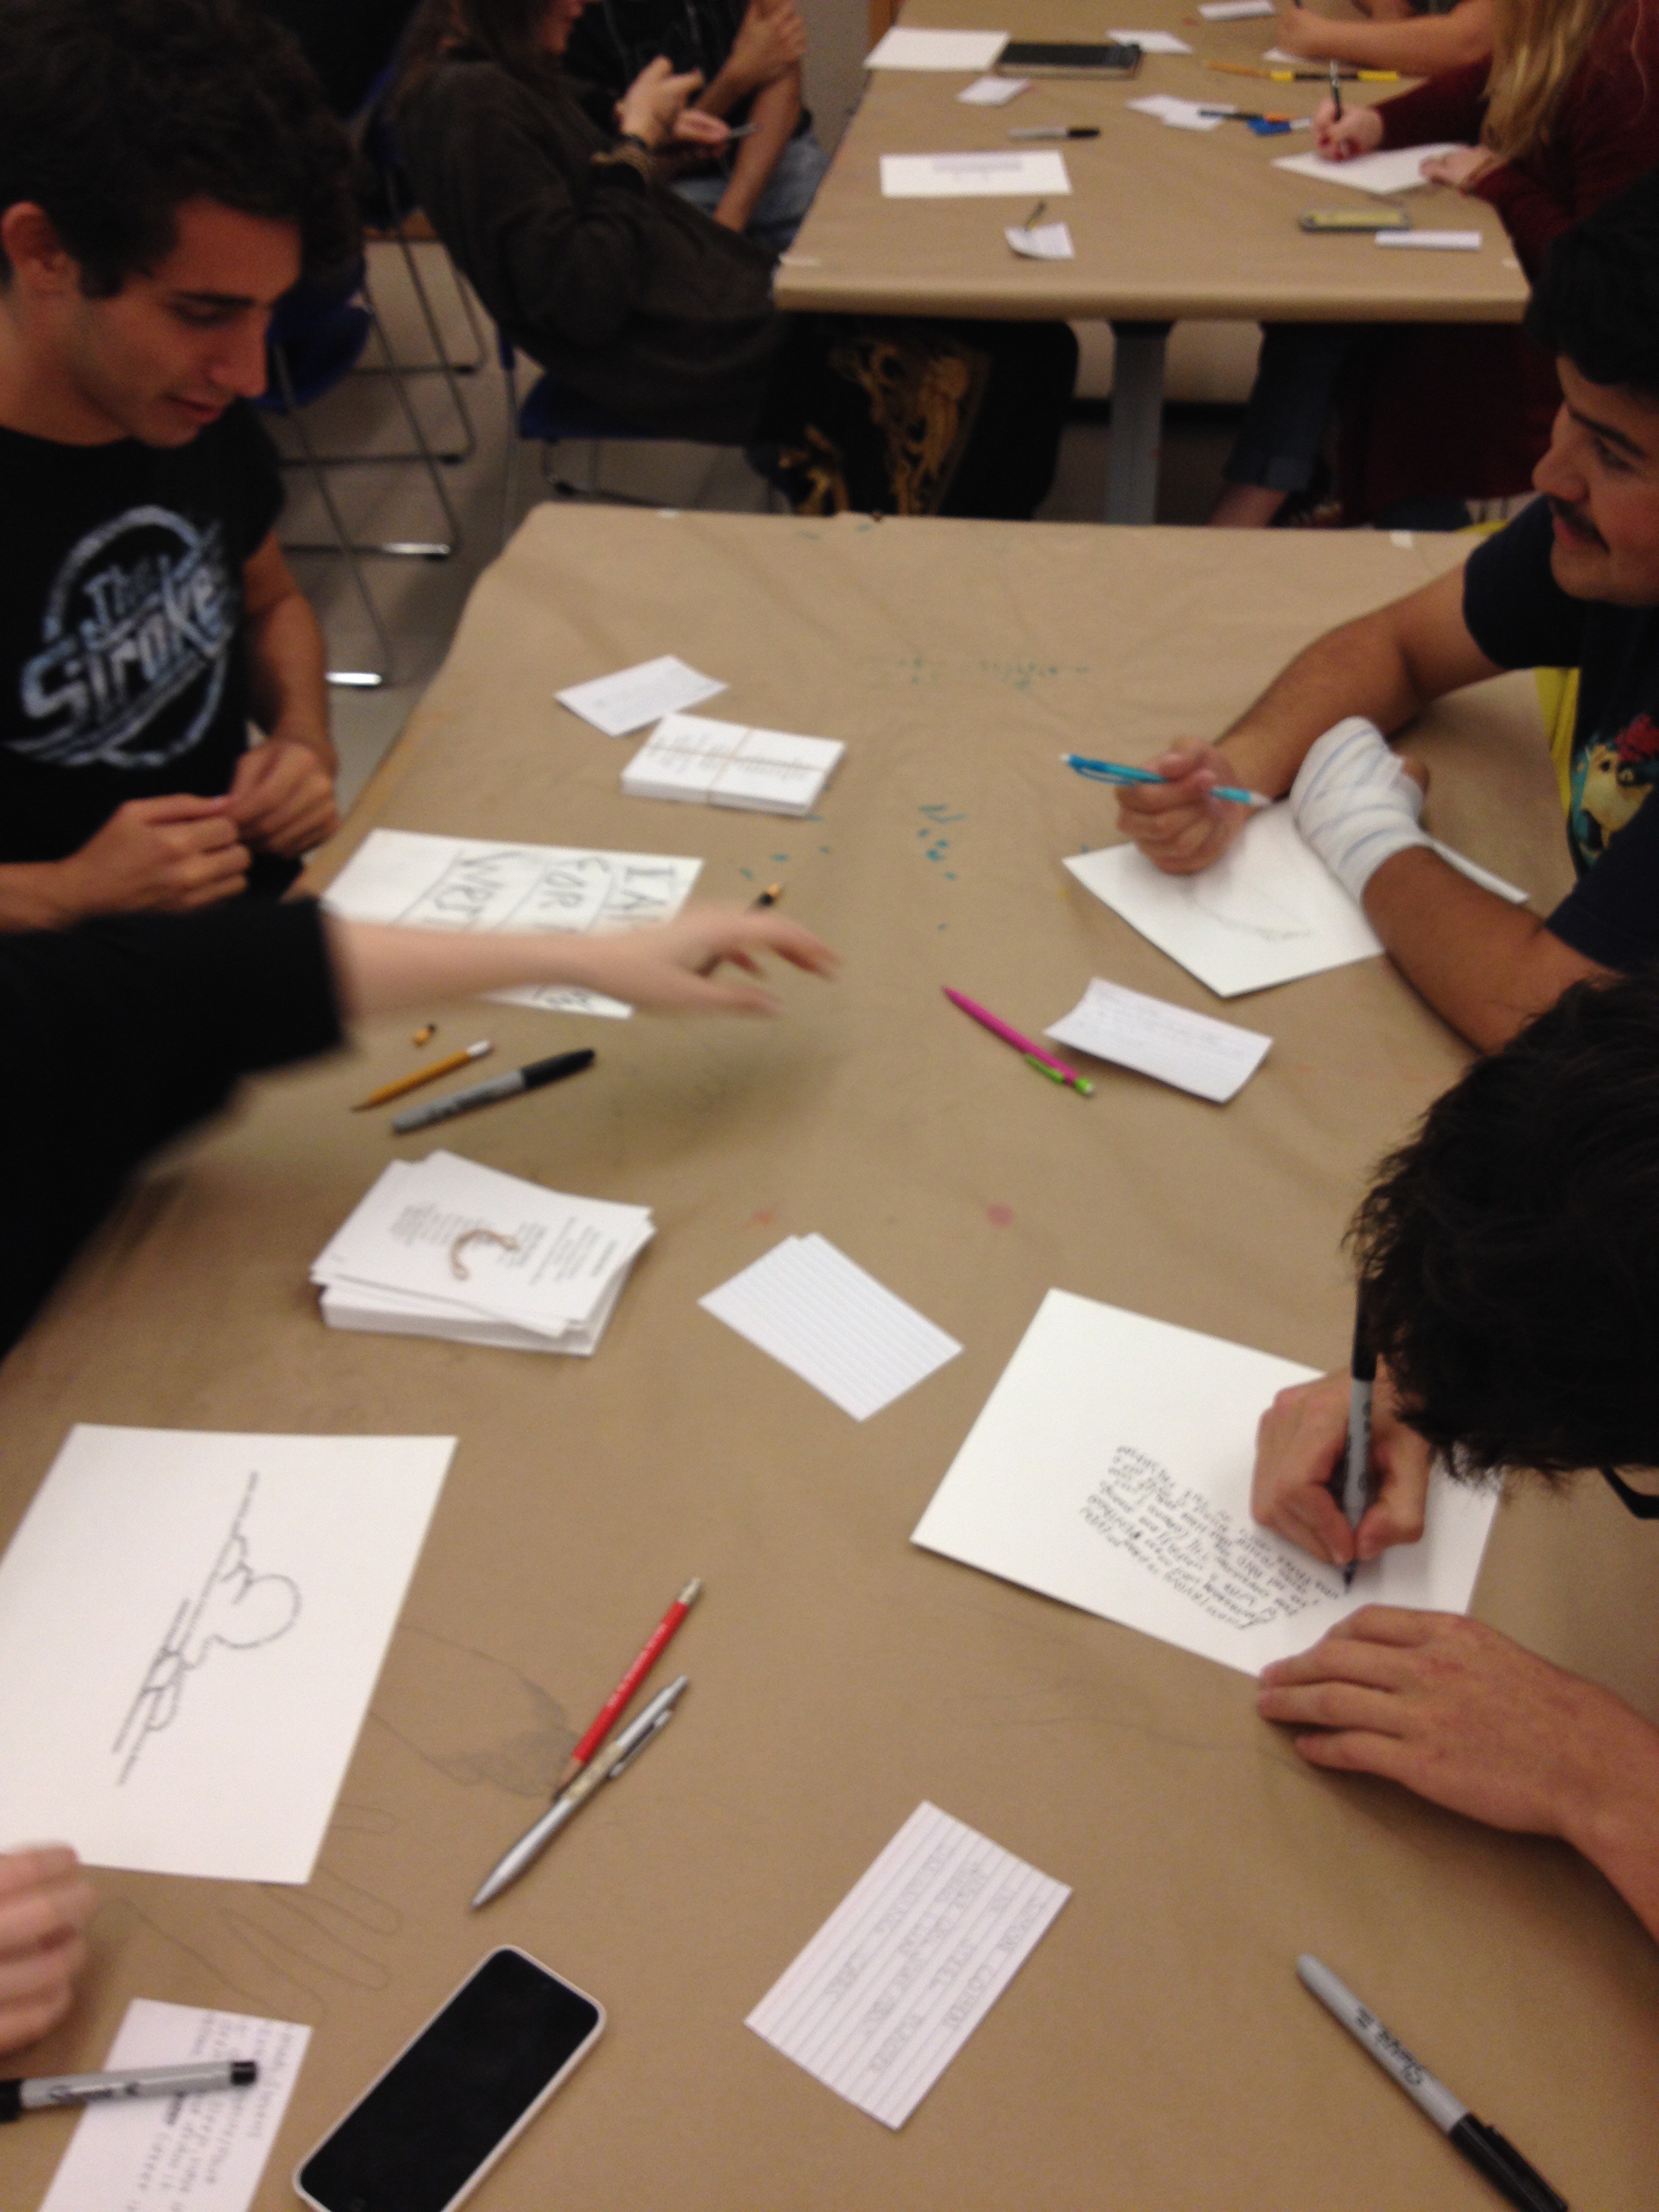
A calligram is a word or phrase in which the design of the text is arranged to create a visual image that expresses the meaning of the words. For example, the below piece on the right (by Low-Commitment Projects) integrates words that describe a flamingo (leg, long neck, pink) into a recognizable shape that mimics the bird.


Similarly, concrete poetry, an experimental literary style that gained prominence in the 1950s, also heavily relies on the aesthetics and visual design of the words used in a piece of writing to impart overall meaning to the work. In this respect, language is image, and the physical material from which the poem or text is made is just as vital to the meaning of the work as the words that are chosen. The poem becomes an object, and the poet an artist.

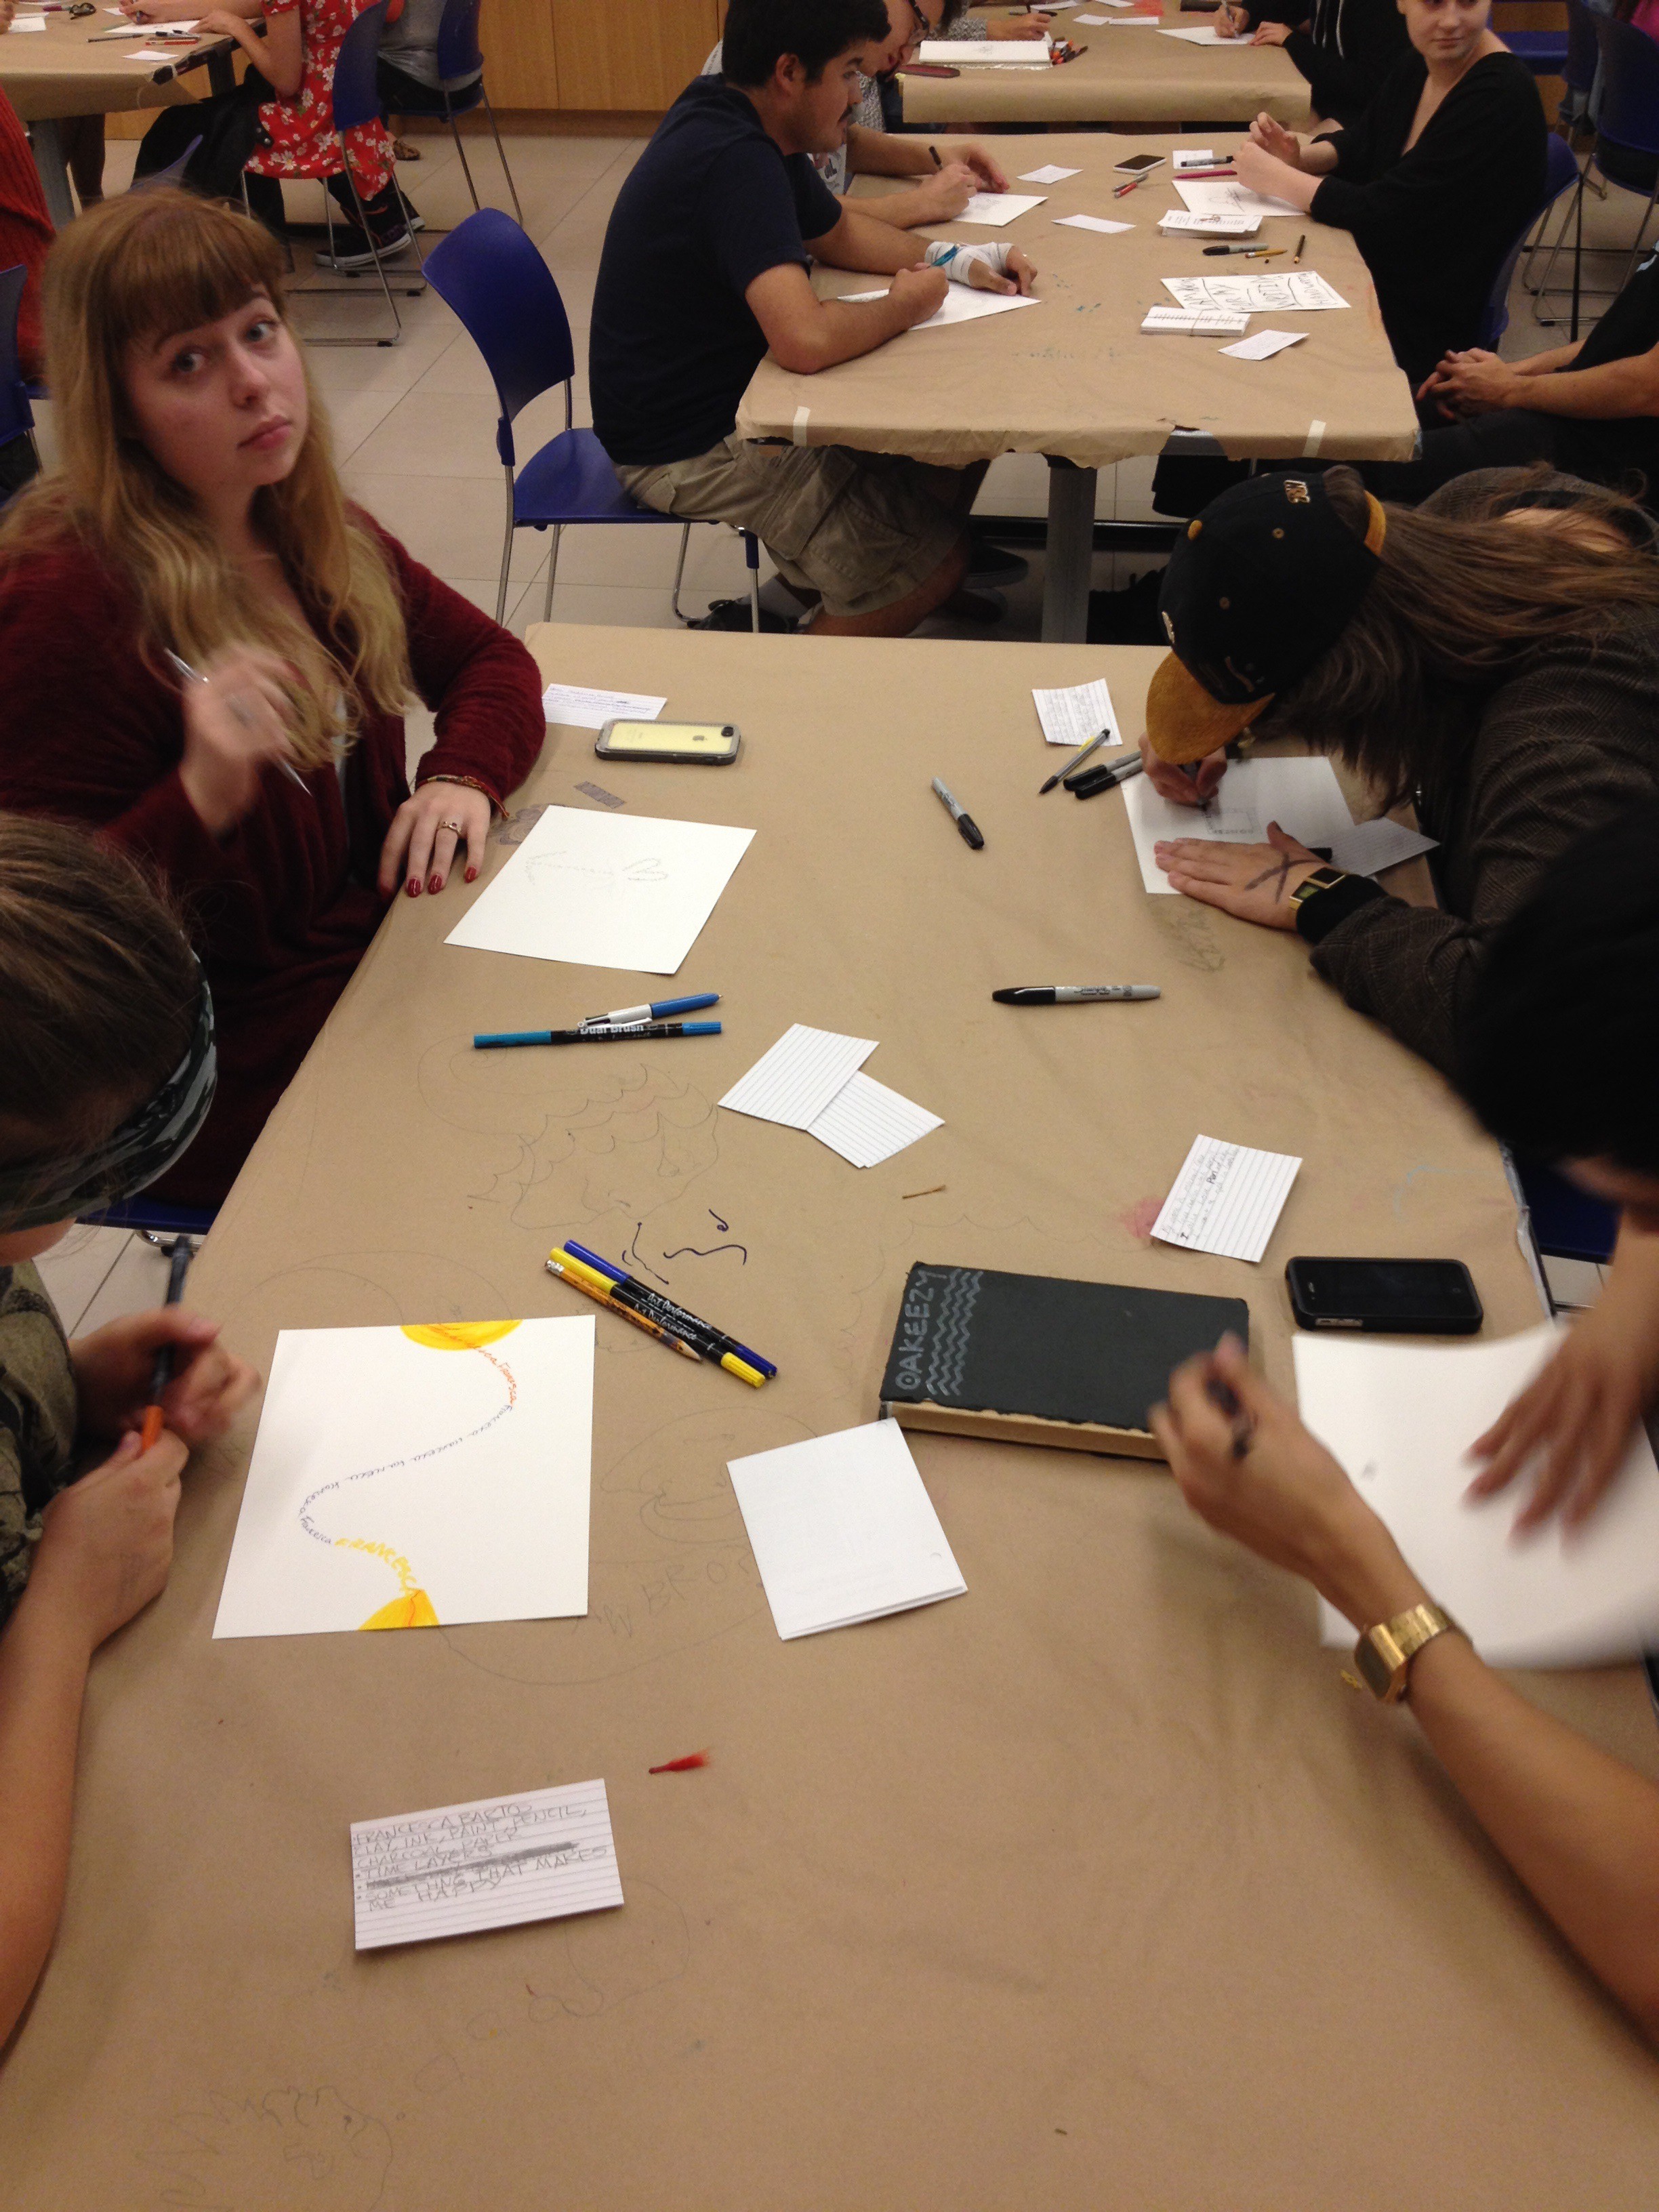
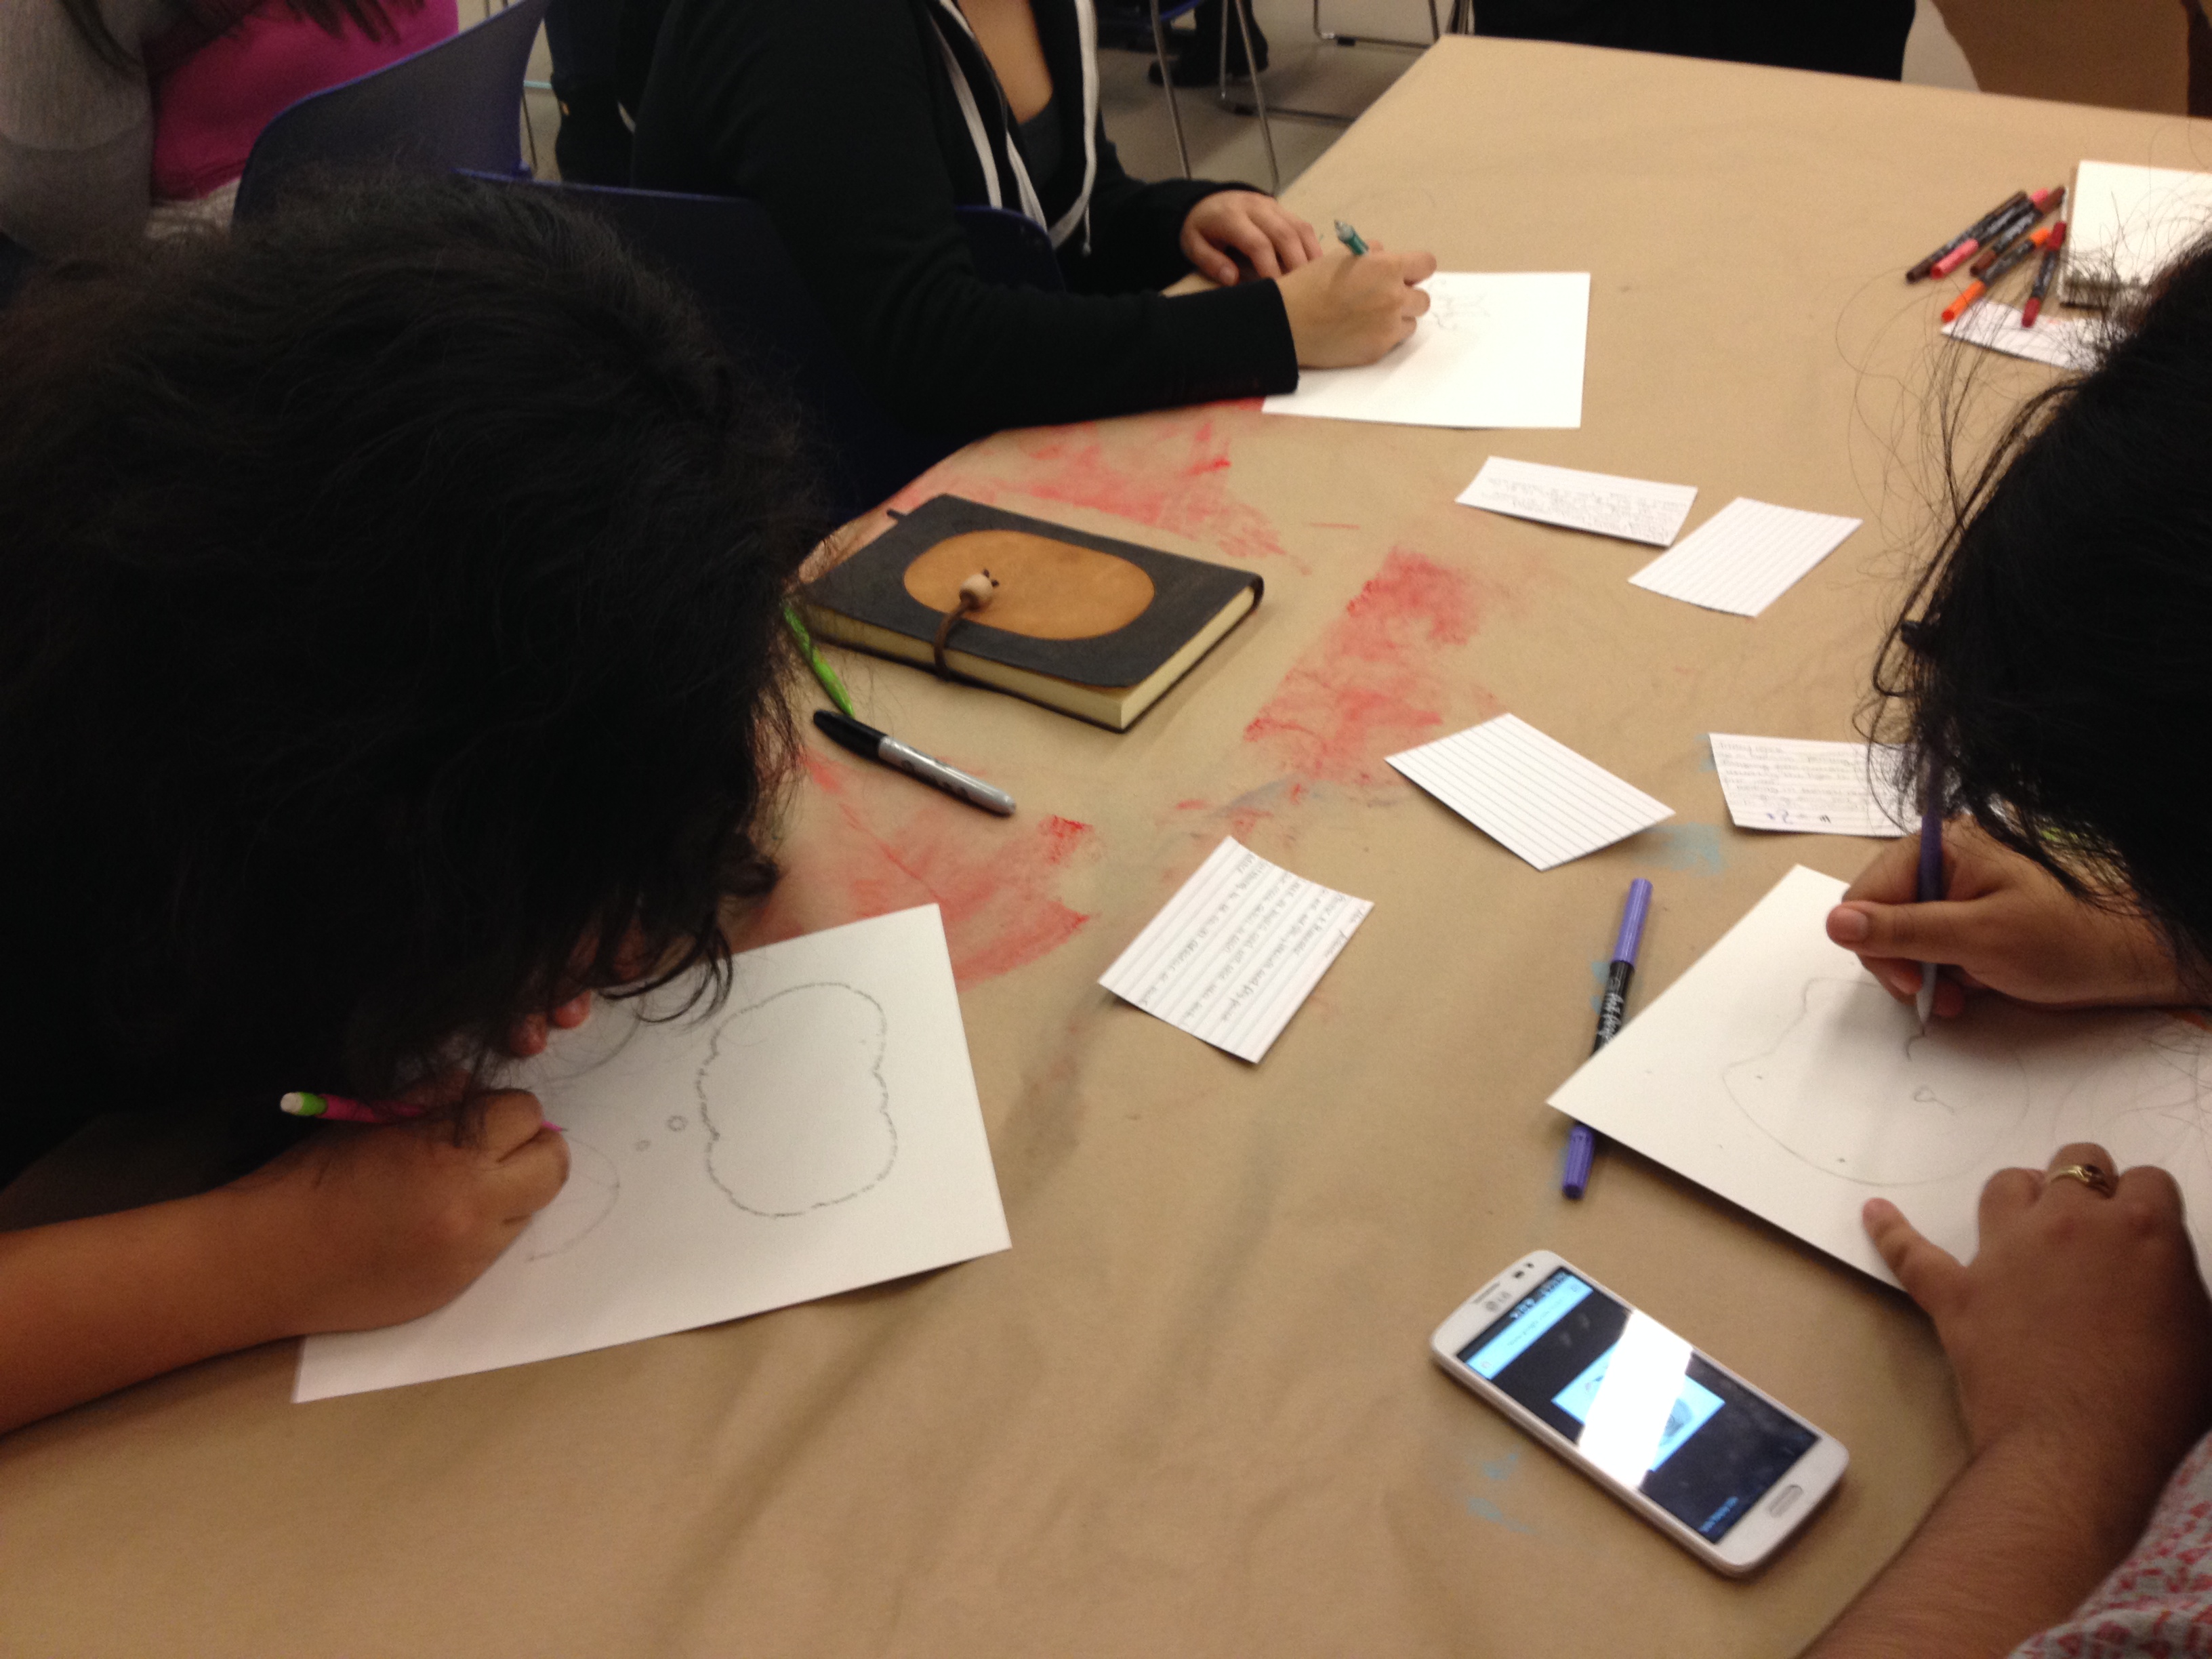
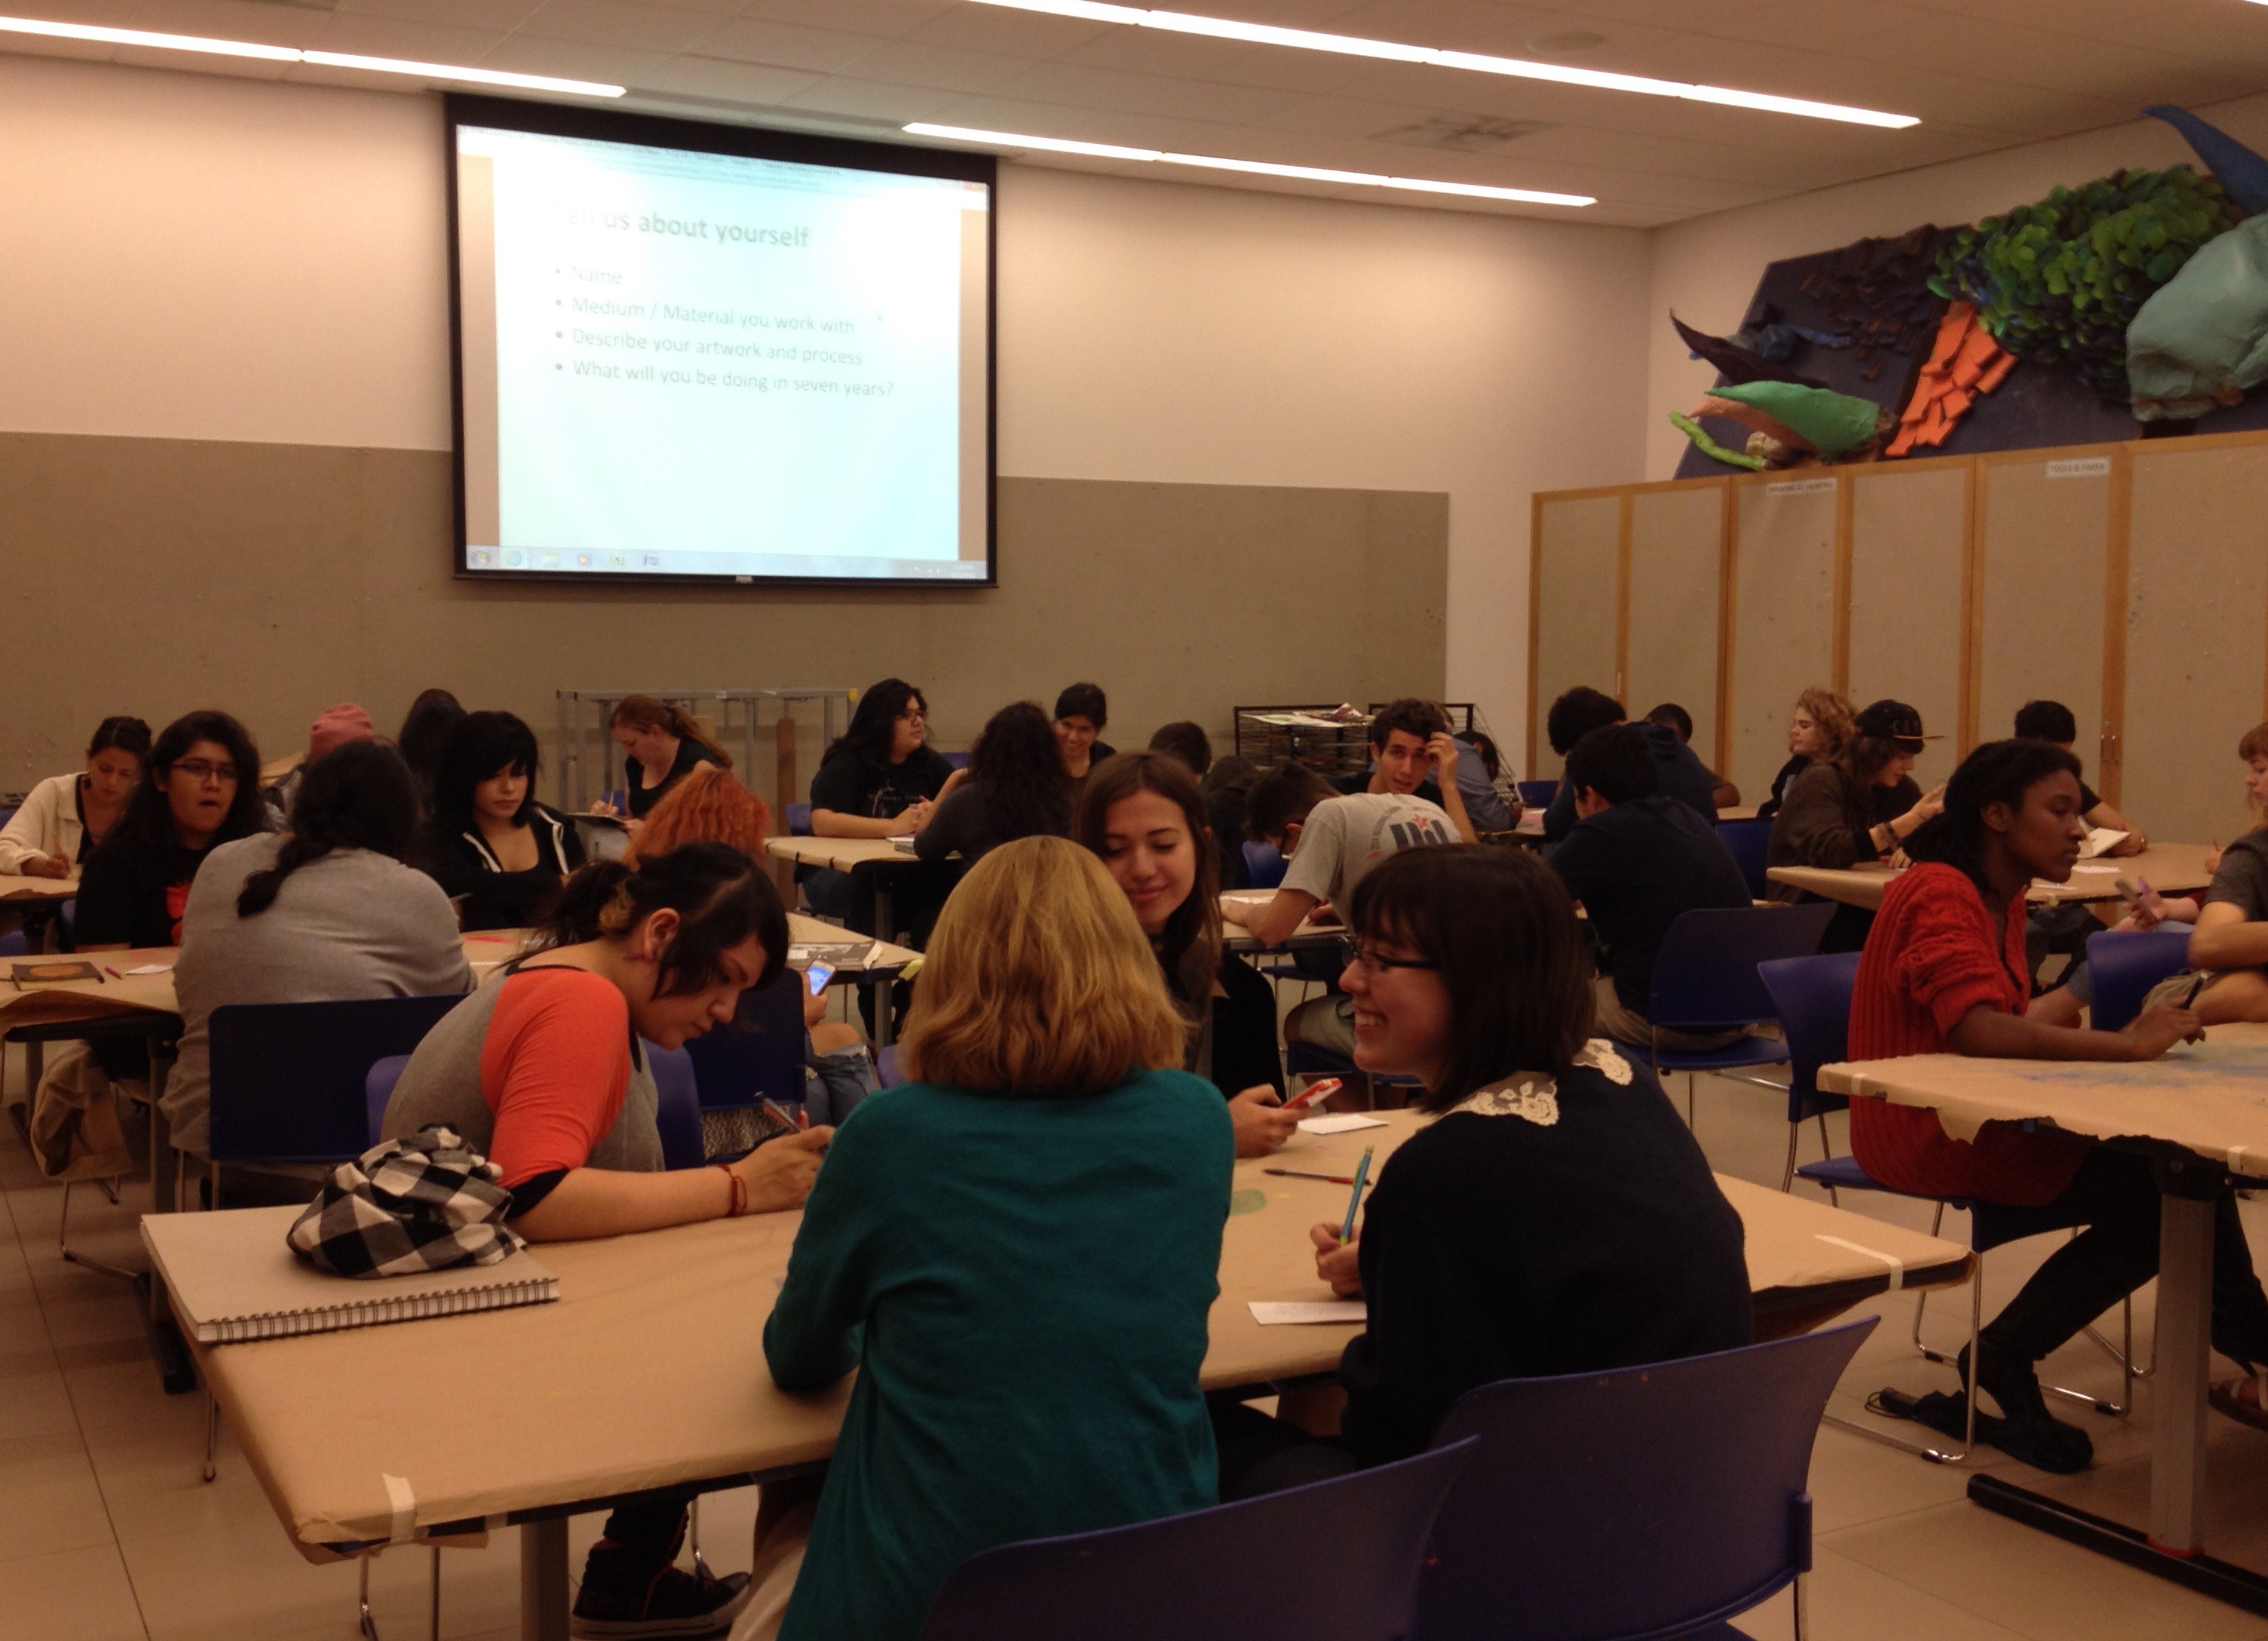
During their first DMA visit of the new school year, our Booker T. Washington Learning Lab students investigated the concepts of calligrams and concrete poetry. As senior visual art students, they are understandably comfortable expressing themselves through purely visual means. But with this exercise, we wanted to challenge the students to expand their avenues of communication, and explore this hybrid visual/literary method as an alternative way to express themselves and provide insight into their personal and artistic interests.

The calligrams the students created were quiet varied, taking the shapes of animals, pop culture icons, people, and even geometric and natural forms. Getting to know the students through this unique introduction helped us as educators gain insight into their artistic and personal modes of expression, and (we hope) provided them with useful self-reflection as well. We’ll be working with these students all year long as part of our Learning Lab class partnership, so stay tuned for more exciting things to come from this group of creatives!

Danielle Schulz
Teaching Specialist


Archives

Flickr Photo Stream

Categories