Archive for the 'Creativity' Category


C3 Visiting Artist: David Herman

Through the C3 Visiting Artist Program, the Center for Creative Connections invites local and national artists from a variety of disciplines to participate in the development and facilitation of educational programs and spaces offered at the DMA. Most recently, we invited conceptual artist, educator, and co-founder of Preservation LINK, David Herman, to lead the January Late Night Art Bytes program and create content for the #DMAdigitalspot, the video display wall in our gallery. David is currently a Ph.D. student in Visual Culture Studies at the University of North Texas, and I sat down with him to talk about his work.

IMG_9605_edit

Tell us about yourself.

That’s always an interesting question to be asked. I am a fairly mild mannered individual who appreciates the idea of careful consideration. When I reflect on my work, my friendships, and the things I’m most fond of they all seem to ascribe to this notion in one way or another. Life is most interesting when I’m able to engage with the surface of things to gain insight on their complexities. Most of the time this requires a sort of “pulling back” so that the richness and value of things can begin to show themselves.

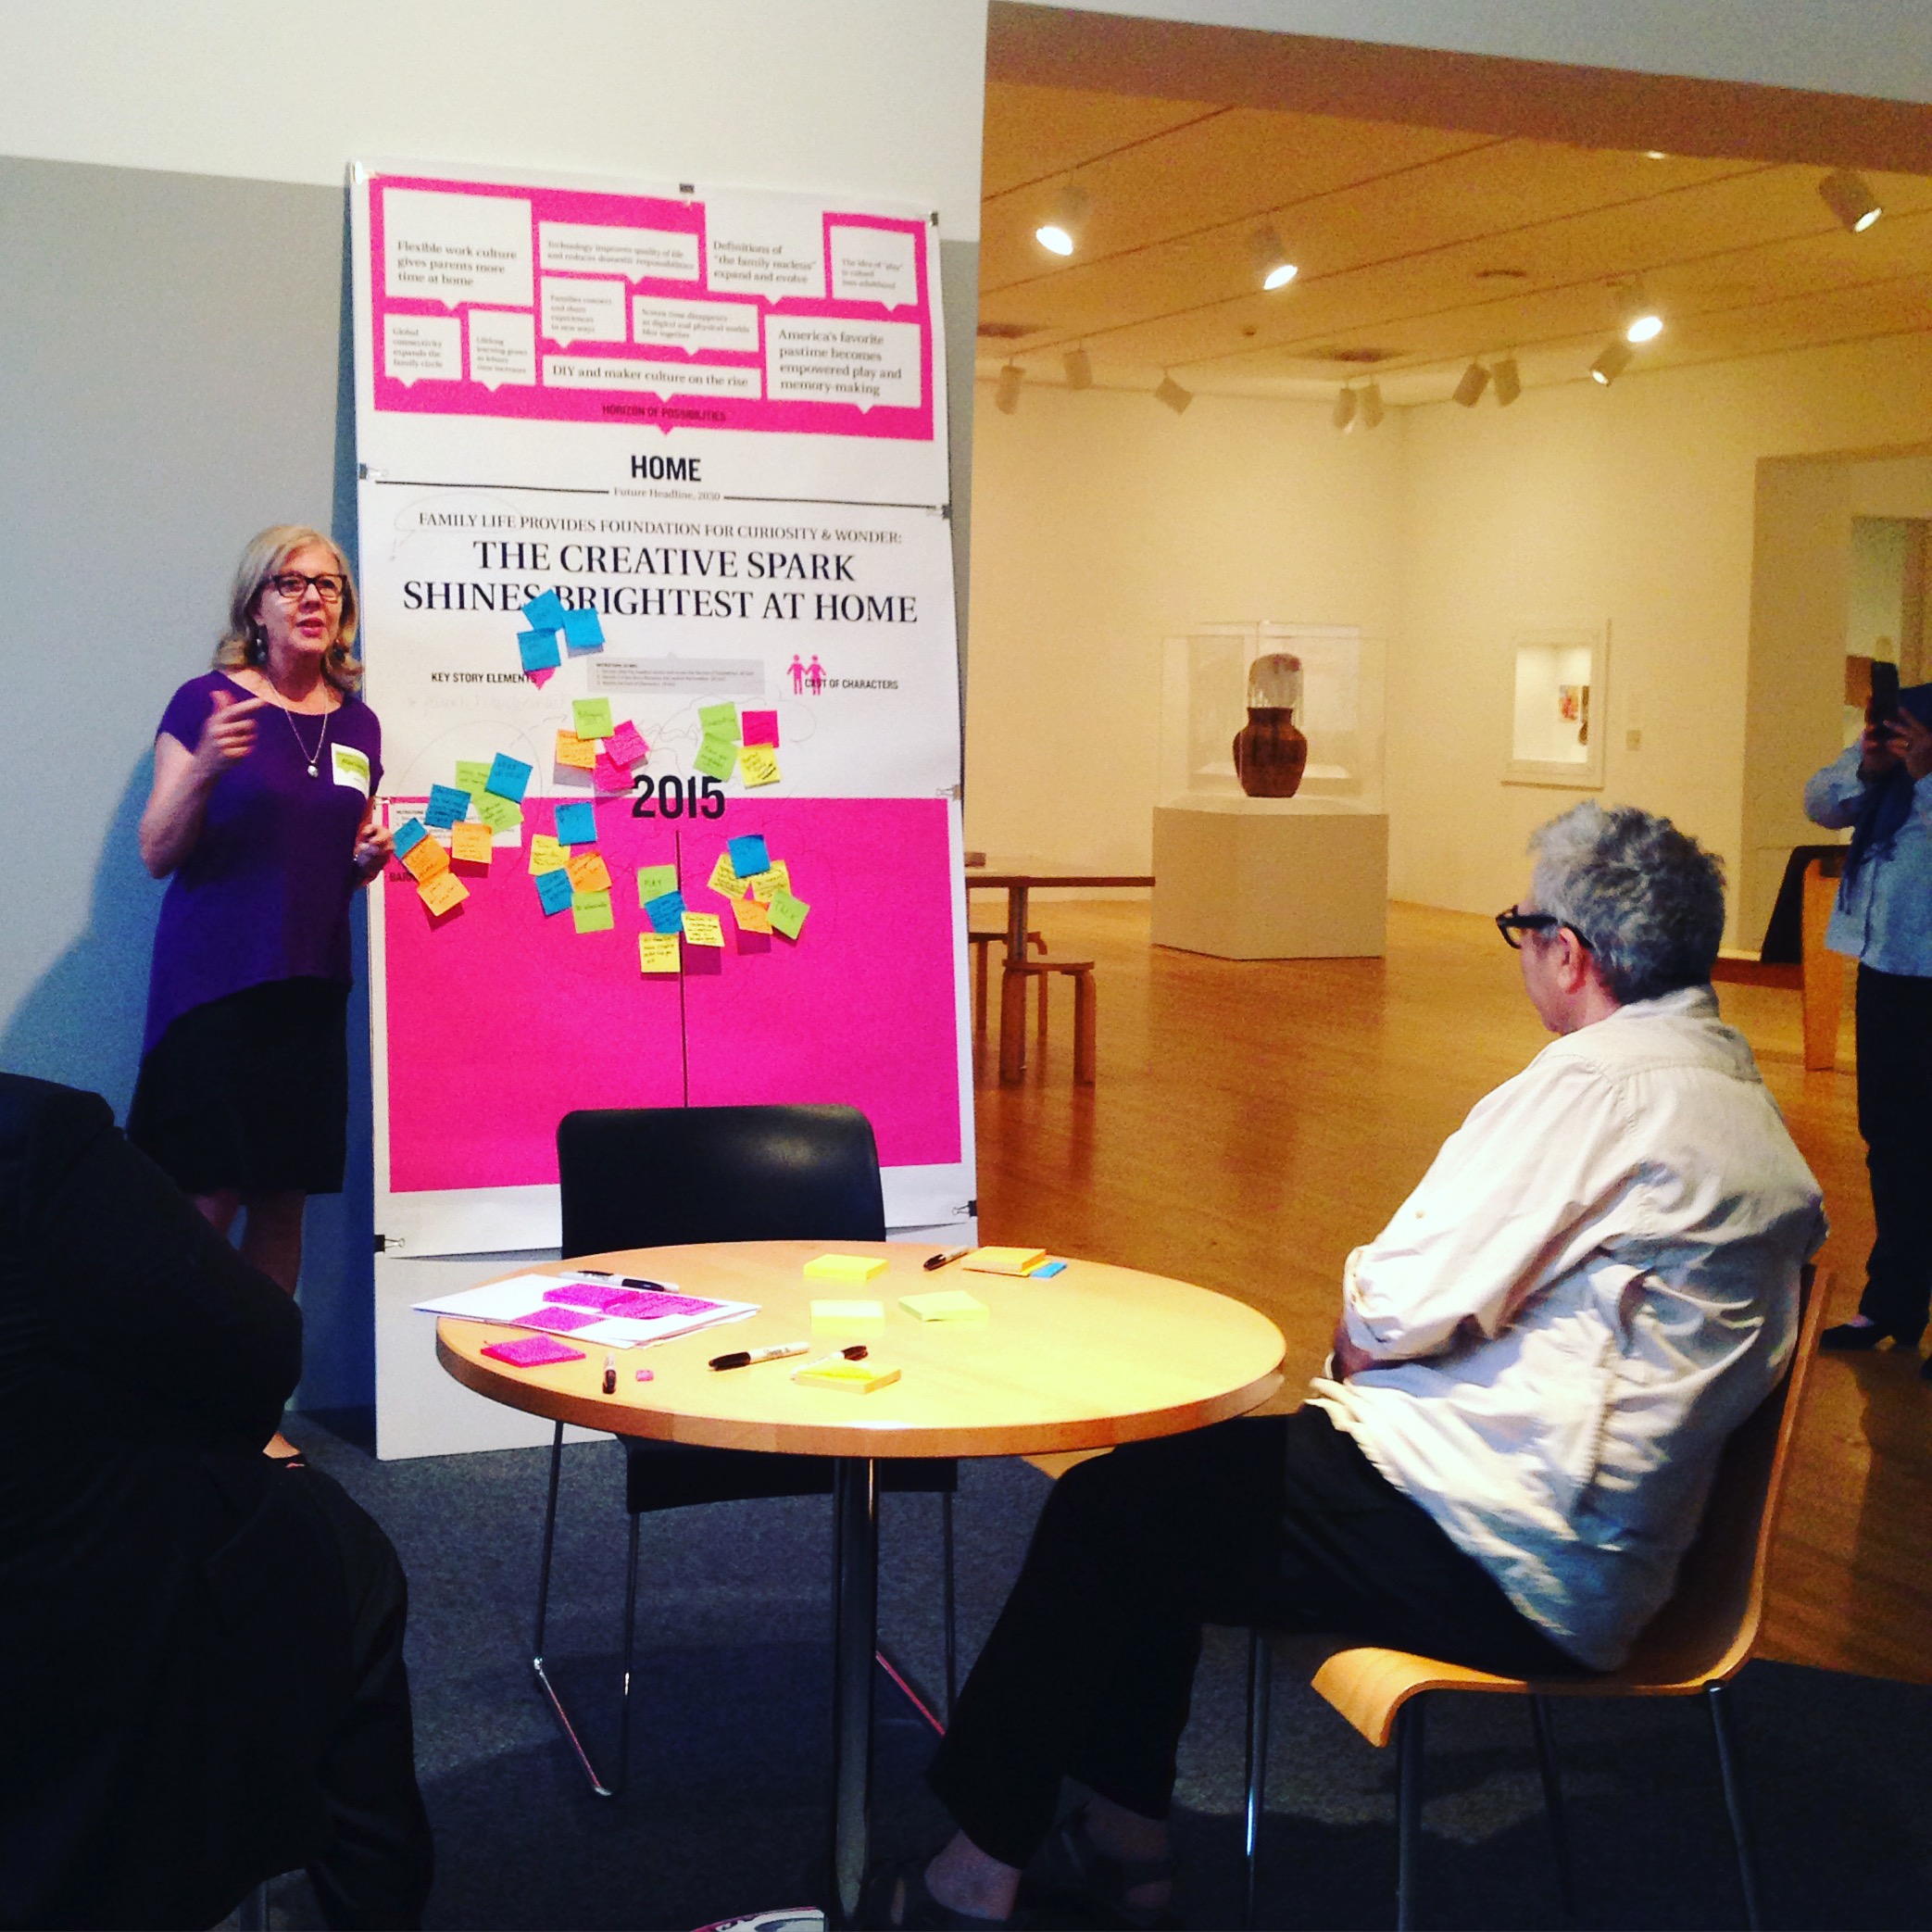
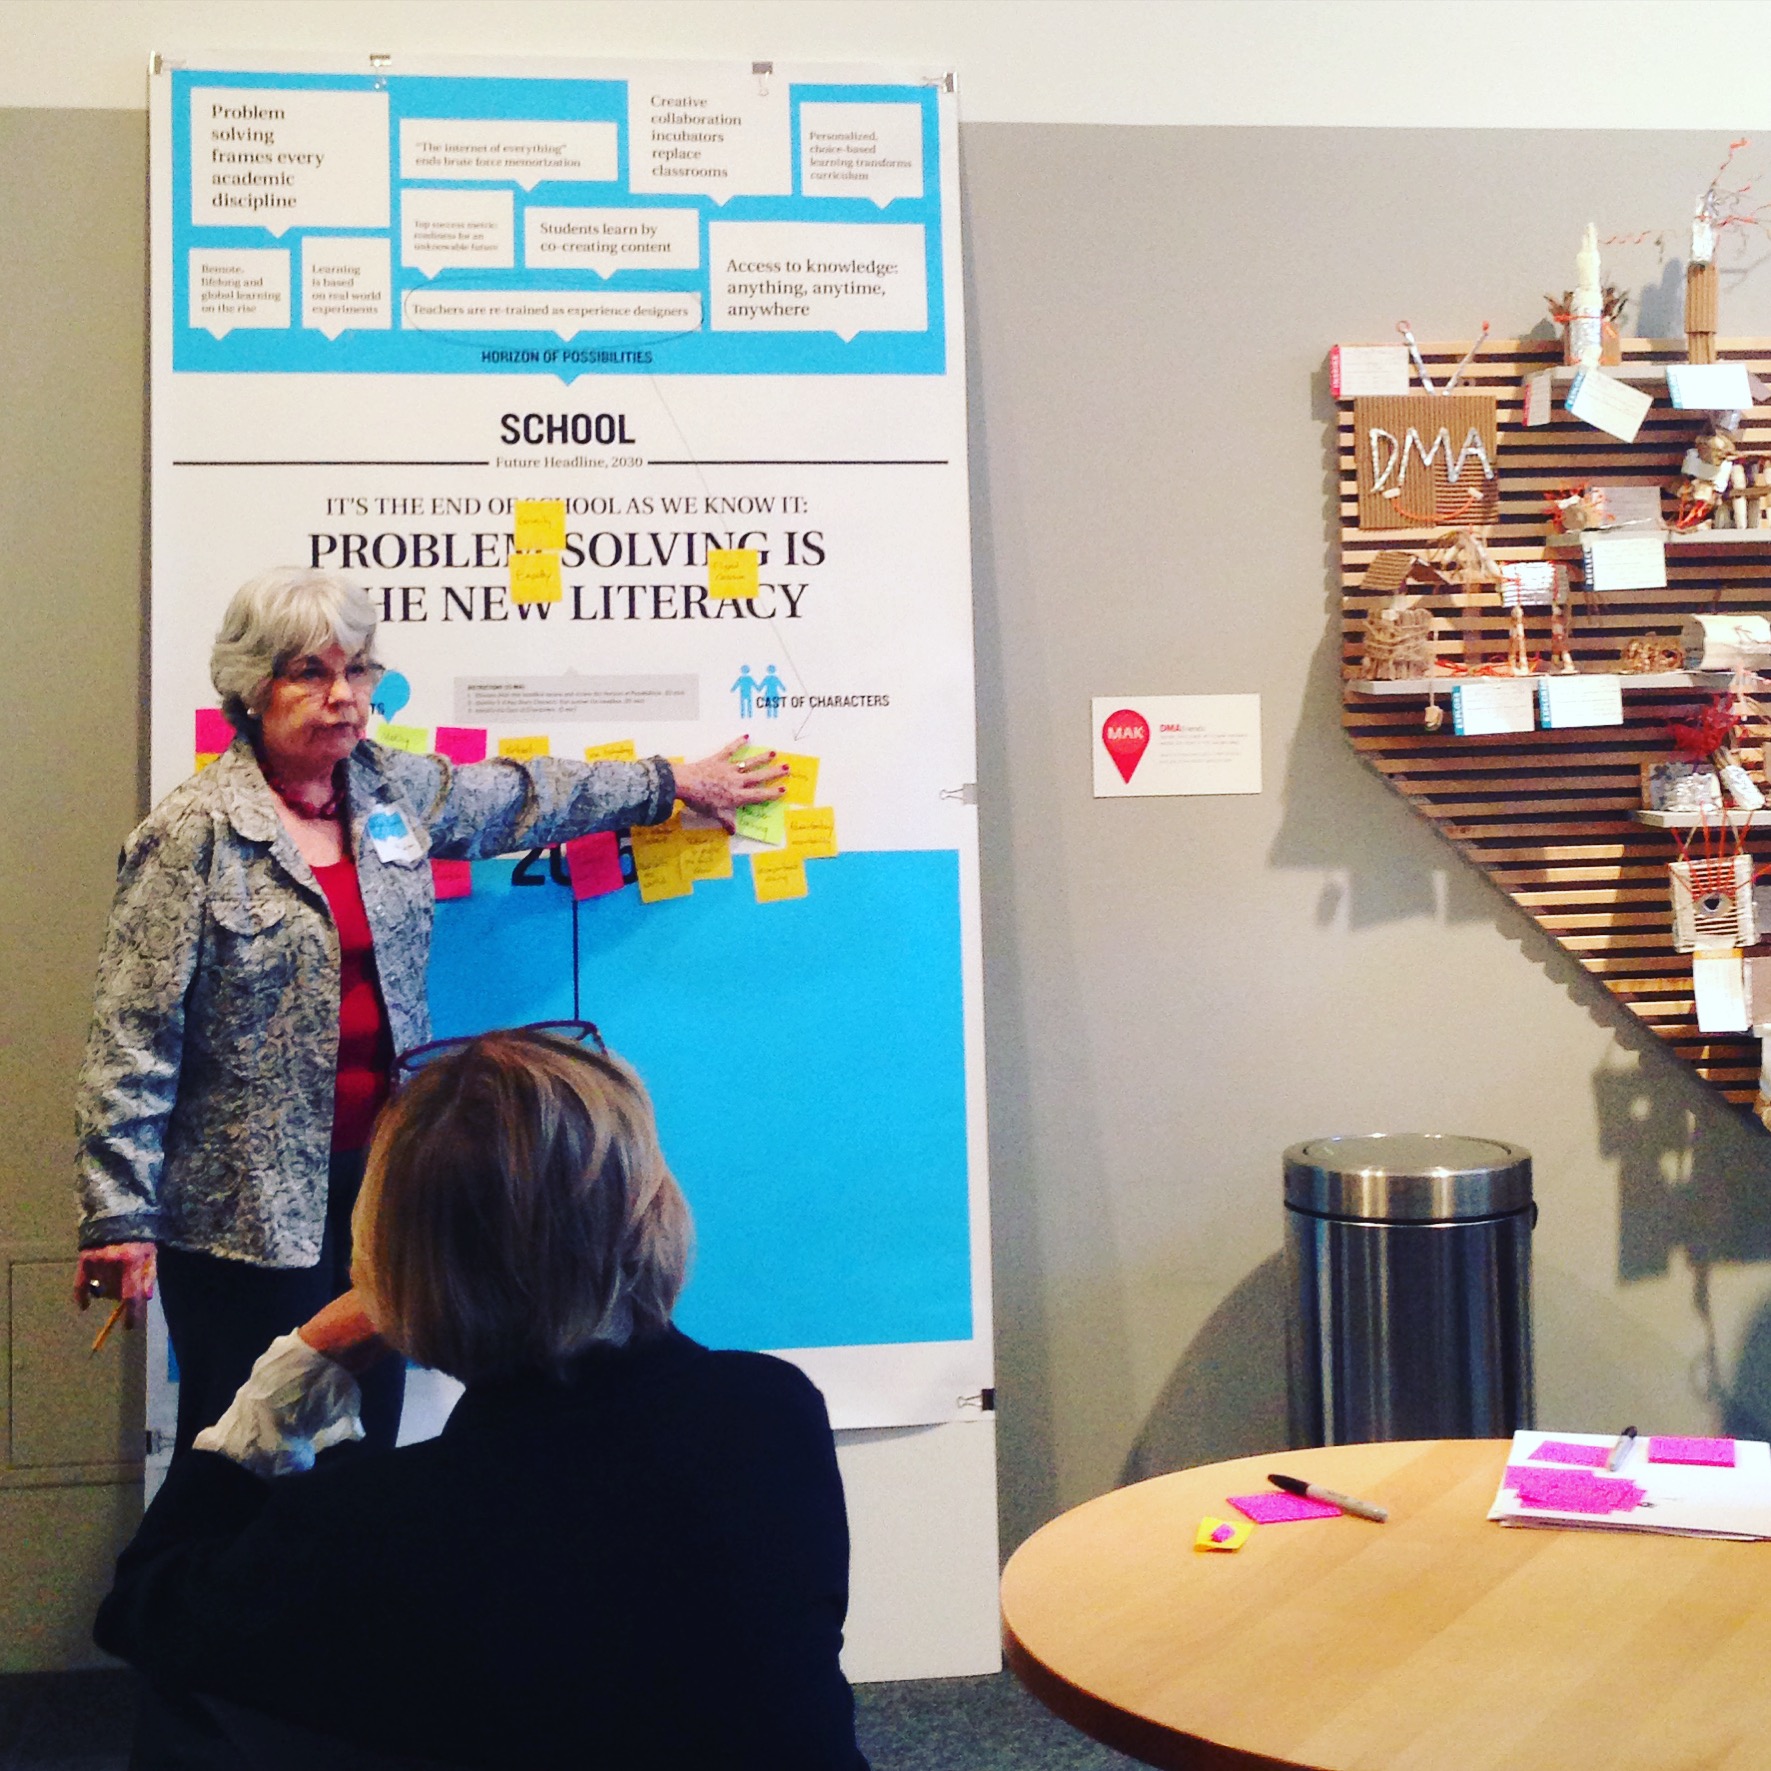
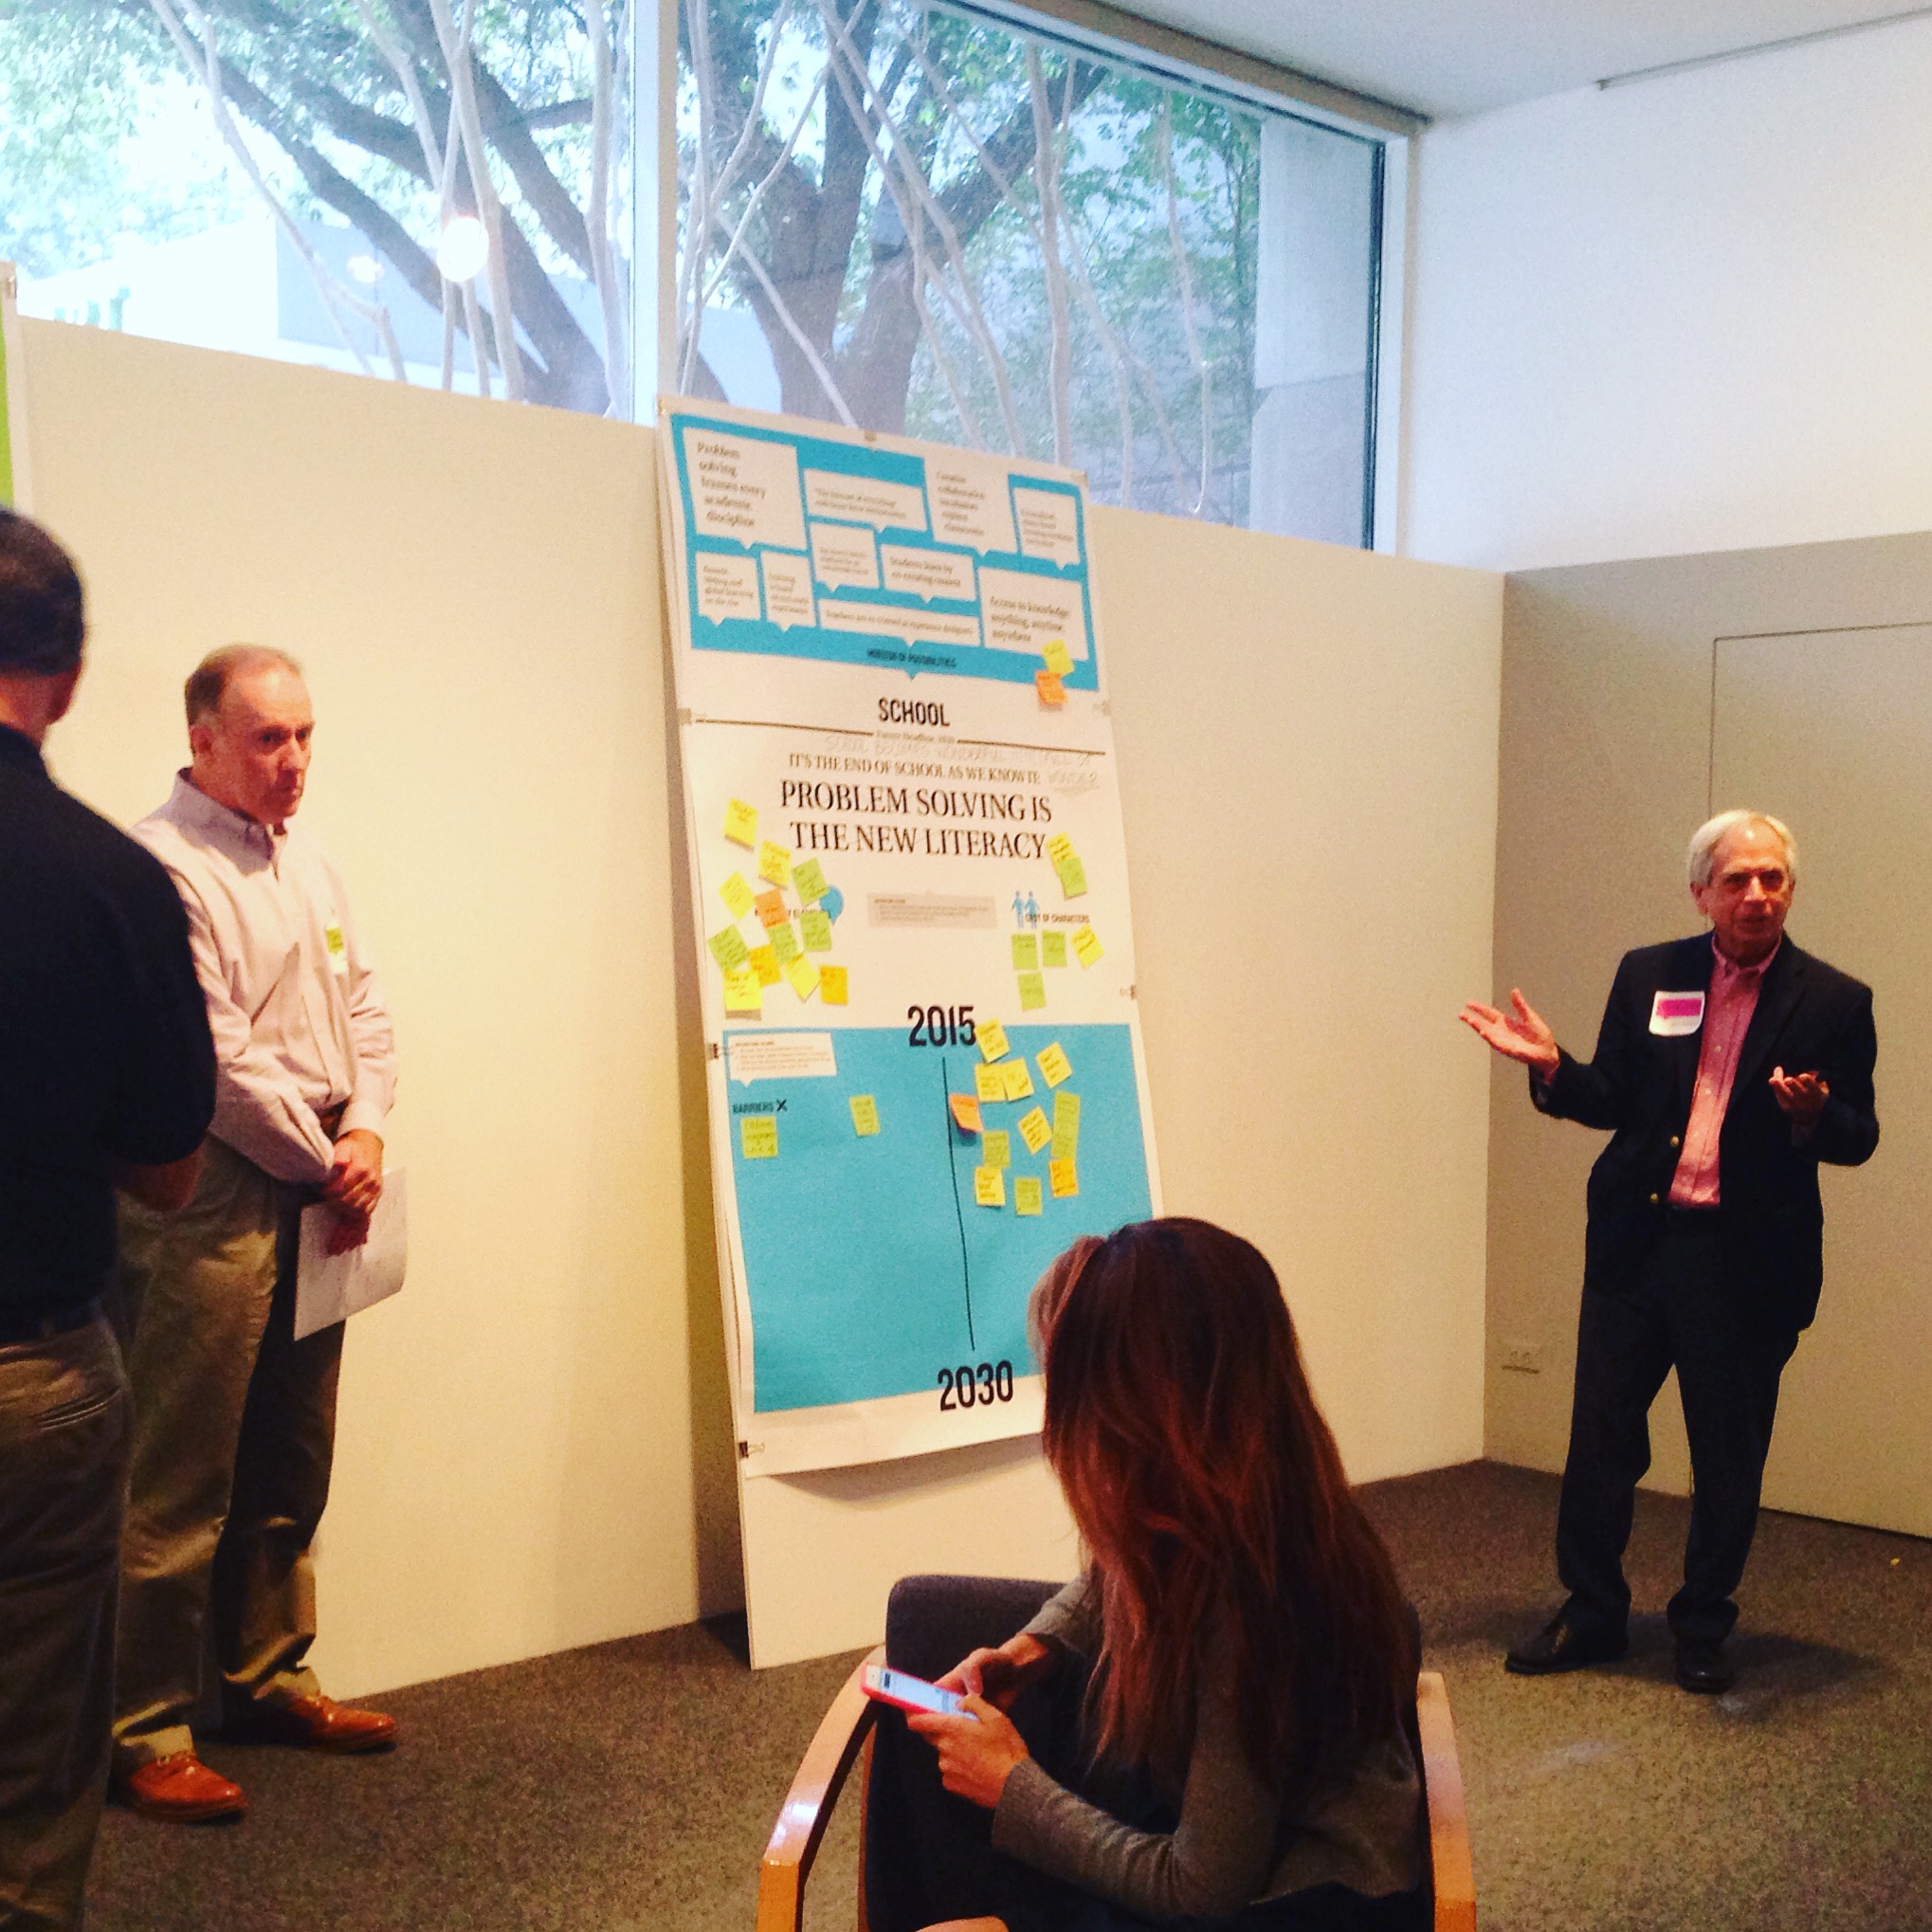
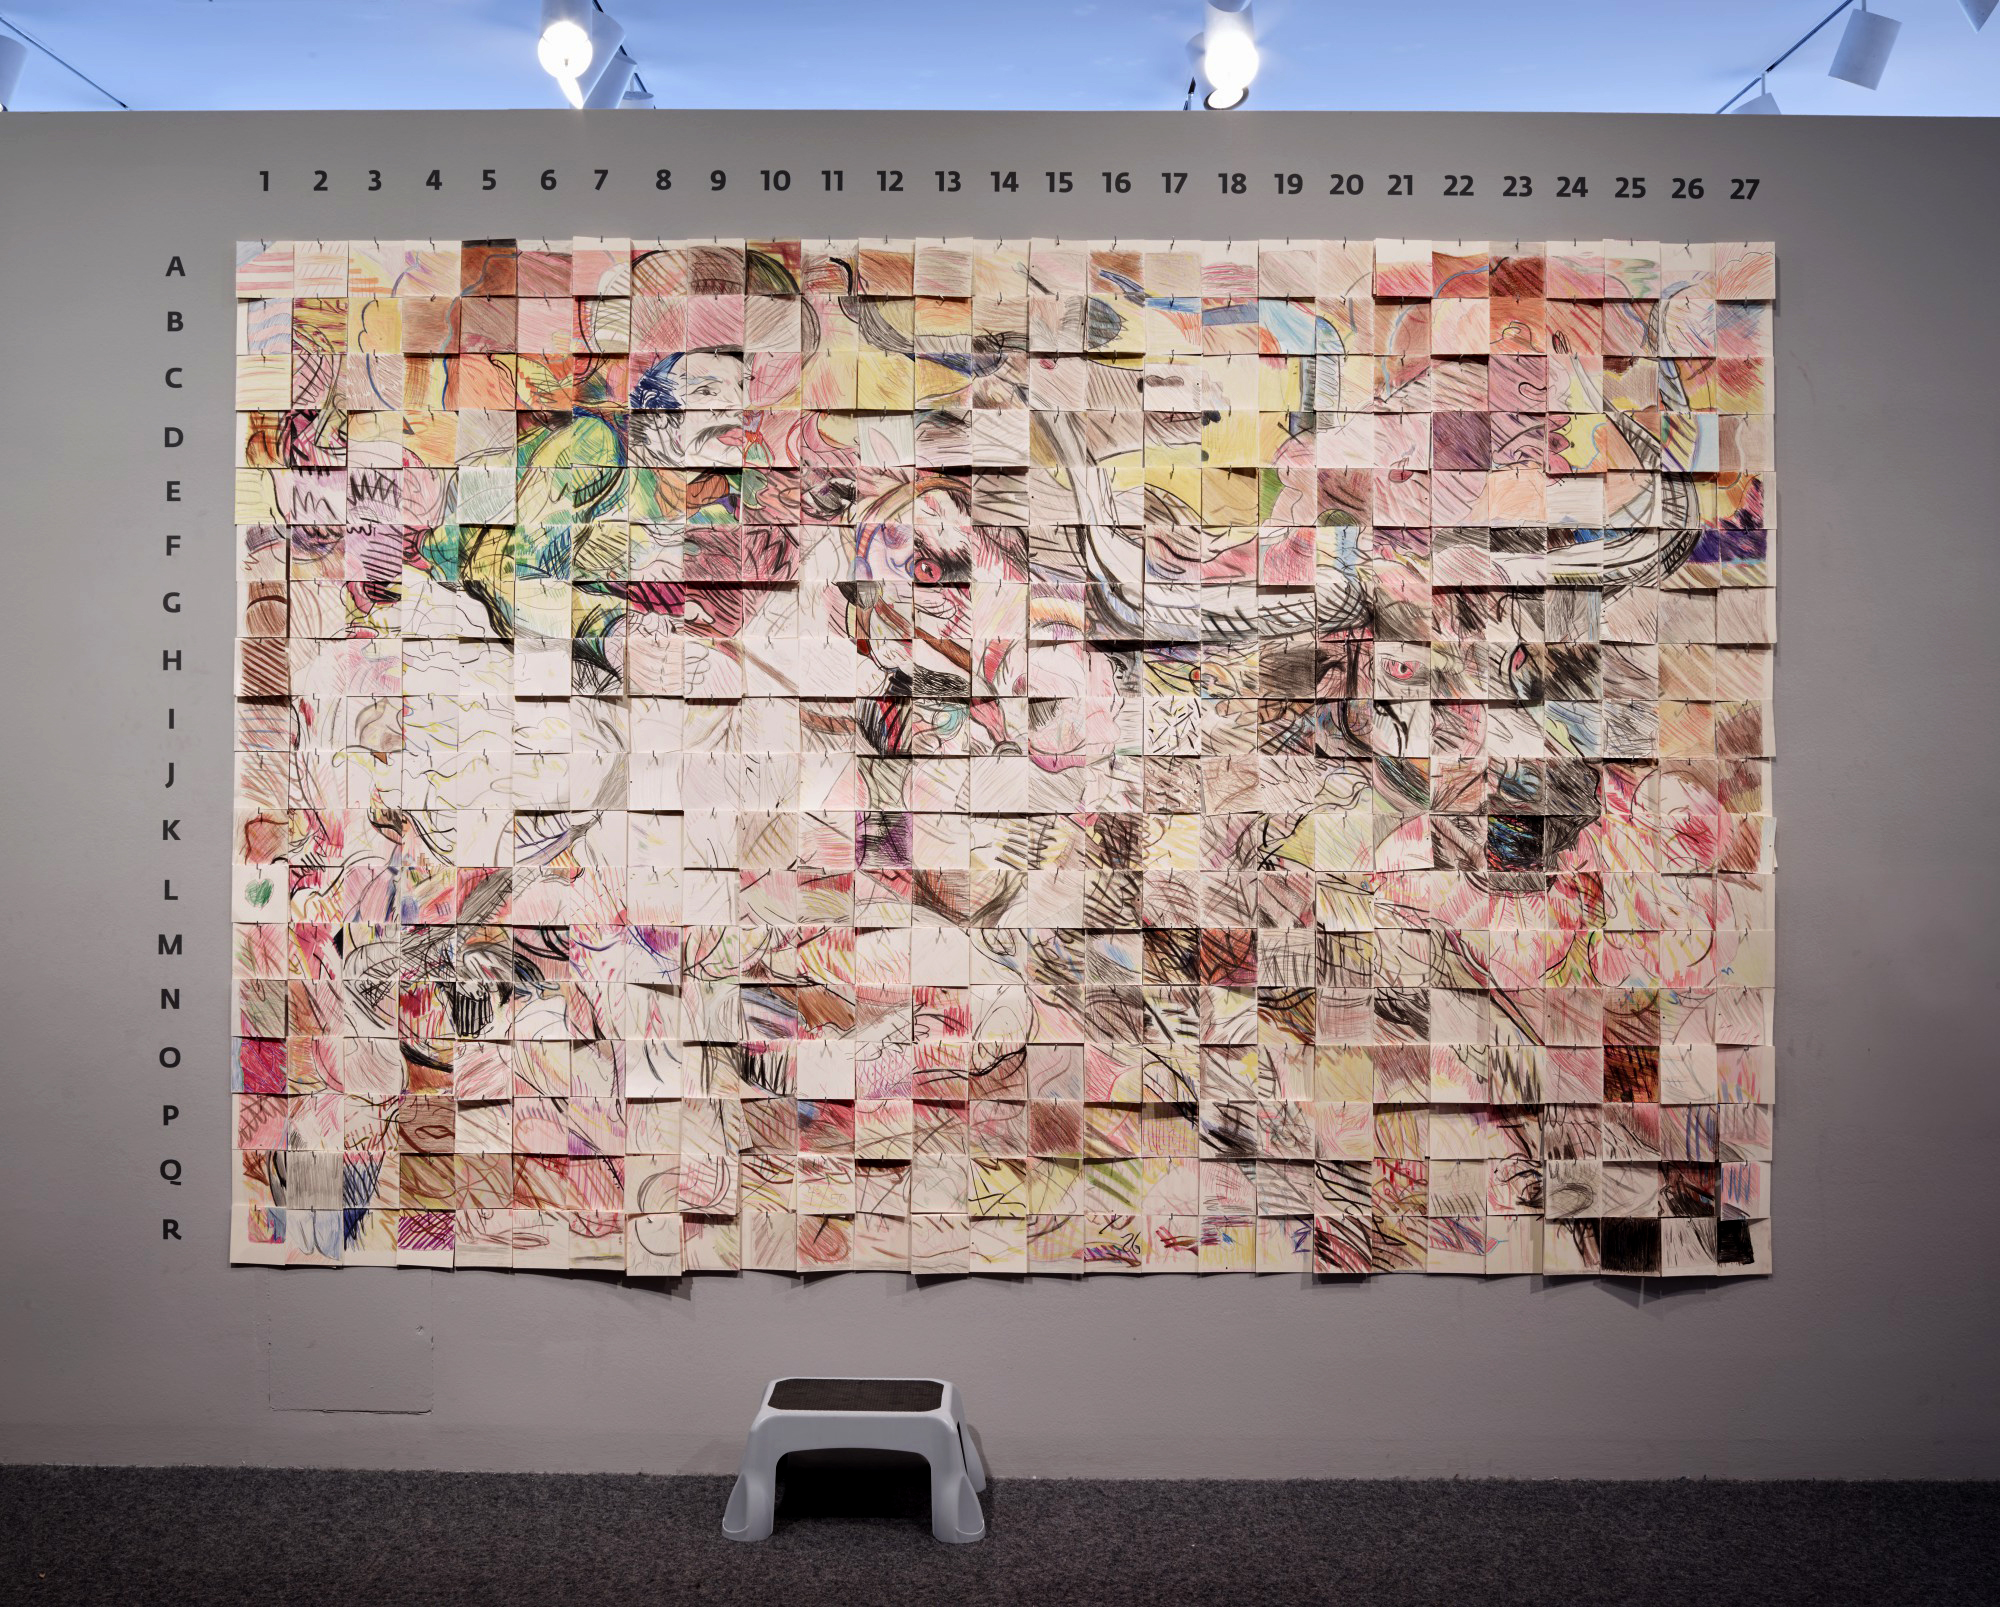
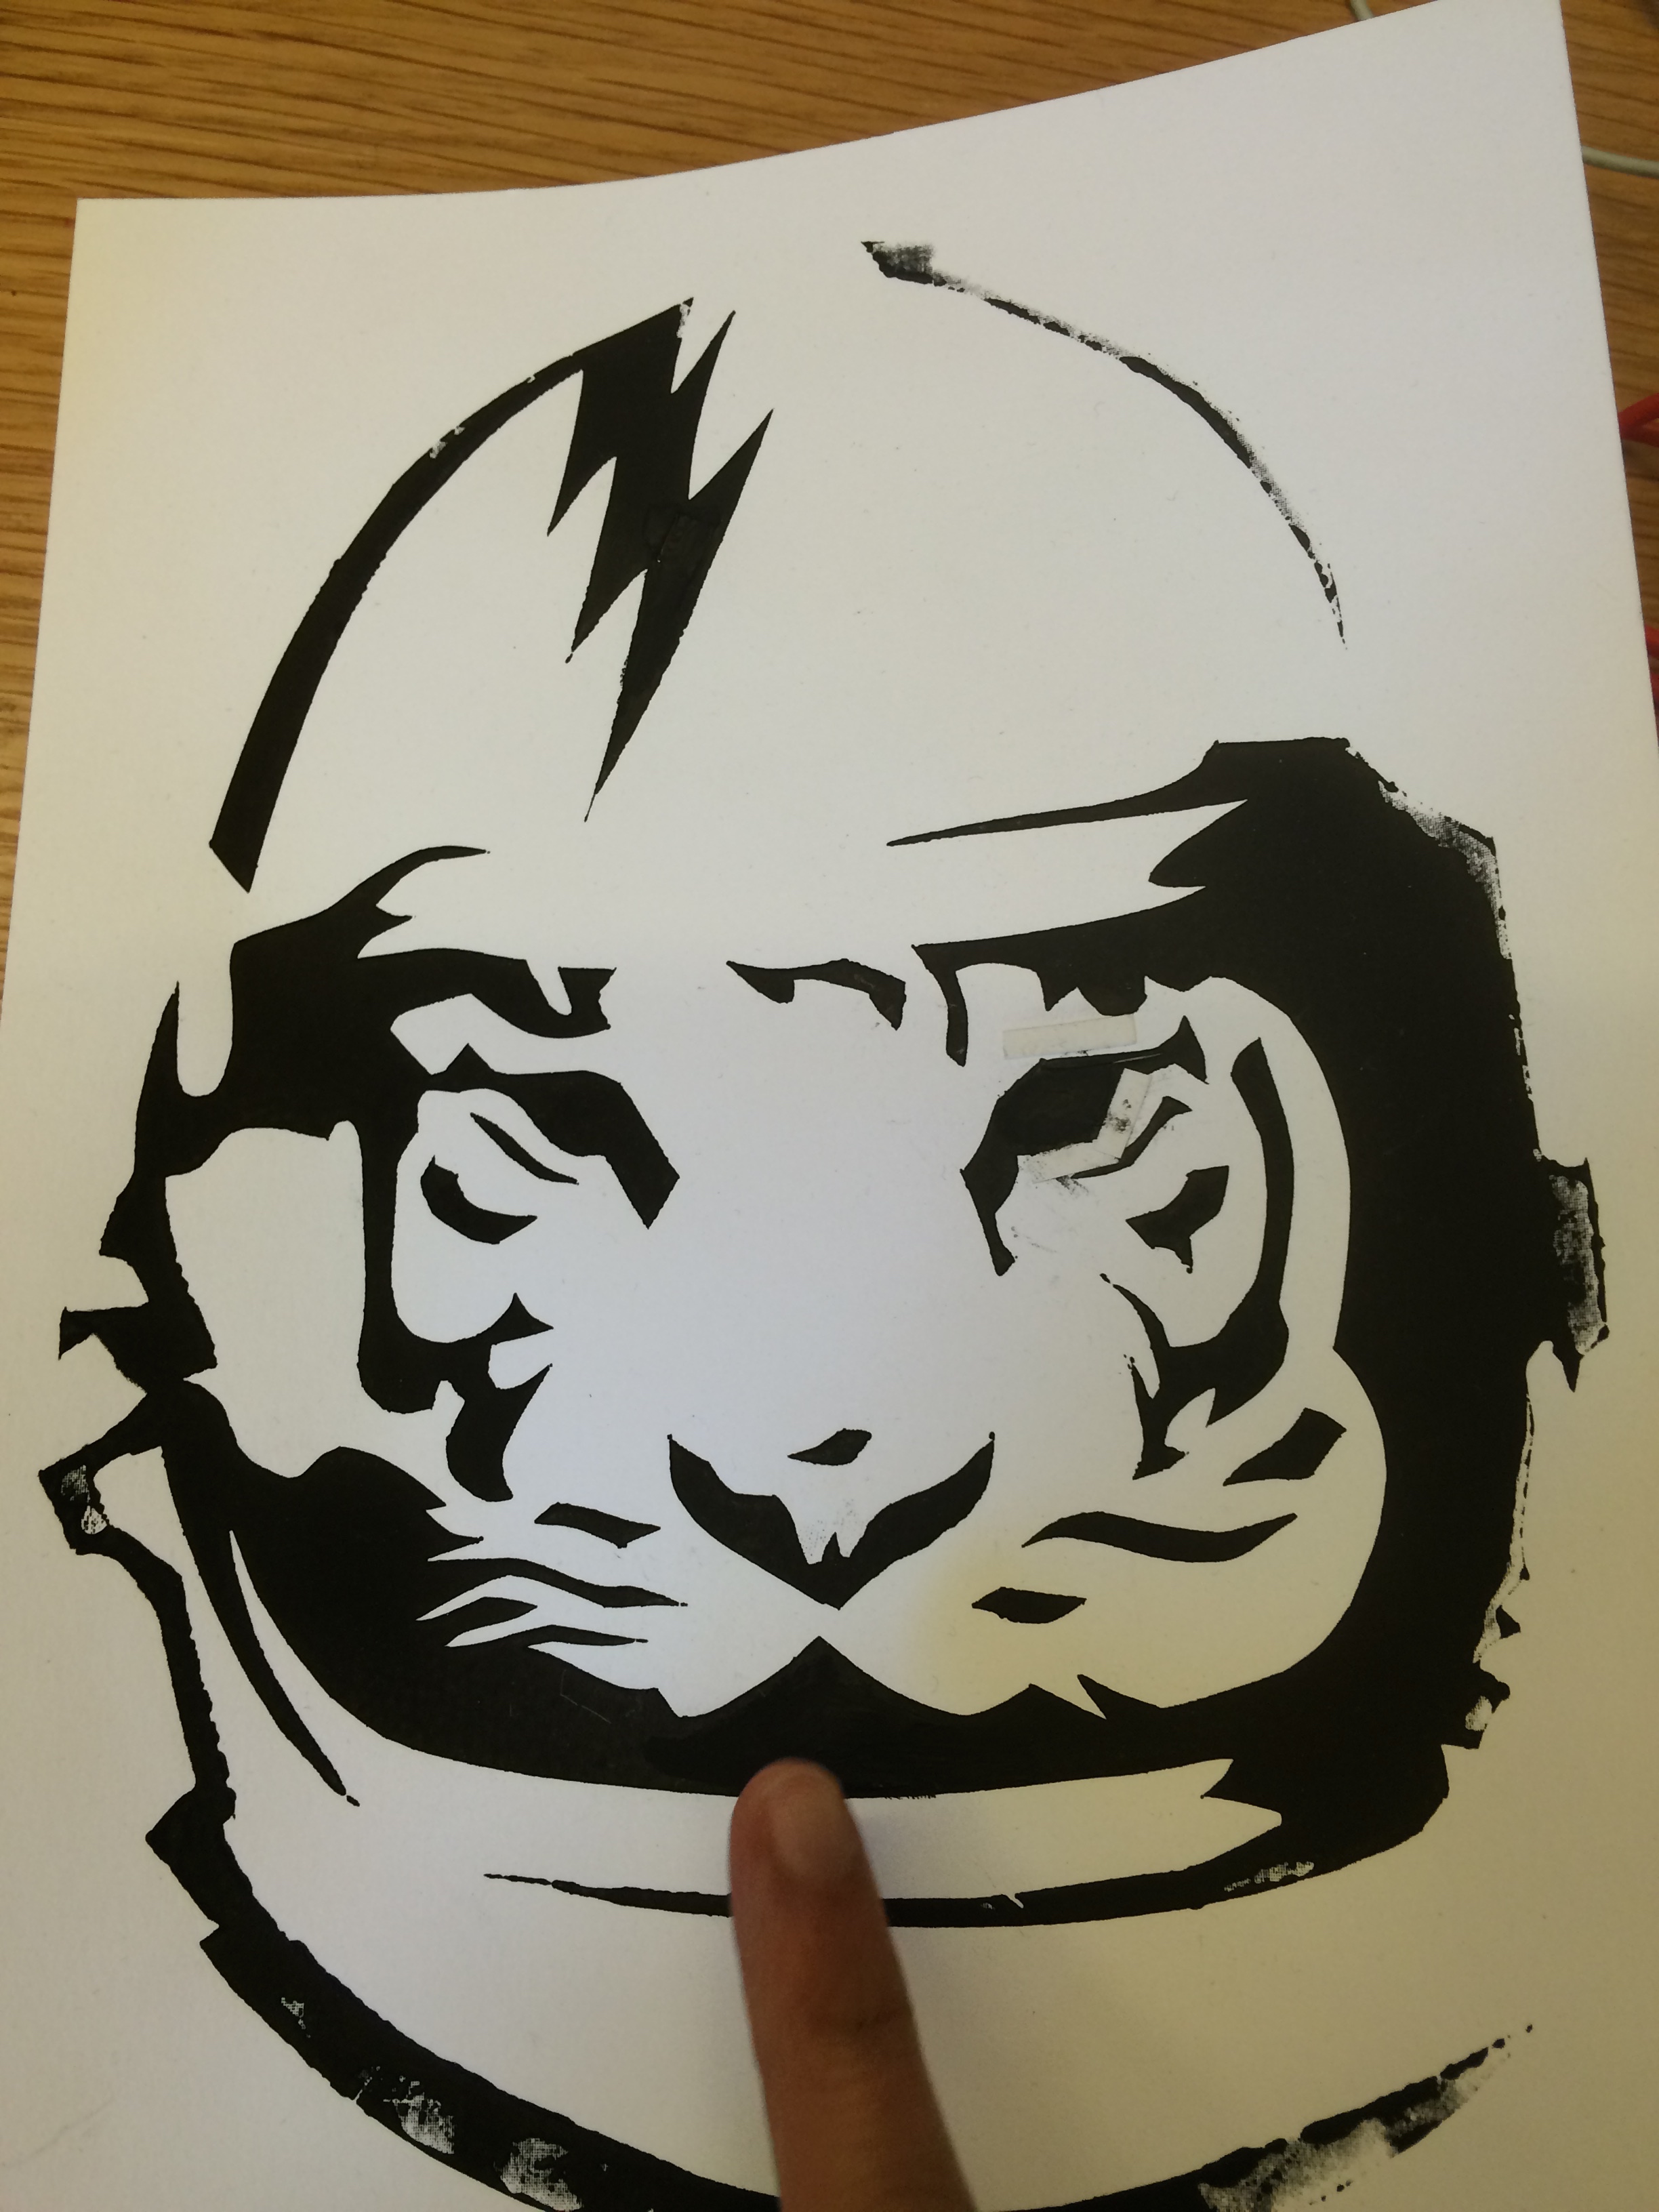
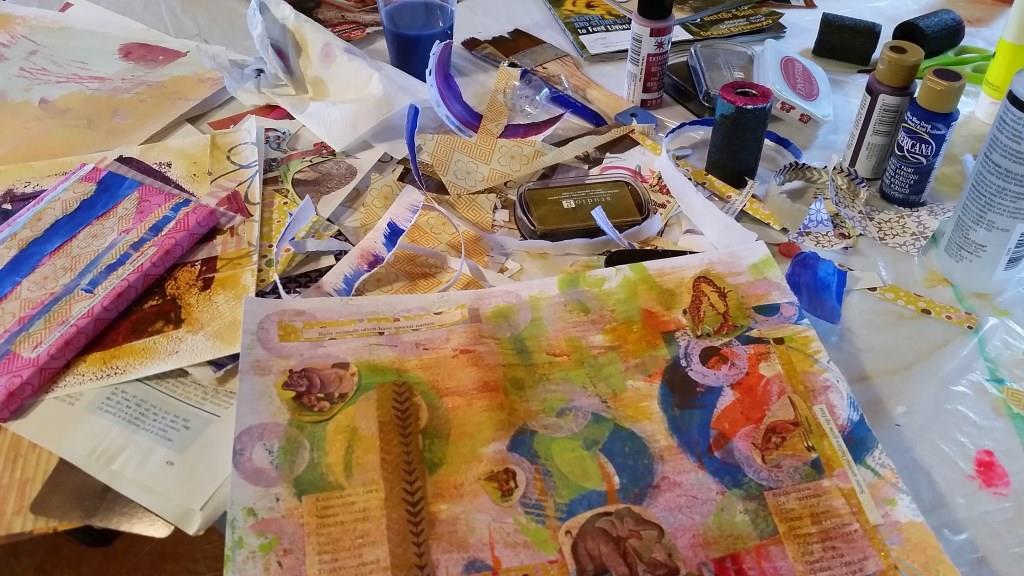
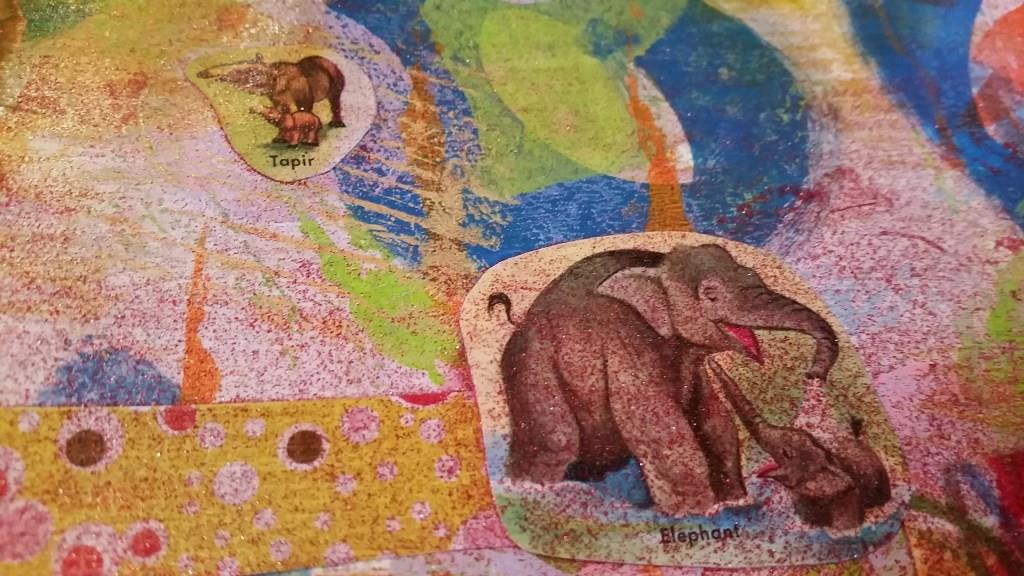
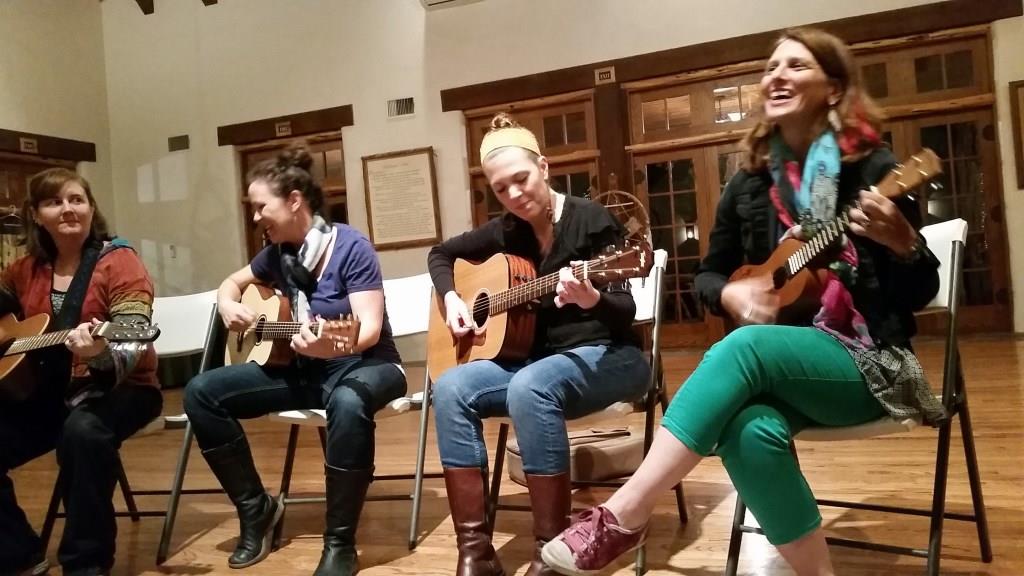
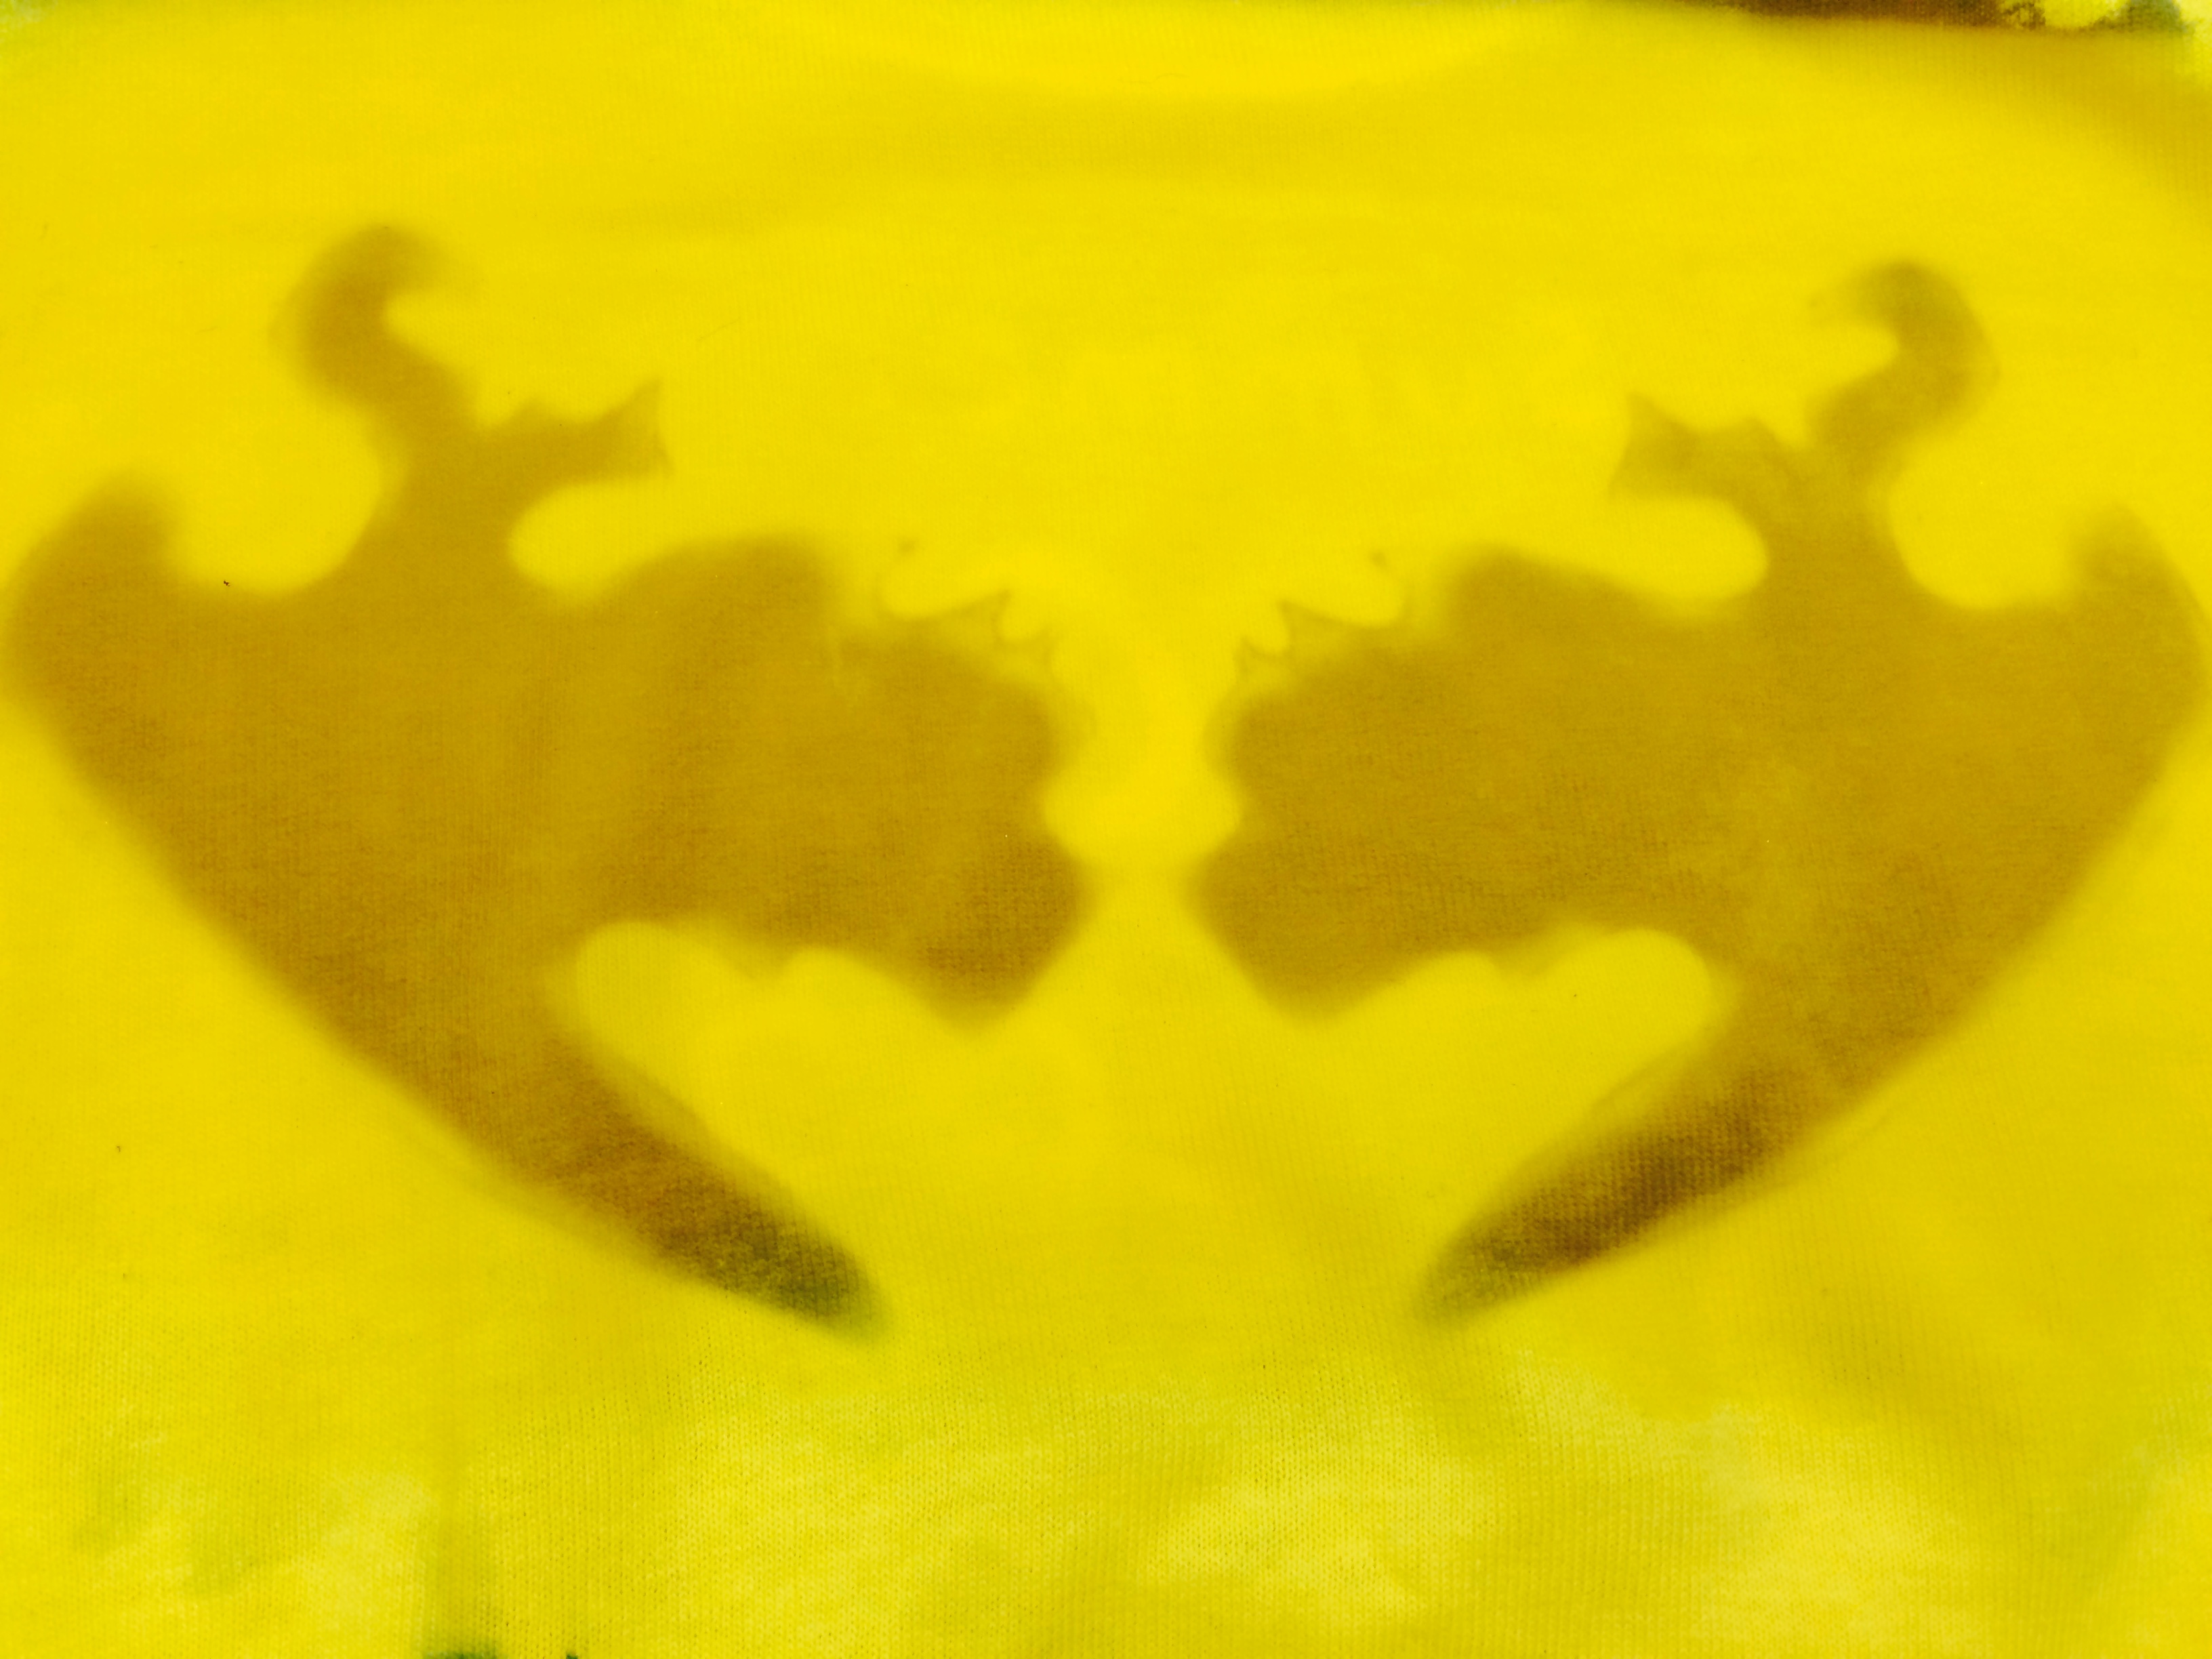
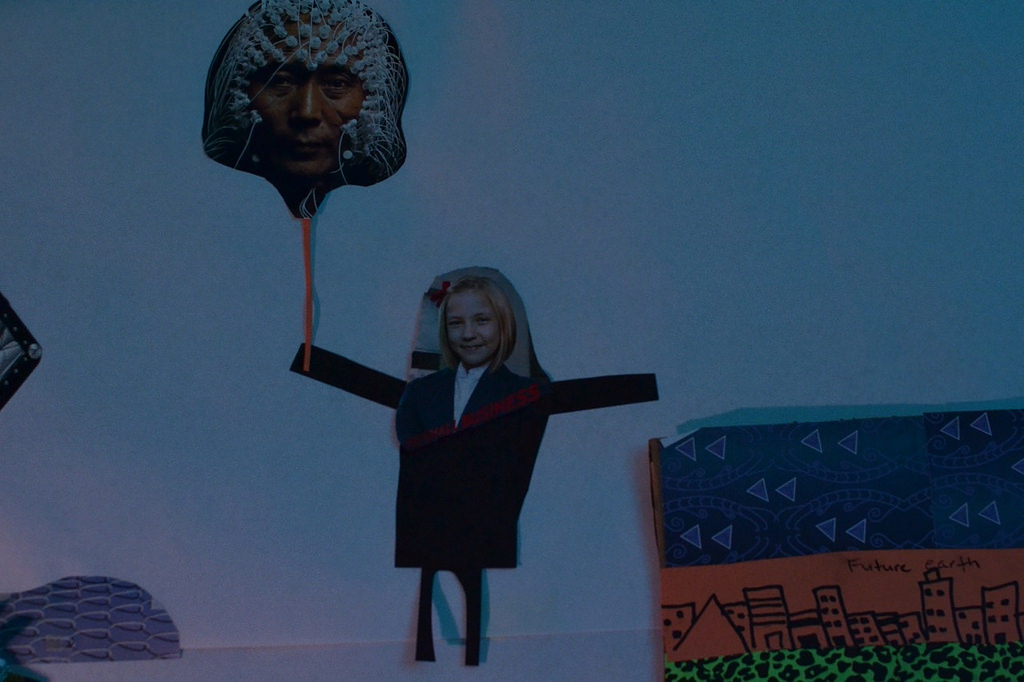
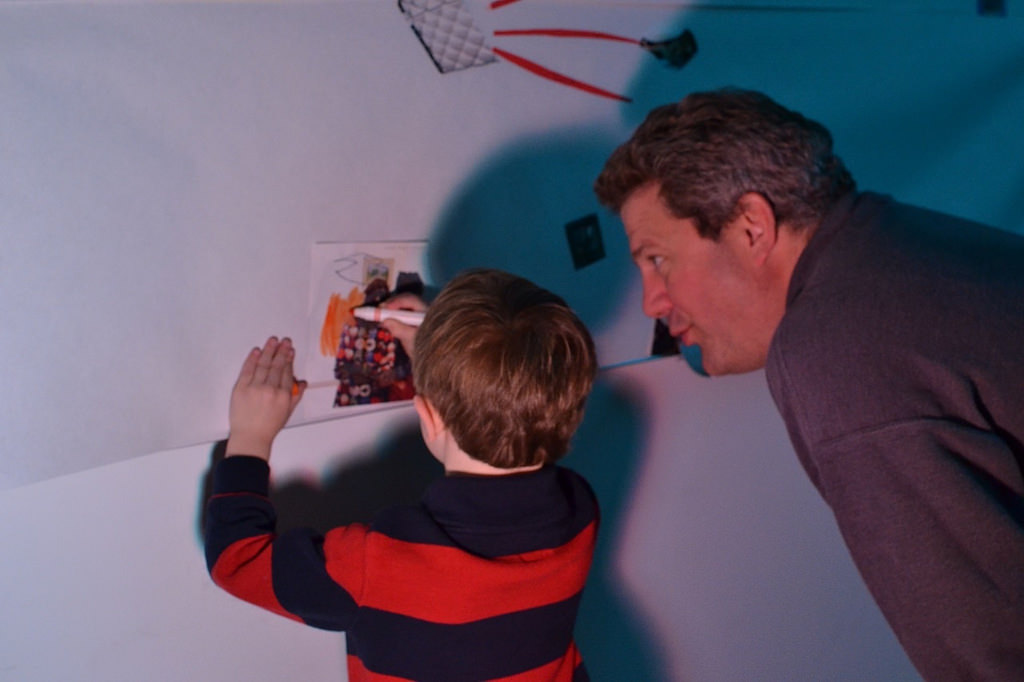
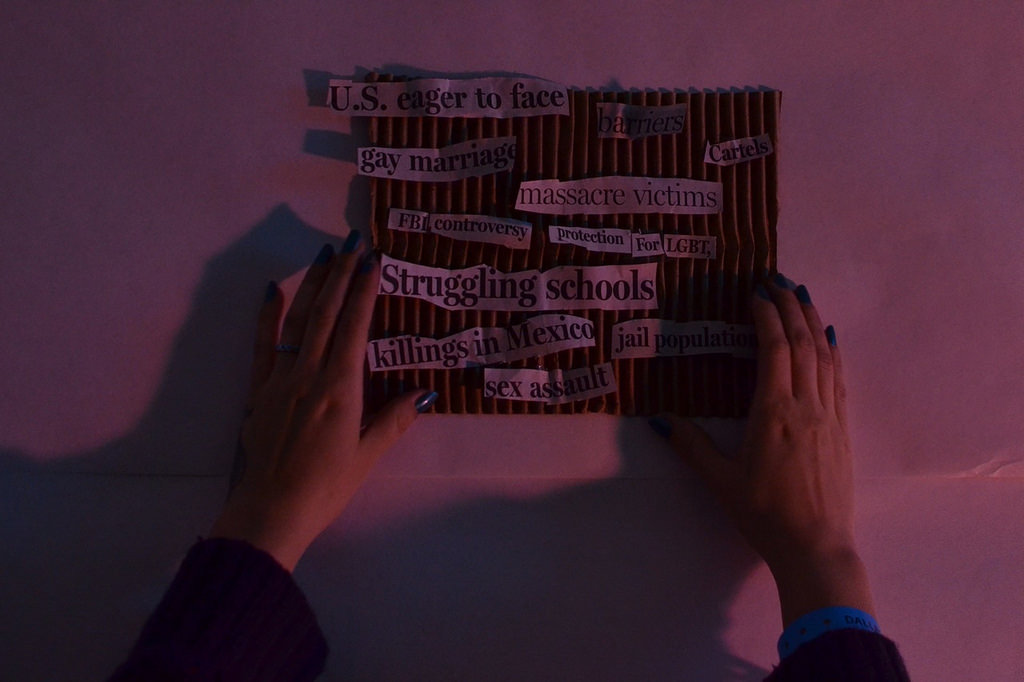
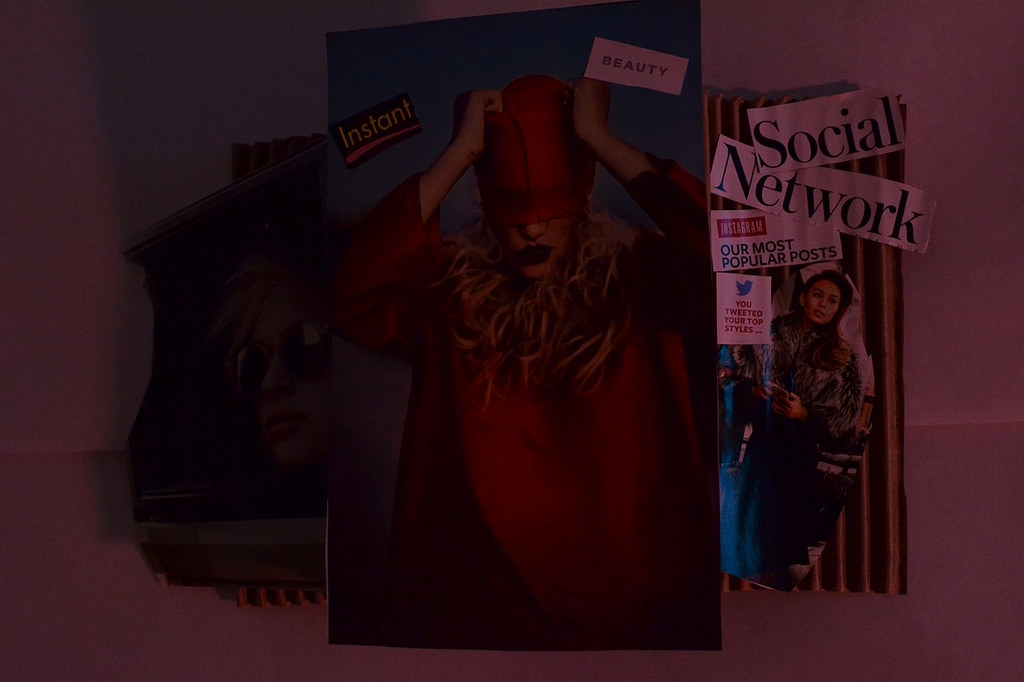
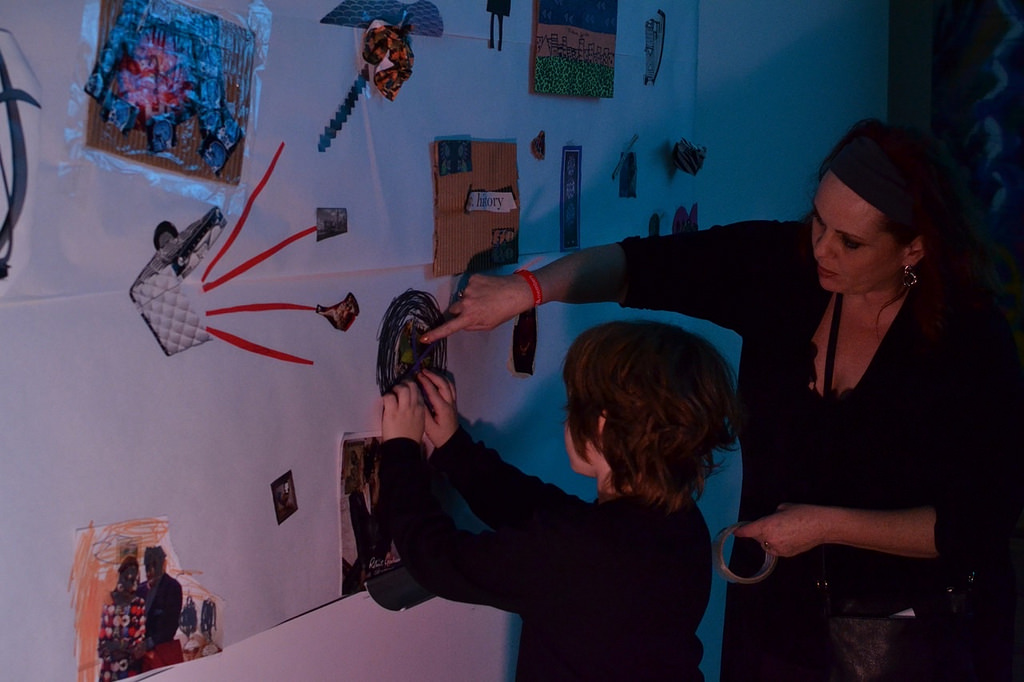
For the January Late Night, you hosted Late Night Art Bytes, which highlights how artists use art and technology. You led a drop-in experience where visitors responded to prompts about the state of the world today and the future through collaborative collage. Technology came into play through your documentation of the night. You photographed the collages as they evolved over the course of three hours and those images were displayed on the #DMAdigitalspot monitors. What was the inspiration for this program? 

A large part of the inspiration, from the very beginning, was the idea of “shared thinking.” Collaborative work is an interest of mine. Ideas are always enriched when there is divergence and an openness to let things evolve into themselves. I really wanted to use aspects of collage and mixed media that involved visual culture, images from our contemporary mass-mediated lives such as magazines, to have a conversation about the world we live in.

How does this visual conversation fit within the bigger picture of your work?  

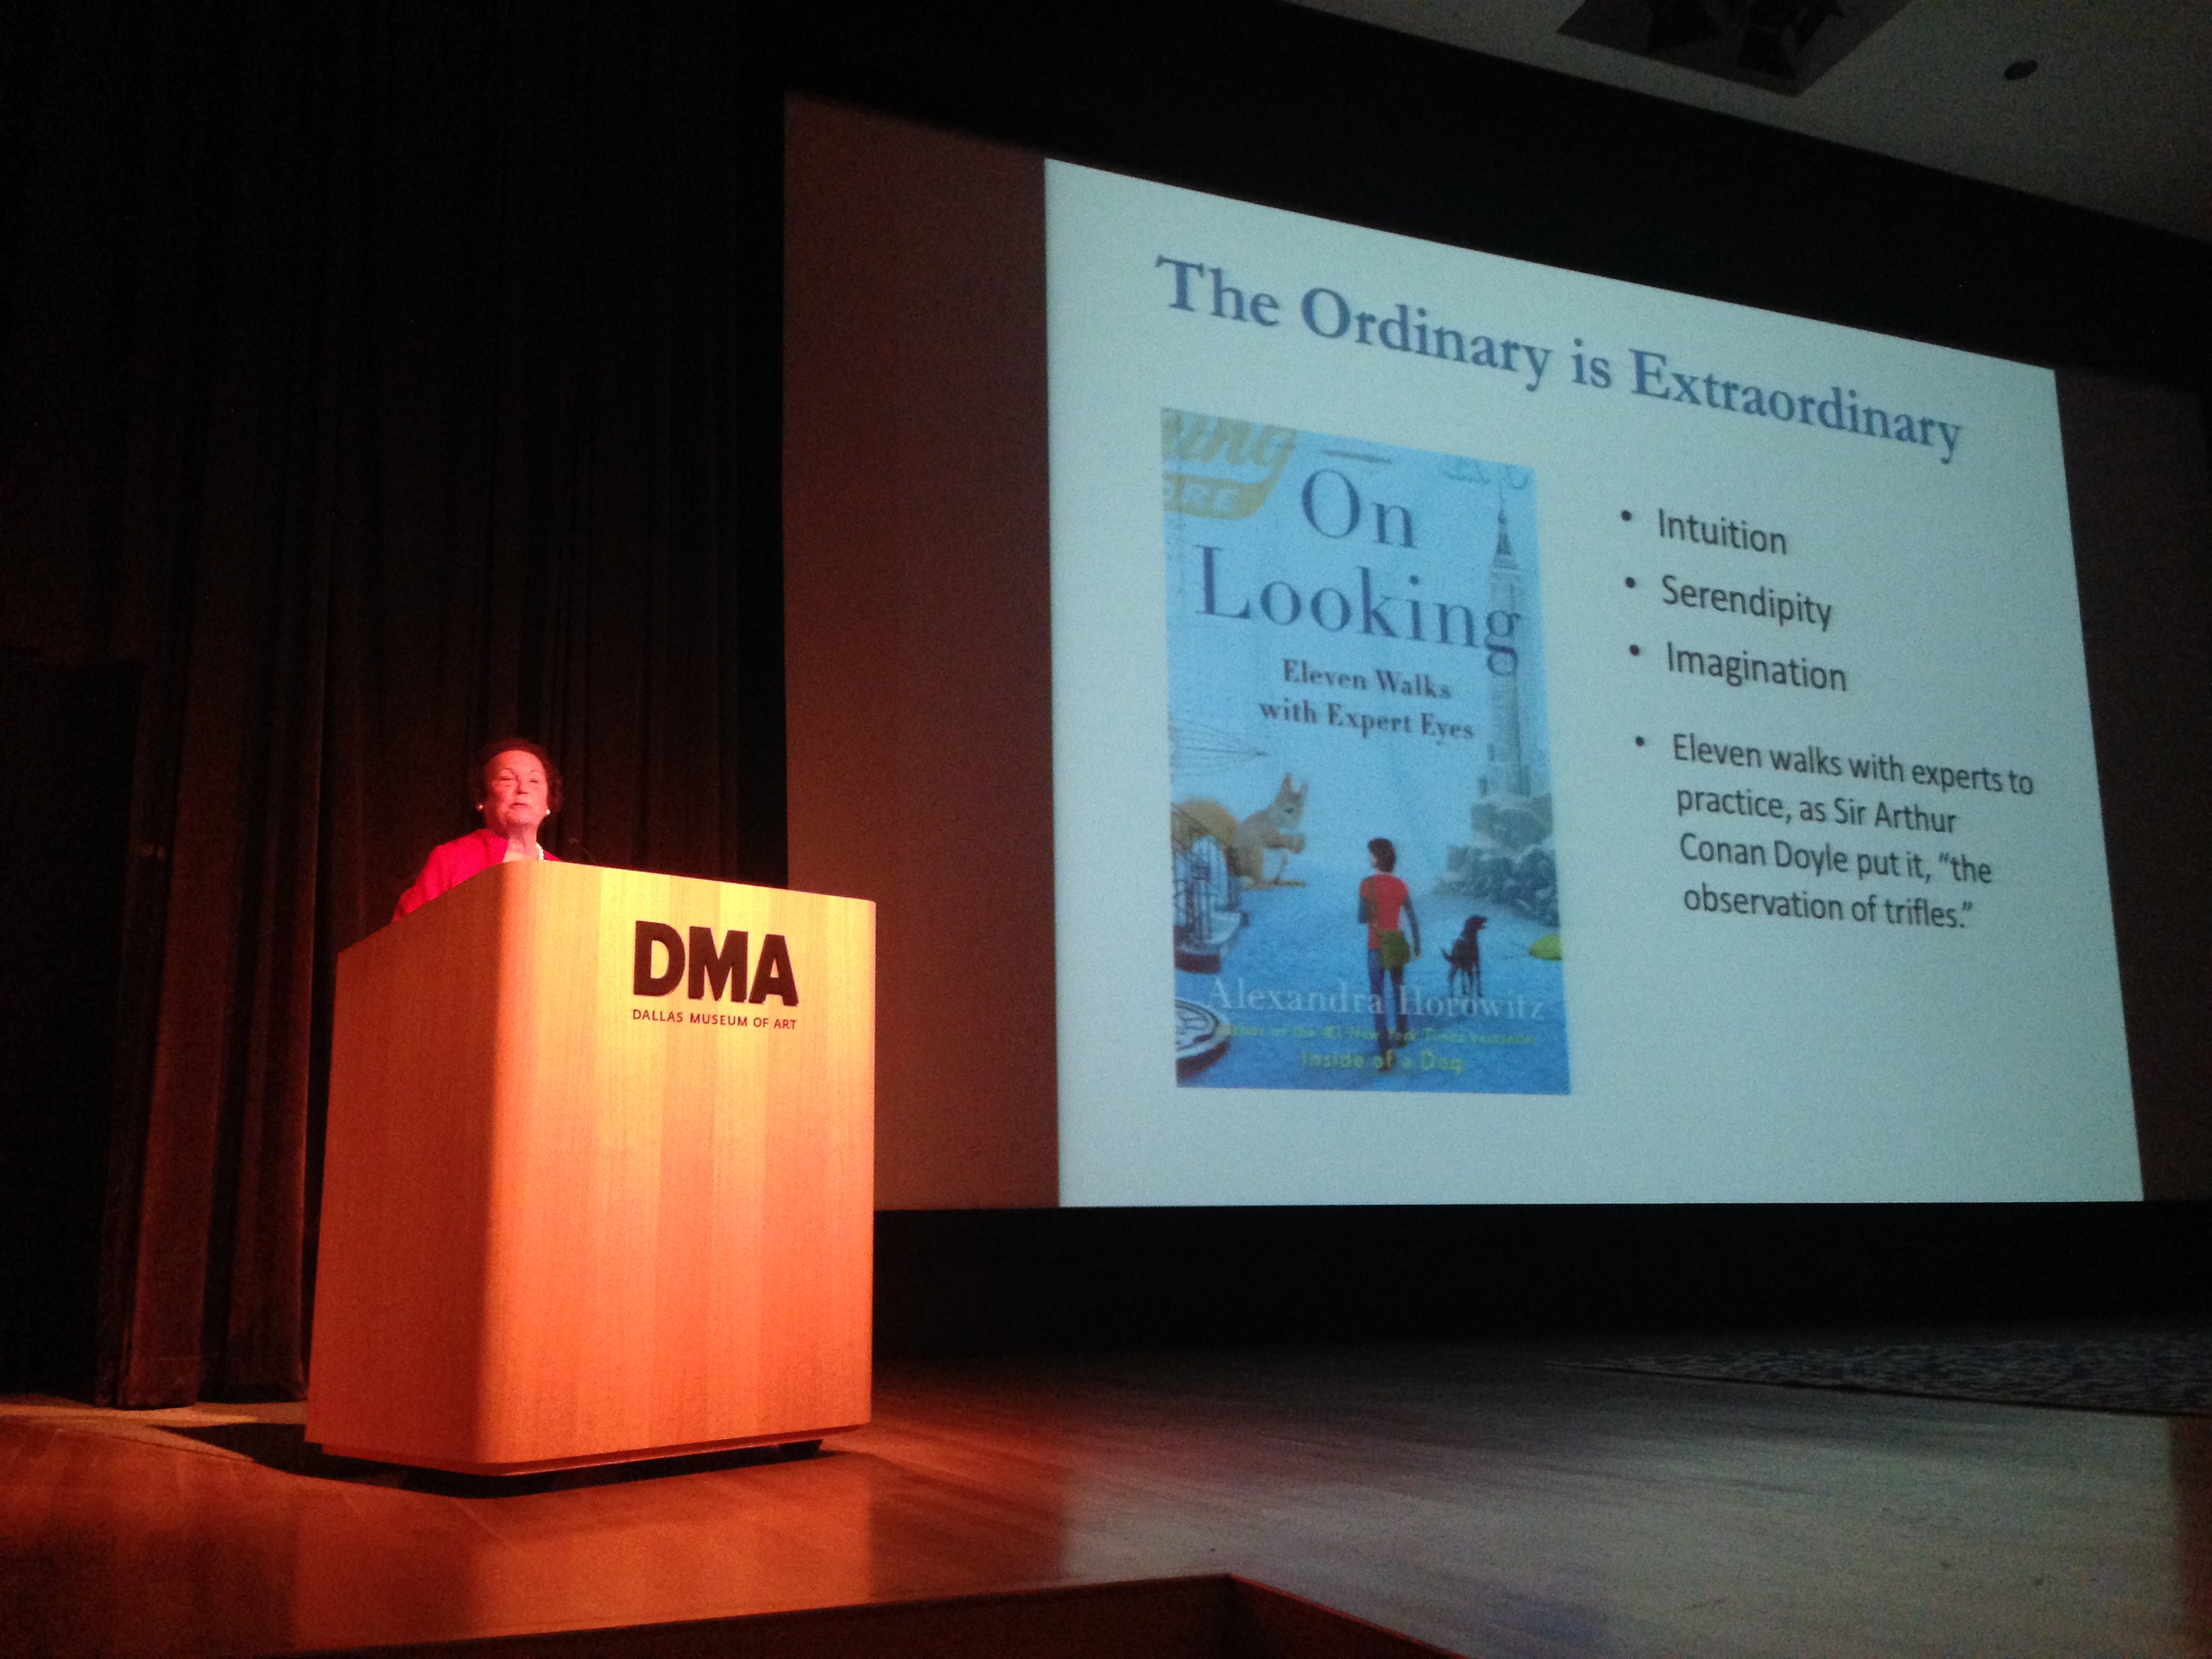
Well, I like to think about how people “see” the world. How people use visual content to interpret and understand context. We live in such a visually stimulated society where most of the information we experience–as creators or consumers–comes in bits and pieces of imagery. Images are embedded throughout our lives as a sort of “hyper” extension of what is real and what is possible. The Late Night Art Bytes conversation really provided me with an opportunity to experience how people respond and share their views of the world through the visual culture “art-i-facts” they created. It was their attentiveness to all the various images and materials that confronted them that I found most useful to how I think about my own work.

My current work is all about “looking” and “being with” images. I am interested in how individuals contend with all the images they have to manage at every juncture of life. It is certainly an interest in visual literacy, however it goes well outside of just literacy. It really is about our attentiveness to the images around us and what images are seen and which ones go unnoticed. Today images seem to have a life of their own in very unique ways.

Often, contemporary images are sensationalized as a method of gaining our attention. Selfies have to be staged, colors have to be super vibrant, and images have to “appear” when we demand them. I’m not opposed to the hyper-ness of our contemporary mode of apprehending images (or images apprehending us), however I do believe that this kind of “being” with images leaves us with less opportunities to experience the natural world. In other words, seeing and being with “everyday” images become a part of a background noise that we become inattentive to. They become a part of an obscured view – and with that we lose a little bit of humanity.

What do you think visitors got out of the experience?  What did you gain/learn from hosting this program?

The Late Night experience was exciting. I didn’t have many expectations, really. A part of the night was about seeing how visitors accepted the space, the materials available to them, and the project at hand. There was a wide swath of diversity that entered the space. I really loved the way that the visitors took their time in the space. The Tech Lab became a relaxing space for the visitors to listen to music, enjoy each others company, and create art. There were several visitors that returned to the space towards the end of the night to see how the visual conversation had progressed. I believe that this was significant as it spoke to the level of engagement and curiosity about what and how others had addressed the prompts: The world today and the future world. For me, the pleasure was seeing how the visitors committed the time and attention to add their voice to the conversation.

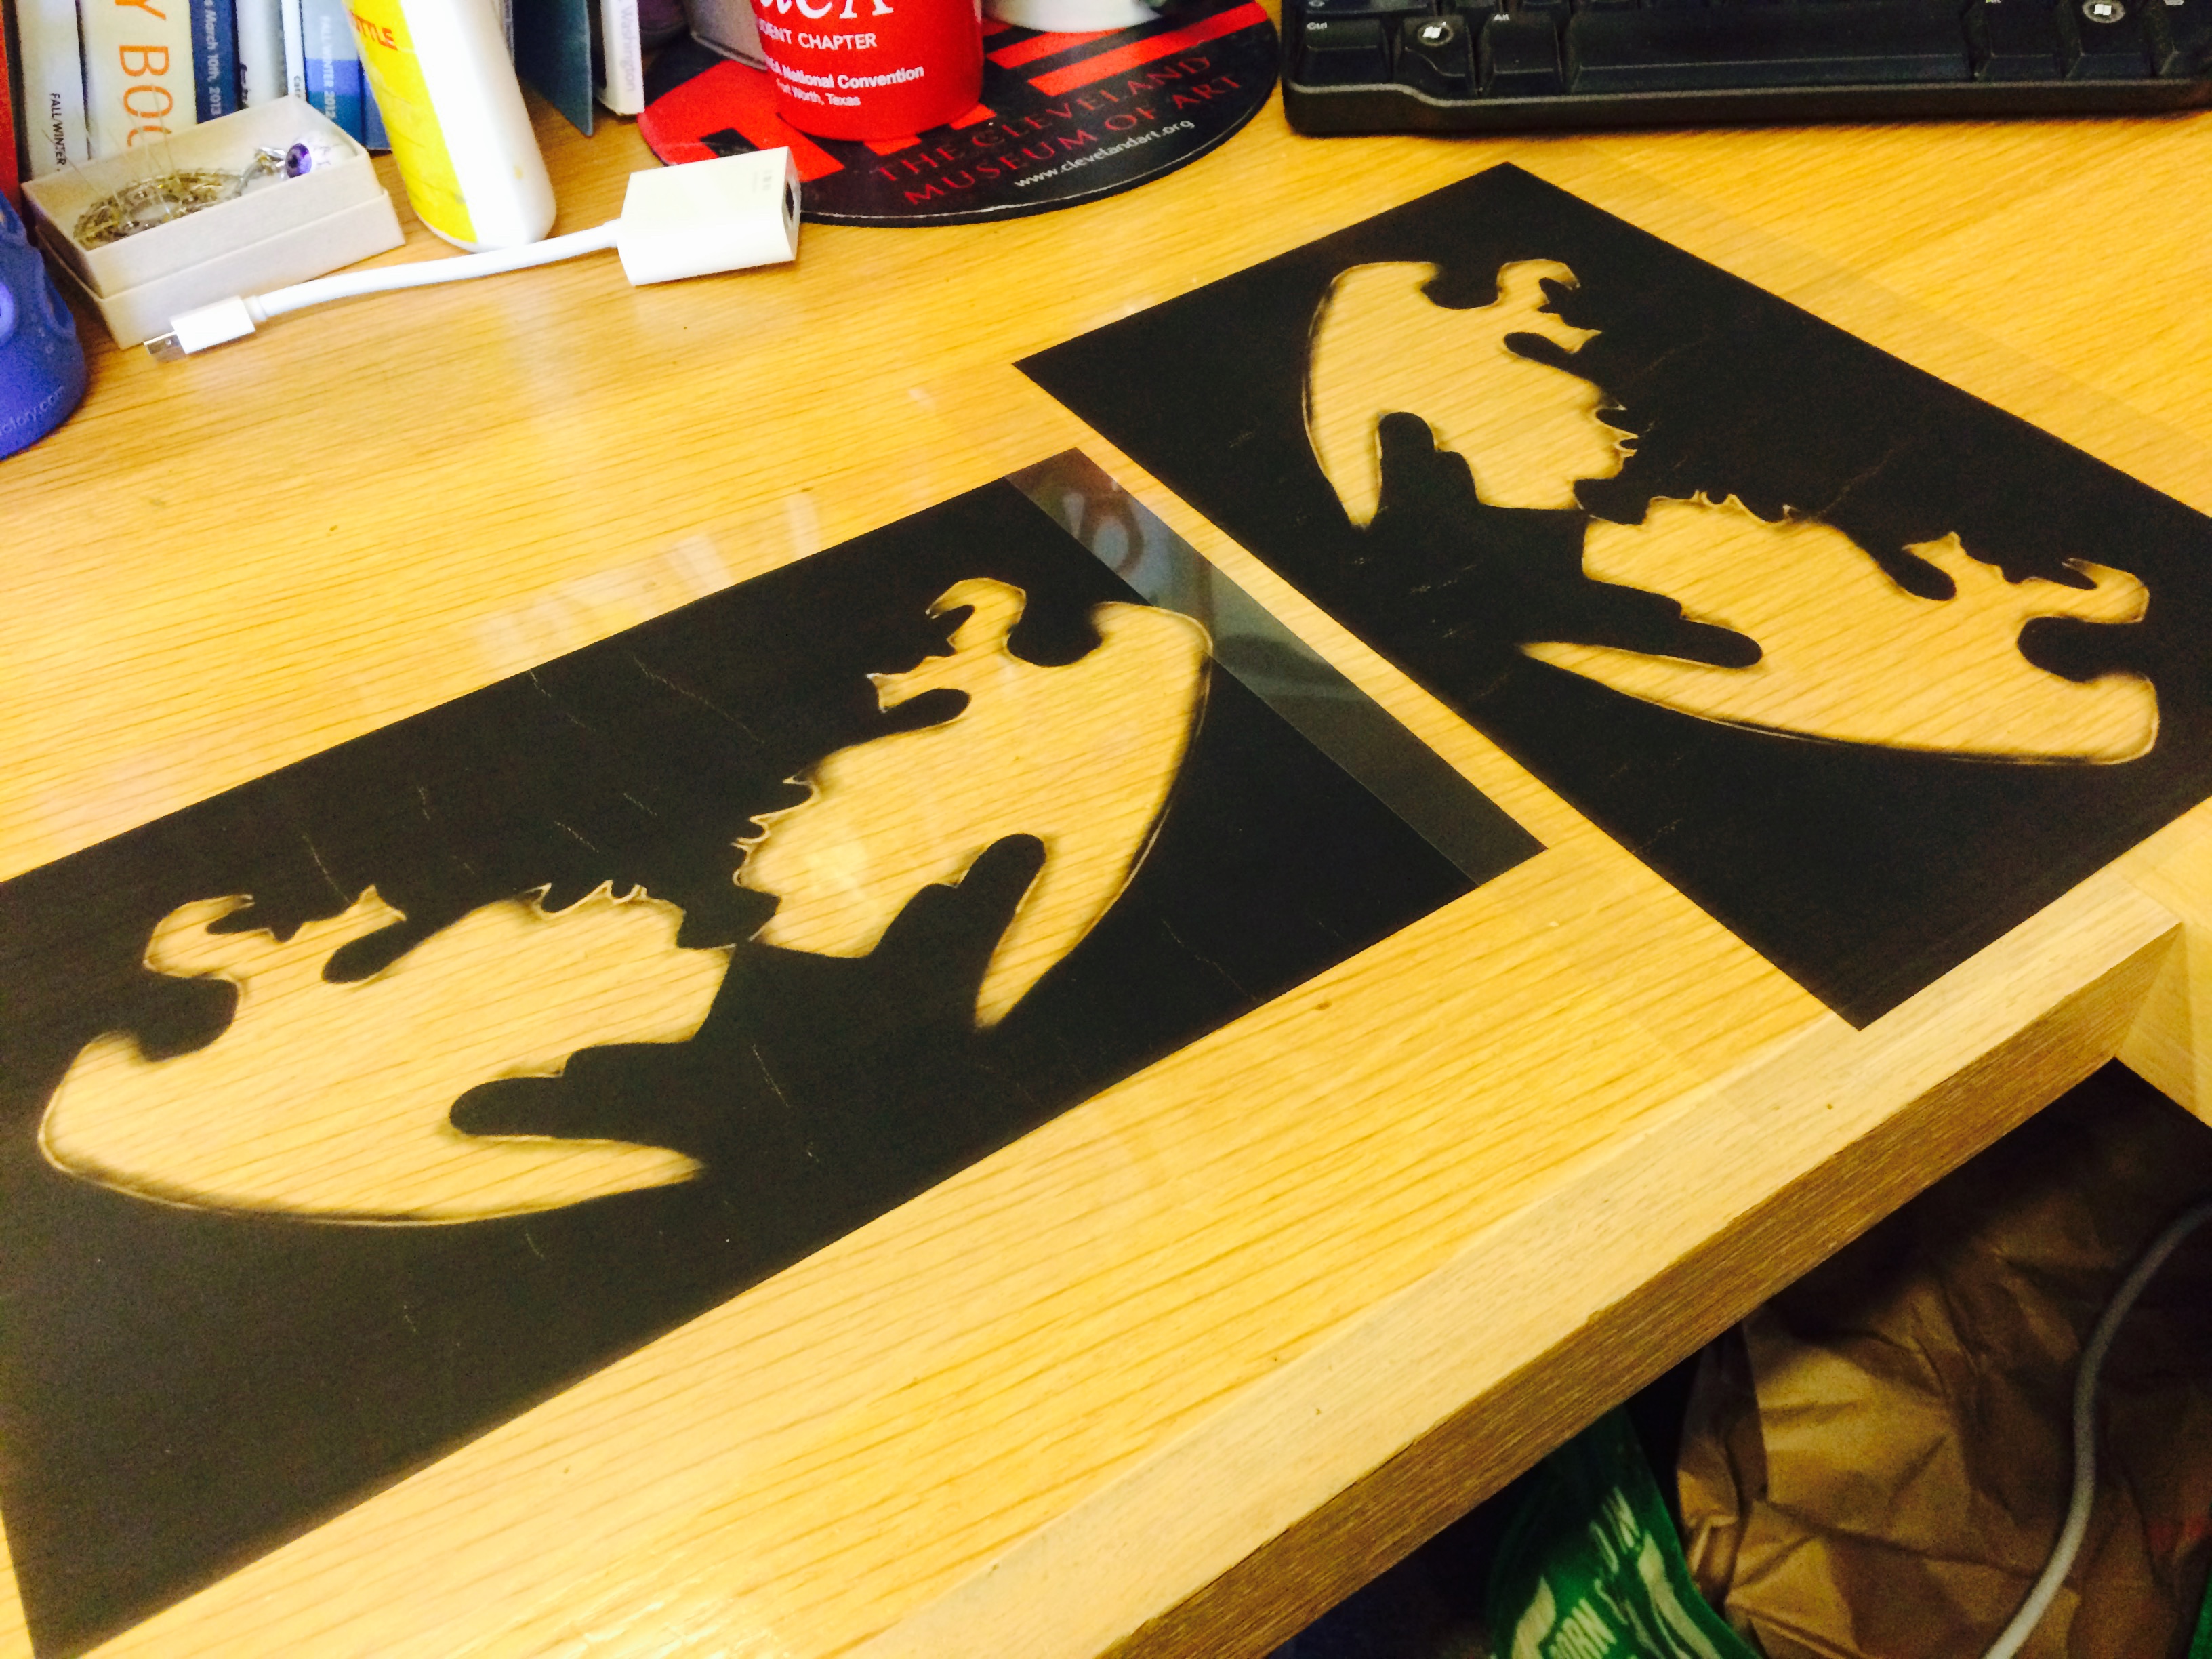
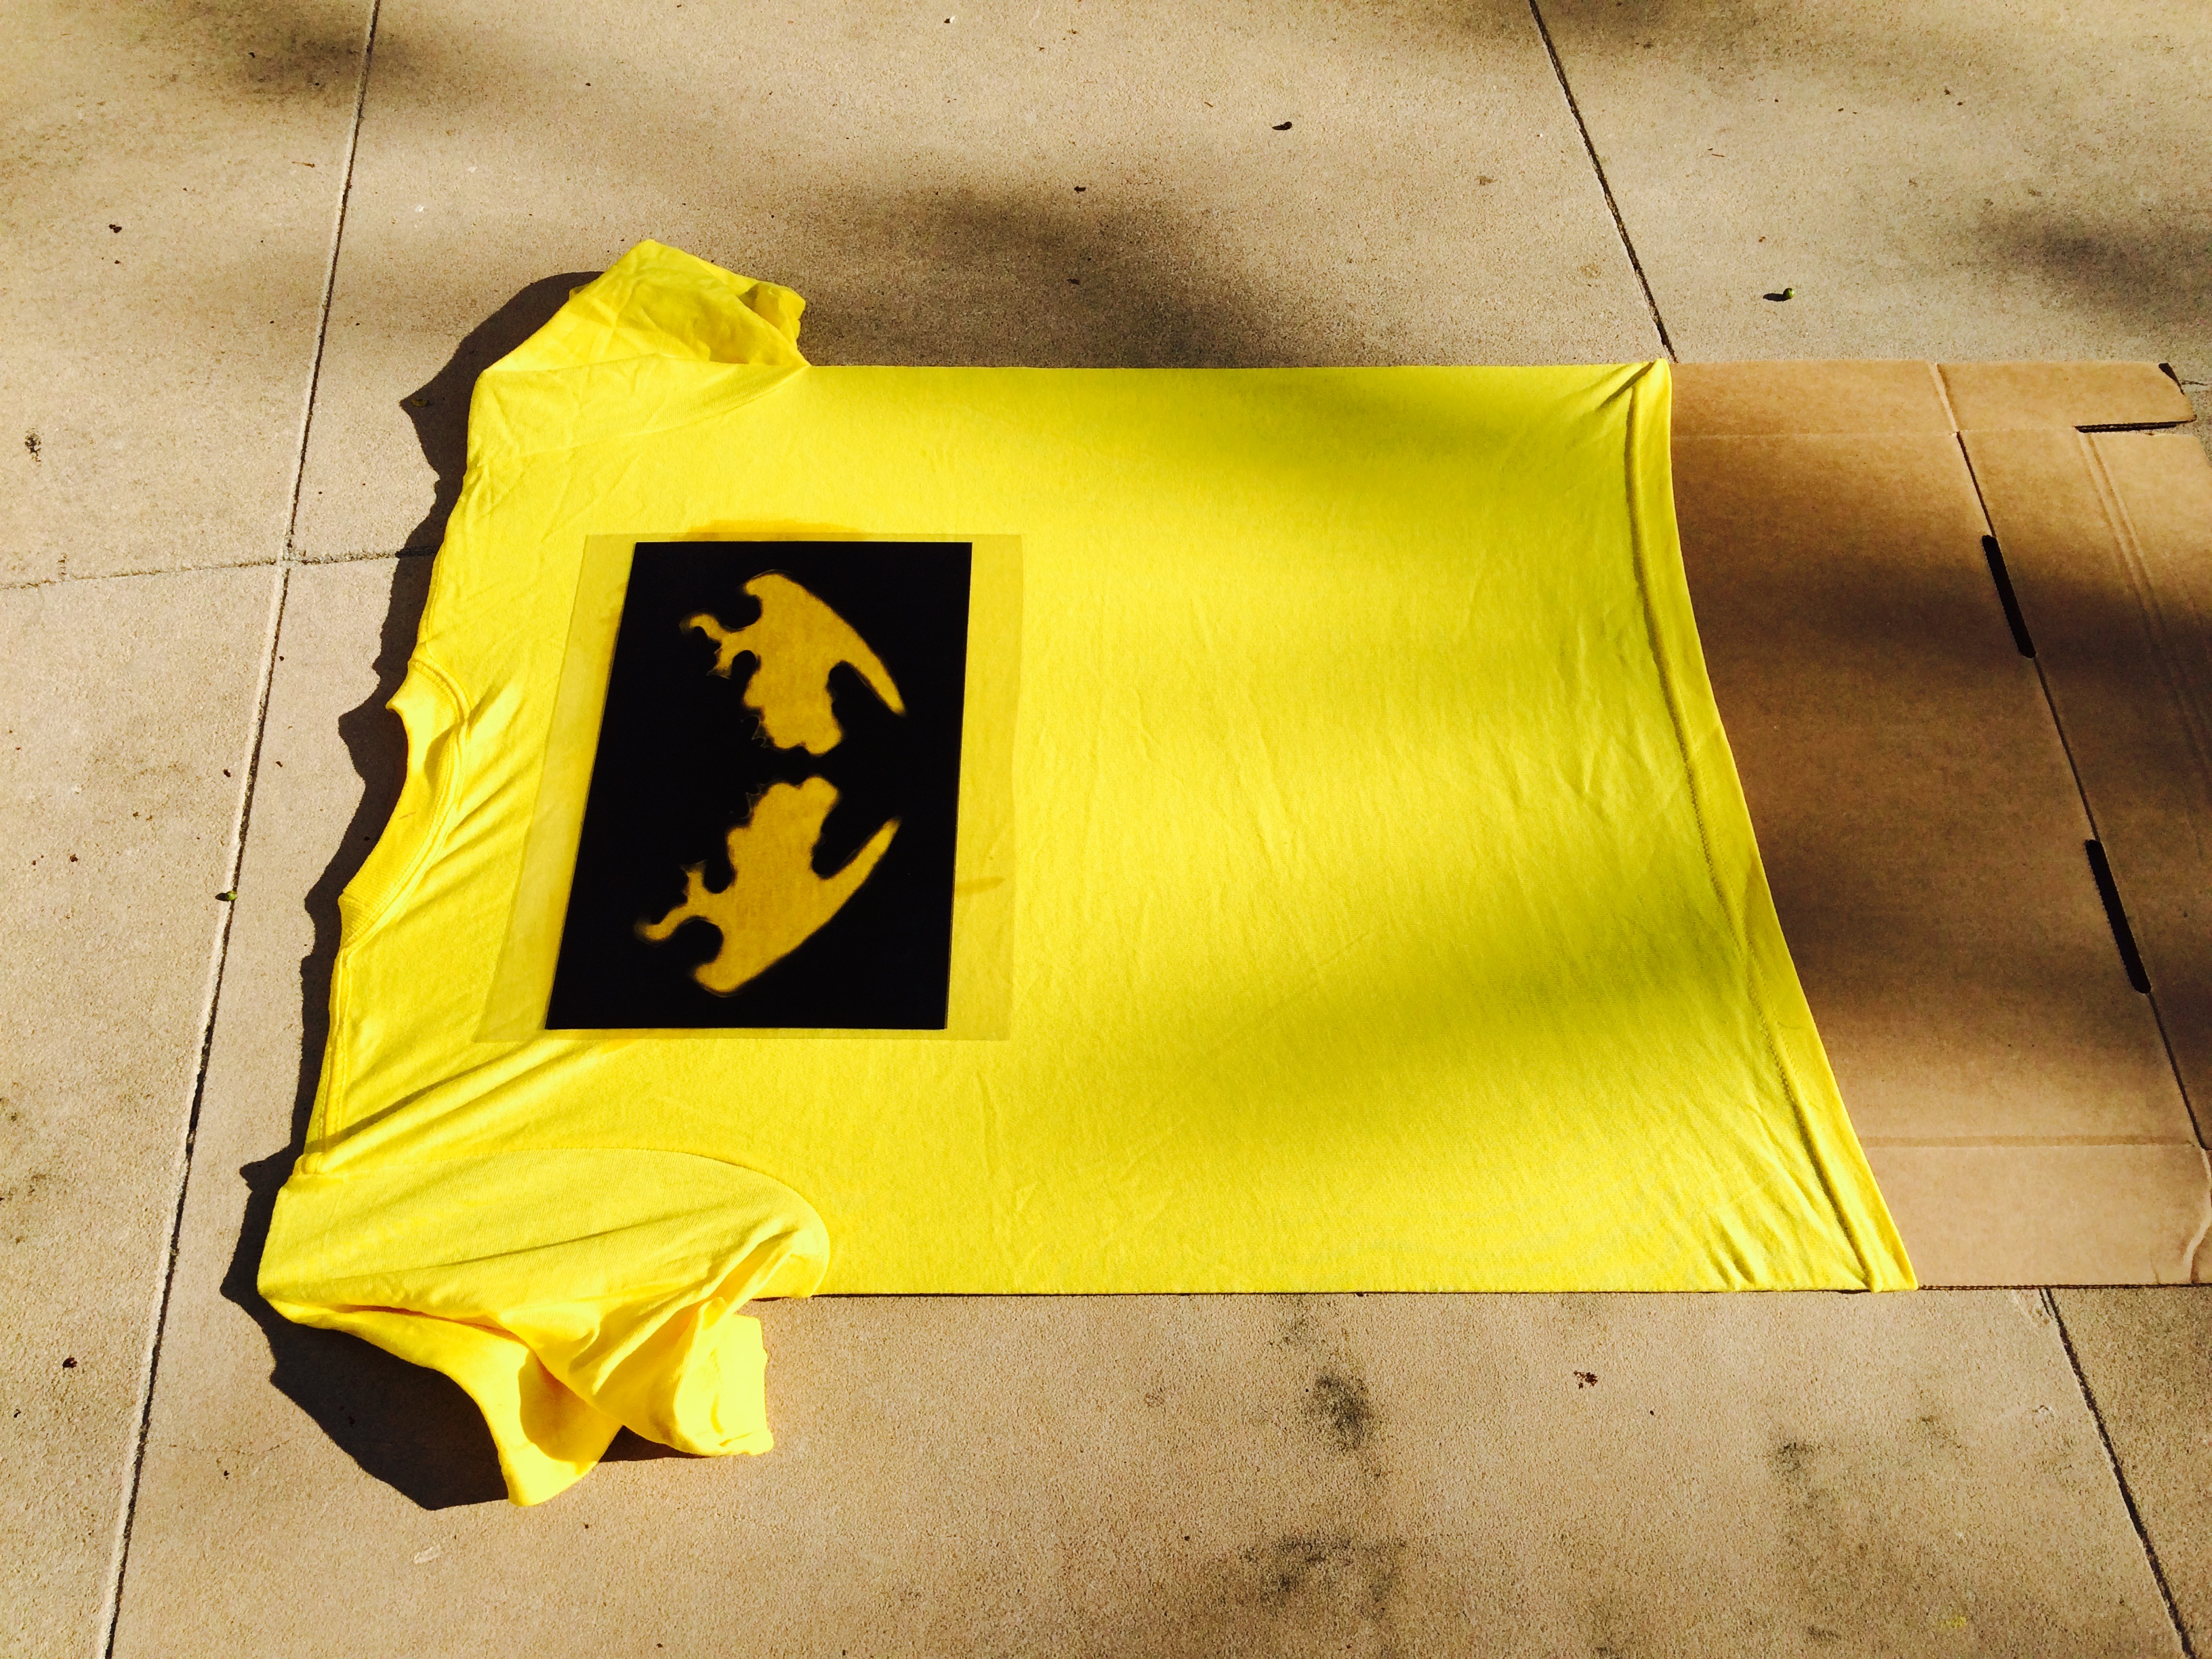
Tell us about your plan for the #DMAdigitalspot.

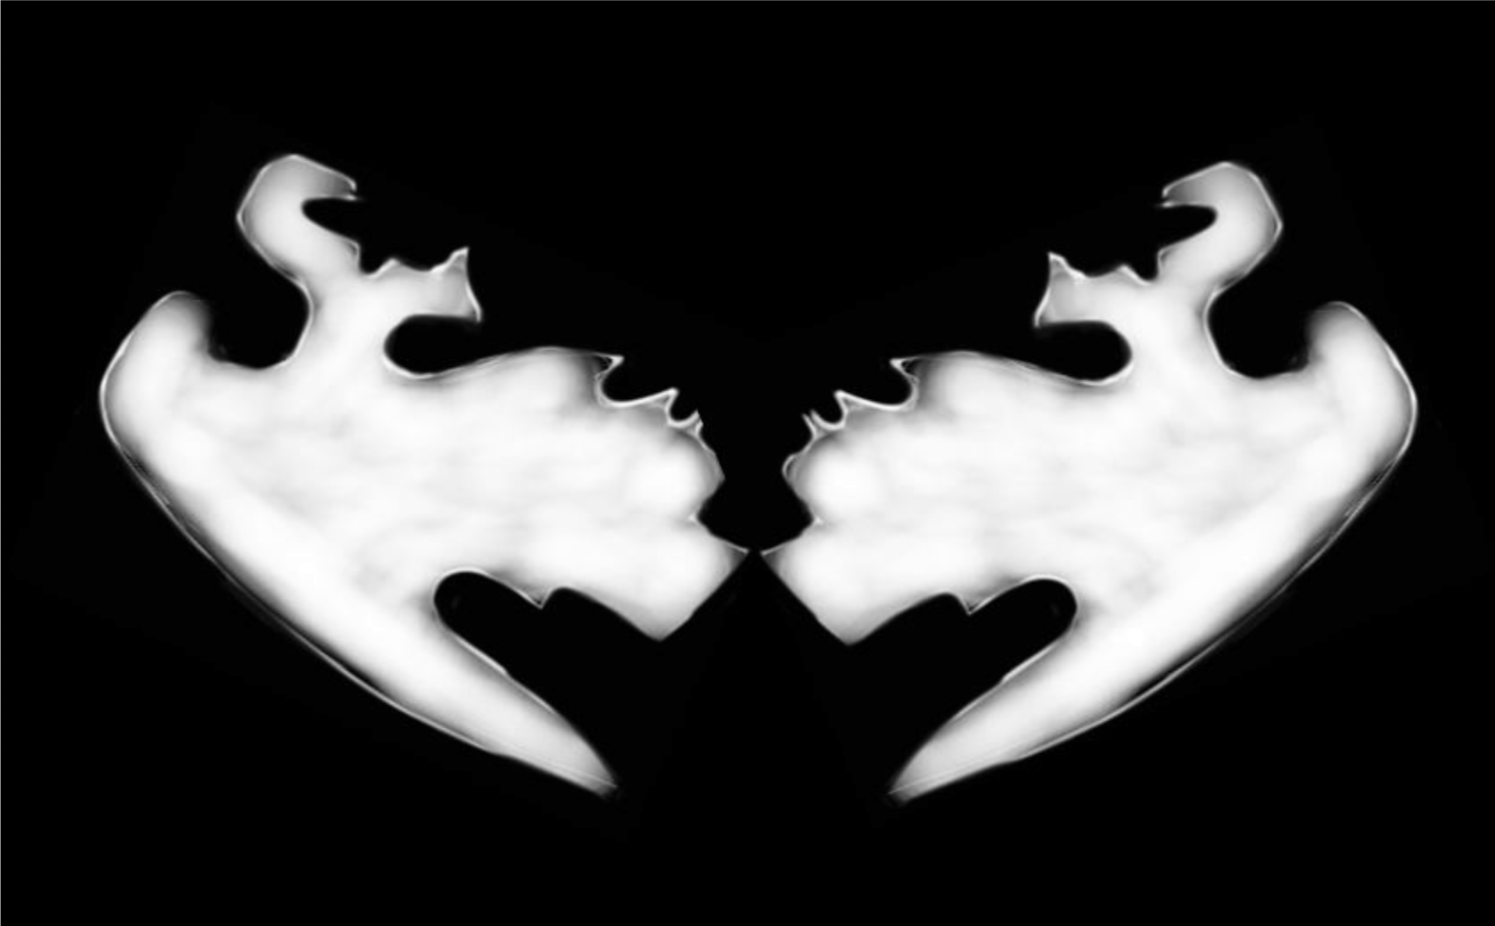
The wall monitor is a digital installation that will be comprised of photographs, manipulated digital images, and videos. It is a visual exploration of interpretative narrative. I am most interested in creating an opportunity for all visitors to the Center for Creative Connections to experience different ways of looking and being with visual language.

Herman_Forest175

Stop by the Center for Creative Connections in February to see how David Herman transforms the #DMAdigitalspot.

Jessica Fuentes
C3 Gallery Manager

Friday Photos: Do Something New Practice with Bonnie Pitman

When was the last time you took a few moments out of an ordinary day to do something you have not done before? To visit a new place, savor a new flavor of ice cream, or simply to slow down and attend to the world around you?

Bonnie Pitman, Distinguished Scholar in Residence, UT Dallas, and former Eugene McDermott Director of the Dallas Museum of Art, created her Do Something New Practice to explore just that: starting July 8, 2011, she set an intention to do at least one new thing, big or small, each day. We were fortunate enough to have Bonnie join us for a very special docent training to share her practice, the art of observation, and the magic of being fully present in the moment.

“You see, but you do not observe,” Bonnie reflected, quoting from Sir Arthur Conan Doyle’s Sherlock Holmes before recommending Alexandra Horowitz’s On Looking: Eleven Walks with Expert Eyes, a fascinating collection of essays exploring observation and perception. Now, I might be biased, but I think our docent team knows the DMA collection inside out. Could we really see in new ways and discover something new?

Bonnie challenged us to adopt the poses of two works of art in the Arts of the Pacific Islands Gallery. We started at the toes and worked our way up…and suddenly we made a discovery: one work speaks, raised hands emphasizing a round, open mouth, while the other work leans forward to listen! Deepening our understanding through playful attentiveness proved to be a delightful something new for the day. We can hardly wait for Bonnie’s next visit!

Try your own Do Something New Practice and explore chatty and attentive works of art here at the Museum!

Lindsay O’Connor
Manager of Docent and Teacher Programs

Creativity Matters

Creativity_Matters_09_2015_GC064

Because the Dallas Museum of Art is closed to the public on Mondays, those days are often strangely quiet without the buzz of school children and families in the Center for Creative Connections (C3). However, on Monday, October 5, C3 was brimming with energy from some of the creative educators, artists, and community organizers that make Dallas great. Earlier this year we were approached by the Sam Francis Foundation to be one of three organizations across the country to host a roundtable event focused on the Future of Creativity.

In 2014, the Sam Francis Foundation set out to start a national conversation about the importance of creativity in learning, and they called this initiative Creativity Matters: The Campaign for Creativity in Learning. The first year they partnered with Project Zero at the Harvard Graduate School of Education, and brought together leaders throughout the field in conversations across the United States (at LACMA, The Met, The Isabella Stewart Gardner Museum, and The Exploratorium). These first conversations were centered around two questions:

What does creativity look like?

Where and how does creativity thrive?

Following their 2014 roundtables, the Sam Francis Foundation compiled their findings in this report.

This fall, the Sam Francis Foundation continued the conversation with a set of roundtables at the Museum of Contemporary Art in Chicago, The Smithsonian Institution in Washington D.C., and the Dallas Museum of Art.  These Future of Creativity discussions sought to understand the role creativity will play in the future and the changes needed to prepare students for what that world might look like. Considering the future of creativity in our homes, workplaces, schools, and neighborhoods, our conversations were sparked by these questions:

In twenty years how will creativity shape the world we live in?

How will creativity inform our decision-making?

What new conditions will be needed to unleash creativity?

If we were building a “creativity tool-kit” for future generations – what tactics, methods, and advice would we include?

It was truly remarkable to have so many Dallas leaders, artists, and educators (many of whom we have worked with closely in the past) together in the Center for Creative Connections. The conversations were dynamic, engaging, and inspirational.

Yet, these roundtables are just part of the beginning stage for a grander plan involving community building, the creation of programs, and a public awareness campaign in support of the future of creativity.

creativity-matters.2015-projects.sff-logo.revised_3_25

In the end, I will leave you with some of my favorite quotes from the day.  Some are specific to creativity, and others are general gems to keep in mind.

Jessica Fuentes
C3 Gallery Manager


Friday Photos: Summer Progress

This summer, visitors to the Center for Creative Connections have participated in a communal drawing activity called Community at LARGE. Individual visitors enlarged one small portion of Progress Suite by Luis Jimenez and added their drawing to a large gridded wall, so that collectively they have created an enlarged reproduction of the original lithograph. Initially, it was exciting to watch as the blank wall slowly filled up with drawings and the image became recognizable. But now that each square has been drawn, the fun part has been watching as the drawing changes from day-to-day with the addition of new visitor contributions.

Here are a few short flipagrams of the evolution of my favorite squares.

[wpvideo WvMJC1E2]


[wpvideo d9u6JWnT]


[wpvideo 4oWNqm22]


Stop by the Center for Creative Connections during your next visit to the Dallas Museum of Art to make your own contribution to our communal drawing. Look for more photos of this project on Instagram and Twitter with #DMAlivingdrawing.

Jessica Fuentes
C3 Gallery Manager

Late Night Sketching Party

This call goes out to all of you who like to put a pencil to paper and draw! We invite you to join us during Late Night this Friday night, May 15, from 7:00 – 10:00 pm for an African Art Sketching Party. Artist Ellen Soderquist will host, guiding you in the process of sketching your favorite African artworks in the DMA’s collection. All ages and skills levels are welcome, and all materials will be provided.

If you leave your sketch with us (pretty please!), it will be included in a public exhibition this summer. That’s right, your work will be on view in the DMA! Visitors’ sketches of African art will be displayed during July and August on temporary construction walls built near the DMA’s African Gallery, which will close to the public in June for a reinstallation project. While the real artworks will not be on view for a few months, we look forward to sharing your sketches with the public this summer. Seeing things through the eyes of another can often enrich our own view of the world.

See you Friday at the Sketching Party!

Nicole Stutzman Forbes
Director of Education

Make This: Sound Prints

Have you ever wondered what a painting might sound like if you could listen to it? With conductive ink, a Makey Makey, and some basic software, you can add a new level of interactivity to your artwork through the use of sound! In this guide, I’ll show you how to make a print that will make sounds when you touch it. These sounds are completely reprogrammable and can be changed on the fly, giving you lots of possibilities for what you can create.

A Makey Makey is an interface that connects to your computer which allows you to create your own tactile inputs that will take the place of certain keys on your keyboard.

IMG_2684

The Makey Makey can be connected to different conductive materials to replace your keyboard’s arrow keys, space bar, mouse button, and more

For the purpose of this project, you’ll be using conductive ink to create three interactive areas on your work of art that will be hooked up to the Makey Makey and act in place of the arrow keys on your computer. We’ll then use Soundplant to map different sounds to those keys, which will allow those areas to play a sound when touched.

Supplies:

  • Copy paper for making a stencil
  • Exacto knife
  • Cutting mat
  • Conductive ink
  • Screen printing screen
  • Squeegee
  • Heavy printing paper
  • Copper tape (optional)
  • Makey Makey kit ($45; MakeyMakey.com)
  • Soundplant software
  • Computer

Step 1: Screen print your image with the conductive ink. 

I like the paper stencil method, but use whatever technique you like best. For help on printmaking with stencils, check out my past post on screen printing. Let your print dry fully before proceeding. IMG_2673 IMG_2674 IMG_2676

Step 2: Connect your print to the Makey Makey. 

Again, for the purpose of this post, I’m choosing three areas on my print that will activate the Makey Makey when they are touched. You can connect them directly to the device using alligator clips (included in the kit). Remember to connect the clips to the proper inputs on the Makey Makey–in this case, the left, right, and up arrows.

IMG_2686

Step 3: Upload some sounds. 

I found a bunch of sounds for this project using free online sound libraries and saved them as mp3 flies on my computer. The Soundplant site has some good suggestions for libraries to use. I tried to look for sounds that would complement my print in a weird or unexpected way.

Screen Shot 2015-03-12 at 6.06.10 PM

Step 4: Map your sounds to the keyboard using Soundplant.

Open up Soundplant and assign one sound file to each of the left, right, and up arrow keys by dragging the file onto the software’s virtual keyboard. Soundplant even offers some basic editing tools, allowing you to adjust the length of your sound clip, add various effects, and more!

Screen Shot 2015-03-12 at 6.11.02 PM

Step 5: Connect the Makey Makey to the computer and play!

Plug the Makey Makey into your computer’s USB port. Be sure to also connect an extra alligator clip and wire to the space marked “Earth” at the bottom of the board. Hold the metal part of the alligator clip at the other end of the wire between your fingers and touch the interactive areas of your print with your other hand. Your computer should play the sounds you mapped to the different areas! You should also see the playback of your clip on the computer. If you’re having trouble getting it to work, make sure the volume is up on your computer, that all your connections are correct, and most importantly, that you are connected to the Makey Makey as well.

IMG_2687

The fun part of this project is that the sounds you choose can totally change the way people experience your artwork. A set of funny, quirky sounds will provoke a very different response from the viewer versus ones that are dark and foreboding. And because the Makey Makey will work with most conductive materials, you can create interactive sculptures, installations, and more! Additional project ideas can be found on the Makey Makey website.

JC Bigornia
C3 Program Coordinator

Friday Photos: Dreaming of Hill Country

I just returned from five blissful days of creativity and companionship at Lucky Star Art Camp. This was my second year to attend camp. Last year’s experience was pretty amazing, and this year did not disappoint! Last year’s post provided more of an overview of my time at camp, so this time I’ll share photos of the different workshops I took.

I spent my first morning with Lisa Seger of Blue Heron Farm in Food from Your Backyard. Lisa taught us the basics of raising a garden, composting, and raising goats and chickens. Though I probably won’t add any goats or chickens to our family in the near future (I can barely take care of my dog!), I was happy to learn more about gardening and composting. During class, we visited some chickens that Lucky Star camp founder Lisa Field brought for us to meet.

???????????????????????????????


During Light Hunters that afternoon, photographer Vivienne McMaster led us on a journey throughout the beautiful grounds at Camp Waldemar. We took advantage of the gray weather and learned how to use different camera settings to capture as much light as possible. It was difficult to choose just a dozen images from the many I took that afternoon!

The next day, I learned about the many beneficial properties of different plants and herbs from Stacy Wooster during Plants & Practice. Our workshop ended with a very relaxing yoga session, and we walked away with an herbal antiseptic to spray on scratches and scrapes, a fire remedy for when we’re feeling under the weather, and an herbal tea that boosts the immune system.

Because I loved her workshop so much last year, I revisited my friend Corrine Gilman in Mixed Media Alchemy. Corrine describes herself as “a creativity cheerleader, a big rock obstacle mover, a doer and a maker of all things mixed media.” I can personally attest that these are all absolutely true. Being a tentative art-maker myself, I appreciate Corrine’s enthusiastic and gentle encouragement, and enjoyed three hours of playing with different materials.

I relearned how to crochet during Hook It Up! with Cal Patch. I crocheted as a young girl with my mother, but haven’t practiced in many years. I started making a cowl scarf, but three hours fly by when you’re a beginner (or second-time beginner), so I don’t have any finished products, or pictures, to share from this workshop.

And just like that, camp was over. I feel incredibly fortunate to have spent five days at Camp Waldemar, learning new things and exercising my creativity while relaxing with so many lovely ladies in beautiful Hill Country, Texas. If you are intrigued, join the Lucky Star gang from November 4-8 in 2015!

Melissa Gonzales
C3 Gallery Manager


Paper Peonies and Tissue Tulips: Build Your Own Beautiful Bouquet!

With last week’s opening of Bouquets: French Still-Life Painting from Chardin to Matisse, you might say we’re all abuzz with excitement here at the Museum. Although fall is just arriving, all we can think of are these beautiful blooms!

It’s easier than you might think to recreate some of your floral favorites at home. Try modeling your bouquet after one you might have seen or put together the posy of your wildest dreams. I took my inspiration from the DMA’s own Bouquet of Flowers in a Blue Porcelain Vase.

Bouquet of Flowers in a Blue Porcelain Vase (1776), Anne Vallayer-Coster

Anne Vallayer-Coster, Bouquet of Flowers in a Blue Porcelain Vase, 1776, Dallas Museum of Art, Foundation for the Arts Collection, Mrs. John B. O’Hara Fund and gift of Michael L. Rosenberg

There are some great tutorials online for making your own paper flowers. Martha Stewart Weddings can show you how to make some really lovely, delicate flowers here, and the Rust and Sunshine blog (here) has easy to follow instructions to make a variety of blooms with a little bit of inventive folding. With the help of these tutorials, I made carnations, roses, and star lilies. I couldn’t find a tutorial I liked for making irises, so I designed my own! You can print off this template and follow the directions below to make them too.

A quick note before we get started: for some flowers (particularly irises and lilies, whose petals you want to stand up a little bit), you might find that a sturdier paper works better for you. This is the perfect time and place to experiment! I liked the unified look of having all my flowers made out of tissue paper, but it’s your bouquet, so you’re the boss.

What you’ll need to make irises:

  • Tissue paper in a variety of colors – blue, purple, and yellow are pretty common for irises, though they come in a number of other colors as well
  • Pipe cleaners or art wire (for the stems)
  • Scissors
  • Clear tape
  • Optional: paint, glitter, glue, markers, colored tape, vase

If you opted to use something like card stock instead of tissue paper, cut out only one each of Iris A and Iris B and skip ahead to Step 4. If you’re using tissue paper like me, you’ll need to take an extra step or two to give the petals a little structure, so start here.

1. Trace and cut out two each of Iris A and Iris B in your tissue paper of choice. Double-layering the tissue paper will help beef up the flower.

2. Roll six pieces of tape – one for each pair of petals – in on themselves, sticky side out. Lay one tape roll lengthwise along each petal of one set of Iris A and Iris B. Make sure you don’t cover up the very center of Iris B! This will make Step 4 a little easier.

3. Match up the second set of Iris A and Iris B with the first and press down, sandwiching the rolls of tape between the two layers of tissue paper.

4. With the point of a pen or pencil, poke a small hole right through the center of your Iris B cutout or tissue paper and tape sandwich. This is why you didn’t want to block the very middle with tape in Step 2! Be careful not to press too strongly – you don’t want to accidentally rip your flower base in half.

5. Make an L-shaped bend in the end of your wire or pipe cleaner and thread it through the hole you just made in Iris B. Adjust so that the bend end lies flat on Iris B and the remaining wire/pipe cleaner extends downwards in a straight line. Secure with tape.

6. Using three narrow pieces of tape, attach the bases of Iris A’s petals to the spots marked in the template with dashed lines. I suggest doing this so the tape pieces end up on the interior of the flowerand aren’t visible.

7. Finally, embellish with whatever extras strike your fancy – paint, markers, glitter, you name it – and arrange your completed iris with your other flower creations in a vase.

Bouquet of (Paper!) Flowers in a Blue Vase (2014), Jennifer Sheppard

Jennifer Sheppard, Bouquet of Paper Flowers in a Blue Vase, 2014

Voila! You now have a beautiful bouquet that needs no water…in fact, you probably shouldn’t have water anywhere near your nice new paper flowers, unless soggy is the look you’re going for! So skip that annoying watering step and enjoy these low maintenance blooms — and our blooming exhibition!

Jennifer Sheppard
McDermott Intern for Family and Access Teaching

Make This: Printing T-shirts with Inkodye

tshirt2

I love screen printing–there’s something so satisfying about creating a design and wearing it proudly for everyone to see. I also love learning new printing techniques, so when I ran across a product called Inkodye about a year ago, I knew I had to give it a try. Produced by a company called Lumi, Inkodye is a photosensitive dye that allows you to print an image onto fabric using only a photo negative. When exposed to sunlight, the ink develops and binds permanently with the fibers of the fabric. You can even use Inkodye to create shadow prints!

tumblr_mi2tbcppku1s3h59no1_1280 I’m going to take you through the basic process of creating a print using Inkodye and a photo negative. Keep in mind that while the examples on Lumi’s website look perfect and make it seem easy to do, it will probably take several tries to get it to turn out the way you want.

What You’ll Need:

  • T-shirt to print on
  •  Inkodye
  • Transparency film for copiers (at least two sheets)
  • Copier/printer
  • Computer
  • Foam brush or sponge
  • Two large sheets of cardboard
  • Masking tape (optional)
  • Laundry detergent

2

Step 1: Create your design

I wanted to create an example for the teen t-shirt design class and contest that the DMA is offering, so I created a drawing on my iPad that was inspired by a work of art at the Museum:

77804457407173_original (1)

Eccentric flint depicting a crocodile canoe with passengers, Pre-Columbian, 600 – 900 A.D., Dallas Museum of Art, The Eugene and Margaret McDermott Art Fund, Inc., in honor of Mrs. Alex Spence

flint1I then manipulated the image using Microsoft Word, but any basic editing program would do–even better, Photoshop, if you have it:

tshirt2

Leaving my image as above will create a reverse, or negative print on my shirt–the white space around the faces will be black and the faces themselves will be white. If you want to make a positive-image print, you’ll have to create a negative of your design (Photoshop allows you to do this, or you can use Lumi’s handy app to make one):

lumi-negative

Step 2: Print two copies of your image on transparency film

Lumi says that it’s important to use two copies so that they can be stacked on top of each other during the printing process. This will make the dark areas of your image block out more light, increasing the contrast of your print and giving you a better end product.

FullSizeRender

3. Prep your t-shirt for printing

Insert one of your sheets of cardboard into your shirt to prevent the ink from soaking through. The cardboard should be big enough that it stretches the fabric of your t-shirt and gives you a good printing surface. Choose the area of your shirt where your image will be printed. If you want, you can mask the area off with tape to give your design a clean edge.

1

4. Spread the Inkodye onto your shirt

This is one of the trickiest steps. Flip off the lights for this–since Inkodye is photosensitive, you don’t want it to start developing yet. Working in the darkened room (but with enough light to see what you’re doing!),  cover the printing area with a thin, even layer of dye–don’t get it too wet! Use your sponge or brush to blot the fabric. Cover your t-shirt with the second sheet of cardboard and take it and your design outside!

5. Print your shirt

Find a nice sunny spot to lay your t-shirt down. Uncover it and position your transparencies on top of the printing area. Leave everything undisturbed for the sunlight to do its magic. In about 10-15 minutes (depending on how cloudy it is) your print should be developed! When you’re satisfied with how it looks, cover your shirt back up to prevent overexposure and take it back inside.

FullSizeRender (7)

FullSizeRender (8)

This is what my design looks like after 10 minutes in late afternoon sun–as you can see, the edges are starting to fully develop and turn black.

6. Wash

Remove the masking tape from your t-shirt as well as the cardboard insert. Throw the shirt into the wash by itself with a little detergent and run it using a hot cycle. Lumi suggests washing it twice for full color-fastness; washing also removes all excess or undeveloped dye.

7. Wear!

I’d suggest practicing with a scrap piece of fabric before printing on your t-shirt. If your print is a little blotchy, it probably means that the Inkodye wasn’t spread evenly enough. For lots of great project ideas and in-depth tutorials, visit Lumi’s website! And if you have a teen who’s interested in participating in the t-shirt design class or submitting something for the design contest, feel free to email me for more information.

JC Bigornia
C3 Program Coordinator

Calligrams & Concrete Poetry

A calligram is a word or phrase in which the design of the text is arranged to create a visual image that expresses the meaning of the words. For example, the below piece on the right (by Low-Commitment Projects) integrates words that describe a flamingo (leg, long neck, pink) into a recognizable shape that mimics the bird.


Similarly, concrete poetry, an experimental literary style that gained prominence in the 1950s, also heavily relies on the aesthetics and visual design of the words used in a piece of writing to impart overall meaning to the work. In this respect, language is image, and the physical material from which the poem or text is made is just as vital to the meaning of the work as the words that are chosen. The poem becomes an object, and the poet an artist.

During their first DMA visit of the new school year, our Booker T. Washington Learning Lab students investigated the concepts of calligrams and concrete poetry. As senior visual art students, they are understandably comfortable expressing themselves through purely visual means. But with this exercise, we wanted to challenge the students to expand their avenues of communication, and explore this hybrid visual/literary method as an alternative way to express themselves and provide insight into their personal and artistic interests.

The calligrams the students created were quiet varied, taking the shapes of animals, pop culture icons, people, and even geometric and natural forms. Getting to know the students through this unique introduction helped us as educators gain insight into their artistic and personal modes of expression, and (we hope) provided them with useful self-reflection as well. We’ll be working with these students all year long as part of our Learning Lab class partnership, so stay tuned for more exciting things to come from this group of creatives!

Danielle Schulz
Teaching Specialist


Archives

Categories