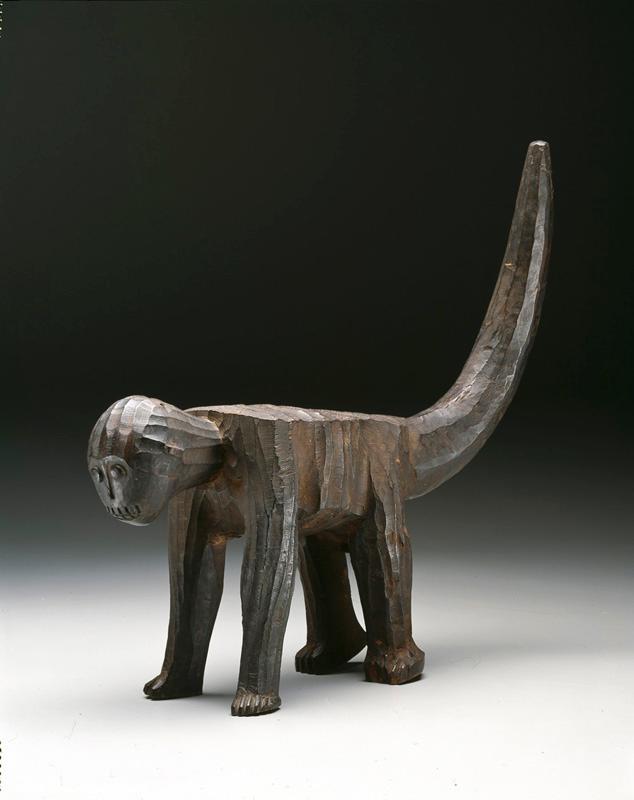
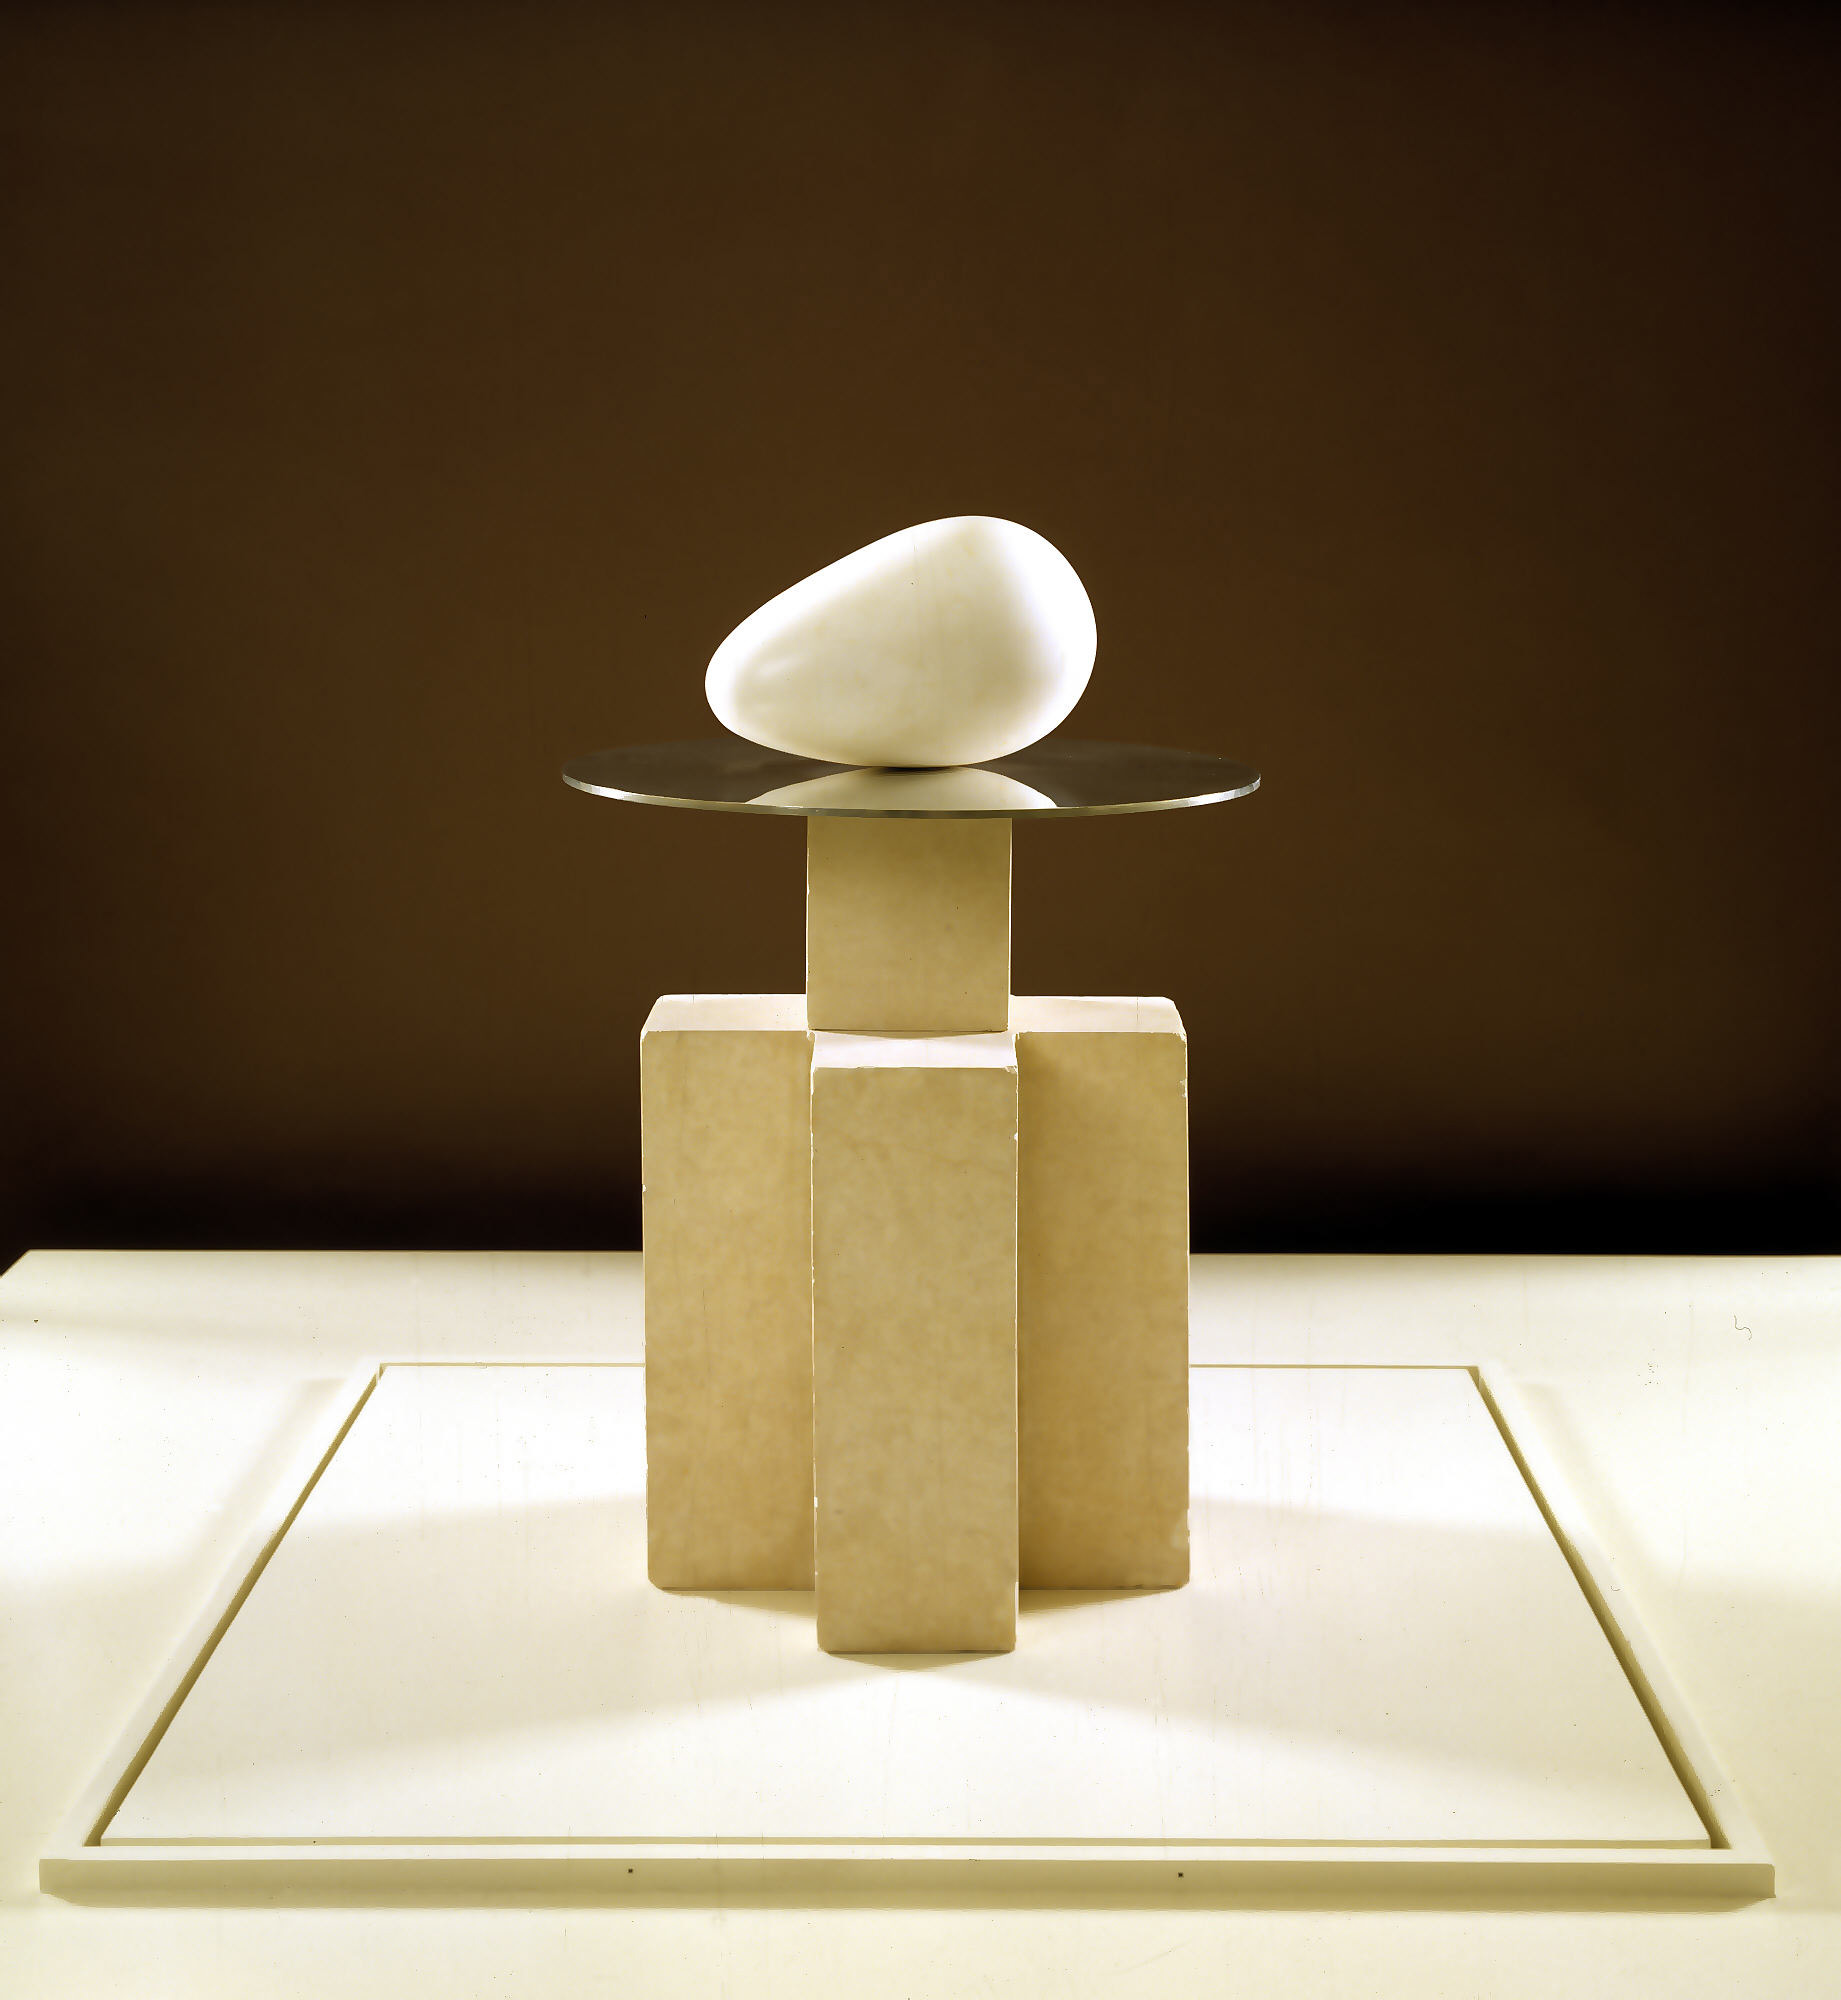
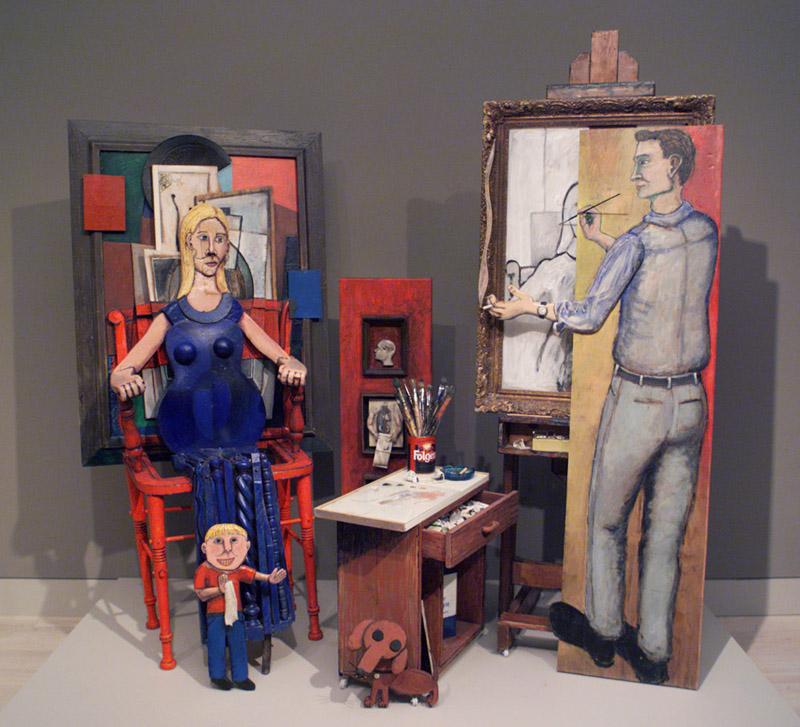
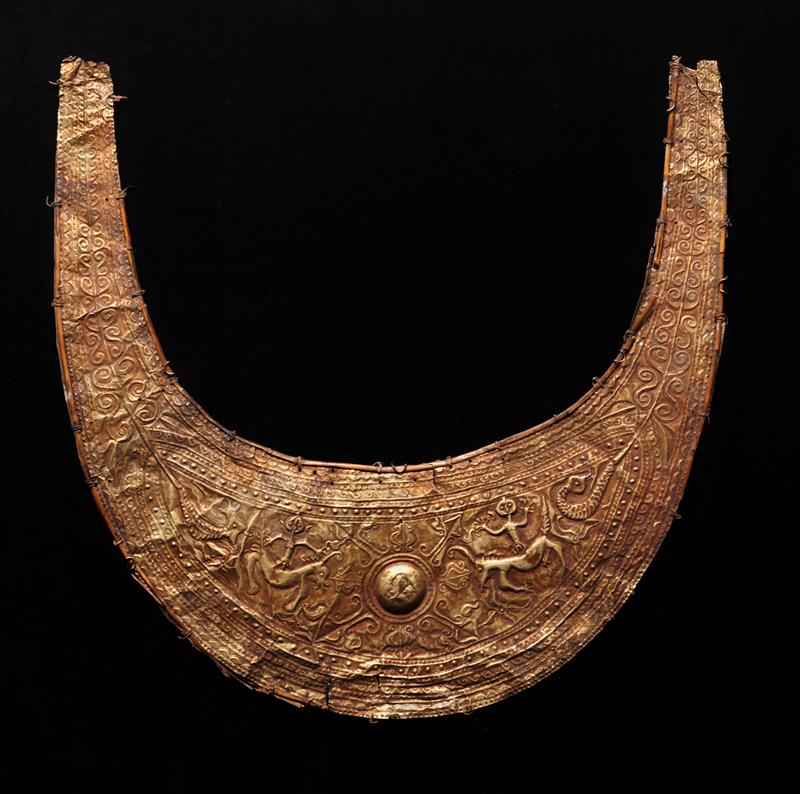
This month’s recipe is inspired by Francis Bacon, whose birthday is on October 28. Walking Figure, the DMA’s only work by Bacon, evokes a sense of ominous, eerie isolation, which is characteristic of his work and rather appropriate for this month of Halloween. But perhaps you might be wondering–how does this relate back to bacon bacon? Well, it may be hard to believe, but some people are still horrified to think of this breakfast meat as a salty sweet treat. So don’t be scared! Embrace Bacon in all its forms and I promise you won’t be disappointed.
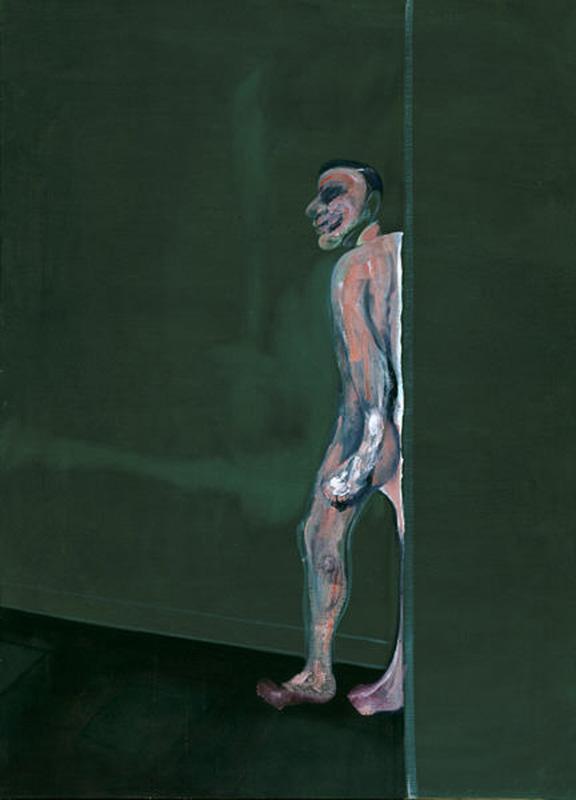
Francis Bacon, Walking Figure, 1959-1960, Dallas Museum of Art, Foundation for the Arts Collection, gift of Mr. and Mrs. J.O. Lambert, Jr. and Mr. and Mrs. David Garrison
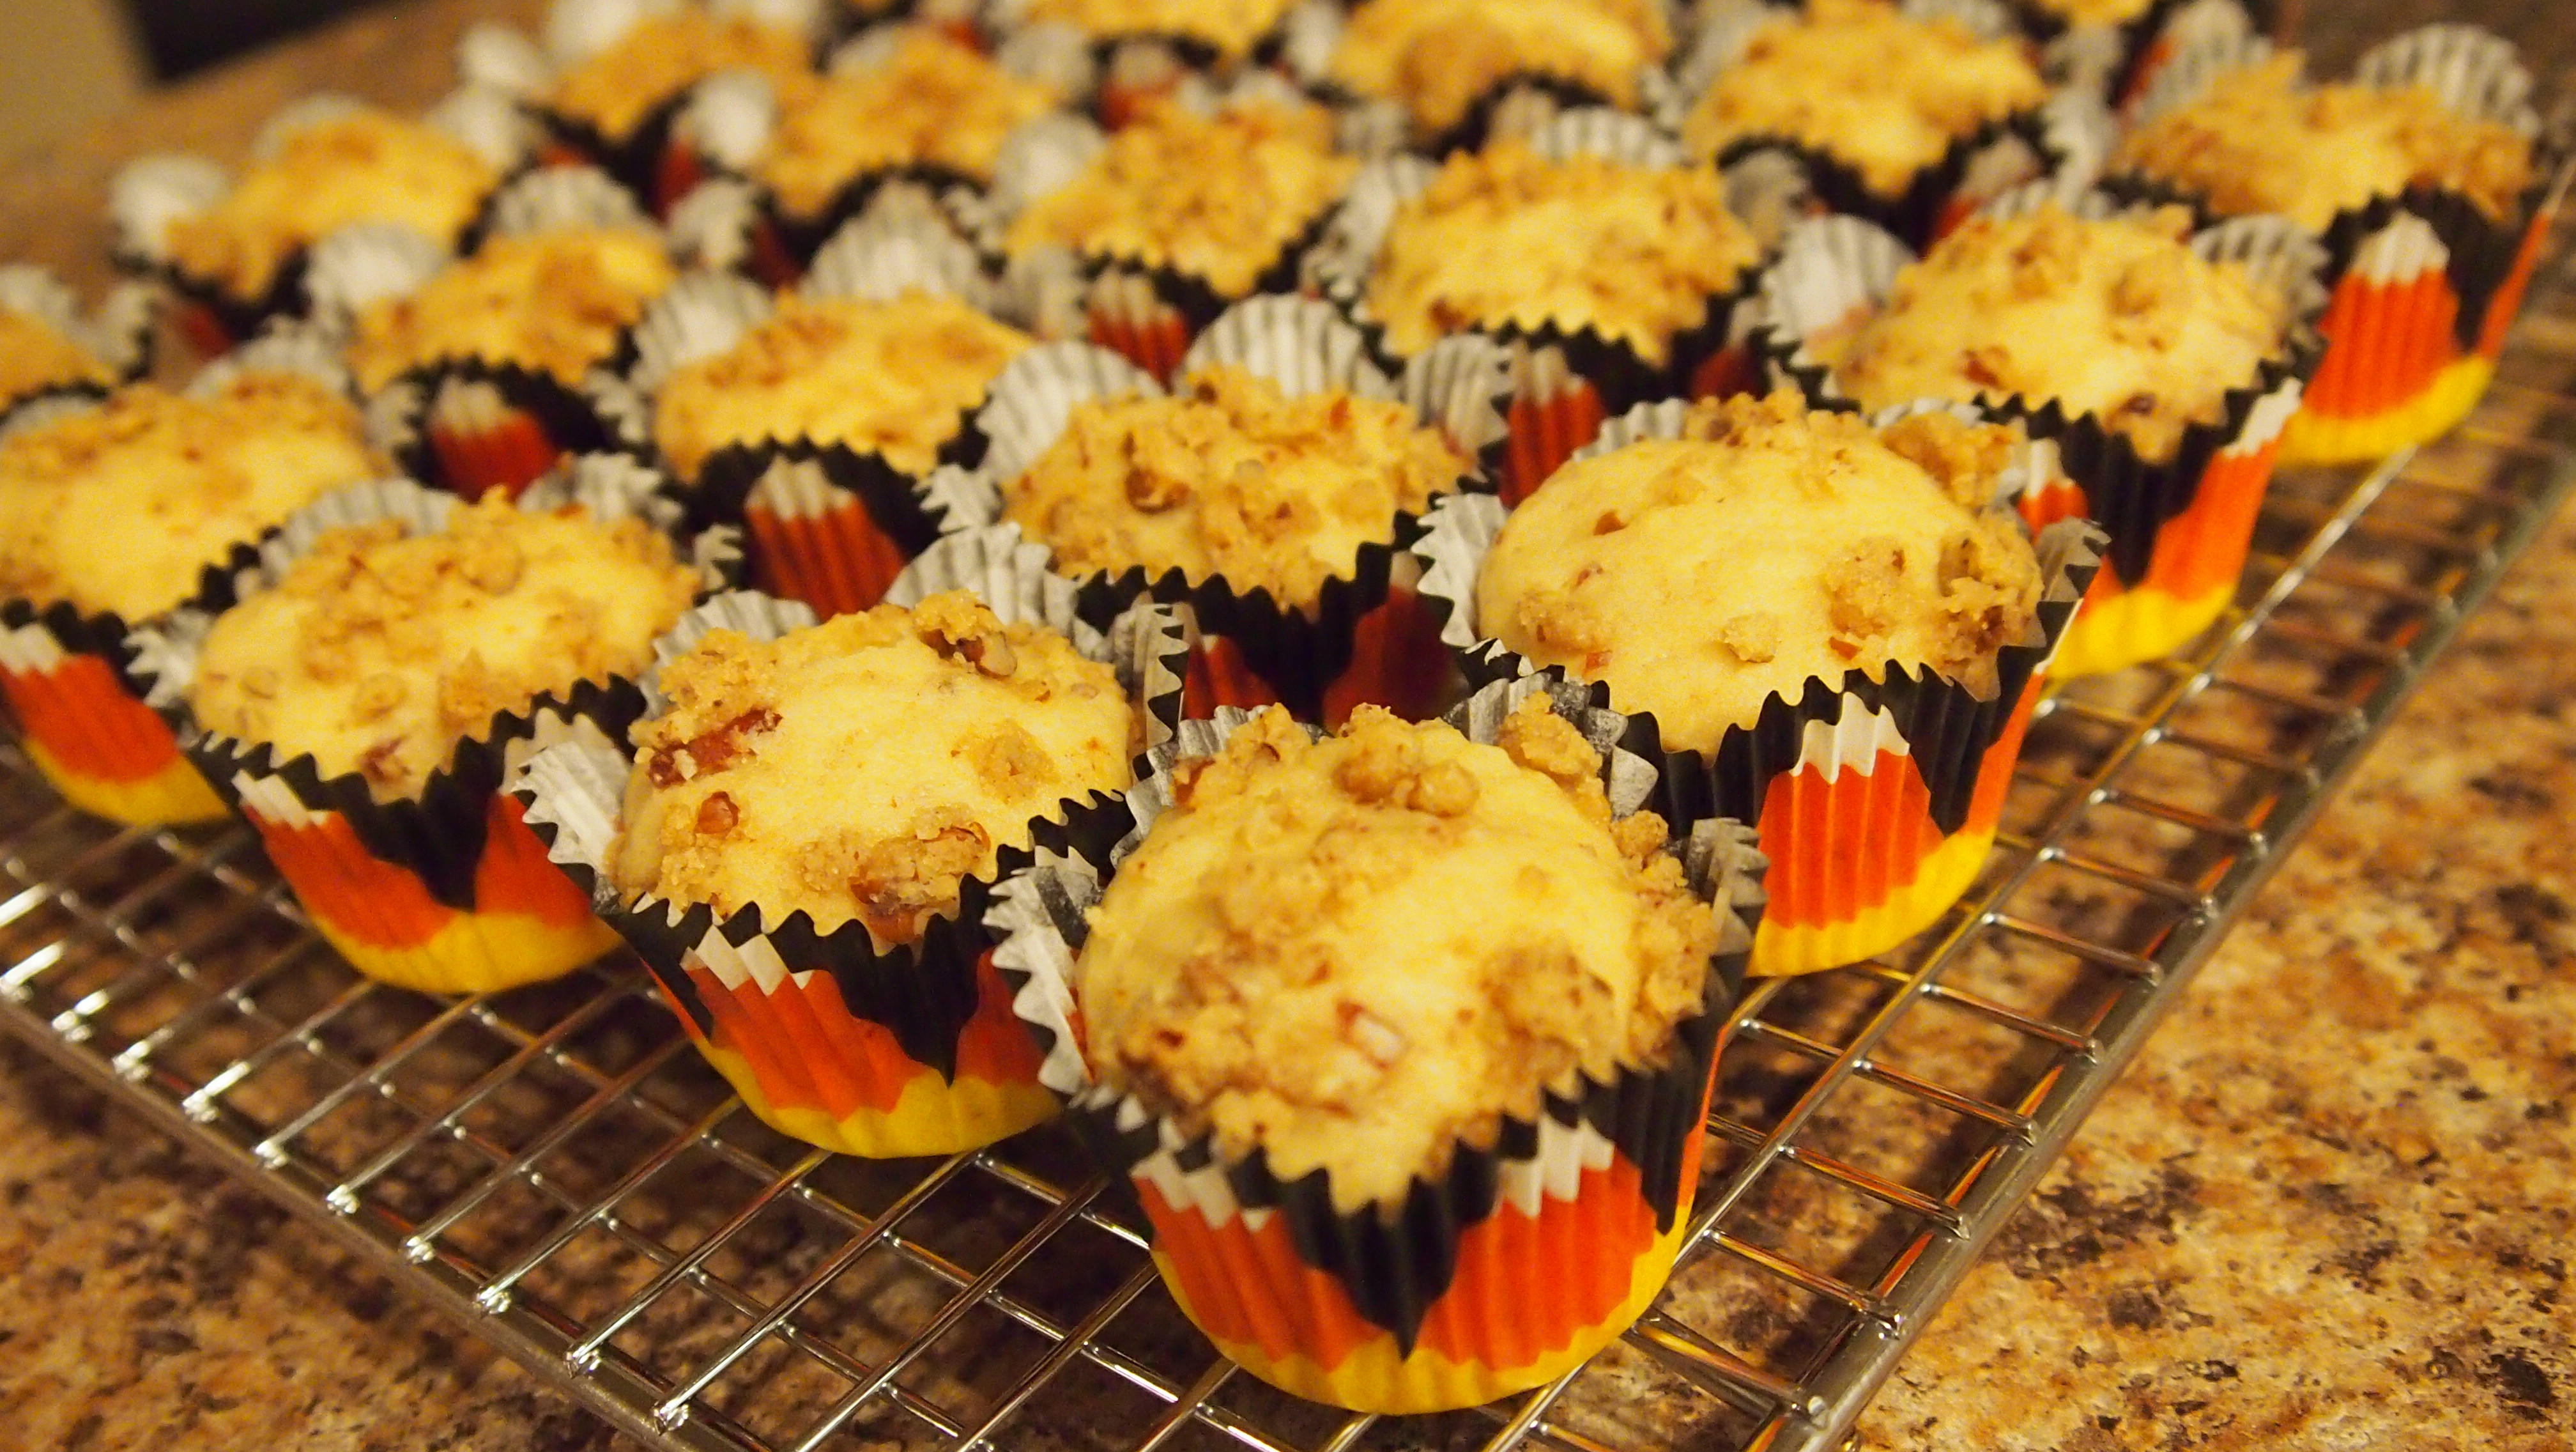
Bacon Streusel Muffins
Yields 48 mini muffins
Level: Easy
Streusel:
¼ cup flour
¼ cup pecans, finely chopped
¼ cup packed brown sugar
½ teaspoon cinnamon
Pinch of salt
3 tablespoons unsalted butter, melted
Muffins:
6 pieces of bacon
2 cups flour
¼ cup packed brown sugar
1 tablespoon baking powder
½ teaspoon salt
¼ cup pure maple syrup
2 tablespoons unsalted butter, melted
2 tablespoons bacon fat, room temperature
1 egg, beaten
1 cup whole milk
1 teaspoon vanilla extract
2 tablespoons whiskey (optional)
Preheat oven to 400° F. Line small, rimmed baking sheet with foil.
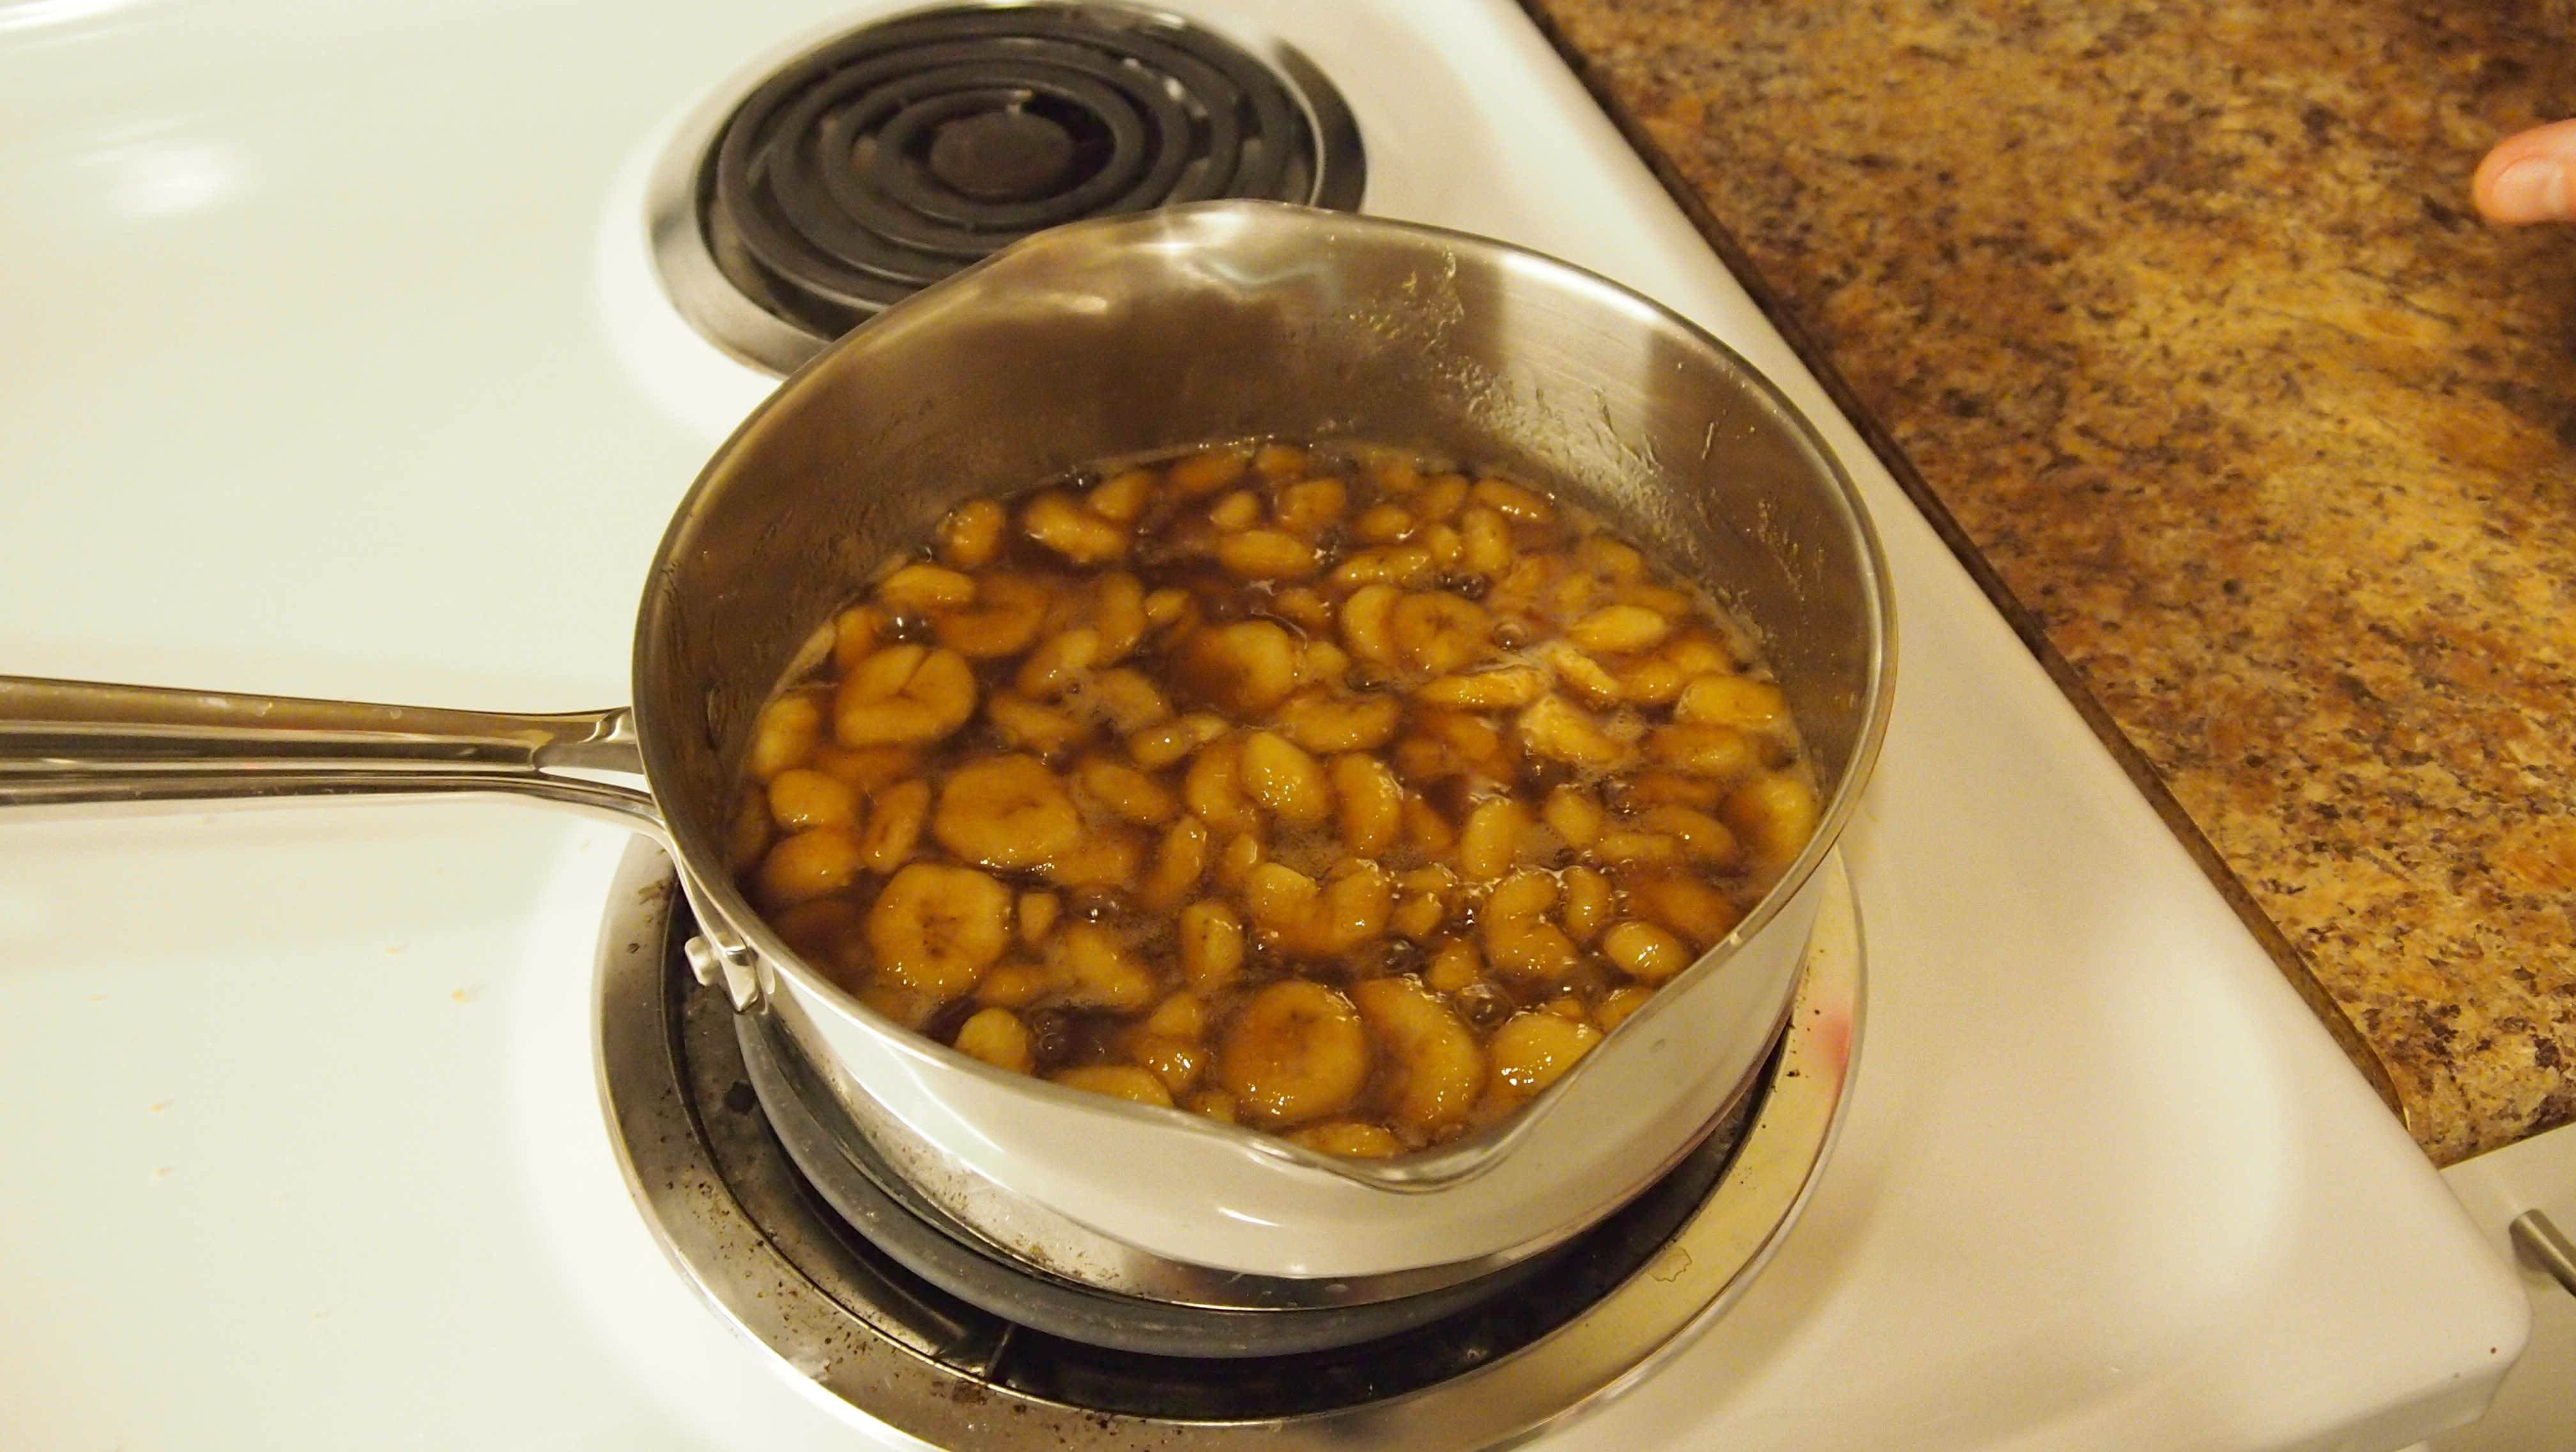
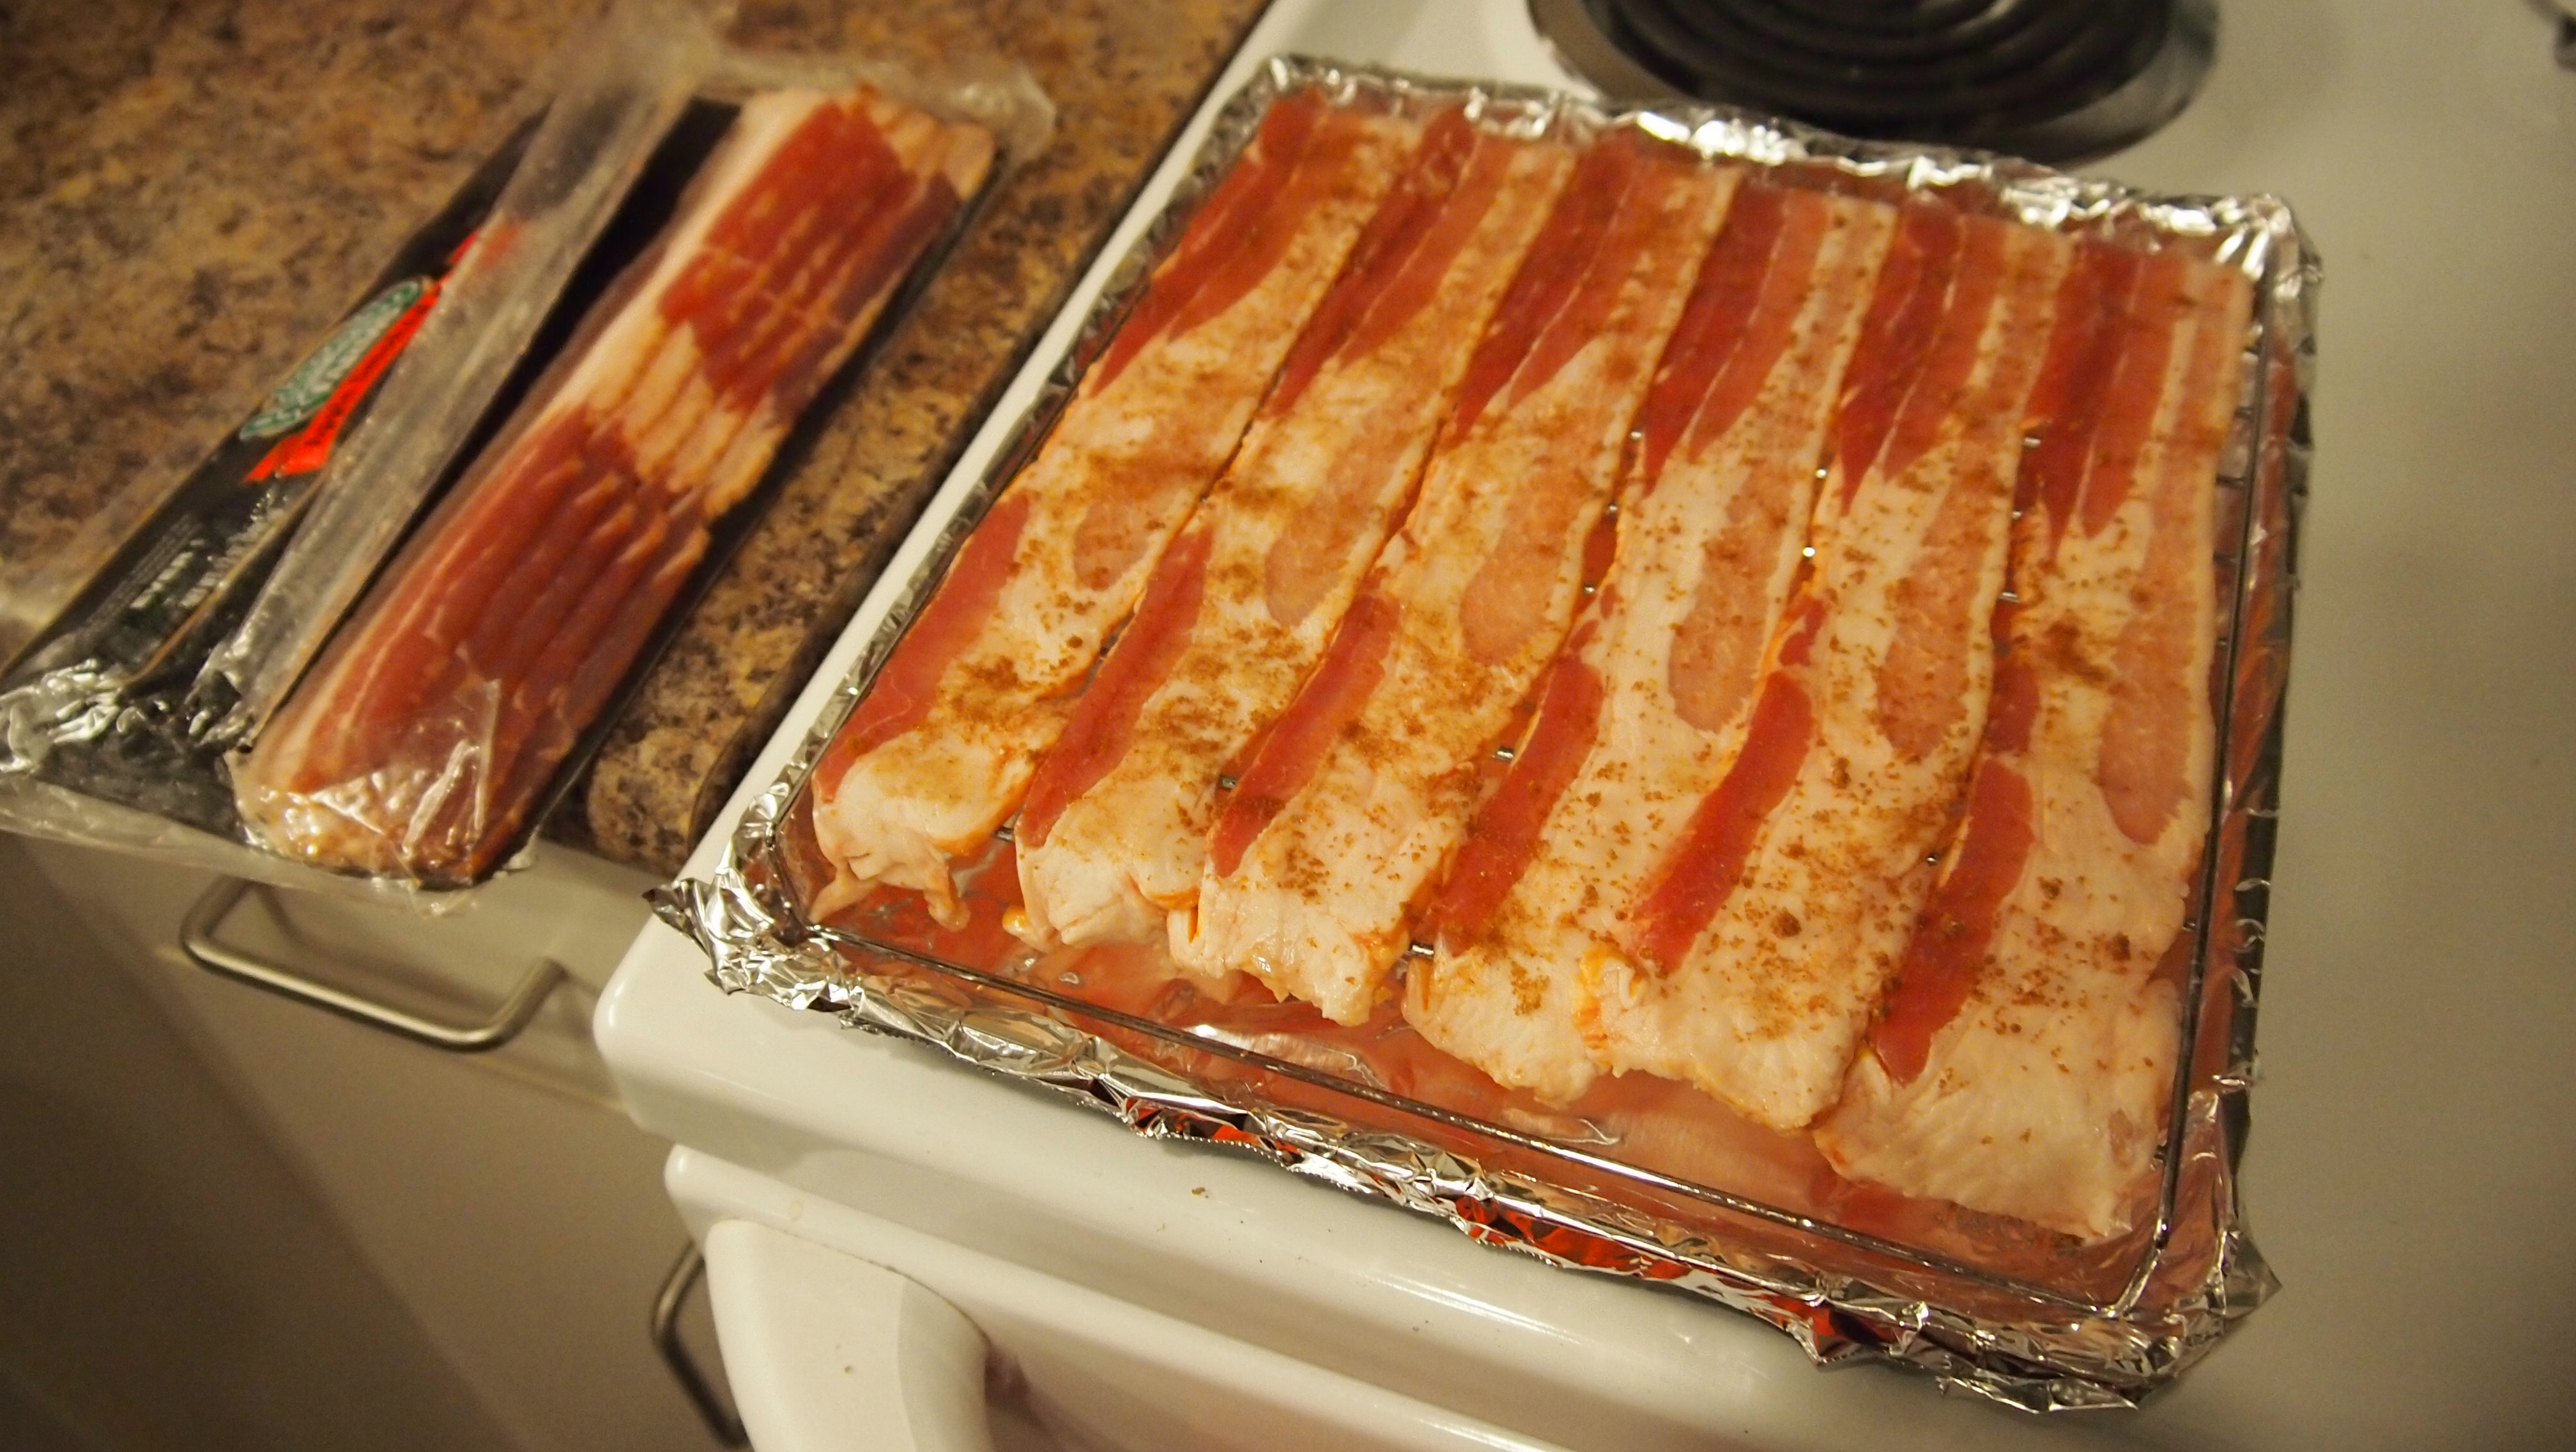
Bacon: Spread bacon slices onto small metal rack and, if desired, sprinkle each side with a pinch of brown sugar. Bake 18-20 minutes, flipping slices half way through. Remove bacon from oven and transfer to paper towels, reserving 2 tablespoons of fat. Once bacon has cooled, coarsely chop and set aside.
Reduce oven to 350° F. Line muffin pan with paper liners or lightly spray with nonstick cooking spray.
Streusel: Stir together flour, pecans, brown sugar, cinnamon and salt in small bowl. Pour in melted butter and continue stirring with fork until mixture forms into small crumbs. Set aside.
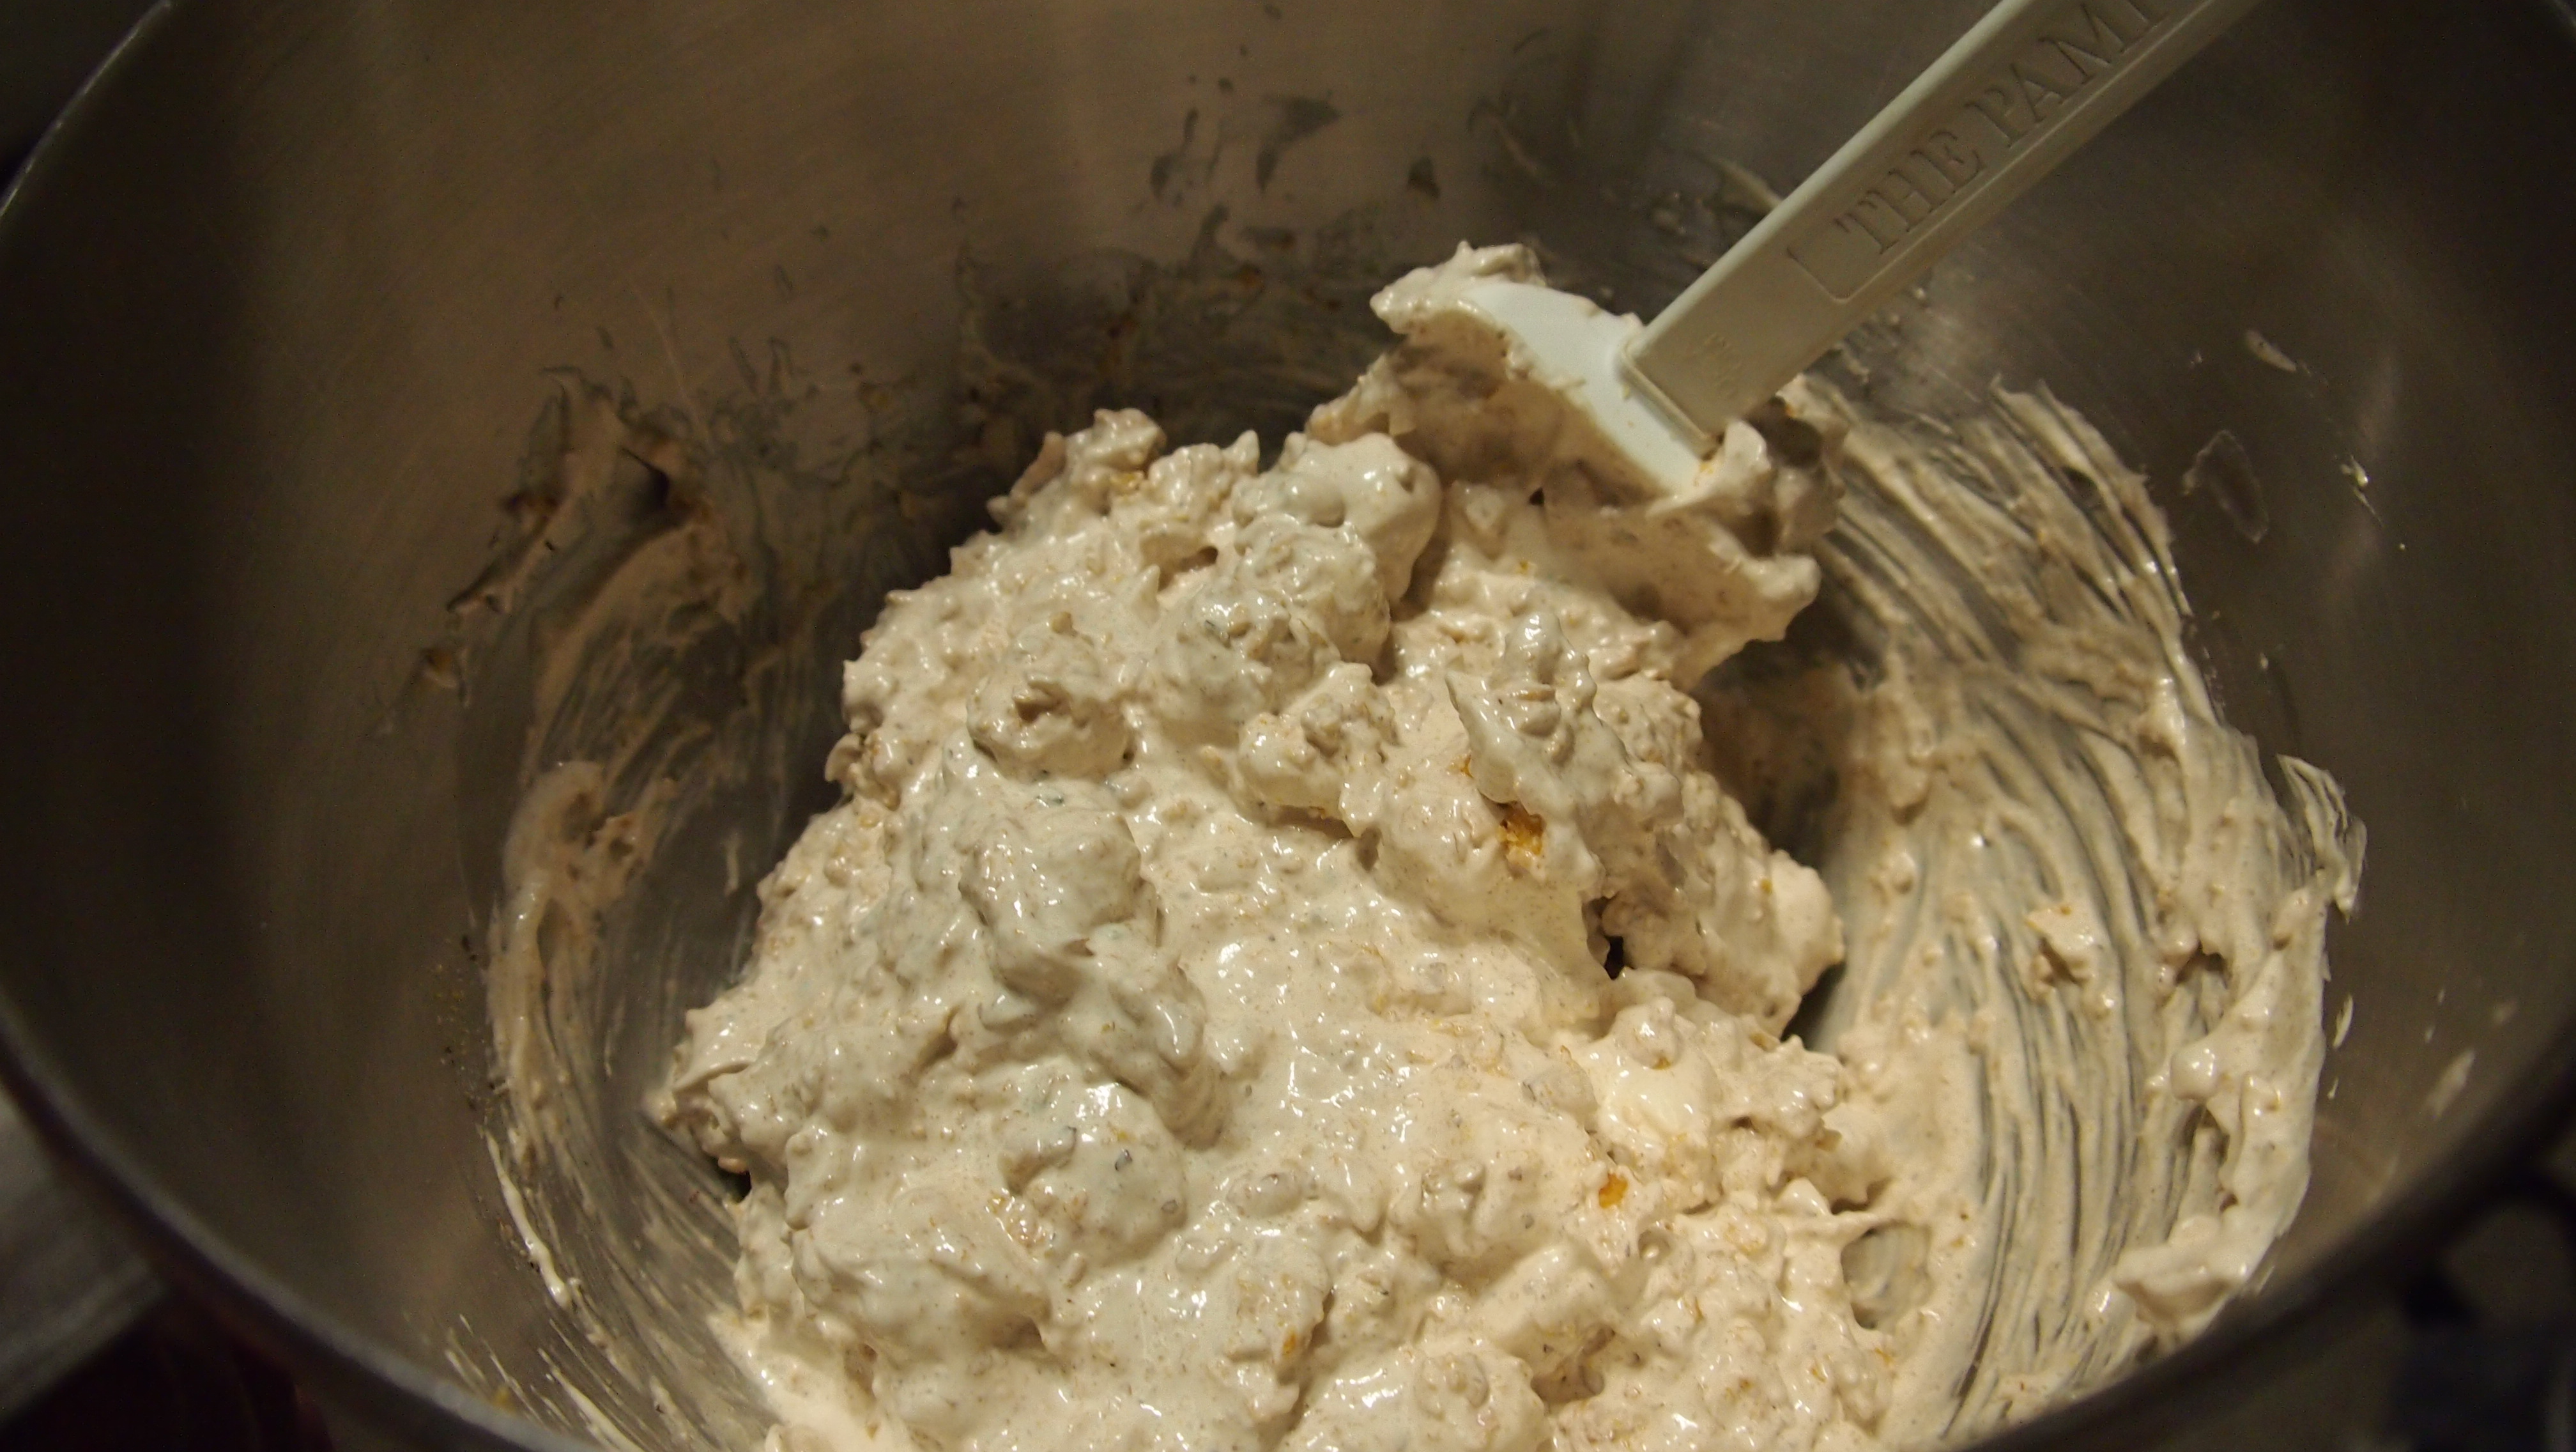
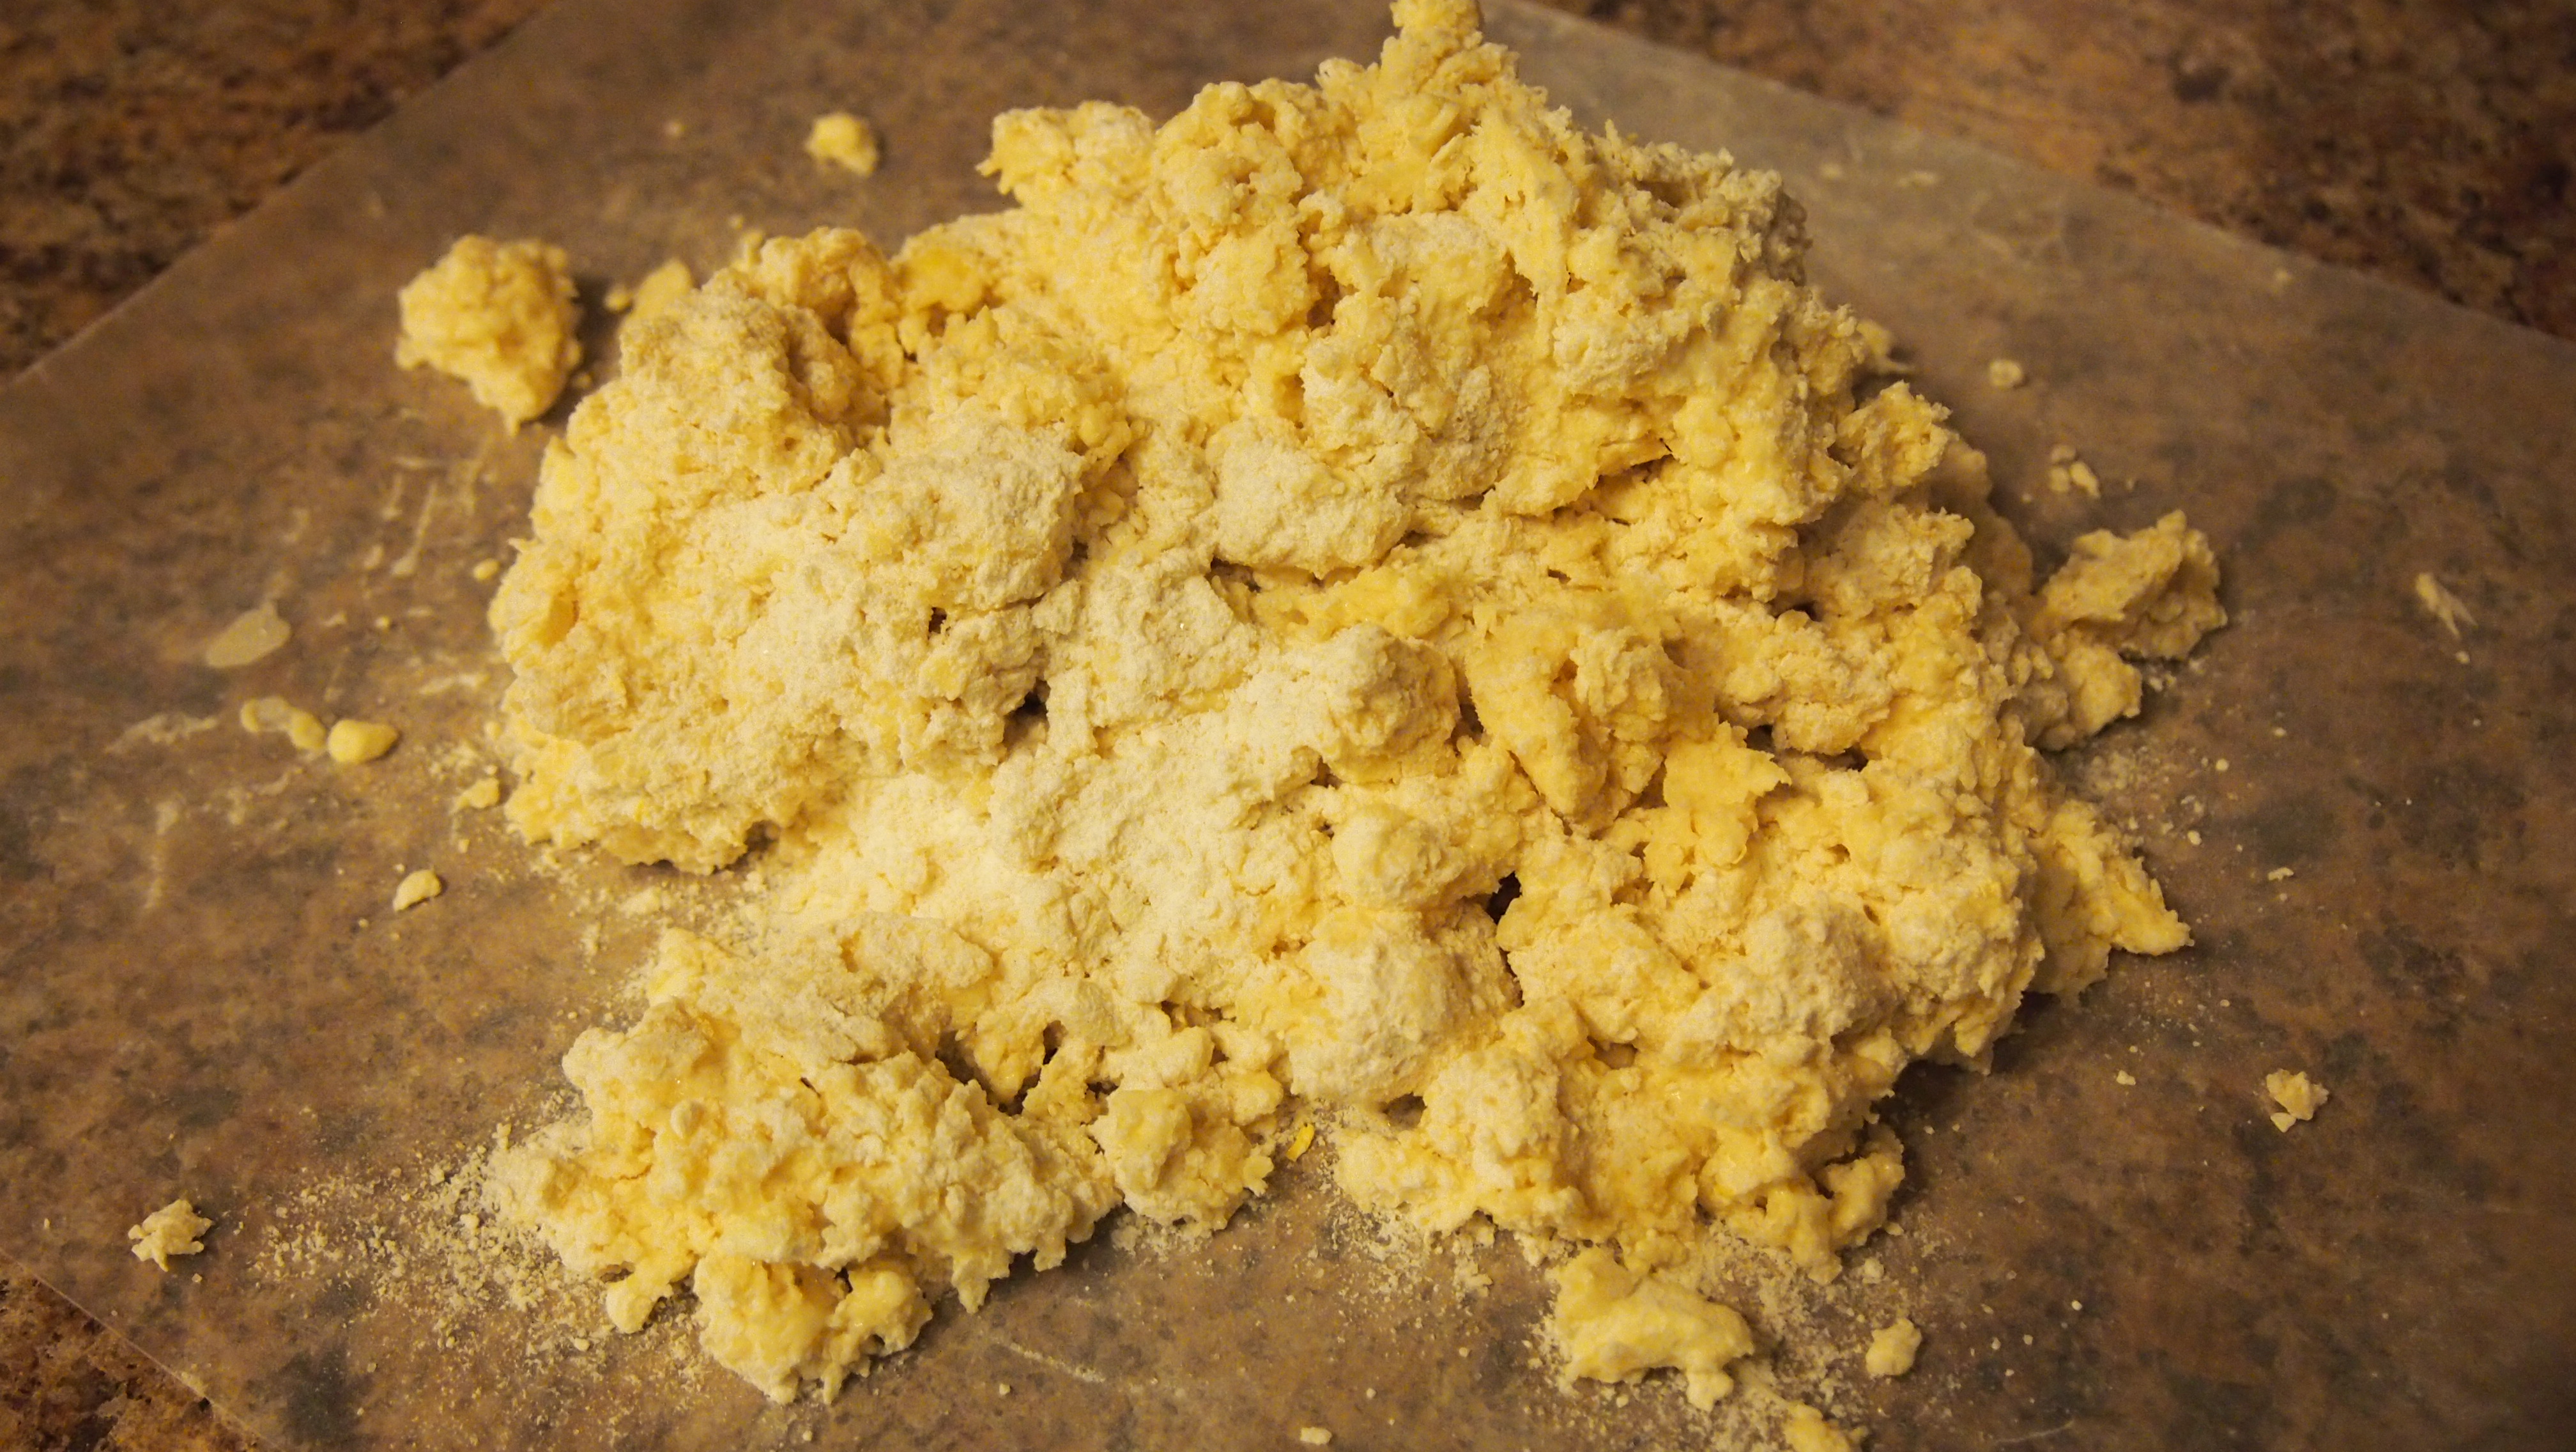
Muffins: In medium bowl, whisk together flour, brown sugar, baking powder, and salt. In another bowl, whisk together maple syrup, melted butter, bacon fat, and beaten egg. Add milk, vanilla, and whiskey to maple mixture and stir until combined.
Add maple mixture to flour mixture, stirring with a rubber spatula until just combined. Fold bacon pieces into batter until evenly distributed.
Divide batter into muffin cups, using a tablespoon scoop to fill each cup ¾ full. Sprinkle streusel on top of batter.
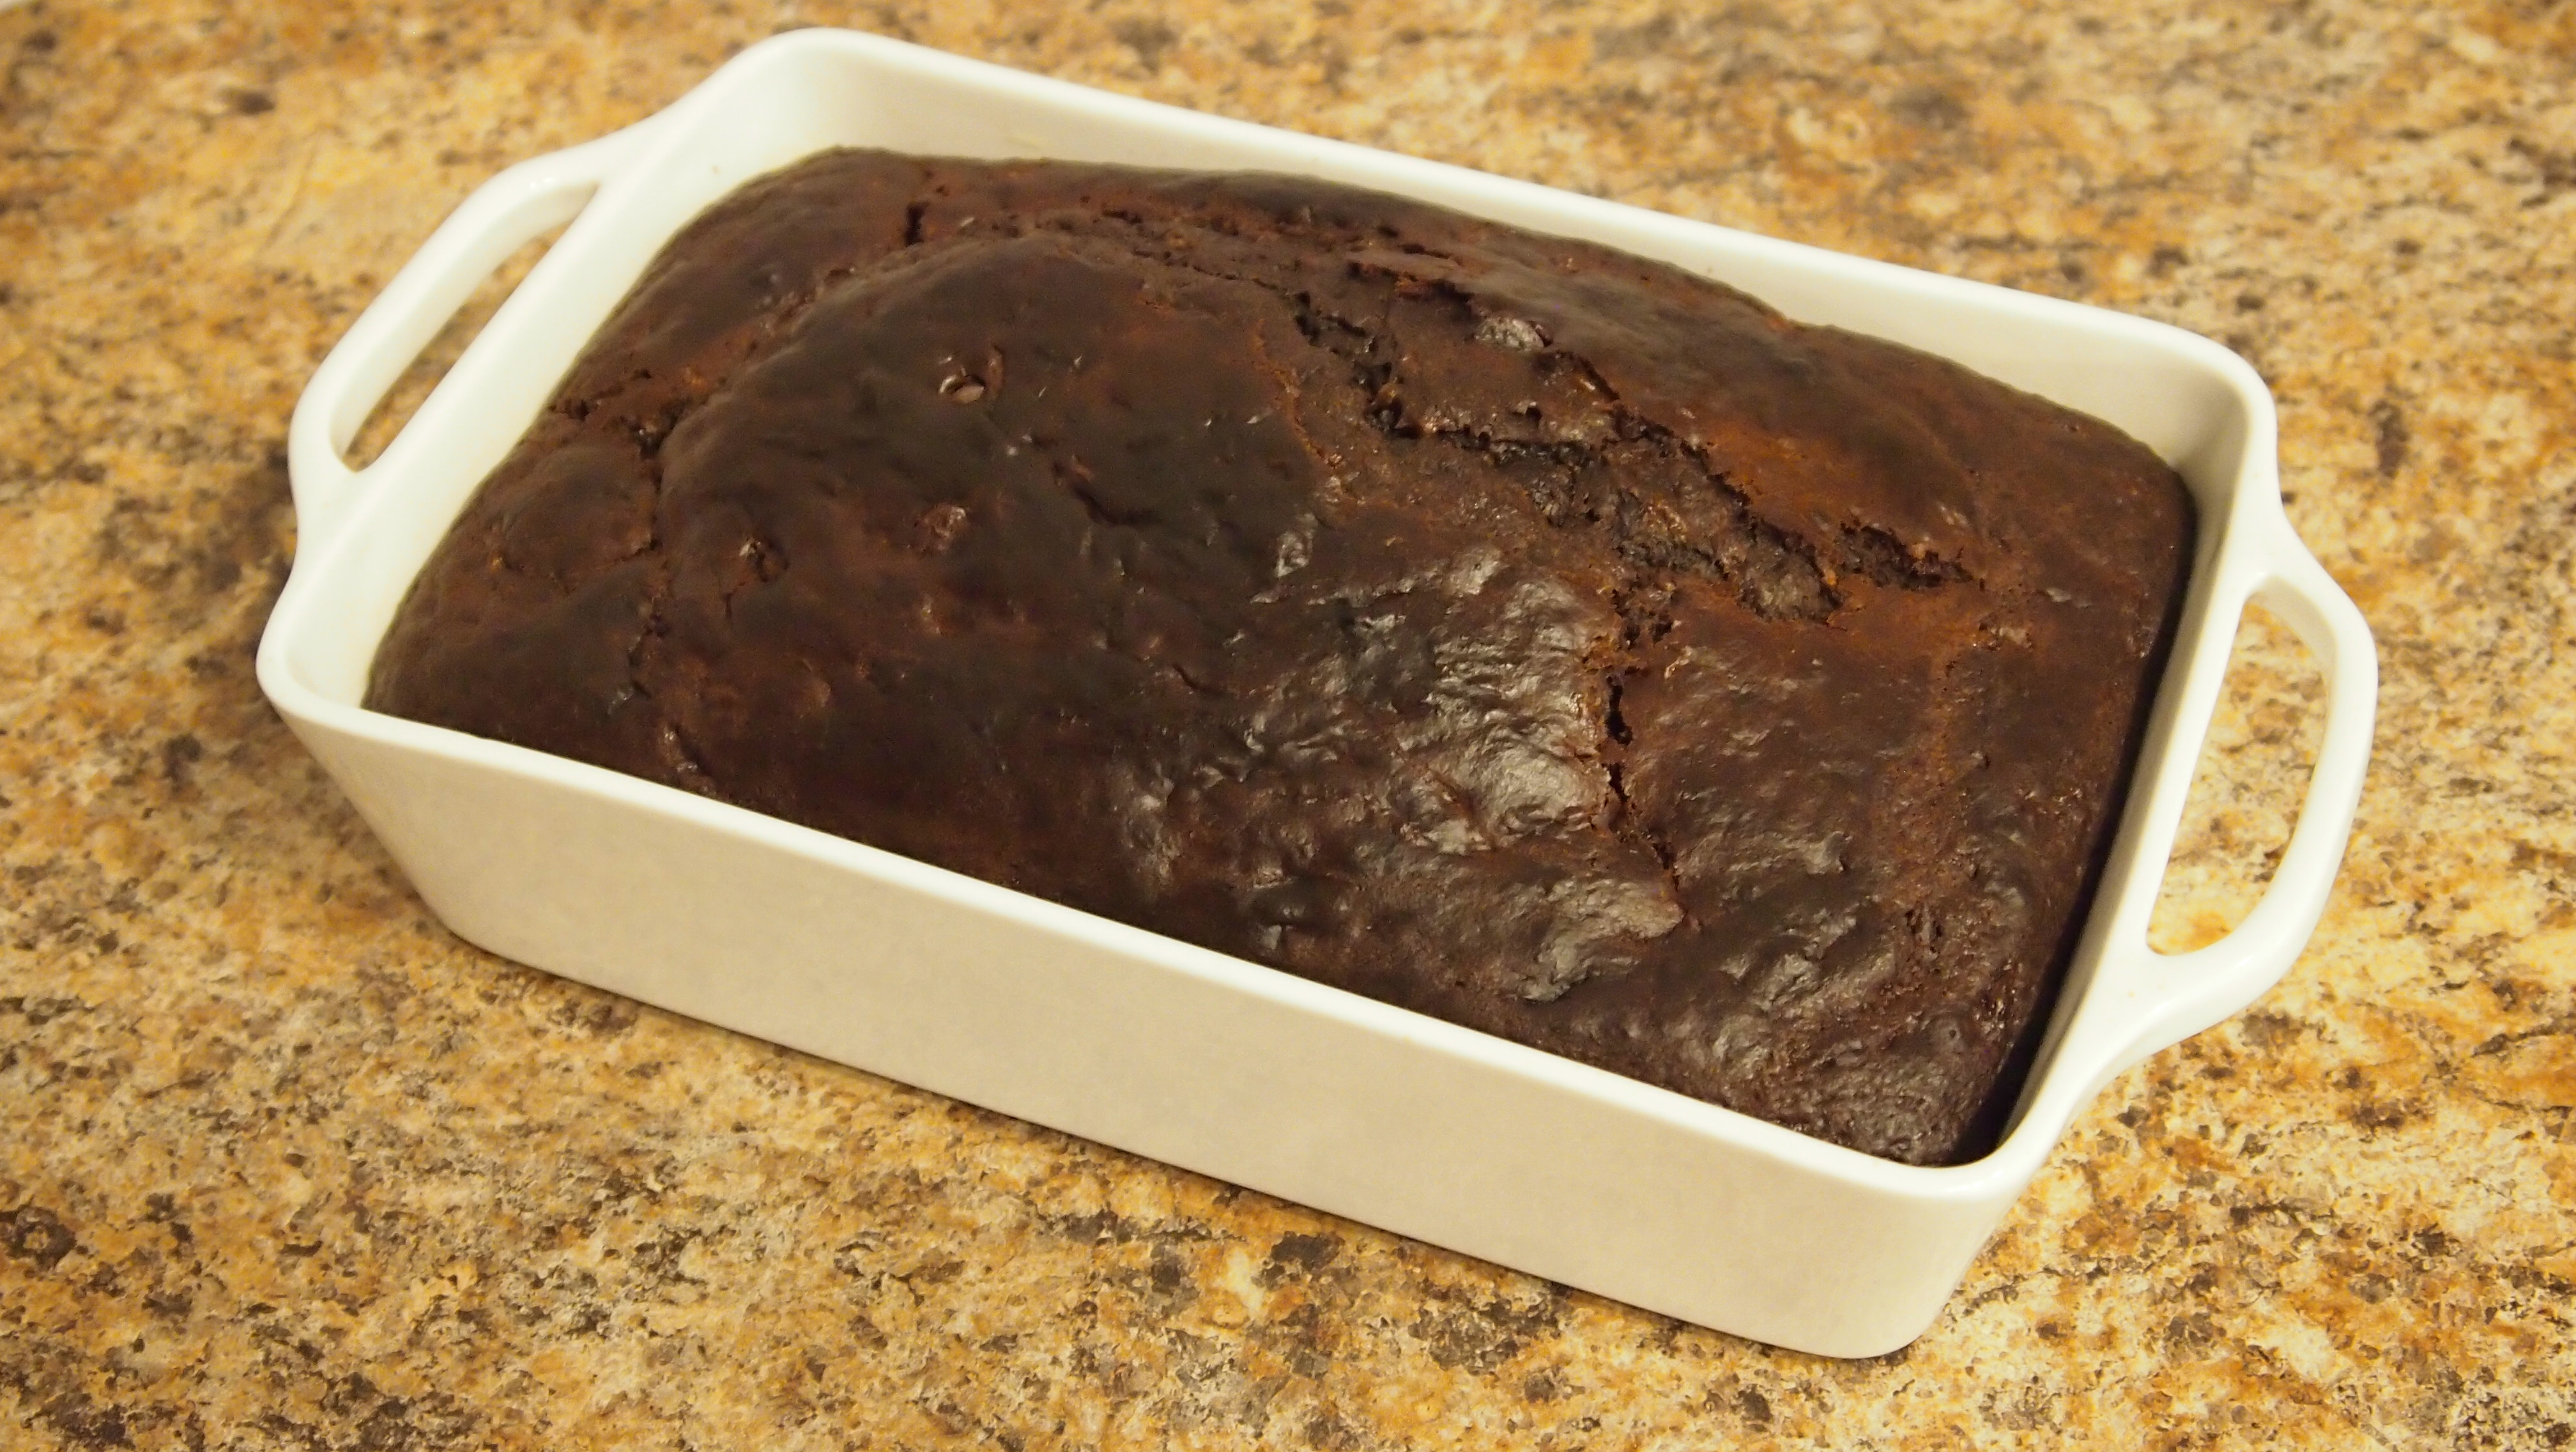
Bake 10 minutes, or until a toothpick inserted in the center comes out clean.
Note: Batter can be baked in regular muffin pans for approximately 15 minutes. If making larger muffins, add layer of streusel to middle of each muffin as described here.
Recipe adapted from On Sugar Mountain.
Sarah Coffey
Assistant to the Chair of Learning Initiatives