Archive Page 8


DIY Sensory Bottles

sensory-bottle-1

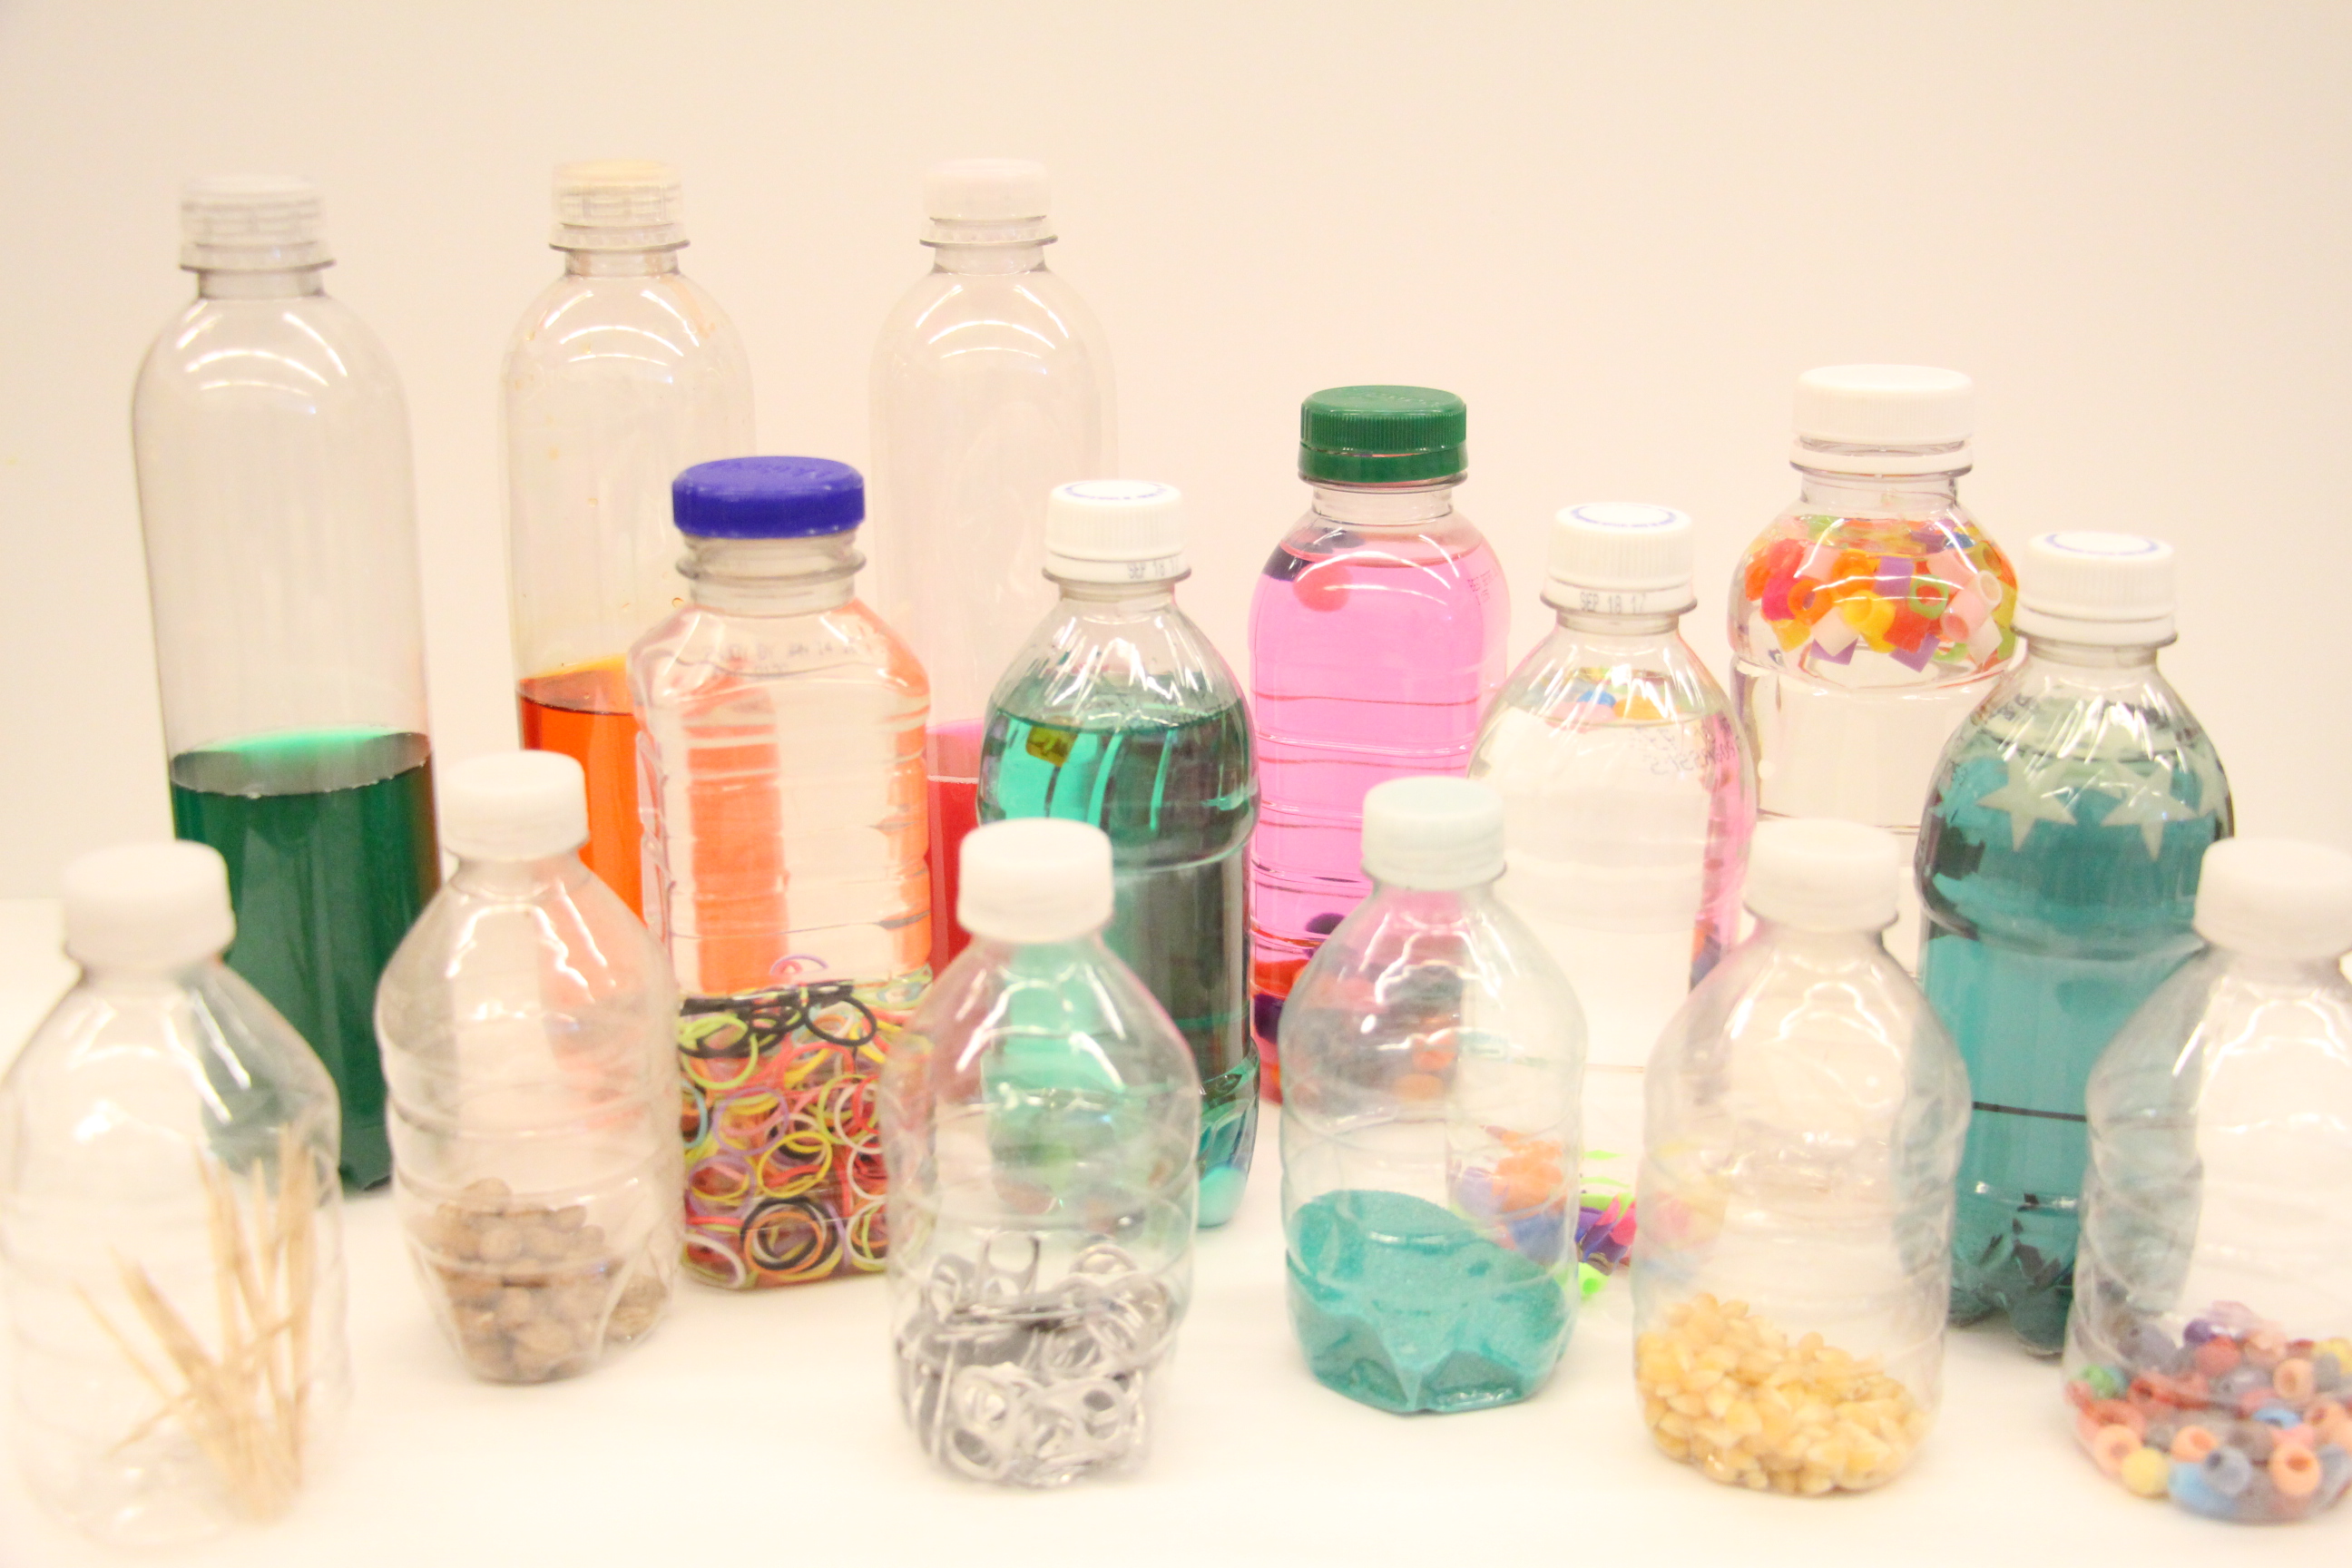
What do you get when you pair an ordinary plastic bottle with water, glitter, paint, sand, beans, or even toothpicks? An easy DIY toy, a great way to recycle, a crafty project, something to entertain the kids–How about all of the above! Sensory bottles are a great quiet toy for little ones to explore during those in-between moments—in the car on the way to the grocery store, at home when you need something to occupy their hands, or in the stroller when you’re on the go. At its most basic level, a sensory bottle is a container with cool stuff inside. Sounds easy, right?

sensory-bottle-2

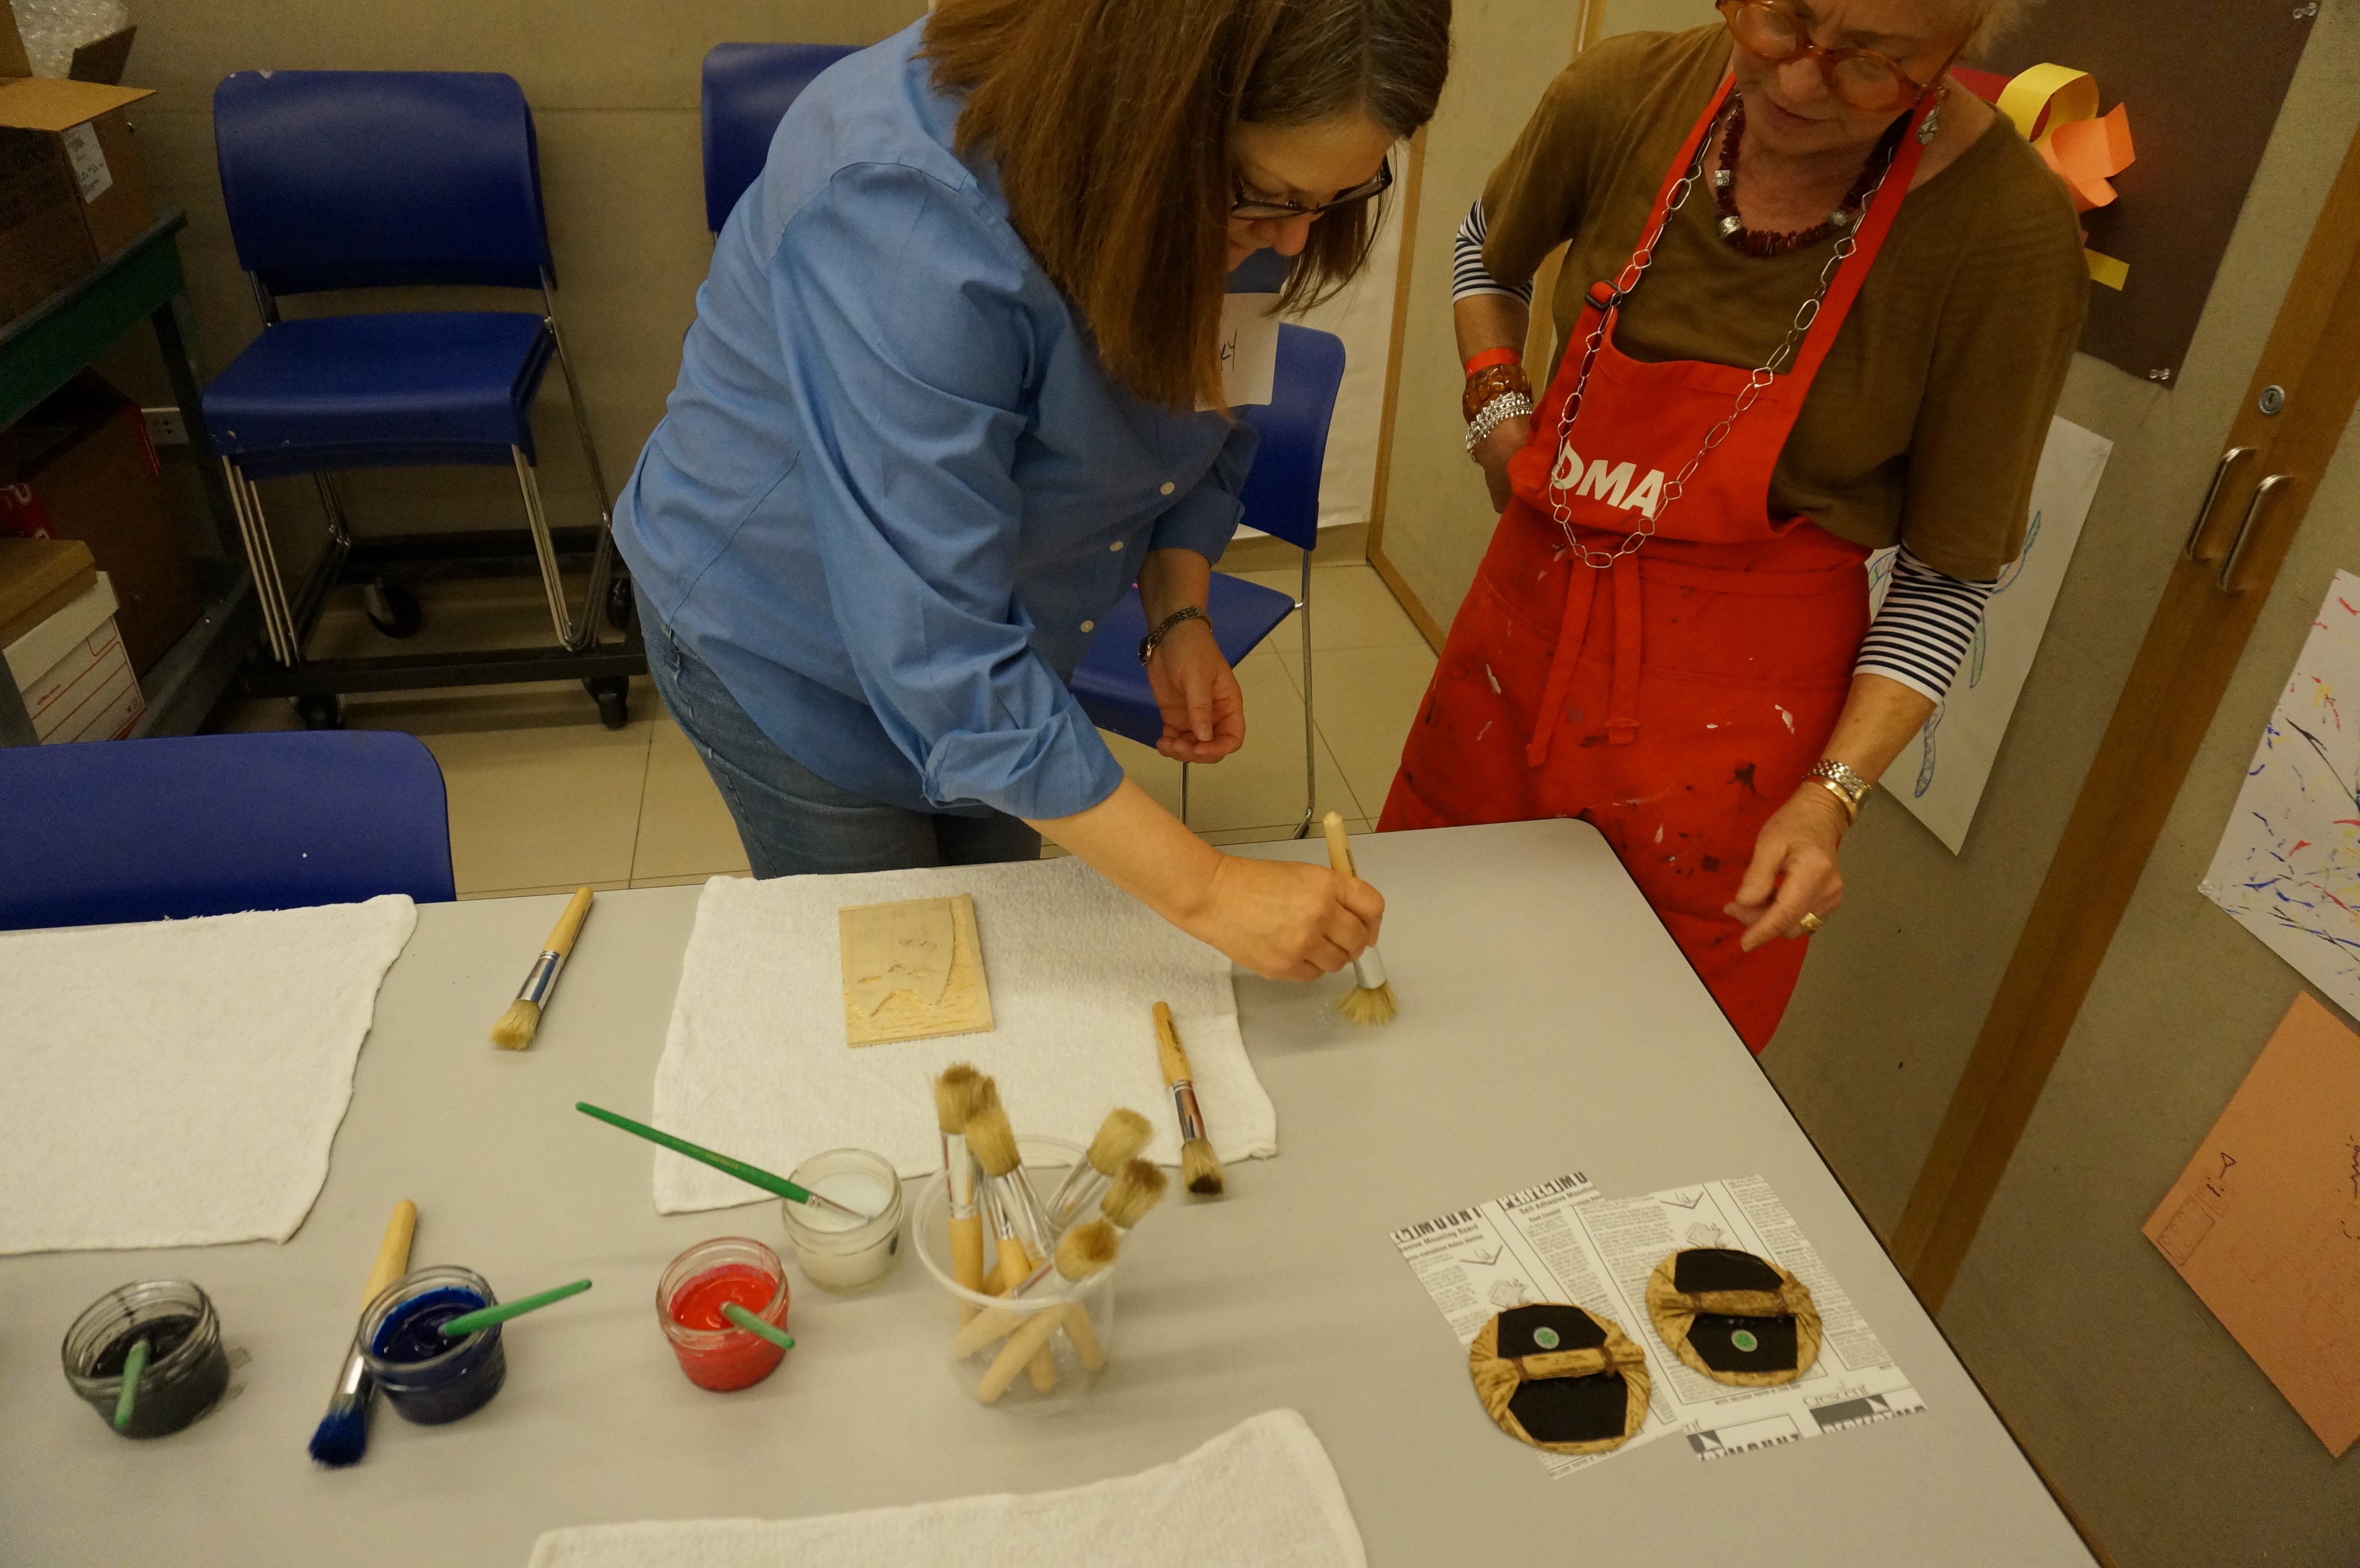
Here at the DMA, we have quite a collection of sensory bottles that we use for the Art Babies and Toddler Art classes and the monthly First Tuesday event for preschoolers. Some bottles are great noise-makers; others are simply mesmerizing to stare at. For today’s DIY, we’ll get the low-down on how to make a sensory bottle and then take on the challenge of making bottles inspired by art in the museum.

sensory-bottle-contents

It might seem like it shouldn’t really require a complicated set of instructions to make a sensory bottle.

  1. Find a bottle.
  2. Put cool things inside.
  3. Close it up.

Easy, right? However, there are a few things to take into consideration that might not seem so obvious.

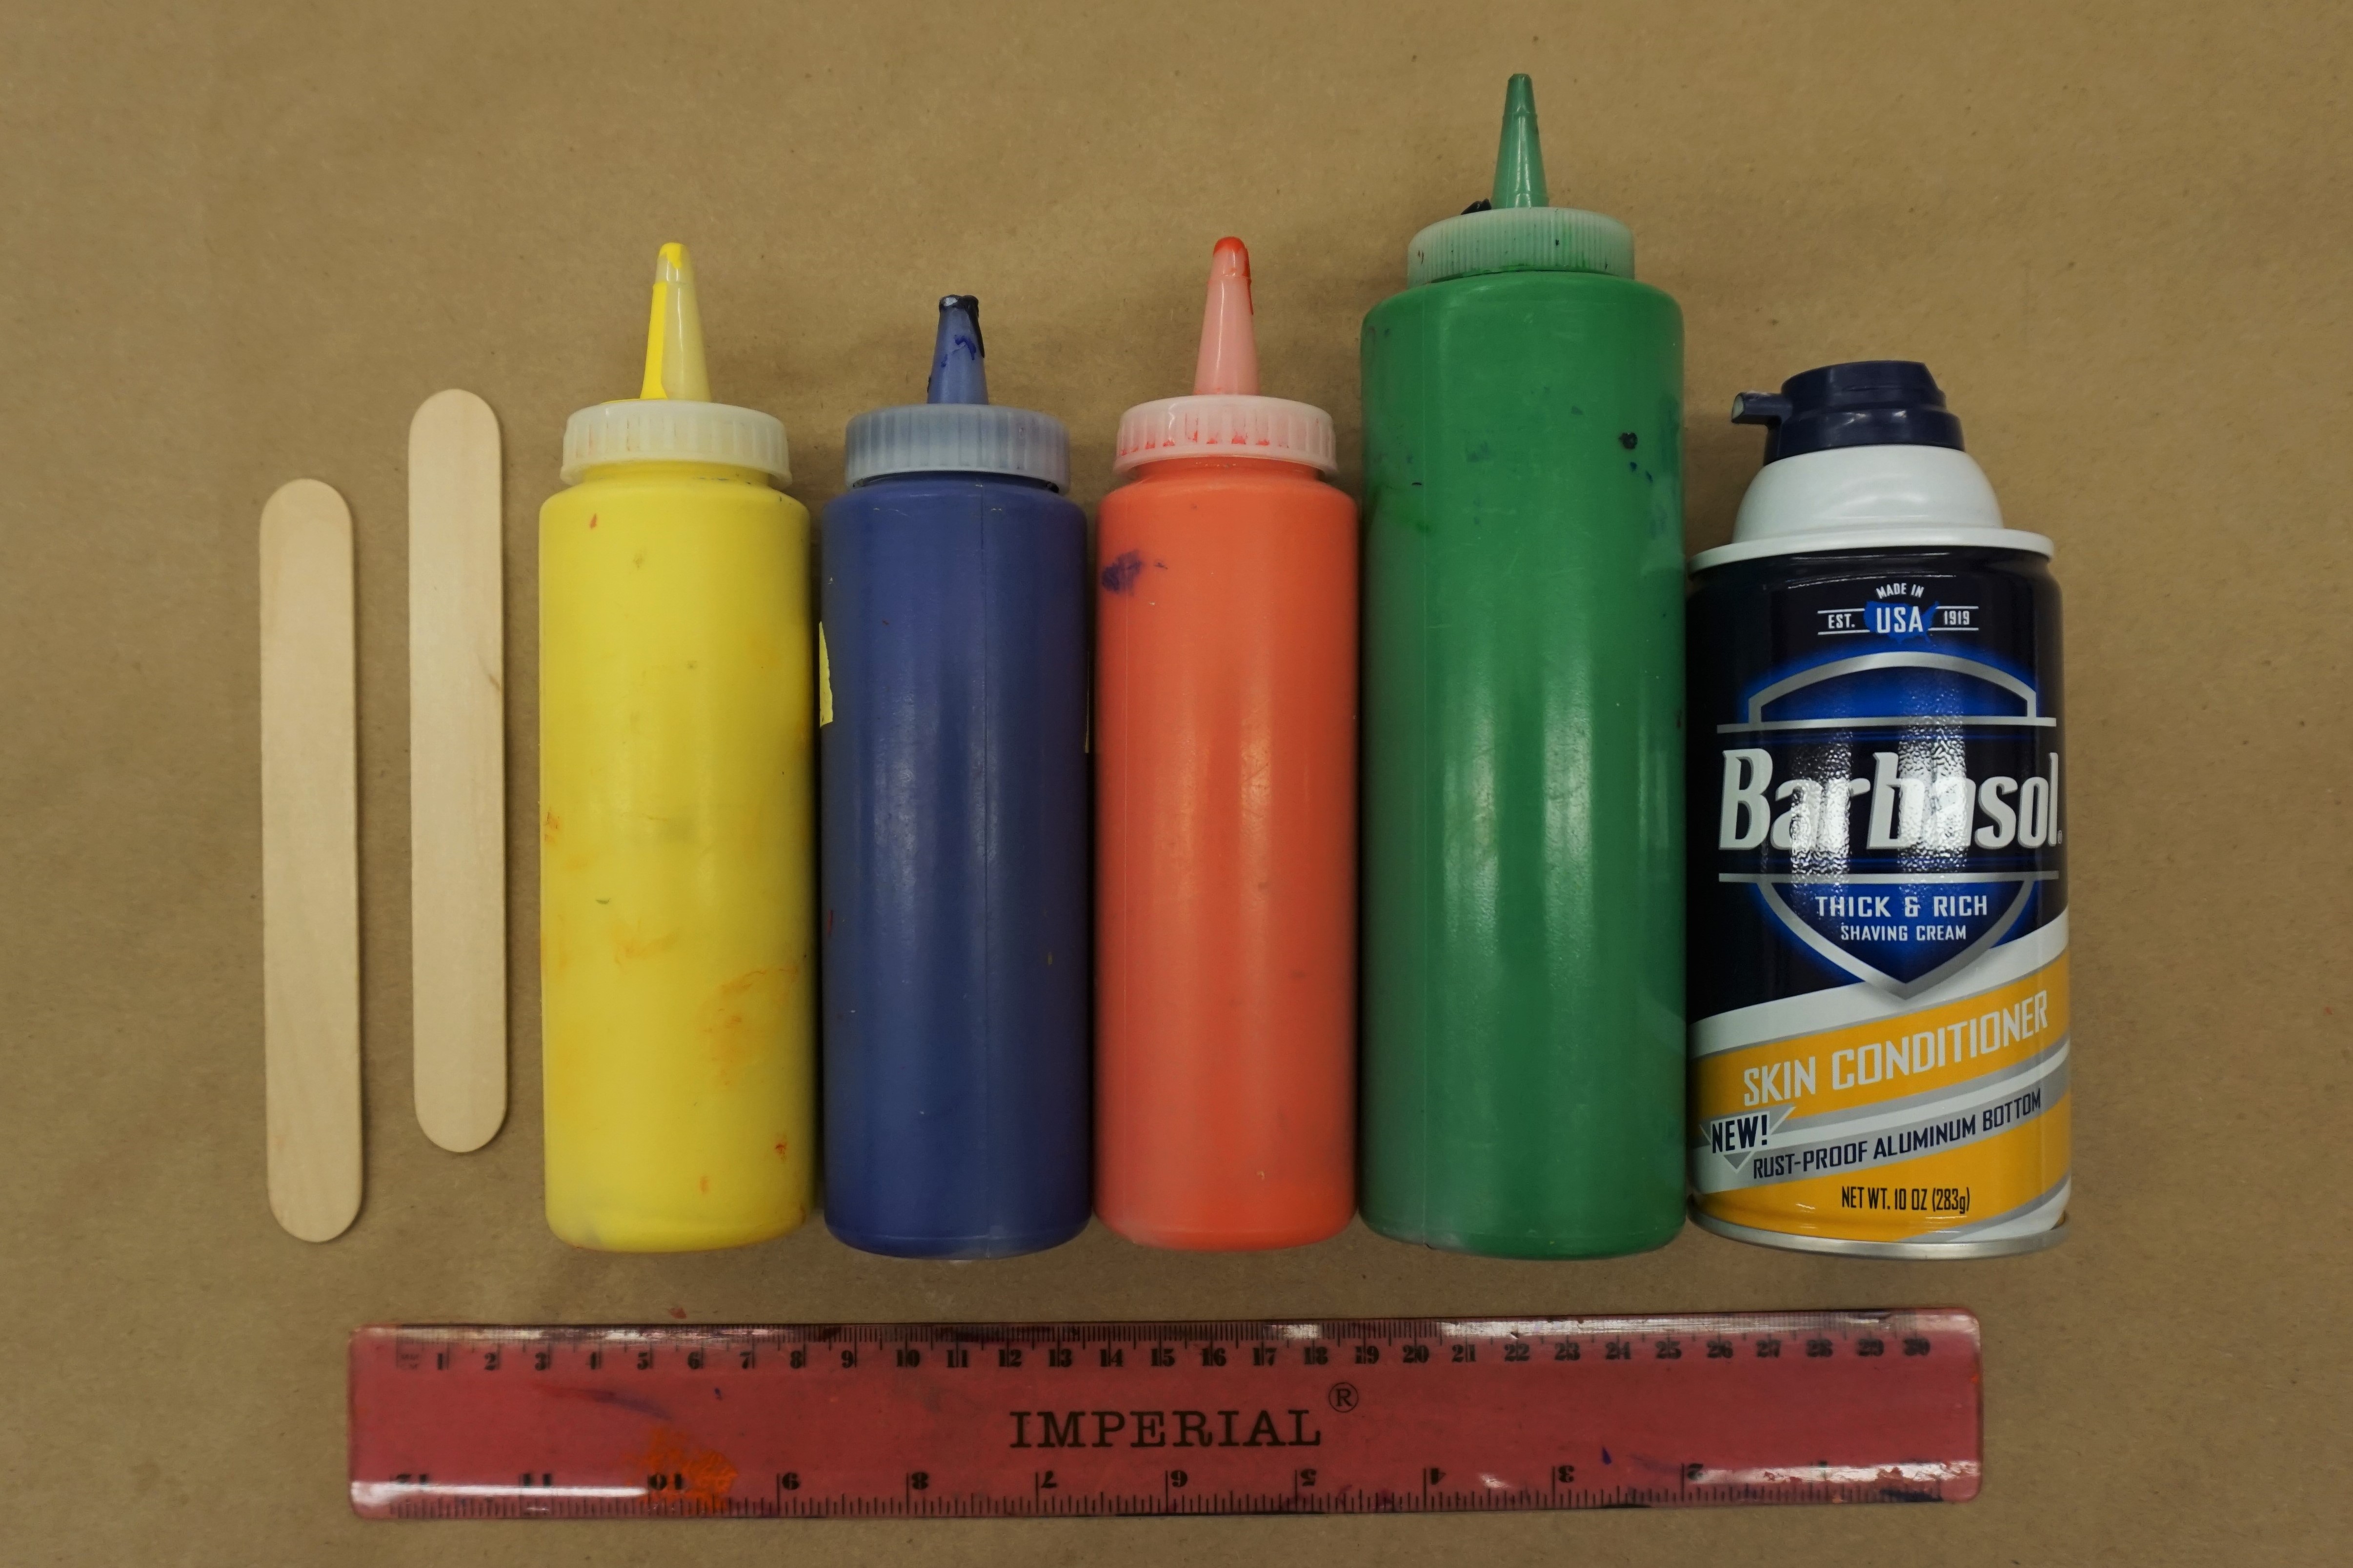
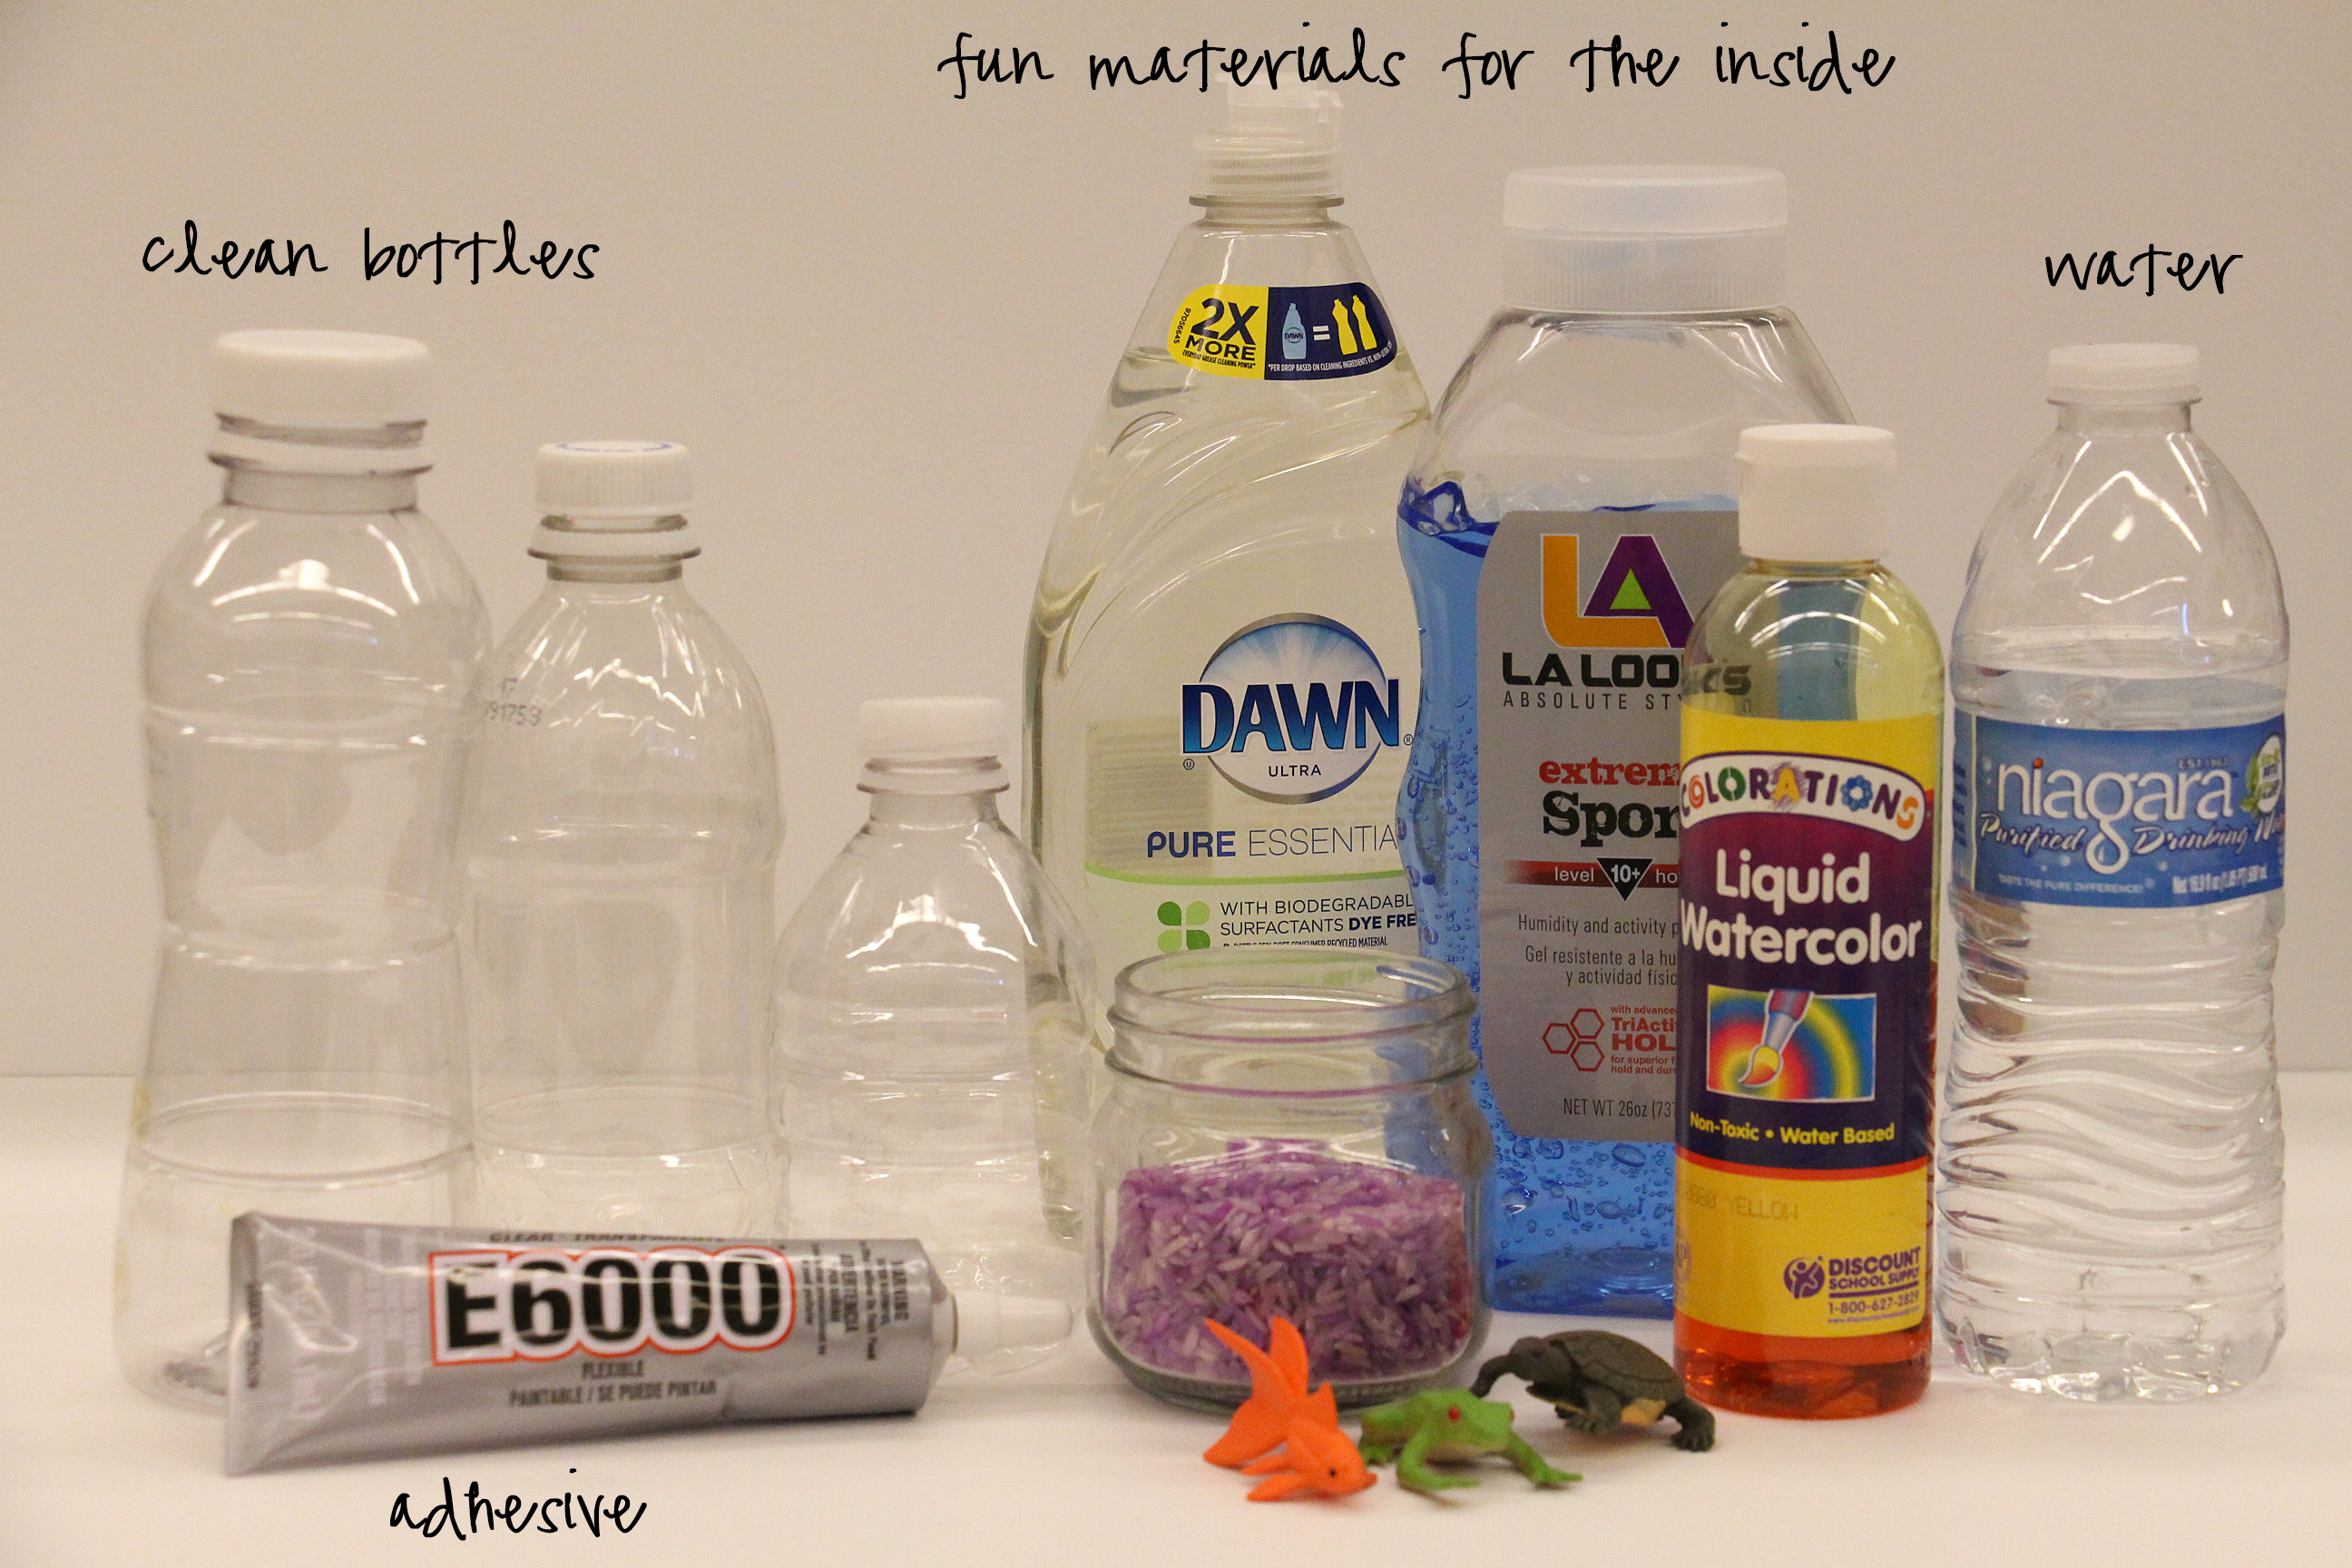
Containers. Any sort of bottle will probably do, but I’ve learned to take a minute to think about who will be using the sensory bottle and what will be inside. I strictly use plastic bottles and jars, so that there is no safety concern when the bottle inevitably gets dropped. I also vary the sizes I use. Babies need smaller, lighter bottles that are easier for them to pick up and hold (think of the mini water bottles you see in kids’ lunchboxes). Older children can handle slightly larger bottles. If a bottle will be holding liquid ingredients, make sure that the plastic is durable and strong. I prefer using bottles with wide openings so that small toys and objects can fit through the bottle neck. Make sure your bottle has been thoroughly cleaned and is completely dry before filling it up. (If the label gives you any trouble, use an adhesive remover like Goo Gone to remove it and get rid of the sticky stuff).

Contents. Basically, anything goes when it comes to contents. Consider how your child will play with it—do you want a noisemaker or do you want to explore how colors mix? Do you want something that has a hide and seek element to it? Here are some of my favorite combinations.

  • For musical shakers: beans, rice, sand, toothpicks, plastic beads, jingle bells, or nuts and bolts
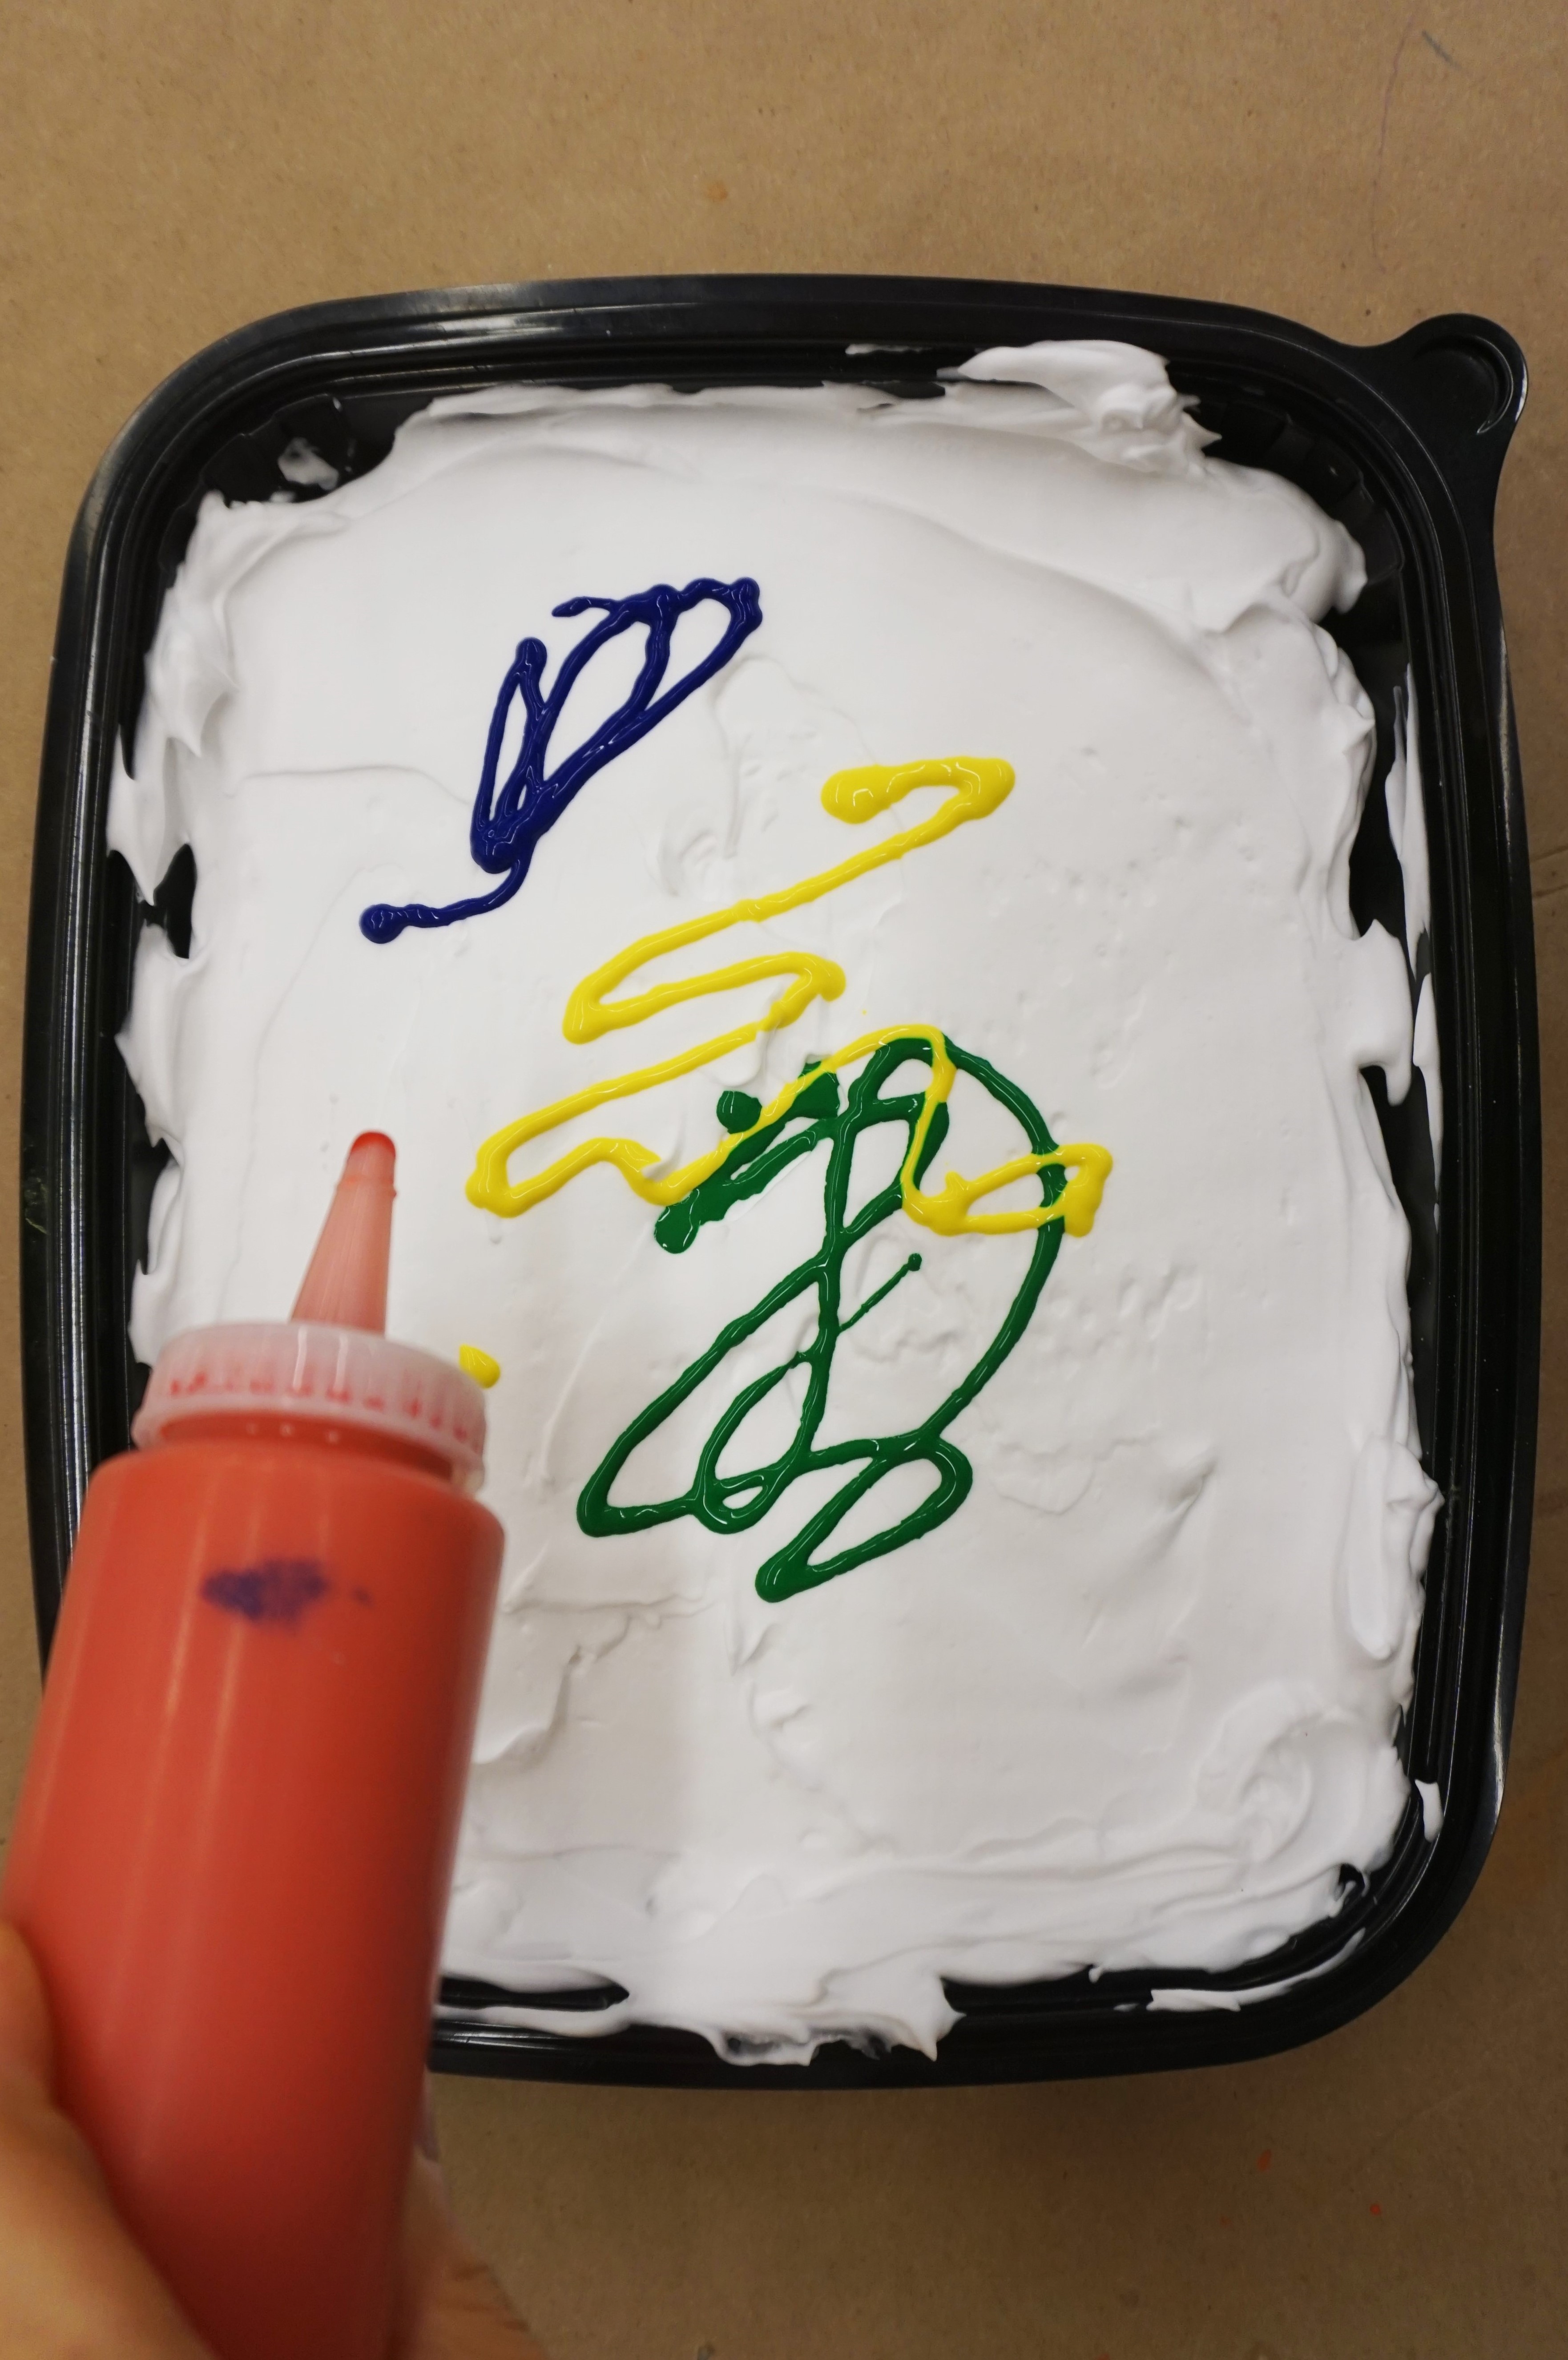
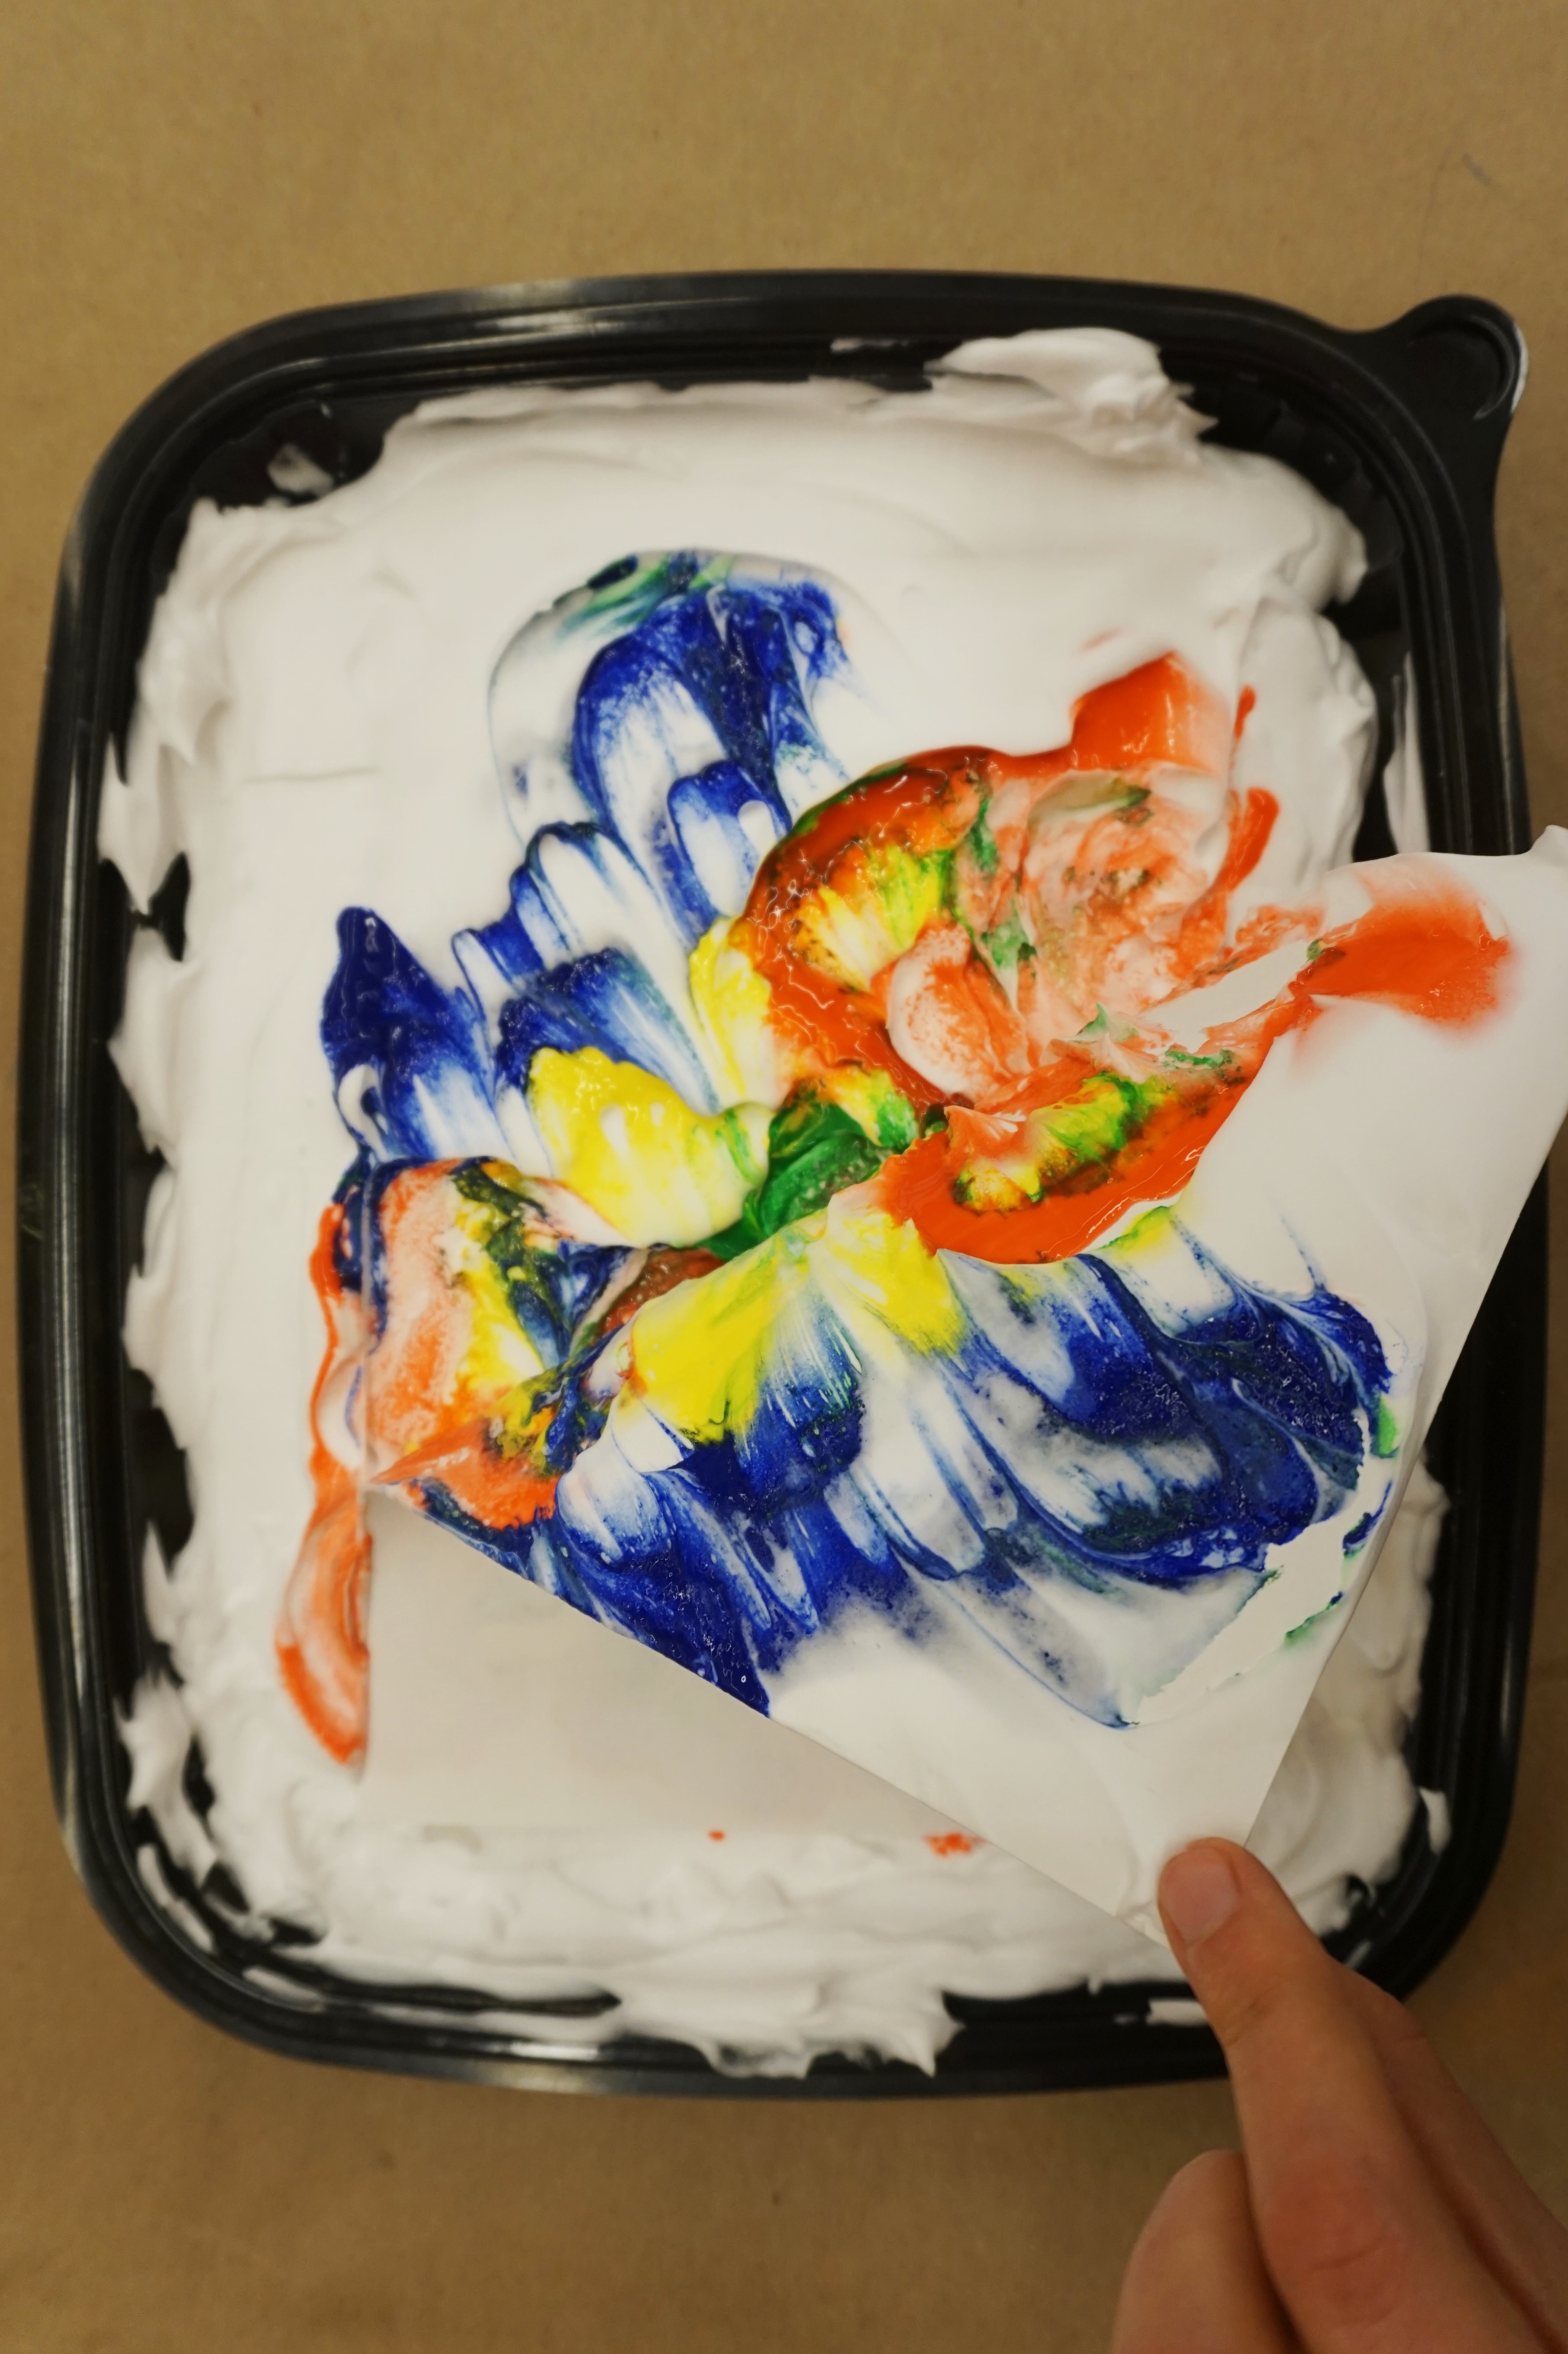
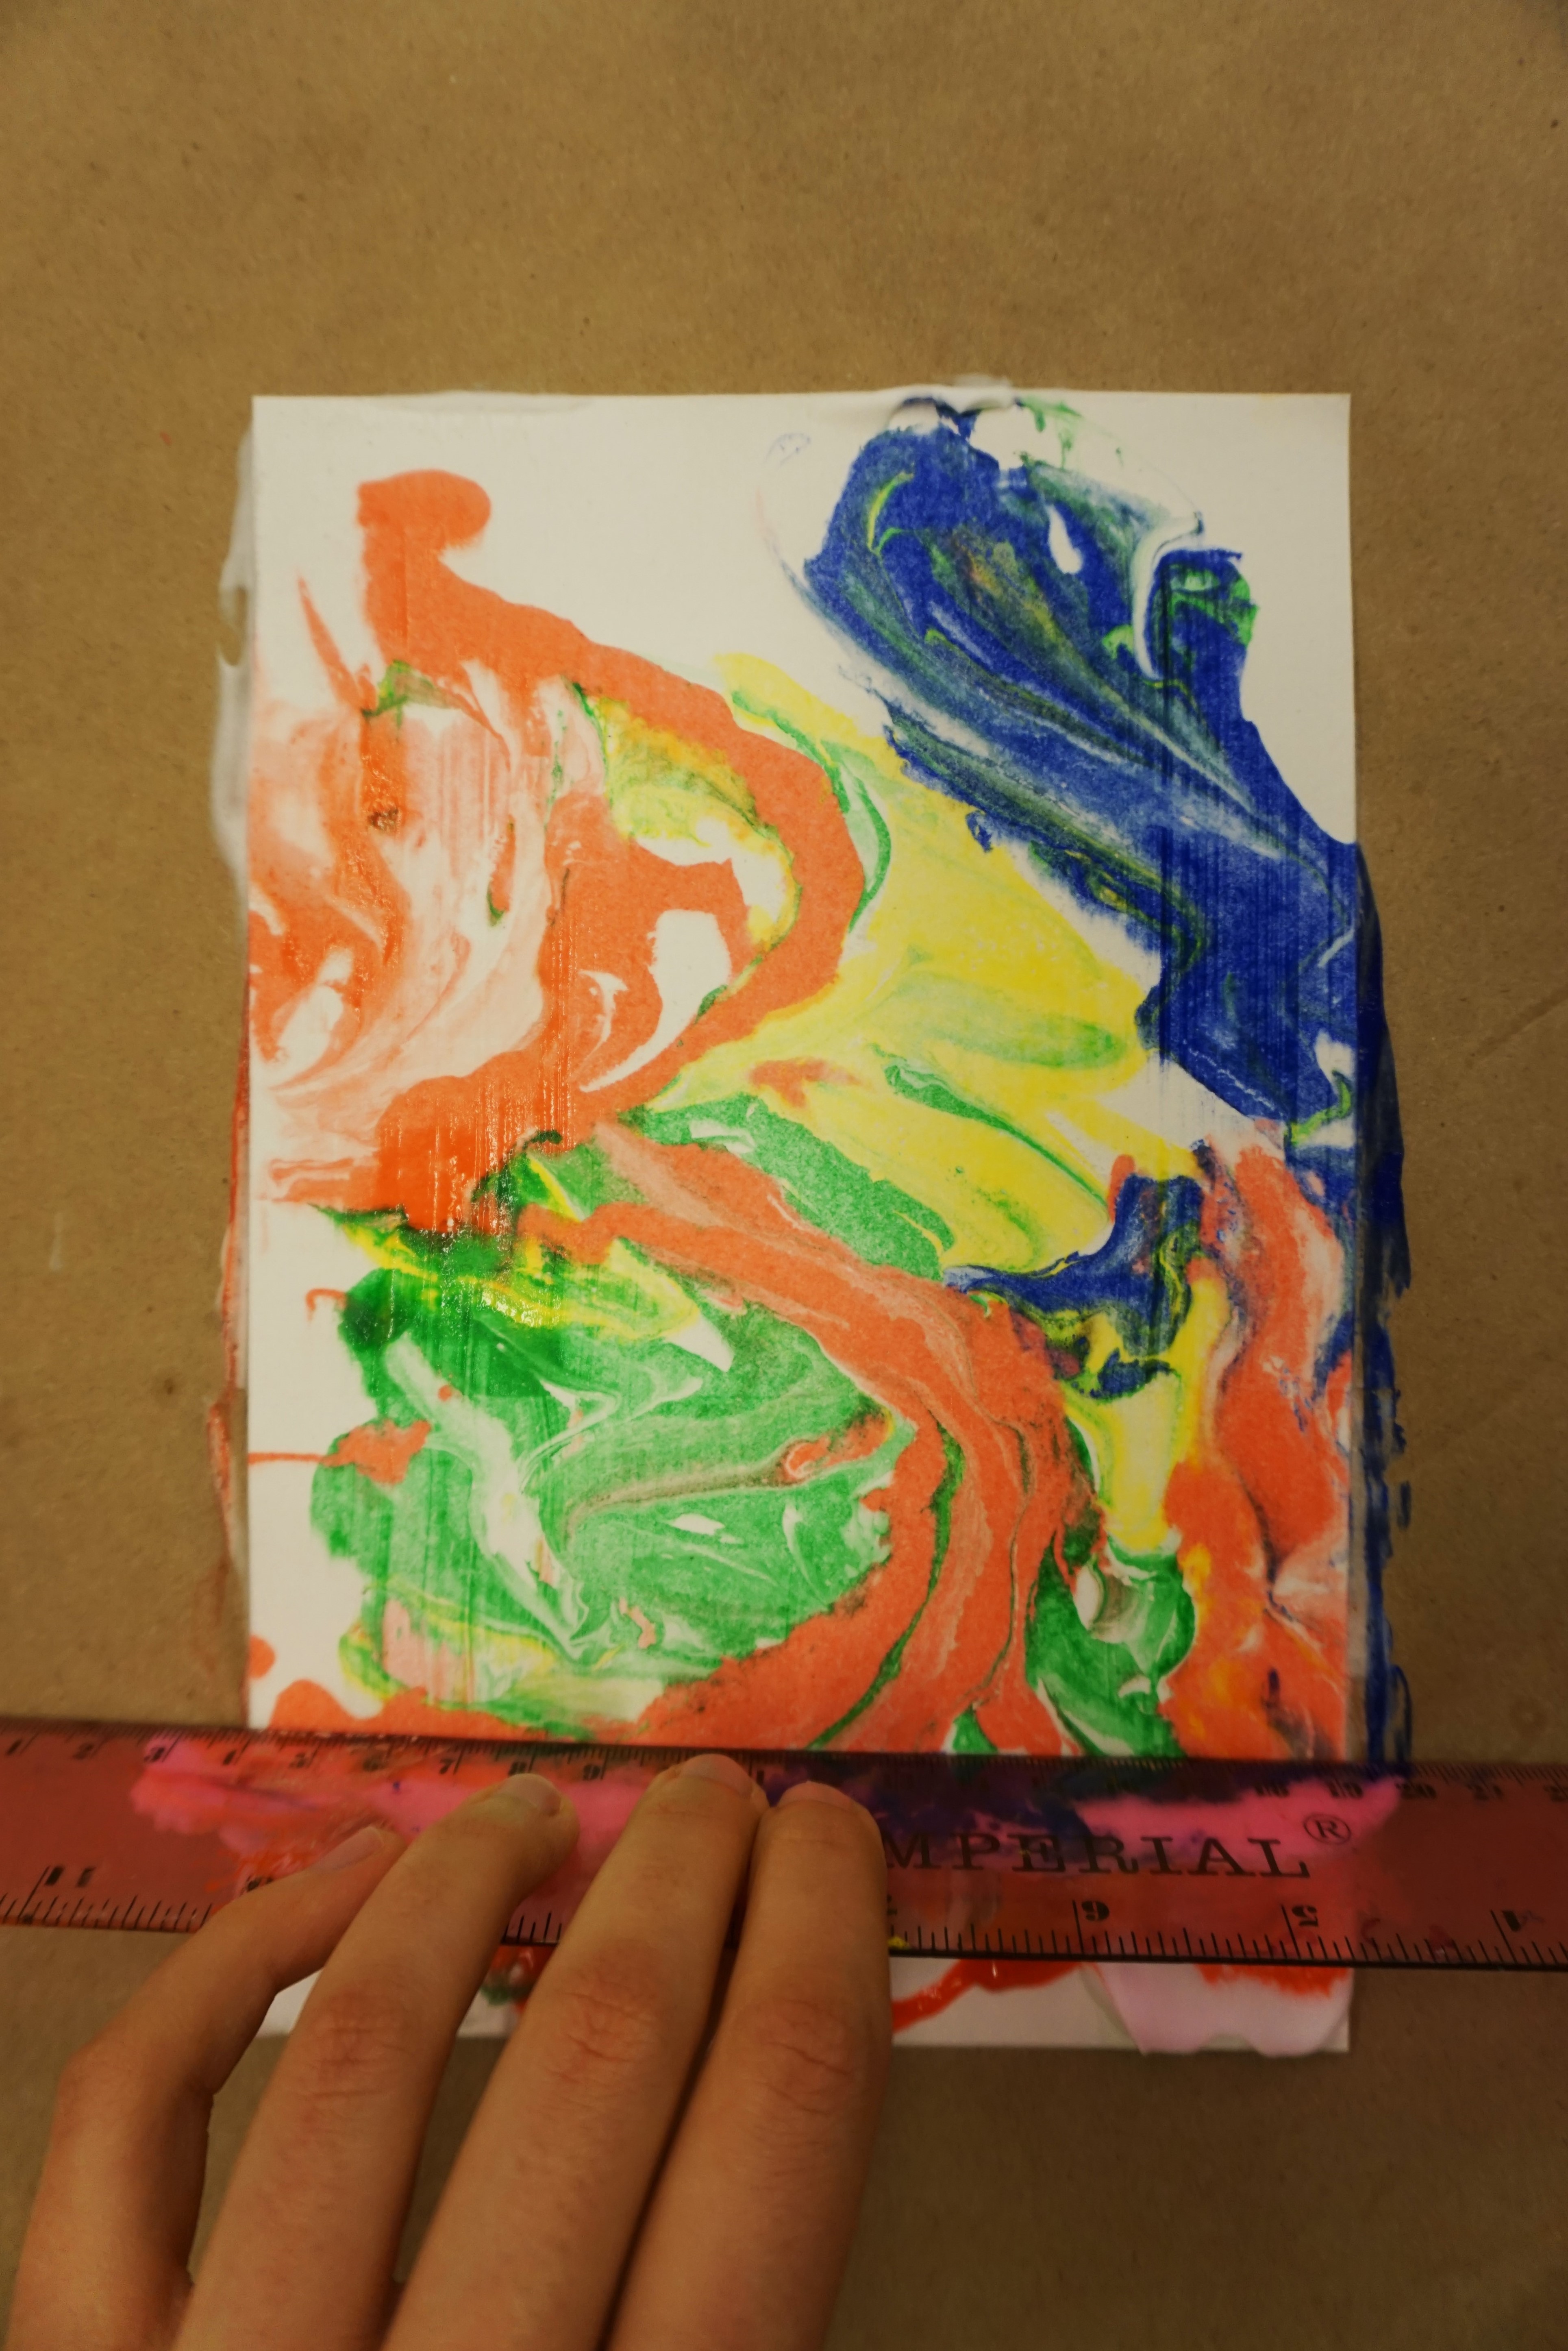
  • For color-mixing: vegetable oil or baby oil + water + liquid watercolor
  • For “I Spy” play: colored rice and small toys
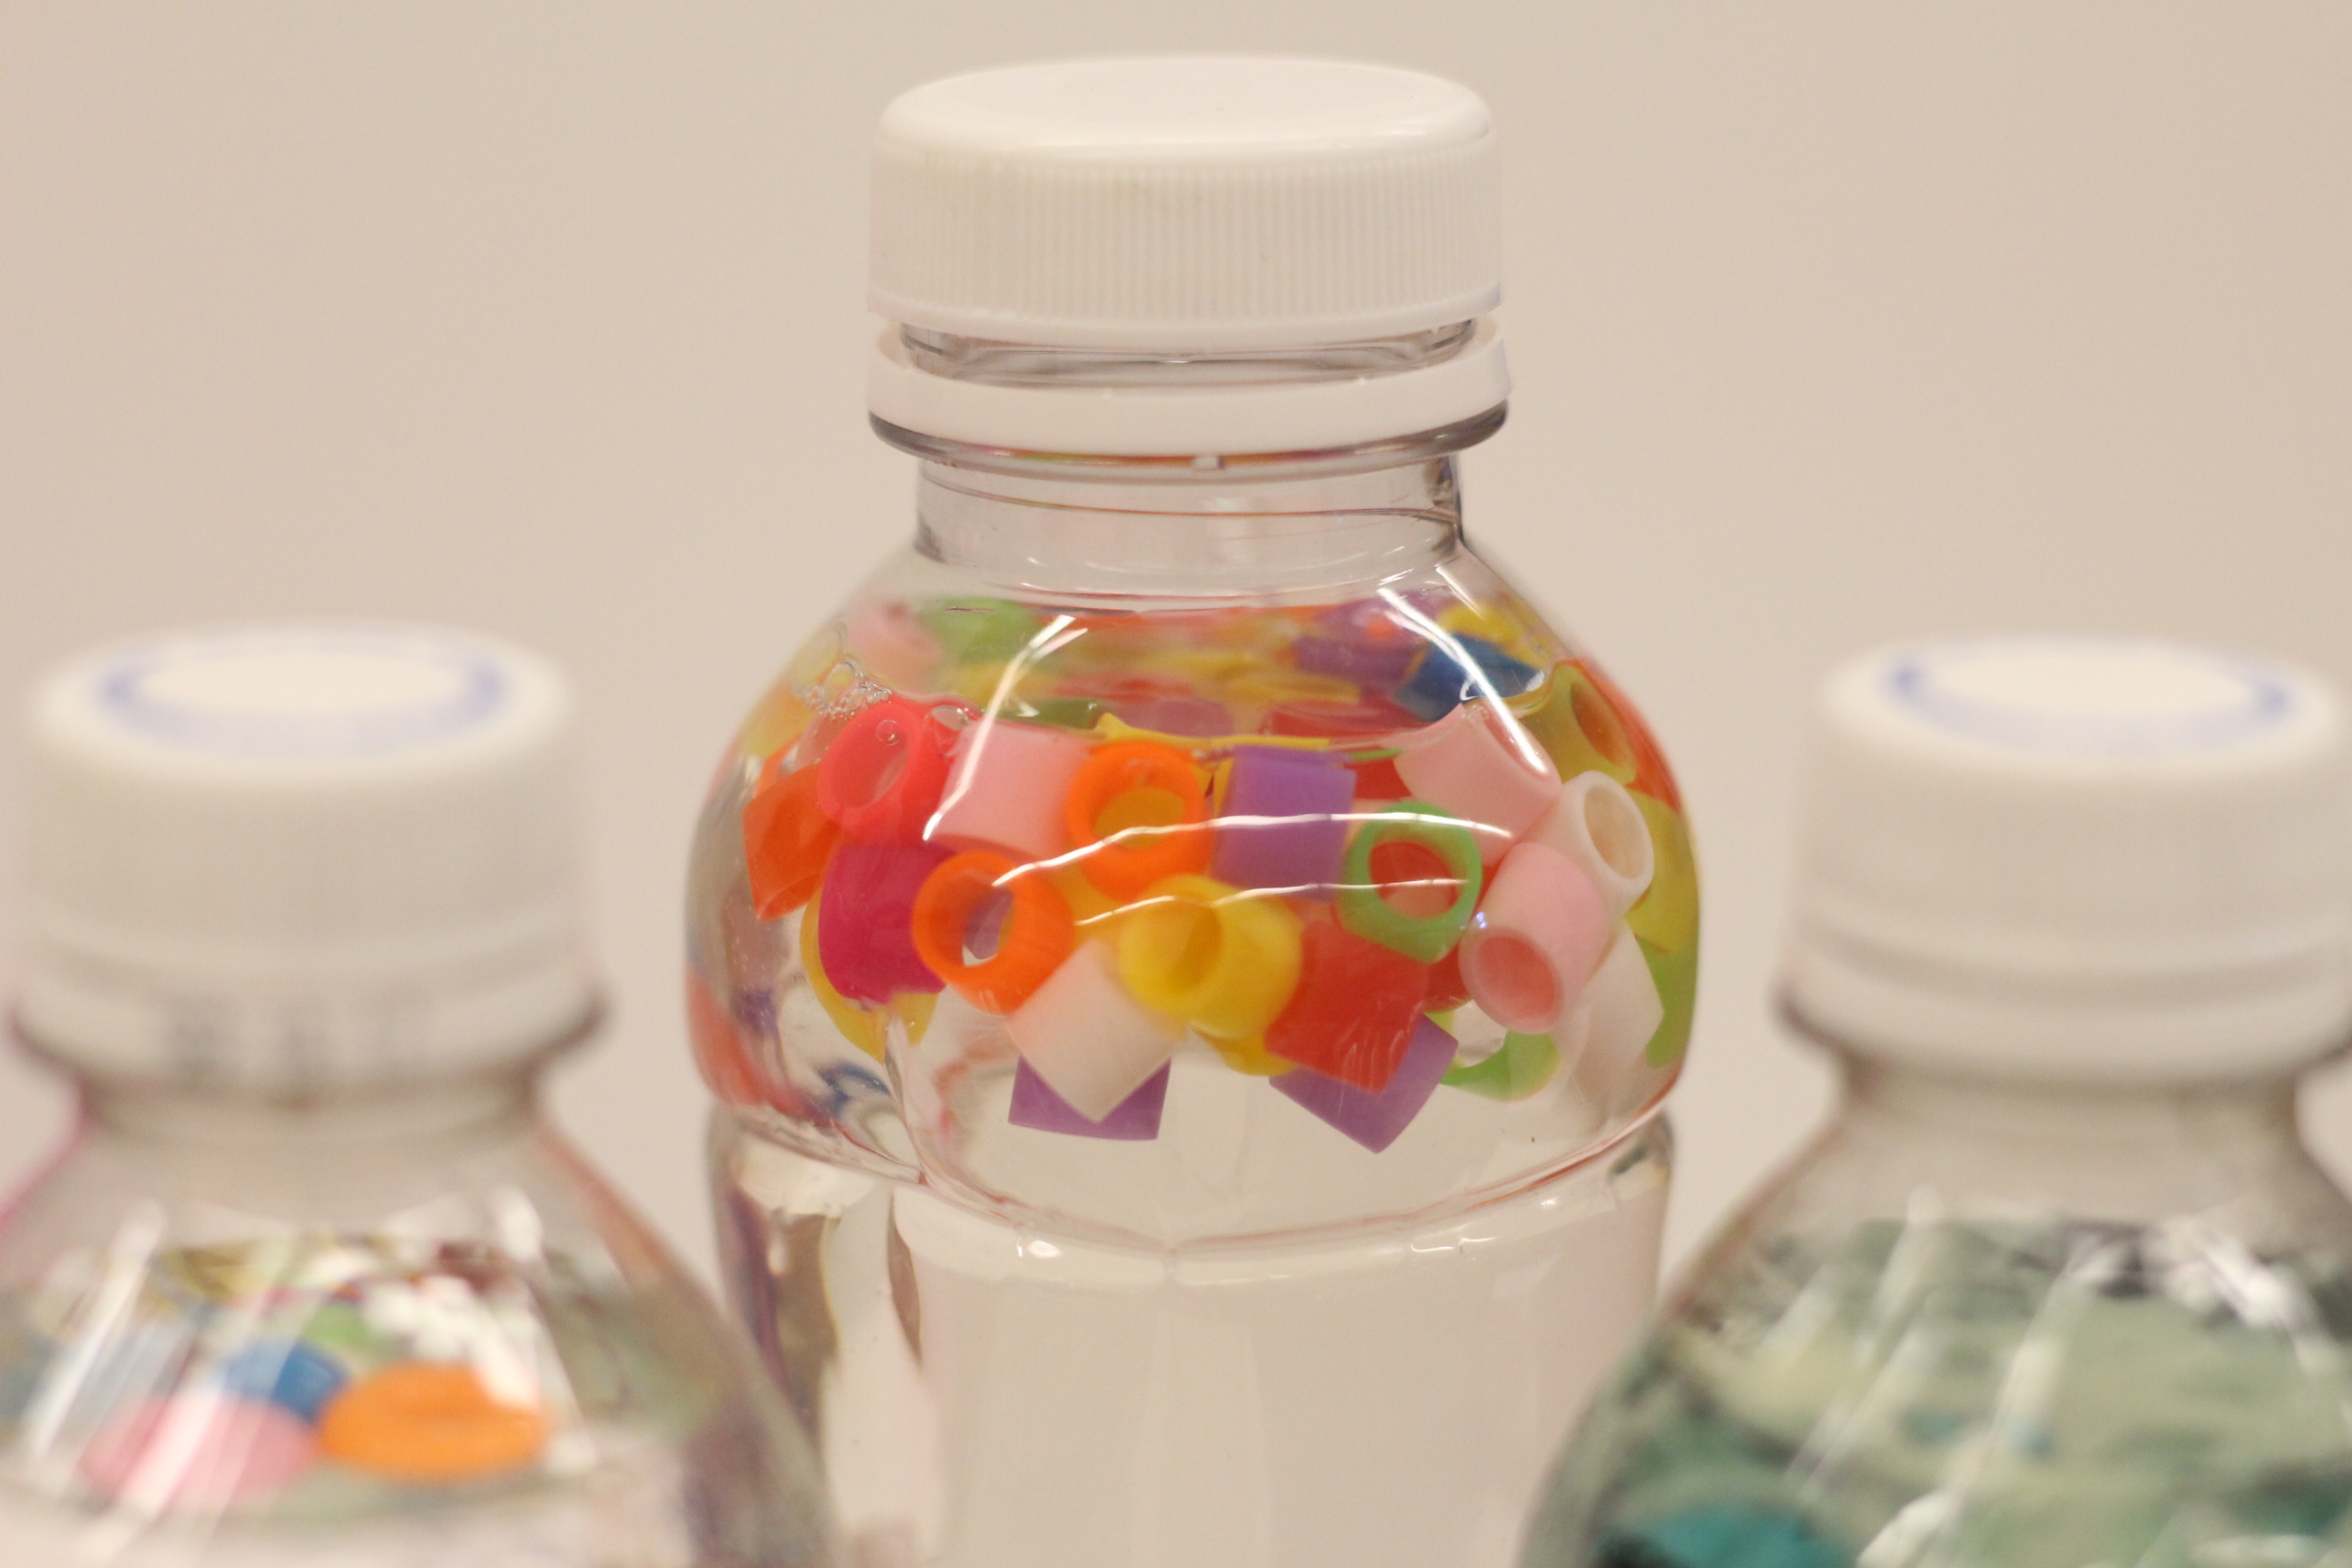
  • For mesmerizing gazes: clear dish soap and/or hair gel + colorful mini rubber bands
  • For glowing play: glow in the dark stars + glow in the dark paint + seltzer water (which glows under black light!)

Closure. Sensory bottles are not meant to be open, so run a line of strong adhesive around the mouth of the bottle before permanently screwing on the plastic cap. My favorite glue to use is E6000.

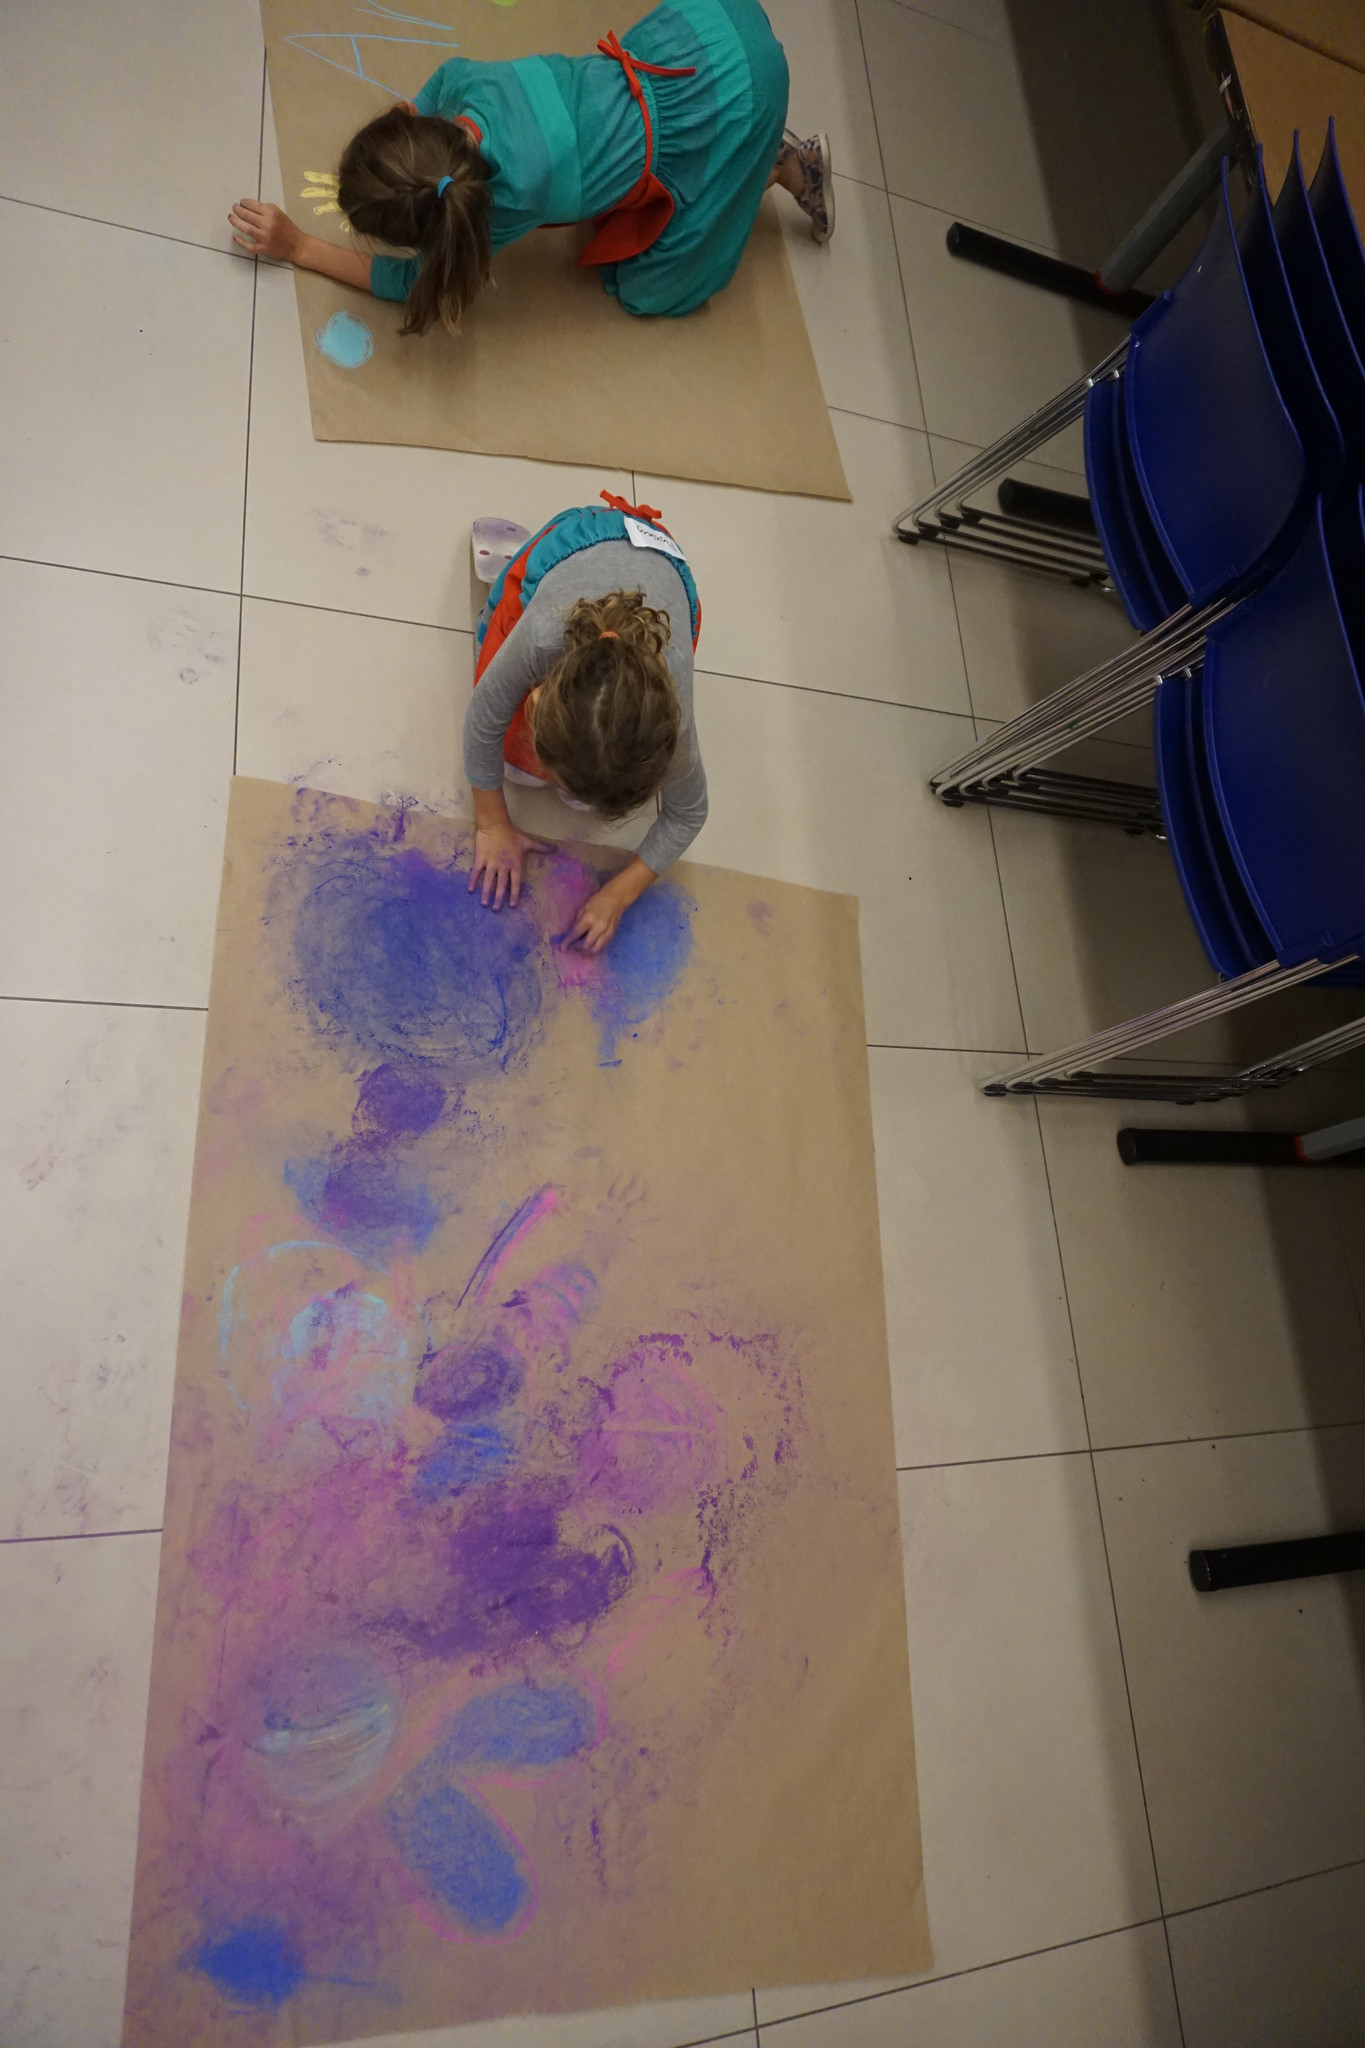
Now for the DMA Sensory Bottle Challenge—extend your Museum visit to at-home play by creating a sensory bottle inspired by a favorite work of art. Use a work of art your child has expressed an interest in as a starting point. Pay attention to the colors, shapes, lines, and objects you see in the work of art and then make a list of things you could fit into a bottle. Here’s what I came up with!
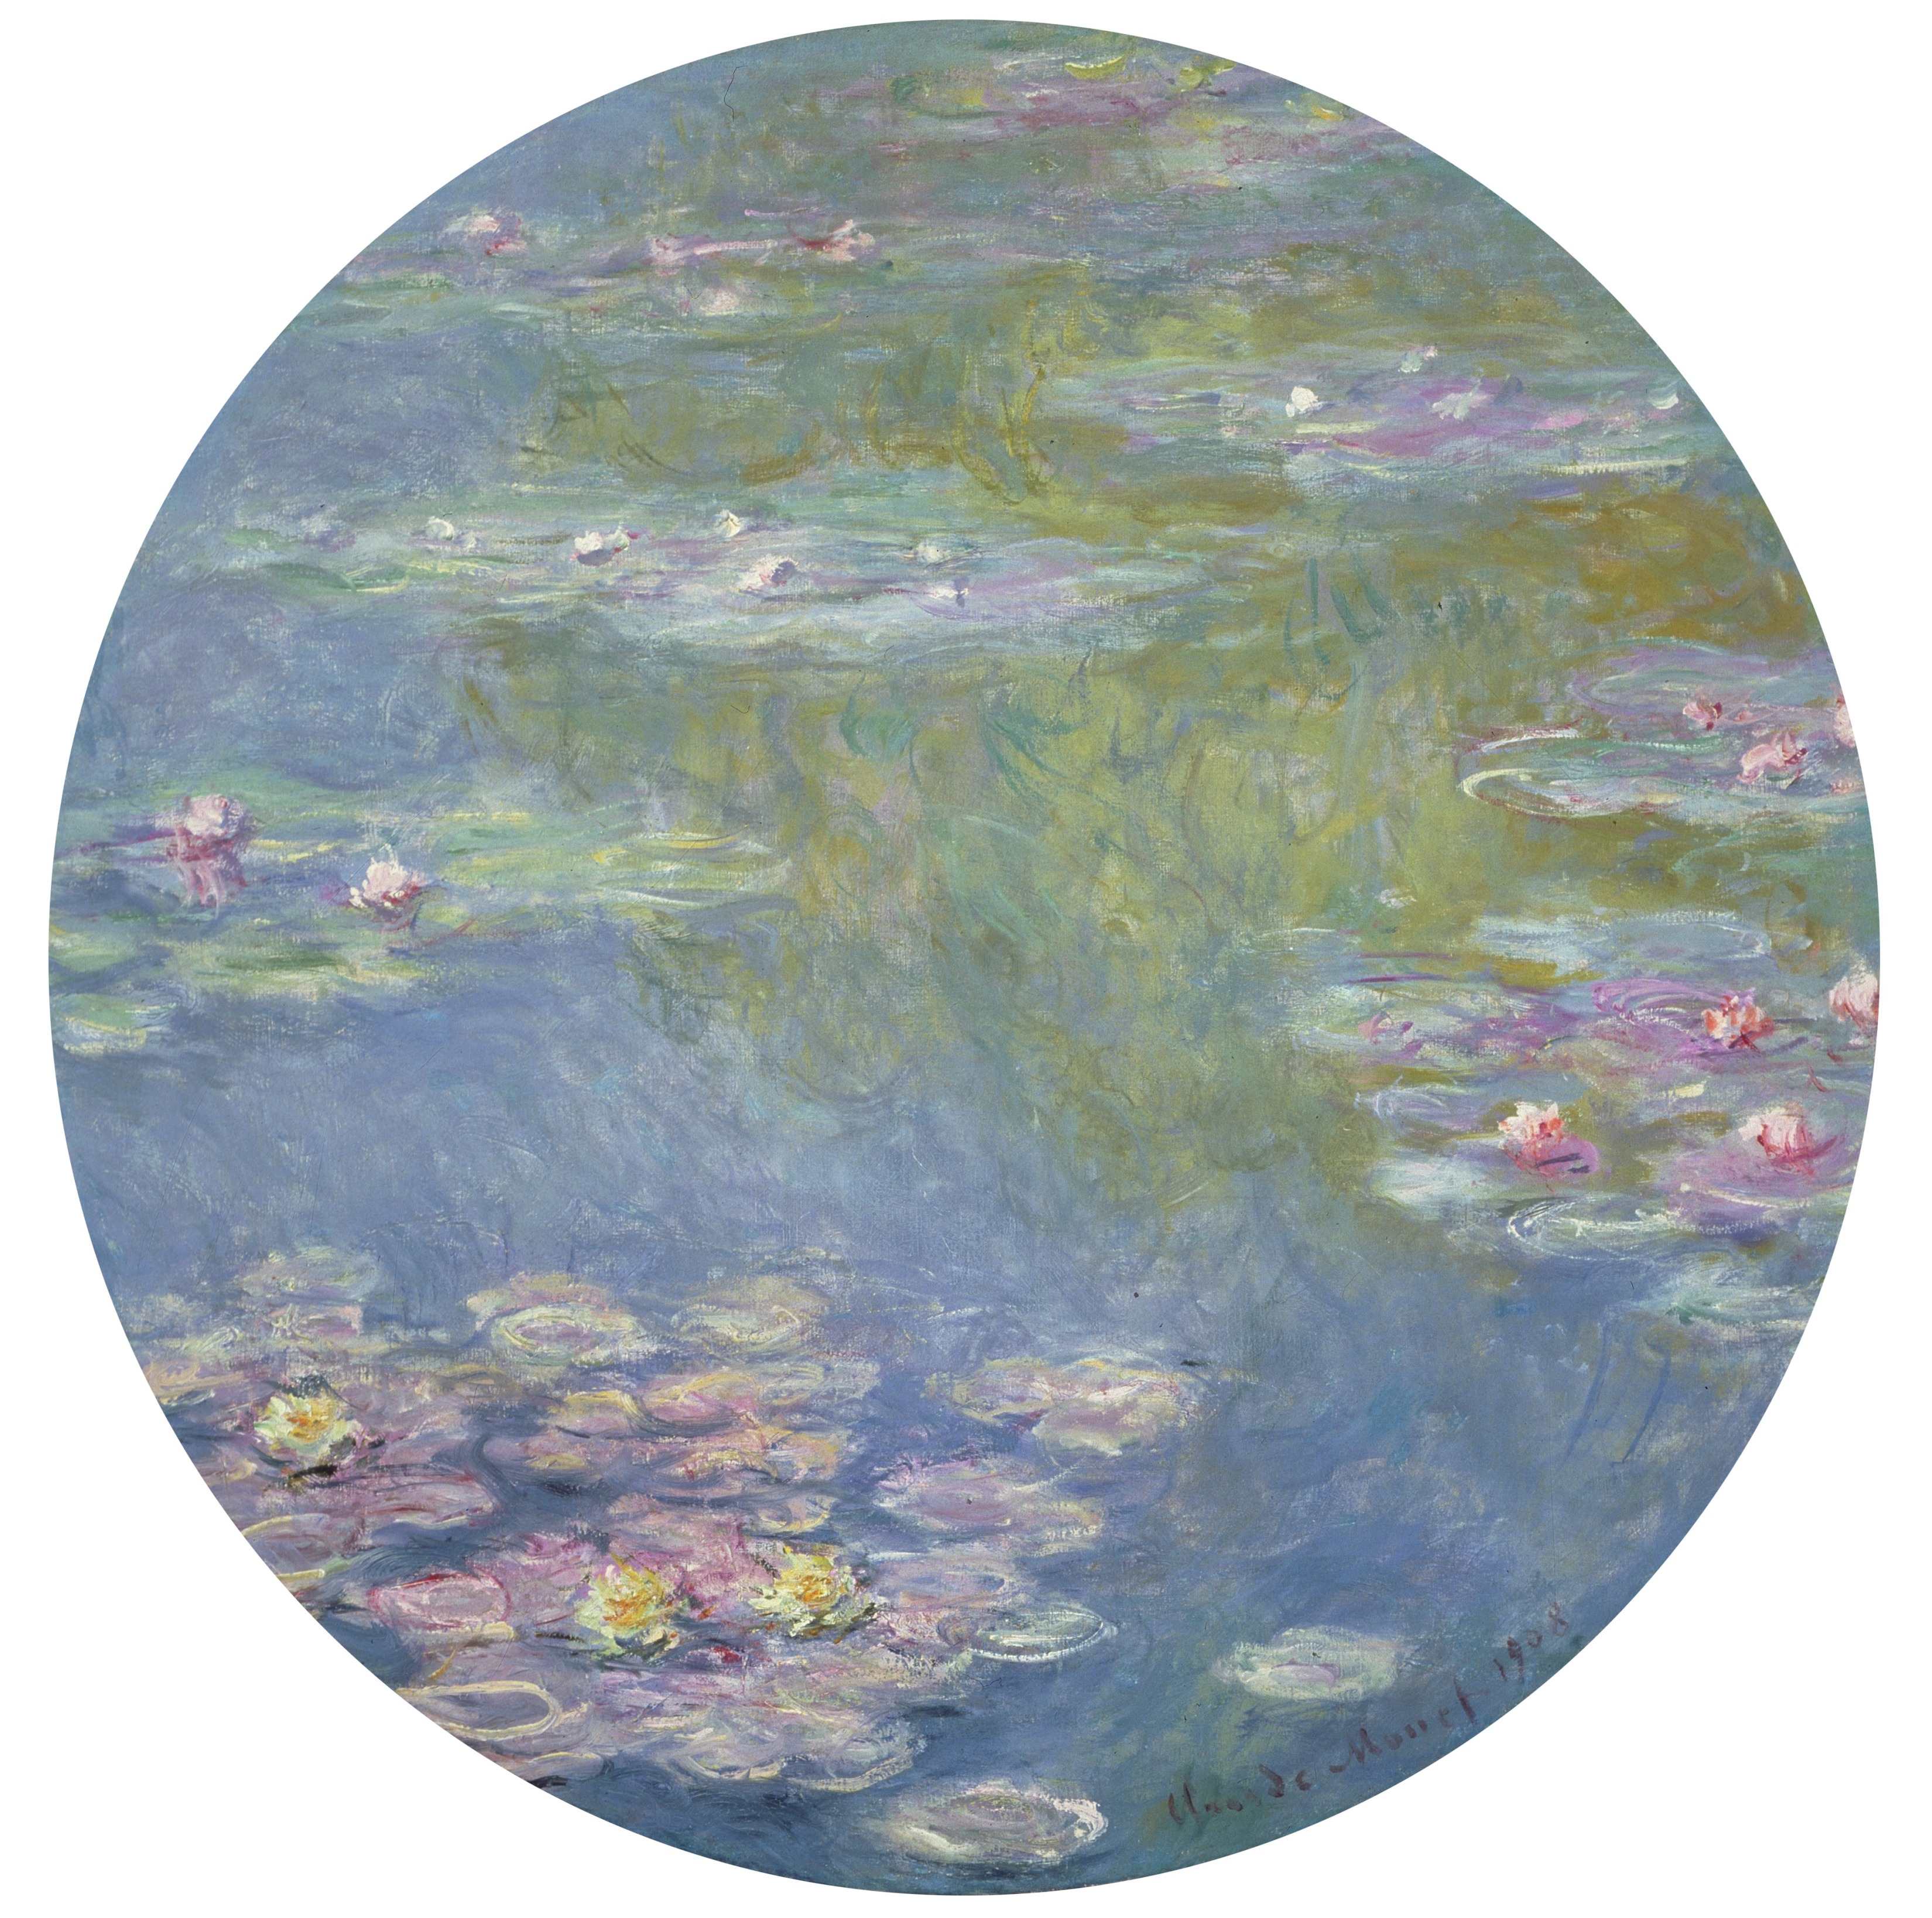
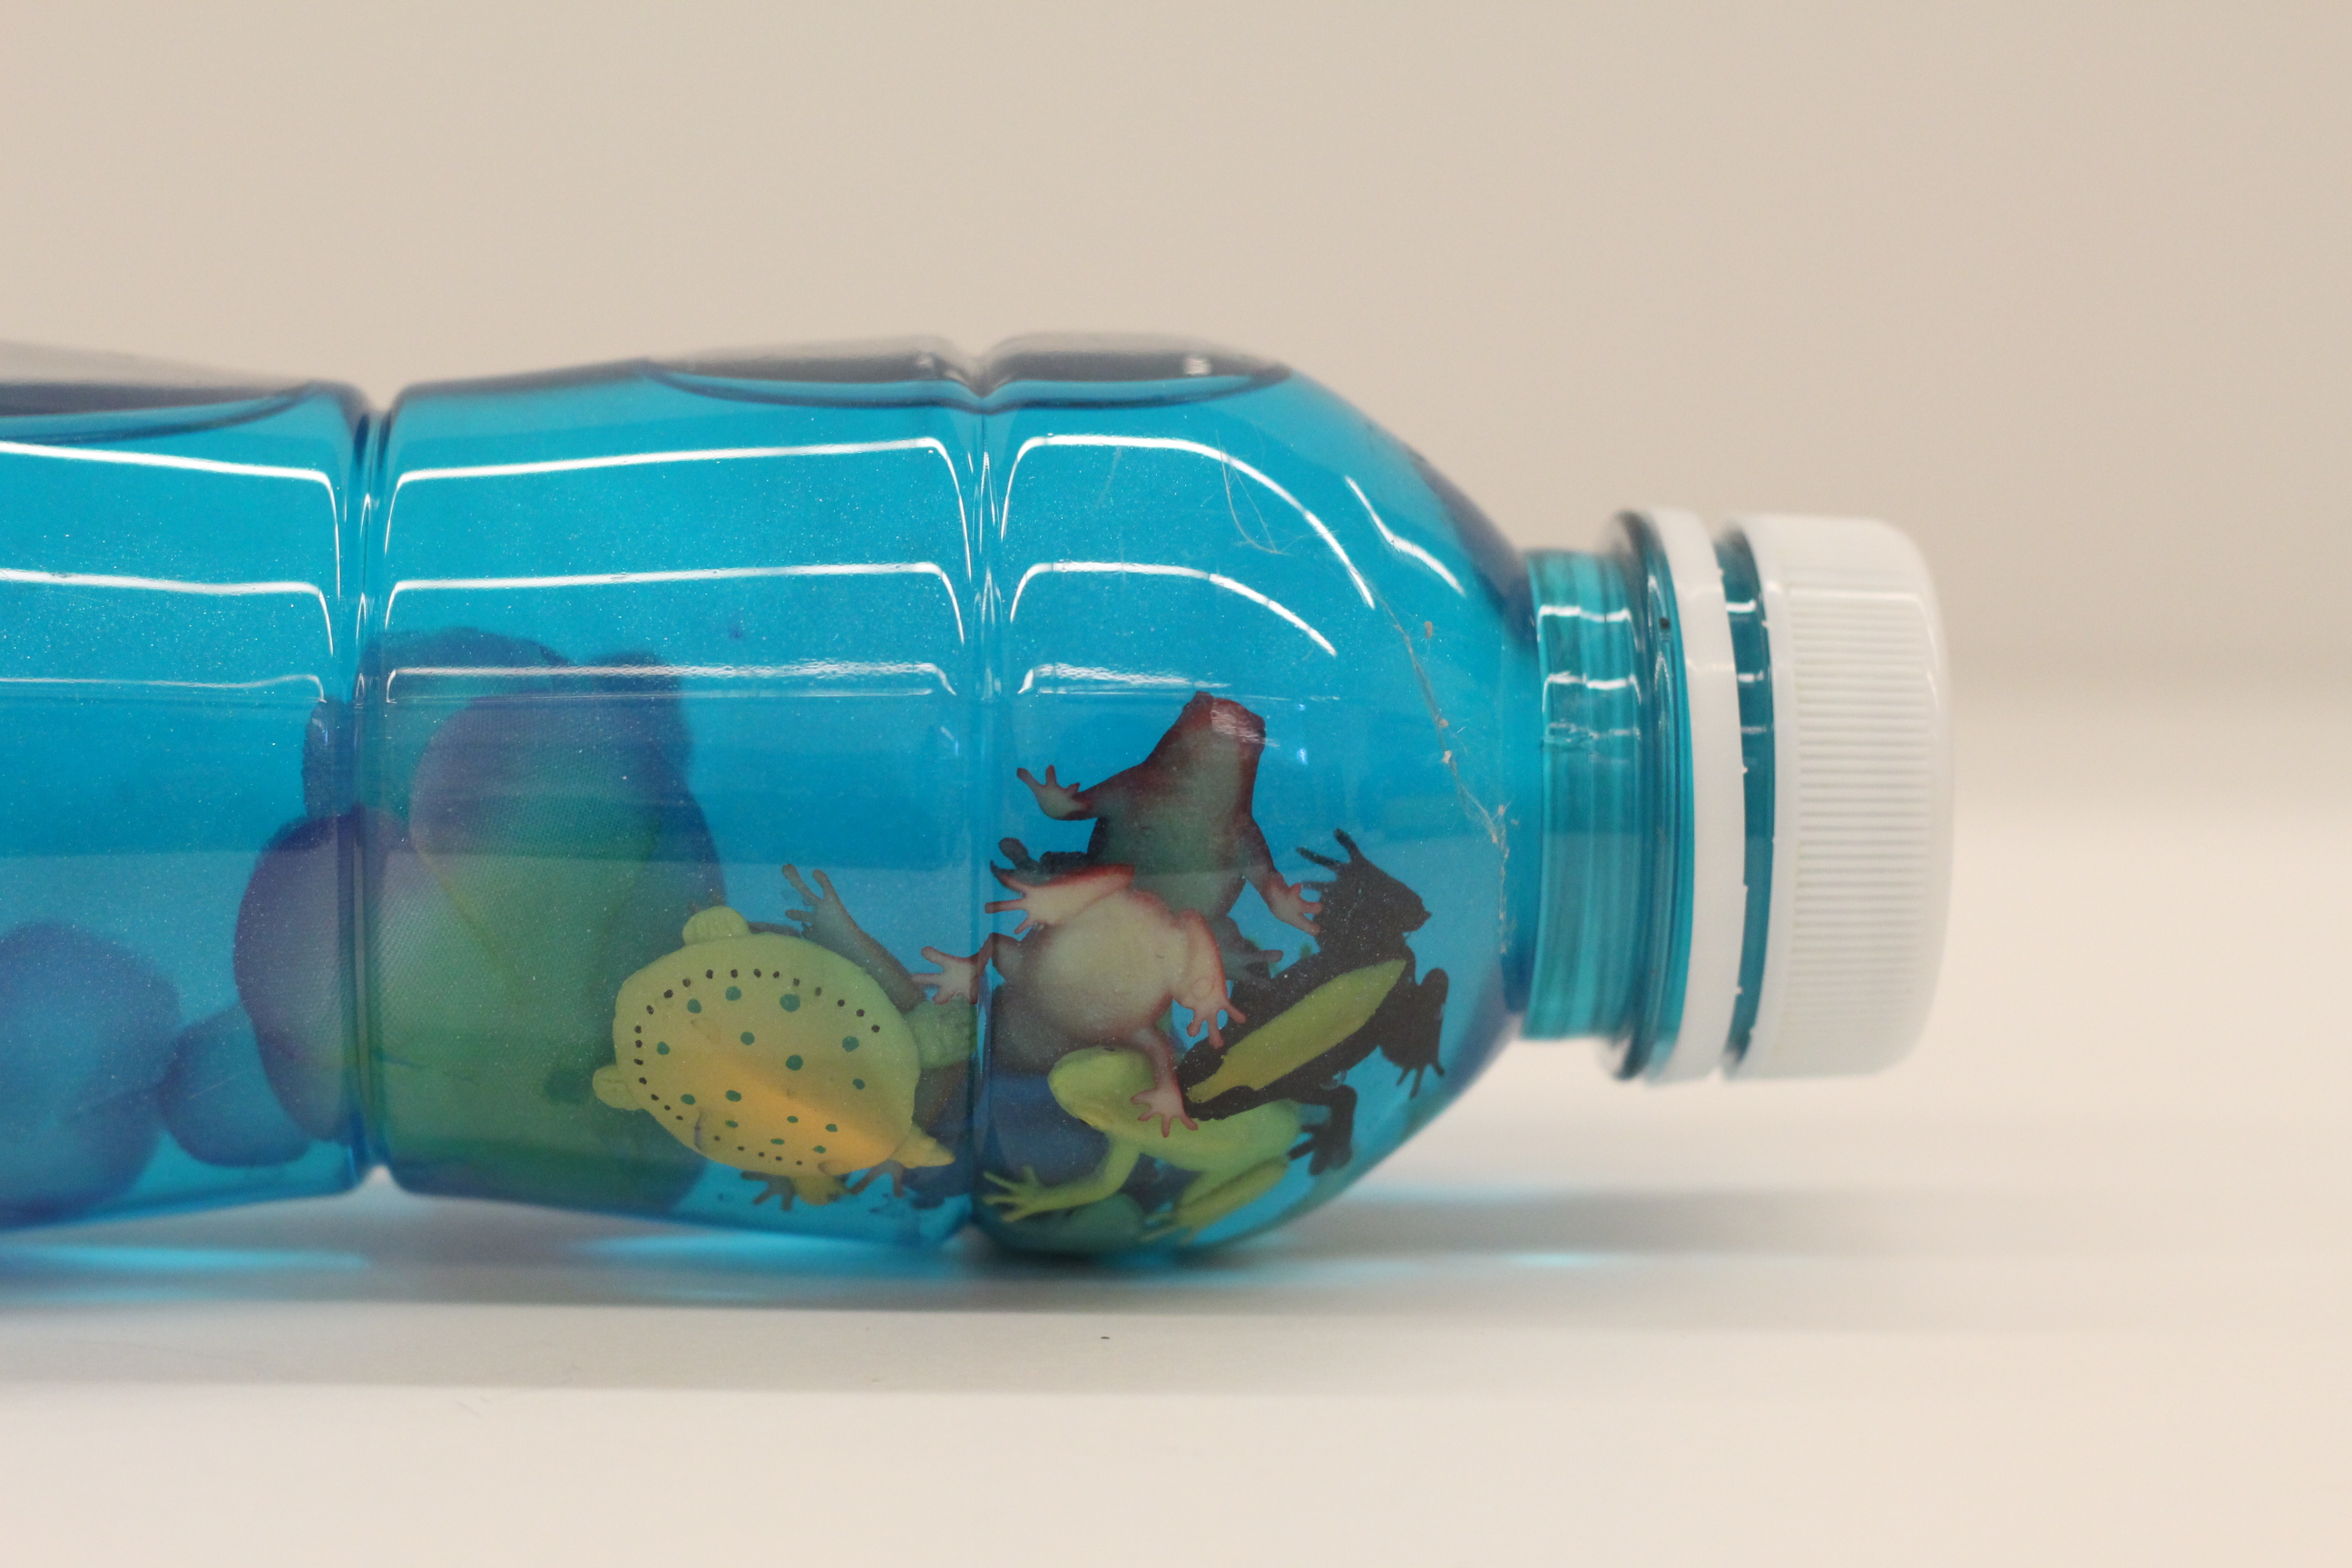
The Lily Pond Sensory Bottle—inspired by Claude Monet’s Water Lilies
Contents: Water, blue & silver liquid watercolor, toy frogs and turtles, silk flower petals
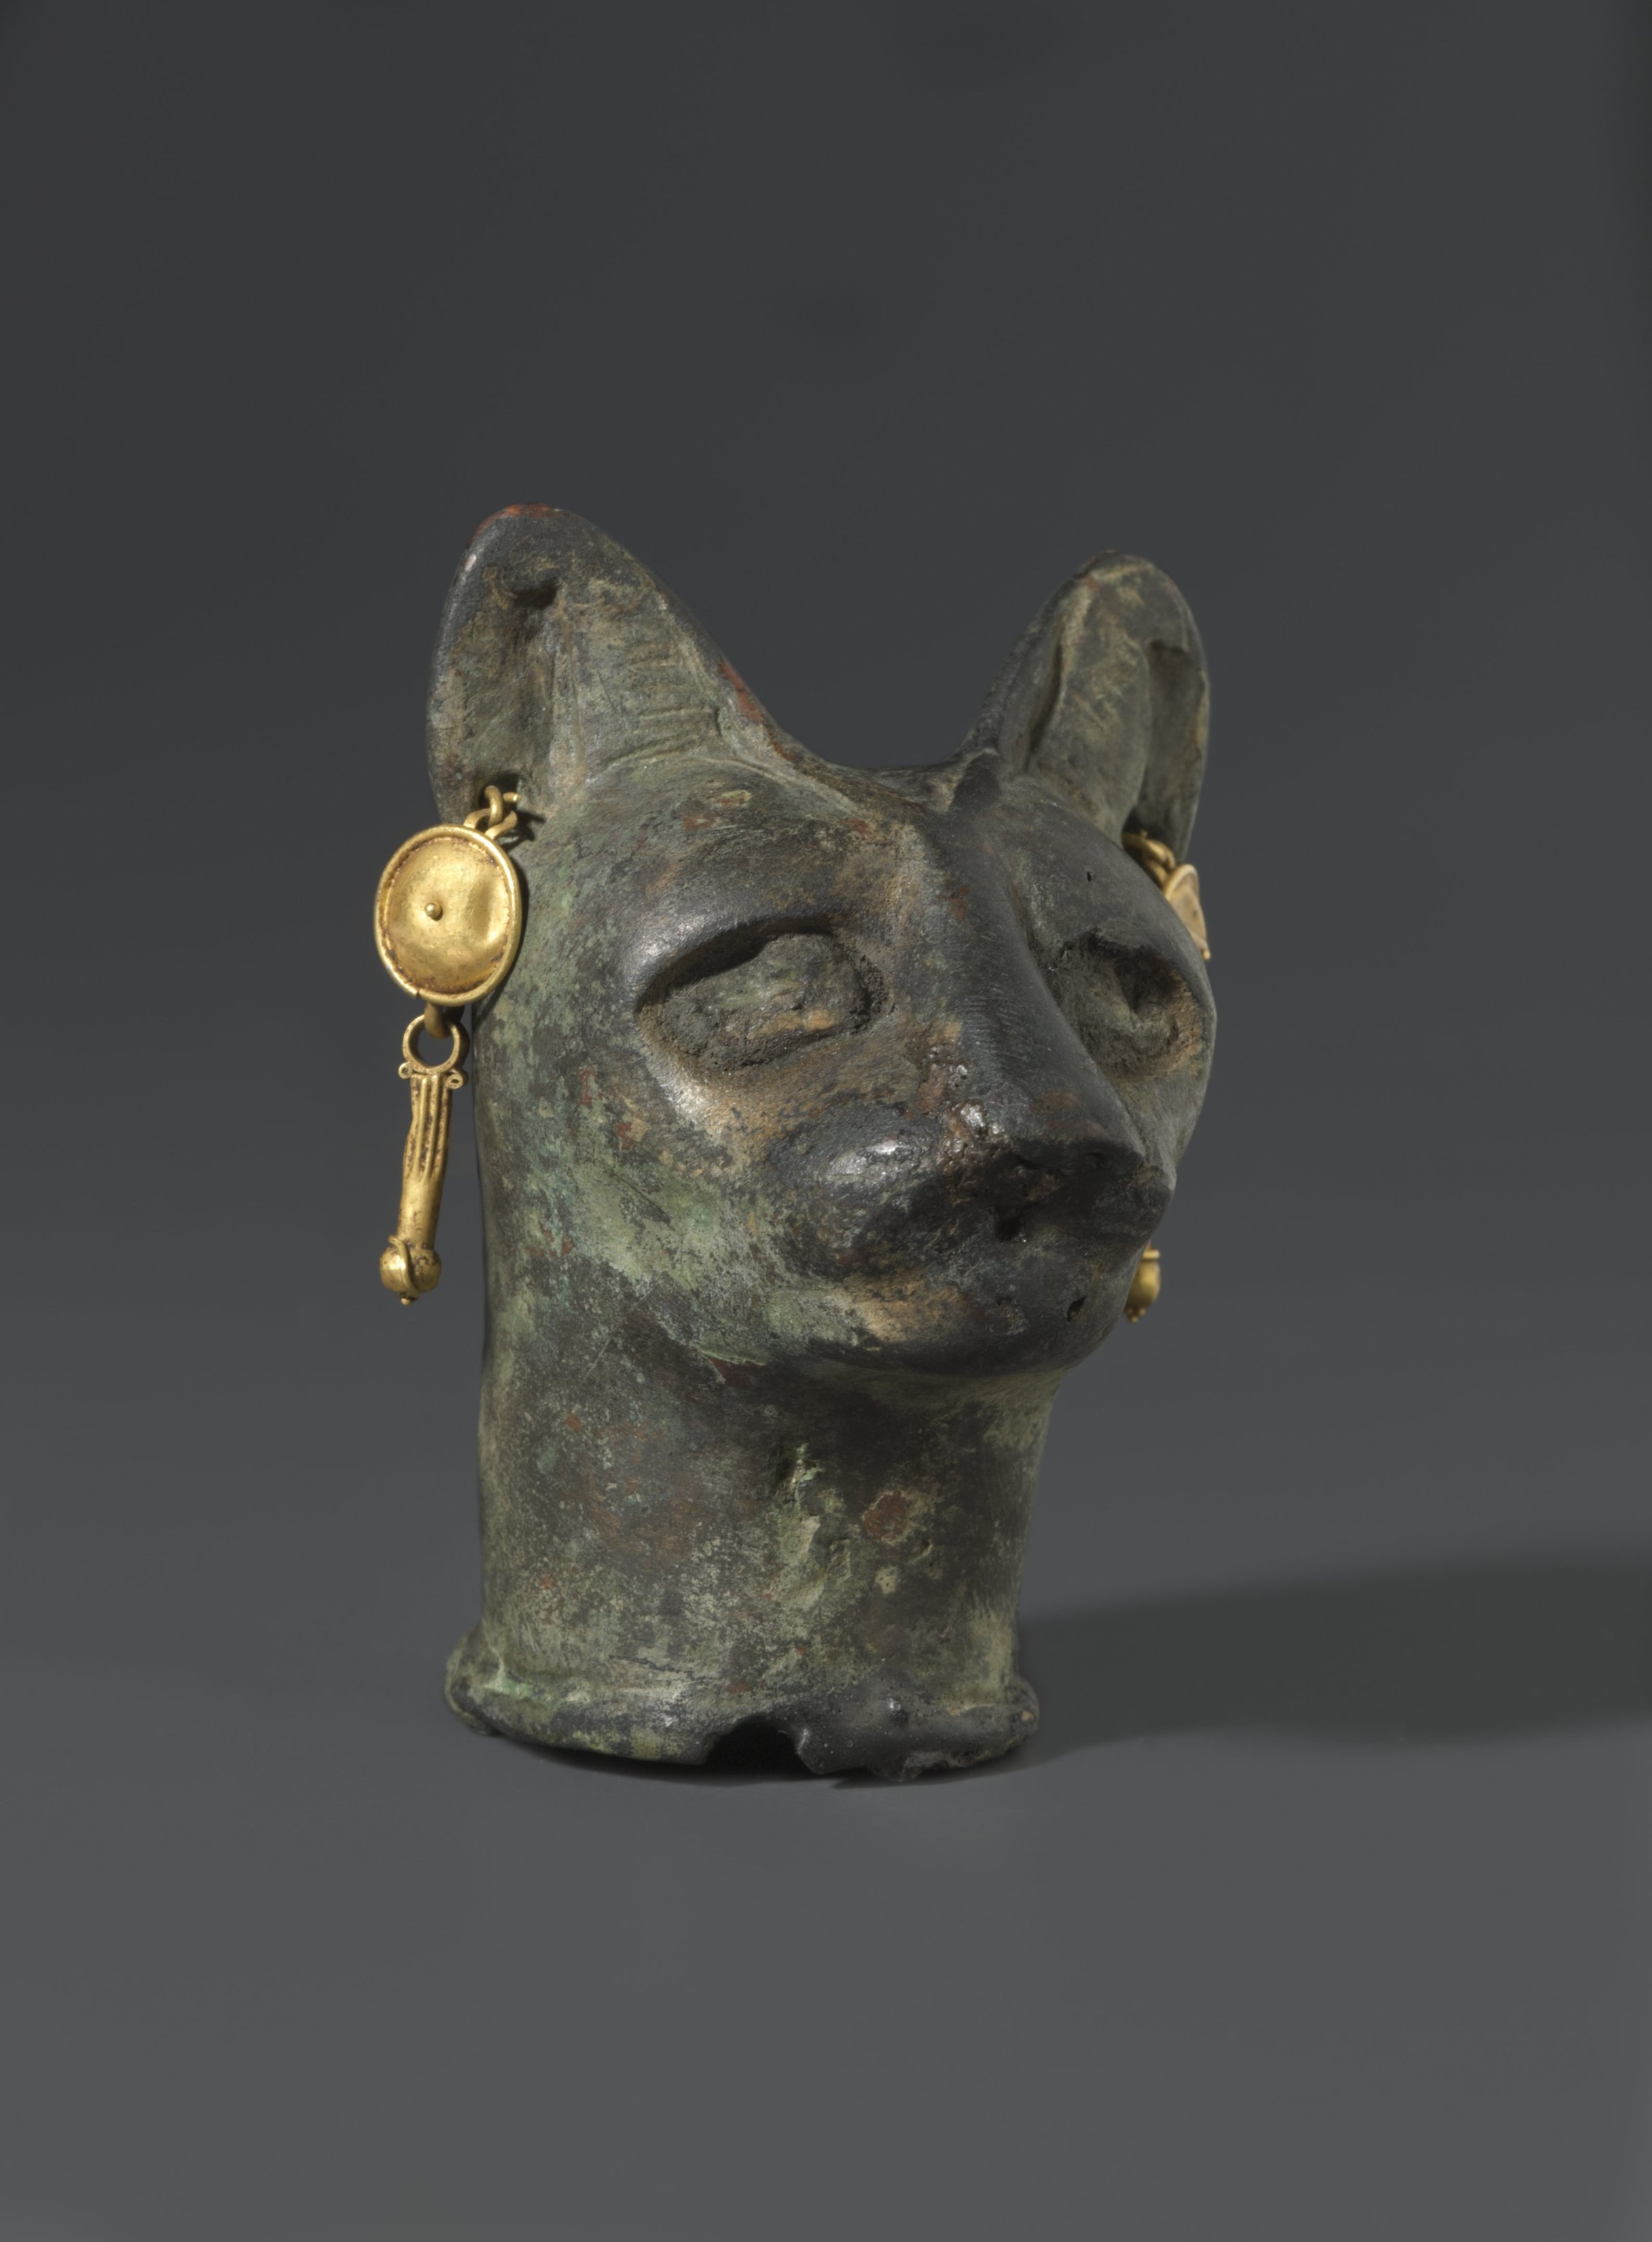
The Purrrfectly Egyptian Sensory Bottle—inspired by works of art in Divine Felines
Contents: Water + sand + gold glitter + Egyptian-themed toys

By playing with a sensory bottle, your child is gaining experience with all kinds of “big kid” concepts—gravity, density, color mixing, viscosity, cause and effect, and so much more! But more importantly in my book, they are having fun. Play on!

Leah Hanson
Manager of Family and Early Learning Programs

Friday Photos: Intern Tips

About four weeks ago, I left my home city of Los Angeles to embark on a new adventure in Dallas. Now, here I am, settled into my McDermott Internship at the Dallas Museum of Art! So, I wanted to share five tips of knowledge gathered in my four weeks of working here.

2016 McDermott Interns

1. Be on time.

I’m going to be brutally honest with you. I was late on my first day. I had my lame excuses, sure (*ahem* DART) – but nothing is worse than showing up a little pink in the cheeks and frazzled in the mind. Do your research the night before and block time in your first morning schedule for potential mishaps.

2. Be brave.

On my first day as an intern, I met loads and loads of people. They looked smart. They looked professional. They looked like they have been adulting for quite some time now. Even though I may have been the newest fish in the sea, I tried my best to be brave enough to ask my questions and make my shiny and new presence known.

DMA’s Multimedia Producer, Gregory Castillo  & me

3. Dress the part.

You’ll not only look professional but also feel more professional (and thus, confident) knowing that you are dressed to the same par as your (possibly more-adult) peers.

img_5216

4. Get to know your work environment.

Explore your new work-home while it’s still okay to look a little lost and slightly confused. Be aware of your surrounding and make a mental map of it all.

Processed with VSCO with c1 preset

Alfred.

5. Be you.

Even though this may be one of my first work ventures, I still feel my best when I am being organically me. Thus, I still am me: unfortunate jokes, crafty(ish) desk décor and all.

Here’s to many, many more weeks of lessons learned and tips to give!

Angela Medrano
McDermott Intern for Gallery and Community Teaching

Friday Photos: Mural Mania

In celebration of Nicolas Party’s installation along the Museum’s concourse, our September Home-school and Family Workshops focused on the world of murals. After walking through the “magical underwater forest” as one participant called it, families had an interactive lesson about different forms of public art, including murals, installations, and graffiti. They were challenged with a matching game of pairing local Dallas murals to their locations, followed by a riveting game of Jeo-Party, a spin on the classic game show featuring questions about the artist.

After taking another closer look at Pathway, we came back to the studio to create our own larger than life masterpieces. Using vibrant chalk pastels on large sheets of butcher paper, the young artists had a blast creating their murals!

29524214312_94c361868f_o

Our next Family Workshop is on Saturday, October 8 from 1:00-2:30 p.m. You can register and find out more information here!

Grace Diepenbrock
McDermott Intern for Family and Access Teaching

Communication Across the Ages

This week, the Center for Creative Connections installed an array of communication devices dating from 1909 to 1972. These objects demonstrate the dramatic change communication has undergone over the past century: devices have decreased in size to become more portable, while our ability to communicate with each other has become more immediate. 


Before texts and tweets, messages were sent and received by post or telegraph. Imagine sitting at a desk in the early 1900s and using these beautifully designed, handcrafted tools. Perhaps you are opening an envelope or dipping your pen in an inkwell to compose a letter to a dear friend. “Snail mail” would have been the only way to correspond with your out-of-town friends and family. According to the U.S. Postal Service, from 1926 to 2001, the number of items mailed steadily increased from 15 million to 103 million. However, this number had decreased to 62 billion by 2015. Today, instead of waiting days to send and receive a letter, we can simply send a quick text or email that arrives in mere seconds.


One of the first cameras to be marketed to women, the Kodak Petite was produced from 1929-1933. It was sold in a handful of colors and its small lightweight design made it easily portable. Today, anyone with a smartphone has access to camera at all times. It’s interesting to note that when the Kodak Petite is closed, it is roughly the size of a modern day smartphone.


Until the birth of radio and television in the 1920s, information, news, and entertainment were dispersed to the masses through printed materials like newspapers. This 1930’s Bluebird is a small personal radio, similar in color and design to the larger Nocturne radio in the Museum’s collection. Though this elegant radio may have been outside the budget of most living through The Great Depression, the medium itself remained an important aspect of everyday life in the early 20th century. The way we listen to music has certainly changed today. Instead of waiting for our favorite song to come on the radio, we have access to podcasts and programs like Spotify, which make listening to shows and songs possible practically anytime.


The Ericofon was the 1950s version of an all-in-one device. This one-piece phone combined the once separate dialing component with the listening/speaking component. At the time, it’s thirteen ounce weight was a huge improvement on the typical five or six pound telephone.


Reminiscent of an astronaut’s helmet, the JVC Videosphere’s spherical design came on the heels of the first moon landing–doubly significant because the landing was televised. The Videosphere was one of the first televisions meant to function as “a second set” for a household. Its small size also indicates that it was designed for use by an individual rather than a group.

Perhaps what is most striking about all of these devices is that each of these modes of communication is readily available today in one small, handheld device. Stop by the Center for Creative Connections to see these works of art in person and consider how communication has changed in your lifetime. 


Artworks shown:

  • Gustav Stickley, Desk set, c. 1909, Dallas Museum of Art, gift of Beth Cathers and Robert Kaplan
  • Walter Dorwin Teague, “Kodak petite” camera, designed c. 1927, Dallas Museum of Art, gift of David T. Owsley
  • Walter Dorwin Teague, Bluebird radio (Model 566), designed c. 1934, Dallas Museum of Art, bequest of Sonny Burt, Dallas
  • “Ericofon” pattern telephone, Telefonaktiebolaget L M Ericsson, designed 1949–1954, Dallas Museum of Art, 20th-Century Design Fund
  • “JVC Videosphere” television, Victor Company of Japan, designed 1972, Dallas Museum of Art, 20th-Century Design Fund

Jessica Fuentes
Manager of Gallery Interpretation and the Center for Creative Connections

Friday Photos: Welcome Baby Edie!

We’ve been eagerly waiting the arrival of our newest “member” of the Education staff here at the DMA for a long time. She’s already been to a lot of meetings, participated in many Museum events, and been behind the scenes on a lot of decisions–all before she was even born! On September 6, weighing in at 8 lbs 6 oz and 21 inches long, Edith Grace Blake made her entrance into the world, and we couldn’t be happier. Amanda Blake, Interim Director of Education and Head of Family, Access, and School Experiences here at the DMA, and her husband Ed are the proud parents. Edie is named for her great-grandmothers, and lovingly watched over by her bestie westie, George.

Mom reports that Edie is a champ at eating, smiling, and making her voice be heard. Here at the Museum, we already think that she’s a star. Welcome to the world, baby girl!

Leah Hanson
Manager of Family and Early Learning Programs

All Access Guide to the Museum: Dementia

We believe museums should be fun and engaging for everyone, so in this month’s installment of All Access Guide to the Museum, we’d like to share some tips for creating an enjoyable visit for visitors with dementia.

mm1

  • Plan your visit in advance through the DMA’s website to find information about parking, dining options, and more.
  • Take a load off! Wheelchairs are available free of charge on a first-come, first-served basis. All Museum galleries are accessible to wheelchair users and those who may want to avoid stairs.
  • You don’t have to see it all in one day! Plan to look at only a few works of art that spark your interest and take breaks to sit and reflect. General admission to the Museum is free and you can return again and again!
  • Consider the interests of the person you care for when choosing which galleries of the Museum to visit. You can explore the Museum’s collection online in advance, or see what catches your eyes when you arrive. If the person you care for has a special interest, try searching the Museum’s online collection for related works of art, such as “dog” or “Italy.
  • Spend time with a work of art. Begin by just looking and reflecting. Ask the person you care for to describe what they see using questions about things like colors or shapes. Encourage them to express themselves through movement, such as acting out the facial expression or pose of a portrait. Create your own story to go with a work of art.27800664023_4f799bba63_k
  • Bring some small sensory objects that connect to a work of art. For example, if you are admiring a beach scene, feeling a seashell may inspire more connections to the work of art. You can also listen to music with headphones or repurpose old spice jars into scent jars to evoke the smells of an object.1472657932-dmameaningfulmoments_al001
  • If the person you care for connects with a work of art, take note! You can revisit the object again from the comfort of your home through the DMA’s online collection. Print out images of the object and hang them up in the room of the person you care for, so they can revisit and enjoy them often.
  • If you prefer to plan your visit during non-peak hours, you may want to come September through May (Tuesday-Friday, after 1:00 pm). If you are planning your visit during Summer, Spring Break, or holidays, you may want to visit Tuesday-Friday, 11:00 am to 1:00 pm.
  • Some of our galleries are often less crowded and quieter than other areas of the Museum: Wendy & Emery Reves Collection, Decorative Arts & Design, Conservation Studio and Gallery, and Ancient American Art. A map of the Museum is available here. 17170929235_a4656f016b_k

We invite visitors with early stage dementia and their care partners to participate in our monthly art program on the third Tuesday of every month. Designed specifically for individuals with early stage dementia and their family members or caregivers, Meaningful Moments includes a gallery discussion, an interactive component, and an art-making activity. Participants will have the chance to relax and connect with art in the galleries, share stories, and gain inspiration.

You can find out more from our recent Meaningful Moments profile in the Dallas Morning News. The program is free, but reservations are required and space is limited. For more information or to register, call 214-922-1324 or e-mail access@DMA.org.

Emily Wiskera
Manager of Access Programs

Friday Photos: North Texas Giving

North Texas Giving Day is right around the corner–September 22 to be exact! To get in the giving spirit, visit the Center for Creative Connections this weekend and participate in a community project all about giving.

Make a button about how or why you give back to your community. Leave your button to inspire someone and take another that inspires you!

Jessica Fuentes
Manager of Gallery Interpretation and the Center for Creative Connections

DIY Shaving Cream Art

If you asked me what the most popular art supply was in camp this summer, my answer wouldn’t be paint. It wouldn’t be clay, it wouldn’t be paper – it wouldn’t even be hot glue. It would be…

dsc05535

shaving cream!

You read that correctly. Not just one but SIX of our summer camps had a day when they made masterpieces using shaving cream. Our teachers this year were certainly inspired by this unconventional material! What other material could you use to marble paper, mix your own textured paint, make the freshest smelling foam dough, AND clean everything up afterwards?

As for what the campers thought, let me offer this quote overheard in carpool:

“Mom, we made art out of SHAVING CREAM today!!!” (Extra exclamation marks included.)

What you need:

  • A can of foaming shaving cream. I used Barbasol; shaving cream that comes out as a gel won’t work here!
  • A cookie sheet, which you’ll fill with a layer of shaving cream.
  • Various colors of paint. Nearly anything will do: tempera, acrylic, liquid watercolor, and food coloring are just a few ideas.
  • Craft sticks.
  • A ruler.
  • Heavyweight paper. You need something like watercolor paper or thick cardstock – thinner paper will warp, dissolve, and tear from all the moisture in the shaving cream.

dsc08753-2

When coming up with the plan for my print, I looked to a piece of art that’s inspired cookie decorating (twice!) and marshmallow peep art made by DMA staffers: Odalisque (Hey, Hey Frankenthaler) by Lynda Benglis. The twisty poured latex shapes were fun to recreate by swirling paint through the shaving cream.

You can see how I made my print in the slideshow below:

Once you’ve scraped the foam off your print, lay it flat so it can dry. Your paper may start to curl up at the corners, but that’s not anything a little time under a heavy book can’t fix. You can continue to make prints using the remaining shaving cream in your cookie sheet with the paint already there or by adding more paint and swirling with a craft stick again.

When you’re all done, admire your finished prints as they are or turn them into thank you cards, backgrounds for imaginative drawings, or anything else you can think of!

dsc08955-3

The neat part about this technique is that it can be used on more than just paper. Try using acrylic or fabric paint to print cool rainbow bandanas. Even food coloring can be used to dye Easter eggs! For more fun, check out these other shaving cream ideas:

What crazy craft can you come up with?

Jennifer Sheppard
Teaching Specialist


Friday Photos: C3 Volunteer Spotlight

The Center for Creative Connections (C3) is fortunate to have a number of amazing volunteers. From engaging visitors in conversations about art to maintaining supplies, volunteers play a key role in the C3 experience. Today we’d like to recognize four dedicated C3 volunteers: Mary Burkhead, Ryan Heerwagen, Briana Segarra, and Deborah Herring.

Mary Burkhead has been volunteering at the DMA for more than three years. She loves visiting museums and believes that being a volunteer has made her a more engaged and appreciative patron. When she is not volunteering, you can find Mary reading and attending theater, opera, and music performances.

Ryan Heerwagen has been a C3 volunteer for over two years. He enjoys having access to works of art and doing something that helps the community. When he is not at the DMA, Ryan can be found reading, playing video games, running a religious studies group, and consuming all of the knowledge the world has to offer.

Briana Segarra has been volunteering since December 2015. Volunteering in the C3 gallery satisfies her love for art and education. She also finds it nearly impossible to leave without a sense of fulfillment. In her free time, Briana can be found helping out at two local galleries, traveling, and educating future artists.

Deborah Herring began volunteering more than four years ago after retiring as an educator. She volunteers in order to stay connected to the creative world and to encourage visitors to have a worthwhile experience. In her spare time, Deborah loves knitting, playing Pokemon GO, and exploring places that encourage walking.

We are so thankful to have such a wonderful group of volunteers! If you are interested in becoming a Museum volunteer, please email volunteers@DMA.org for additional information.

Andi Orkin
Volunteer Coordinator for Programming

How to Own Your Face

This year is the 25th anniversary of the DMA’s literary and performing arts series Arts & Letters Live! We celebrated this great achievement with a fantastic lineup of award-winning authors and performers earlier this spring, and then decided to extend the celebrating this fall. We’ve scheduled six programs that strongly connect to the DMA’s collection, and one of them is a wonderful book about celebrating our differences.

Robert Hoge

The Australian author Robert Hoge was born with a tumor the size of a tennis ball in the middle of his face and short, twisted legs. The surgeons were able to remove the tumor and built a new nose using one of his toes! He survived, but his face would never be the same.

This didn’t stop Robert, though. He played pranks, got into trouble, had adventures with his big family, and finally found a sport that was perfect for him to play. Then he had to come face to face with the biggest decision of his life: undergo a dangerous surgical procedure that might make him look less different but potentially make him blind, or live with his “ugly” face forever.

His memoir Ugly, designed for middle grade readers and older, offers a powerful message about being yourself, shaking off bullying, and accepting your appearance–themes we can all embrace!

“We all have scars only we can own.” —Robert Hoge

Hoge

Robert Hoge: Own Your Face

Sunday, September 11, 3:00 p.m.
Promotional Partner: TEDxSMU

Buy Tickets


At 2:00 p.m.: Join us for a pre-event tour of art that explores self-image and ideas of beauty, including Frida Kahlo’s Self-Portrait Very Ugly. Tour sign-up will begin 30 minutes prior to the start time. Tour space is limited and is first-come, first-served.

Madeleine Fitzgerald
Audience Relations Coordinator


Archives

Categories