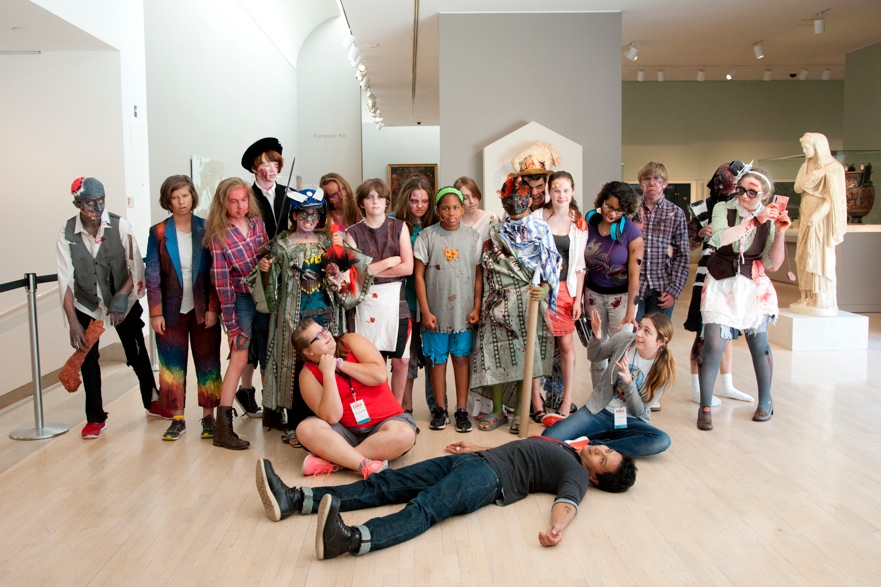
The zombie apocalypse hits the DMA.
Six months ago, I asked a few of our Teen Advisory Council members to suggest ideas for classes at the DMA that they would want to attend (be careful what you ask for!). The result was our first-ever zombie camp: a week-long series of workshops where the participants were asked to create an original zombie design inspired by a work of art. Secretly, it gave me the opportunity to make a fun, STEAM-based class with 21st century skill development sprinkled in. The primary goals for the camp were to incorporate art and science, and to connect students with local experts.
The camp was divided into three parts: learning, ideation, and creation. To help understand zombie behavior and morphology, Perot Museum of Nature and Science Educator Melinda Ludwig led a (sheep’s) brain dissection experiment focused on the centers of locomotion, smell, and speech; Meadows Museum Educator and medical illustrator Mary Jordan led an anatomical drawing session featuring the musculature and skeletal structure of the skull; and Mara Richards, Manager of Education Programs at the Dallas Theater Center led a movement workshop to think about how zombies inspired by works of art would move.
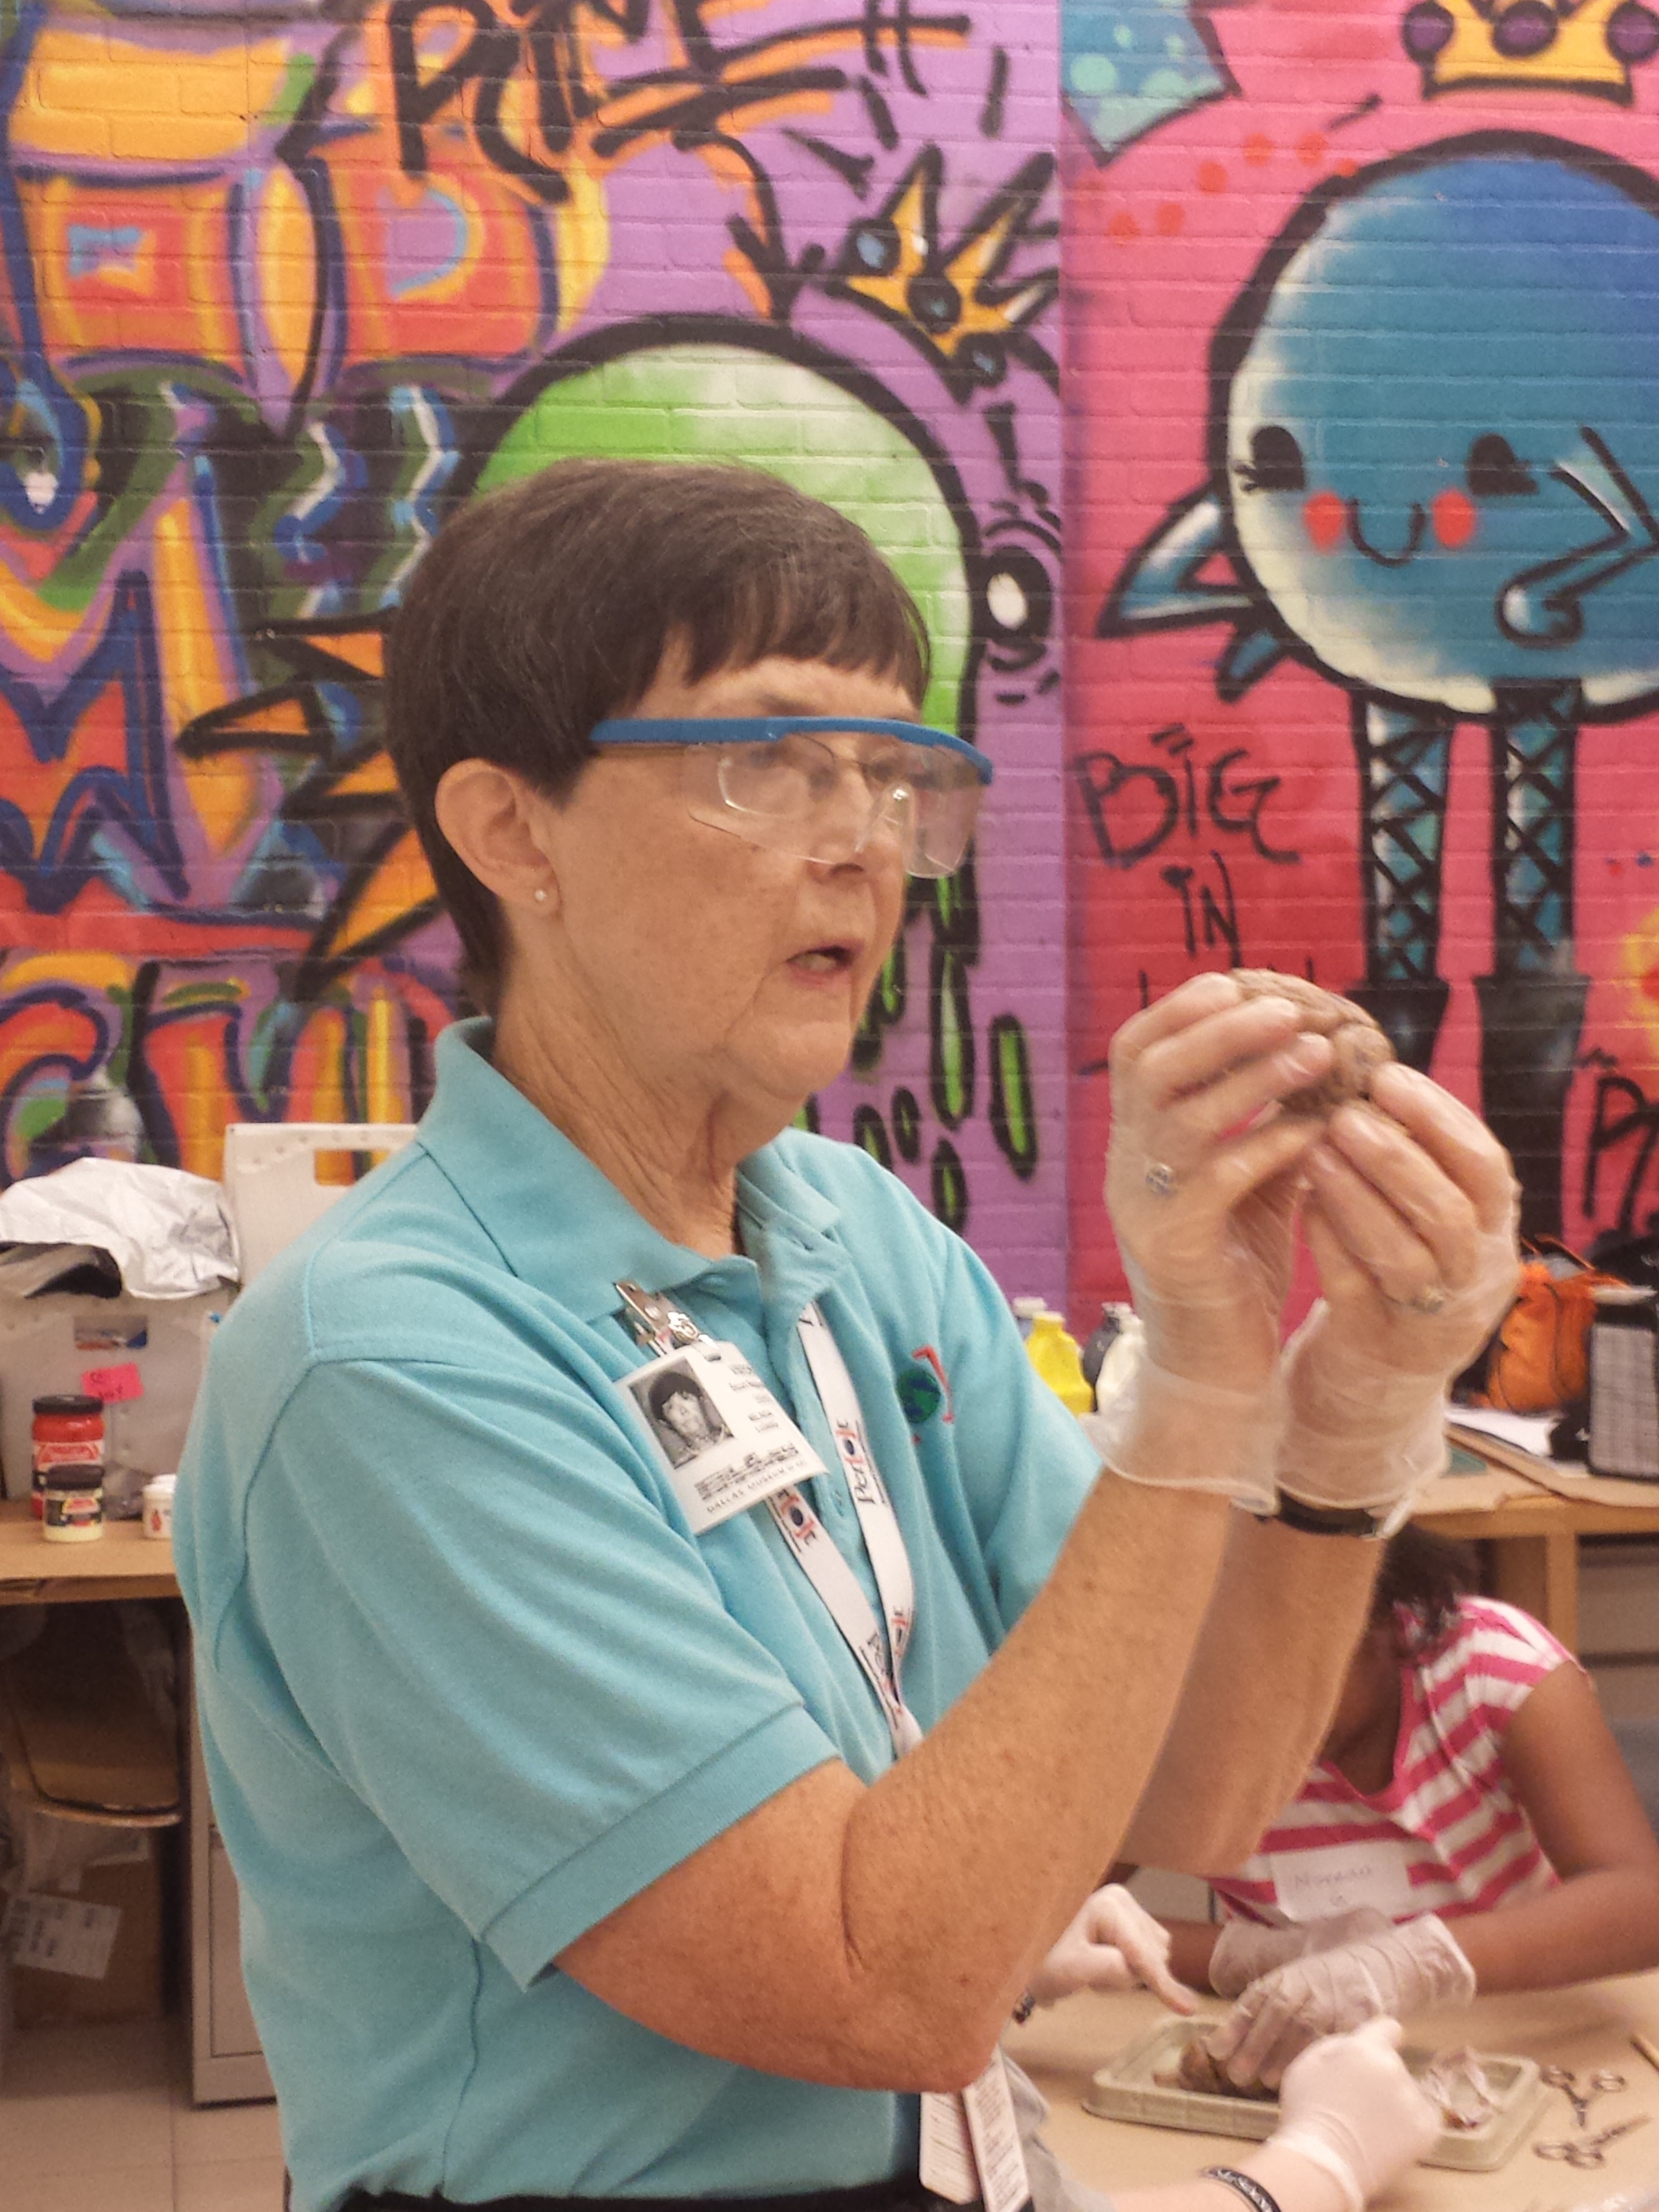
Melinda Ludwig, Educator, Perot Museum of Nature and Science
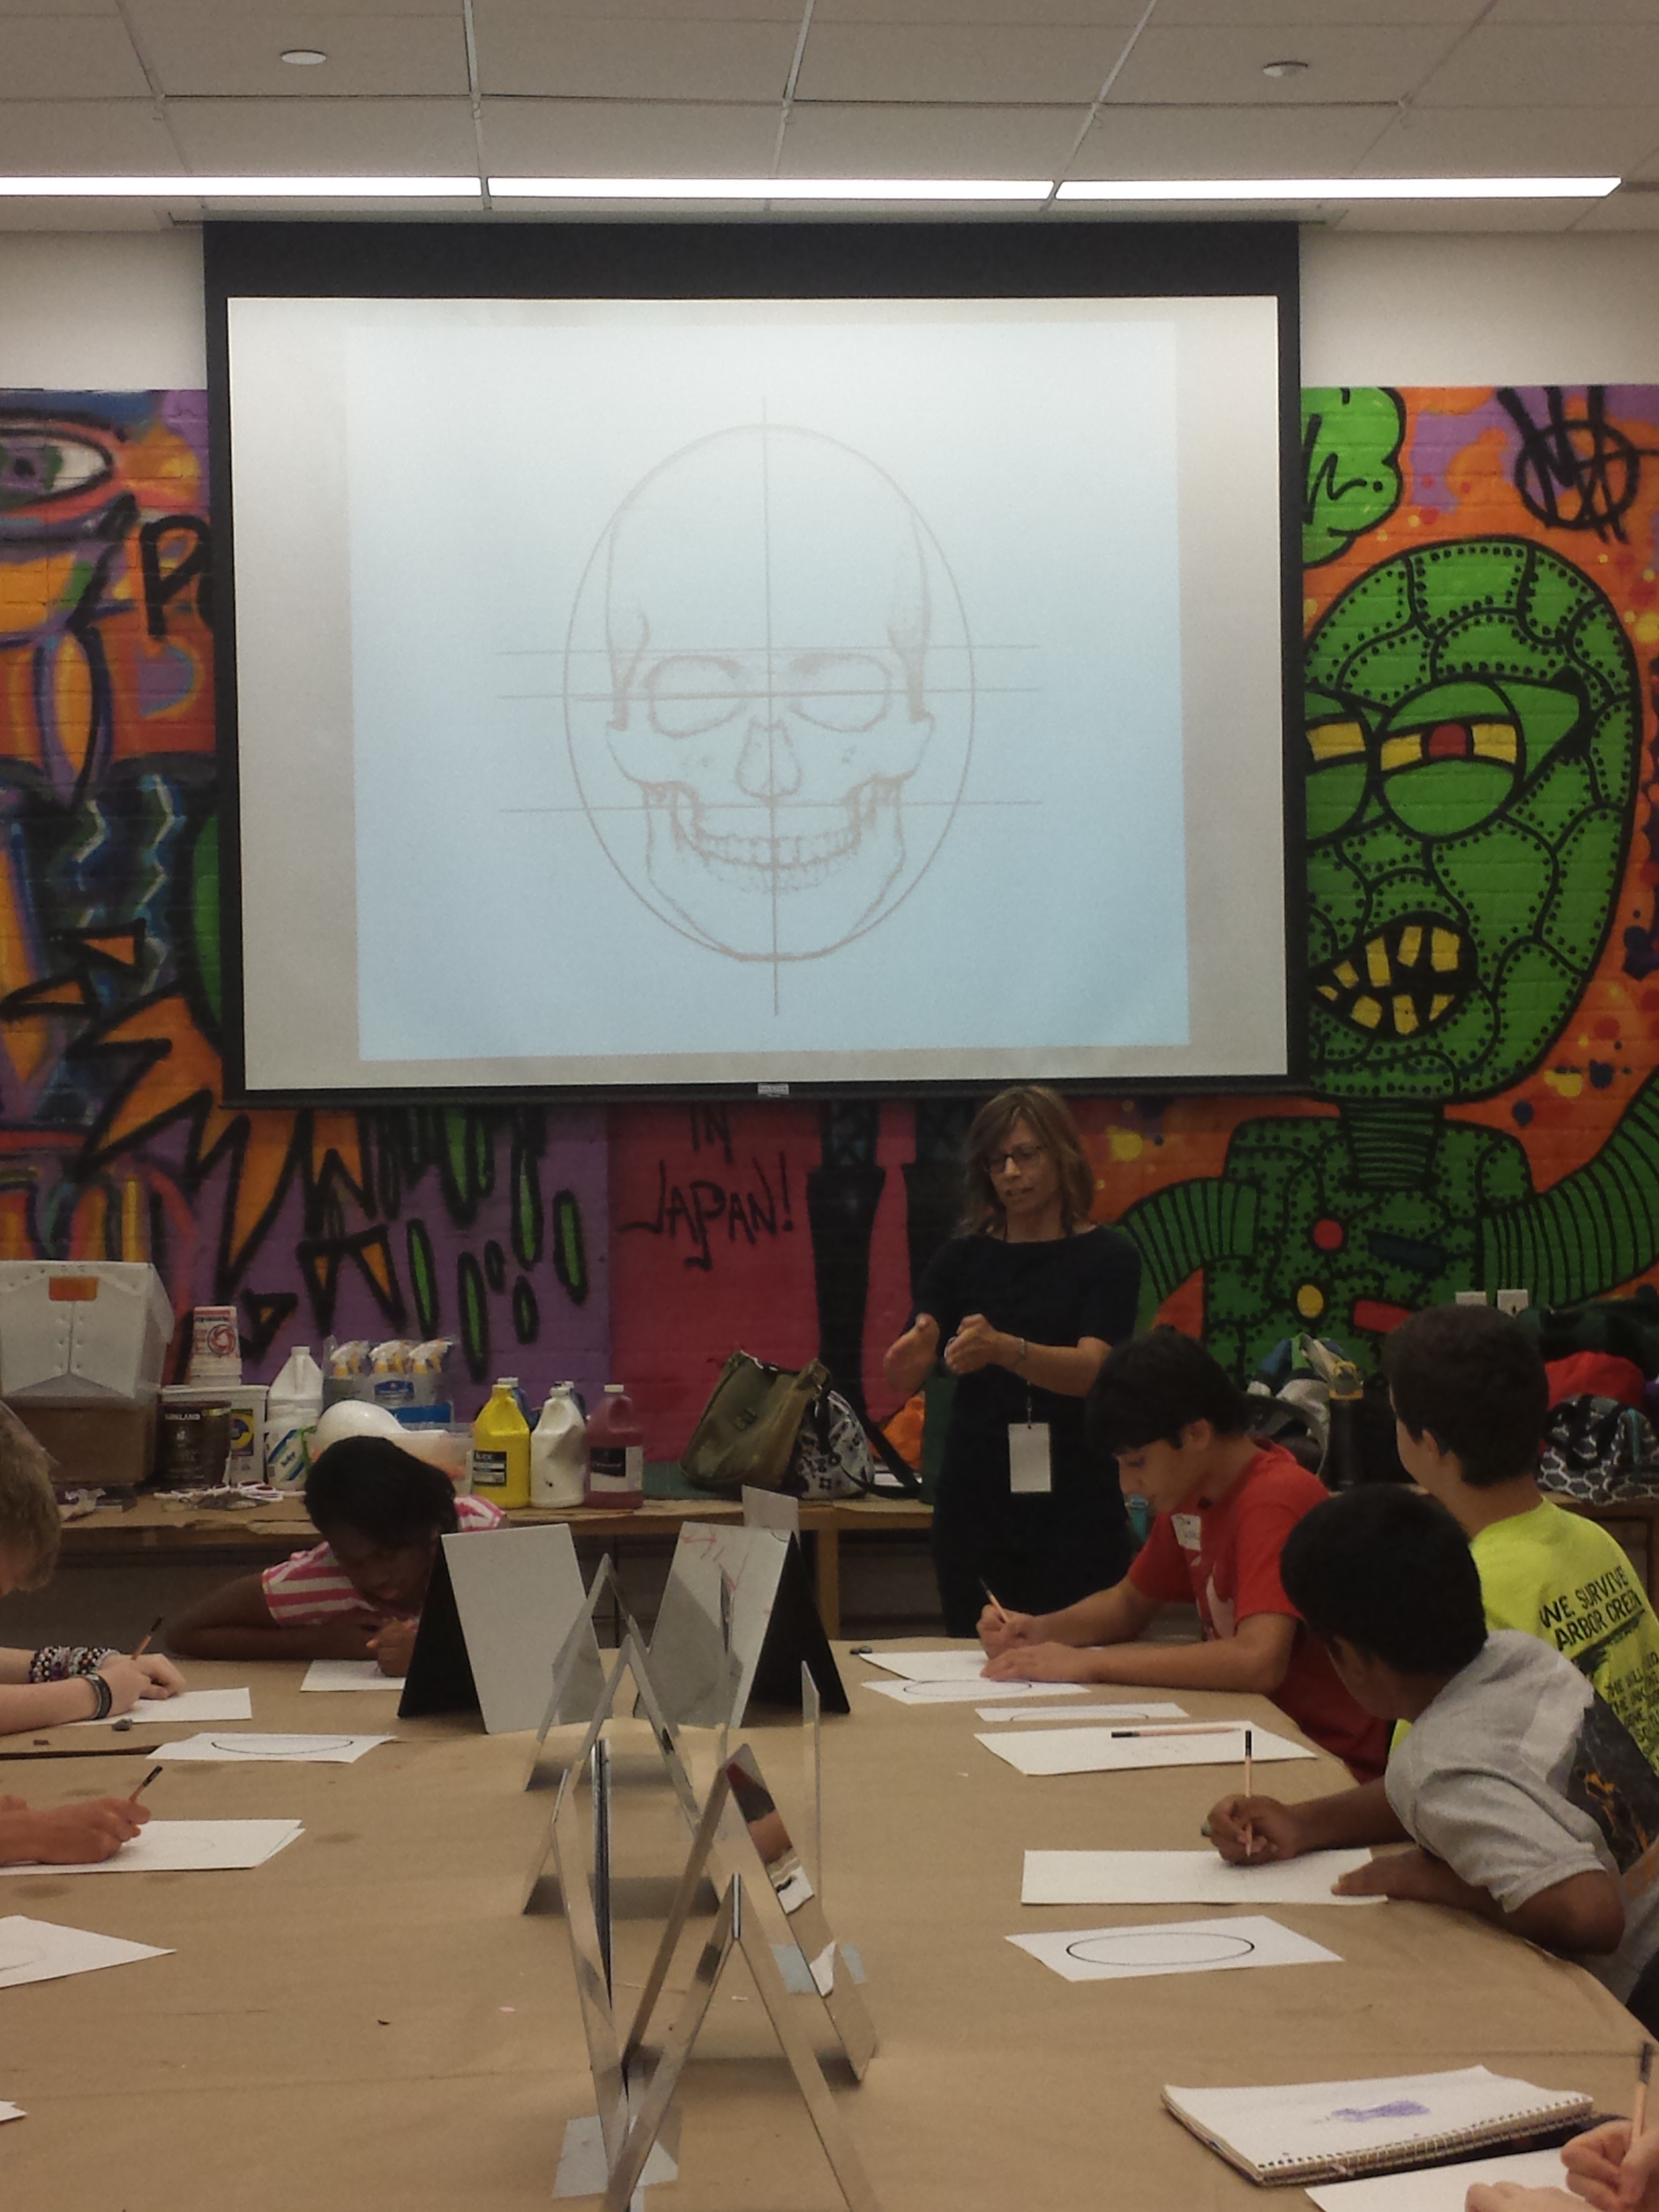
Mary Jordan, Educator at the Meadows Museum
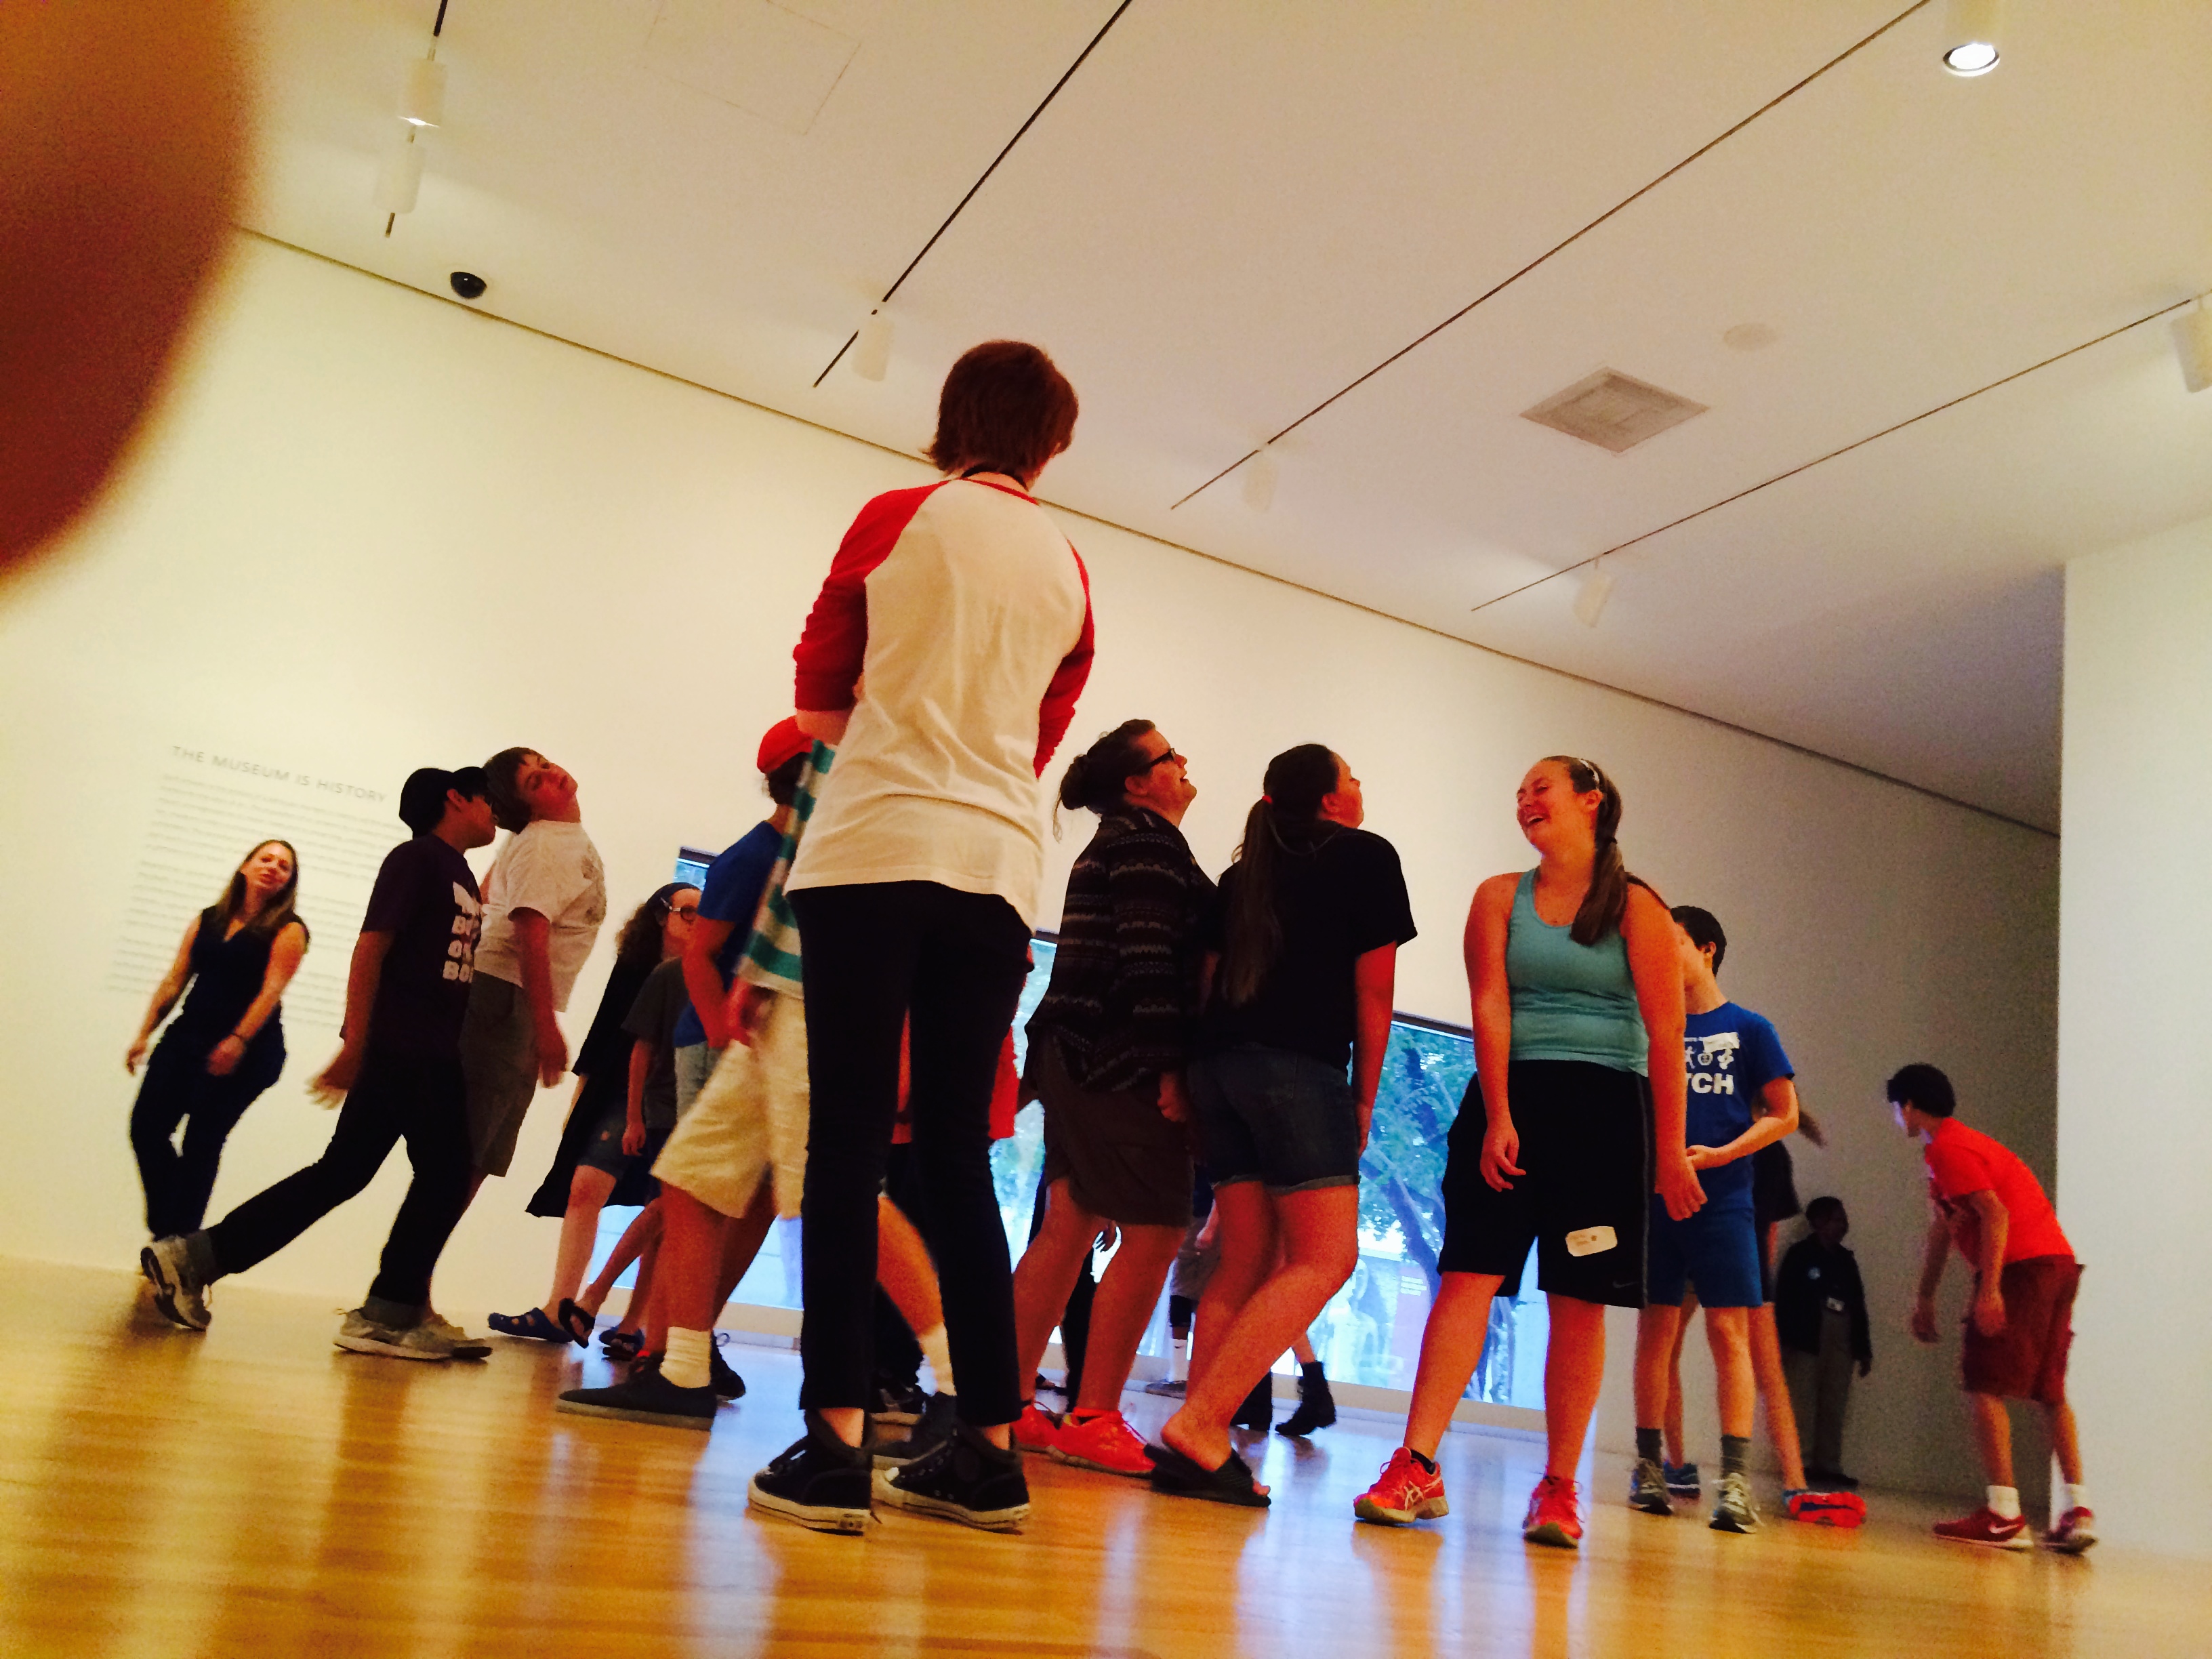
Mara Richards, Manager of Education Programs at the Dallas Theater Center
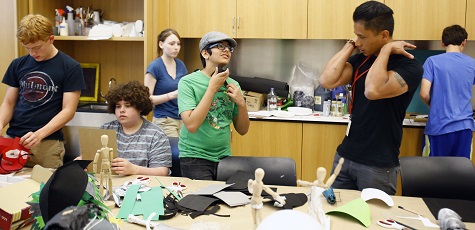
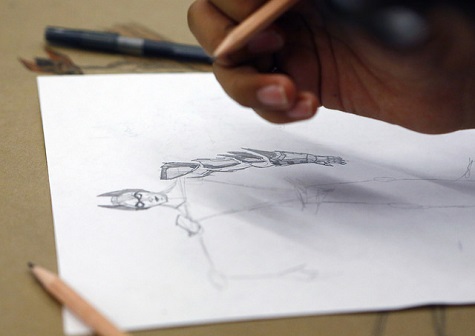
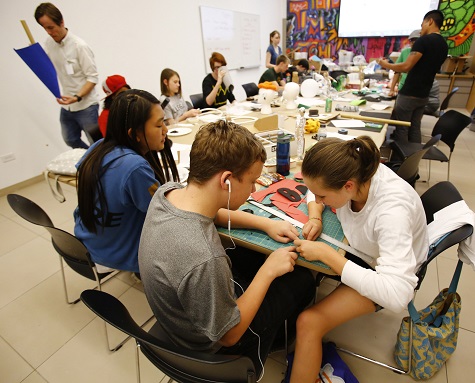
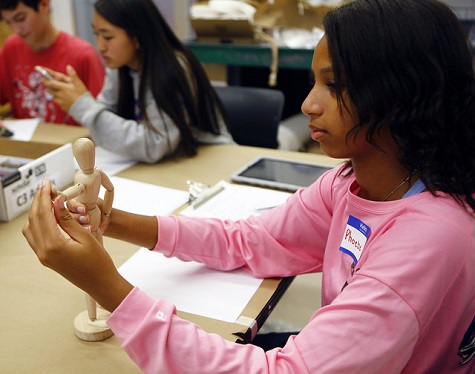
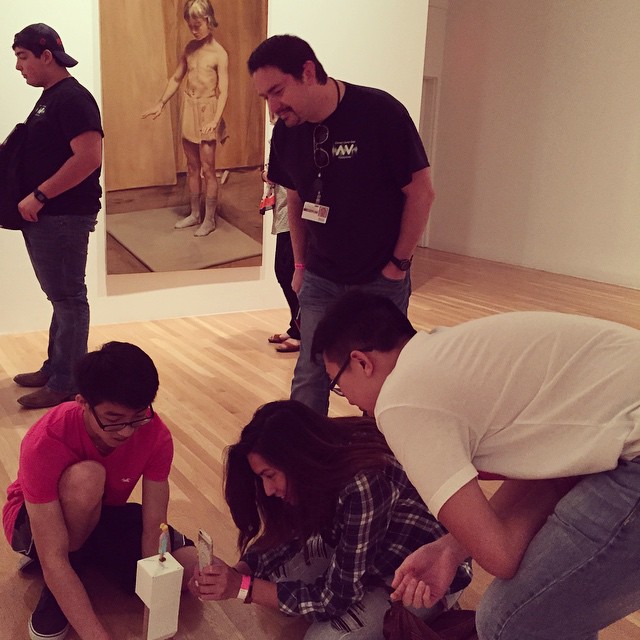
During the ideation phase of the camp, participants sketched from works of art in the galleries that inspired a character of their own design, complete with backstory. Afterwards, they shared their concept designs as a group and offered feedback and suggestions to each other.
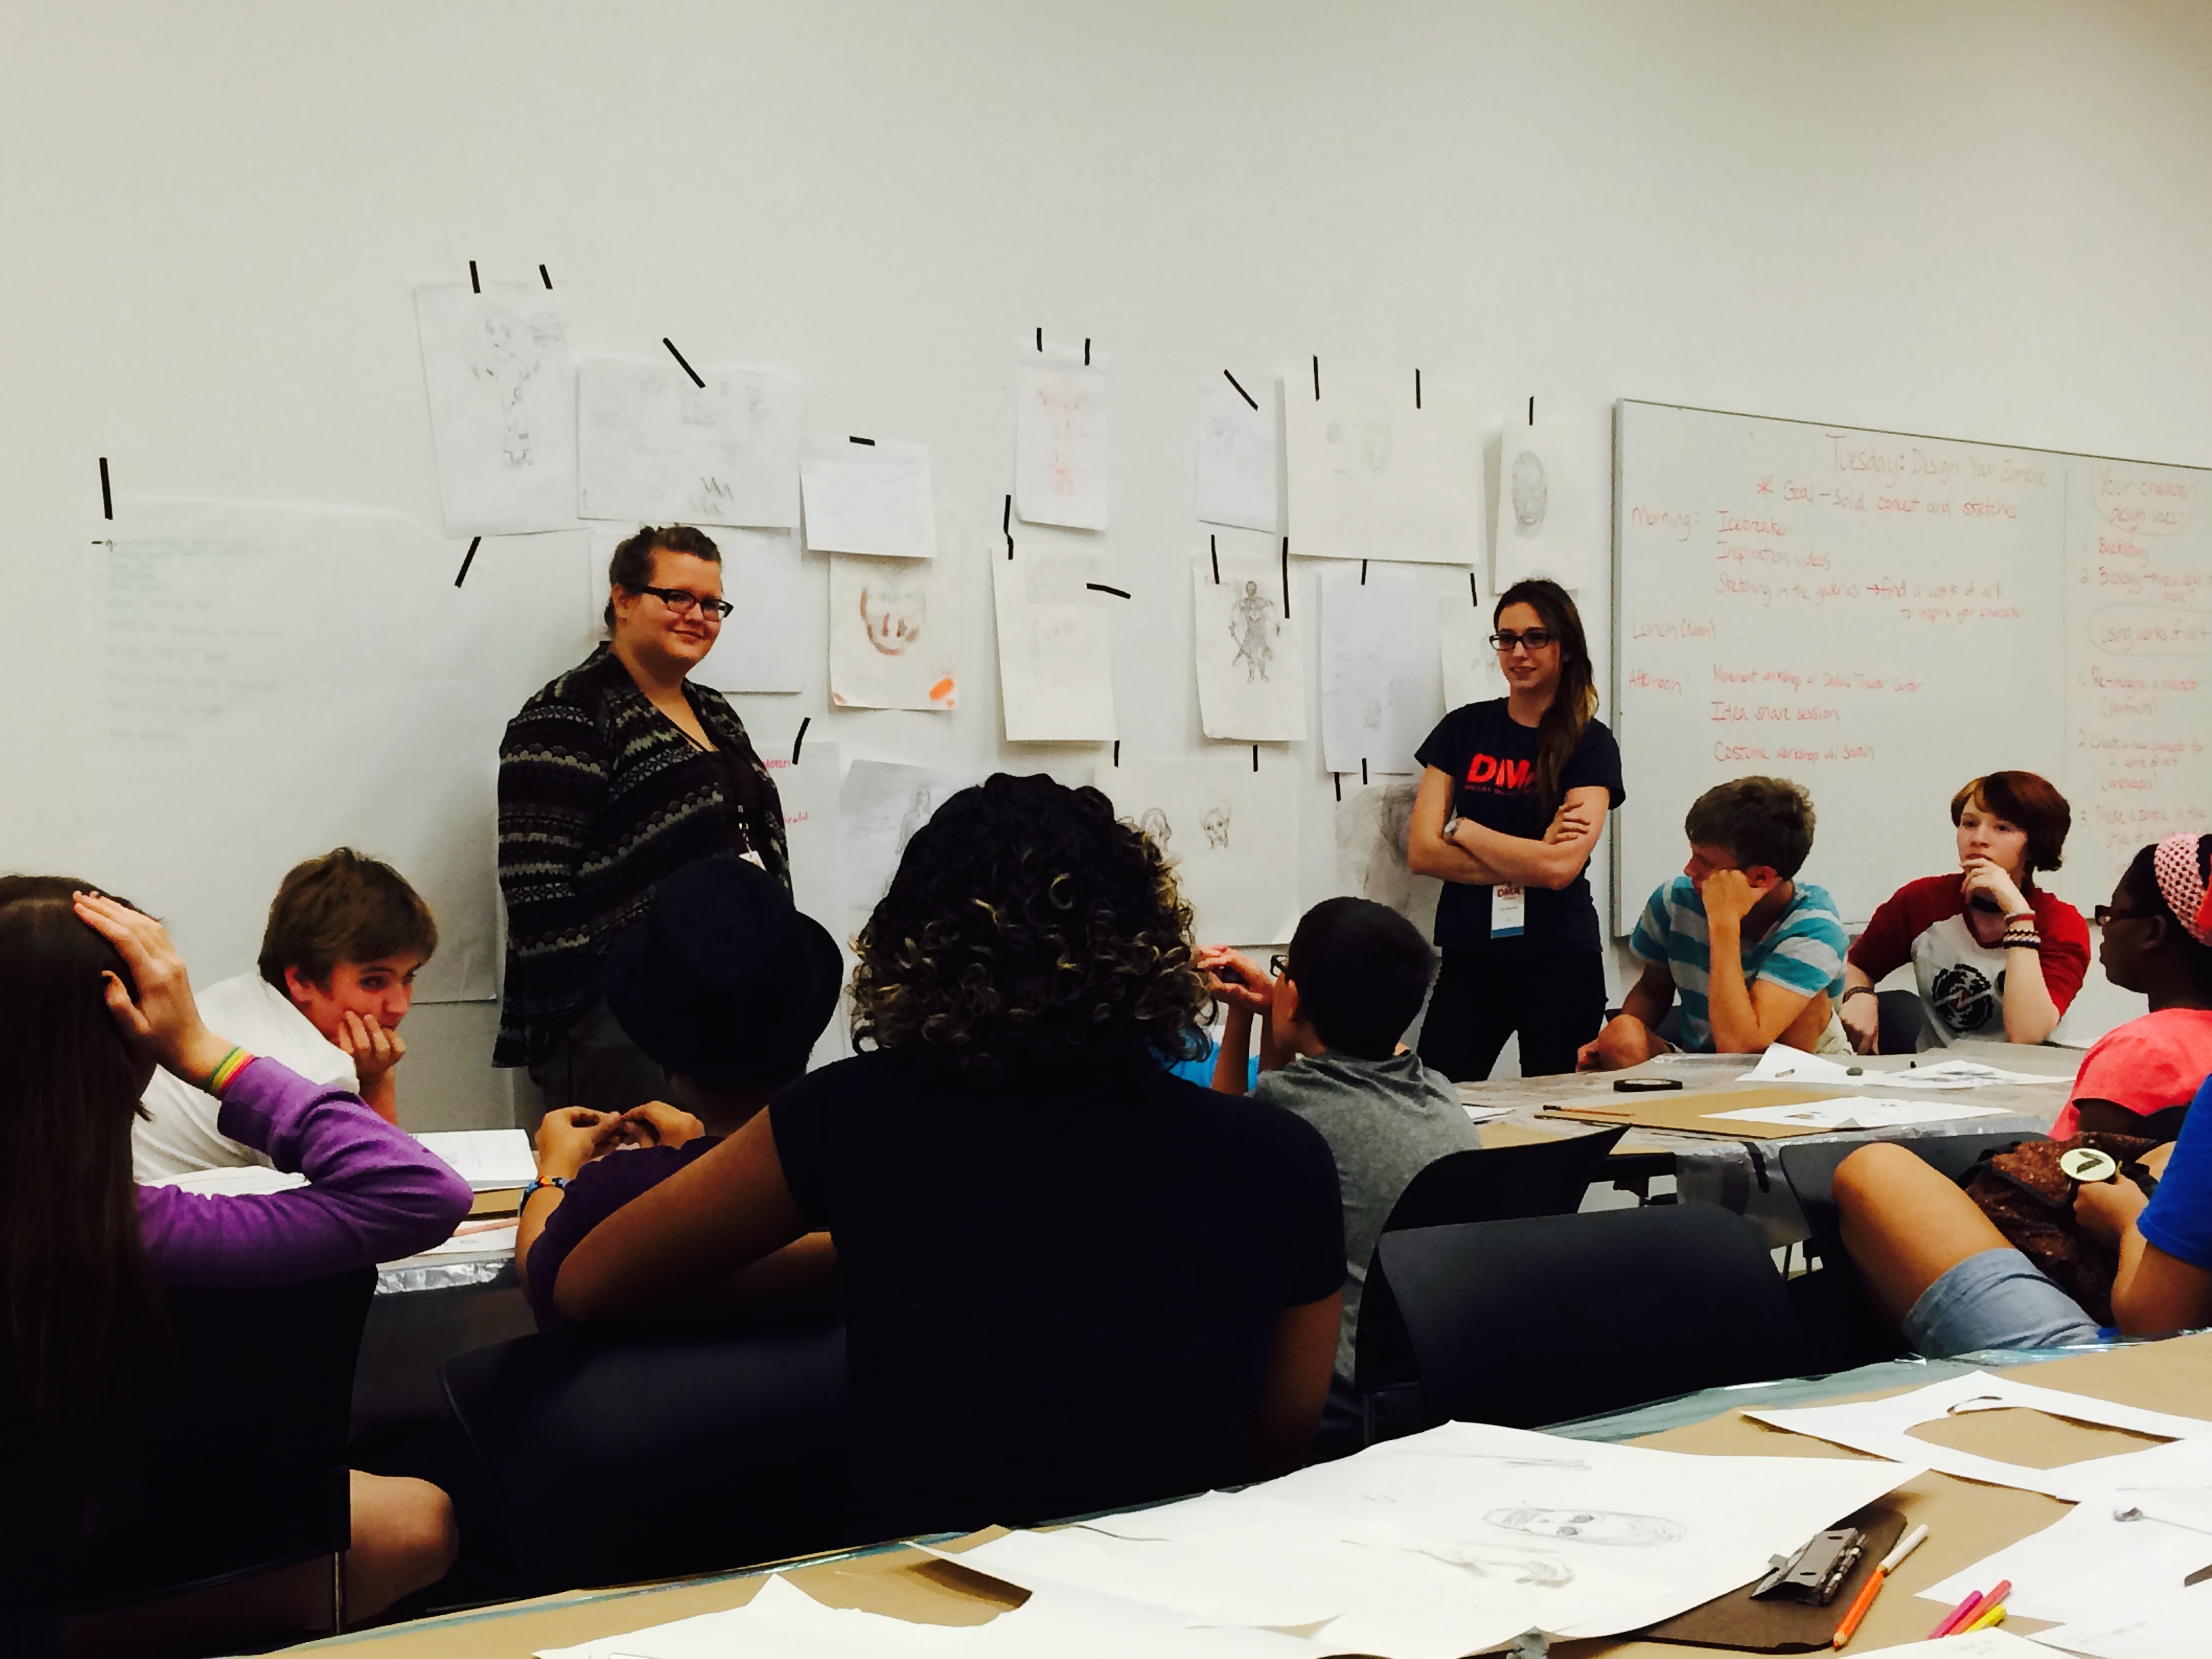
Artists Sarah Popplewell and Kat Burkett lead the group share session and discuss how an artist-to-artist critique works.
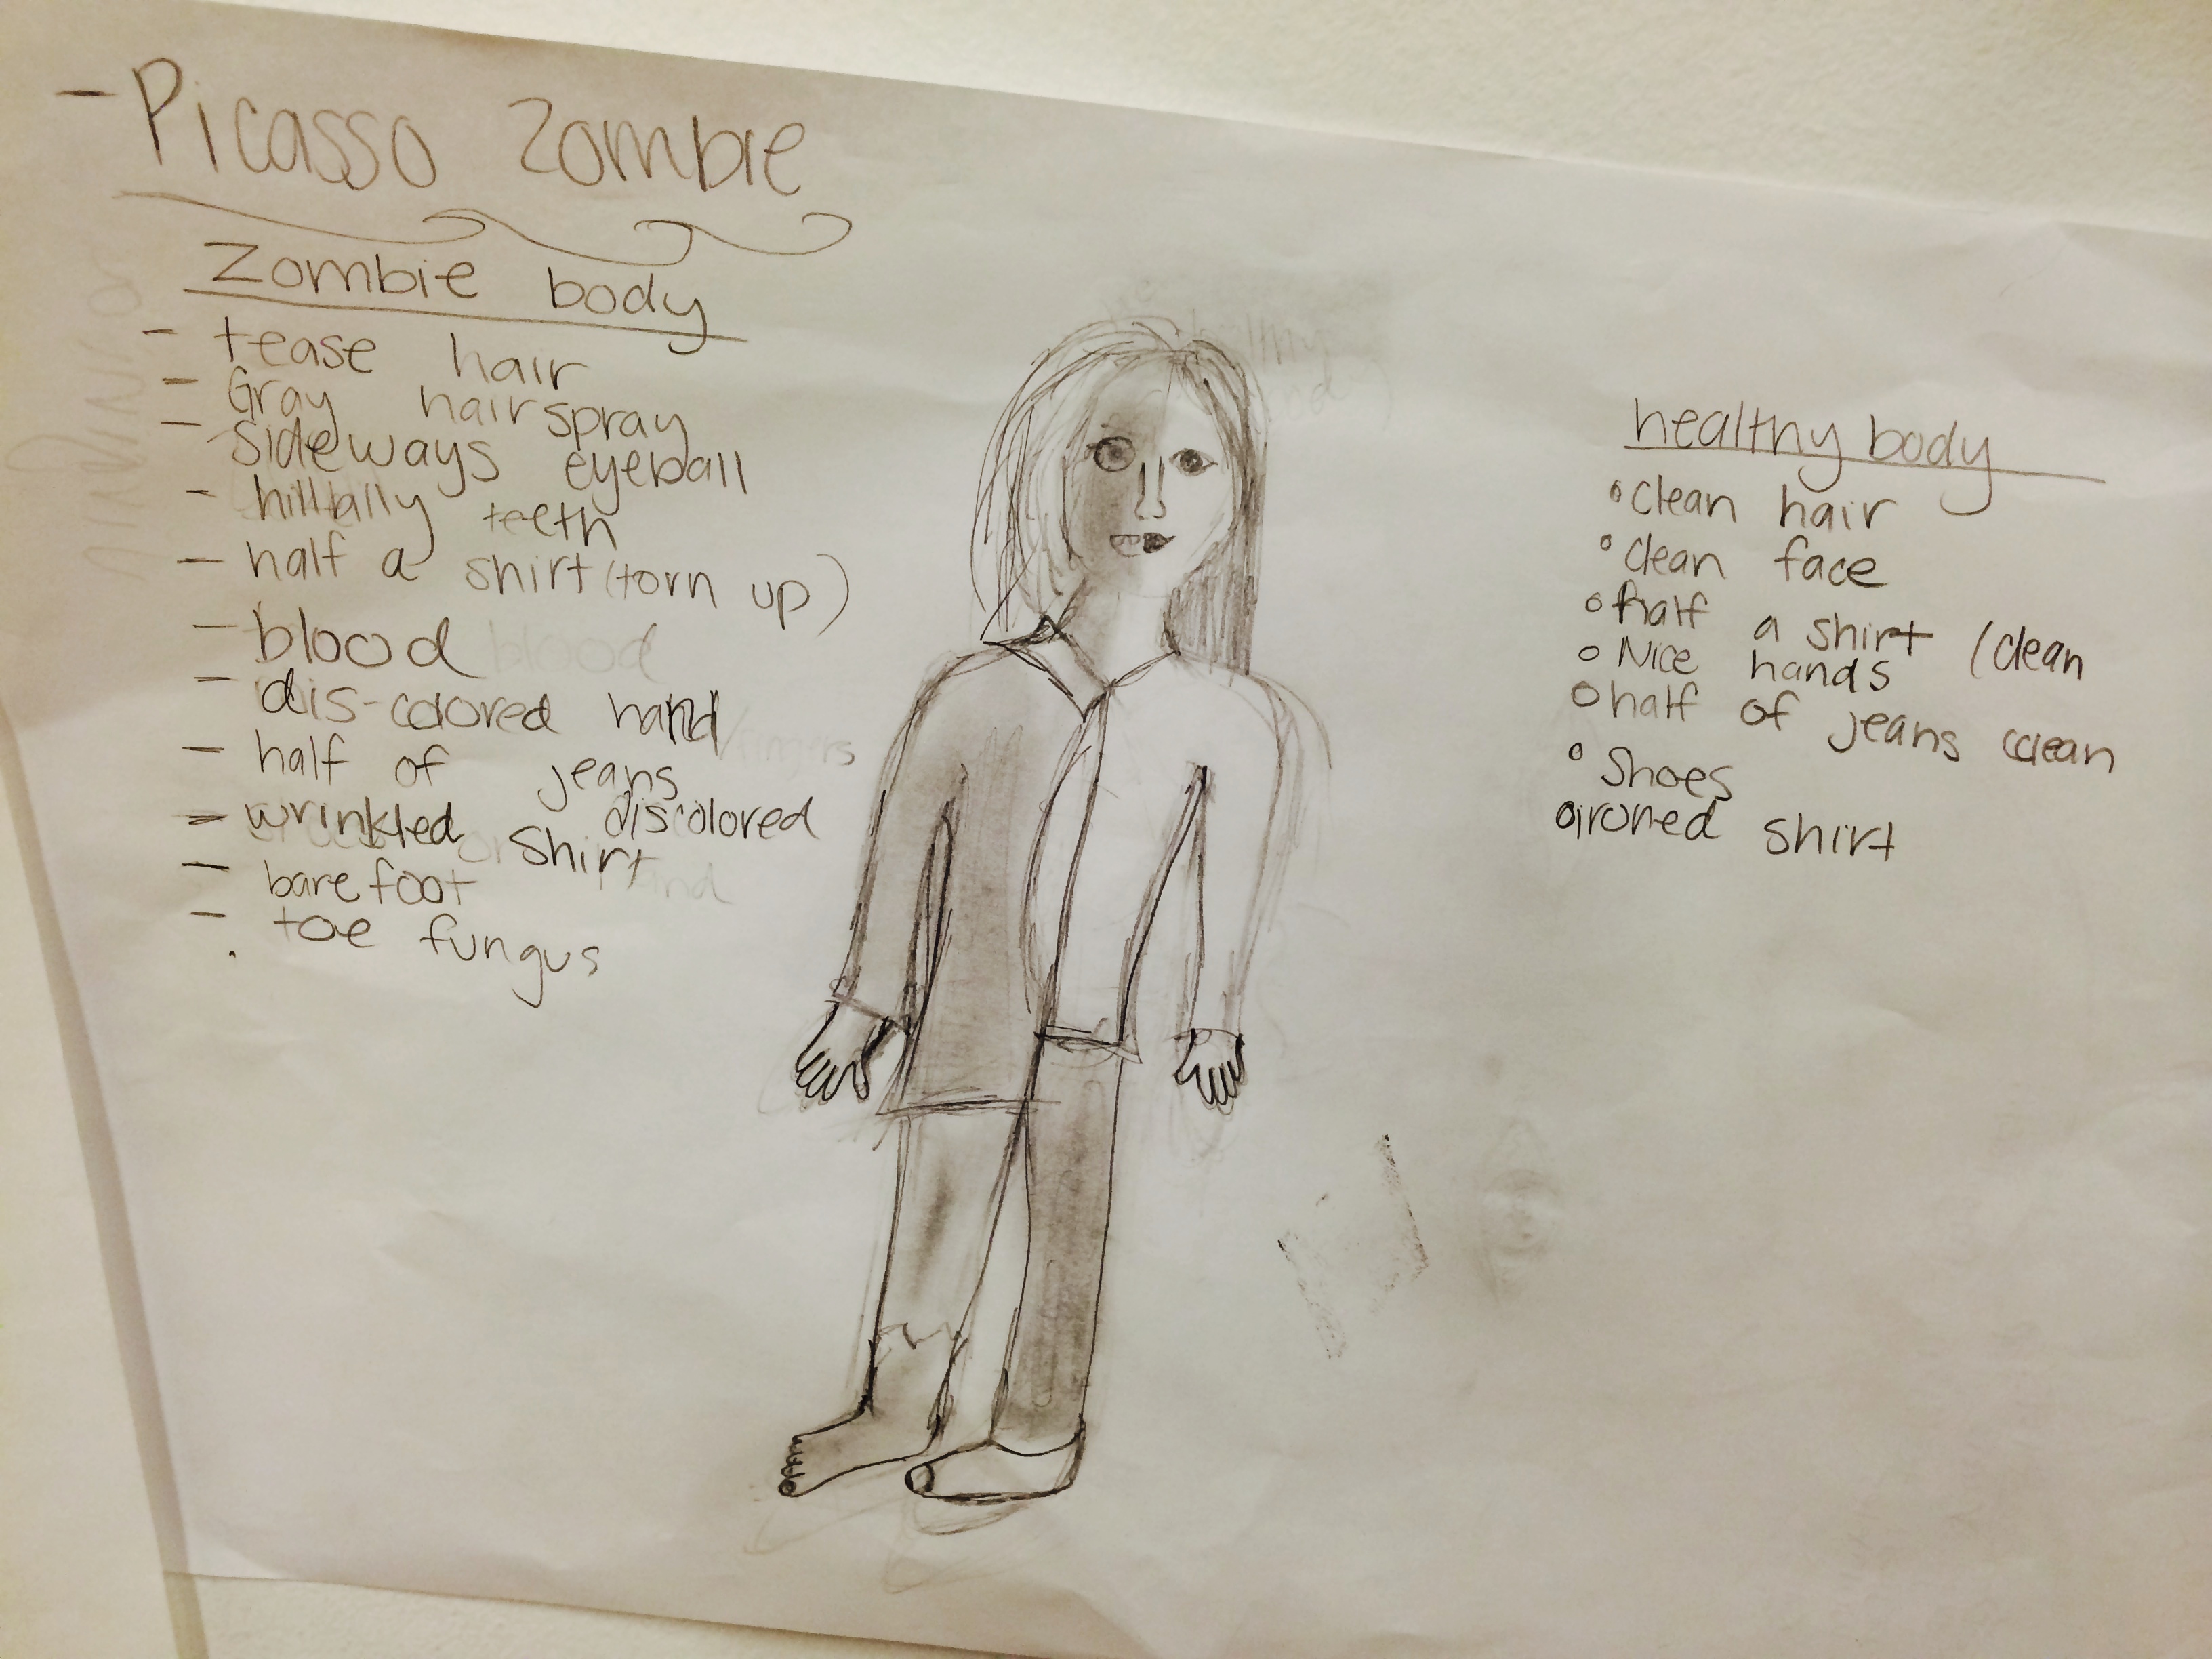
Sketch and notes for a Picasso-themed zombie.
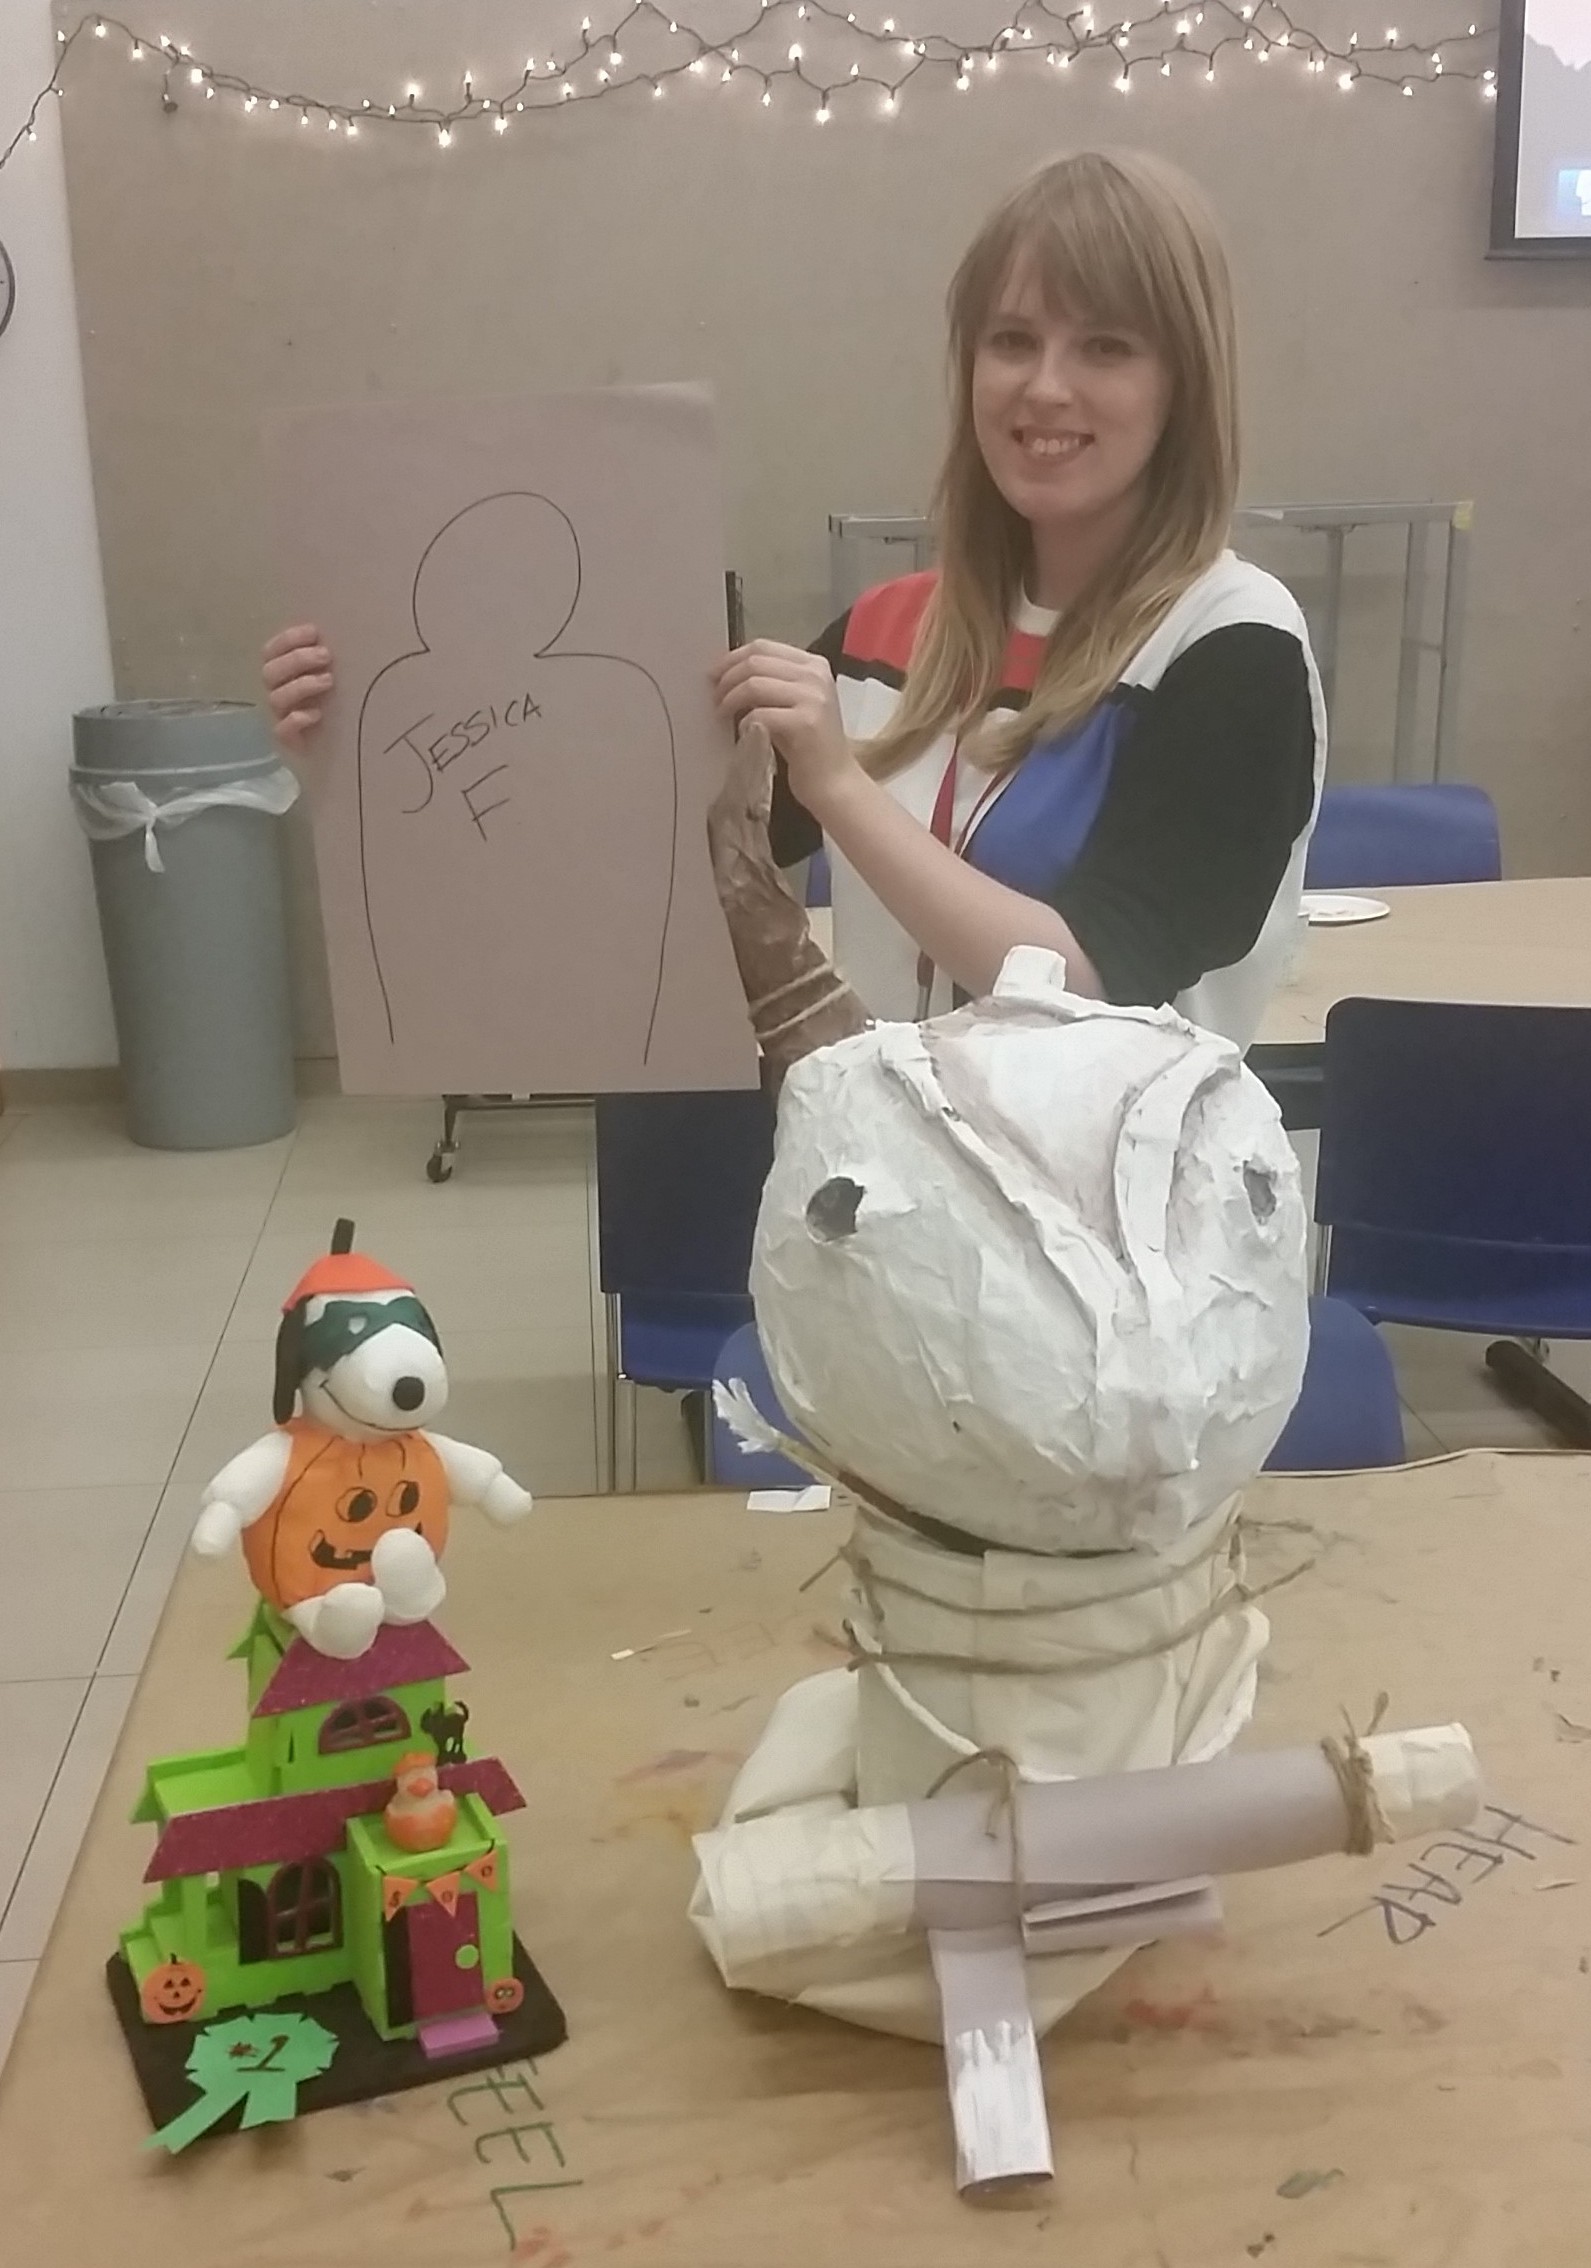
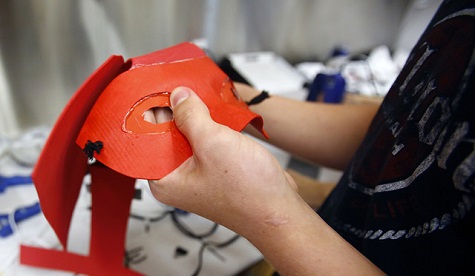
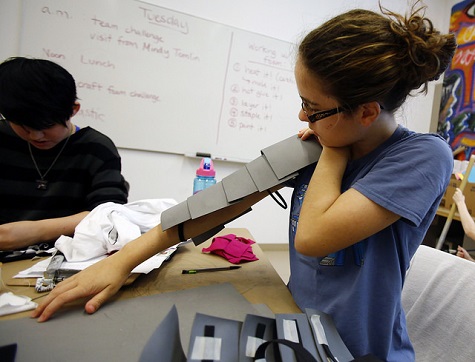
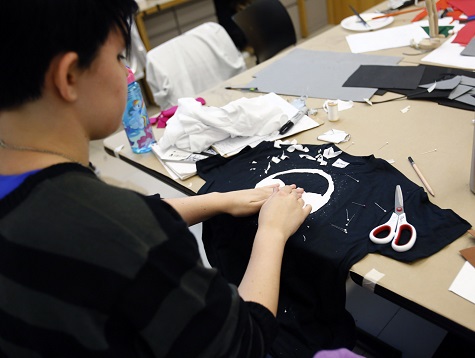
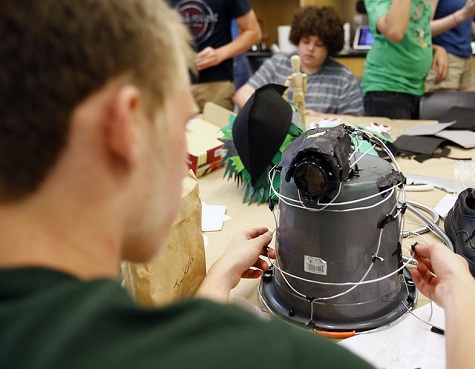
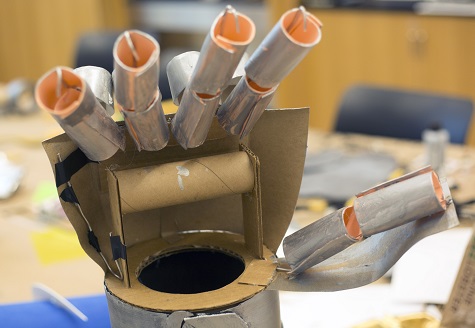
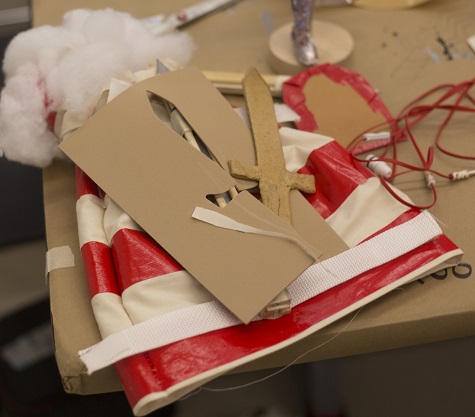
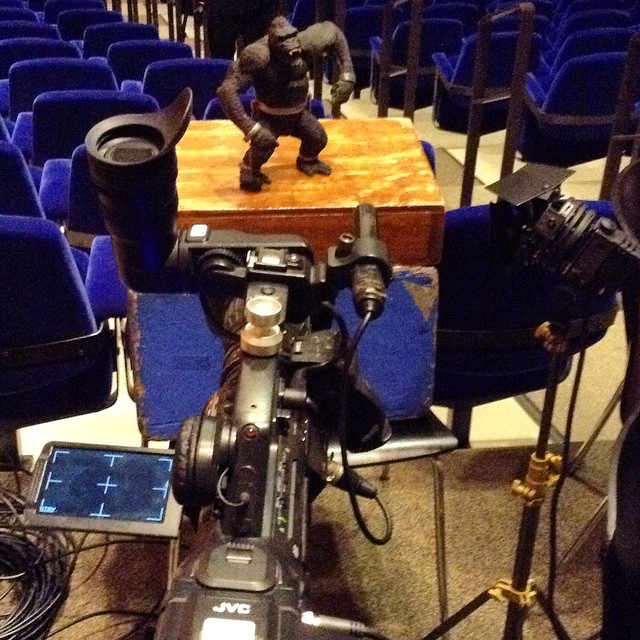
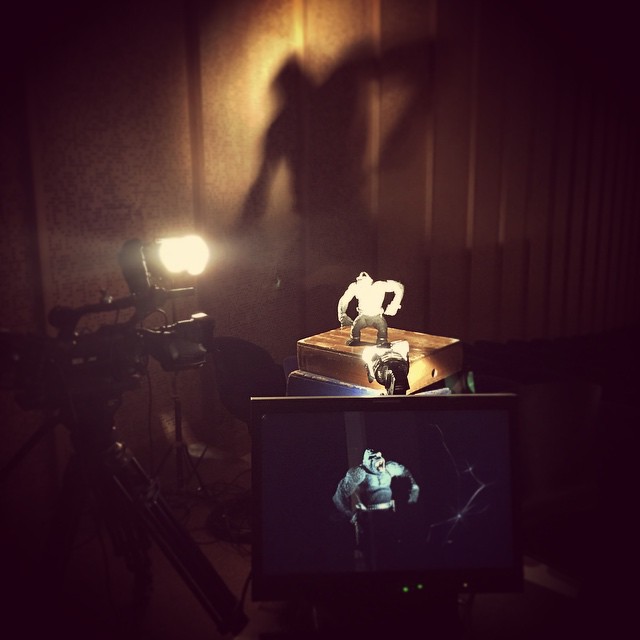
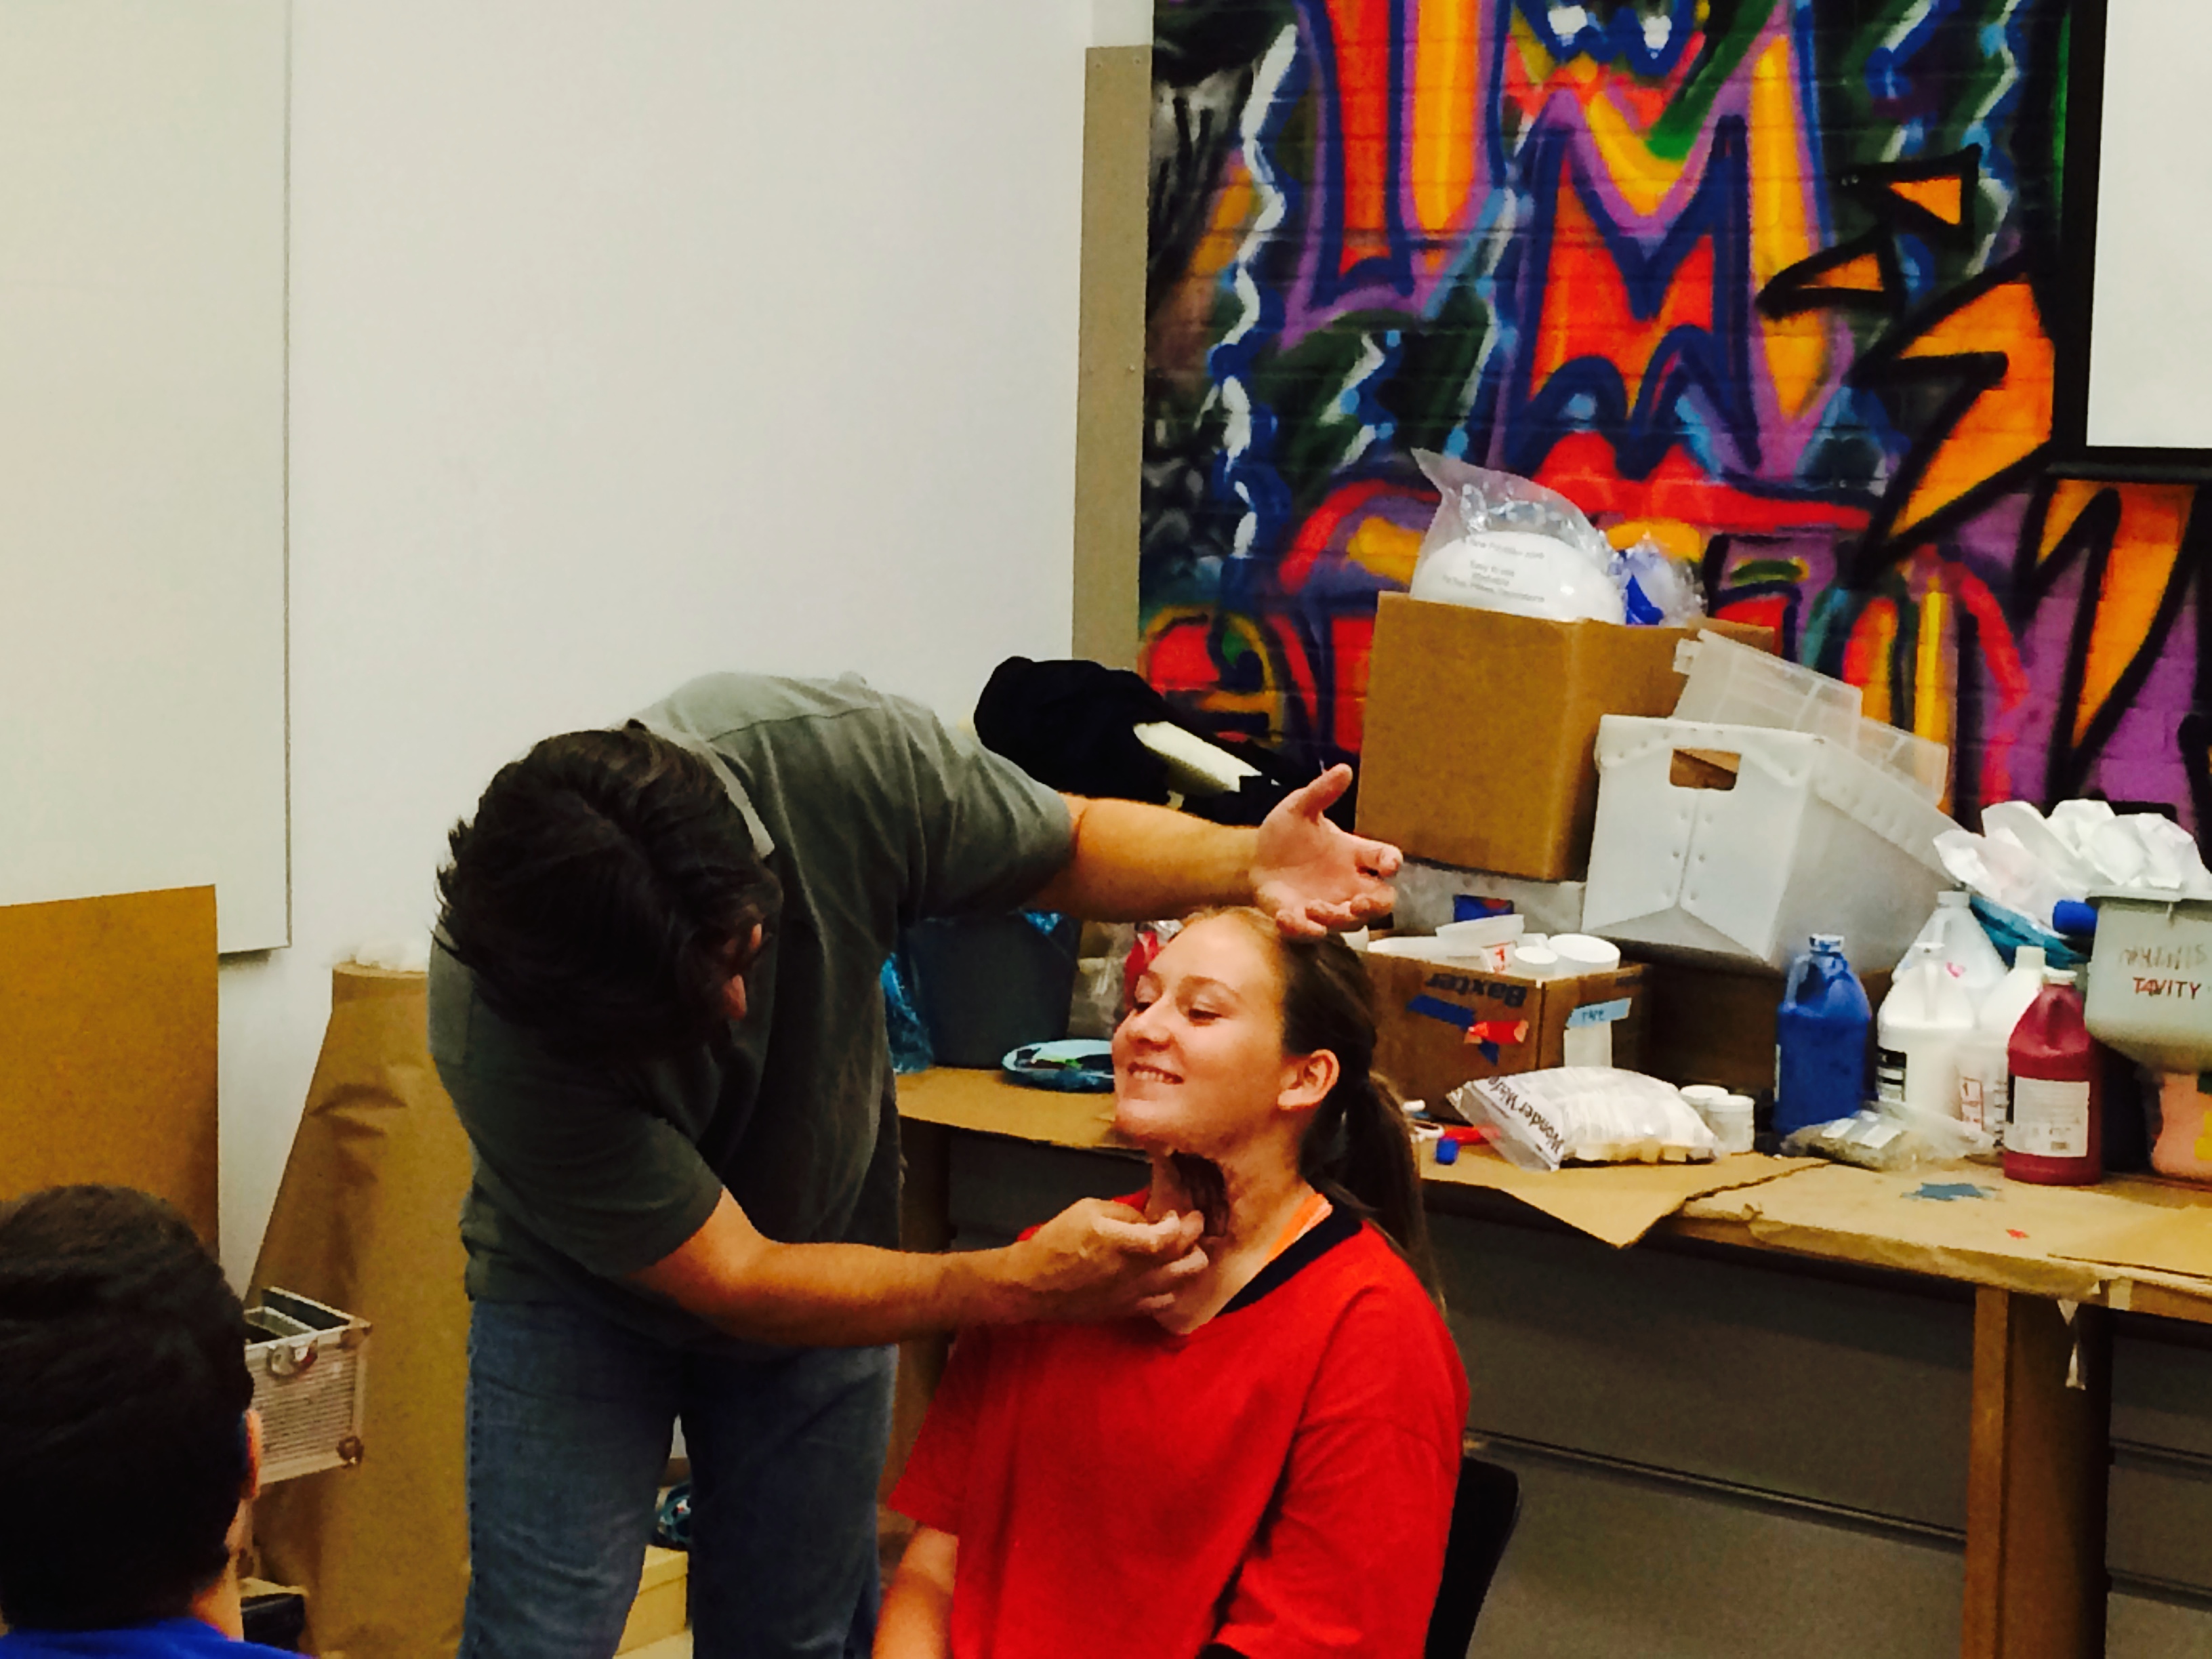
Students then set about transforming themselves into their characters. Sarah Popplewell led them in a costume workshop while Kat Burkett demonstrated how to cast forms with tape in order to create limbs and other body parts. Mitch Rogers, sculptor, special effects artist, and owner of Brick in the Yard Mold Supply gave the teens a glimpse into the world of creating visual effects for film.
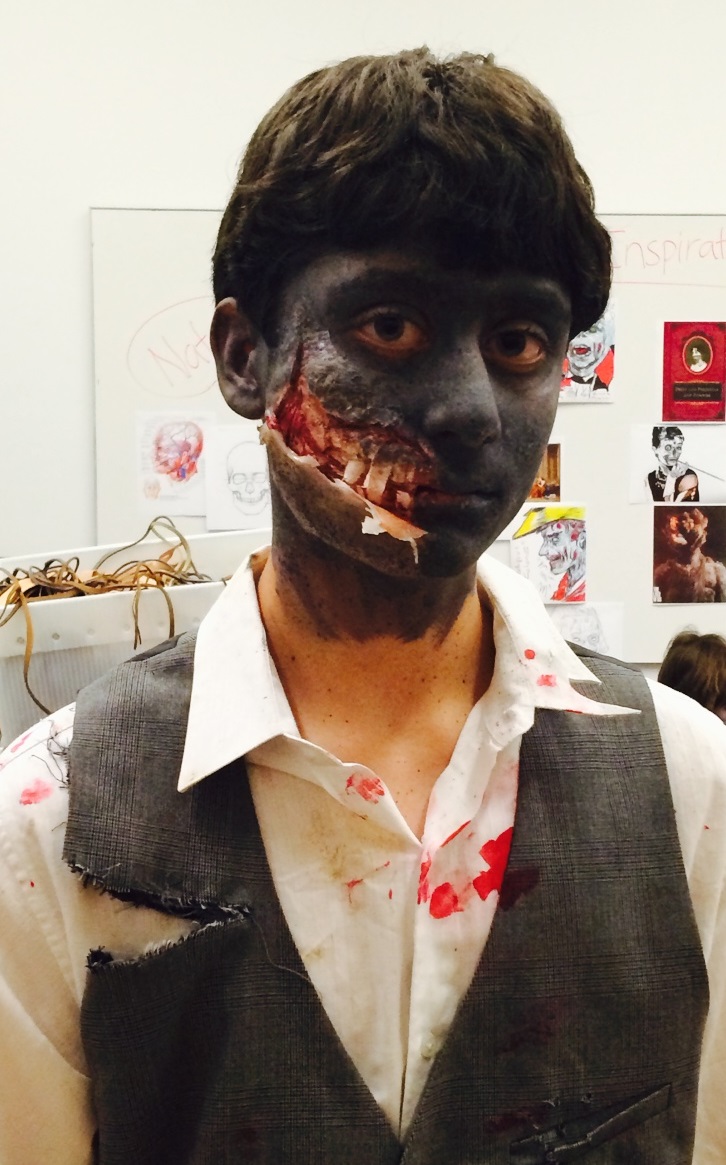
Mitch and his crew helped camp participants with their makeup and prostheses on the last day and, as an added treat, he brought along Stuart Bridson, Special Effects Supervisor for Game of Thrones, Emmy-winning series for Outstanding Visual Effects. The results were pretty amazing:
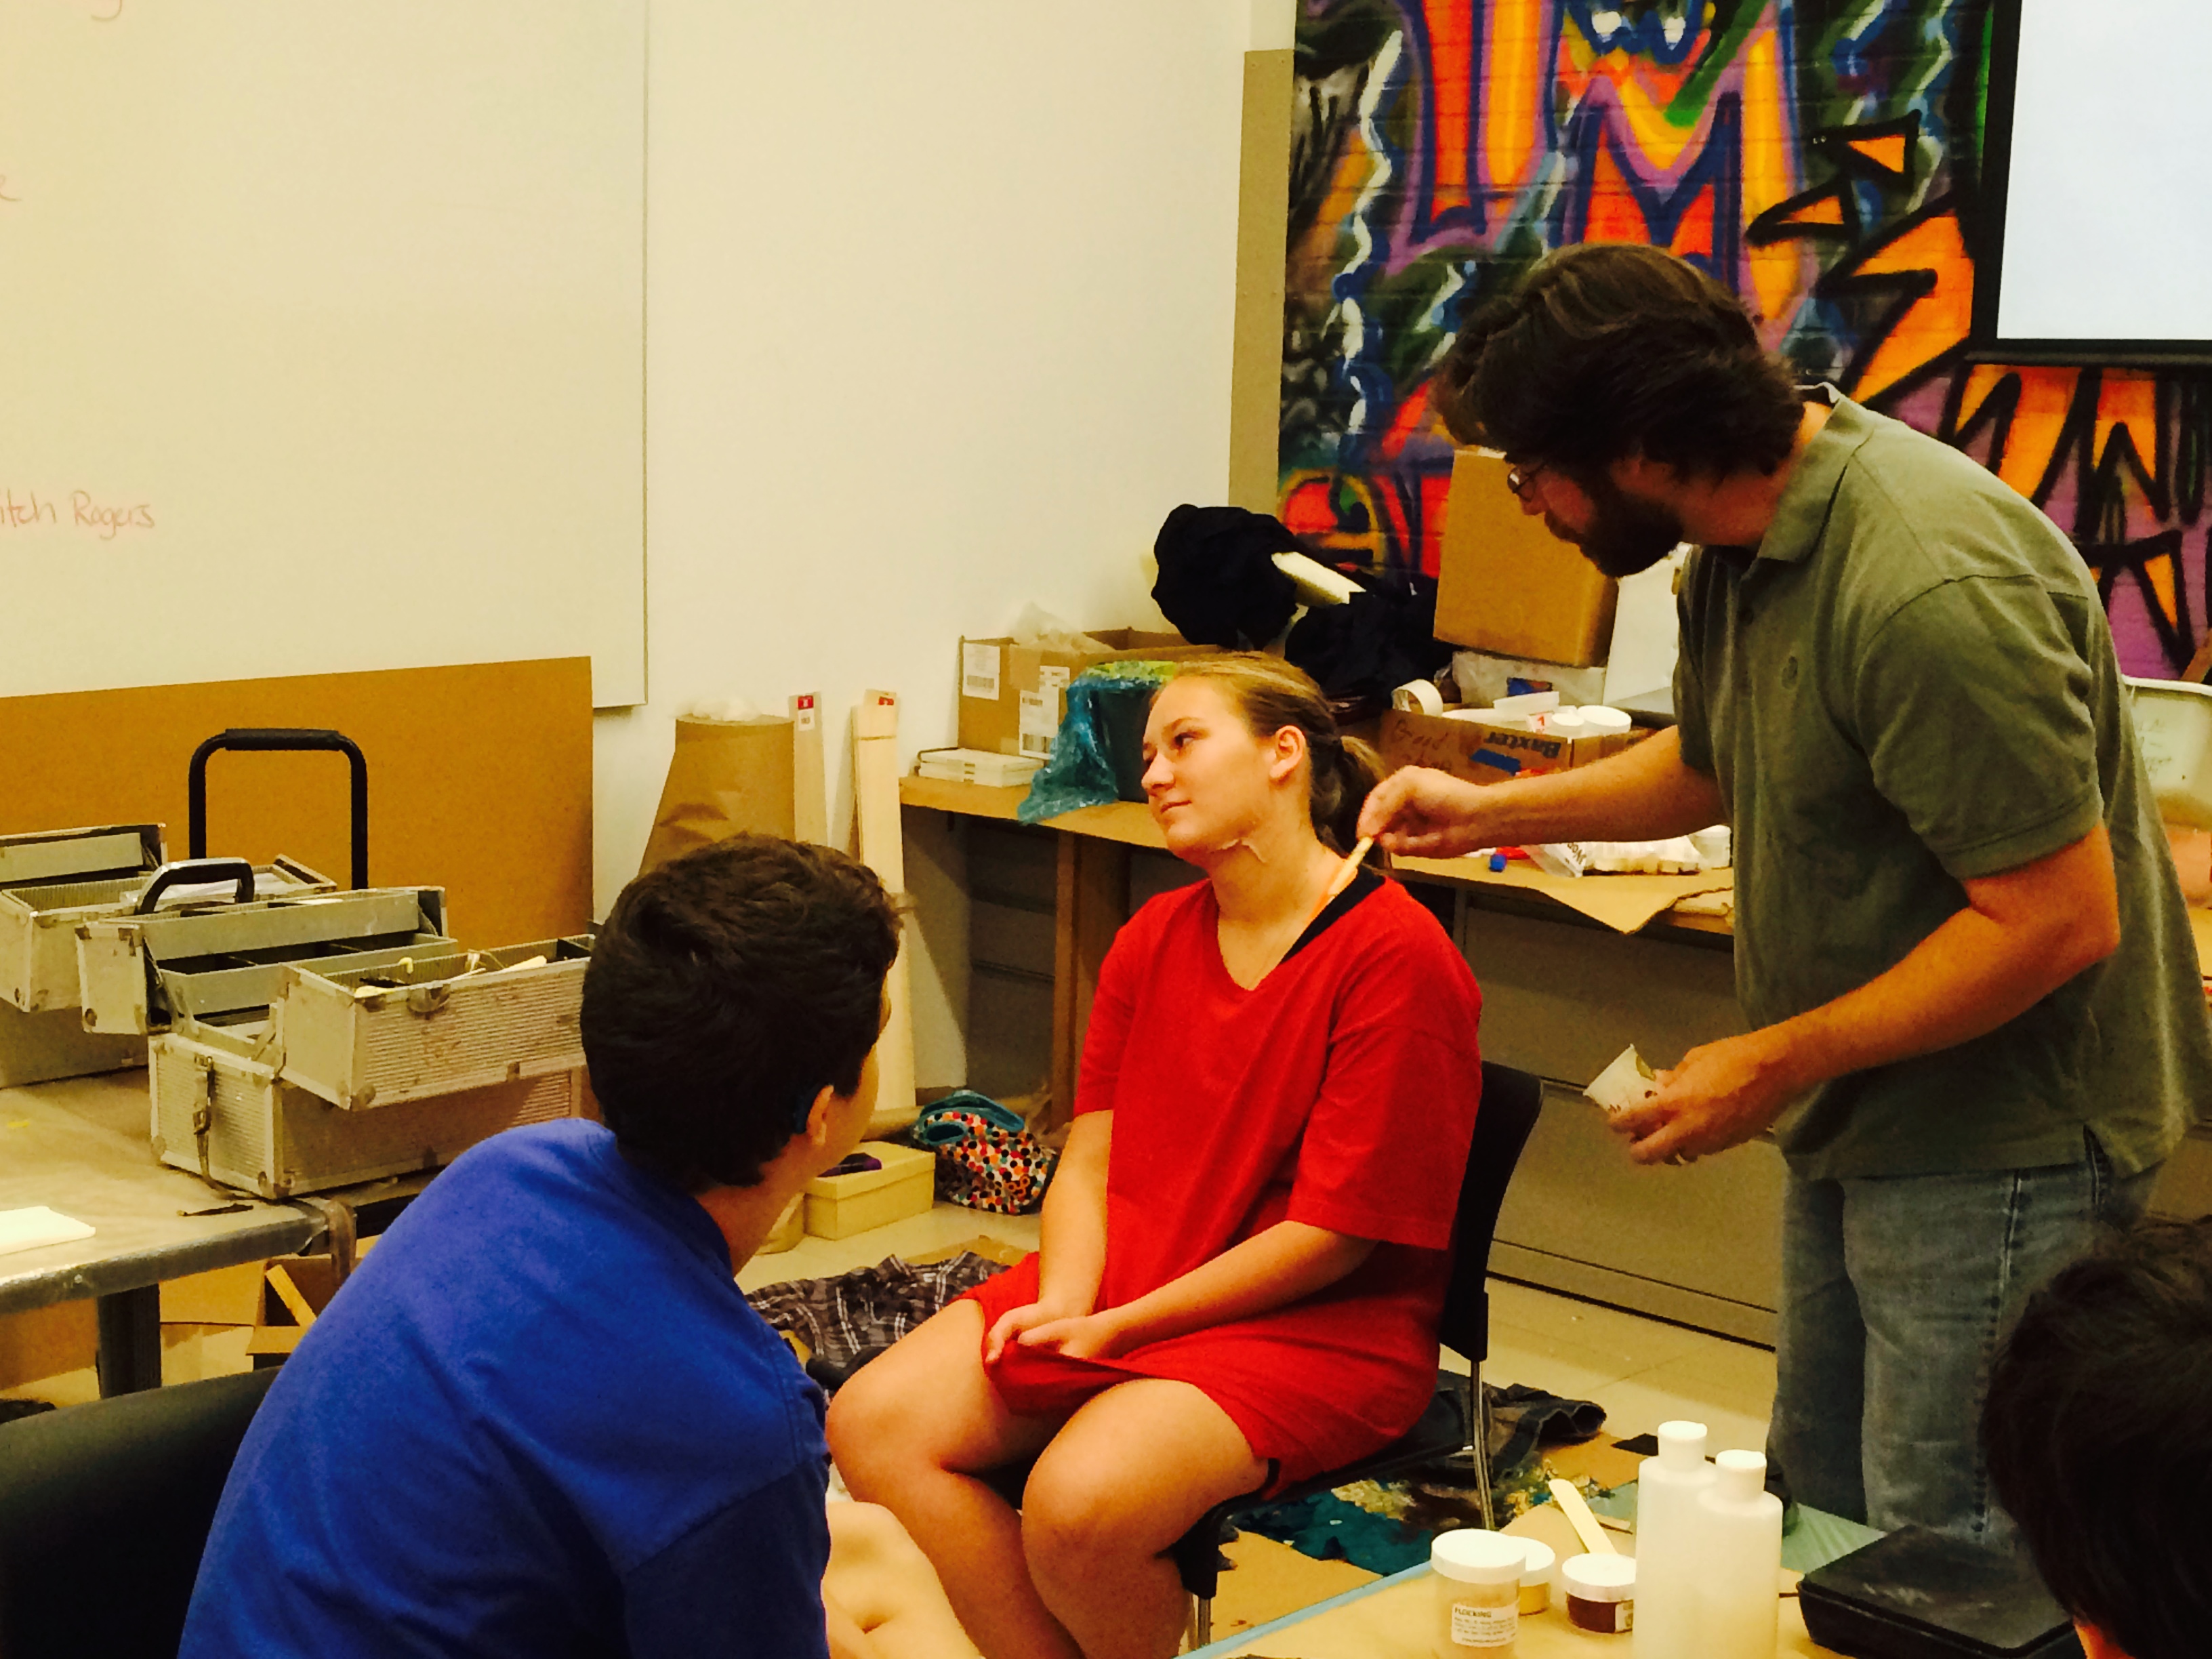
Mitch sets to work on a gruesome zombie wound.
And she wore this to dinner that evening!!!!

Figure of a woman, Roman, 2nd century A.D., Dallas Museum of Art, gift of Mr. and Mrs. Cecil H. Green
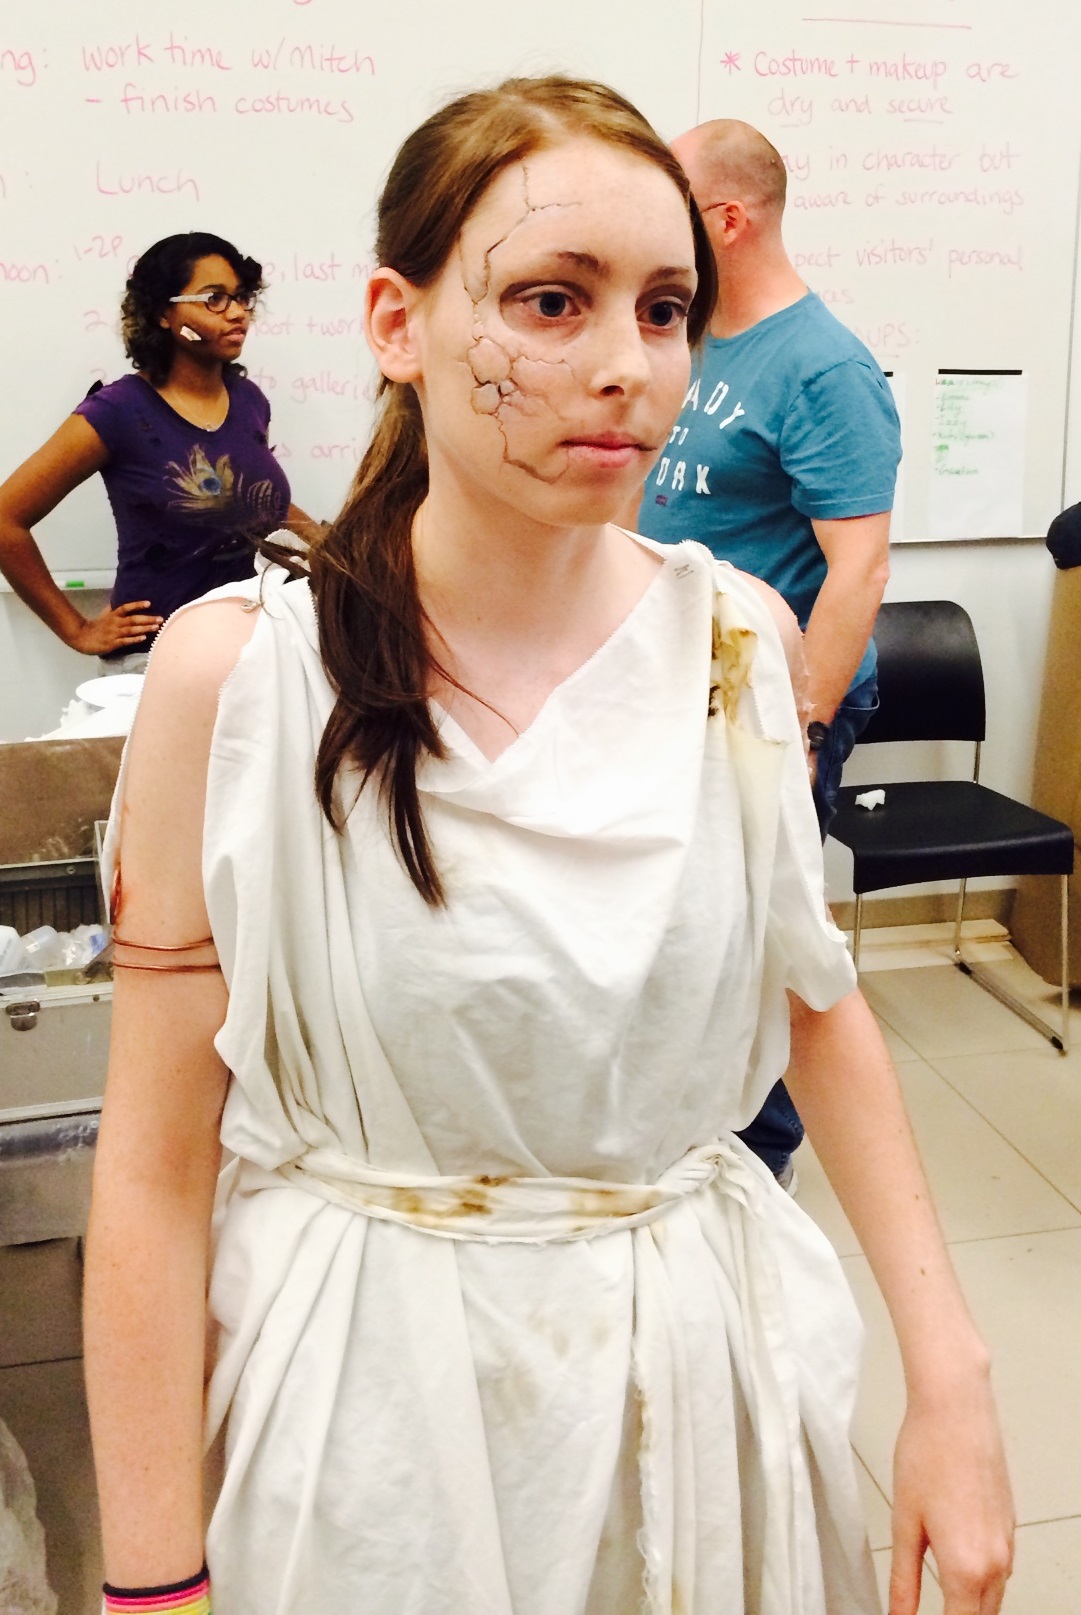
Ashes of Vesuvius-inspired zombie
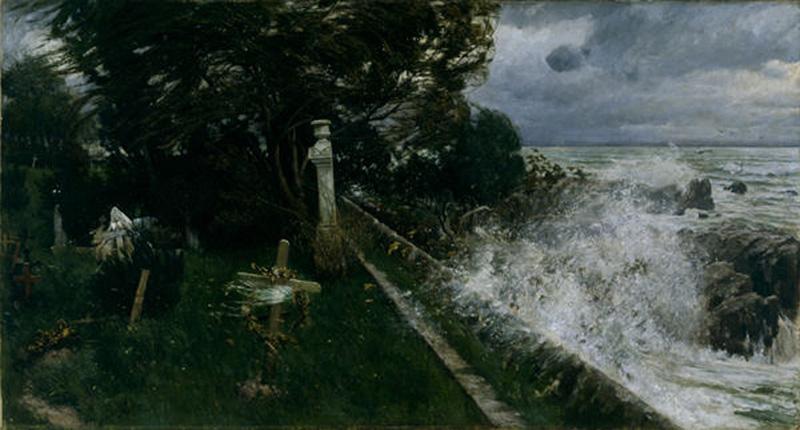
Adolf Hiremy-Hirschl, “Seaside Cemetery (Seefriedhof)”, 1897, Dallas Museum of Art, gift of J.E.R. Chilton
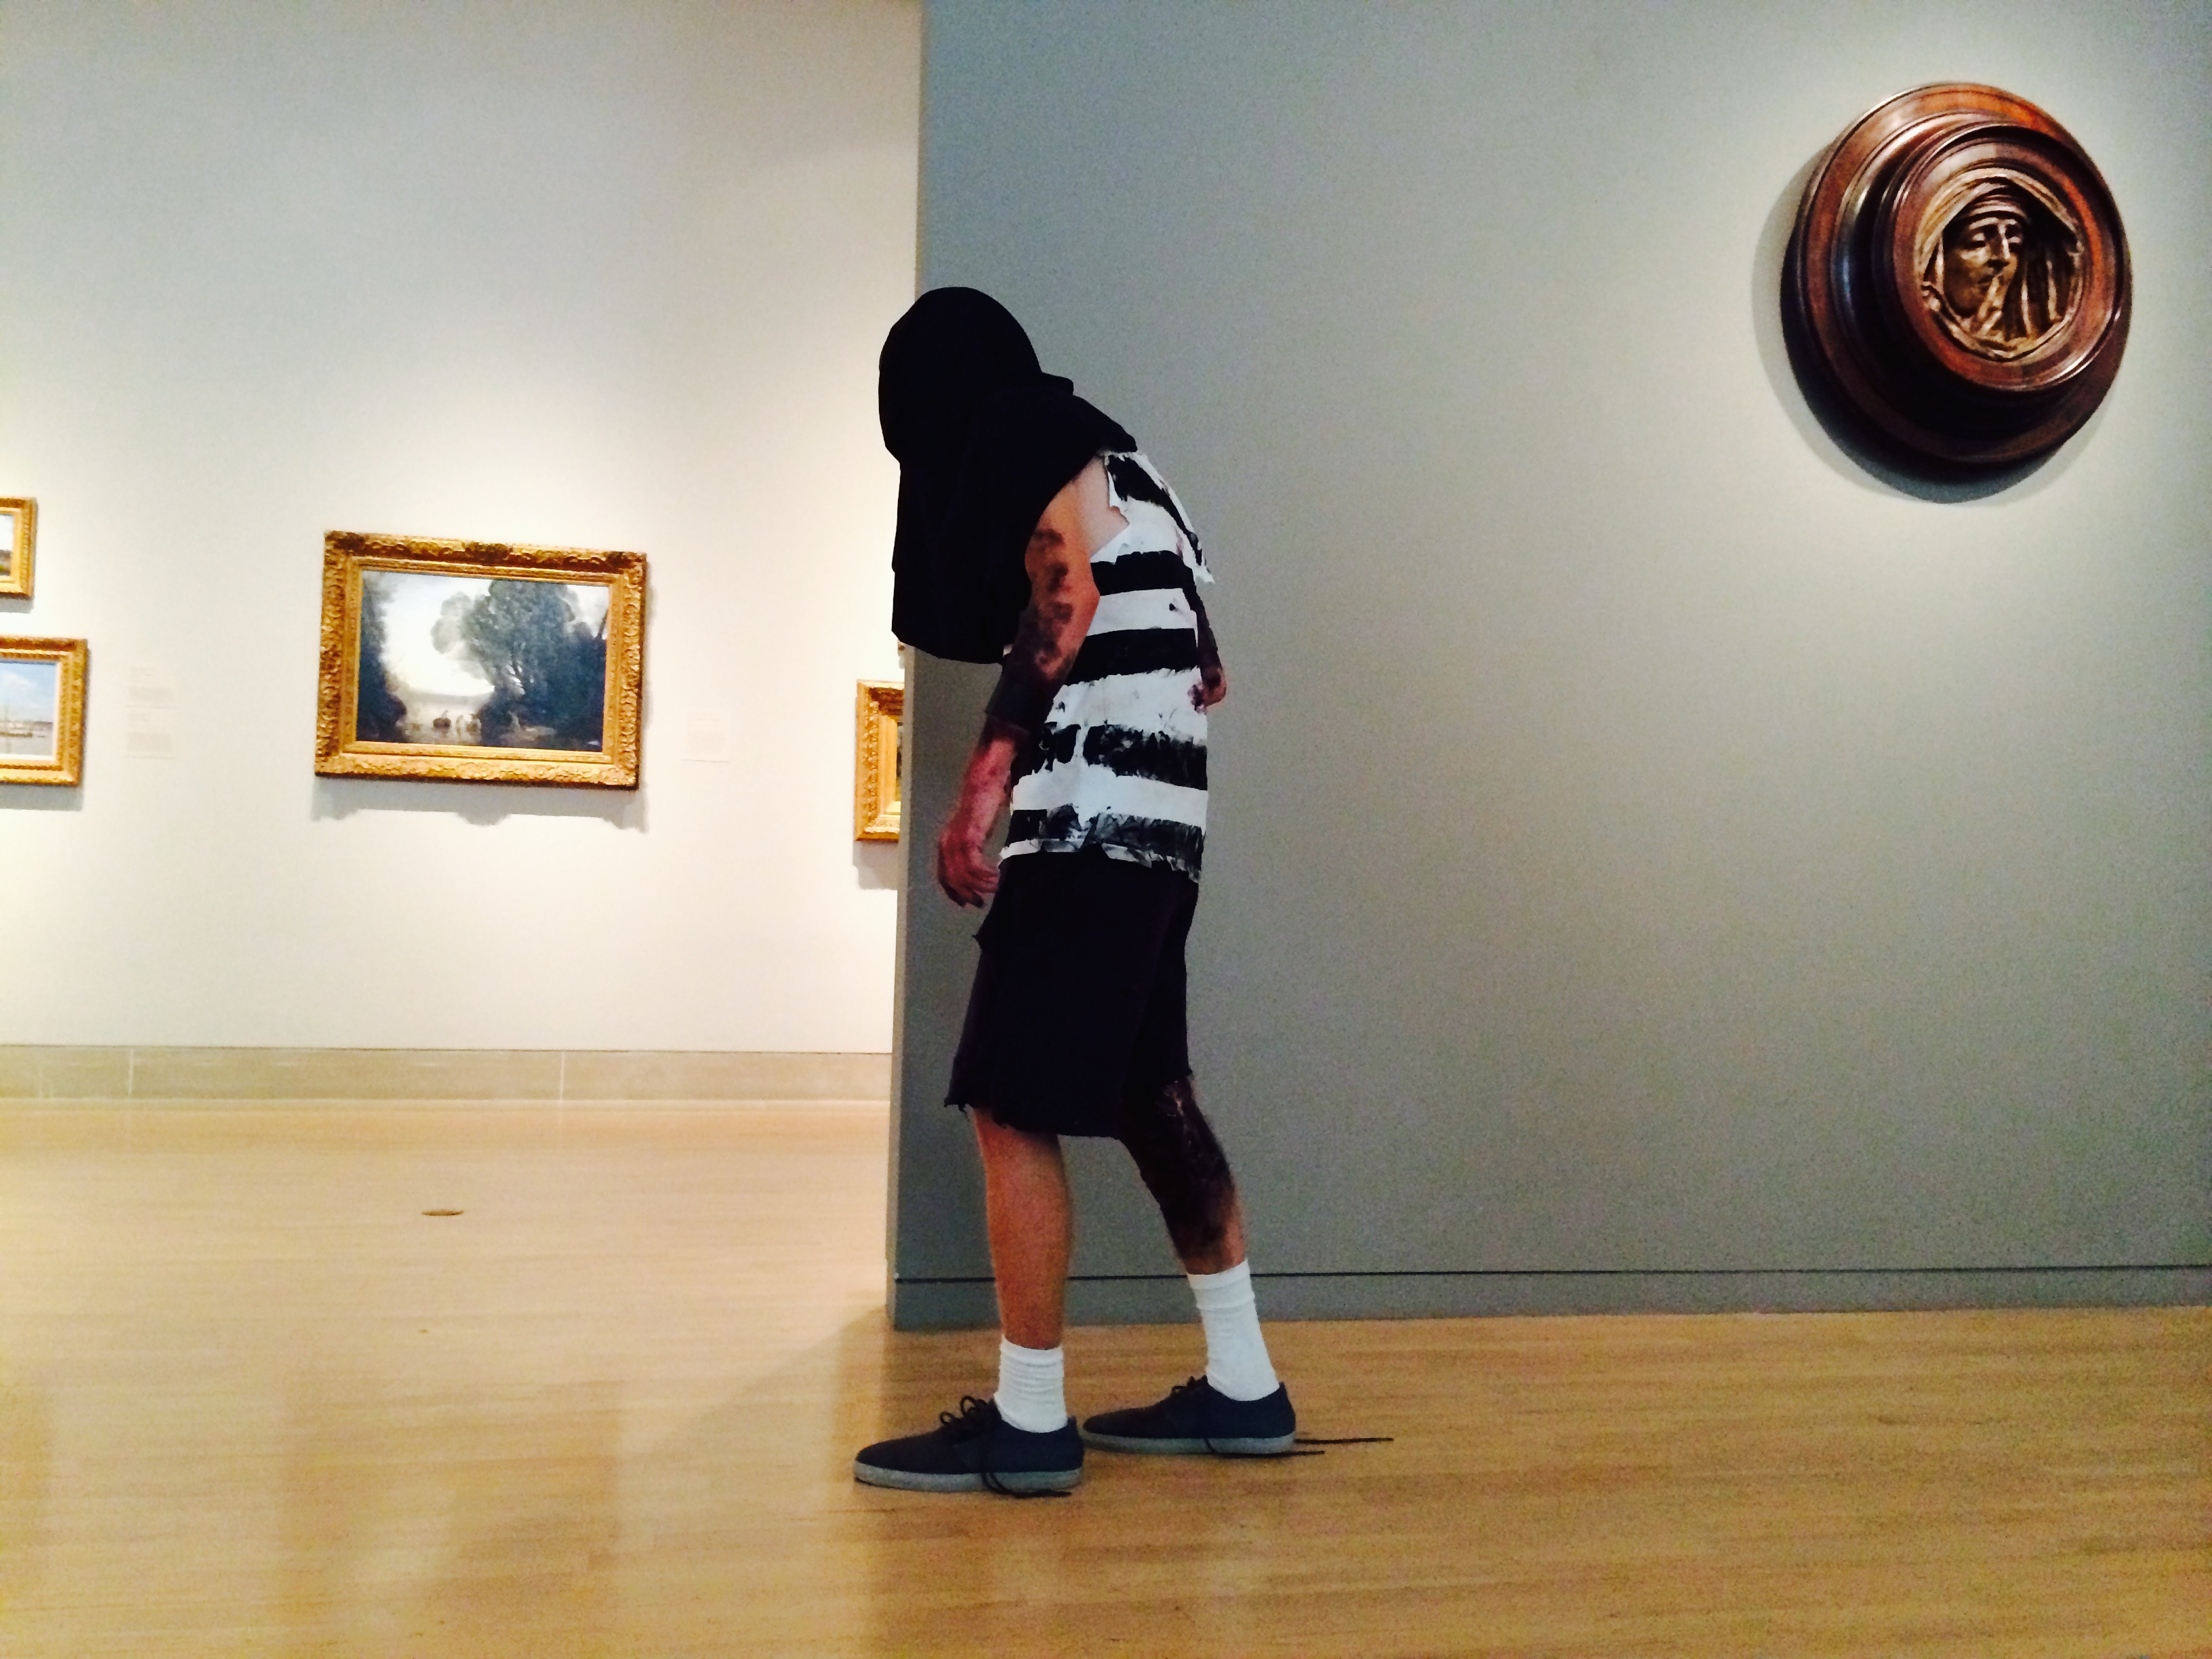
Lost-at-sea-themed zombie
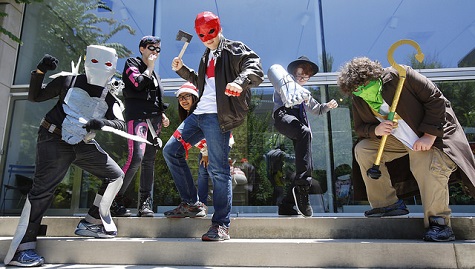
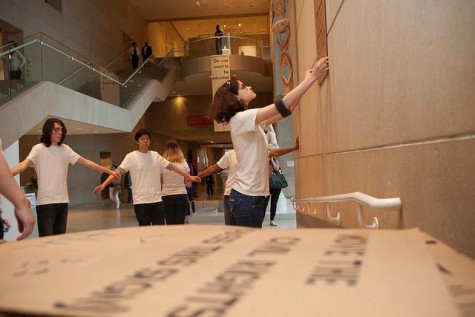
On Friday afternoon, the teens put their zombie-ambulatory skills to use by interacting with visitors in the galleries. Photographer Teresa Rafidi took some fantastic portraits of each of the zombies, and a selection of images will be shared on our Flickr page soon. 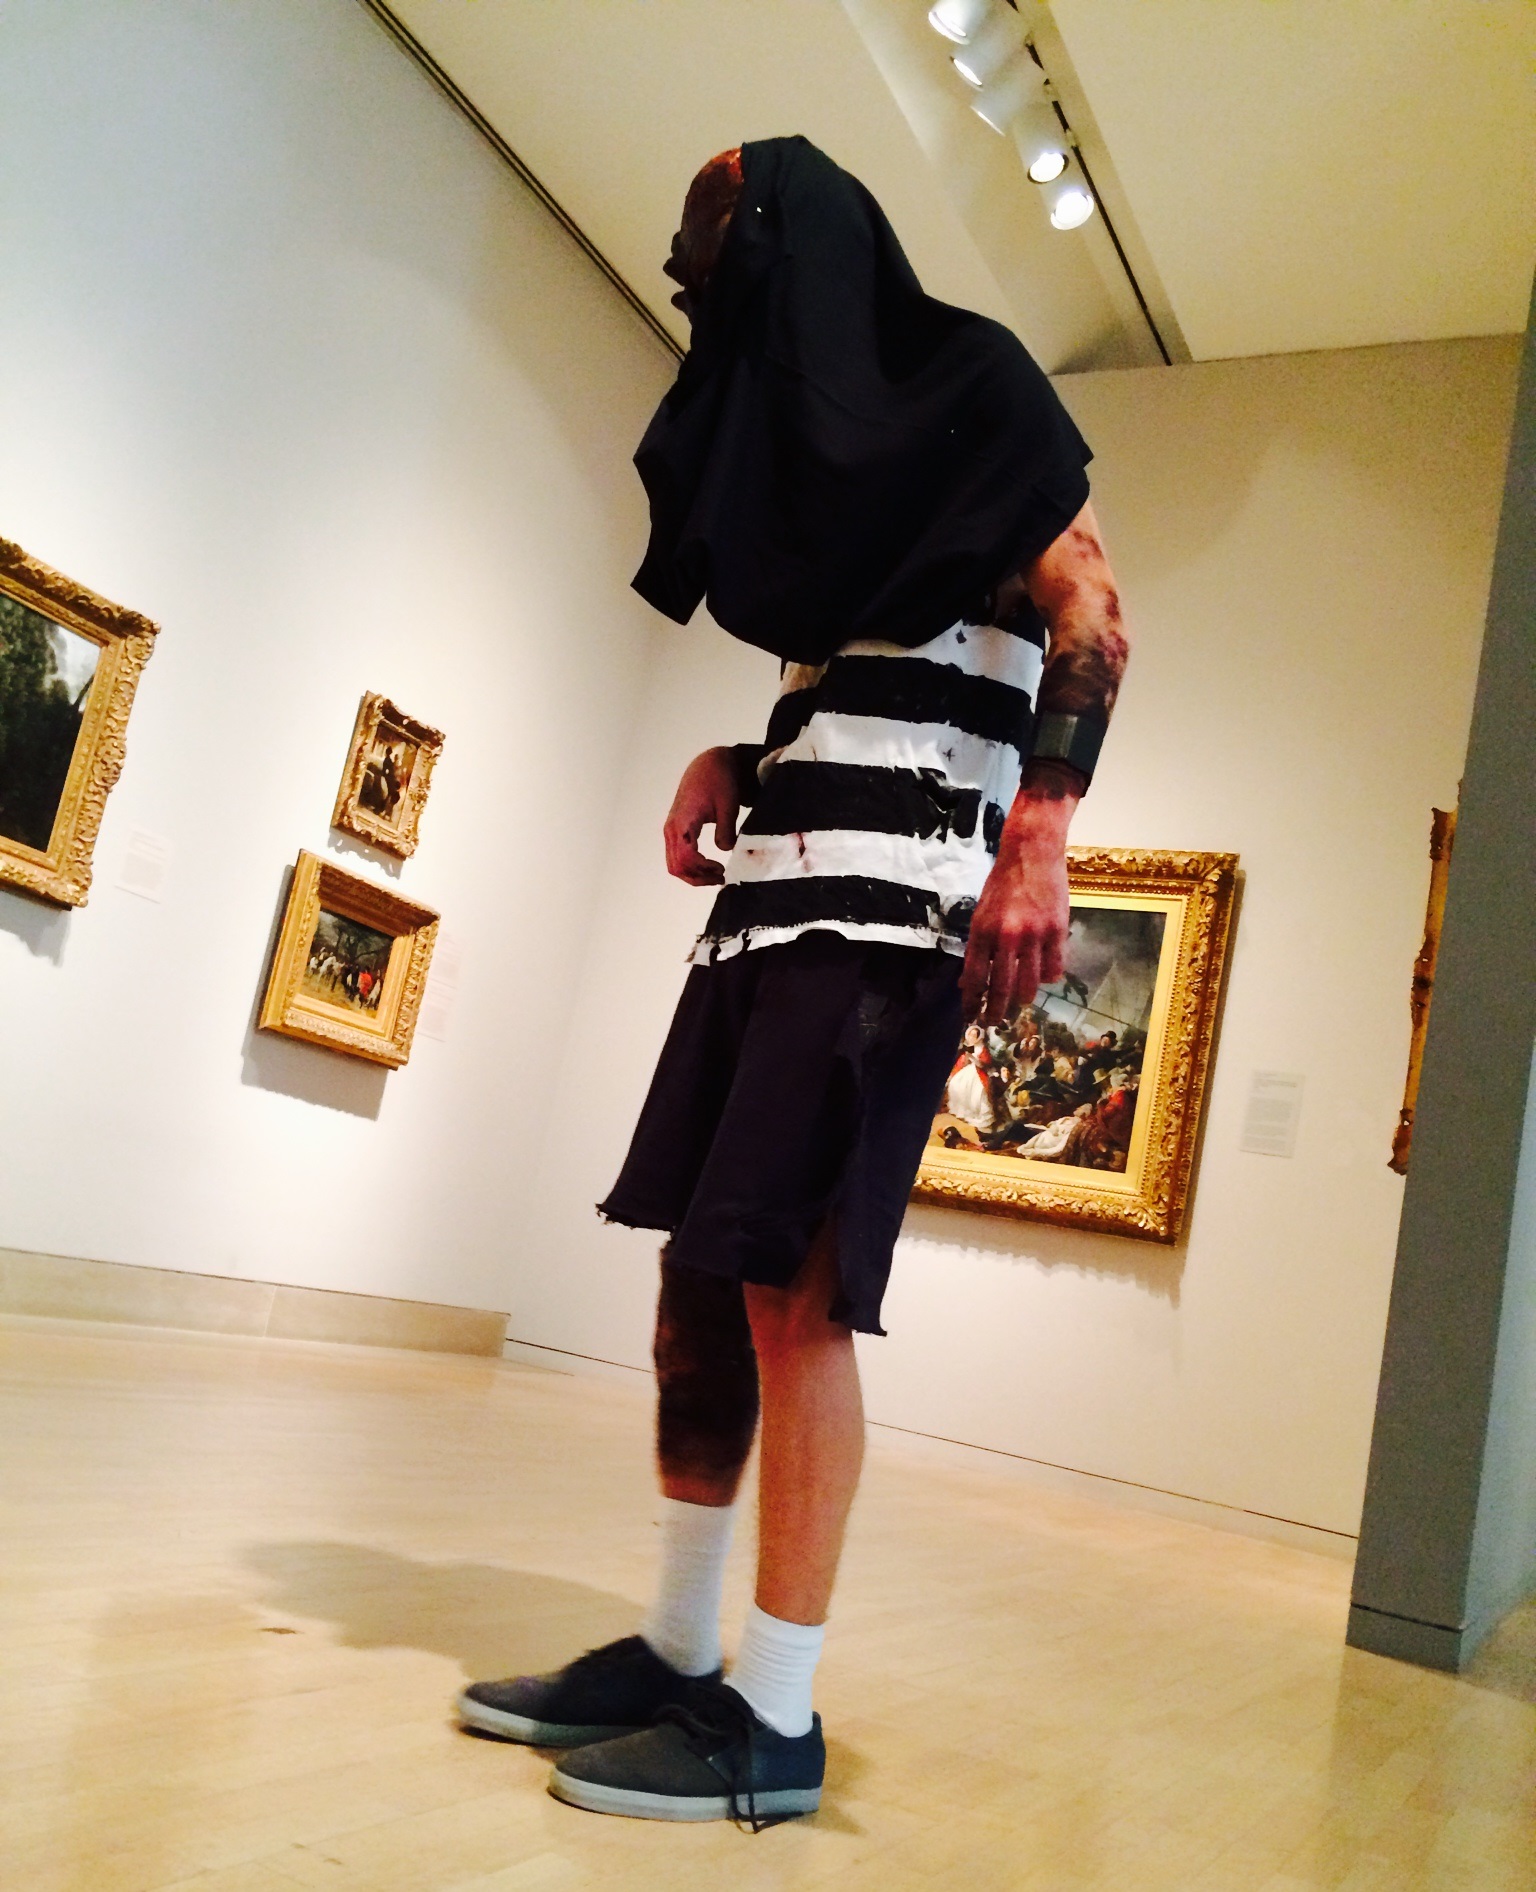
All in all, it was an amazing experience for everyone involved. In addition to the science and art crossover, students sneakily developed other skills such as creative problem solving, collaboration, critical thinking, iterative design, and more. I’m already getting suggestions for next year’s camp–aliens in the Museum, anyone?
Special thanks to Melinda Ludwig, Mary Jordan, Mara Richards, Teresa Rafidi, Mitch Rogers and staff, Kat Burkett, and Sarah Popplewell. Special effects materials provided by Brick in the Yard Mold Supply. No works of art were harmed during this camp (surprisingly).
JC Bigornia
C3 Program Coordinator