Archive for the 'Creativity' Category


Zine Club’s “Opening Year”

What is a zine? Short for “magazine,” zines are self-published books of writing and art that are made for as little money as possible and circulated in limited quantities. Zines became popular in the 1970s in counter-culture circles as a way of promoting art and ideas outside the mainstream media, but creators have been self-publishing their ideas for much longer! Many can trace the lineage of zines back to 1776, when Thomas Paine published “Common Sense.”

In September 2018, the DMA hosted its first Zine Club meeting for high school students. Teens have great ideas and make interesting connections between the DMA’s collection and their own lives all the time; look no further than Disconnect to Reconnect, for example, hosted by the DMA Teen Advisory Council. Zine Club is a way for teens to explore their ideas through art and share those ideas with DMA visitors and their own communities in Zine Club’s biannual issues.

Zine Club meets the first Thursday evening of the month, and it is completely free to attend and participate. Teens enjoy snacks, go to the galleries to brainstorm, and return to the studio to make pages for the zine. Everyone who attends Zine Club gets at least one page in the final issue and receives several copies of the zine to share with friends and family. Museum visitors can pick up their own copy of the zine for a limited time in the Center for Creative Connections.

After several months of creating, Zine Club presents Opening Year. Over the course of four months, nine teens, three educators, and one visiting artist explored the following questions: What do we change about ourselves to fit in with the status quo? What do images say about beauty? What stories do you want told at a museum? Click here to browse their answers for yourself!

Physical zine copies will be available in the Center for Creative Connections for a limited time this month, so plan your visit and pick up a copy the next time you’re at the Museum. Zine Club picks back up again this spring for four meetings all about personal experience and stories, so check out our upcoming meeting schedule at DMA.org. Hope to see you this spring!

Jessica Thompson-Castillo is the Manager of Teen Programs at the DMA.

2-D to 3-D Wire Creations

This February’s Open Studio will feature funky wire creations! Making sculptures inspired by paintings is a great way to engage with abstract art, and it allows your or your child’s mind to see the differences between a two-dimensional versus a three-dimensional artwork.

Imagine your favorite abstract painting—now imagine it as if it were designed as a sculpture. Would it twist or move? Would it cast shadows not conveyed in the painting? Sculpture is amazing because you can see it in a full 360 degrees and see up close what a painting simply cannot do. I love this activity because it asks the question “what would this painting look like if it were three dimensional?”

The 2-D to 3-D Wire Creations activity is a no-mess art-making project that is suitable for all ages and imaginations. It allows your child to engage with the basic elements of art—color, line, and shape—while introducing more complex subjects like abstract art, space, and movement.

As you twist and manipulate the wire, ask your child questions such as:

  • What kinds of lines can you make with the wire?
  • What colors are similar in the painting and your art?
  • What’s your favorite shape in the painting?
  • Do you like the art better as a painting or a sculpture?

I used Georgia O’Keeffe’s painting Grey Blue & Black—Pink Circle to draw inspiration for my wire sculpture.

Georgia O’Keeffe, Grey Blue & Black—Pink Circle, 1929, oil on canvas, Dallas Museum of Art, gift of The Georgia O’Keeffe Foundation, 1994.54, © The Georgia O’Keeffe Foundation/Artists Rights Society (ARS), New York

The painting has colors and lines that make my sculpture interesting and recognizable.

This will be a fun project for you and your family. The best part is that you will be able to find the painting that inspired your work of art in the DMA’s collection!

Open Studio is for families and individuals looking for something free to do on the weekend. I am so excited to share with you the monthly art activity, how to engage your child in art projects, and a sneak peek of what you might expect. So stay tuned and see you soon!

February Open Studio Dates and Times:

Theme: Wire Creations
Location: Center for Creative Connections Art Studio
Price: Free
Dates:  
Saturday, February 2
Sunday, February 3
Saturday, February 16
Sunday, February 17
Time: Noon–4:00 p.m.

Melissa Brito is a Teaching Specialist for Family and Access Programs at the DMA.

Studio Doors Are Open—Come On In!

Calling all weekend crafters, makers, tinkerers, and artists! The DMA’s Art Studio is opening its doors to one and all starting in January 2019. On the first and third weekend of every month, drop by and give your creativity a workout with a hands-on art-making project for the entire family. Whether you prefer to wield a paintbrush or squish some clay, we’ll have something to inspire your inner artist. Materials and projects will switch up every month, and DMA staff will be on hand to demonstrate techniques and share fun facts about art and artists in the DMA’s collection.

In January we’re kicking off Open Studio by making landscape monotypes inspired by the exhibition Ida O’Keeffe: Escaping Georgia’s Shadow. We’ll supply the paint and paper—you bring the fun!

Open Studio 1

Open Studio is available for FREE on the first and third Saturday and Sunday of the month from noon to 4:00 p.m. All supplies are provided, and no registration or ticket is required.

Leah Hanson is the Director of Family, Youth, and School Programs at the DMA.

Deck the Halls, DMA-Style

With Thanksgiving around the corner and December on its way, ‘tis almost the season for lit fireplaces, overeating, your neighbors one-upping each other’s outdoor decor, inescapable repetitions of Jingle Bells, a family squabble or two, and, of course, shopping for gifts. If the holidays often leave you in a holi-daze when it comes to figuring out the perfect gift for each of your loved ones, fret no more. Our 2018 Holiday Gift Guide is here to help you cover your bases with creative gifts for him, her, the home, your petite Picassos, and more, so that you can avoid those last-minute mad dashes to the mall. Shop the full guide on our site, visit our store for more, and in the meantime, check out these highlighted items worth caroling about:

For Her
Store_Email_12_2014_060_1024x1024
Gold Texas Necklace, $45
Flaunt your Texas pride with this gold-plated necklace custom-made for the DMA, with cubic zirconia representing the major metropolitan regions of the state.

For Him
beer_2_1024x1024
Where to Drink Beer, $29.95
Discover the the little-known, eclectic, and surprising destinations for drinking beer in this ultimate guide created by some of the world’s most revered brewers.

For Kids
giant_sculpture_2_1024x1024
The Giant Game of Sculpture, $29.95
Whether you’re a kid or a kid at heart, use your imagination and create your own unique sculptures with colorful cards, wrapping paper, and more in this interactive book.

For the Gamer
CultMachineStore2-33_1024x1024
Brain Freeze Quiz, $12
Put your friends and family to the test with this brain-busting (and beautifully patterned) word guessing game suitable for all ages.

For the Home
Cult of the Machine
Rocket Cocktail Shaker, $40
Take inspiration from the barware on view in Cult of the Machine and become a stellar party host with this sleek and space-worthy cocktail shaker ready for liftoff.

Hayley Caldwell is the Copy and Content Marketing Writer at the DMA.

It’s in the Family: The Impact of a Handmade Dress

Working in an exciting place like the Center for Creative Connections (C3), I get to have conversations with visitors about how works of art can conjure specific memories that we pack away in our brains. So in May, when C3 had the idea for an open call for DMA staff to submit their own personal objects and accessories to be on view in the gallery, it felt like discovering buried treasures. What began as an employee’s small, digitally submitted story evolved into a captivating display of objects on view, many with rich family histories.

Jessica Kyle, who has worked at the DMA as the Donor Communications & Operations Specialist since January 2018, submitted several childhood dresses handmade by her grandmother Betty Jo Kyle in 1994. Jessica’s family flew her grandmother in from California a few weeks ago and I was lucky enough to chat with them about the dress and the lasting influence it has had on Jessica throughout her life.

001

Betty Jo Kyle and granddaughter Jessica Kyle

Betty Jo, by practice, is a cross-stitcher. The oldest of eight siblings, she refined her sewing practice by creating doll clothes from scrap fabrics—a skill she learned from her mother, although she admits she didn’t reach her level of skill. “Even in high school, we had sewing, but it was all basics,” she recalls. “So, by me sewing, the teacher would say, ‘Well, you just do what you want to do.’ She didn’t teach me anything else. I could have learned more if she had. She mostly just taught the kids who couldn’t get a stitch or hem in.”

Initially, Betty Jo’s grandchildren were all boys, so it didn’t lend much for clothing creation, particularly dresses. It wasn’t until Jessica was born that she had the desire to make dresses she would see in magazines. She even often made matching dresses for Jessica’s Barbie dolls. “I remember receiving the clothes that my grandma would make, and I would be so excited. I would be like, ‘Ooh, I have custom-made clothes in my closet!’ Even as a four year old, I can remember that.” Jessica says with a smile. “It’s funny, when you’re younger, you don’t realize how meaningful and important these types of things are to the family legacy. When you become an adult you really appreciate all these creations.”

These days, with her grandchildren grown up, Betty Jo focuses more on cross-stitching than dressmaking, but she still hangs on to her now-vintage sewing machine of decades past—an artwork in itself, as Jessica puts it. For Jessica, the summers she spent learning to cross-stitch with her grandmother in Compton, California, were transformative in how she sees herself as an artist and painter today. “It showed me that if you put the time in, and care for all those little details, you create a true work of art. It taught me to appreciate the whole process.”

See Jessica’s childhood dress and learn about other personal objects and accessories from DMA staff and the Museum’s collection on view until December 10 in the front gallery of the Center for Creative Connections.

Kerry Butcher is the Center for Creative Connections Education Coordinator at the DMA.

Get to Know C3 Visiting Artist Lauren Cross

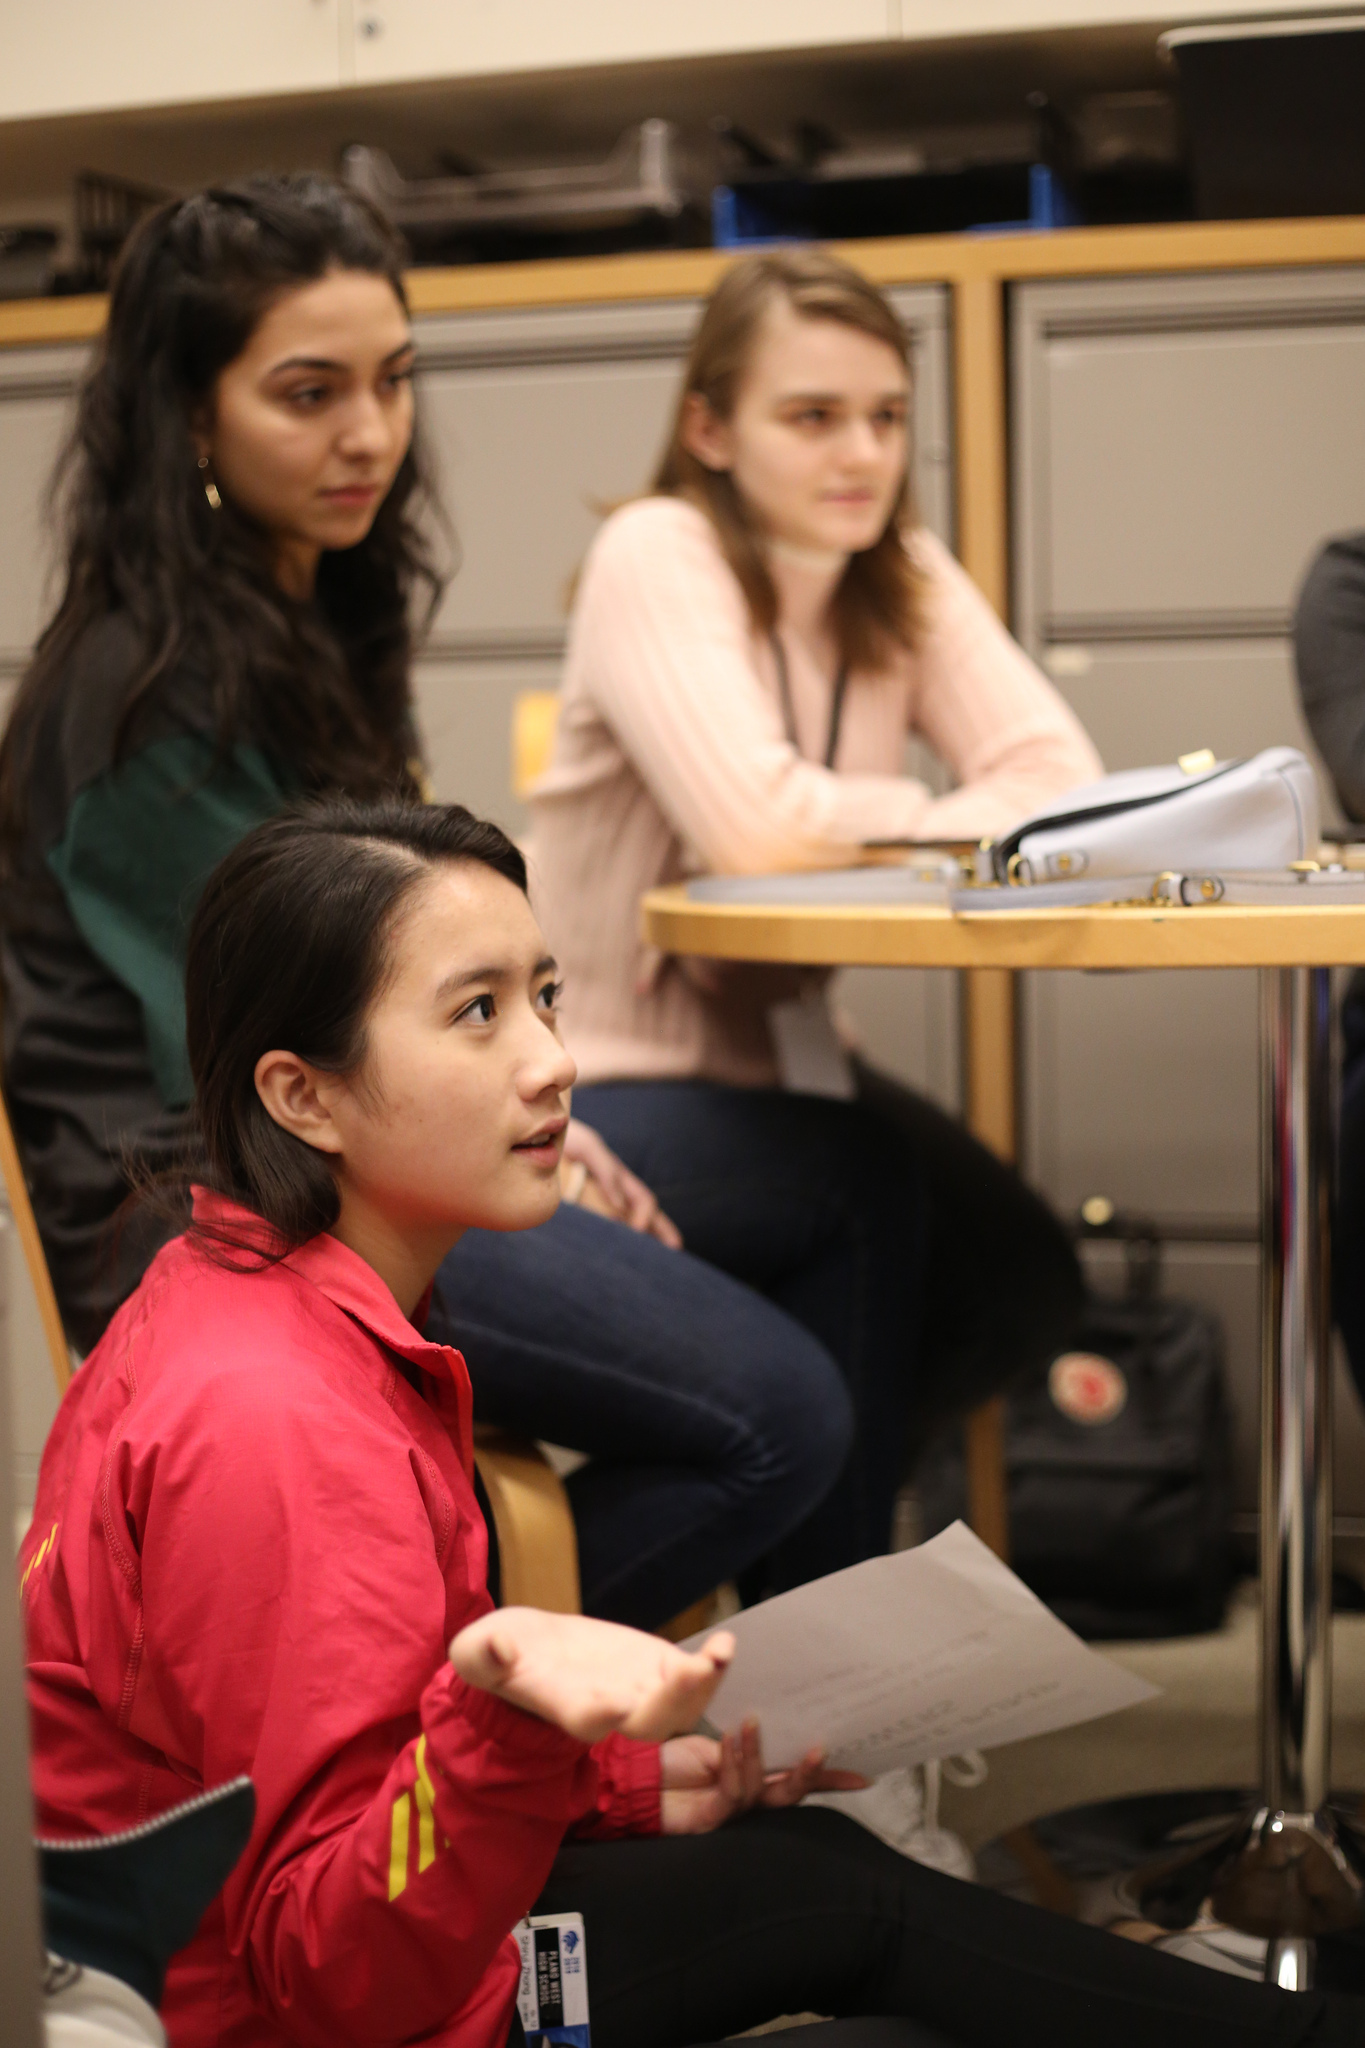
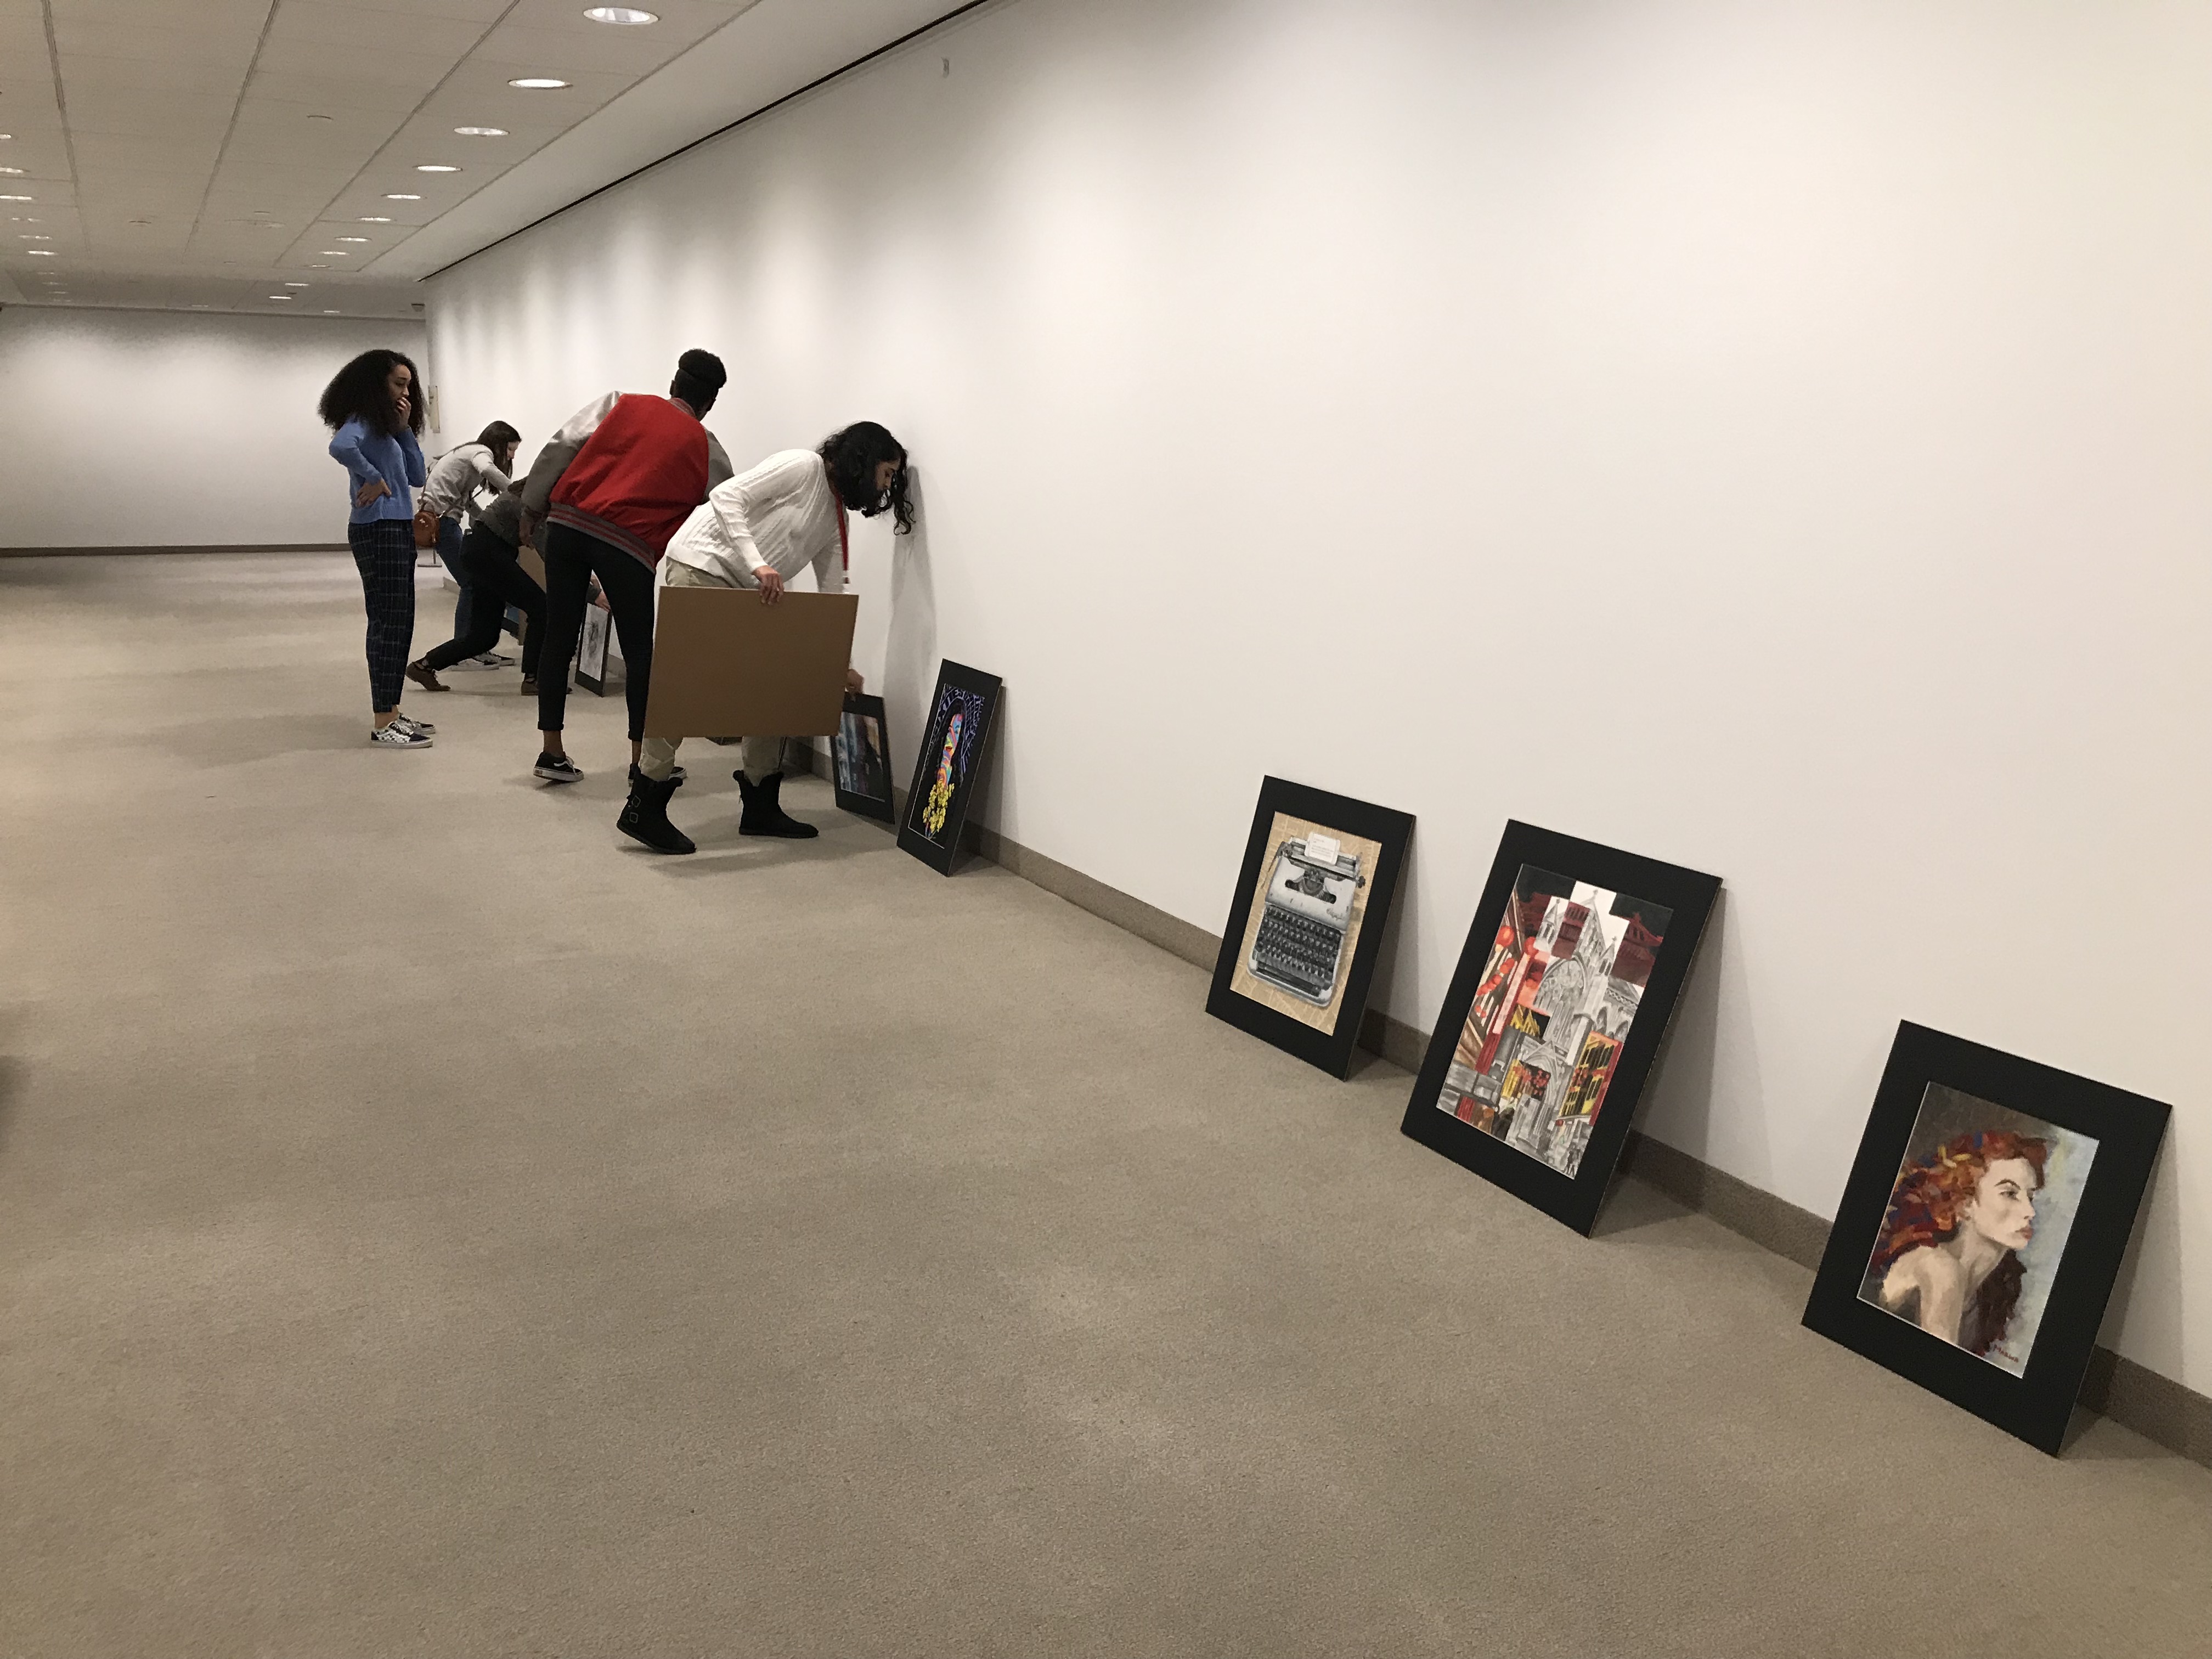
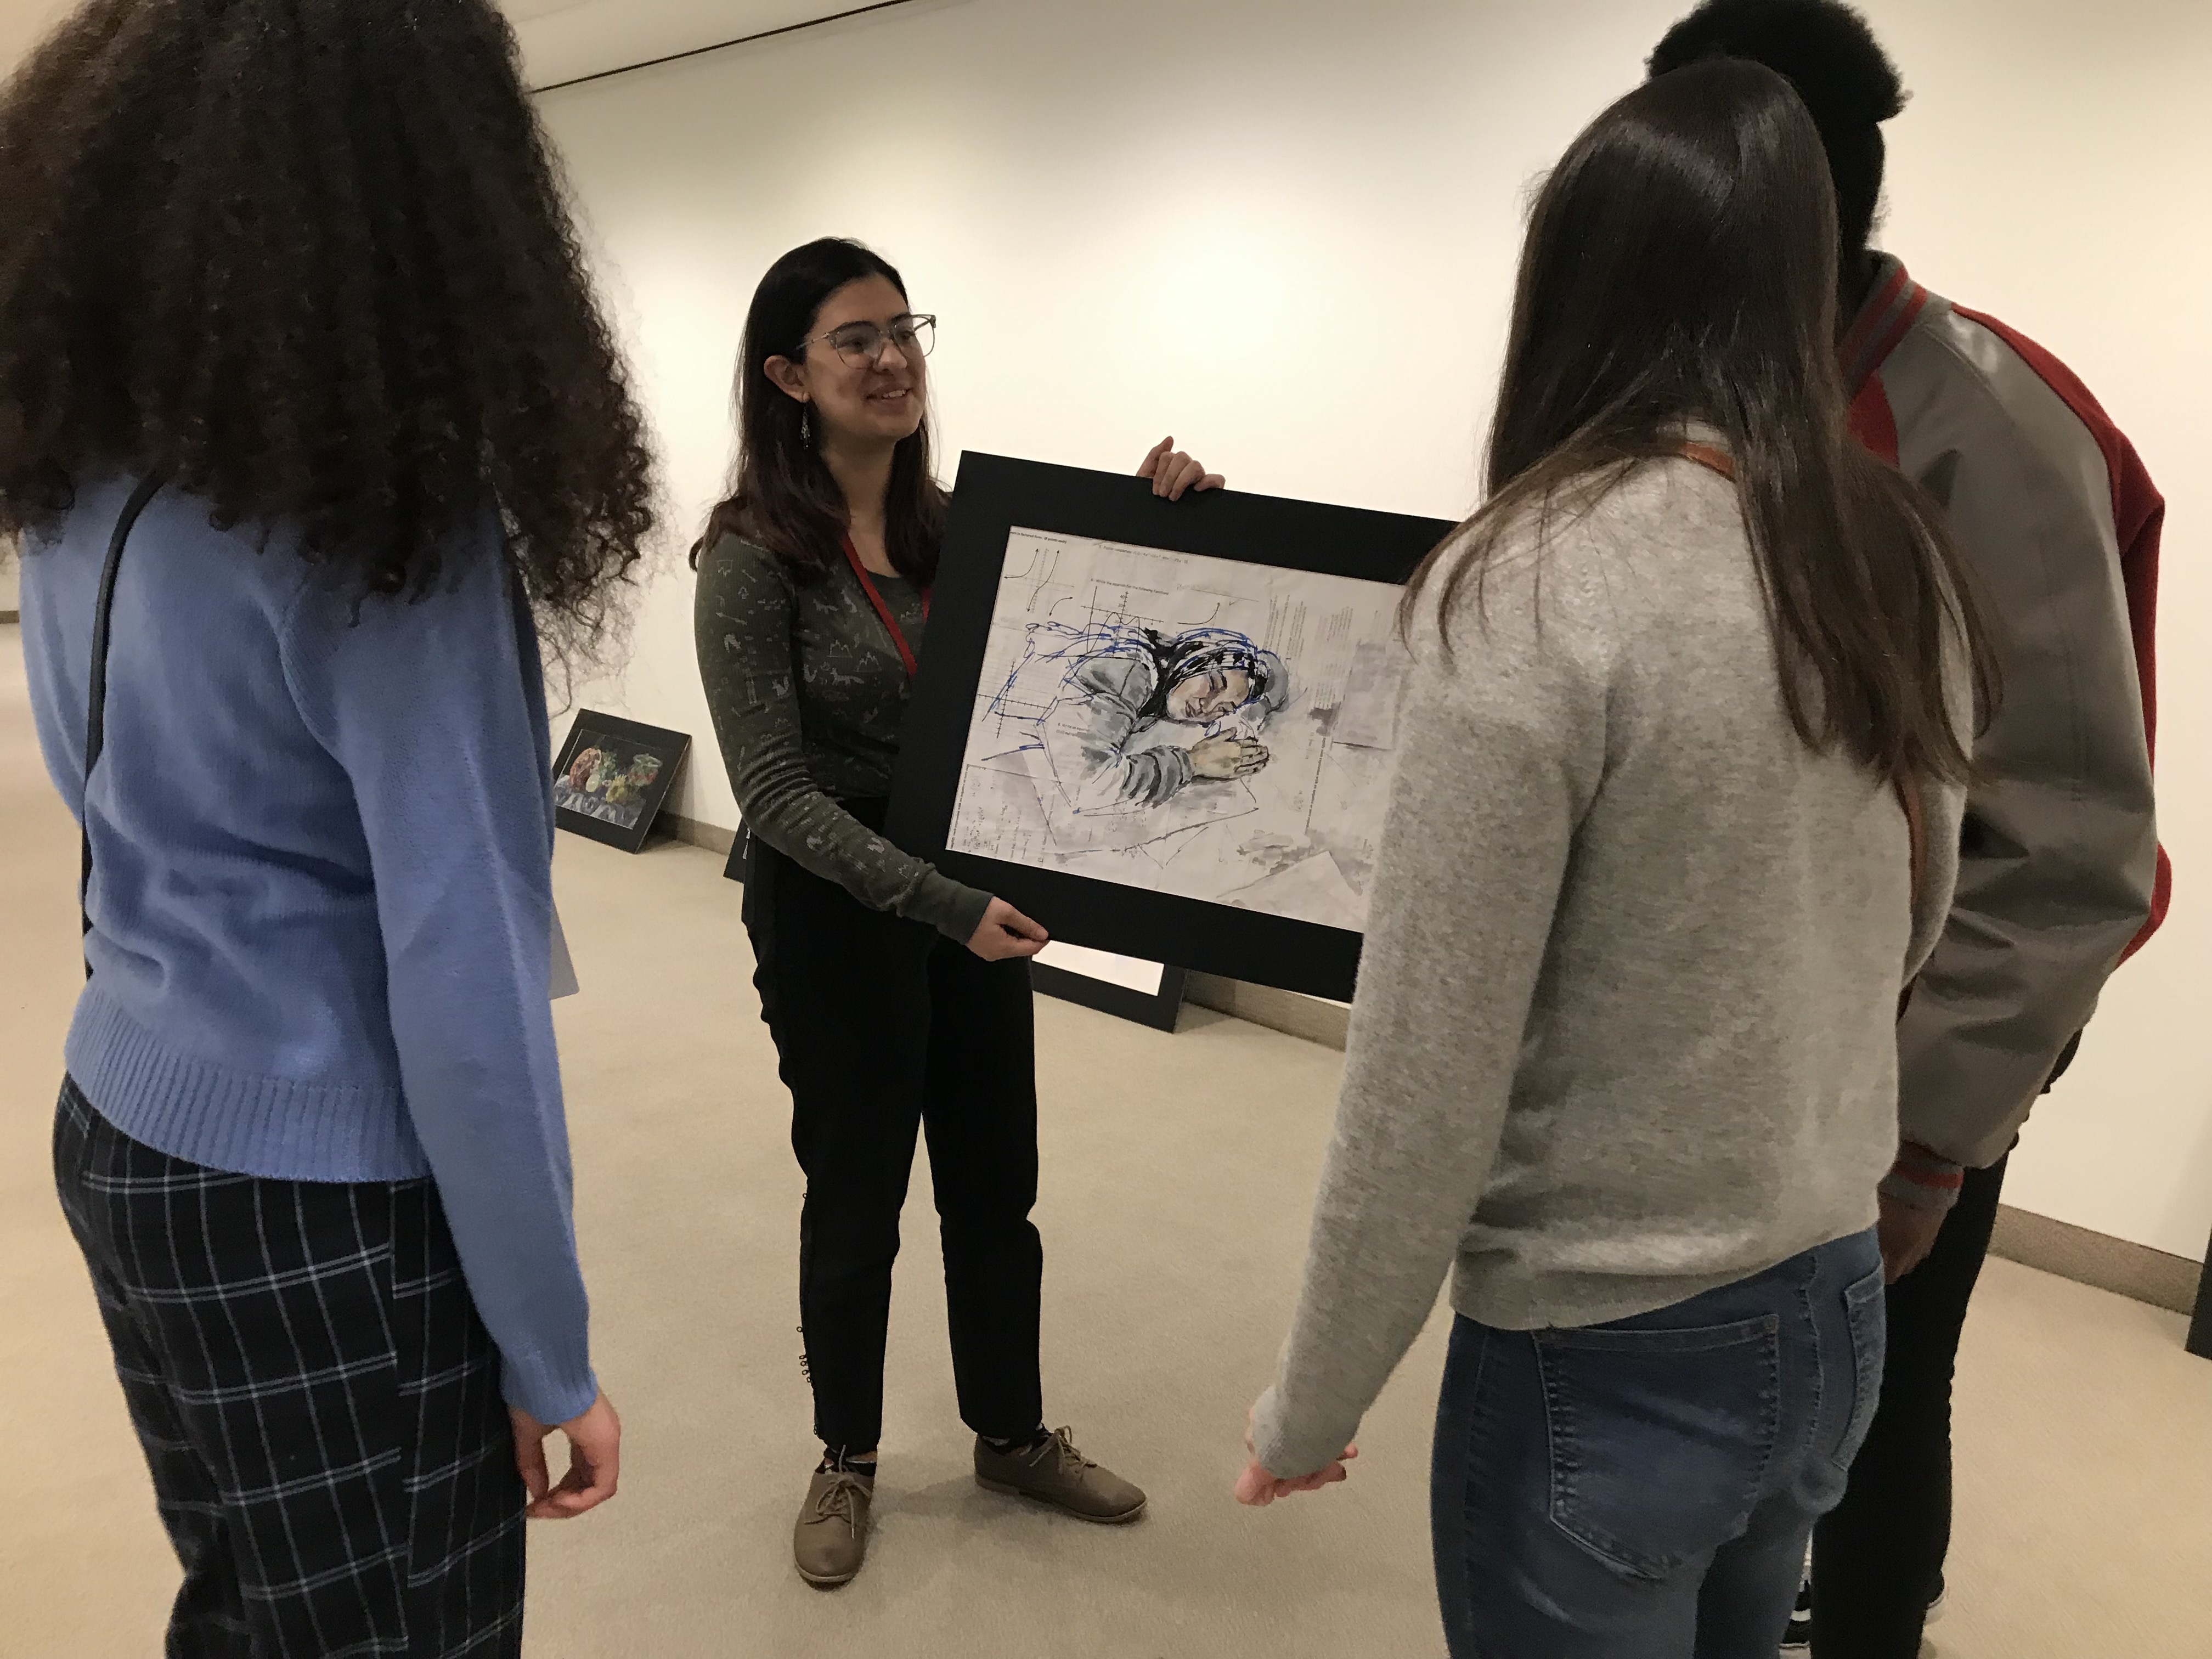
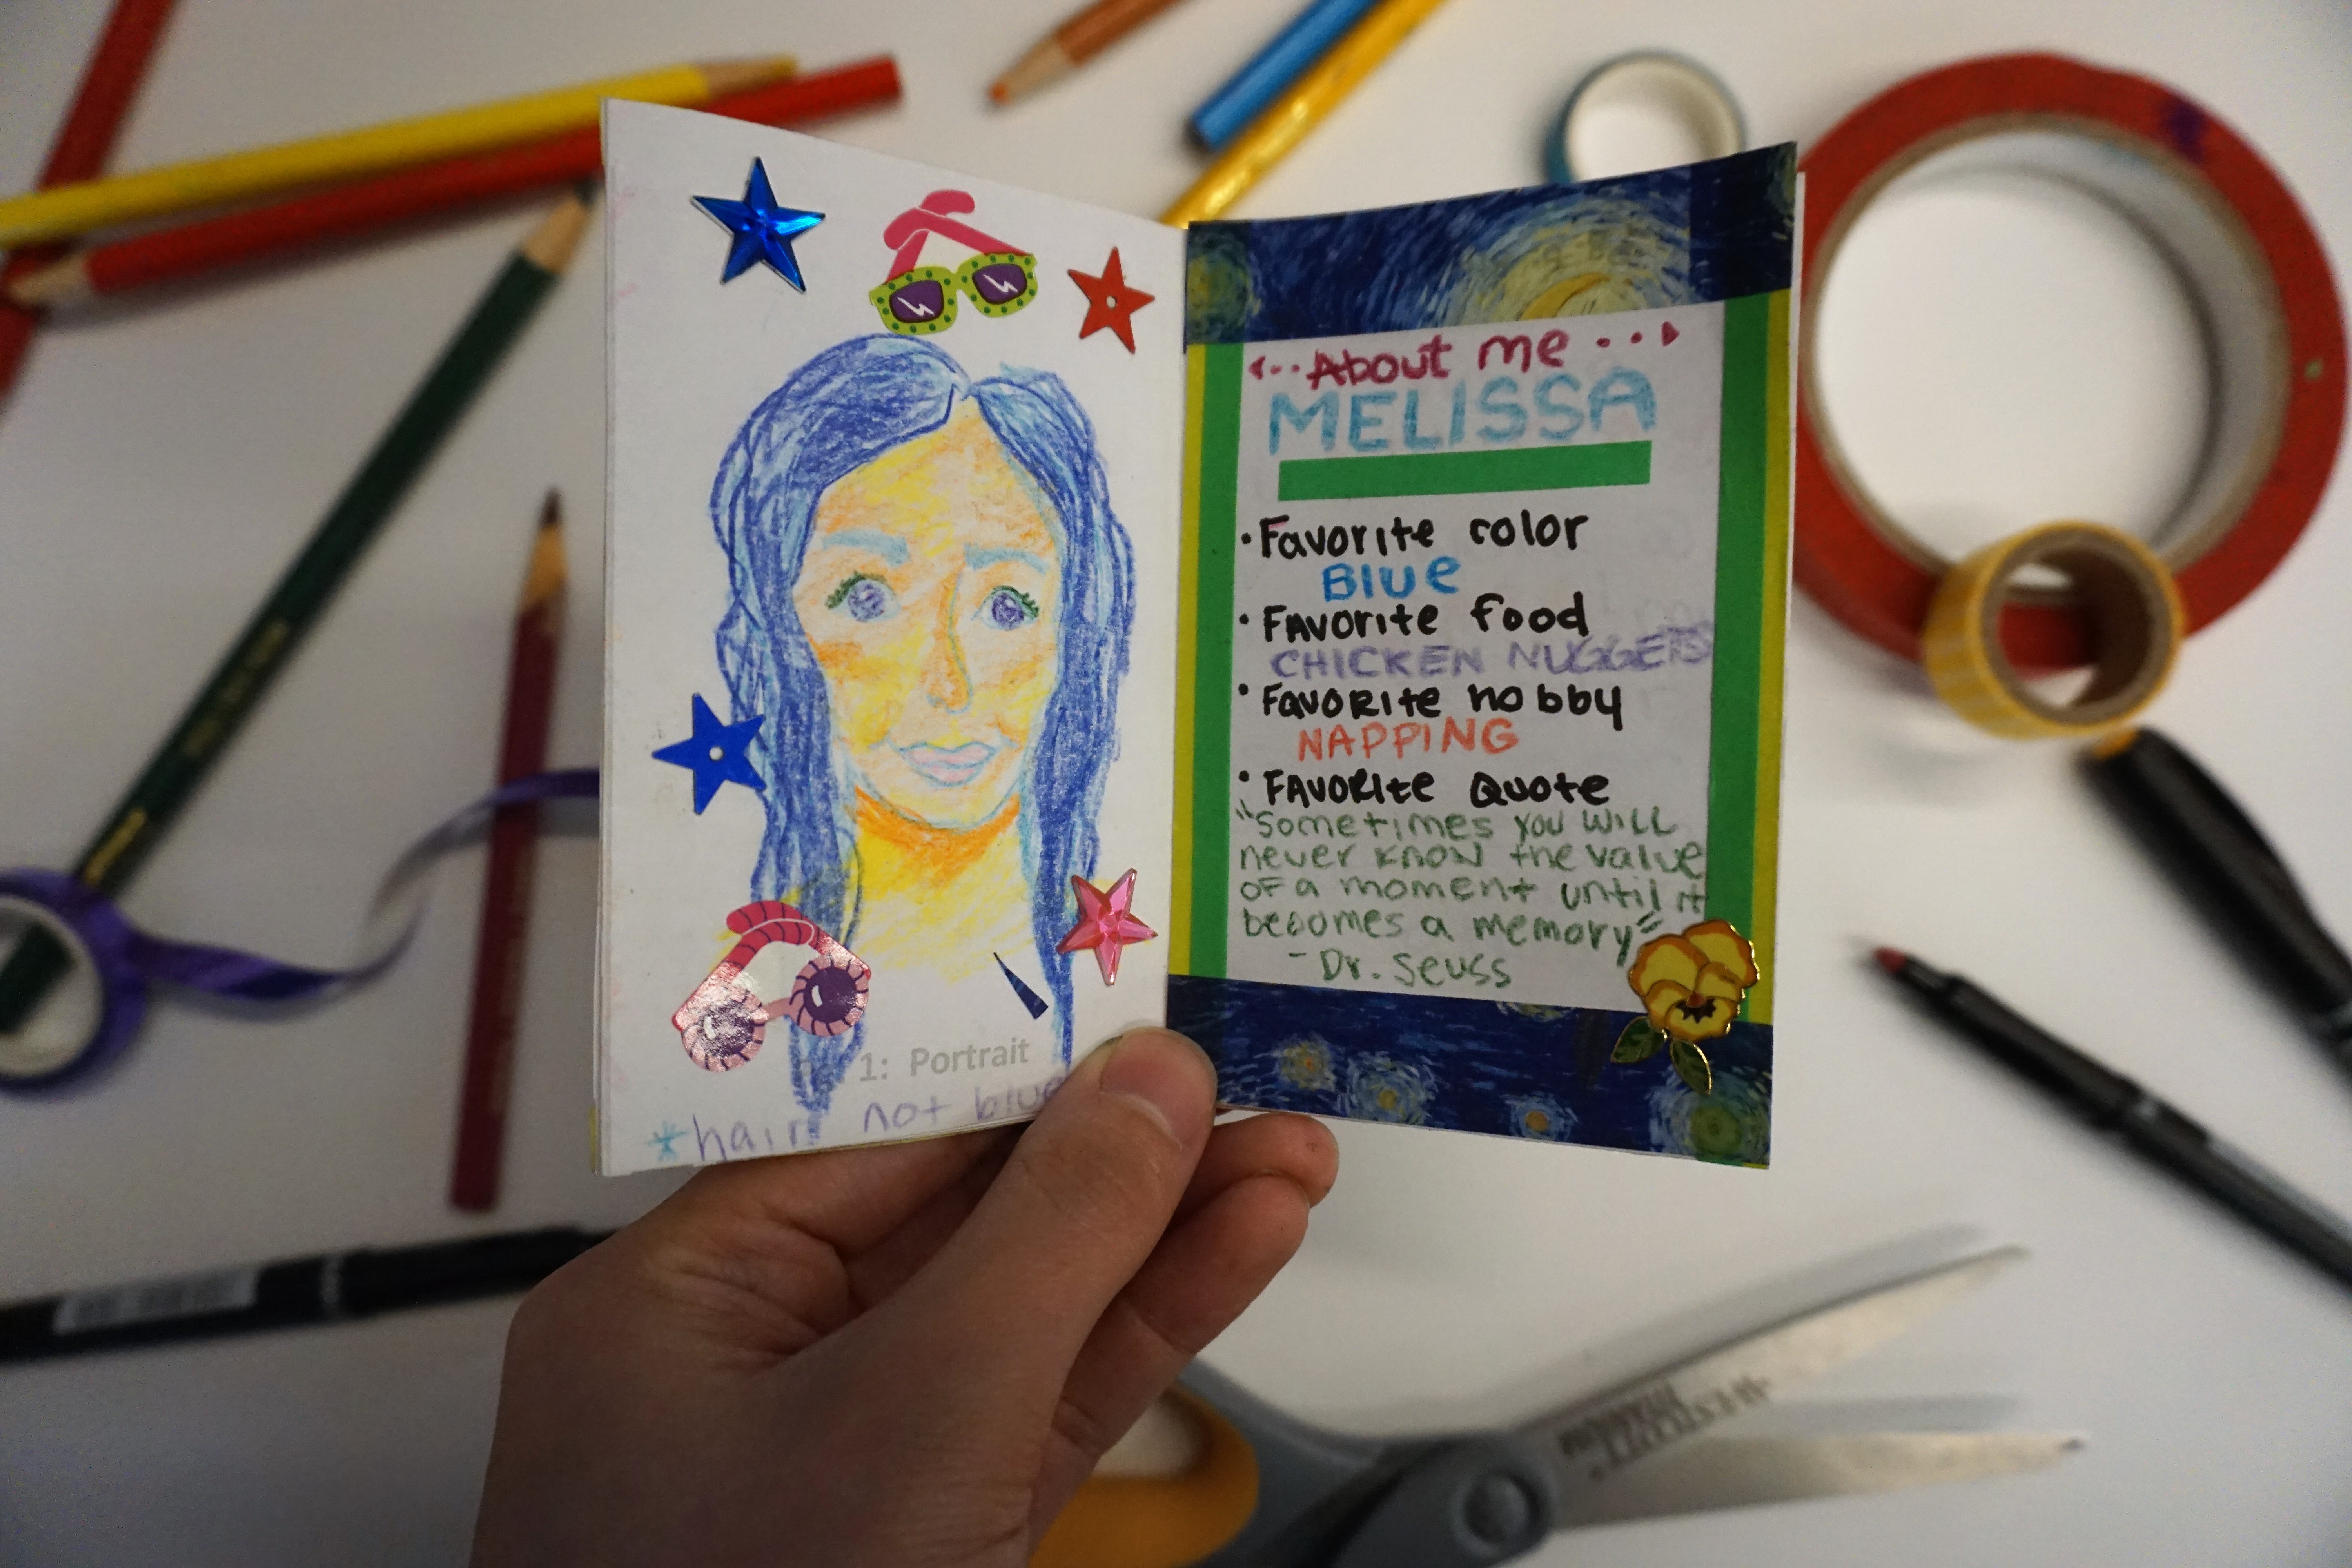
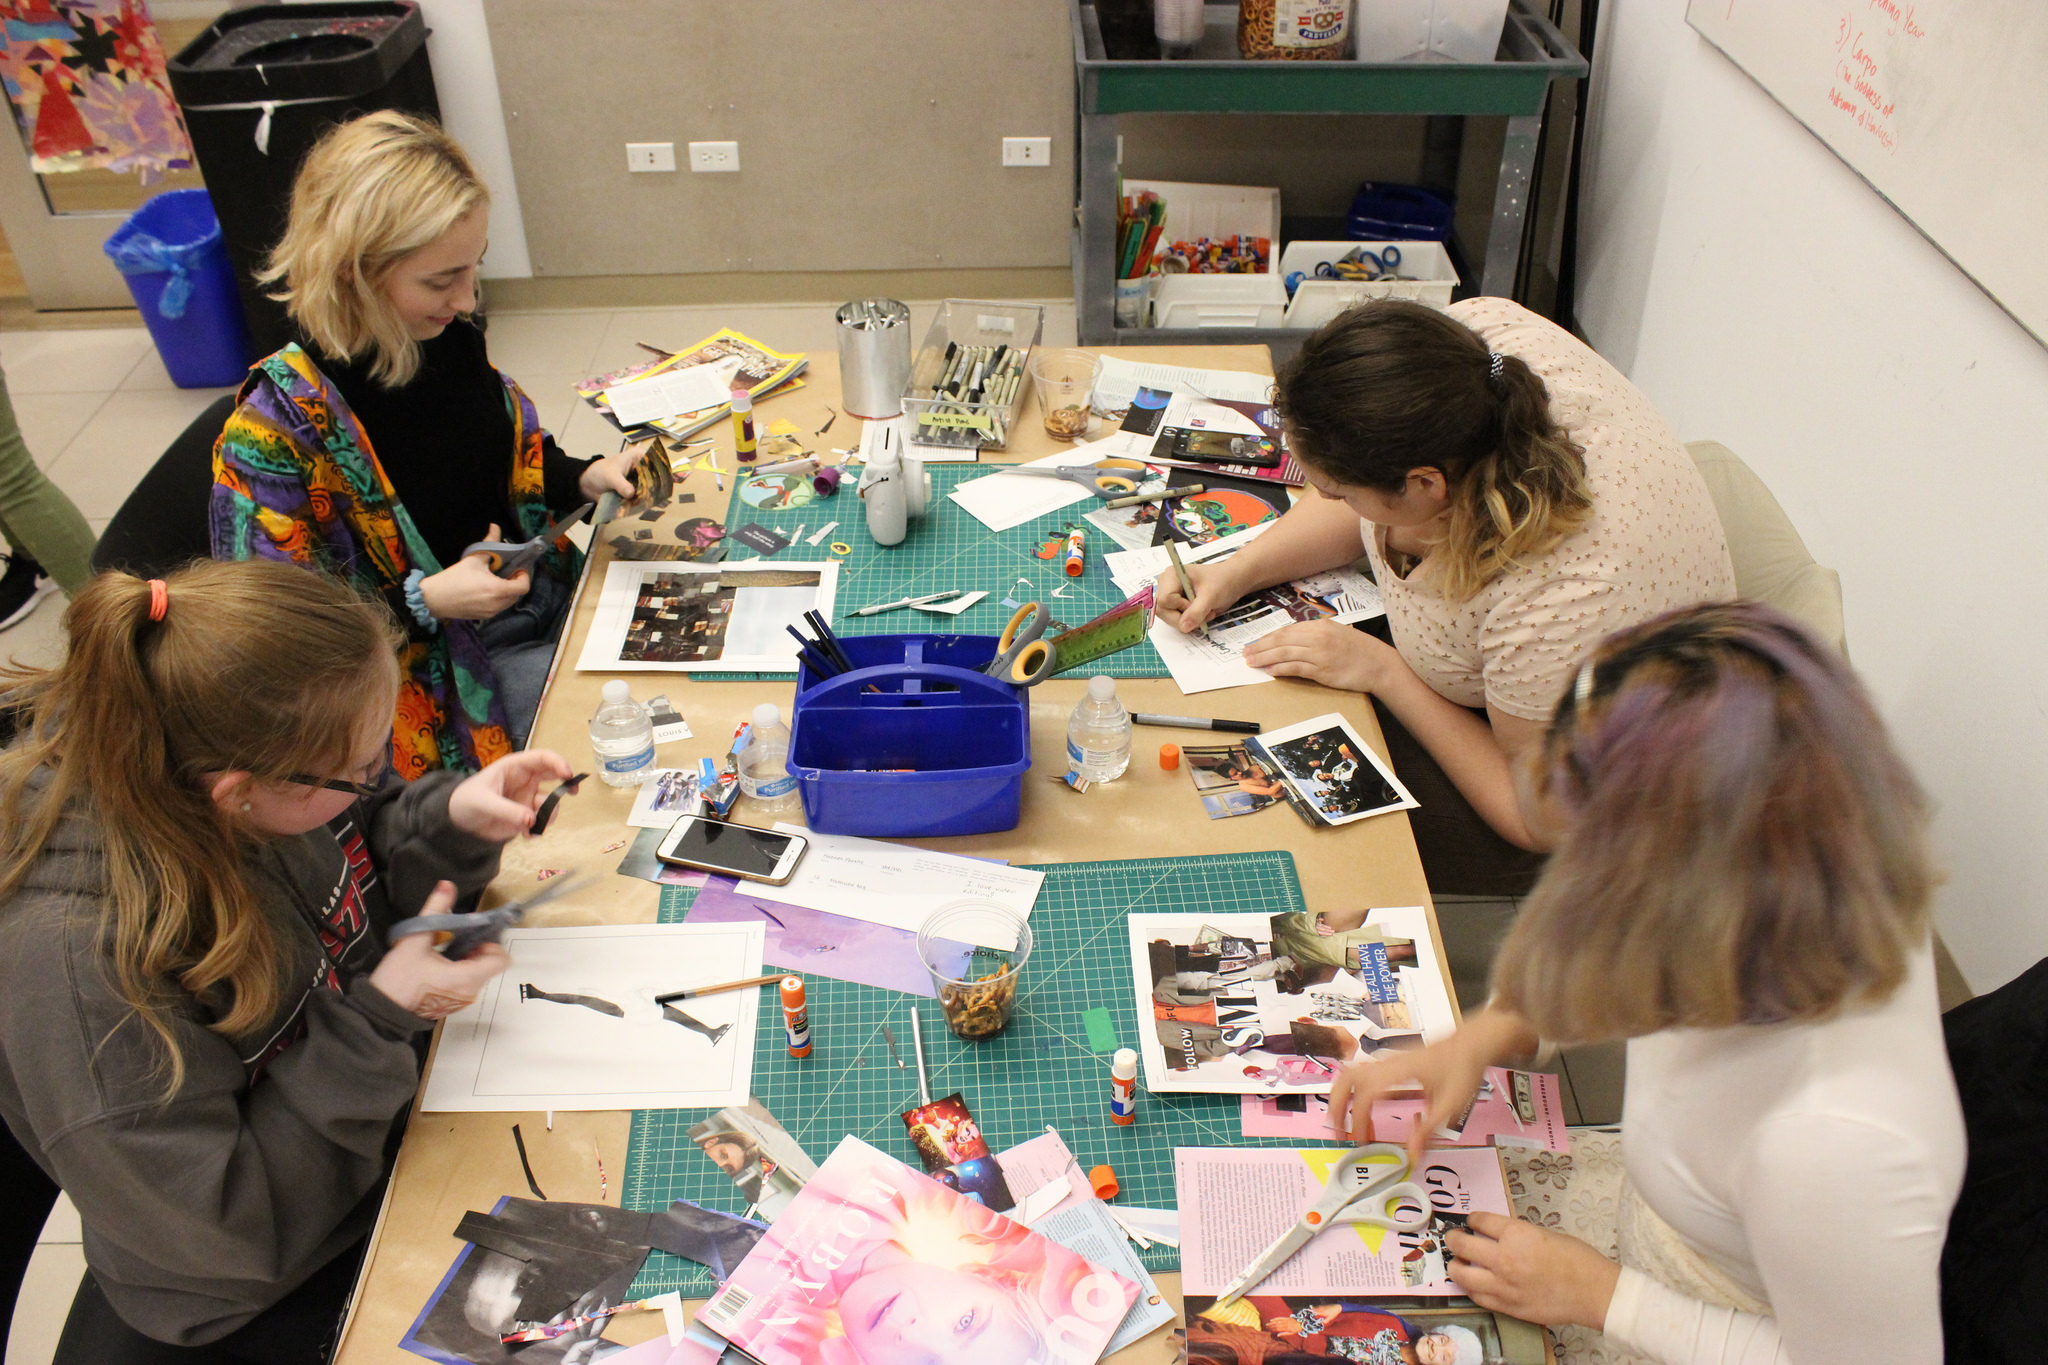
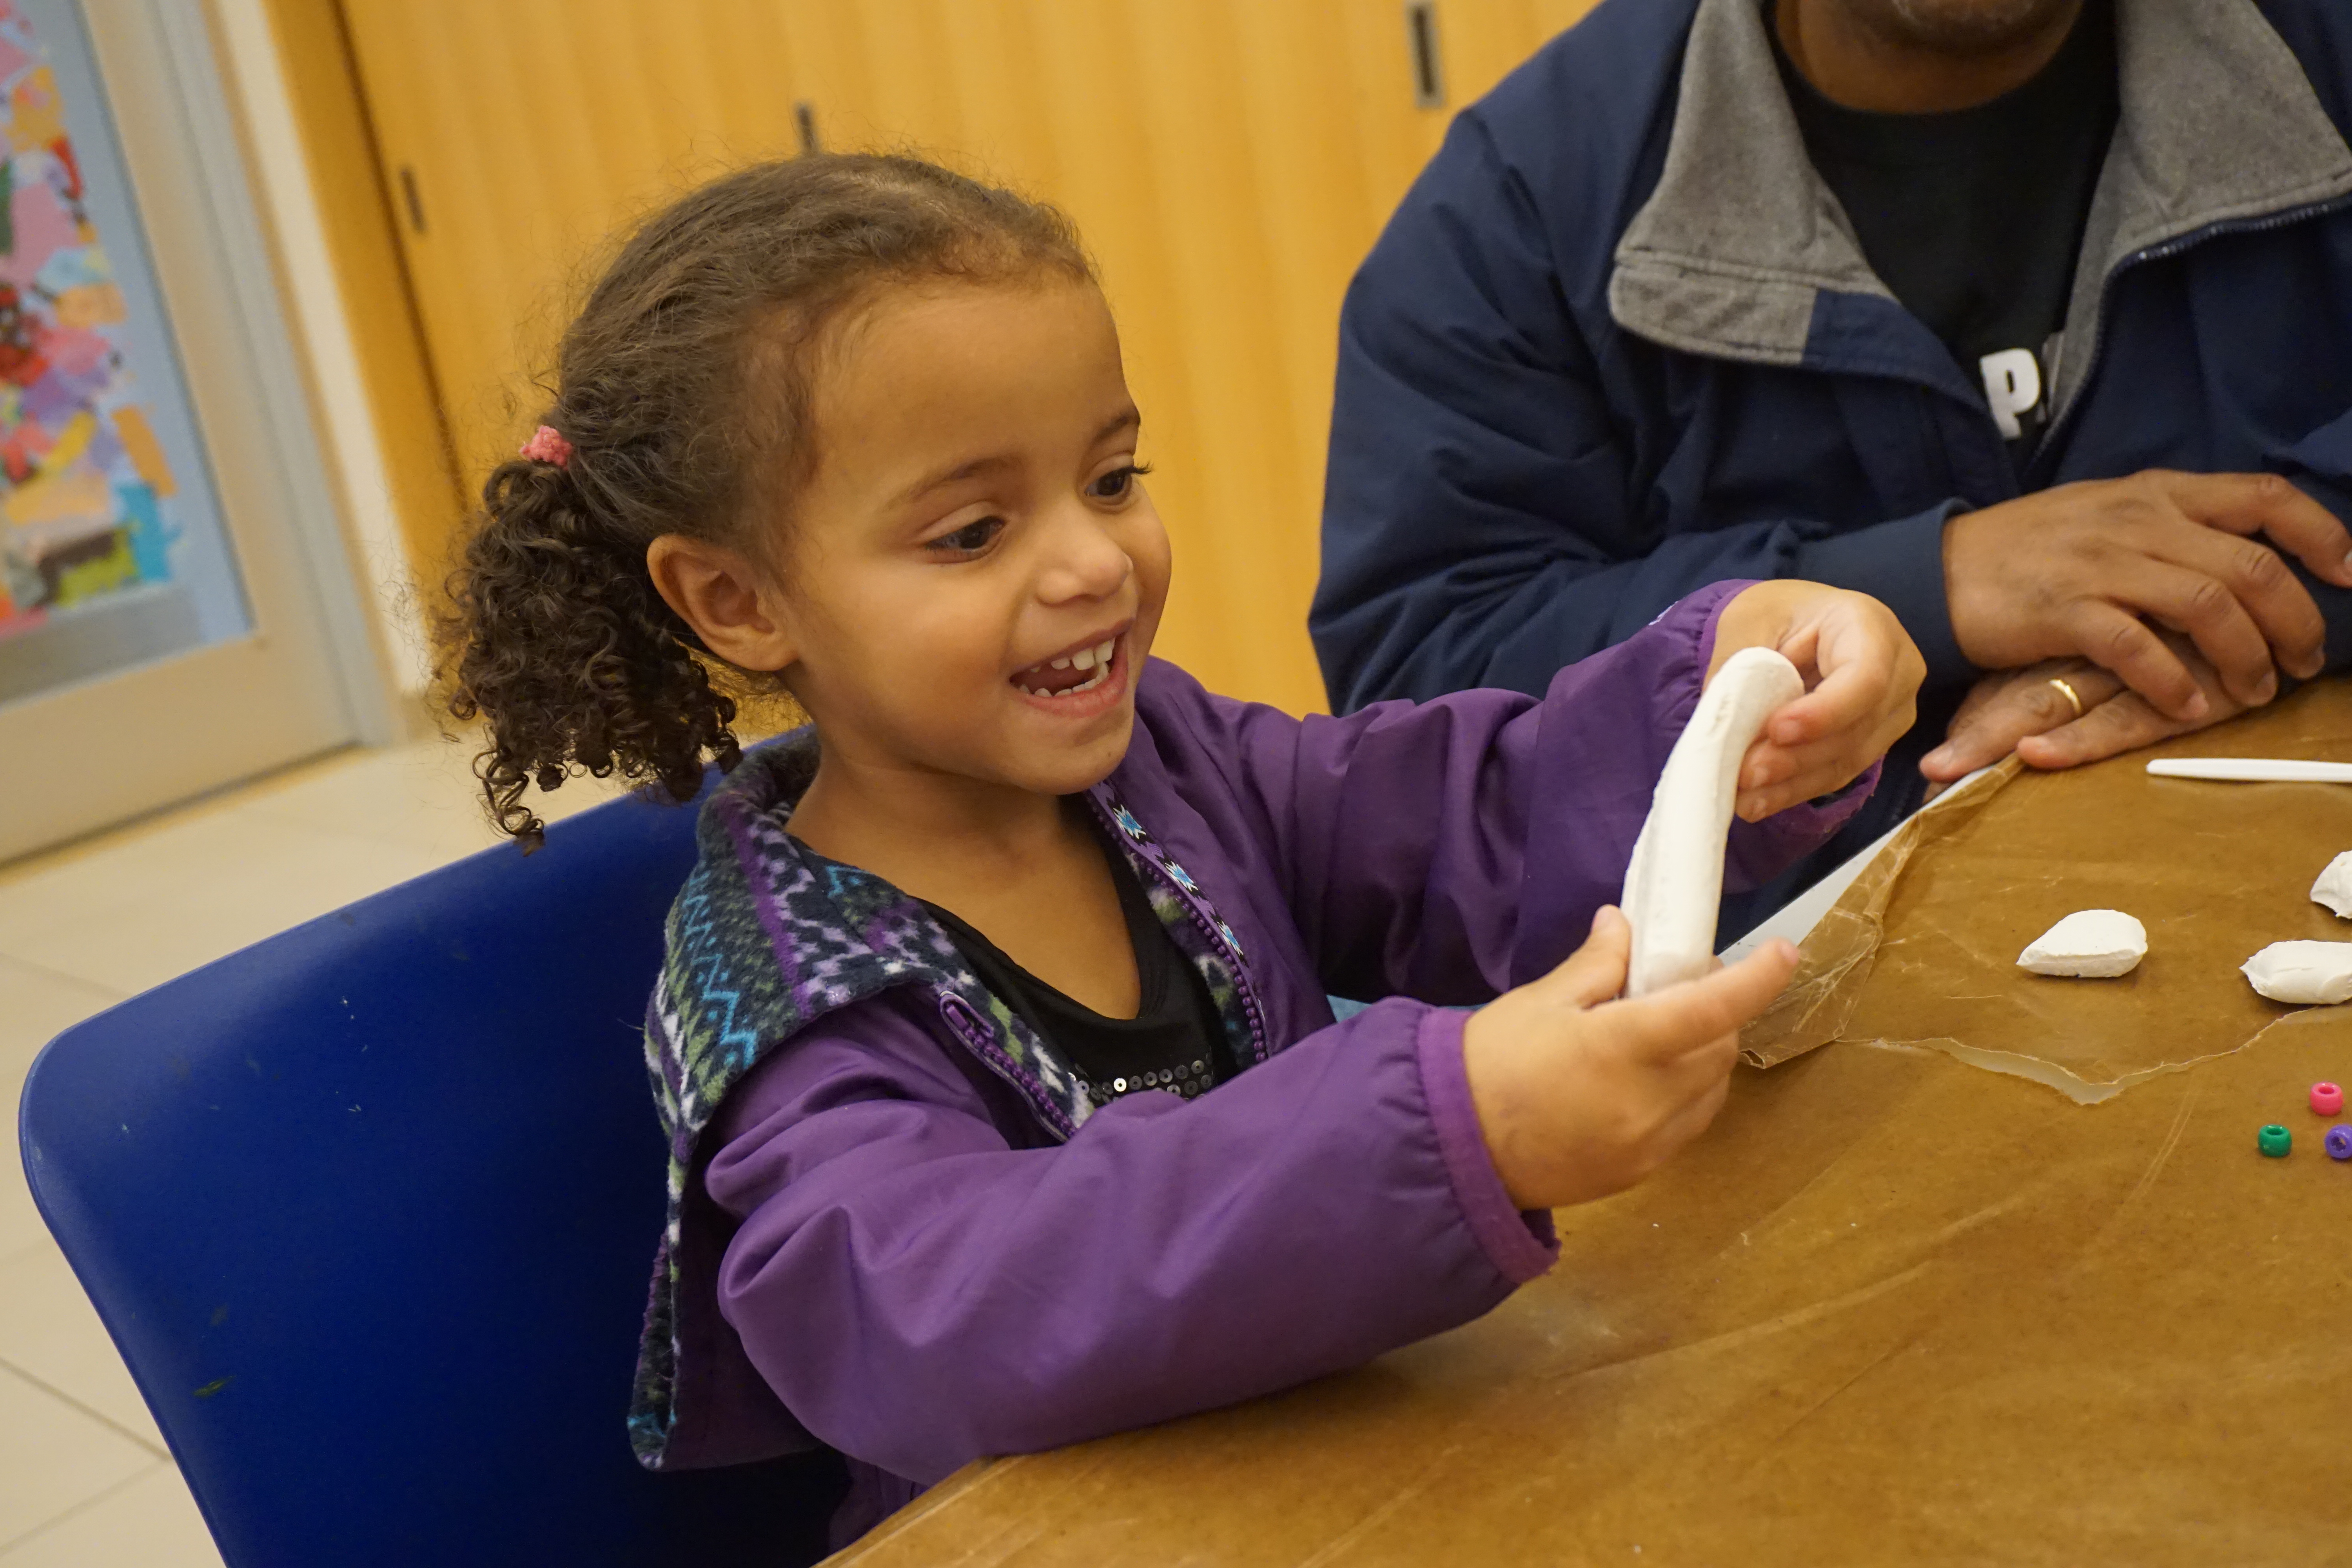
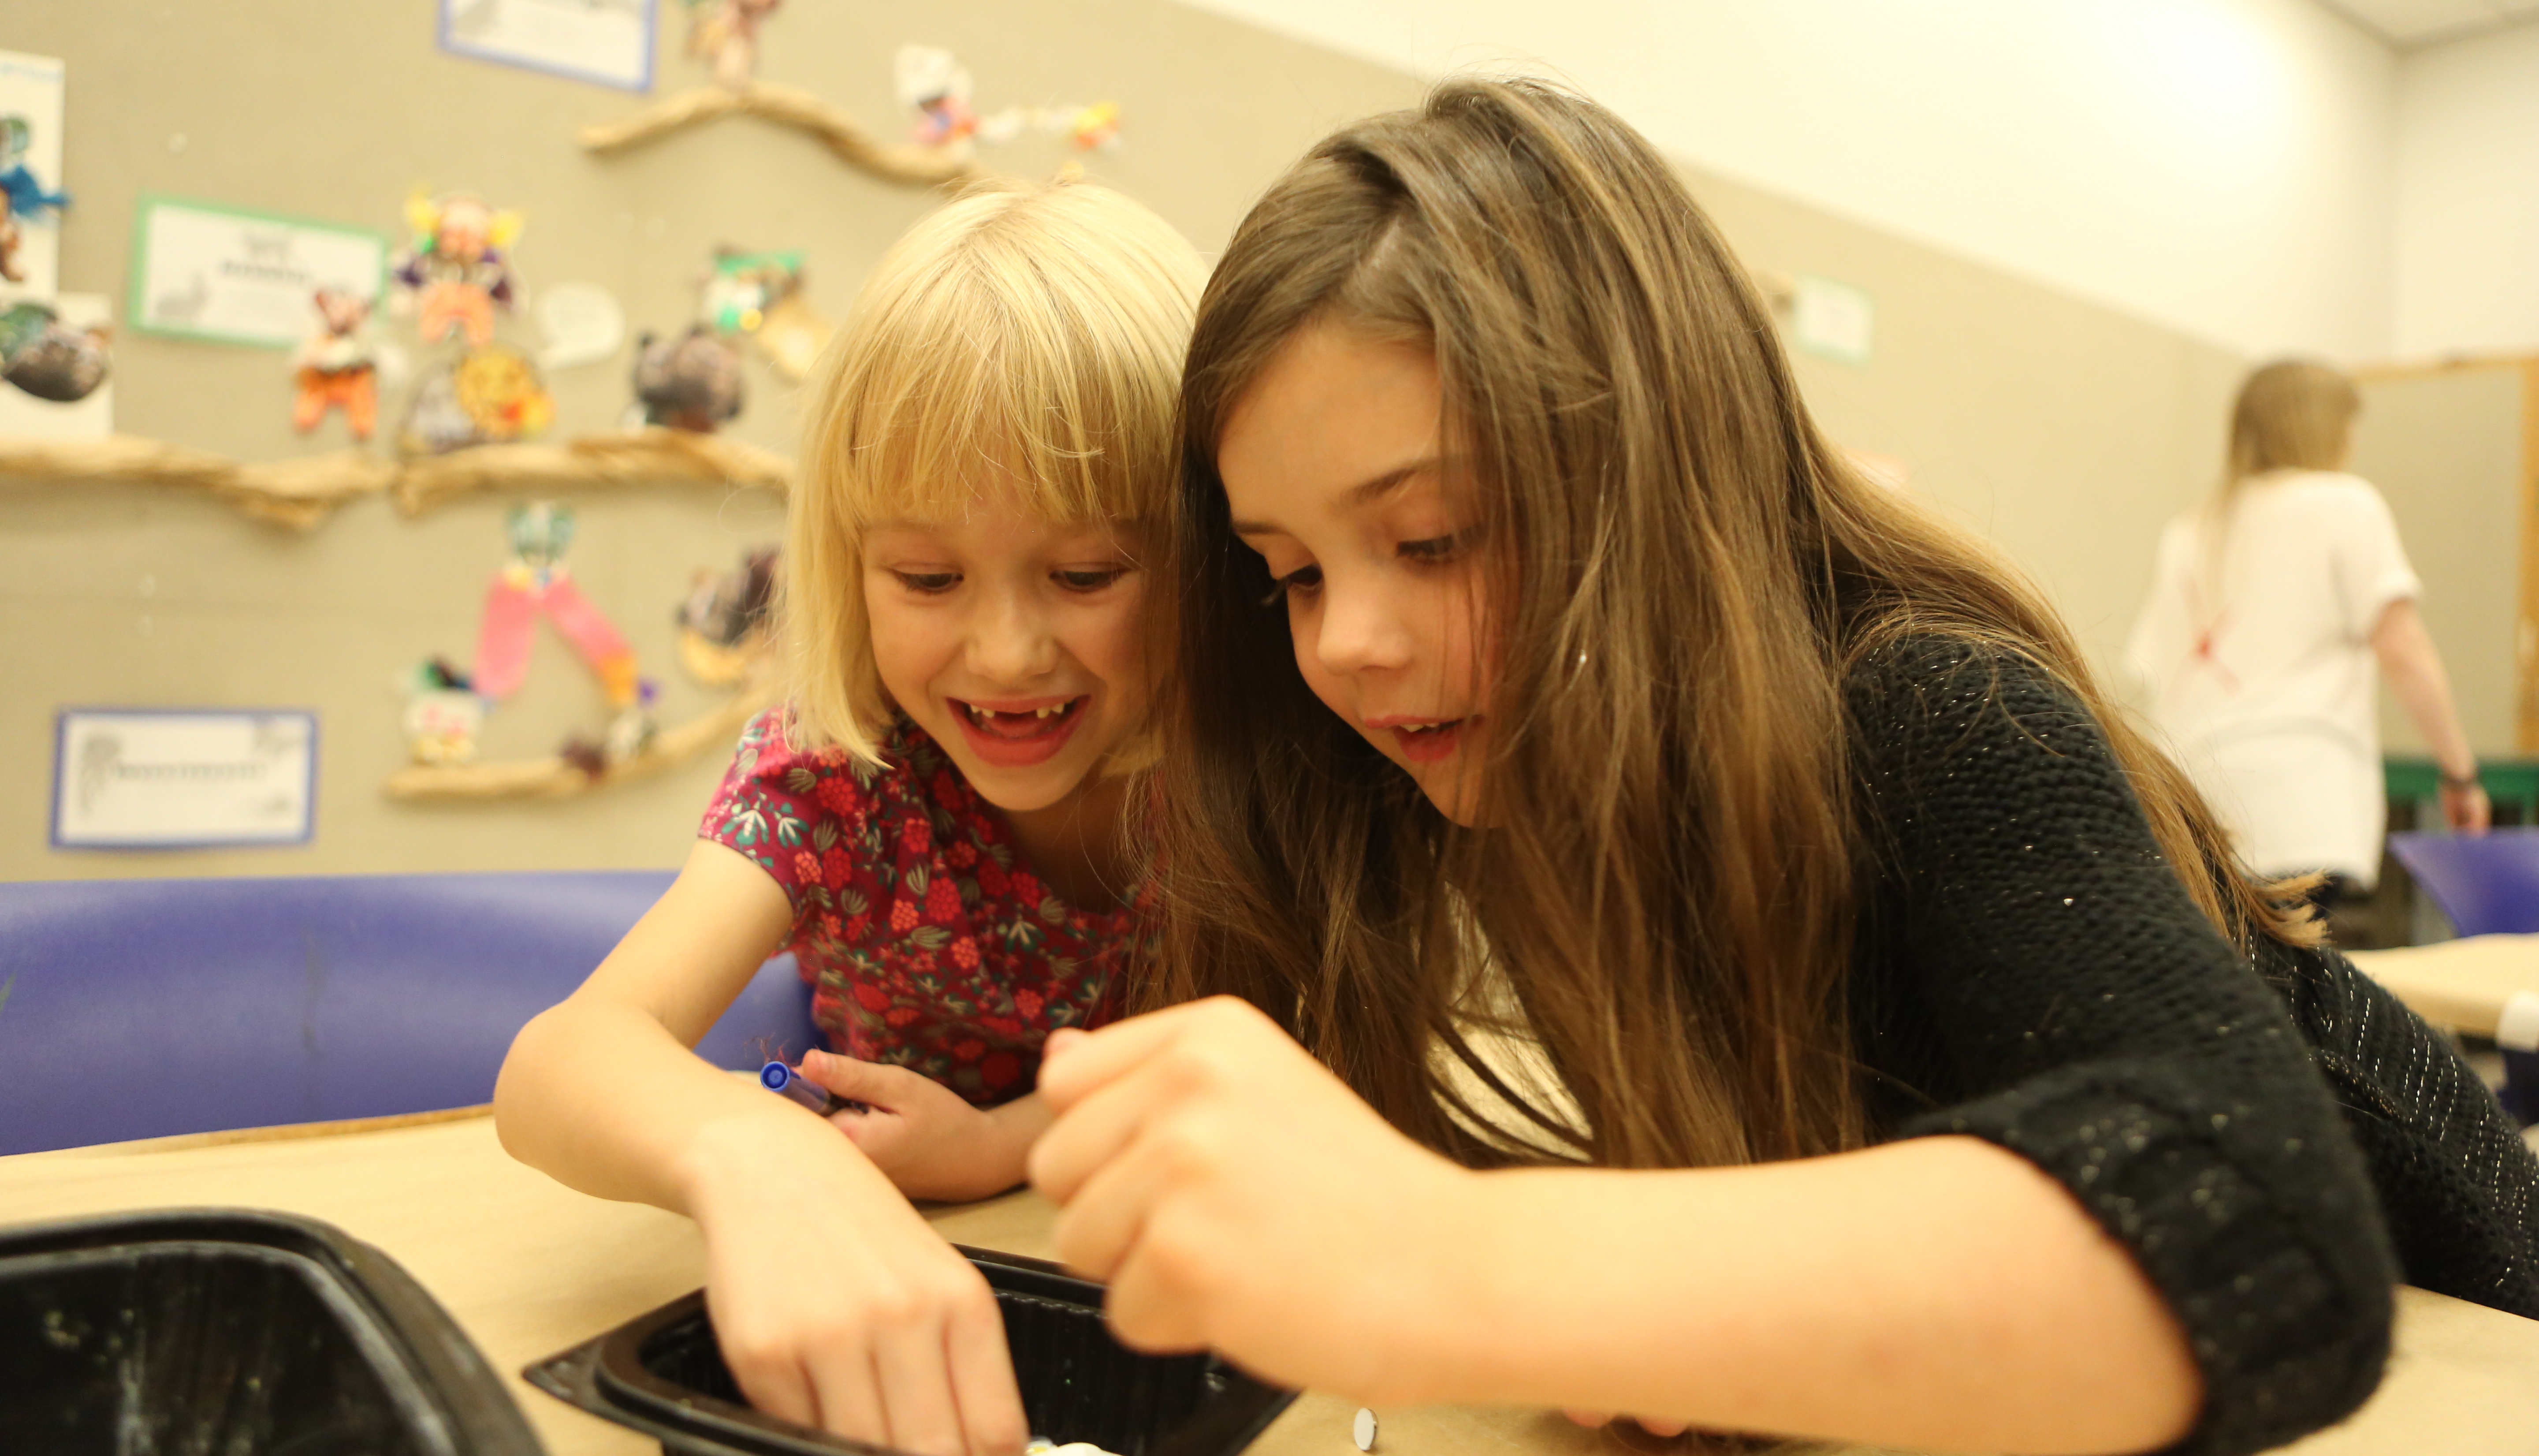
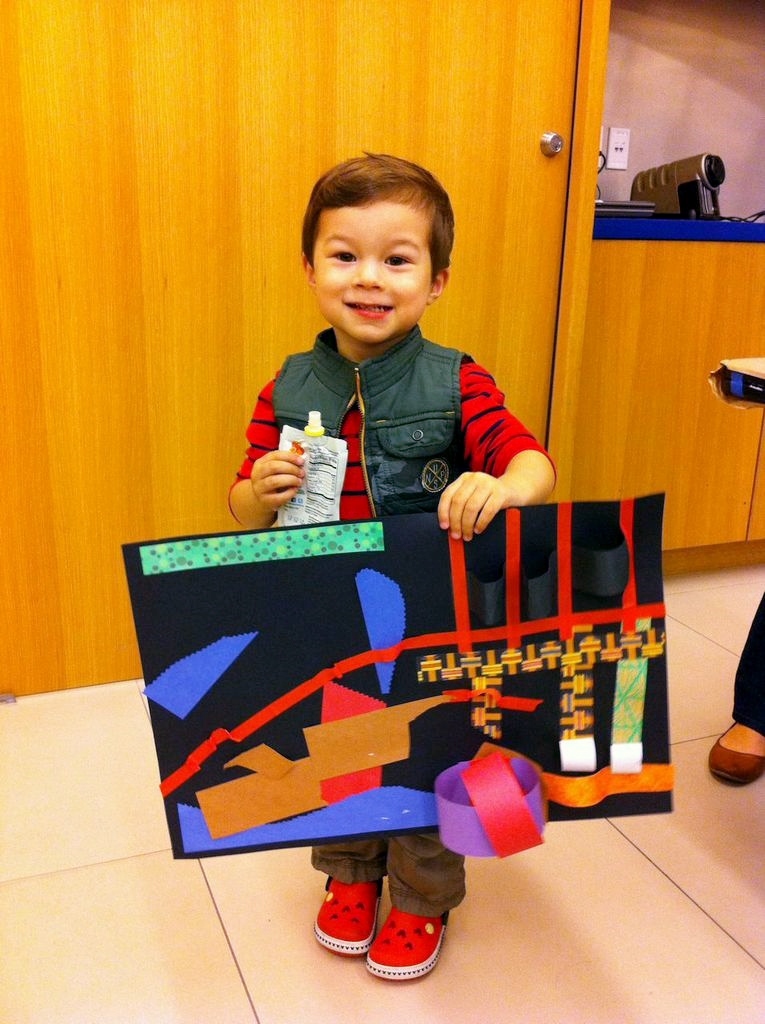
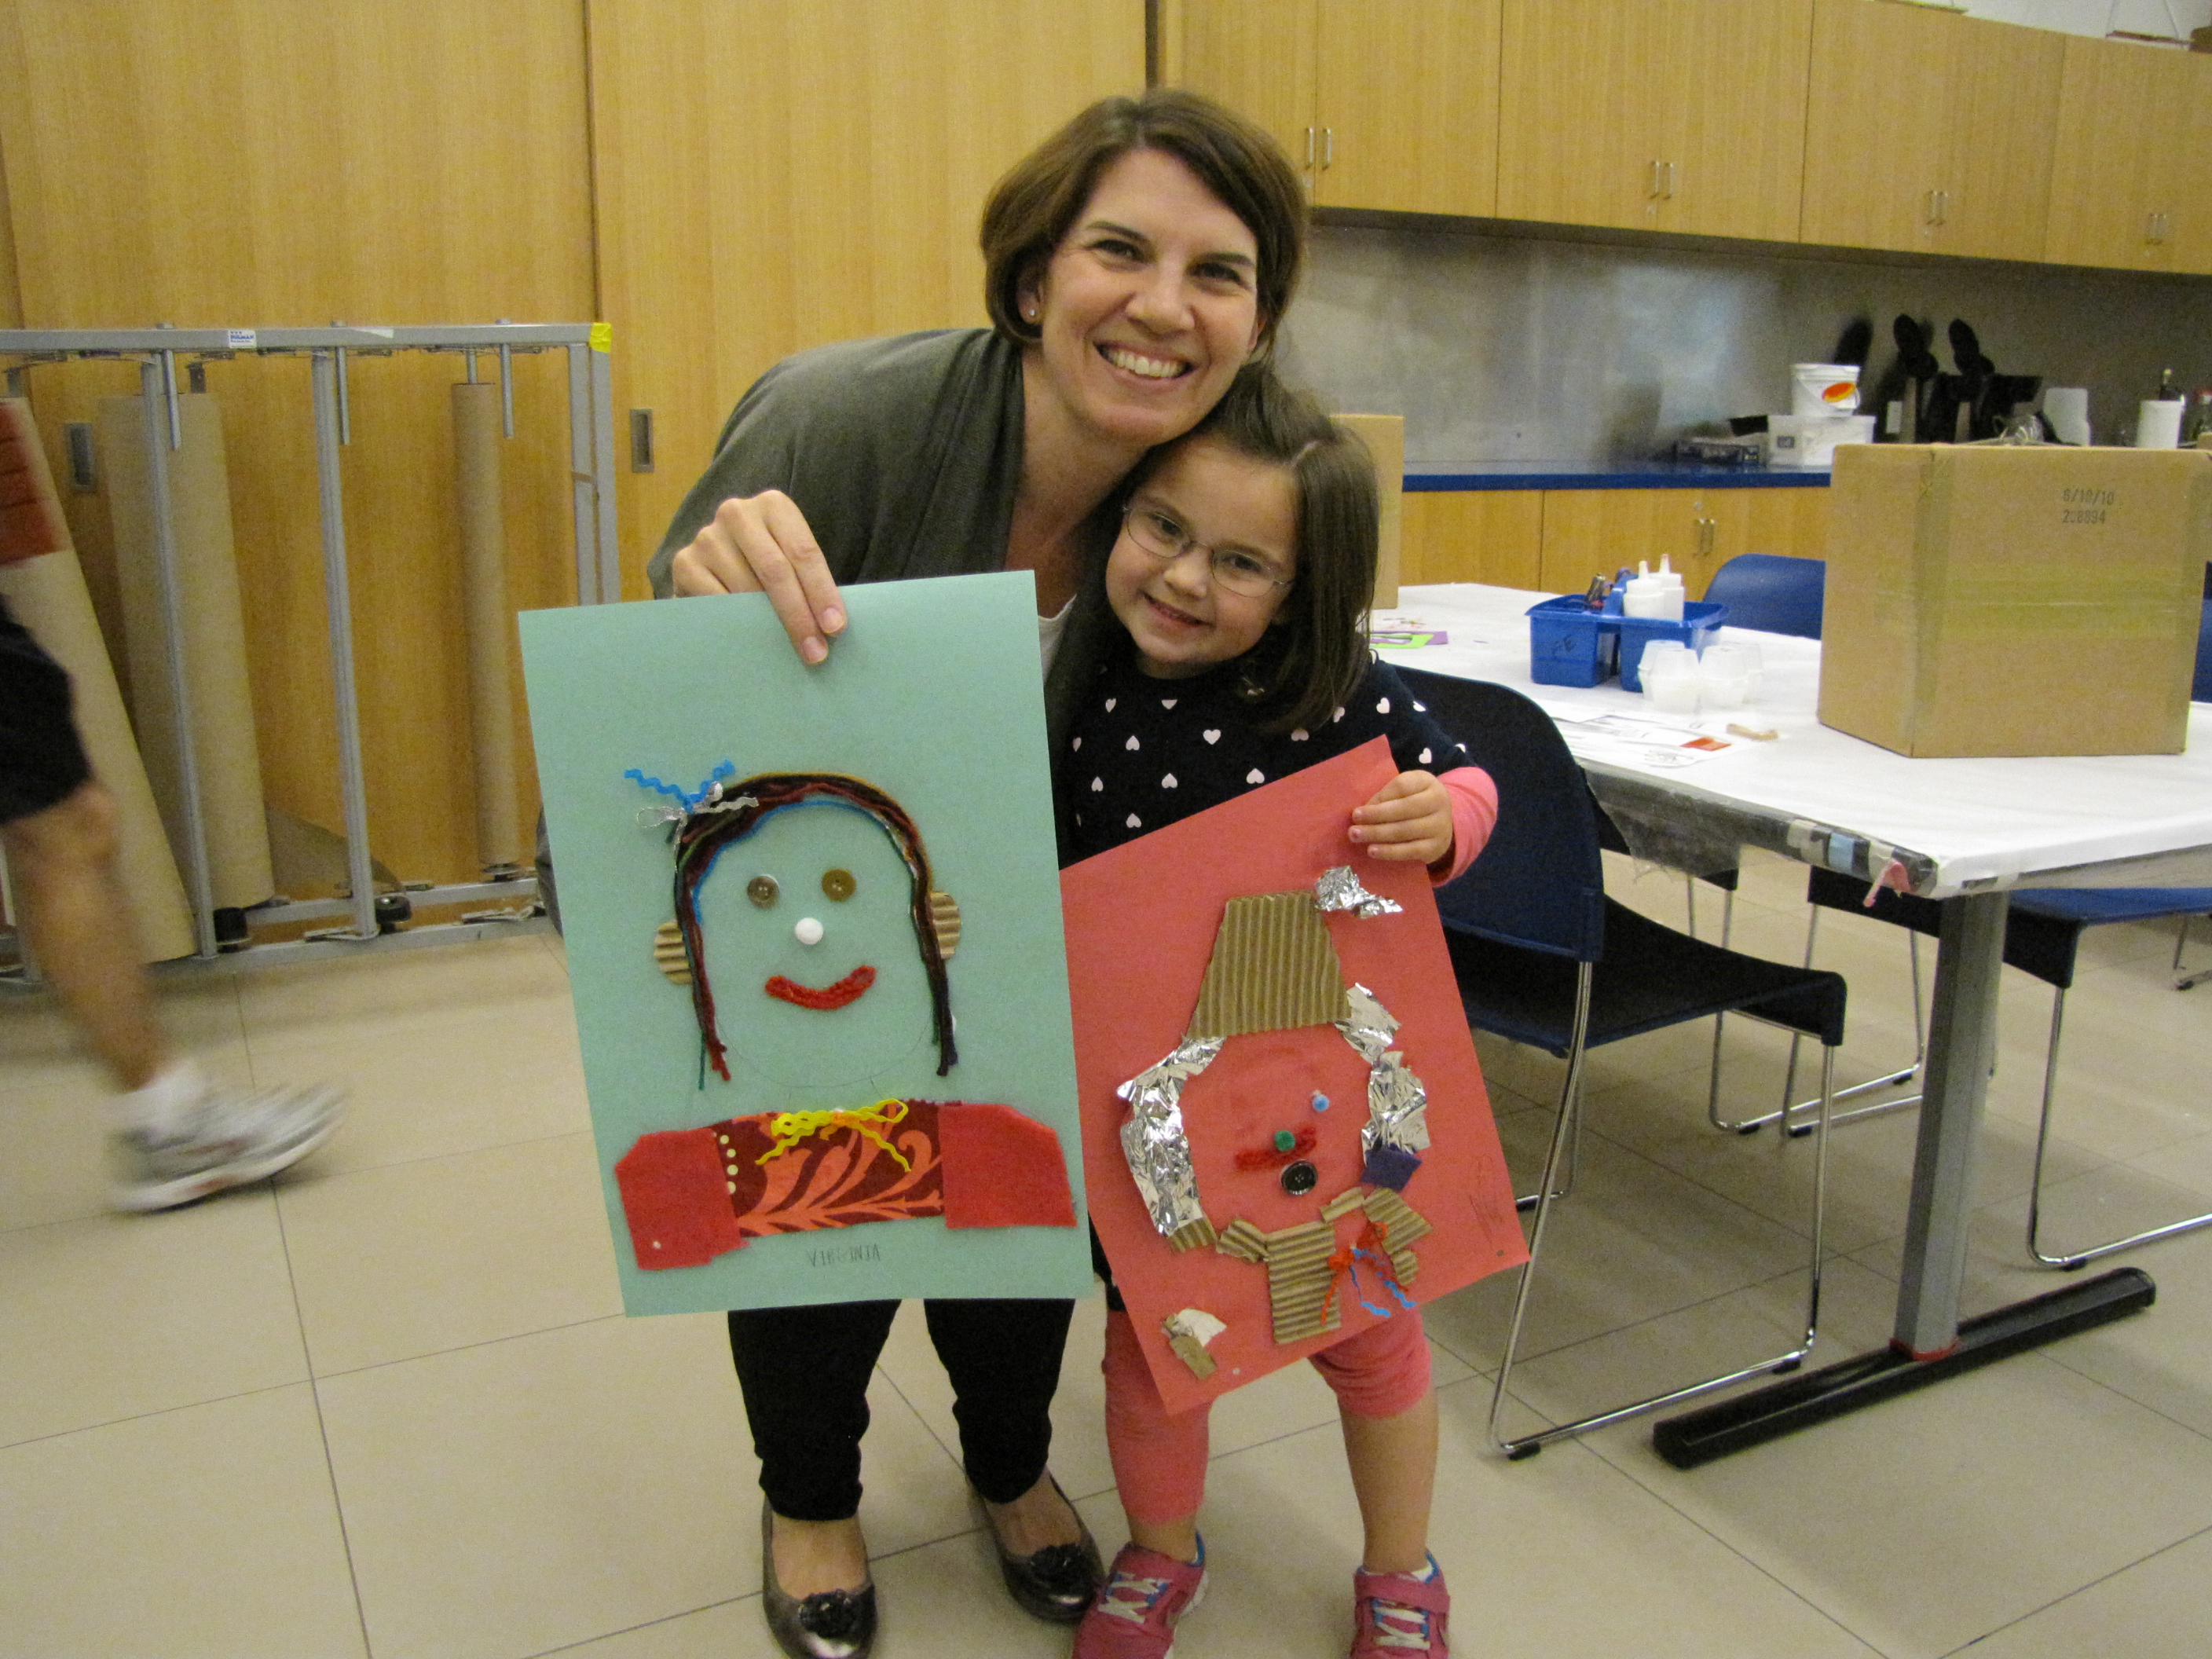
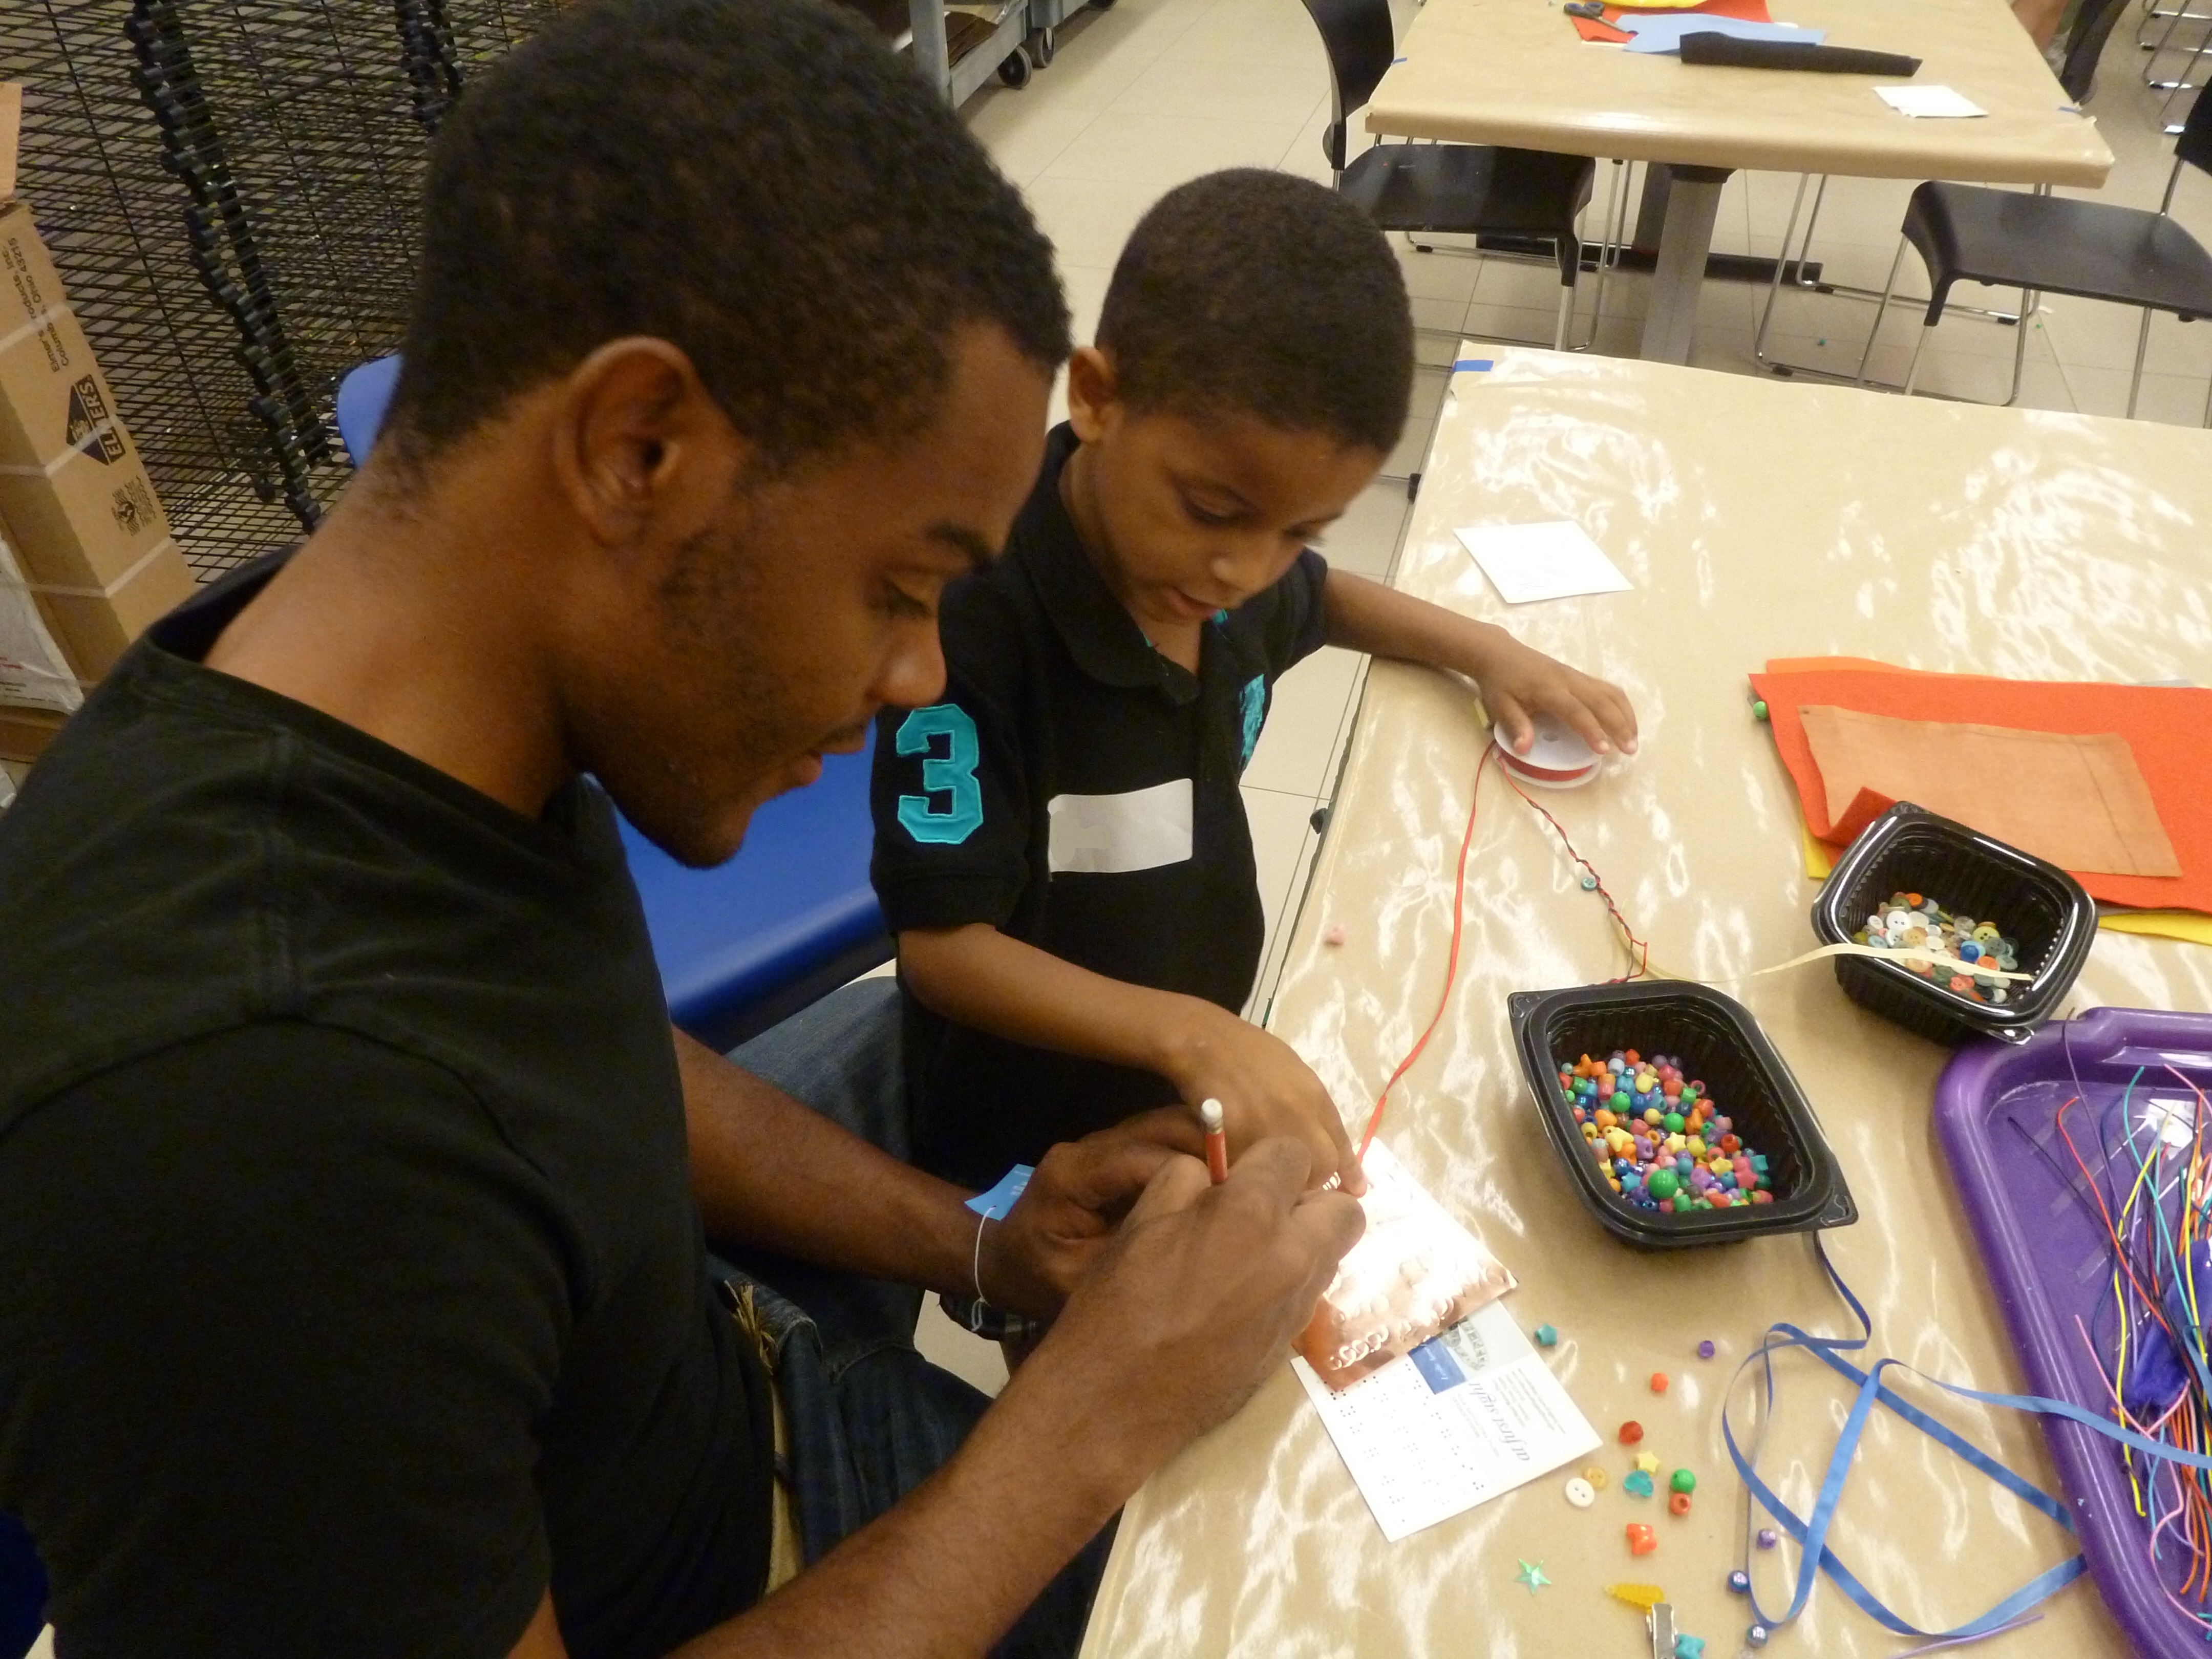
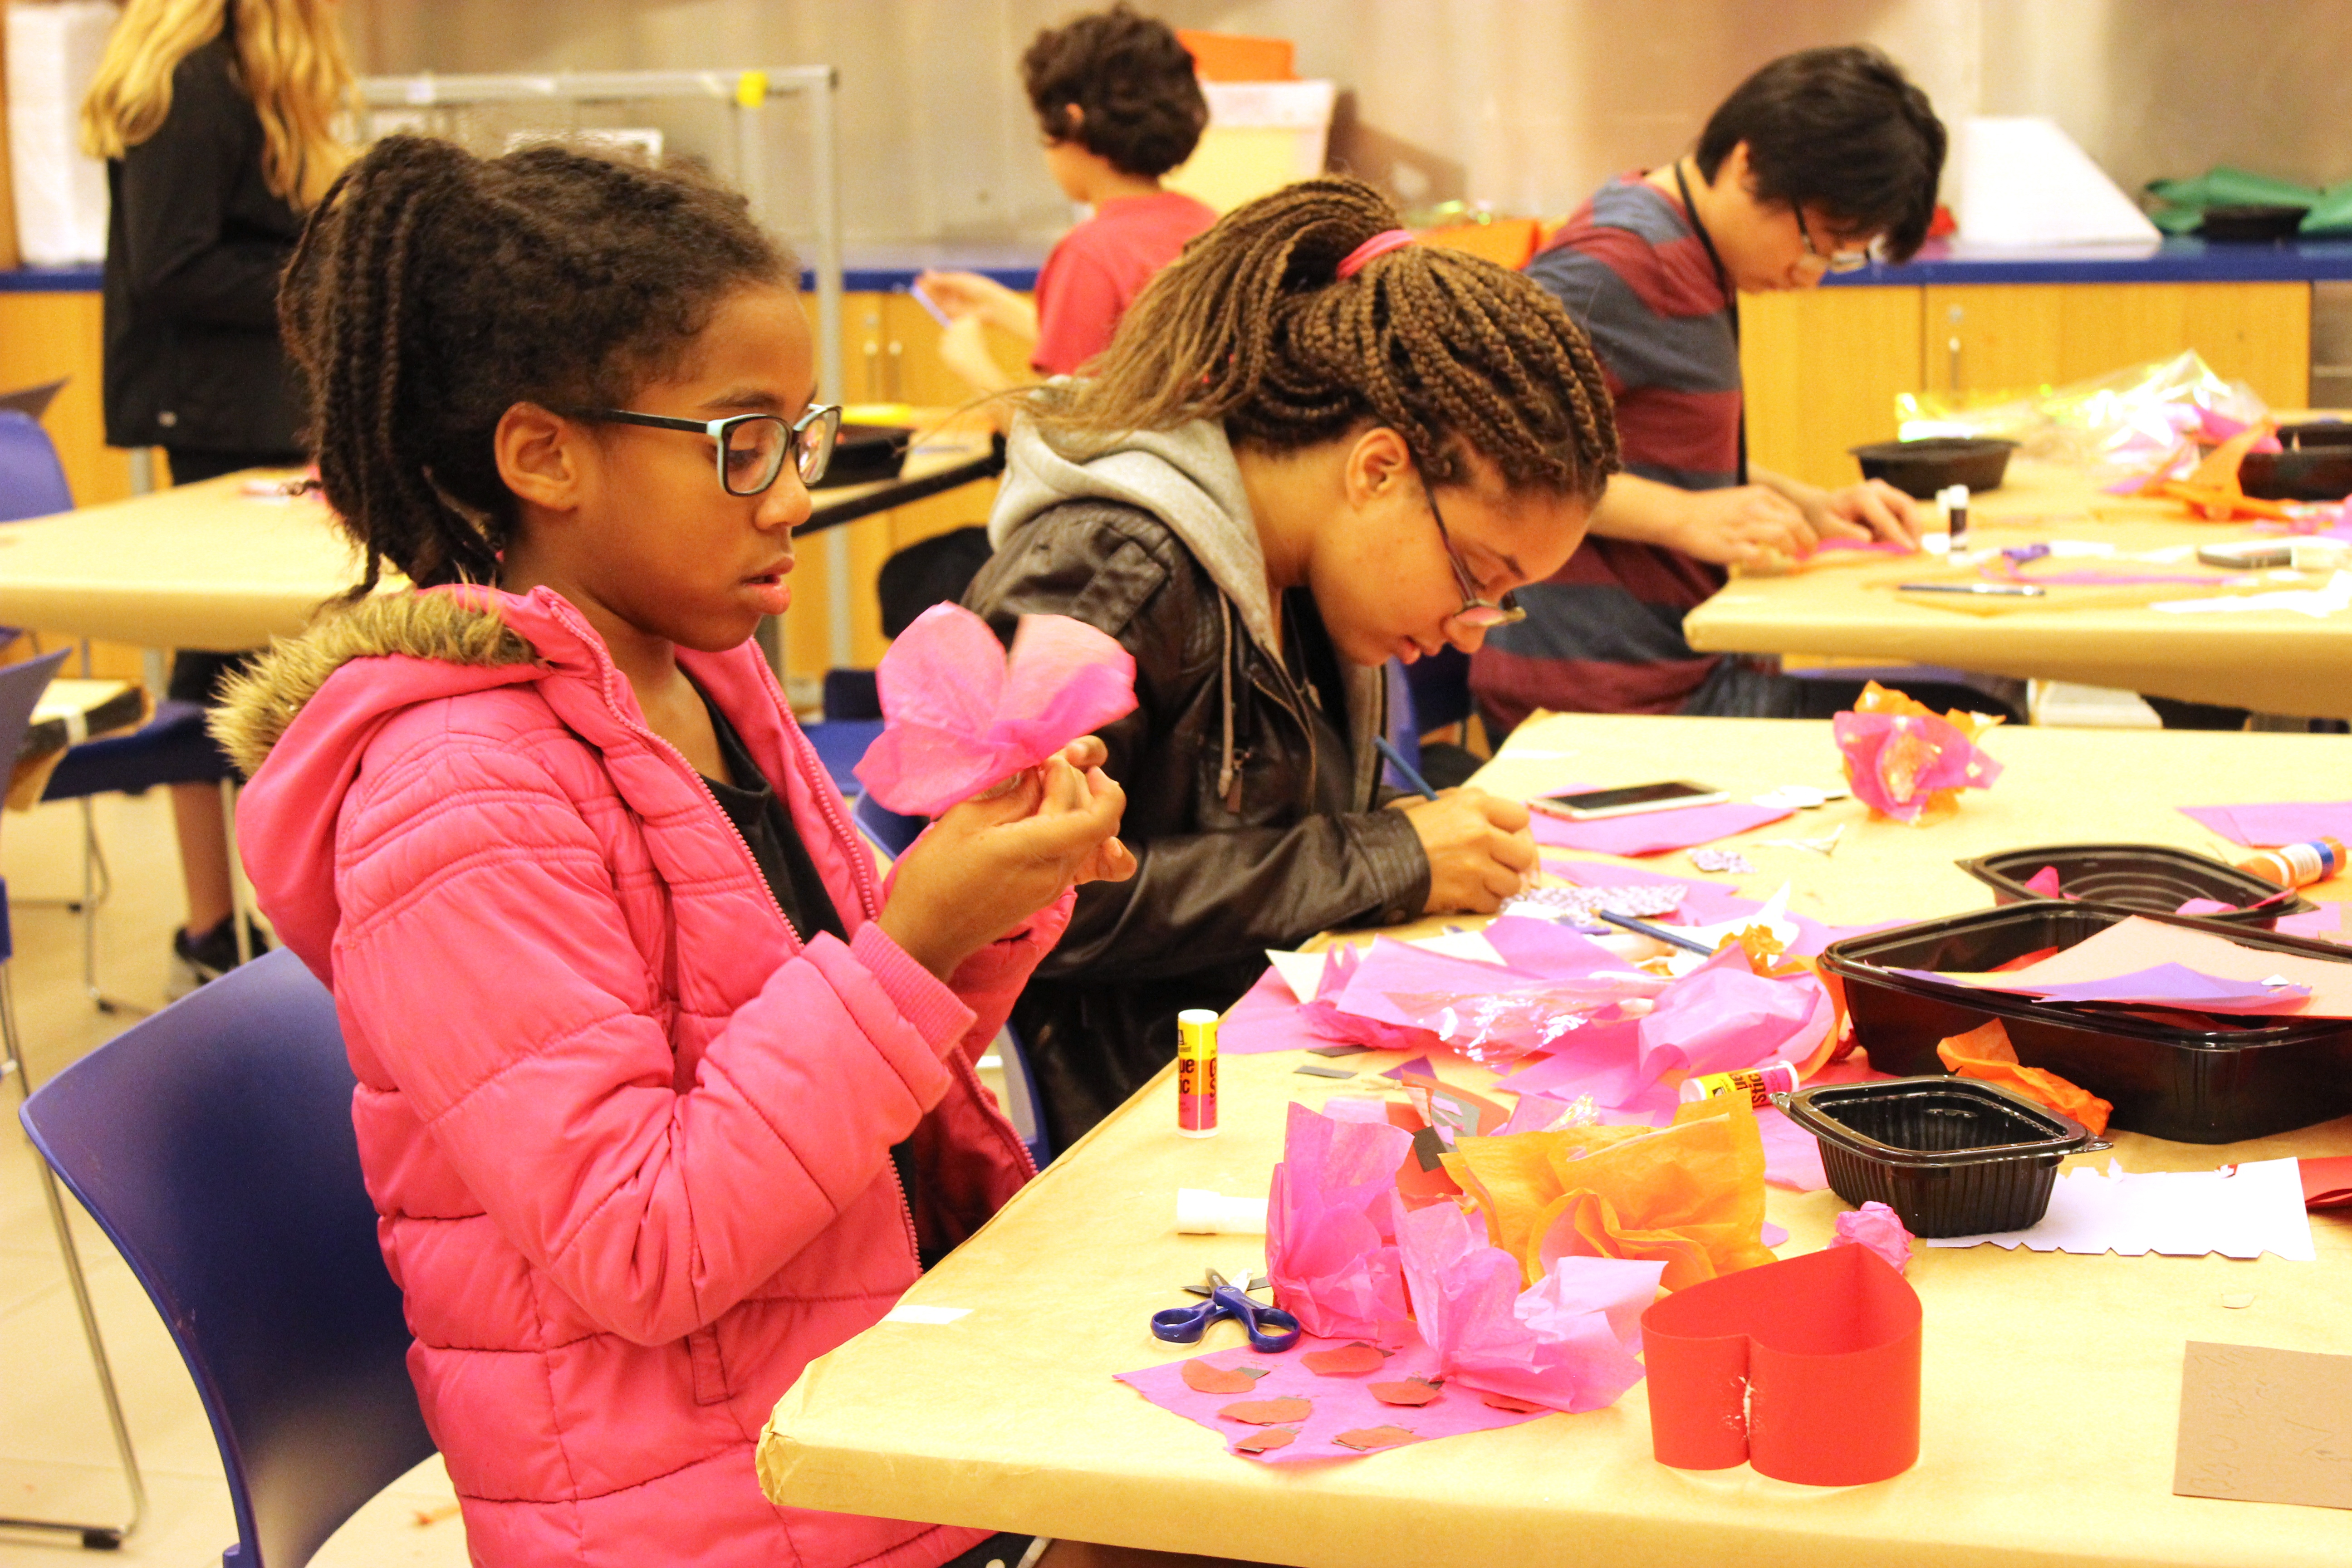
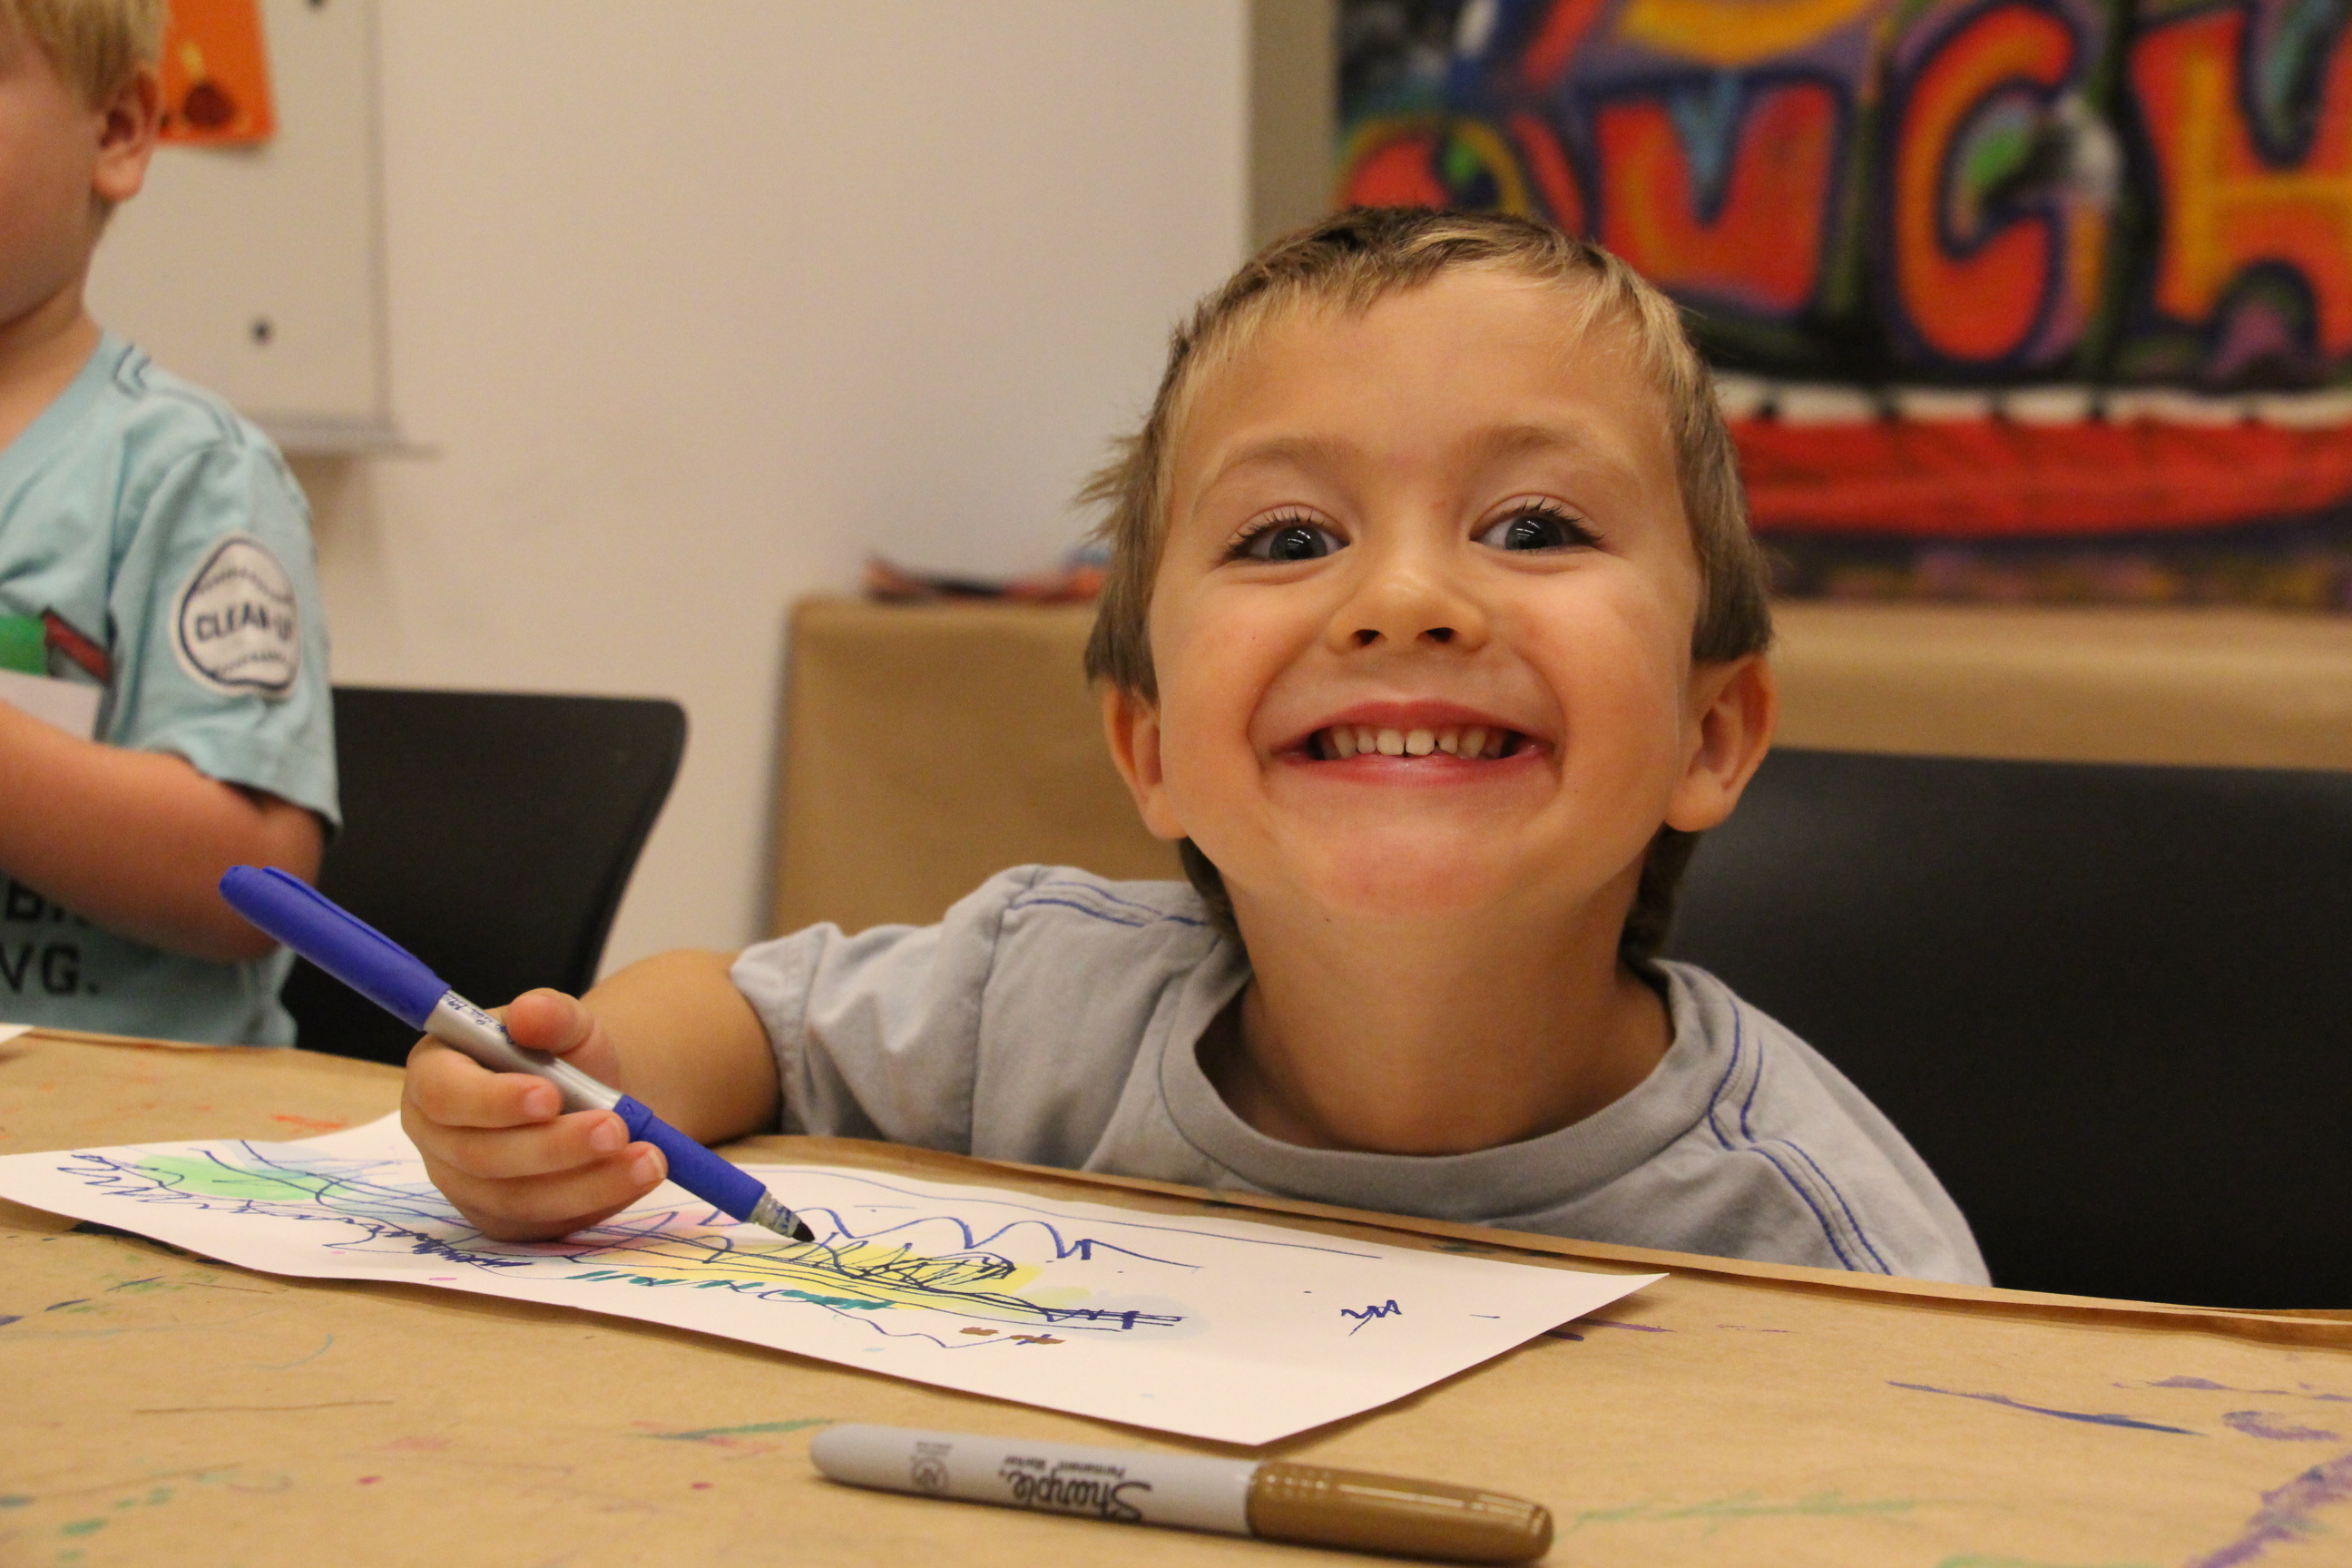
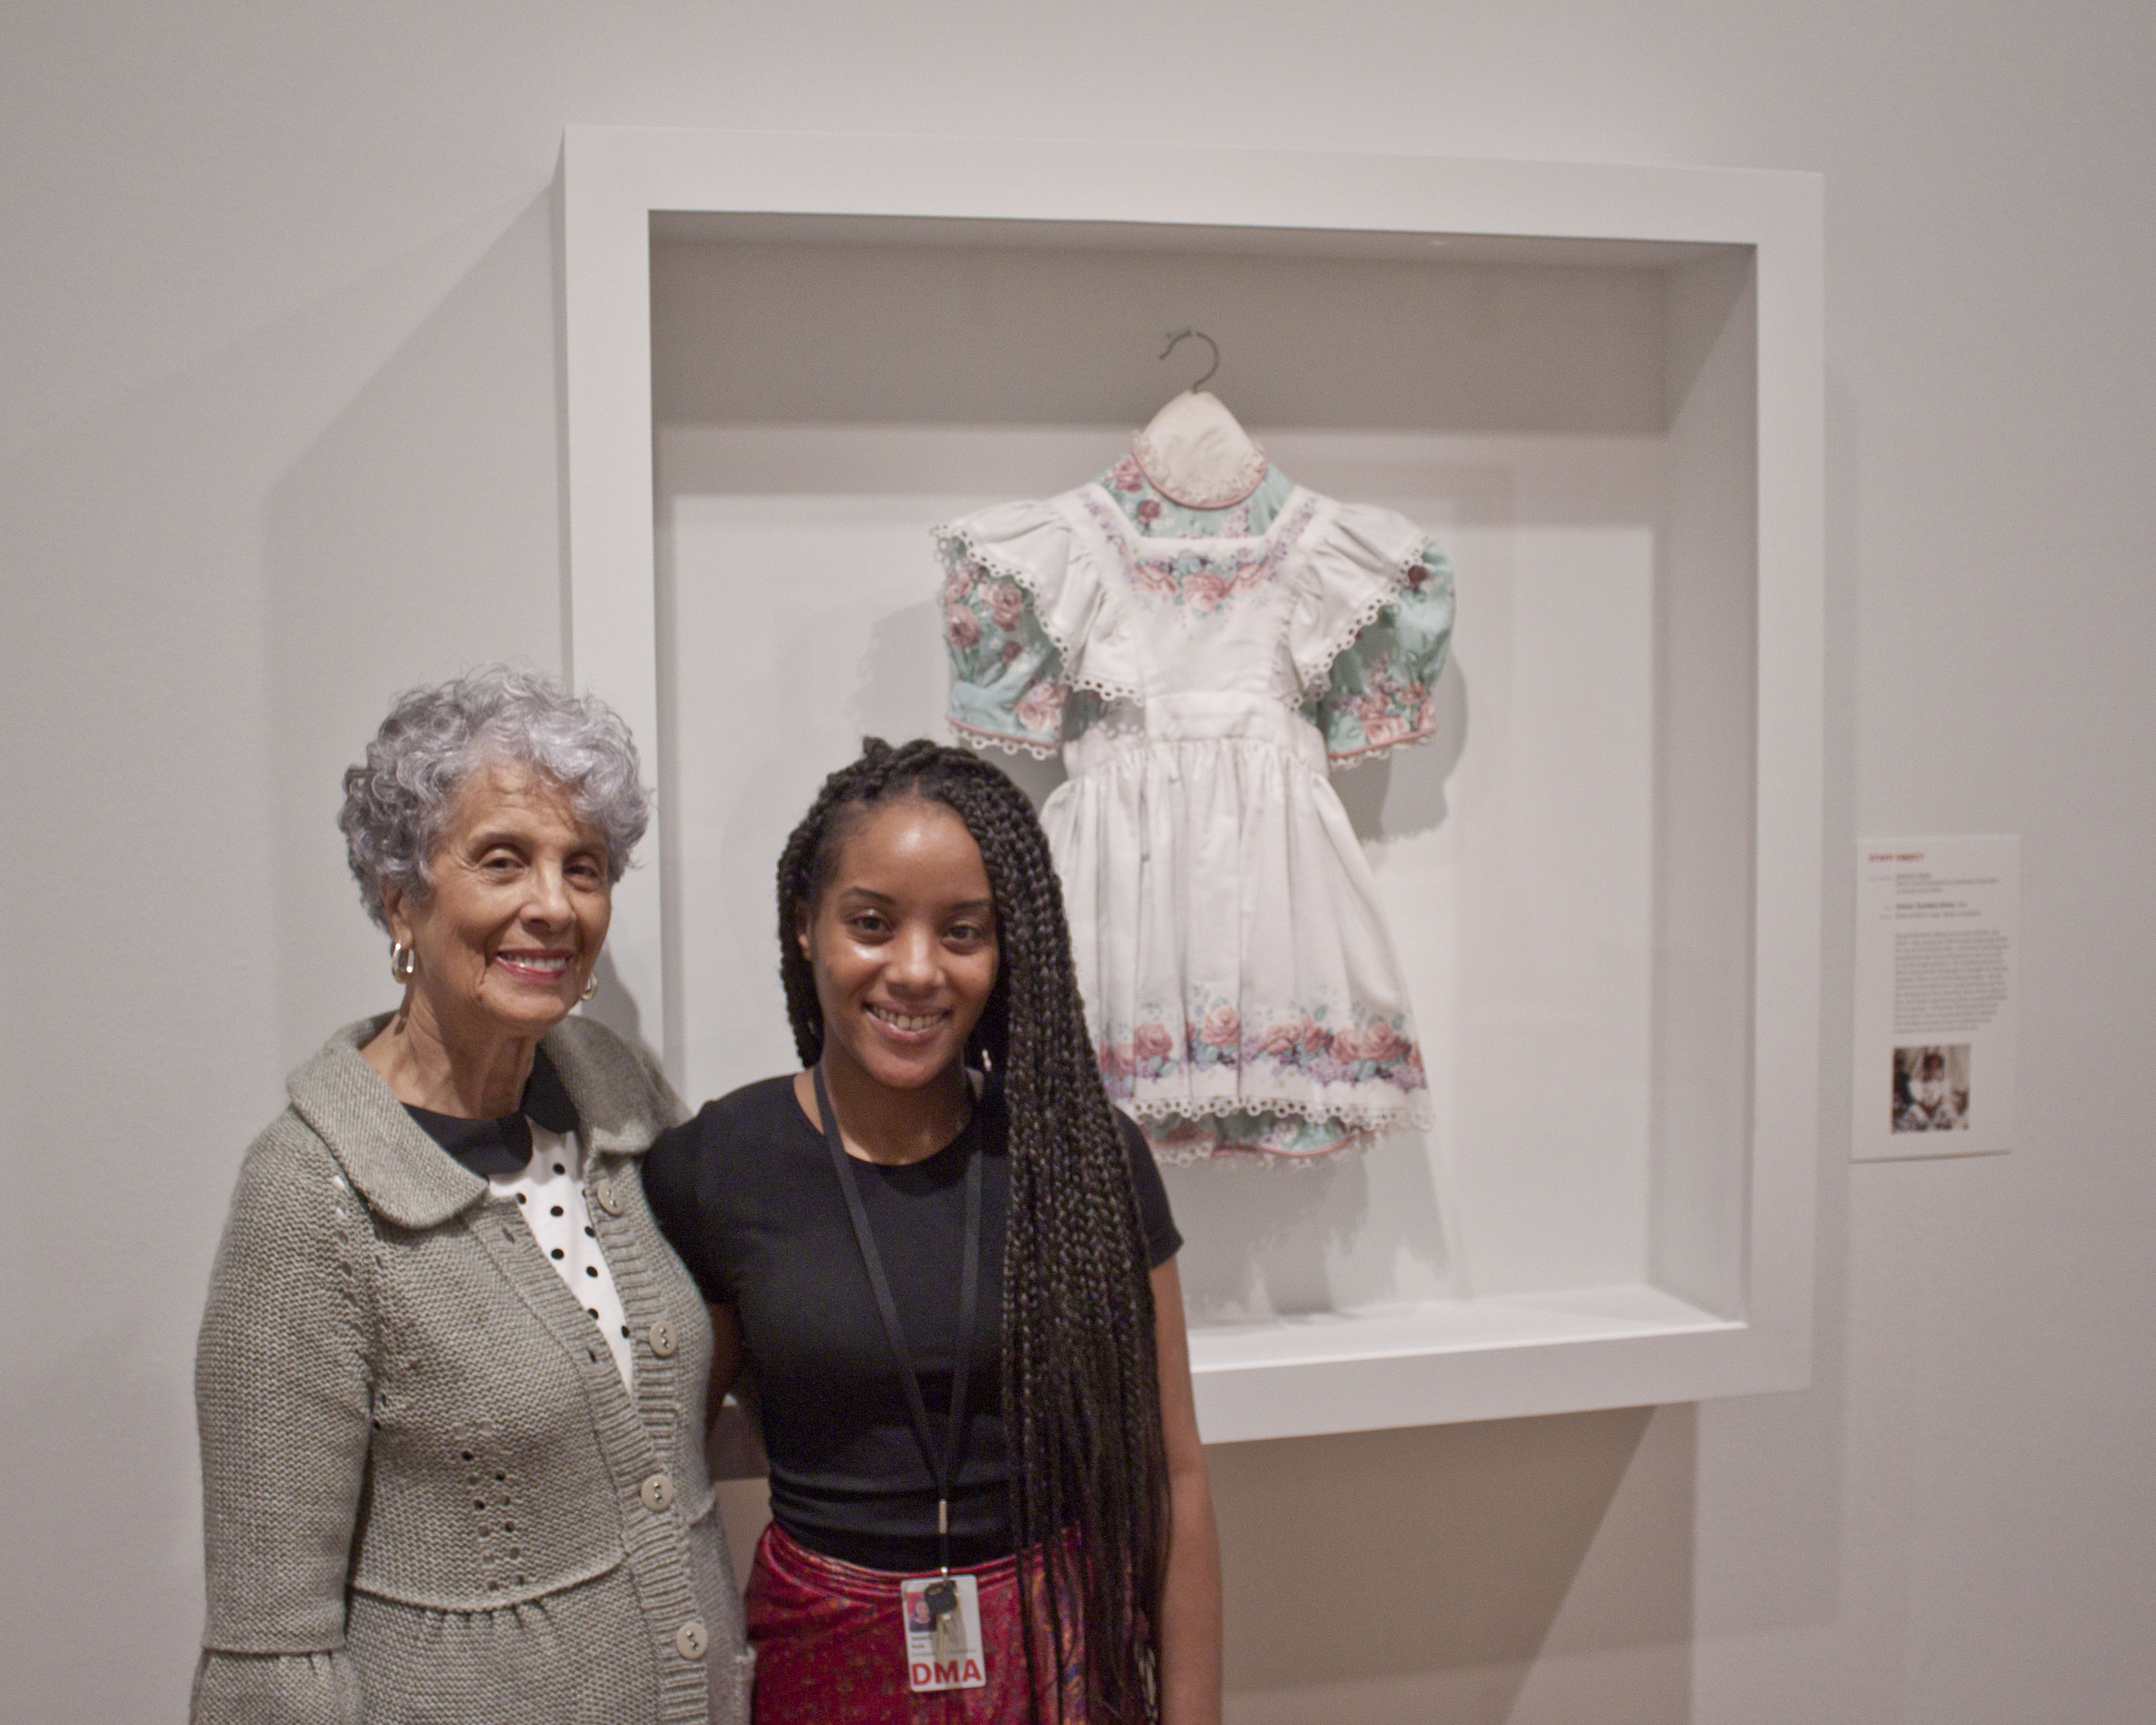
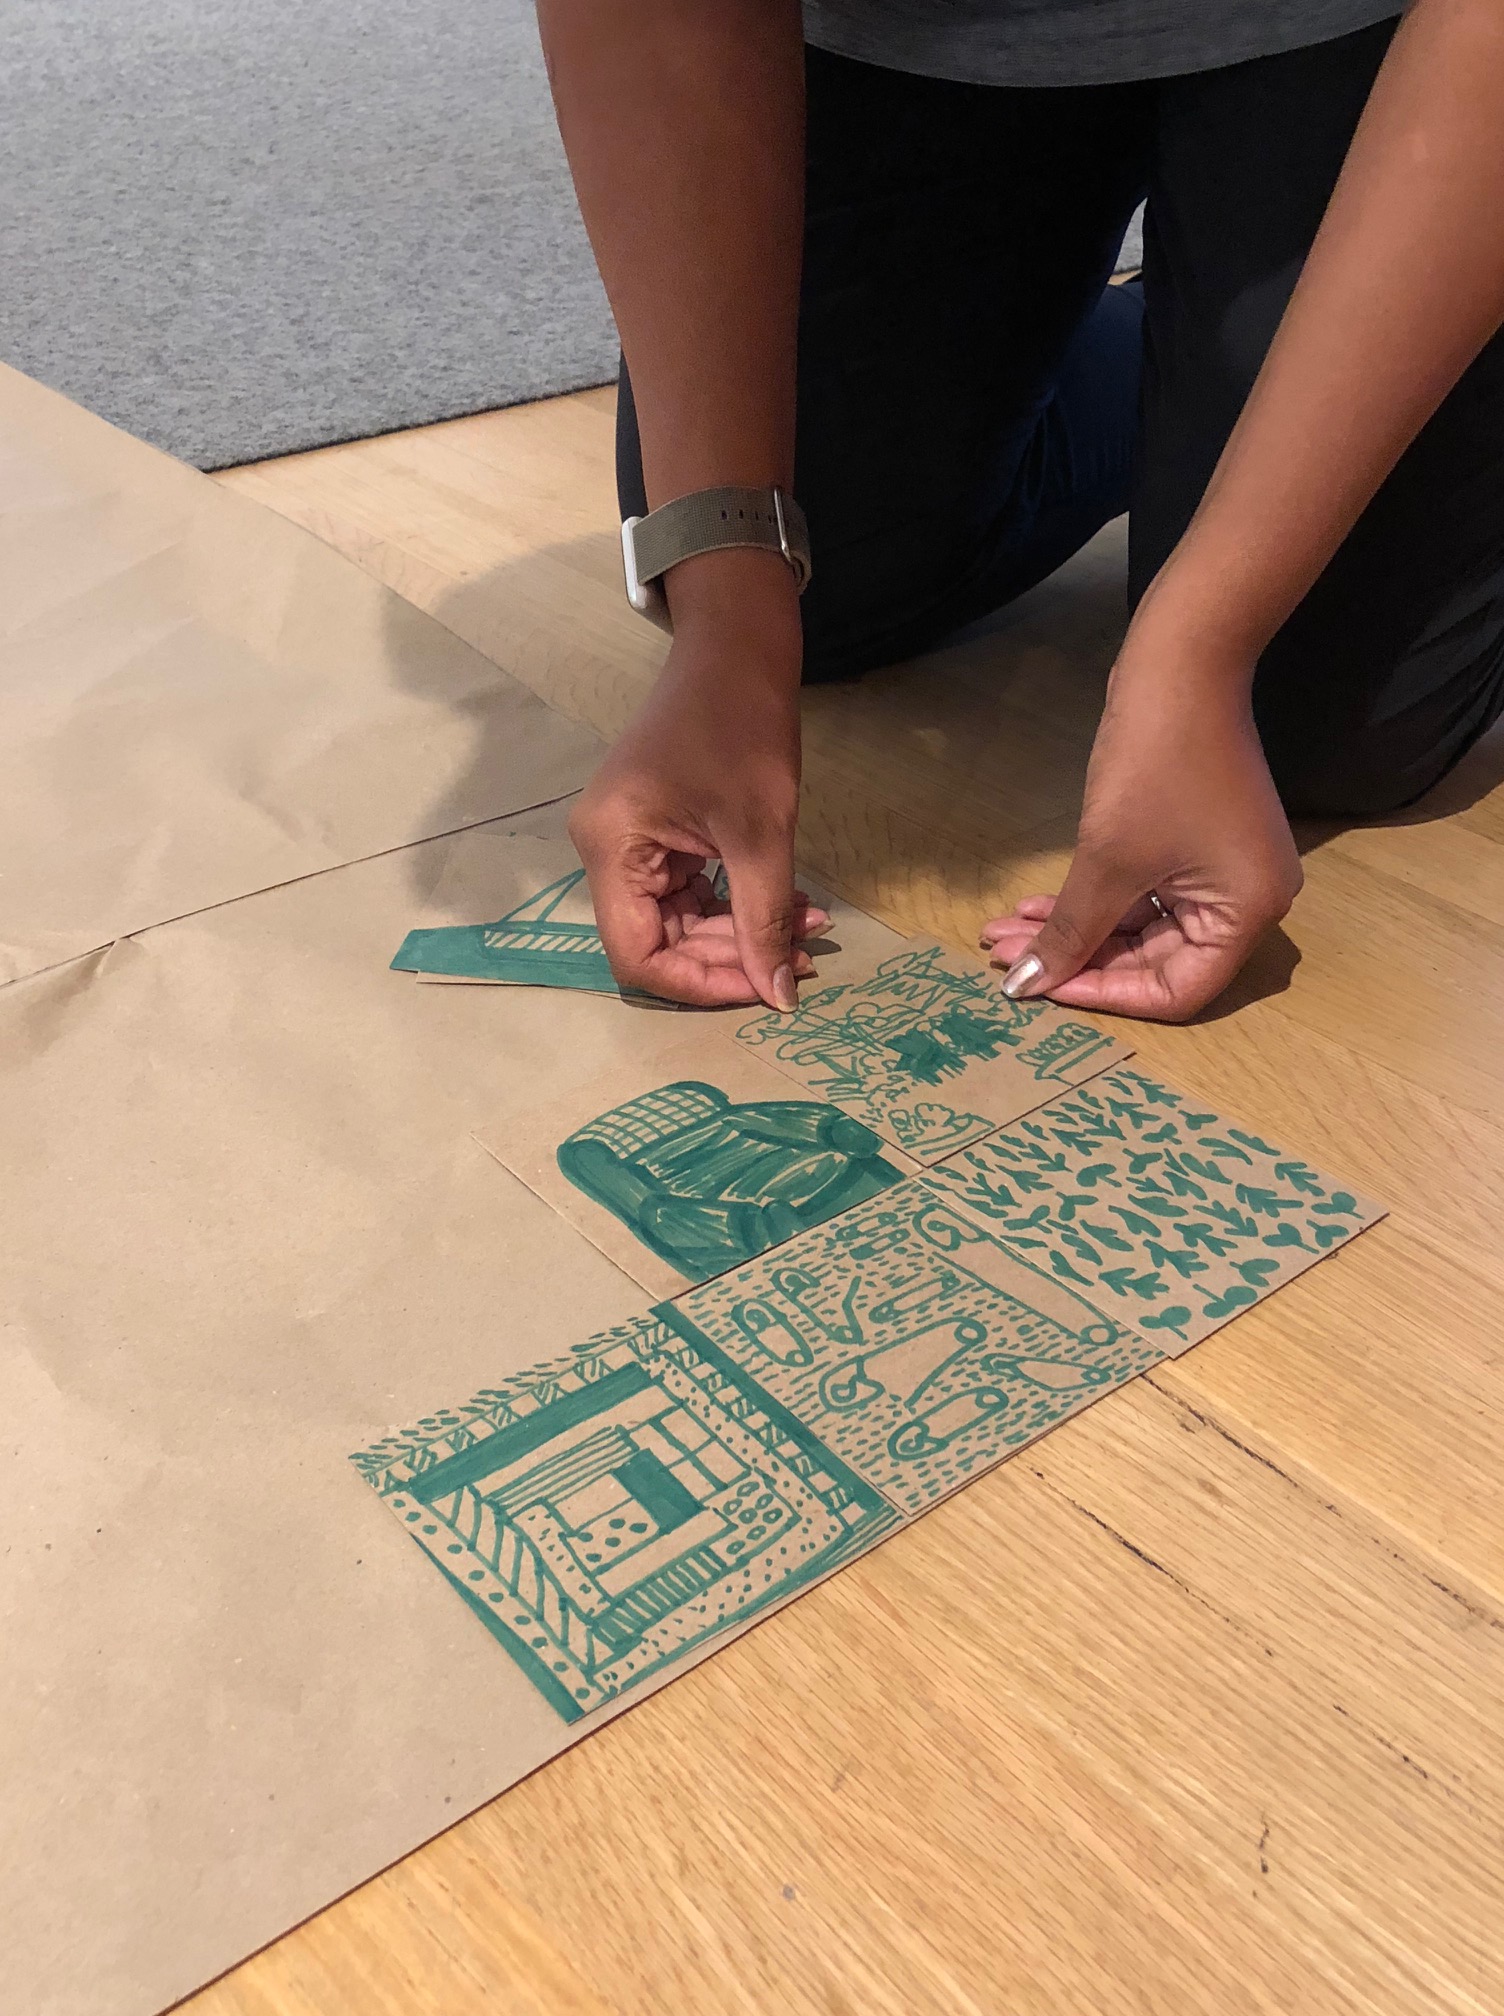
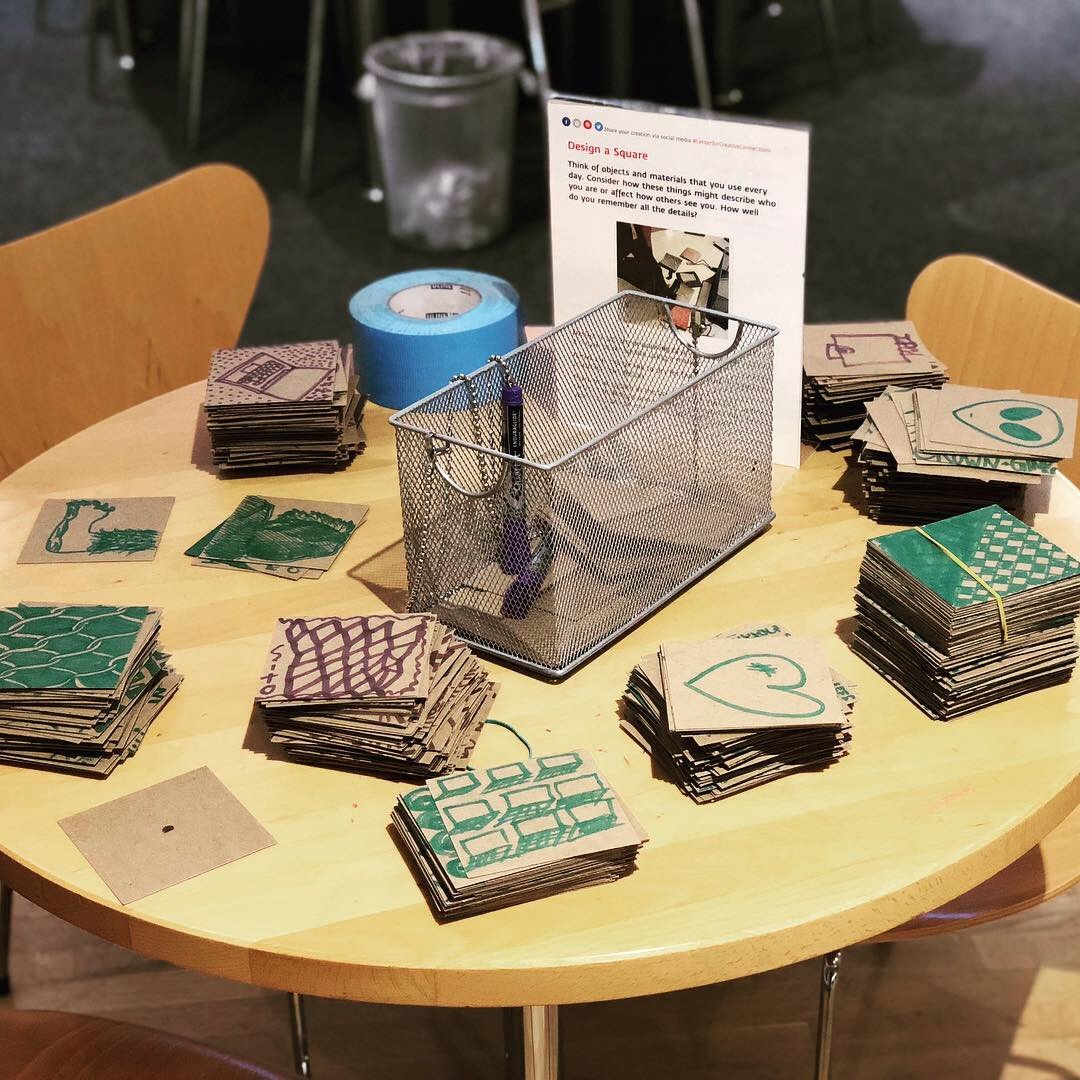
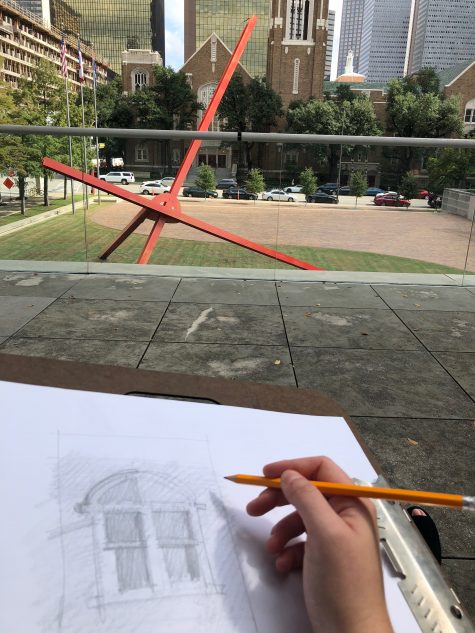
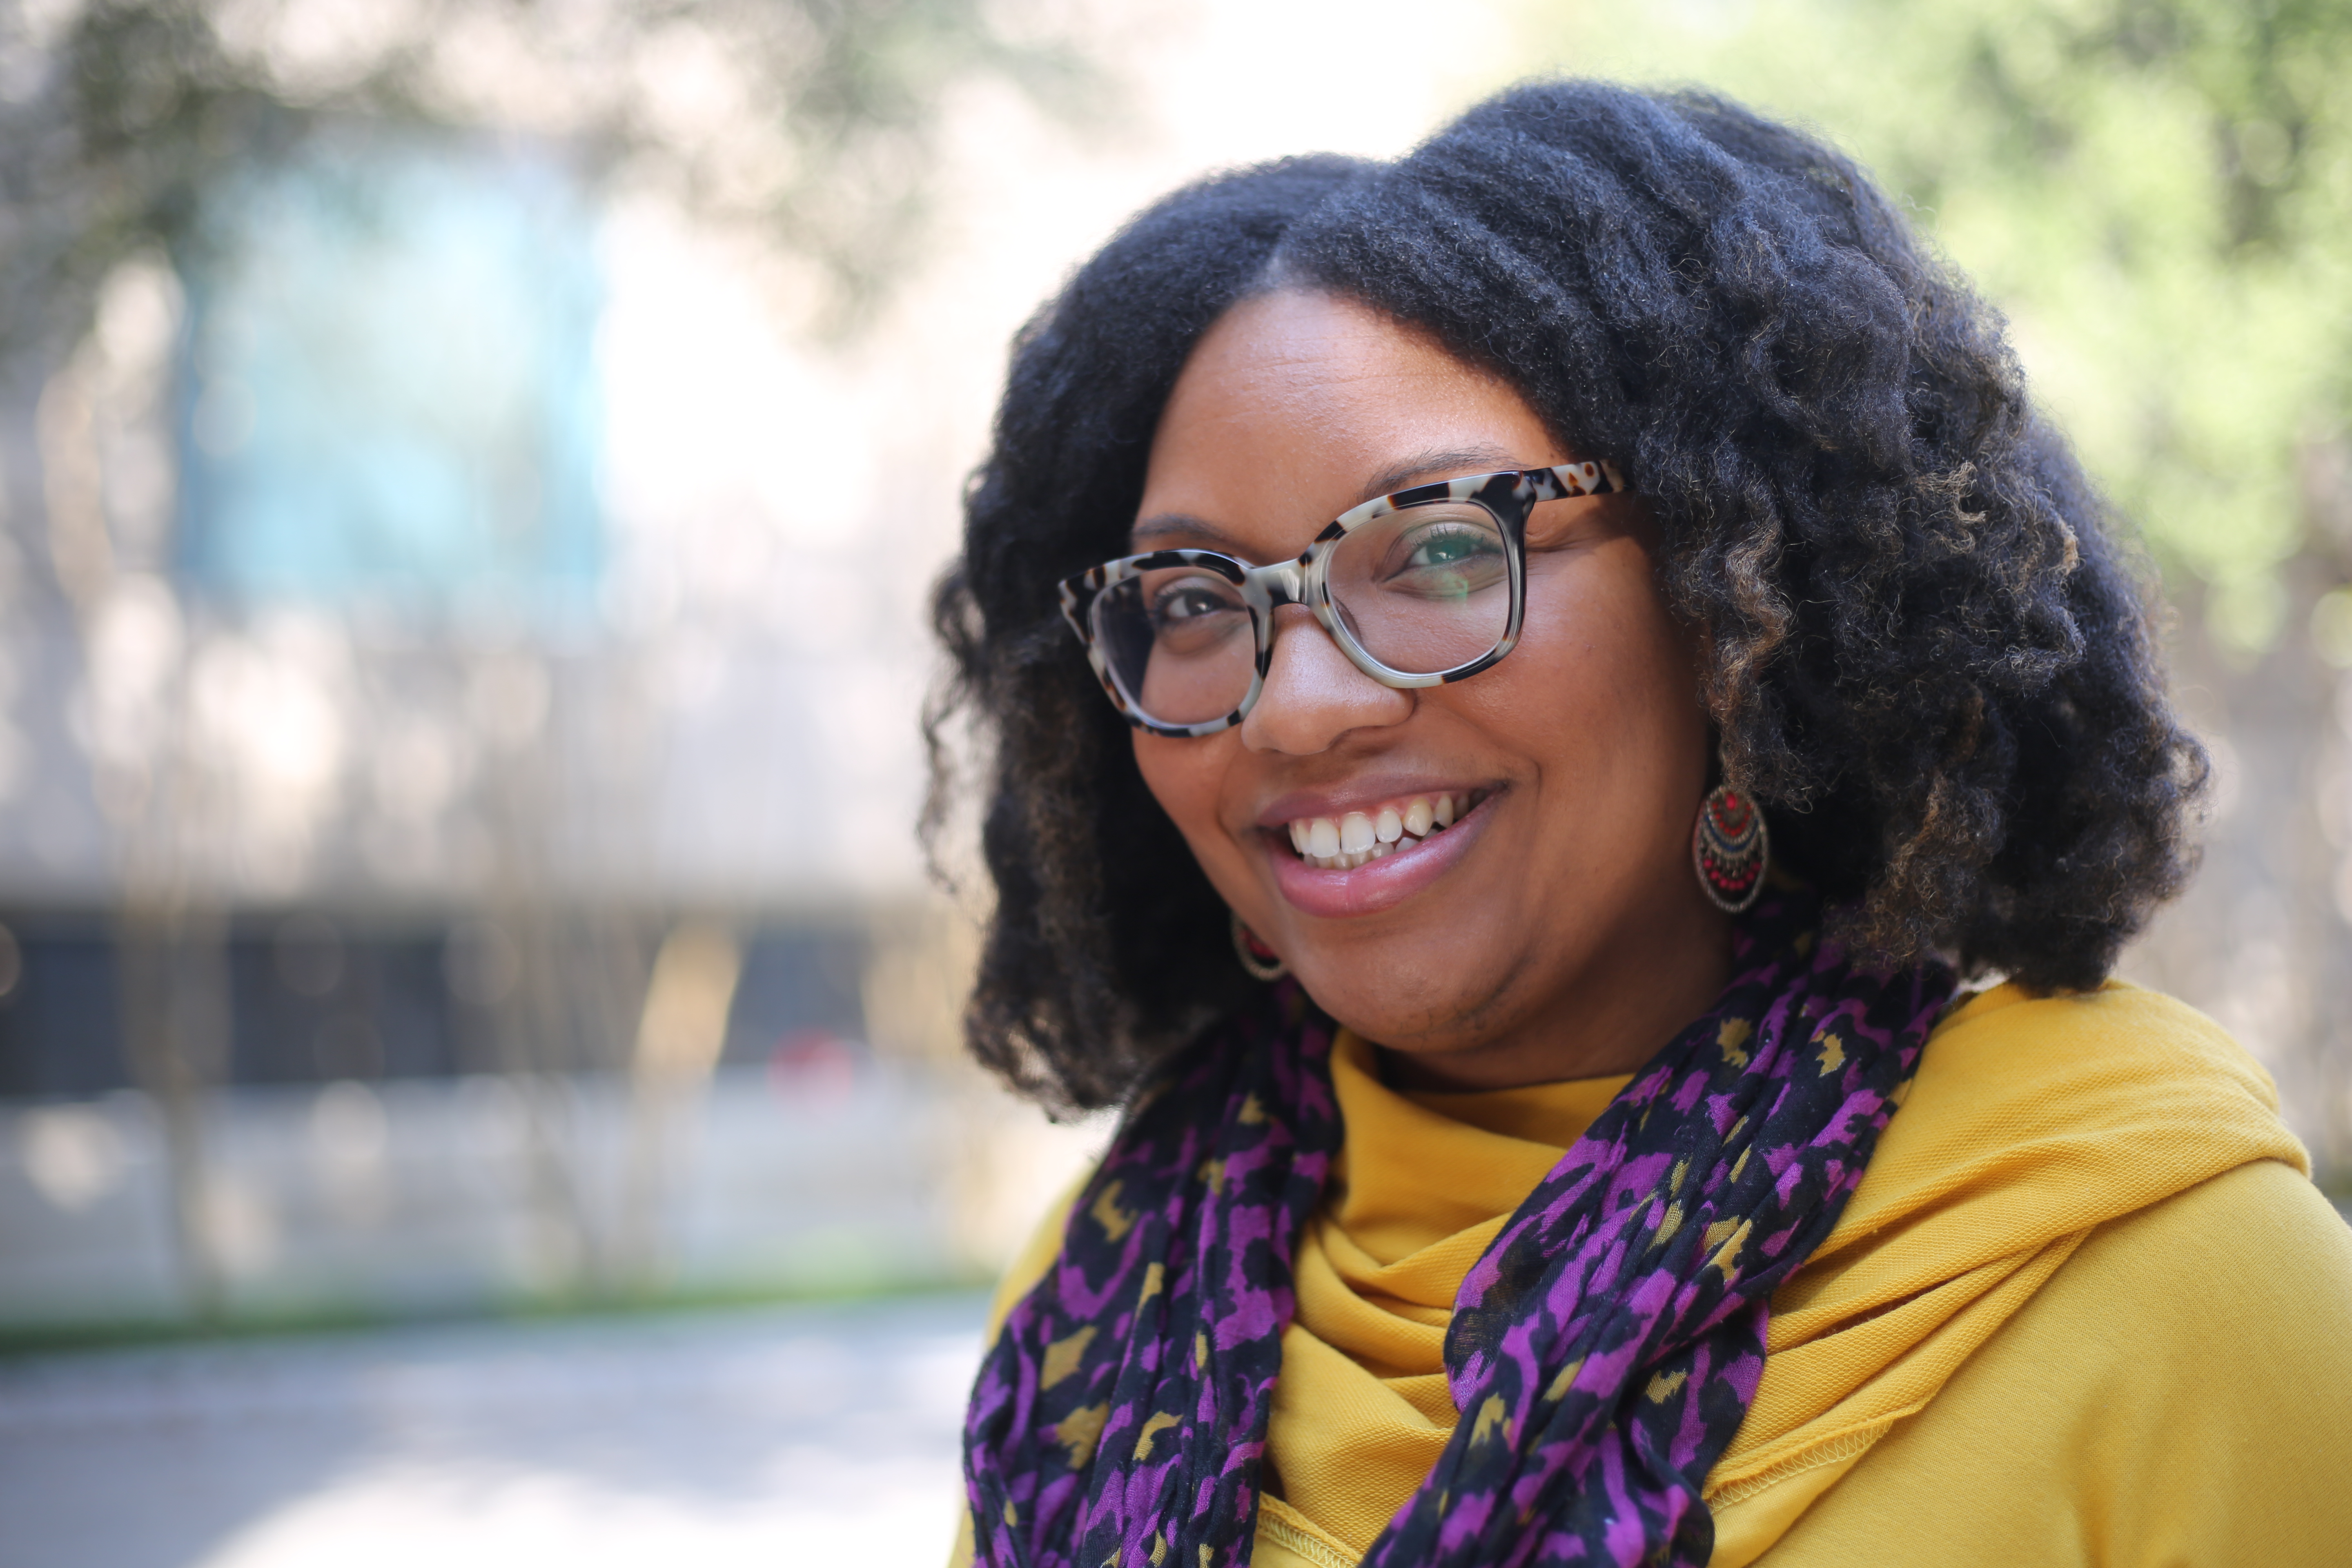
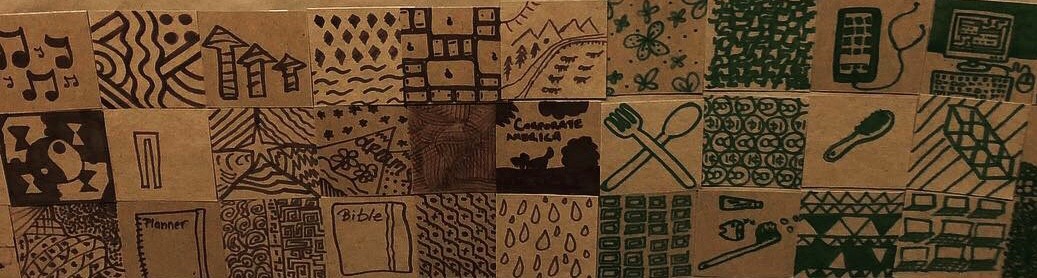
The Center for Creative Connections (C3) is thrilled to host Lauren Cross as our final artist in the 2018 Visiting Artist Project. Through her practice, Cross brings her passion and knowledge for engaging communities across the DFW Metroplex to the DMA. Her project created for C3 is no different: Assembly invites visitors to independently contribute drawings of useful and meaningful objects in their lives on 4 x 4-inch cardboard squares. Every few weeks, a selection of drawings will be installed with the goal of creating a collaborative quilt. Read this interview with the artist to learn more about her project—and stop by C3 to contribute your own drawing for the quilt!

Lauren Portrait

Tell us about yourself.
I am an artist, curator, and scholar; I am a wife, and also a mother to a beautiful, vibrant 15 month old. I was born and raised in Houston, Texas, and also spent a lot of time in both North Texas and East Texas as a child, visiting my uncles, aunts, cousins, and grandparents. Like many artists, I find that my work is both visually and contextually autobiographical.

Growing up within African American families with a strong impulse for oral history and cultural tradition had an important impact on my thinking as an artist. As a result, my pull within art history and cultural discourses has often looked intently at narratives that vividly describe my personal history and influences. I am the descendant of African American quilters, carpenters, builders, creatives, and culture bearers whose legacies are often reclaimed in my work.

Tell us a little about past projects that led you to apply to the C3 Visiting Artist Project.
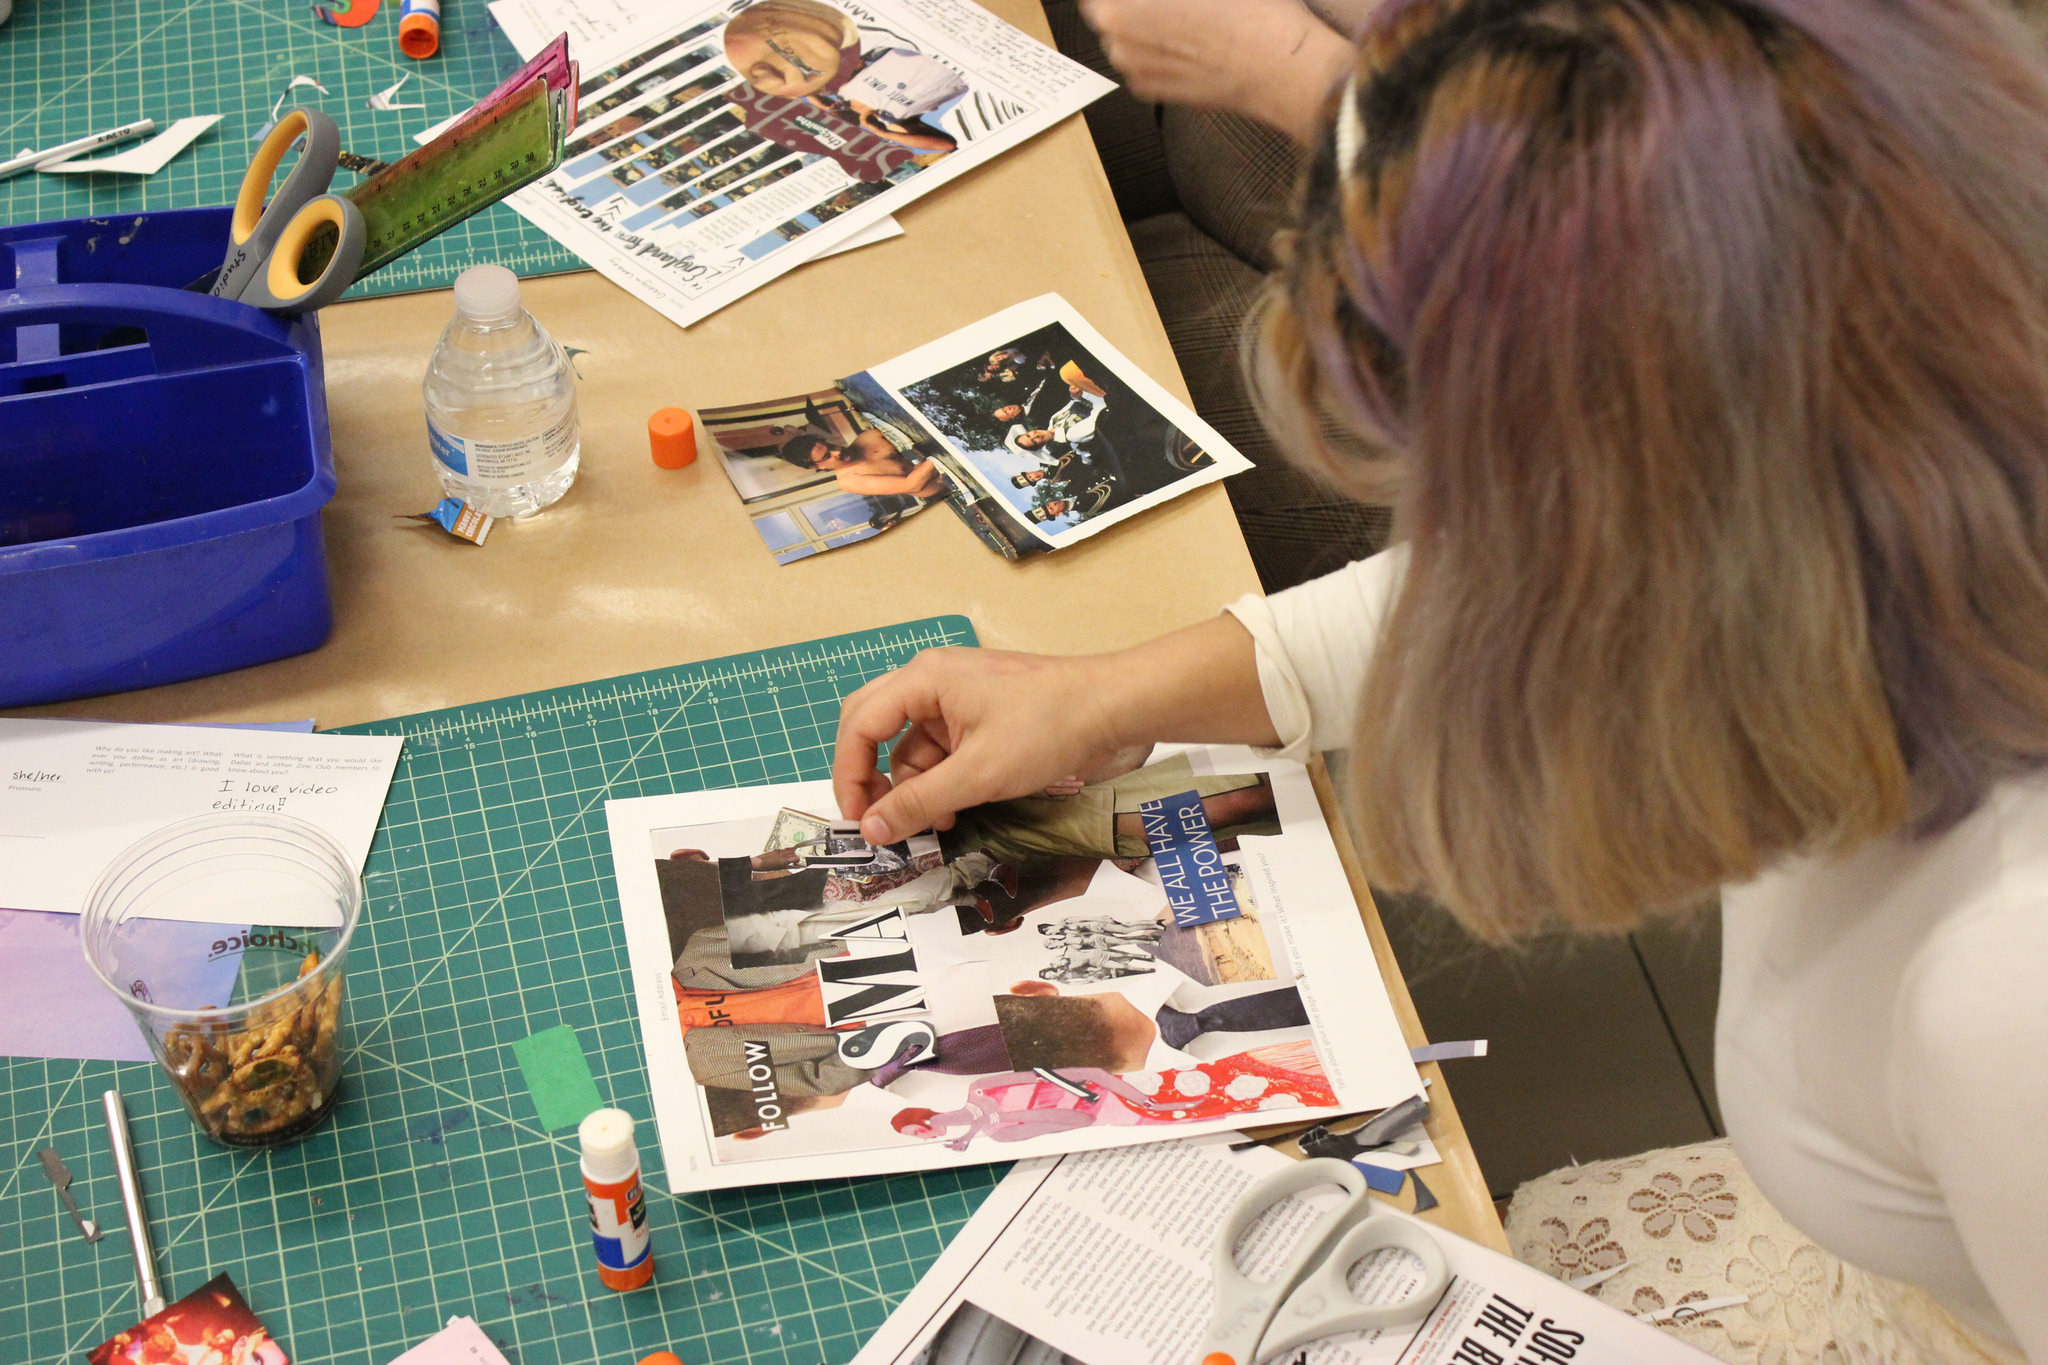
I have always been a teaching artist who has engaged community within my work. One of my first projects after graduating was to design an arts curriculum for a local church in Dallas. Most recently, I helped develop community art projects for my nonprofit organization, WoCA Projects. This involved a partnership with ACT United, which created a photography education and exhibition project called My Fort Worth and a commission from the City of Fort Worth that collected over 2,000 visitor responses across the city about public art.

In applying for the C3 Visiting Artist Project, I saw an opportunity to connect my interest in community with my interdisciplinary studio practice using brown paper bags, digital imaging, and installation. With that, I thought of my Everyday Use installation projects, which I felt connected well with the DMA’s permanent collection. I felt that those works in particular gave me an aesthetic and material language that would allow me to create a project that could speak to DMA visitors.

This slideshow requires JavaScript.

Tell us about the installation you’ve created in the Center for Creative Connections.
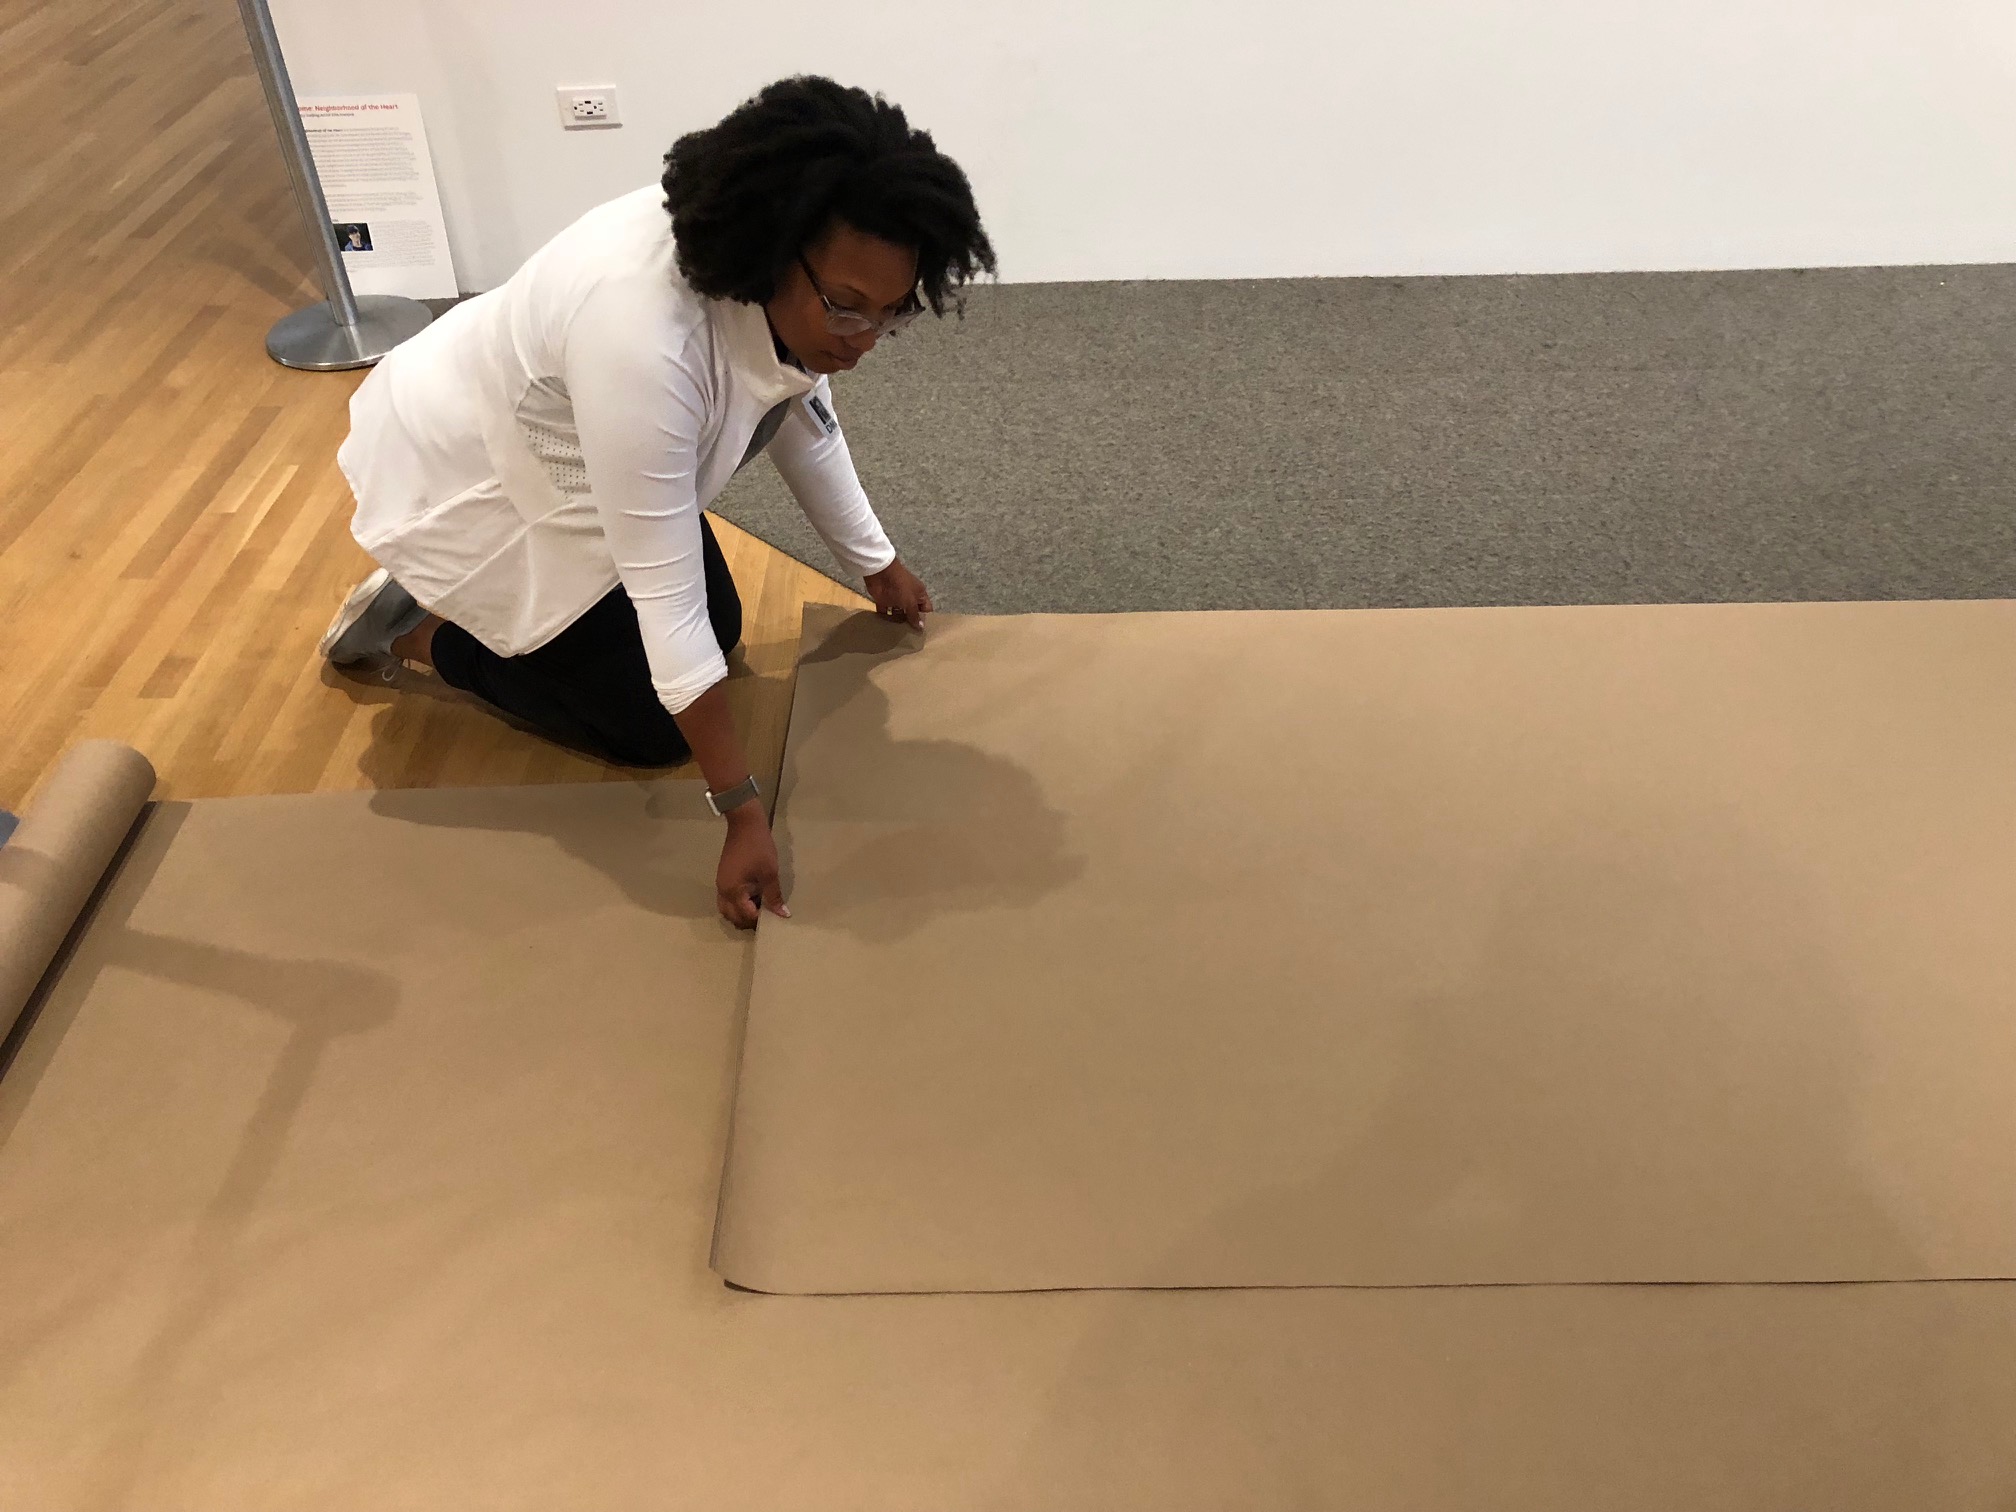
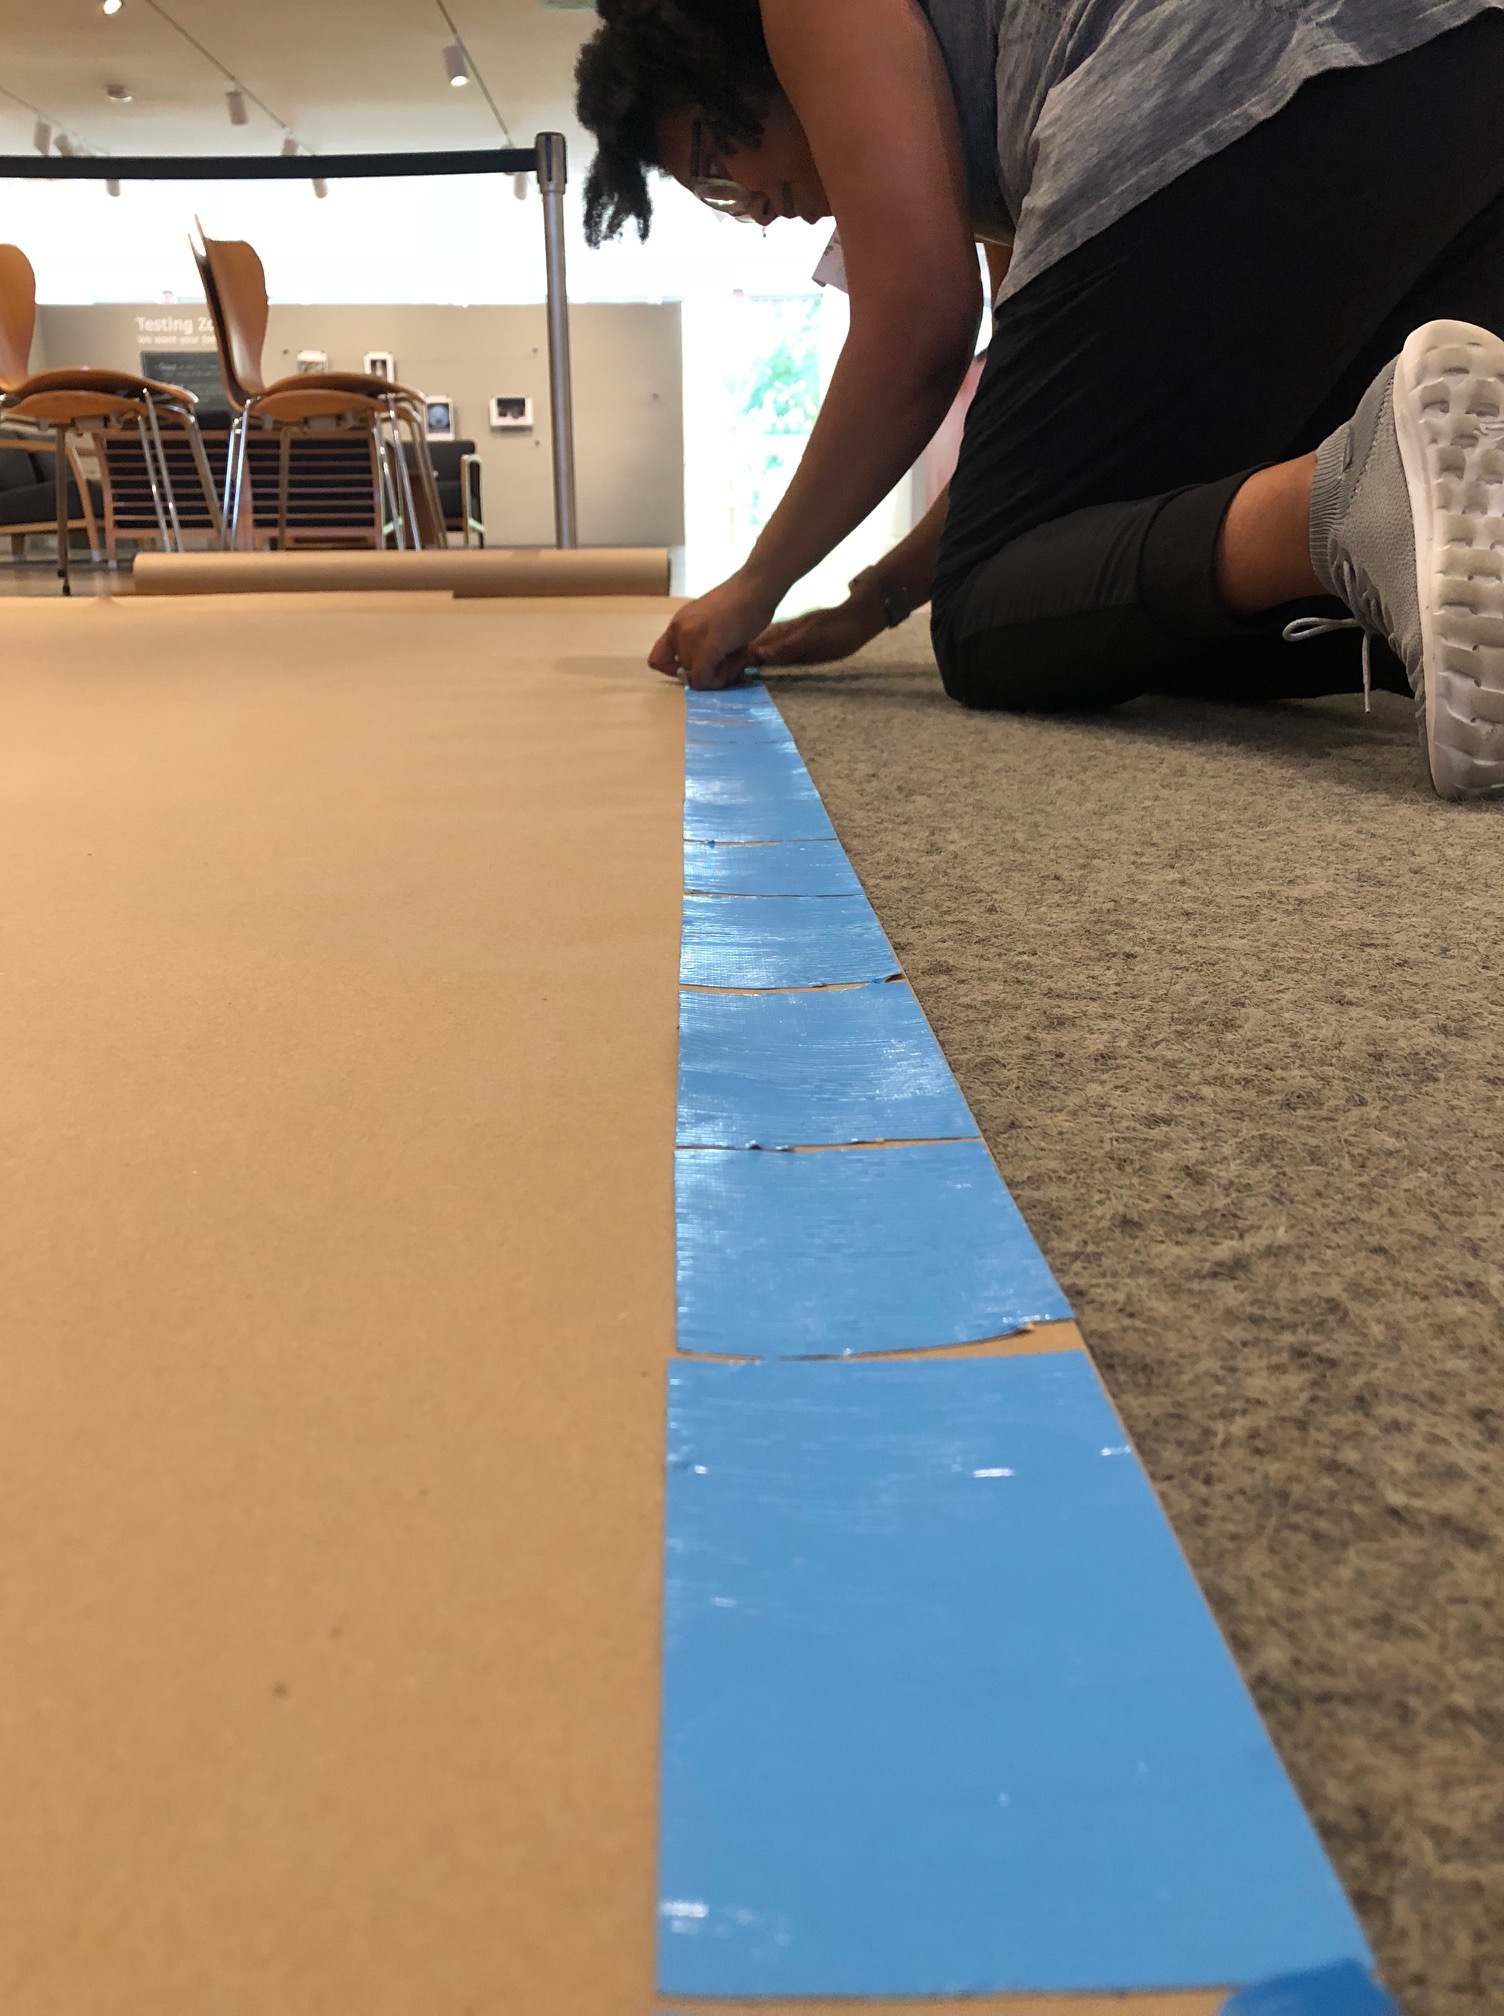
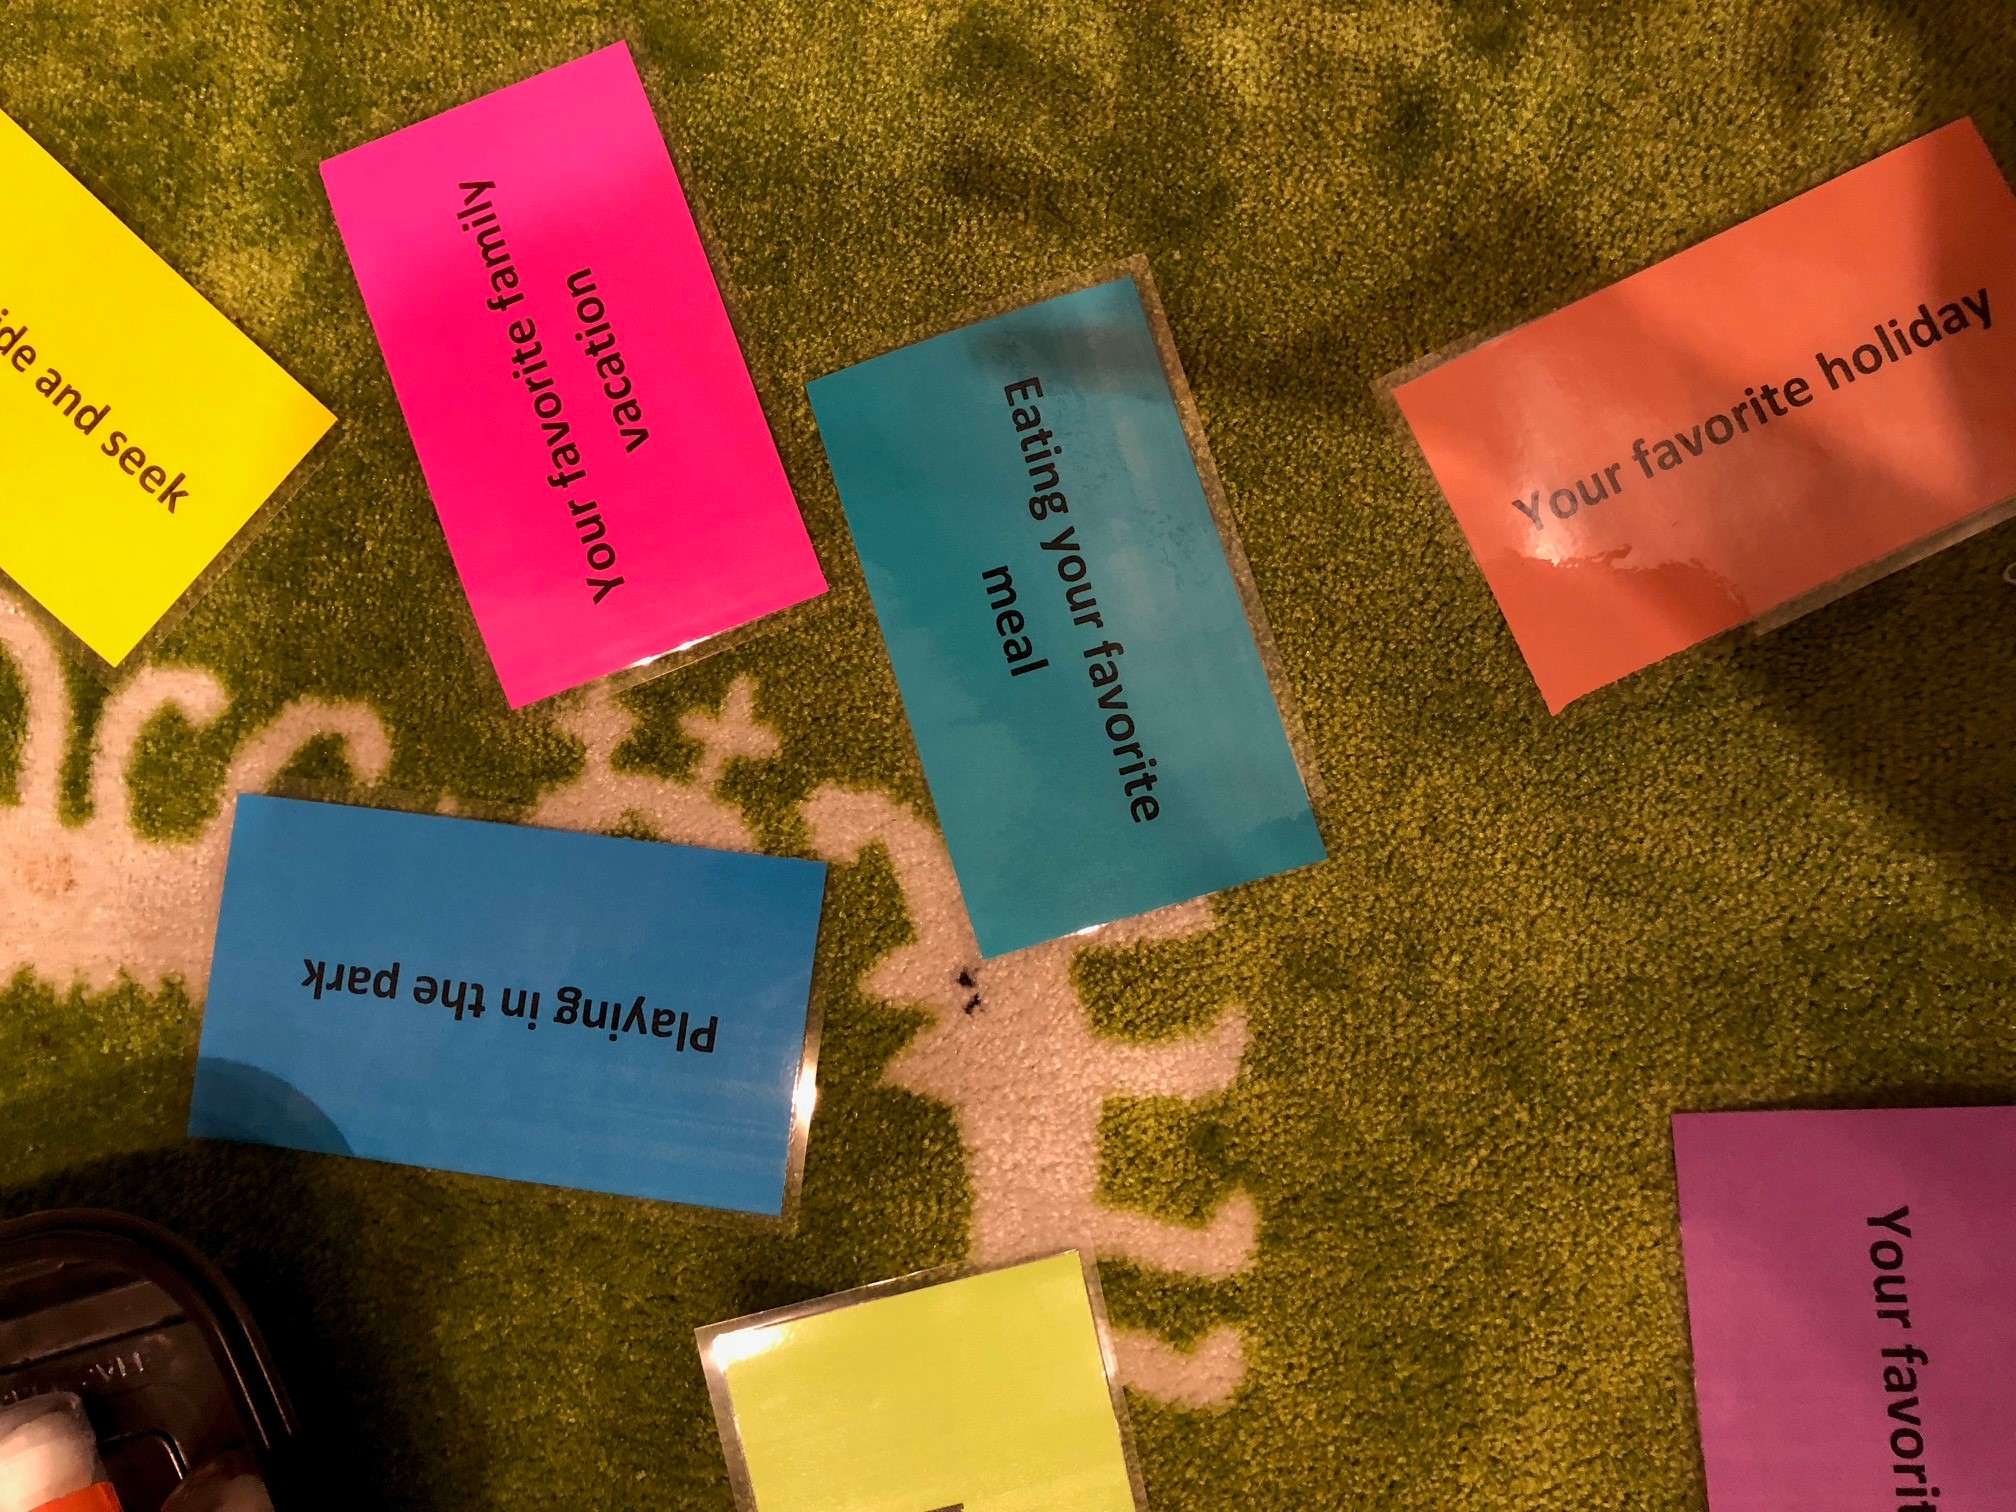
The installation I created, called Assembly, is a project that allows me to speak to my practice, which has often referenced the cultural narratives surrounding both brown paper bags and quilts and their relationship to African American culture. I thought a lot about C3’s emphasis on objects as they relate to identity as inspiration. It seemed like a great opportunity for me to address the objects that I use and reference in my work and the narratives about identity that are connected to them: skin color, hierarchy, cultural heritage, and history. I was happy to have the opportunity to probe visitors to think about everyday objects that mean something to them in hopes that there could be wider conversations about the things that have meaning in our lives.

This slideshow requires JavaScript.

Do you have any favorite visitor contributions you’d like to share?

visitor contributions

What have you enjoyed most about this experience so far?

I have enjoyed seeing the sheer volume of thoughtful responses from visitors to the project. It has been empowering to pose a question and to get such great feedback. As an educator, it’s like teaching a subject that your students get excited about. I have also enjoyed having the opportunity to work with various museum educators throughout the project to find ways to connect visitors to the wider themes we are dealing with.

What upcoming projects are you working on or excited about?

I have an exciting exhibition coming up at the Cliff Gallery at Mountain View College (DCCD) from November 19 to December 14. This includes a Kitchen Table Talk with African American women artists and creatives in North Texas on Thursday, November 29, from noon to 2:00 p.m. and an artist reception on Friday, December 7, from 6:00 to 9:00 p.m. I will also have an exhibition at the Carillon Gallery at Tarrant County College South Campus in March 2019 as a result of my artist residency there this fall.

Join C3 Visiting Artist Lauren Cross for a Gallery Talk on Wednesday, December 19, from 12:15 to 1:00 p.m. Gallery talks are included in free admission.

Kerry Butcher is the Center for Creative Connections Education Coordinator at the DMA.

Make & Take: Architectural Artistry

We have a new way to get creative at the DMA! Make & Take is a new art-making series that takes place on one Thursday every month. Drop by on October 25 and stay for as long as you want, whether it’s a few minutes or an hour, and you’ll leave with a new skill plus your own creation. Our first Make & Take was on Thursday, September 27. As the weather cooled down, participants enjoyed their time outside on our Sculpture Terrace near the Conservation Gallery, overlooking part of the downtown skyline. Local artist and architecture teacher Jay Cantrell led participants in exercises that helped give shape to the cluster of buildings in front of them. One exercise involved outlining the skyline that showed the different structures using only one line. Another was focusing on architectural details of the buildings, like windows and arches, so you don’t get overwhelmed by tackling the entire building. You can see a few examples below.

View from Sculpture Terrace

Architectural drawing made by Jay Cantrell

Outline of skyline done by participant

Small detail of building done by participant

If you didn’t get a chance to come out and sketch with us, don’t worry! Make & Take will happen once a month (except December) and explore a new art technique every time. On the 25th, we’ll be working with vibrant pastels to make abstract images inspired by the pastels on view in Günther Förg: A Fragile Beauty. On November 29, explore monotype printmaking, where you’ll make subtractive images in ink and then print using a press, like the monotypes featured in Ida O’Keeffe: Escaping Georgia’s Shadow.

Katie Cooke is Manager of Adult Programs at the DMA.

Patches with a Purpose

The Guerrilla Girls exhibition is in its final week on view at the DMA. For the last few months, the posters, books, and videos in the gallery have prompted a lot of questions, including the often overheard “What’s the deal with the gorilla masks?”

MzZCjLlg

The Guerrilla Girls are an anonymous collective of women artists who draw attention to sexism and racism in the art world. To borrow their words, without women and people of color represented in the art world “you’re seeing less than half the picture.” Using bold protest art and guerrilla-style marketing techniques (hence their name and use of gorilla masks, as a play on words), they demonstrate how images are a powerful way to send messages to others.

Consider what is important to you. When you think about those things, is there an image or symbol that comes to mind? Taking inspiration from the Guerrilla Girls, here’s a way to broadcast that idea or cause through a DIY iron-on patch.

Materials Needed
Felt or fabric
Embroidery floss
Embroidery hoop
Tapestry needle
Scissors
HeatnBond iron-on adhesive sheet
Iron
Threader (optional)

Using the screw at the top, loosen and separate the two rings of your embroidery hoop. Load the embroidery hoop with the felt or fabric of your choice, placing the fabric on top of the smaller ring and closing the larger ring around it to hold the fabric in place.

Tip: The hoop stretches the fabric tight to create tension. If the fabric sags in the middle, pull the edges before tightening the hoop screw all the way.

Thread your needle with the first color of embroidery floss, tying off one end. Start your design from the back side of the hoop, pulling the needle straight through the fabric. Create the first stitch by pulling the needle straight back down through the fabric. When you’d like to switch colors, simply tie the floss off on the back and repeat the process.

Tip: Keeping the needle straight and avoiding pulling hard keeps the stitches even and fabric wrinkle-free. Knowing how to sew makes embroidery pretty intuitive, but different kinds of stitches create different textures and effects. DMC Embroidery has great resources for those looking to learn new techniques.  

Once you finish your design, make sure all the thread is tied off on the back, and any loose threads are trimmed.

Rm64yqnQ

HeatnBond adhesive sheets will make the design into a patch. HeatnBond is two sided, with a shiny, textured plastic side and a paper side. Cut a piece of HeatnBond large enough to cover the design and place it on the backside of the fabric, with the paper side of the HeatnBond facing up. Pass an iron set on medium heat over the HeatnBond for approximately 30 seconds, ensuring that the iron passes over the edges and corners of the adhesive. Make sure that the HeatnBond is completely adhered to the fabric; no corners or edges should lift.

Once the fabric has cooled, use scissors to trim around the design. The HeatnBond seals the fabric, so no hemming is needed. After the design is cut to size, remove the paper backing from the back of the design. Underneath, the plastic should be smooth and shiny. Now the patch can be ironed onto another piece of fabric, like a jacket or backpack.

Be sure to visit The Guerrilla Girls before it closes on September 30. If you liked this project, join us at our upcoming workshops for families, teens, and adults to get your make on.

Jessica Thompson is the Manager of Teen Programs at the DMA.

Communication Through Portraiture

One of the best things about working in the Center for Creative Connections is getting to see all the hard work of redesigning the spaces come to life. Over the last few weeks, staff and visitors alike have watched some new faces pop up on our walls in the front gallery.


Today, technology makes it easy to snap hundreds of photos of ourselves on a front facing camera phone. But for centuries, portraiture has played an important role in how we study and interpret subjects through aspects like environments, surrounding props, clothing and even color and lighting. All of these things are visual clues shown to us by the artists to communicate an underlying narrative about the subject. Even the way an artist chooses to capture their sitter can reflect on their relationship with them. Observing Chuck Close’s “Phil/Fingerprint” from a distance, you might not realize that Close used his own fingerprints to create an intimate portrait of his close friend, composer Phillip Glass.

1981_46

Chuck Close, ‘Phil/Fingerprint’, 1981, Lithograph, Dallas Museum of Art, Mr. and Mrs. Jake L. Hamon Fund

After viewing and reading more about all the artists and subjects that fill the gallery, we’re inviting visitors to put their own methods to the test when capturing a subject. We’ve been watching over the last few weeks how visitors have excitedly sat at one of our tables in the gallery to sketch themselves or a friend…

This slideshow requires JavaScript.

…or at the C3 Photo Studio to find the right pose for their own compelling portrait.

IMG_0084

Strike a pose when you stop by C3 on your next visit!

Kerry Butcher
Center for Creative Connections Coordinator

Prints Charming

With the opening of Visions of America: Three Centuries of Prints from the National Gallery of Art, we’re completely and utterly in love with a new Prints Charming—the art of printmaking! Printmaking is an artform that is easily accessible to even the youngest children. All you need is paper, some kind of ink or paint, and a surface that “holds onto” your print.

Here are some of our favorite ideas you can try at home!

Monoprinting

We tried monoprinting with the Toddler Art class, and the kids loved the “magic” that appeared before their eyes as their prints were lifted off the inked surface. All you need at home is a cookie sheet or even a piece of waxed paper taped to the table. Completely cover the cookie sheet or waxed paper with a layer of paint, and then have your child “draw” a design in the paint using a Q-tip. Gently press a piece of paper on top of the painted drawing, and watch the image transfer from the cookie sheet to the paper. Then do it all again!

Styrofoam Printing

Styrofoam printing allows you to make multiple prints from a single image. For this process, any Styrofoam will do–a plate (with the ribbed edge trimmed off to create a flat surface), a recycled foam tray from a grocery purchase, or a sheet of foam purchased at a craft store. Children can draw their image into the foam using a dull pencil. Special Note: if they add any letters, numbers, or symbols into their drawings, they’ll need to write them backwards, as their image will be reversed when printed. Once the drawing is complete, cover the entire surface of the foam with ink or paint, then press the inked surface onto a piece of paper. For an extra challenge, older children can try to print layered images by drawing and printing in one color, then drawing additional details on a second sheet of foam, covering the sheet in a different color, and then printing onto the original piece of paper.

veggie printmaking

Fruit & Veggie Printing

This is one of my most favorite printmaking projects to do with kids! Many children have probably done the classic stamping-with-an-apple project. But have you tried printing with celery, okra, or onions? Fruits and veggies have beautiful hidden patterns that make for really fun (and smelly!) printmaking. For this one, cut up fruits and veggies and have your child dip them into paint and then stamp onto paper. I experimented with cutting several of the produce–particularly apples, oranges, onions and bell peppers–both lengthwise and widthwise so that we could create different patterns with each.

For even more fun printmaking ideas, check out these posts on some of my favorite blogs:

Happy creating!

Leah Hanson
Manager of Family and Early Learning Programs


Archives

Flickr Photo Stream

Categories