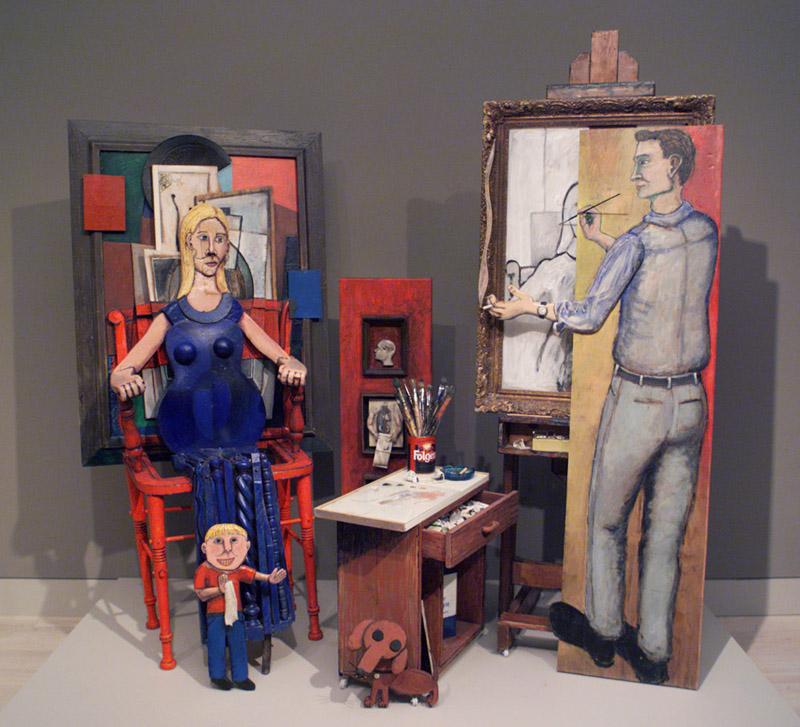
Continuing our Easter egg theme this week, I wanted to create a recipe that recalls the yummy Easter candy everyone enjoys at this time of year. For my inspiration, I looked to our striking Brancusi sculpture, Beginning of the World, which uses imagery associated with birth. This imagery is fitting for Easter and spring, a season of rebirth and new life. And of course, it is shaped like an egg! I am a huge fan of cake balls and this recipe not only yields a delicious result, it provides the opportunity to decorate more eggs with your family. Enjoy!
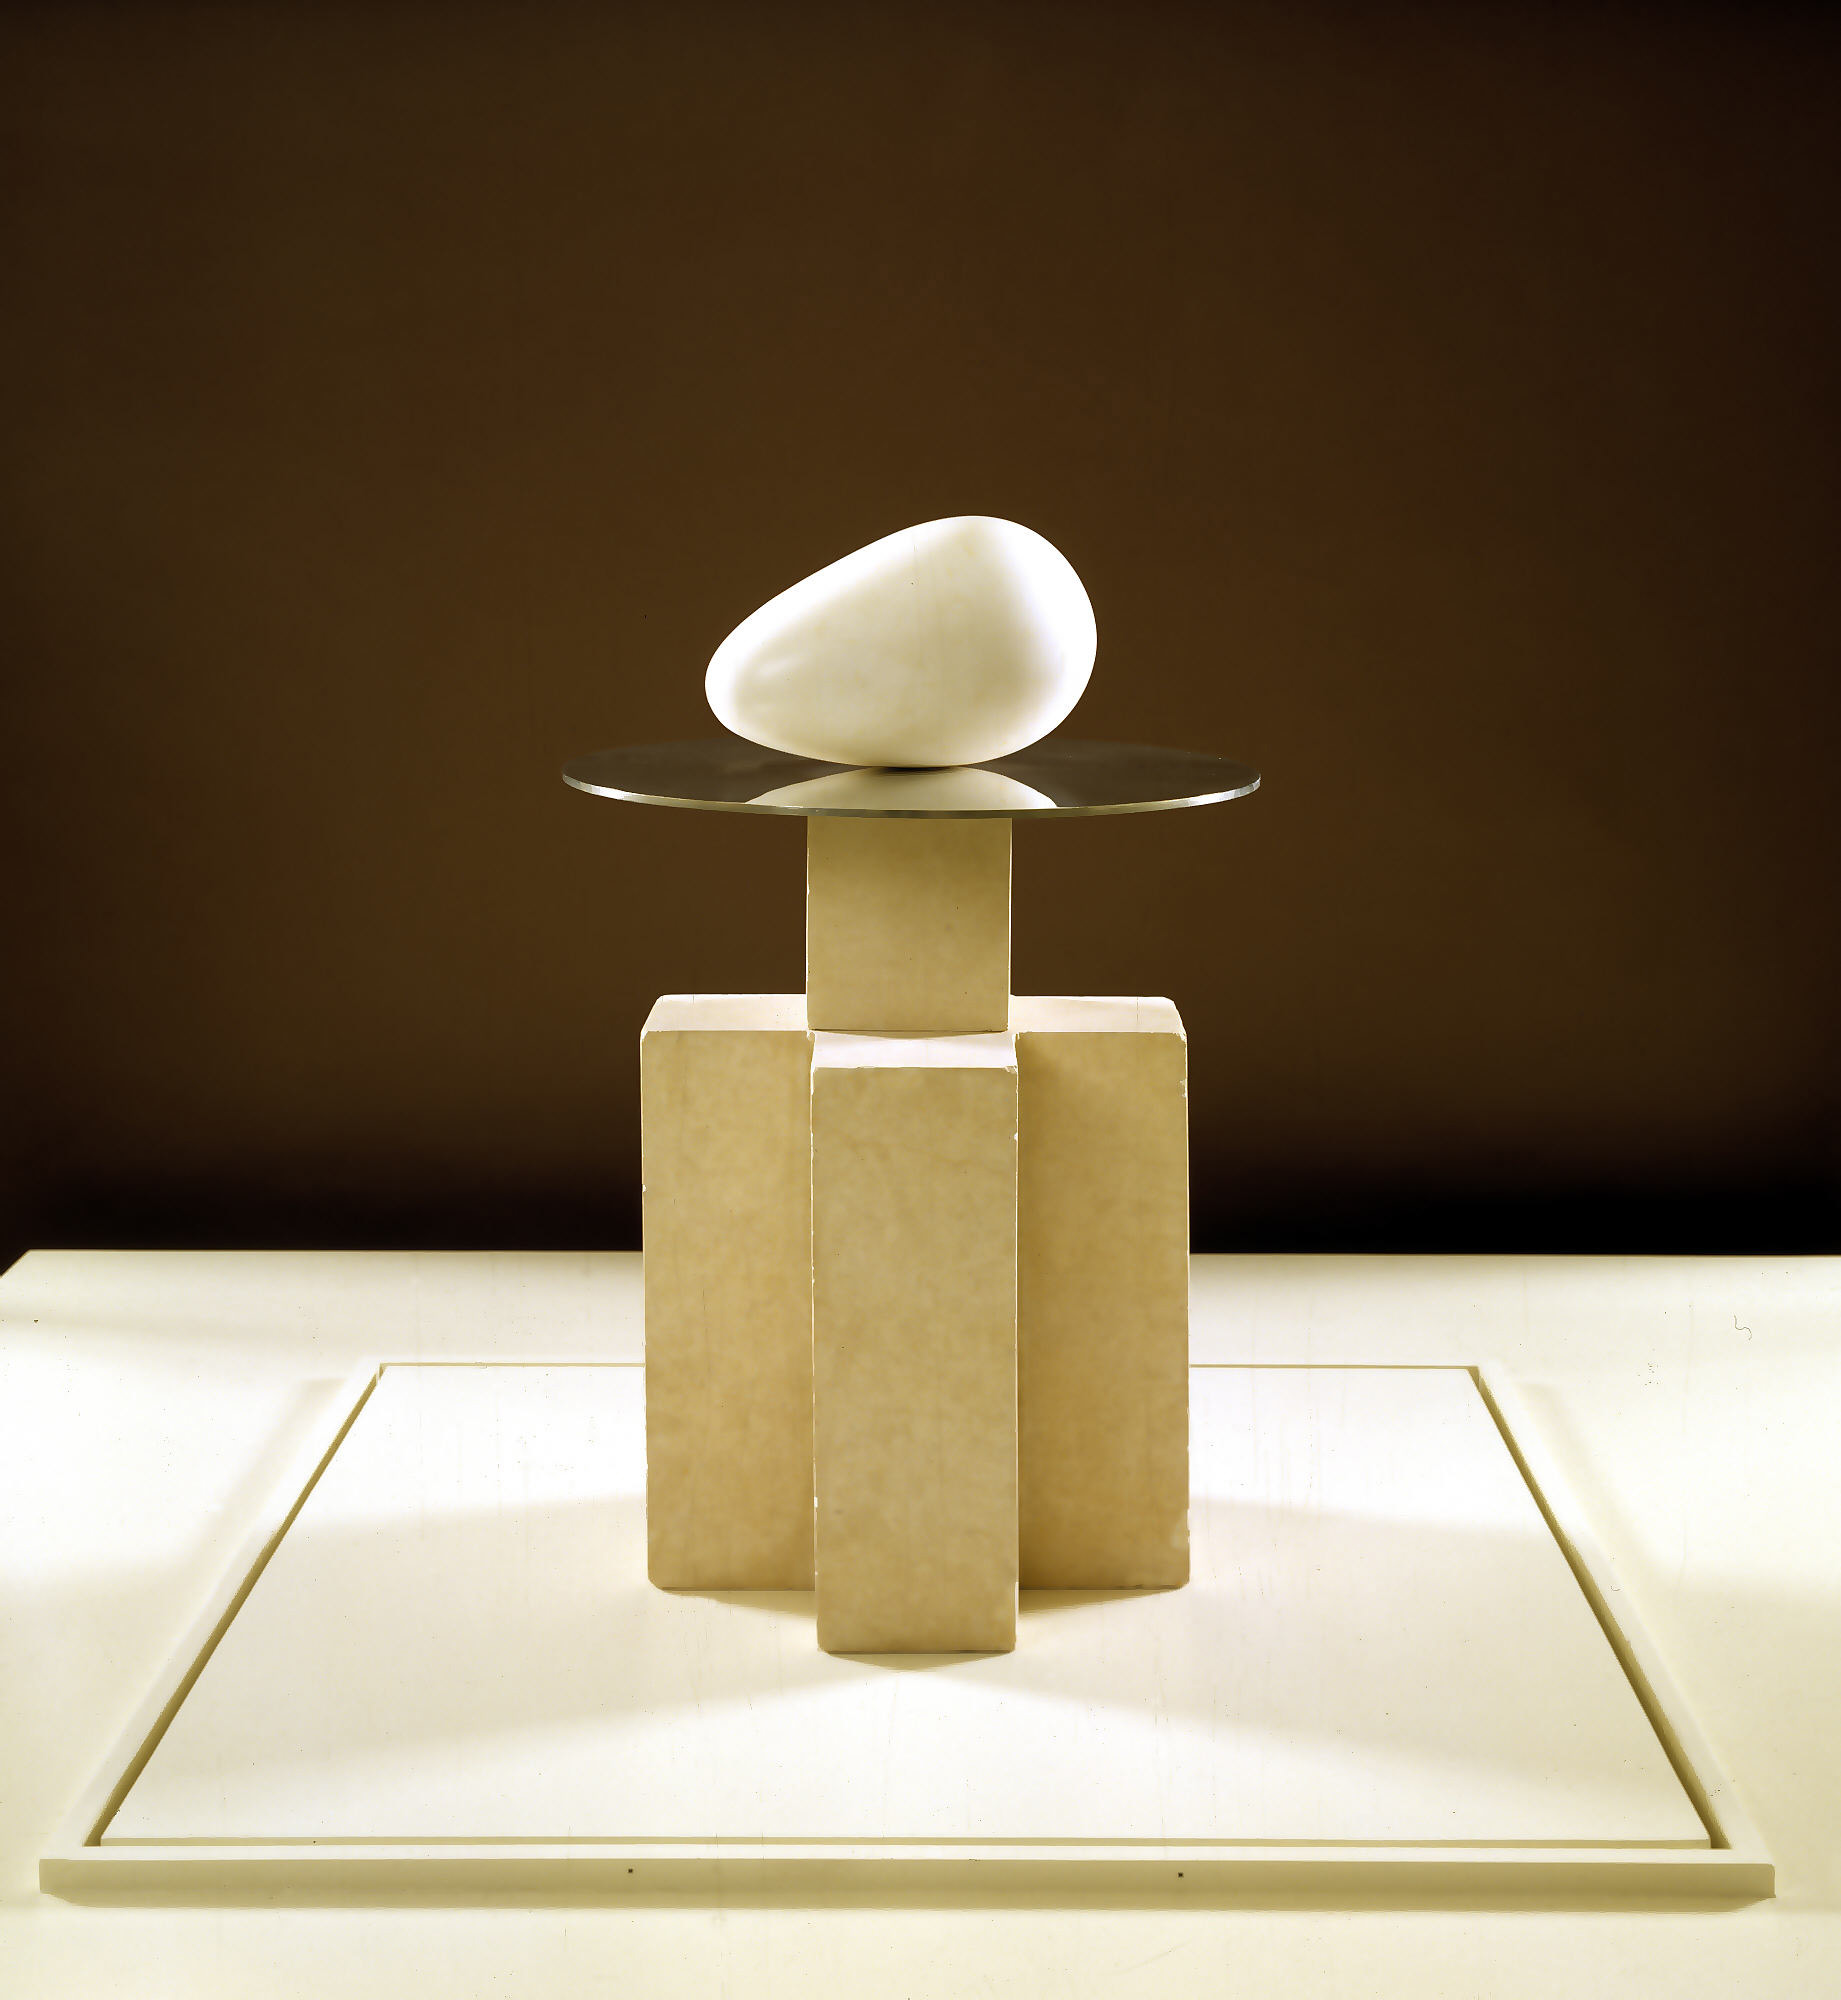
Constantin Brancusi, Beginning of the World, c. 1920, Dallas Museum of Art, Foundation for the Arts Collection, gift of Mr. and Mrs. James H. Clark
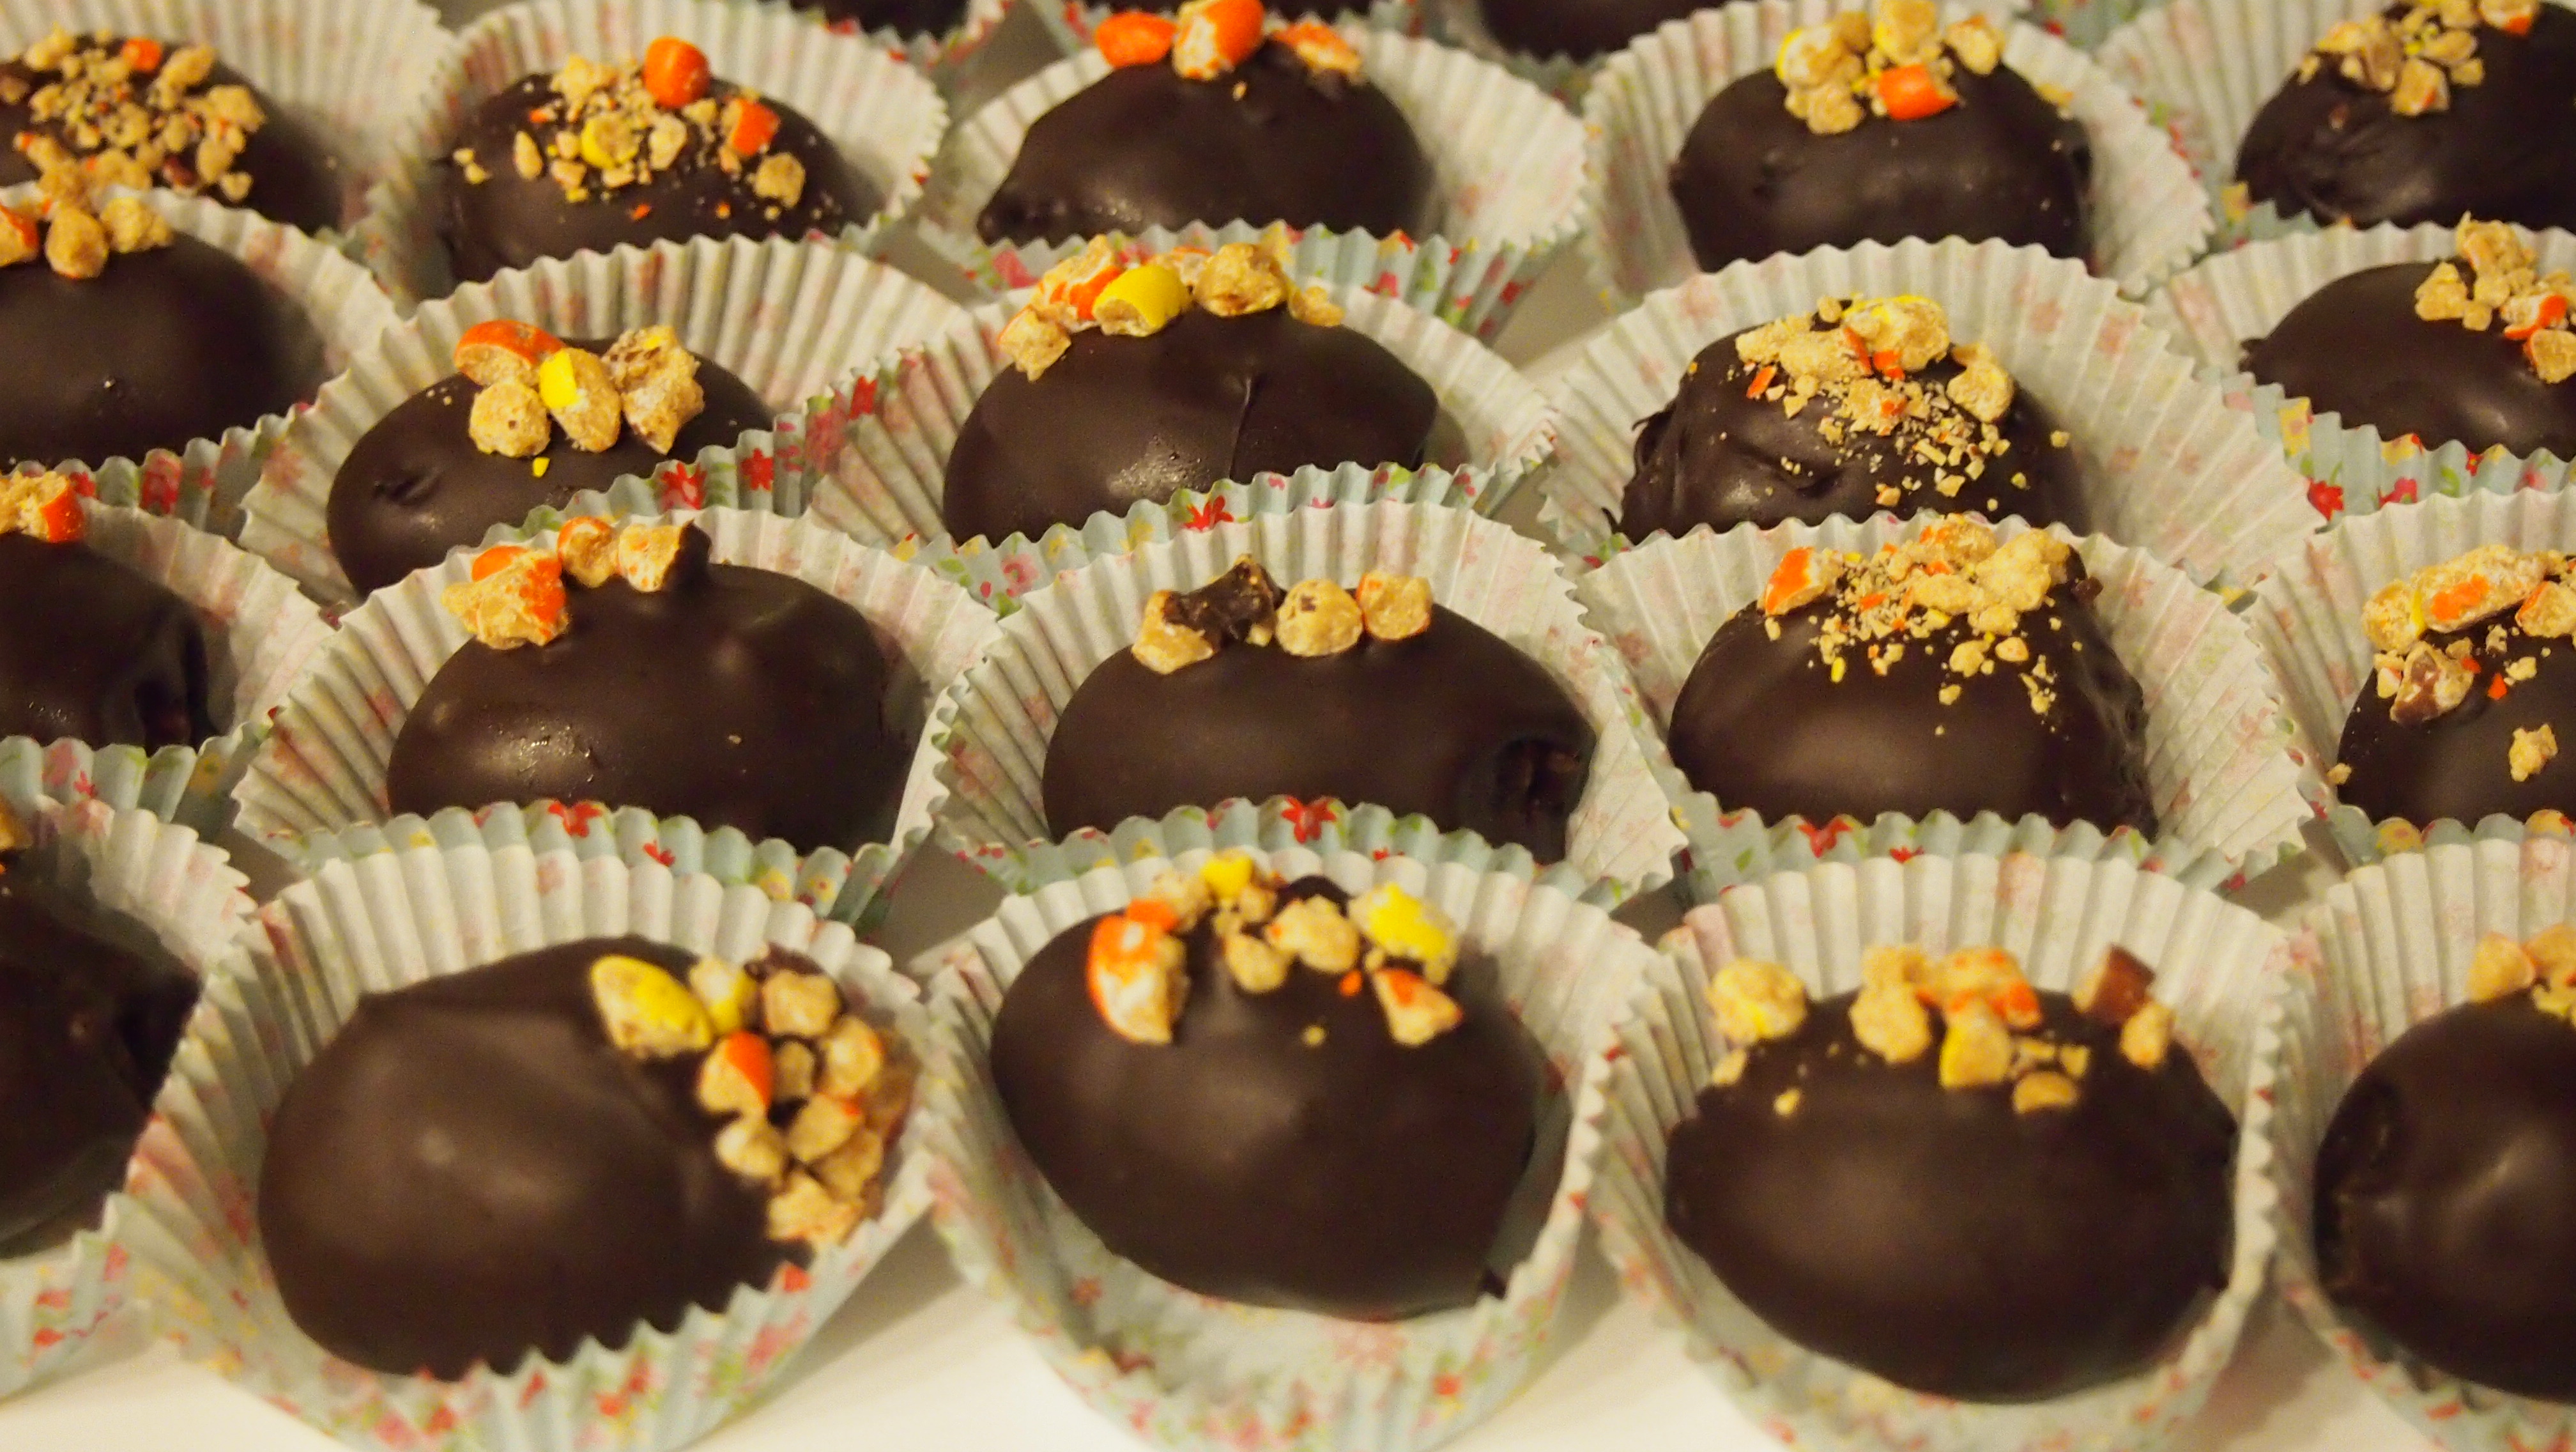
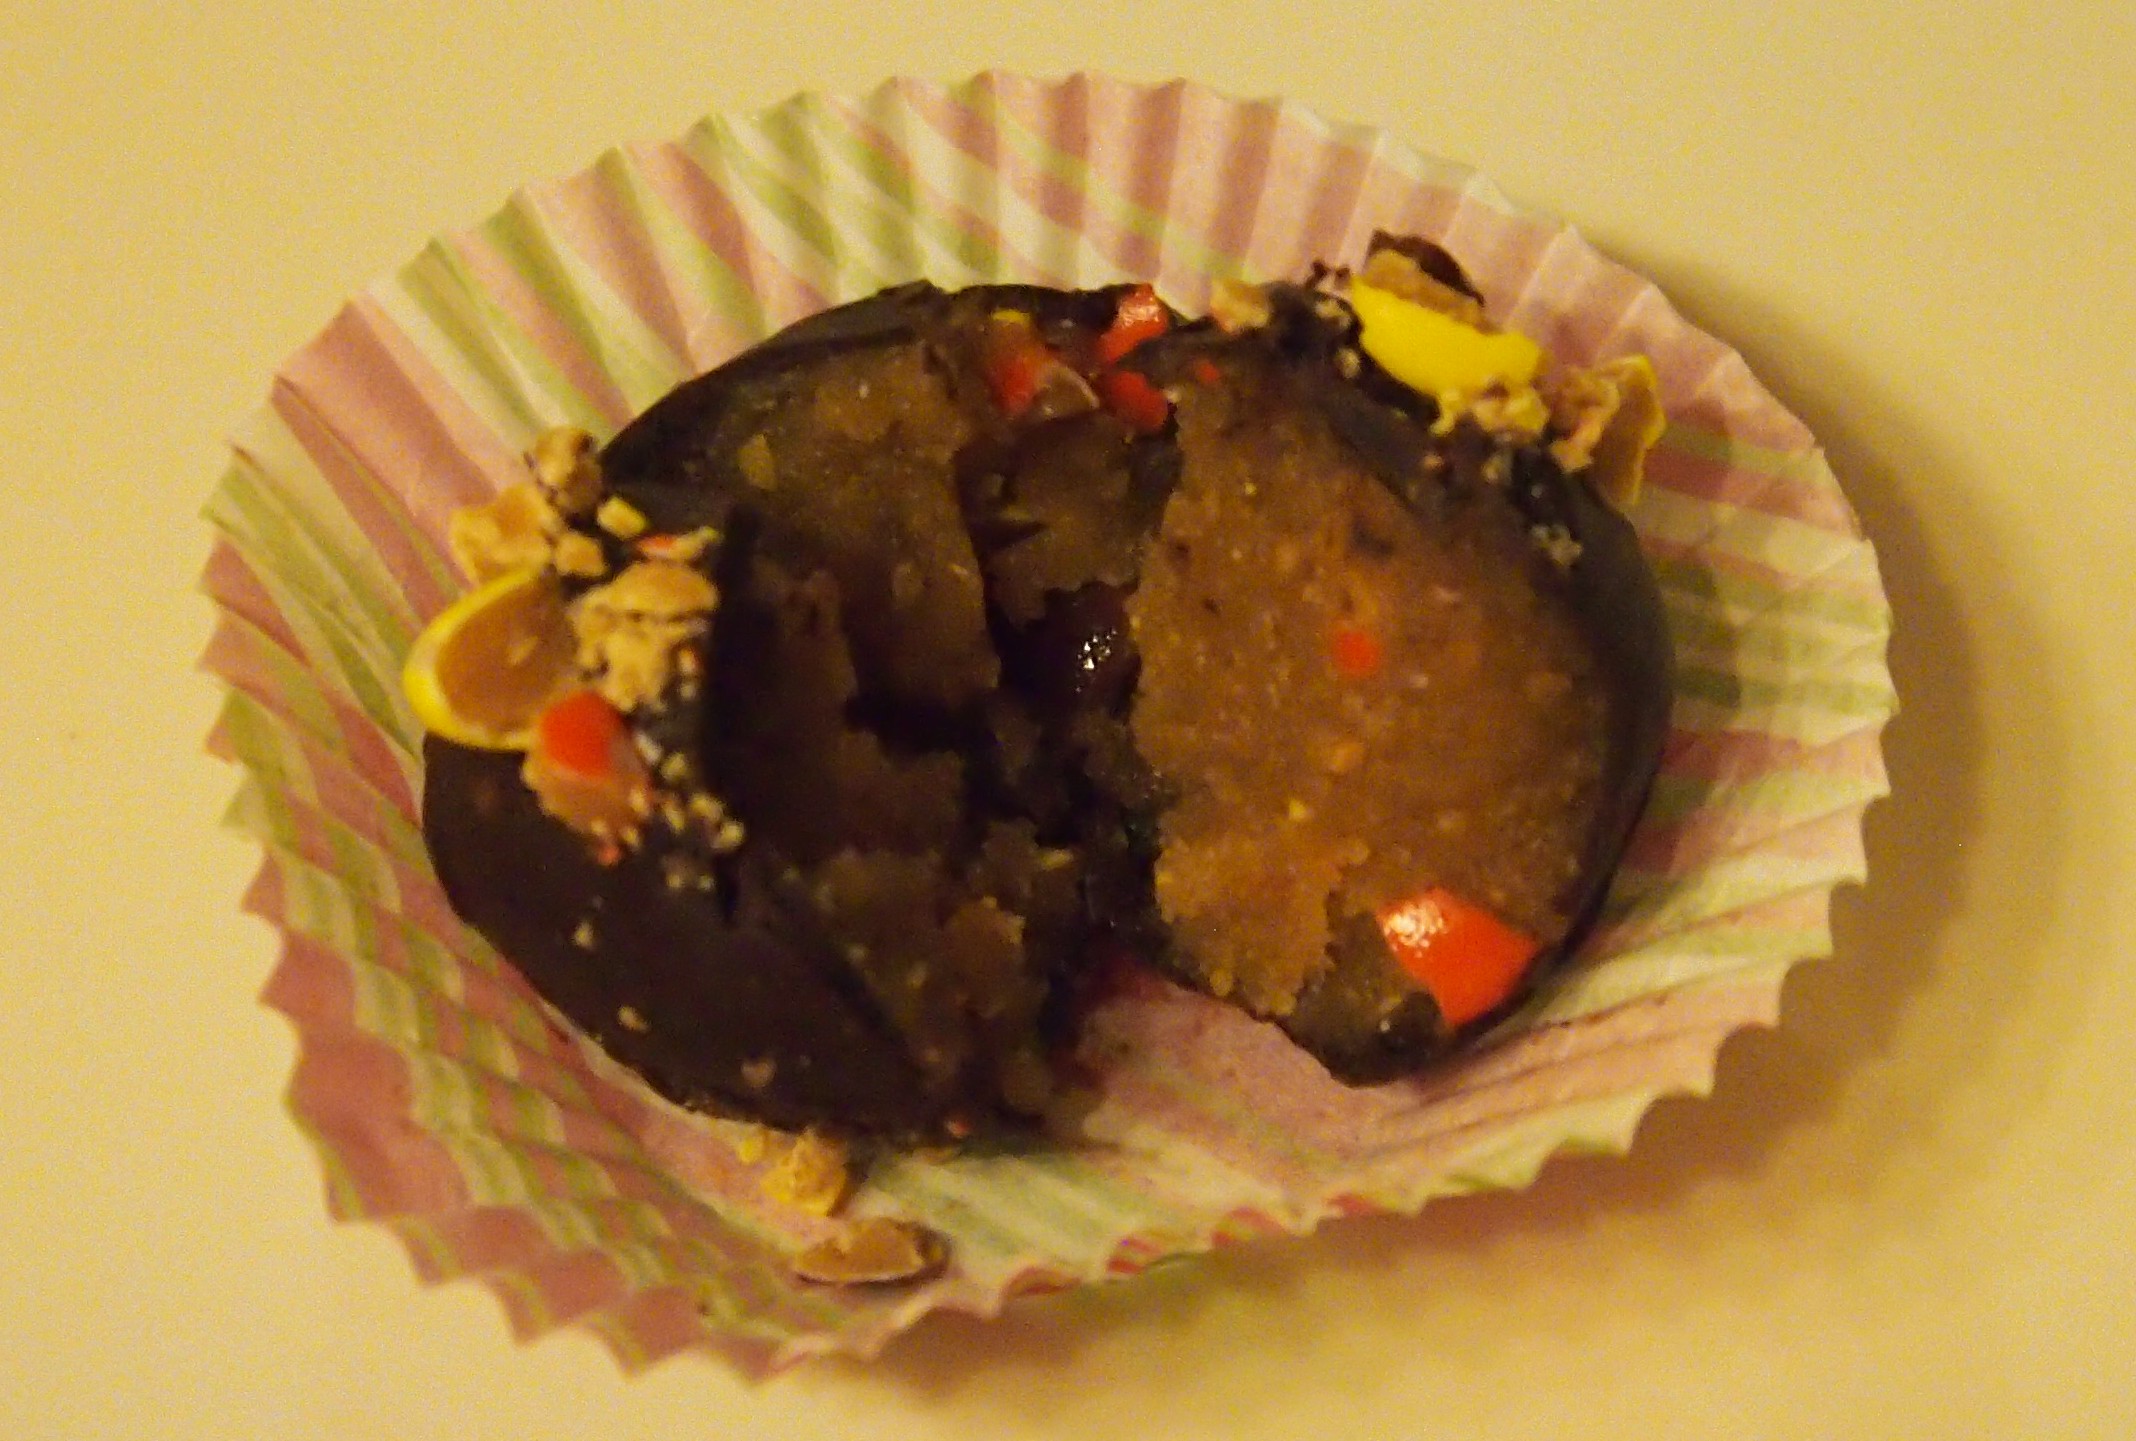
Peanut Butter Eggs
Yields 50-100 cake balls, depending on size
Level: Intermediate
Cake Balls:
1 yellow cake
1 cup peanut butter frosting (recipe follows)
1 ¼ cups Reese’s Pieces candy
Coating (recipe follows)
Peanut Butter Frosting:
1 cup powdered sugar
2 tablespoons unsalted butter, room temperature
½ teaspoon pure vanilla extract
Pinch of salt
½ cup natural creamy peanut butter
4 tablespoons whole milk
Coating:
12-16 ounces good quality dark chocolate, coarsely chopped
½ tablespoon vegetable shortening
Prepare cake as directed, using a favorite recipe or box mix if desired. Allow cake to cool completely.
Peanut Butter Frosting: Place the powdered sugar, butter, vanilla and salt in the bowl of an electric mixer fitted with a paddle attachment. Mix on medium speed until mostly combined. Add peanut butter and continue mixing, scraping down the bowl with a rubber spatula as needed. Increase speed to high and add milk one tablespoon at a time. Continue beating an additional 3-5 minutes, until the mixture is light and smooth. Set aside.
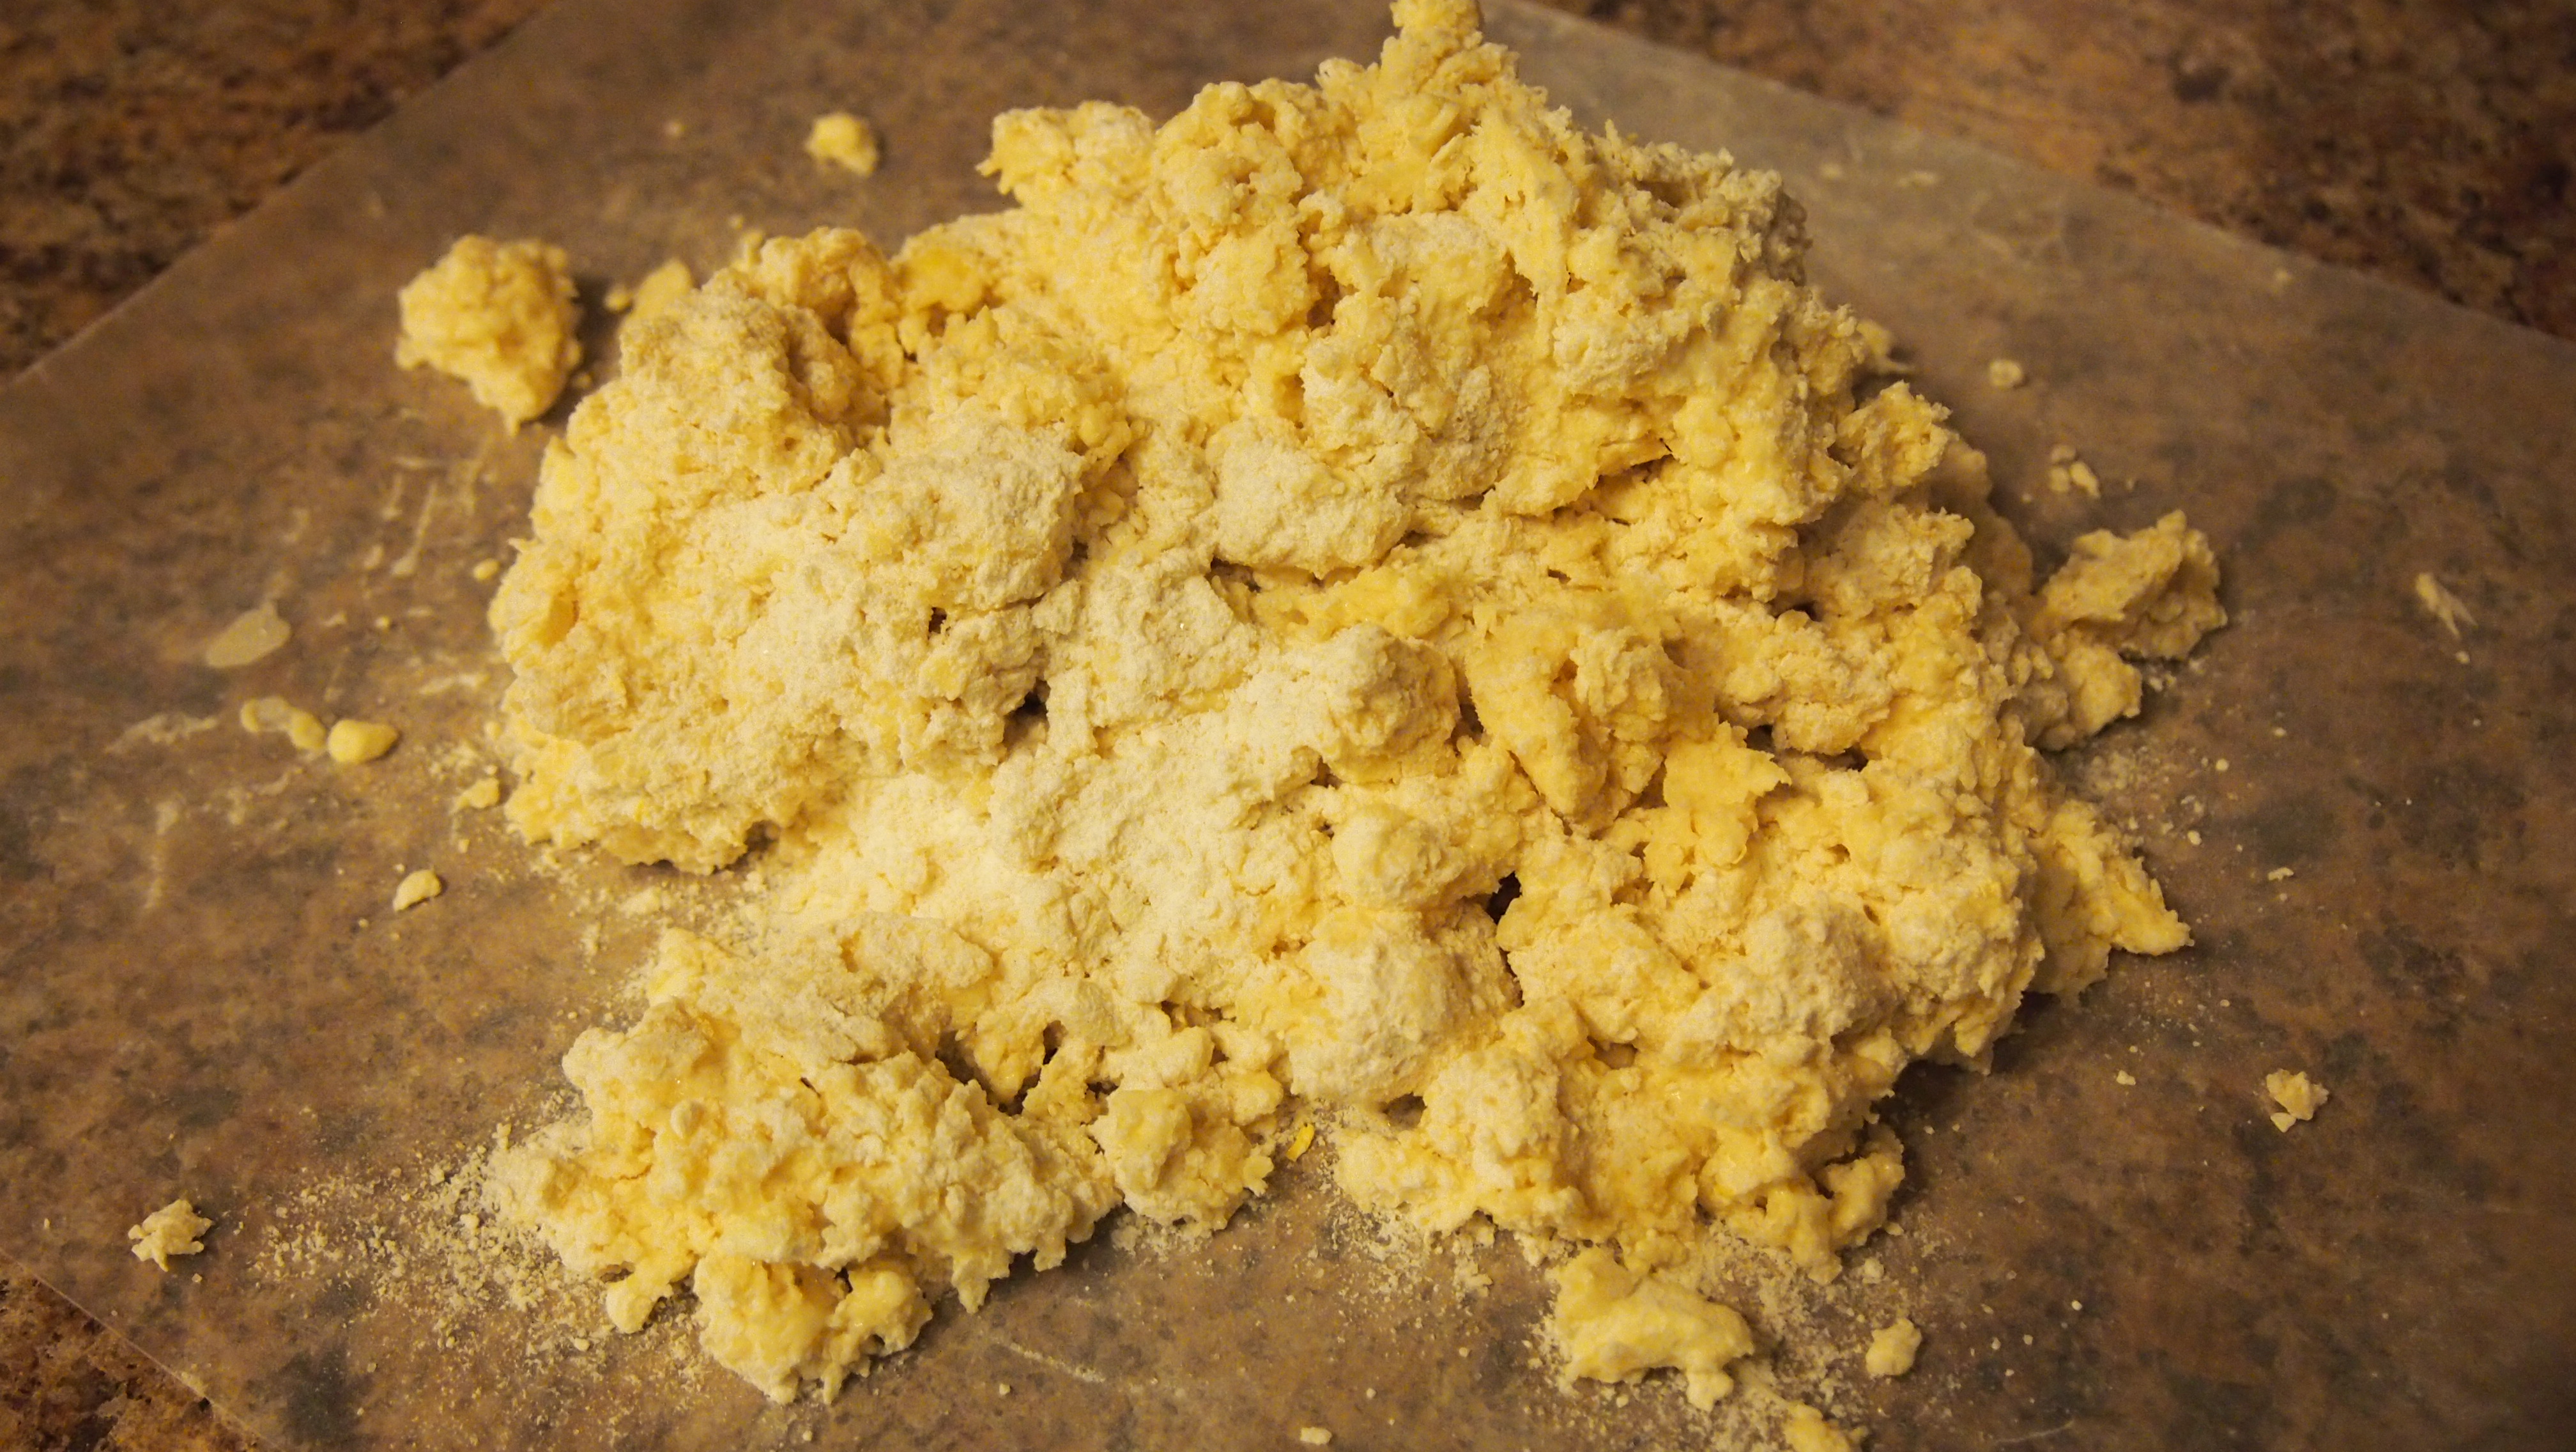
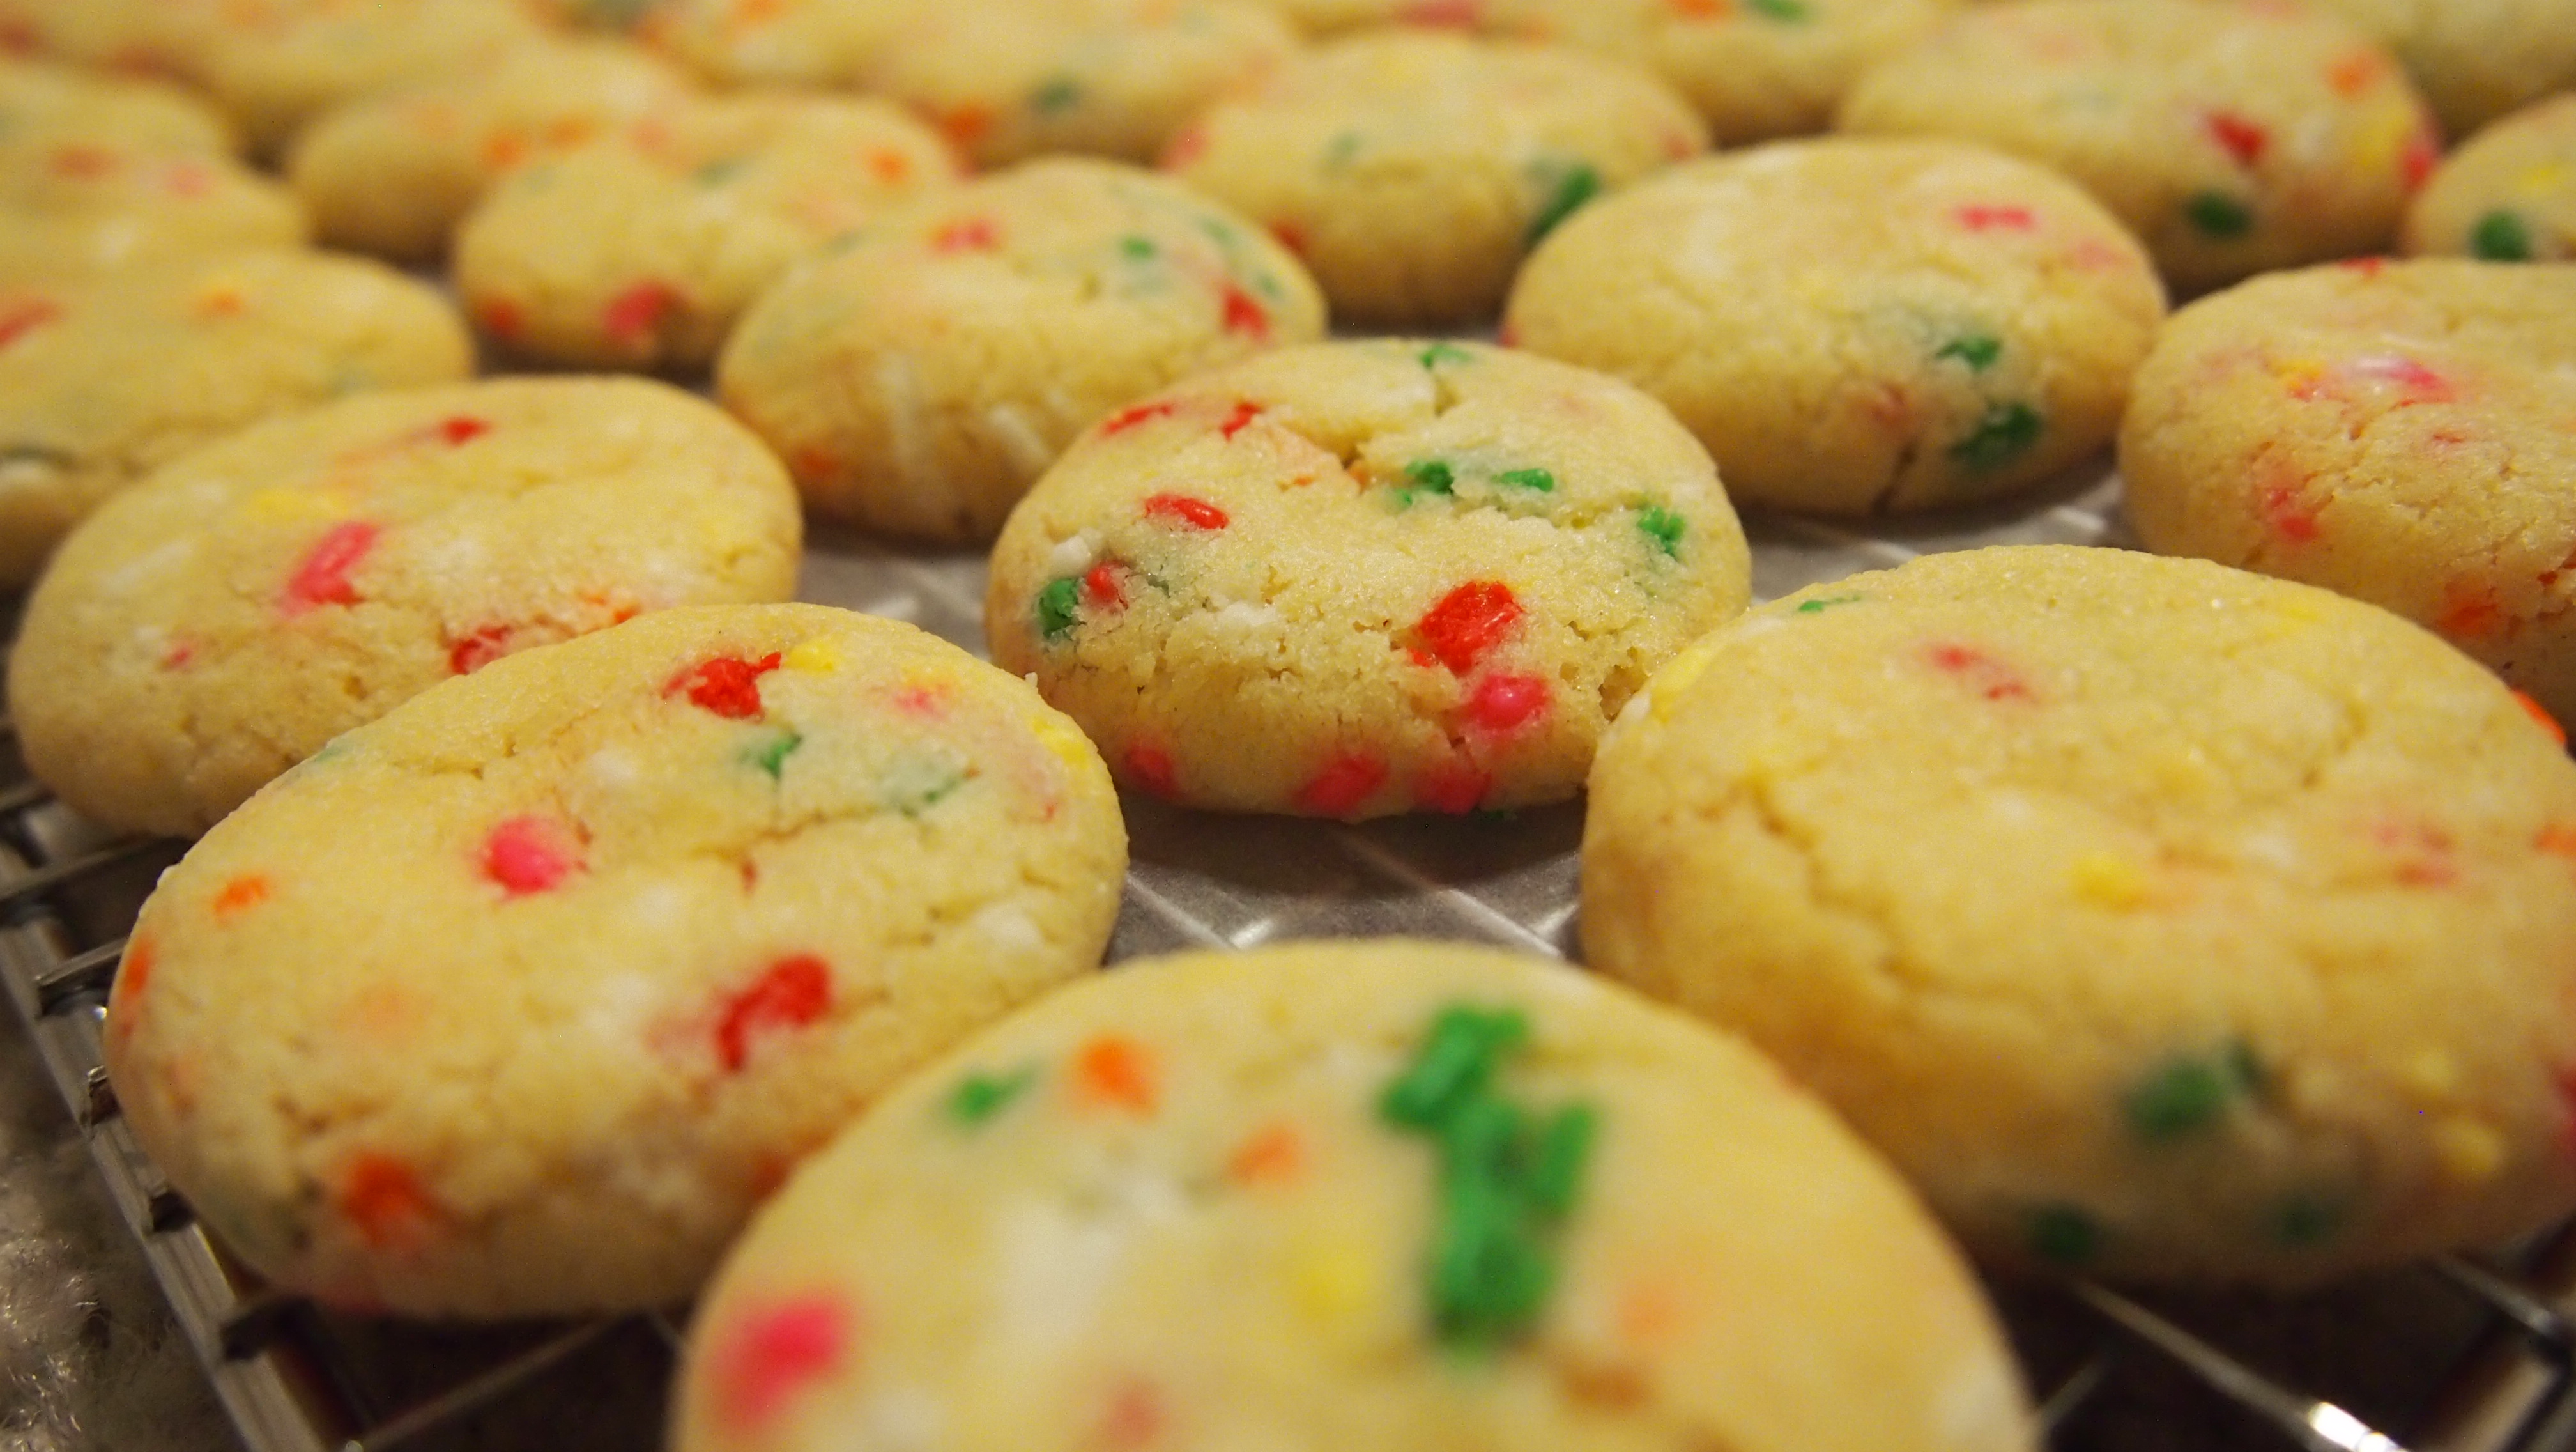
Cake Balls: Break up cake into bowl of food processor and process into an even crumb. Transfer cake crumbs to medium mixing bowl.
Roughly chop Reese’s Pieces candy with food processor or by hand. Add approximately 1 cup of candy to mixing bowl, reserving remainder for use as decoration. Stir to distribute candy evenly through crumbs.
Beginning with ½ cup, add frosting to crumb mixture and stir with rubber spatula. Amount of frosting needed will vary depending on moisture of original cake. Final mixture should be evenly moist but not greasy and able to hold its shape.
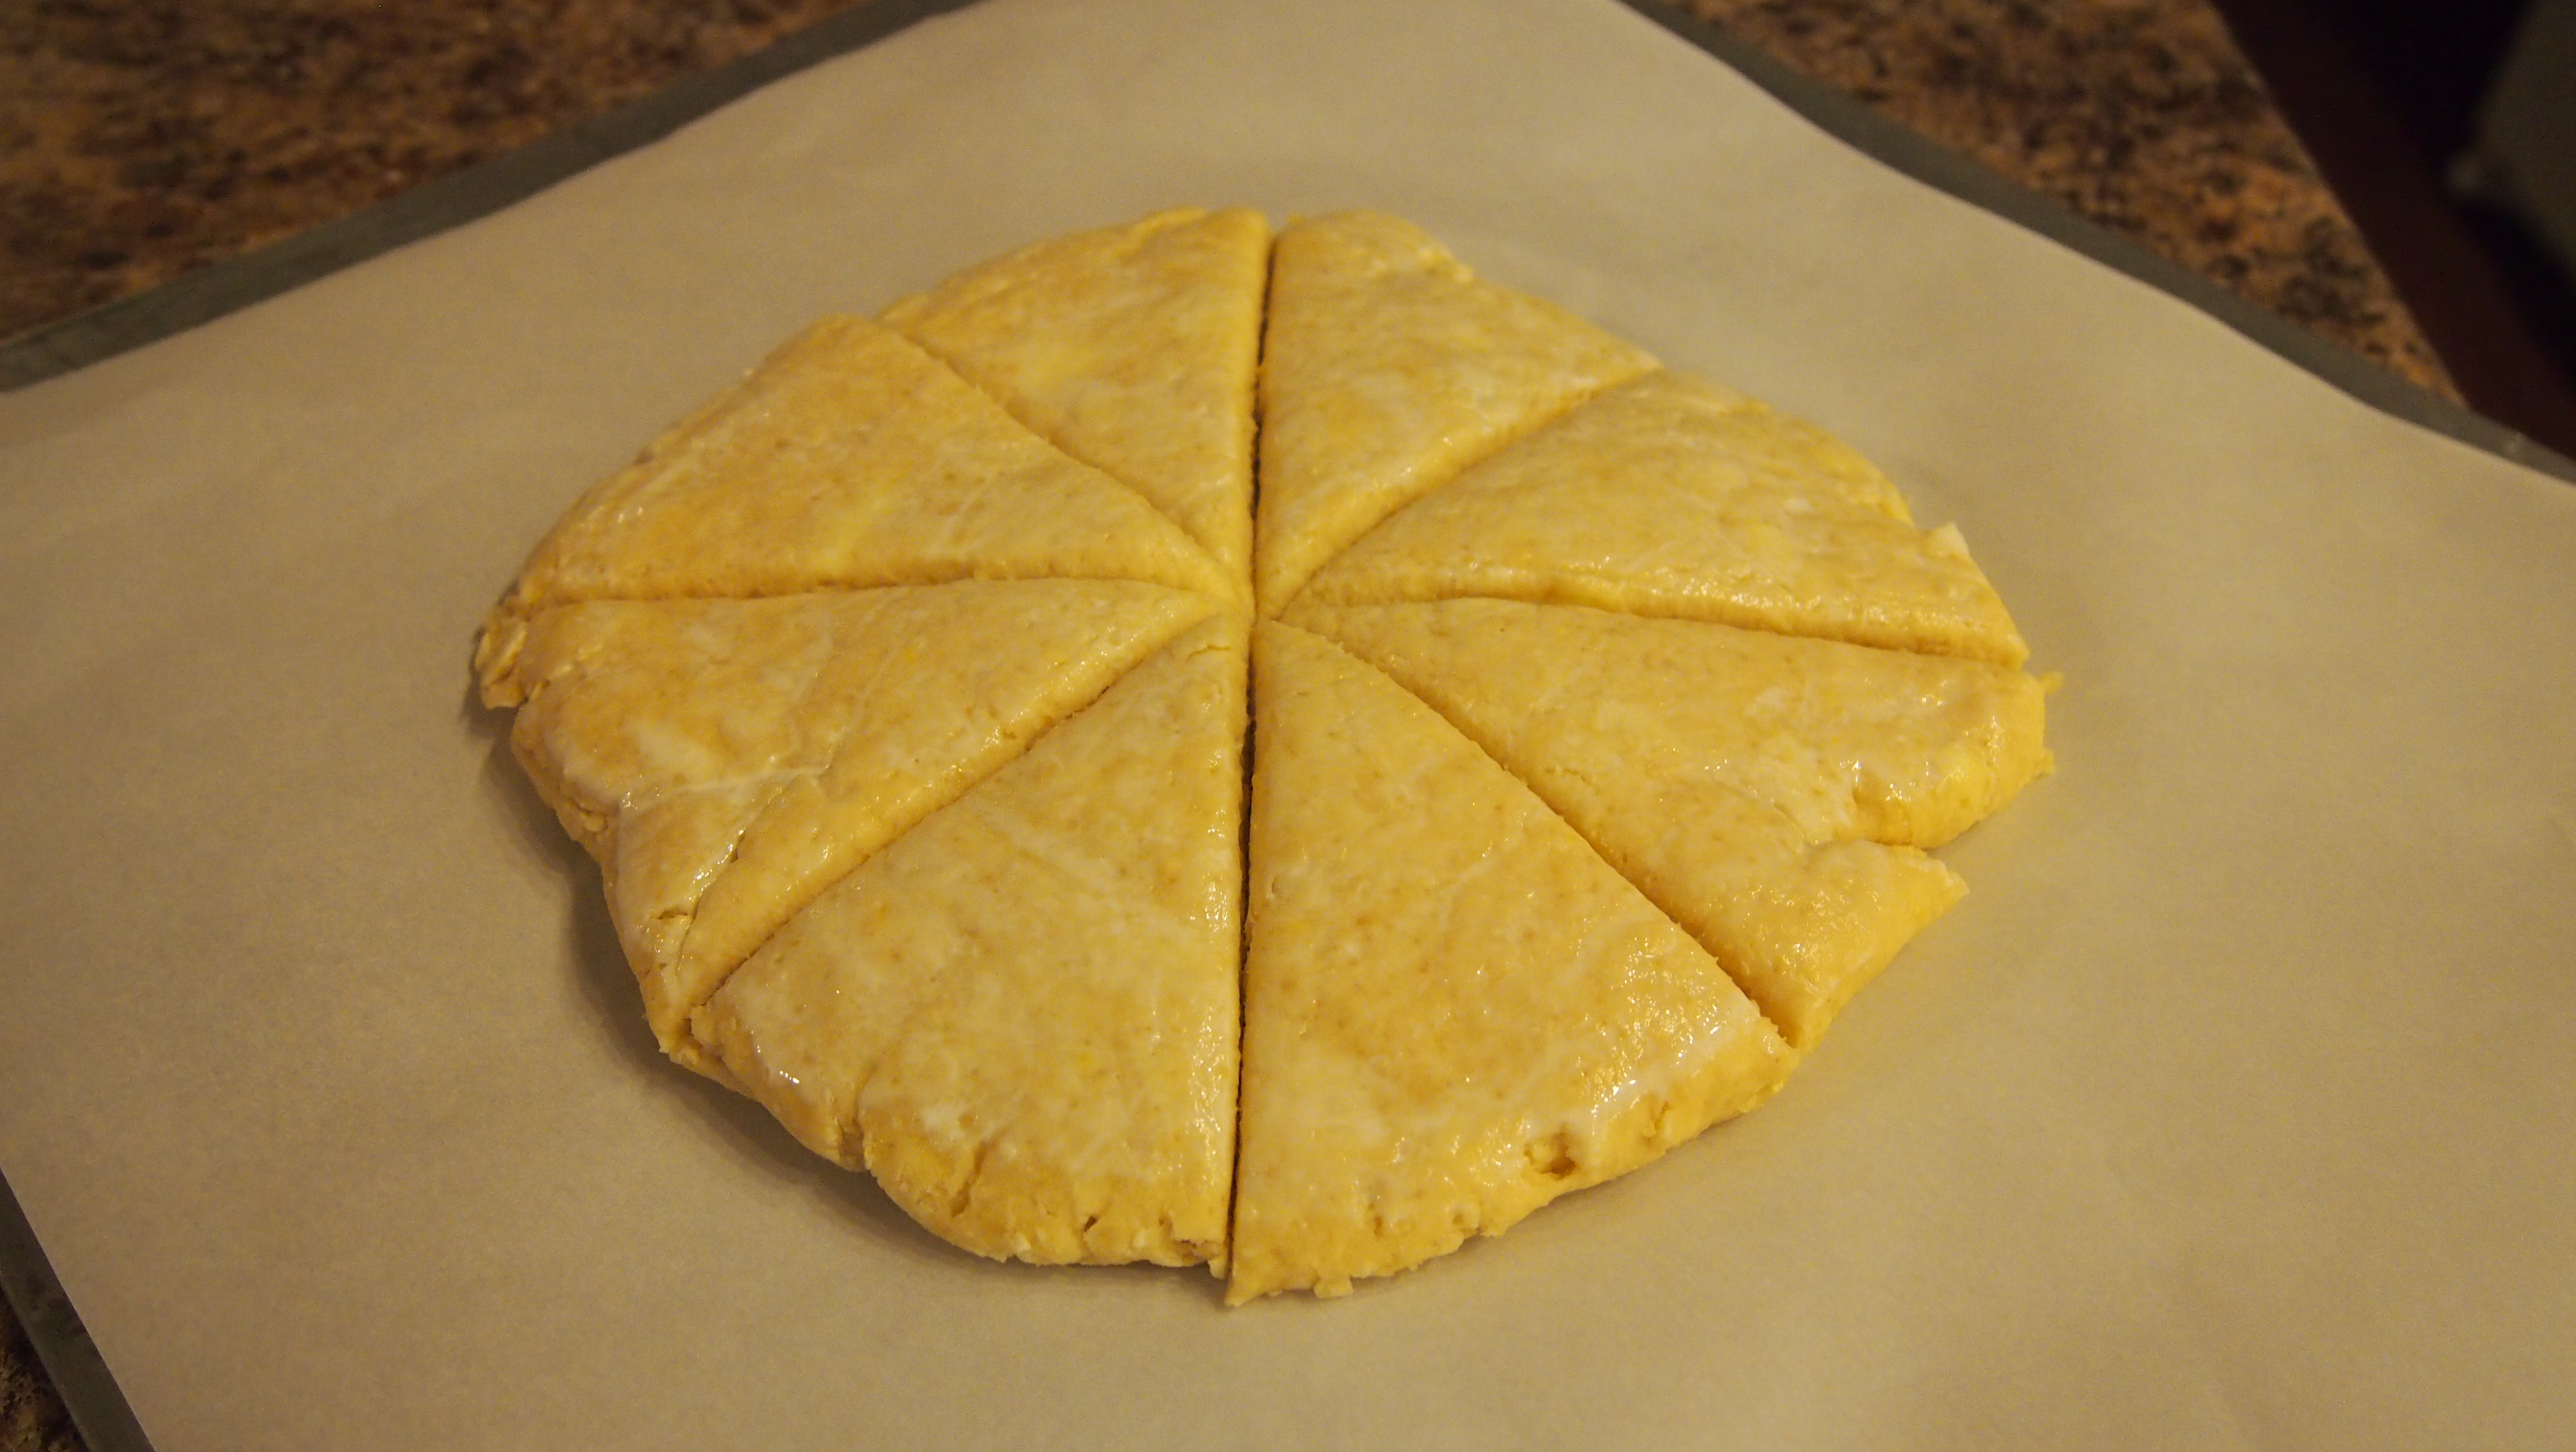
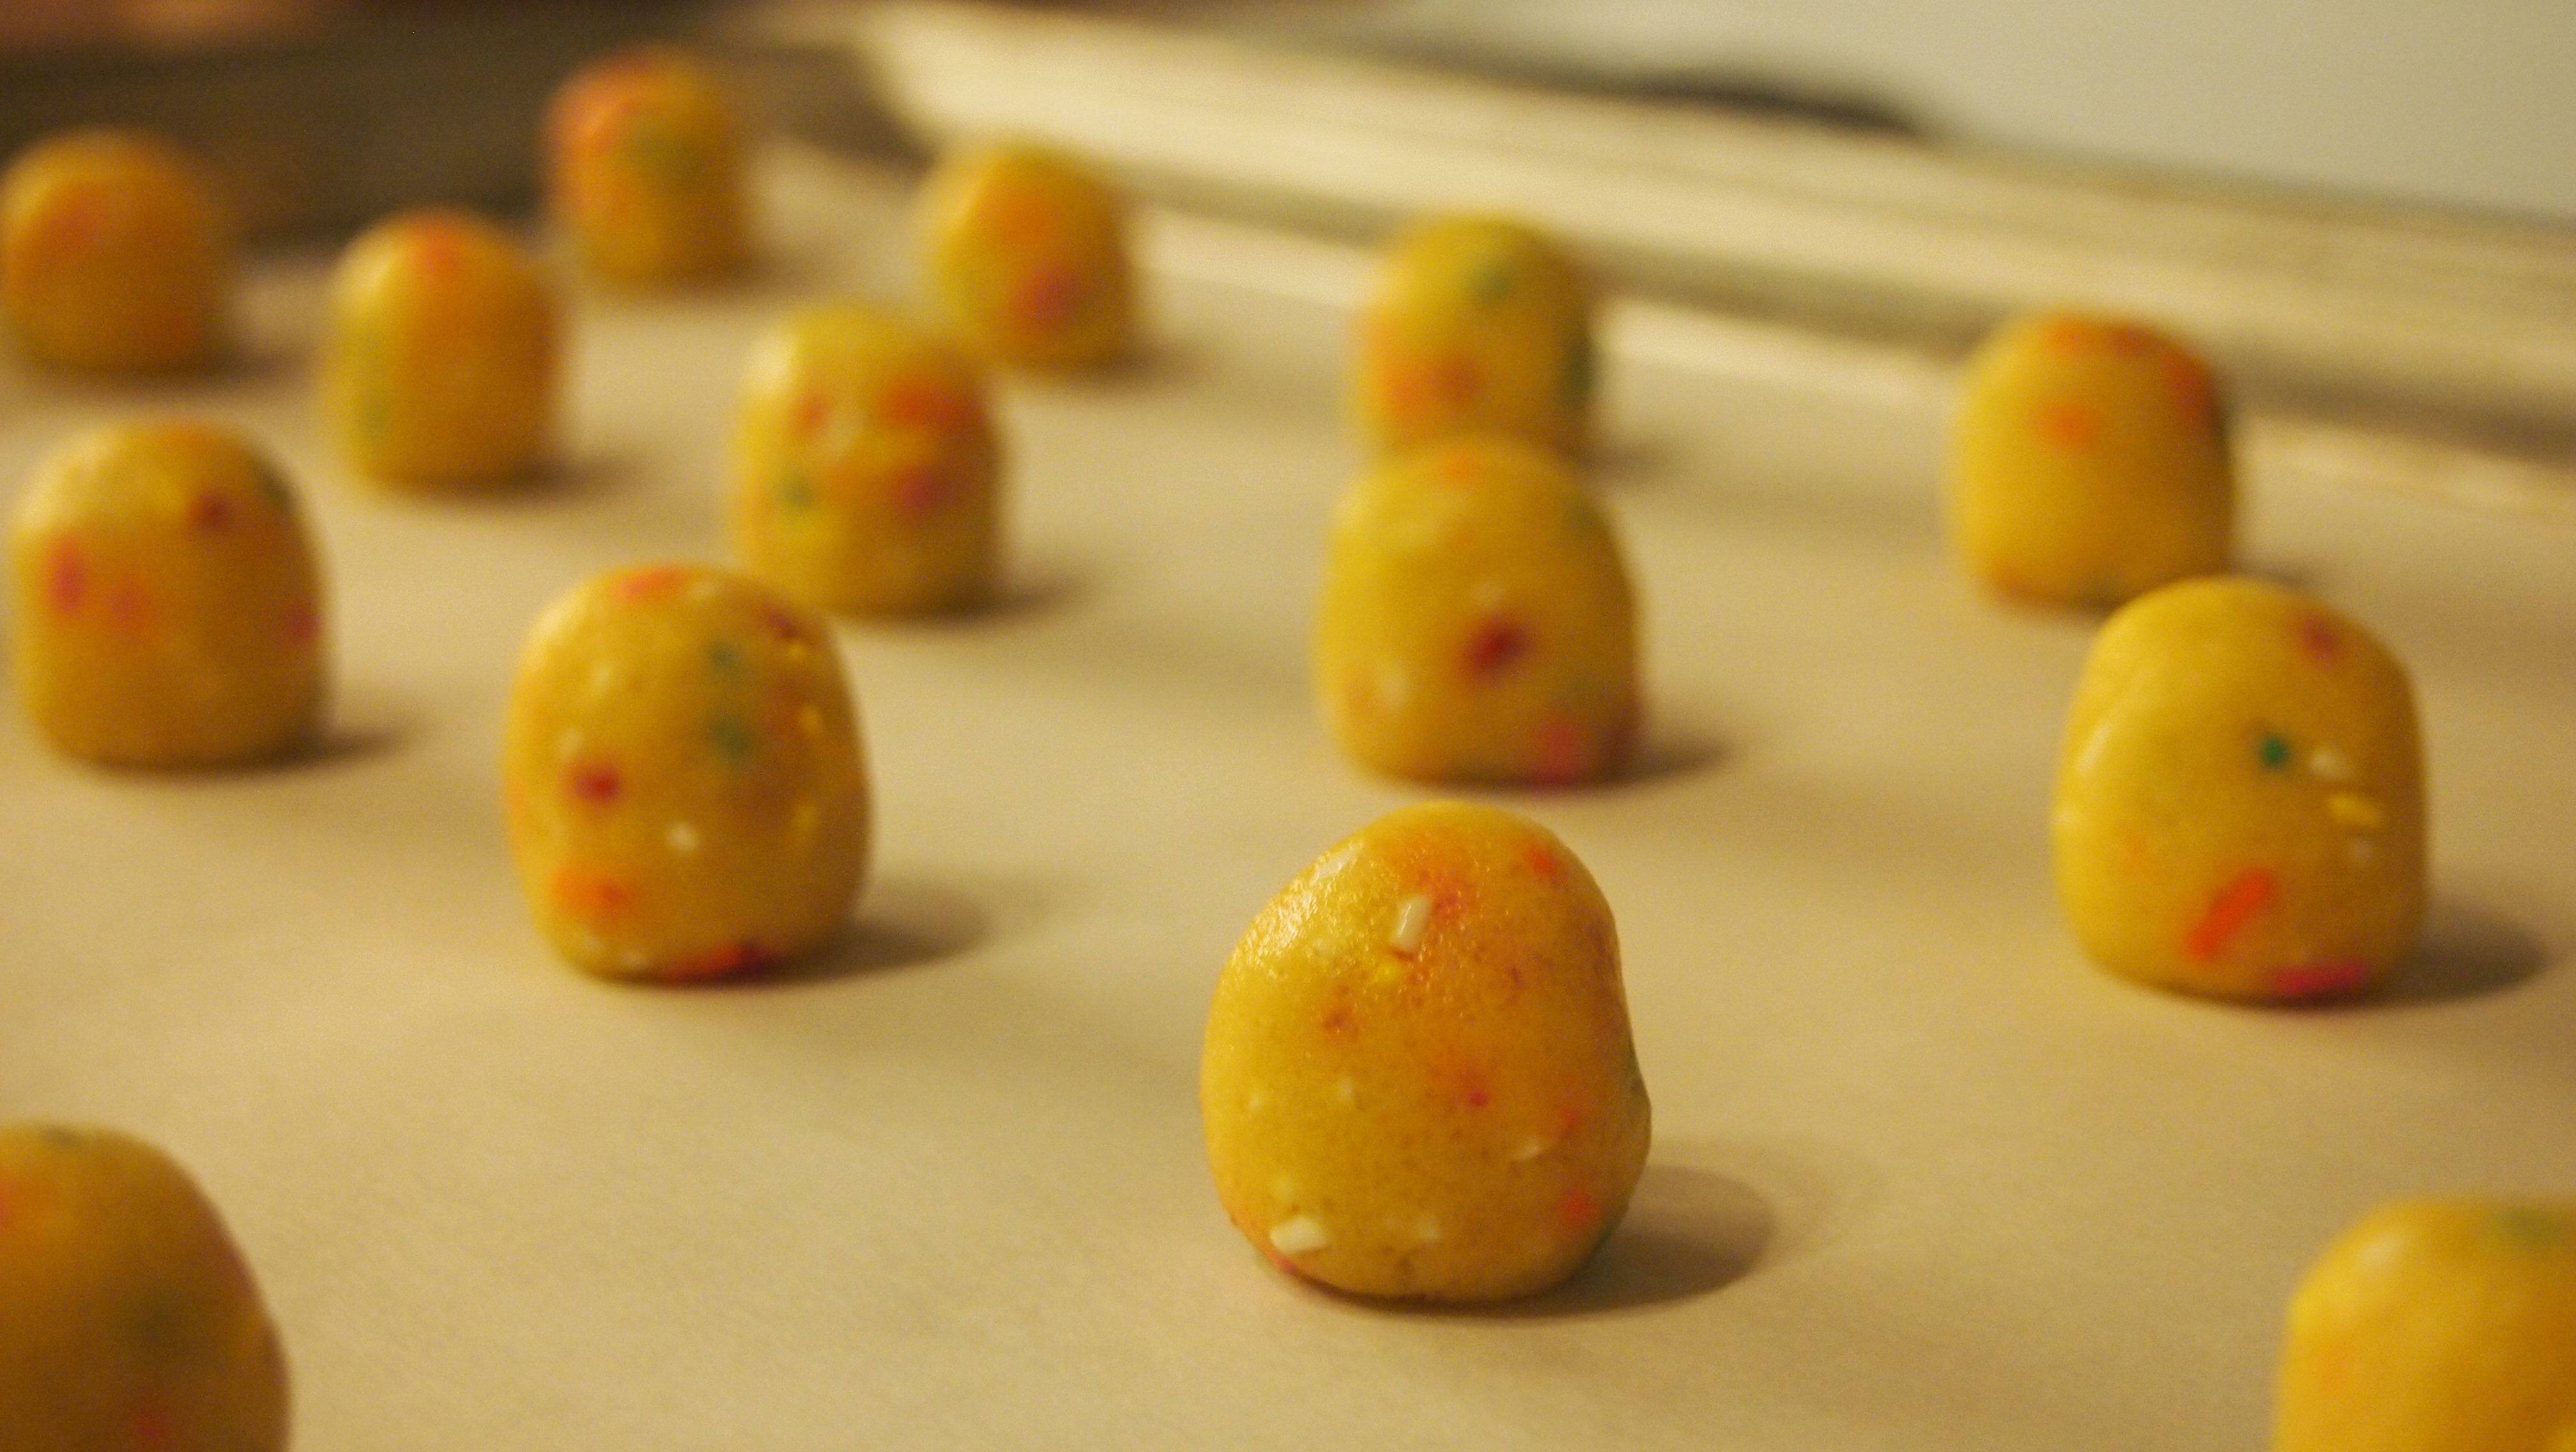
To form cake balls, scoop off about a teaspoon of dough then roll between hands into egg shape. Place eggs onto wax paper lined dish and transfer to freezer. Allow to firm for at least 30 minutes.
Coating: Whisk chocolate in a glass bowl set over a small pot of simmering water until mostly melted. Remove from heat and stir in shortening, whisking until smooth.
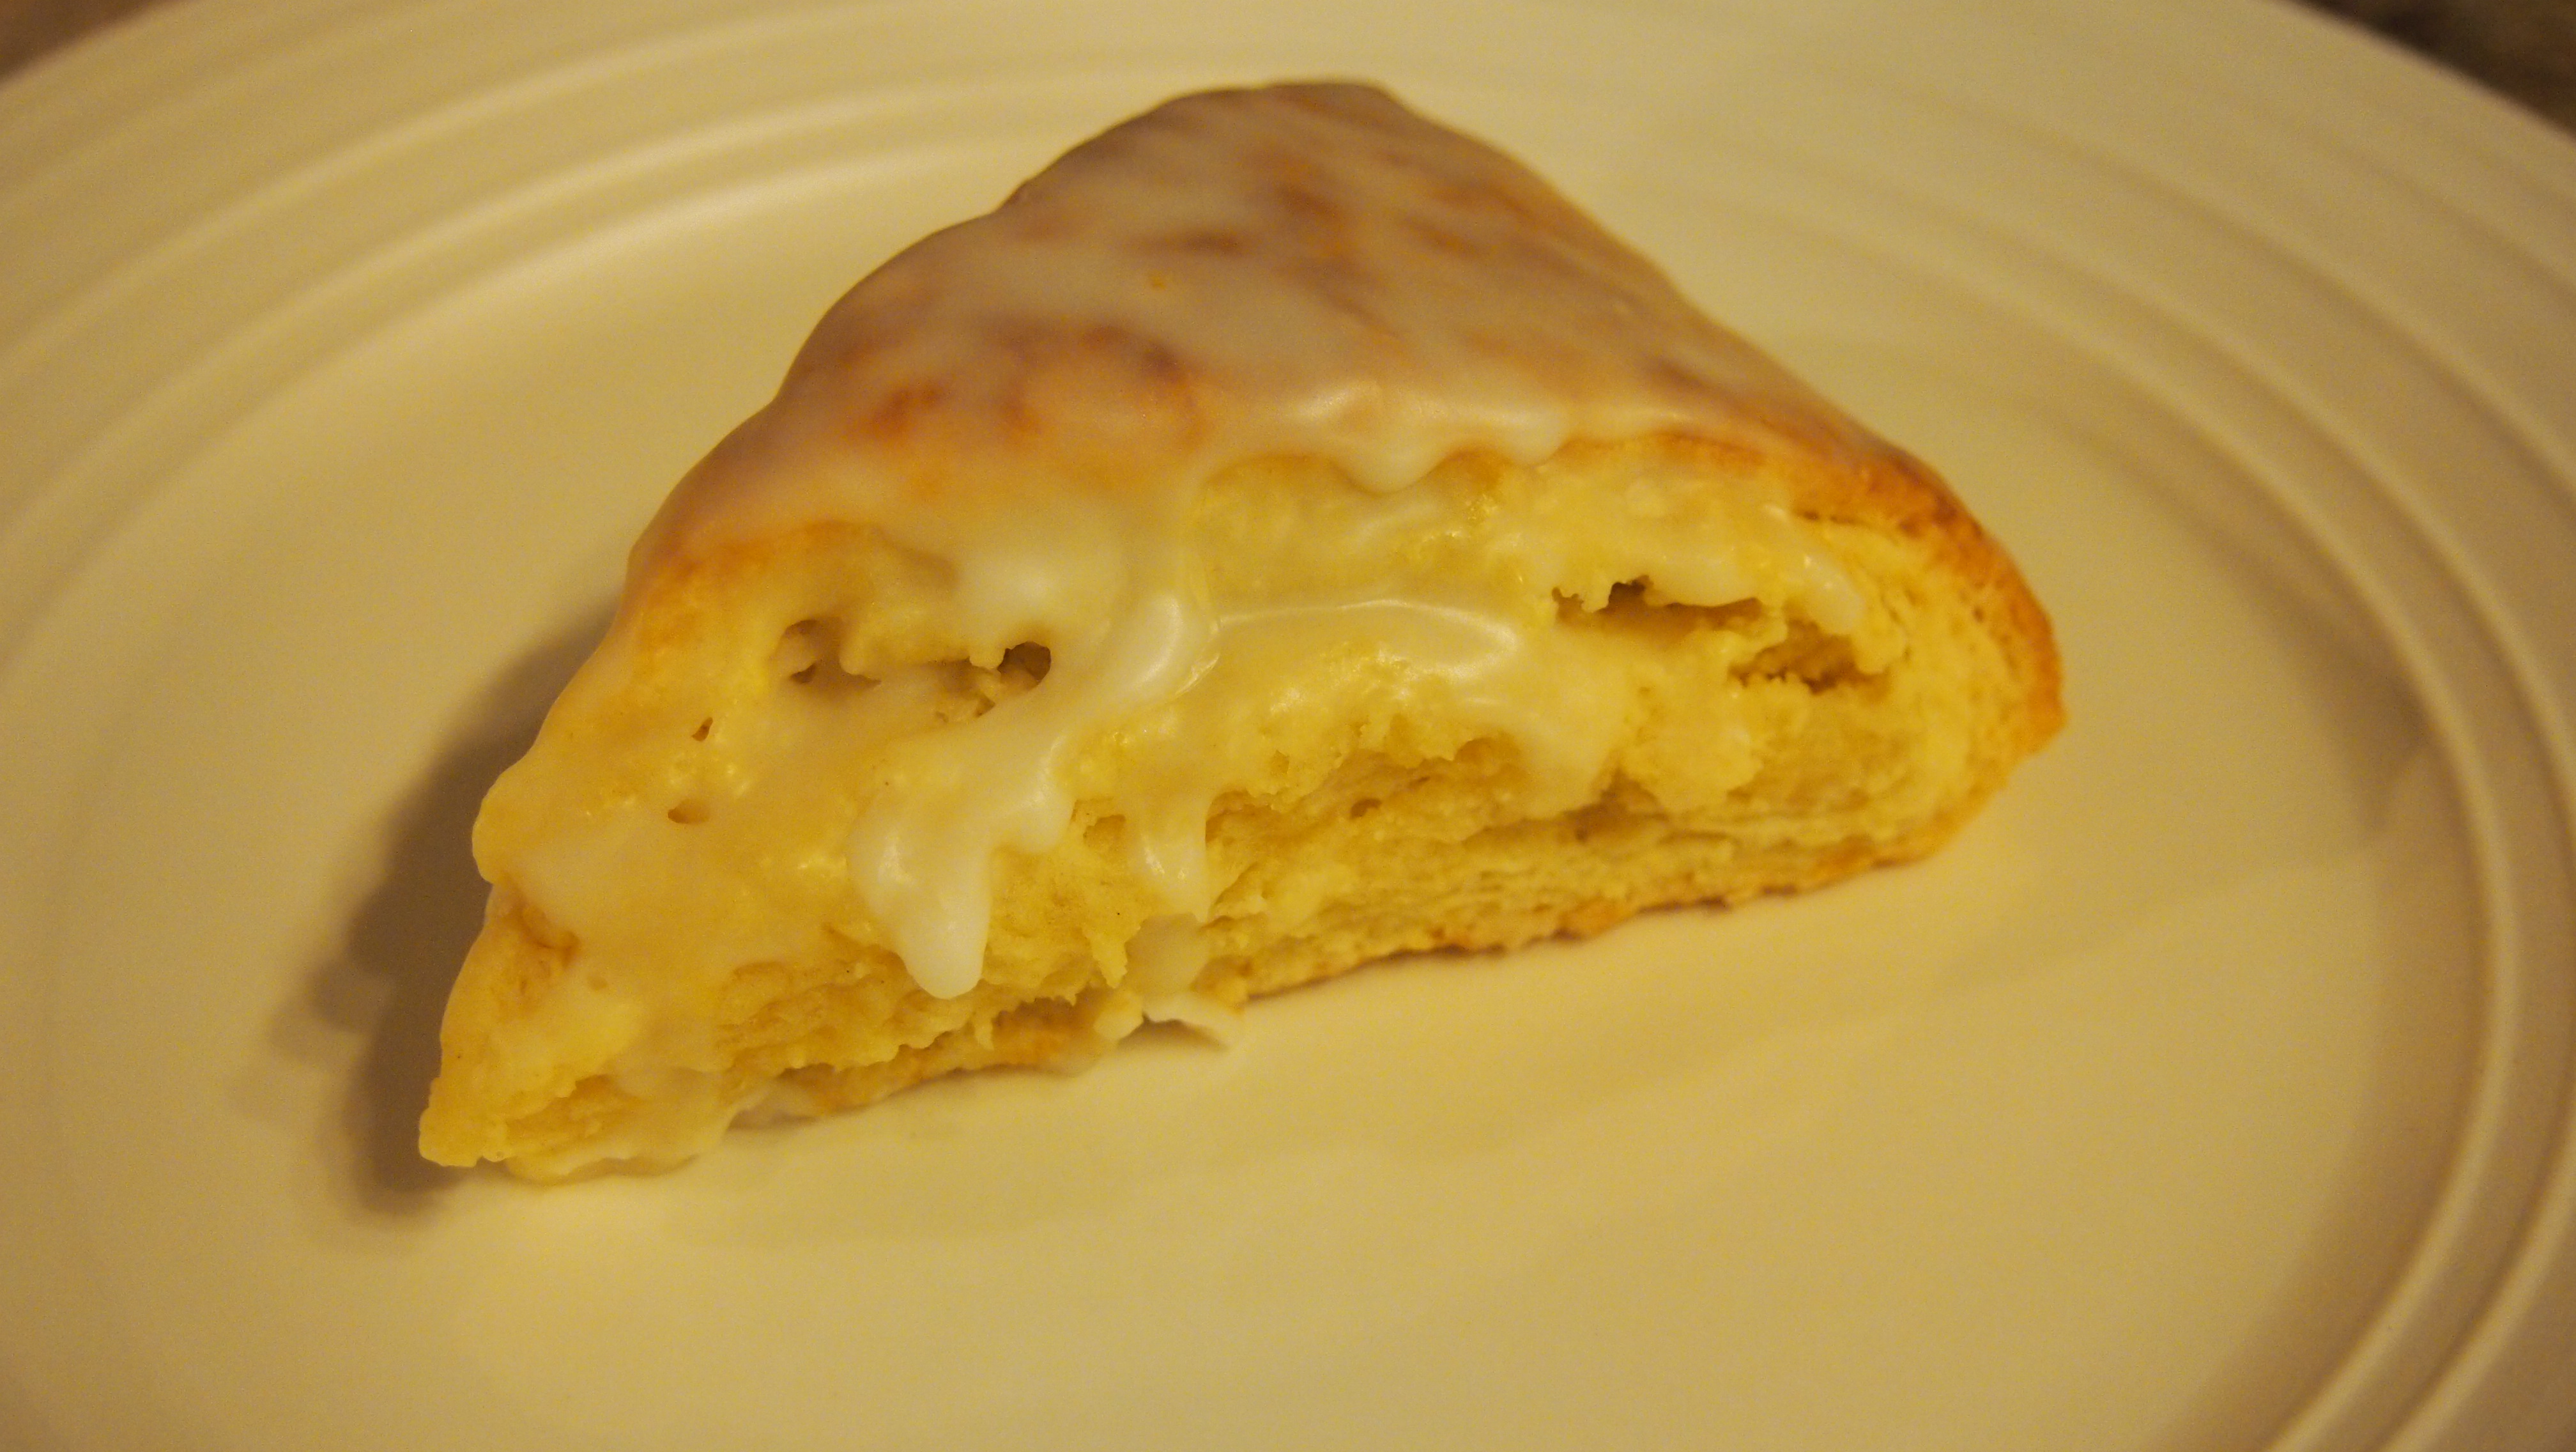
Remove half of eggs from freezer. Insert toothpick into egg and dip into coating until fully covered, allowing excess chocolate to drip off. A small espresso spoon is useful for distributing chocolate evenly over egg. Quickly sprinkle with reserved candy while still wet. Place toothpick into foam board and allow chocolate to set.
Remove remaining eggs from freezer and repeat process until complete. Once dry, remove toothpicks and refrigerate in air tight container.

Original recipe utilizing cake ball tips from 52 Kitchen Adventures and Miss Candiquik.
Sarah Coffey
Assistant to the Chair of Learning Initiatives