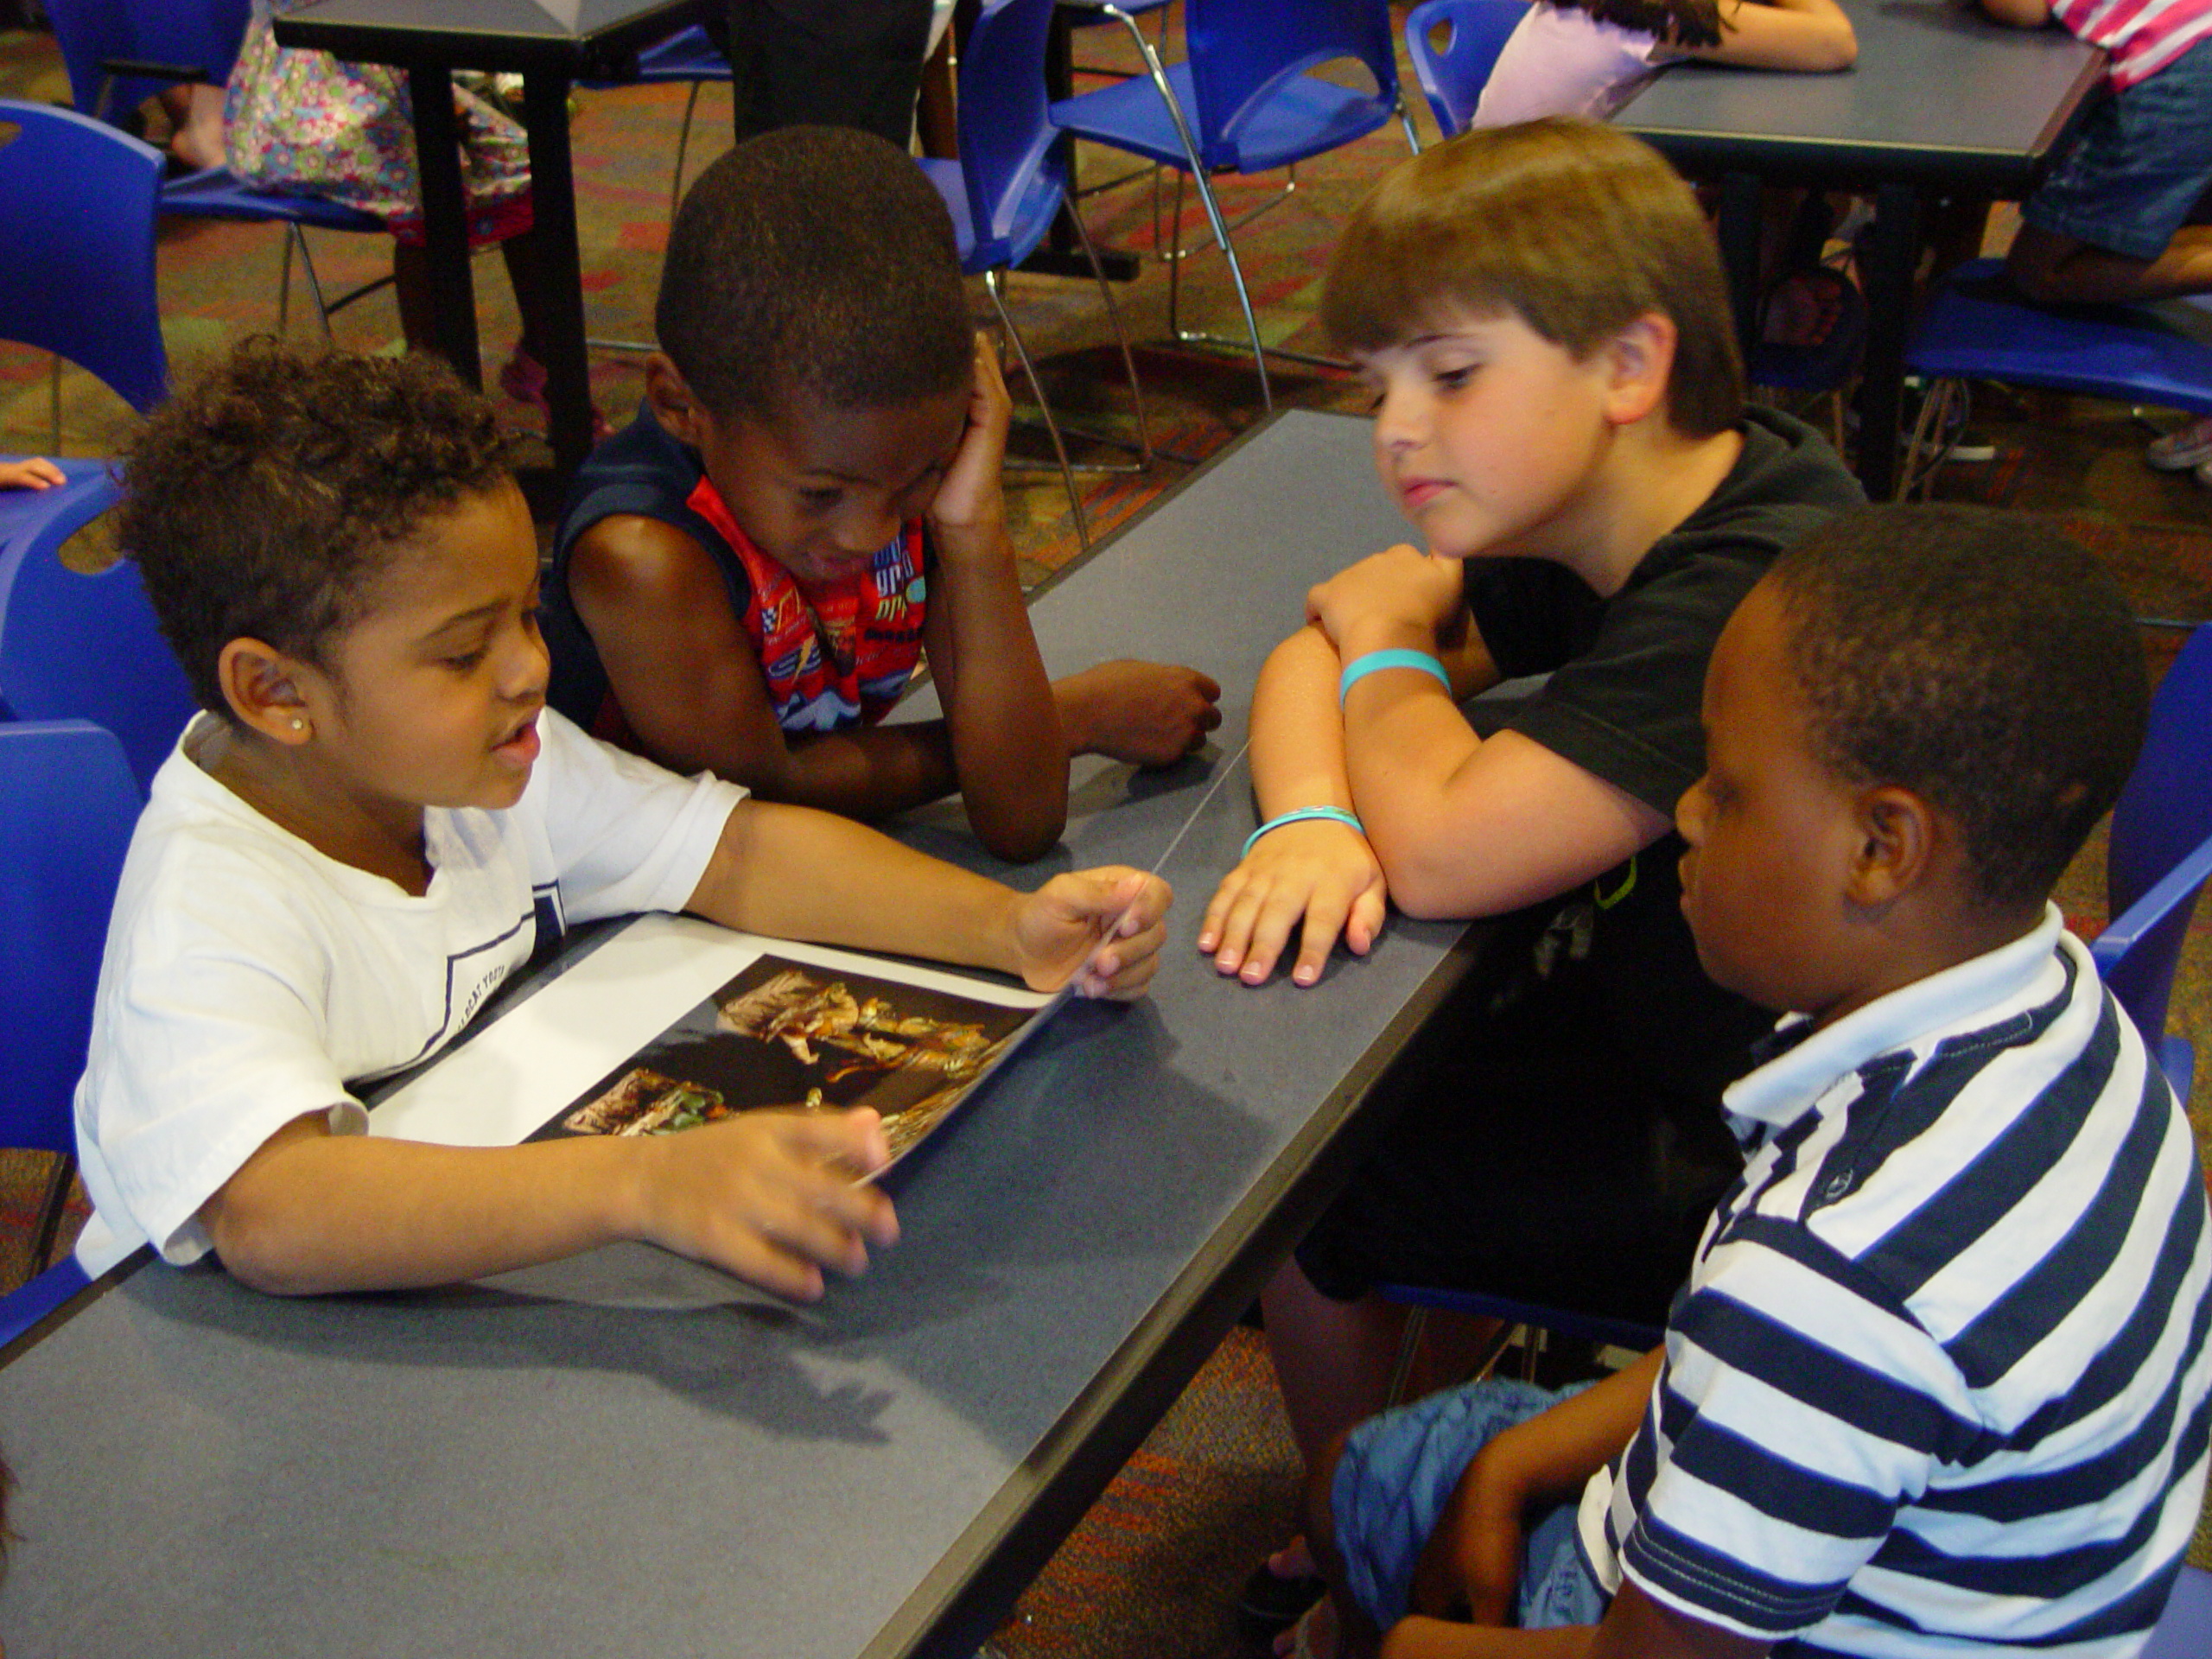
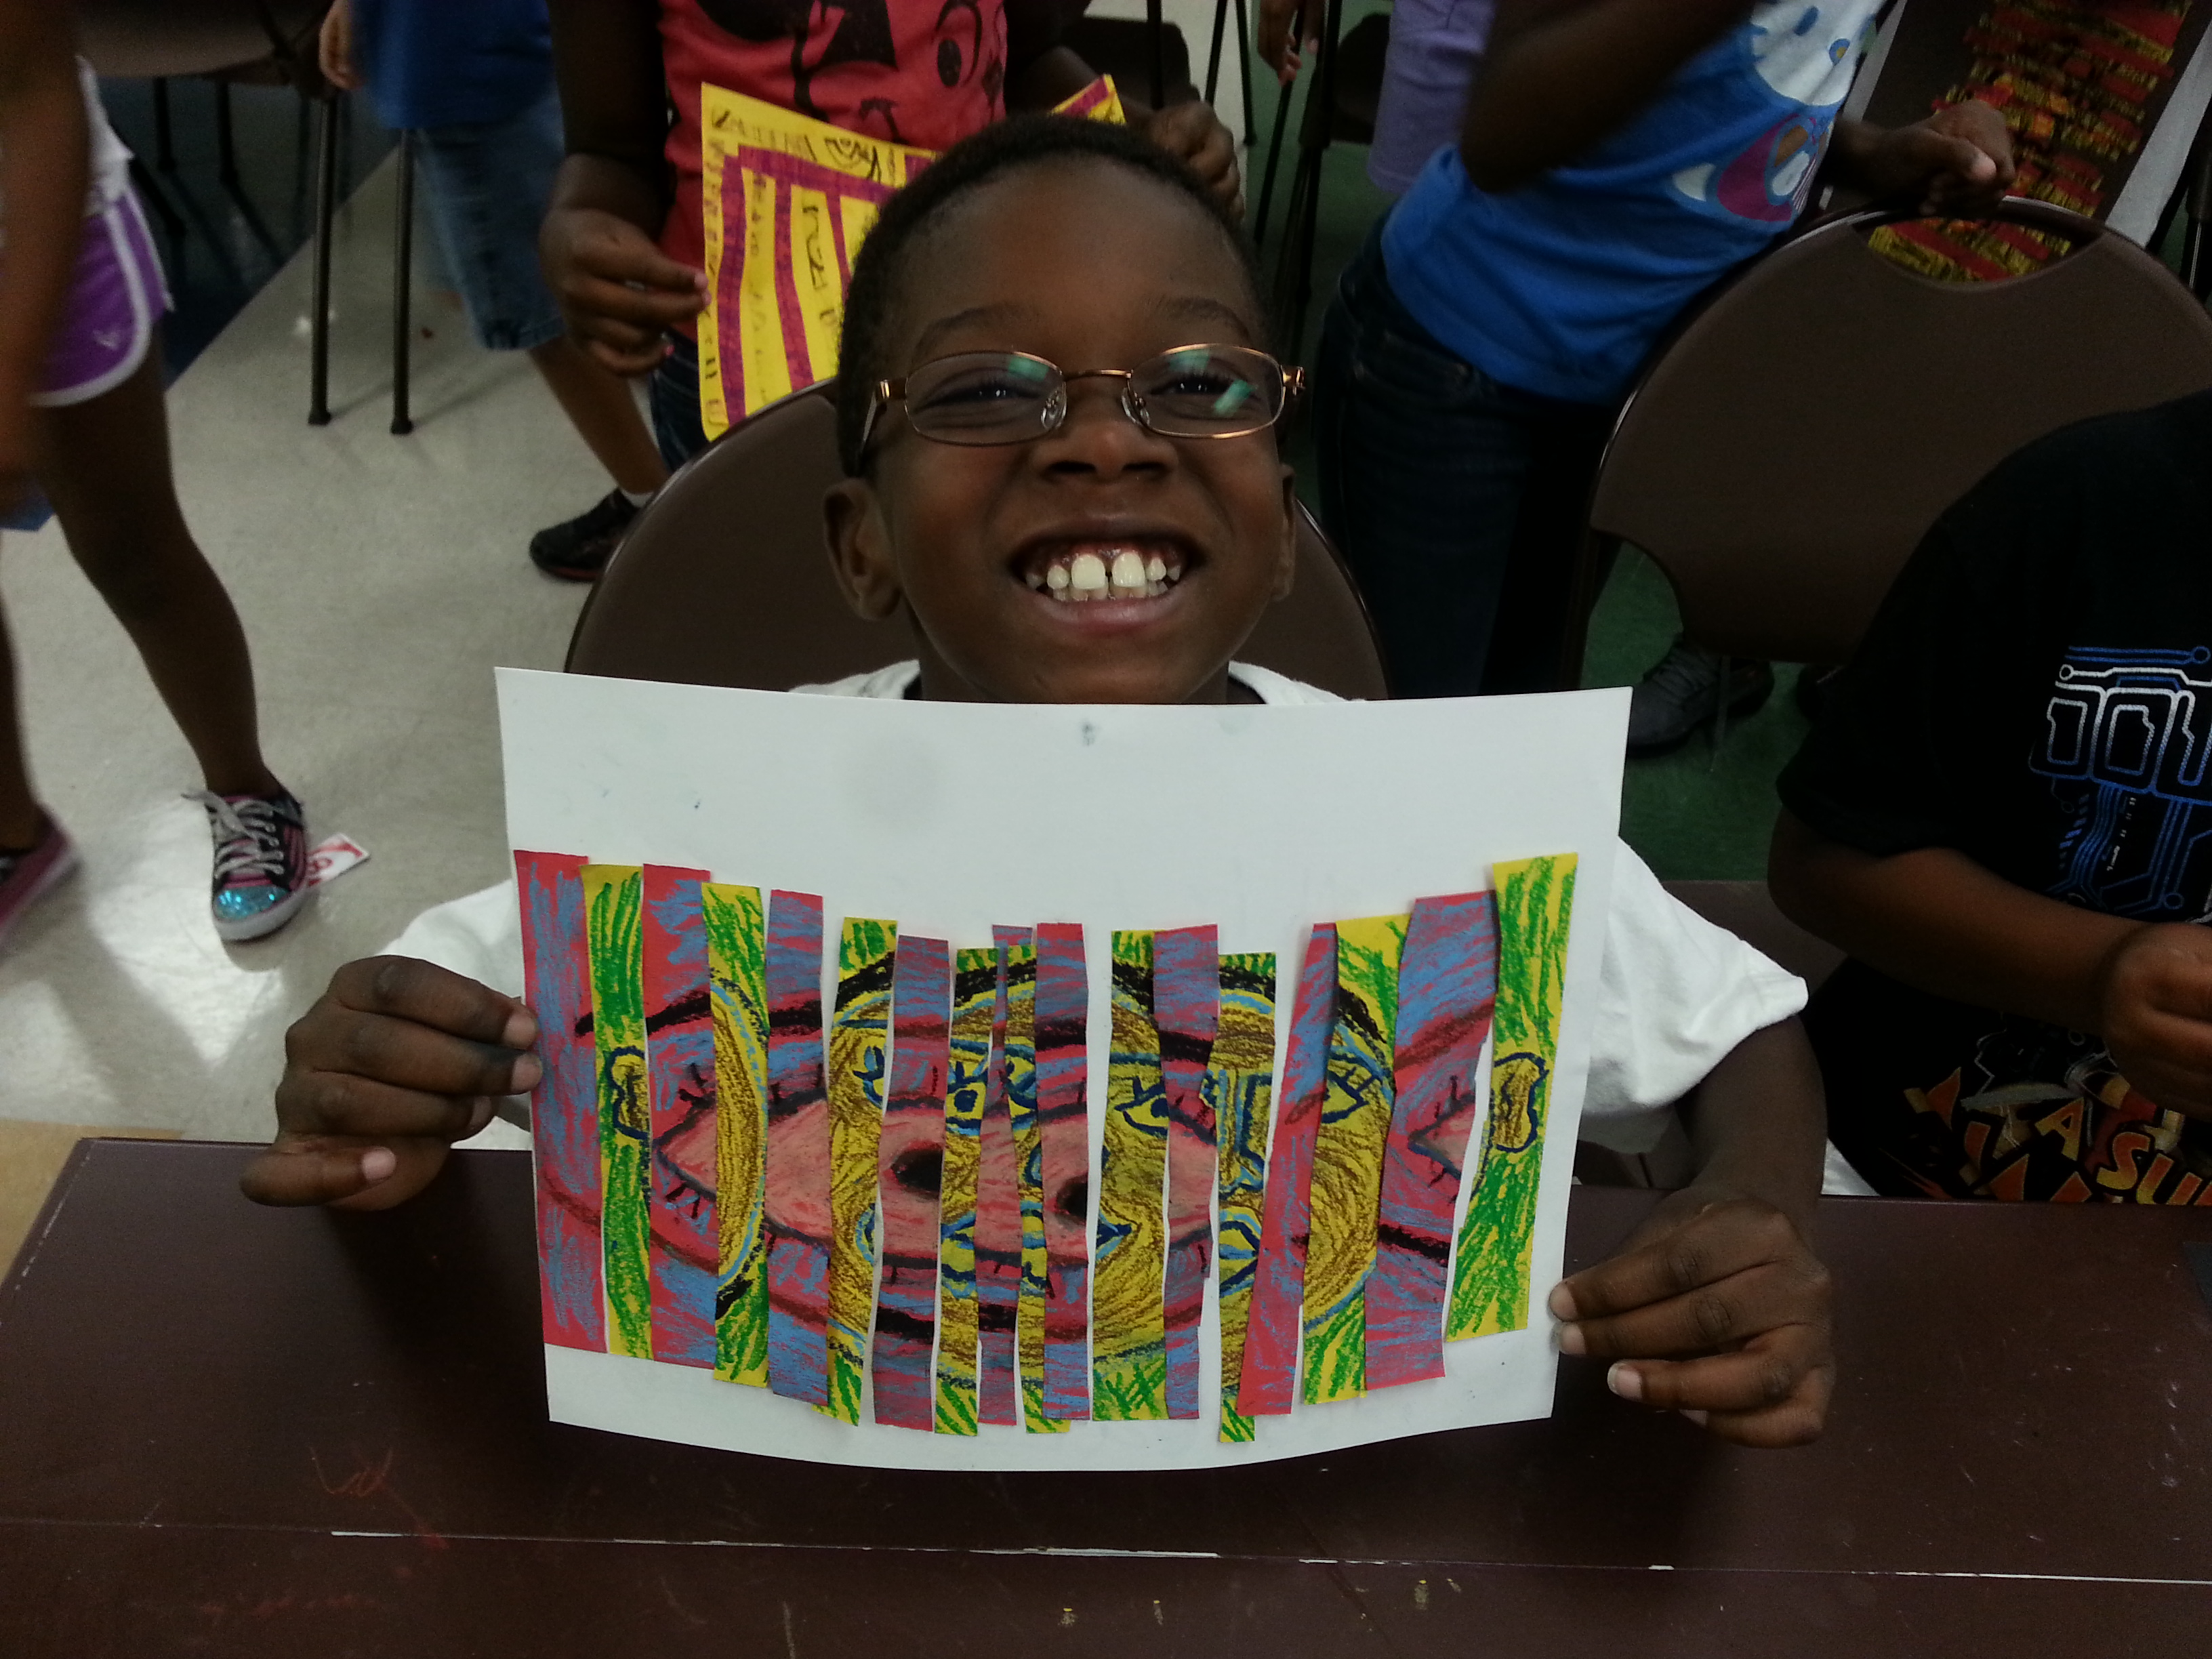
It isn’t every day that we’re able to peek into the minds behind the artworks on view at the DMA. Earlier this month, KERA announcer Shelley Kenneavy interviewed some of the teens whose work is currently on display in the concourse as part of the 2016 Young Masters exhibition. The students gave us a bit of insight into their sources of inspiration—ranging from the Star Wars musical score to insecurities about personal appearances—and shared their hopes as future artists, engineers, art historians, and musicians.
-
-
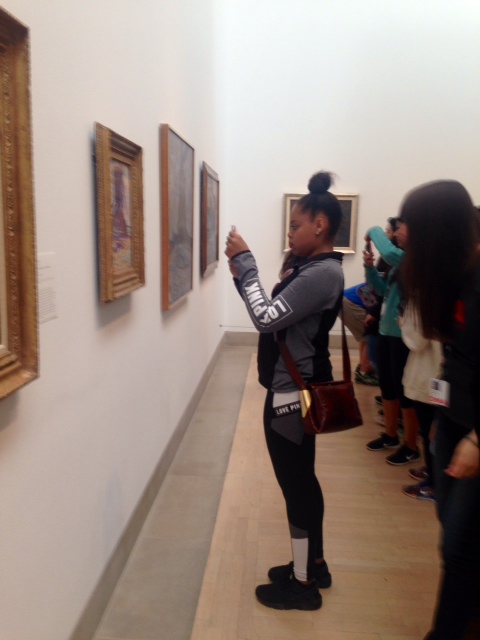
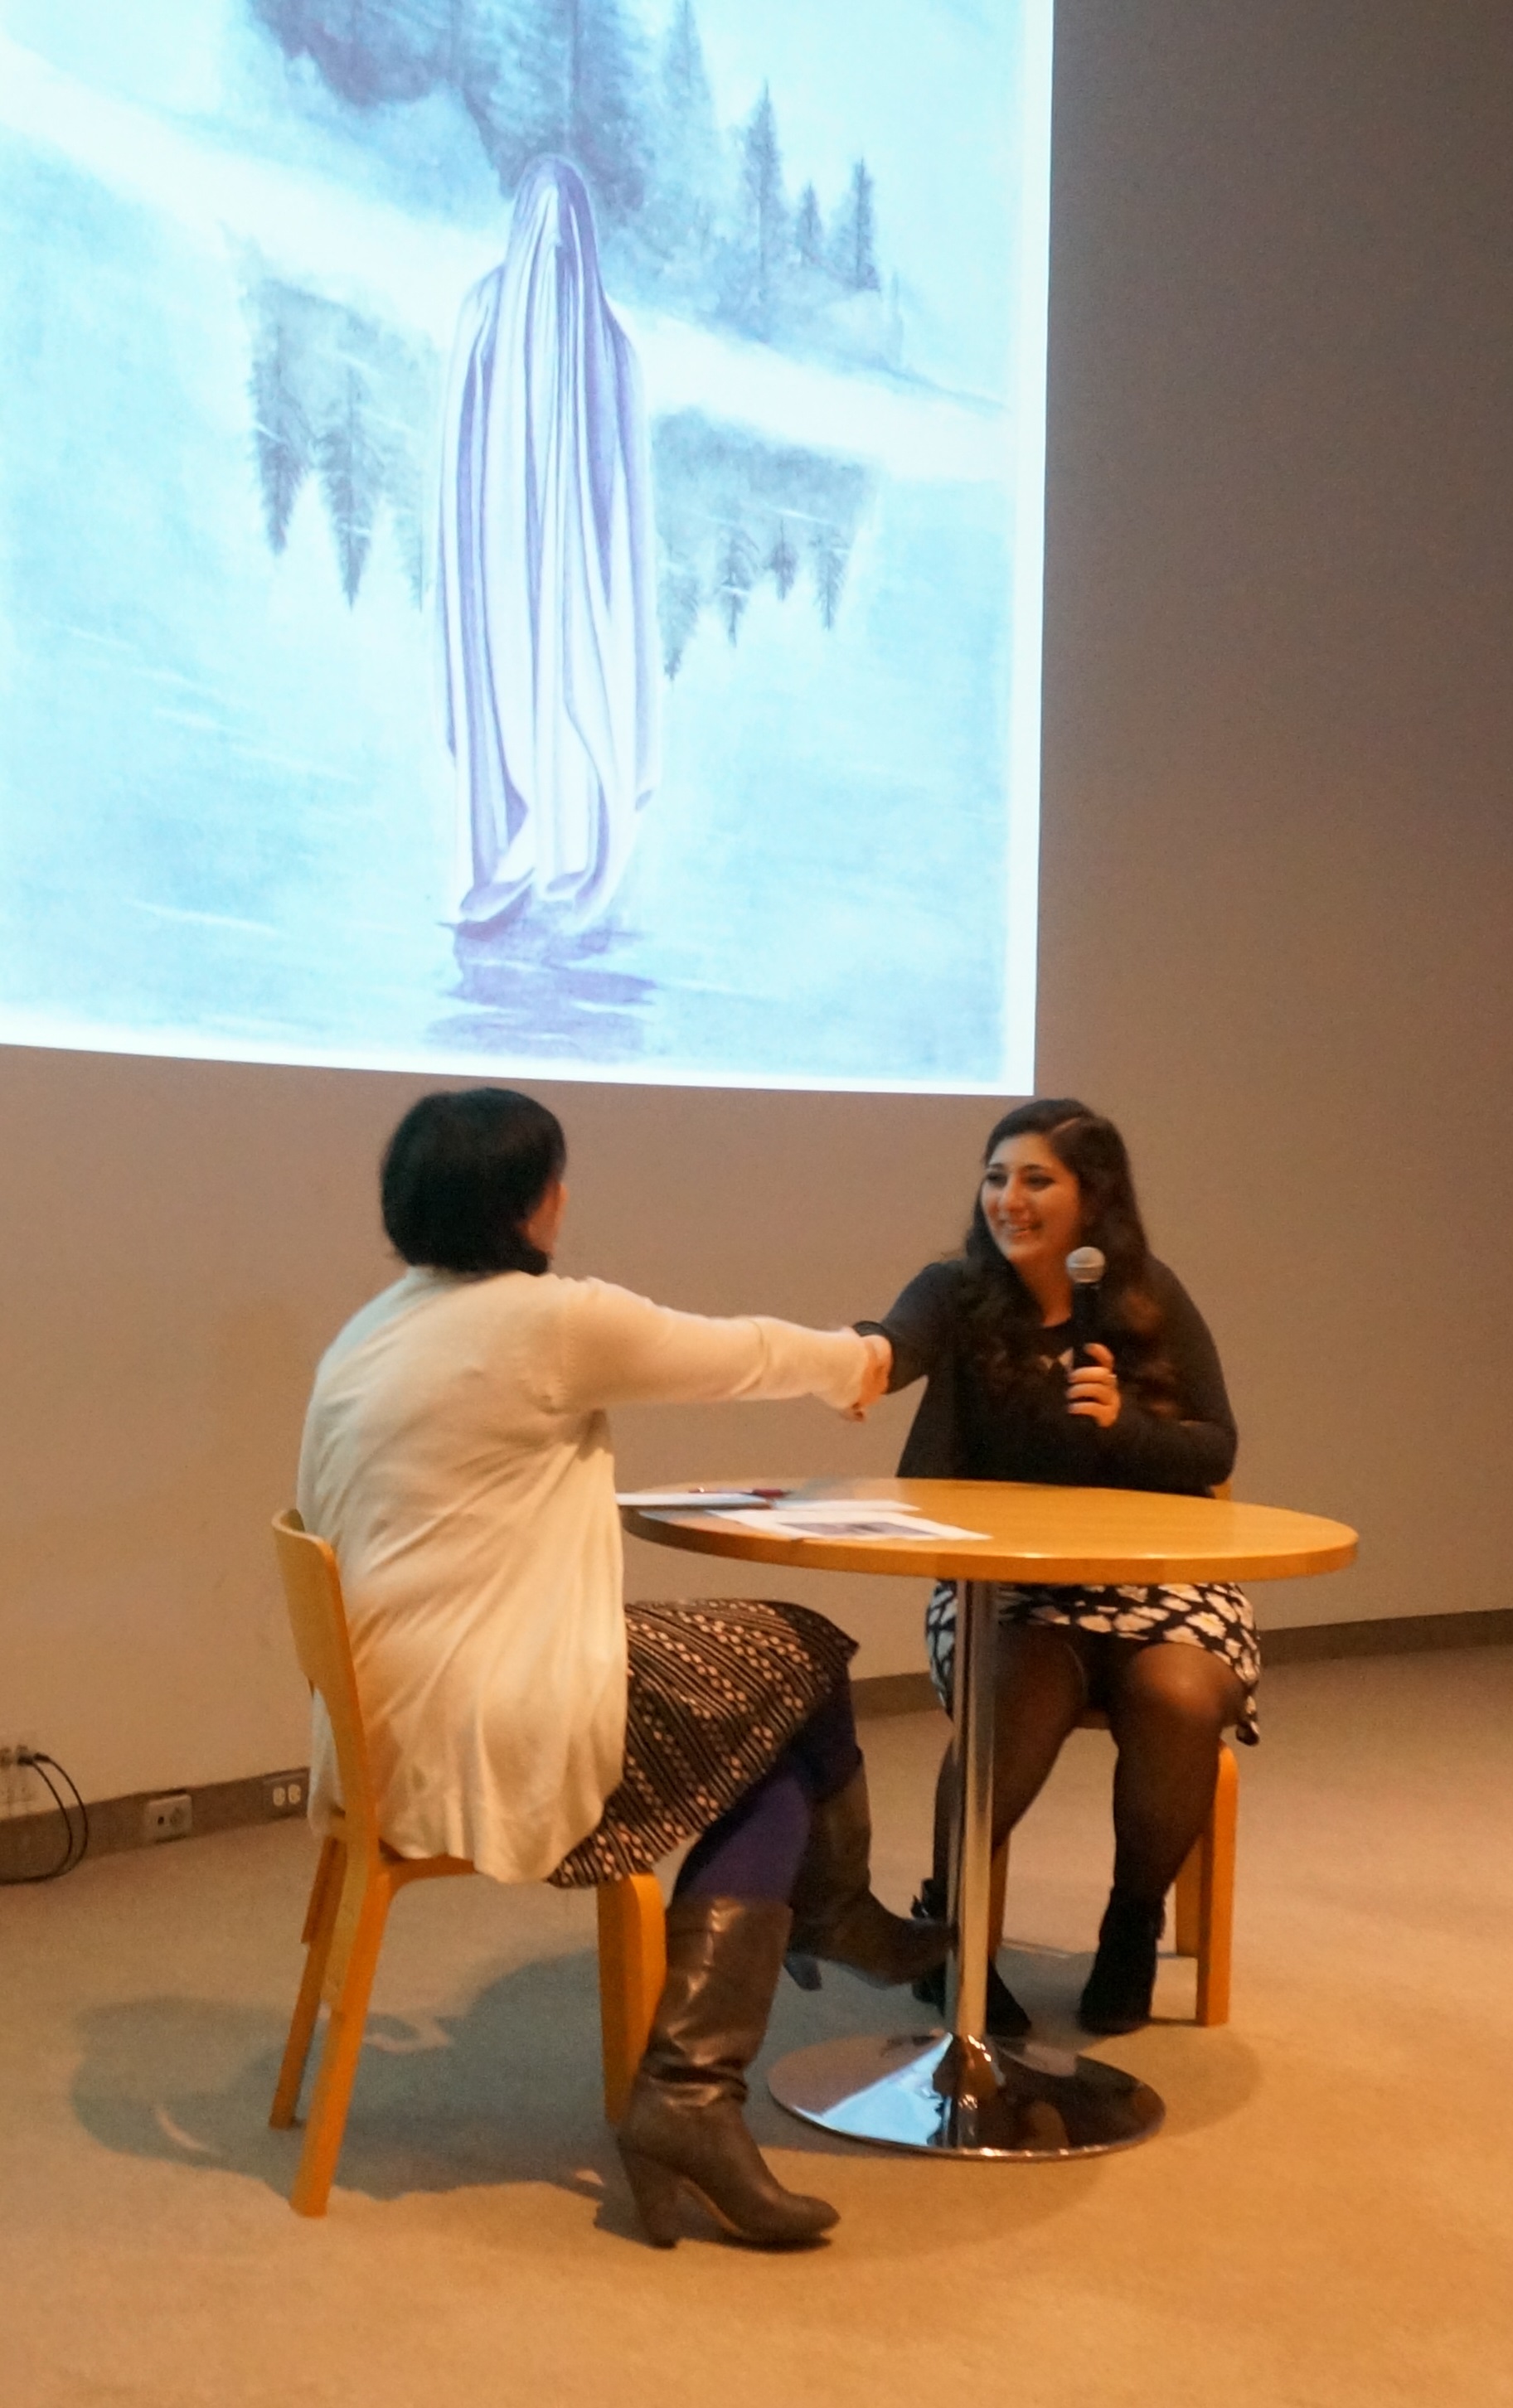
Shelley interviewing Ani
-
-
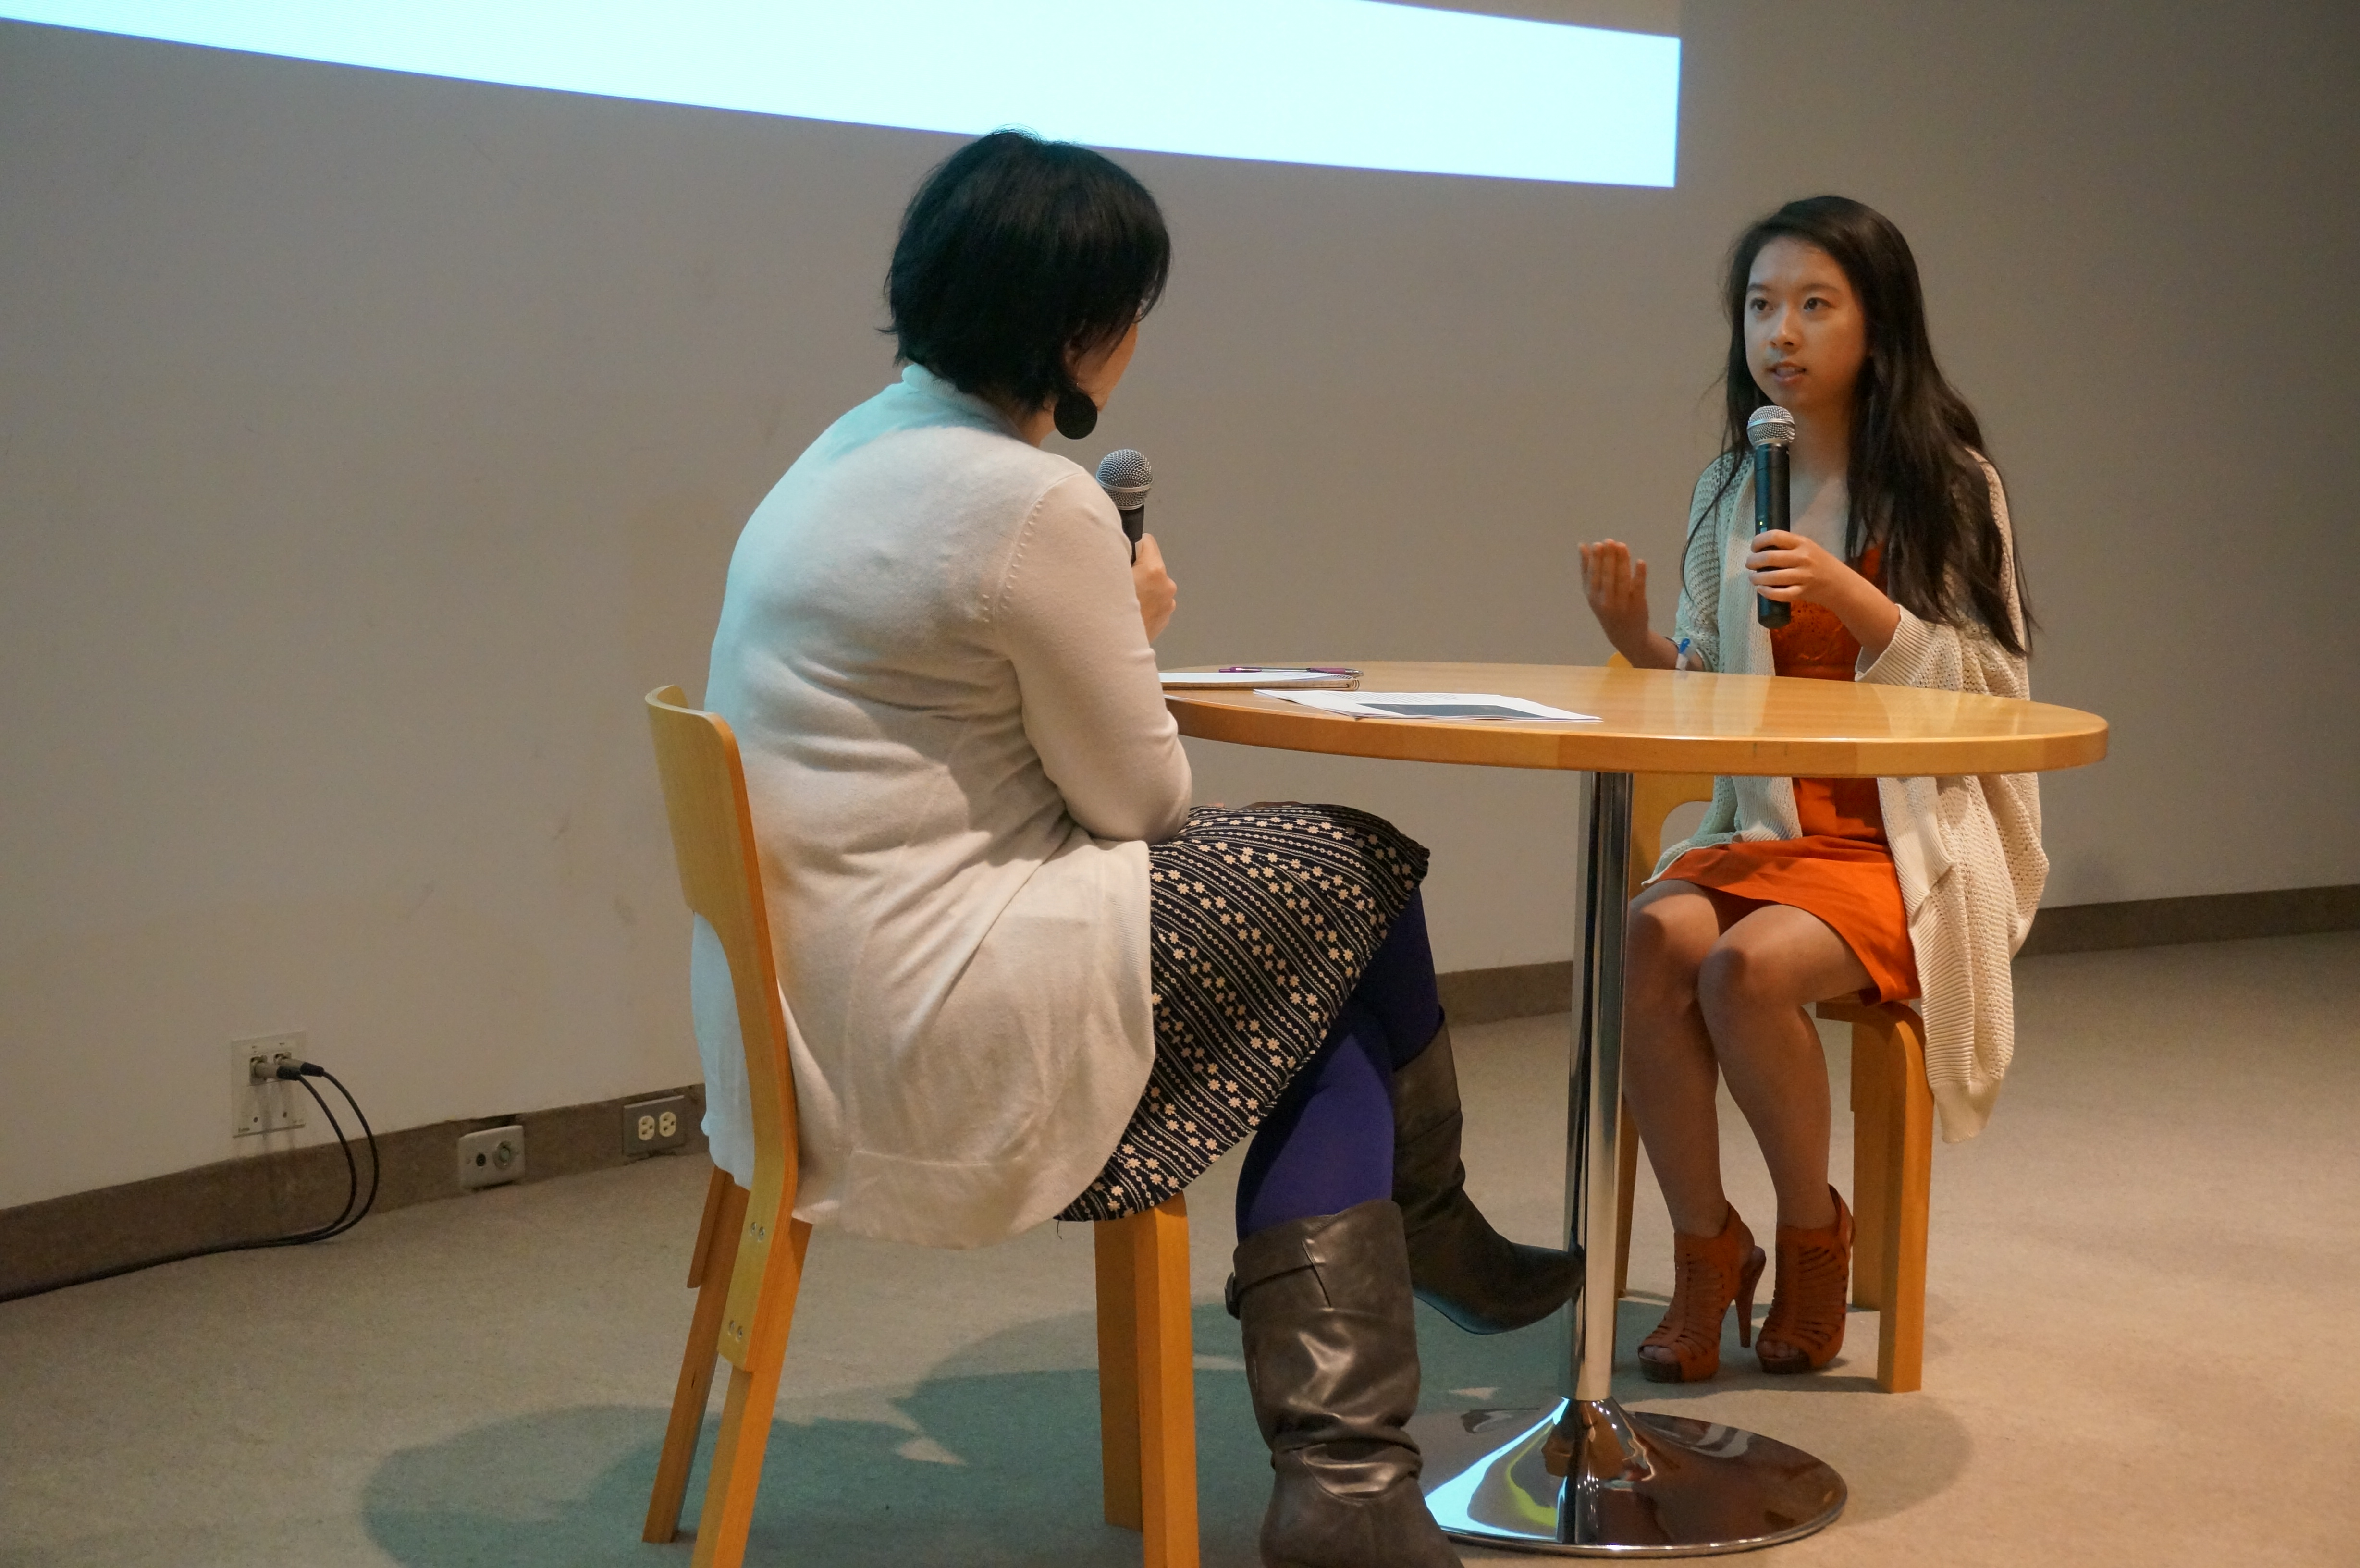
Shelley interviewing Jierui
-

-
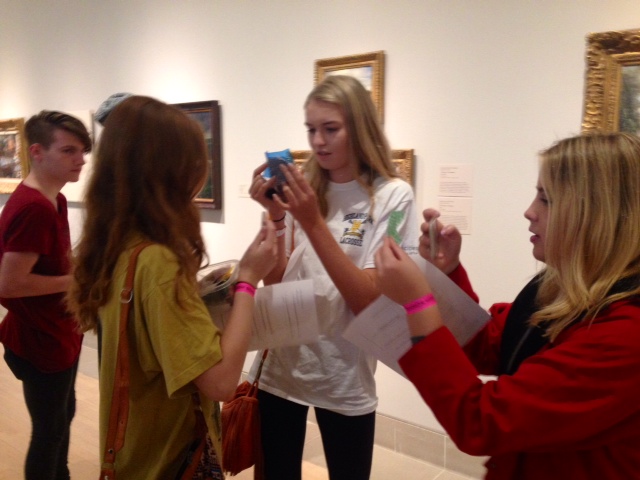
Shelley interviewing Austin
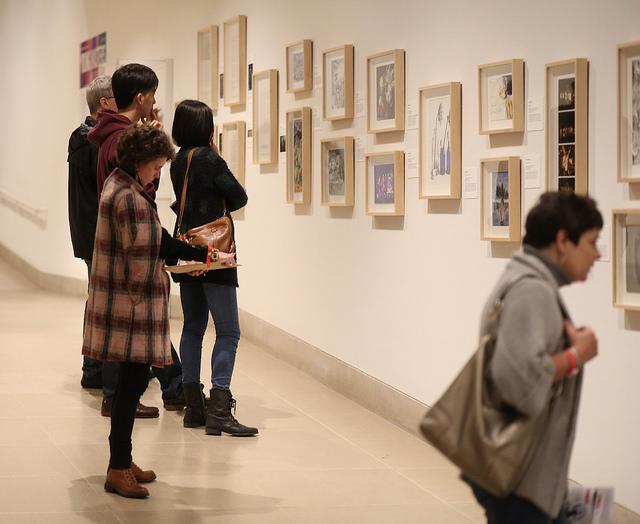
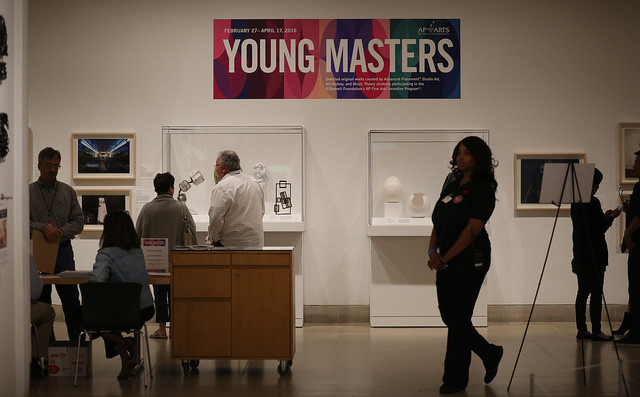
This year’s exhibition features sixty works selected from 858 submissions by AP Fine Arts students from ten local area high schools. Sponsored by the O’Donnell Foundation and on view through April 17, the exhibit includes forty-nine 2D and 3D works of art created by AP Studio Art students, five essays analyzing works of art in the DMA’s permanent collections by AP Art History students, and six original compositions by AP Music Theory students. The essays and compositions can be heard through the DMA’s mobile site here.
One of this year’s participating students is Allison Li, whose piece is titled Passing Tranquility. I first met Allison when she began volunteering at the Center for Creative Connections earlier this year, and was thrilled to see her digital photography installed as part of the Young Masters exhibition. To learn a bit more about the exhibition from the student’s perspective, I asked Allison a few questions about her influences, challenges, and takeaways as a 2016 Young Master.

Allison Li, Passing Tranquility, Coppell High School
Who are some of the artists you admire? What draws you to their work?
I admire many artists, some include Monet, Nguan, Sachin Teng, and many more. Many of the artists I like, I found online through their various social media accounts. I’m mainly drawn to artist’s works because of the color they use in their pieces, especially Monet and Nguan; I really like the pastel and light colors they use for their pieces. Also, the subject matter of what artists portray in their pieces is a big factor.
How would you describe your creative process? What is most challenging about creating work? What is most rewarding?
My creative process usually starts with a vague idea or concept in which I try to define it more in detail in my own head before I put anything on paper. Drawing ideas or sketches sometimes helps me better visualize what I want in a piece. After coming up with an idea, I will usually figure out what materials I need and how I want to create the artwork. I think the most challenging and most important part of creating art is coming up with the idea. It usually takes me a very long time to come up with ideas that I like and exactly how I want to execute the idea. I think the most rewarding part of this process is either having an idea you feel confident in or the final piece; both feel rewarding depending on the outcome.
What motivated you to submit your artwork for consideration in the Young Masters exhibition?
My art teacher at school informed us of this opportunity and gave us class time to create a piece to submit to the exhibition. My mom also really encouraged me to pursue my passion for art and thought it would be great and an honor if I was in the Young Masters exhibition.
Your work in the exhibition, Passing Tranquility, invites viewers to consider moments of peace in otherwise hectic environments. Where do you find tranquility in today’s fast-paced atmosphere?
I find the most peace when I am at home and don’t have homework to do. Those times are the most relaxing as I don’t have any lingering tasks that need to be done right away, and instead I get to enjoy my free time.
How does participating in Young Masters change the way you approach other art exhibitions as a visitor?
After going to the DMA and seeing my artwork hung up on the Museum’s walls with other great pieces, I felt very humbled and amazed that my piece was up there. Now seeing other artworks in the Museum makes me have much more respect for all the artists that are in museums.
Do you see yourself continuing to make artwork like Passing Tranquility in the future?
I am actually making similar pieces to Passing Tranquility as it is part of my concentration that I am doing for my AP 2D Design class right now. This piece was actually the first piece in a series of twelve works that I am creating for my portfolio.
What advice do you have for other young artists?
I think that the best thing to do as a young artist is to keep practicing and try not to get too discouraged if things don’t always go as planned. I believe practicing will definitely pay off in the future and seeing the improvement you have made over the years will be very rewarding. I also think that seeing other artists and artwork besides your own is important; I look at many artworks online created by various artists that post their work on social media, such as Instagram or Twitter.
-
-
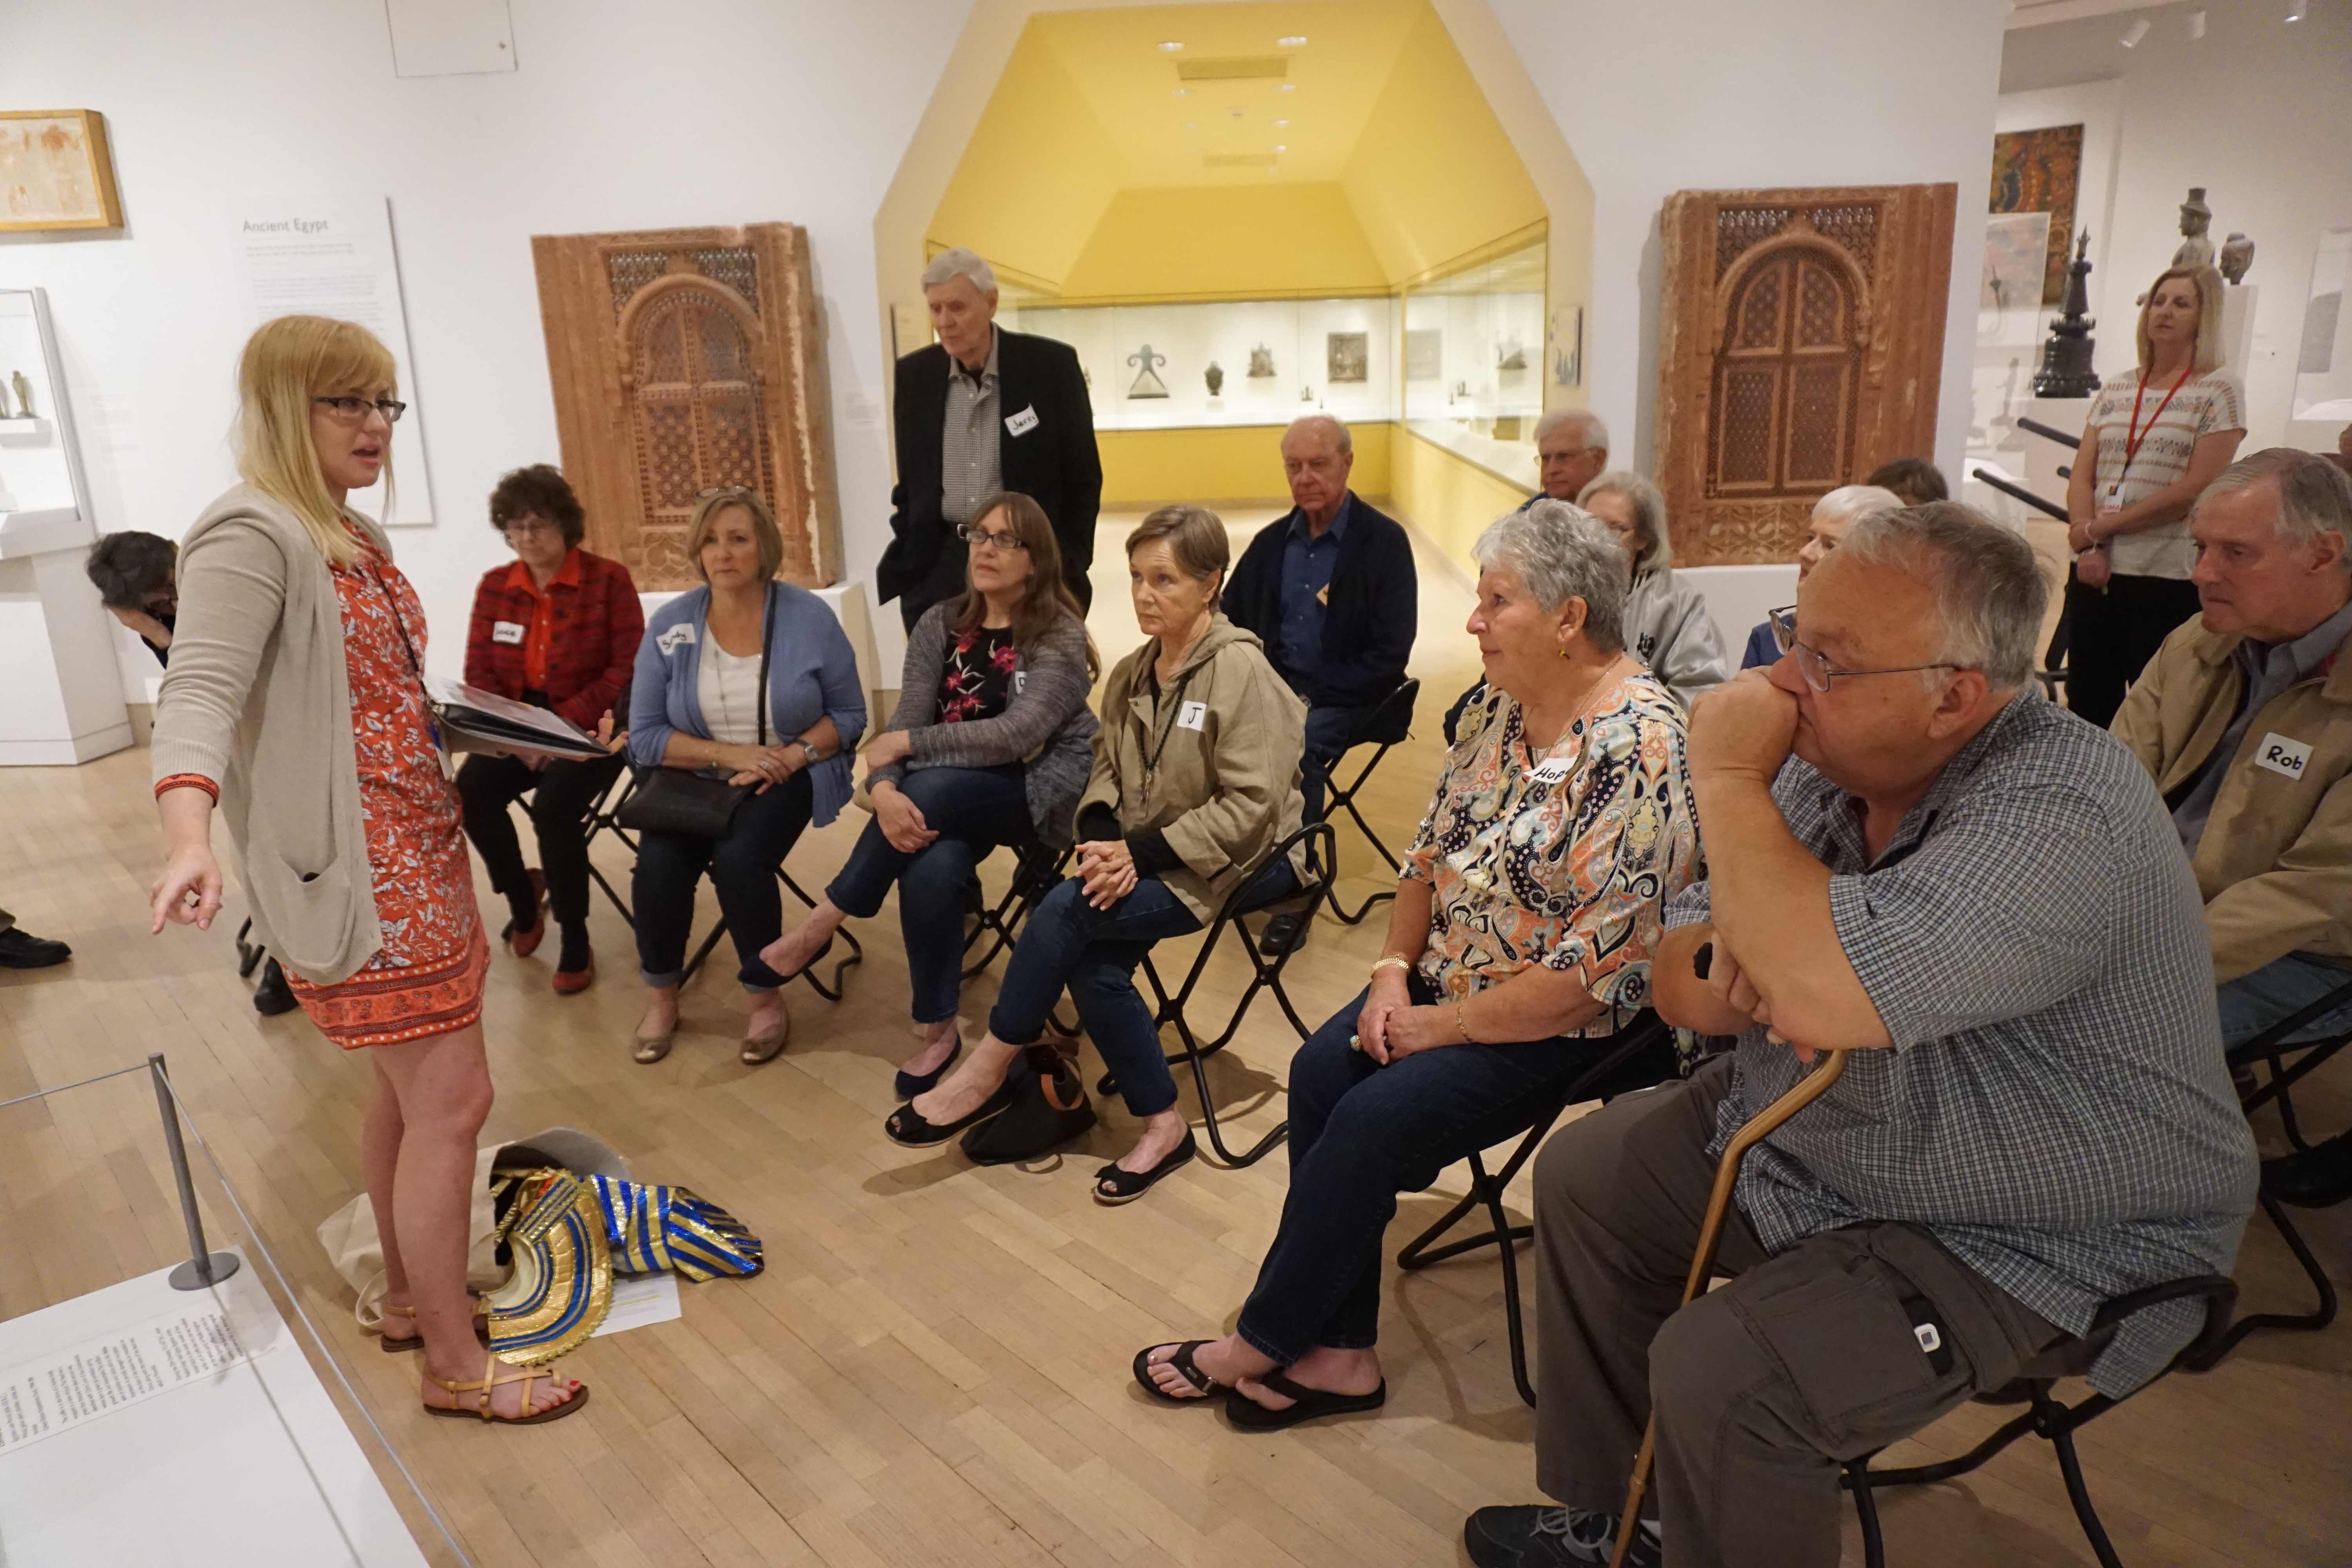
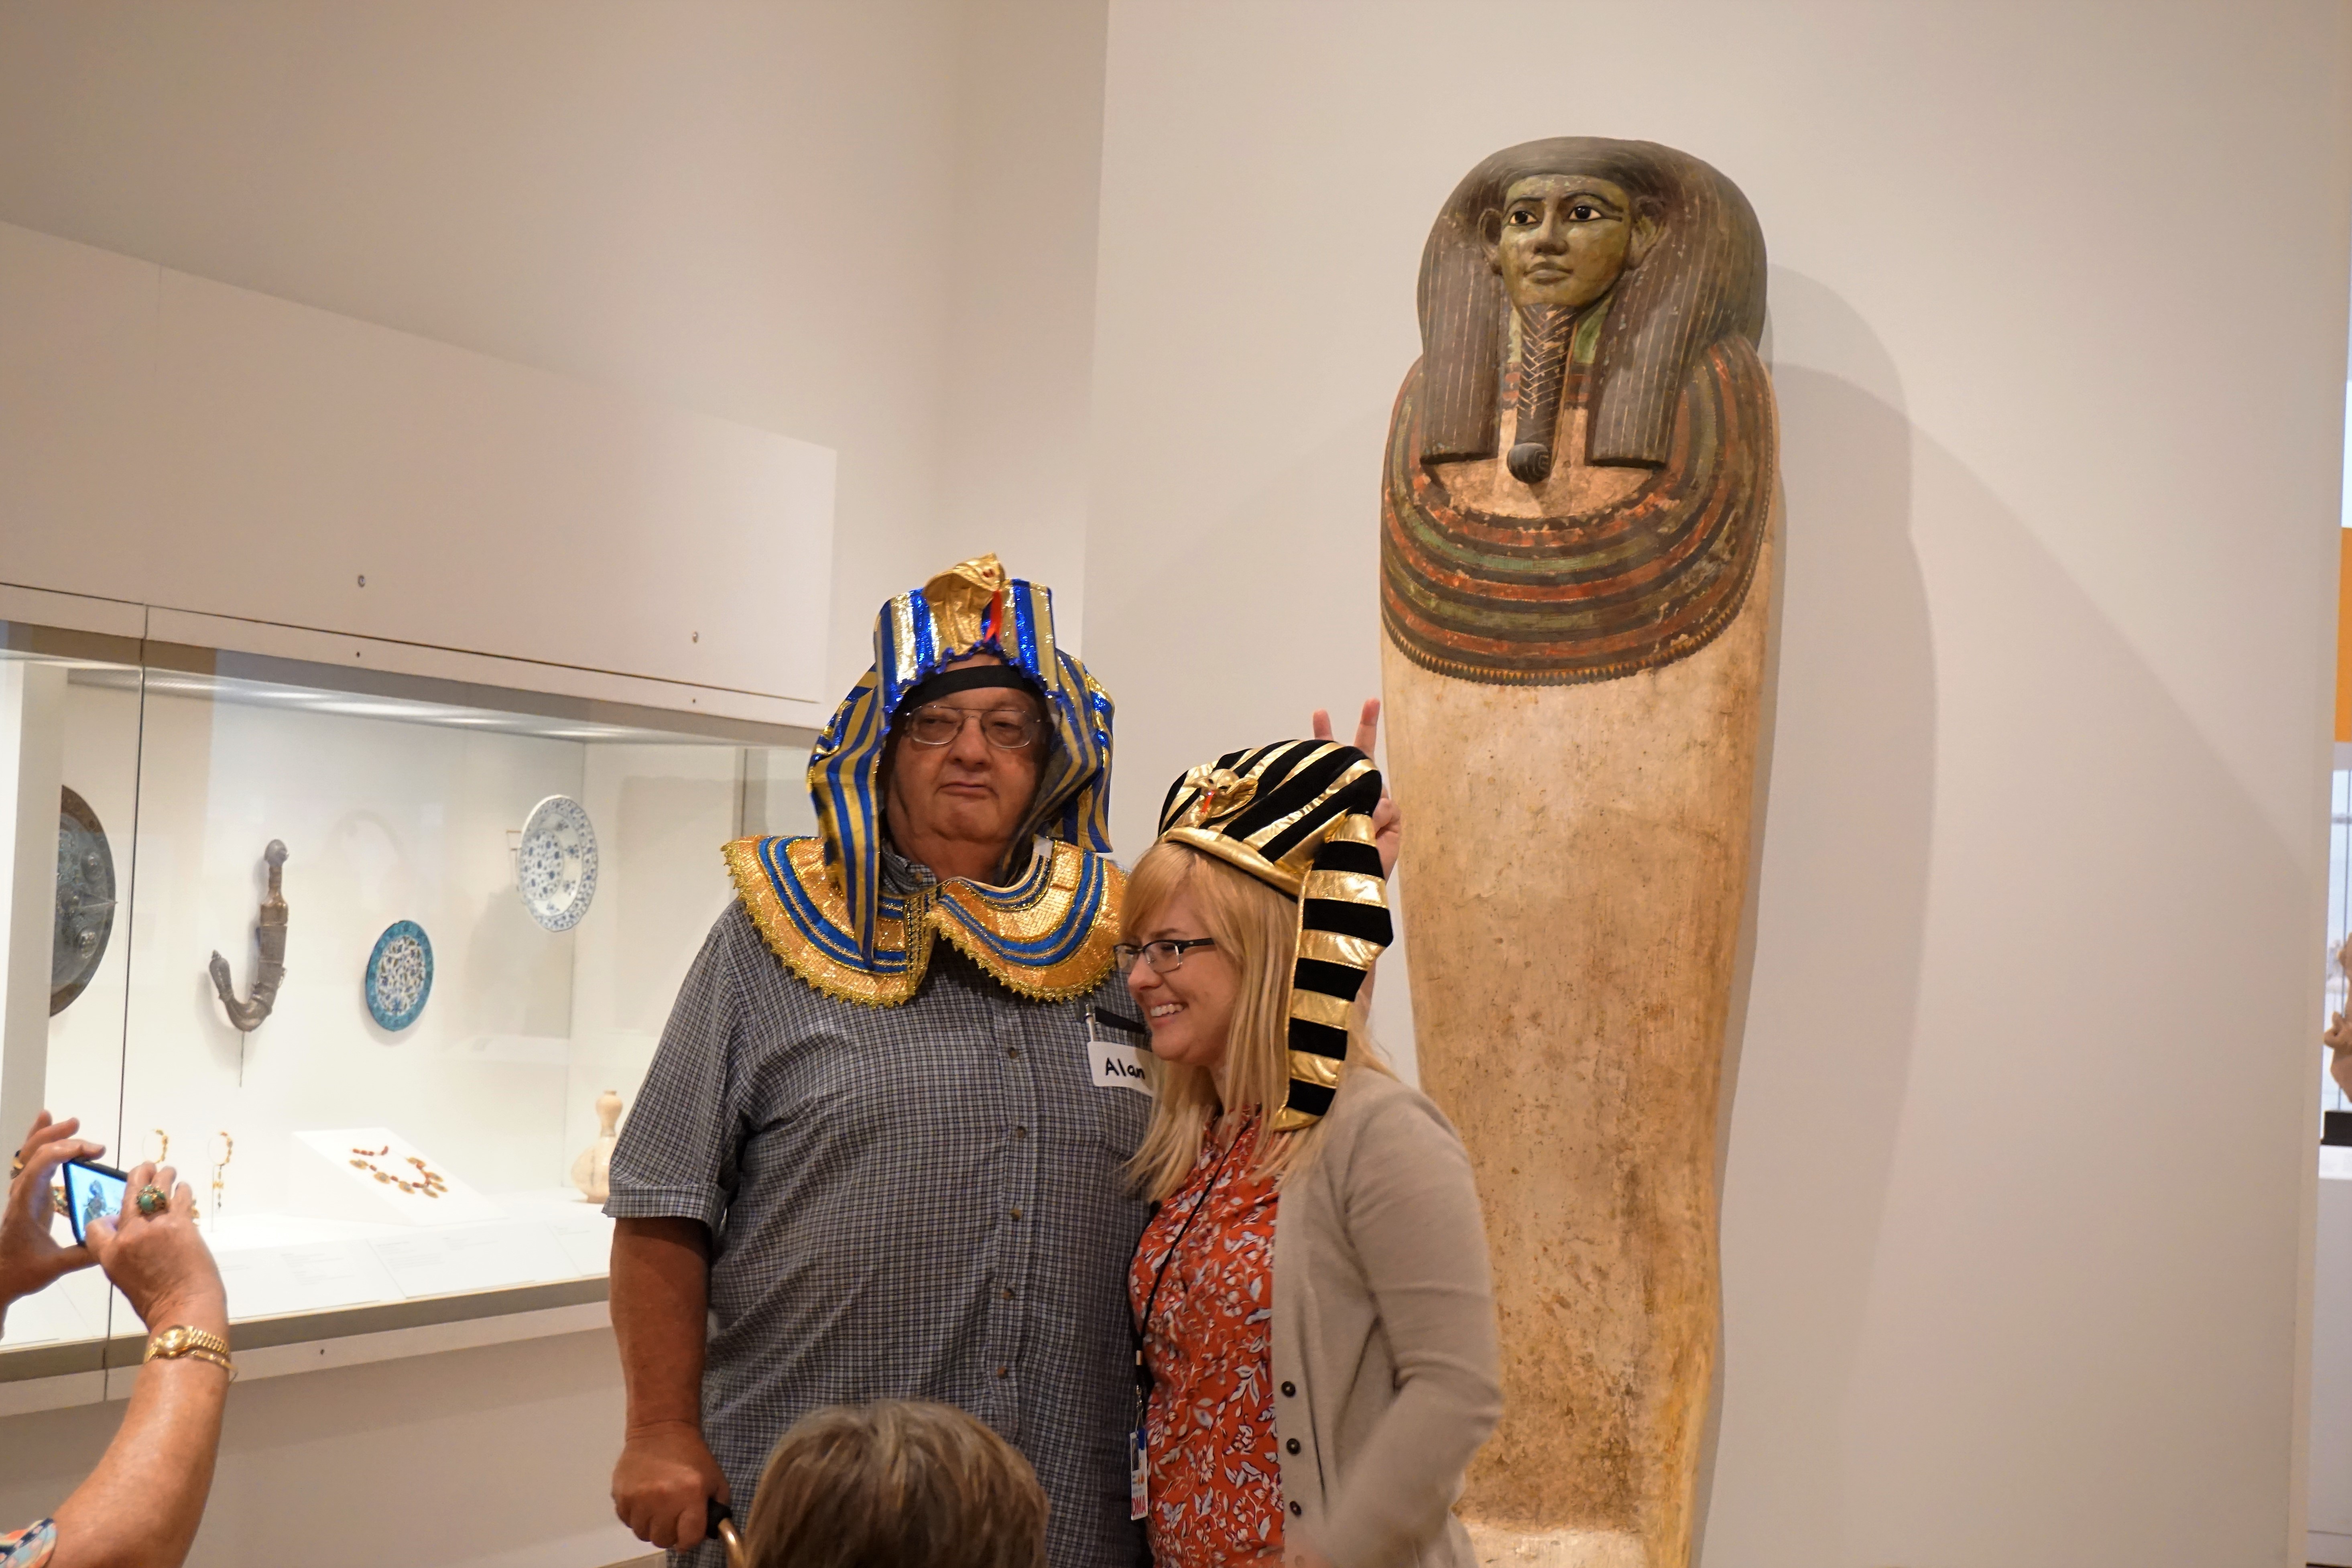
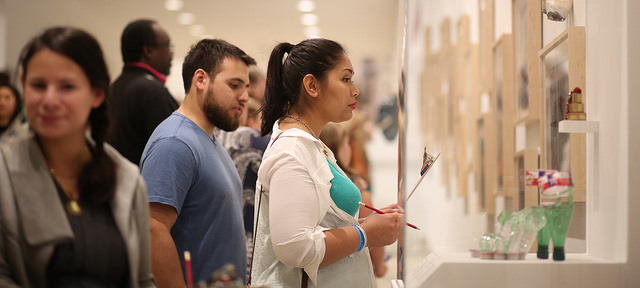
Young Masters at March Late Night
-
-
Voting for the People’s Choice Award
-

-
Young Masters at March Late Night
If you’re curious about what some of the other Young Masters have to say about their experience, don’t miss the second round of interviews with the teens at the upcoming Late Night on April 15. For a blast from the past, check out the video recordings of previous Young Masters interviews.
We can’t wait to see what Allison and the other Young Masters create next! Cast your ballot in the People’s Choice Award at the April Late Night to vote for your favorite studio art, art history, and music theory work in the Young Masters exhibition.
Paulina Lopez
McDermott Graduate Intern for Visitor Engagement