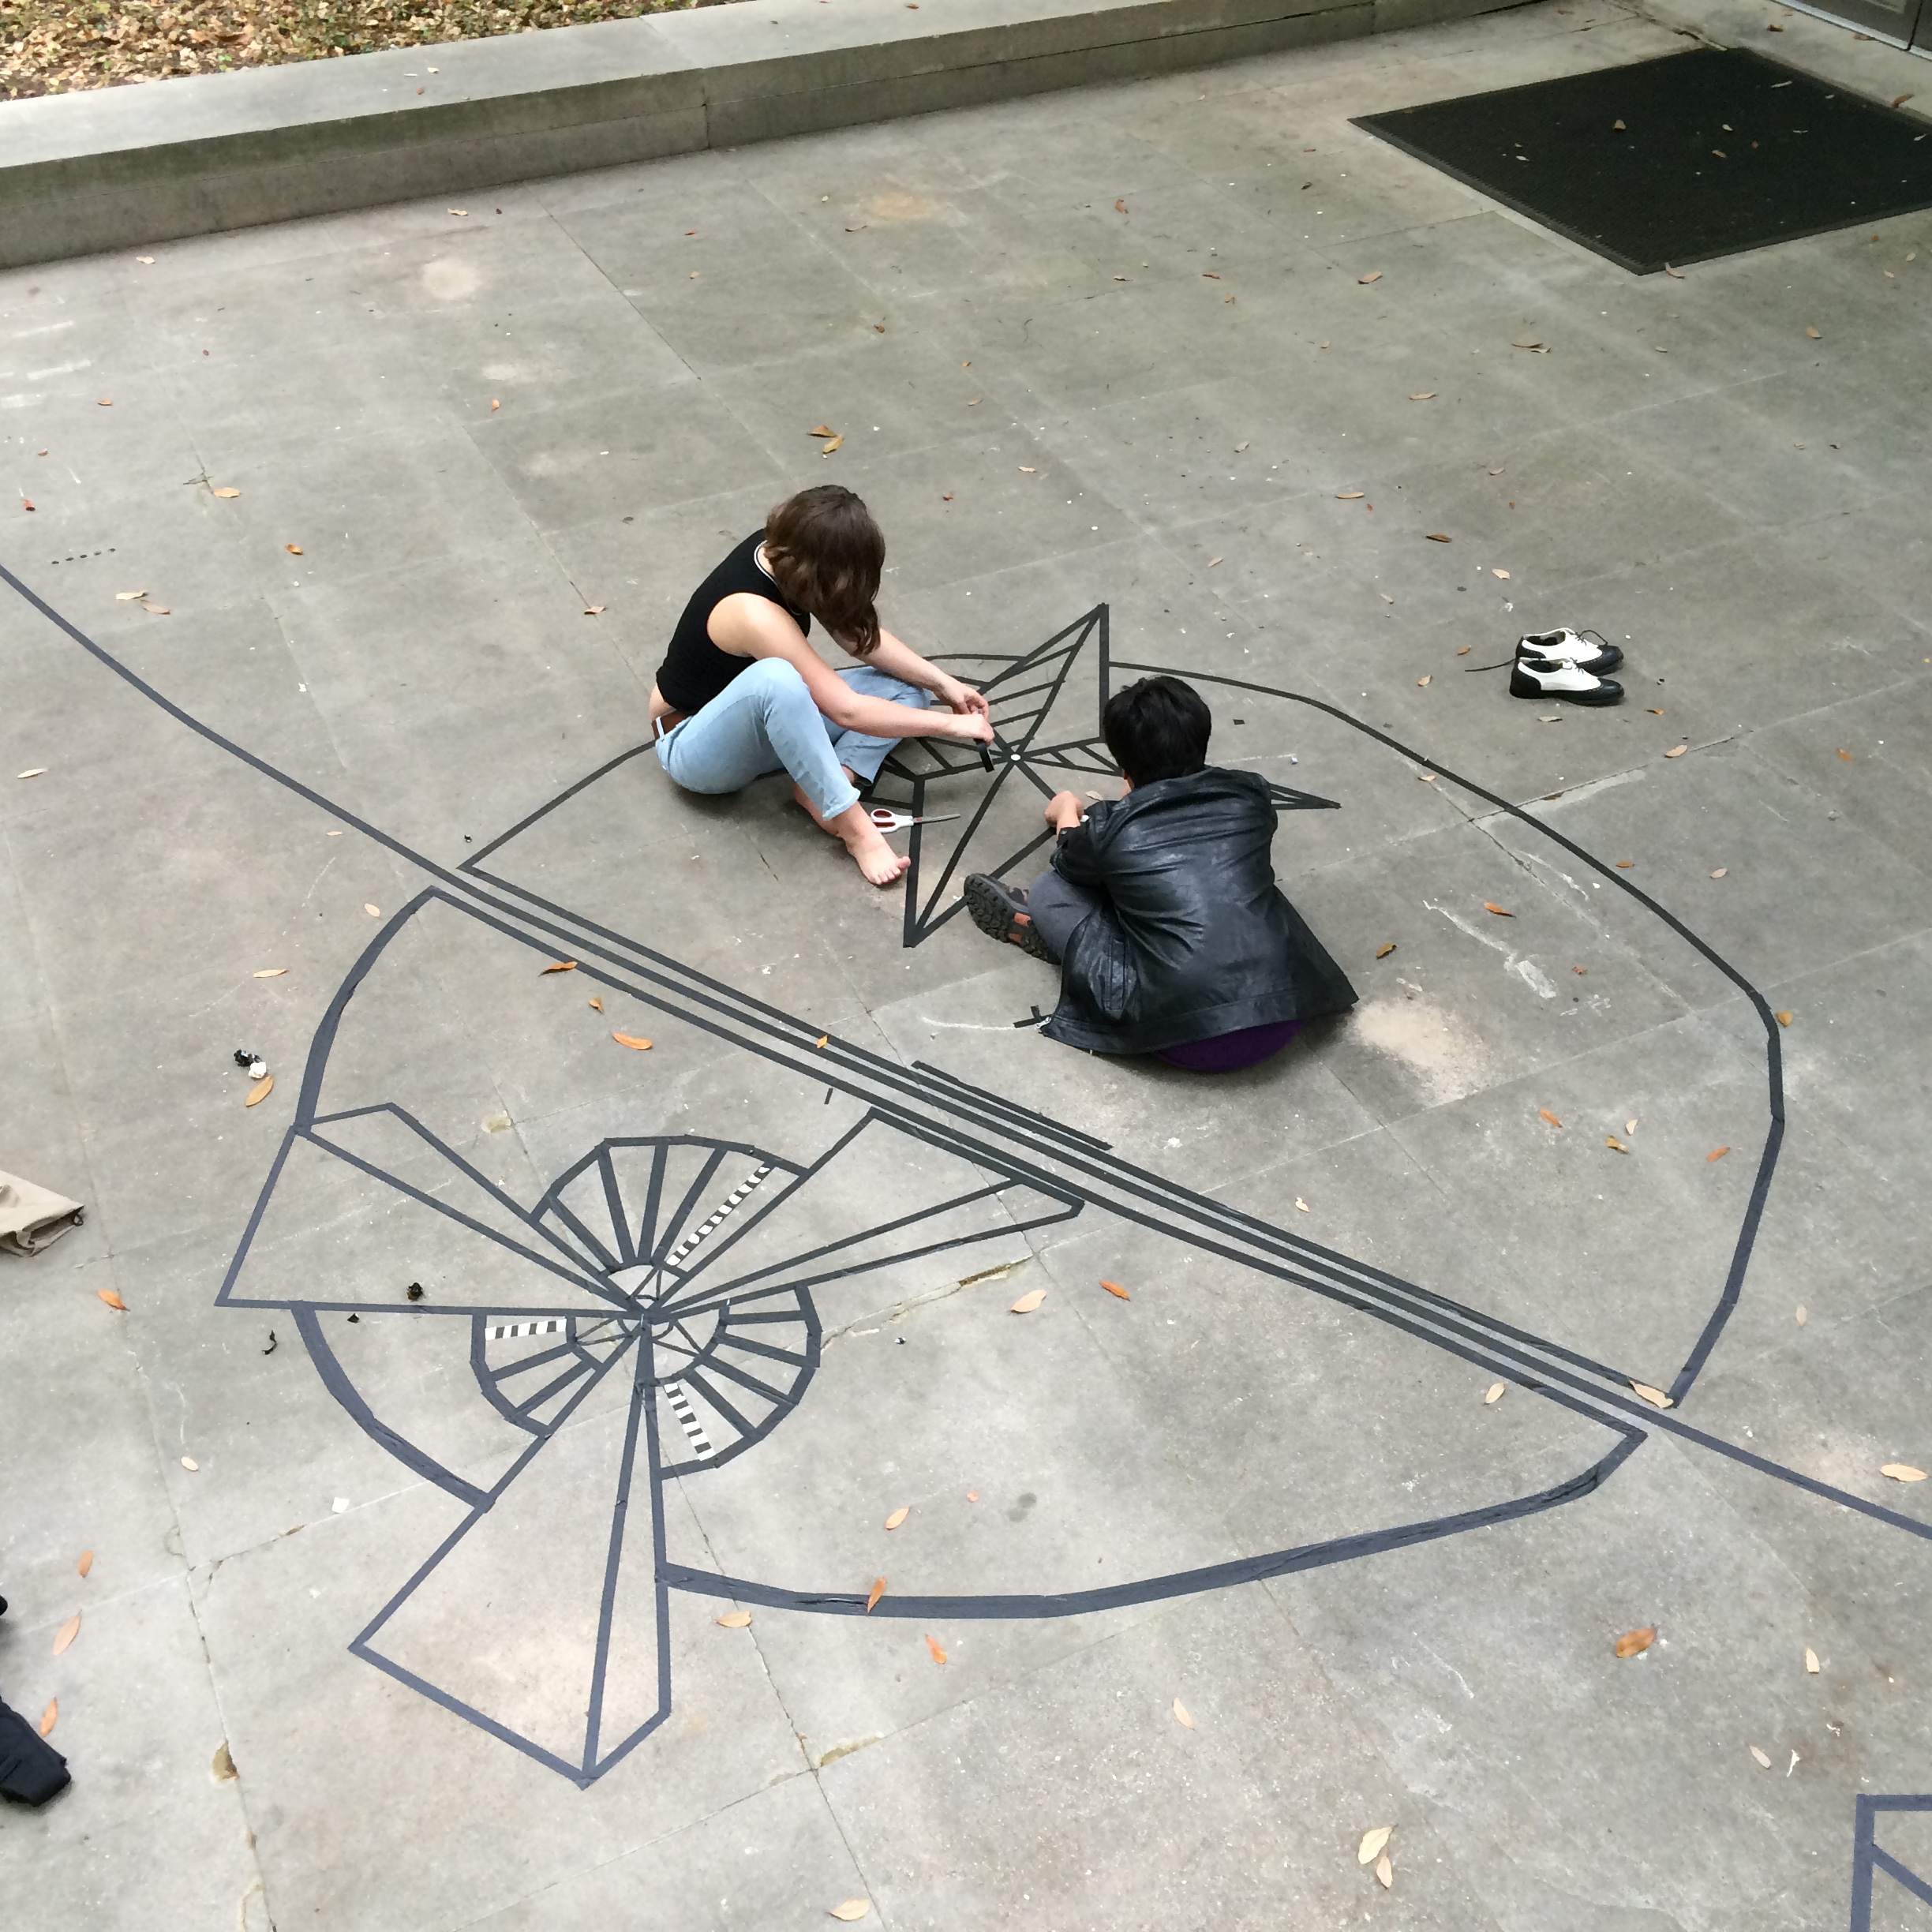
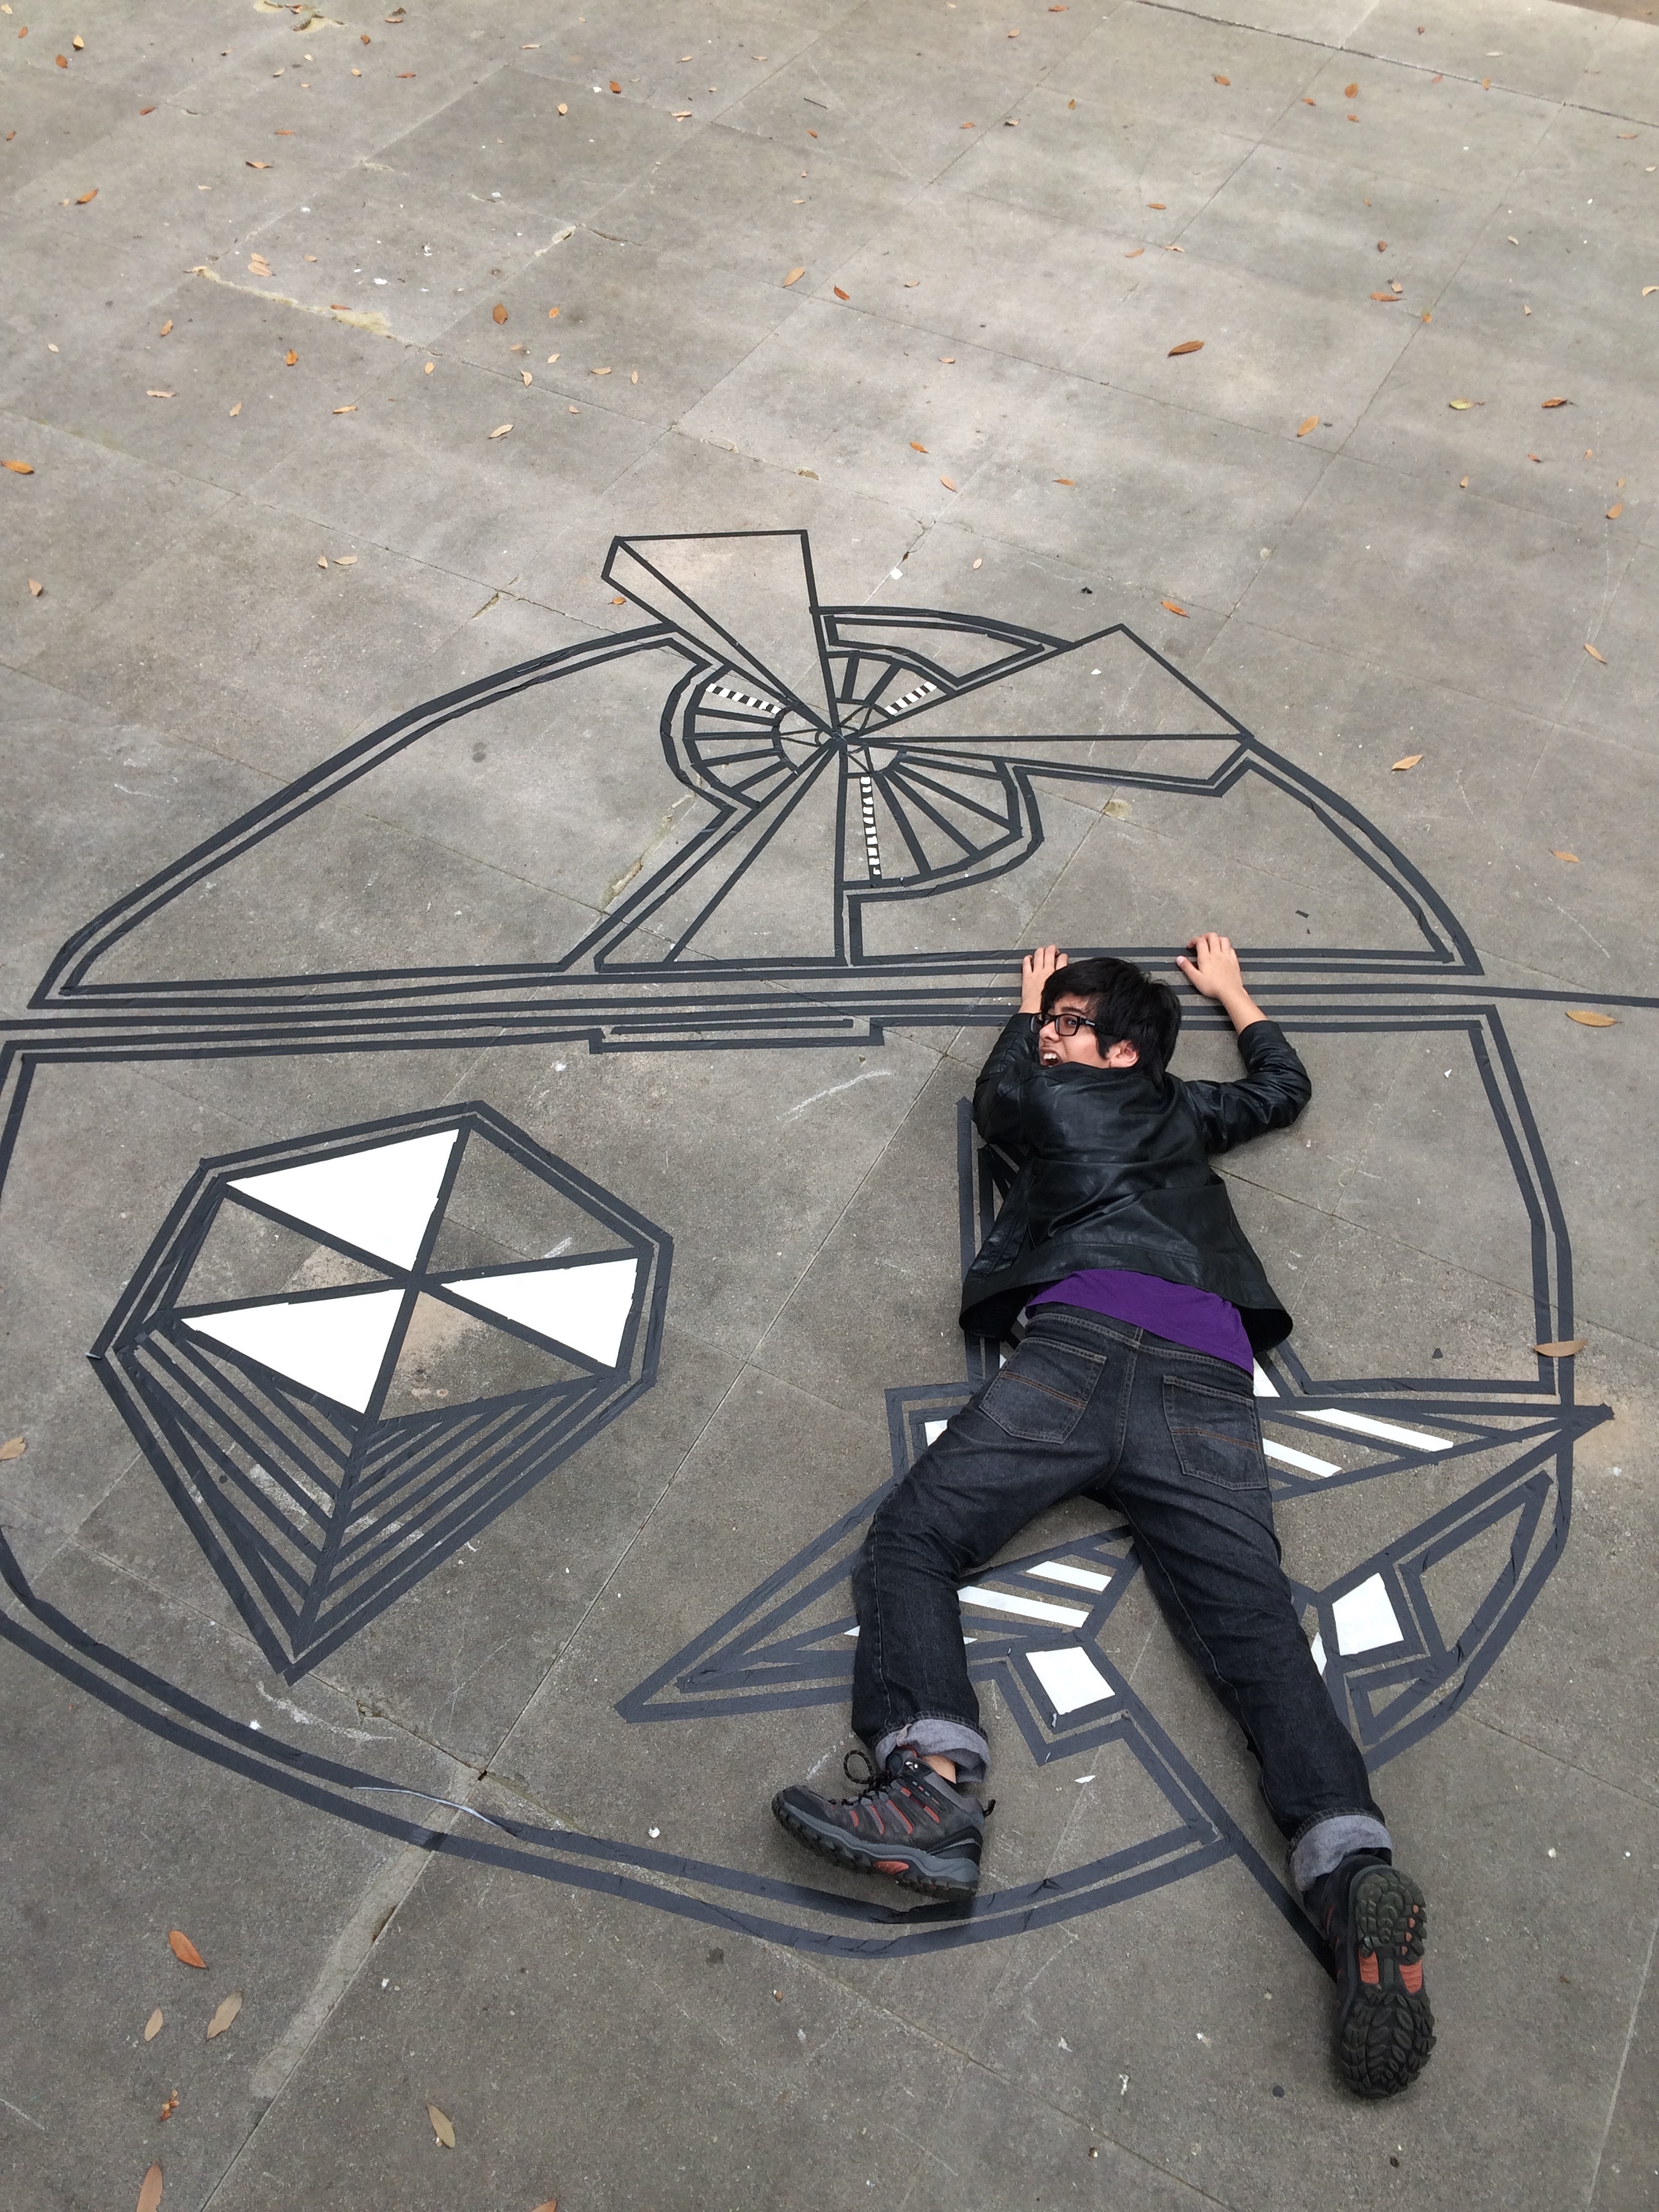
The Guerrilla Girls exhibition is in its final week on view at the DMA. For the last few months, the posters, books, and videos in the gallery have prompted a lot of questions, including the often overheard “What’s the deal with the gorilla masks?”
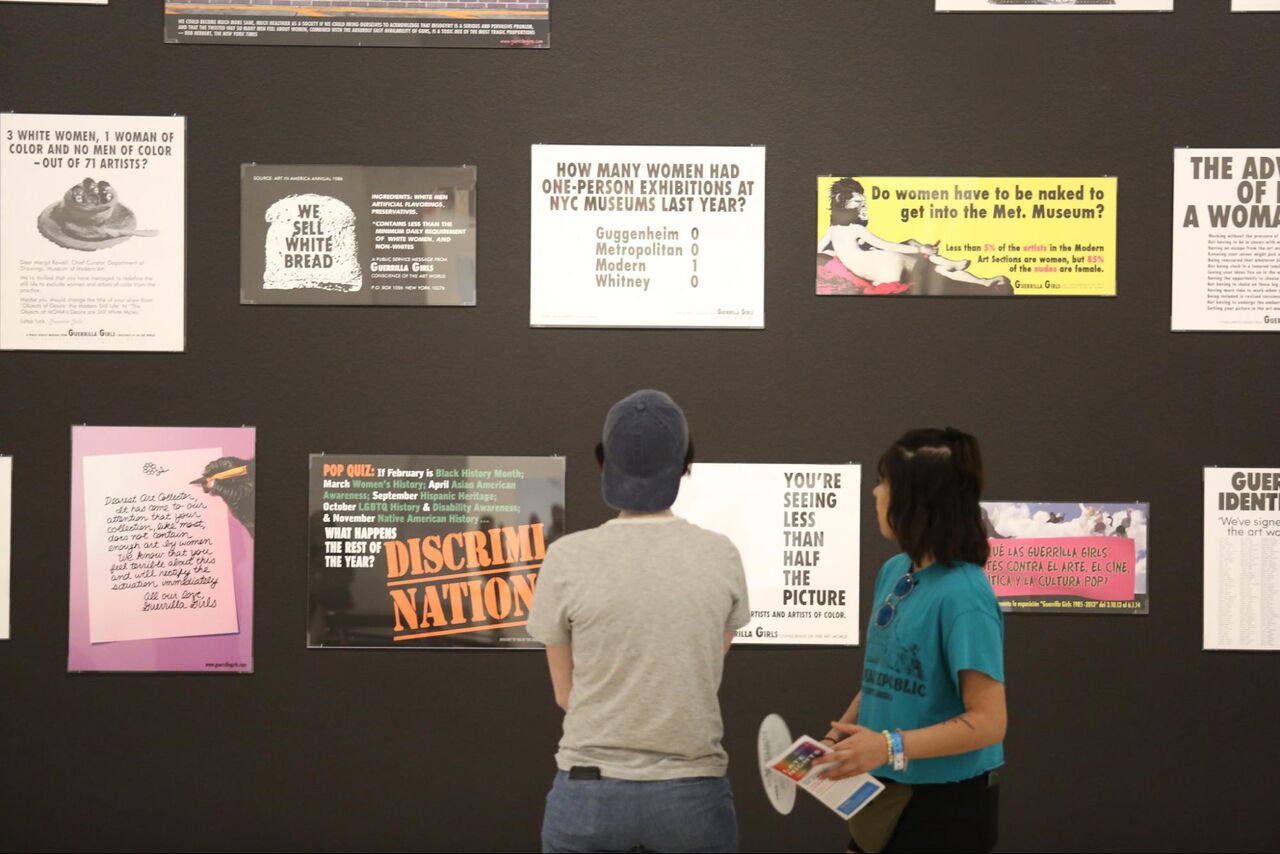
The Guerrilla Girls are an anonymous collective of women artists who draw attention to sexism and racism in the art world. To borrow their words, without women and people of color represented in the art world “you’re seeing less than half the picture.” Using bold protest art and guerrilla-style marketing techniques (hence their name and use of gorilla masks, as a play on words), they demonstrate how images are a powerful way to send messages to others.
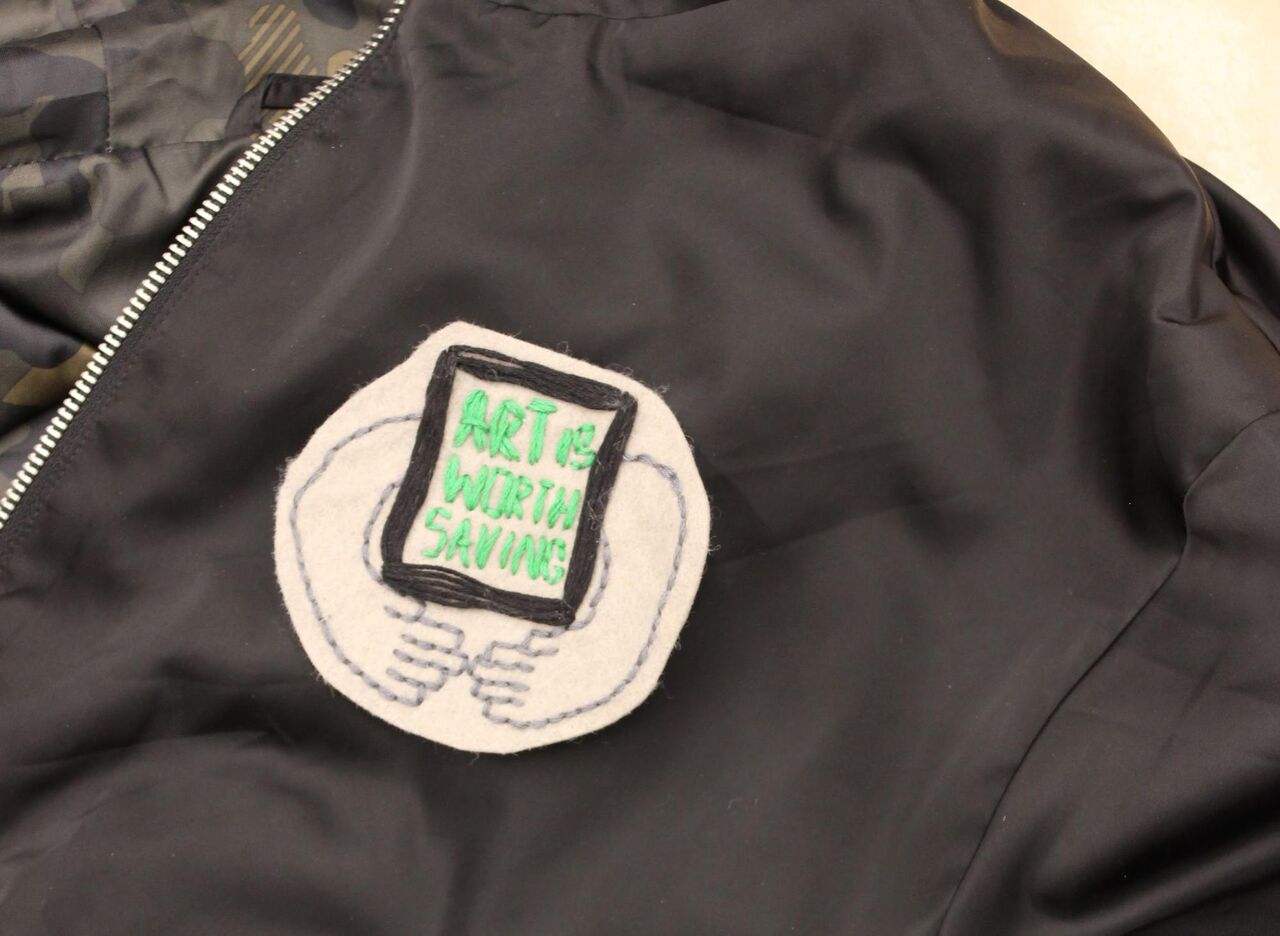
Consider what is important to you. When you think about those things, is there an image or symbol that comes to mind? Taking inspiration from the Guerrilla Girls, here’s a way to broadcast that idea or cause through a DIY iron-on patch.
Materials Needed
Felt or fabric
Embroidery floss
Embroidery hoop
Tapestry needle
Scissors
HeatnBond iron-on adhesive sheet
Iron
Threader (optional)
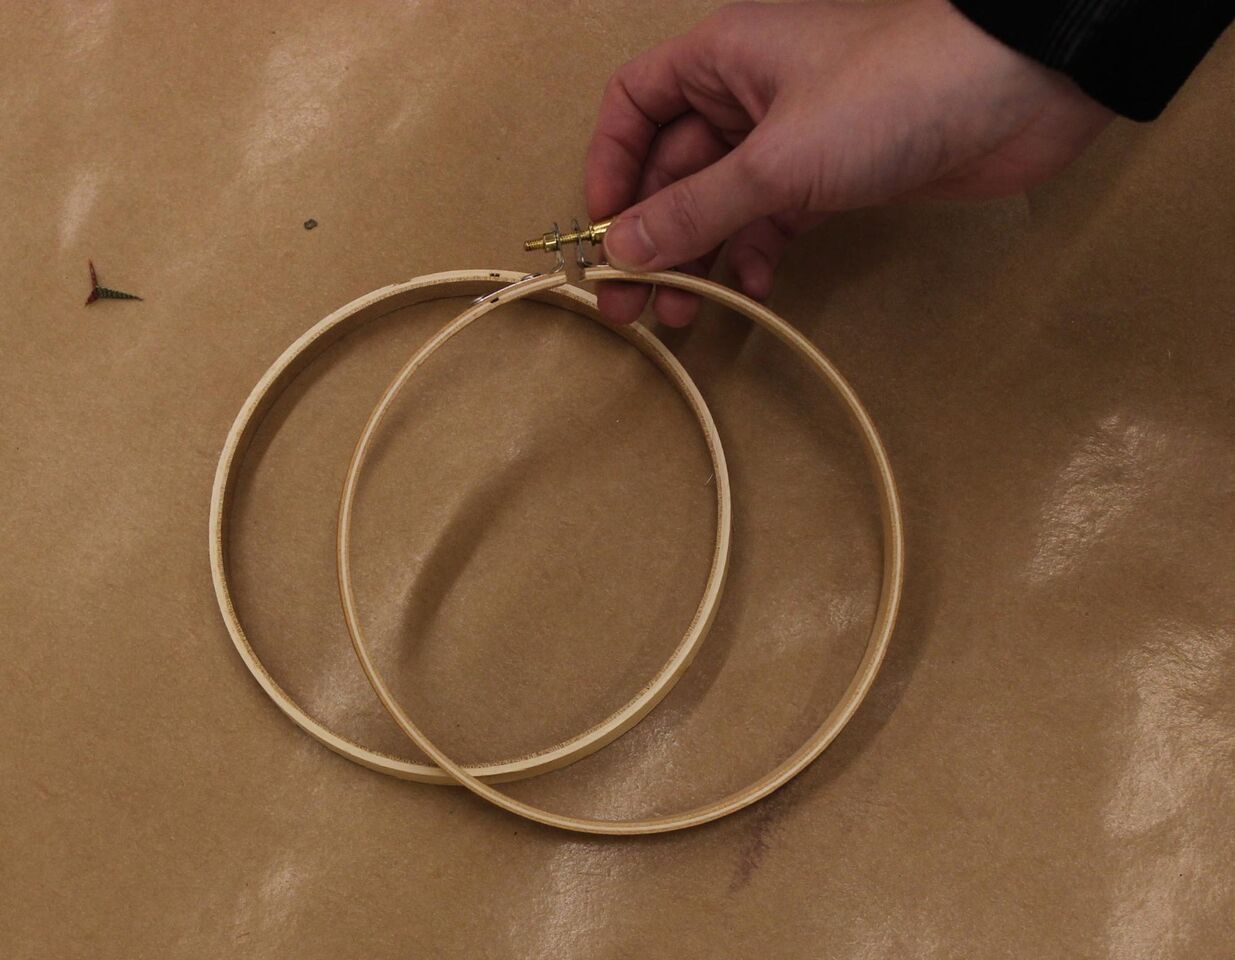
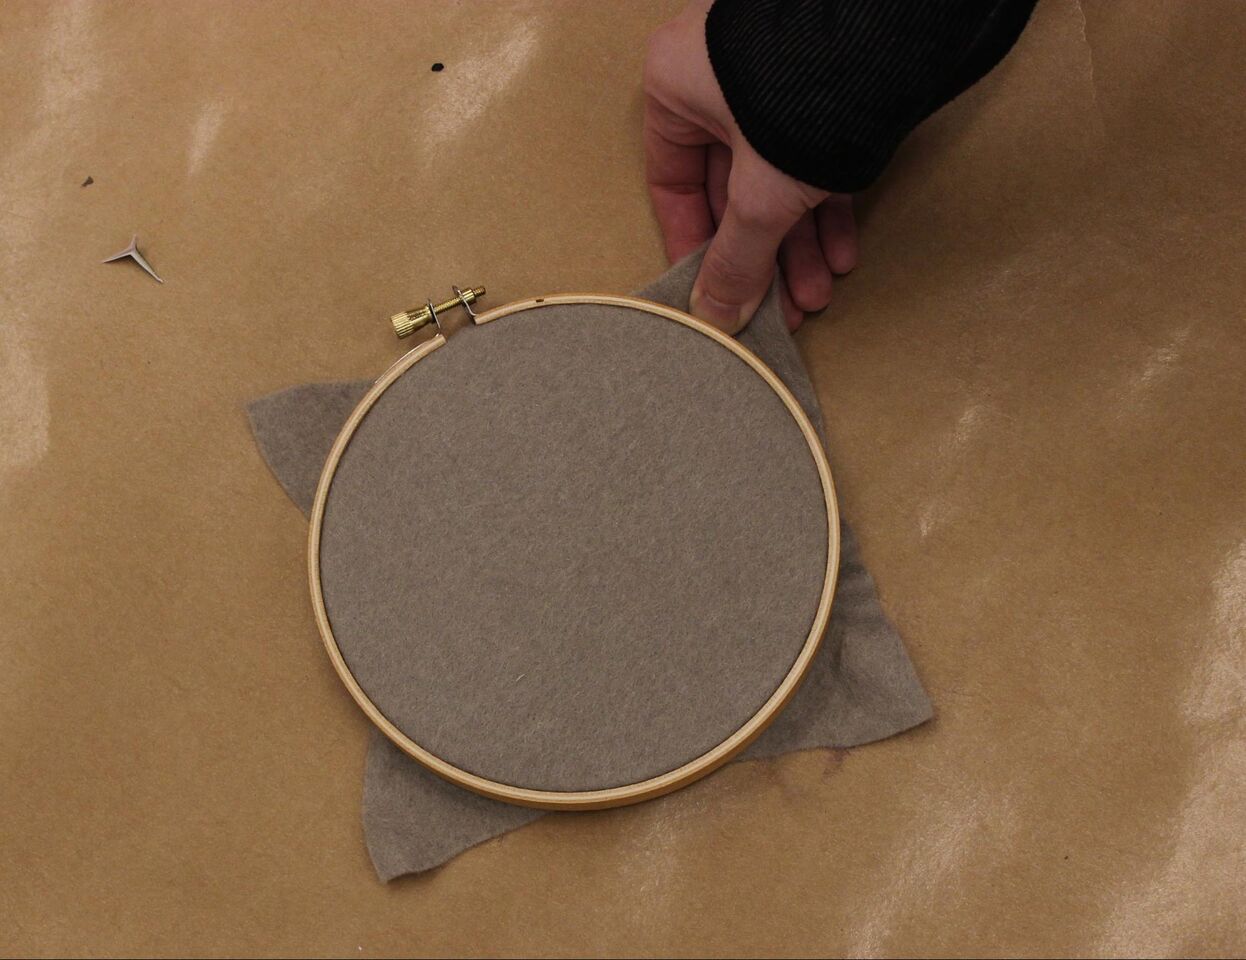
Using the screw at the top, loosen and separate the two rings of your embroidery hoop. Load the embroidery hoop with the felt or fabric of your choice, placing the fabric on top of the smaller ring and closing the larger ring around it to hold the fabric in place.
Tip: The hoop stretches the fabric tight to create tension. If the fabric sags in the middle, pull the edges before tightening the hoop screw all the way.
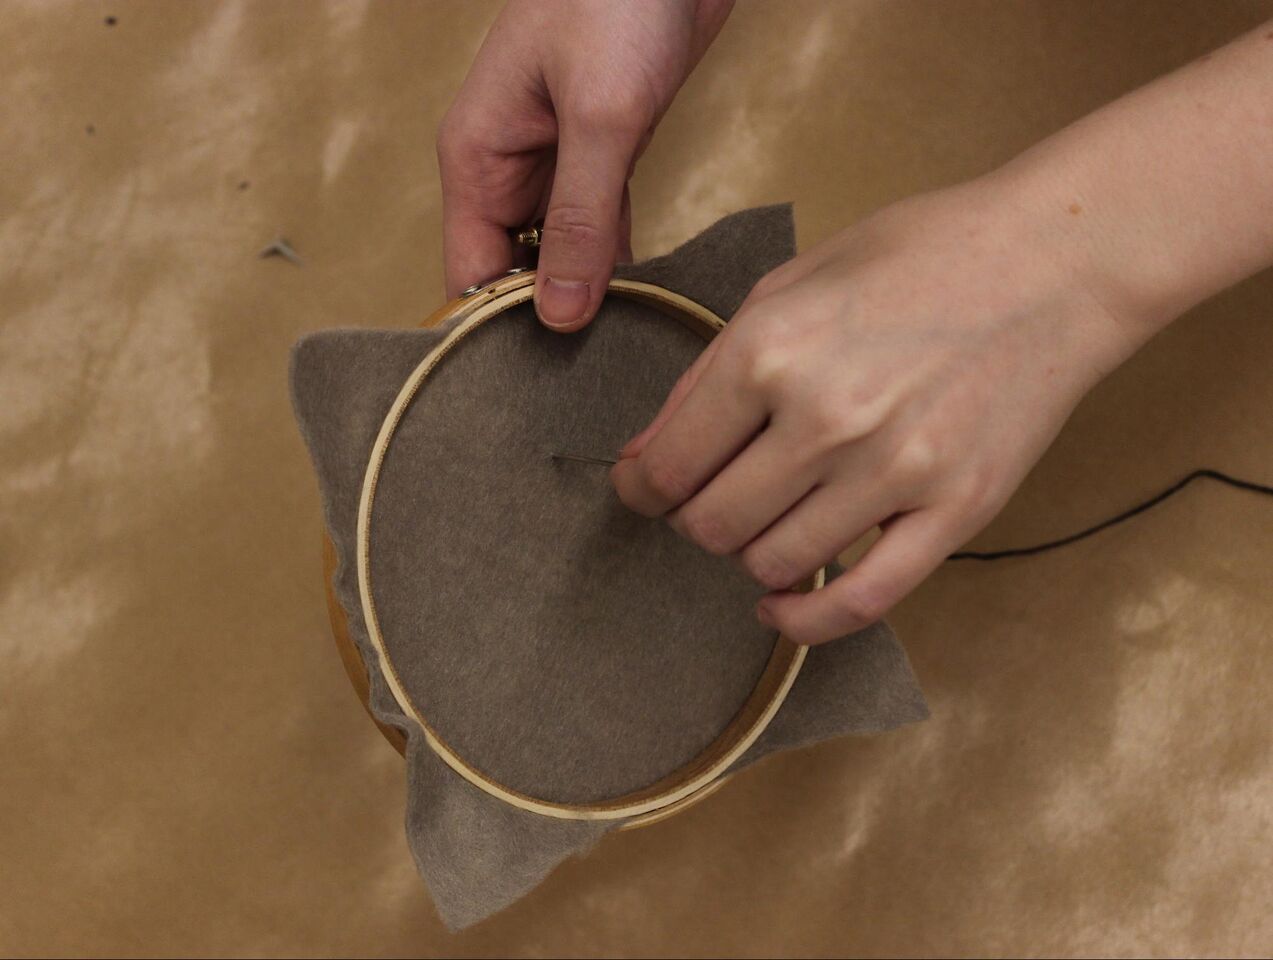
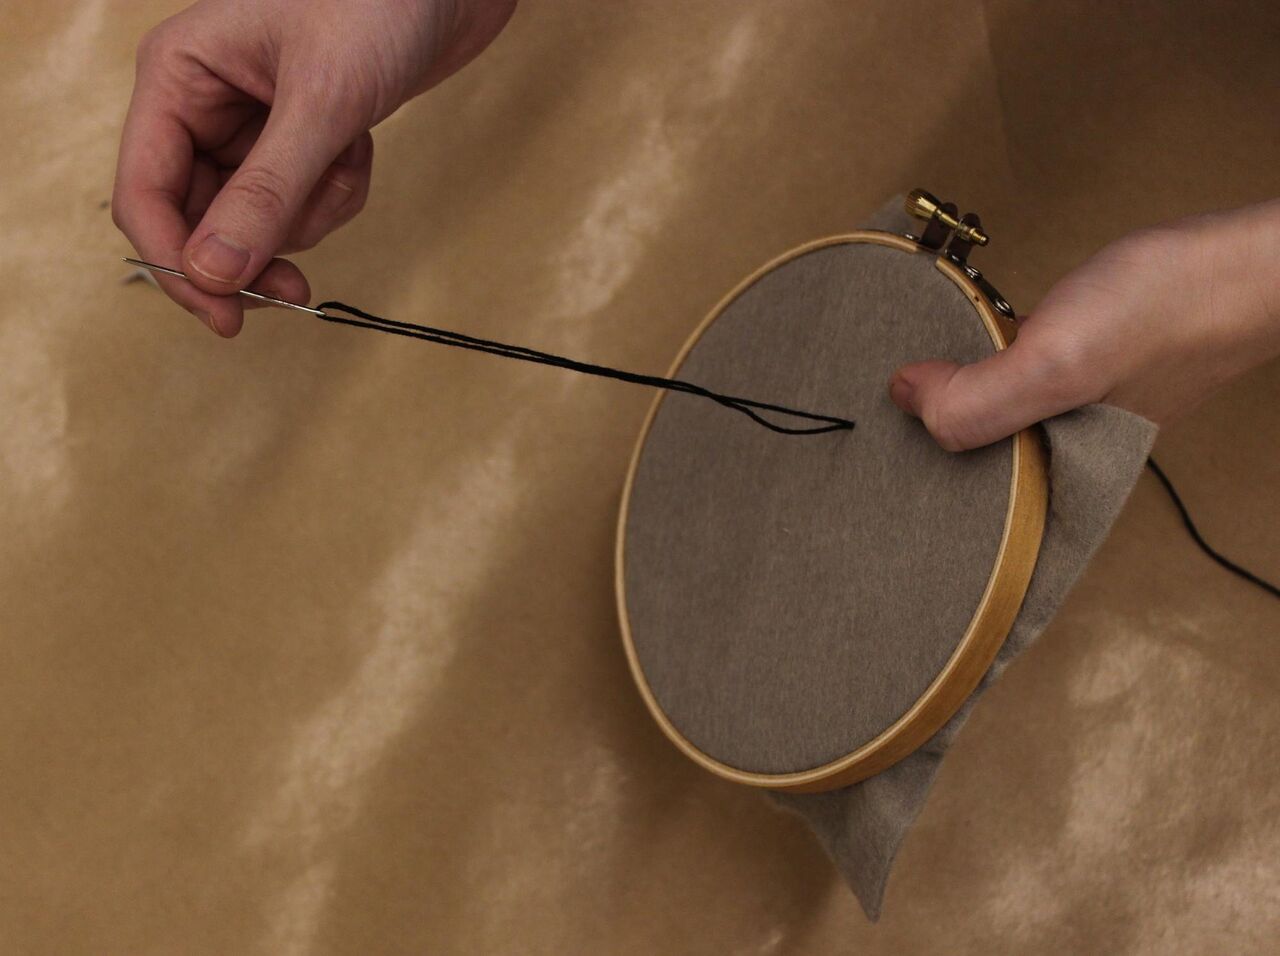
Thread your needle with the first color of embroidery floss, tying off one end. Start your design from the back side of the hoop, pulling the needle straight through the fabric. Create the first stitch by pulling the needle straight back down through the fabric. When you’d like to switch colors, simply tie the floss off on the back and repeat the process.
Tip: Keeping the needle straight and avoiding pulling hard keeps the stitches even and fabric wrinkle-free. Knowing how to sew makes embroidery pretty intuitive, but different kinds of stitches create different textures and effects. DMC Embroidery has great resources for those looking to learn new techniques.
Once you finish your design, make sure all the thread is tied off on the back, and any loose threads are trimmed.
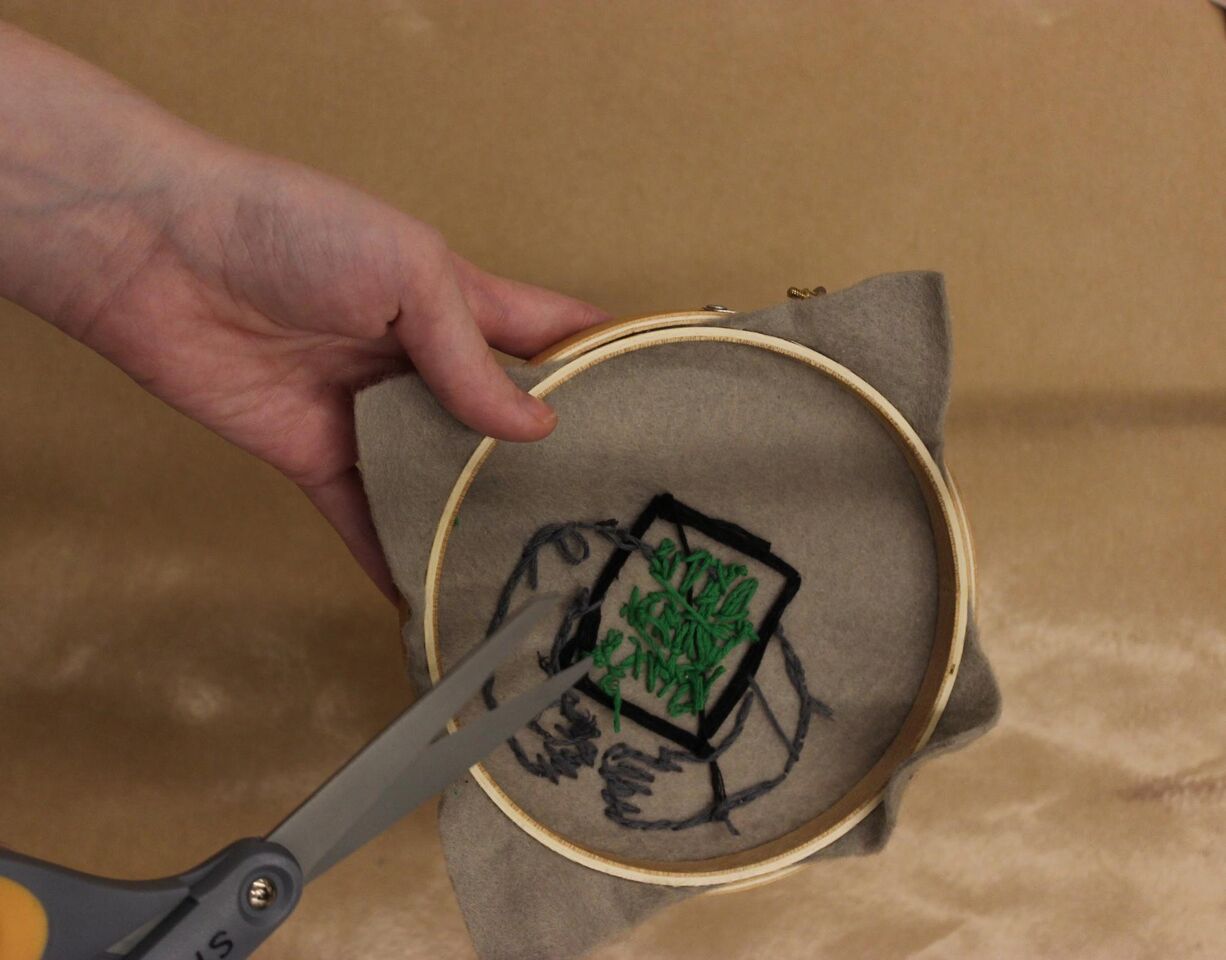
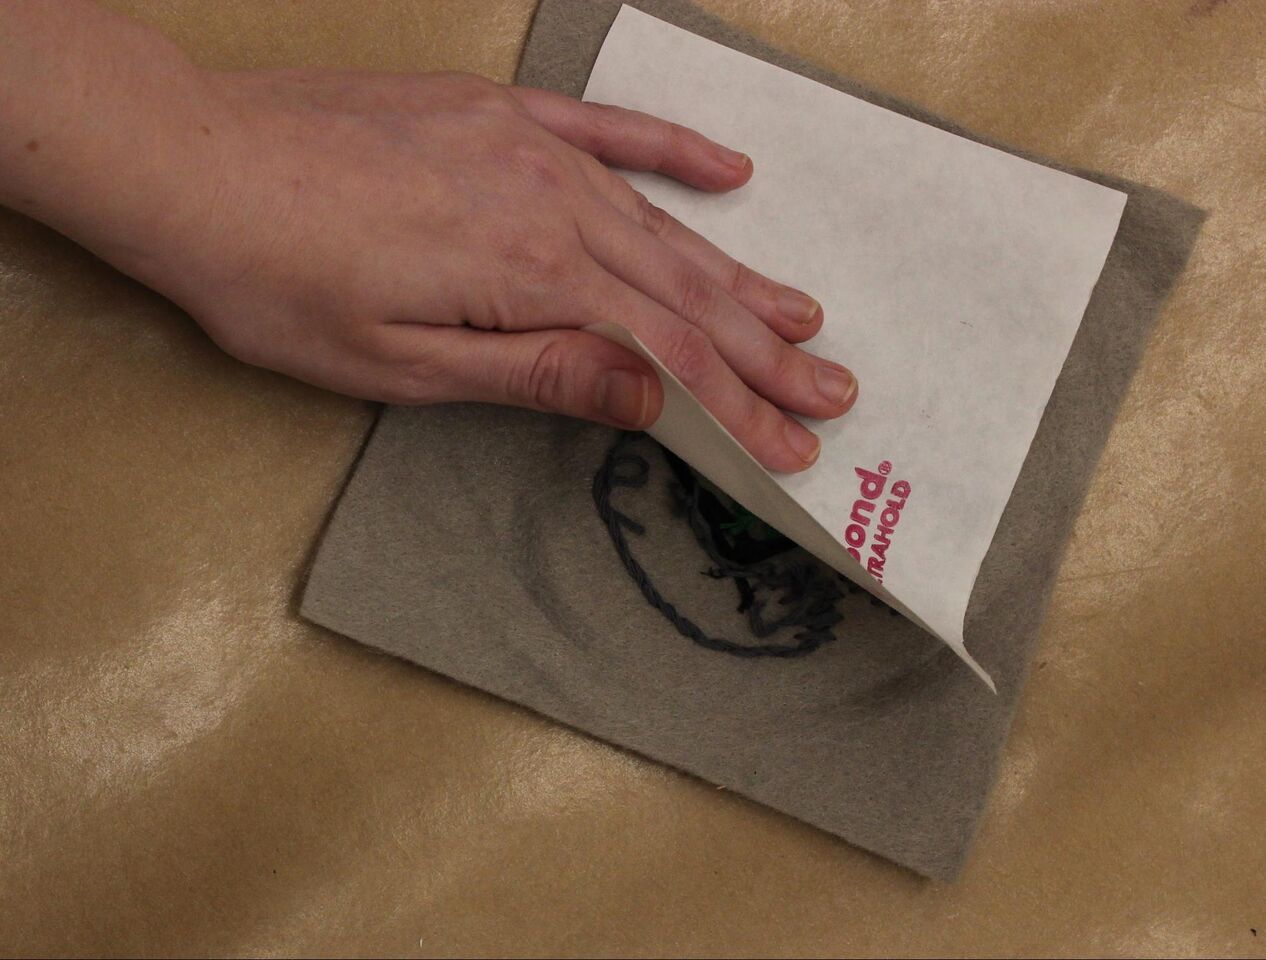
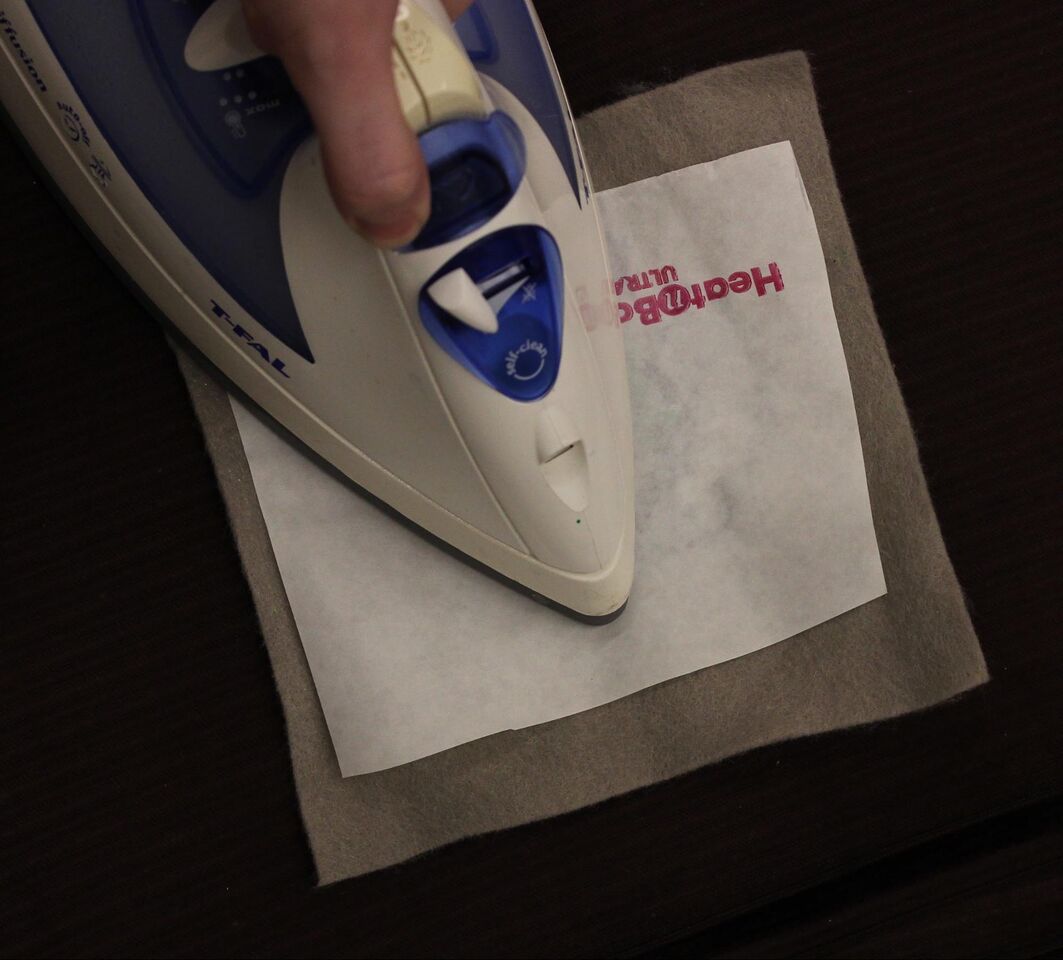
HeatnBond adhesive sheets will make the design into a patch. HeatnBond is two sided, with a shiny, textured plastic side and a paper side. Cut a piece of HeatnBond large enough to cover the design and place it on the backside of the fabric, with the paper side of the HeatnBond facing up. Pass an iron set on medium heat over the HeatnBond for approximately 30 seconds, ensuring that the iron passes over the edges and corners of the adhesive. Make sure that the HeatnBond is completely adhered to the fabric; no corners or edges should lift.
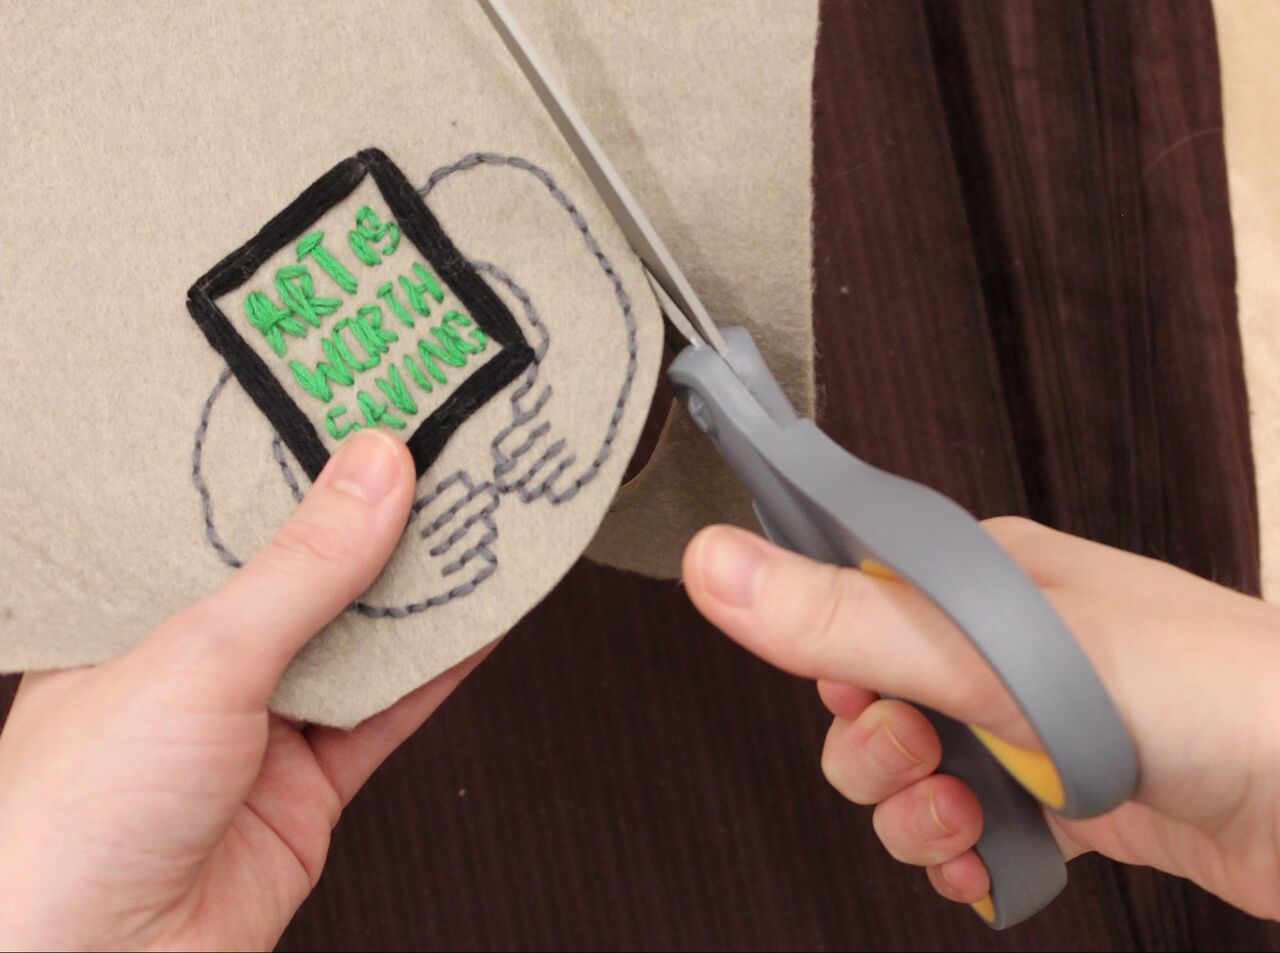
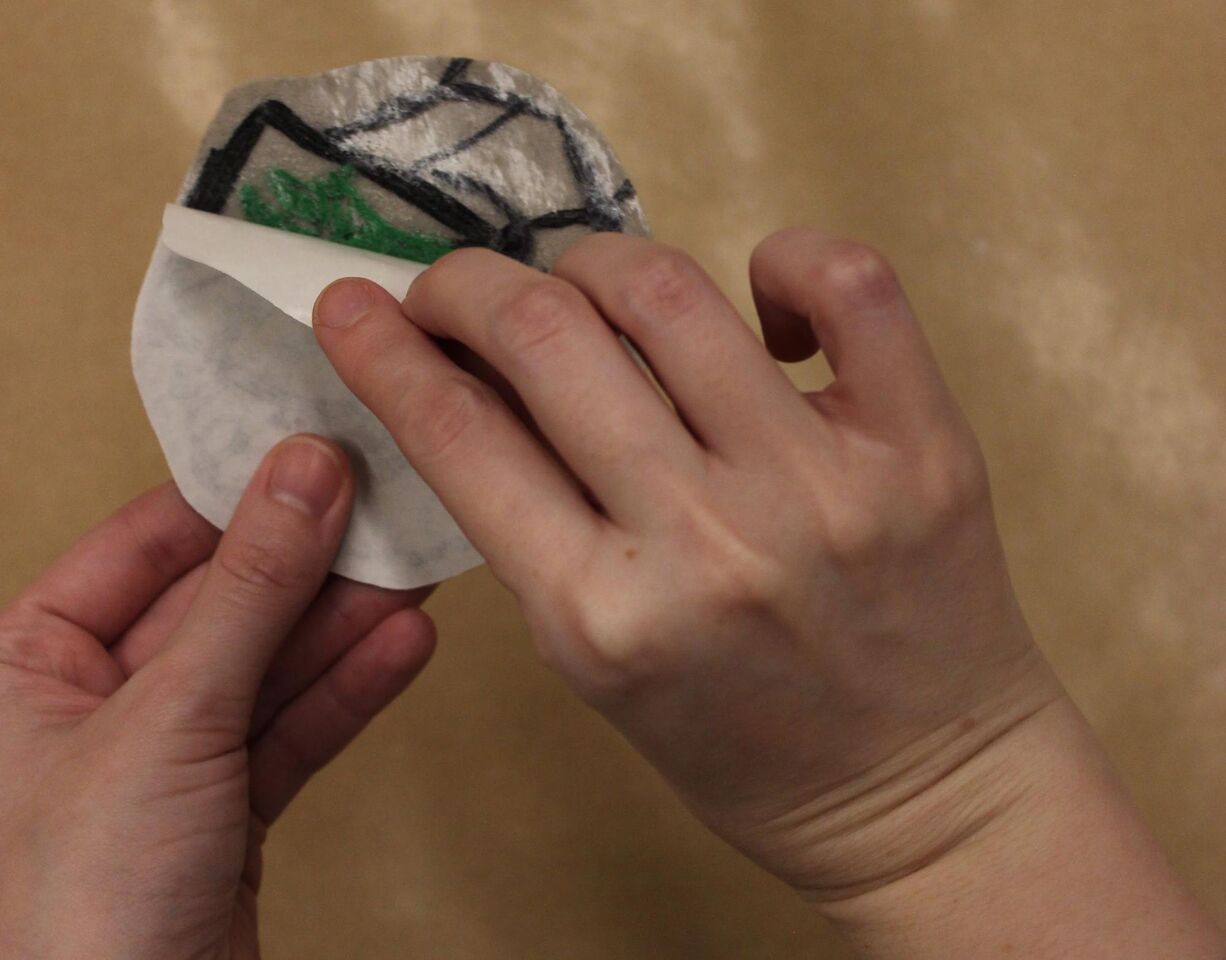
Once the fabric has cooled, use scissors to trim around the design. The HeatnBond seals the fabric, so no hemming is needed. After the design is cut to size, remove the paper backing from the back of the design. Underneath, the plastic should be smooth and shiny. Now the patch can be ironed onto another piece of fabric, like a jacket or backpack.
Be sure to visit The Guerrilla Girls before it closes on September 30. If you liked this project, join us at our upcoming workshops for families, teens, and adults to get your make on.
Jessica Thompson is the Manager of Teen Programs at the DMA.
