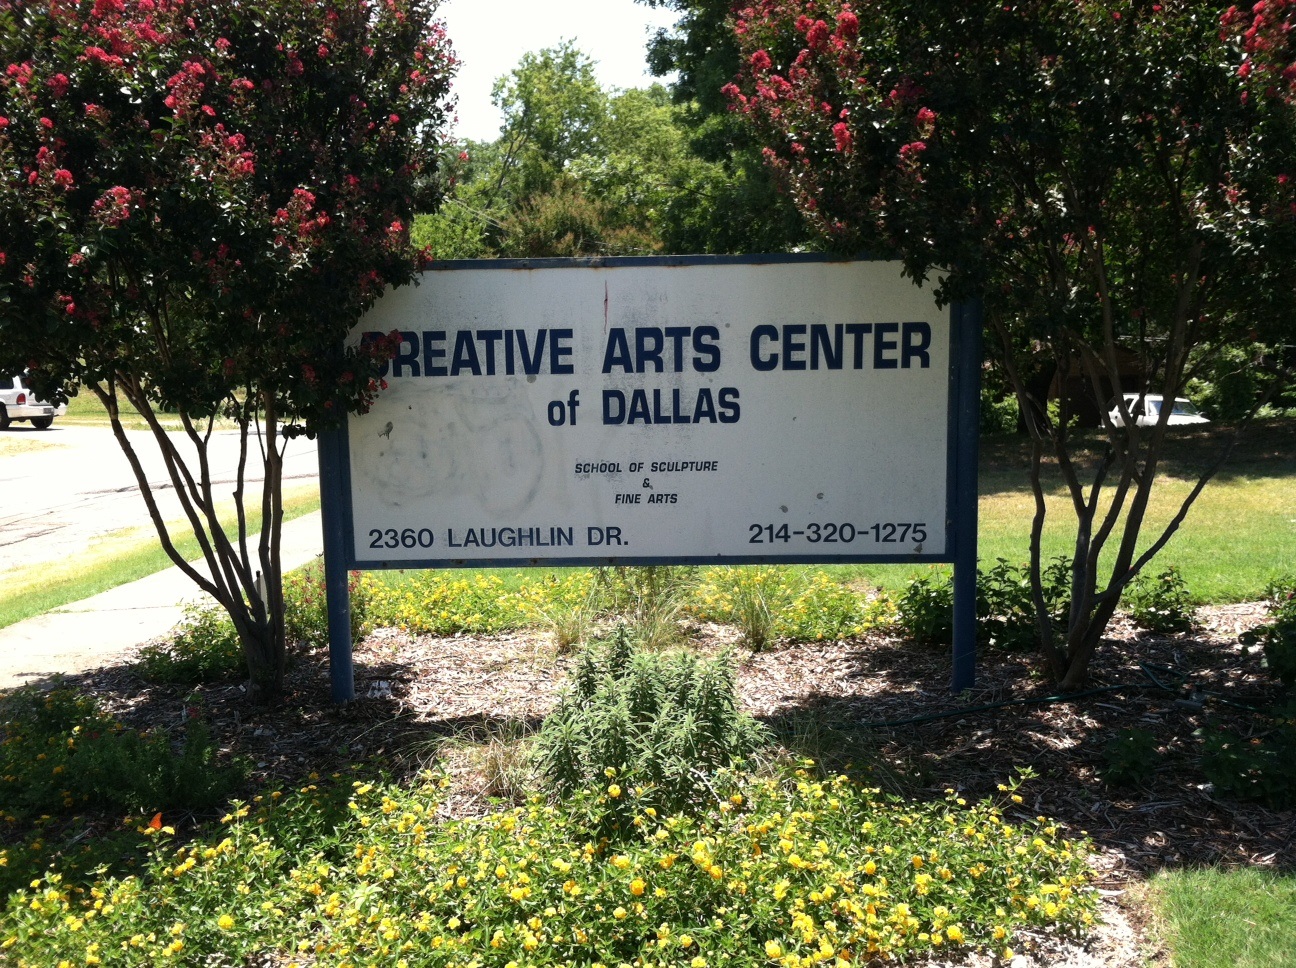
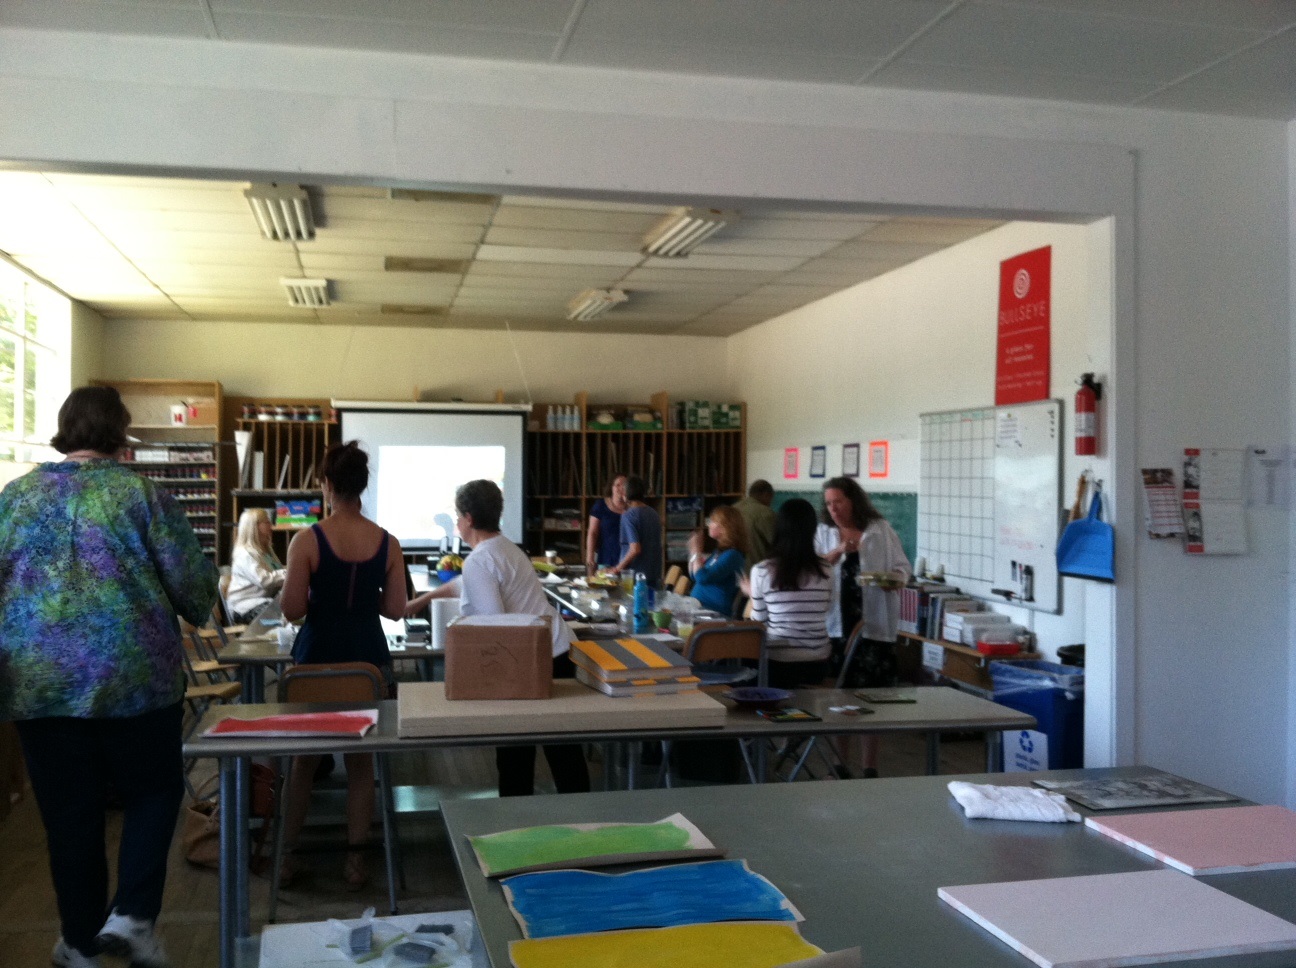
On Friday, July 12, Amanda Blake and I visited the Creative Arts Center of Dallas (CAC), a non-profit organization located on a two-acre campus near White Rock Lake. The CAC’s mission is to provide a “nurturing environment for people to discover, develop and express their artistic visions” through hands-on classes and workshops. The reason for our visit was to attend a training session hosted by VSA Texas, the state organization on arts and disability. VSA Texas is a member of the international network of VSA, a non-profit affiliate of The John F. Kennedy Center for the Performing Arts. Based in Austin, VSA Texas works to create a society where people with disabilities learn through, participate in, and enjoy the arts.
The focus of the training session was learning how to create accessible artistic environments, be they classes or workshops, for people of all cognitive and developmental abilities. Amanda and I currently lead monthly art experiences for adults with developmental disabilities through our partnership with the ARC of Dallas. Each class includes a gallery discussion, an interactive component, and an art-making activity in the Art Studio. We hoped that this hands-on training with VSA Texas would increase our skill-set and provide us with new ideas that could be introduced into our Access programs. We were joined by artists who currently lead art classes at CAC, but only teach typically developing students. This training was meant to pave the way for CAC’s new ARTability program, which would provide a variety of art making classes to the Dallas disability community.
Oftentimes, people with disabilities have had little to no exposure to art; not as a child in school nor in their group or individual homes as adults. Celia Hughes and April Sullivan–VSA Texas Executive Director and Artworks Director respectively–led our training and explained that designing art-making opportunities for people with disabilities does not involve creating completely new lessons, but rather simplifying concepts and adapting artistic processes so that they are more accessible to a wider variety of developmental levels. “Take nothing for granted,” Hughes said, “break everything down into one step at a time.”
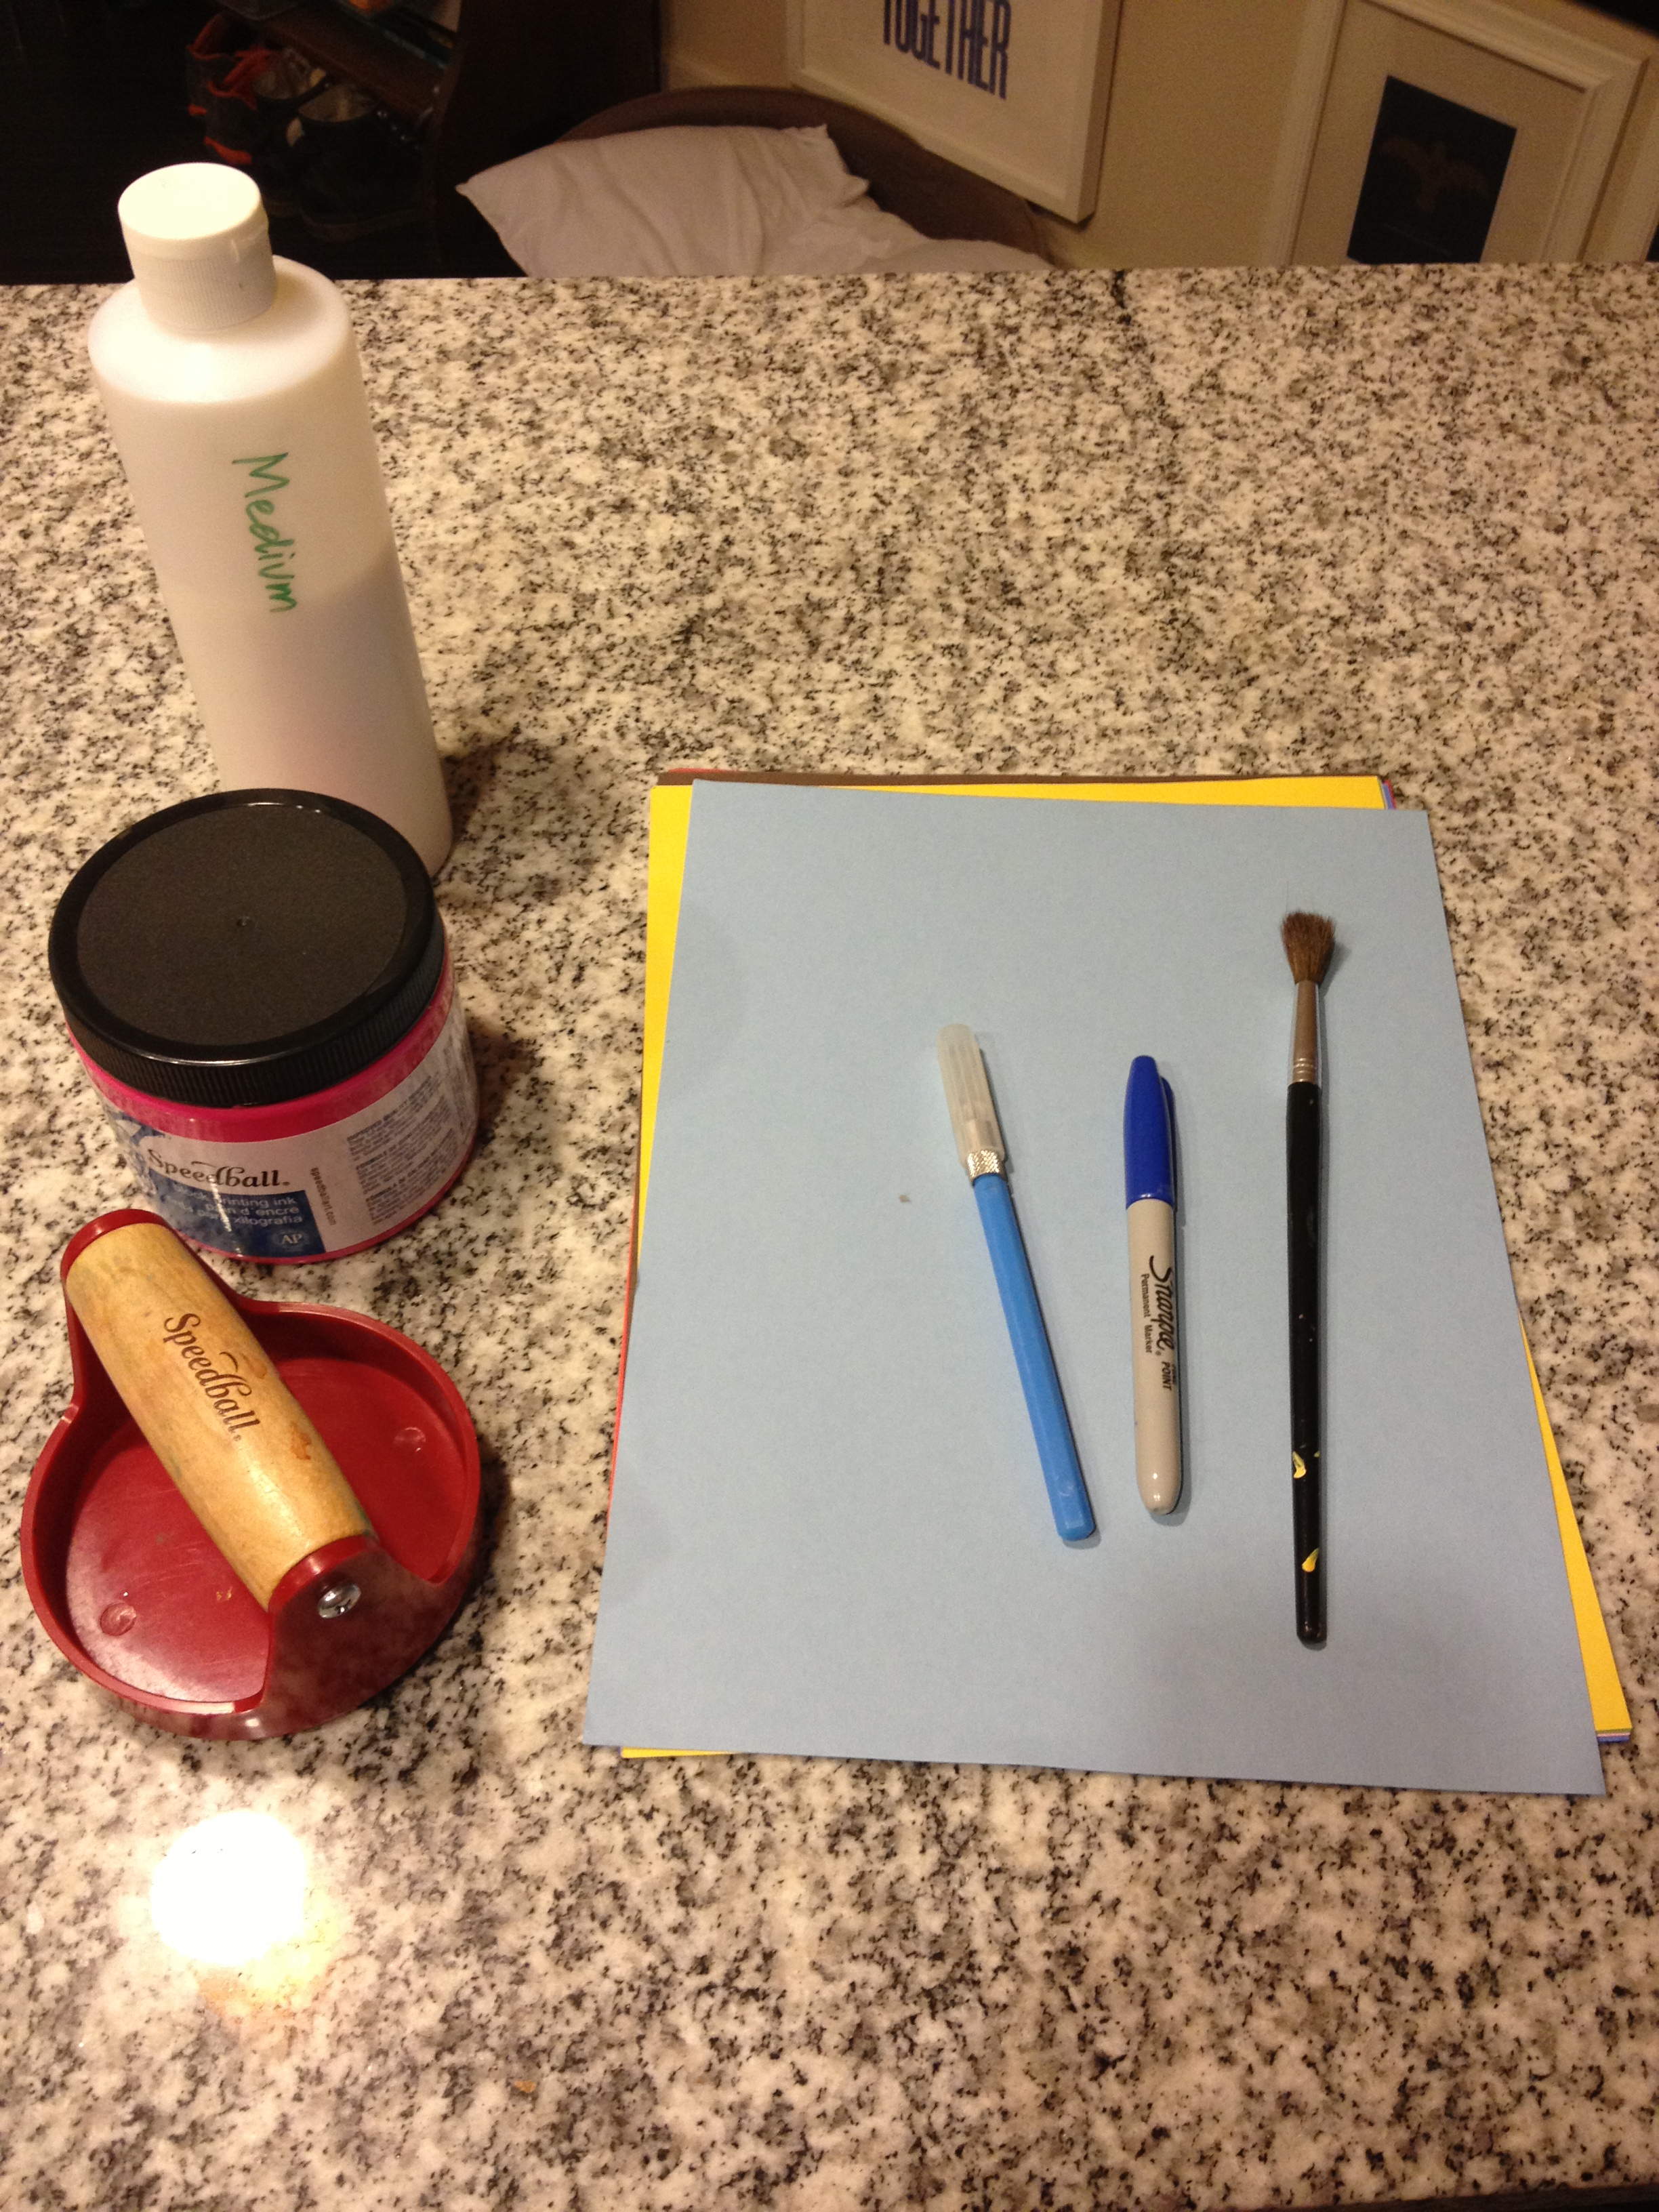
For example, the first step of an art lesson could be discussing paintbrushes: how to choose a brush and how to properly clean and take care of it. Though this concept could seem elementary to typically developing students, it is something that students with disabilities may have never encountered.
-
-
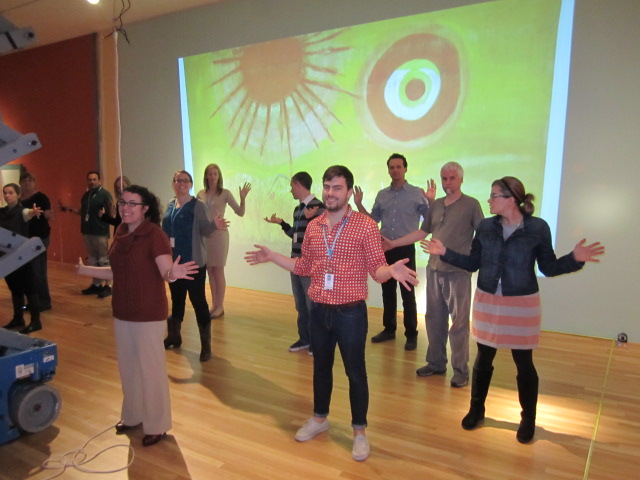
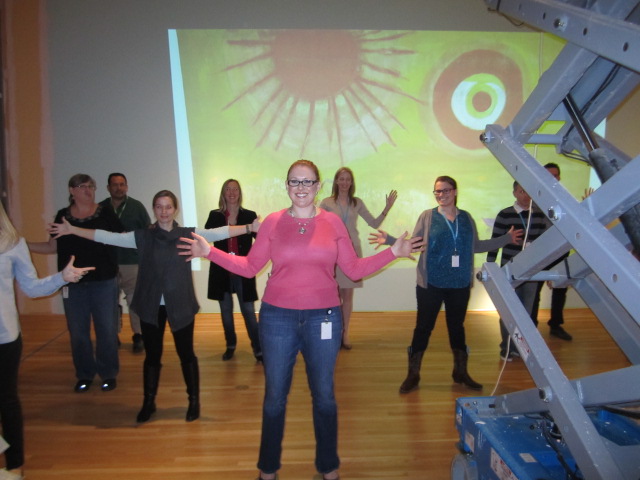
Discussing still-life composition.
-
-
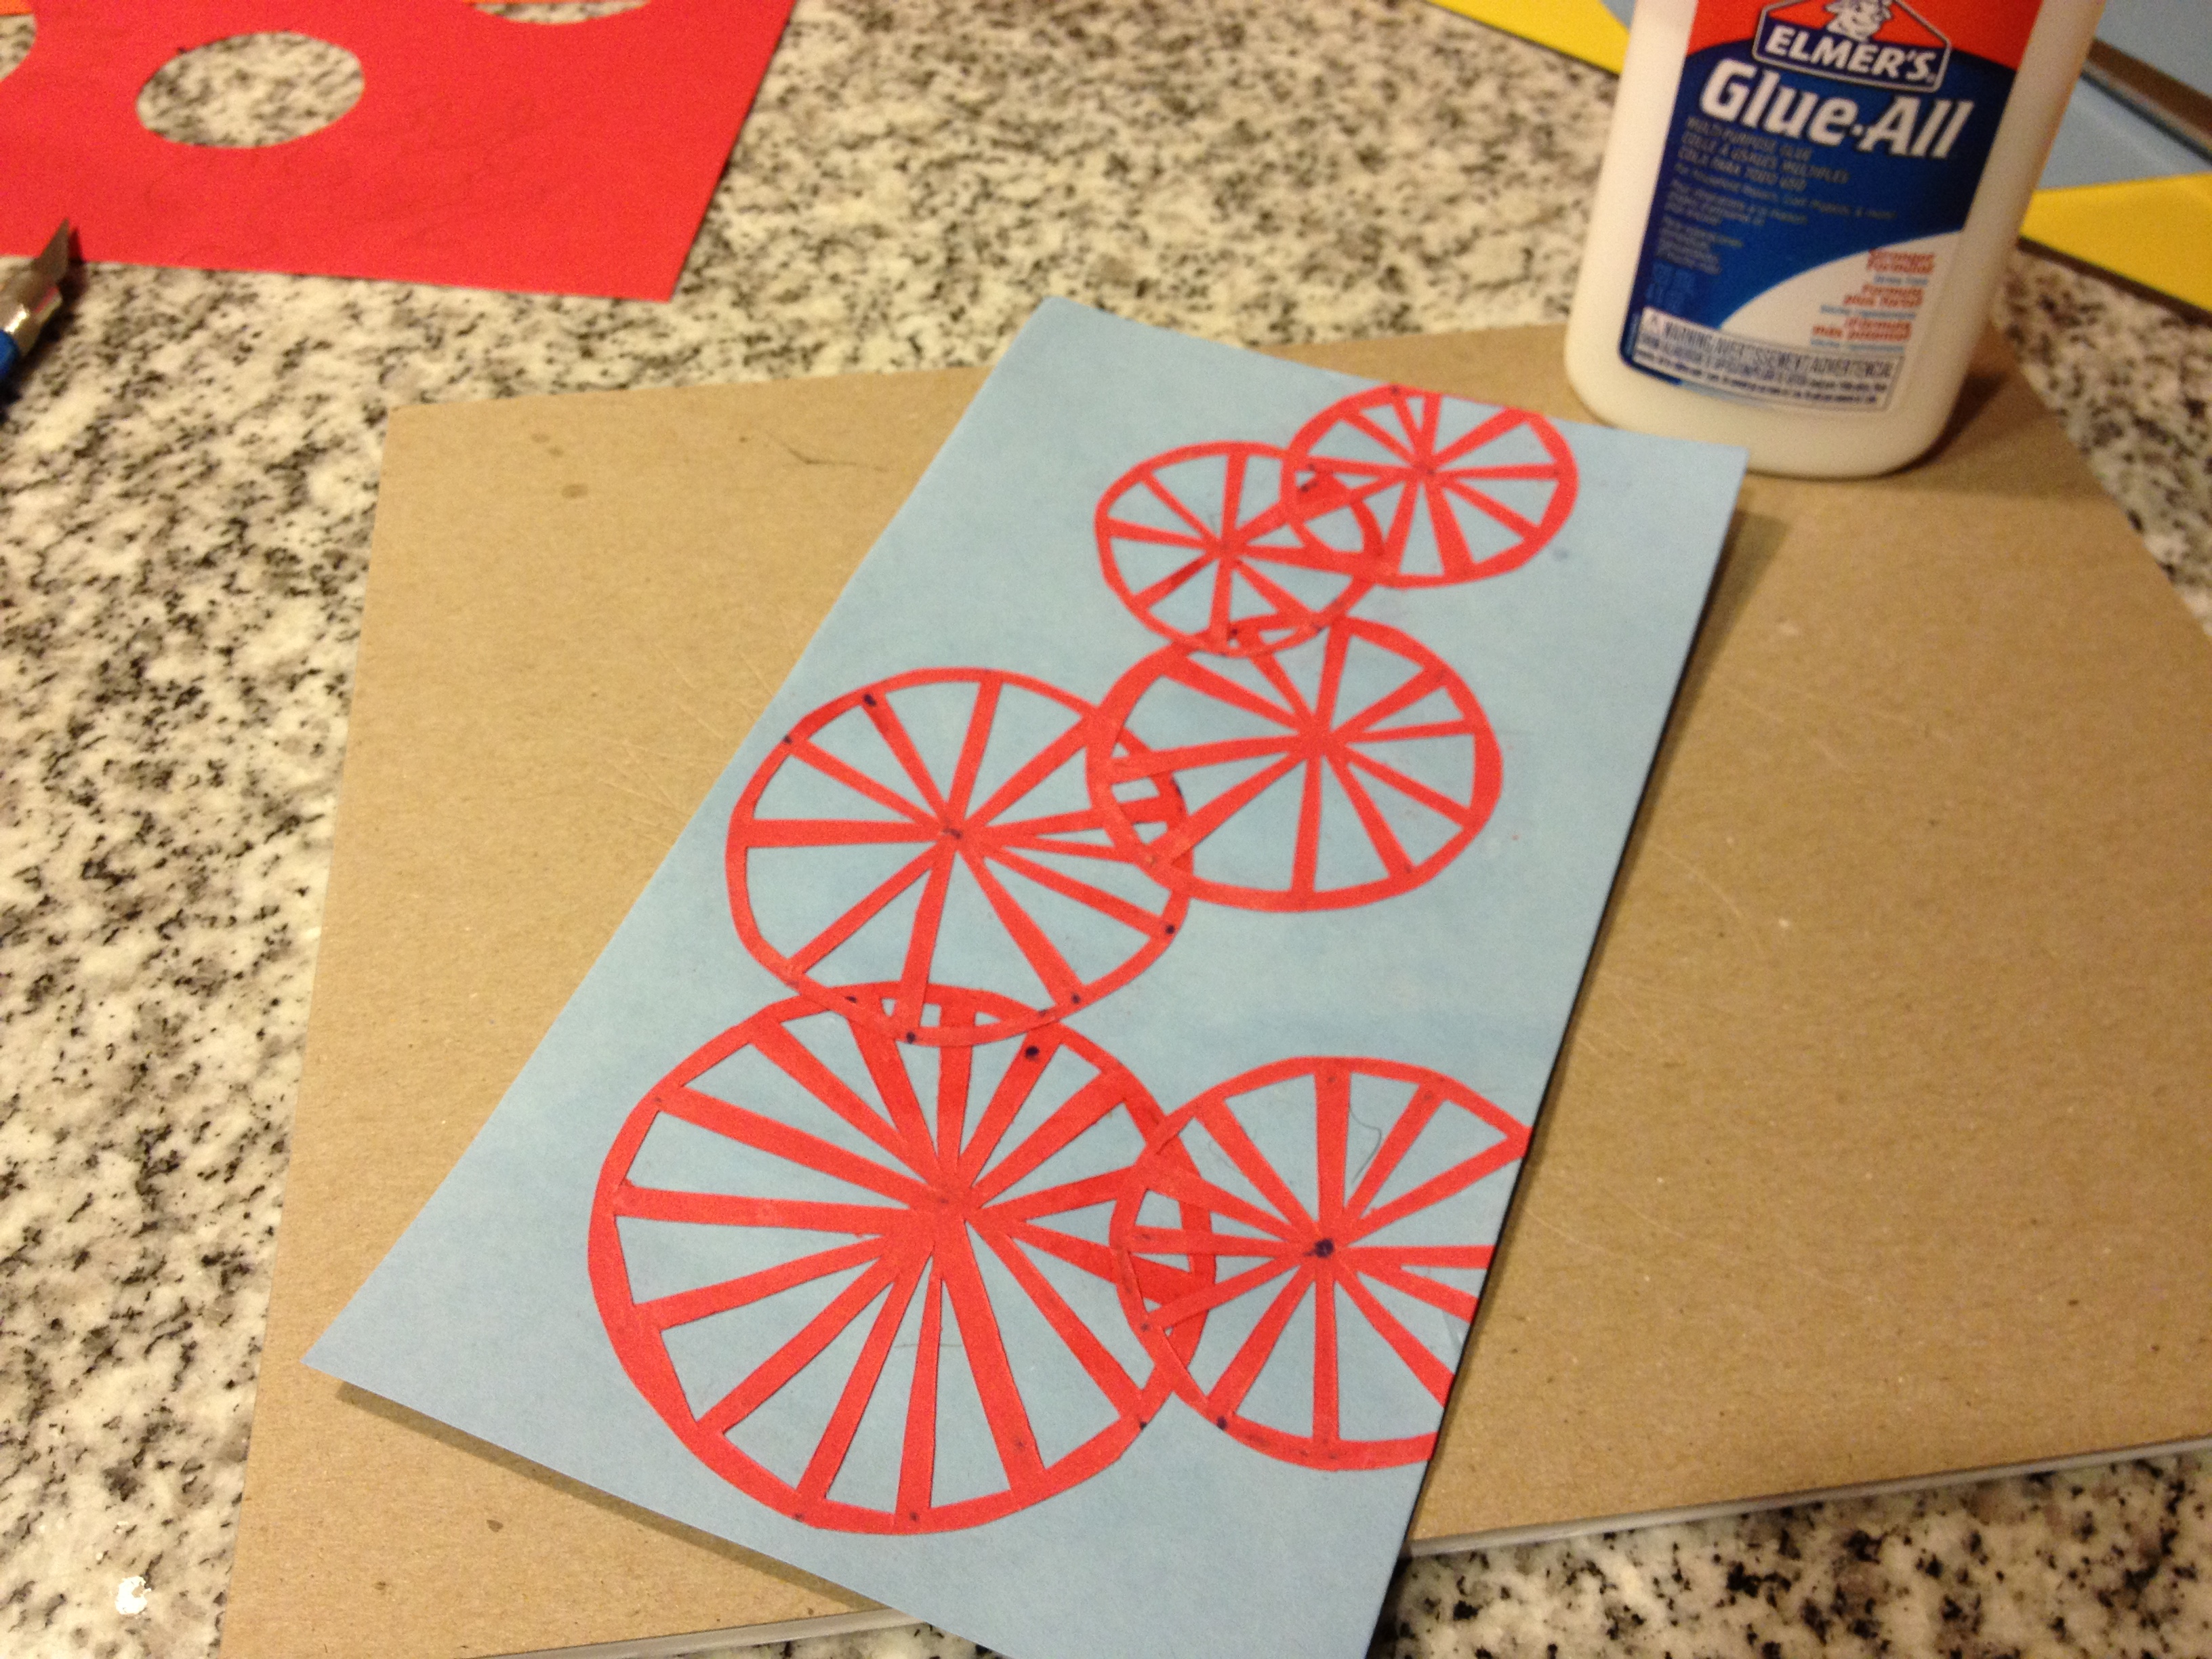
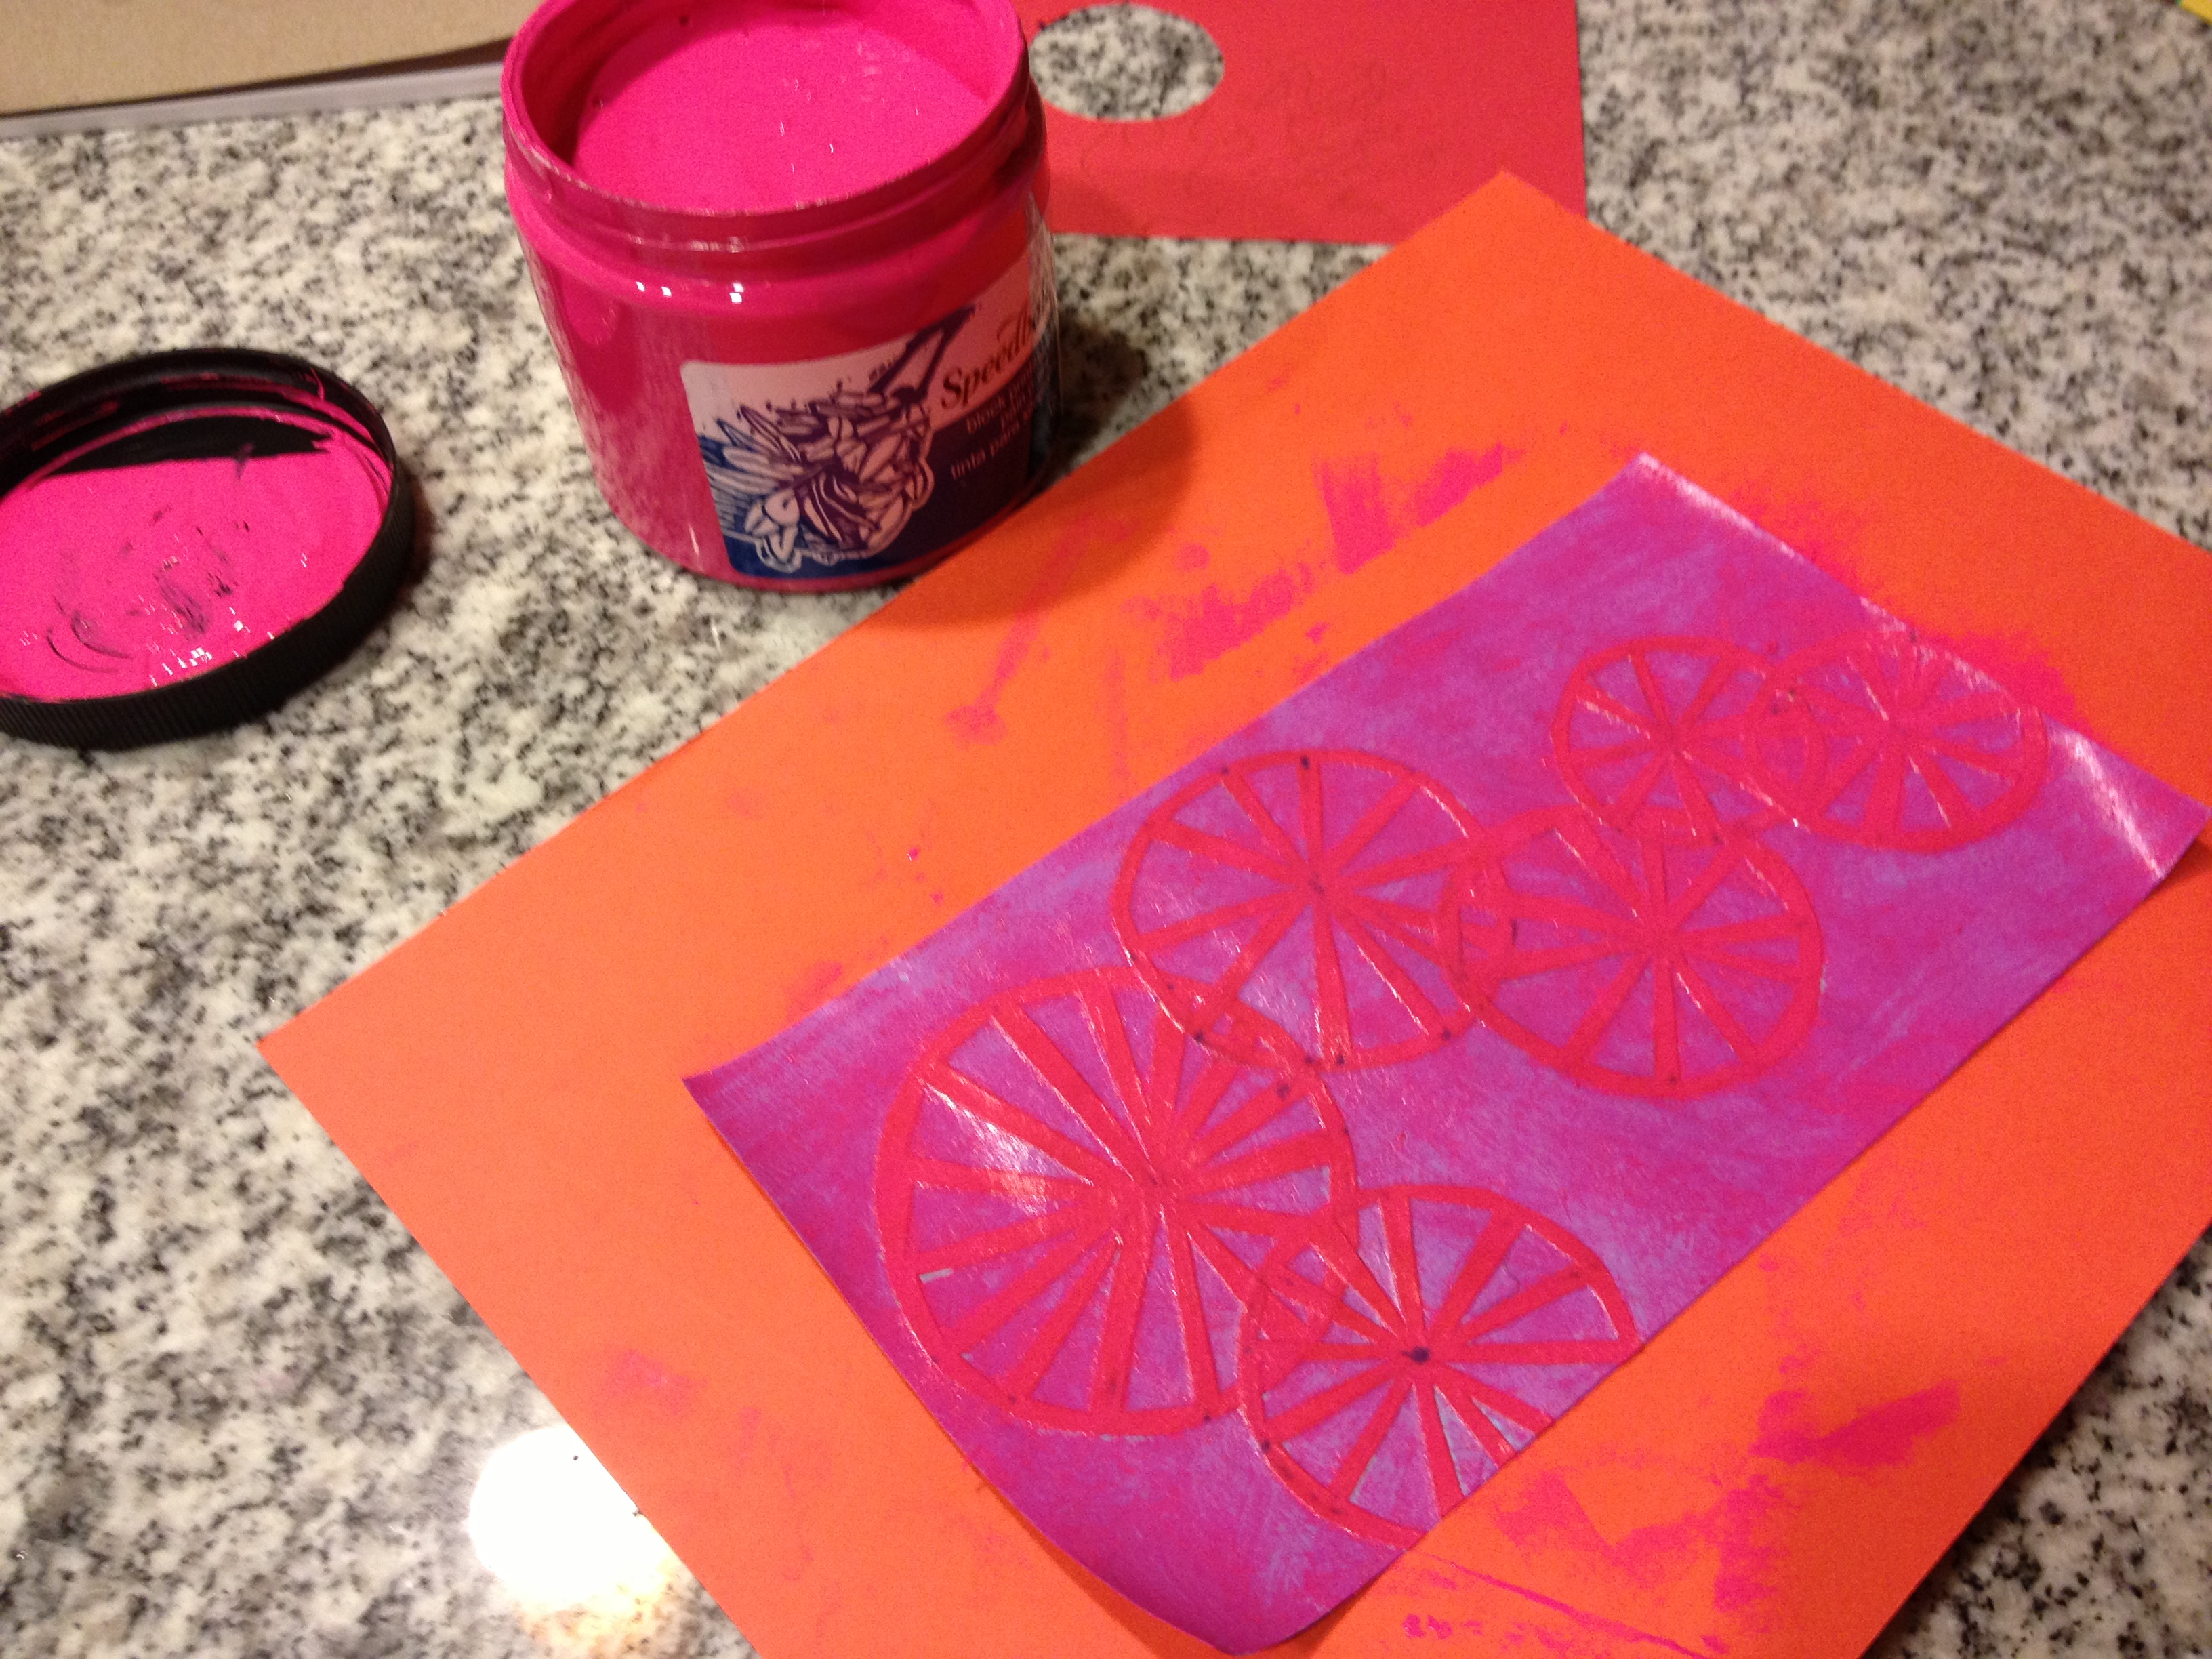
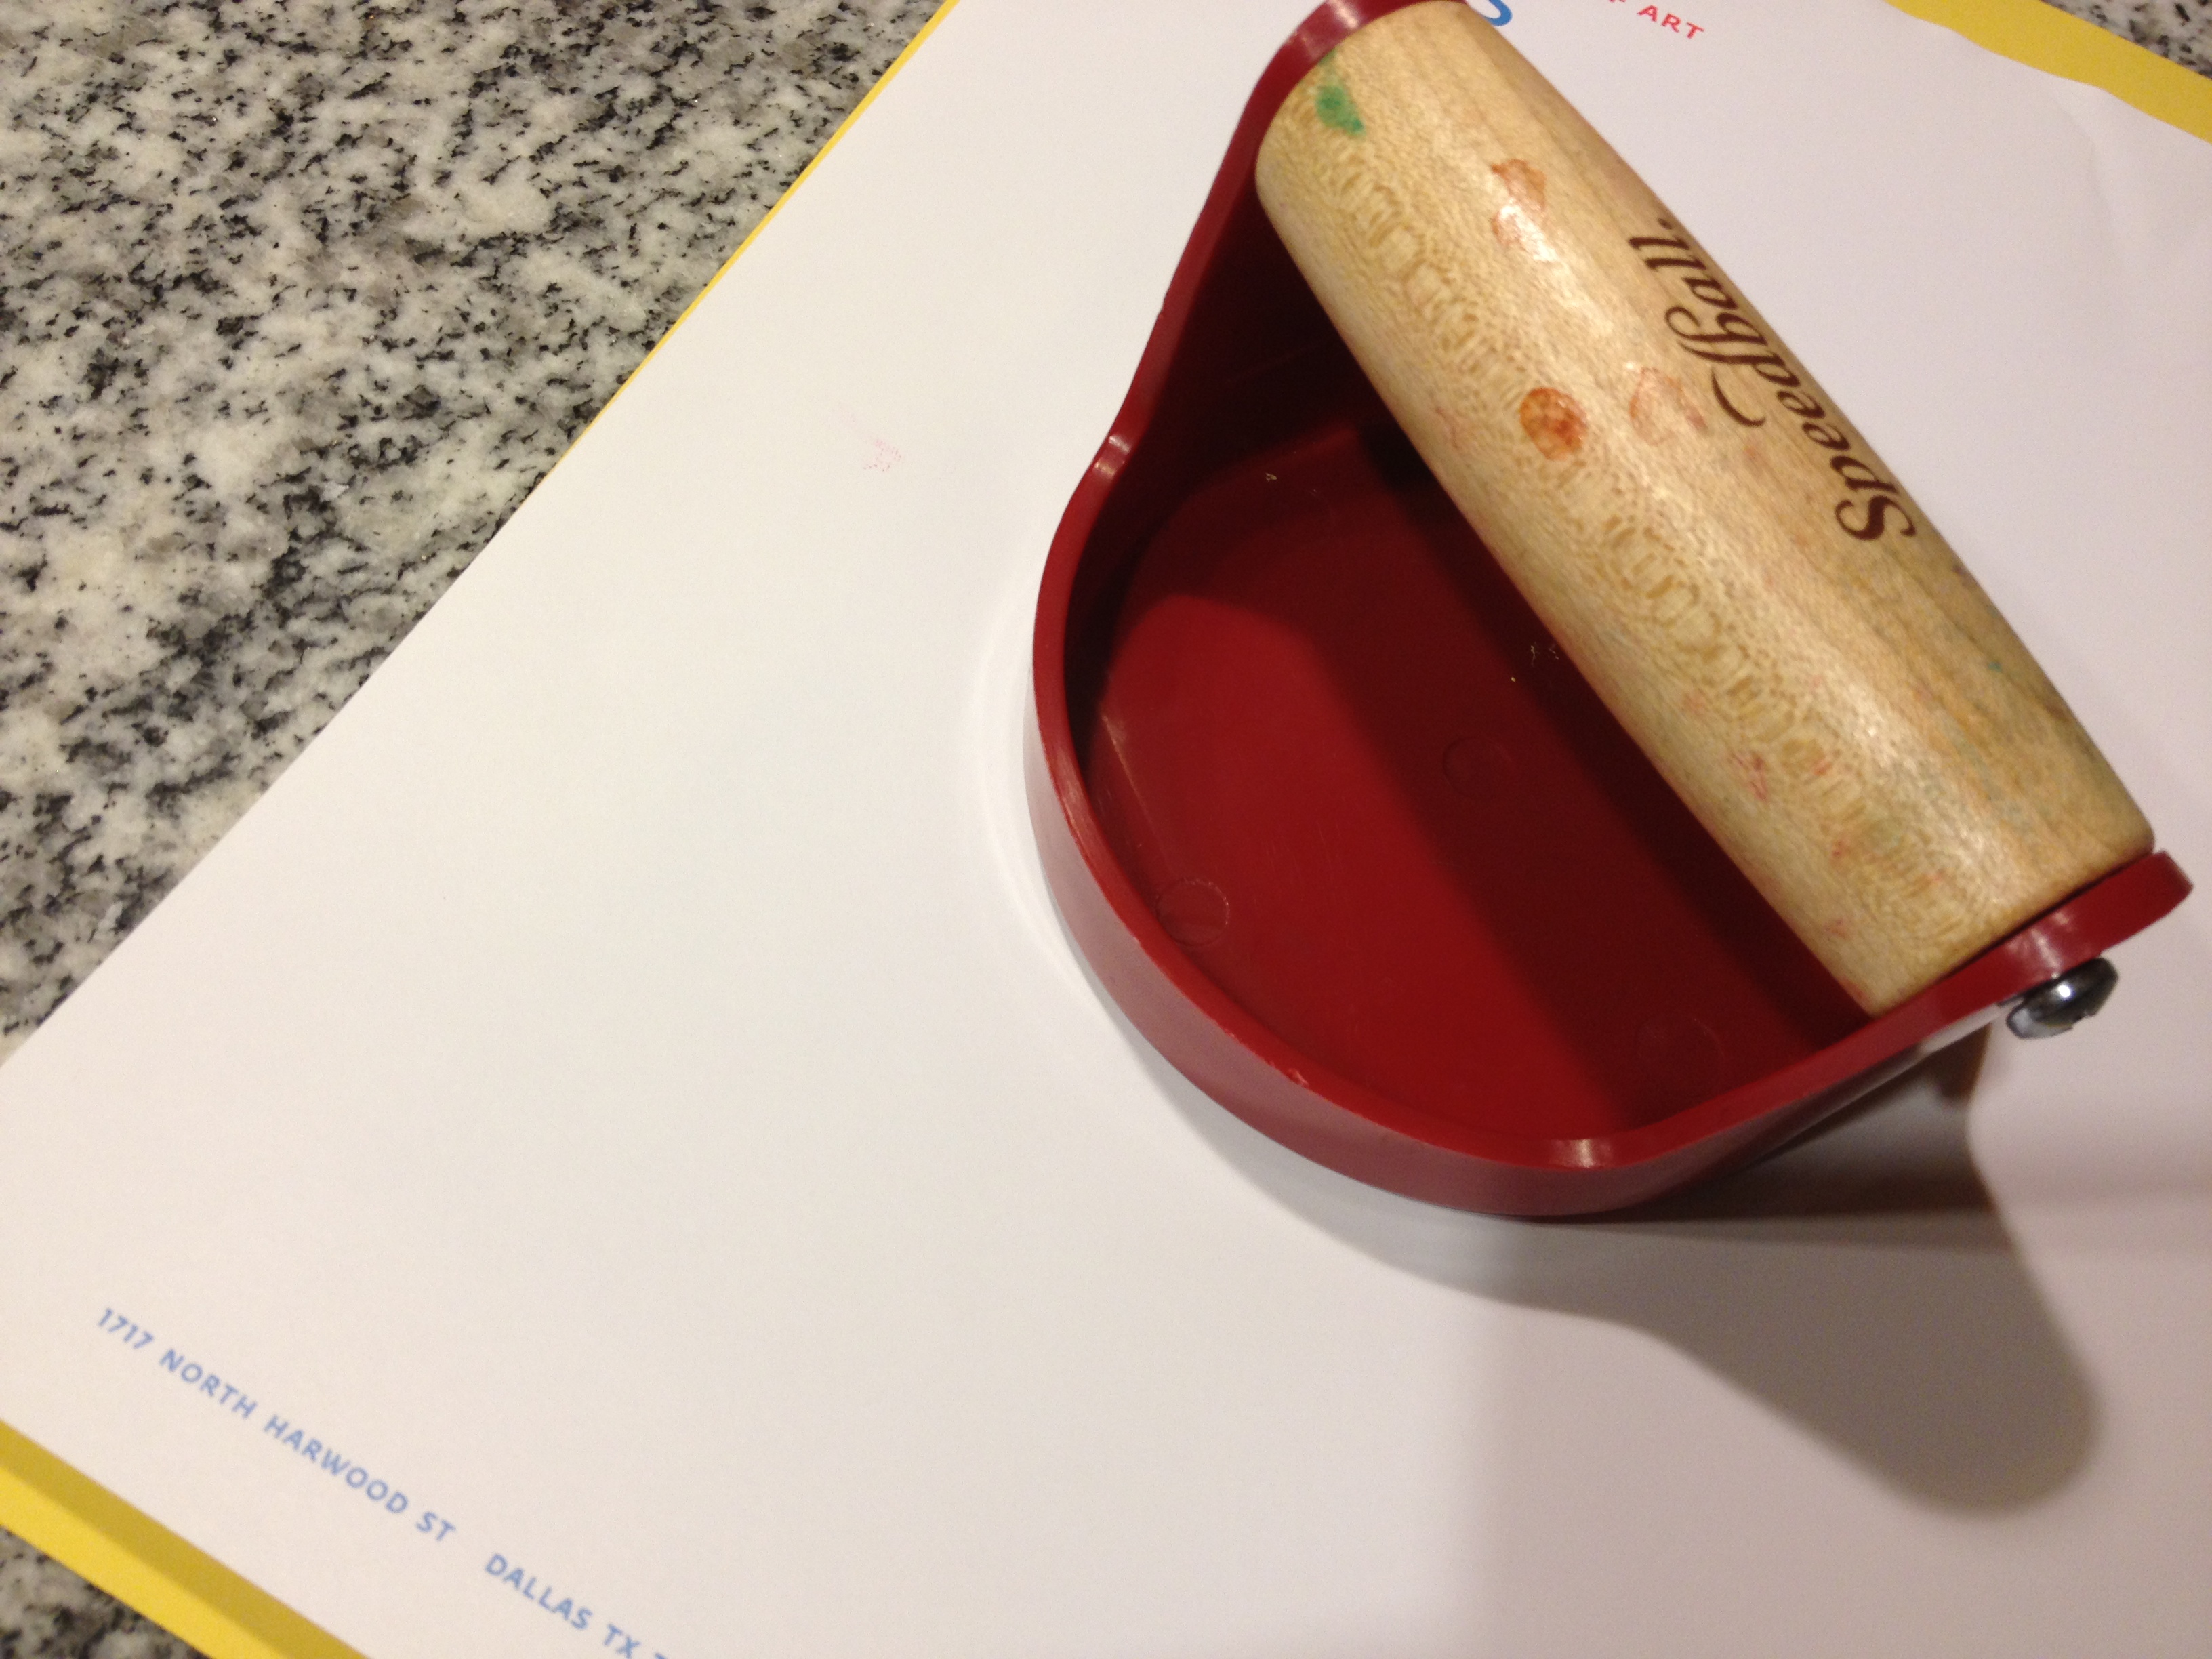
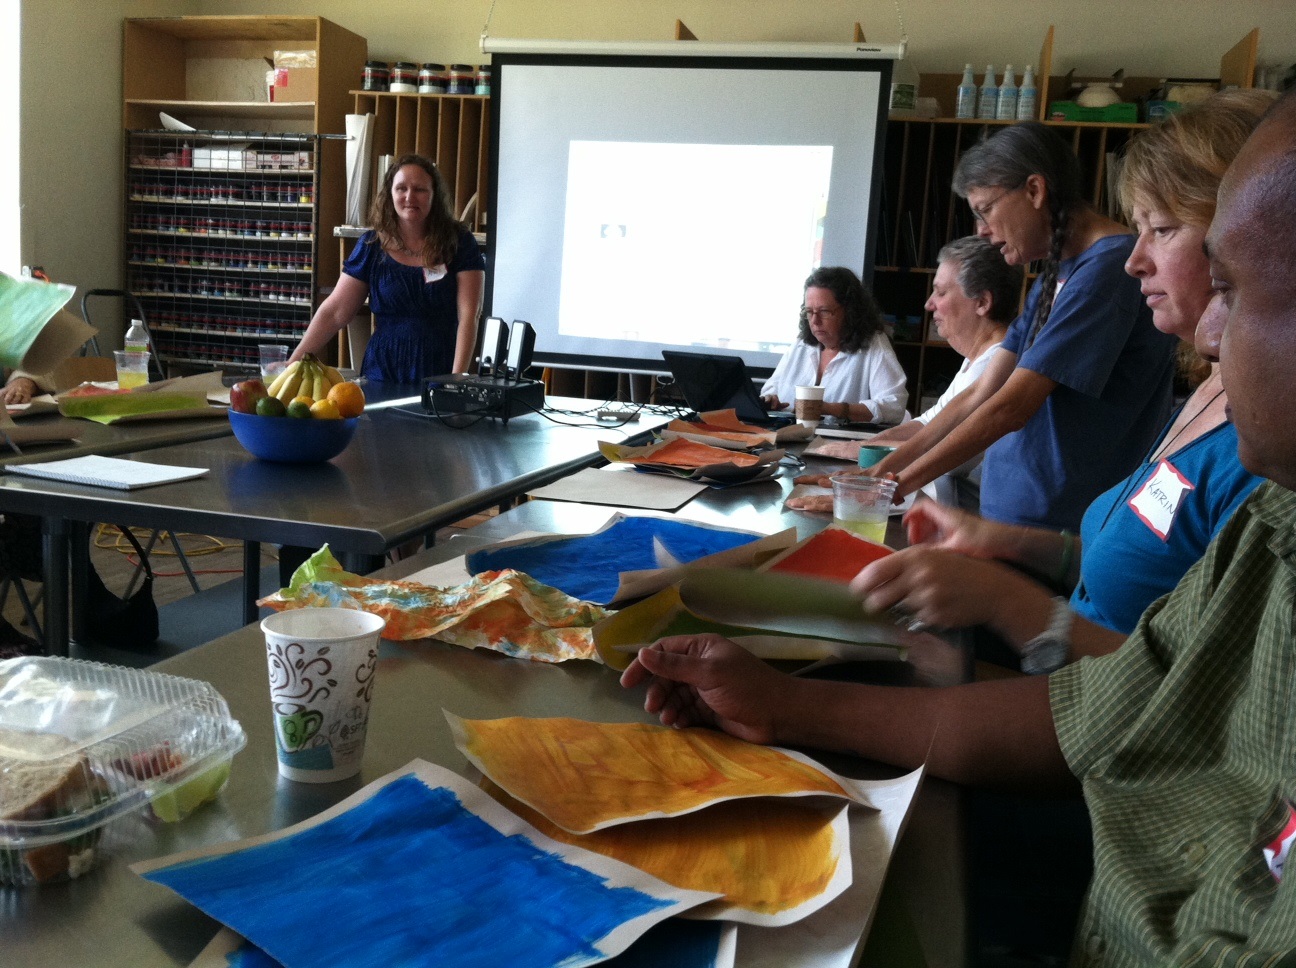
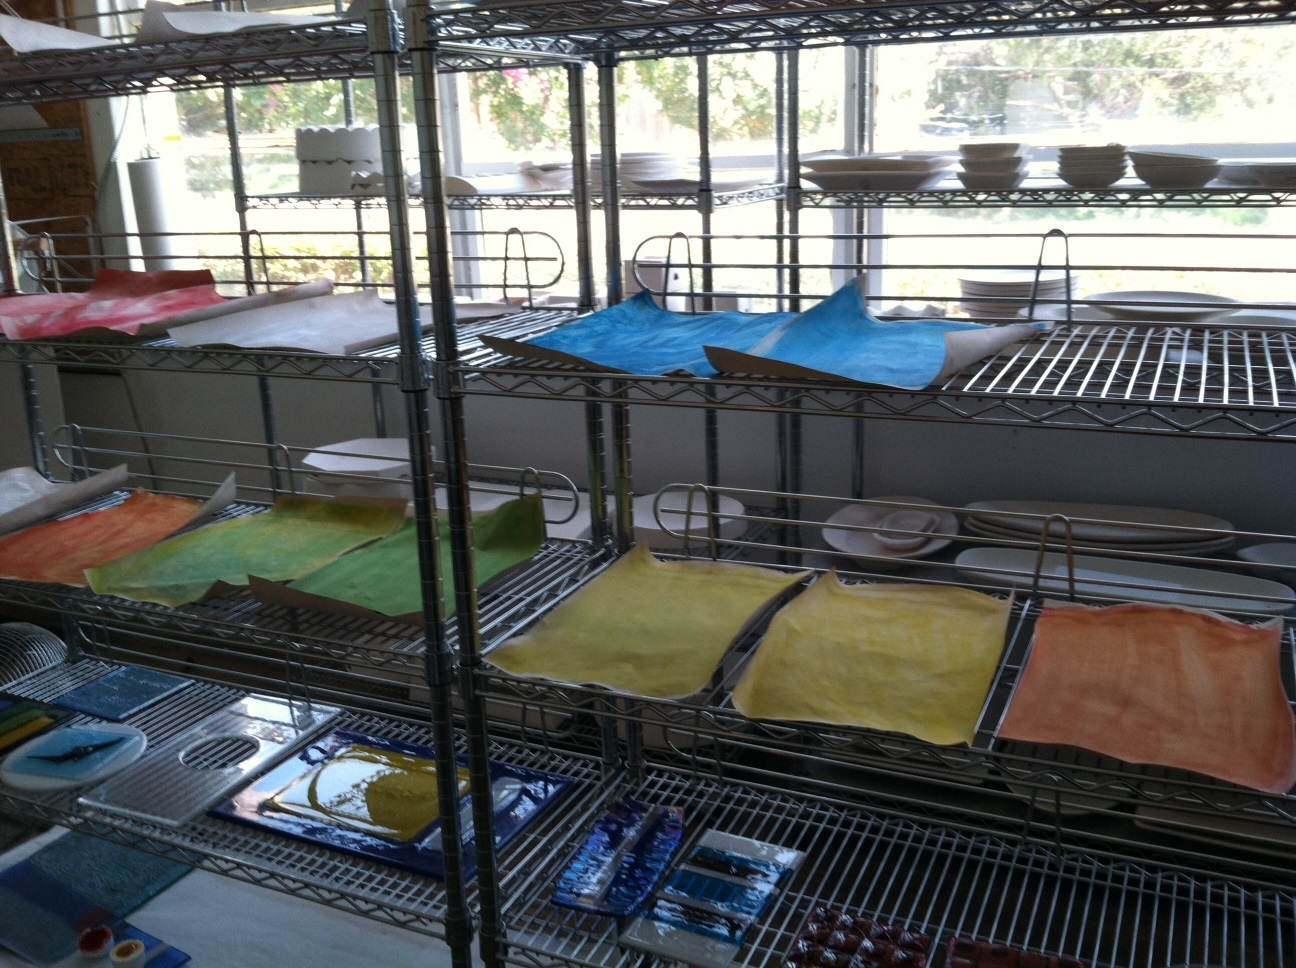
Preparing our paper for collage.
-
-
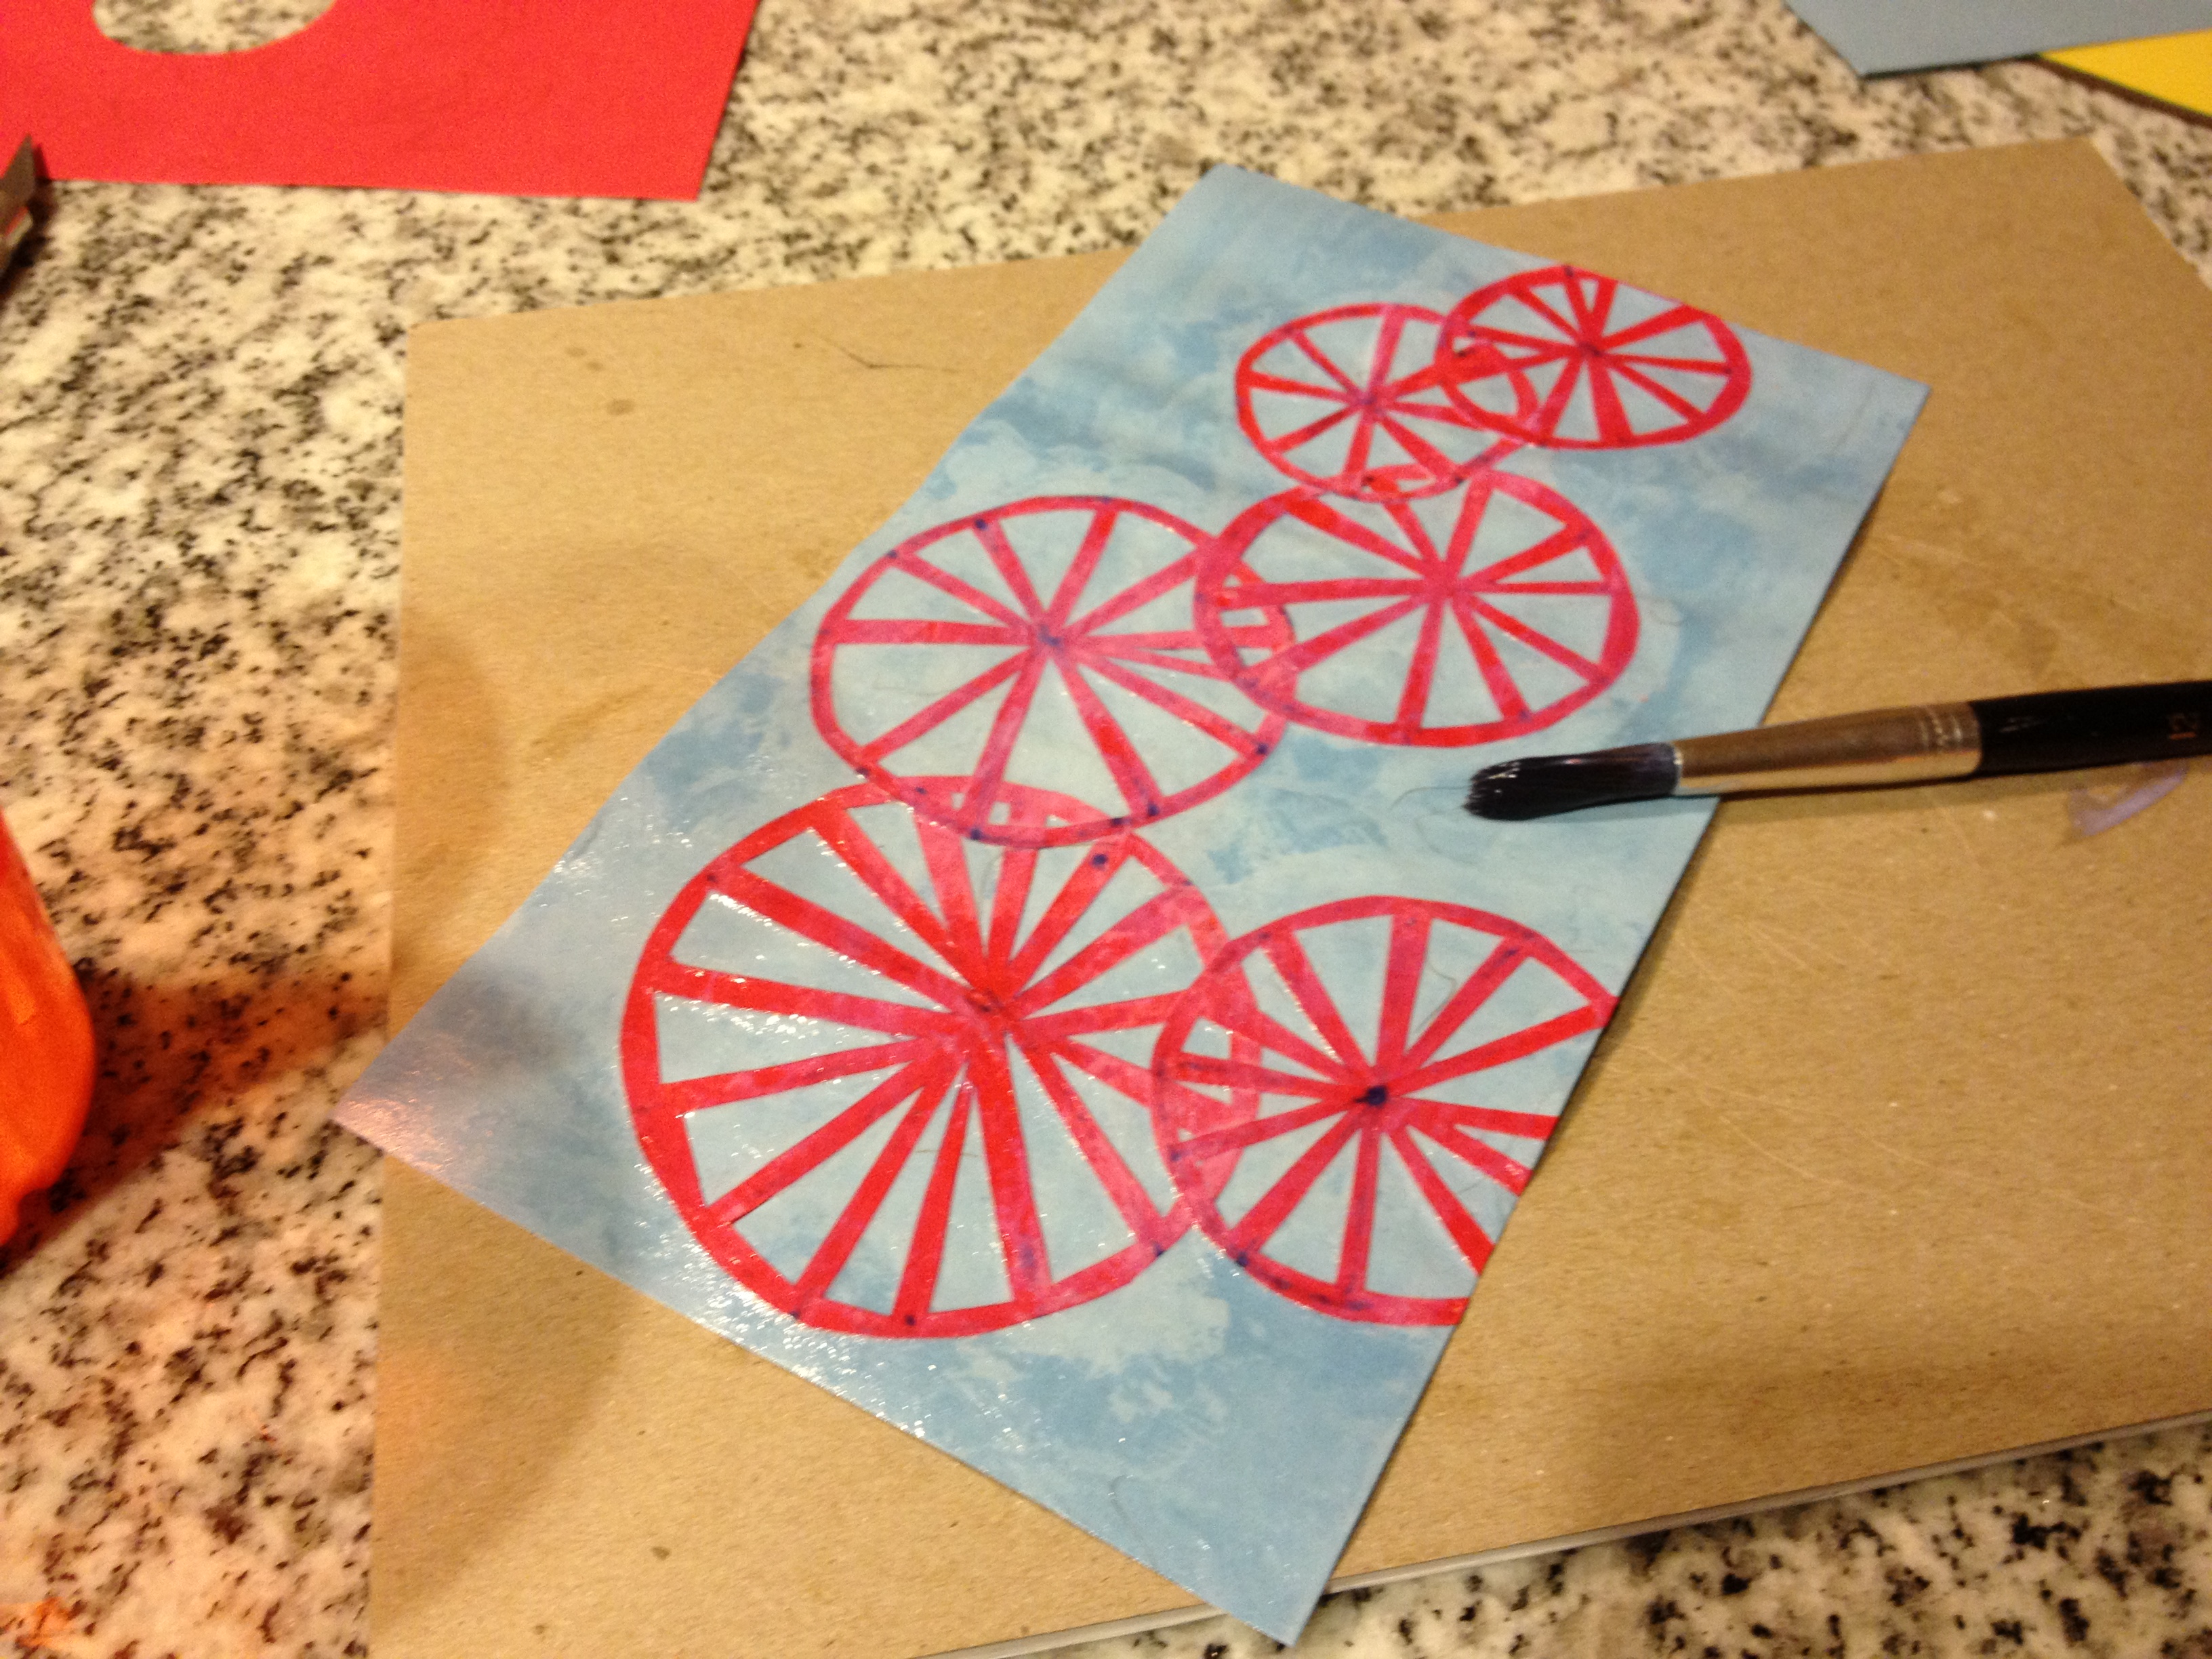
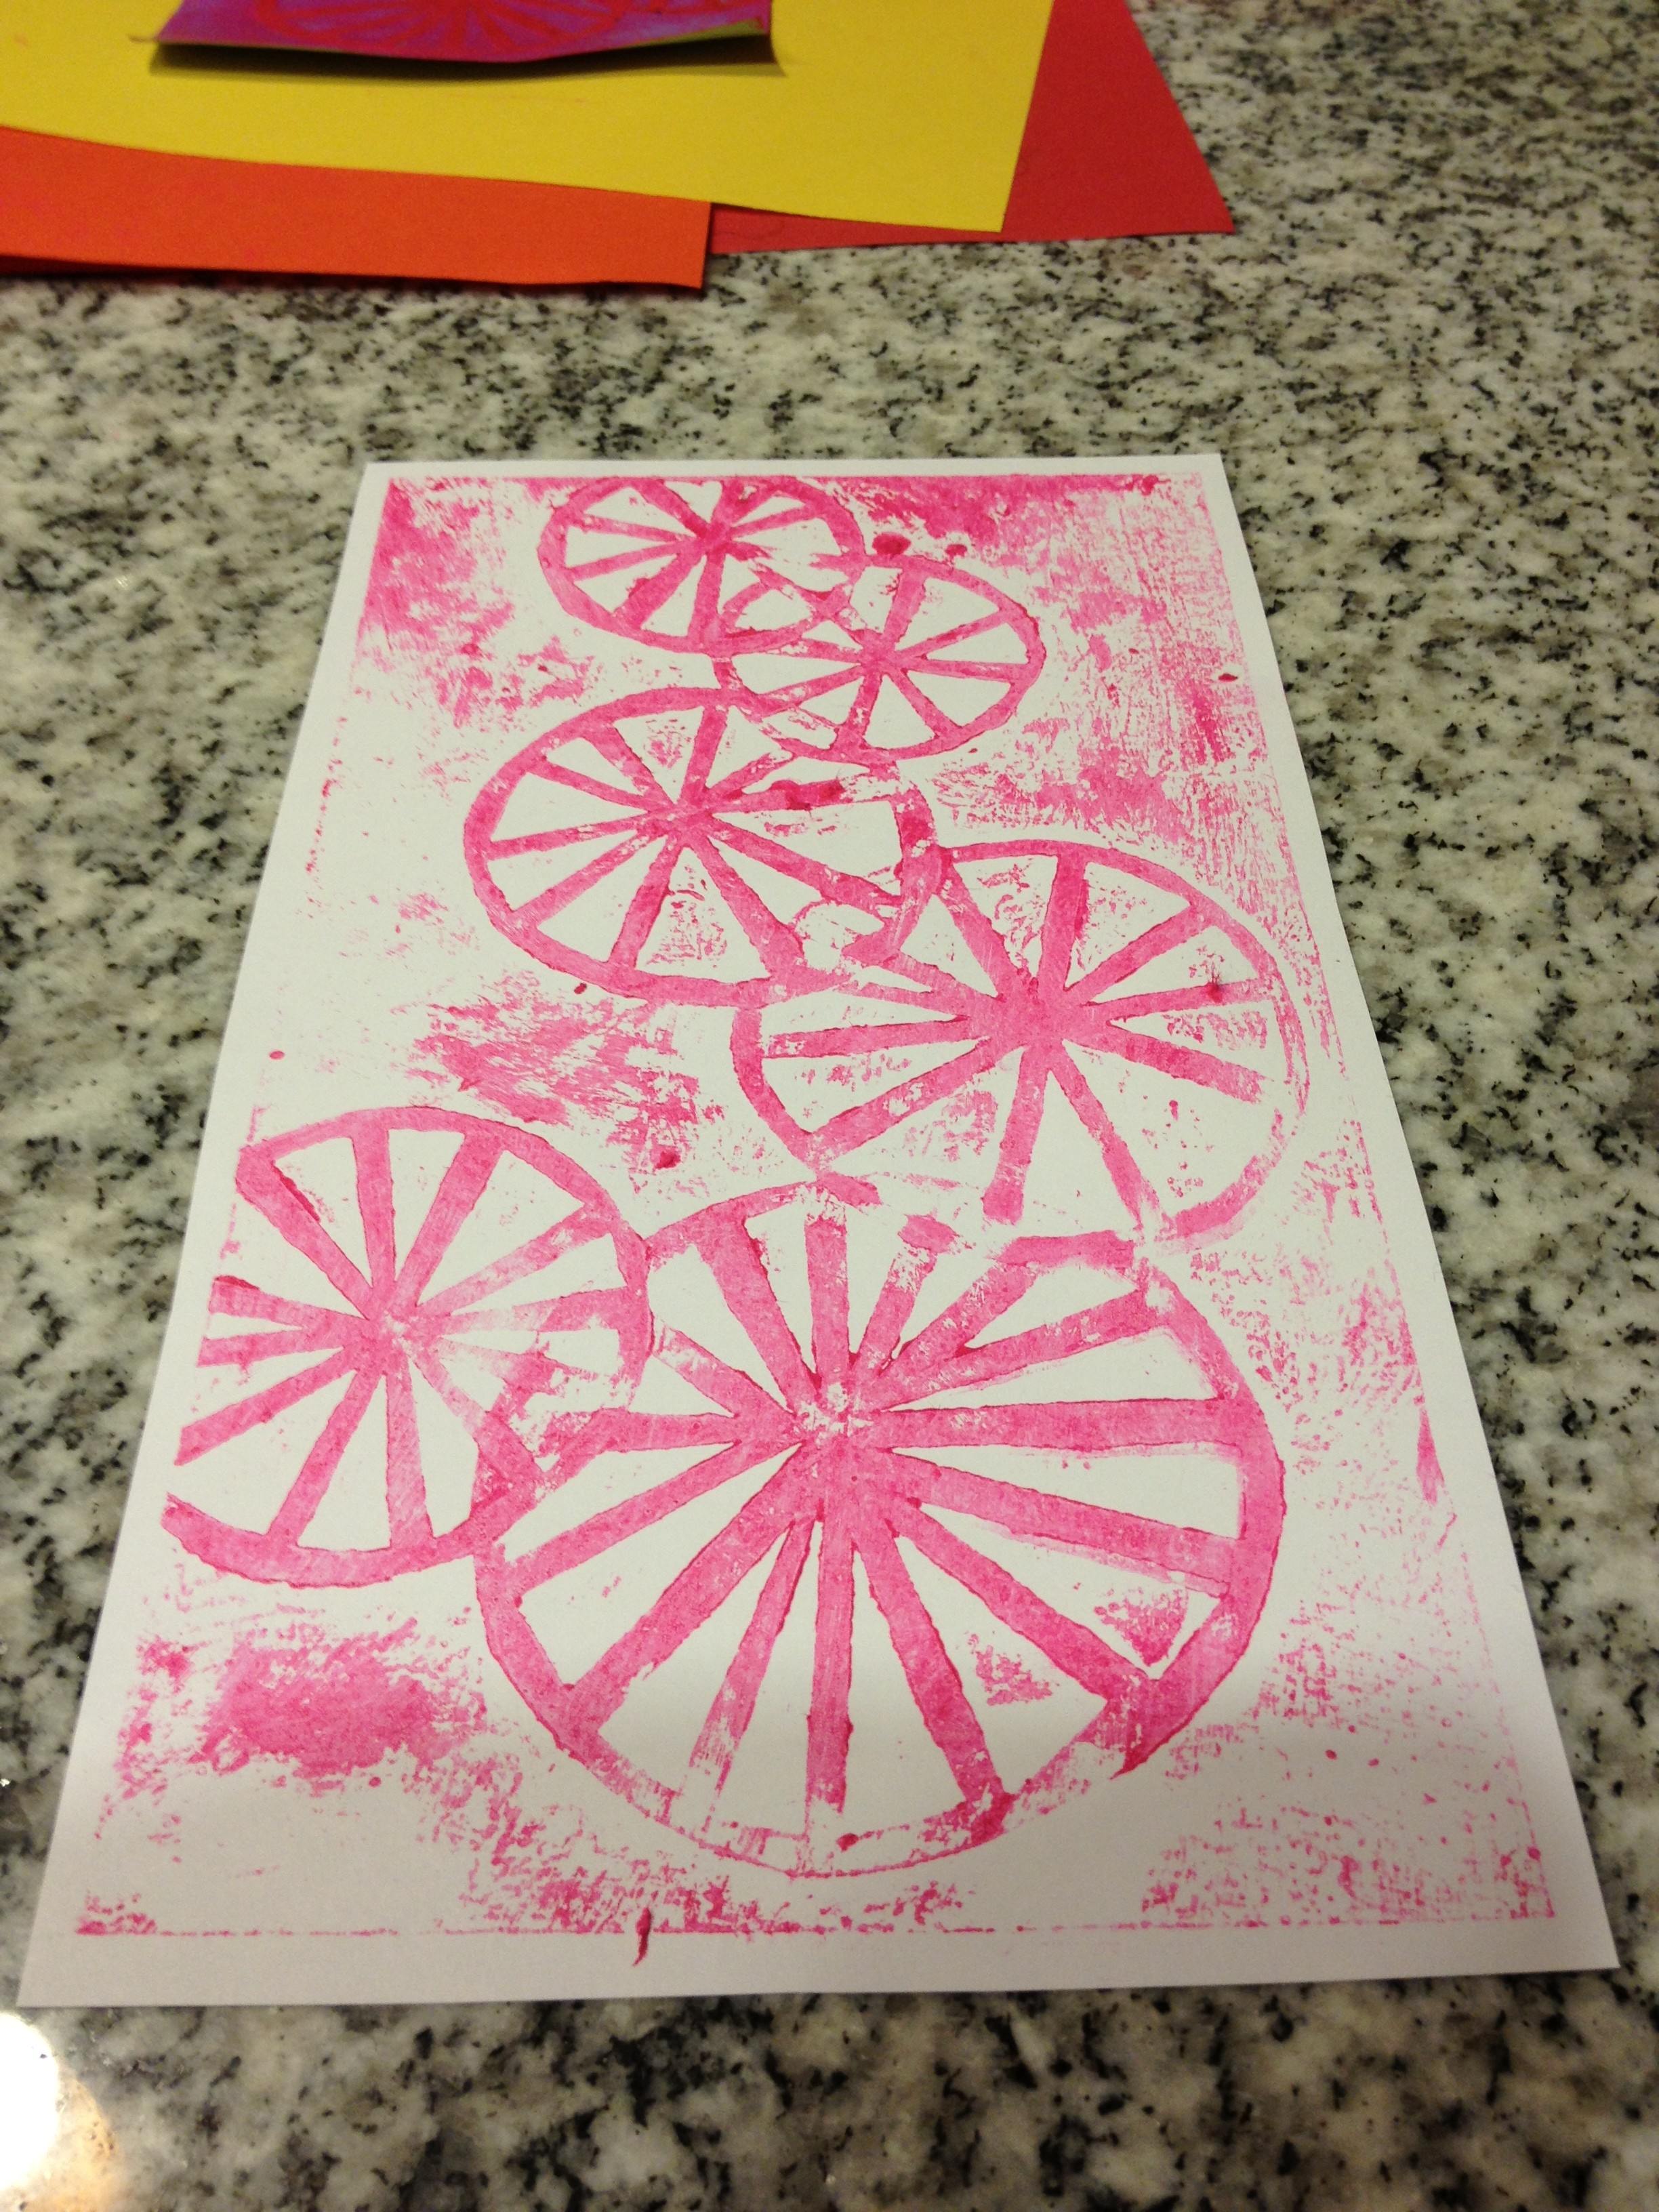
Collaged still-life lesson.
Hughes and Sullivan also explained that initial projects, for those just beginning to delve into art classes, should be based on perceivable concepts–something the student can physically see–rather than jumping into creating from imagination right away. This level of artistic freedom could be too much to handle for some beginning students, resulting in frustration.
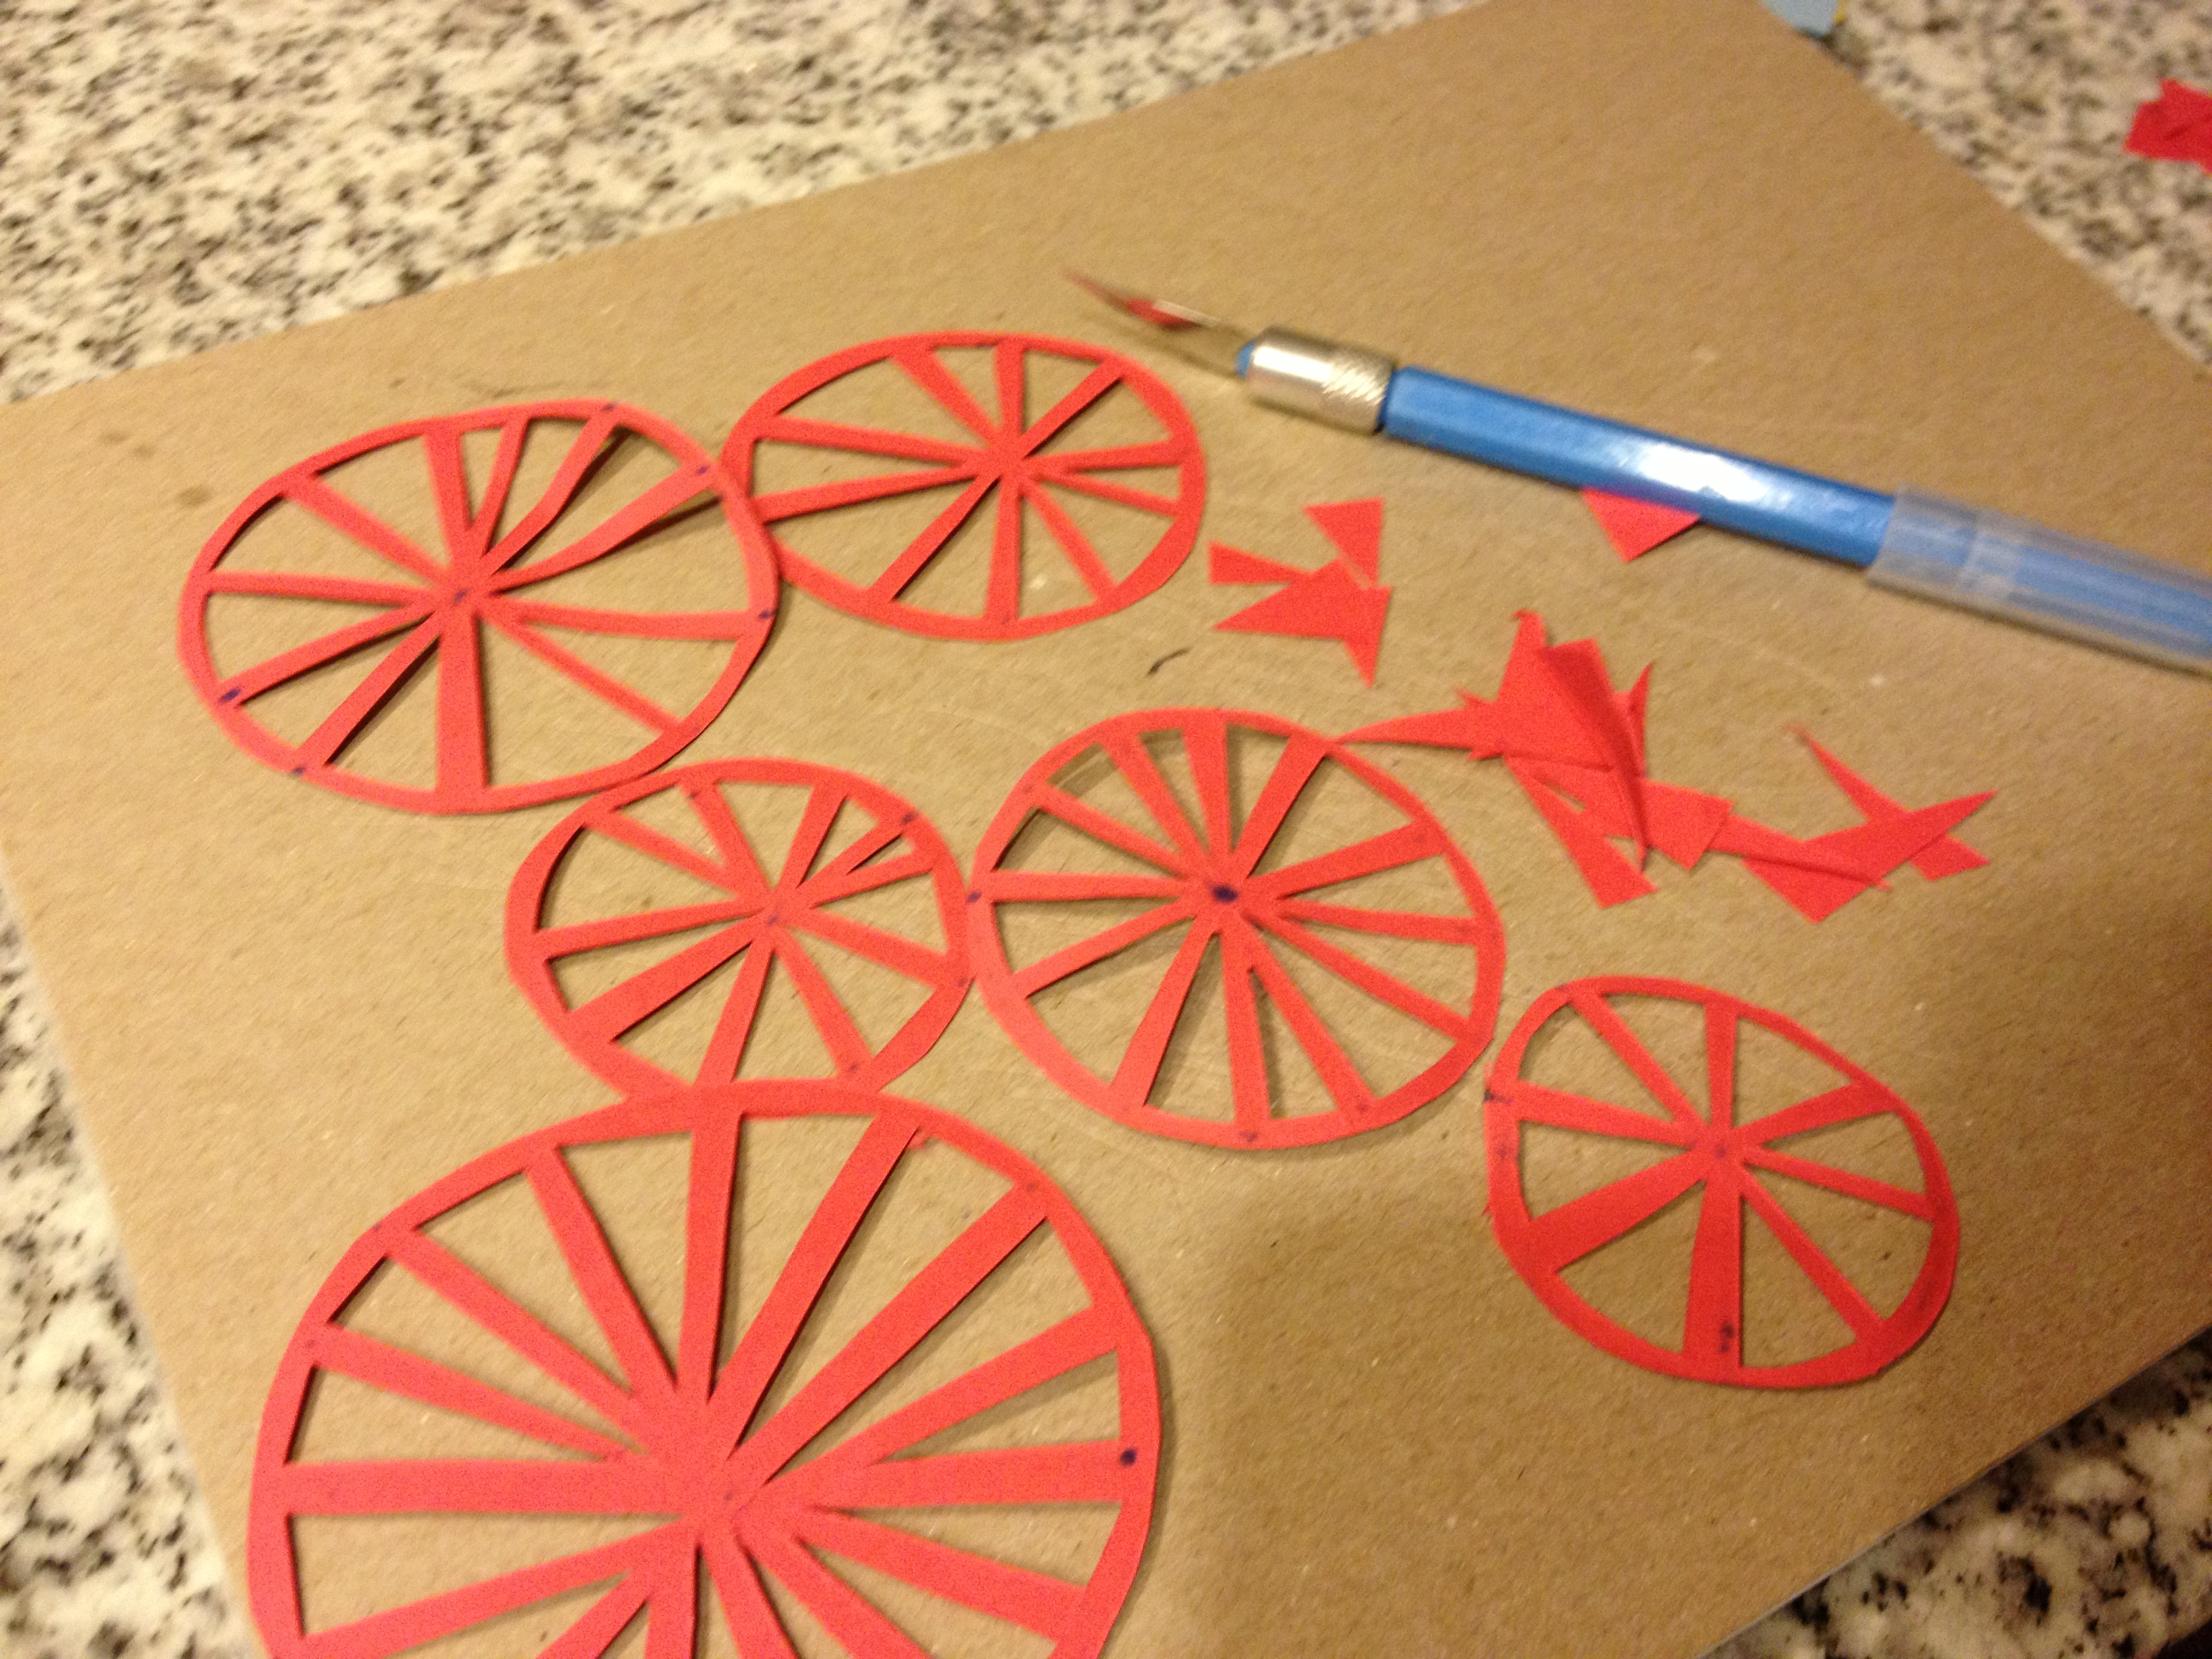
A good inaugural lesson could be a simple collaged still-life: there is something concrete for the students to reference (a bowl of fruit), basic skills explored (tearing and gluing), and fundamental artistic concepts covered (composition). As a group, we completed all the steps involved in this collaged still-life lesson, all the while discussing the potential obstacles and teachable moments that could occur.
This training was an opportunity for community and museum educators to discuss the multitude of ways we can create accessible art making opportunities and engage people with disabilities. I think it also enabled us to reflect upon the importance of arts institutions bridging this artistic gap and providing access to high quality art education experiences to people of all abilities.
Danielle Schulz
Teaching Specialist