For the last few months here at the DMA, we’ve been proclaiming “Pollock for all!” From toddlers to teens, and grade schoolers to grannies, the exuberant and lyrical works of “Action Jackson” have inspired thoughtful discussions, messy art, and even a dance performance! As a museum educator, one of the things I love most about Pollock’s work is his approach to putting paint on a canvas by splattering, flinging, dripping, and dropping (a process we often refer to as action art). When you have a bunch of squirmy three year-olds, Pollock makes all kind of sense! But Jackson Pollock: Blind Spots goes beyond Pollock’s all-over paintings and explores a body of work known as the black pourings, in which Pollock’s trademark action is tightly controlled, sweeping and swooping over the canvas to create figures that almost seem to be hiding amidst black lines, puddles, and splatters.
The exhibition has inspired all kinds of Pollock-ing in the studio, proving that no matter how old or young you are, Pollock is for all ages! Read on for some Pollock-inspired ideas you can try at home.

Babies
Our Art Babies class wiggled and giggled our way through the Pollock exhibition, then enjoyed sensory play inspired by the artist’s work. Pollock’s all-over paintings often remind me of a tangle of lines, with one line twisting and turning over another, so I created a sensory bin of “Pollock lines” for the little ones to explore. One little guy couldn’t get enough of throwing fistfuls of “noodles” into the air as high as he could. Recreate this at home with a large bin of either plastic cording or cooked spaghetti noodles (follow this helpful DIY recipe). But remember, since babies tend to put everything in their mouths, this activity does require grown-up supervision!

Toddlers and Preschoolers
If you are feeling brave, suit up your children in their messiest clothes, cover the floor with a drop cloth (or paint outside), and let them go to town, dribbling and splattering paint onto paper. If that idea has convinced you that Pollock is not for you, here are some less messy alternatives.
Marble painting is a fun way to get a feel for the energy and action Pollock might have used, while containing the mess. Place a piece of paper and a marble in a large box or box top, squeeze puddles of paint onto the paper, then have your child tip and shake the box back and forth to roll the marble through the paint. In no time at all, you’ll have a Pollock-ing, rollicking masterpiece.
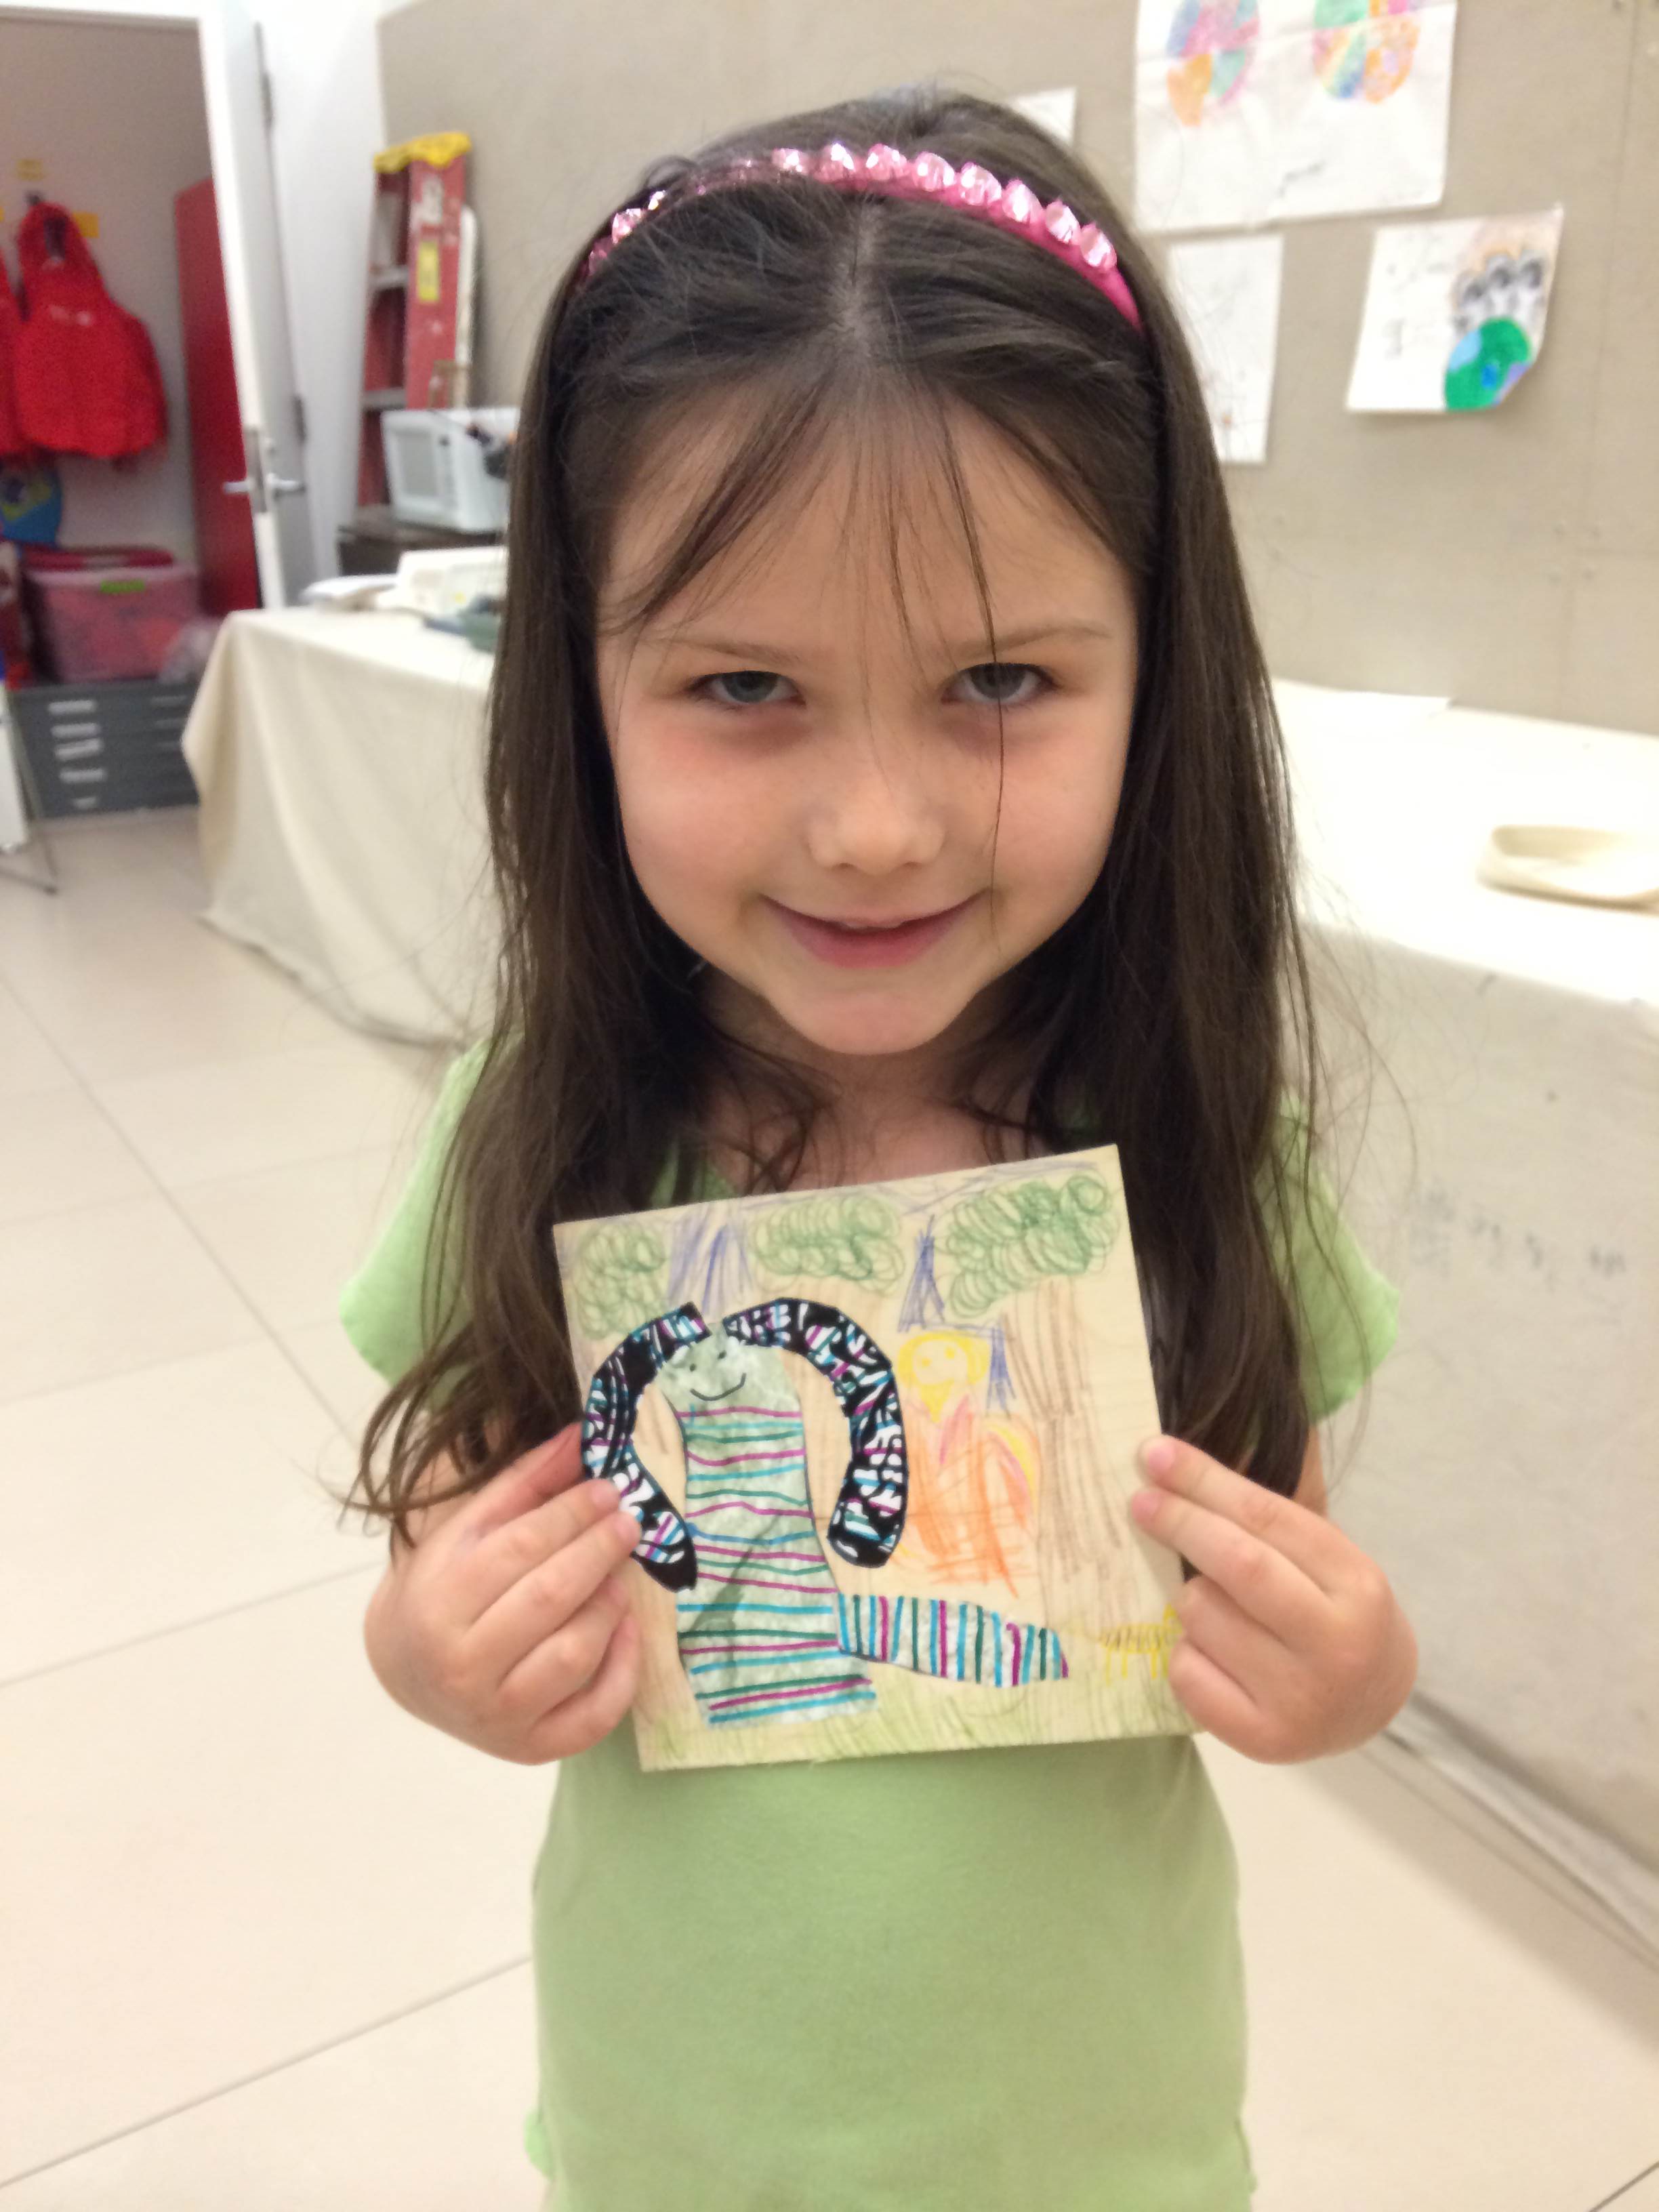
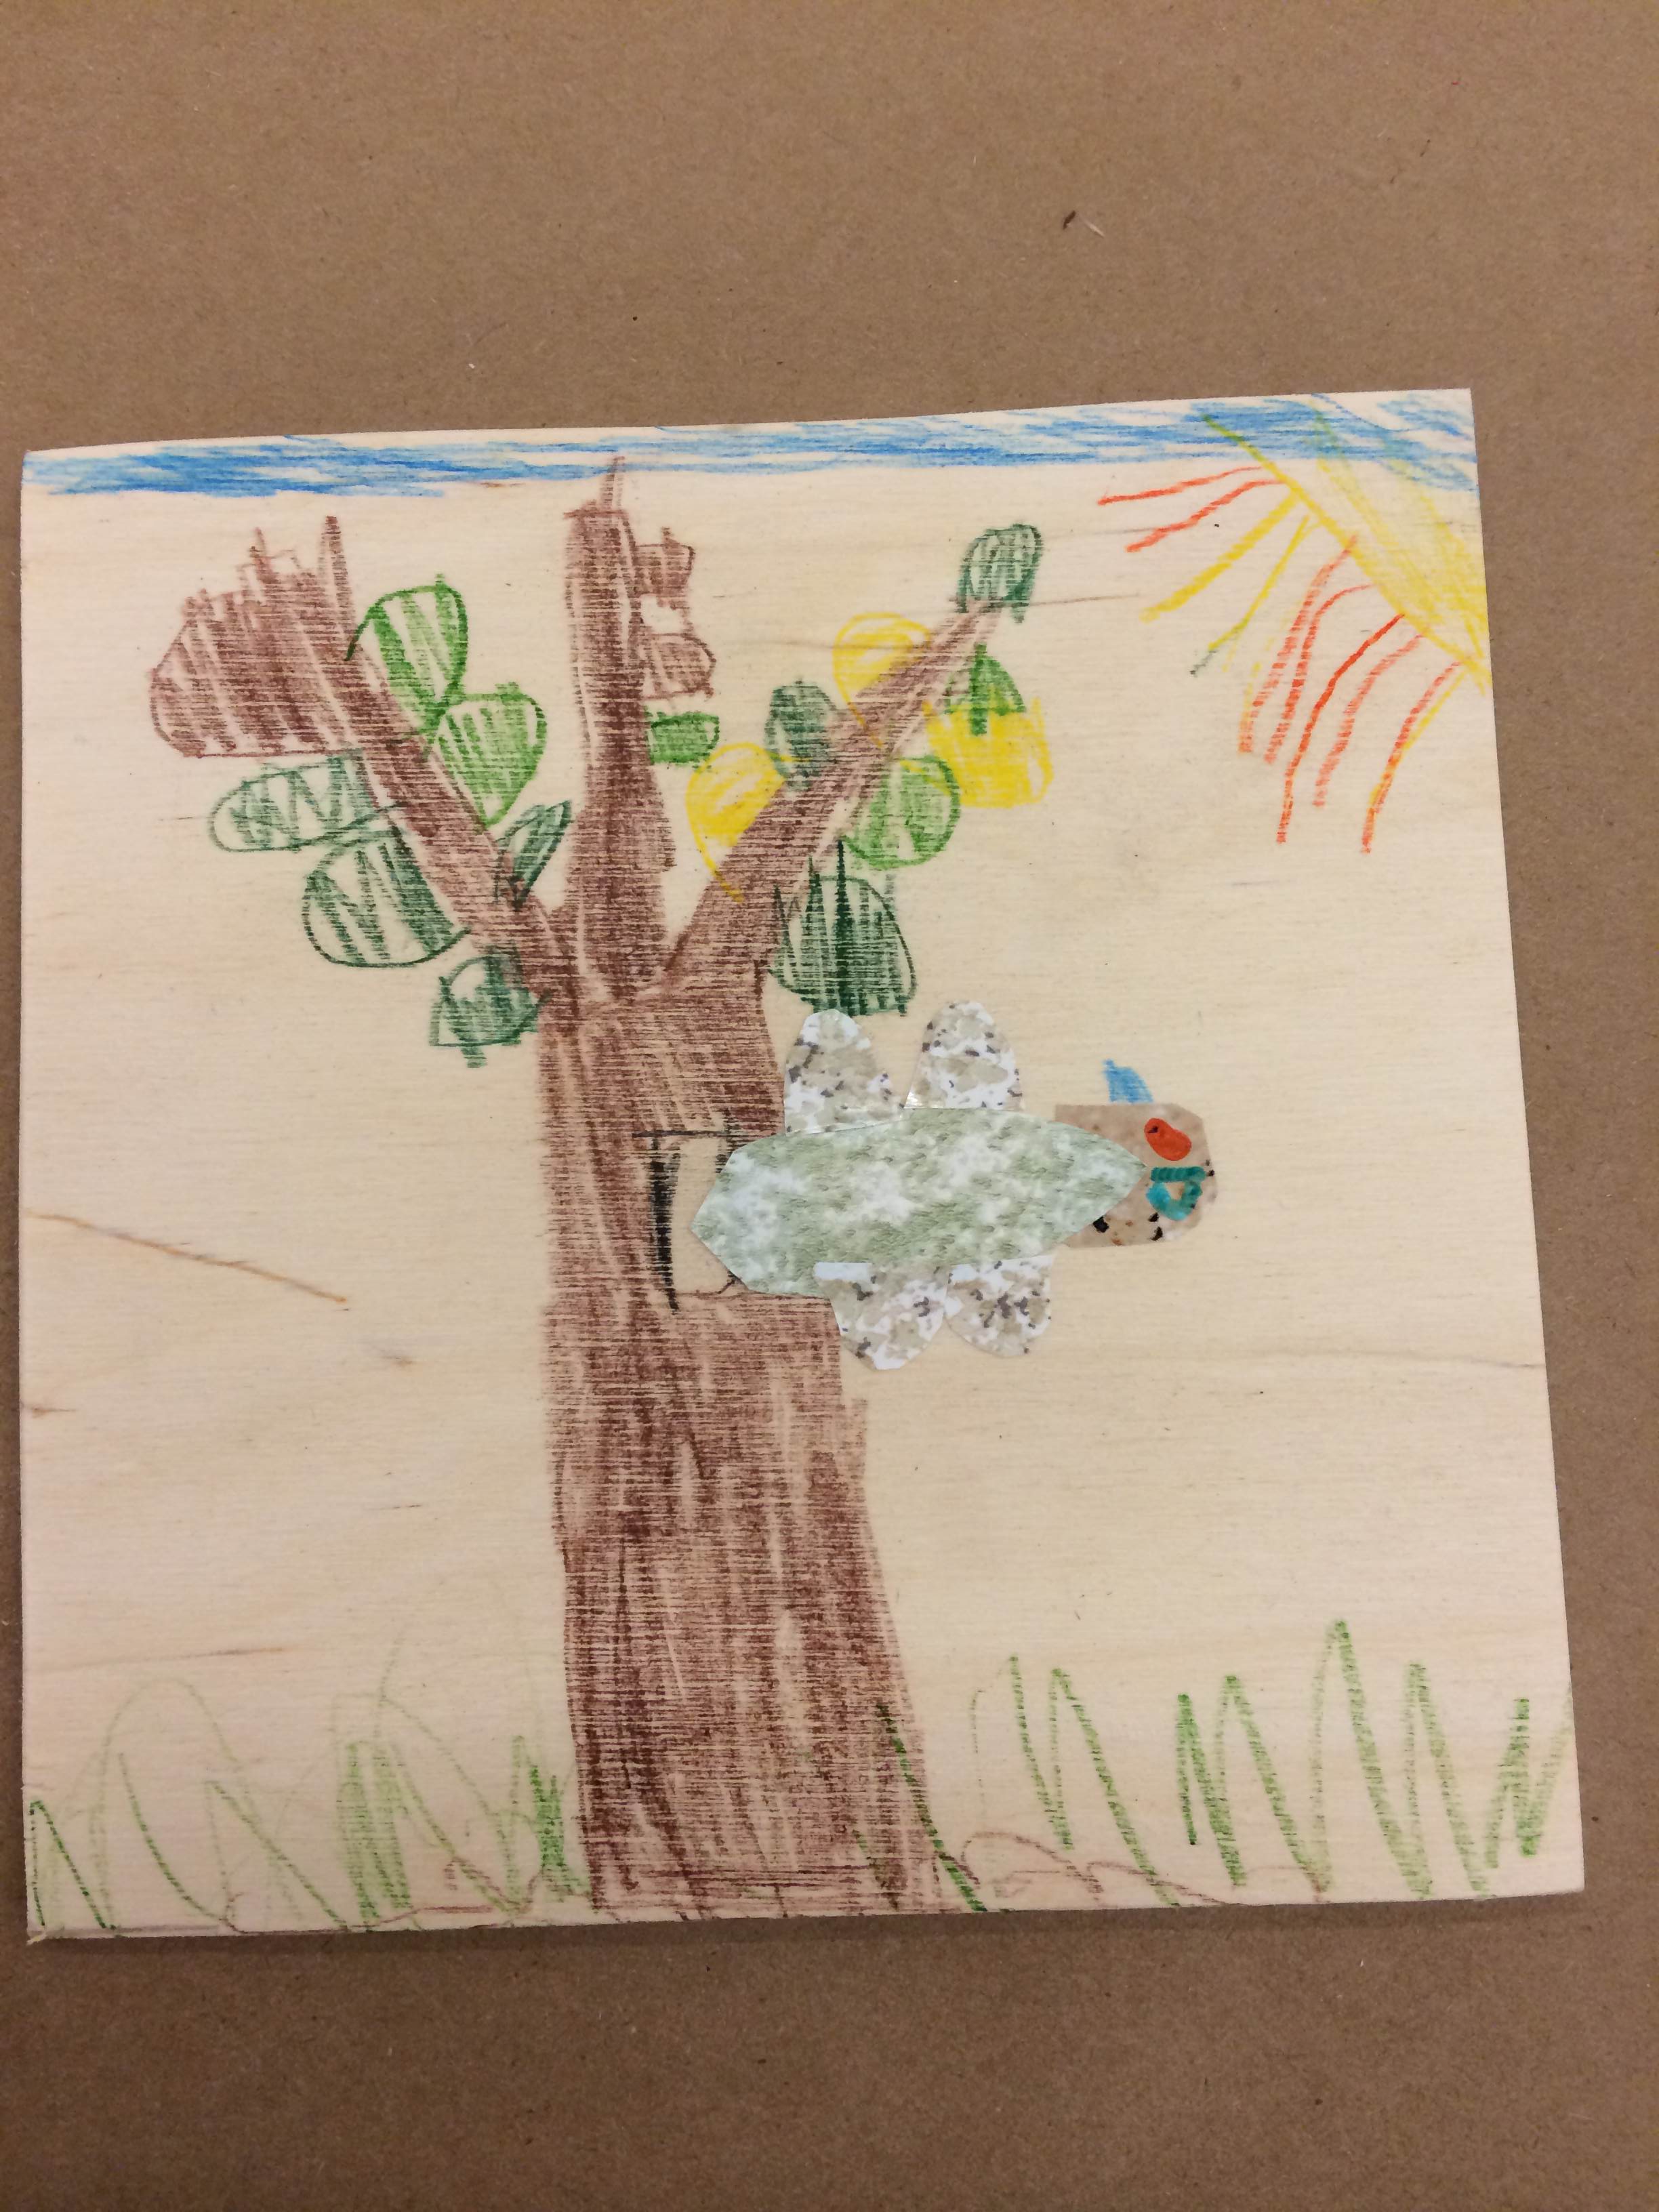
Or if you want to avoid paint all together, substitute markers, yarn, and contact paper for the messy stuff. Have your child throw, dribble or drop pieces of yarn onto a piece of paper to create some Pollock-like lines. Cover the entire piece of paper with clear contact paper to seal the yarn in place. Then use colored markers (permanent works best on the contact paper) to create puddles of color. Pollock’s Convergence served as our inspiration for this project, and the children loved the layered effect.

Elementary & Middle School
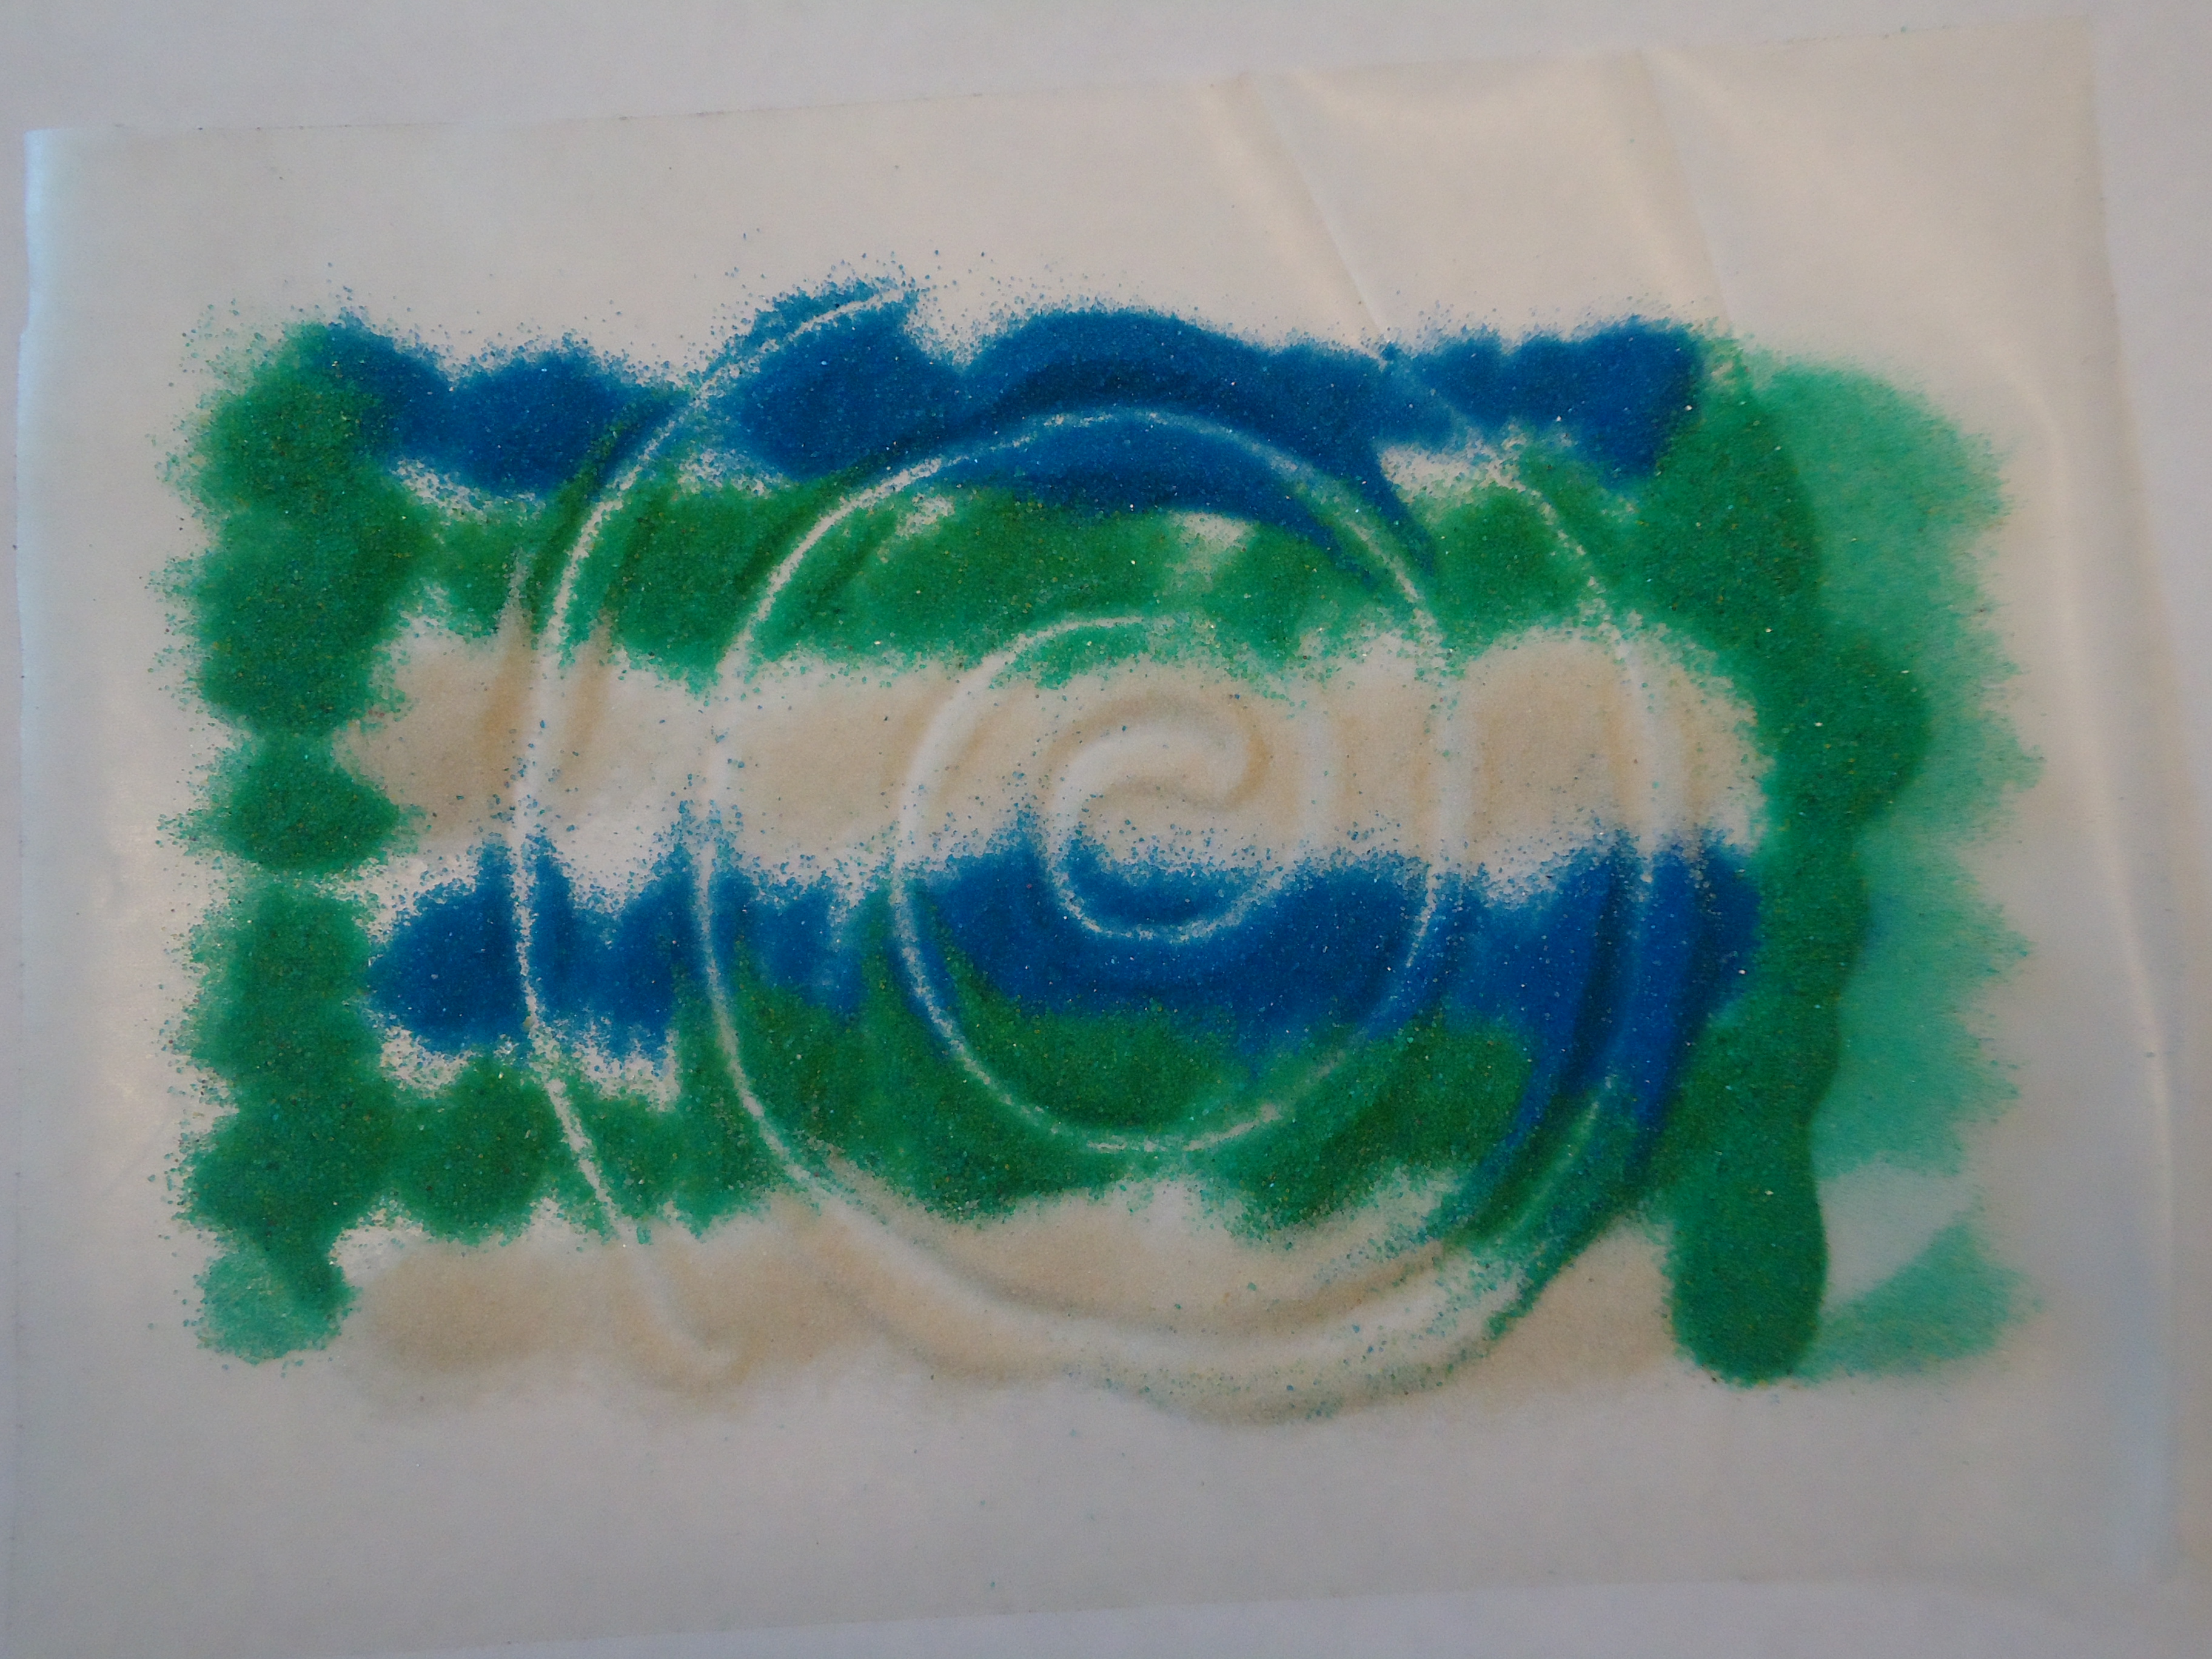
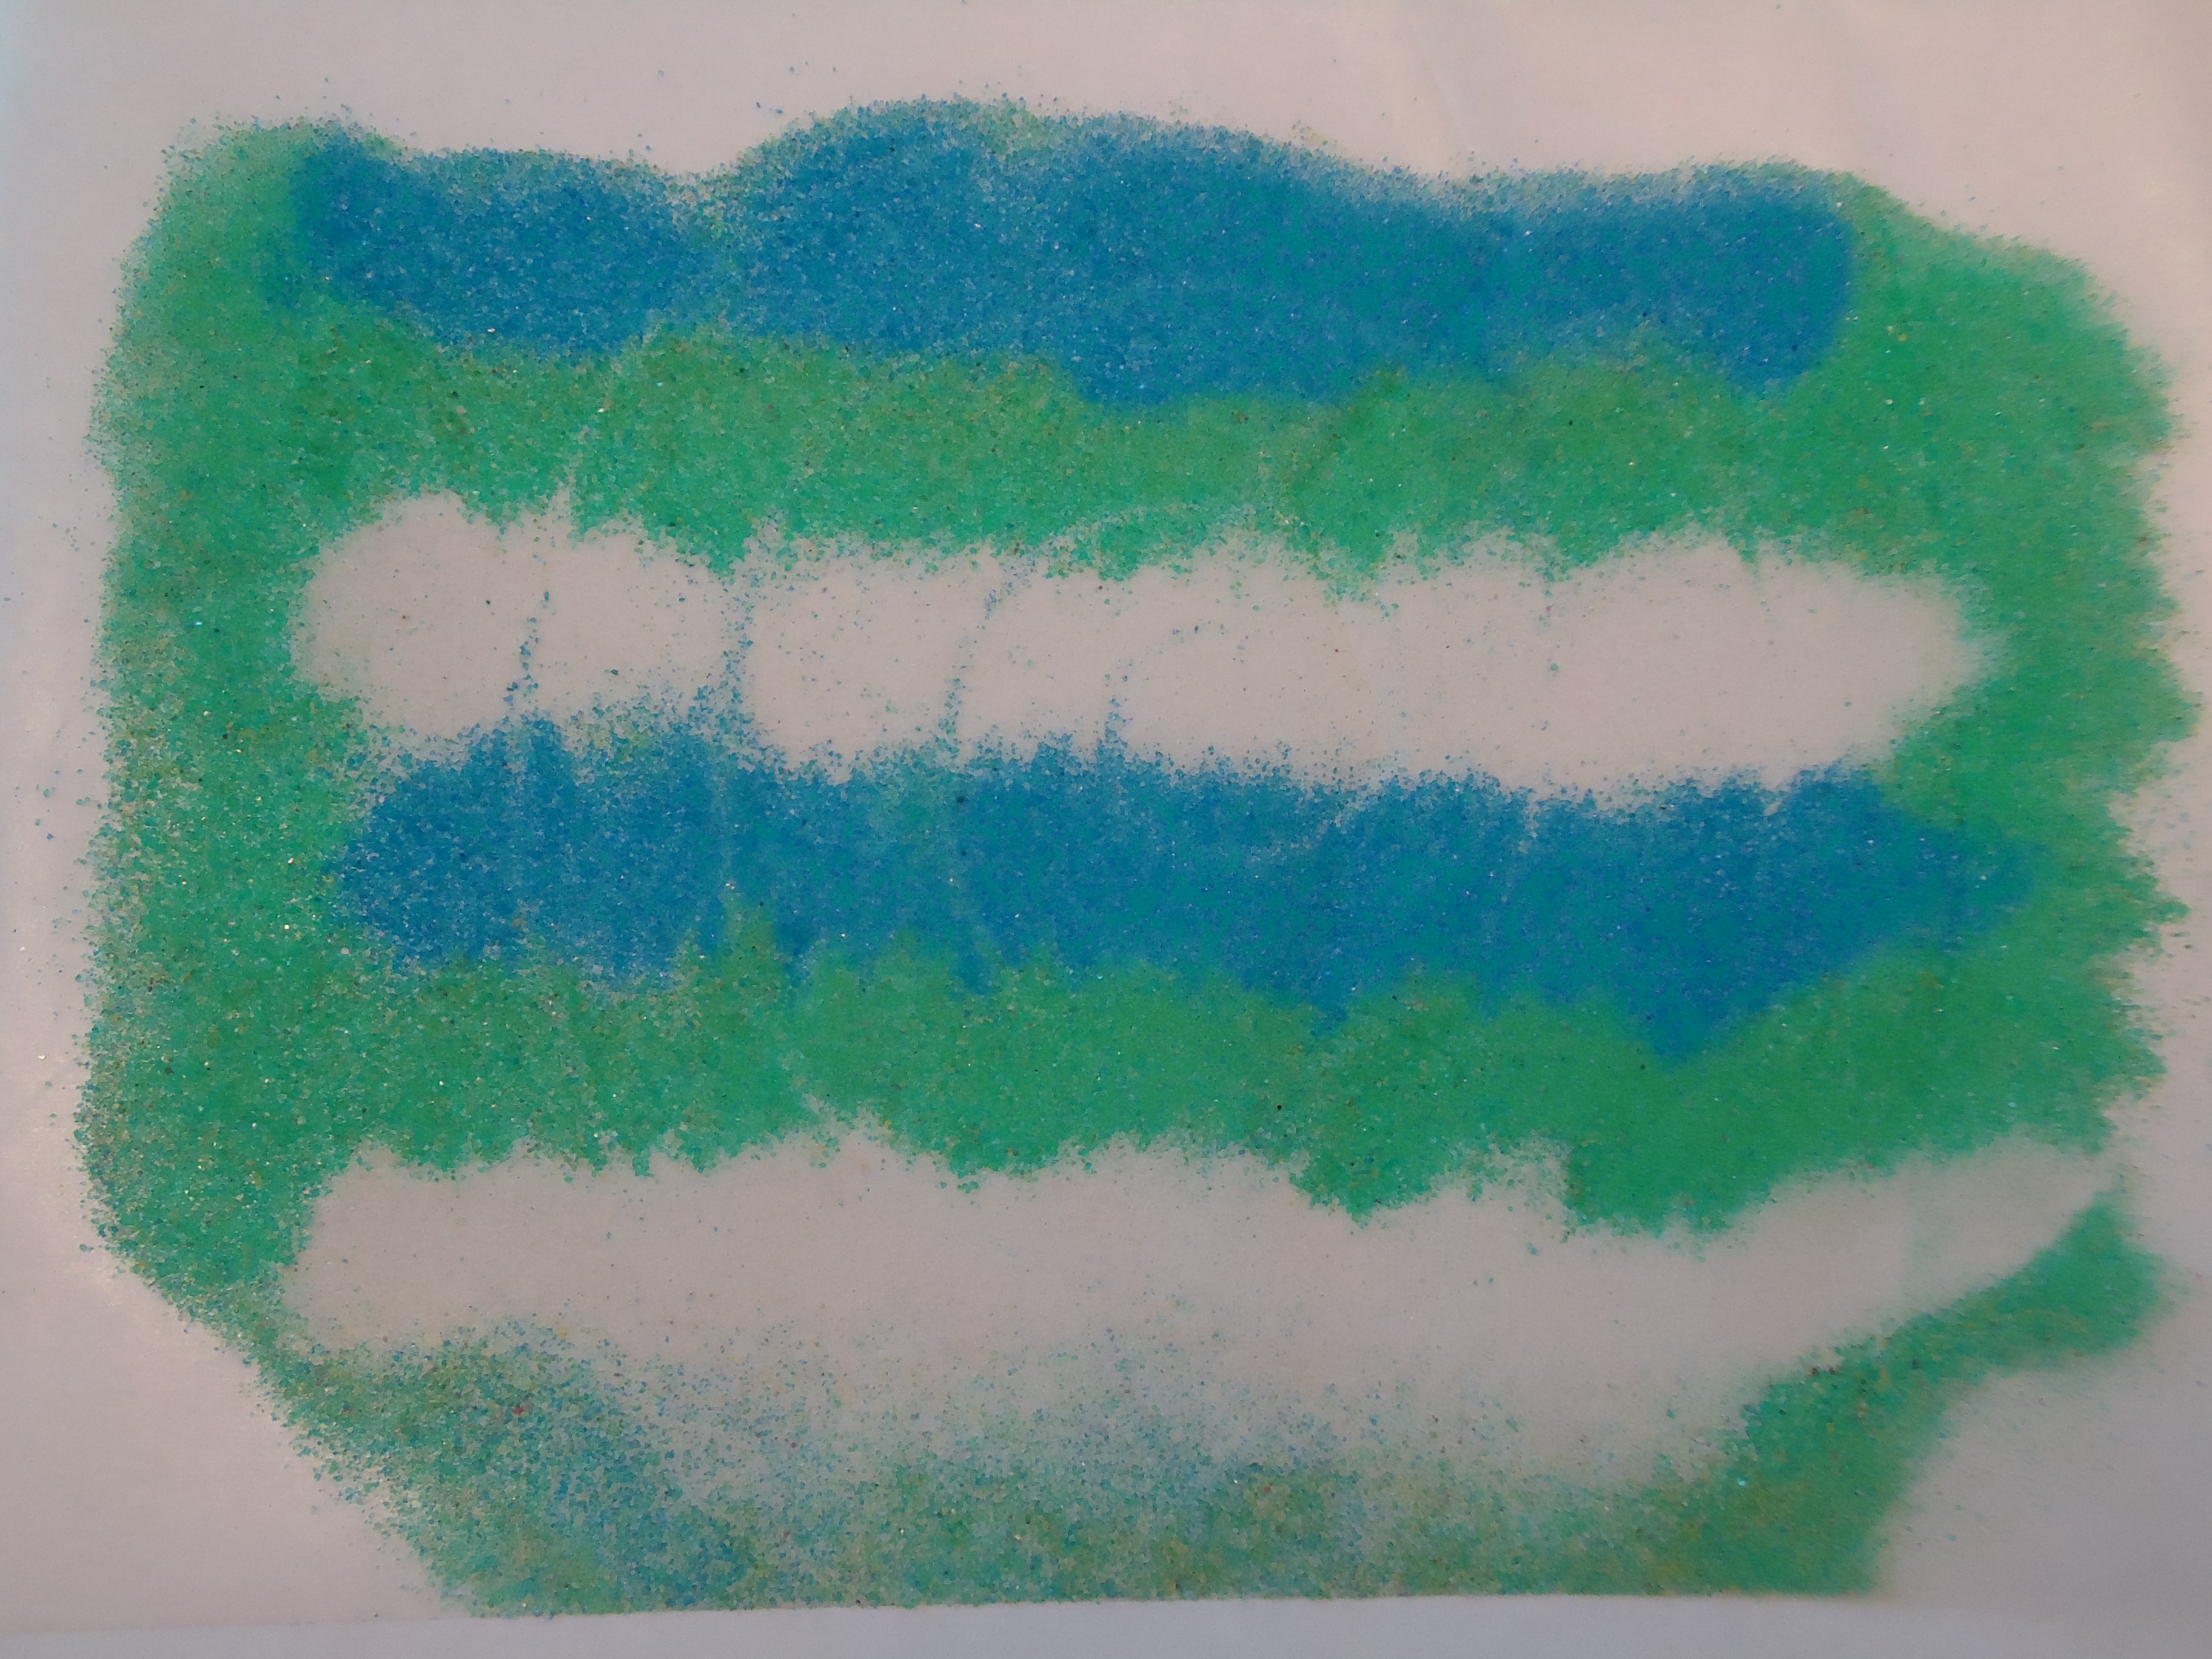
The Pollock exhibition at the DMA features an entire gallery of paintings Pollock created on paper rather than canvas. We tried a similar approach using Japanese paper, droppers, and liquid watercolor. Layer two or three sheets of paper together, then gently move the dropper around the paper, squeezing watercolor as you go. Watch as different colors swirl and puddle together, then separate the individual pieces of paper to discover what images have soaked through.
- Images from the November DMA Late Night. Photos taken on Friday, November 19, 2015.
Teens
At a recent Late Night event, we used scribble bots to create a modern take on Pollock’s work. All you need is a plastic cup, a toy motor, a battery, and a brush to make your own painting robot! The motor sends the robot skittering across the paper, and the paintbrush “captures” the movement in visual form. Download step-by-step instructions here: Scribble Bot Instructions.

Any Age
This final project is as mess-free as you can get! And it provides the most amazing results. Since November, we’ve been privileged to be a part of the Dance for Parkinson’s Disease program. We’ve hosted a wonderful group of individuals who have regularly visited the Museum galleries, and, under the direction of Misty Owens, choreographed a dance performance inspired by Jackson Pollock. As part of the choreography process, the group created light graffiti using laser pointers, flash lights, and a DSLR camera. It’s like painting in the air! This tutorial gives some great tips on creating your own light graffiti. To see Pollock in dance form, join us for the Dance for PD performance in the Center for Creative Connections on Friday, February 19 at 2:00 p.m.
So are you convinced? Ready to join our “Pollock for the People” crusade? We’d love to see what Pollock inspires you to do. Share your Pollock creations on social media with #DallasSpotsPollock and tag us @DallasMuseumArt.
Leah Hanson
Manager of Early Learning Programs
