The Easter holiday is almost upon us, and I for one am so excited to decorate Easter eggs! I am proof of the fact that this festive activity is for children and adults alike. Moreover, if approached in the right manner, decorating Easter eggs can be downright artistic. Beautiful eggs don’t require expensive materials or a BFA–in fact, all it takes to create some slamming shell designs is inspiration, imagination, and a few items found around the house!
Step 1: Boiling the eggs. Boiled eggs stand up better to the treatment required to decorate eggs (dyeing, drawing, wrapping). Place eggs in a medium sized pot and add enough water to reach about an inch above the eggs. Bring water to a roaring boil, remove from heat, then cover eggs for 15 minutes. Drain water, and allow eggs to cool. (This step can be accelerated a bit by placing eggs in a bowl of water in the refrigerator).
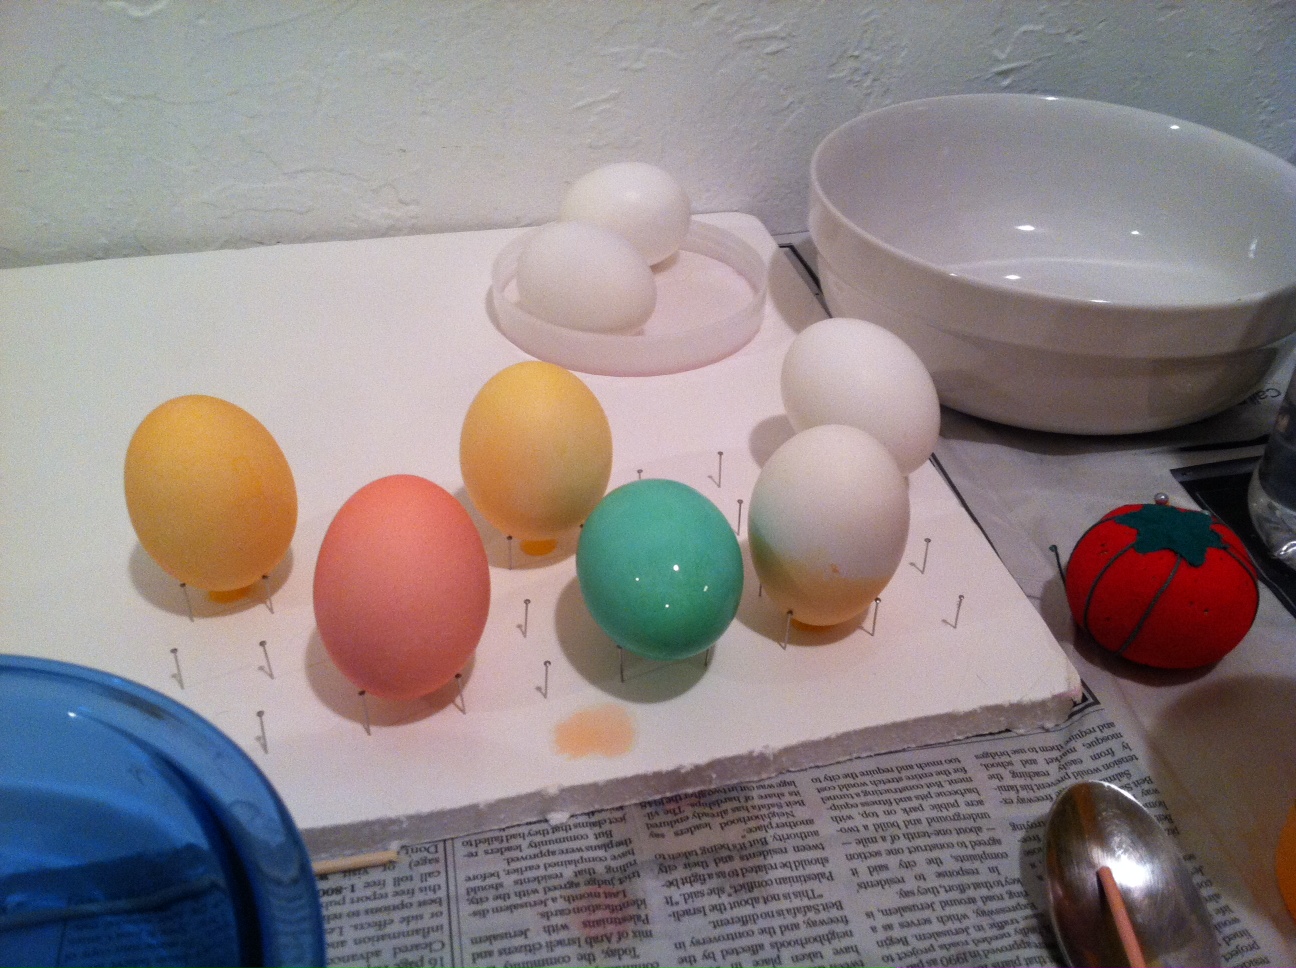
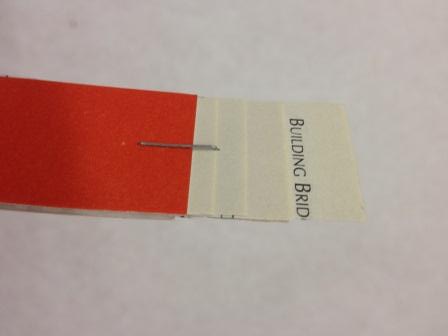
Drying rack made with flathead pins and foamcore.
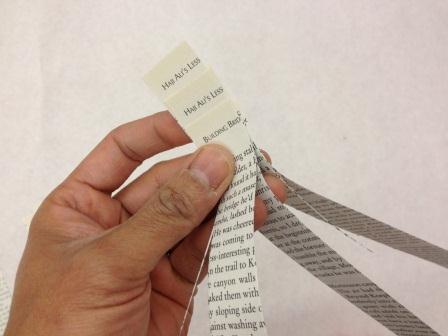
Step 2: Preparing the materials. As I said, artful eggs require simple materials: newspaper, food coloring, spoons, tongs, glass cups or mugs, white vinegar, a small paintbrush, tempera paint, hot water, Styrofoam board, and flathead pins. Placing flathead pins in a grid pattern on foam board creates a great drying rack for dyed eggs.
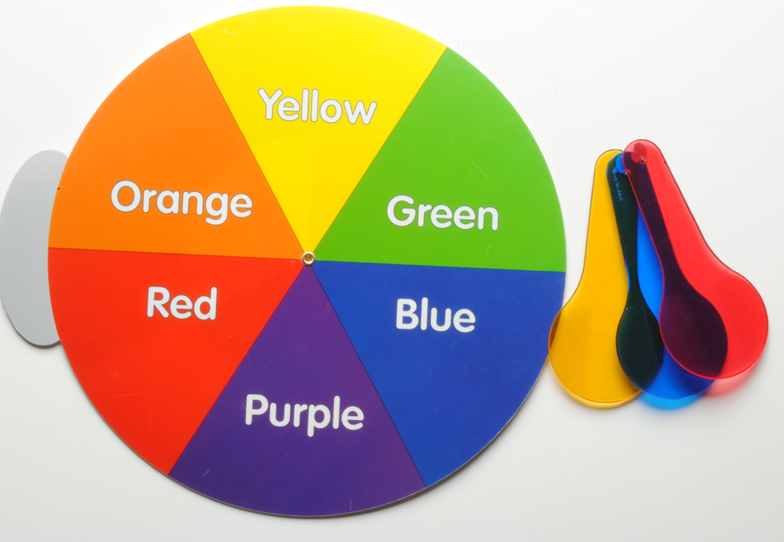
To mix colors, place 2 tablespoons of vinegar and 2/3 cup hot water in your cup along with 3 drops of food coloring. Add more drops to darken the dye. This is a great (albeit stinky) way to review color mixing with kids–experiment and see what fun colors you can come up with!
Step 3: Finding inspiration. Inspiration can come from a variety of sources, but for this year’s batch I’d recommend using the DMA’s permanent collection as a muse. The Museum’s encyclopedic collection provides a wealth of ideas, and, who knows, you might gain some artistic insight during the art-making process! When choosing works of art I looked for bright colors, simple shapes and bold lines, as these would lend themselves well to my oblong canvases. Here are the four works I decided upon:
-
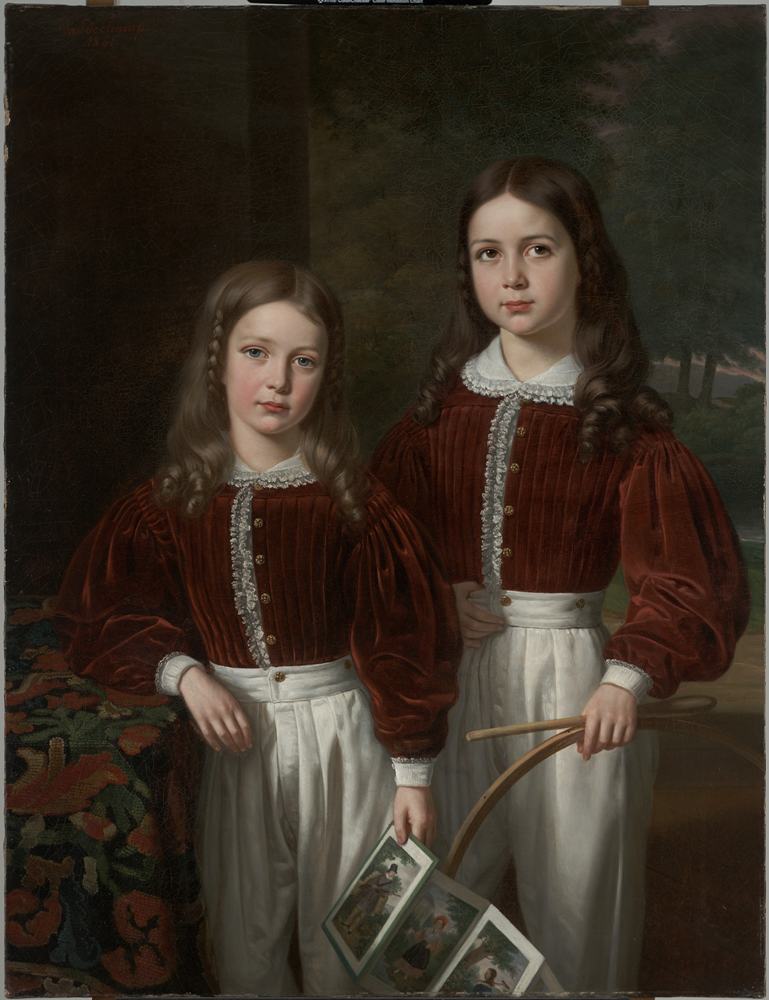
- Portrait of Two Children, Probably the Sons of M. Almeric Berthier, comte de LaSalle
-

- Takenouchi no Sukune Meets the Dragon King of the Sea
-

- Single snake armlet
-
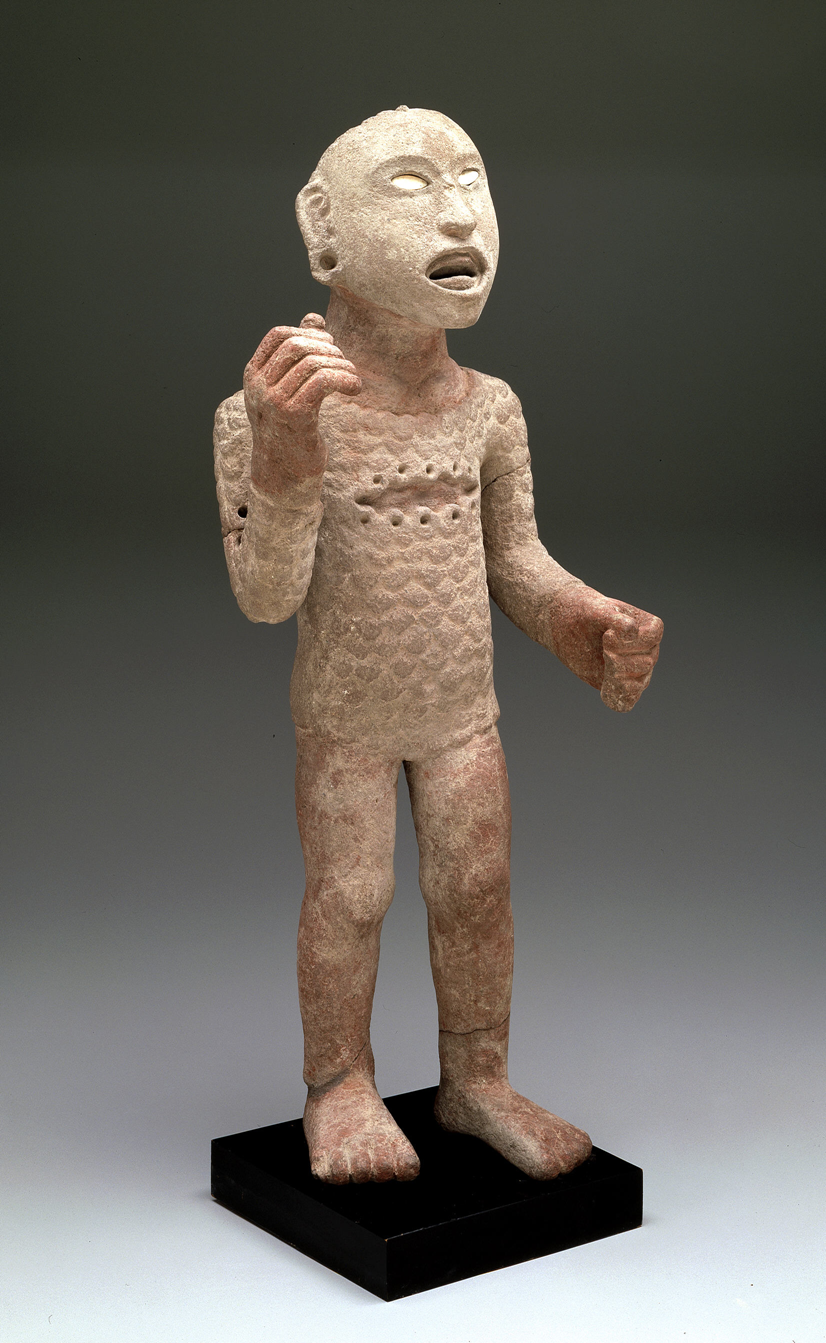
- Xipe impersonator
Step 4: Decorate! Before diving into your artistry, wipe each egg down with some vinegar (this will prepare the shell for the dyeing process). It was interesting to use works of art that employed different decorative techniques.
- The Matisse egg was first dipped into an orange dye for two minutes (increasing the amount of time in the dye will lead to a darker color). After the egg dried, a small brush with tempera paint was used to add blue and green leaves and red berries.
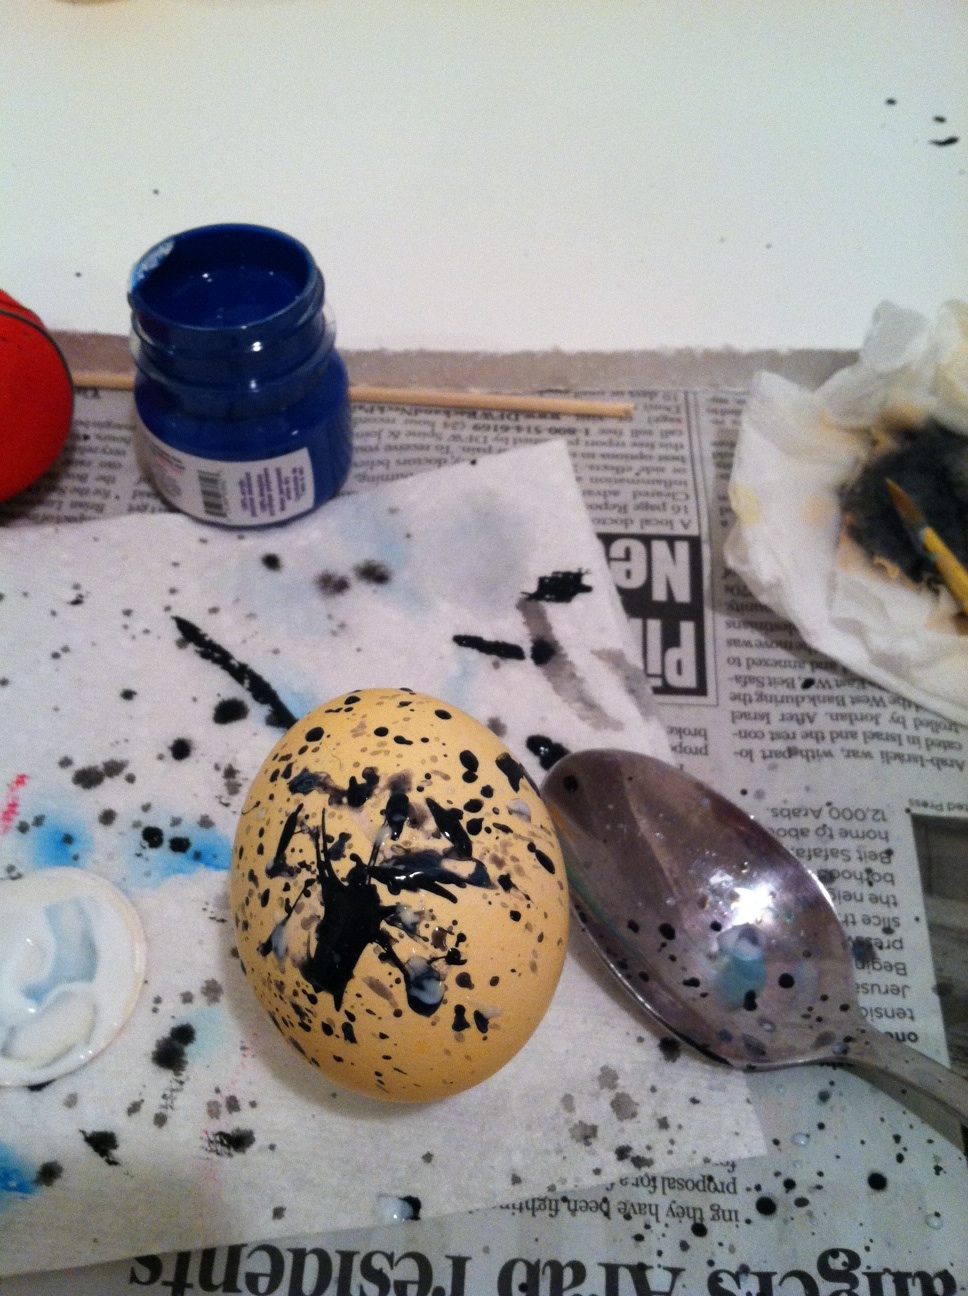
- To create the neutral background of the Pollock, the egg was dipped into orange and then blue dye (about 10 seconds each). I was then able to perform my own version of action painting! With my paintbrush I flicked, splattered and flung watered-down black, white and grey tempera paint onto the egg. (Action painting can get messy, so newspaper comes in handy!)
- Rothko’s contemplative color duo was completed by dipping the bottom of the egg in the orange dye (for about 30 seconds) and the top in red (30 more seconds). The egg should be left to dry between each dip. The middle portion of the egg was not taped, since I think the frayed edge caused by the dye enhanced the Rothko-style.
- Completing the Mondrian egg took a little tempera paint and patience! Who knew that painting a grid pattern onto a rounded surface isn’t the easiest thing to do. With the straightest lines I could muster, I painted Mondrian’s primary color scheme onto the clean, un-dyed surface of the egg. It took a few layers of paint (left to dry in-between) to achieve more opaque colors.
Step 5: Display and Enjoy!
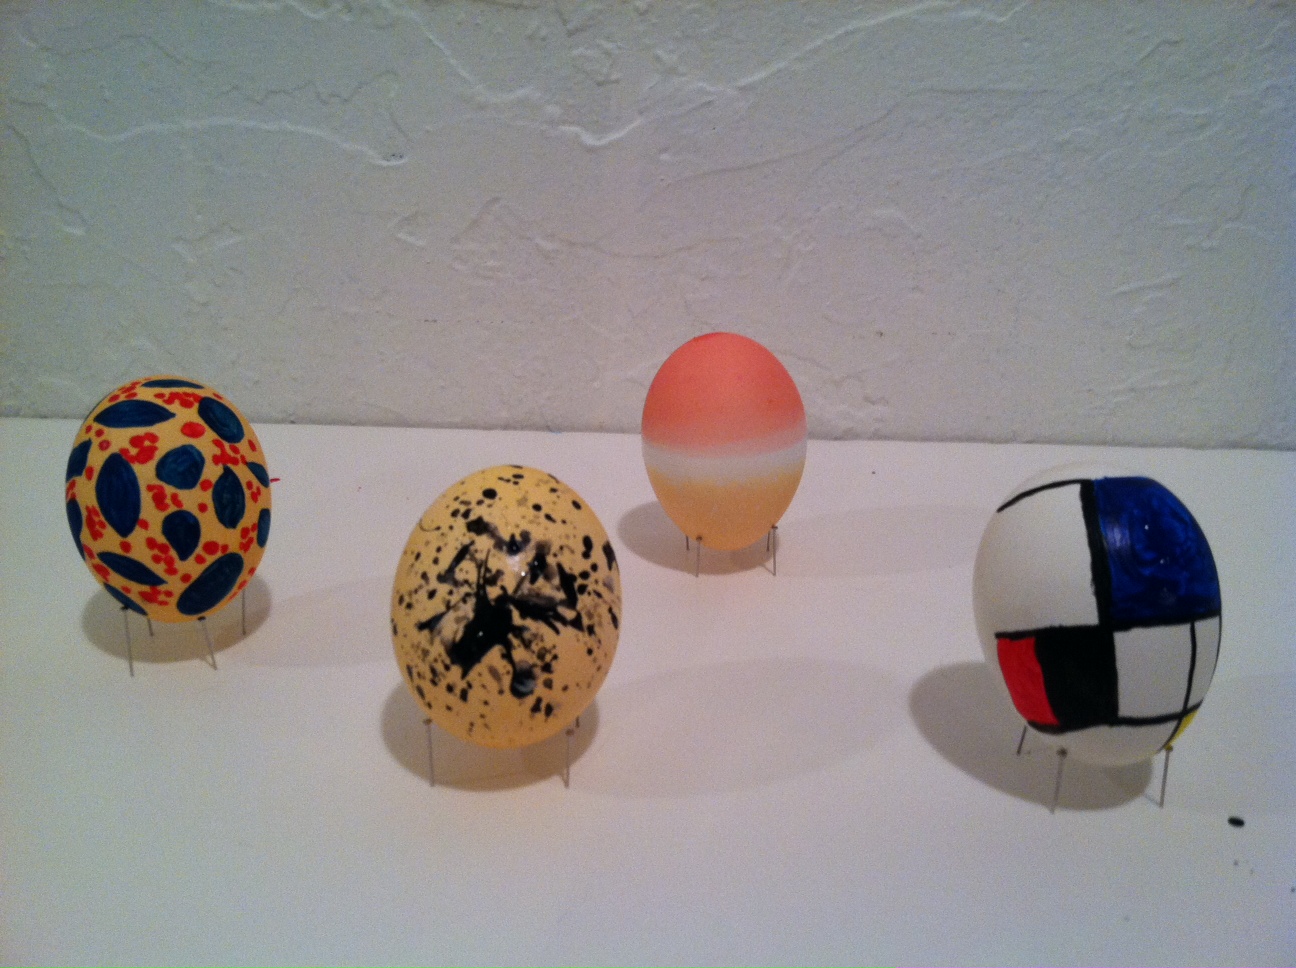
Artful eggs. L-R: Henri Matisse, Jackson Pollock, Mark Rothko, Piet Mondrian
These artful eggs are too good to keep to yourself! Share your masterpieces with us through Facebook, Twitter, Flickr or even post them here on DMA Canvas–we’d love to see your DMA inspired works of egg-art! Now that you’ve completed your artwork the real question emerges: which will taste better, a Matisse or Pollock deviled egg?
Artworks Shown:
- Henri Matisse, Ivy in Flower, 1953, Dallas Museum of Art, Foundation for the Arts Collection, gift of the Albert and Mary Lasker Foundation
- Jackson Pollock, Cathedral, 1947, Dallas Museum of Art, gift of Mr. and Mrs. Bernard J. Reis
- Mark Rothko, Untitled, 1952, Dallas Museum of Art, gift of the Meadows Foundation, Incorporated
- Piet Mondrian, Composition with Large Blue Plane, Red, Black, Yellow, and Gray, 1921, Dallas Museum of Art, Foundation for the Arts Collection, gift of Mrs. James H. Clark
Danielle Schulz
Teaching Specialist
Special thanks to Alex Vargo for her eggcellent work.