In the art museum world, couriers are often sent to accompany artwork in transit for loans. At the DMA, we elect to send an escort if the artwork is of high value, particularly fragile, and/or difficult to install. Couriers oversee the artwork every step of the way, ensuring its safe packing, transit, and installation. Oftentimes, these trips are not as glamorous as they initially appear, as they mean many long hours of waiting, uncomfortable travel conditions, and little sleep (but, sadly, no being handcuffed to a briefcase like in the movies). Nevertheless, they can sometimes be quite the adventure. Here is a timeline of a trip I recently took as a courier with our Matisse collage, Ivy in Flower, to the Tate Modern in London:
April 1, 2014
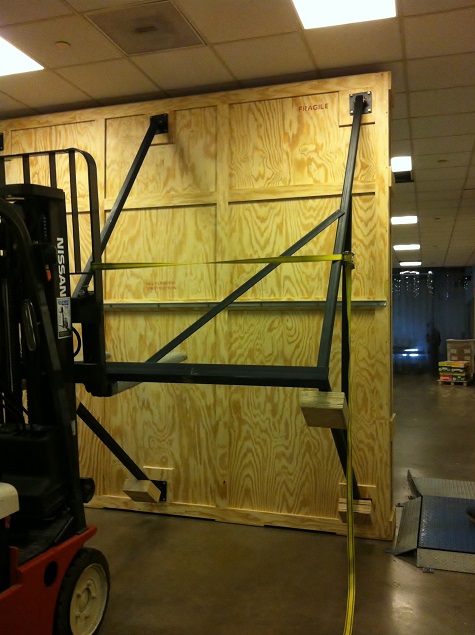
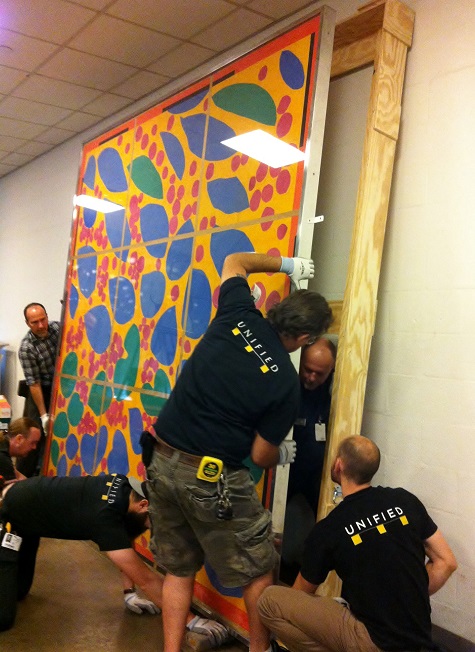
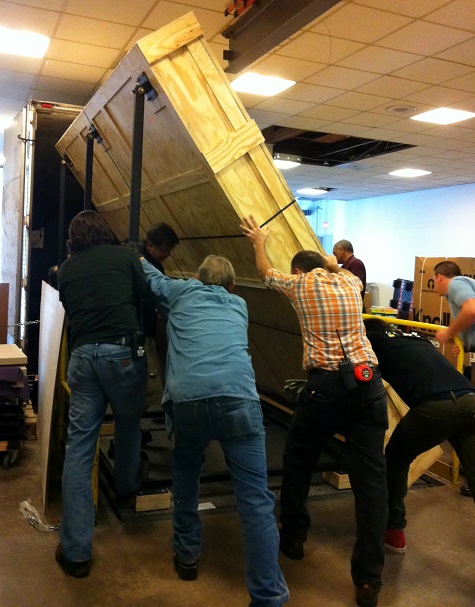
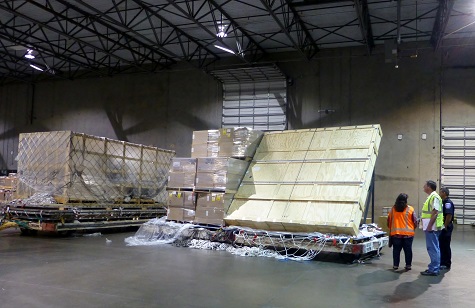
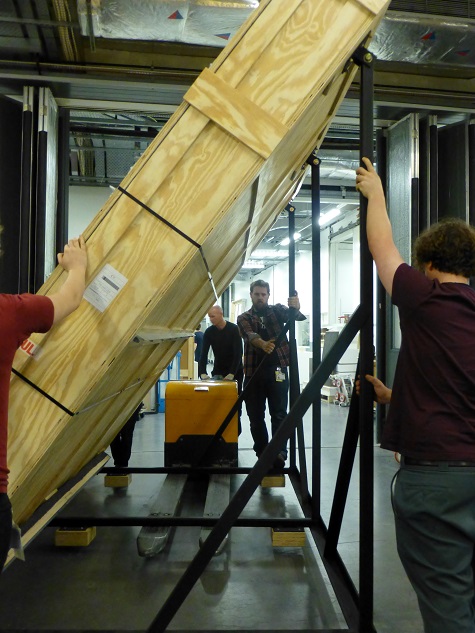
10:12 a.m. – Unified Fine Arts delivers the crate to the DMA. Due to the large size of the artwork, it was necessary to build an A-frame crate with a steel support structure. The artwork travels at an angle; otherwise it would be too tall to fit inside a truck or airplane cargo hold.
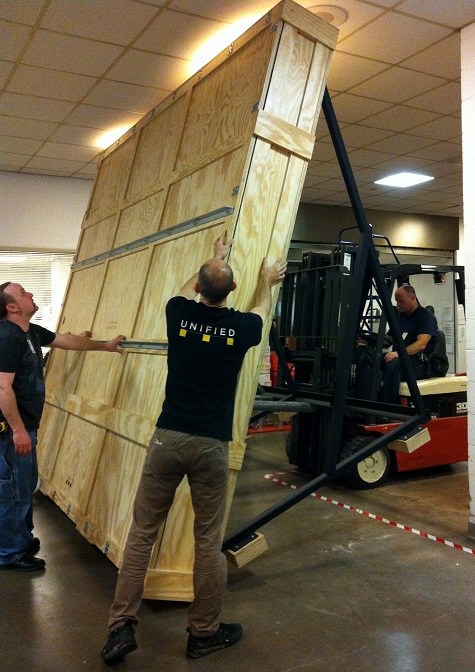
Art handlers strap the crate to the forklift so it can be upright for packing. Thankfully, it clears the ceiling with just an inch or two to spare.
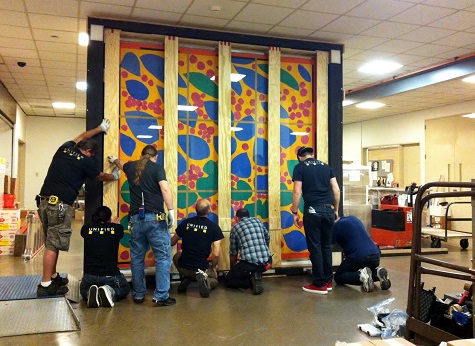
Brackets on the artwork’s frame are used to attach it to the interior travel frame, which then fits snugly into the foam-lined crate.
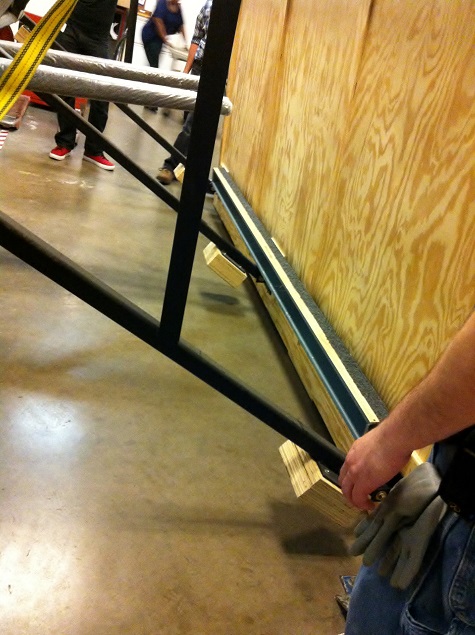
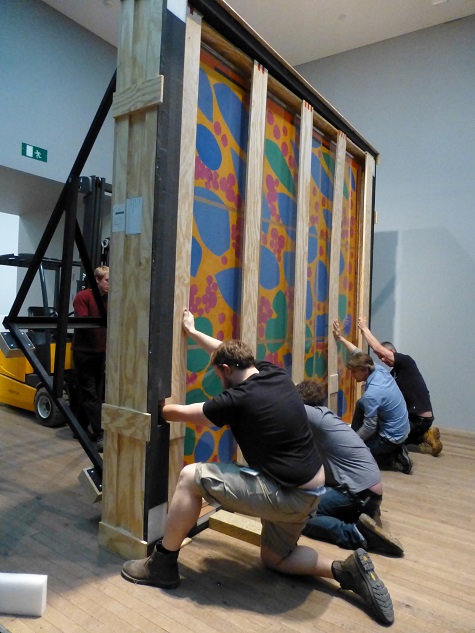
12:17 p.m. – Although there is no room inside for the custom-built cradle used to maneuver the heavy artwork, the preparators screw it to the outside of the crate to be kind to the backs of their counterparts on the other end.
April 3, 2014
1:45 p.m. – The loans registrar and I learn that the cargo flight is delayed and will depart early the next morning rather than that evening as scheduled. After quickly consulting with our conservator about the climate conditions in the airport warehouse and confirming that there will be on-site security, we decide to proceed with loading the truck as planned.
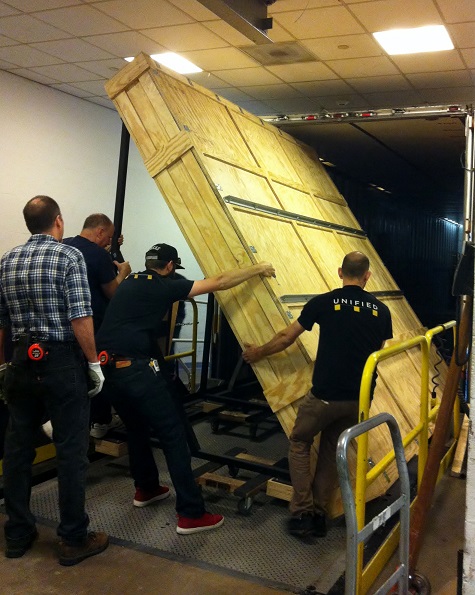
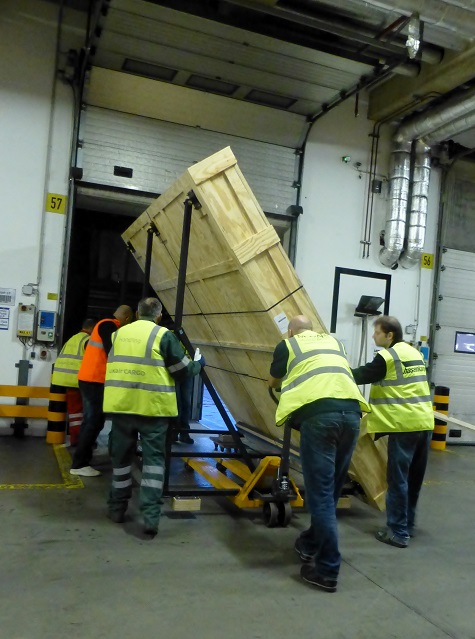
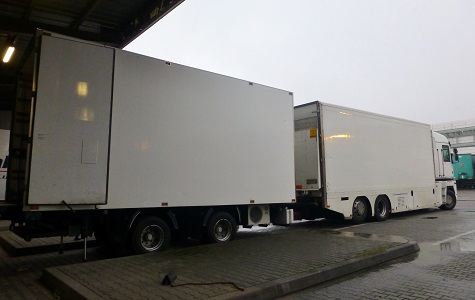
3 p.m. – Lots of manpower, strategically placed dollies, and careful angling are used to load the crate onto the high-cube tractor trailer truck via the narrow dock plate.
3:42 p.m. – I climb into the backseat of a follow car that tails the truck carrying the artwork to the airport.
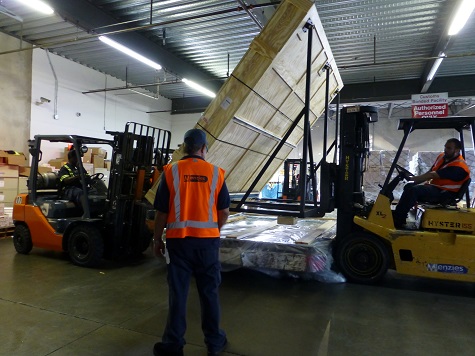
5:07 p.m. – The wider dock at the airport cargo area makes it much easier to offload the crate. A few more gray hairs appear on my head as I watch three forklifts, operating in tandem, raise the crate so a pallet can be slid underneath.
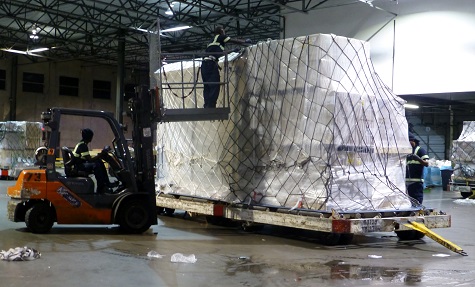
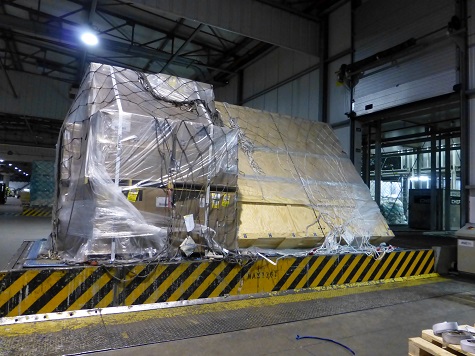
8:53 p.m. – Artwork couriers are very well acquainted with the “hurry up and wait” concept, as it is several hours later that additional cargo arrives to be loaded onto the same pallet. The entire structure is then wrapped in plastic (to protect from the elements) and secured via netting. It is a courier’s responsibility to make sure that cargo added to the artwork’s pallet does not contain live animals, anything perishable, or hazardous materials.
9:56 p.m. – After verifying the pallet was properly packed, security surveillance is in place, and paperwork is in order, I crash at a nearby hotel.
April 4, 2014
6:56 a.m. – My chariot awaits (bright and early!)—the customs agent from Masterpiece International drives me from the hotel to the DFW cargo hanger.
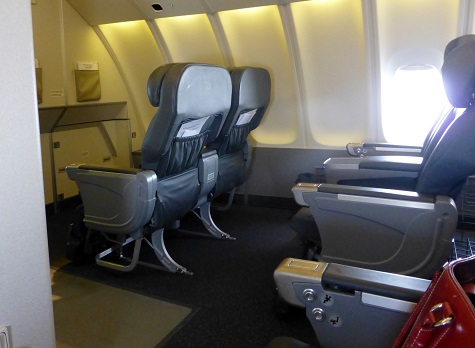
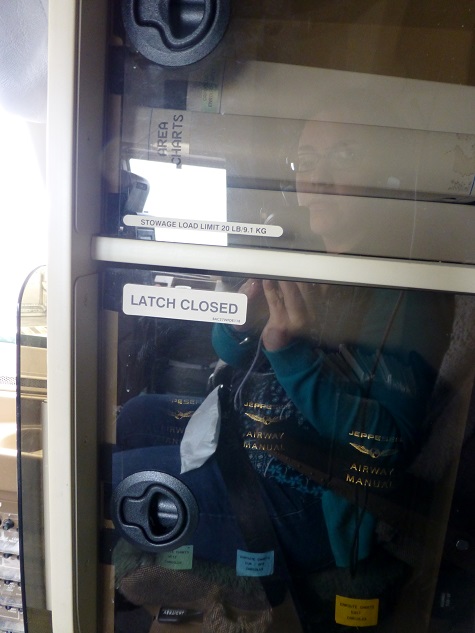
8:27 a.m. – The pallet is loaded and I board the cargo plane. Rather than the usual flight attendant spiel on how the seat cushion can be used as a flotation device, the pilots point out three possible escape hatches. As the only passenger, I settle into a row of business-class seats.
9:15 a.m. – Flight departs Dallas/Fort Worth International Airport.
11:02 a.m. – Flight arrives in Chicago to take on additional cargo. I experience a minor moment of panic when I overhear the load supervisor say, “The animal’s not breathing and you have to sign all these papers and a waiver for them to do CPR.” I breathe a sigh of relief when I realize he is on the phone talking about his girlfriend’s cat (having ridden on planes with horses, chickens, and monkeys, you just never know).
1:01 p.m. – I inspect the pallet to make sure it is still secure after the extra cargo was loaded (thankfully no monkeys in sight).
2:15 p.m. – The pilots invite me into the cockpit for takeoff from Chicago.
9:46 p.m. Dallas time/5:46 a.m. local time – The plane touches down in Luxembourg (while London is my final destination, its airports don’t accept large cargo planes).
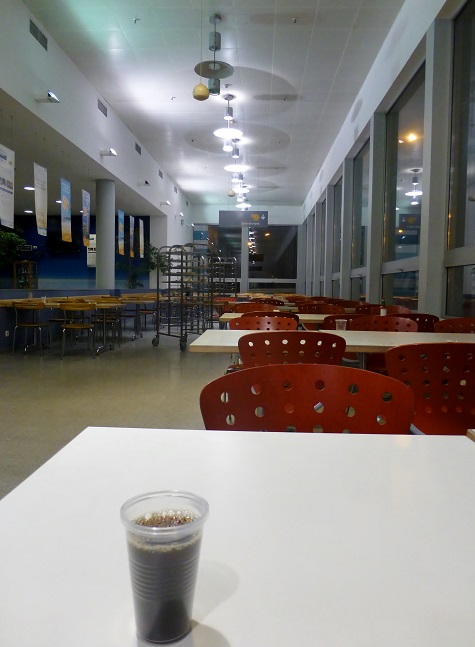
The airport is deserted at this early hour, and the pilots have to call for customs clearance. A bleary-eyed agent comes out of a nearby office, unceremoniously takes a stamp out of his pocket, marks our passports, and we are on our way. I manage to find a much-needed caffeine fix.
6:20 a.m. – Representatives from the art-freight forwarders Hasenkamp drive me to the cargo area and help secure my clearance (an ID badge affixed to a sexy green vest). Two drivers from the British fine art company MOMART meet us to help with the depalletizing and loading the crate onto their truck.
8:03 a.m. – The paperwork is finalized, the truck is locked and sealed, and we set out on the road to Calais, France.
8:40 a.m. – I pass into my third country of the day as we cross the border into Belgium.
12:53 p.m. – We drive into France and I jam with the drivers to Pharell Williams’ “Happy” and Elton John songs on the French radio.
1:39 p.m. – The customs agents in Calais ask for copies of all my documentation, including my e-ticket for the return trip to Dallas.
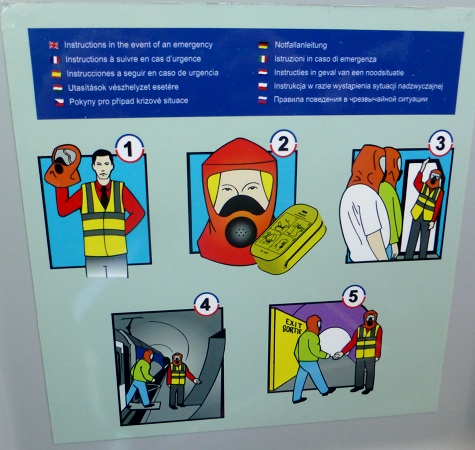
2:07 p.m. – MOMART drives the truck onto the Eurostar train flatbed, the wheels are locked, and the drivers and I board a bus for the passenger car. The drivers warn me of the potential stench of the train car and its scary bathrooms. I’m not sure what the warning instructions are about on the seat back—possibly what to do in the event of a nuclear holocaust or alien invasion.
2:54 p.m. French time/1:54 p.m. local time – The train arrives in England via the tunnel under the English Channel.
2 p.m. – While we are waiting to clear customs at the truck stop, we are engulfed by a tidal wave of drunk college students in body paint and various states of dress (or lack thereof), apparently en route to a big sporting expo. I am grateful for “Horatio Hornblower” on the lounge television . . .
4:30 p.m. – Customs are finally cleared and we depart for London.
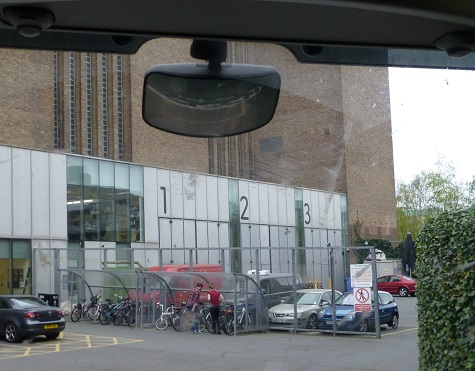
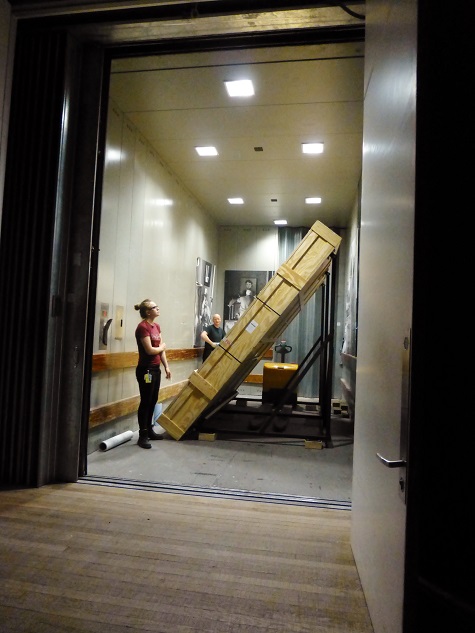
6:15 p.m. – The Tate Modern loading dock is a most welcome sight. The crate is taken up in a massive elevator to be stored in the exhibition gallery because it is too large for their storage facilities.
7:10 p.m. – A taxi spirits me away to my hotel for a much needed shower and night’s sleep.
April 6, 2014
Acclimatization day (24 hours’ acclimatization is the museum standard to allow artworks to adjust to their new surroundings before they are unpacked. We couriers are grateful for these days so our bodies can also “acclimatize” and recover from jetlag.)
April 7, 2014
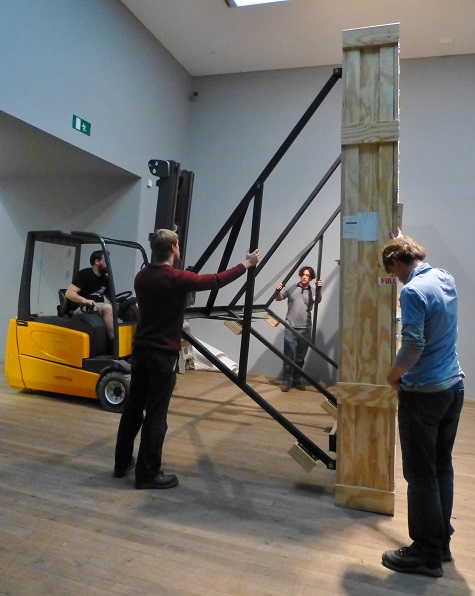
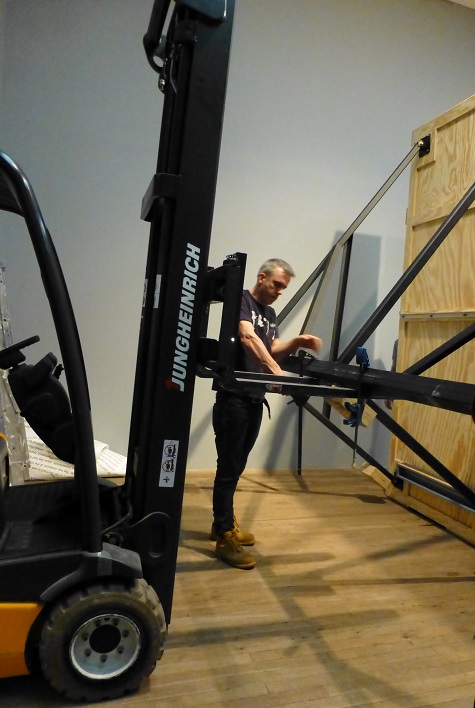
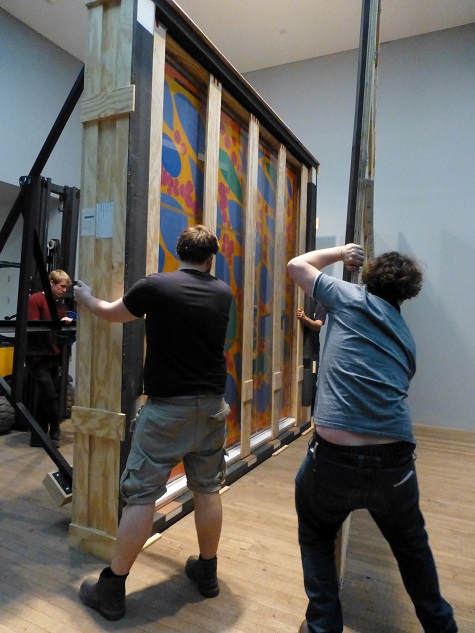
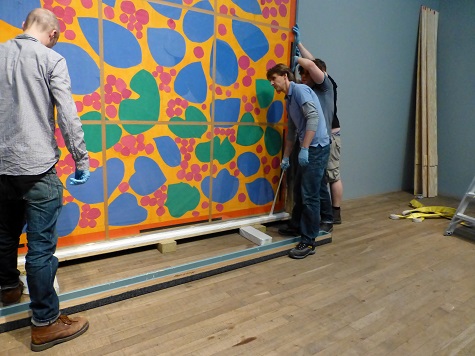
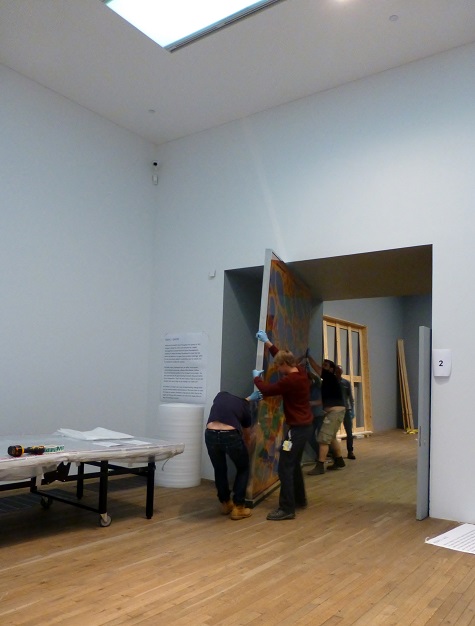
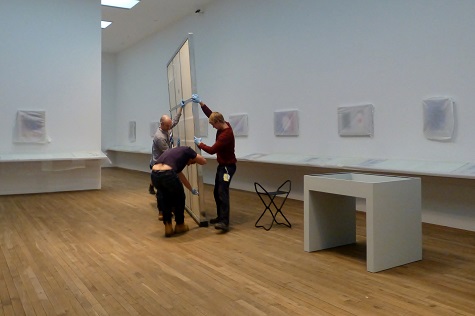
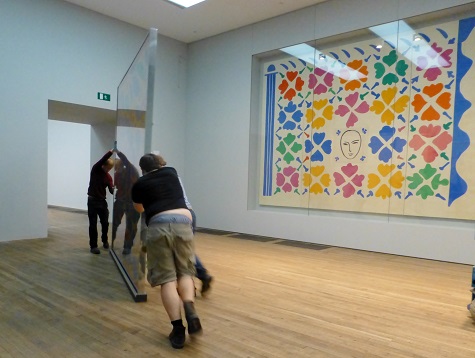
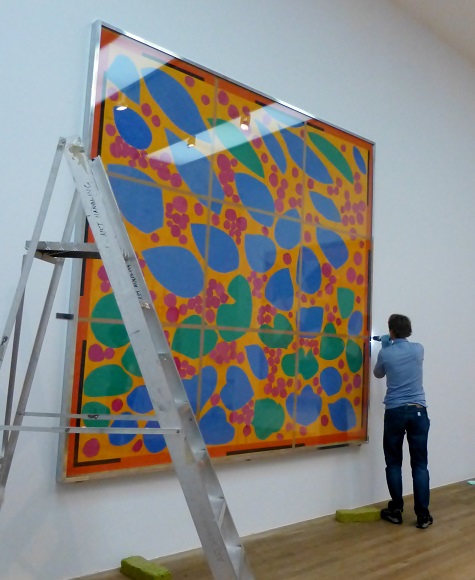
8:30 a.m. – I report to the museum for my unpacking appointment. The technicians clamp the crate to the forklift for extra stability and security. The cradle is used to slide the collage through the galleries, since (naturally) it is to be installed in the last one.Preview
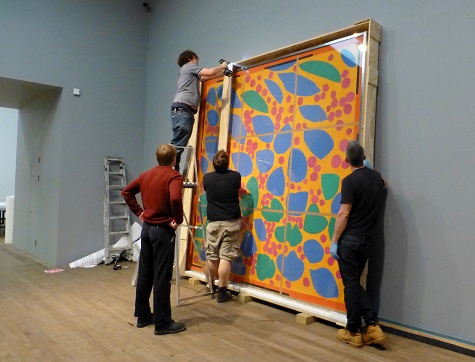
9:50 a.m. – Sir Nicholas Serota (Tate Modern’s director) and Nicholas Cullinan (exhibition curator) work with the art handlers to place the artwork.
10:03 a.m. – I thoroughly examine the collage with the Tate’s conservator for the condition report and to verify it traveled safely overseas. The artwork is compared to the outgoing report and the photos taken before it was packed at the DMA.
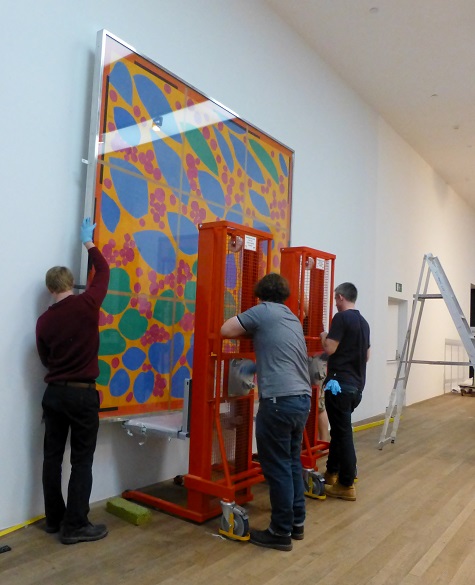
11:28 a.m. – The frame is lifted into place and hardware is attached to secure it onto the wall.
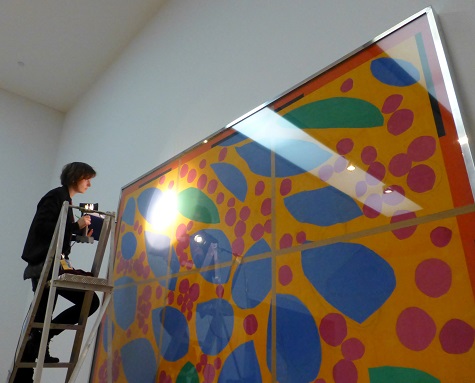
11:52 a.m. – I request that a reading be taken with a light meter since there are skylights in the galleries. Works on paper are very susceptible to light damage, but thankfully the levels were low enough to meet our standards.
12:09 p.m. – I can now breathe a sigh of relief that everything is as it should be and set out to explore London.

Reagan Duplisea is the Associate Registrar, Exhibitions, at the DMA.
