For our Urban Armor workshop this month, we focused on different printmaking techniques. We made some awesome block prints using linoleum blocks that we carved and ran through the printing press. We also played around with collagraphy, a fun and easy technique that you can do at home without a press or any other expensive materials.
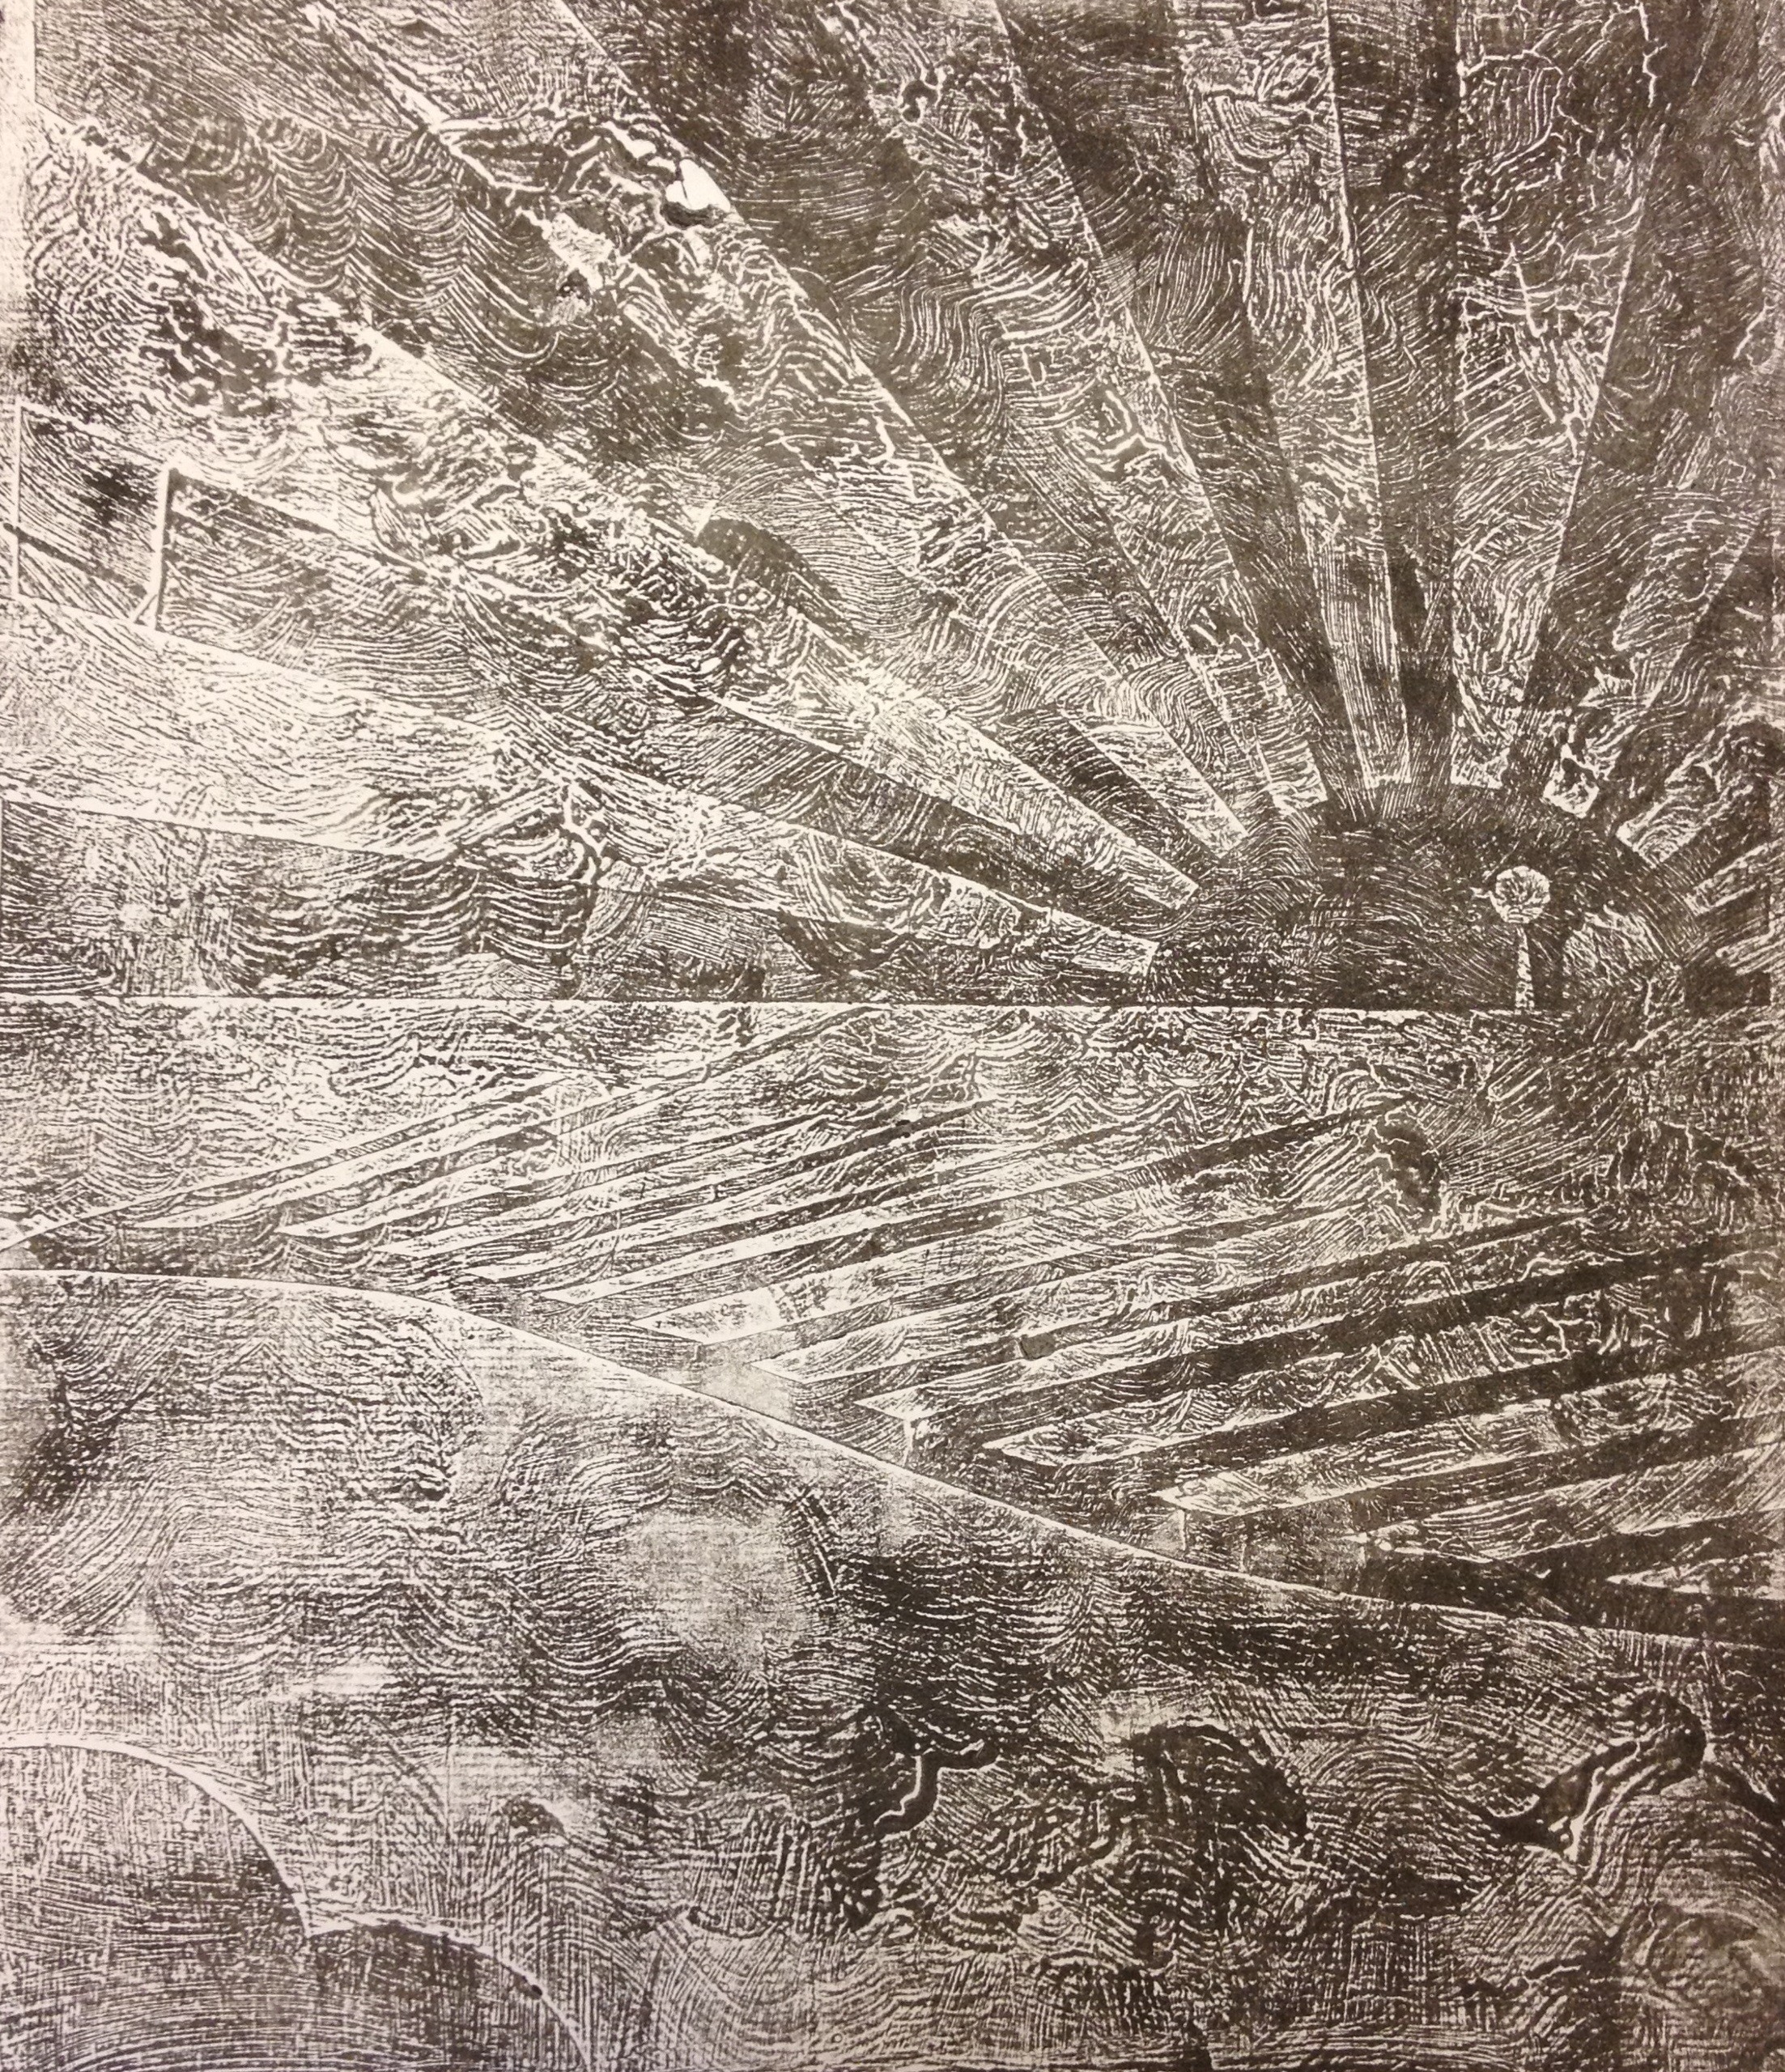
In collagraphy, you collage an image to create a “plate.” You will then transfer the image from the plate by coating it with ink and pressing it against a new surface. The effect you get is different from a block print–it won’t be as clear, but you’ll get a neat, atmospheric-type of image. Keep in mind that, since you’re creating the plate out of paper, it won’t be as durable as linoleum or other materials, which will limit the number of times you can use it. Remember too that your print will be a mirror image, so if you plan to include text, make sure that it reads backwards on your plate.
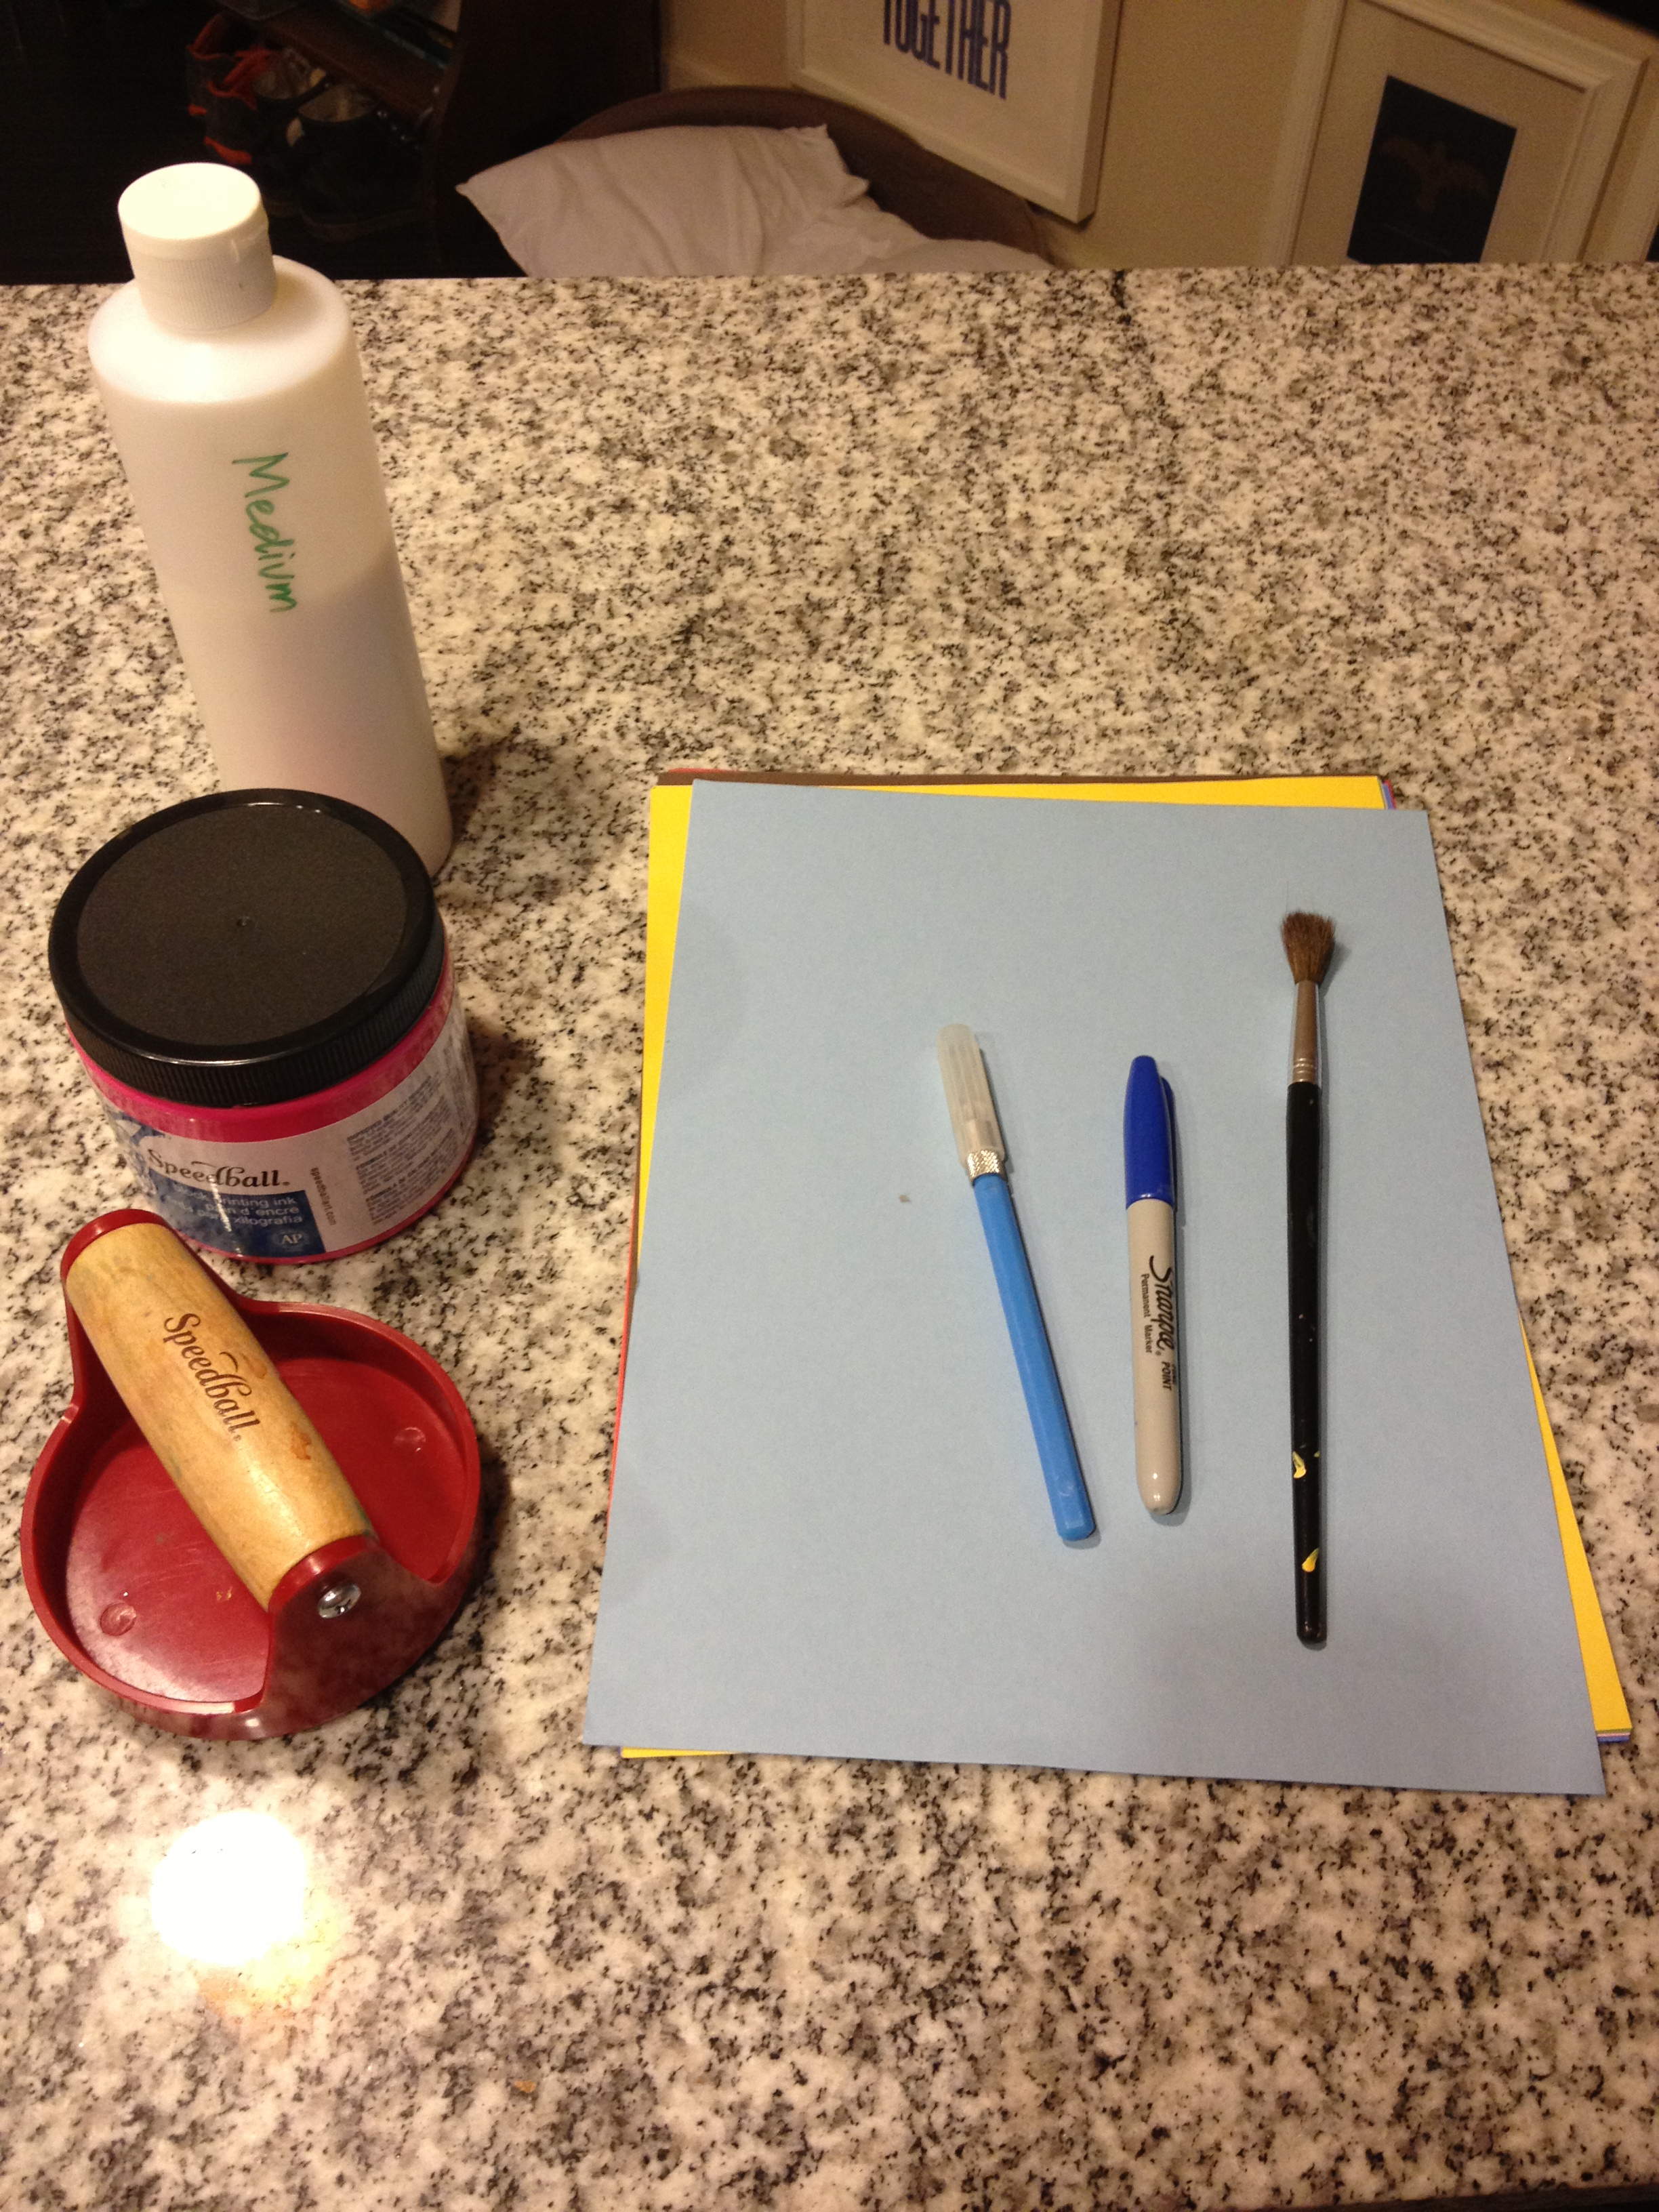
What you need:
- Collage materials (scrap paper, magazines, fabric scraps, etc., but nothing too thick)
- A pair of scissors or x-acto knife
- Glue
- A pencil
- Heavy paper (heavy drawing paper, watercolor paper, cardstock)
- Smooth paper for printing (copy paper works in a pinch)
- Gloss medium
- Brush
- Printing ink (I use water-based ink, available at craft stores)
- Brayer (optional)
- Paper plate for spreading ink
- Baren or large spoon for burnishing
- Scrap cloth or paper towels
Step 1: Make your plate
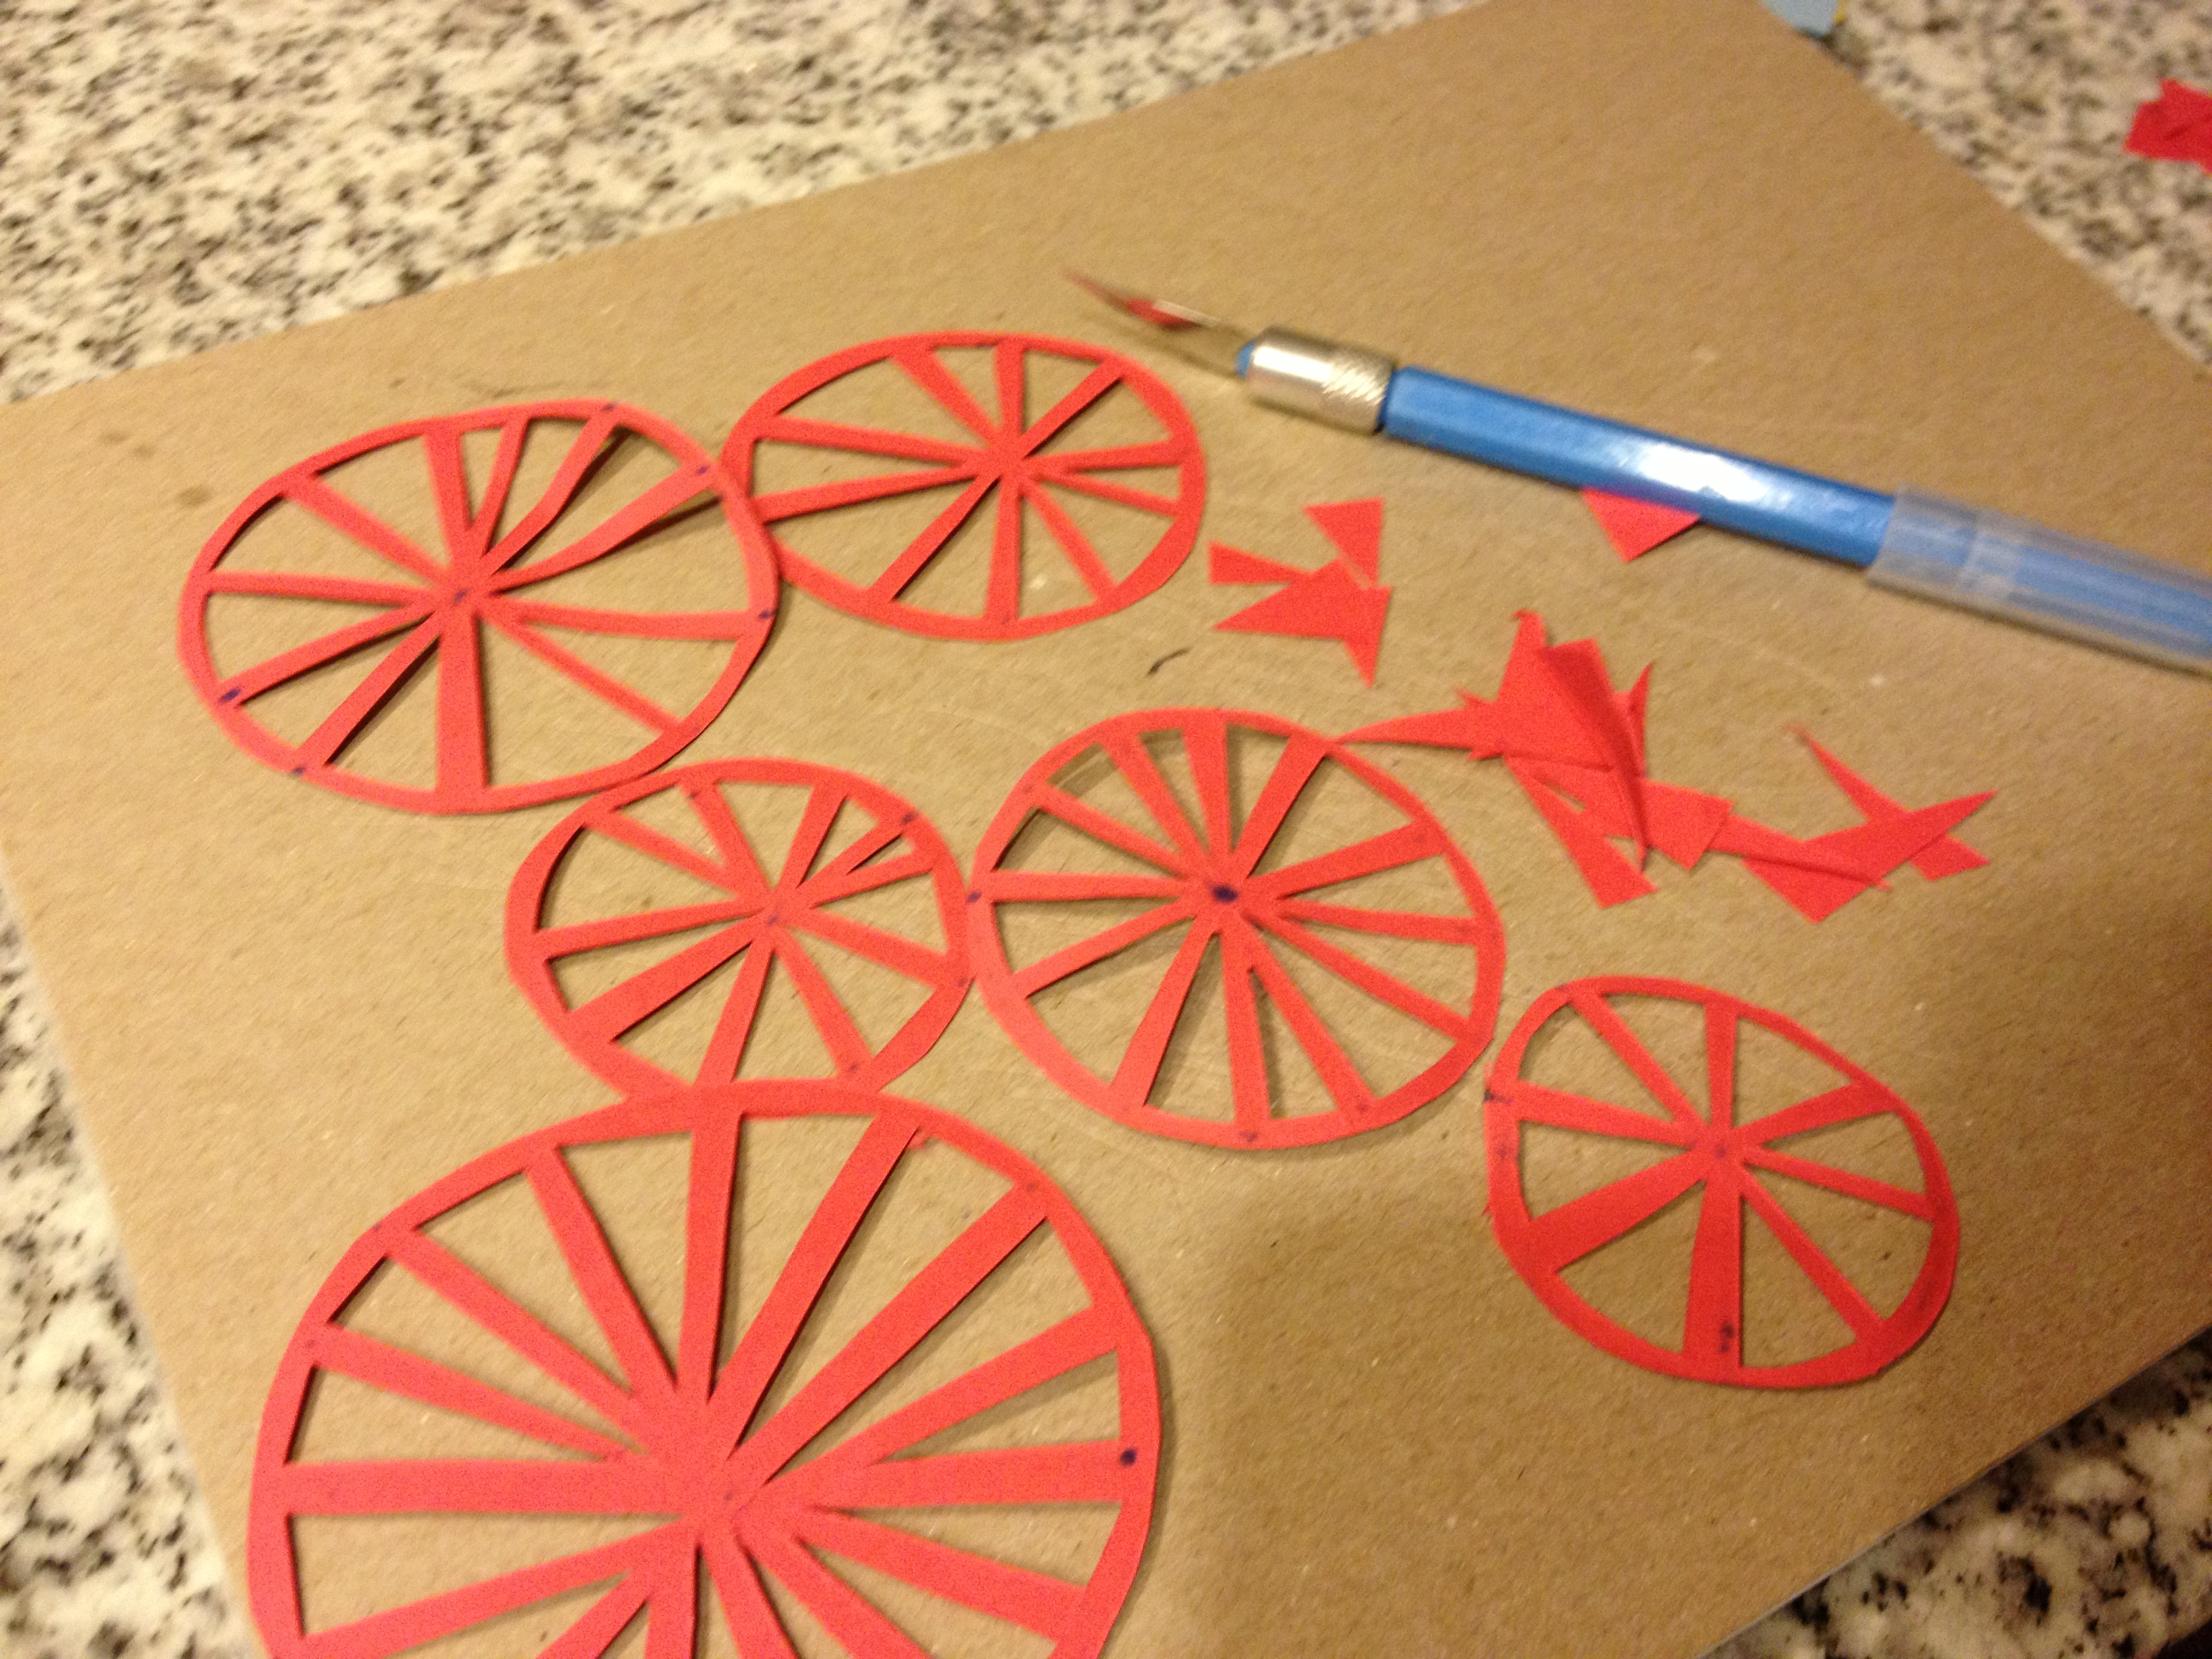
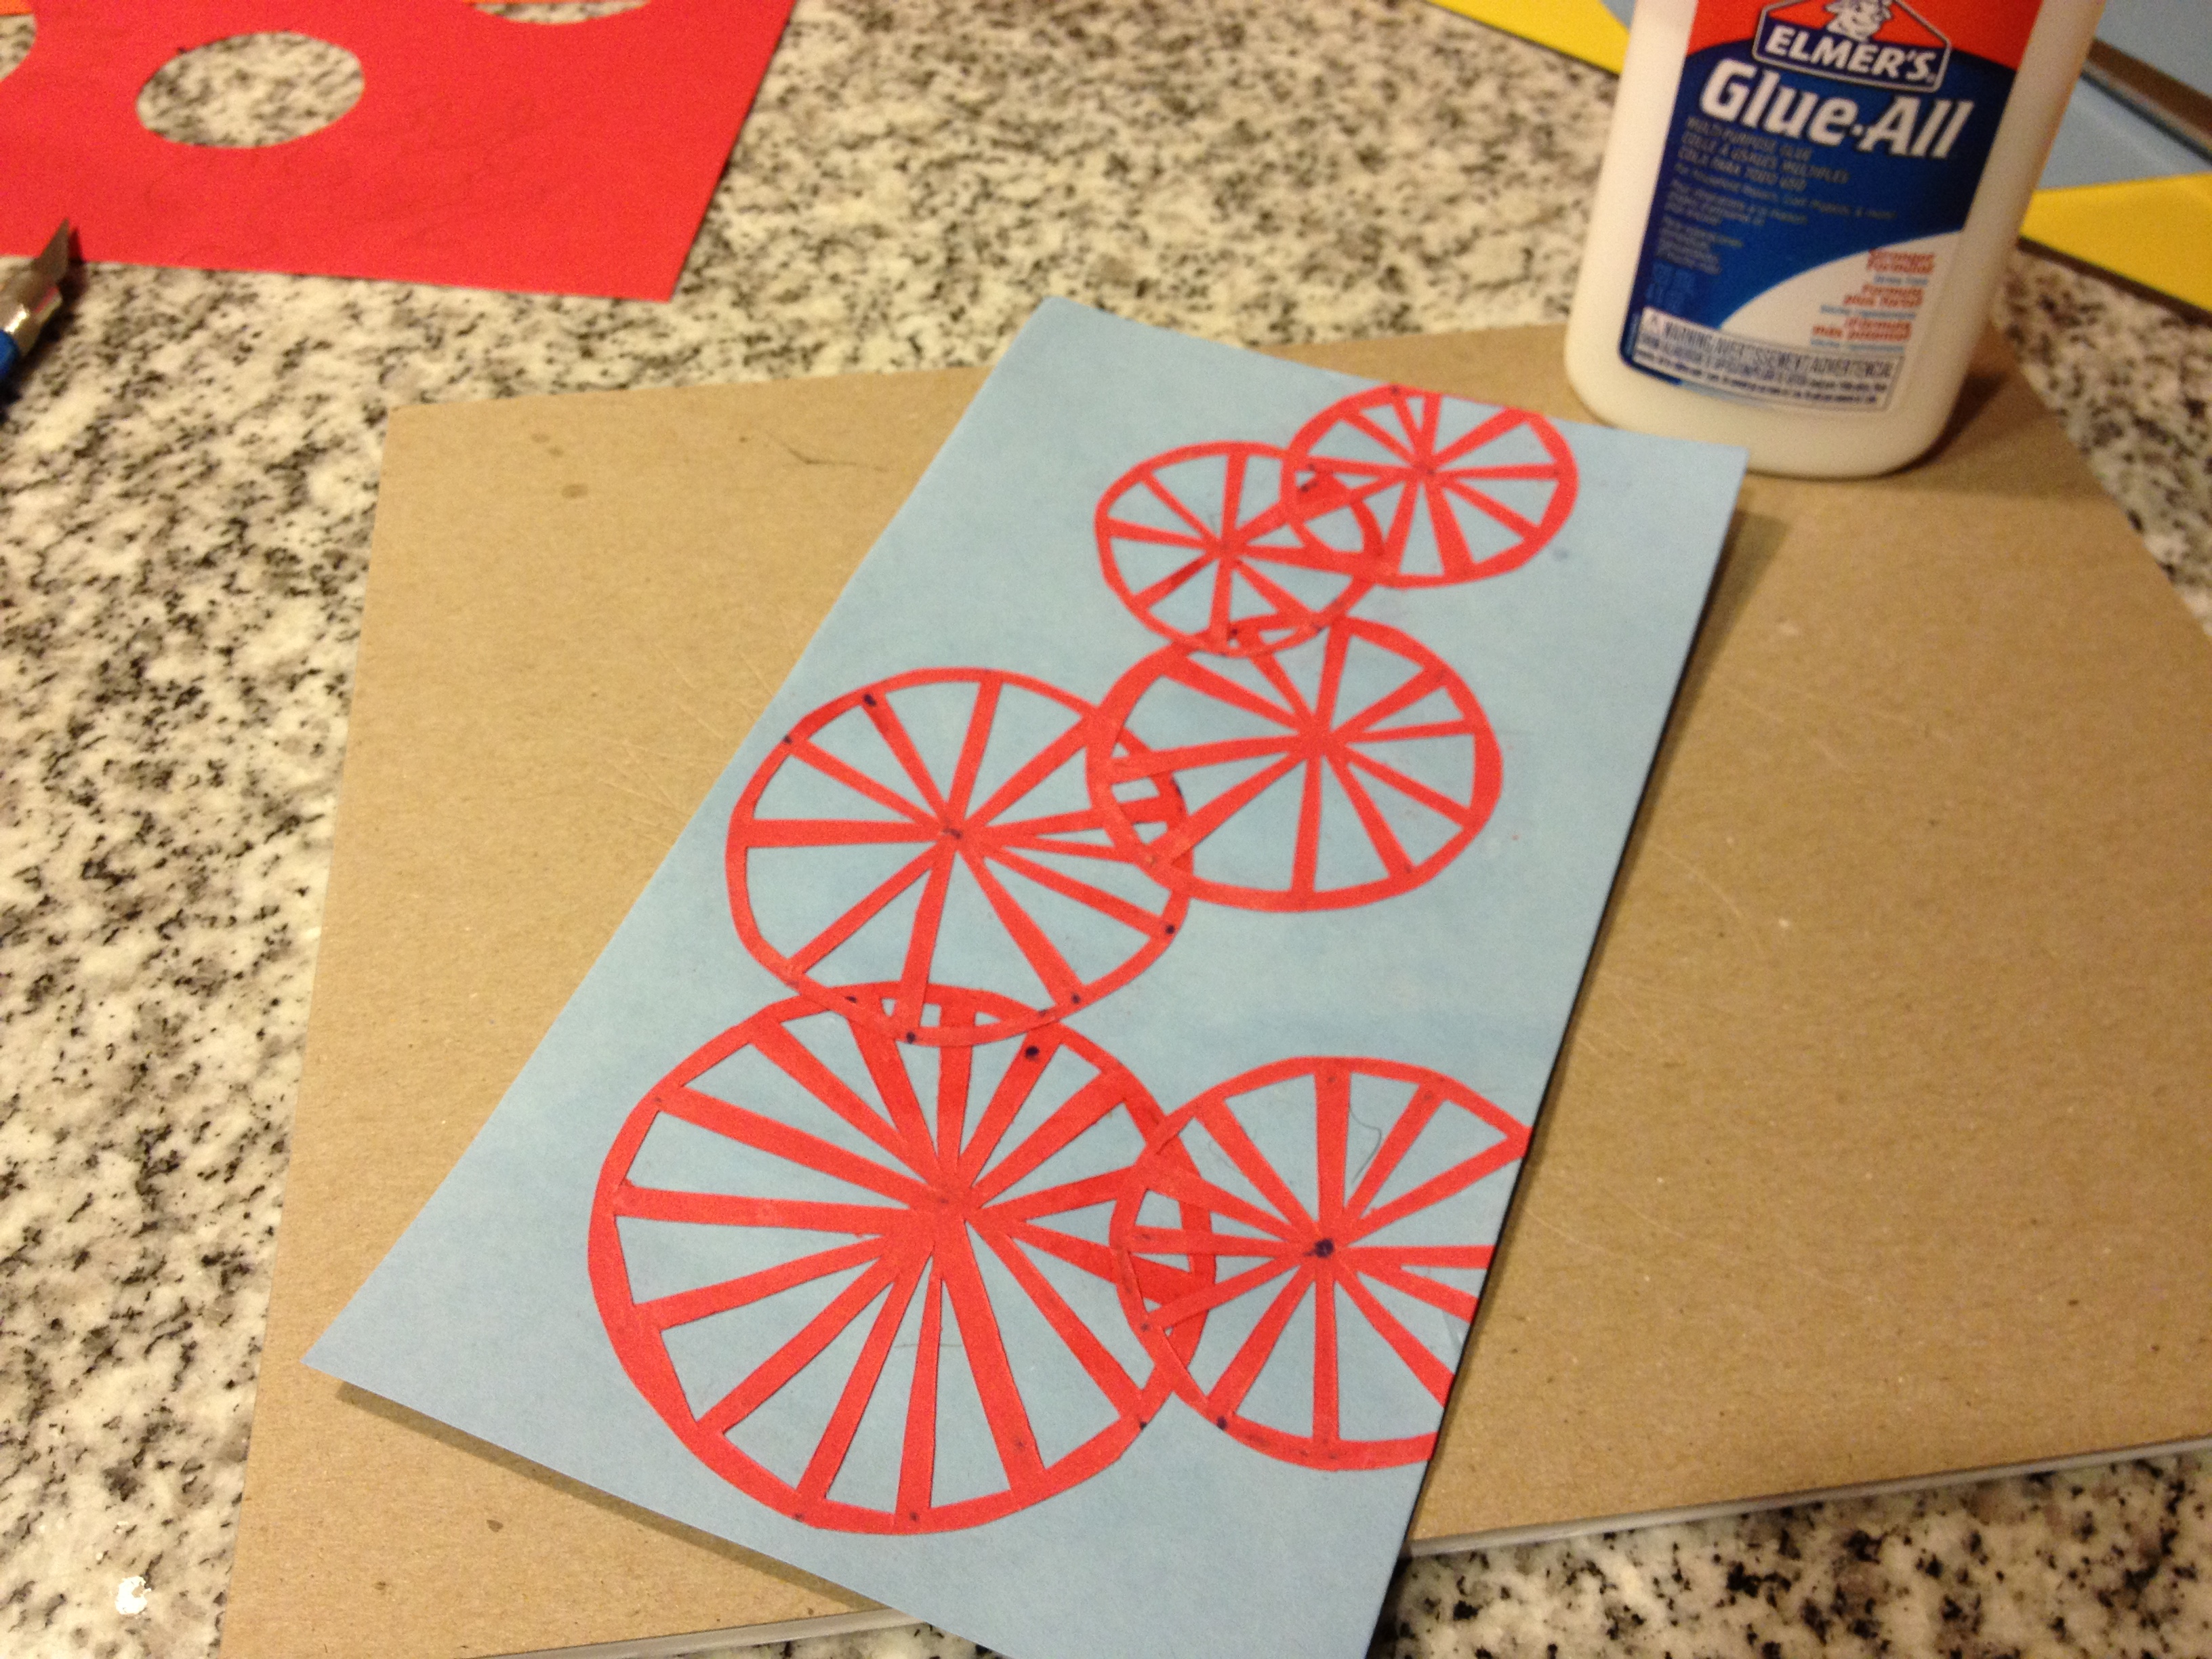
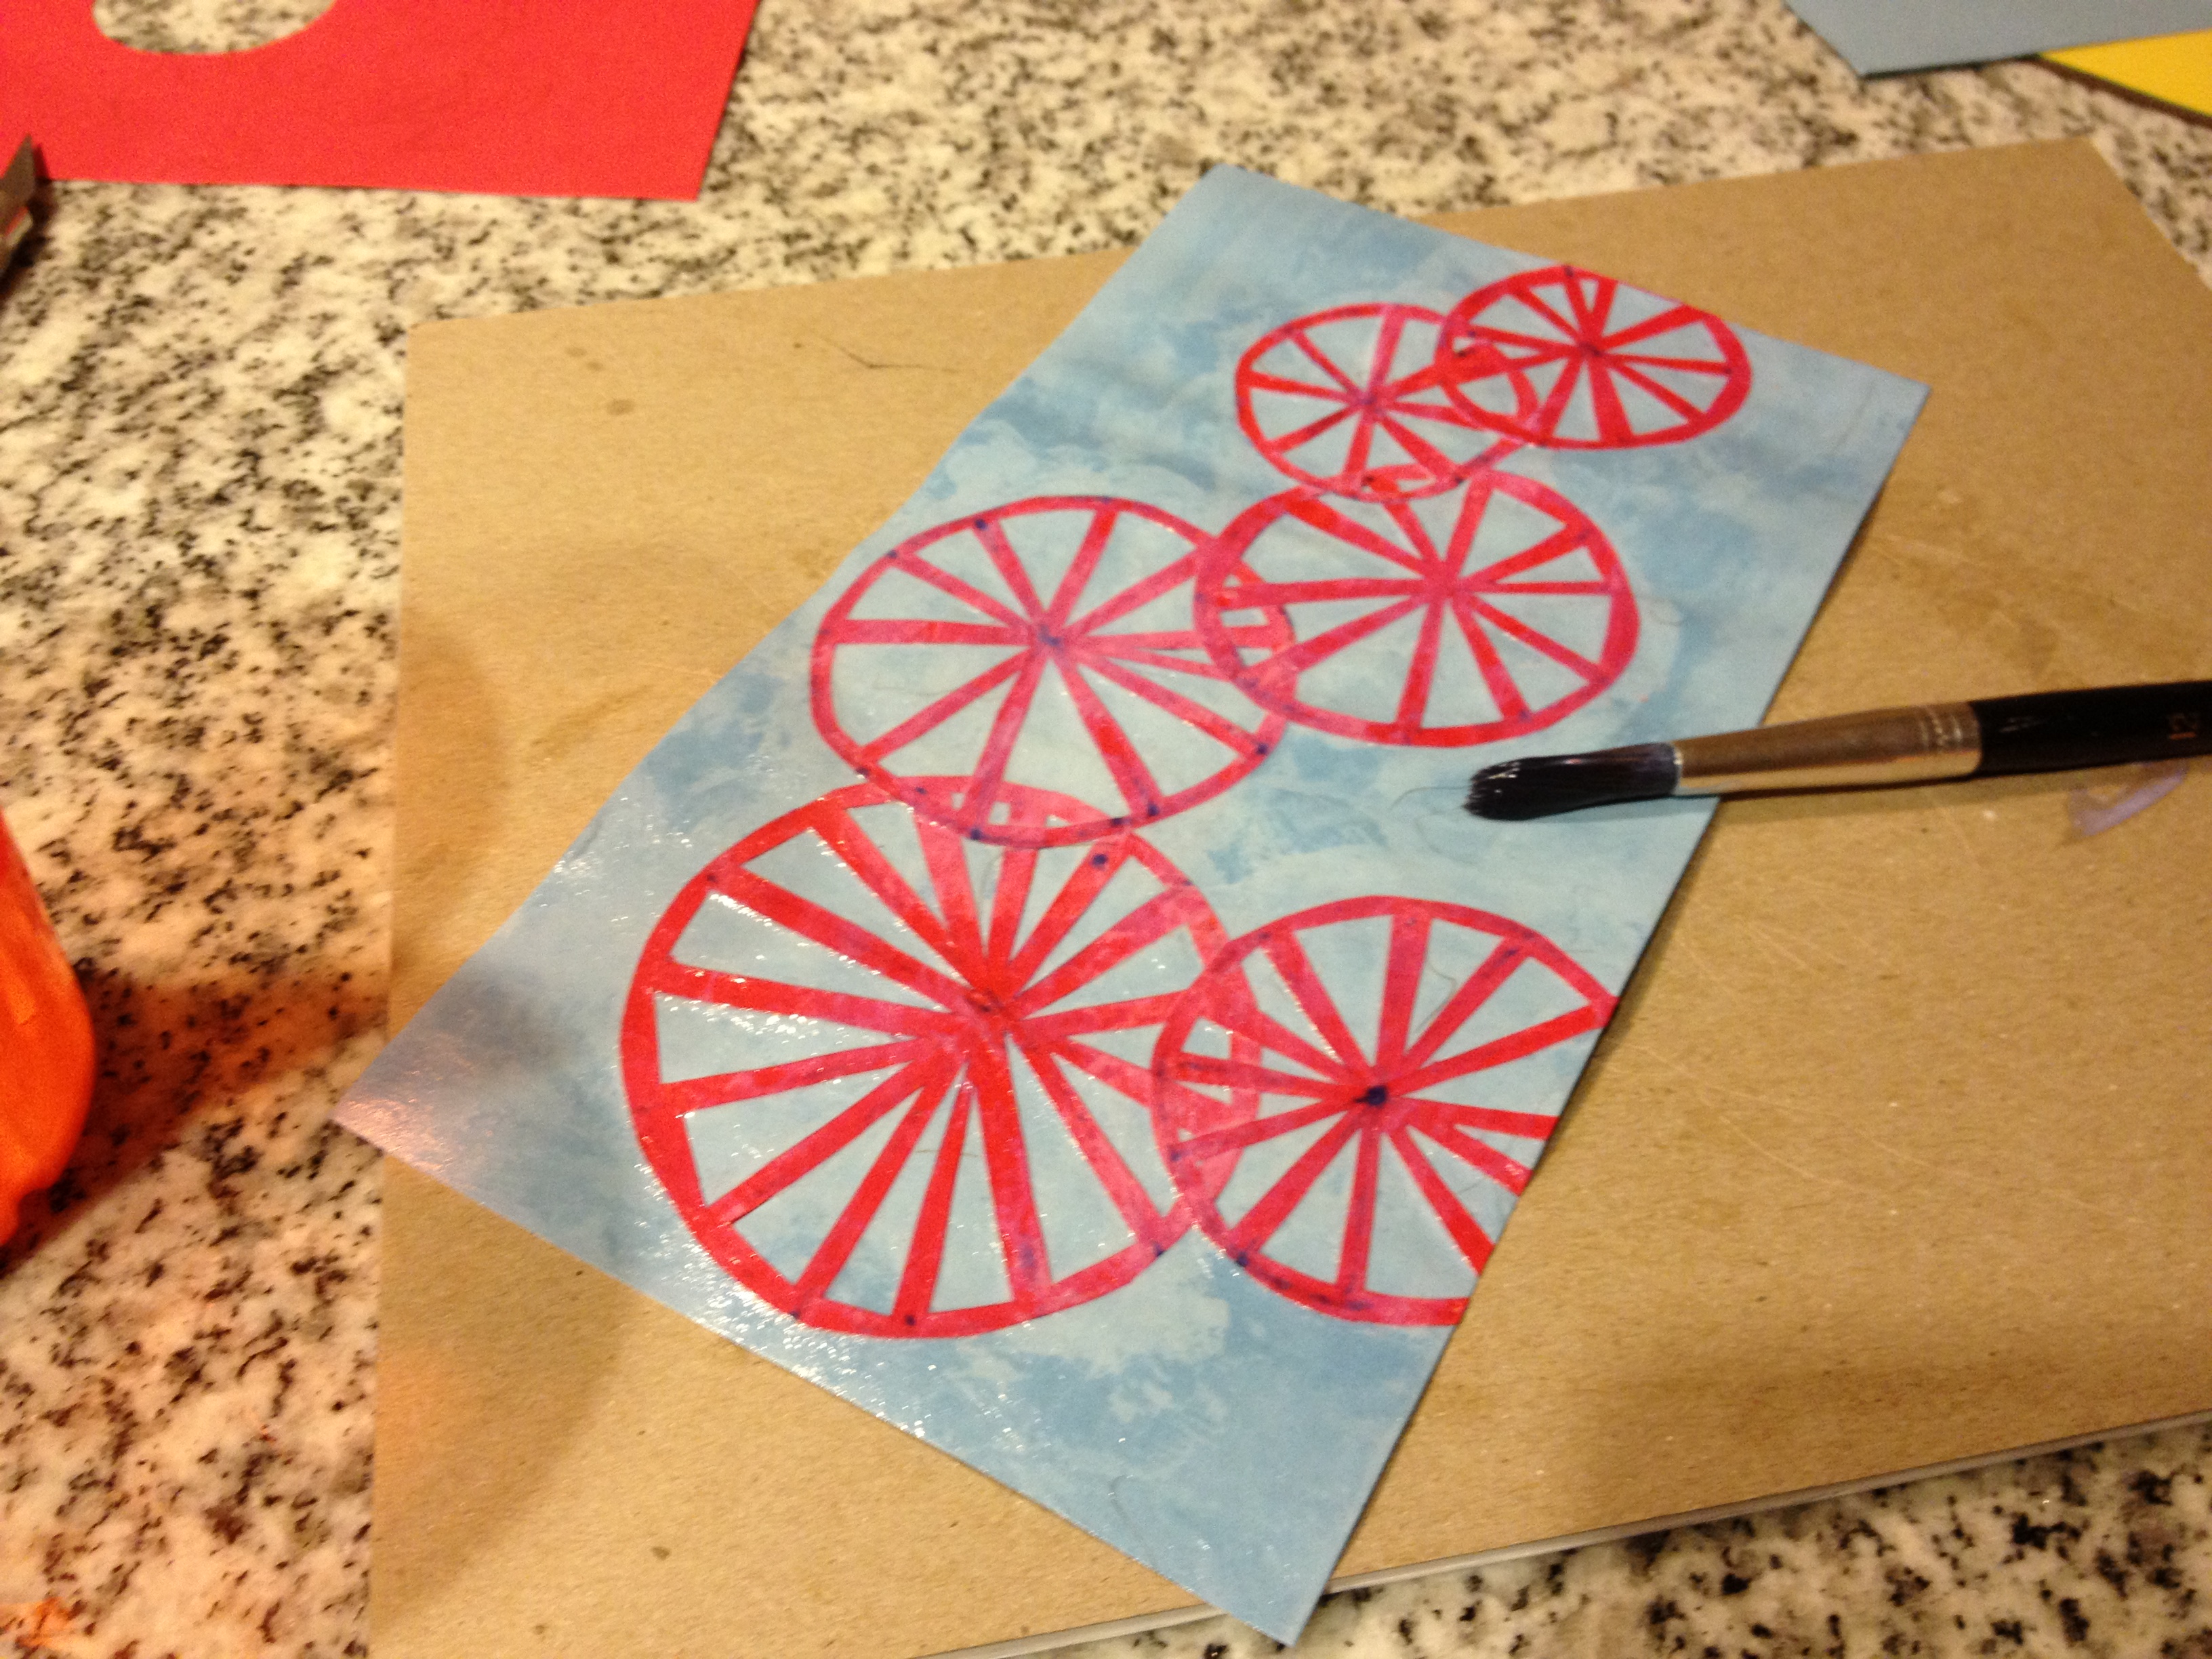
Create a collage on top of your piece of heavy paper–this is the image that will be printed. Experiment with layering things on top of each other; this will give your print different effects. Let the glue dry completely before moving on to the next step.
Step 2: Seal your plate
Cover the entire plate with a thin layer of gloss medium. This creates a durable, smooth surface that will give you a good ink transfer and allow you to use the plate multiple times.
Step 3: Ink your plate
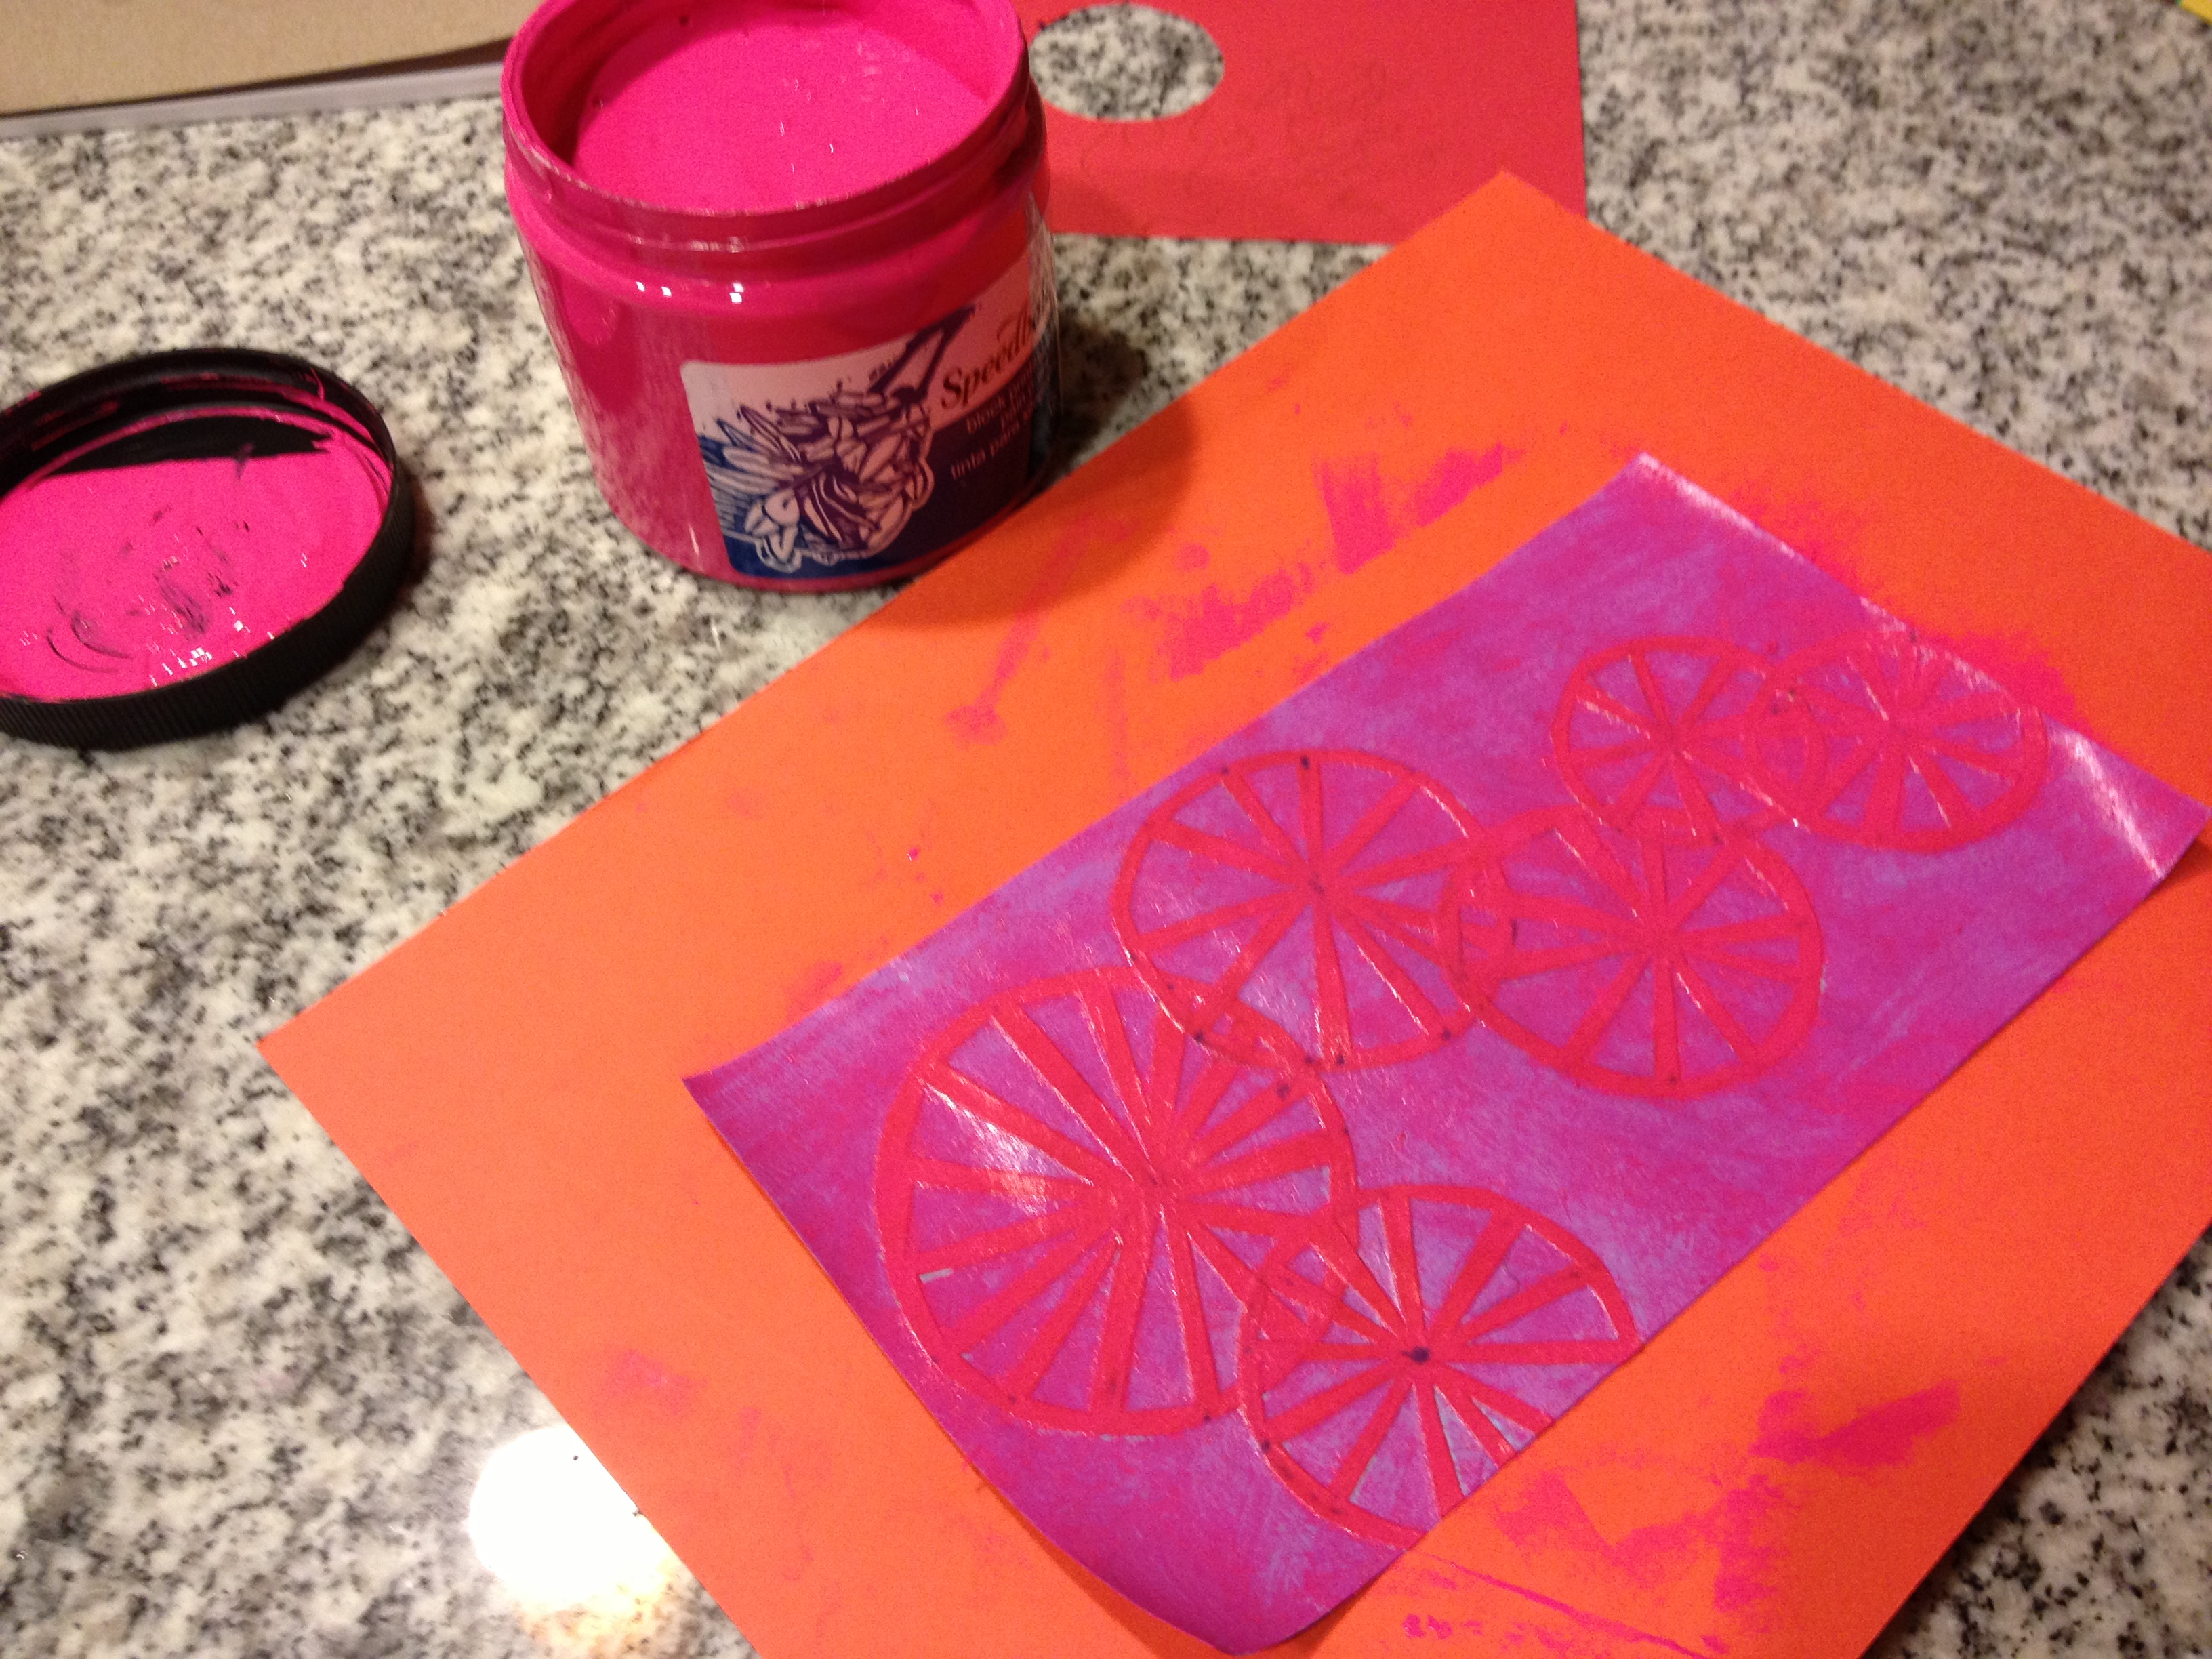
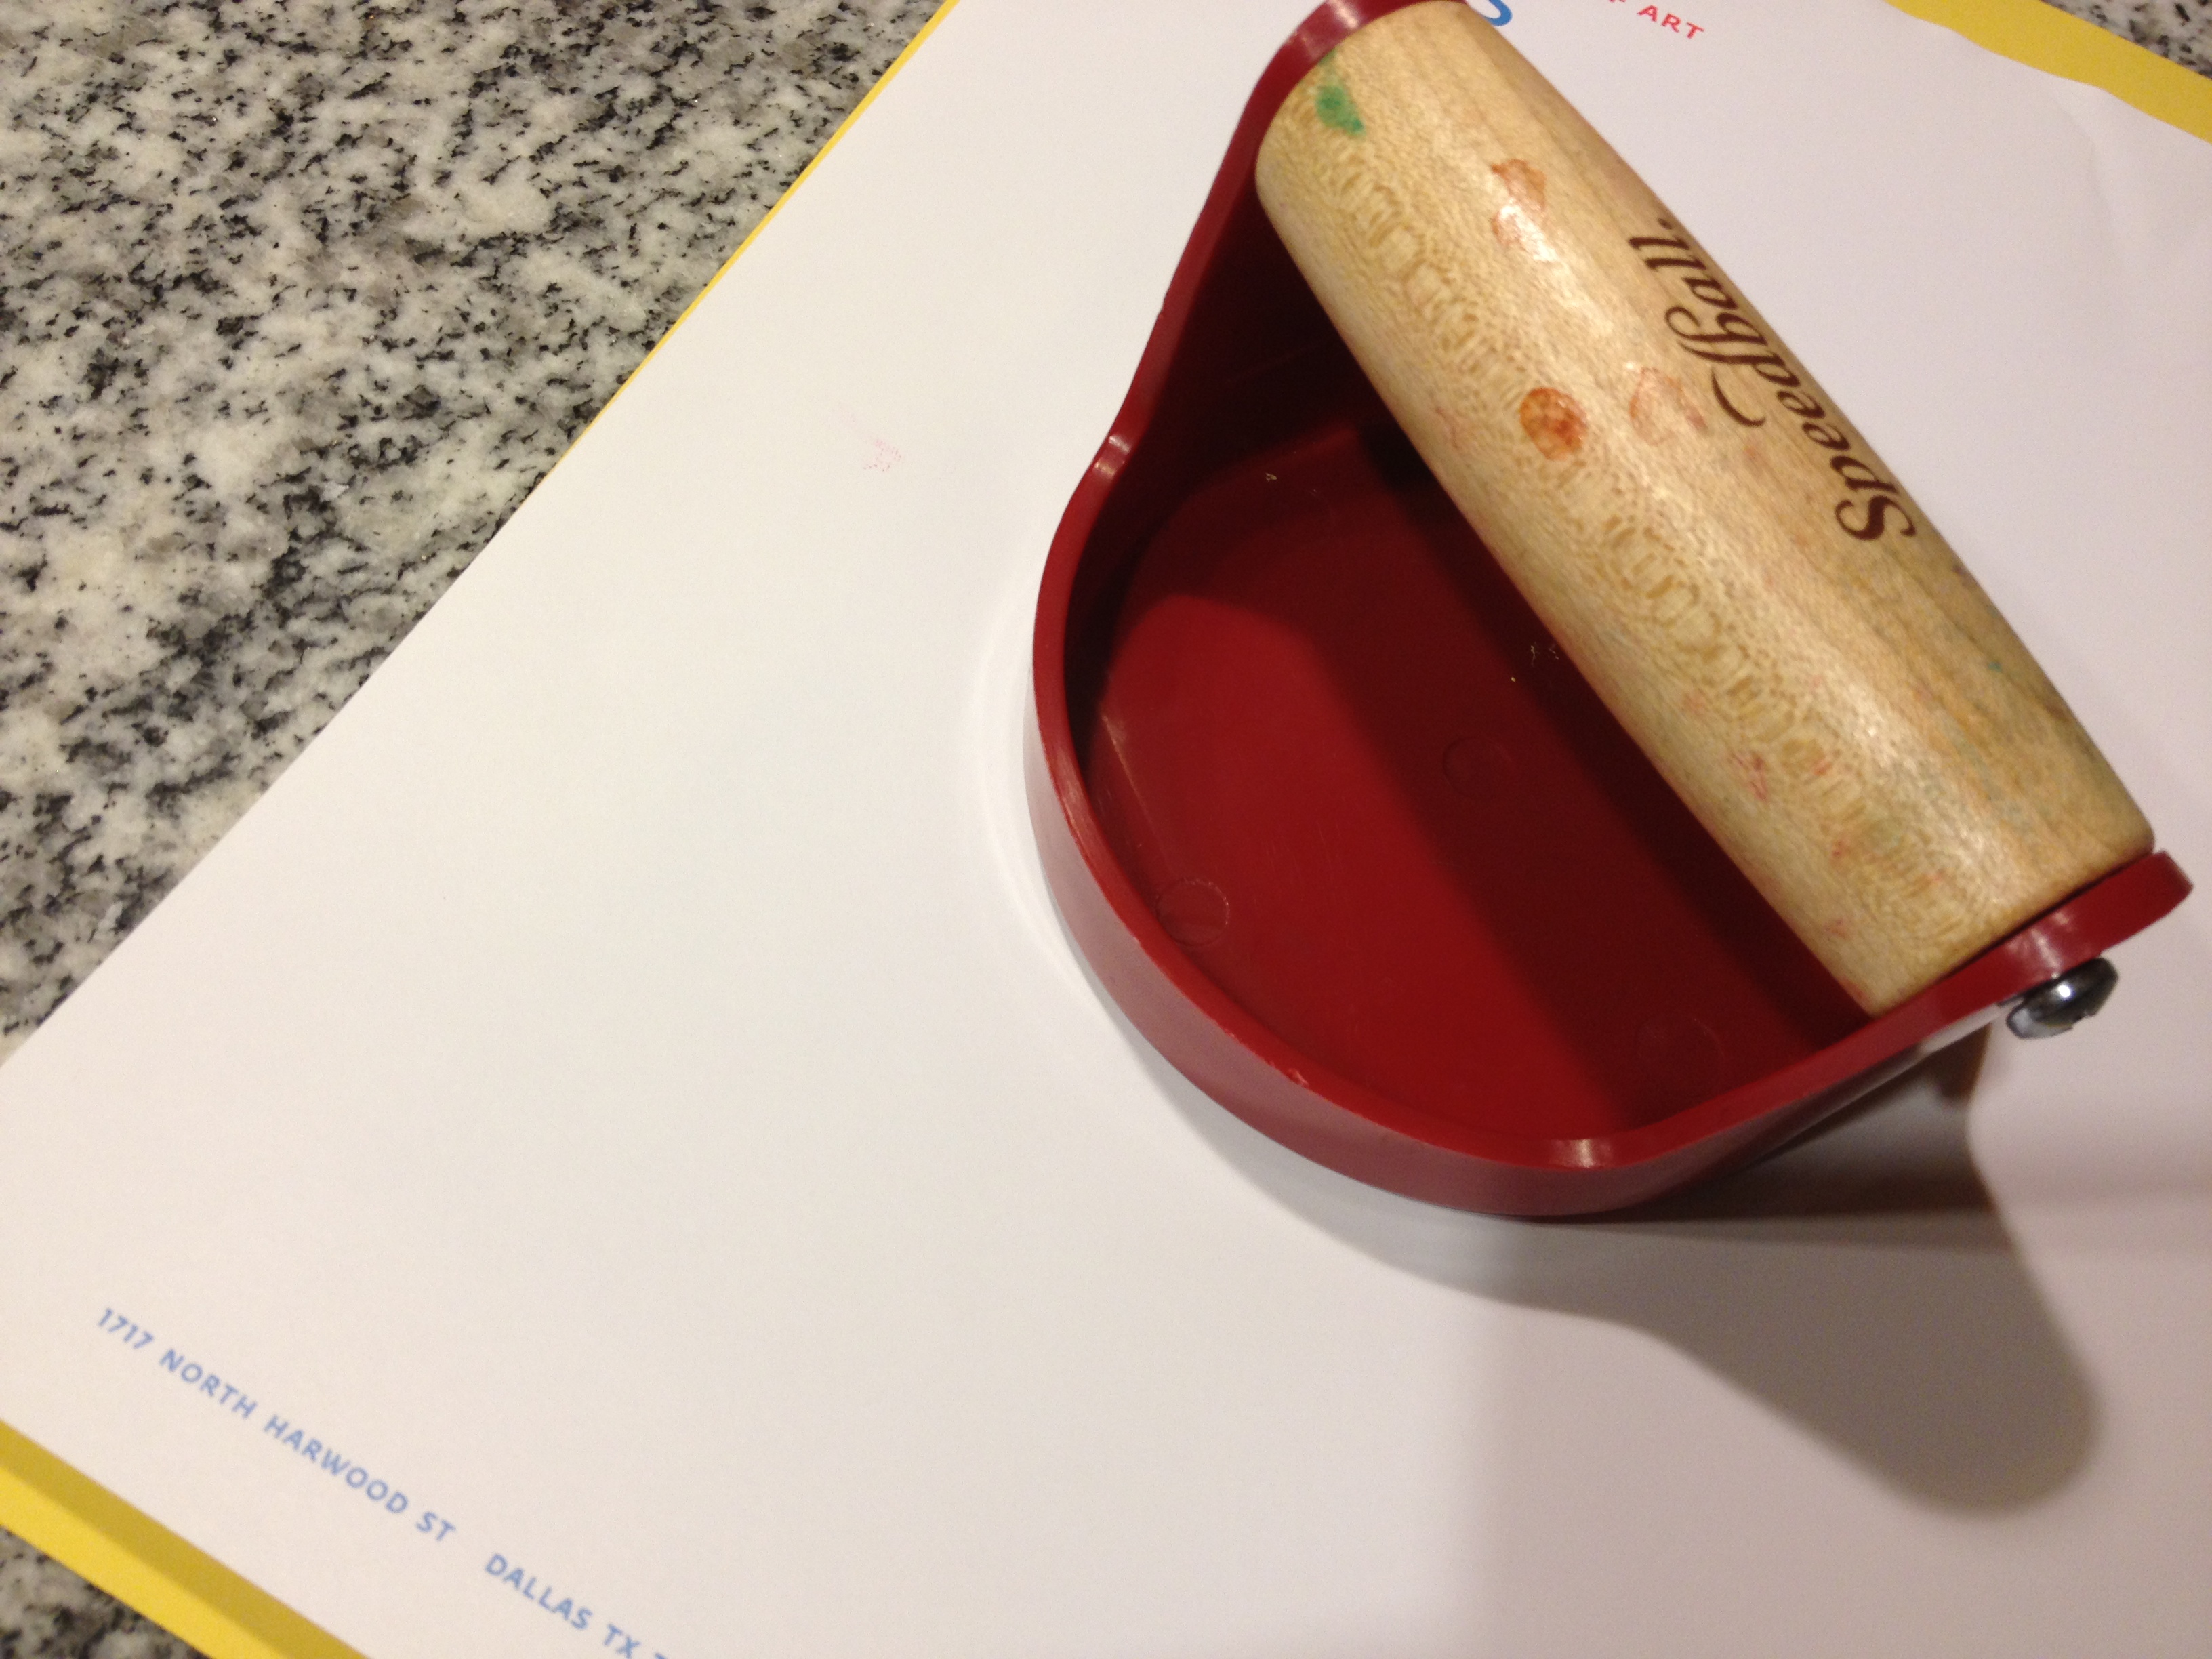
When your plate is dry, coat the surface with ink. You can do this with a brayer: put a dime-sized amount of ink on your paper plate and then roll it out with the brayer. Now roll the inked brayer across the surface of your image. If you don’t have a brayer, no worries! I dipped a paper towel into my ink and then wiped it onto my plate–it worked just as well. Whichever method you choose, be sure to wipe off excess ink in areas you don’t want printed using your scrap cloth or paper towels.
Step 4: Print your plate
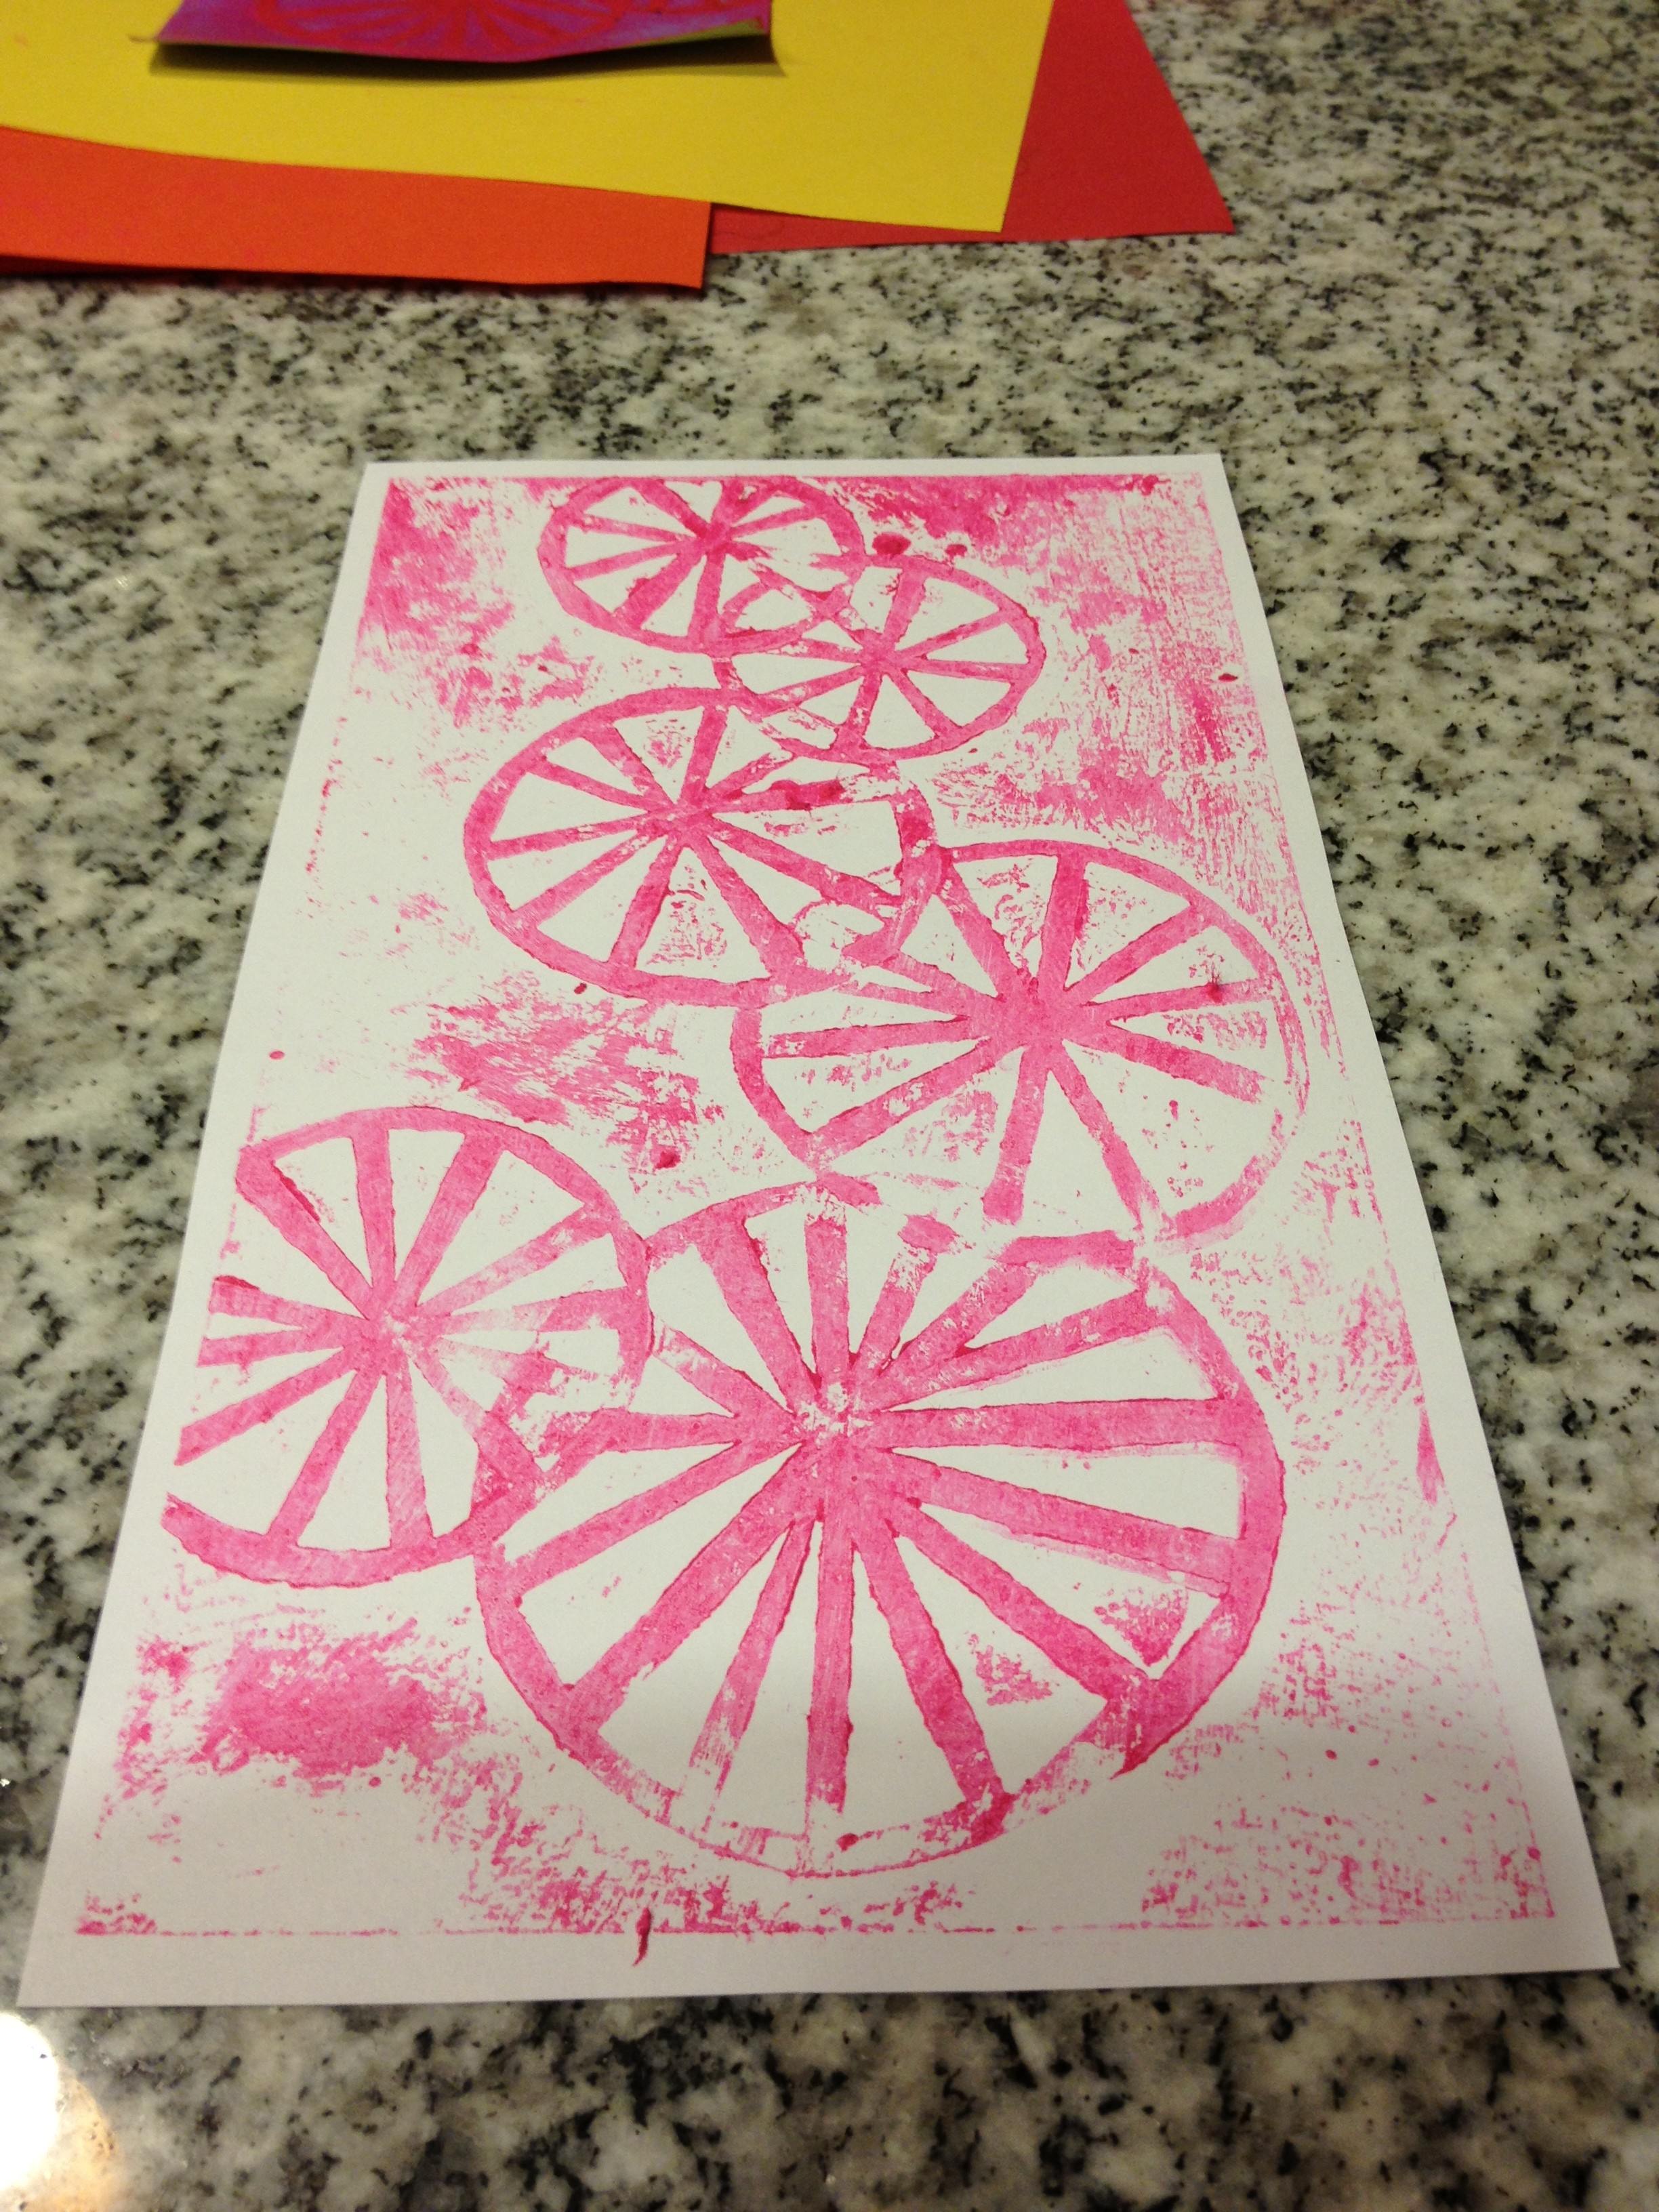
Flip your plate face-down onto your piece of smooth printing paper. Using your baren or spoon, burnish the back of the plate. Then, carefully peel it away from the printing paper. Voila! If you want to print in a different color, wipe your plate off with a damp paper towel.
Remember that printmaking is an experimental process. Prints created from the same plate can look vastly different depending on how much ink you use, the pressure you apply when burnishing, etc. Part of the fun for me is not knowing exactly how each print will turn out! So I encourage you to make as many prints as you can, experiment, and have fun!
JC Bigornia
C3 Program Coordinator
1 Response to “Make This: Collagraphs”