Posts Tagged 'creativity'


Make This: Adventures in Casting

Jean Arp, "Star in a Dream (Astre en Reve)", 1958, Dallas Museum of Art, Foundation for the Arts Collection, gift of Mr. and Mrs. James H. Clark, (c) Artists Rights Society (ARS), New York/VG Bild-Kunst, Bonn

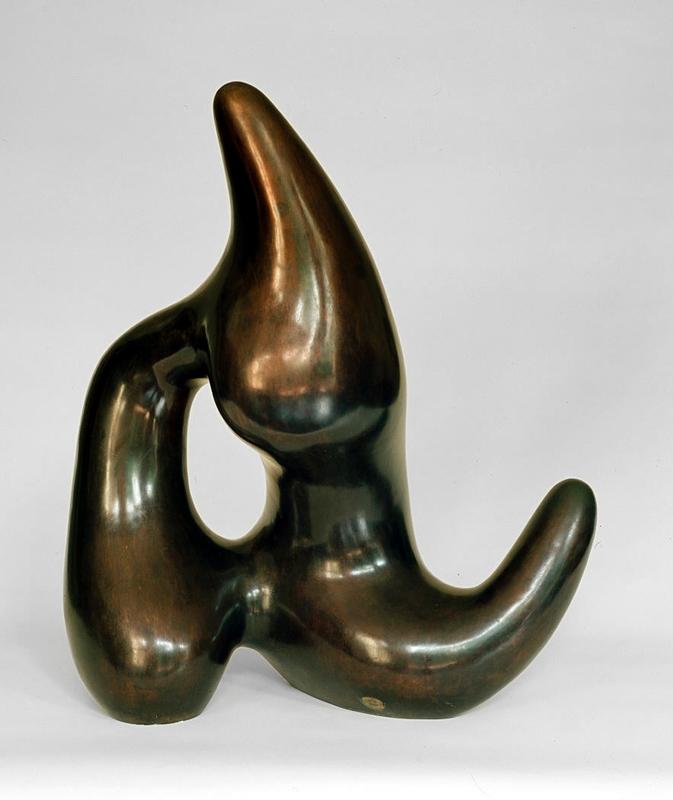
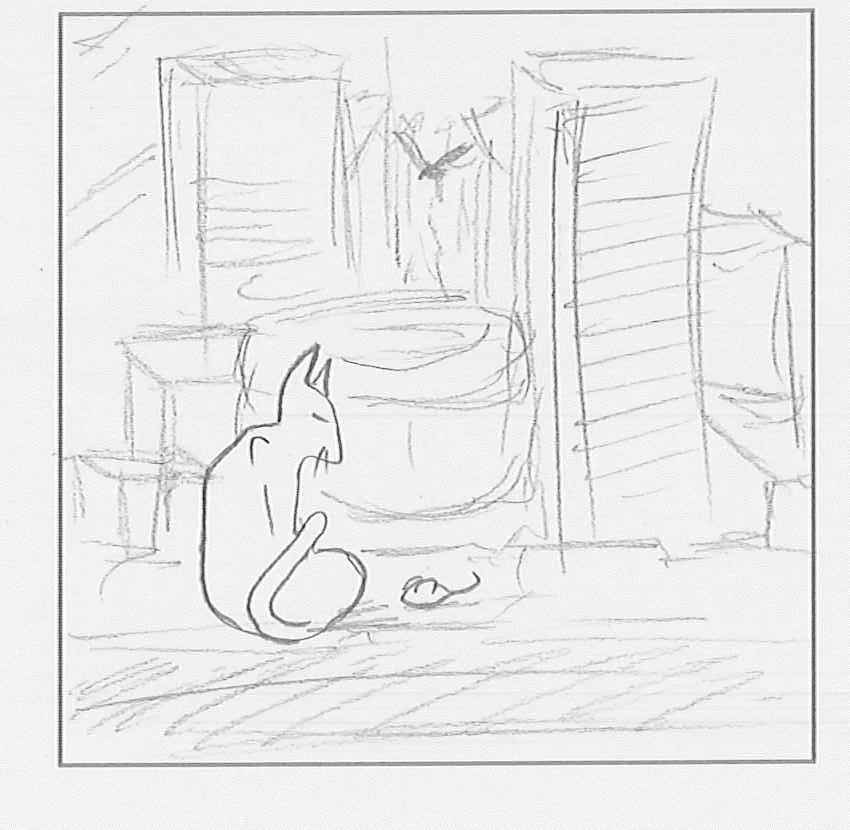
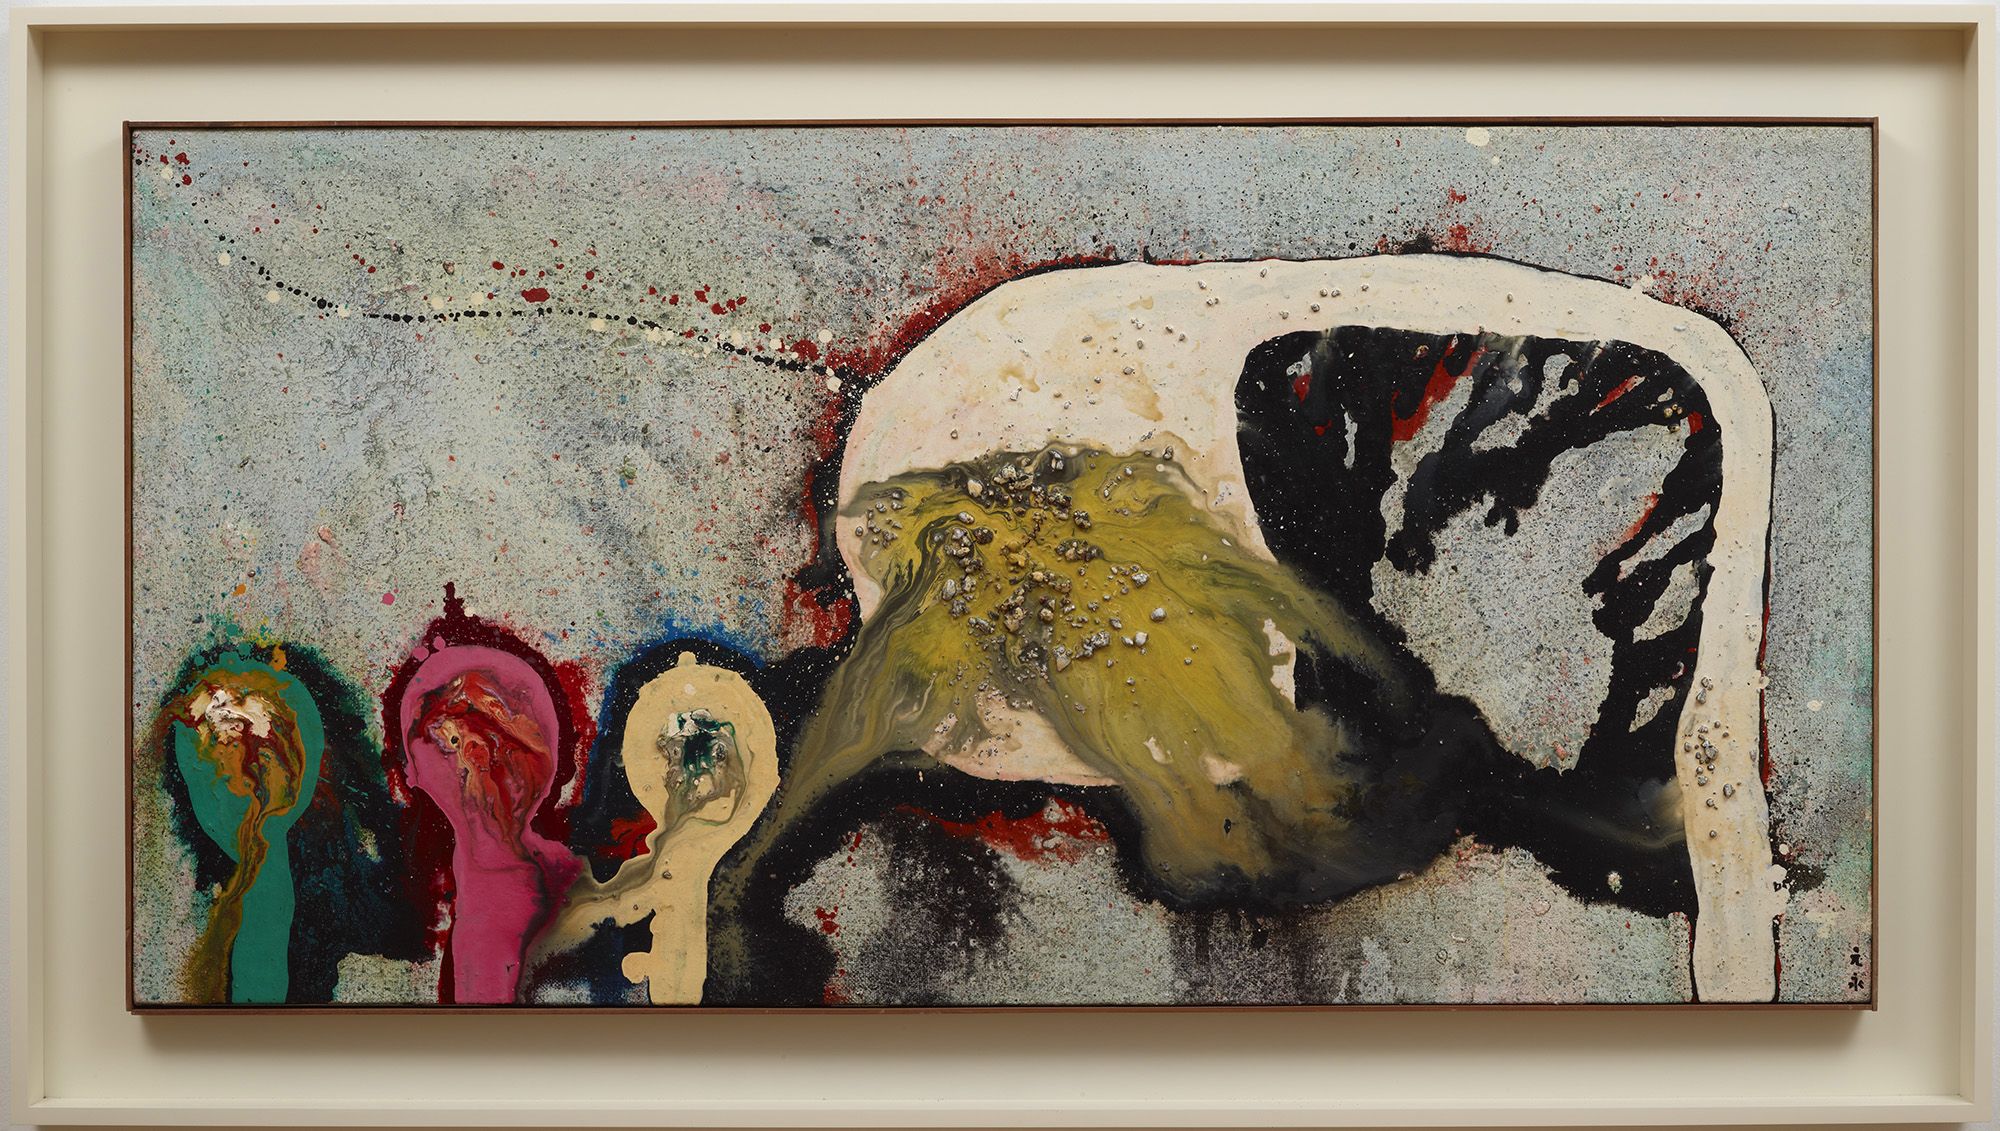
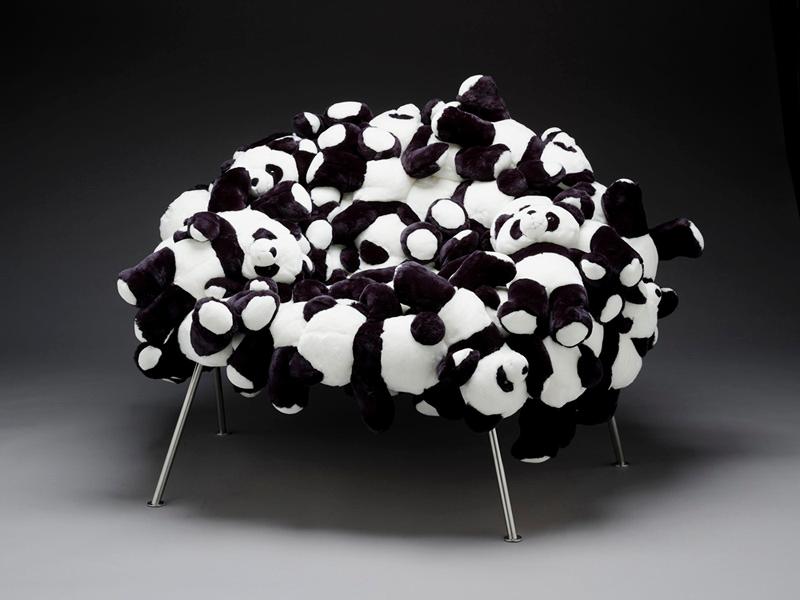
Jean Arp, Star in a Dream (Astre en Reve), 1958, Dallas Museum of Art, Foundation for the Arts Collection, gift of Mr. and Mrs. James H. Clark, (c) Artists Rights Society (ARS), New York/VG Bild-Kunst, Bonn

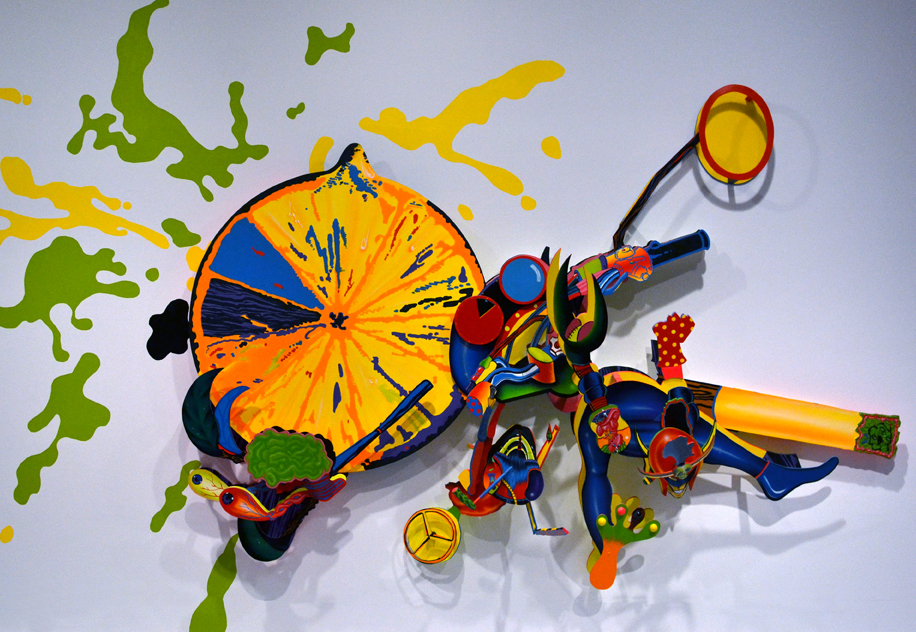
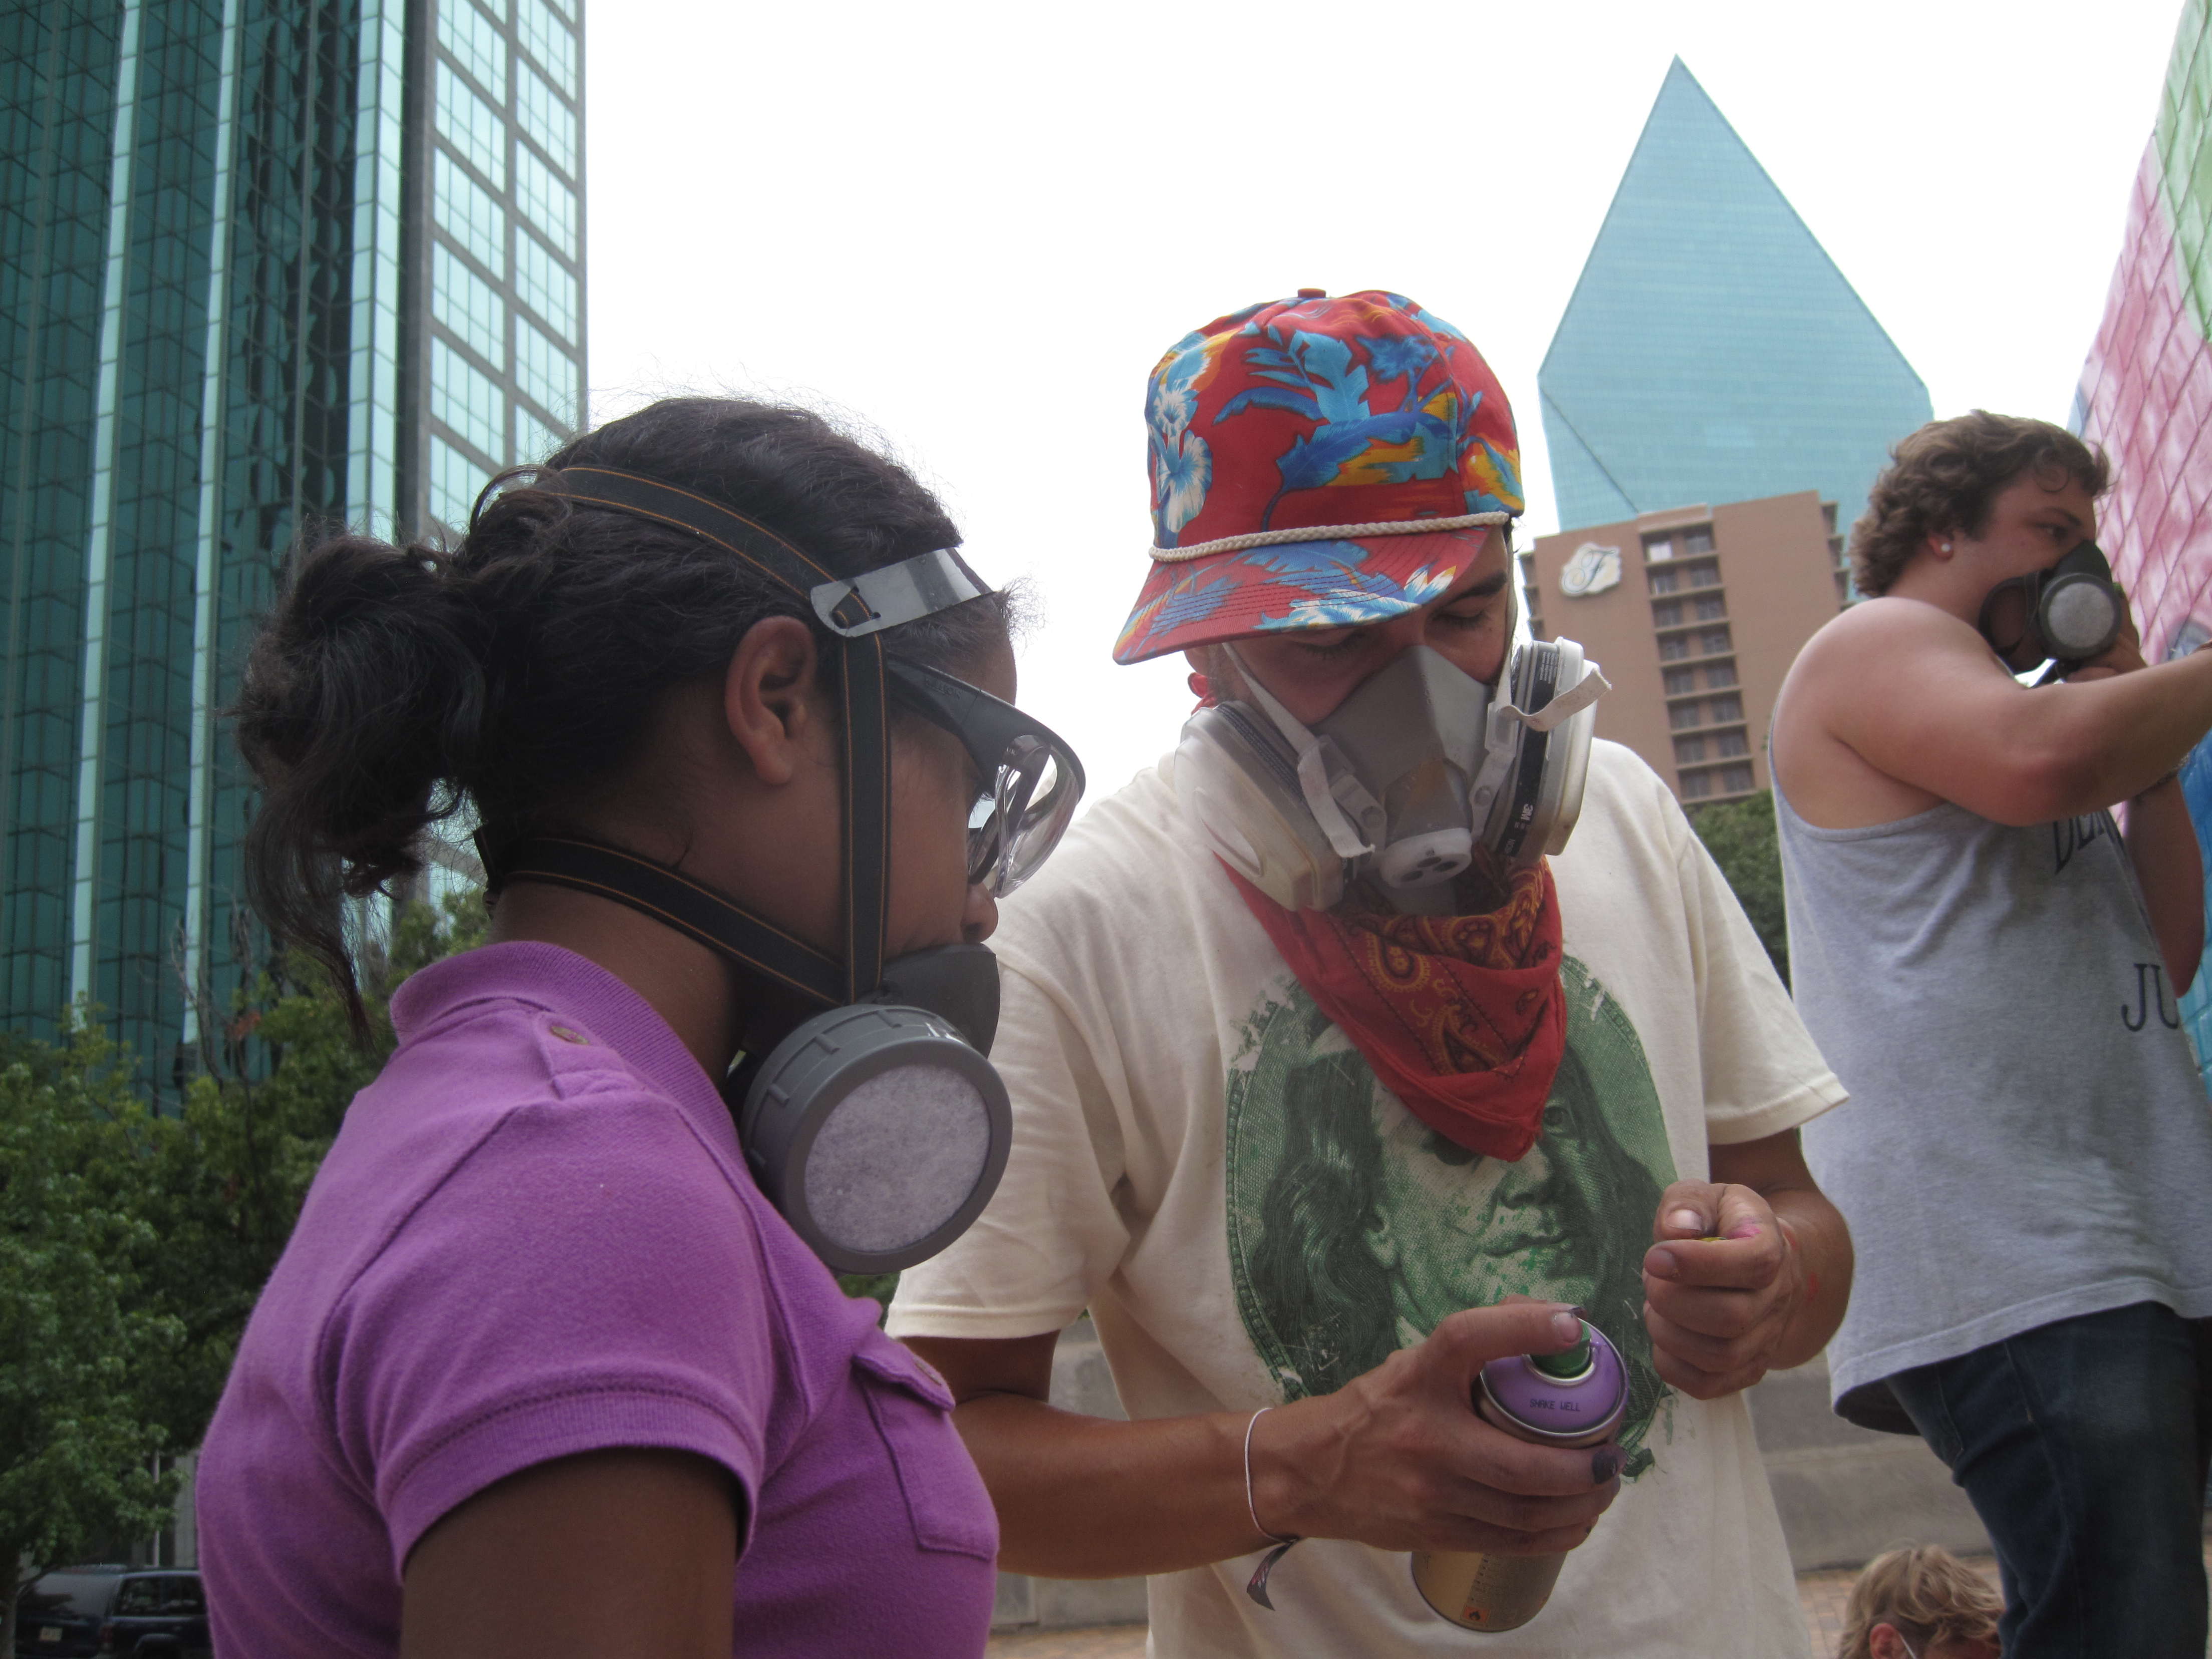
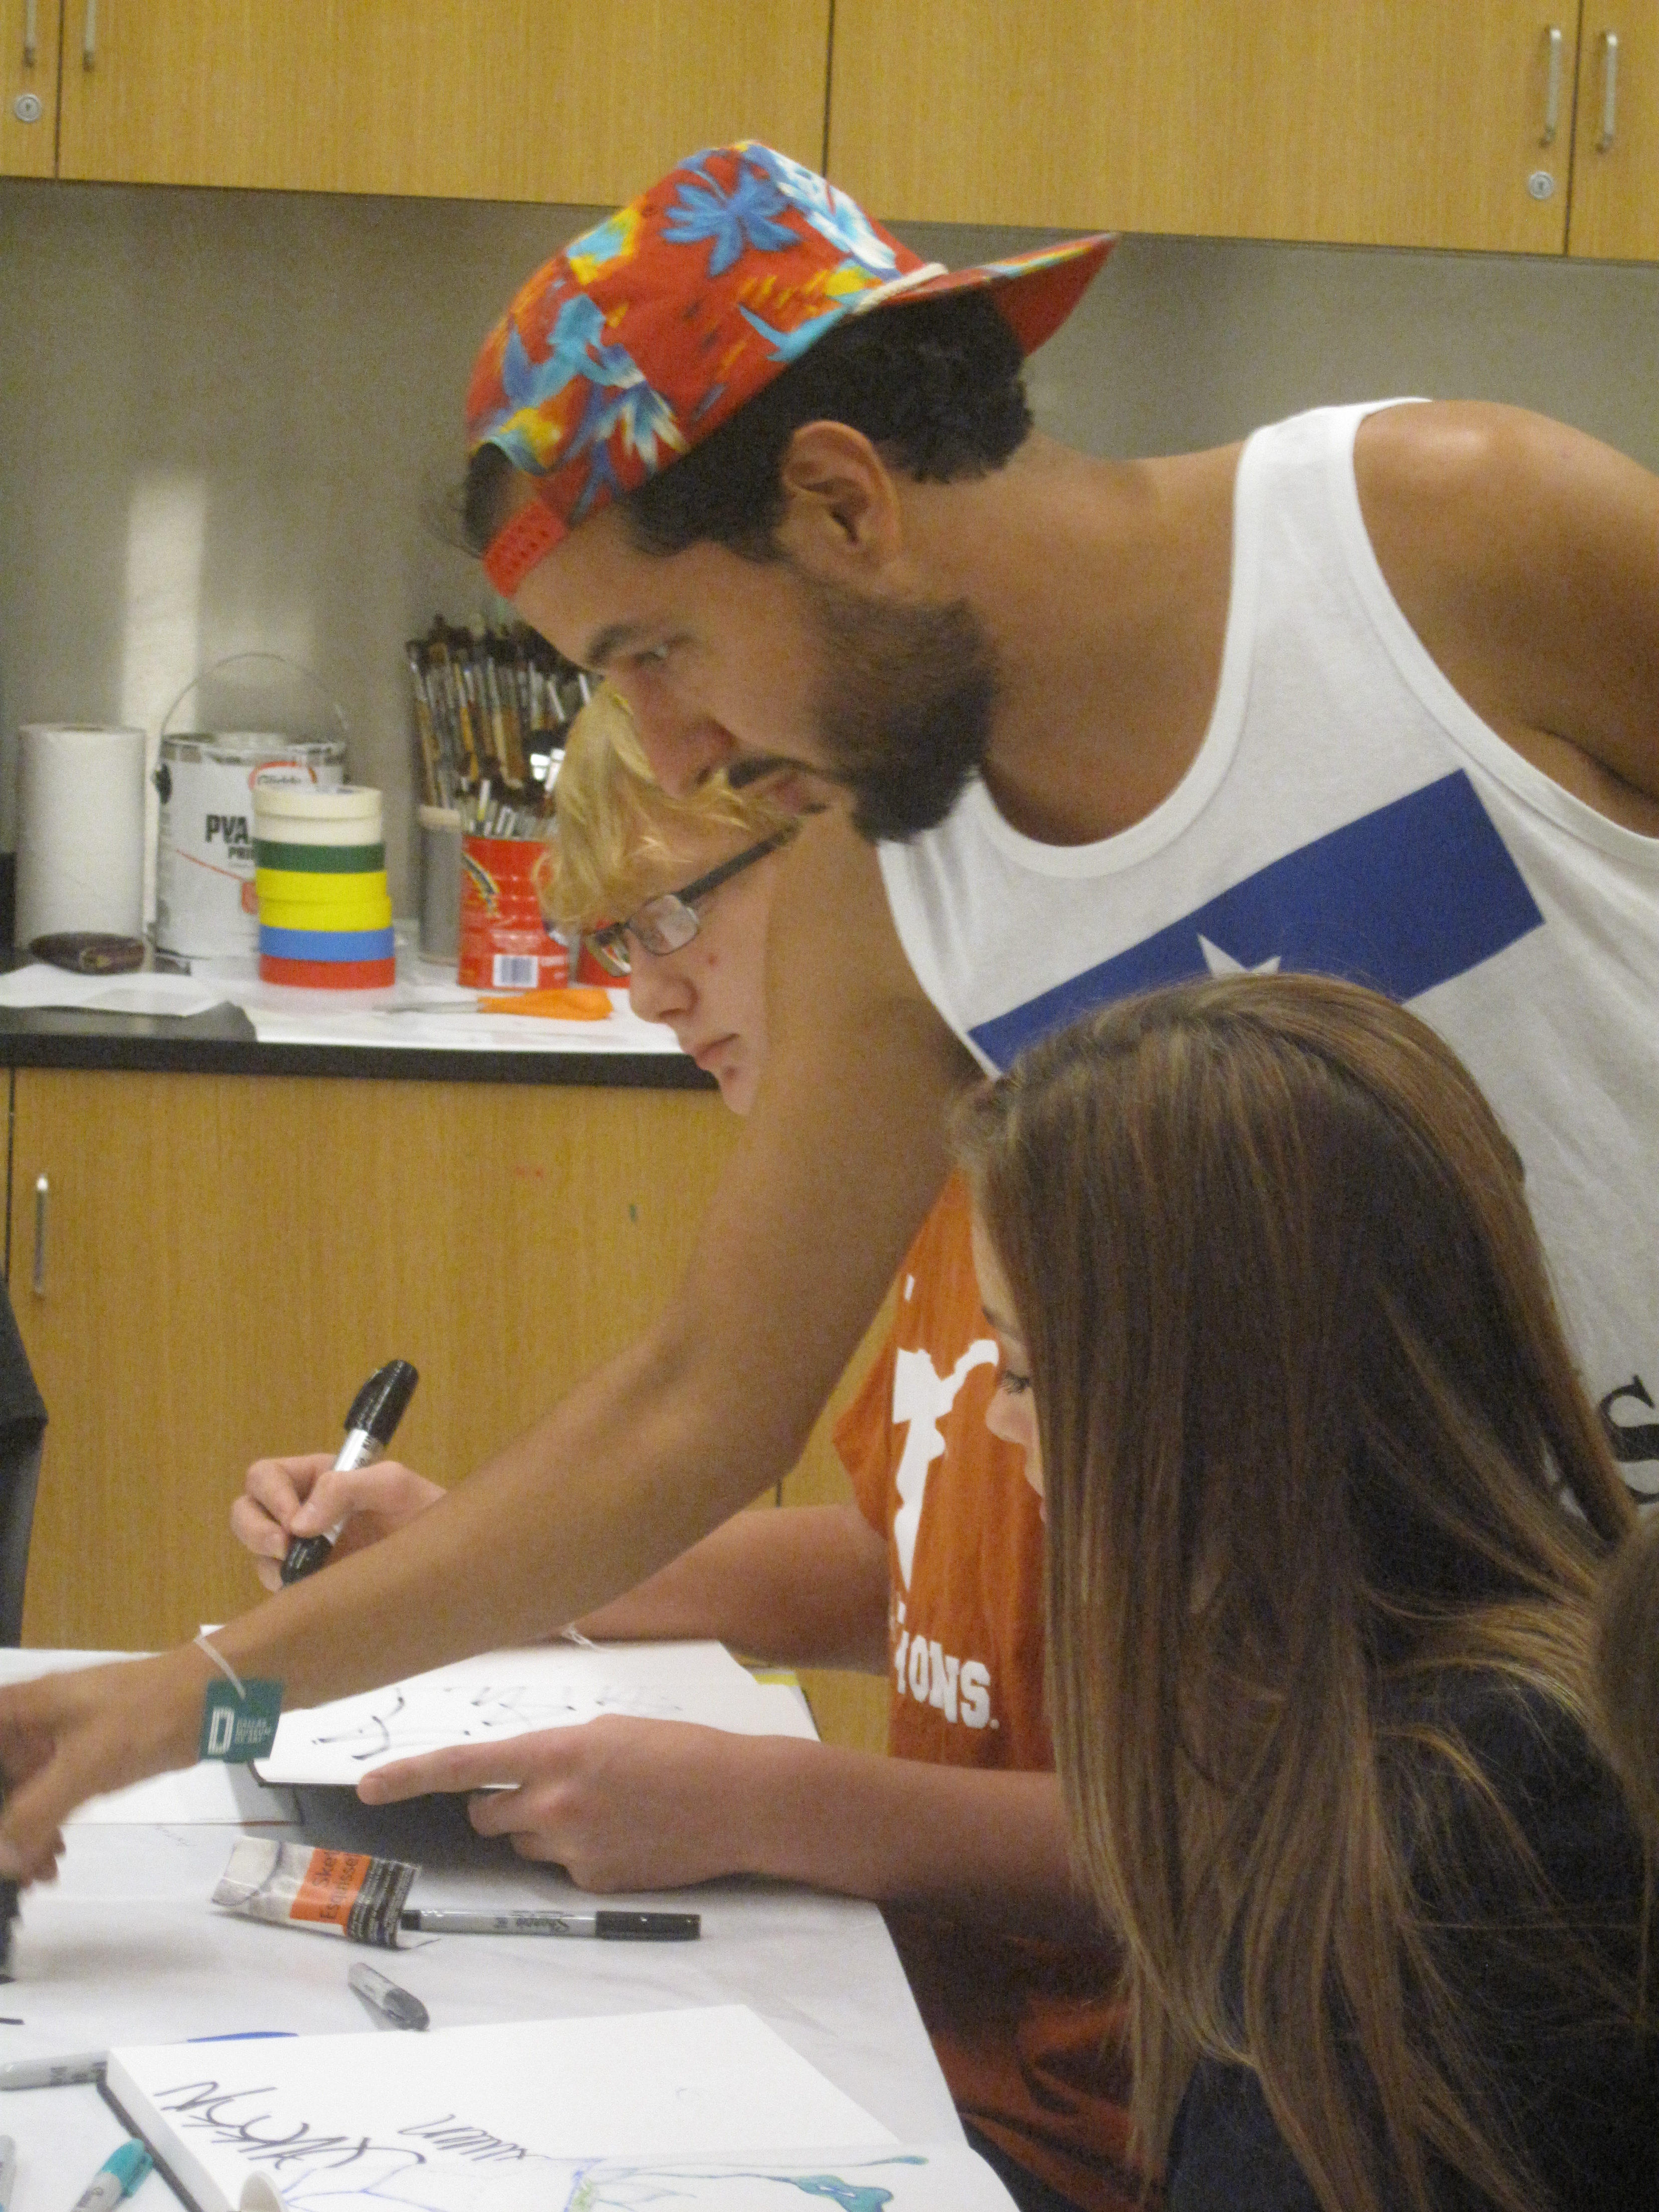
In talking with teens about what they’d like to do for upcoming classes, casting was a popular idea that I loved but had no idea how to execute. A metals casting class (see Star in a Dream, above) would be fantastic yet totally unfeasible, so I looked for alternative materials and methods that we could try. Over the past several months, I’ve been researching different techniques to meet the following needs: the project to be cost effective (i.e. cheap); the mold had to set within 45 minutes; the process had to be uncomplicated; and the results had to be pretty cool.

I finally settled on a pretty easy way of making silicone molds from inexpensive, household materials. There are many great online tutorials on how to do this, but I chose to adapt this one. Unfortunately, this silicone mold isn’t pourable, but it sets fast and is really easy to make. Alternatively, you could easily use a self-setting rubber medium like Sugru to make the mold if you’re not concerned about set time. I’m using Mod Melts as the casting material for this project to make things easier, but you could experiment with other things like resin, etc. As with any project, make sure your work area is well-ventilated and observe the safety precautions on the material labels.

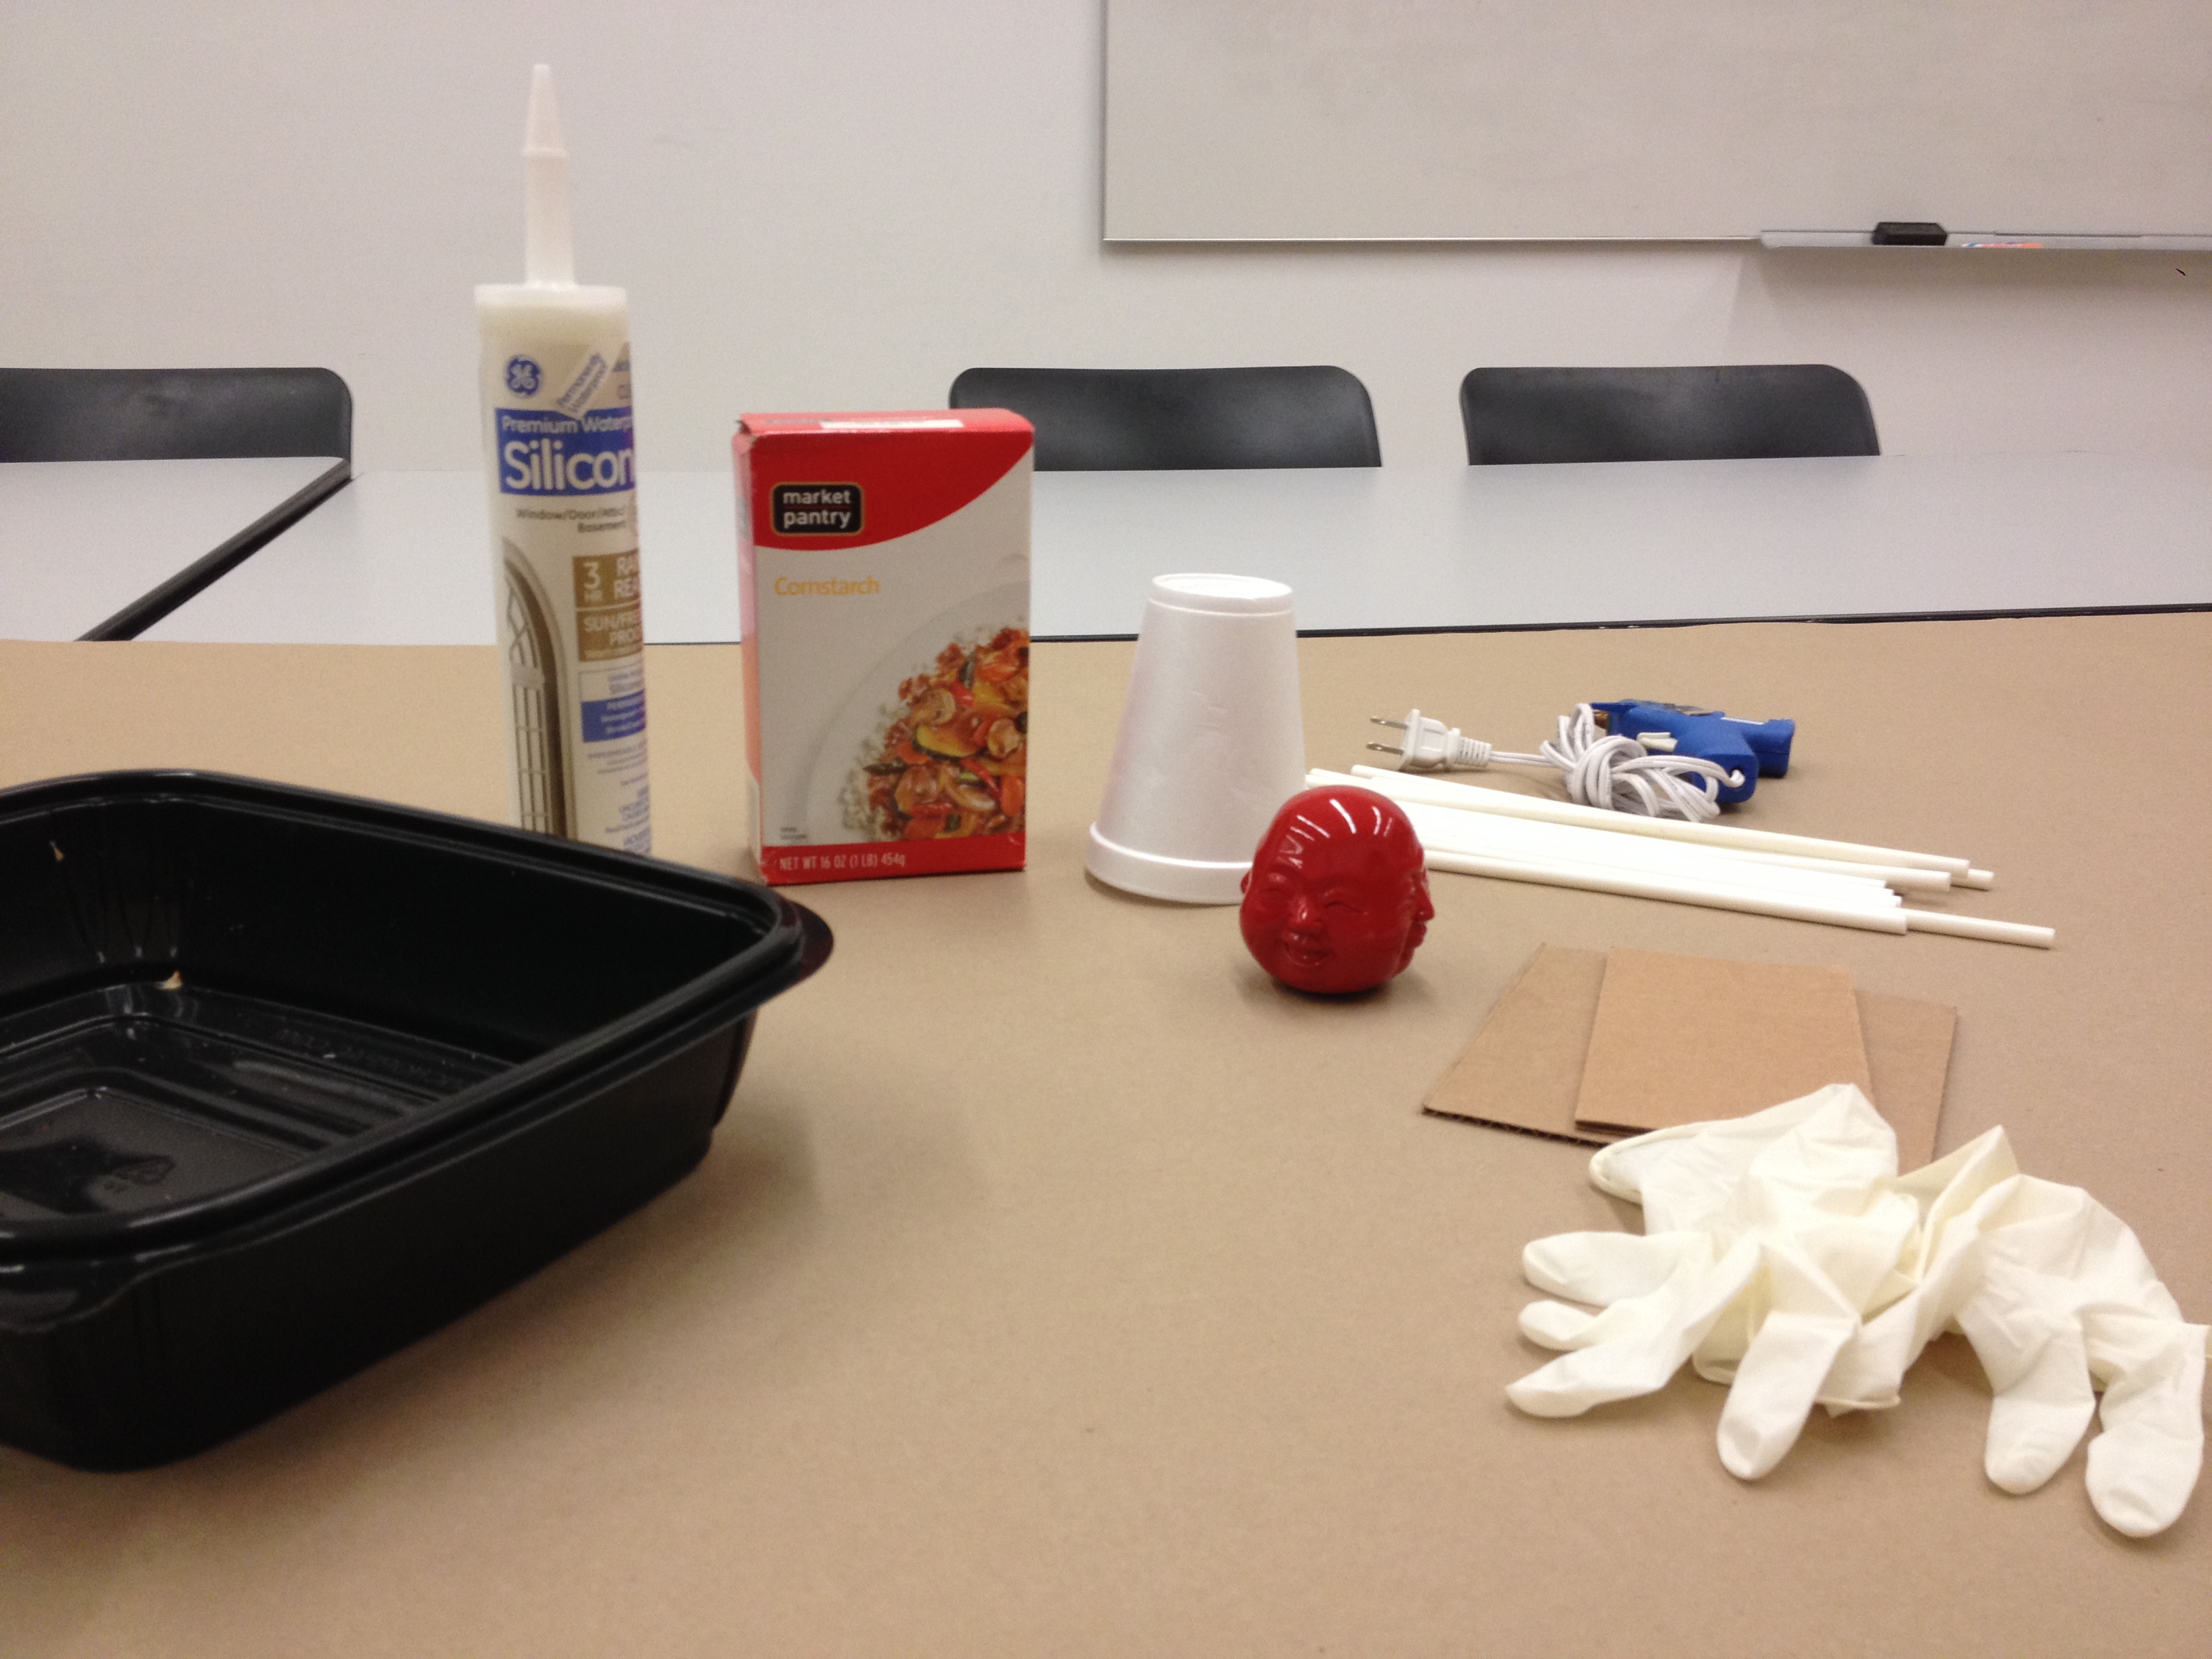
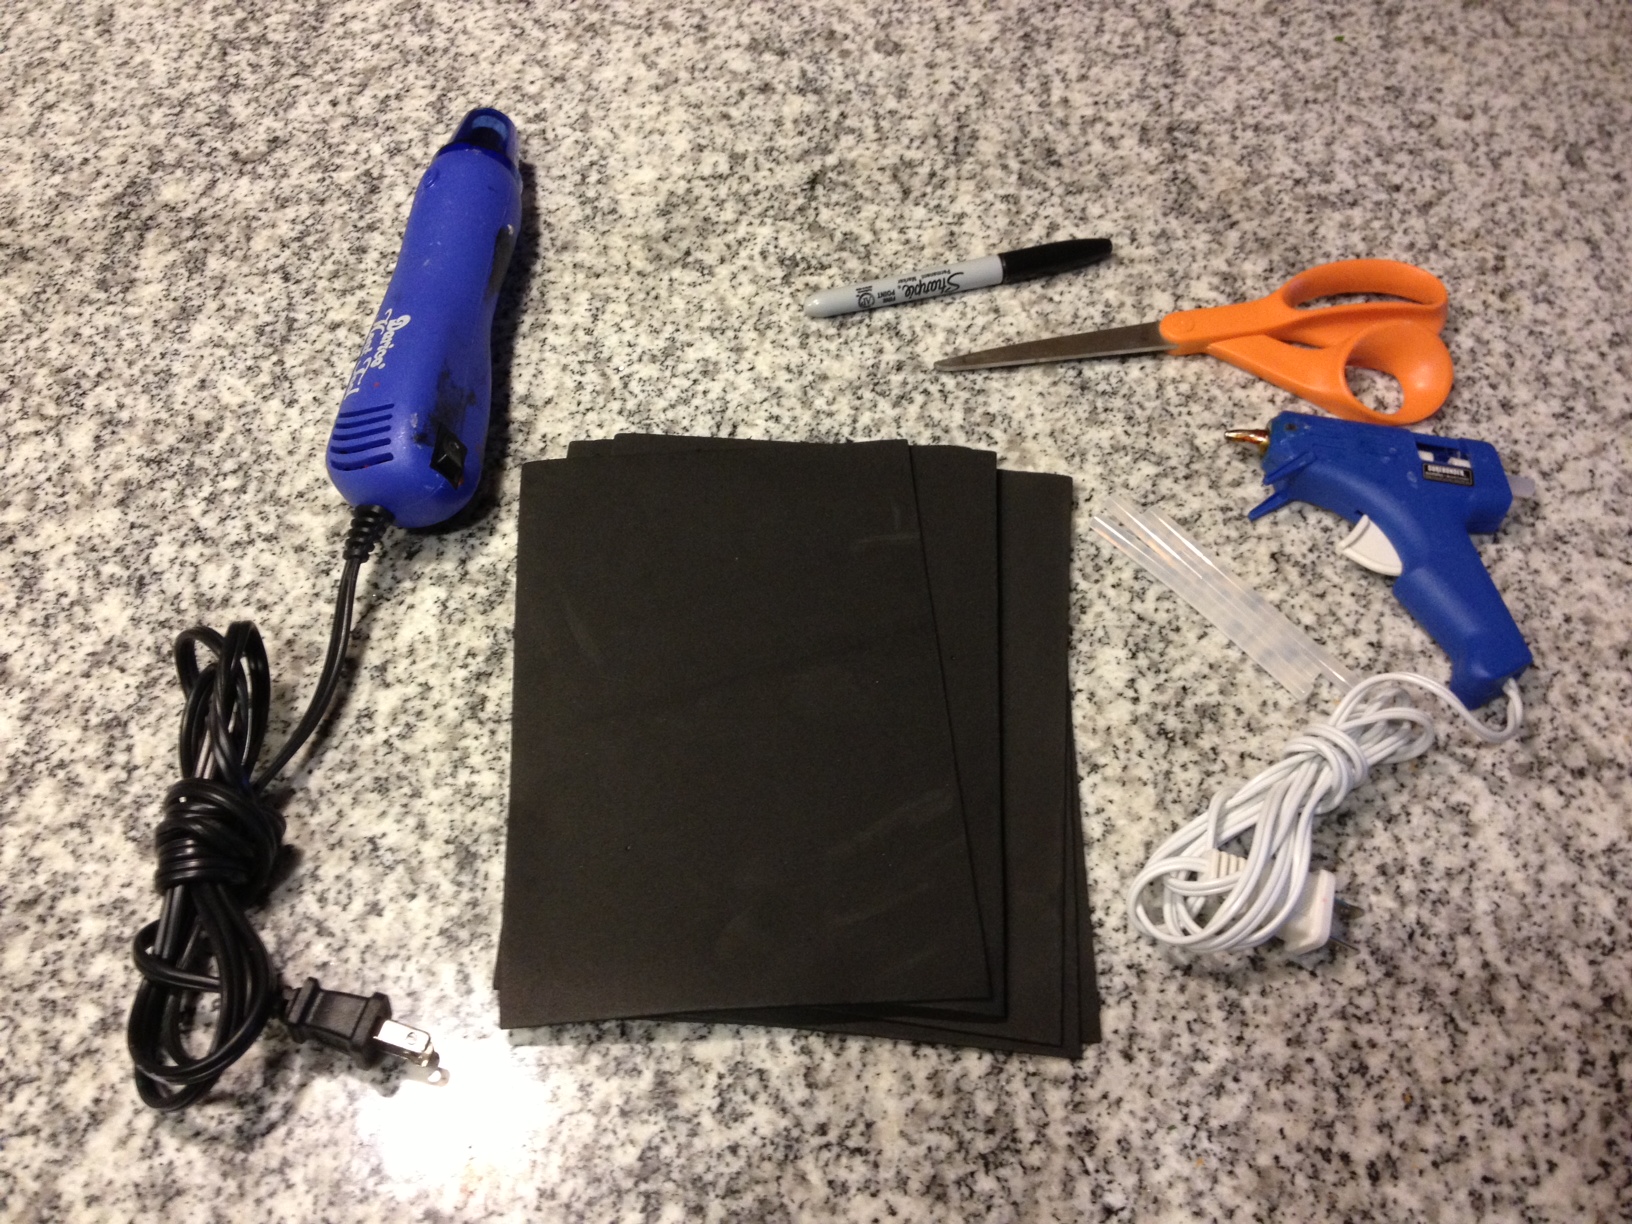
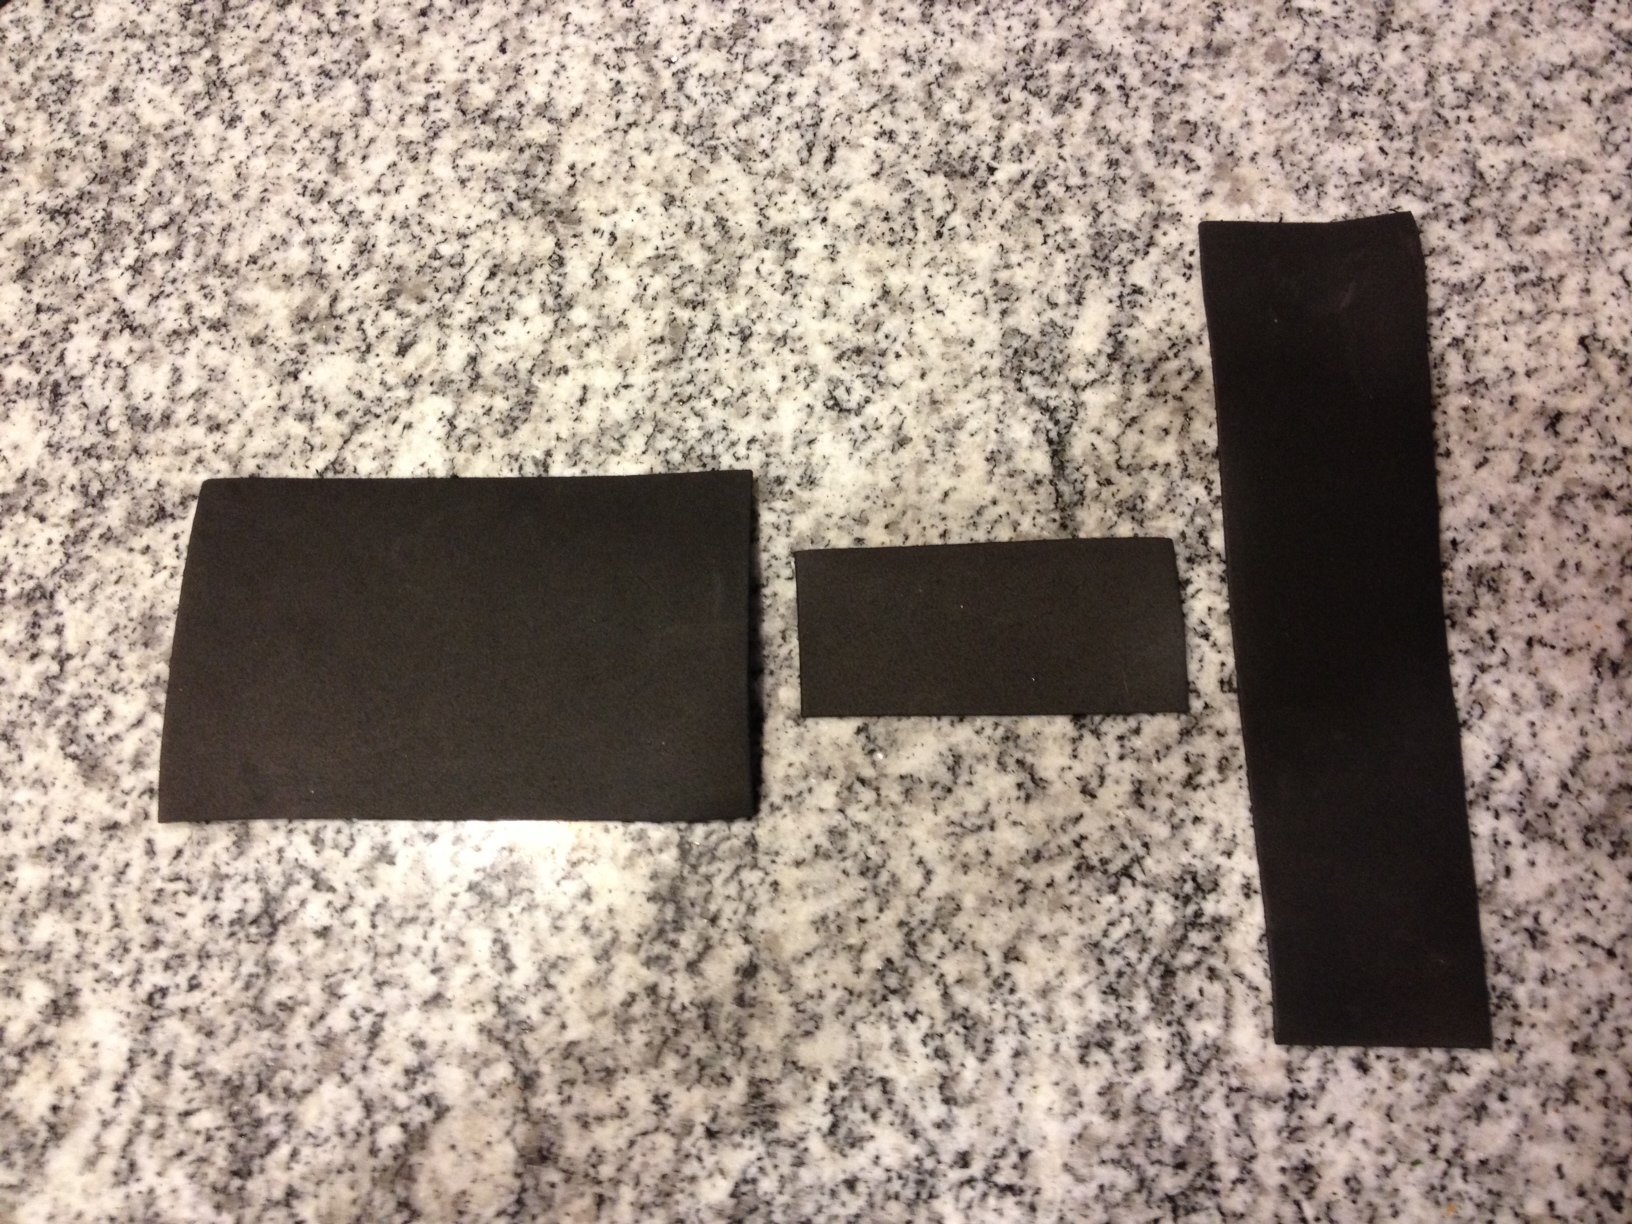
What you need (this should yield 1-2 small, 2″-4″ castings):

  • Tube of 100% silicone caulk and caulk gun (VERY important that it’s 100% silicone)
  • Cornstarch
  • Latex gloves
  • Styrofoam cup
  • Disposable plastic tray
  • Non-stick cooking spray
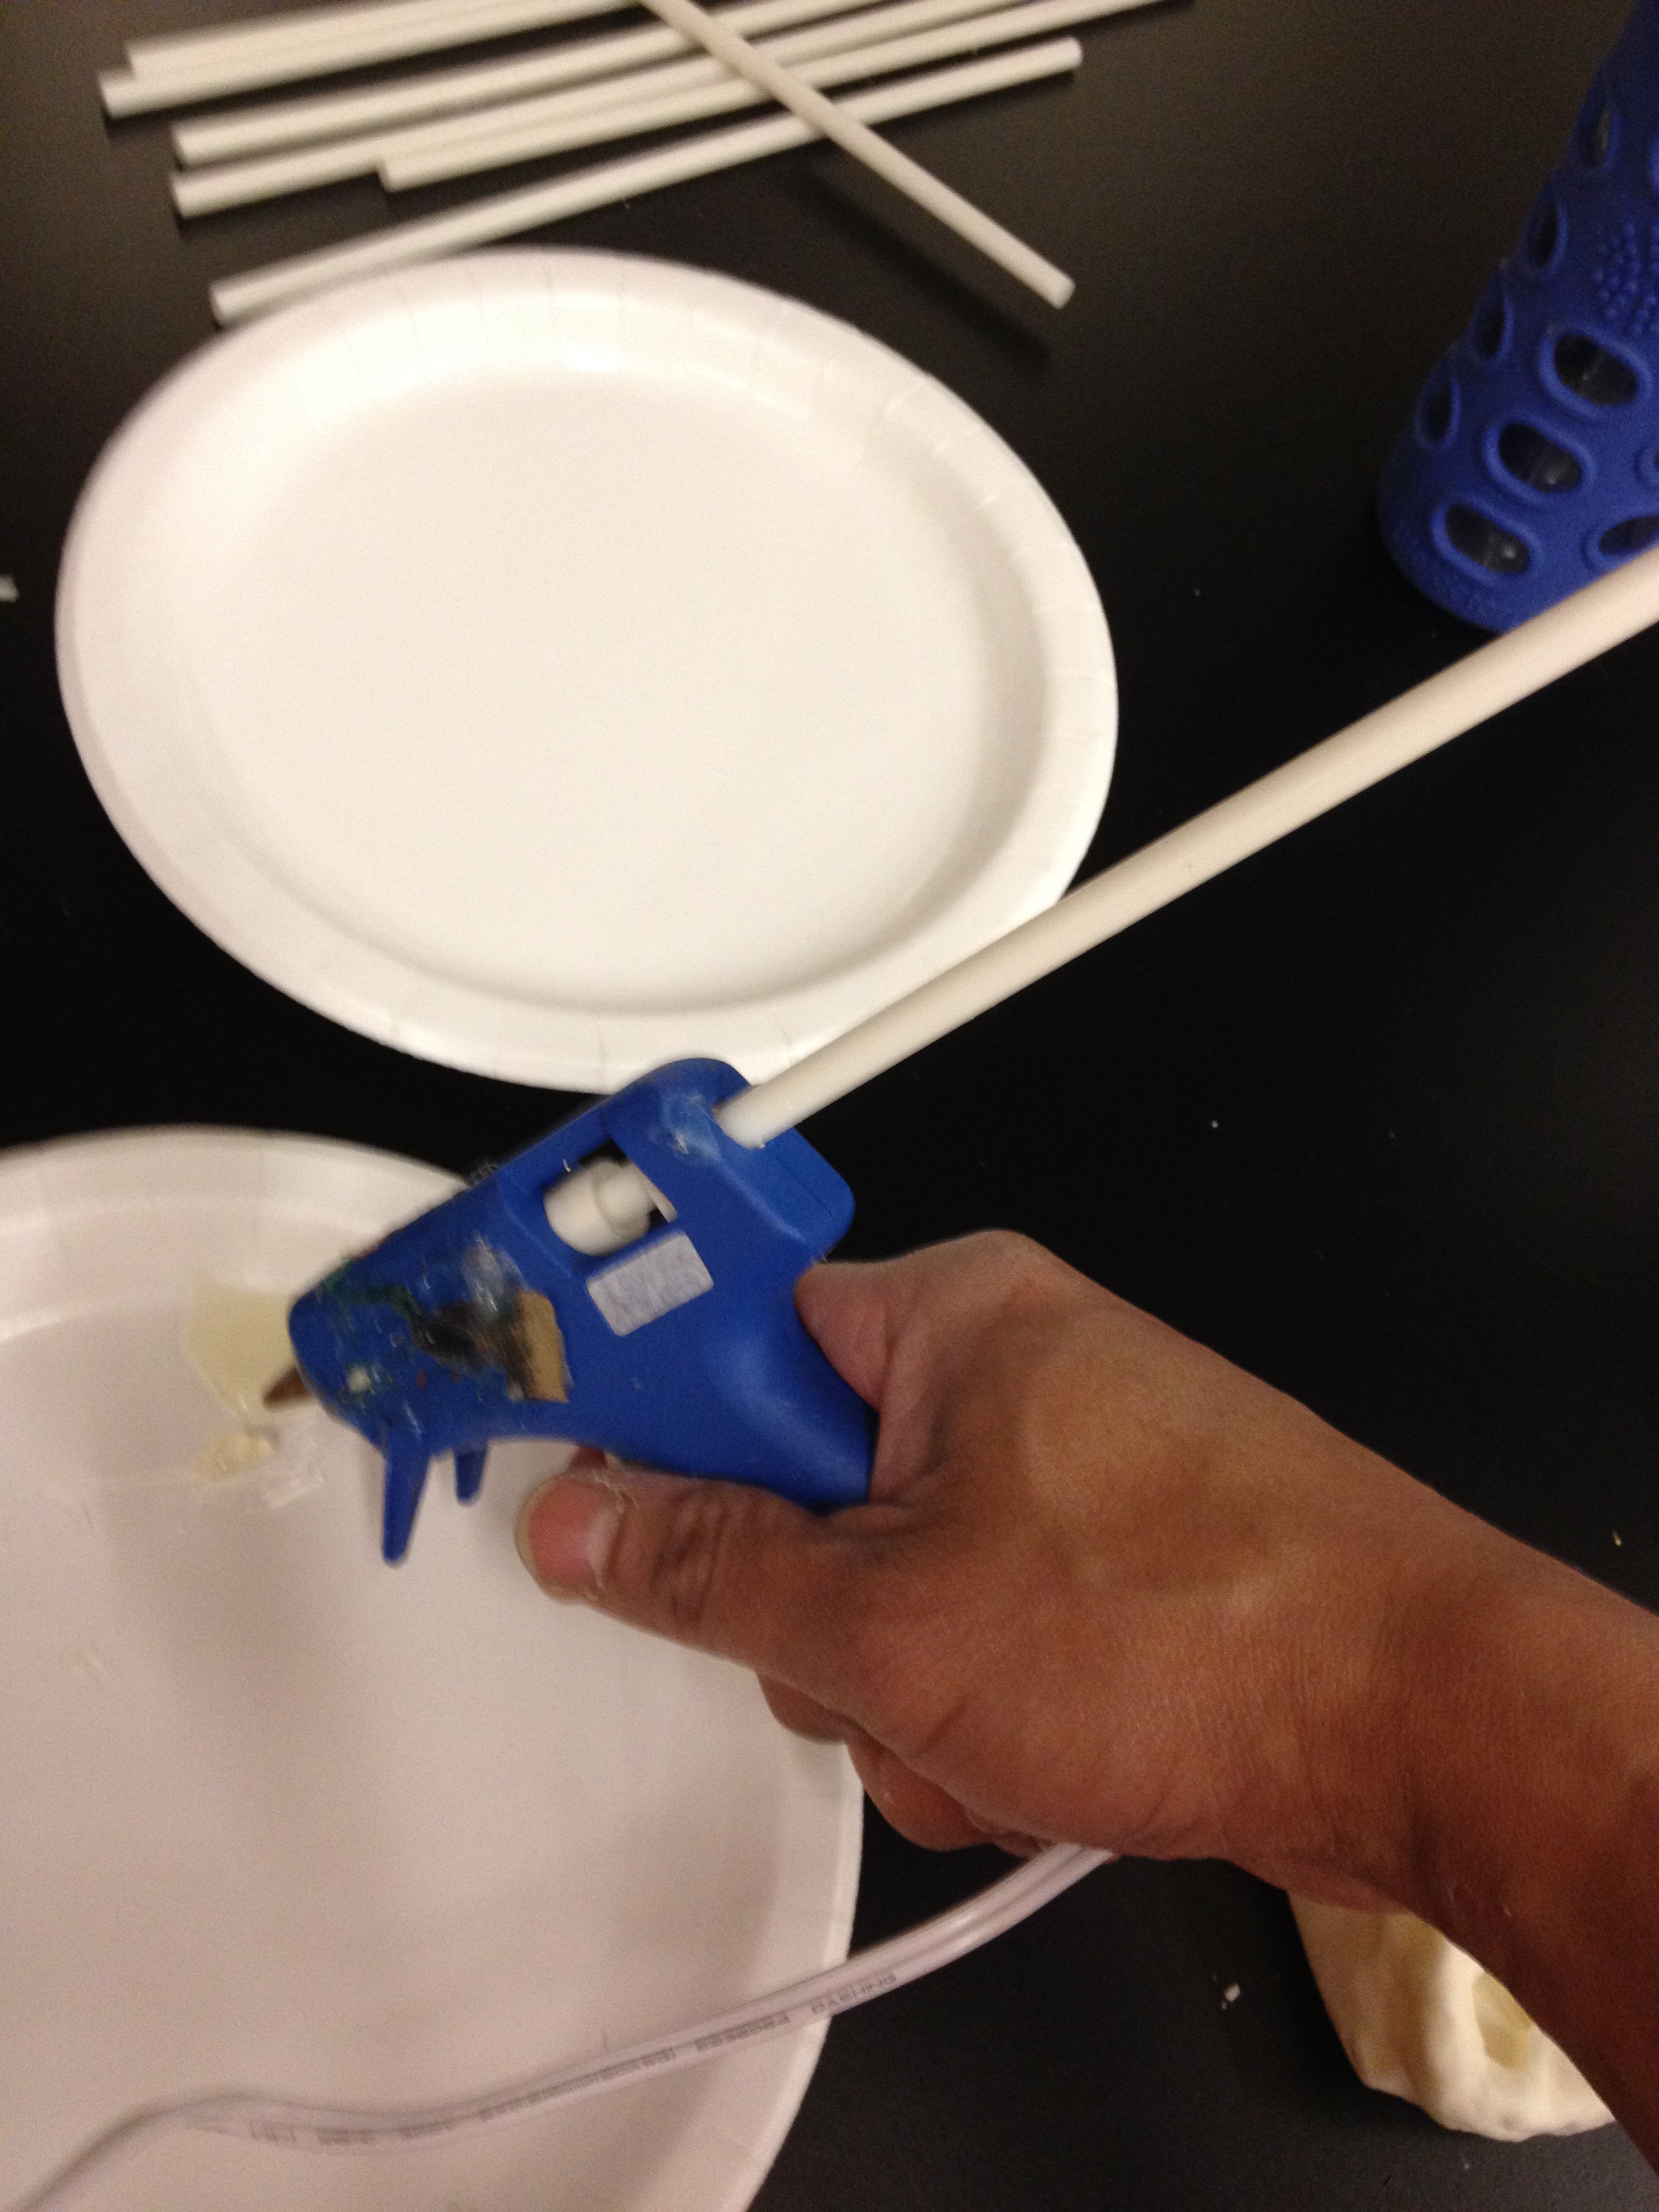
  • Mod Melts and hot glue gun
  • A small object to mold (you could make your own using modelling clay, etc.) that will fit into the Styrofoam cup
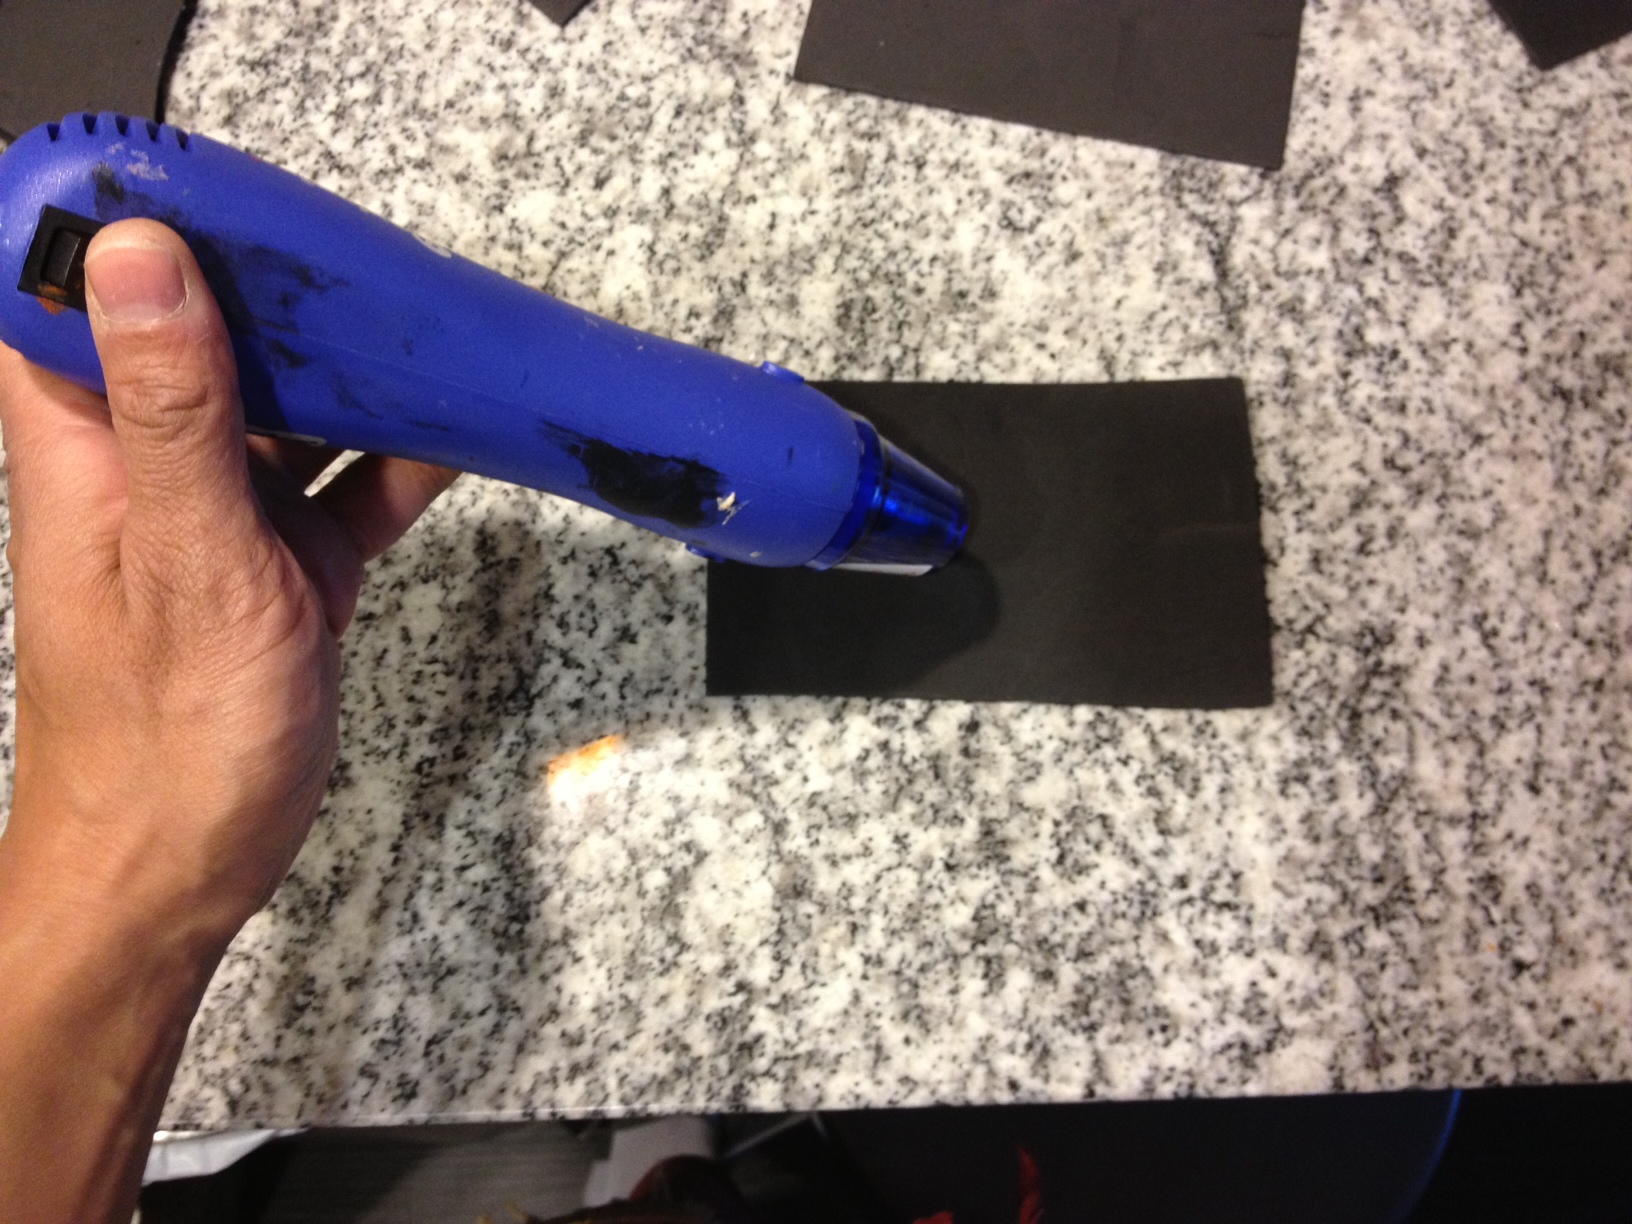
IMG_1510

Step 1:

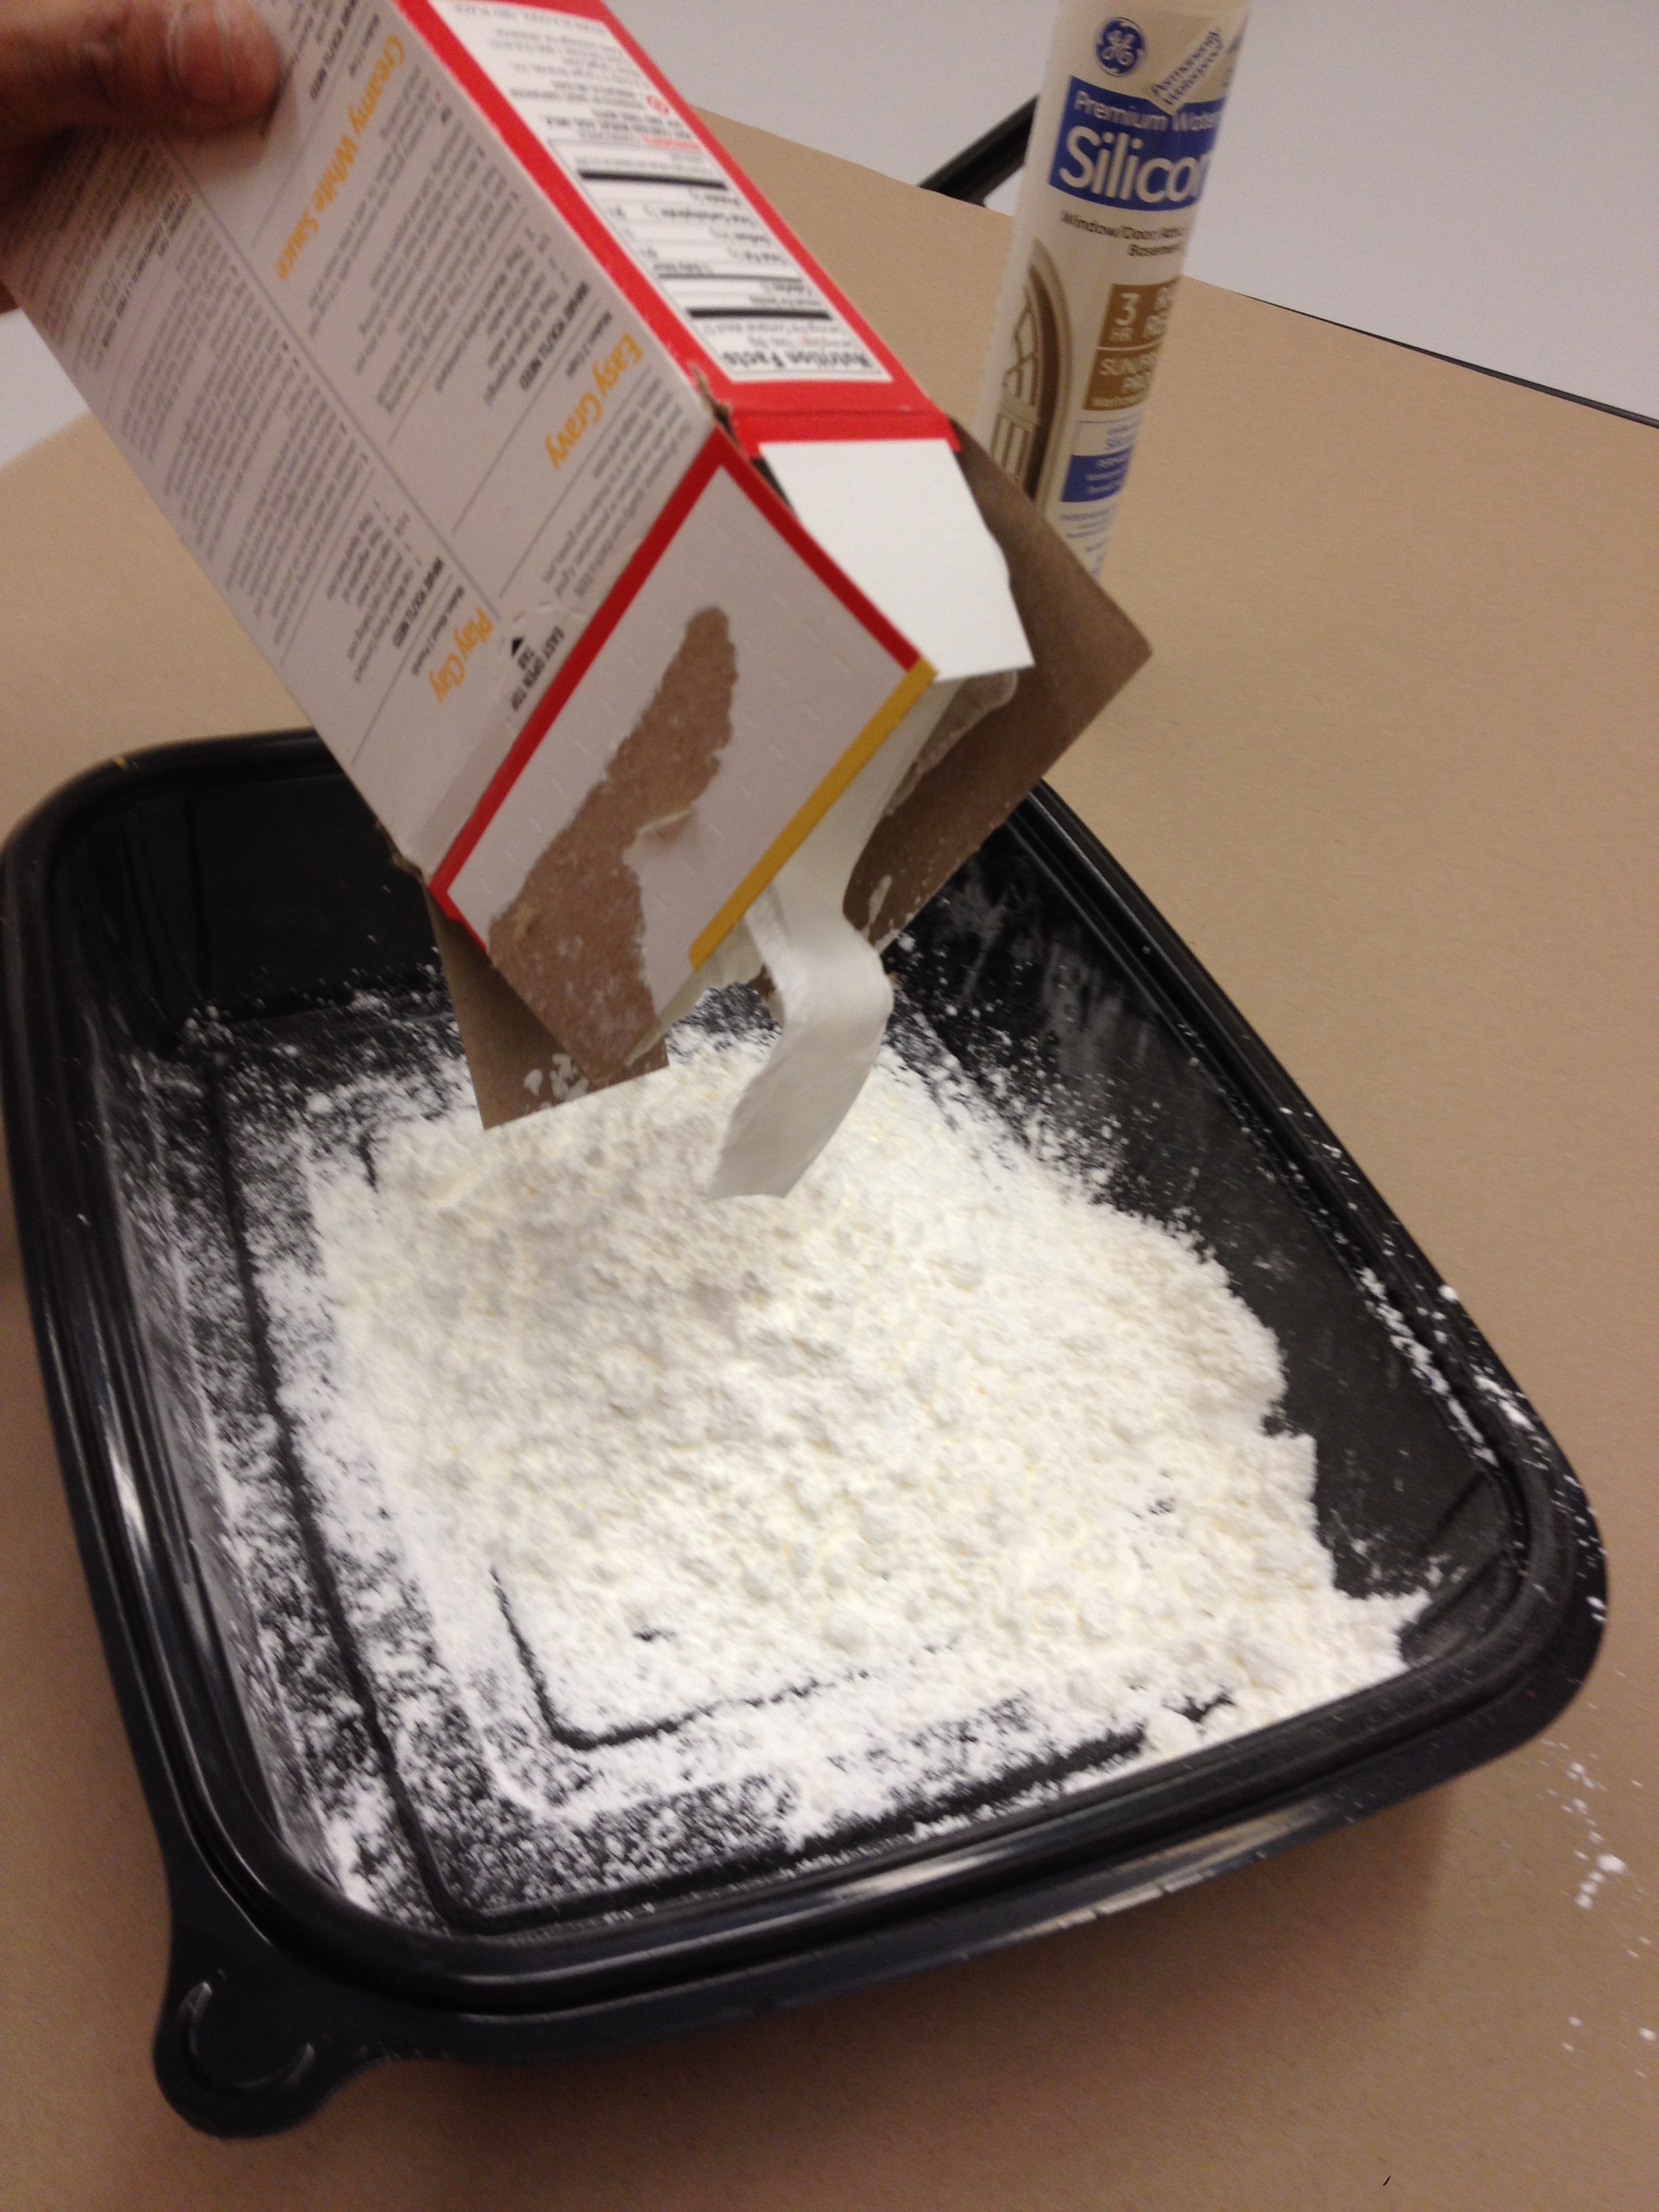
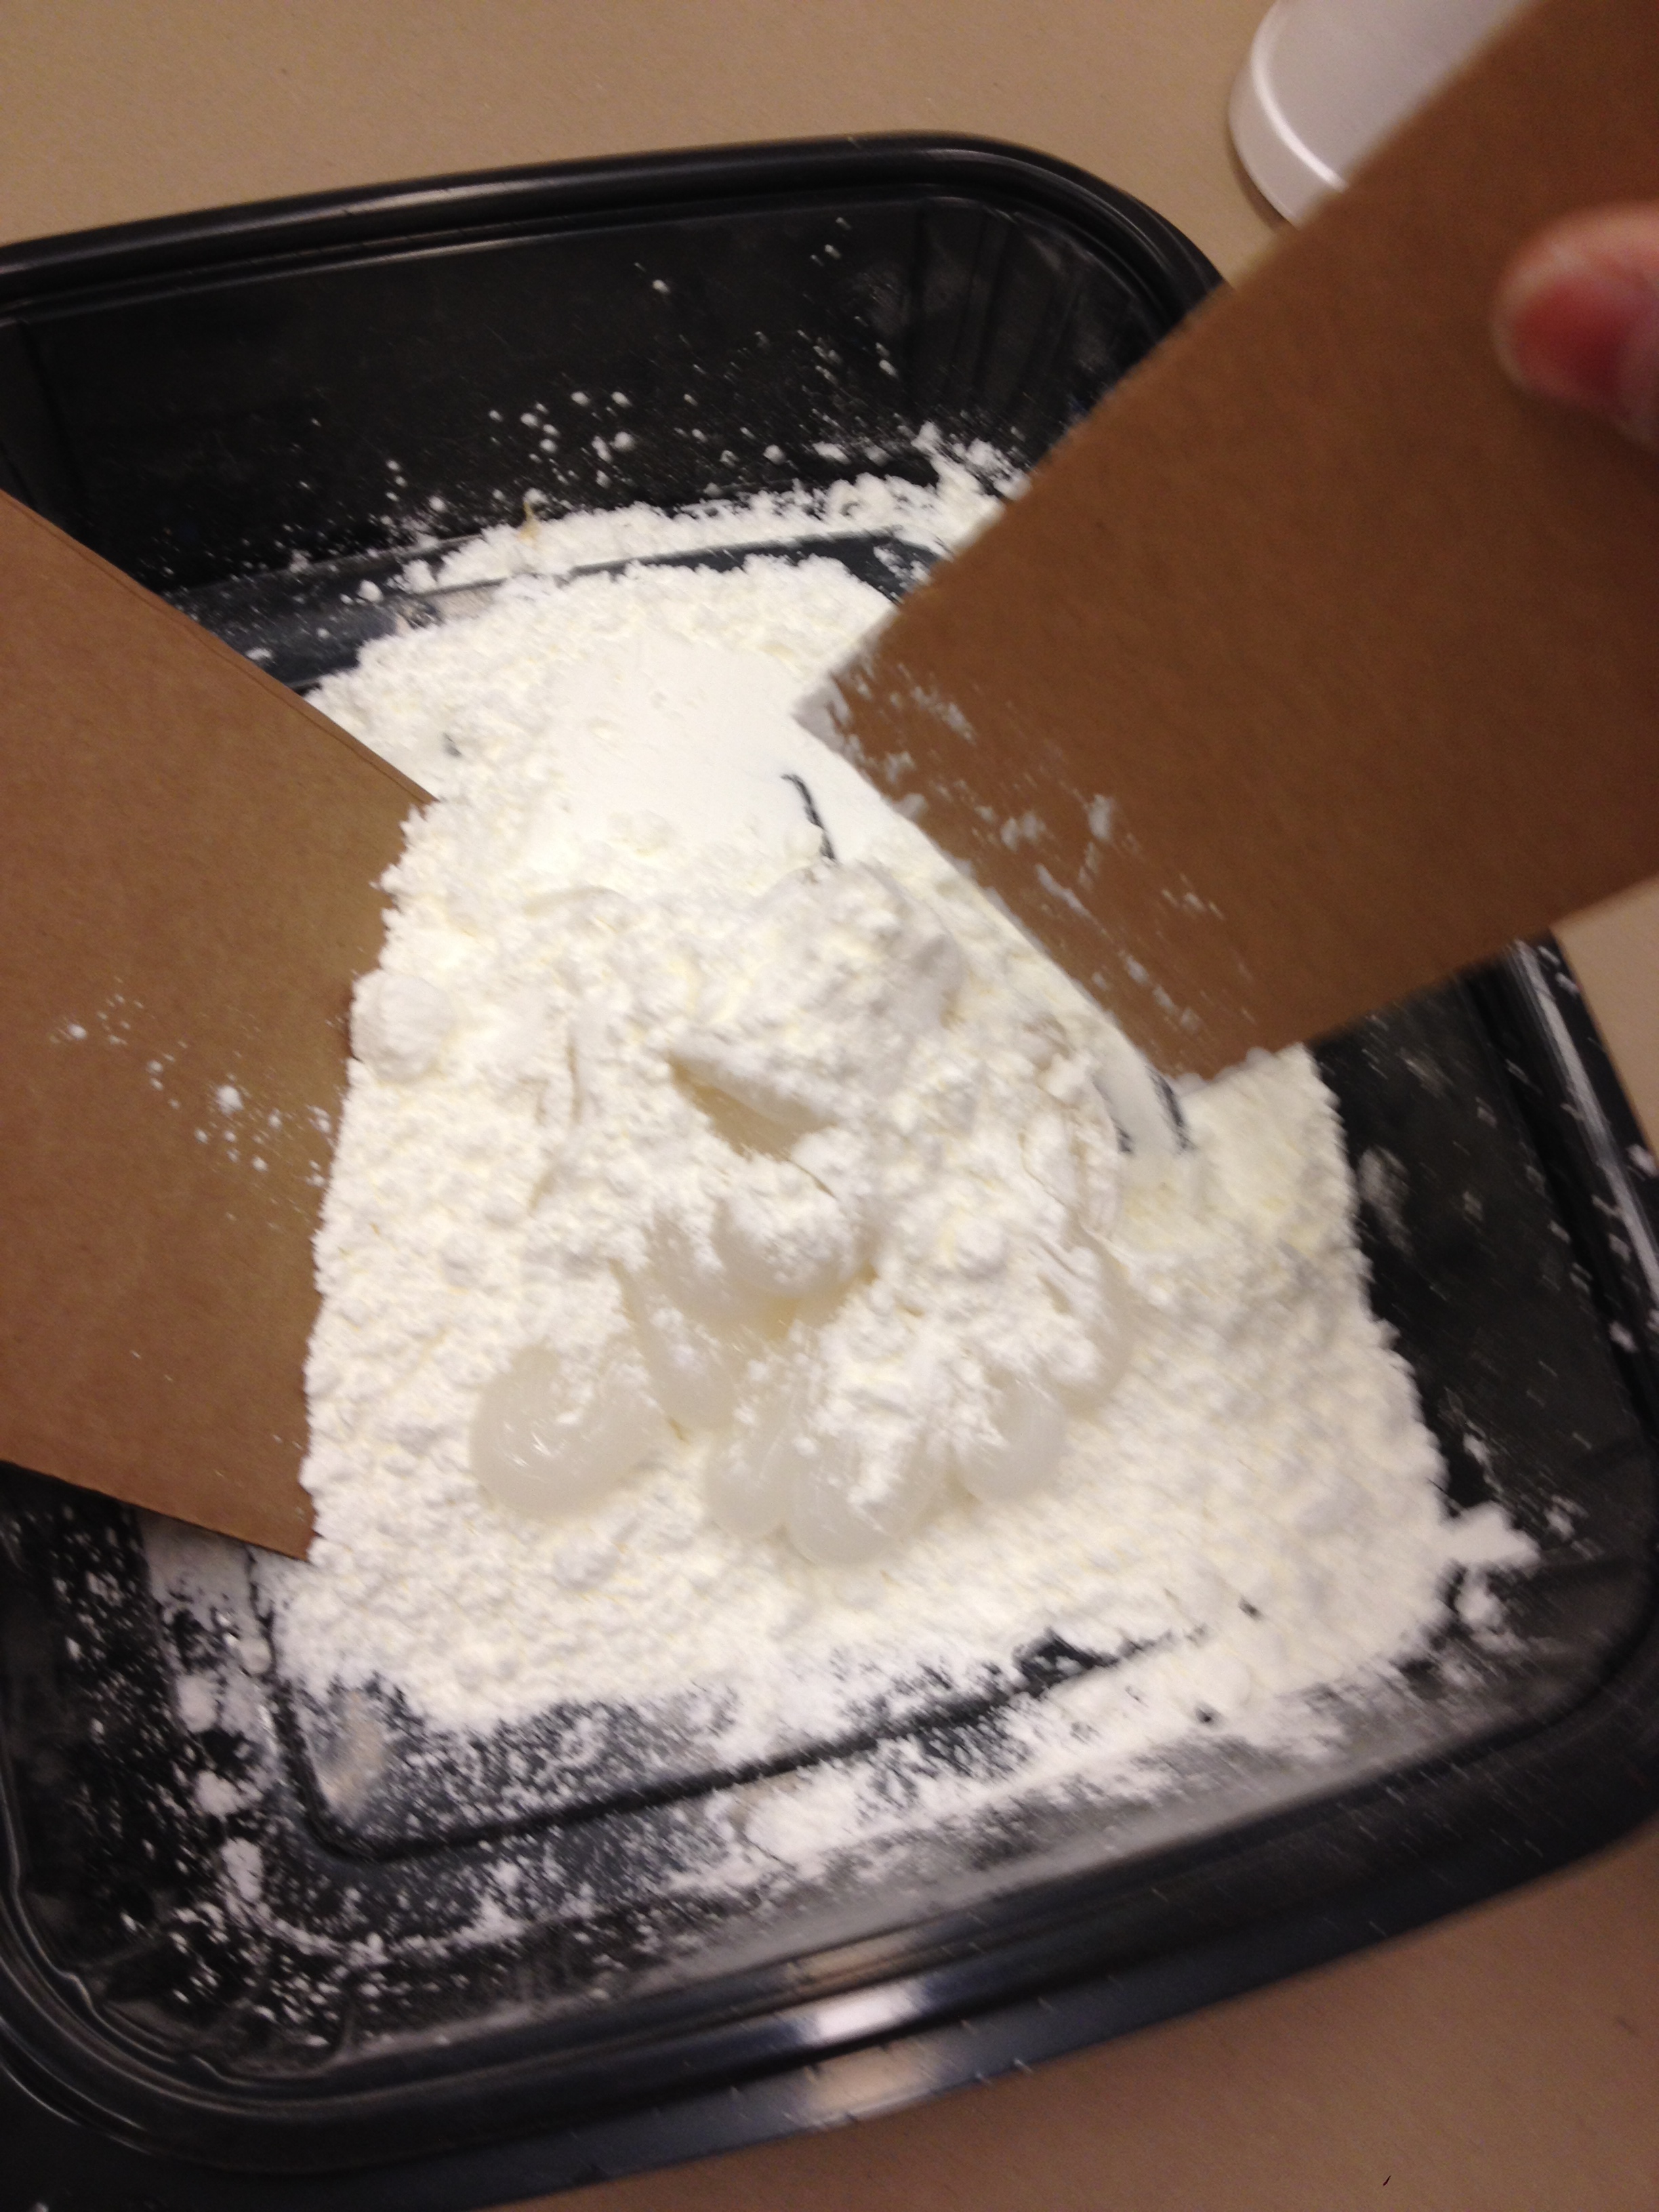
Don your gloves and pour a generous amount of cornstarch along the bottom of your plastic tray. Cut the tip off of the tube of caulk and load it into the caulk gun.

IMG_1511

Step 2:

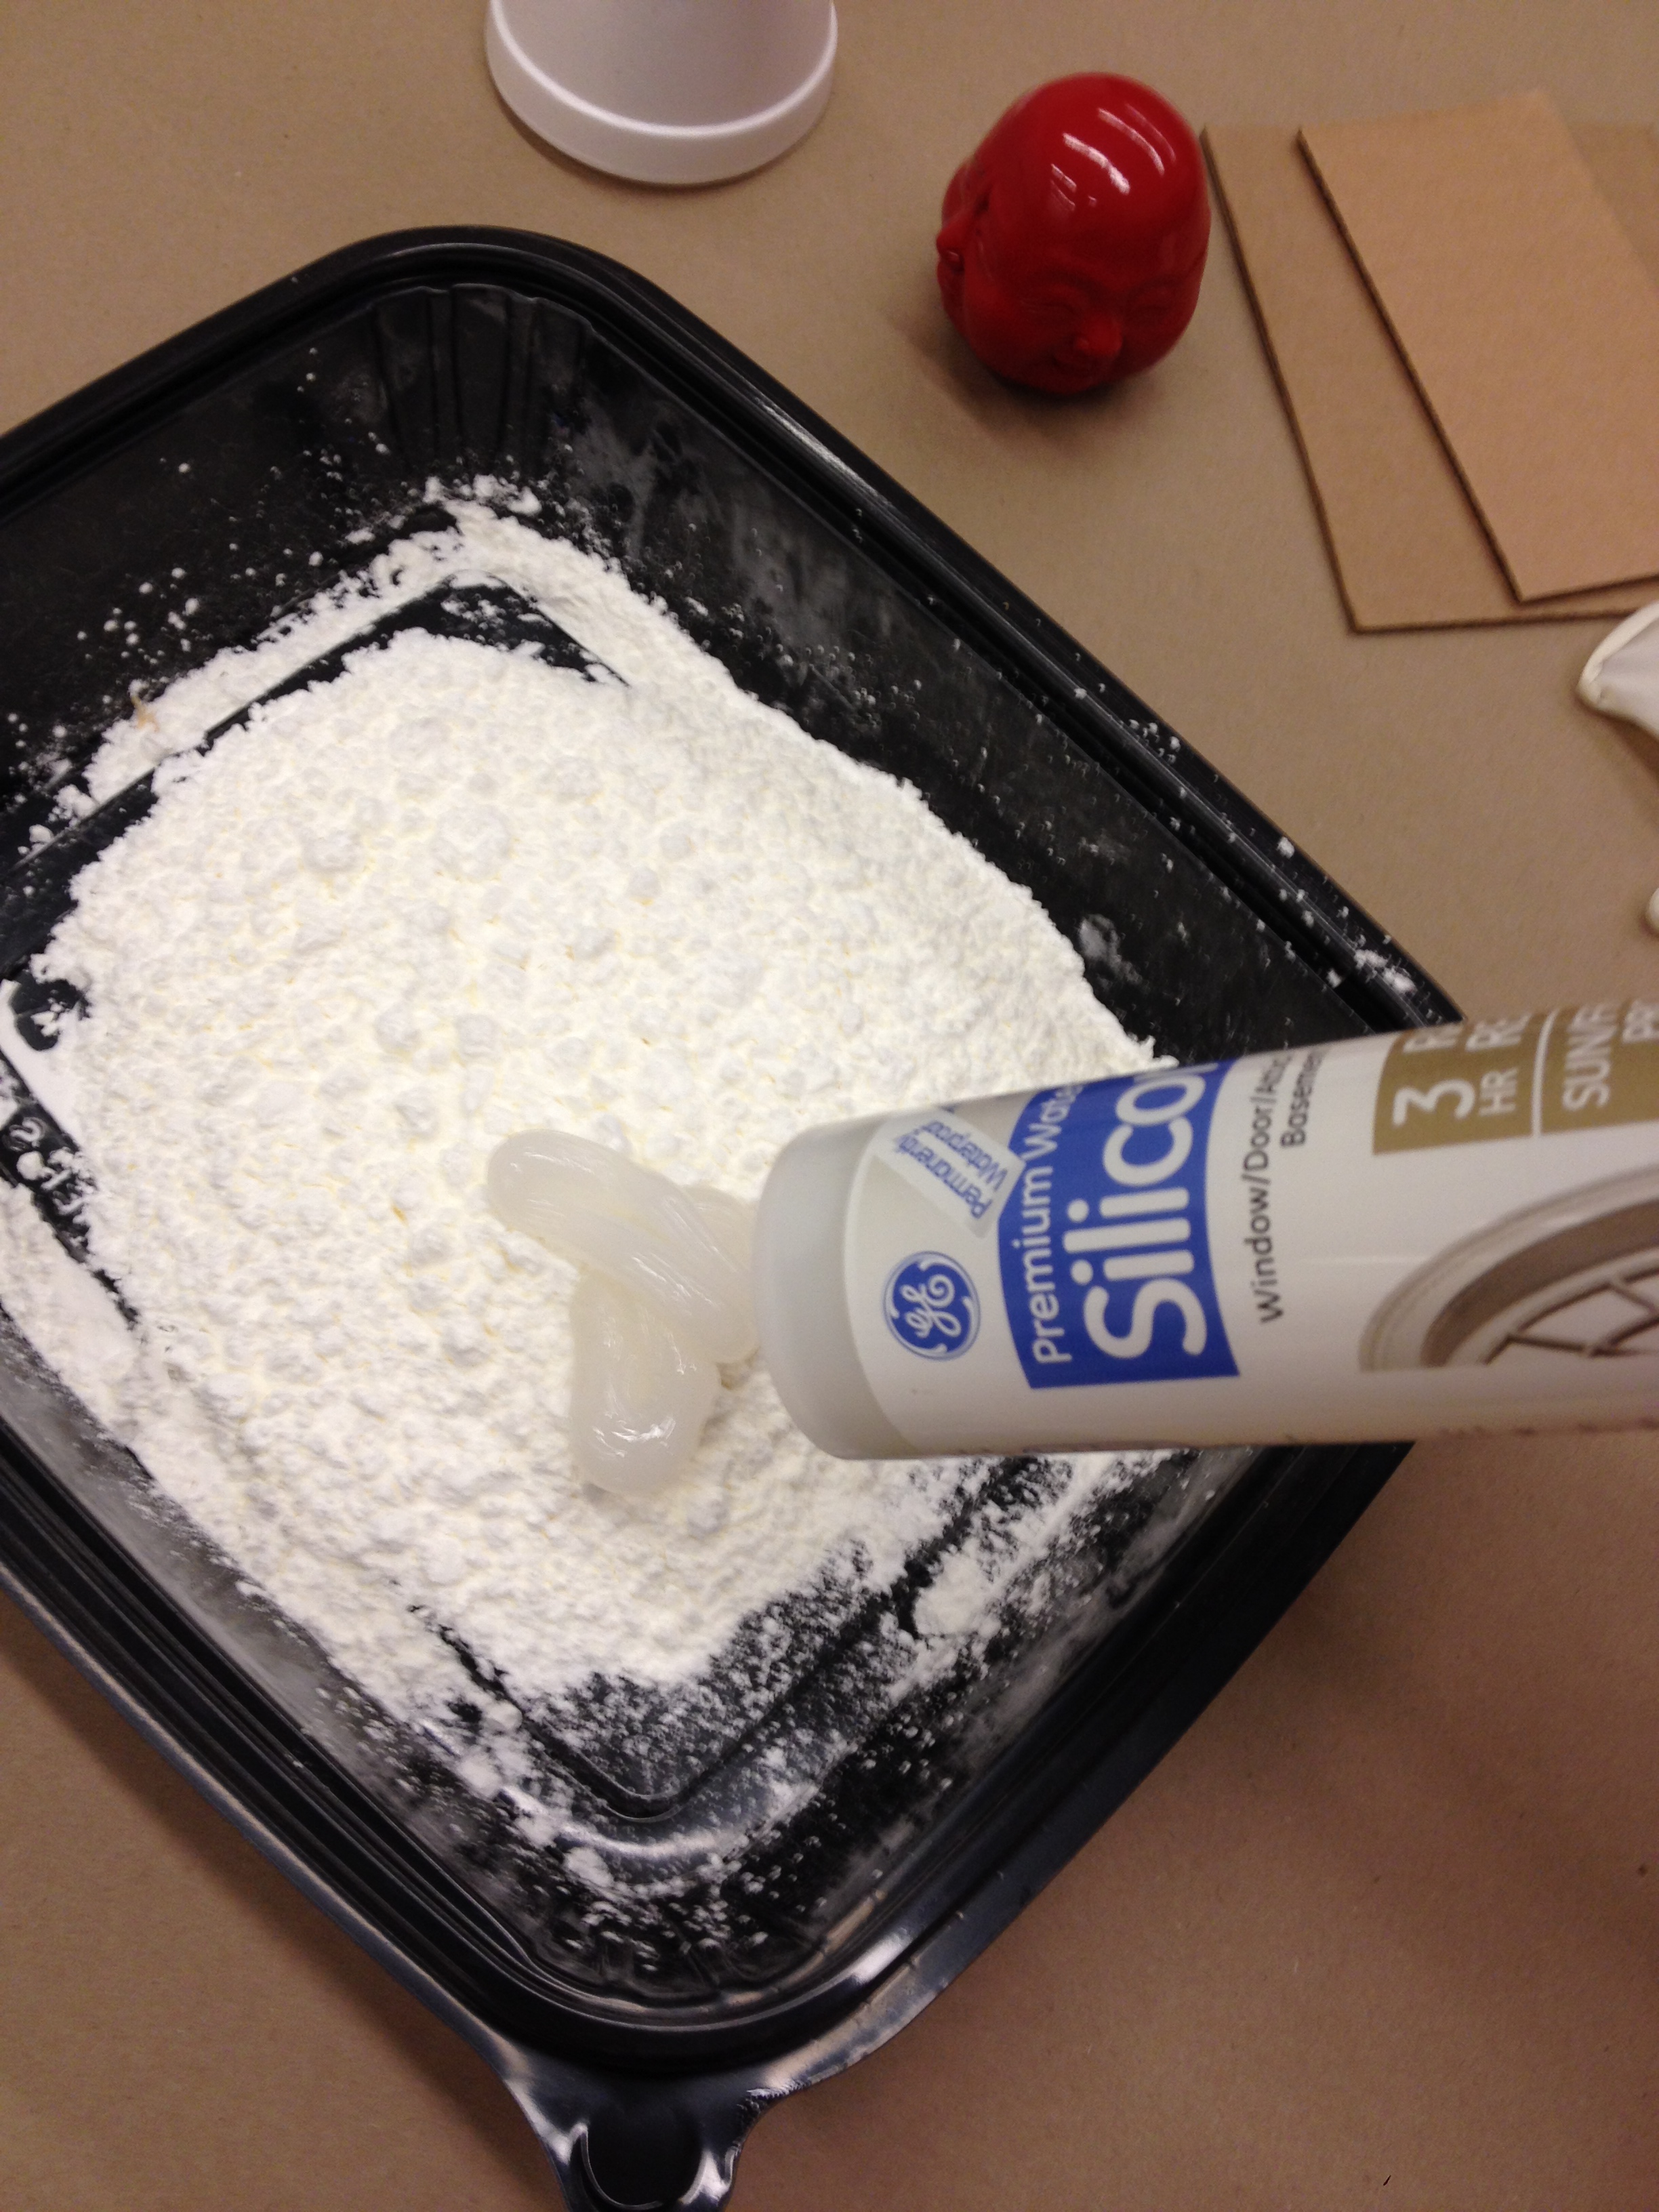
Squeeze the entire tube of caulk into the tray full of cornstarch. Begin incorporating the cornstarch into the caulk until it starts to form a loose ball. I used two pieces of scrap cardboard to toss everything together until it became a paste, then used my hands. Add more cornstarch as needed. I ended up using about 12 oz. of cornstarch.

IMG_1512

IMG_1513

Step 3:

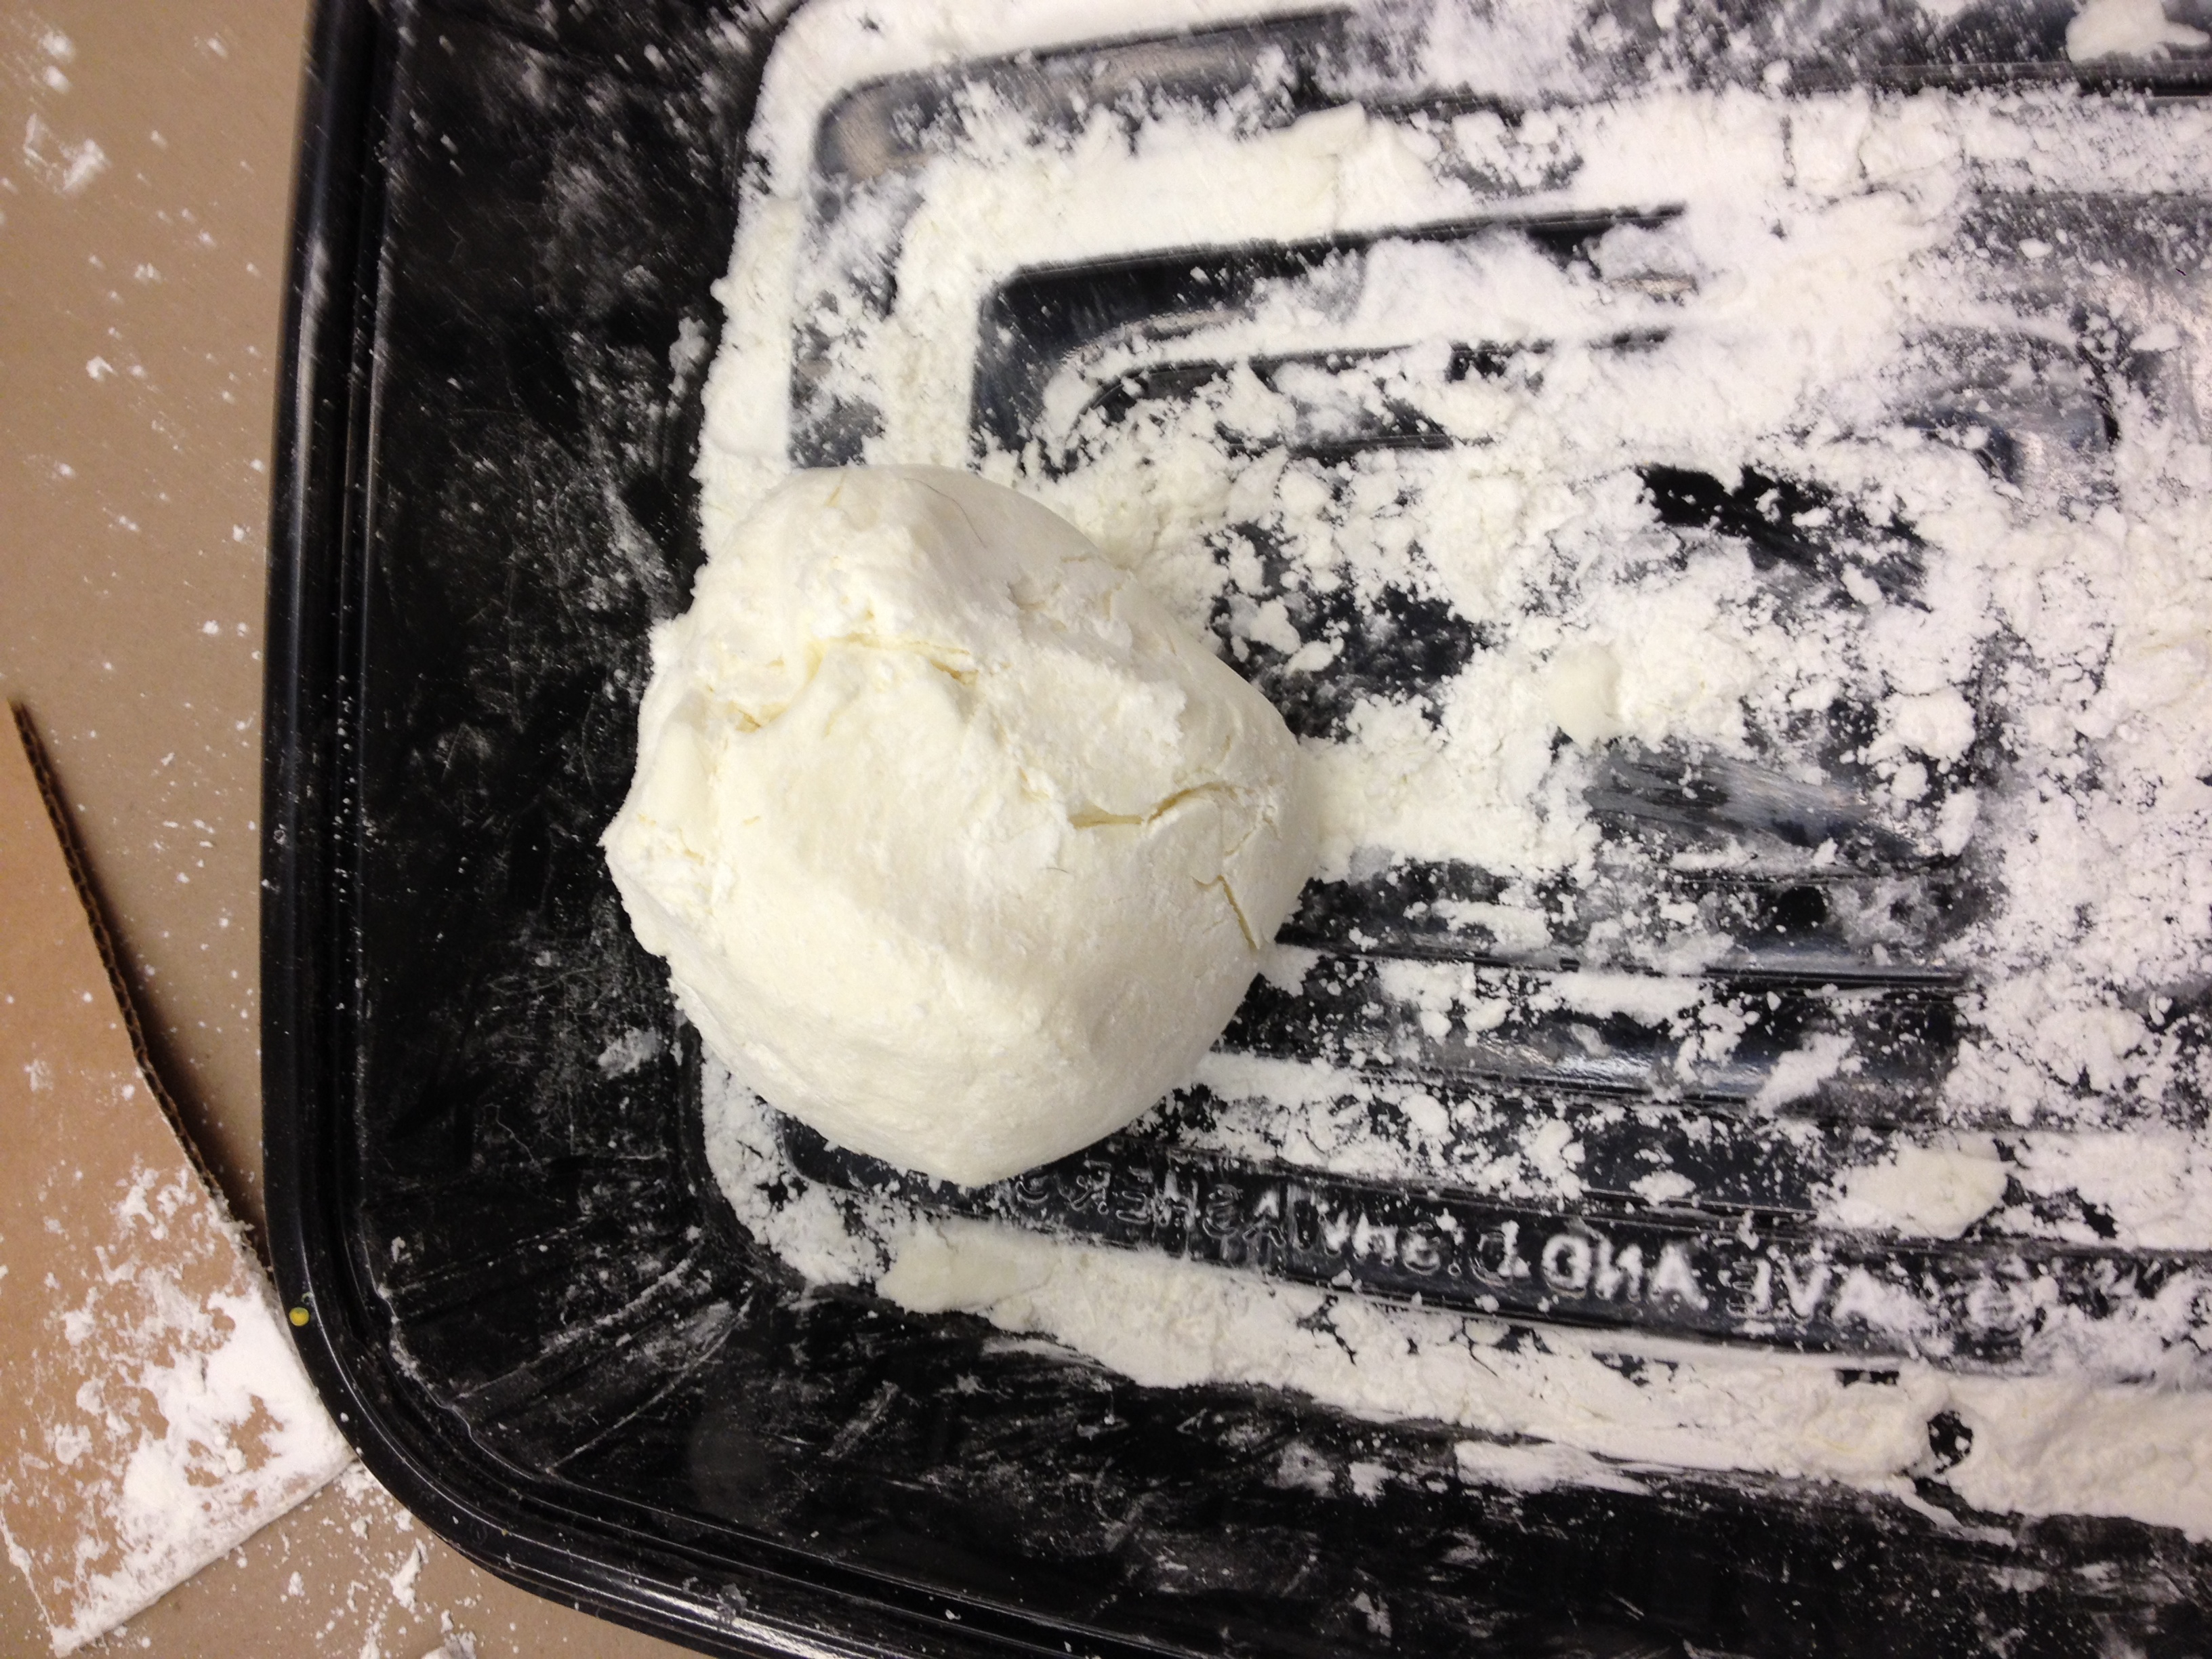
Continue kneading cornstarch into the silicone ball until it reaches a putty-like consistency and is no longer sticky to the touch.

IMG_1515

Step 4: 

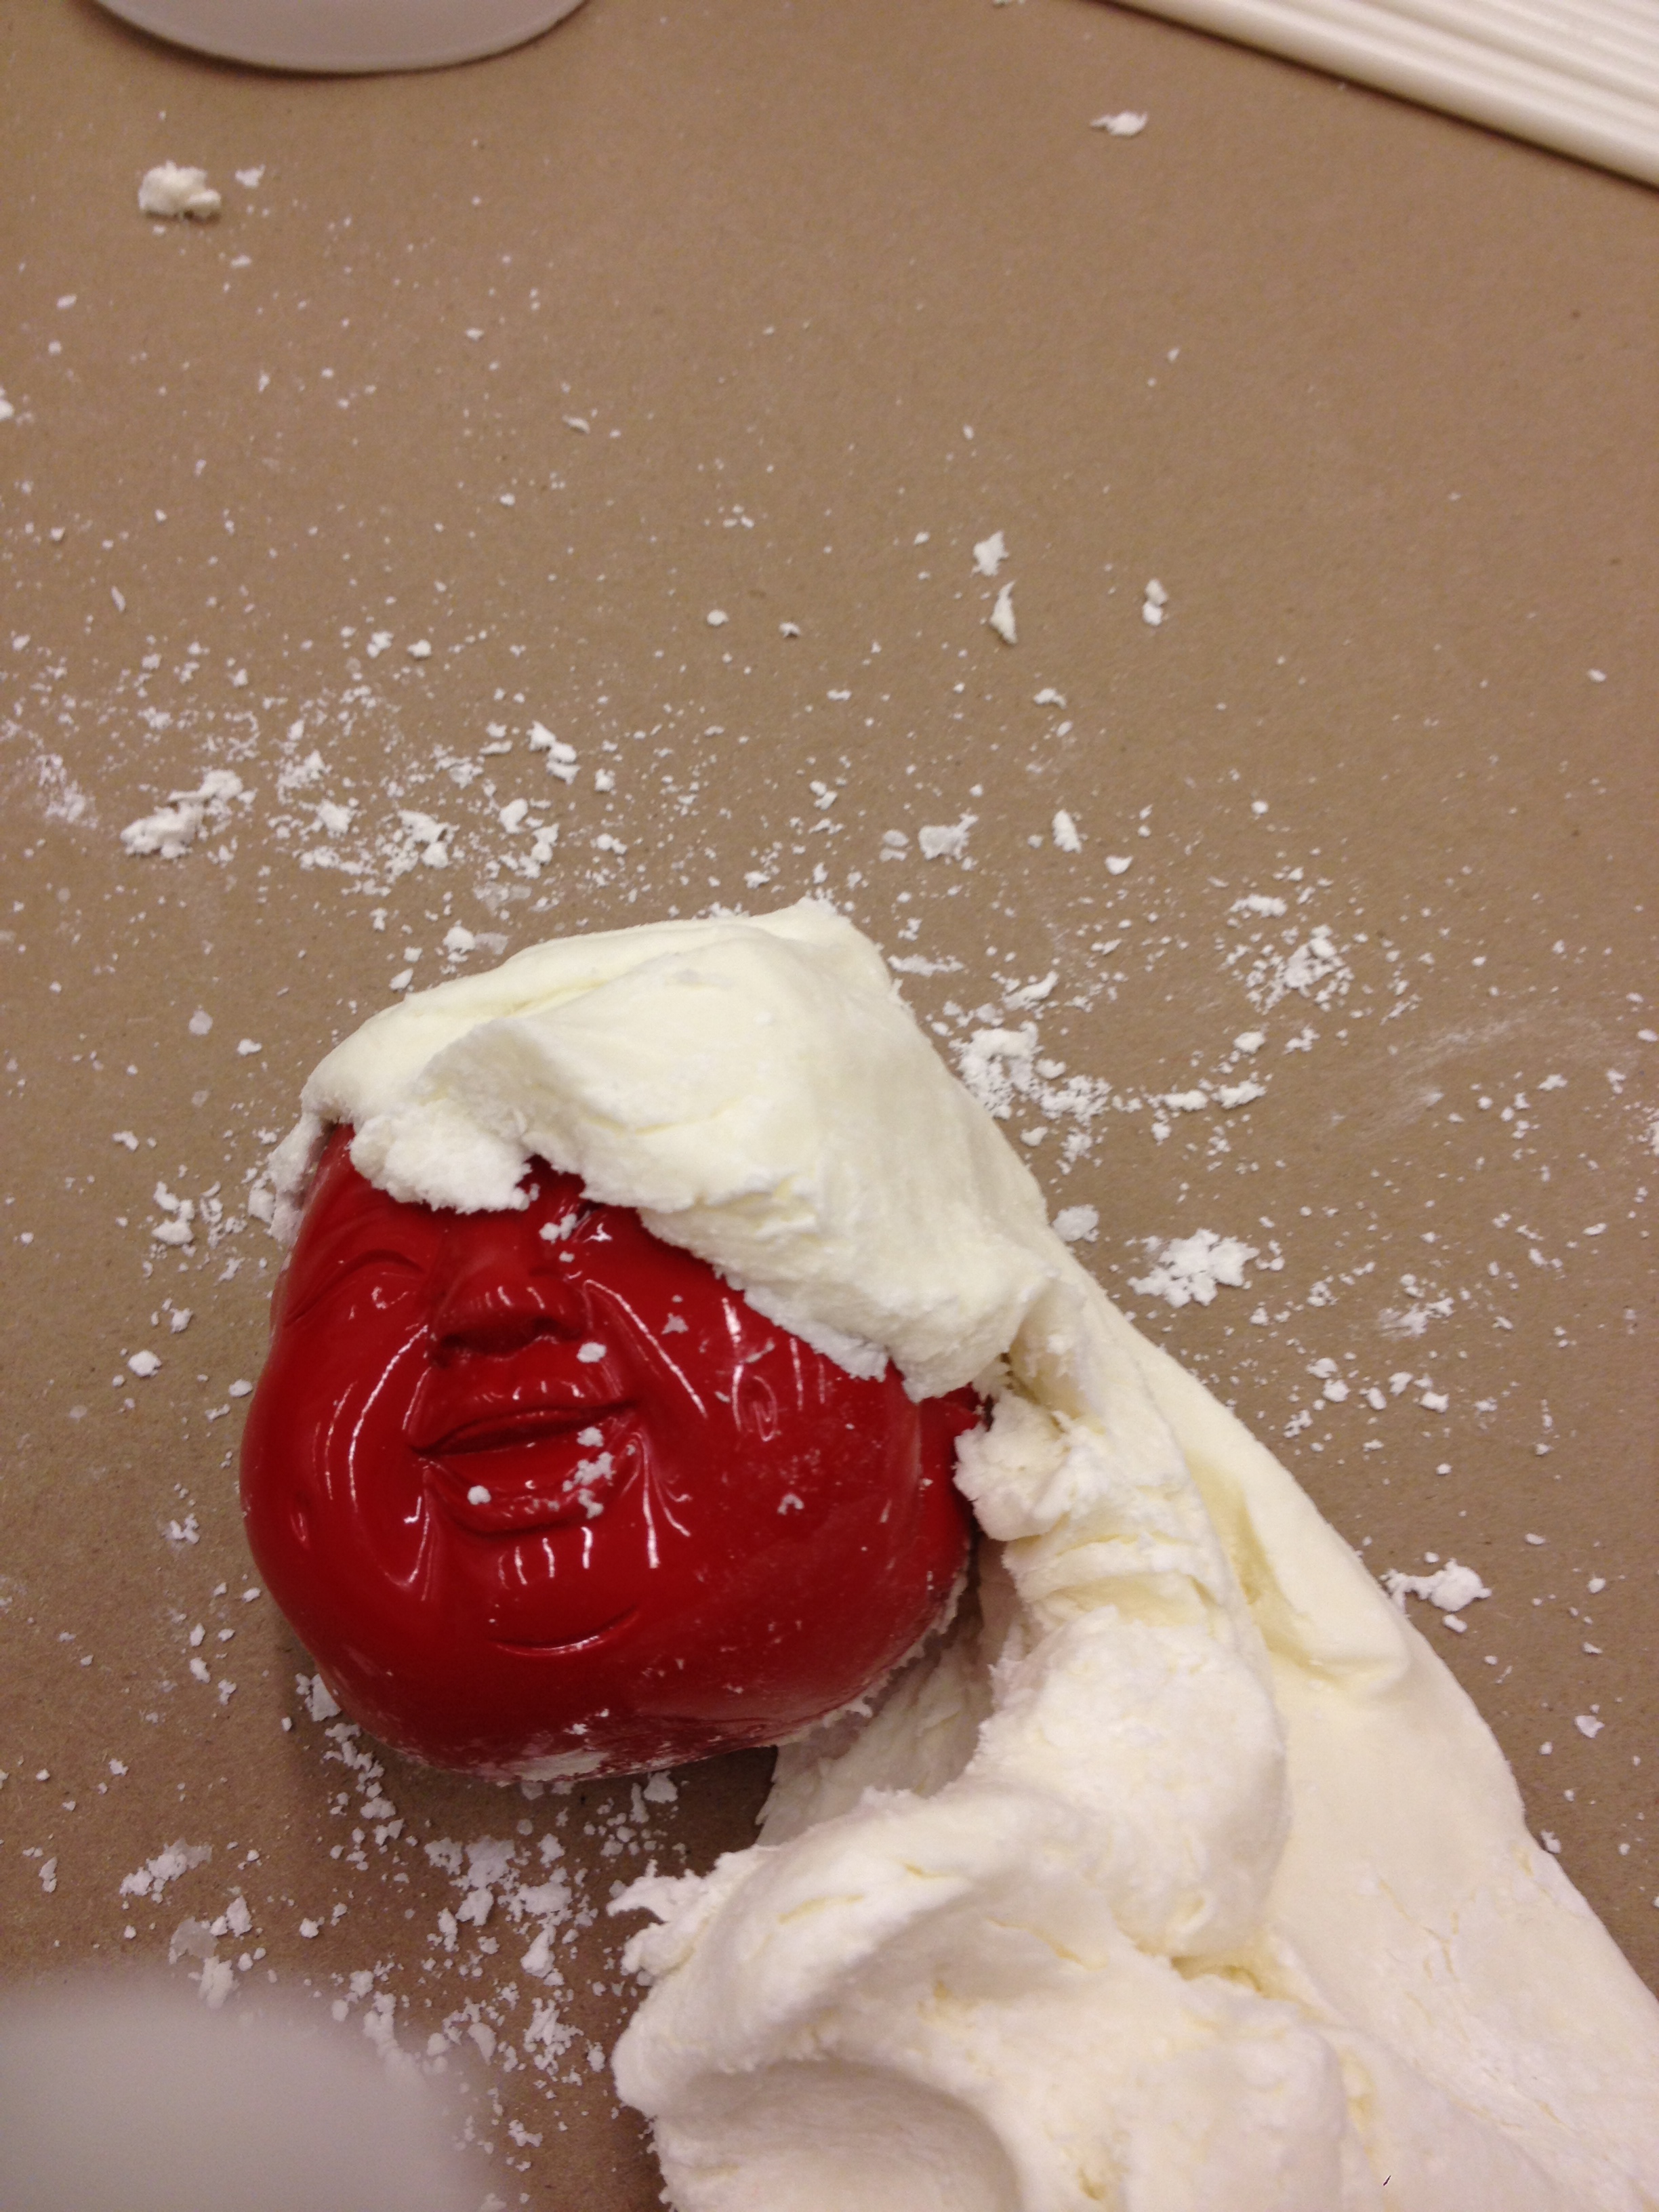
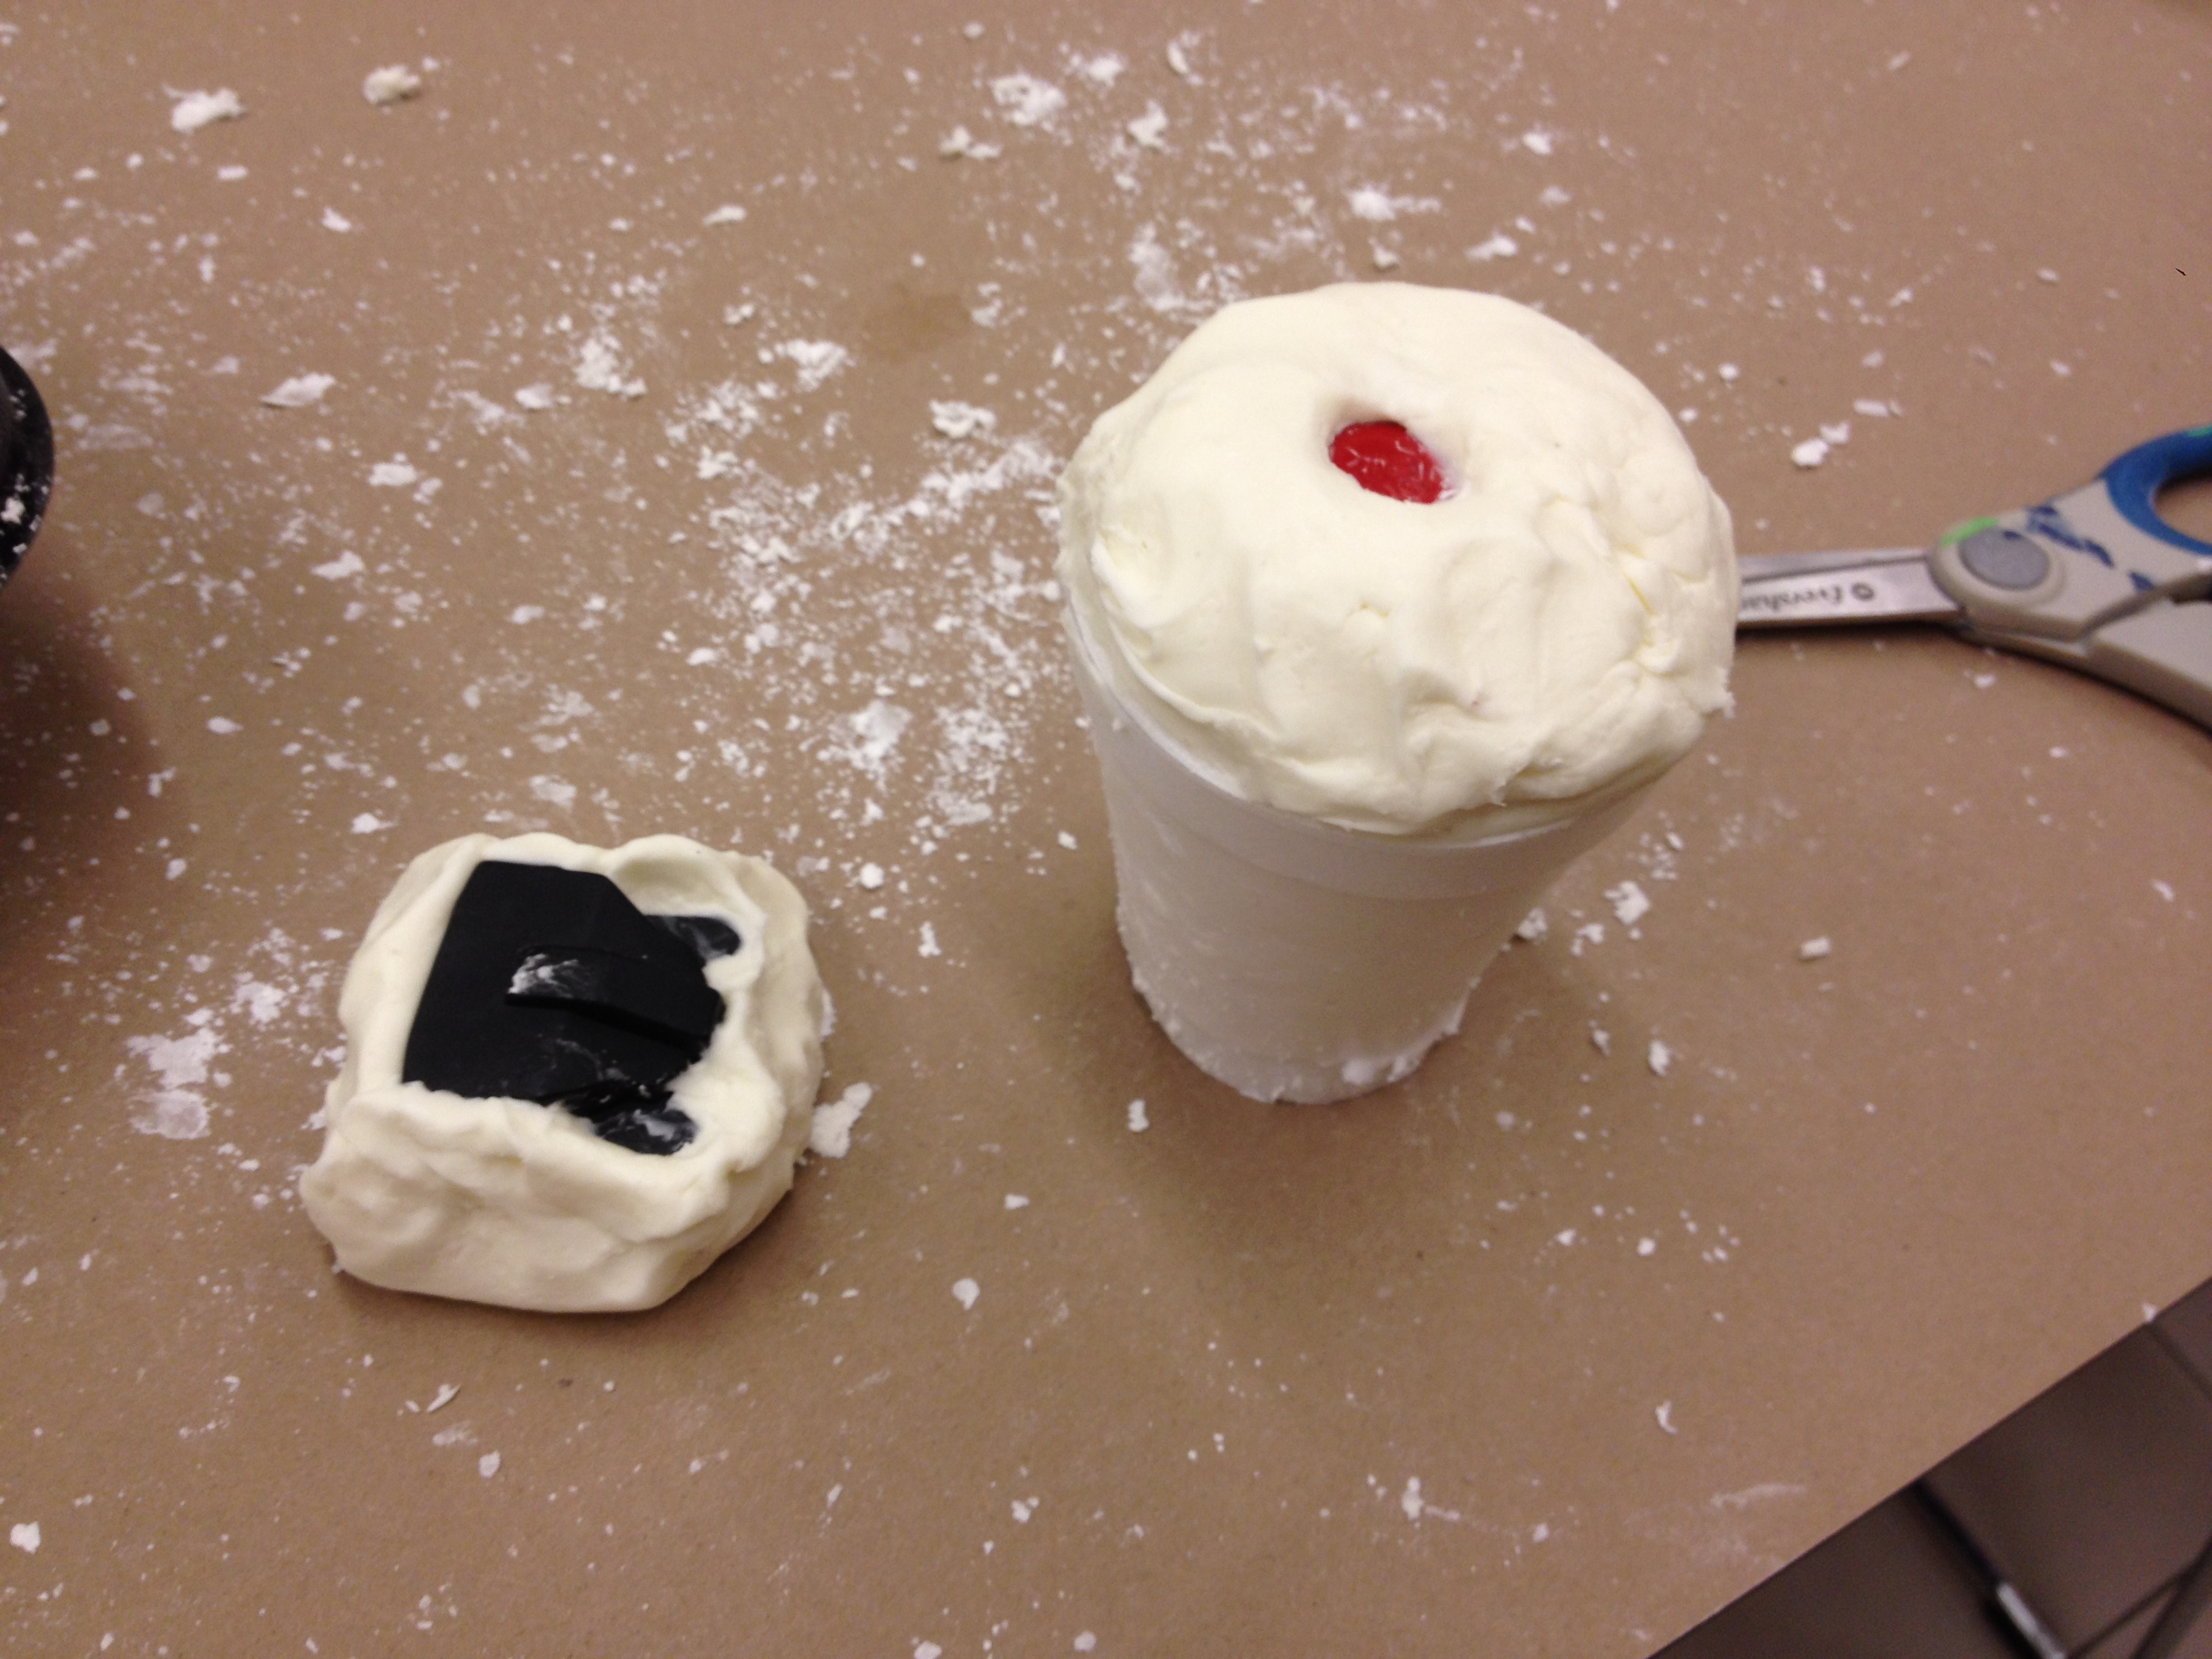
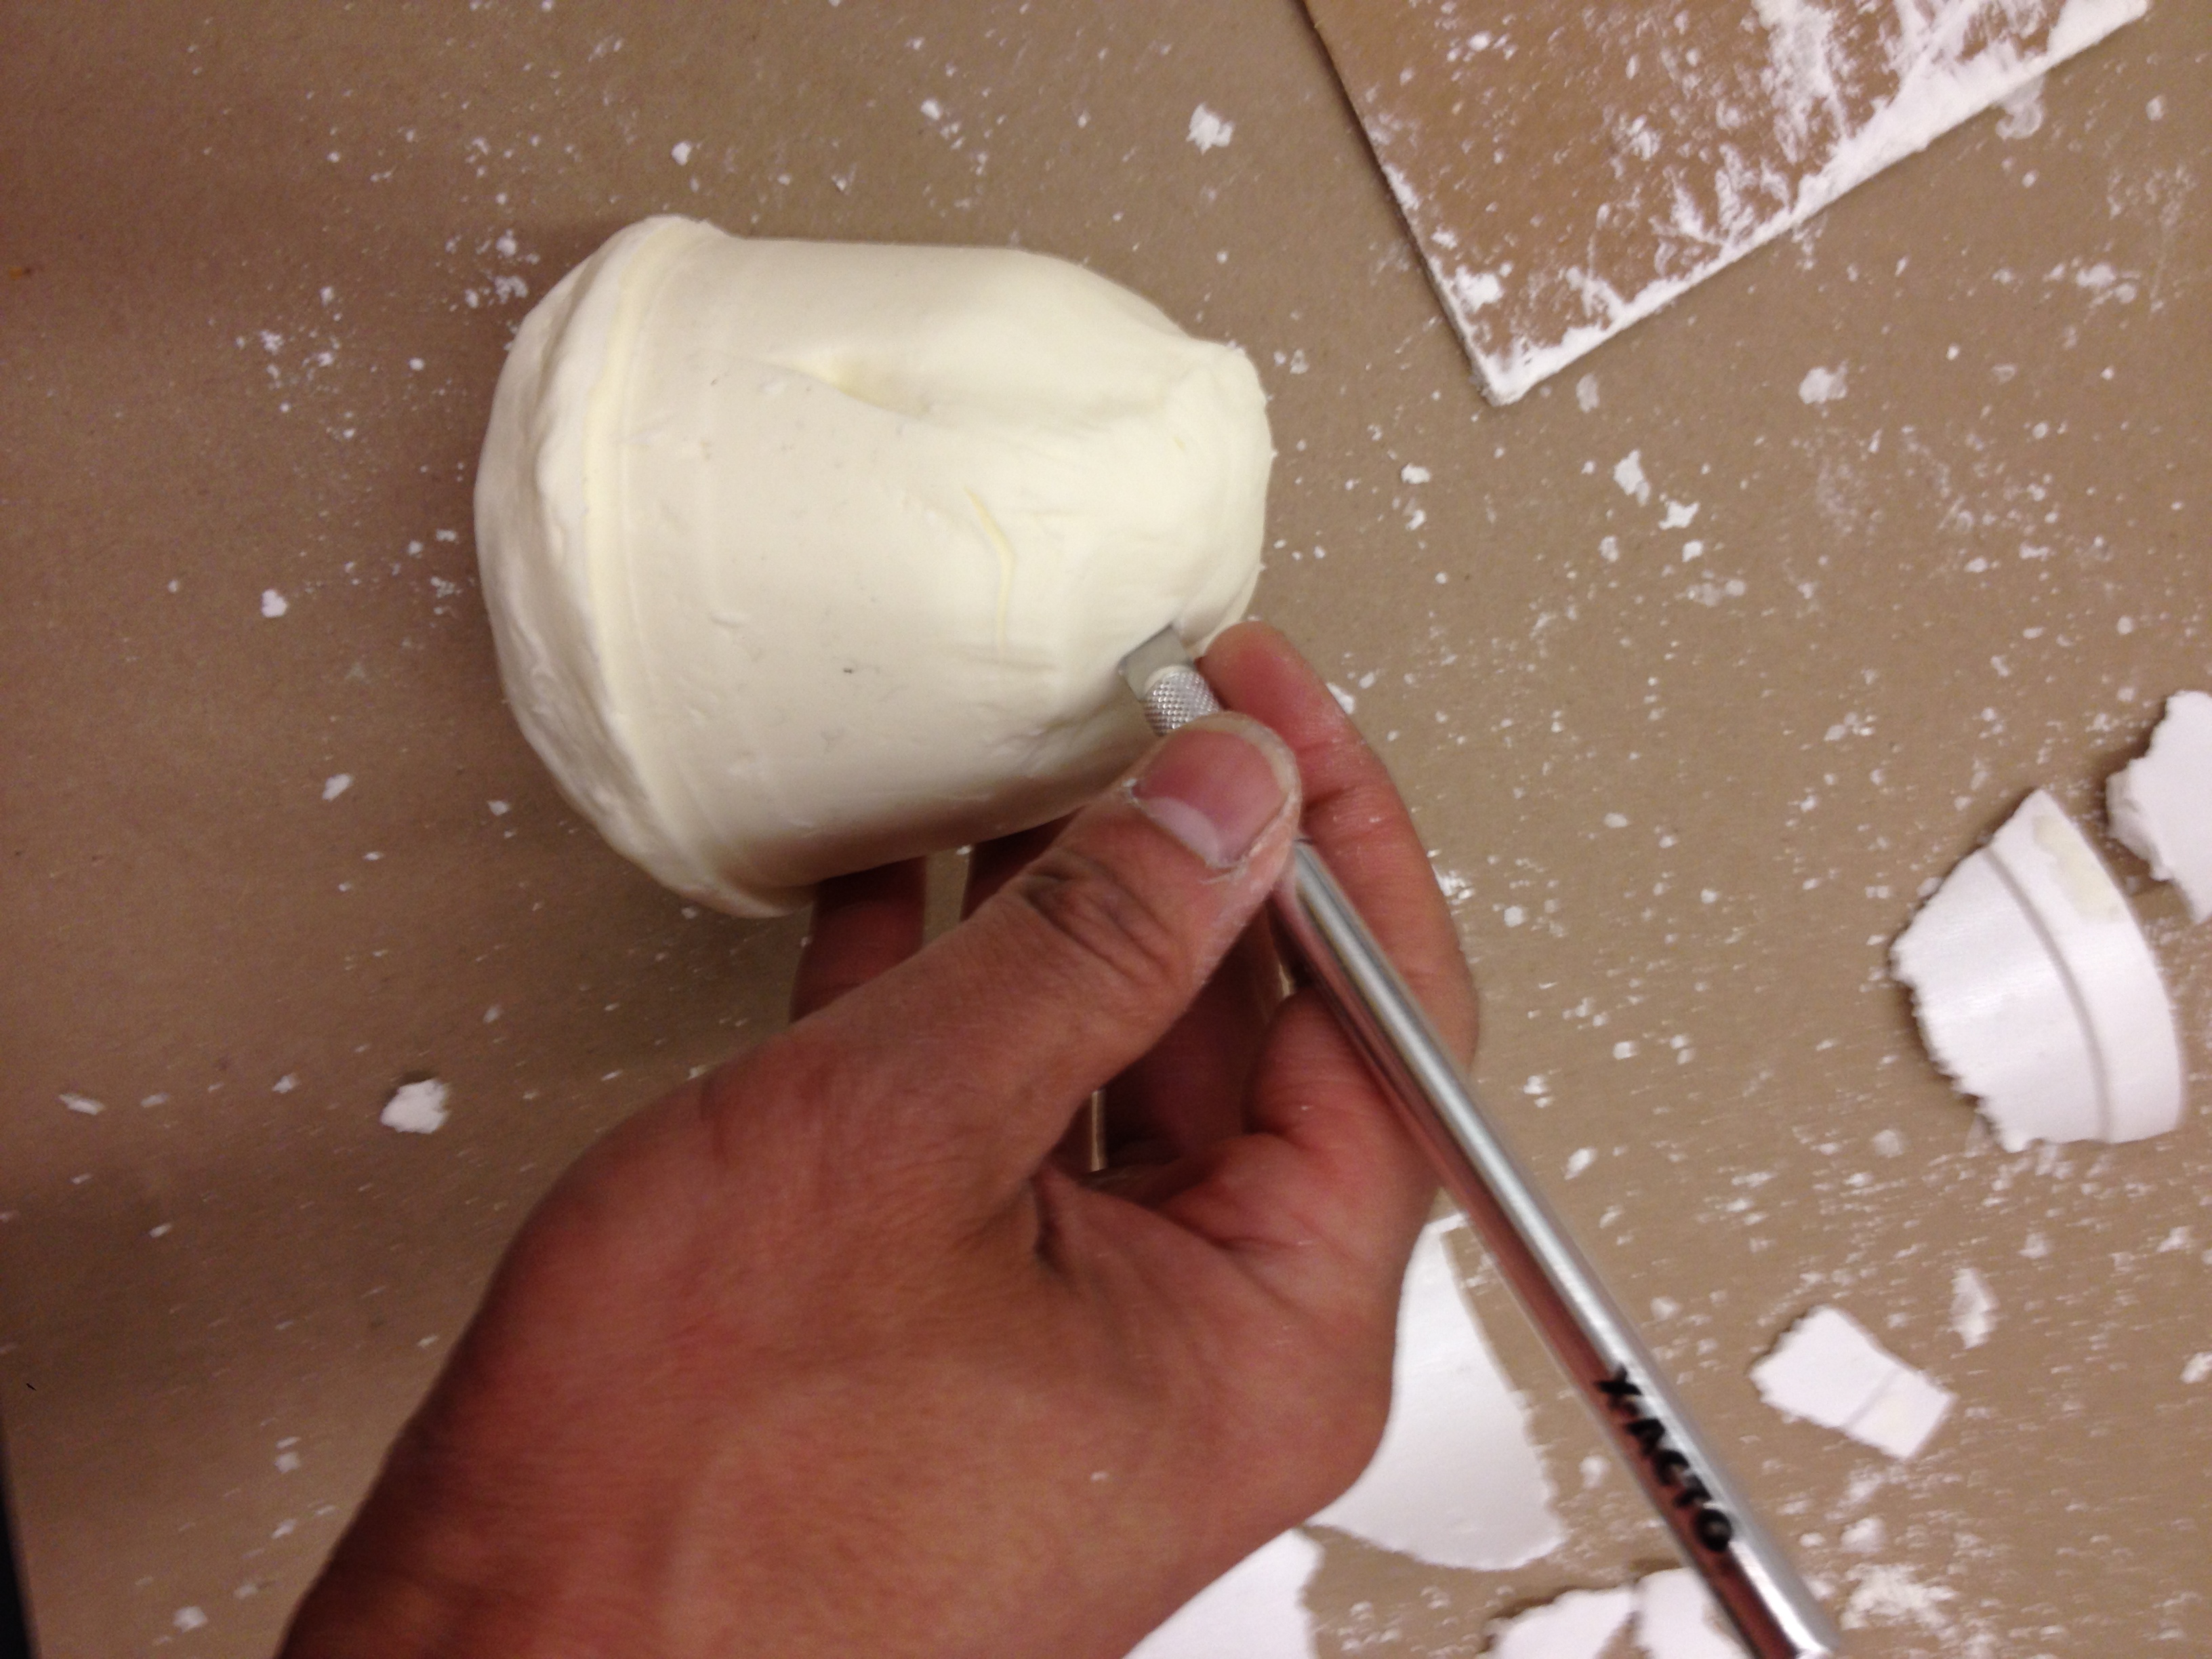
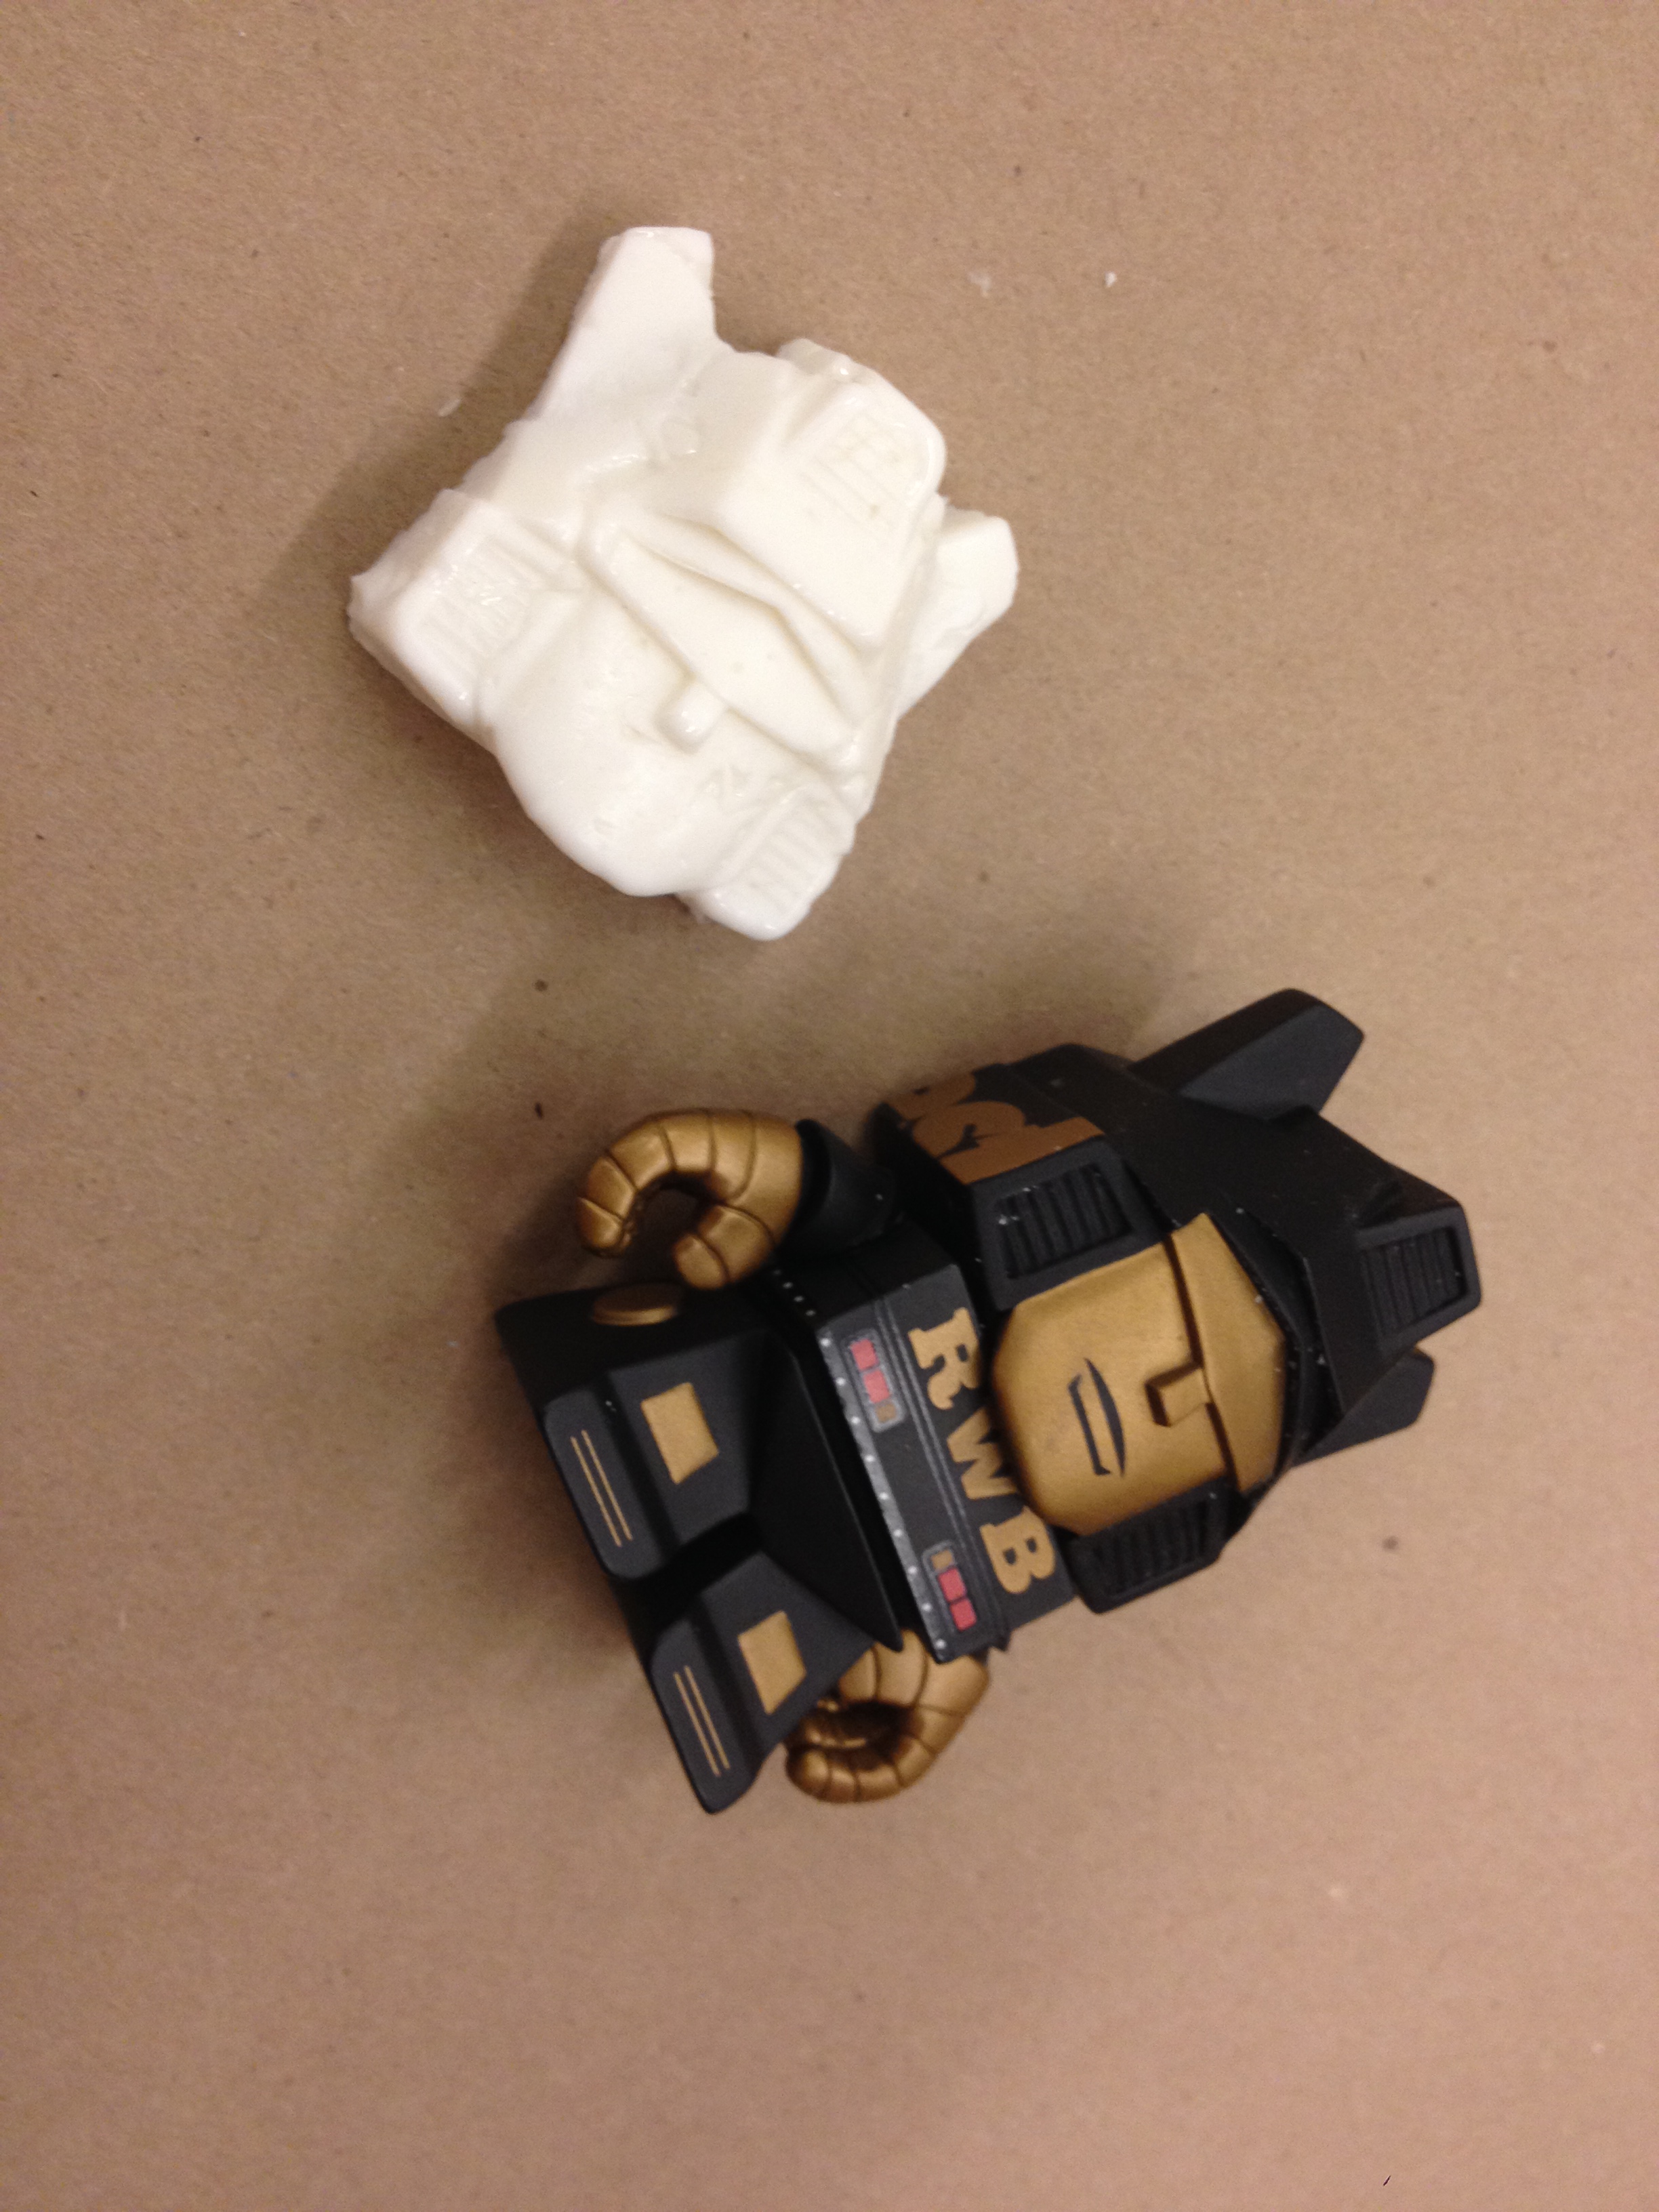
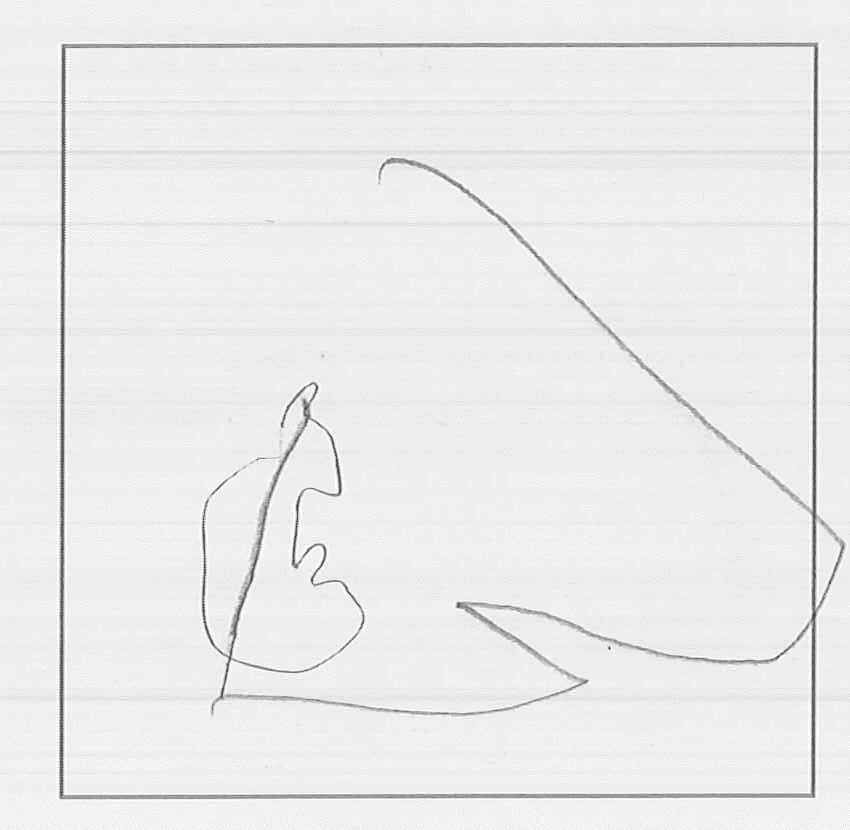
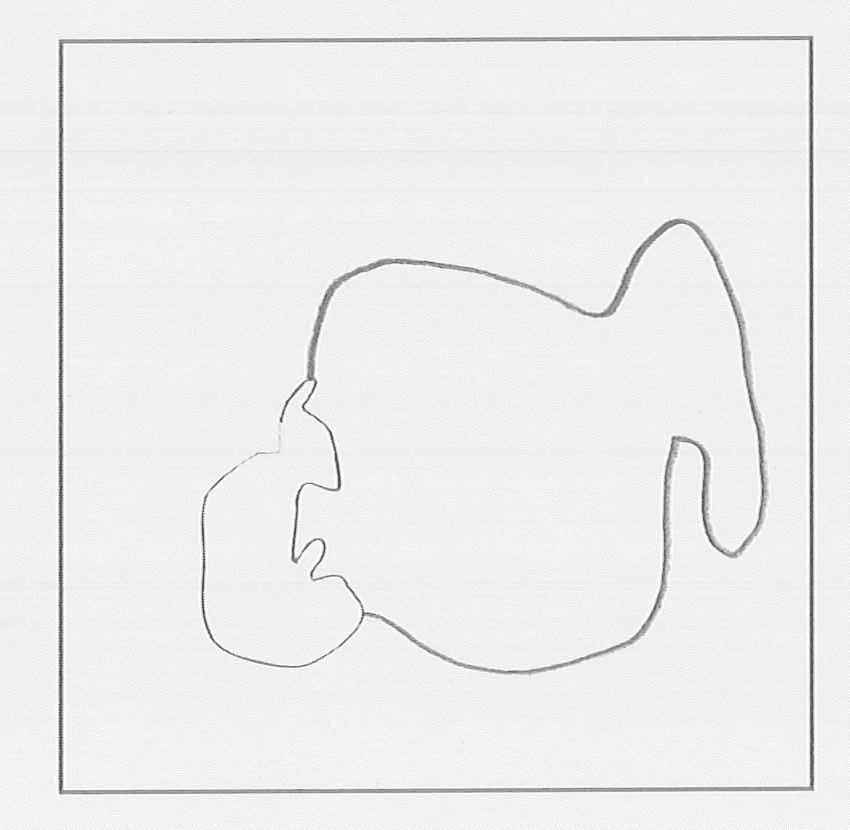
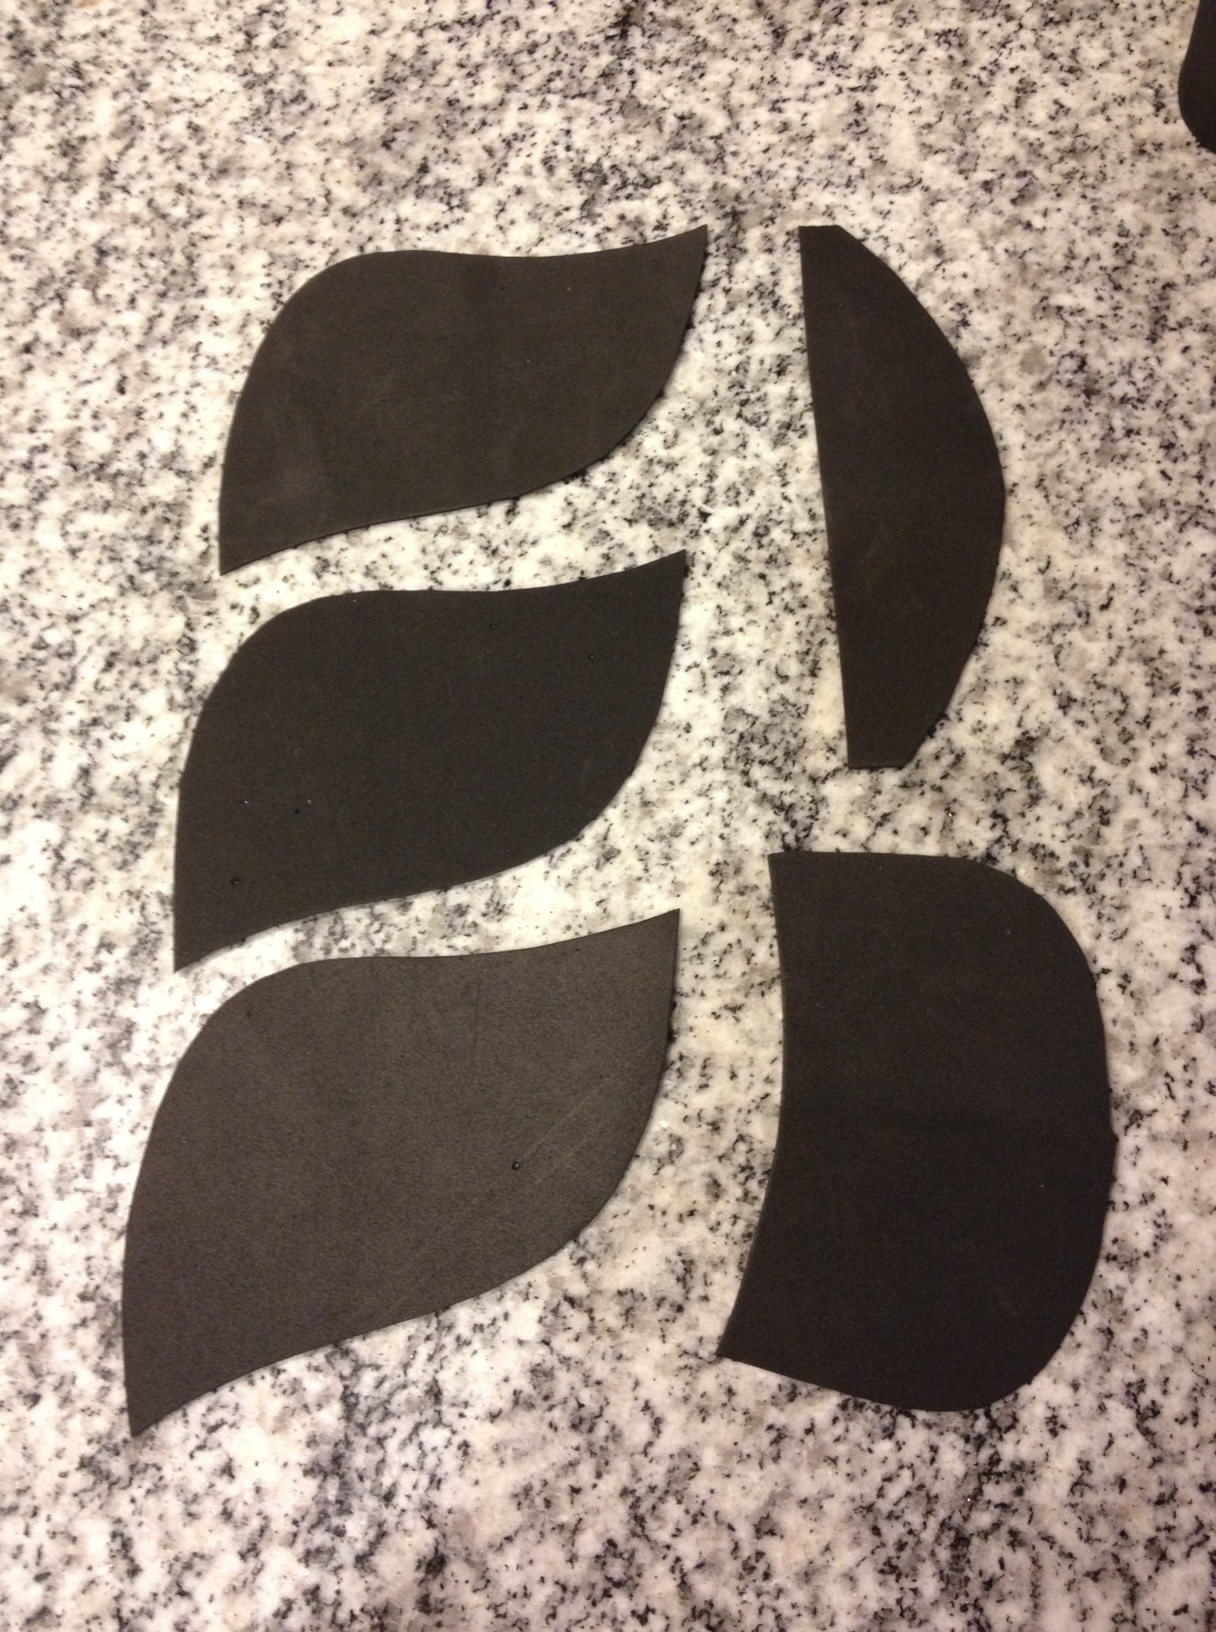
Press the silicone firmly around your object to make your mold. For best results, use an object with a simple shape that doesn’t have a lot of holes where the silicone could get trapped. Press the mold with the object inside into the Styrofoam cup and leave it to set. (Notice that I’ve left a small hole at the top of the mold where I will pour in the Mod Melts.) I had enough material to cast my object and to make a small, secondary mold.
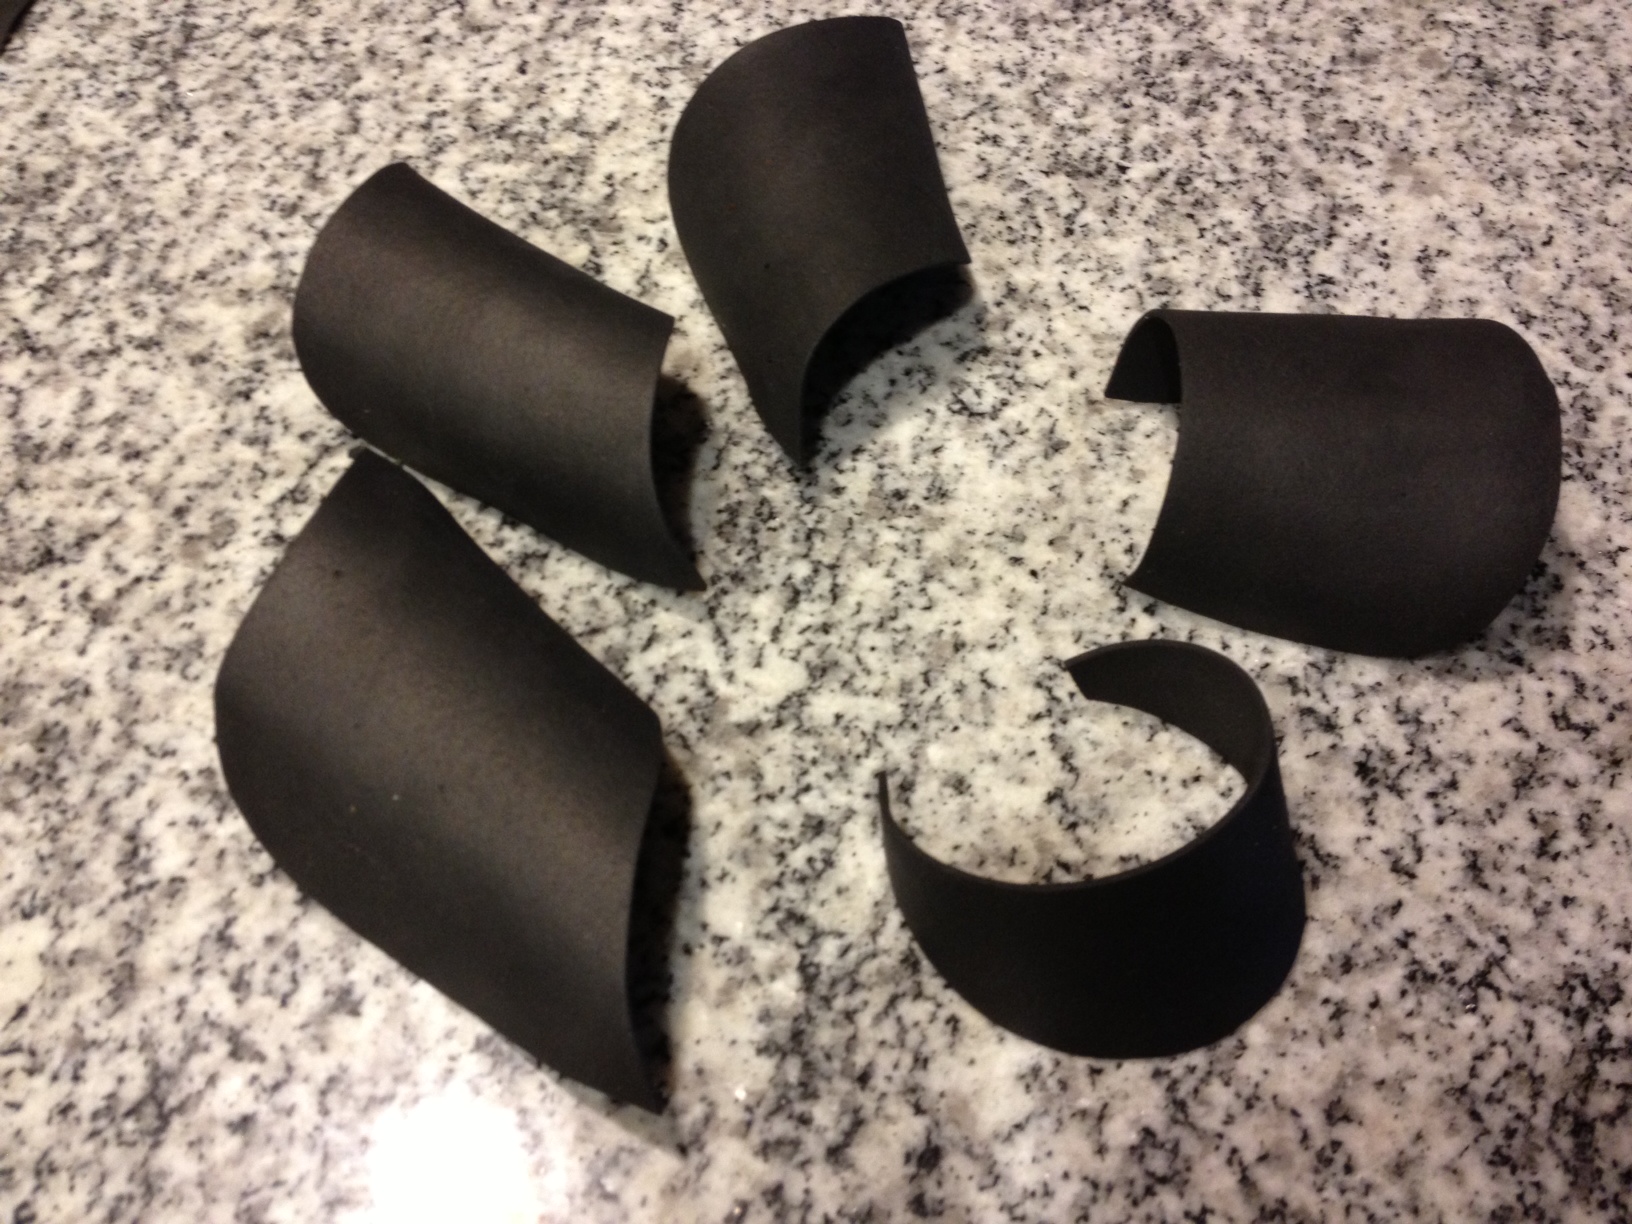
IMG_1516

IMG_1517

Step 5: 

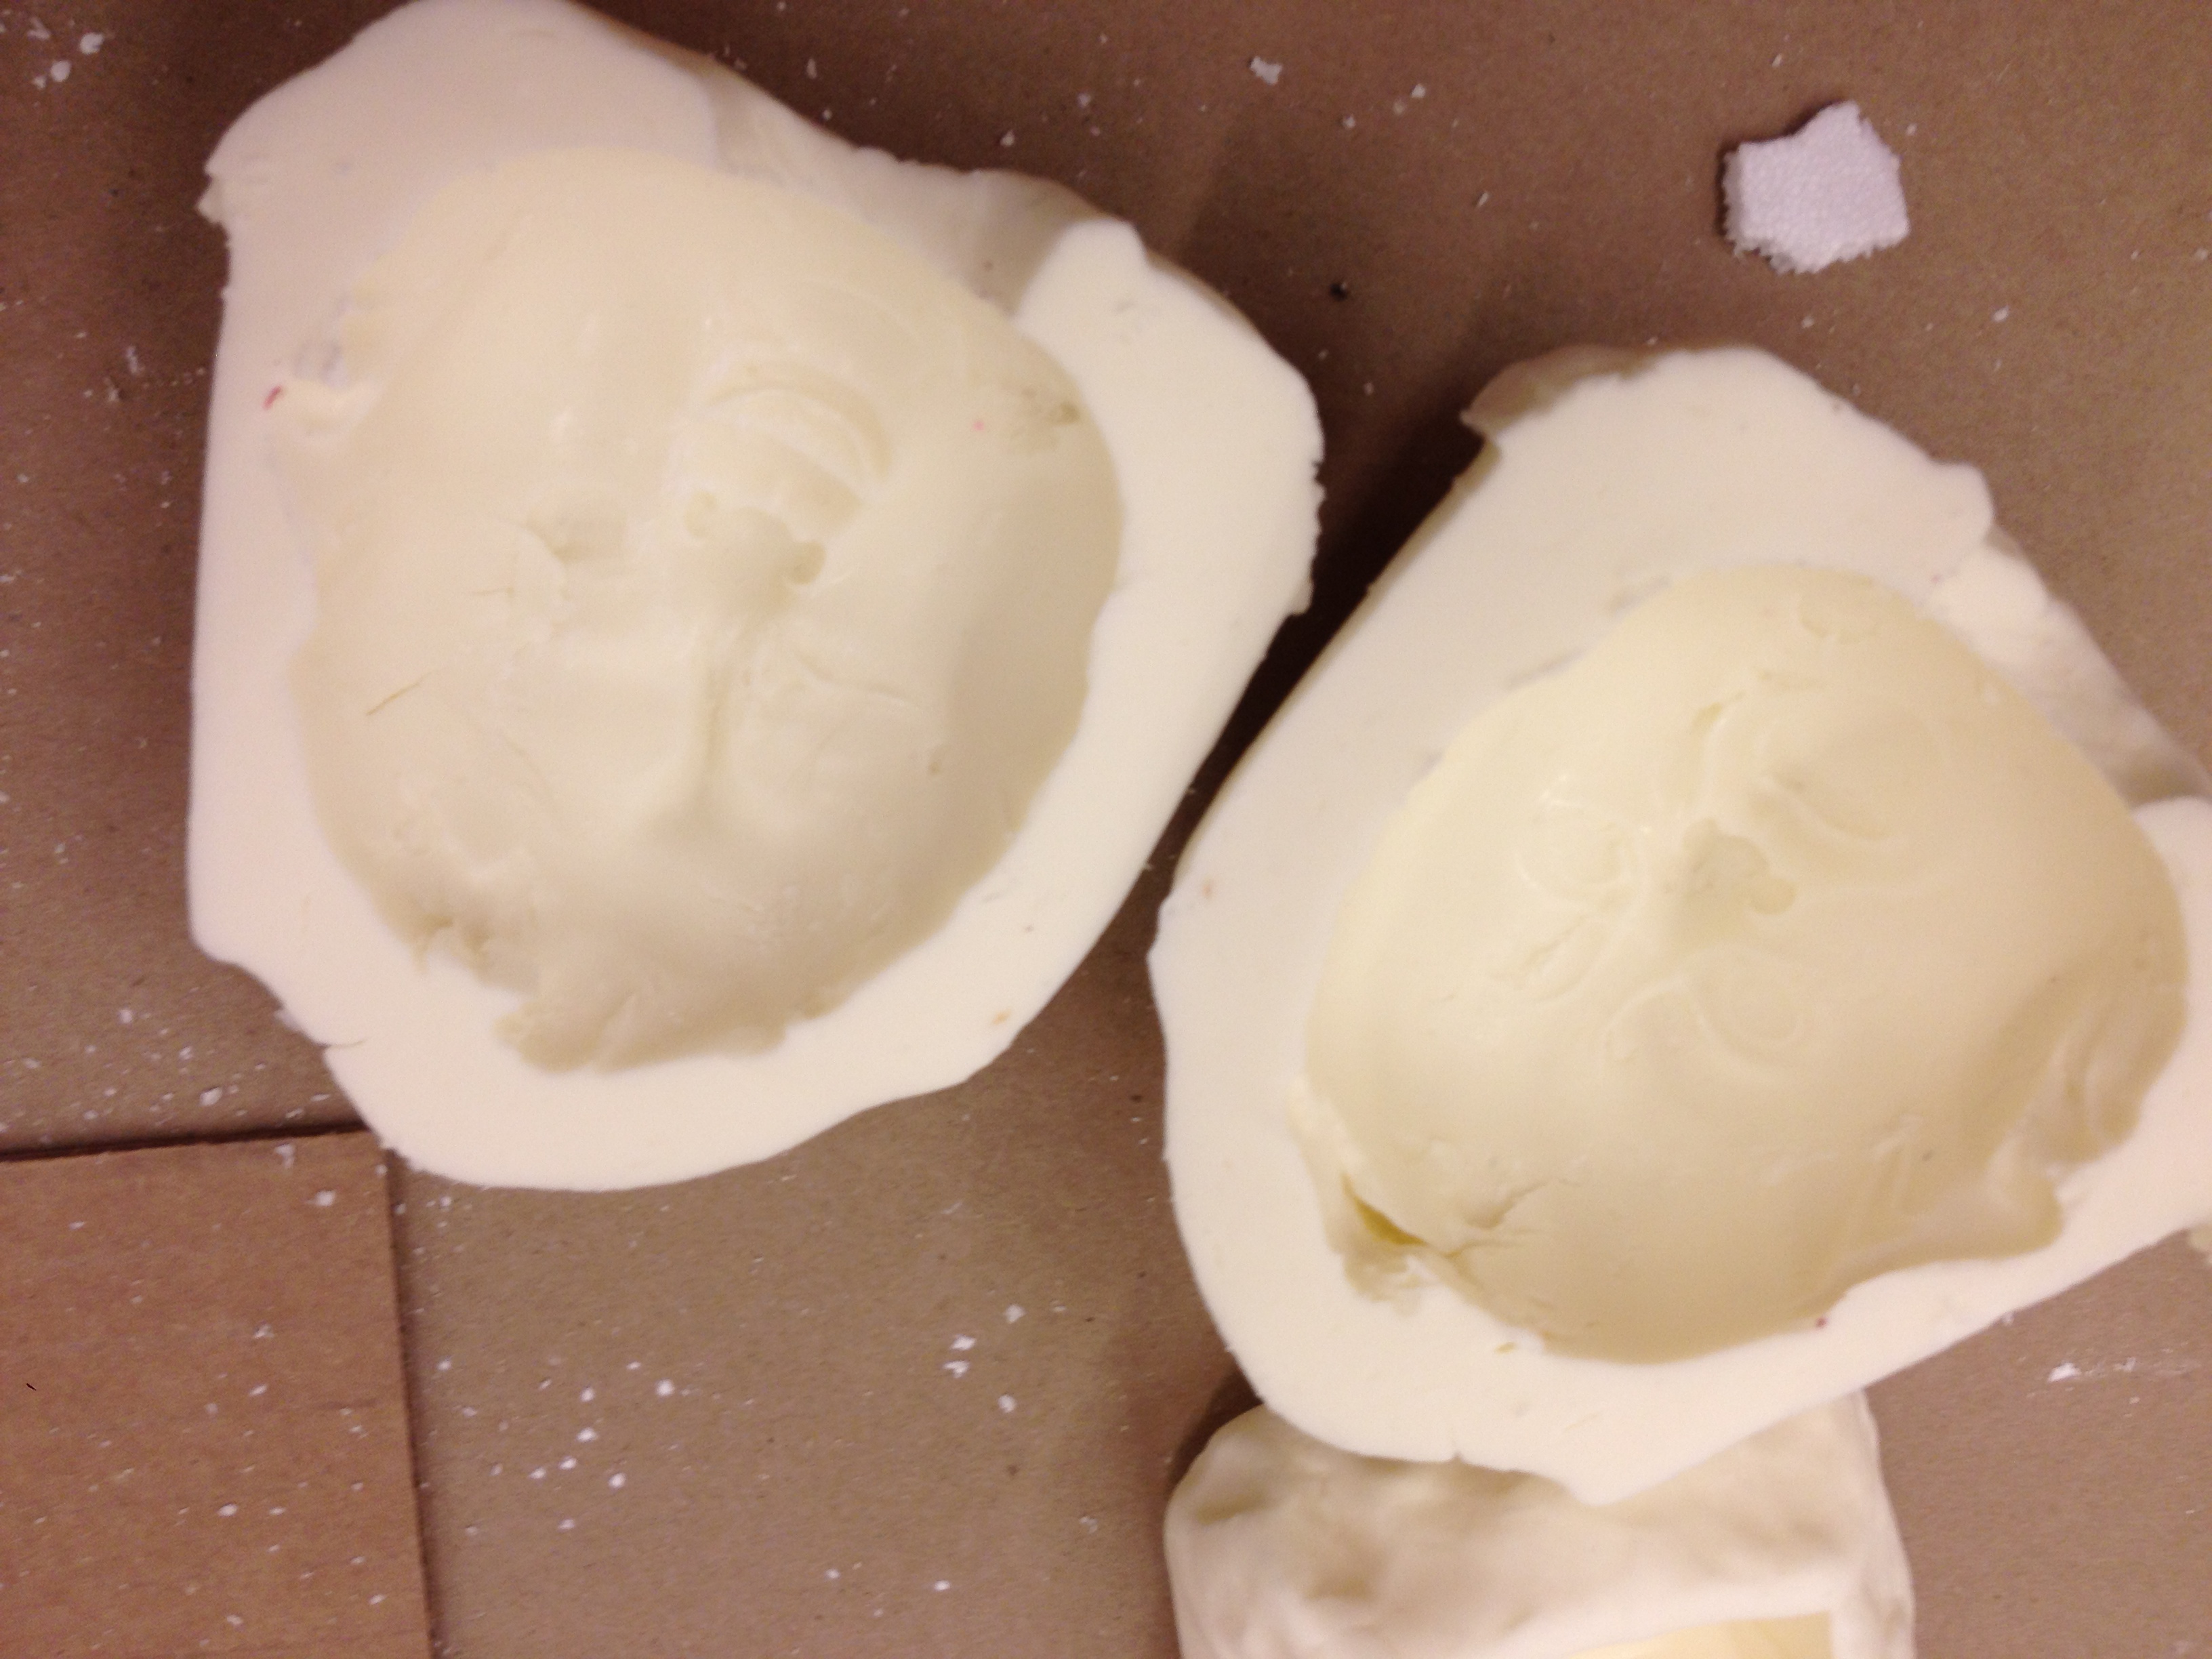
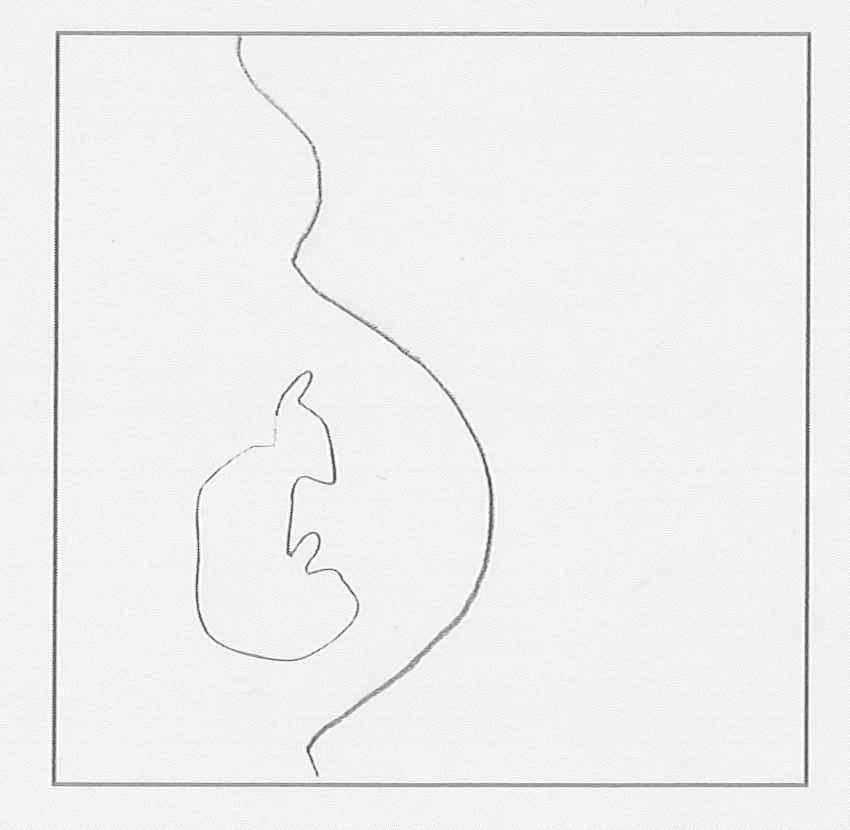
Check the mold after about 45 minutes–if it has completely set, you should be able to slide it out of the cup. Gently remove the object, taking care not to tear the mold. (You may need to carefully cut the silicone to make a two-part mold in order to do this.) You can see in my bigger mold some sections where I ran into trouble with air bubbles. To avoid that next time, I will have to press more firmly into those sections and give my mold a little more time to set.

IMG_1520

IMG_1521

IMG_1522

IMG_1519

Step 6:

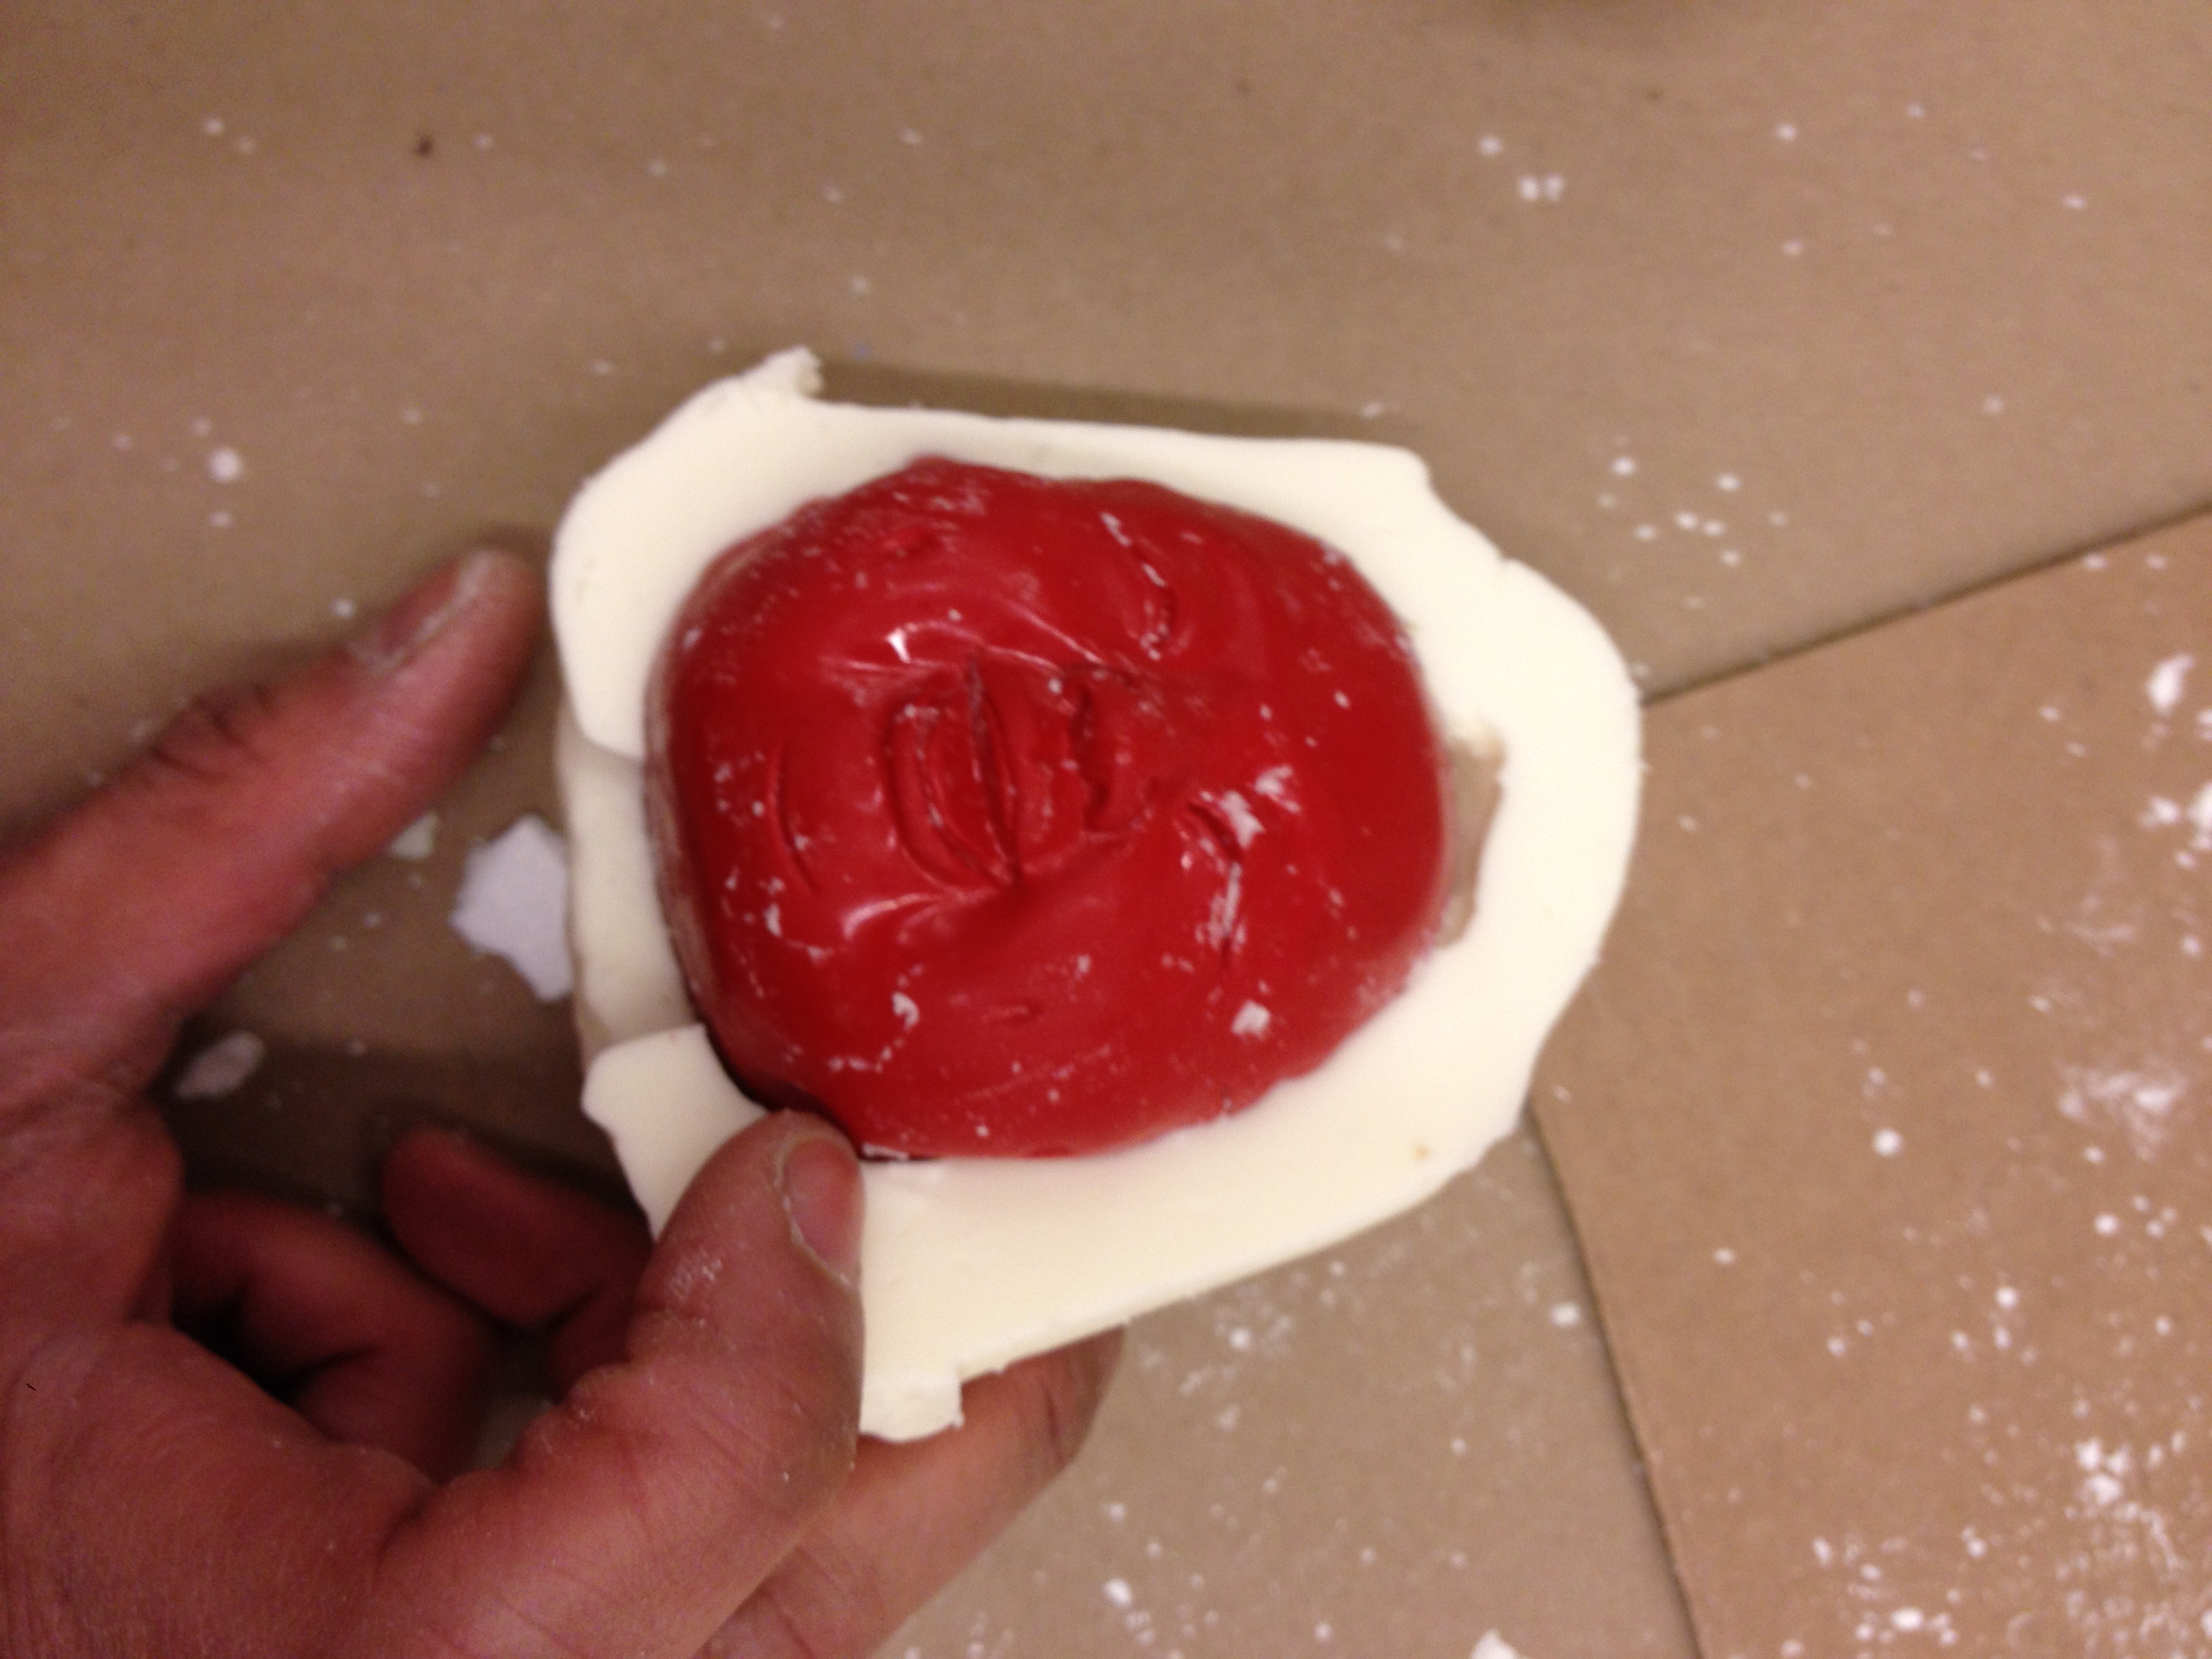
Spray the inside of your mold with non-stick spray (optional) and put it back in the Styrofoam cup. Heat your glue gun and load it with the Mod Podge Melts. For the sake of time, I will only cast the smaller mold that I made but I’ll post images of the larger cast on our Flickr page!

Step 7:

When hot, squeeze the Mod Melts into the mold. Once you’ve filled it, give the mold a gentle tap to help any air bubbles settle. Leave it to set.

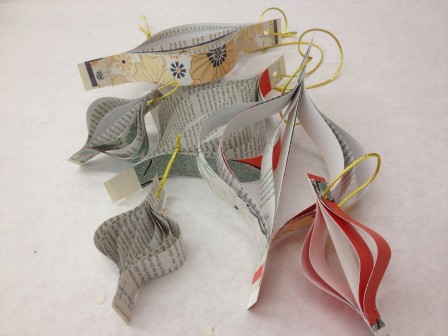
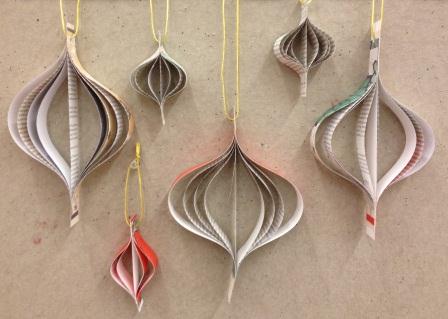
Once your casting is cool, take it out of the mold. Your results may vary, but don’t worry–if the mold is still intact, you could reuse it to make another casting. And the nice thing about Mod Melts is that afterwards, you can paint your project or draw on it with Sharpie markers, etc.

IMG_1523

IMG_1524

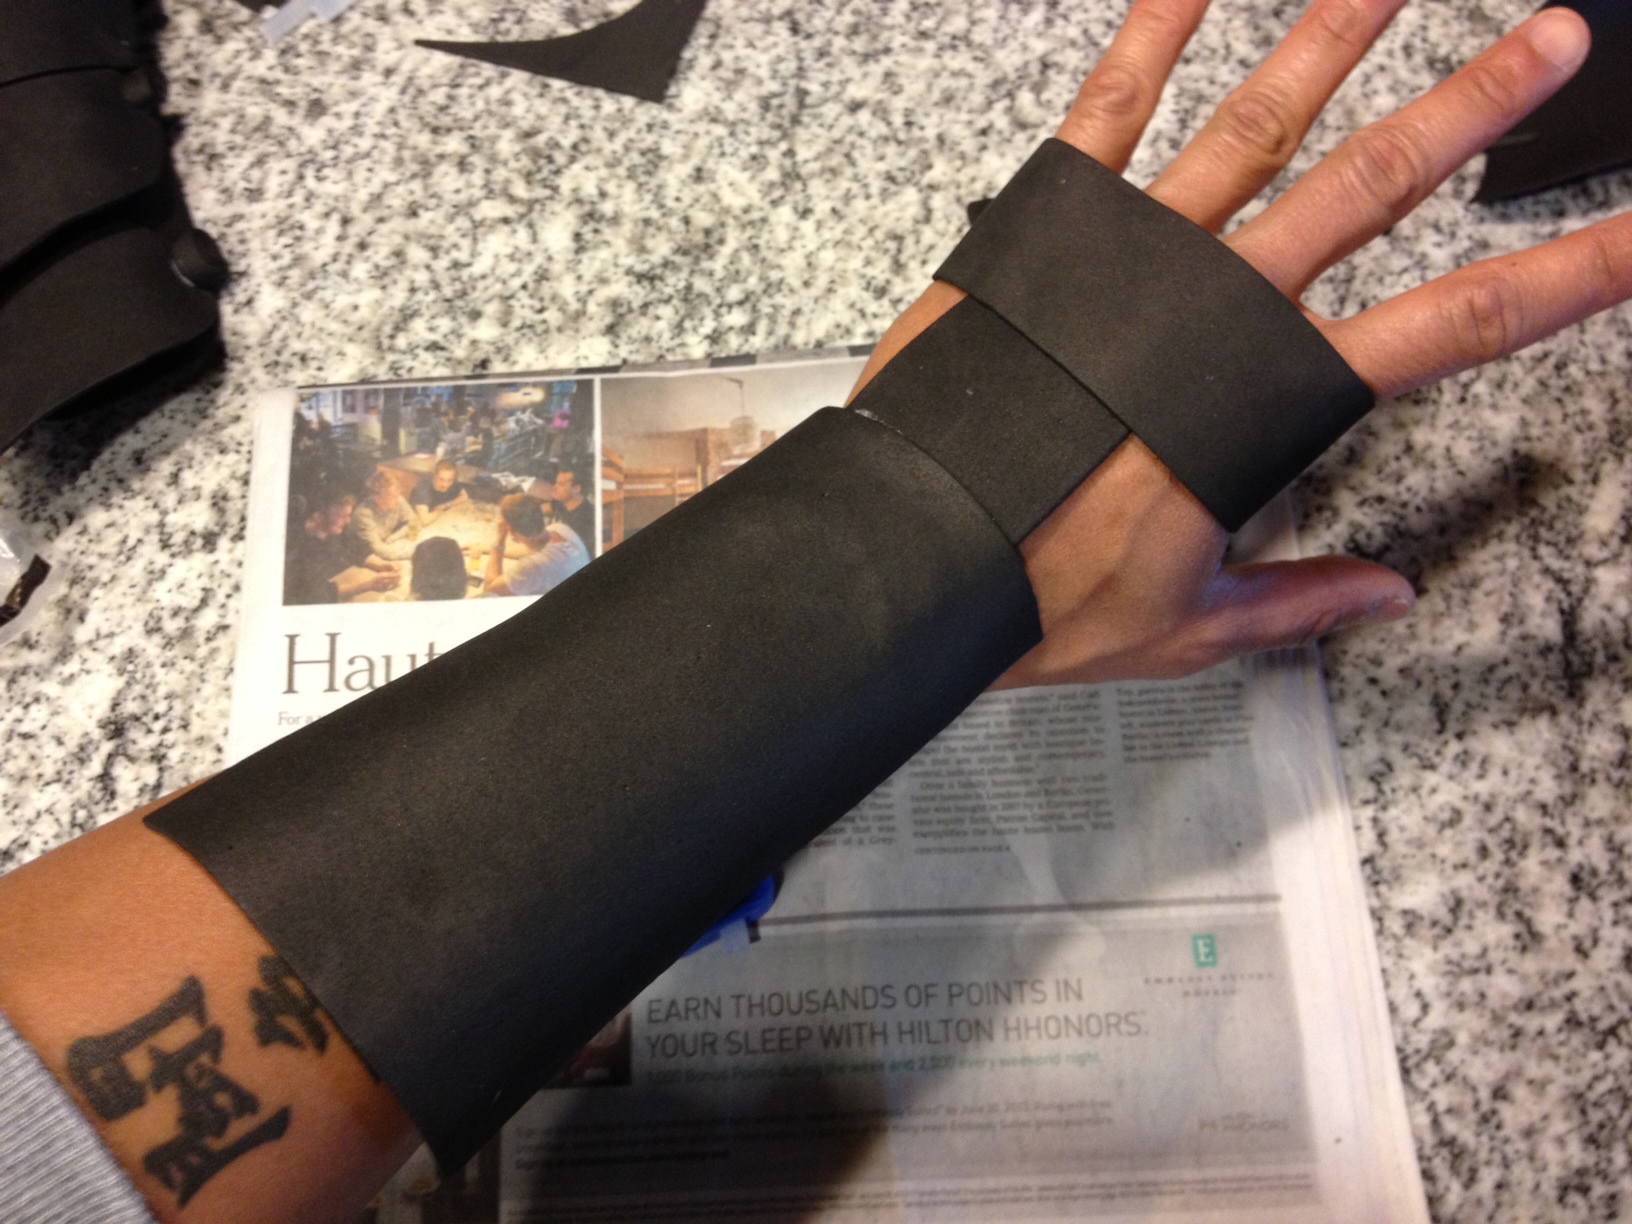
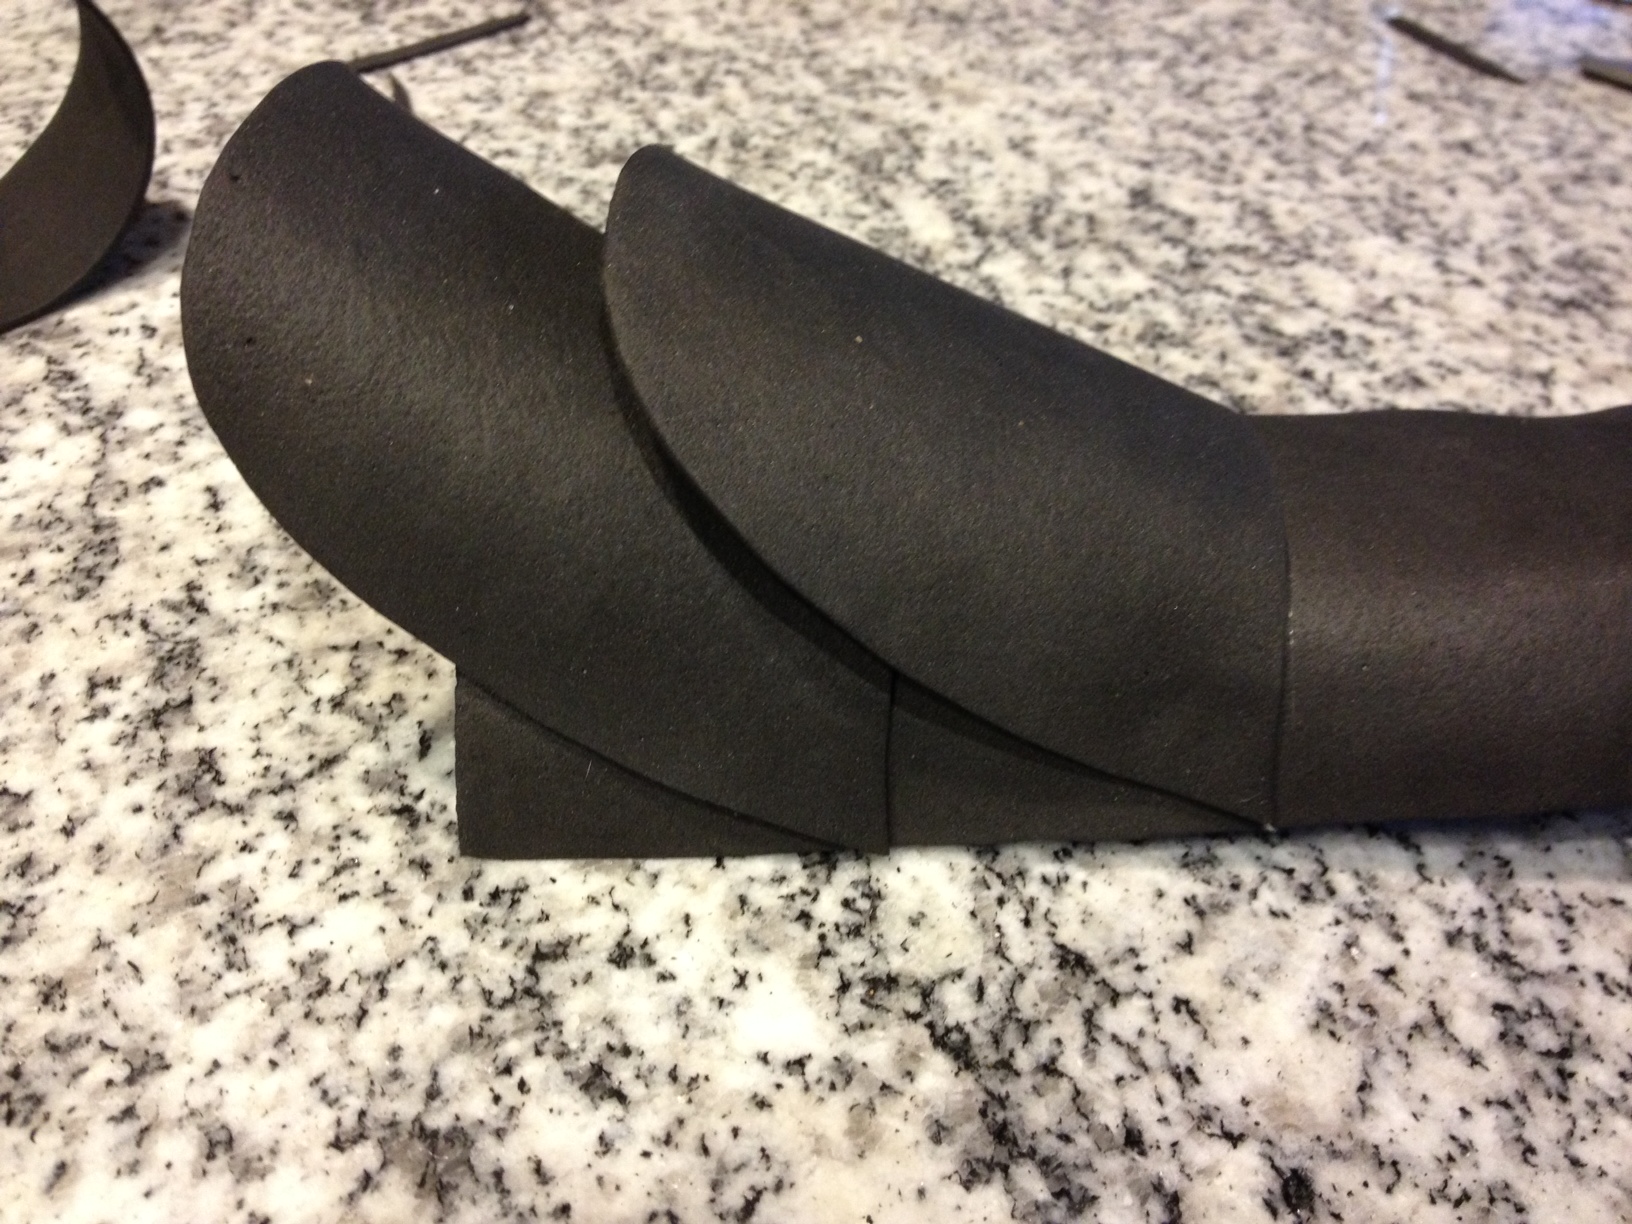
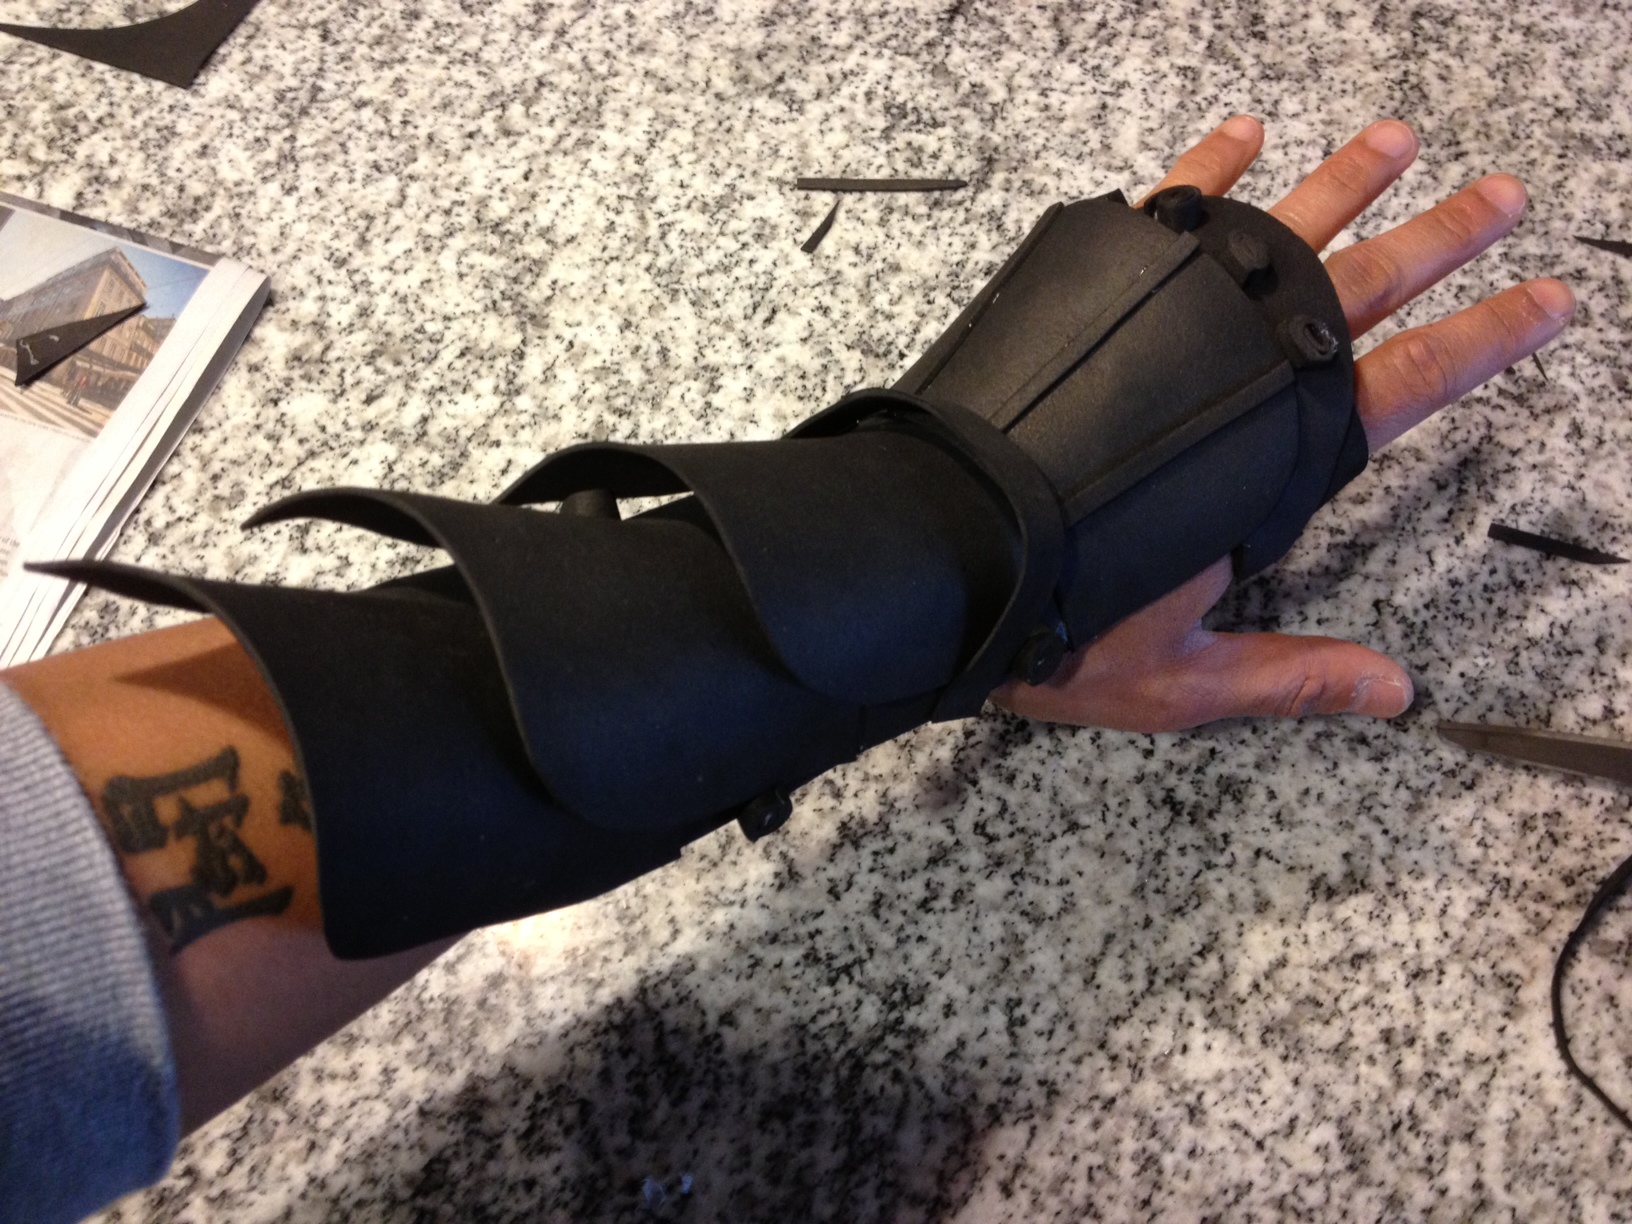
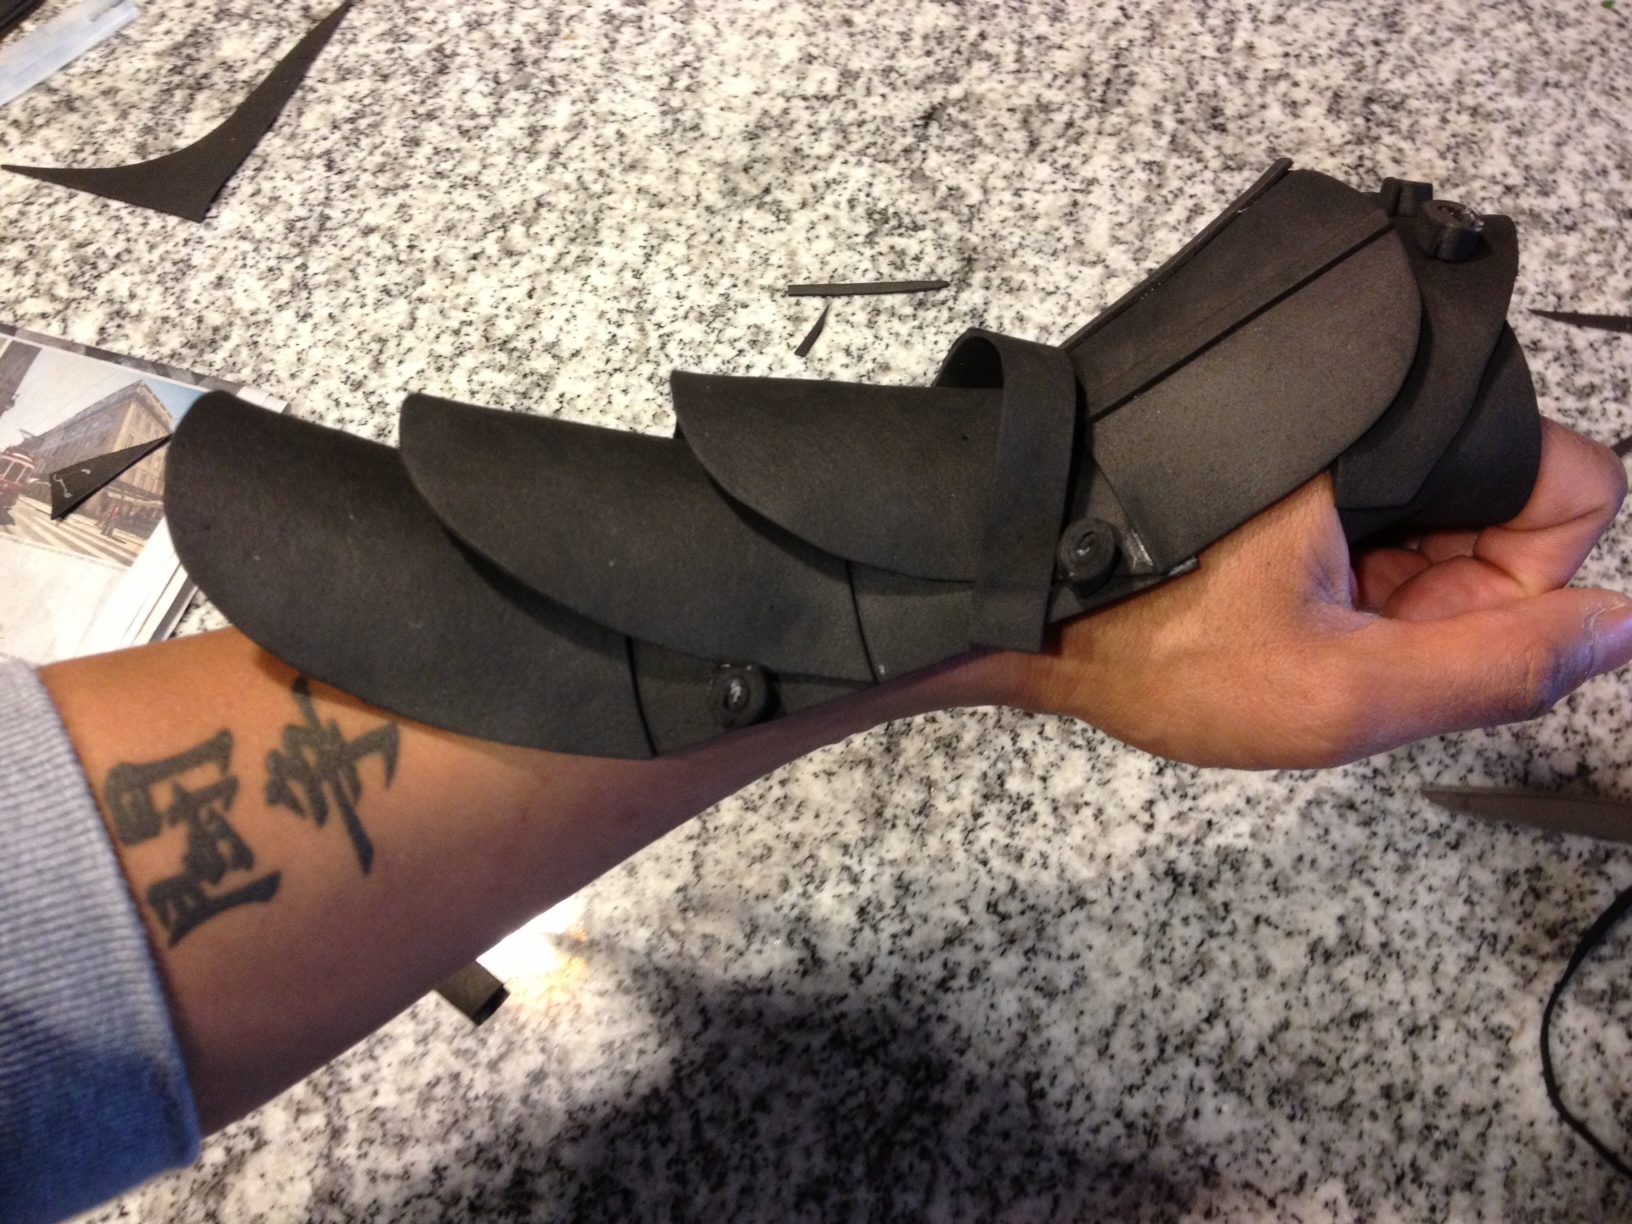
If you know of an interested teen, have them check out our March Urban Armor workshop–we’ll be doing a similar activity but casting in plastic!

Make and be happy!

JC Bigornia
C3 Program Coordinator

Friday Photos: Creativity Squared

Ever wonder what happens to the responses left behind in the Center for Creative Connections (C3)? As a member of the C3 team, I’m one of the people who reviews these visitor contributions. One of my favorite activities is the doodle pad on our yellow clipboards. On these doodle pads, there are six drawing squares that each offer a light line drawing as a starting point for visitors to begin their own creation. I love to see how our creative visitors each bring a unique perspective to this activity. For today’s post, I pulled some of my favorite responses to the square based on the Tale of the Bamboo Cutter. Watch the slideshow below for a quick peak into the creative minds of C3 visitors. Stop by next time you’re at the DMA and contribute your own creativity!

This slideshow requires JavaScript.

Jessica Fuentes
C3 Gallery Coordinator

Make This: Cosplay Armor and Accessories

Takenouchi no Sukune Meets the Dragon King of the Sea, Japan, 1875-1879, Dallas Museum of Art, Foundation for the Arts Collection, The John R. Young Collection, gift of M. Frances and John R. Young

In thinking of an activity relating to the sculpture above for our June Studio Creations workshops, I kept coming back to the idea of costumes. The outfits, armor, and accessories worn by each of the three figures is amazingly detailed, and with Dallas Comic Con on the way, making cosplay accessories seemed like a really fun project. I’m going to show you how I made a “fin”-style gauntlet. But you can apply these directions to make whatever you want: helmet, tiara, jewelry, cape, etc.

What you need:

  • Craft foam sheets (available at any craft store)
  • Self-adhesive foam stickers (optional)
  • Hot glue gun
  • Hair dryer or heat gun (optional)
  • Scissors
  • Sharpie marker
  • Scrap paper
  • Velcro (optional)
  • Elastic or rubber bands (optional)
  • Double-sided tape (optional)

photo 1

Steps

photo 2

Pieces for the base of the gauntlet

For the base of the gauntlet, I cut a piece of craft foam to fit the back of my forearm. I made a similar piece to encircle the back of my hand and palm.

photo 3

Heating the foam

Optional: I used a heat gun to carefully heat and shape the foam. While it was still warm, I formed the pieces around my forearm and hand. You could also do this with a glass, tube, etc. If you want to skip this step, you can curl the foam without heating it–it just doesn’t hold its shape as well.

photo 5

“Armor” pieces

I then cut more foam pieces for the armor plating. You can draw the shape directly on the foam with your sharpie or you could cut out a template to use from your scrap paper.

Save the scraps of foam that are left over–these can be used for decorations later! Self-adhesive foam shapes work well for decoration, too.

photo 1

Pieces after being heated and shaped

photo 2

Gluing the base together

I then used a hot glue gun to put all of the pieces together. Double-sided tape works, too.

photo 3

Armor pieces glued at an angle to make them pop out

You could use velcro or elastic to make a closure for the glove so that it stays on your wrist. In this case, I used the scrap foam to make some small studs that I will stretch rubber bands across to hold it in place.

photo 4

Finished glove

photo 5

Close-up of the stud attachments

Keep in mind that craft foam is very thin, so this armor is purely for show! And again, you can make almost anything you can imagine with these materials. For more ideas,  search “cosplay diy” and also check out this amazing tutorial.

And don’t forget to come to the DMA to see Takenouchi no Sukune Meets the Dragon King of the Sea and to participate in Studio Creations!

JC Bigornia
C3 Program Coordinator

The Spot for Art

Over the last few years, DMA visitors may have come to know the drop-in art making area in the Center for Creative Connections as the Space Bar, a name that corresponded with our Encountering Space exhibition. If you’ve come into C3 lately, you probably noticed that we like to make strong connections and keep things fresh. When it was known as the Space Bar, this area offered materials loosely based on works of art in the C3 Gallery. Every month we changed the materials to focus on a new theme related to the concept of space.

2001_358_A_F

Martin Delabano, Family Portrait 1963, 2001, Dallas Museum of Art, gift of Mr. and Mrs. Bryant M. Hanley, Jr., Lorine and David H. Gibson, and Sonny Burt and Bob Butler

Now known as the Art Spot, this area still offers art-making for anyone, anytime, but the focus is now on a specific artwork. Since November 2012, Martin Delabano’s Family Portrait 1963 has provided inspiration for our visitors. The complexity of this piece allows us to explore various themes over an extended period of time.

In November and December, we encouraged visitors to better understand the characters within the sculpture and consider the clues the artist has given us by the items associated with each family member. Visitors could use the materials provided to create their own 3D Family Portrait.

During January and February, we focused on the sculptural aspect of this piece and the assortment of materials the artist used.  Our visitors used materials ranging from buttons to wood scraps to create Found Object Sculptures.

In March and April we took a closer look at the four-legged family member, Crackers, and asked visitors to make their own pet or an imaginary Pet Pal for the Delabano family pet.

Next month our theme changes once again. This time we are taking the perspective of the artist, who in 2001 portrayed his family and himself as they were in 1963. Martin Delabano isn’t the artist at the easel, rather he’s the young boy posing like our beloved “Big Tex” from the State Fair of Texas. Come by C3 in May and June to see Family Portrait 1963 and make a Past or Future Self-Portrait of your own.

Jessica Fuentes
C3 Gallery Coordinator

Artful Eggs

The Easter holiday is almost upon us, and I for one am so excited to decorate Easter eggs! I am proof of the fact that this festive activity is for children and adults alike. Moreover, if approached in the right manner, decorating Easter eggs can be downright artistic. Beautiful eggs don’t require expensive materials or a BFA–in fact, all it takes to create some slamming shell designs is inspiration, imagination, and a few items found around the house!

Step 1: Boiling the eggs. Boiled eggs stand up better to the treatment required to decorate eggs (dyeing, drawing, wrapping). Place eggs in a medium sized pot and add enough water to reach about an inch above the eggs. Bring water to a roaring boil, remove from heat, then cover eggs for 15 minutes. Drain water, and allow eggs to cool. (This step can be accelerated a bit by placing eggs in a bowl of water in the refrigerator).

Drying rack made with flathead pins and foamcore.

Drying rack made with flathead pins and foamcore.

Step 2: Preparing the materials. As I said, artful eggs require simple materials: newspaper, food coloring, spoons, tongs, glass cups or mugs, white vinegar, a small paintbrush, tempera paint, hot water, Styrofoam board, and flathead pins. Placing flathead pins in a grid pattern on foam board creates a great drying rack for dyed eggs.

To mix colors, place 2 tablespoons of vinegar and 2/3 cup hot water in your cup along with 3 drops of food coloring. Add more drops to darken the dye. This is a great (albeit stinky) way to review color mixing with kids–experiment and see what fun colors you can come up with!

Step 3: Finding inspiration. Inspiration can come from a variety of sources, but for this year’s batch I’d recommend using the DMA’s permanent collection as a muse. The Museum’s encyclopedic collection provides a wealth of ideas, and, who knows, you might gain some artistic insight during the art-making process! When choosing works of art I looked for bright colors, simple shapes and bold lines, as these would lend themselves well to my oblong canvases. Here are the four works I decided upon:

Step 4: Decorate! Before diving into your artistry, wipe each egg down with some vinegar (this will prepare the shell for the dyeing process).  It was interesting to use works of art that employed different decorative techniques.

  • The Matisse egg was first dipped into an orange dye for two minutes (increasing the amount of time in the dye will lead to a darker color).  After the egg dried, a small brush with tempera paint was used to add blue and green leaves and red berries.

splat

  • To create the neutral background of the Pollock, the egg was dipped into orange and then blue dye (about 10 seconds each). I was then able to perform my own version of action painting!  With my paintbrush I flicked, splattered and flung watered-down black, white and grey tempera paint onto the egg. (Action painting can get messy, so newspaper comes in handy!)
  • Rothko’s contemplative color duo was completed by dipping the bottom of the egg in the orange dye (for about 30 seconds) and the top in red (30 more seconds). The egg should be left to dry between each dip. The middle portion of the egg was not taped, since I think the frayed edge caused by the dye enhanced the Rothko-style.
  • Completing the Mondrian egg took a little tempera paint and patience! Who knew that painting a grid pattern onto a rounded surface isn’t the easiest thing to do. With the straightest lines I could muster, I painted Mondrian’s primary color scheme onto the clean, un-dyed surface of the egg. It took a few layers of paint (left to dry in-between) to achieve more opaque colors.

Step 5: Display and Enjoy! 

Artful eggs. L-R: Henri Matisse, Ivy Flower; Jackson Pollock, Cathedral; Mark Rothko, Untitled; Piet Mondrian, Composition with Large Blue Plane, Red, Black, Yellow, and Gray

Artful eggs. L-R: Henri Matisse, Jackson Pollock, Mark Rothko, Piet Mondrian

These artful eggs are too good to keep to yourself!  Share your masterpieces with us through Facebook, Twitter, Flickr or even post them here on DMA Canvas–we’d love to see your DMA inspired works of egg-art! Now that you’ve completed your artwork the real question emerges: which will taste better, a Matisse or Pollock deviled egg?

Artworks Shown:

  • Henri Matisse, Ivy in Flower, 1953, Dallas Museum of Art, Foundation for the Arts Collection, gift of the Albert and Mary Lasker Foundation
  • Jackson Pollock, Cathedral, 1947, Dallas Museum of Art, gift of Mr. and Mrs. Bernard J. Reis
  • Mark Rothko, Untitled, 1952,  Dallas Museum of Art, gift of the Meadows Foundation, Incorporated
  • Piet Mondrian, Composition with Large Blue Plane, Red, Black, Yellow, and Gray, 1921, Dallas Museum of Art, Foundation for the Arts Collection, gift of Mrs. James H. Clark

Danielle Schulz
Teaching Specialist

Special thanks to Alex Vargo for her eggcellent work.

Make This: Poured Paint Sculptures

20130217_151126

Studio Creations participants share their thoughts about Lynda Benglis’ work.

During Studio Creations this month, we looked at Lynda Benglis’ Odalisque (Hey, Hey Frankenthaler), part of the special exhibition Difference?. There are many aspects of this work of art that make it fun to talk about with people, but what I find the most interesting is the way it challenges how we define painting and sculpture. To me, it really lives between the two! This idea provided the catalyst for our Studio Creations art making activity. During each workshop, visitors created poured paintings based on chance, which, when dry, could be peeled from the painting surface and made into something sculptural. Here’s a quick tutorial for creating the project at home with your family:

Supplies

  • Gloss medium or Liquitex pouring medium (available at most art supply stores)
  • Acrylic paint (I prefer gloss acrylics, but any type will work well)
  • Painting surface: A sheet of cardboard covered with heavy plastic (or something similar)
  • Squeeze bottles or cups for dispensing paint
  • Toothpicks for adding designs (optional)

IMG_0449[1]

Plastic-covered painting surface, gloss medium, and acrylic paint in squeeze bottles

Steps

IMG_0450[1]

Squeeze a small amount of gloss medium onto the painting surface. Using your squeeze bottles or cups, drop a little bit of paint into the medium. There’s no right or wrong way to do this so feel free to experiment! Try planning it out or putting the paint in randomly.

IMG_0451[1]

Now try tilting your painting surface in different directions. The paint will start to run depending on the direction and angle that you tilt it. This is where the part about chance comes in–you only have a certain amount of control over the paint as it moves. Chance played a big role in the way that Lynda Benglis created Odalisque–she didn’t have any control over the paint after pouring it.

IMG_0453[1]

Whenever you feel like it, add more paint. But be sure to drop it into the medium–otherwise, it could break off from the rest of the painting when dry. Continue adding paint and tilting the surface until your painting almost reaches the edge.

IMG_0455[1]

When you are finished, let your painting dry for at least one day. If you added a lot of paint, it may need an extra day or two to fully dry. Afterwards, carefully peel the painting away from the painting surface–it should be plastic-like in consistency.

Now try making it into something sculptural! Your painting can easily be cut and molded. Some ideas that came up during Studio Creations were: a mask, a bowl, a mouse pad, a jacket, and a sun catcher, among others. If you’d like to share your creation with us, feel free to send an image to jbigornia@dma.org and I’ll post it on our Flickr page.

IMG_0458[1]

Finished painting

IMG_0459[1]

Almost sculptural, don’t you think?

IMG_0460[1]

Detail of paint surface

Tips

  • Your painting does not have to look a certain way. Have fun and experiment!
  • For best results, I suggest using pouring medium instead of gloss medium. It’s a little bit more expensive, and it’s only made by Liquitex, but it was designed for projects just like this one and can prevent “crazing” in the paint. For super-duper results, mix a little bit of gloss or pouring medium into your paint before you start your project. One part medium to ten parts paint should be perfect. You can also try string medium!
  • You can get different designs by letting the paint run in one direction for a while and then turning it in another direction. This is really good for making swirls, circles, etc. You can use a toothpick to create fine lines as well.
  • The medium dries clear.
  • Lots of other cool poured paint projects can be found online!
  • Further questions? Feel free to shoot me an email!

JC Bigornia
C3 Program Coordinator

Anytime Activities: Family Fun Tote Bags

Anytime_ToteBags_edu21

Family Fun Tote Bags

As part of the DMA’s return to free general admission, the Education Division is creating a host of activities that can be utilized by visitors anytime the Museum is open.  The Family Fun Tote Bag is an anytime activity we are particularly excited about and eager to share with families.

Each tote bag is centered around a specific theme, like Color or The 5 Senses, and is filled with a variety of collaborative activities that are appropriate for children of all ages.  Activities fall under four categories–Write, Make, Talk, and Play–and therefore support diverse learning styles and cater to personal interests.

WRITE – Visitors interested in observation and reflection while in the galleries are invited to…

Family completing a writing activity in the American Art gallery.

Family completing a writing activity in the American Art gallery.

– Use their senses to write a poem about what they see in an artwork.

– Generate a Mad-Lib using sensory adjectives.

– Compose a postcard to a friend about a work of art.

– Create a narrative based on a work of art using story dice.


MAKE – For the family members eager for hands-on activities the tote bag encourages…

Creating with the Materials Grab Bag

– Sketching a work of art with mixed-up, wacky colors!

– Creating a 3-dimensional illustration by drawing on a styrofoam sheet.

– Using a viewfinder to focus on and sketch specific details of an artwork.

– Producing a unique, site-specific work of art in the galleries using the Materials Grab Bag.


TALK – Enthusiasts of discussion-based activities will enjoy…

Color mixing activity

Color mixing activity

– Working as a family to talk about a work of art using as many movement words as possible.

– Searching for a favorite color in at least three different works of art and explaining what you like about each.

– Using adjectives and sensory details to describe a work of art to a family member that has been blindfolded.

– Experimenting with mixing colors together using the color paddles, and describing what you see.

PLAY – Families with active learners will enjoy…

Playing a game in the galleries

Playing a game in the galleries

– Playing the card game Memory, with a colorful twist!

– Testing one another with brainteasers.

– Staging a game of charades inspired by the surrounding works of art.

– Following their noses to find a work of art that matches a smell jar from the bag.


The beauty of the Family Fun Tote Bags is each individual family member can design their own museum experience based on personal interest!  Families can explore works of art together by participating in collective games and writing activities.  Or, for more individualized learning, each member can choose and perform a different activity while still sharing the same space.

Working on separate Tote Bag activities

Working on separate Tote Bag activities

Exploring new activities together


The Family Fun Tote Bags are still in the testing phase, but they should be available soon for visitors to check out in the Center for Creative Connections–so keep an eye out for them on your next visit to the Museum!

Danielle Schulz
Teaching Specialist

Theater, Play, and Creativity

Thursday evening the Center for Creative Connections was filled with thirty playful, divergent thinkers who were asked to have fun and break rules. These adults were attending a once a month program called Think Creatively taught by Dr. Magdalena Grohman and guest performer Harold Steward from the South Dallas Cultural Center.  During one portion of the evening, visitors engaged in playful theatrical activities that were developed from Steward’s theatrical background and knowledge of the practice known as Theater of the Oppressed.

During the 1970’s, Brazilian activist and actor Augusto Boal was the driving force for the creation of this theatrical practice. The goal of Boal was to use theater as a way to promote social change. Boal took inspiration from educator and theorist Paulo Freire, who is well known for his work Pedagogy of the Oppressed. In this revolutionary text, Freire argues that education should allow those who are oppressed to recapture their sense of humanity and overcome their sense of oppression. However, that oppressed person must play an active role in their own freedom. Inspired by the critical pedagogy of Freire, Boal believed that through the dialogue and interaction between actor and audience, people could free themselves; the actors and audience become active explorers and transformers of their own realities with the help of a facilitator. Theater of the Oppressed is about dialogue, playing and learning with one another to create change.

Image

As I watched Steward act as the facilitator, I was encouraged by the freedom that the participants seemed to gain with each passing moment. He had the visitors stand back to back; he then called out directions for each of them to follow. Placing one’s head to another’s hip, or positioning a knee to an elbow was really a sight to see.

After this warm-up, Steward and I demonstrated an activity together. I was directed to make a movement and was not allowed to stop moving until Harold said, “What are you doing, Amanda?” I was not allowed to respond with what my action was, but instead I had to say what I wanted him to act out. I called out the action, “Running a marathon,” and he pretended he was running the race of a lifetime. After, the visitors were roaring in laughter and running around the room, engaging in this activity. Steward had them stop and then broke all the rules that he just taught them. The pairs had to create their own guidelines and interpretations to the last activity. One pair decided that they were only allowed to sing to each other, another group determined that all of their activities to act out had to be represented in mime.

The visitors responded to the process and indicated that participating in these Theater of the Oppressed exercises was difficult for them at first because they had to overcome their initial hesitations to move, play, and be free without fear—but once they let go of all that was holding them back (or oppressing them), they were able to experience liberation and freedom from restraint.

Image

Here is another Theater of the Oppressed activity created by Augusto Boal that you can try with your friends!

The Name and Gesture Game:
The group will stand in a circle. The facilitator introduces themselves and creates a physical gesture. The whole group repeats the name and gesture. The process occurs until everyone has said their own name and preformed a gesture. Then, this process is repeated but without the name. Anyone who wishes takes a step forward and the rest of the group must say the name and preform the gesture.

I hope you’ll join us in C3 soon!

Amanda Batson
C3 Program Coordinator

John Hernandez in C3

DSC_9752crop

Have you stopped by the Center for Creative Connections lately?  If the answer is no, then add it to your “to do” list because you won’t want to miss this exciting new work of art in the entryway.  John Hernandez’s bright and energetic piece, HI-C Avenger was recently installed along with an interactive component.

First, a little background on the art and artist.  John Hernandez is a San Antonio based artist who has ties to the North Texas region.  Hernandez received his MFA from the University of North Texas where he studied under Vernon Fisher.  Can you see the influence Fisher might have had on his student?

“When you have a teacher like Vernon Fisher and his paintings are like black and white… I just wanted to go to the extreme, I started doing these wild colors,” Hernandez said during an interview with David Rubin.

Hernandez references a wide array of influences ranging from popular culture (movies, comics, toys, and commercials) to biology and nature (plants, animals, and body parts).  He describes his process as both spontaneous and deliberate as he morphs appropriated images together to form a collage and then builds a three dimensional model to figure out the structure.  What references can you find in HI-C Avenger?

C3_Installation_11_2012_003_edit copy

The interactive component that we have designed to supplement this work of art is two-fold.  There is a short video that plays clips and still images of some of the direct references that inspired HI-C Avenger.  Alongside this is a magnetic board filled with pop culture icons from the past and present.  Visitors can arrange the magnets, layering and combining them to create their own Hernandez-inspired creation.

Come by, see the new work, and play a while!

HernandezSample1 HernandezSample2 HernandezSample3

Also, mark your calendars for these upcoming opportunities to participate in a workshop led by John Hernandez:

Thursday, January 17, 6:30-8:30 p.m.,
Join guest artist John Hernandez as he takes us beyond collage into a mutated experience in reality. Hear about Hernandez’s work, while constructing a unique morphed creation of your own.

Late Night Creations with artist John Hernandez
6:30 p.m., 7:45 p.m., and 9:00 p.m., Art Studio, Center for Creative Connections (C3)
Join us for a special workshop with guest artist John Hernandez.  John will talk about his creative process and then guide participants in constructing sculptures using toys and other found objects.

Jessica Fuentes
C3 Gallery Coordinator

Make Your Own Festive Holiday Ornaments!

Winter has always been my favorite season—it brings back cozy memories of home and the holidays. Growing up in Ohio, I loved how decorated homes would transform our neighborhood into a bright, festive place. Set against a background of snow, it was like a living Norman Rockwell painting.

To help rekindle that holiday spirit, here is a simple and fun way for you and your family to create ornaments together out of recycled materials from around your home!

Materials:
• Paper (patterned or construction paper, old drawings, book pages, posters, etc.)
• Scissors
• Hole puncher
• Ribbon, string, or yarn
• Stapler and staples
• Rotary trimmer or paper cutter (optional)

Instructions:
1. Using your rotary trimmer, cut the paper into strips; they can be any size you like as long as all the strips are the same (for reference, I used 1”x8” strips). If you don’t have a rotary trimmer cut the strips by hand using your scissors.

Materials

2. Stack an odd number of strips on top of each other—I find that seven to nine work best.
3. Find the top of the middle strip and stagger the rest of the strips stacked on top of and underneath it to create a pyramid shape. Staple the stack together to secure it.

Stacking

Stapling

4. Repeat the process at the other end of the ornament. The strips of paper will fan out, leaving you with a spire-like shape.

Bottom

Finished

5. To hang your ornament, punch a hole at one end and string a ribbon through it.

Punching Holes

Try using different colors combinations when you stack your strips of paper. Also, increasing or decreasing the distance that you stagger the strips will change the shape of your ornament. Experiment with different supplies to further embellish your ornaments such as glitter, paper edgers, or shape punches!

Group shot

Hanging

Have fun creating and have a happy holiday season!

JC Bigornia
C3 Program Coordinator


Archives

Flickr Photo Stream

Categories