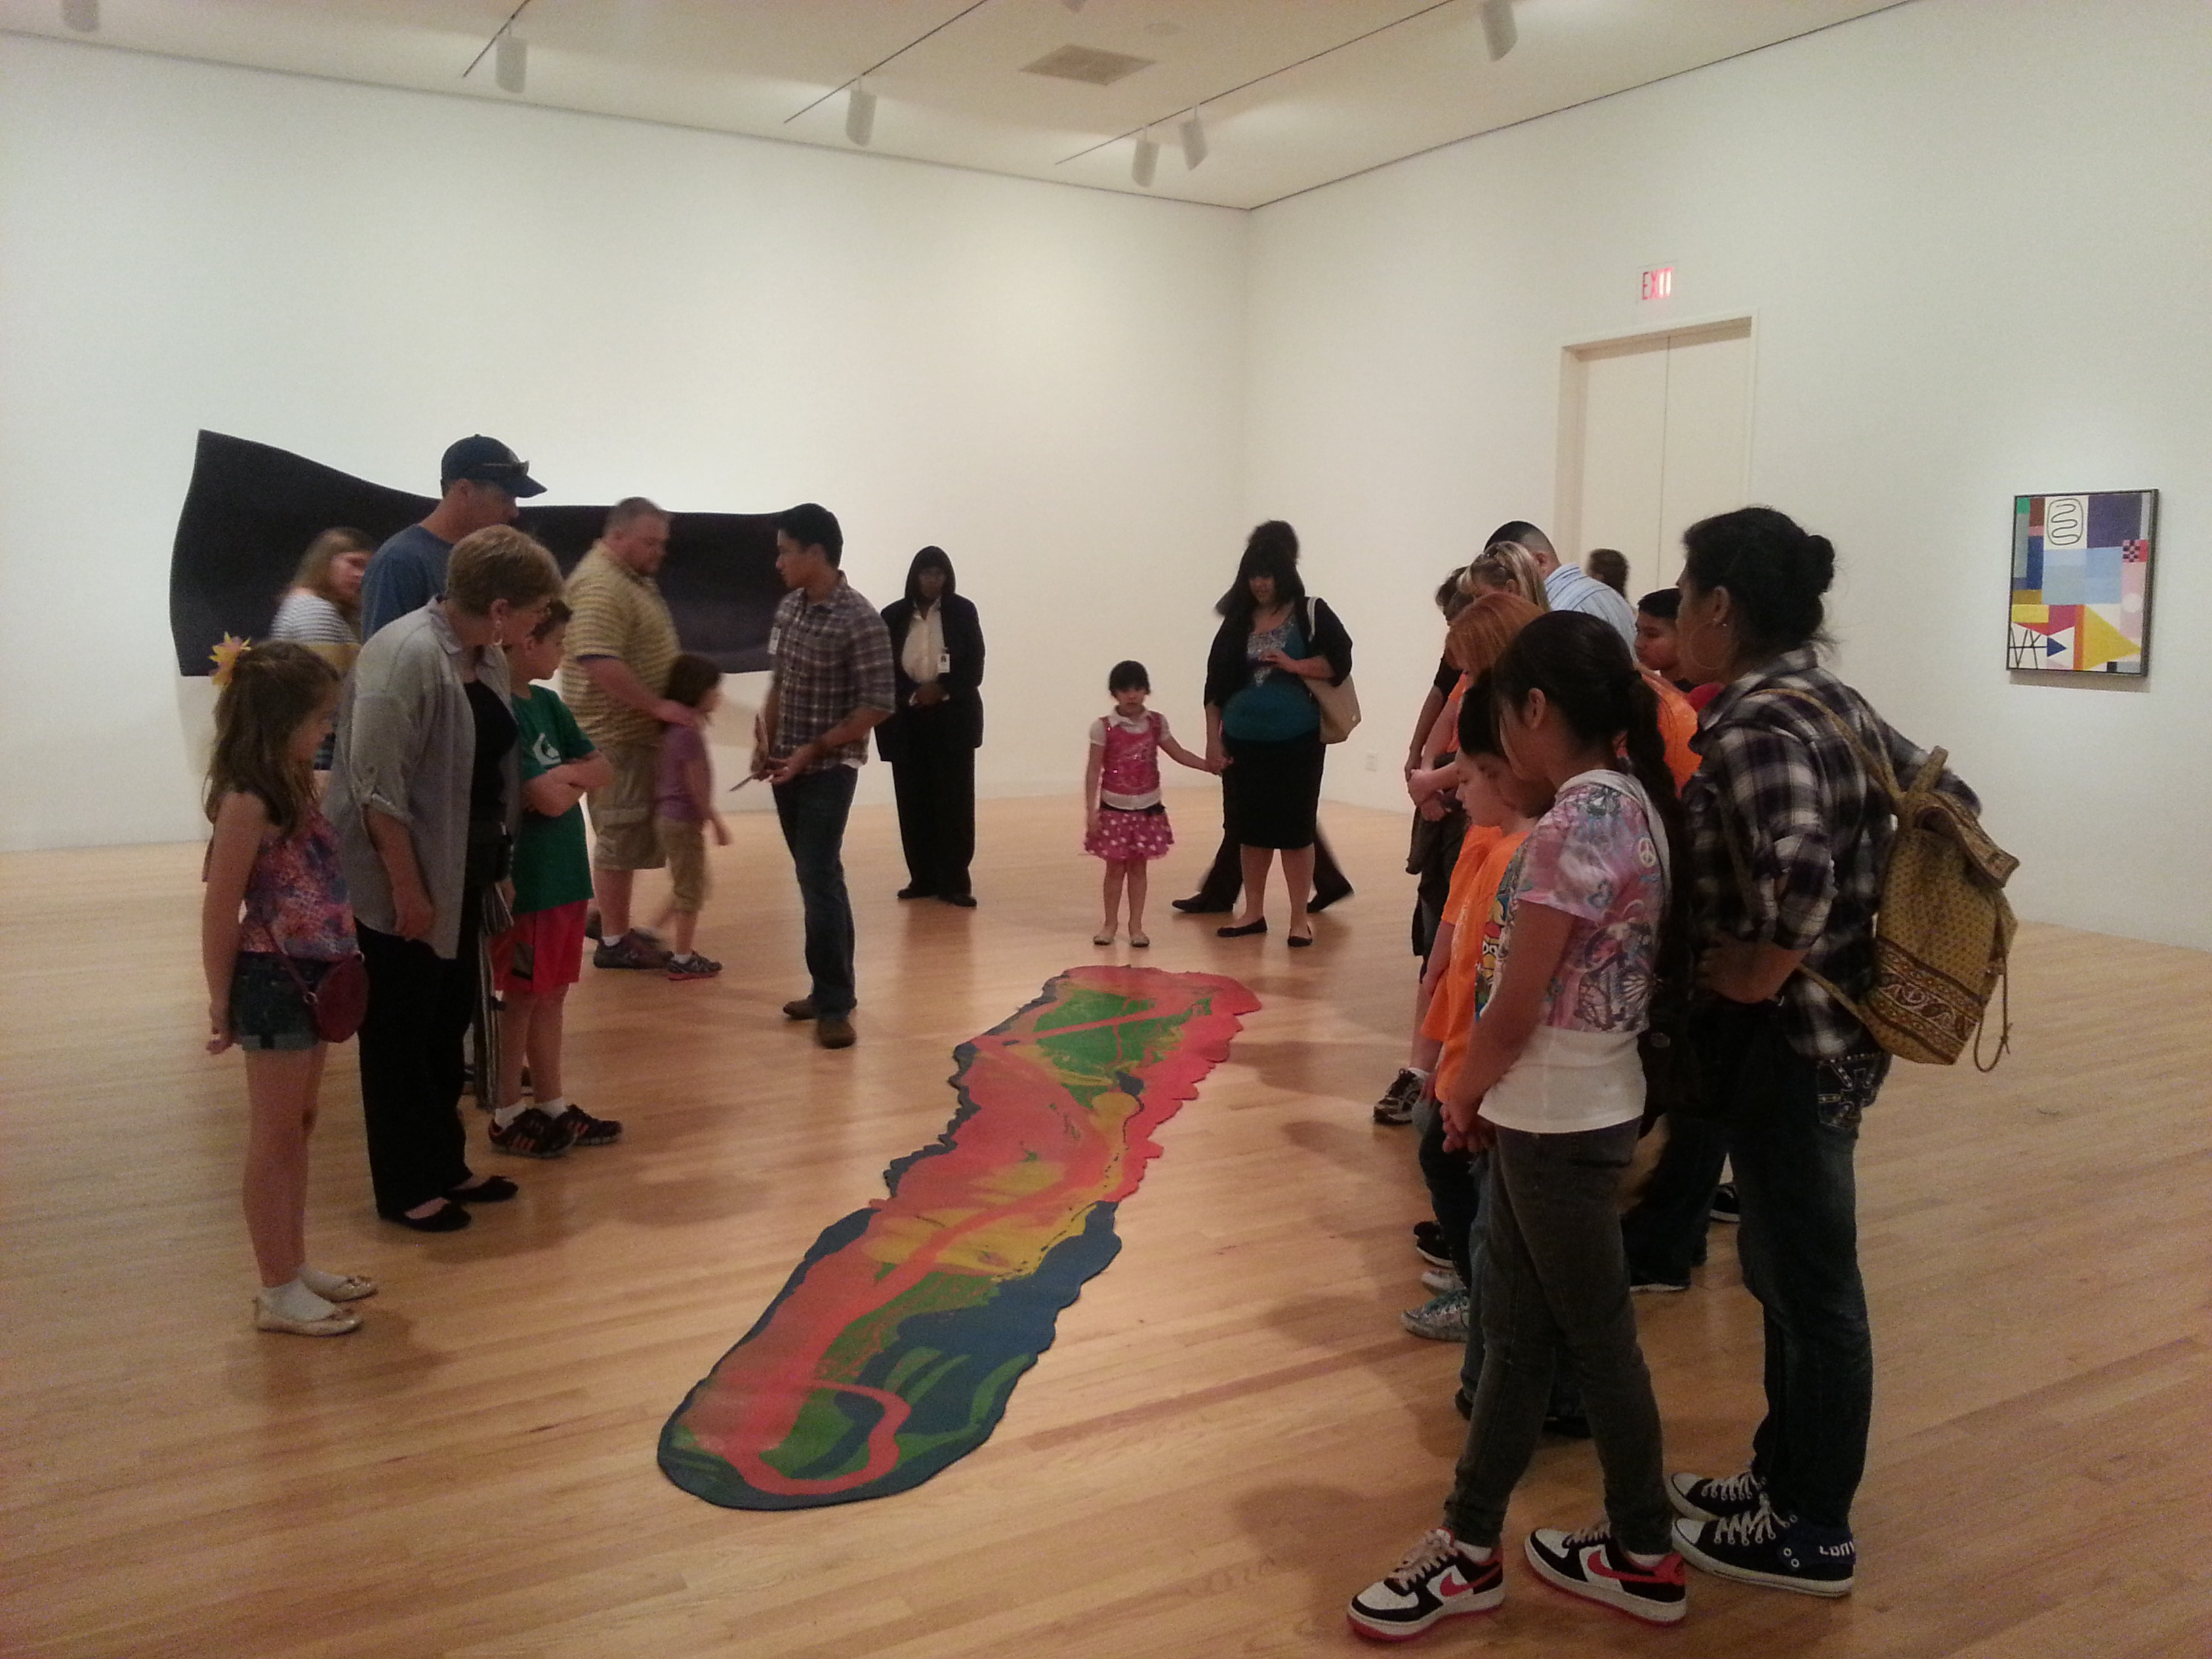
Studio Creations participants share their thoughts about Lynda Benglis’ work.
During Studio Creations this month, we looked at Lynda Benglis’ Odalisque (Hey, Hey Frankenthaler), part of the special exhibition Difference?. There are many aspects of this work of art that make it fun to talk about with people, but what I find the most interesting is the way it challenges how we define painting and sculpture. To me, it really lives between the two! This idea provided the catalyst for our Studio Creations art making activity. During each workshop, visitors created poured paintings based on chance, which, when dry, could be peeled from the painting surface and made into something sculptural. Here’s a quick tutorial for creating the project at home with your family:
Supplies
- Gloss medium or Liquitex pouring medium (available at most art supply stores)
- Acrylic paint (I prefer gloss acrylics, but any type will work well)
- Painting surface: A sheet of cardboard covered with heavy plastic (or something similar)
- Squeeze bottles or cups for dispensing paint
- Toothpicks for adding designs (optional)
![IMG_0449[1]](https://blog.dma.org/wp-content/uploads/2013/02/img_04491.jpg?w=600)
Plastic-covered painting surface, gloss medium, and acrylic paint in squeeze bottles
![IMG_0450[1]](https://blog.dma.org/wp-content/uploads/2013/02/img_04501.jpg?w=600)
Squeeze a small amount of gloss medium onto the painting surface. Using your squeeze bottles or cups, drop a little bit of paint into the medium. There’s no right or wrong way to do this so feel free to experiment! Try planning it out or putting the paint in randomly.
![IMG_0451[1]](https://blog.dma.org/wp-content/uploads/2013/02/img_04511.jpg?w=600)
Now try tilting your painting surface in different directions. The paint will start to run depending on the direction and angle that you tilt it. This is where the part about chance comes in–you only have a certain amount of control over the paint as it moves. Chance played a big role in the way that Lynda Benglis created Odalisque–she didn’t have any control over the paint after pouring it.
![IMG_0453[1]](https://blog.dma.org/wp-content/uploads/2013/02/img_04531.jpg?w=600)
Whenever you feel like it, add more paint. But be sure to drop it into the medium–otherwise, it could break off from the rest of the painting when dry. Continue adding paint and tilting the surface until your painting almost reaches the edge.
![IMG_0455[1]](https://blog.dma.org/wp-content/uploads/2013/02/img_04551.jpg?w=600)
When you are finished, let your painting dry for at least one day. If you added a lot of paint, it may need an extra day or two to fully dry. Afterwards, carefully peel the painting away from the painting surface–it should be plastic-like in consistency.
Now try making it into something sculptural! Your painting can easily be cut and molded. Some ideas that came up during Studio Creations were: a mask, a bowl, a mouse pad, a jacket, and a sun catcher, among others. If you’d like to share your creation with us, feel free to send an image to jbigornia@dma.org and I’ll post it on our Flickr page.
![IMG_0458[1]](https://blog.dma.org/wp-content/uploads/2013/02/img_04581.jpg?w=600)
Finished painting
![IMG_0459[1]](https://blog.dma.org/wp-content/uploads/2013/02/img_04591.jpg?w=600)
Almost sculptural, don’t you think?
![IMG_0460[1]](https://blog.dma.org/wp-content/uploads/2013/02/img_04601.jpg?w=450)
Detail of paint surface
- Your painting does not have to look a certain way. Have fun and experiment!
- For best results, I suggest using pouring medium instead of gloss medium. It’s a little bit more expensive, and it’s only made by Liquitex, but it was designed for projects just like this one and can prevent “crazing” in the paint. For super-duper results, mix a little bit of gloss or pouring medium into your paint before you start your project. One part medium to ten parts paint should be perfect. You can also try string medium!
- You can get different designs by letting the paint run in one direction for a while and then turning it in another direction. This is really good for making swirls, circles, etc. You can use a toothpick to create fine lines as well.
- The medium dries clear.
- Lots of other cool poured paint projects can be found online!
- Further questions? Feel free to shoot me an email!
JC Bigornia
C3 Program Coordinator