Posts Tagged 'Art'


Friday Photos: Creativity Squared

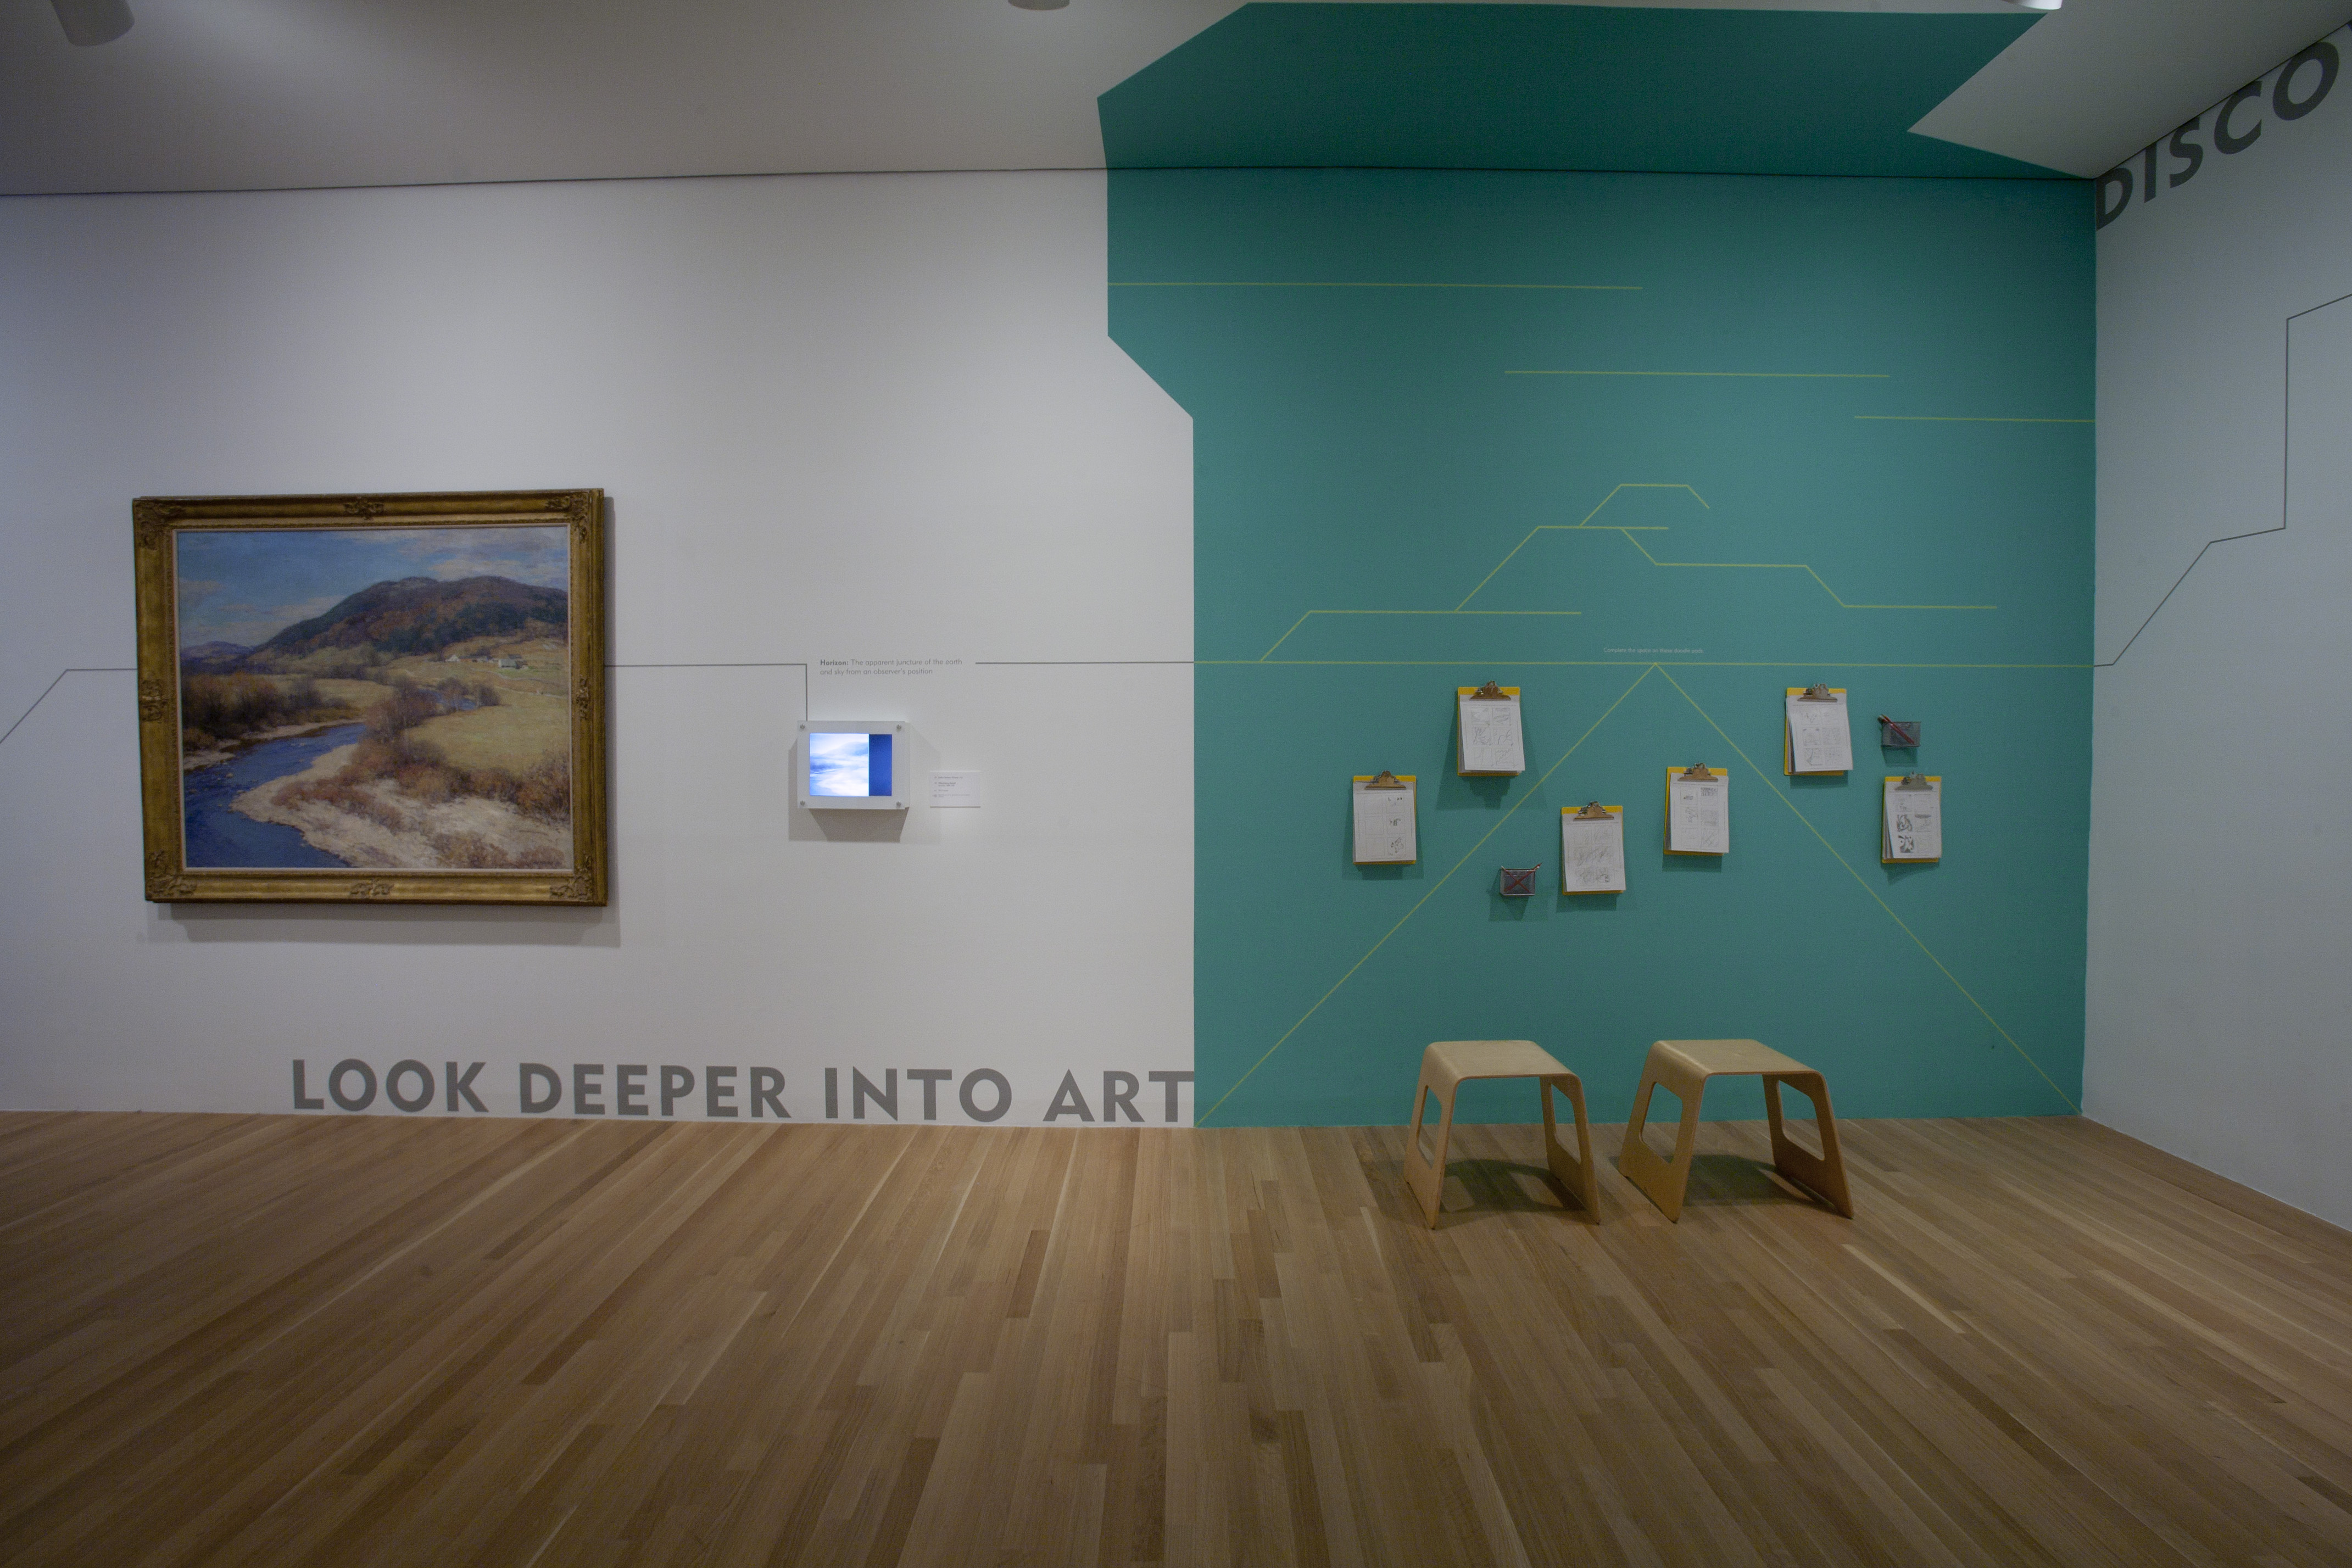
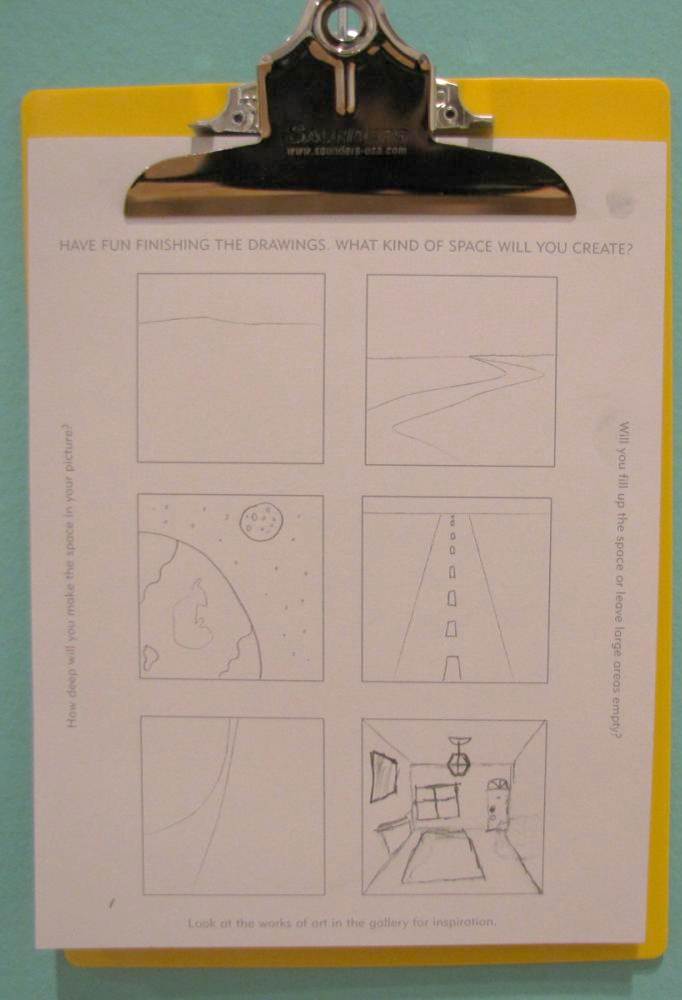
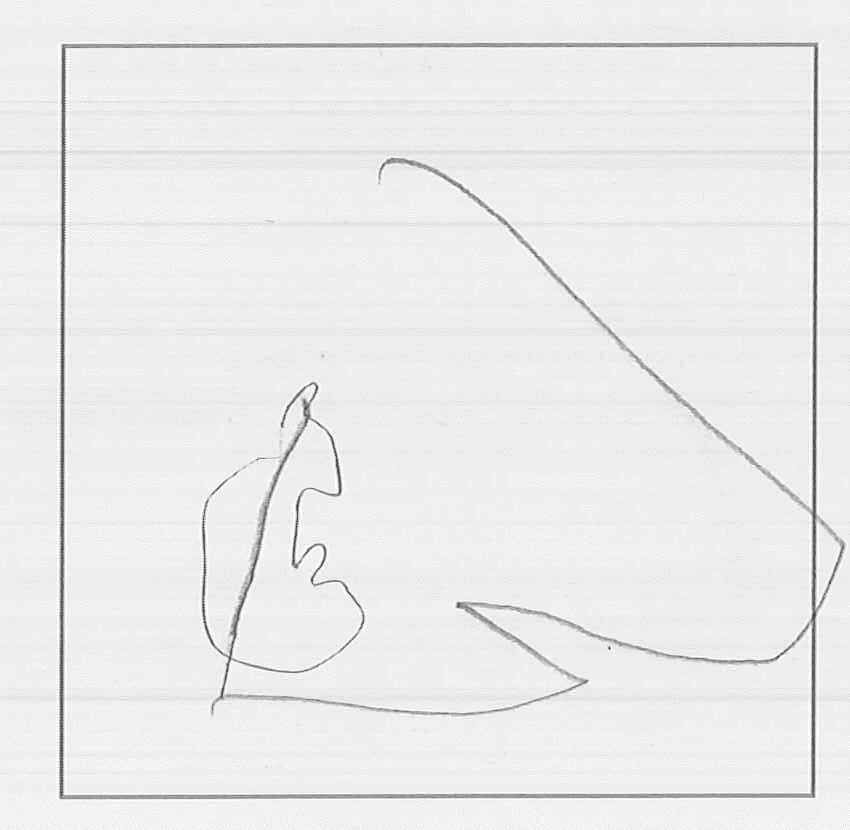
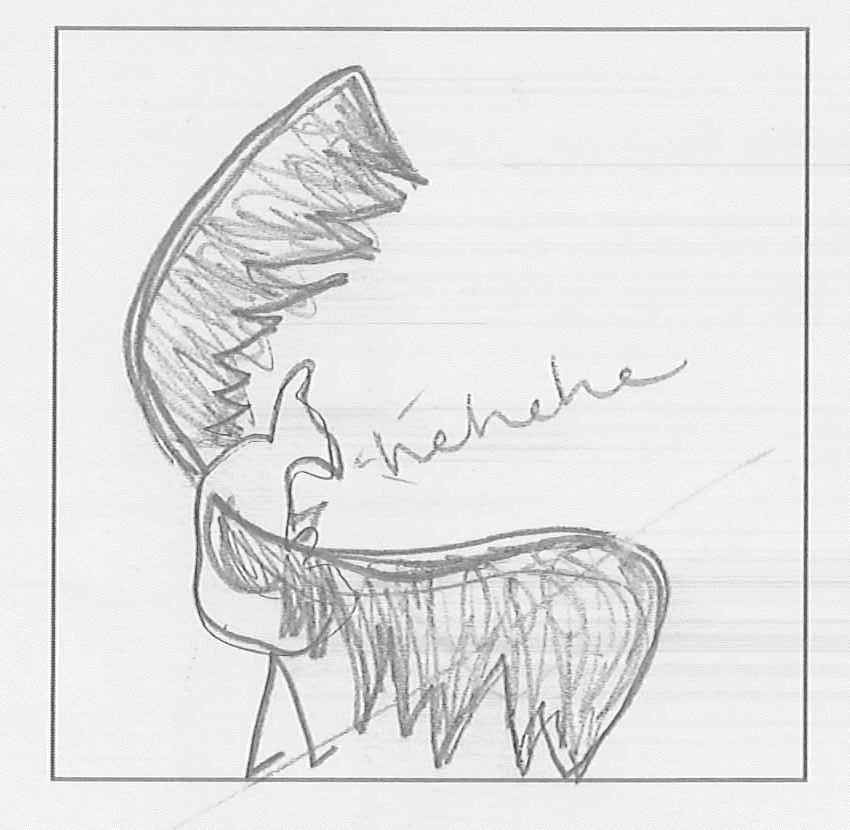
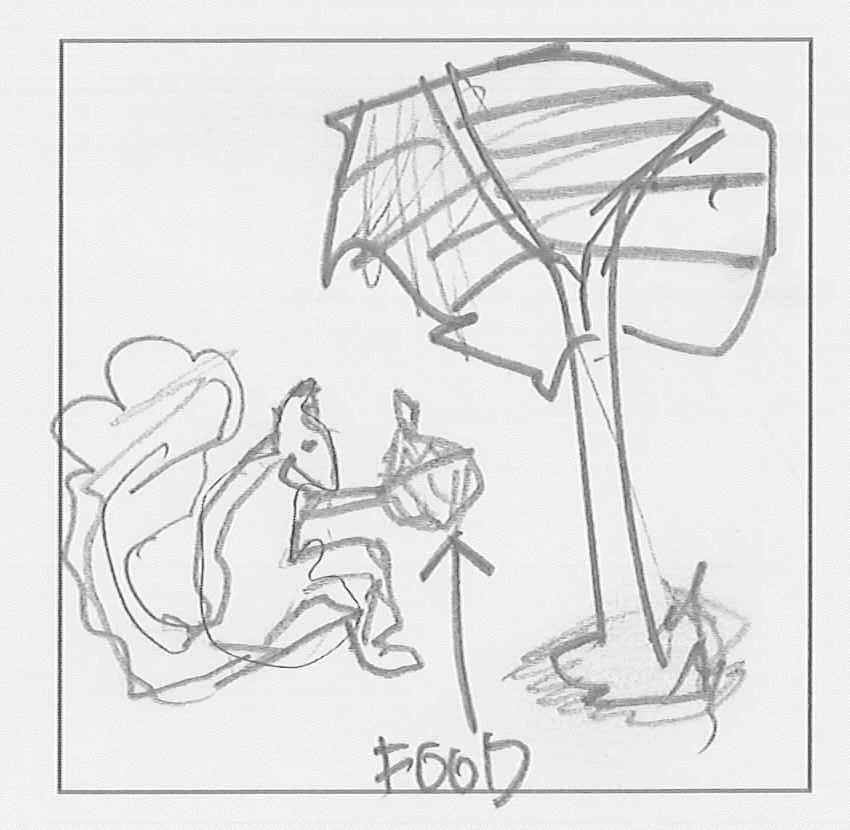
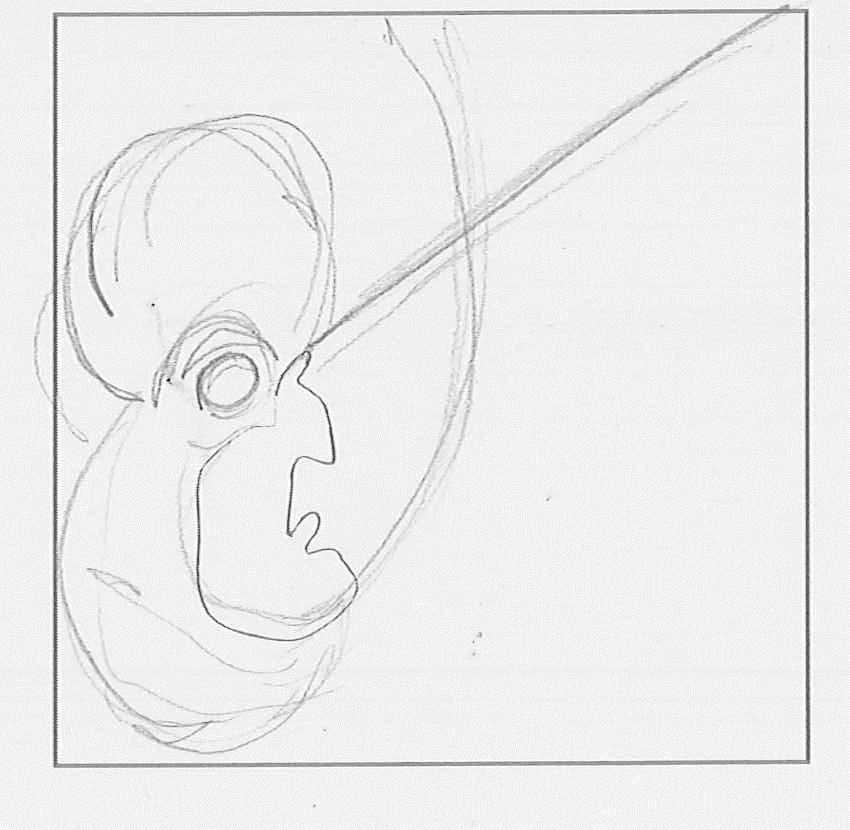
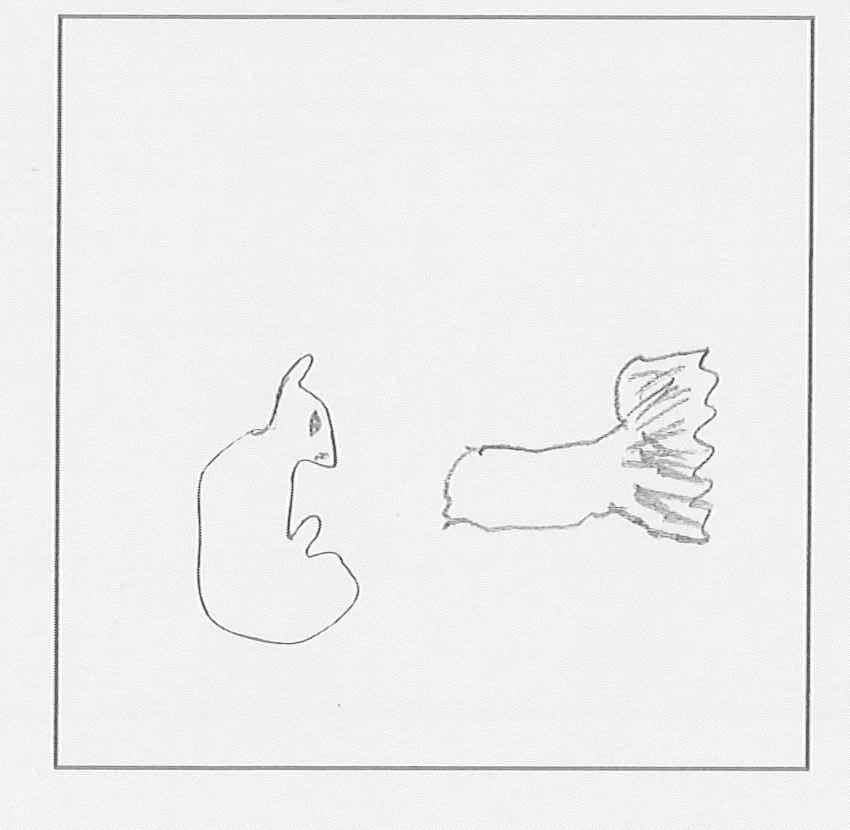
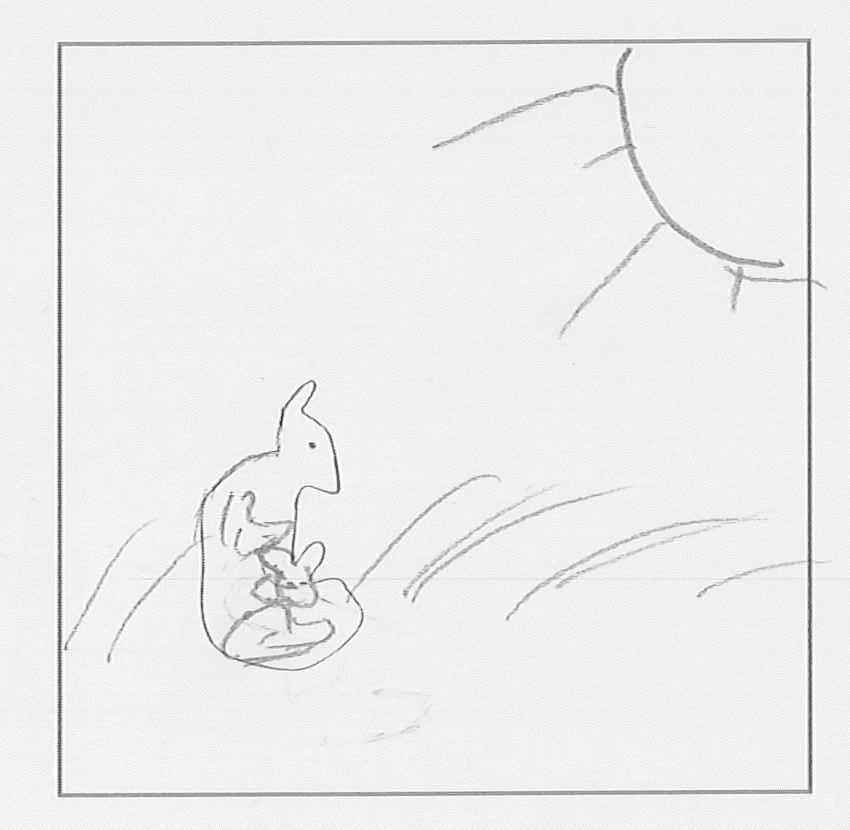
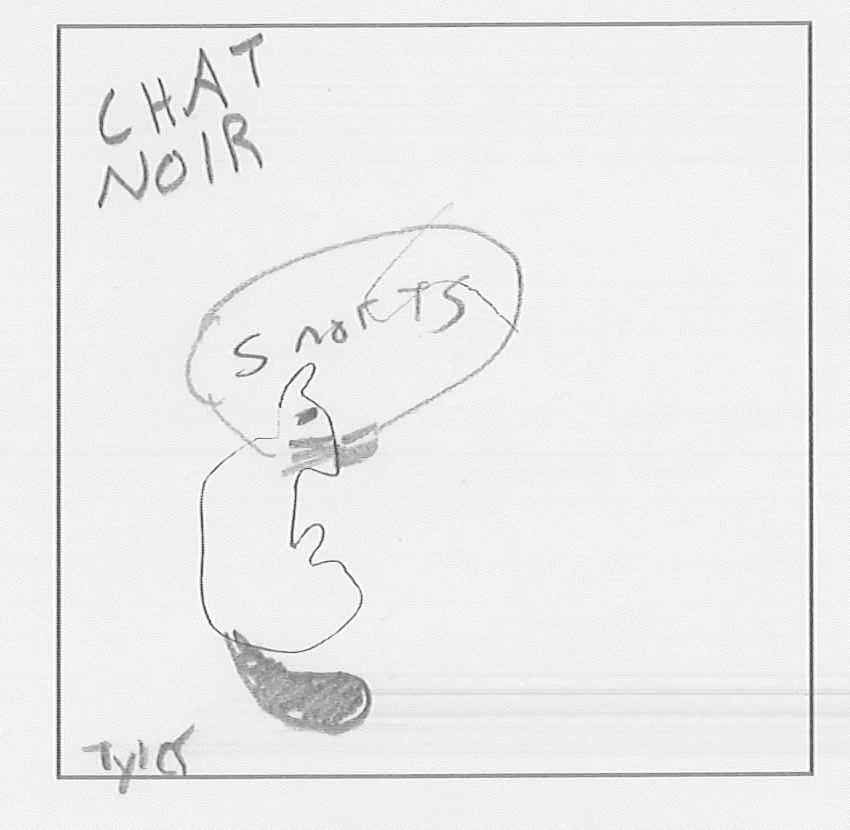
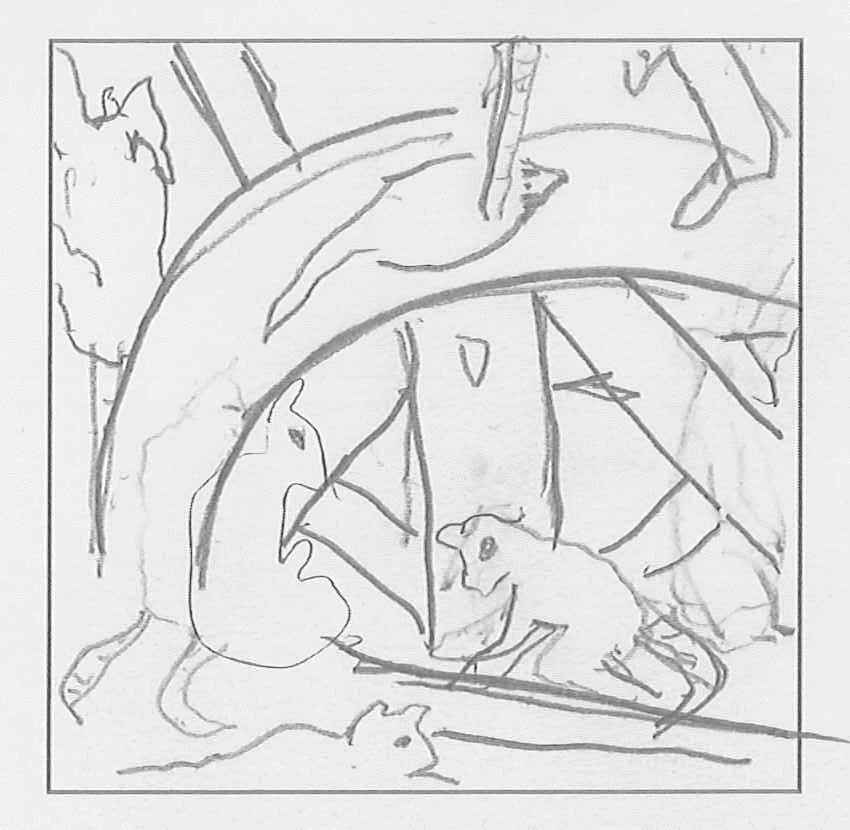
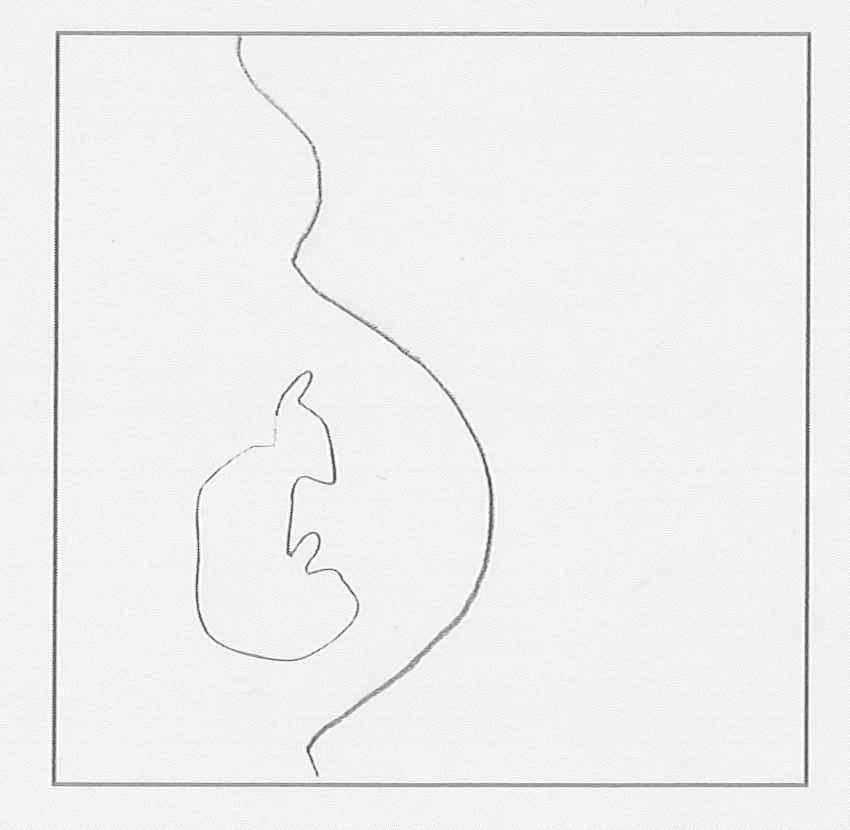
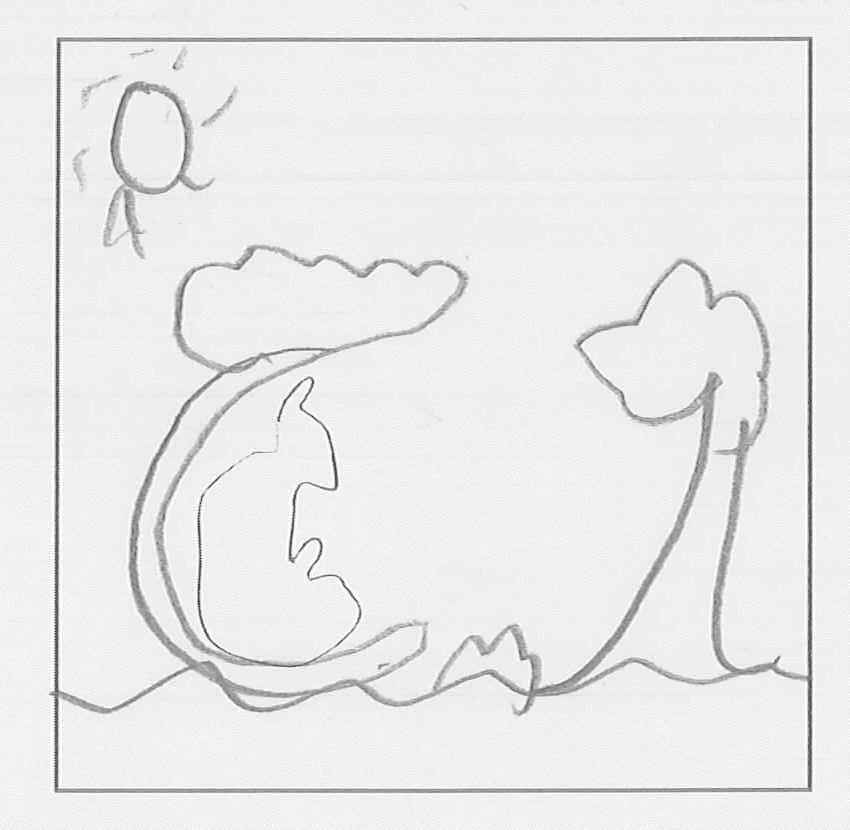
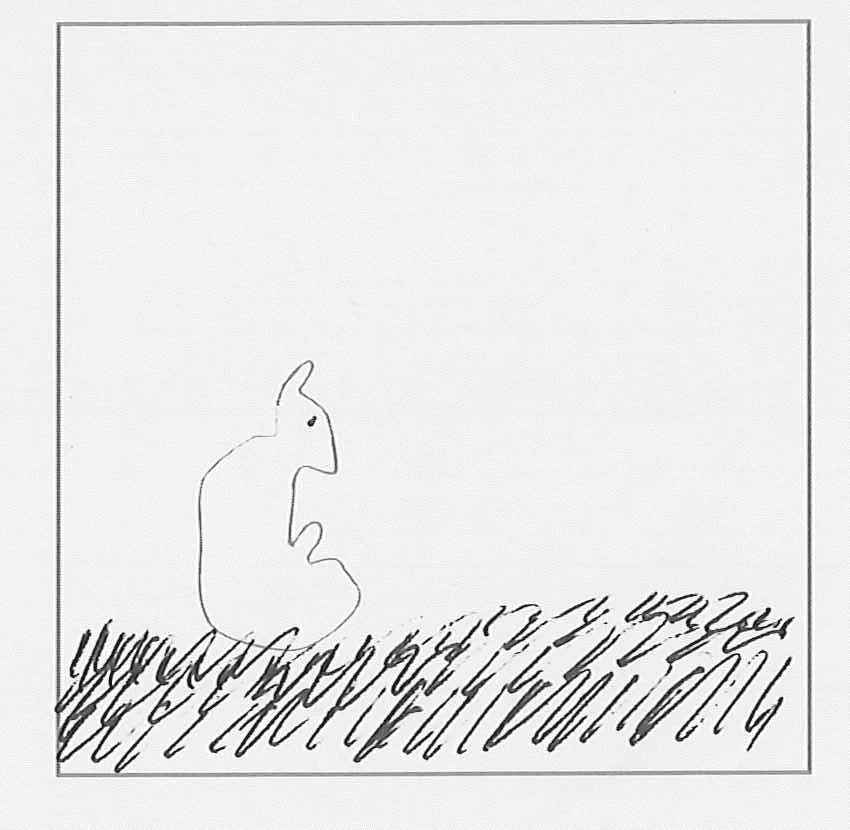
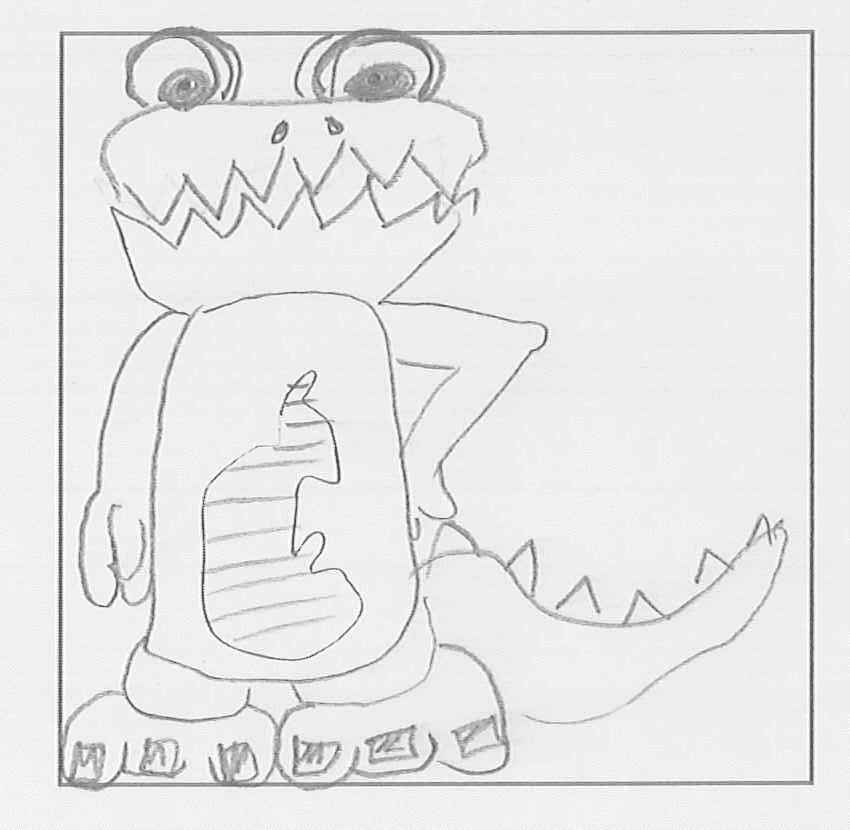
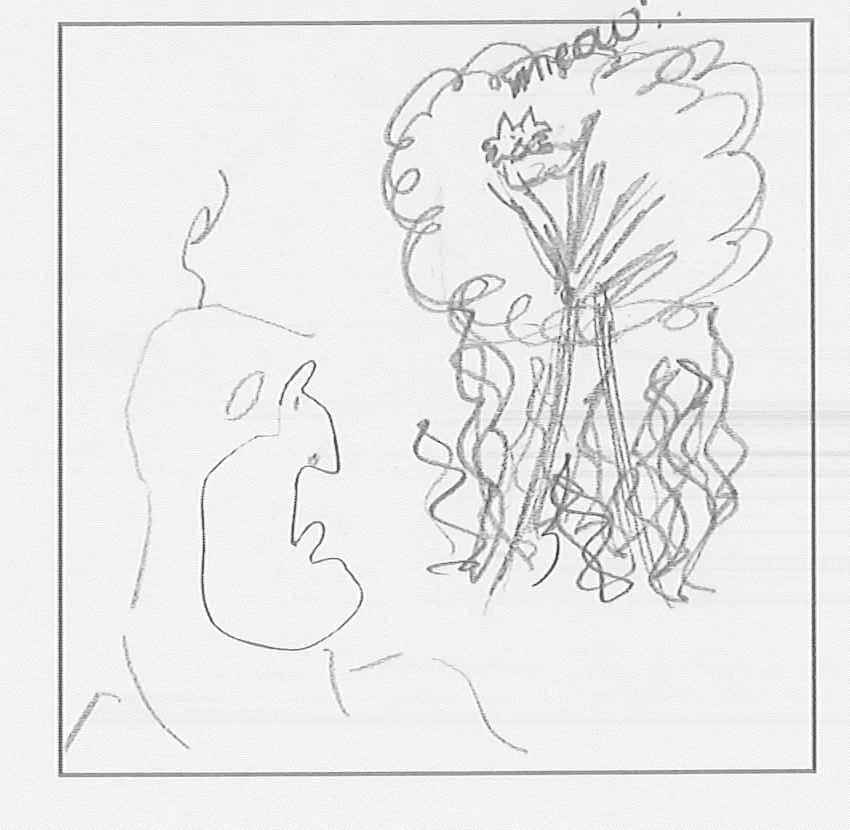
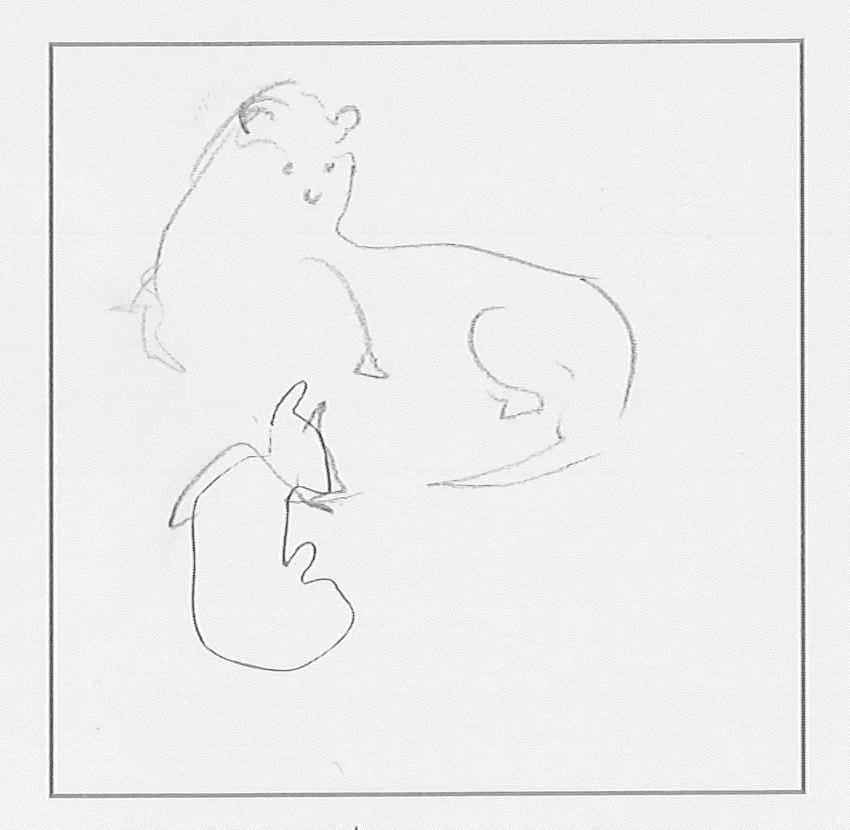
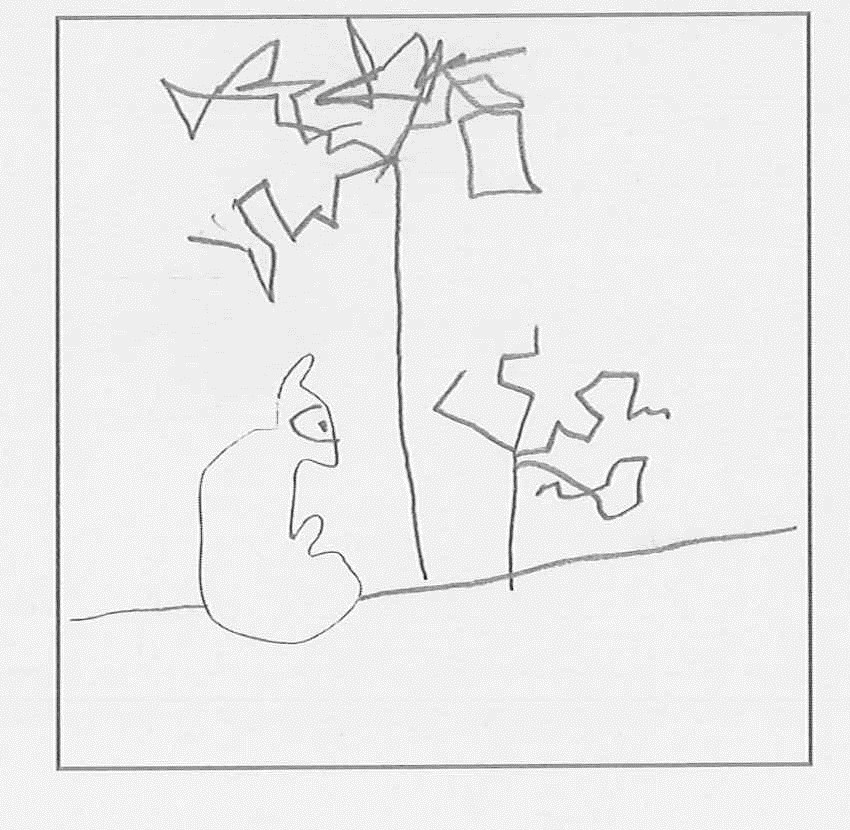
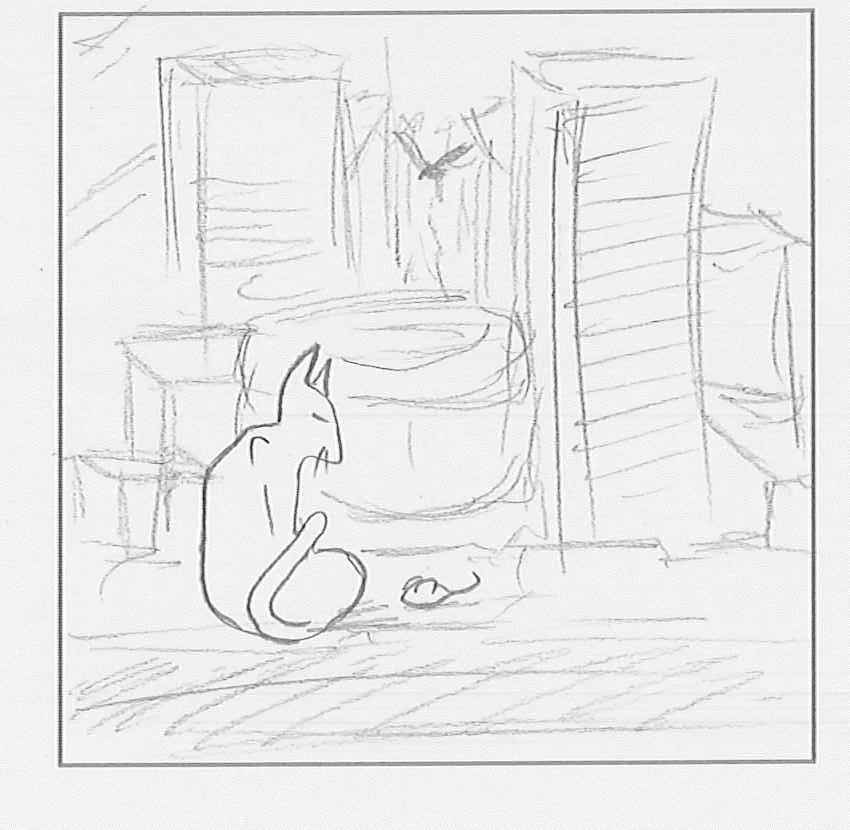
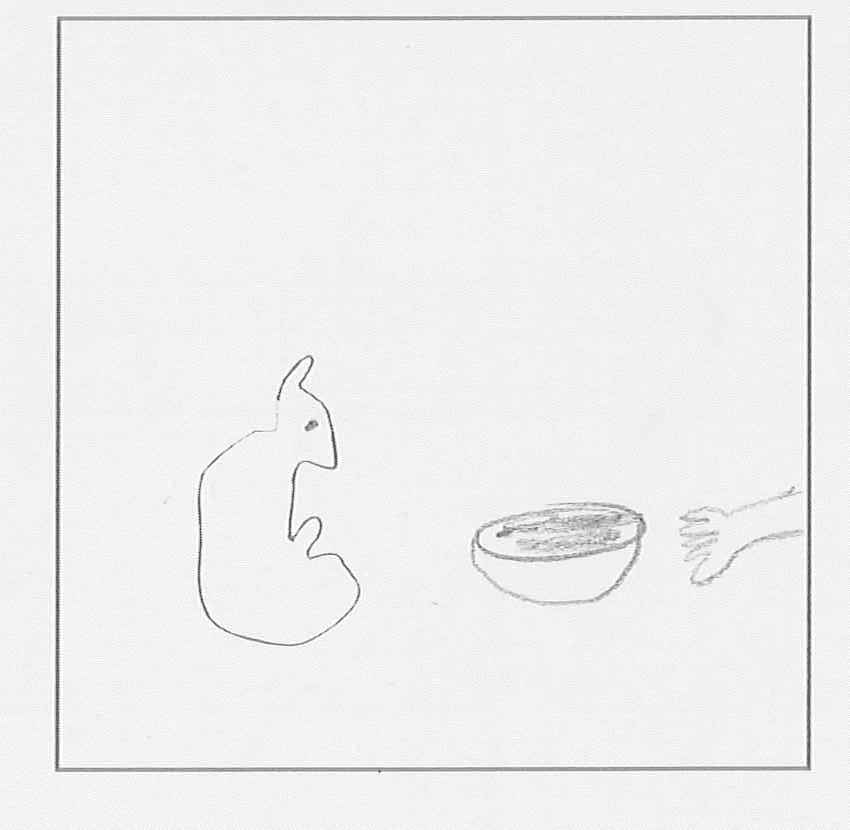
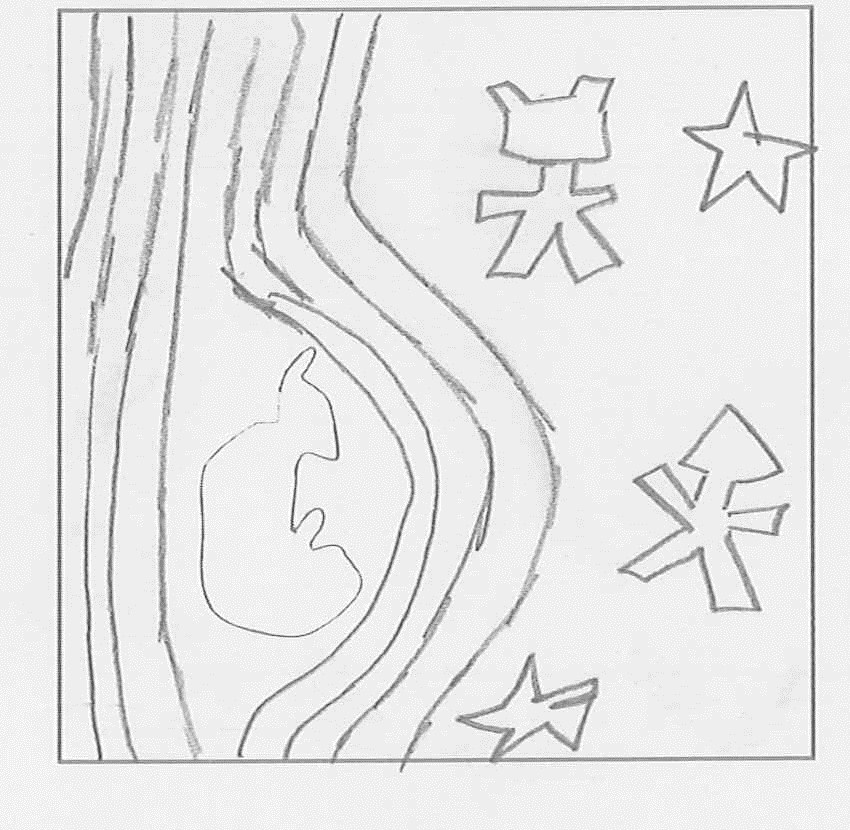
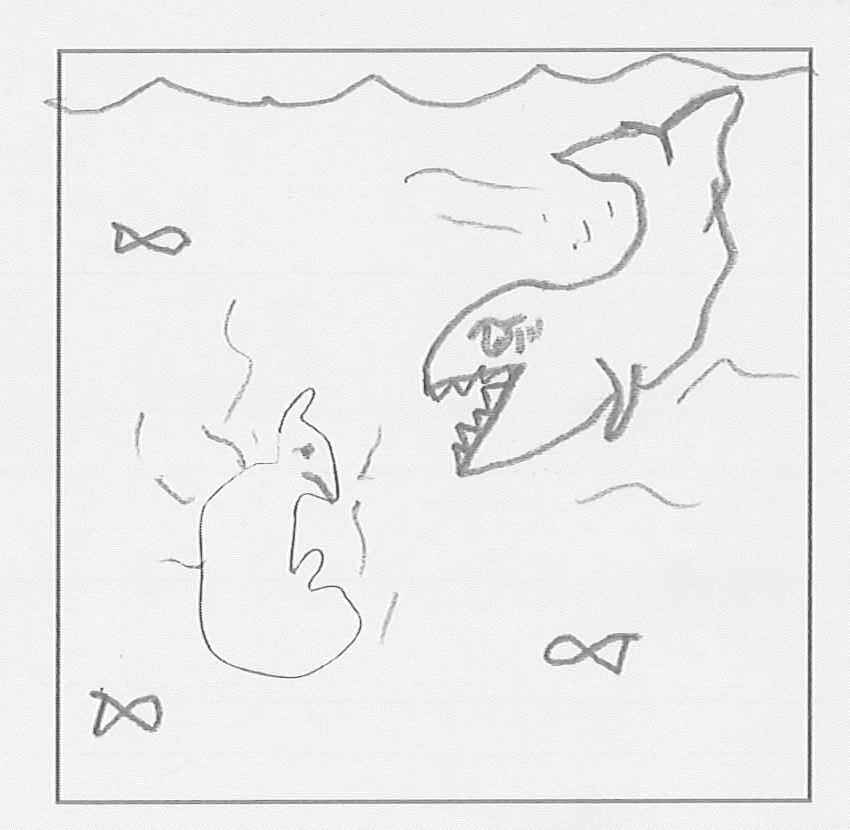
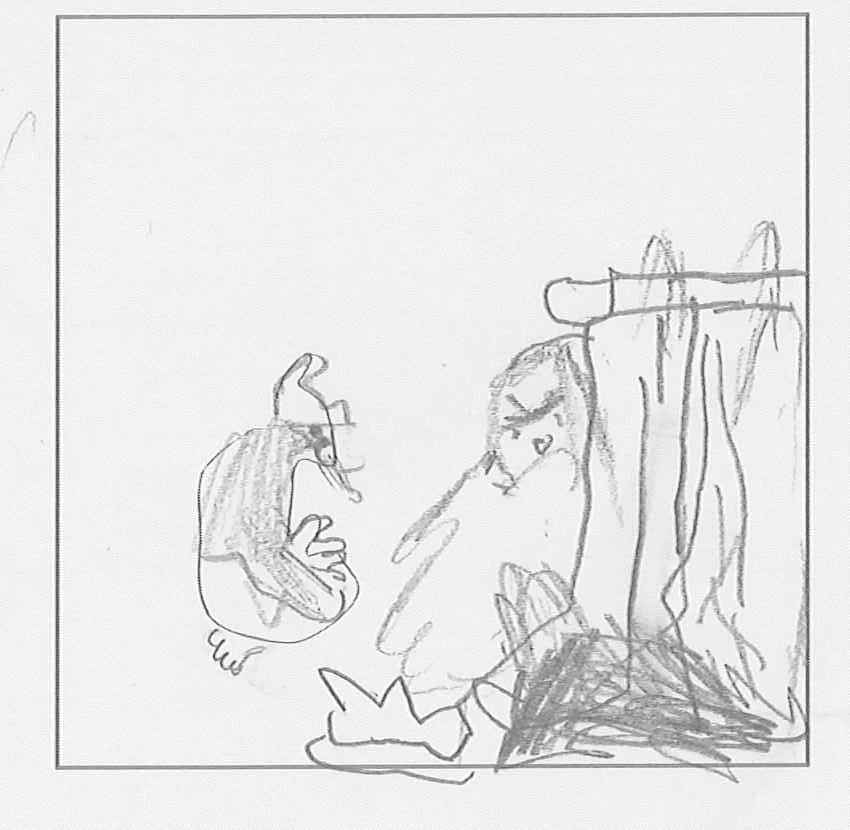
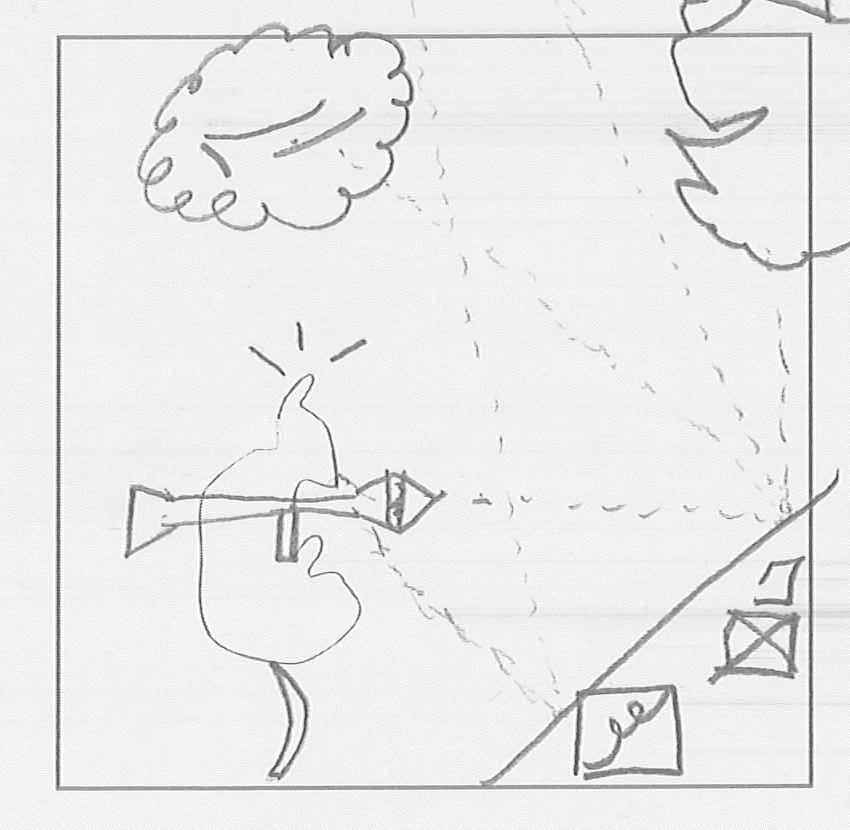
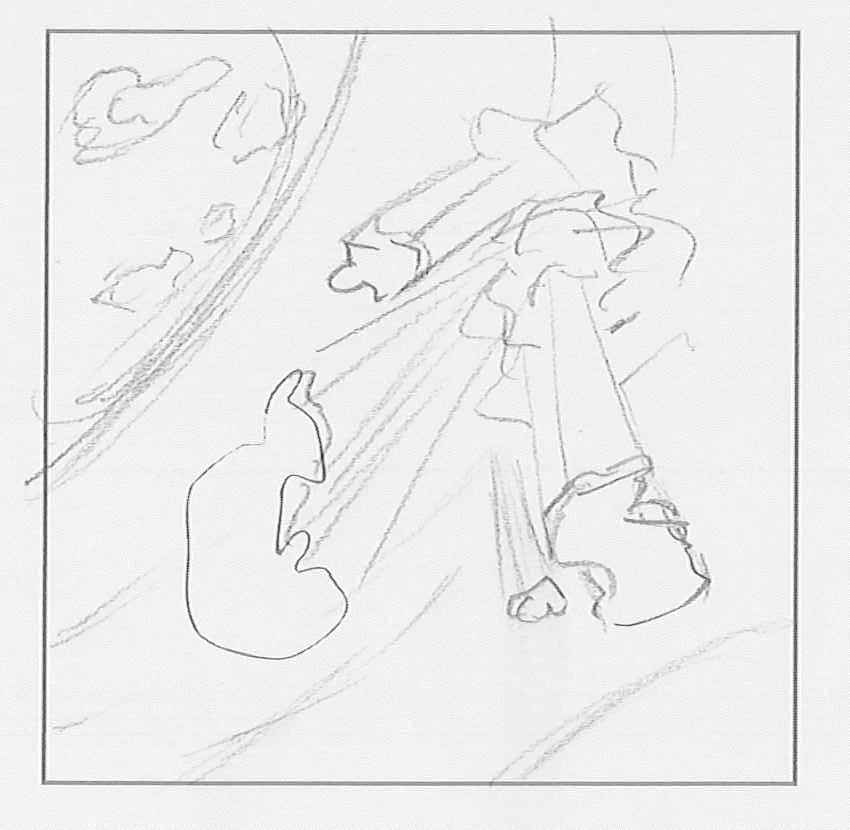
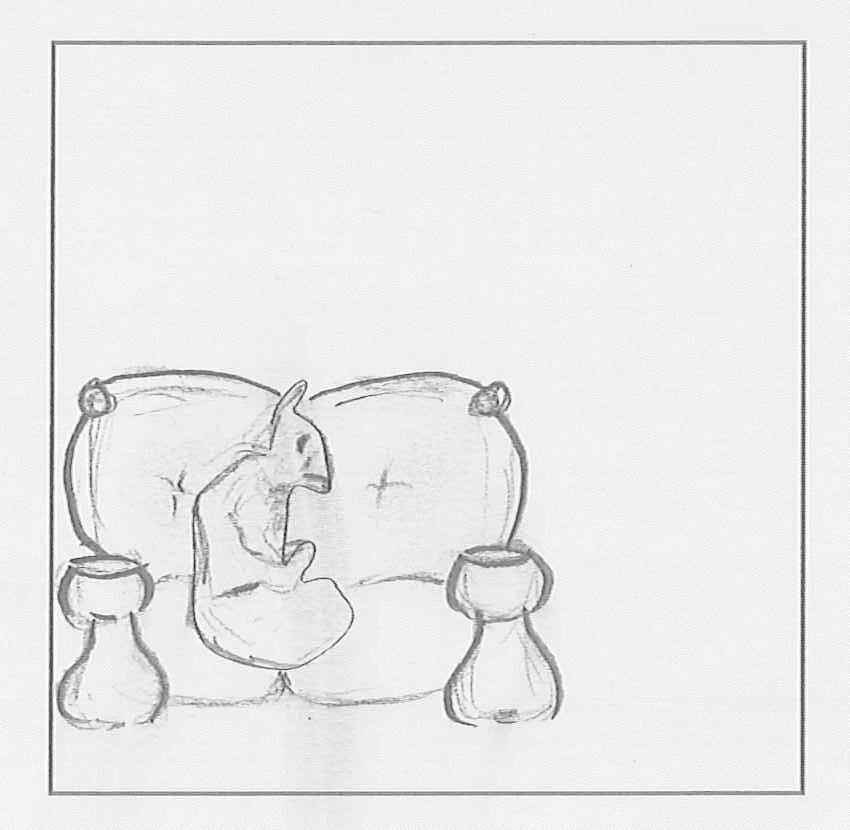
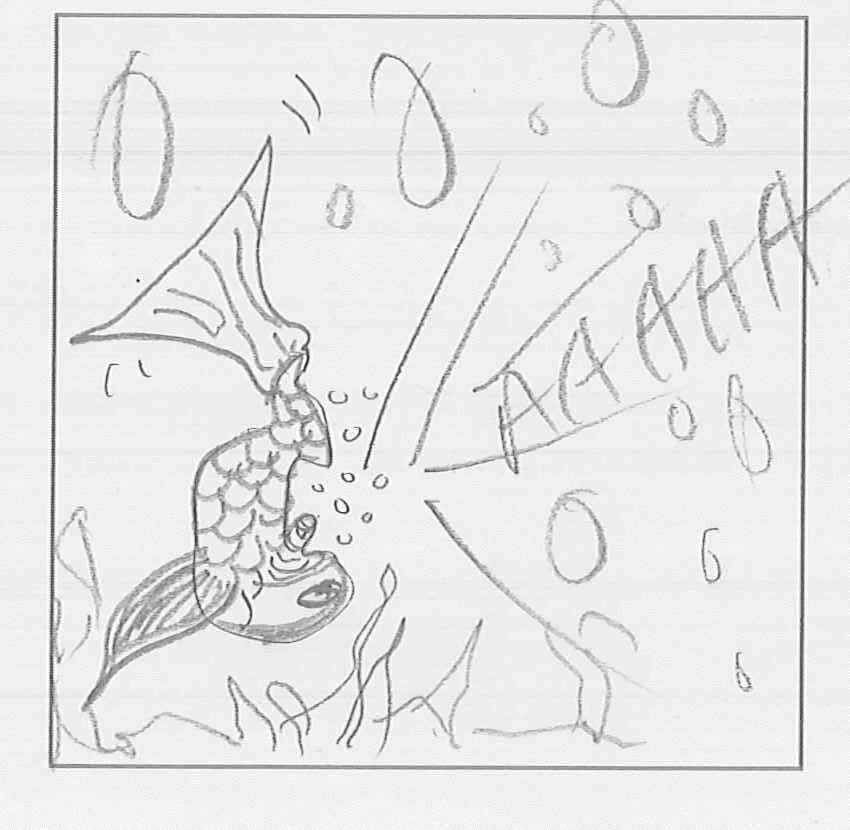
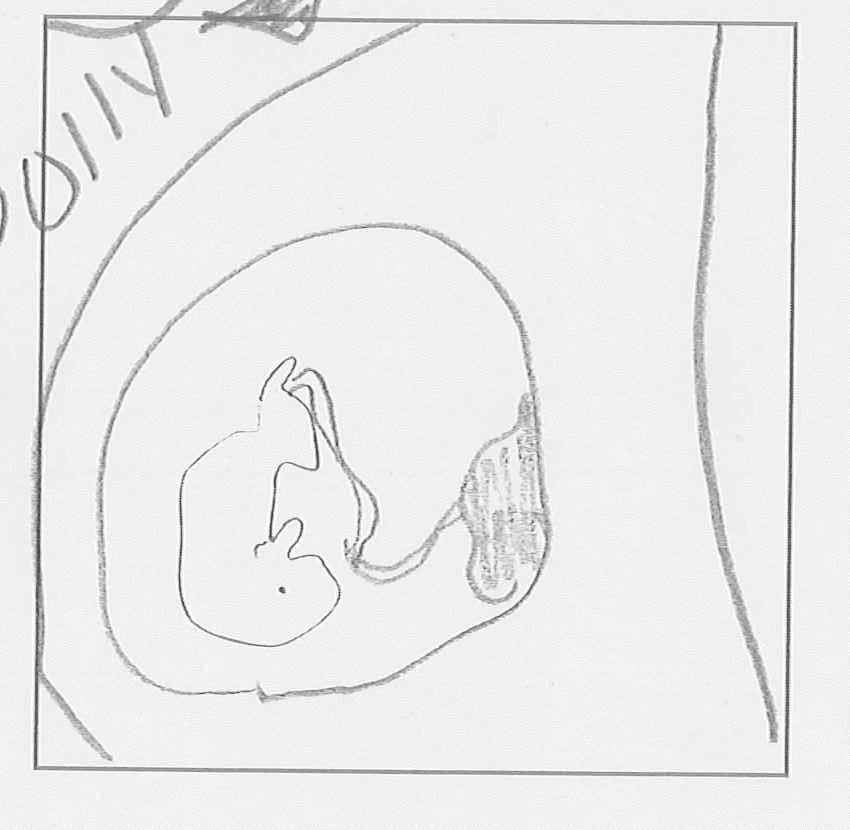
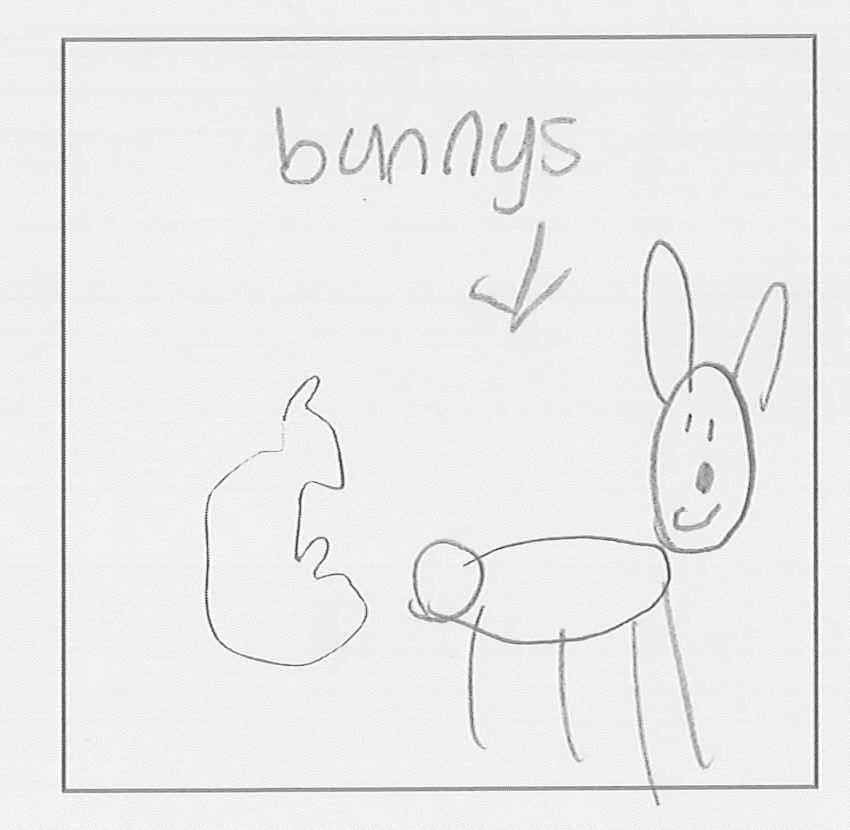
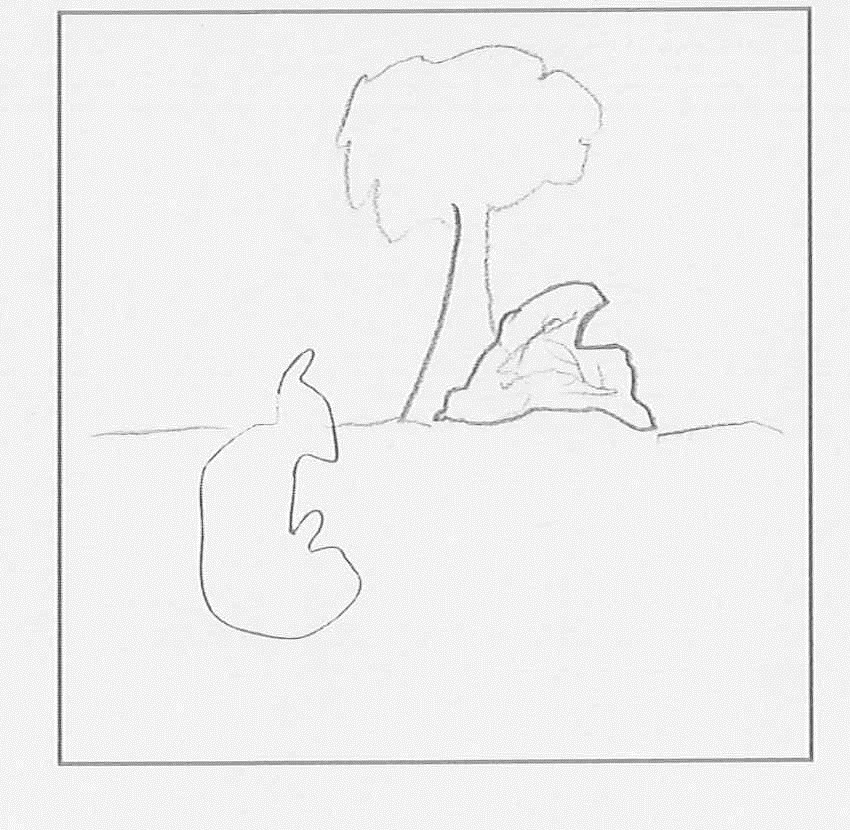
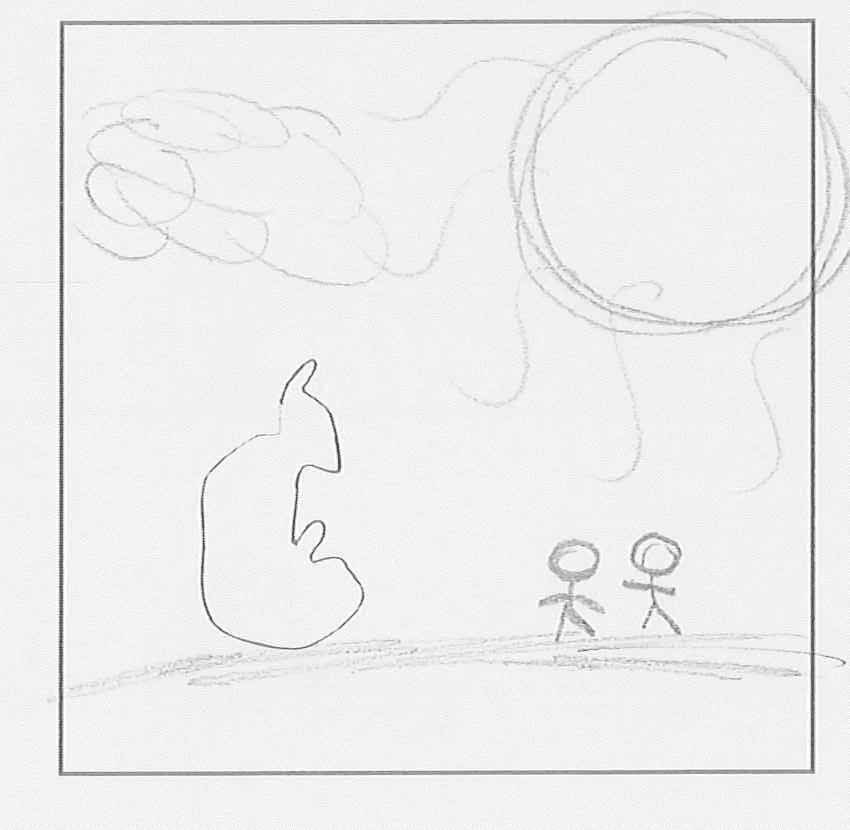
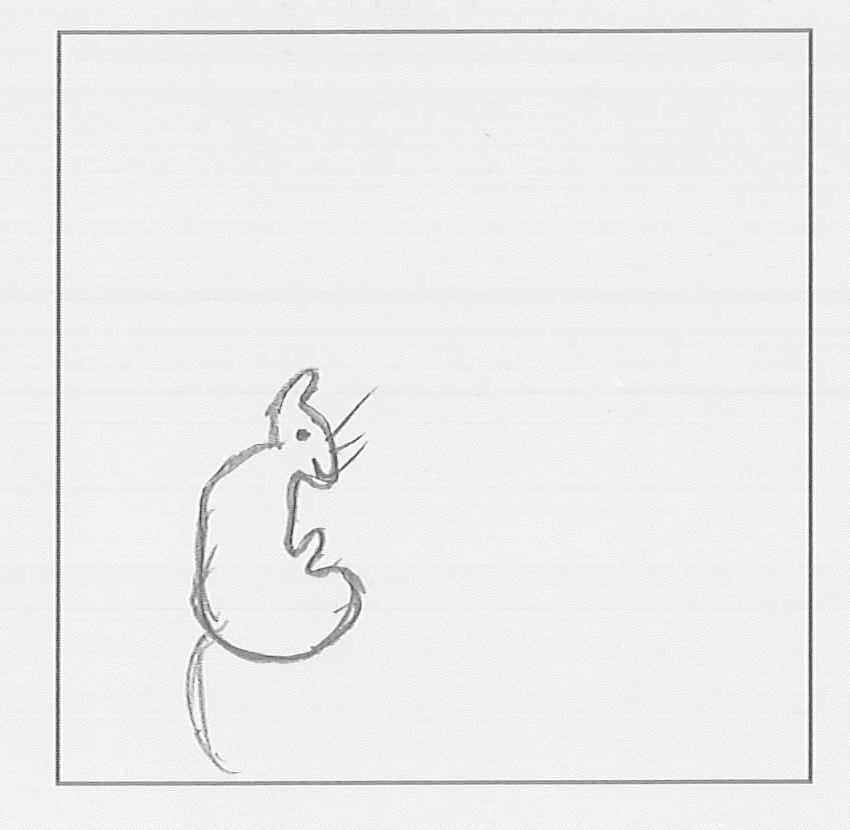
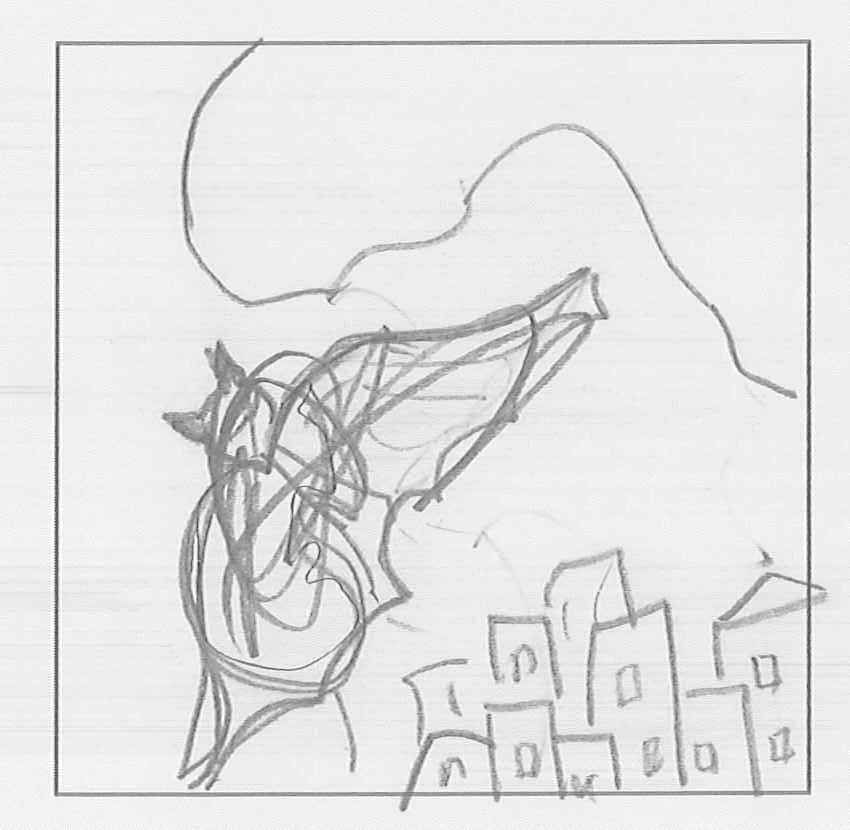
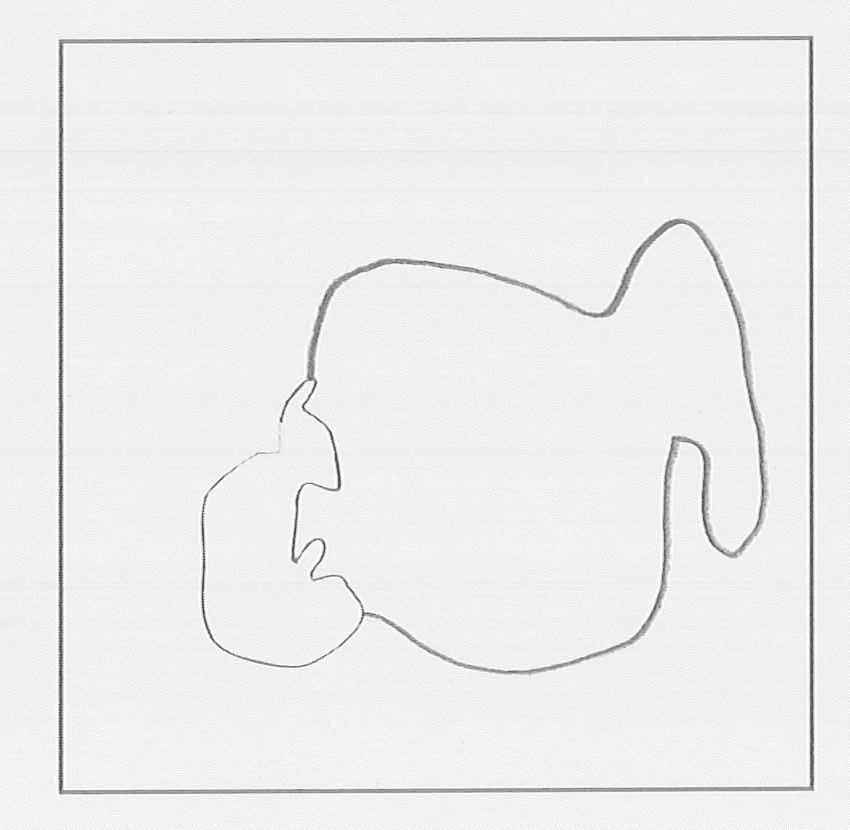
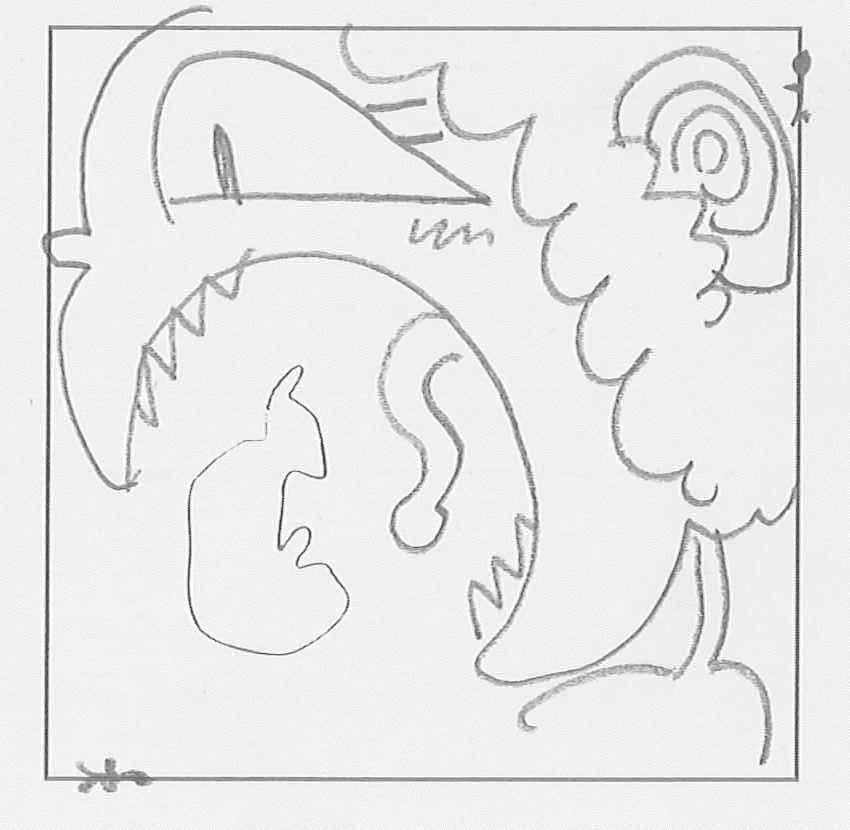
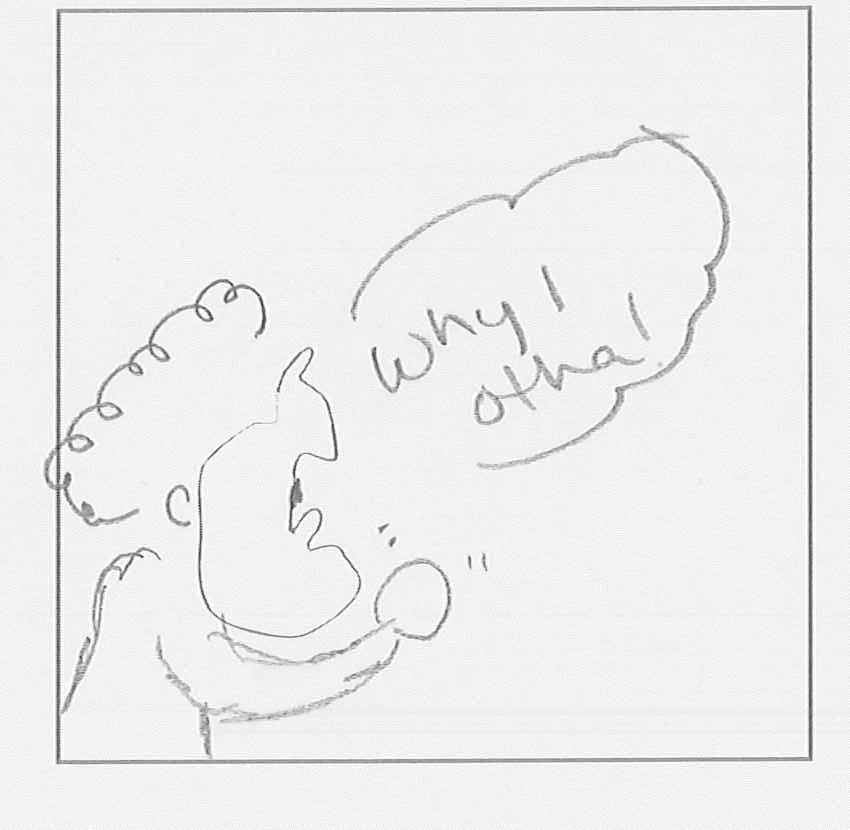
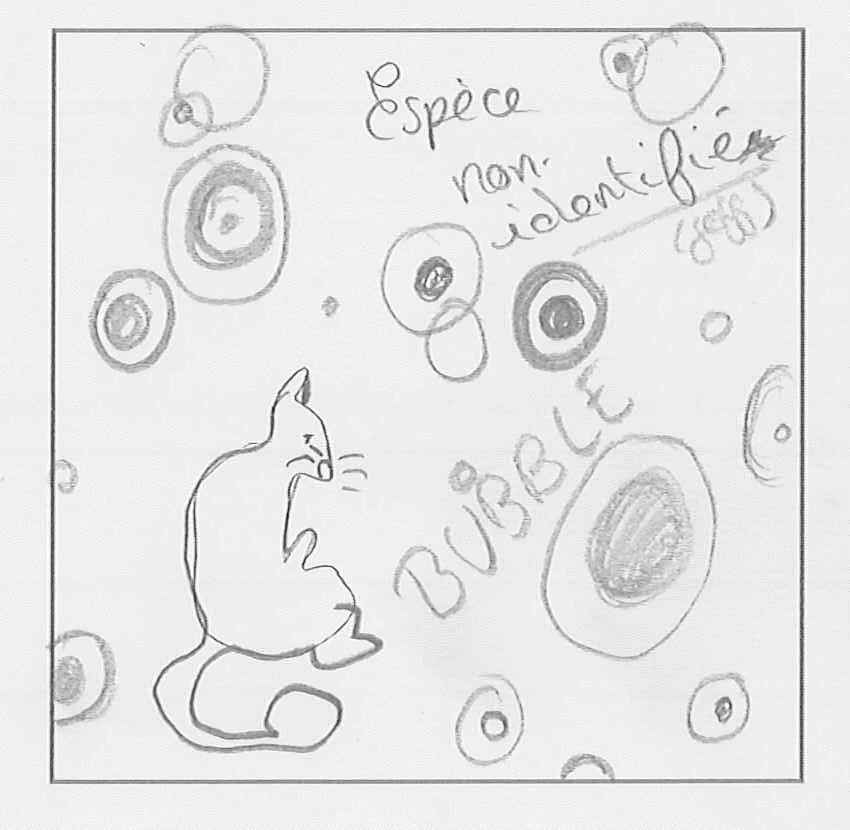
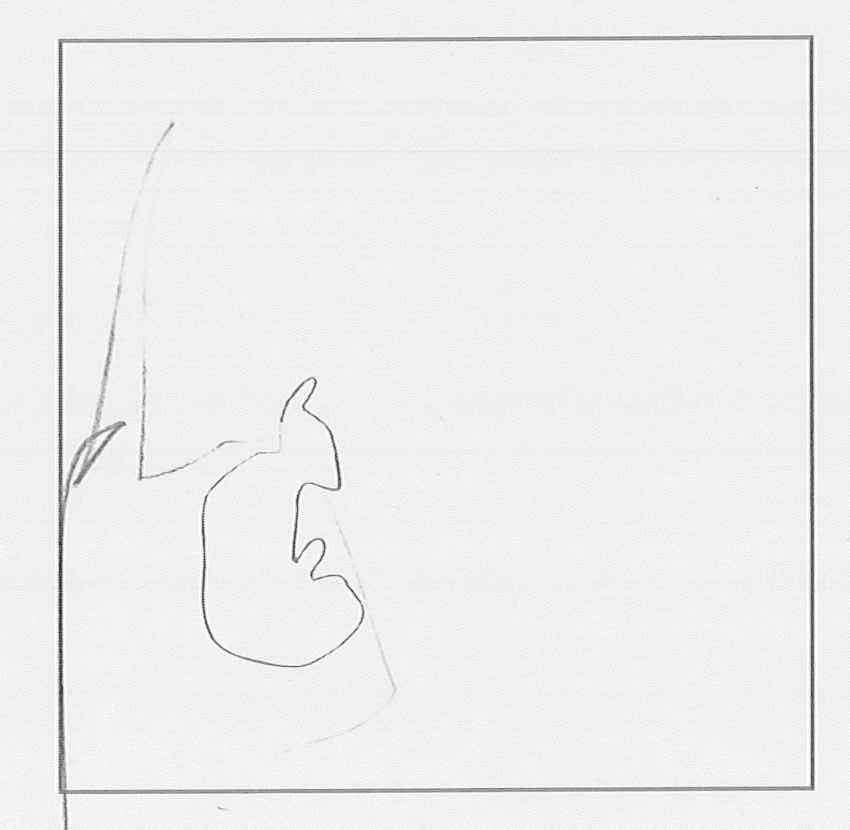
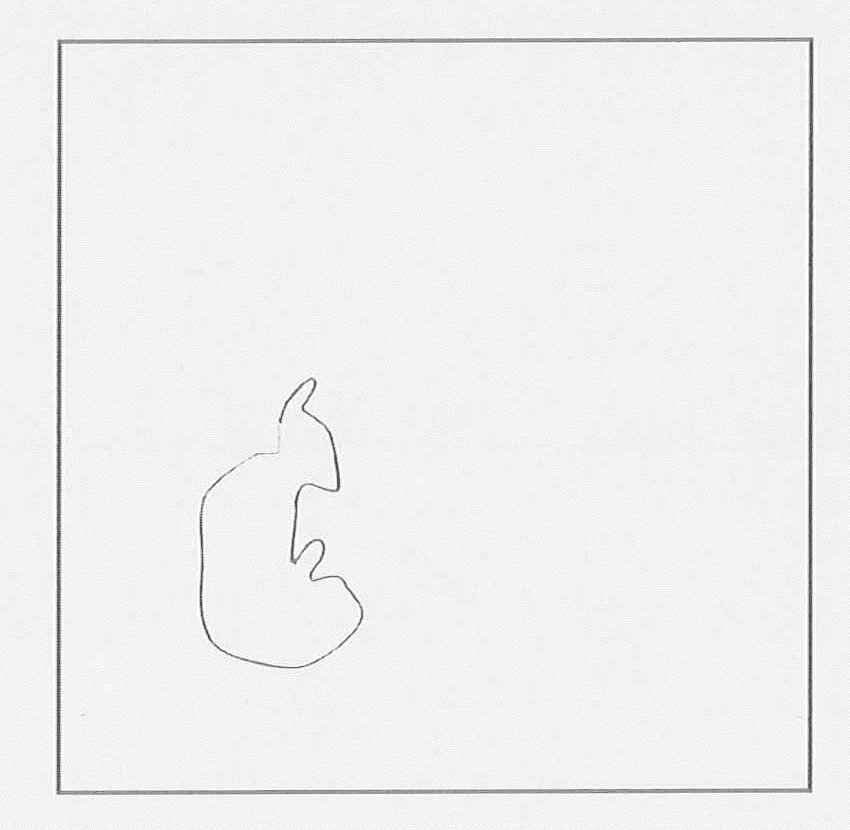
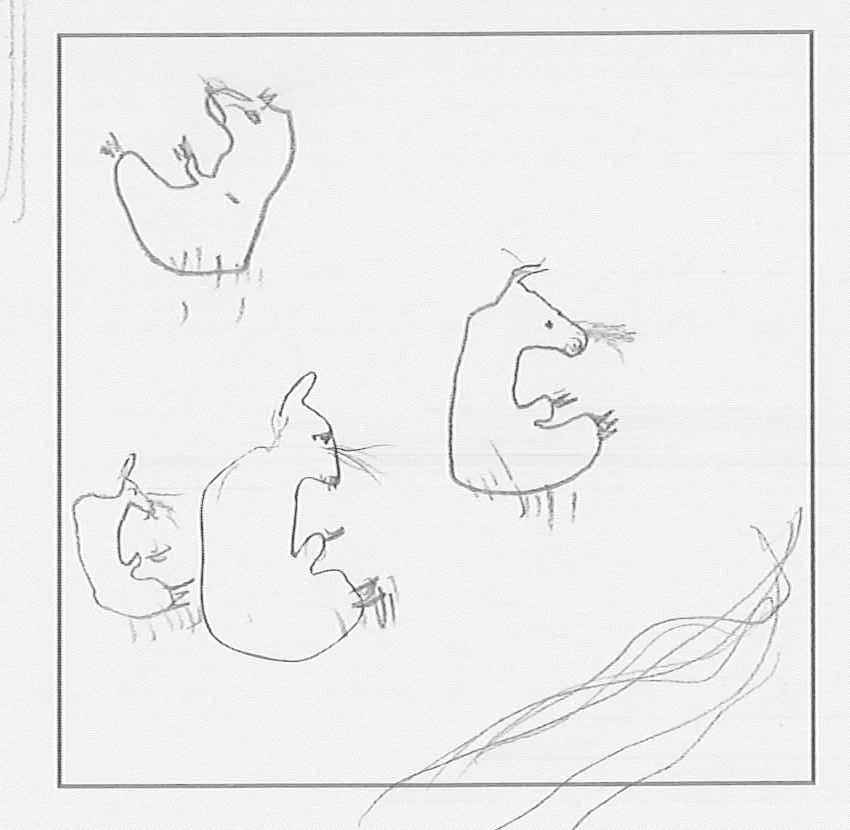
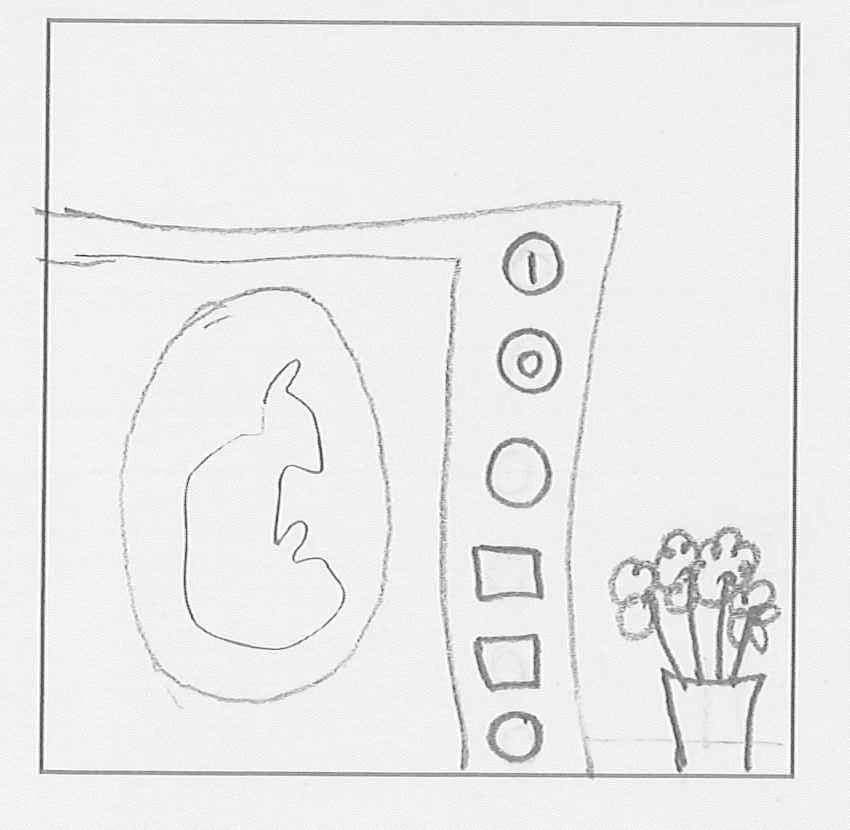
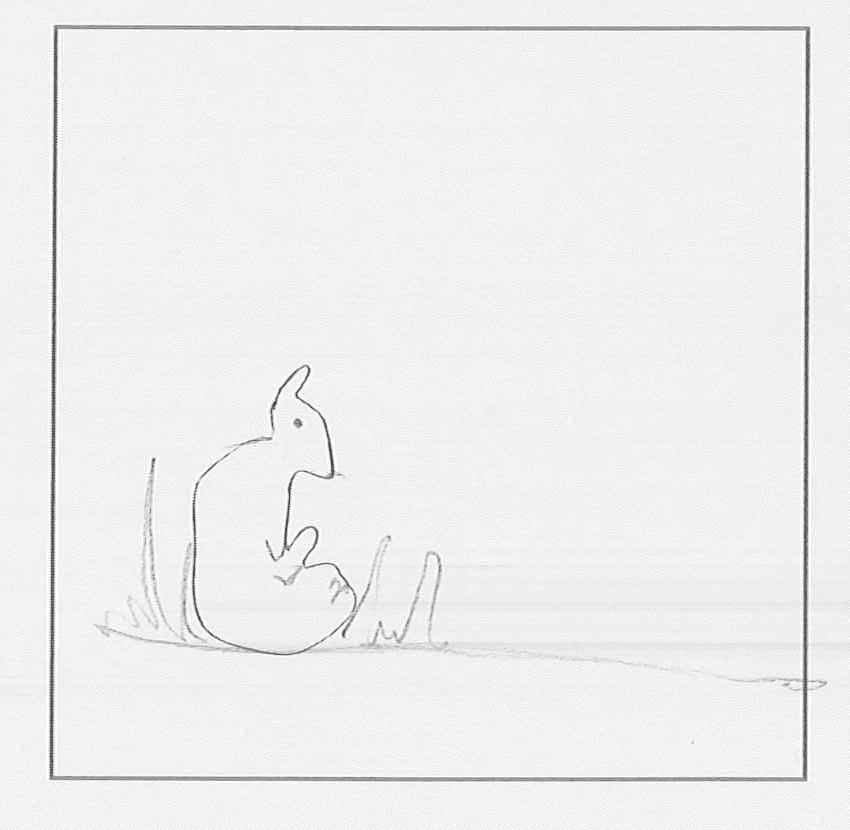
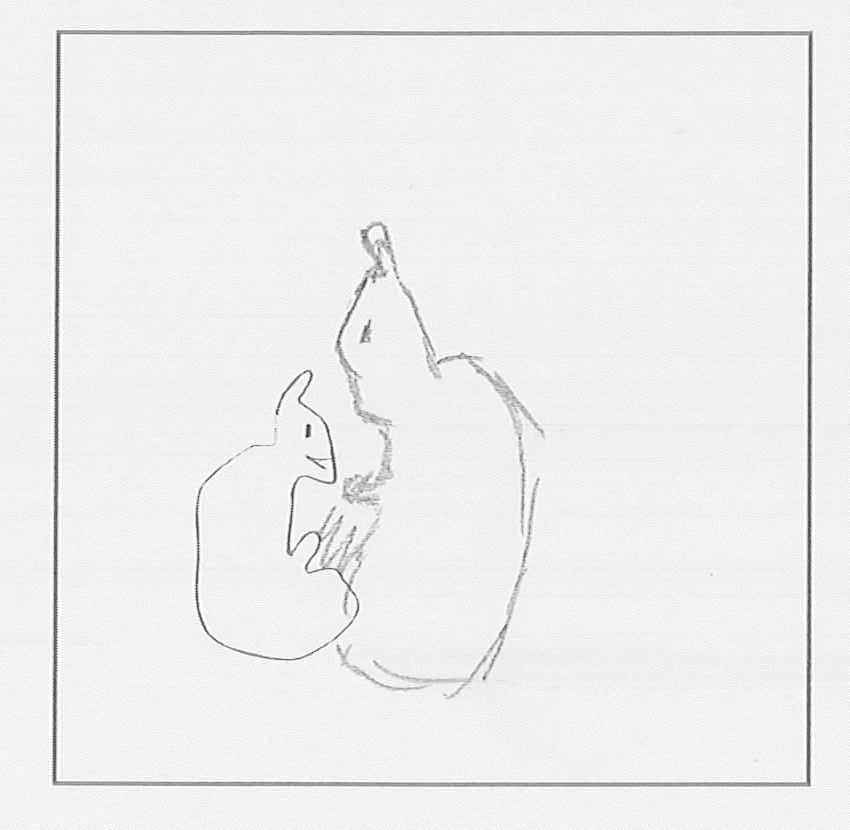
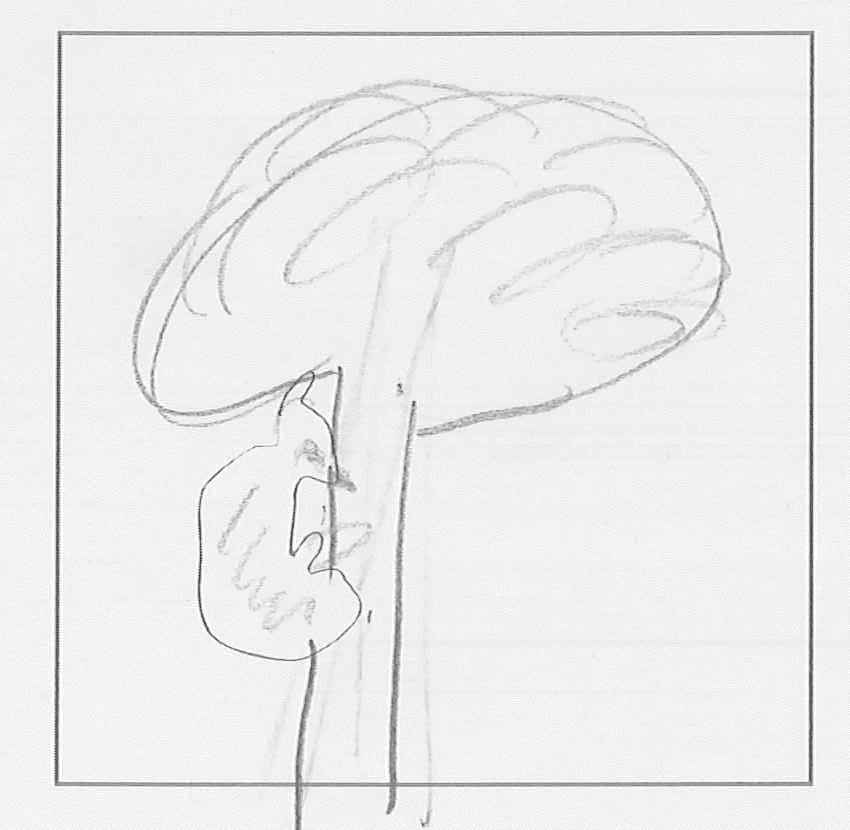
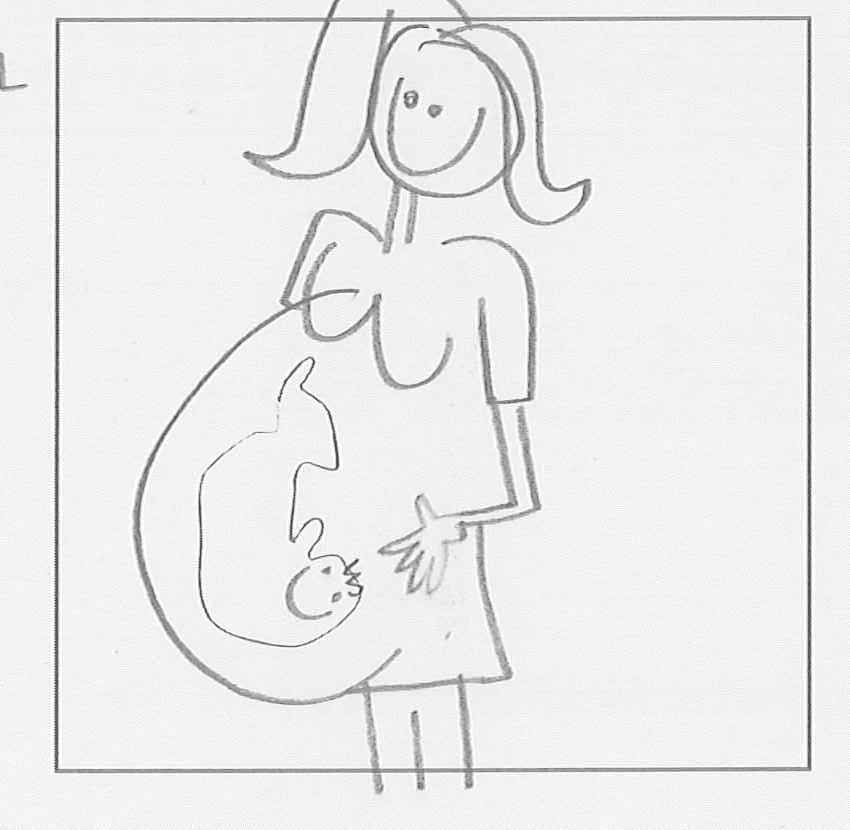
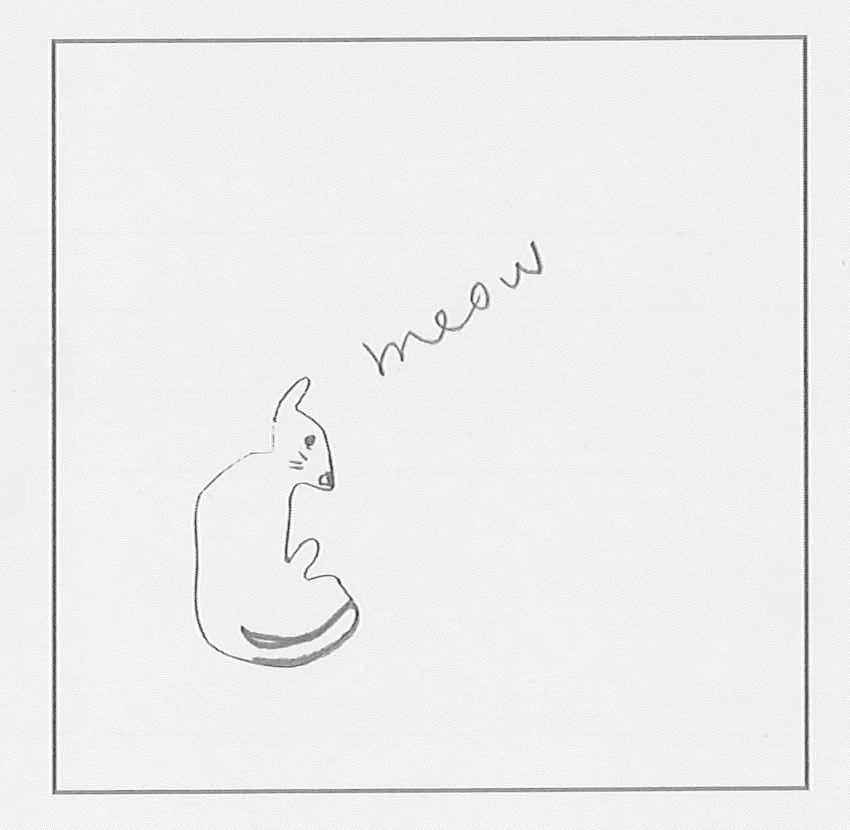
Ever wonder what happens to the responses left behind in the Center for Creative Connections (C3)? As a member of the C3 team, I’m one of the people who reviews these visitor contributions. One of my favorite activities is the doodle pad on our yellow clipboards. On these doodle pads, there are six drawing squares that each offer a light line drawing as a starting point for visitors to begin their own creation. I love to see how our creative visitors each bring a unique perspective to this activity. For today’s post, I pulled some of my favorite responses to the square based on the Tale of the Bamboo Cutter. Watch the slideshow below for a quick peak into the creative minds of C3 visitors. Stop by next time you’re at the DMA and contribute your own creativity!

This slideshow requires JavaScript.

Jessica Fuentes
C3 Gallery Coordinator

Make This: Cosplay Armor and Accessories

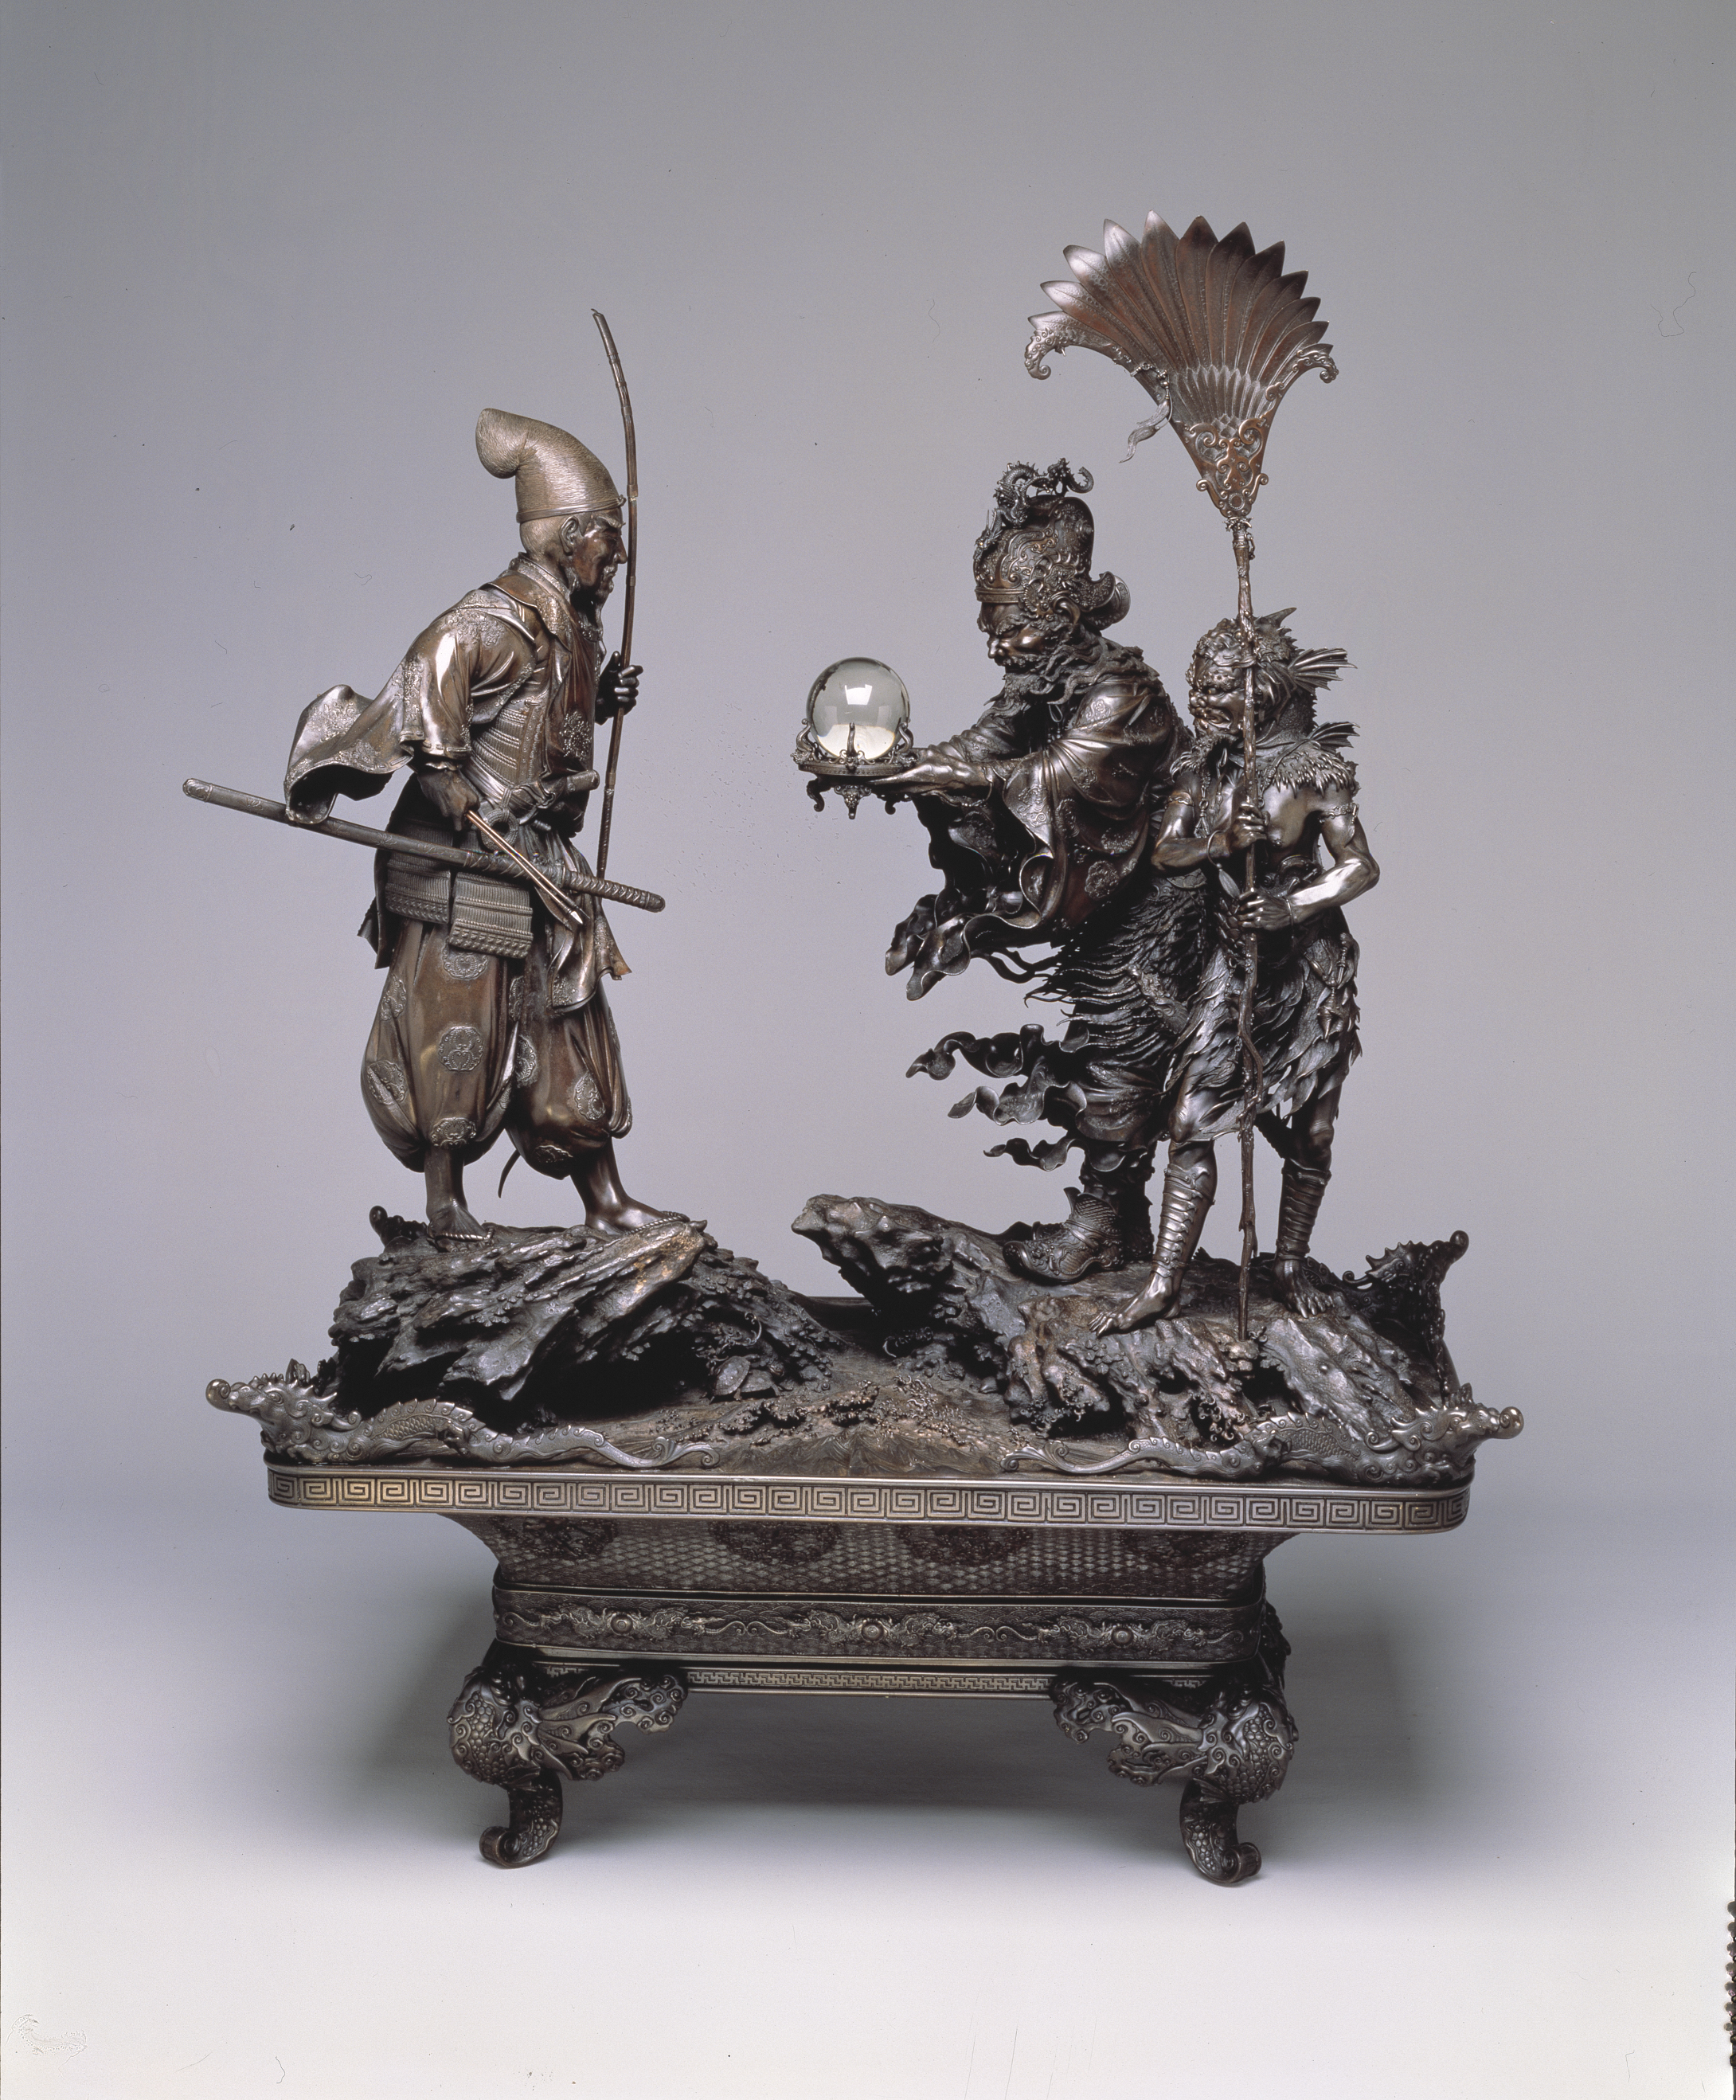
Takenouchi no Sukune Meets the Dragon King of the Sea, Japan, 1875-1879, Dallas Museum of Art, Foundation for the Arts Collection, The John R. Young Collection, gift of M. Frances and John R. Young

In thinking of an activity relating to the sculpture above for our June Studio Creations workshops, I kept coming back to the idea of costumes. The outfits, armor, and accessories worn by each of the three figures is amazingly detailed, and with Dallas Comic Con on the way, making cosplay accessories seemed like a really fun project. I’m going to show you how I made a “fin”-style gauntlet. But you can apply these directions to make whatever you want: helmet, tiara, jewelry, cape, etc.

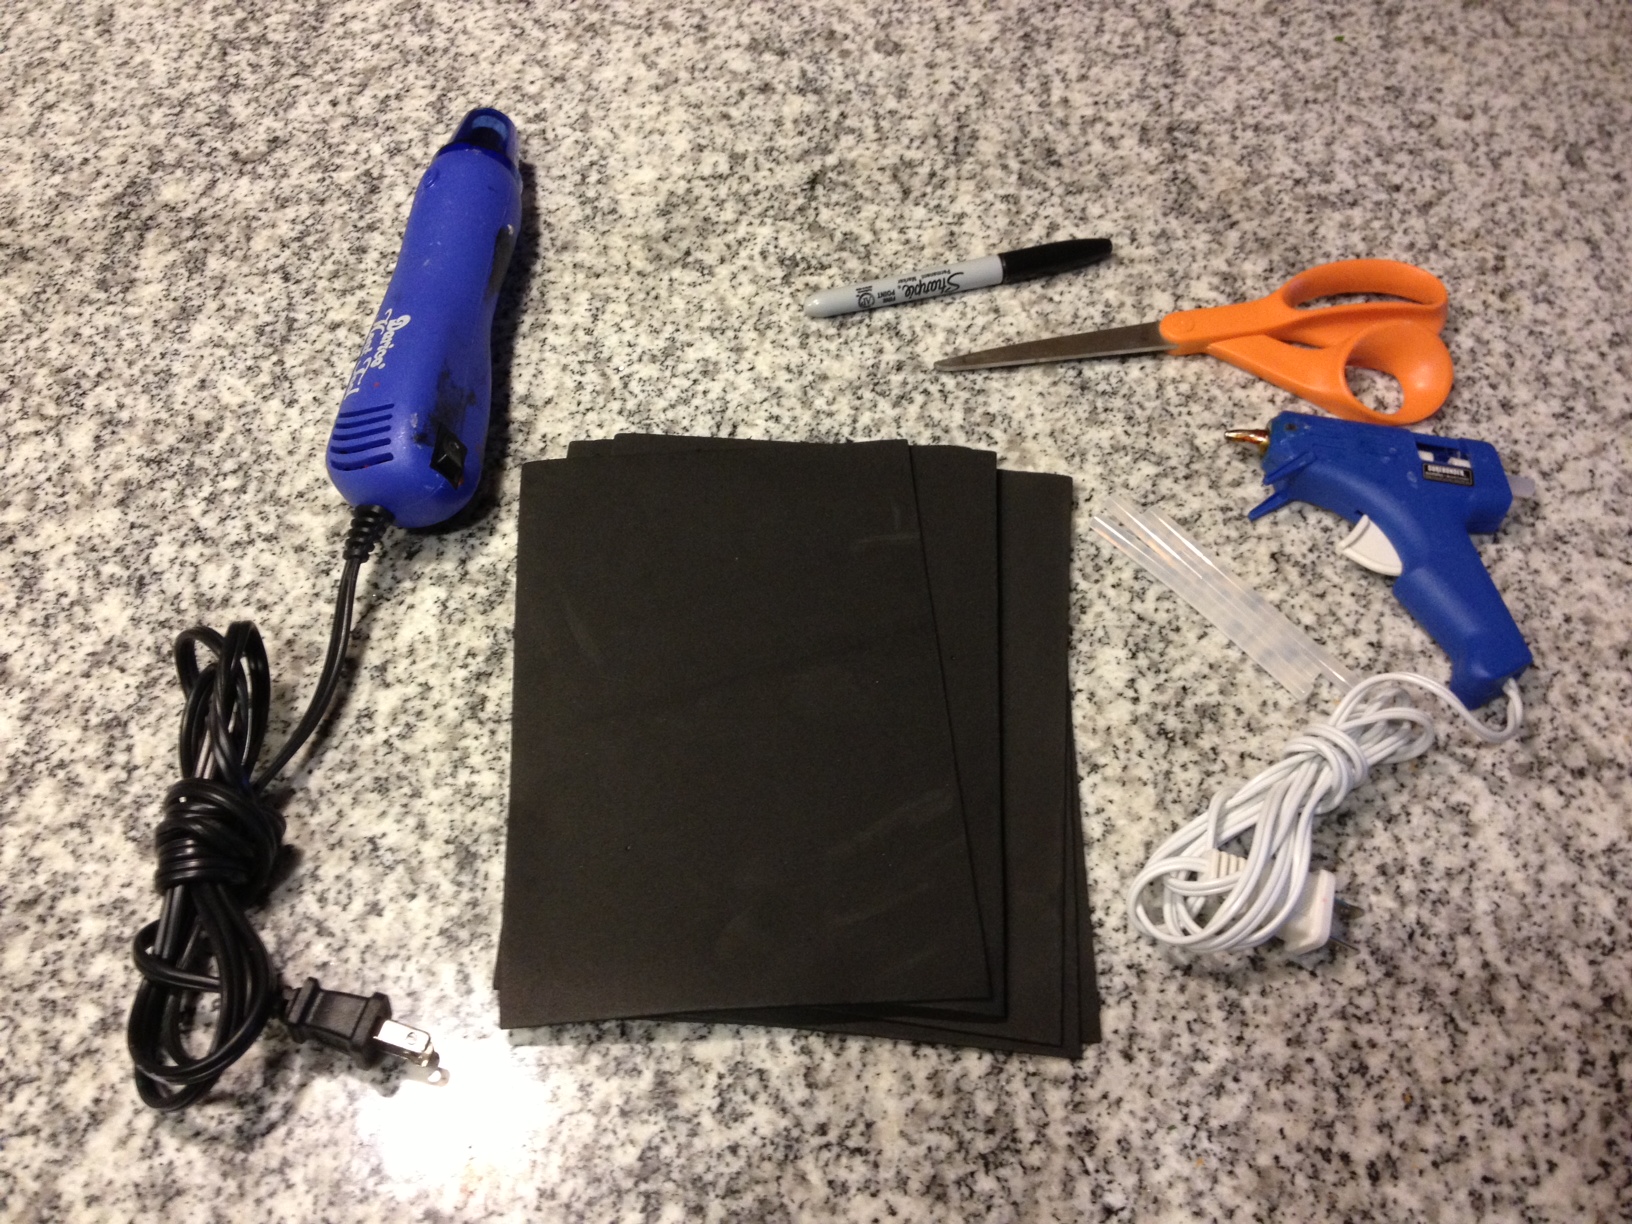
What you need:

  • Craft foam sheets (available at any craft store)
  • Self-adhesive foam stickers (optional)
  • Hot glue gun
  • Hair dryer or heat gun (optional)
  • Scissors
  • Sharpie marker
  • Scrap paper
  • Velcro (optional)
  • Elastic or rubber bands (optional)
  • Double-sided tape (optional)

photo 1

Steps

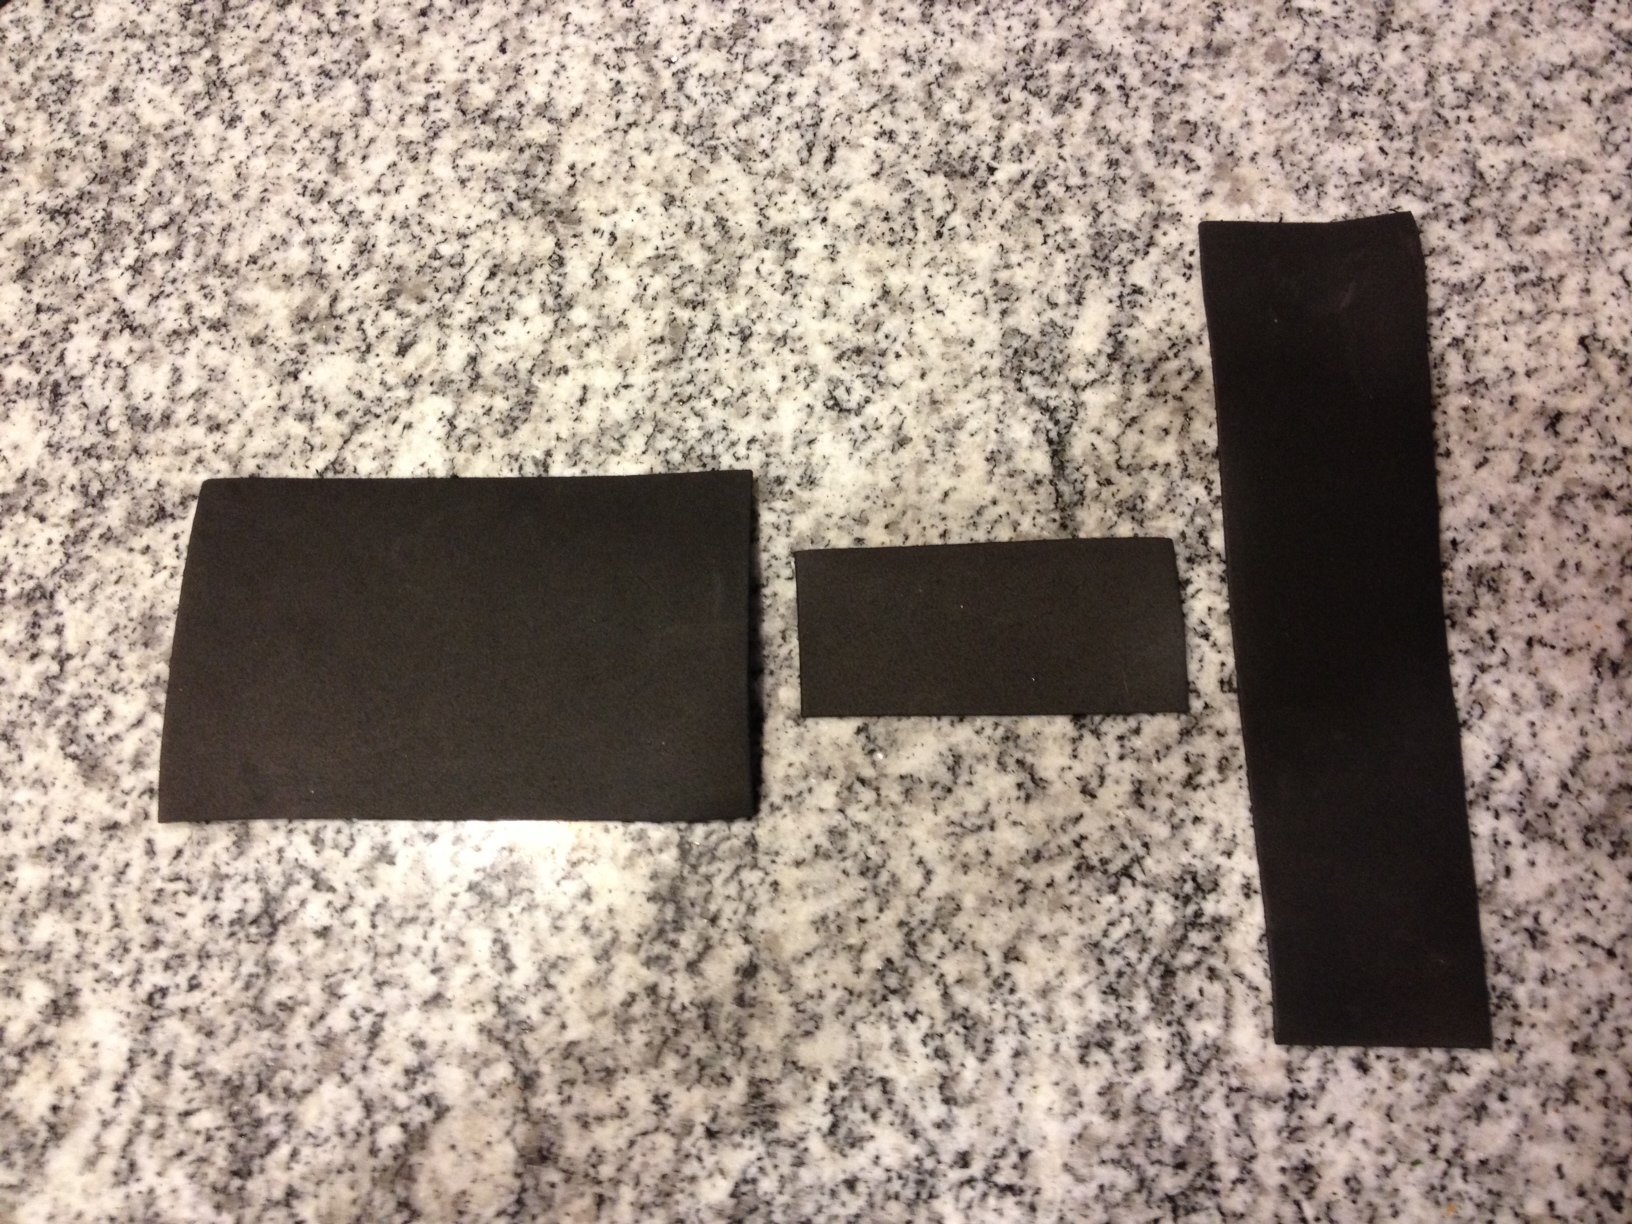
photo 2

Pieces for the base of the gauntlet

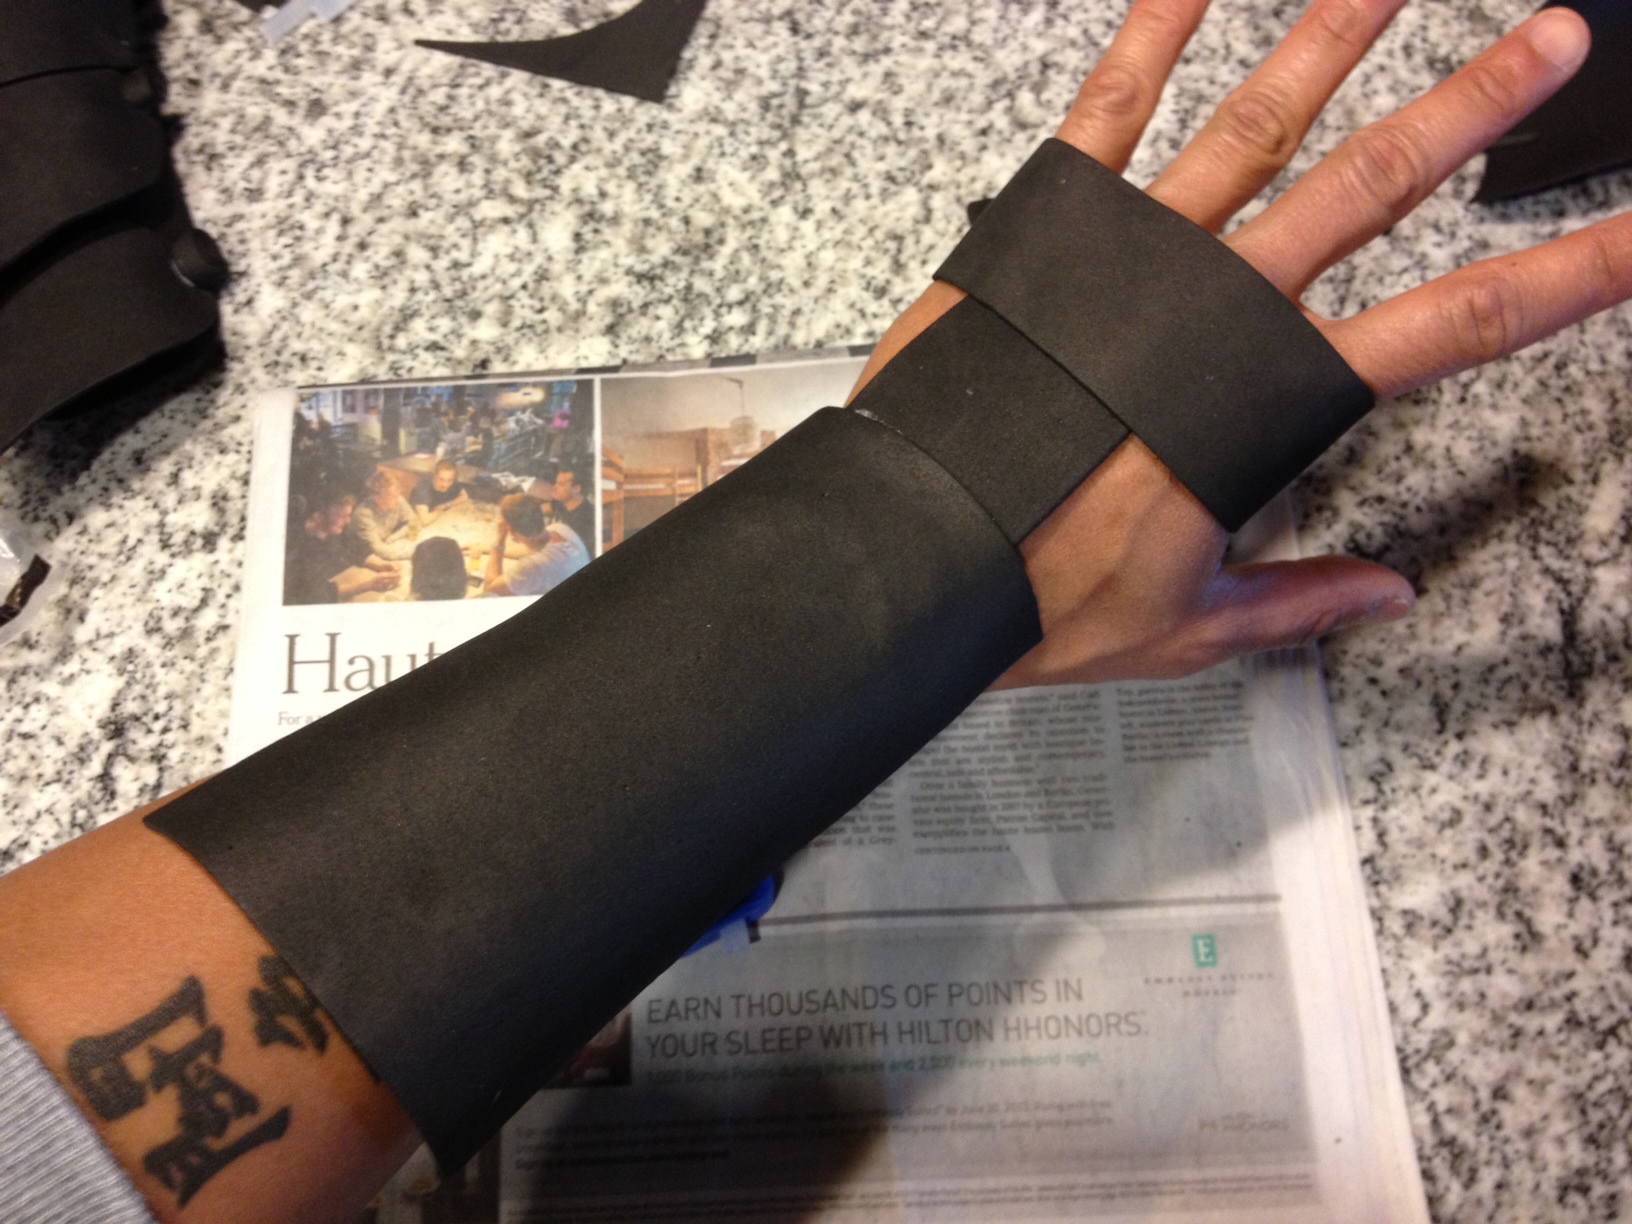
For the base of the gauntlet, I cut a piece of craft foam to fit the back of my forearm. I made a similar piece to encircle the back of my hand and palm.

photo 3

Heating the foam

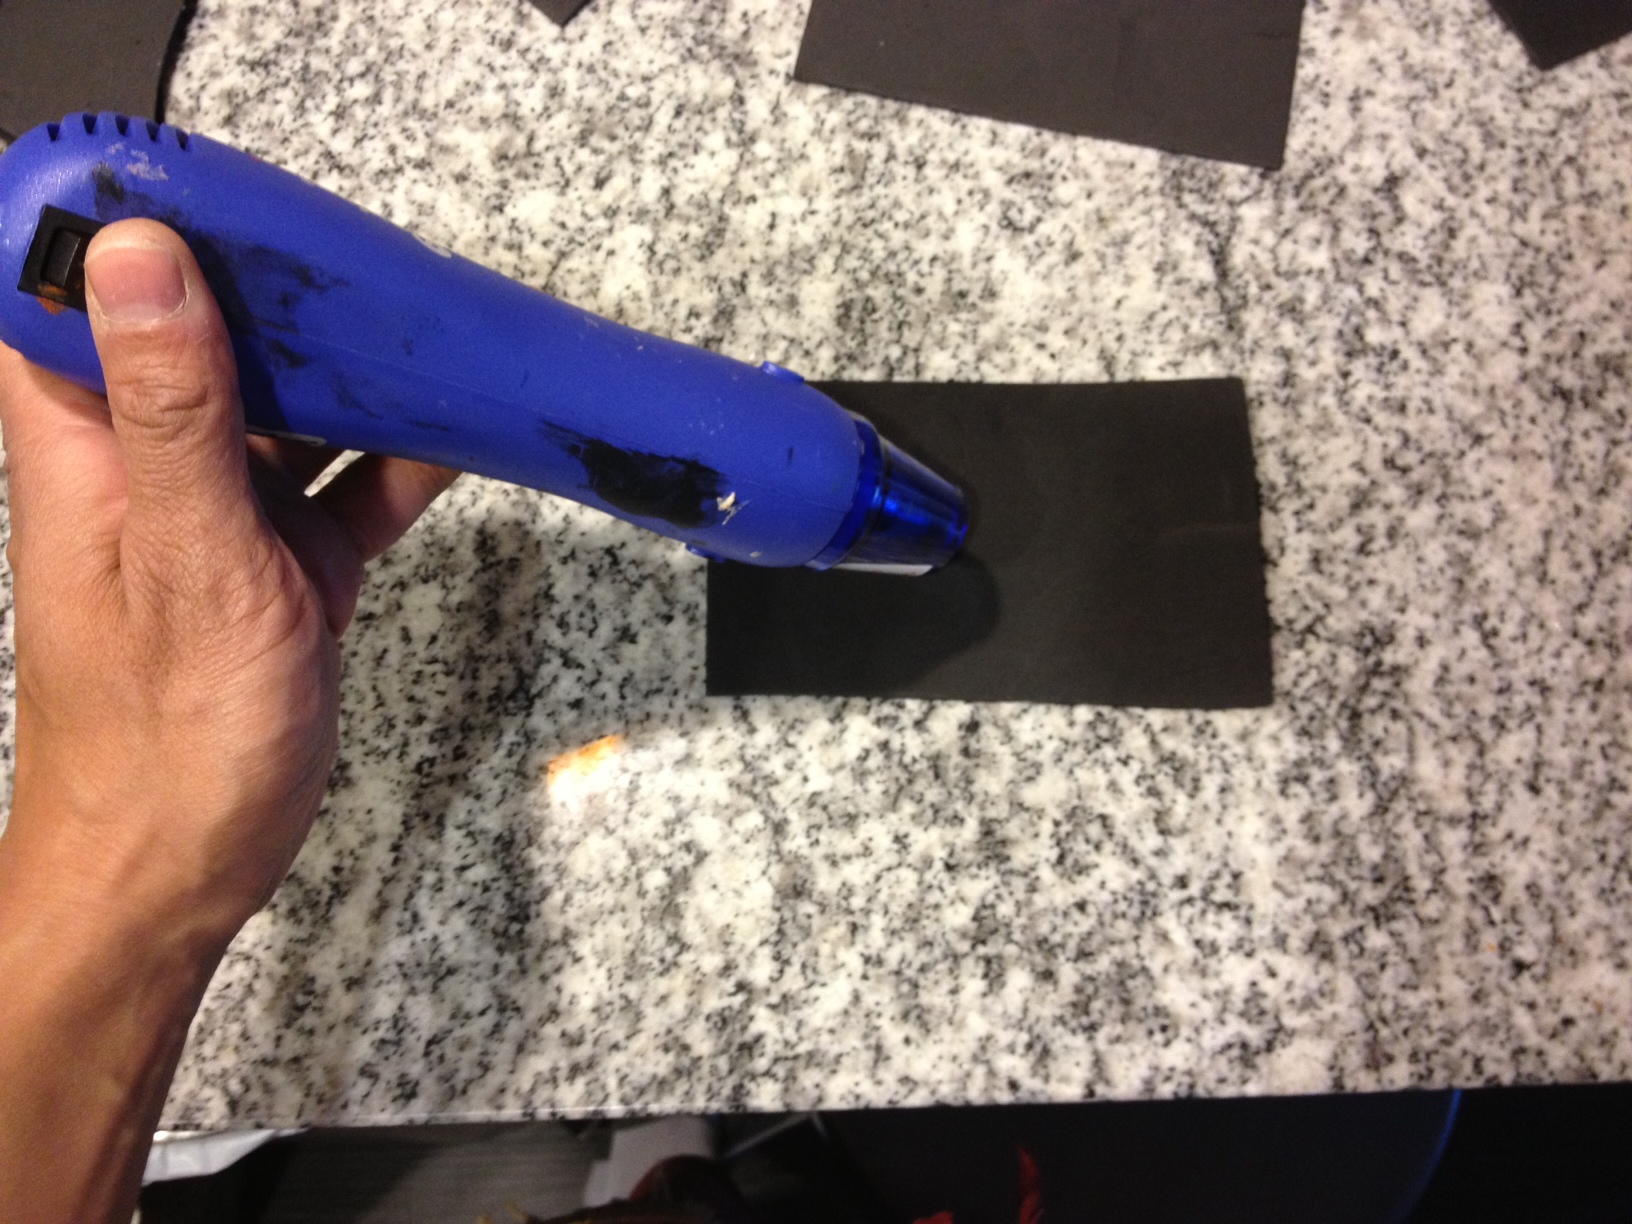
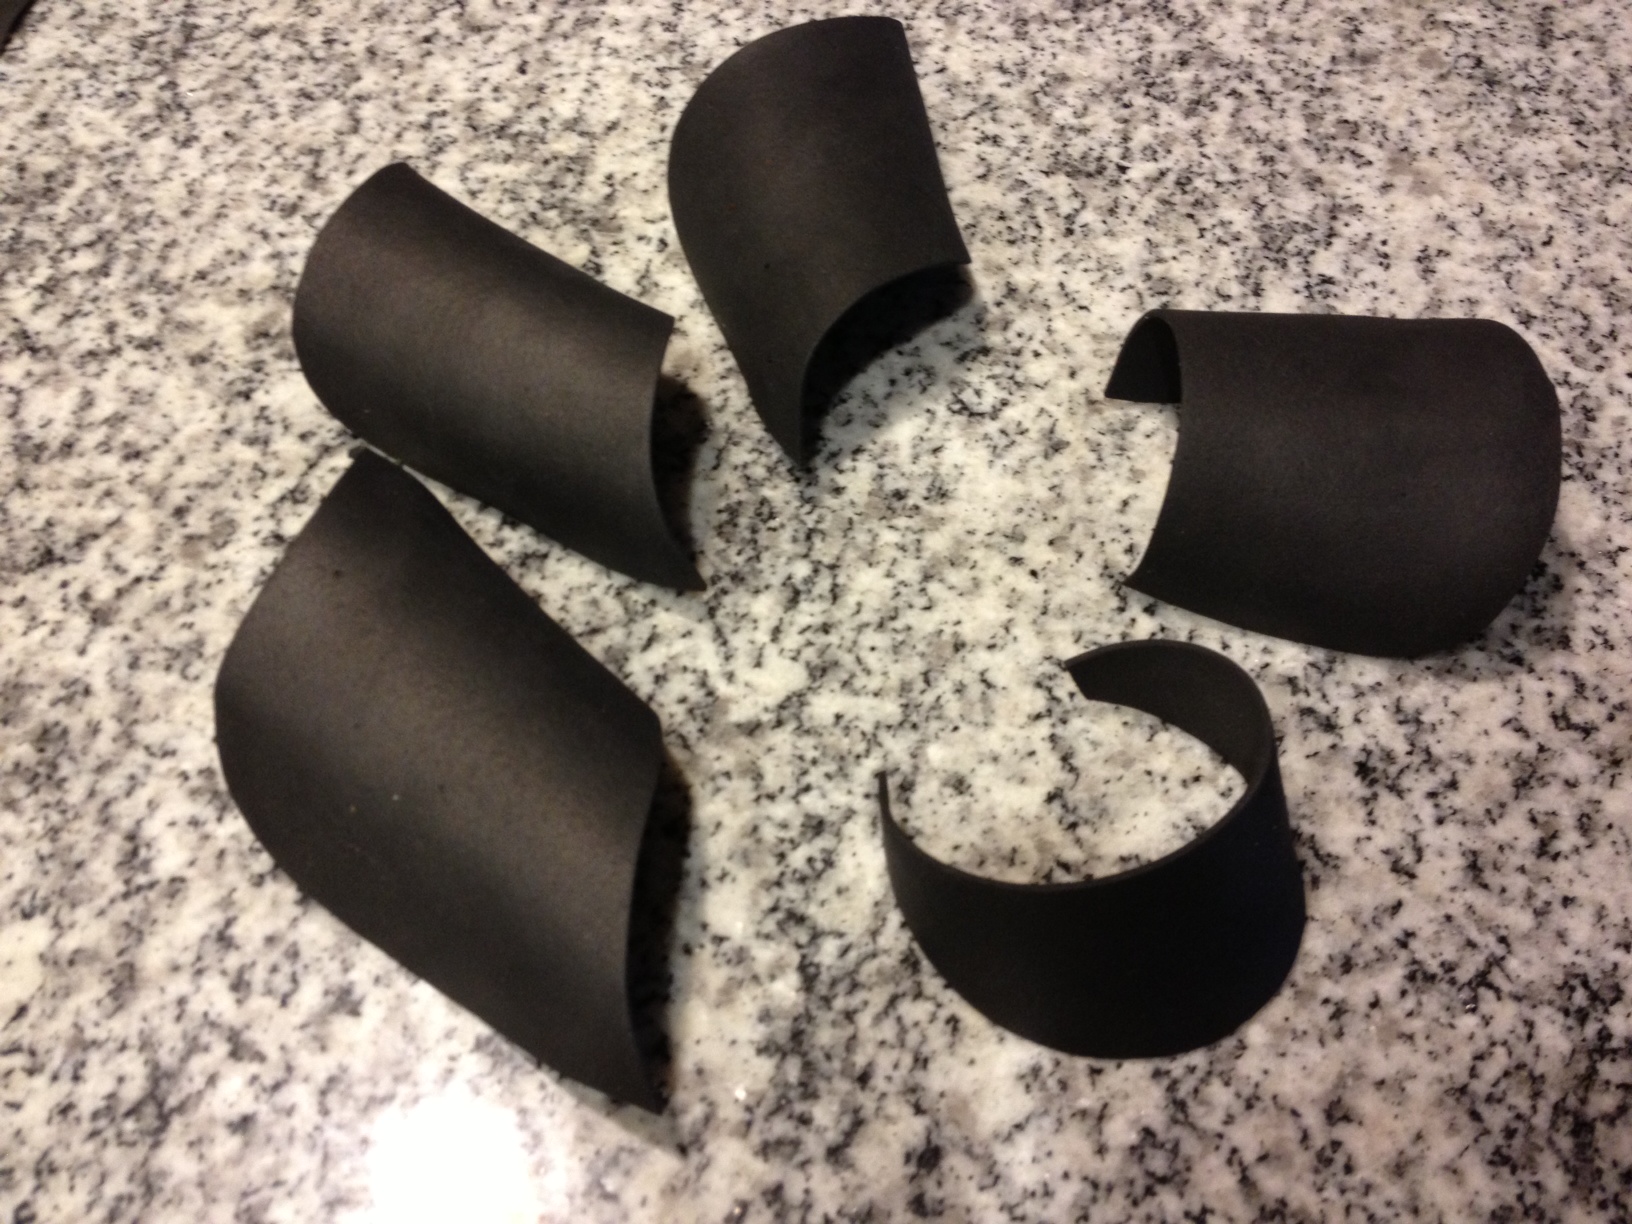
Optional: I used a heat gun to carefully heat and shape the foam. While it was still warm, I formed the pieces around my forearm and hand. You could also do this with a glass, tube, etc. If you want to skip this step, you can curl the foam without heating it–it just doesn’t hold its shape as well.

photo 5

“Armor” pieces

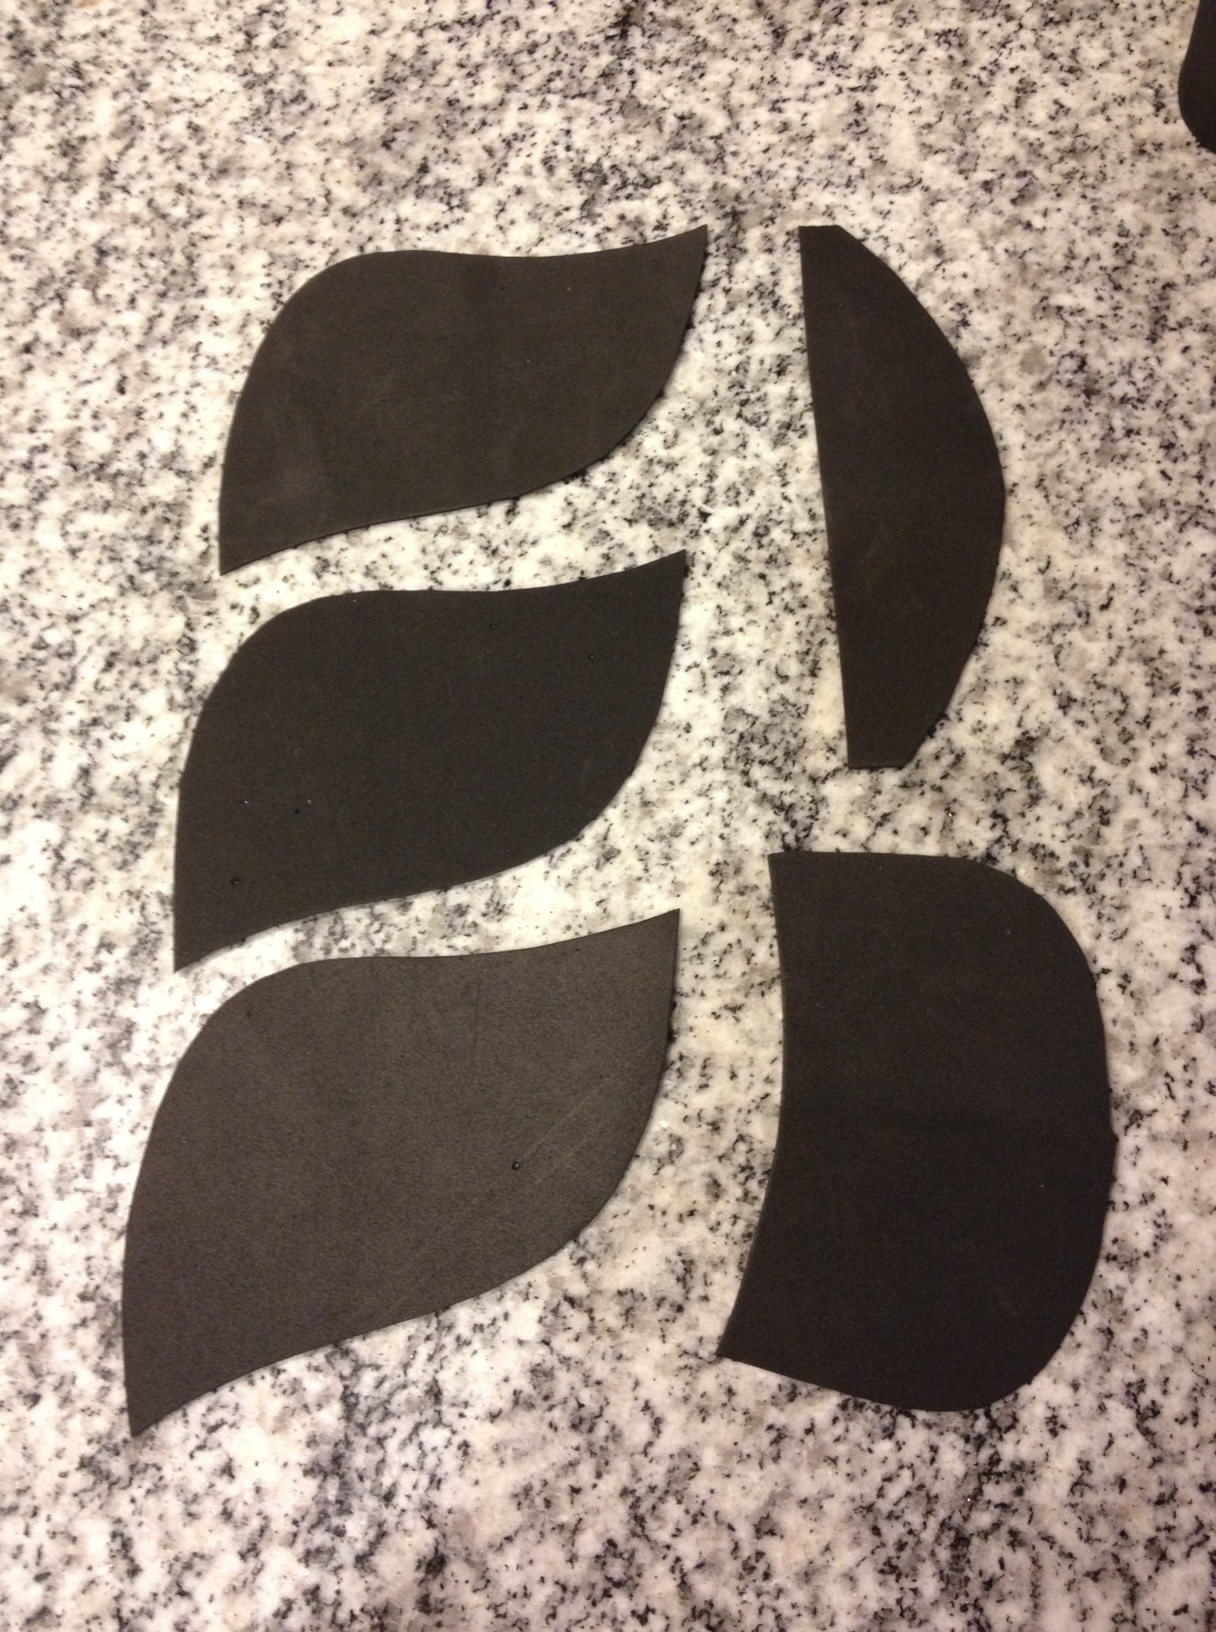
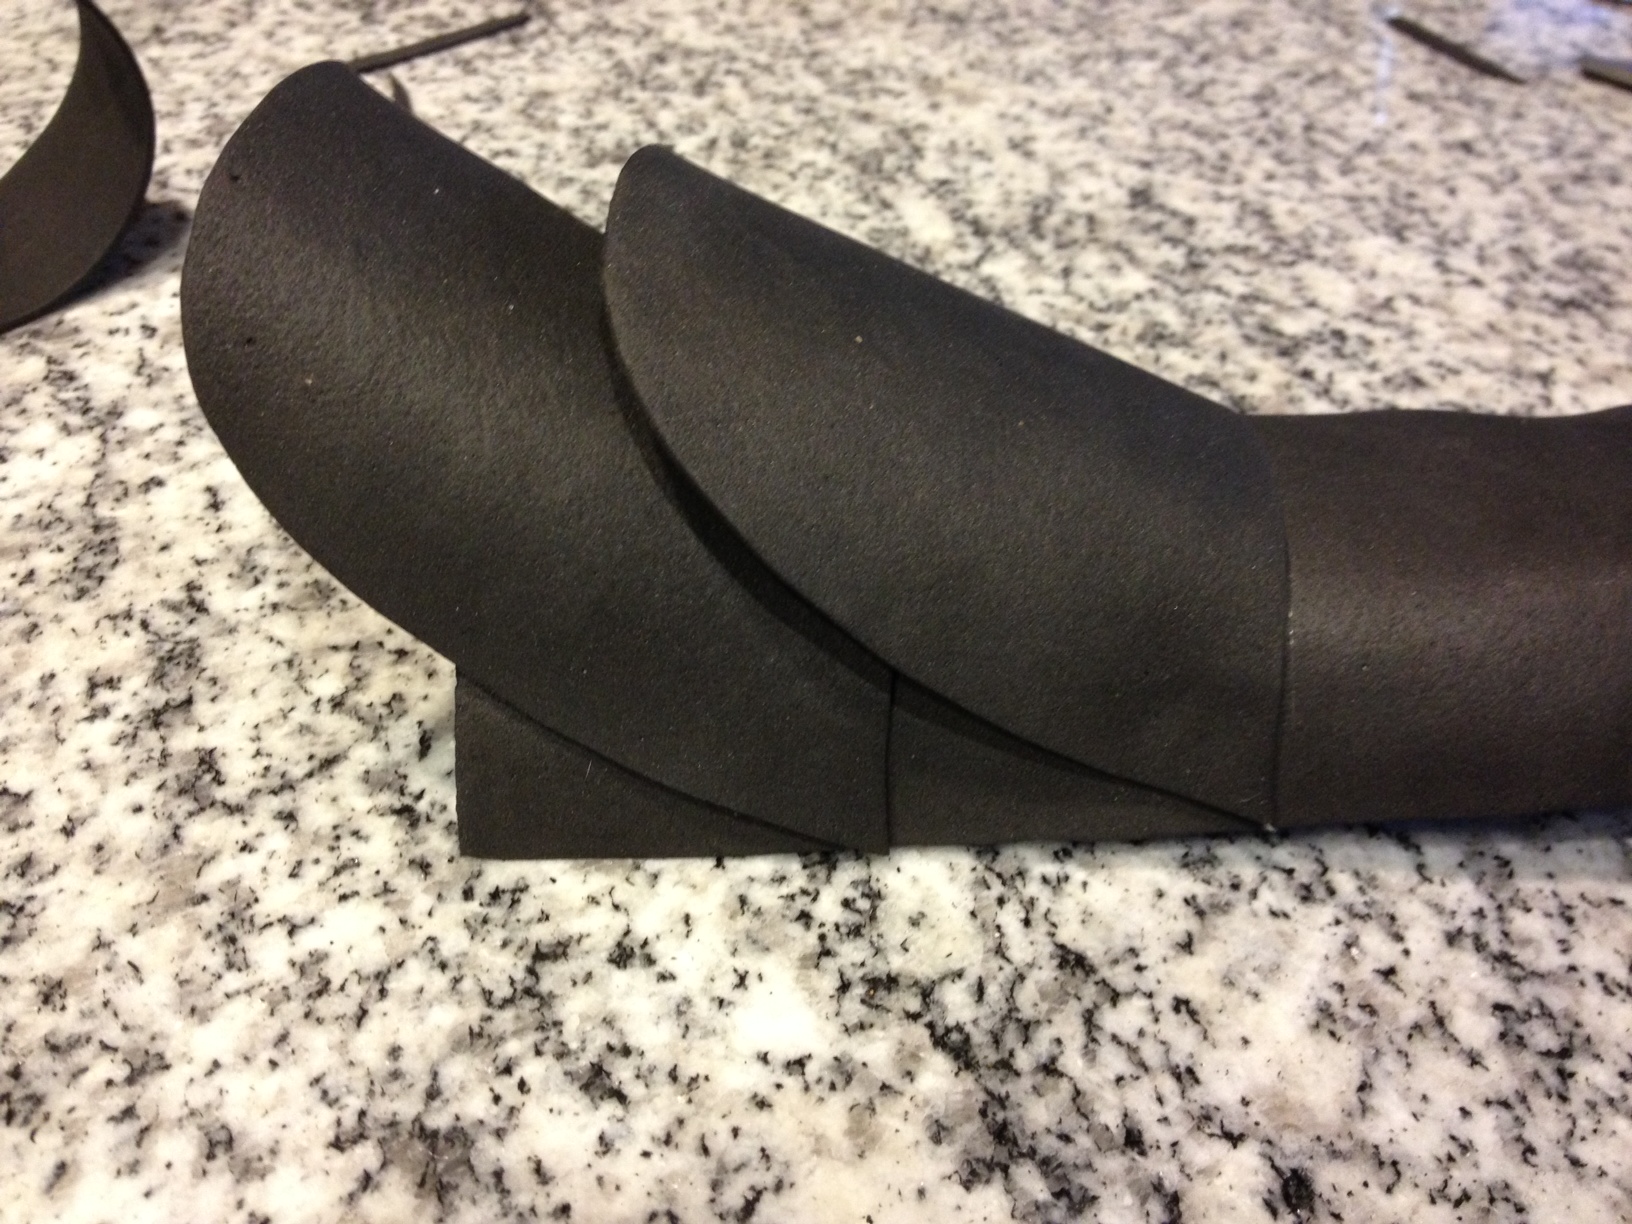
I then cut more foam pieces for the armor plating. You can draw the shape directly on the foam with your sharpie or you could cut out a template to use from your scrap paper.

Save the scraps of foam that are left over–these can be used for decorations later! Self-adhesive foam shapes work well for decoration, too.

photo 1

Pieces after being heated and shaped

photo 2

Gluing the base together

I then used a hot glue gun to put all of the pieces together. Double-sided tape works, too.

photo 3

Armor pieces glued at an angle to make them pop out

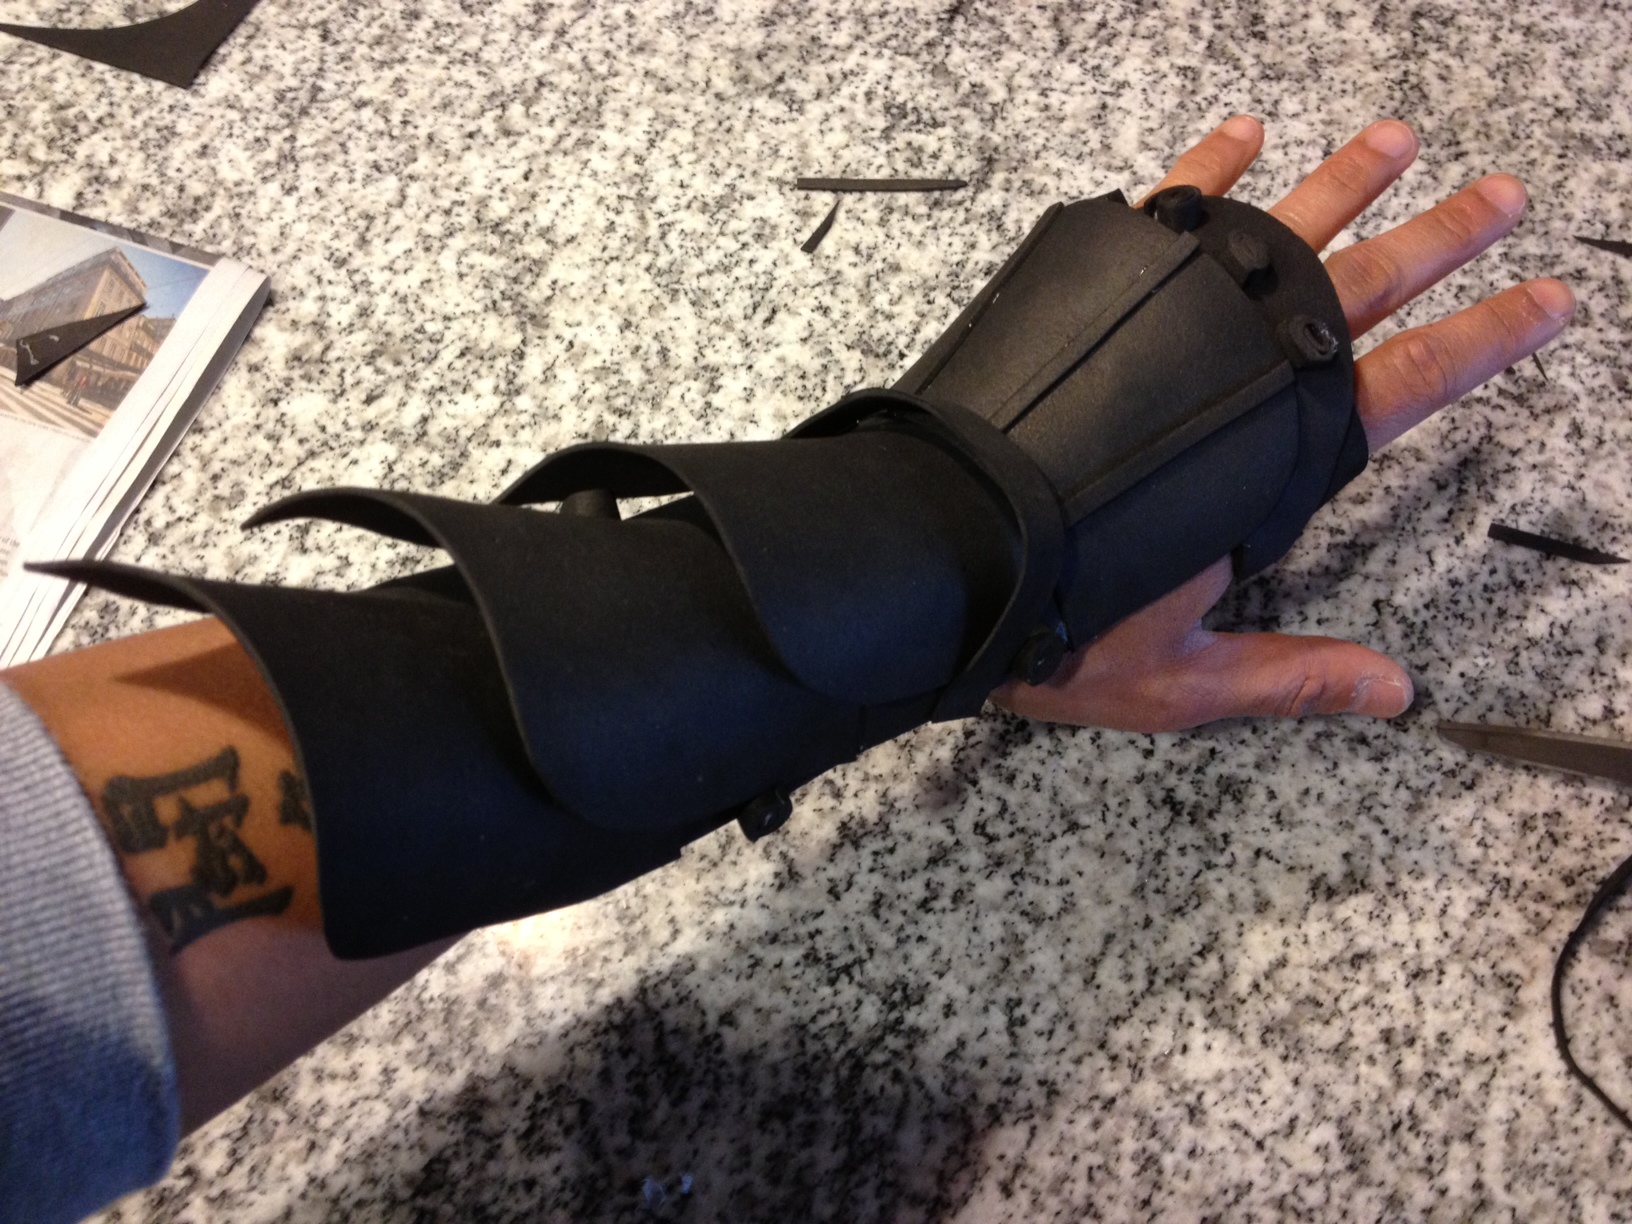
You could use velcro or elastic to make a closure for the glove so that it stays on your wrist. In this case, I used the scrap foam to make some small studs that I will stretch rubber bands across to hold it in place.

photo 4

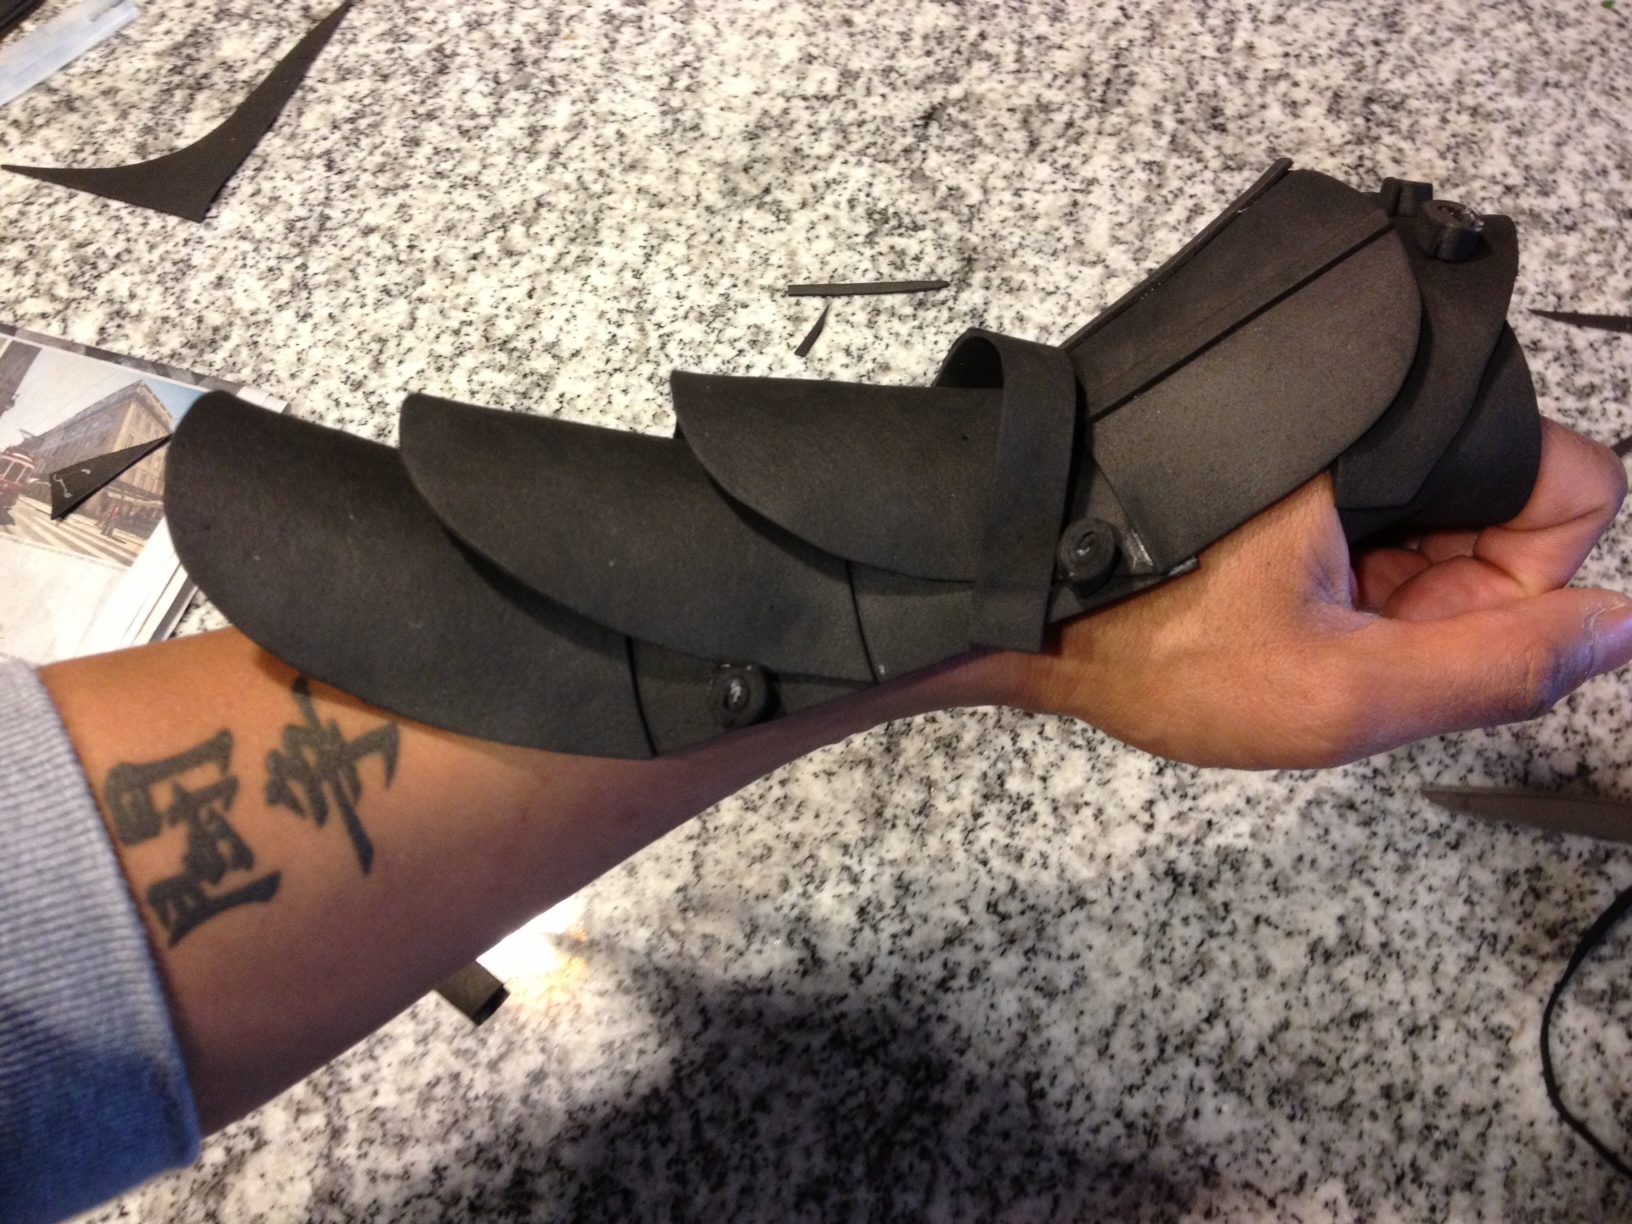
Finished glove

photo 5

Close-up of the stud attachments

Keep in mind that craft foam is very thin, so this armor is purely for show! And again, you can make almost anything you can imagine with these materials. For more ideas,  search “cosplay diy” and also check out this amazing tutorial.

And don’t forget to come to the DMA to see Takenouchi no Sukune Meets the Dragon King of the Sea and to participate in Studio Creations!

JC Bigornia
C3 Program Coordinator

Make This: Poured Paint Sculptures

20130217_151126

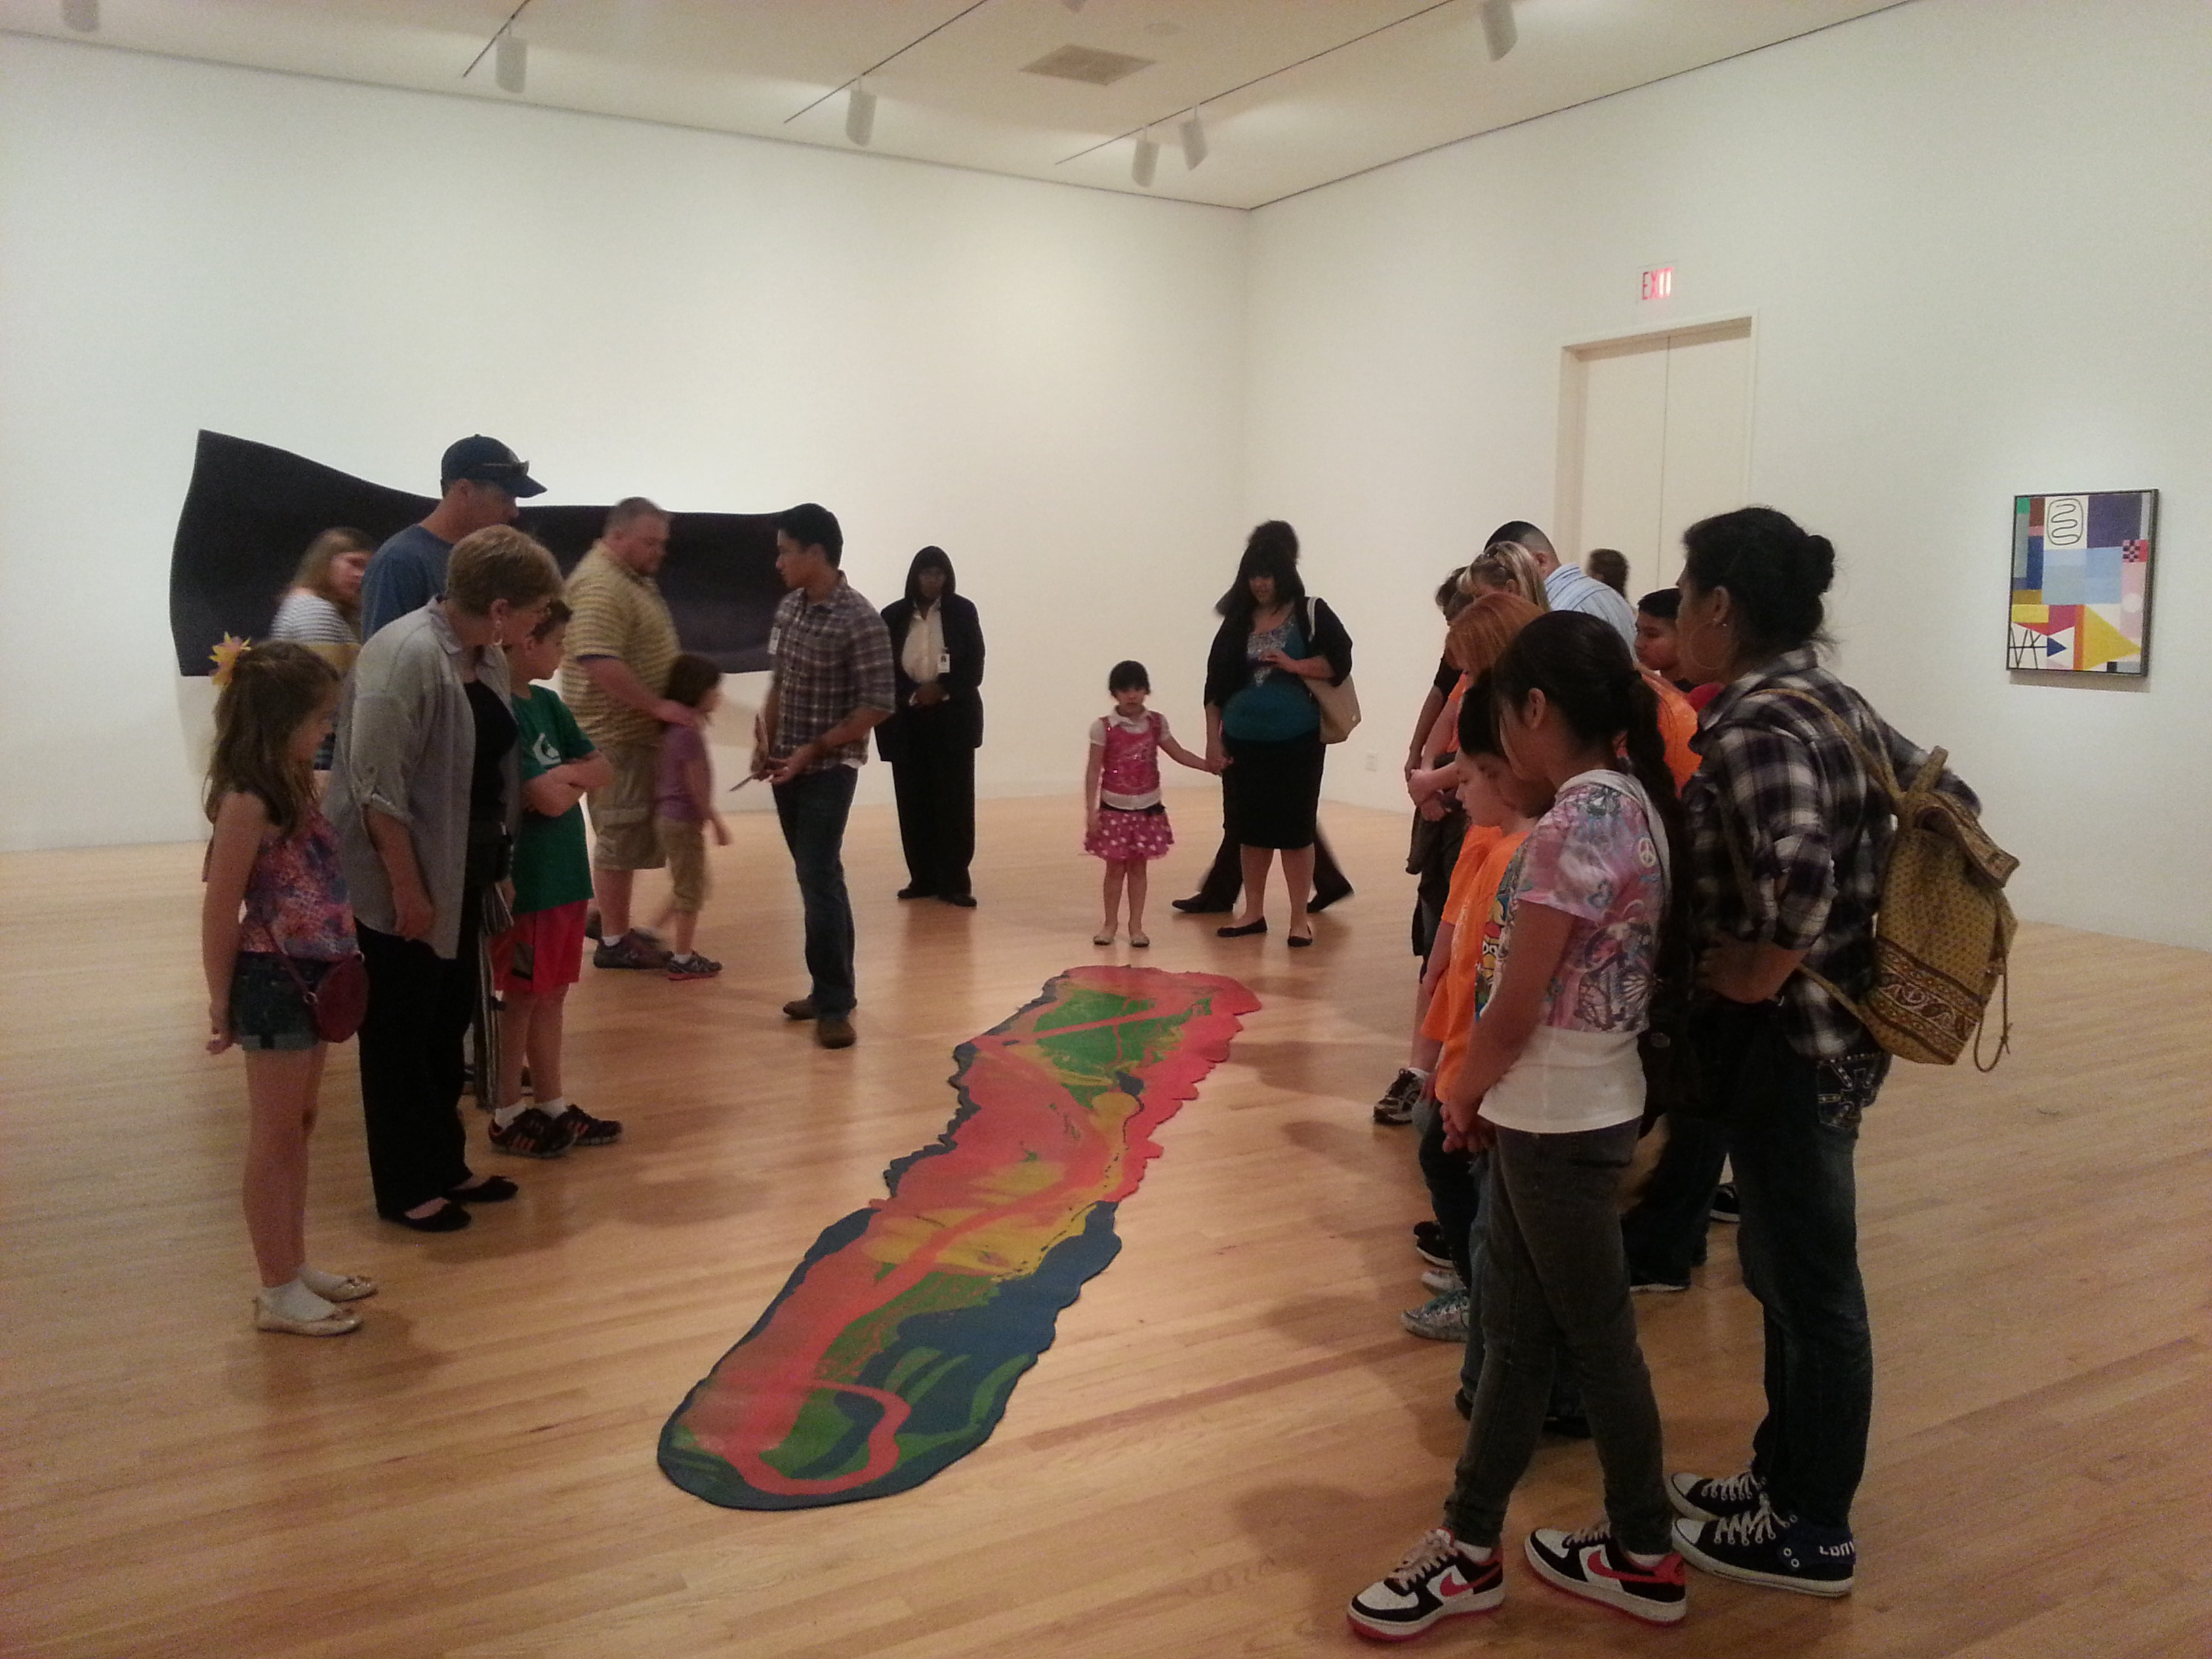
Studio Creations participants share their thoughts about Lynda Benglis’ work.

During Studio Creations this month, we looked at Lynda Benglis’ Odalisque (Hey, Hey Frankenthaler), part of the special exhibition Difference?. There are many aspects of this work of art that make it fun to talk about with people, but what I find the most interesting is the way it challenges how we define painting and sculpture. To me, it really lives between the two! This idea provided the catalyst for our Studio Creations art making activity. During each workshop, visitors created poured paintings based on chance, which, when dry, could be peeled from the painting surface and made into something sculptural. Here’s a quick tutorial for creating the project at home with your family:

Supplies

  • Gloss medium or Liquitex pouring medium (available at most art supply stores)
  • Acrylic paint (I prefer gloss acrylics, but any type will work well)
  • Painting surface: A sheet of cardboard covered with heavy plastic (or something similar)
  • Squeeze bottles or cups for dispensing paint
  • Toothpicks for adding designs (optional)

IMG_0449[1]

Plastic-covered painting surface, gloss medium, and acrylic paint in squeeze bottles

Steps

IMG_0450[1]

Squeeze a small amount of gloss medium onto the painting surface. Using your squeeze bottles or cups, drop a little bit of paint into the medium. There’s no right or wrong way to do this so feel free to experiment! Try planning it out or putting the paint in randomly.

IMG_0451[1]

Now try tilting your painting surface in different directions. The paint will start to run depending on the direction and angle that you tilt it. This is where the part about chance comes in–you only have a certain amount of control over the paint as it moves. Chance played a big role in the way that Lynda Benglis created Odalisque–she didn’t have any control over the paint after pouring it.

IMG_0453[1]

Whenever you feel like it, add more paint. But be sure to drop it into the medium–otherwise, it could break off from the rest of the painting when dry. Continue adding paint and tilting the surface until your painting almost reaches the edge.

IMG_0455[1]

When you are finished, let your painting dry for at least one day. If you added a lot of paint, it may need an extra day or two to fully dry. Afterwards, carefully peel the painting away from the painting surface–it should be plastic-like in consistency.

Now try making it into something sculptural! Your painting can easily be cut and molded. Some ideas that came up during Studio Creations were: a mask, a bowl, a mouse pad, a jacket, and a sun catcher, among others. If you’d like to share your creation with us, feel free to send an image to jbigornia@dma.org and I’ll post it on our Flickr page.

IMG_0458[1]

Finished painting

IMG_0459[1]

Almost sculptural, don’t you think?

IMG_0460[1]

Detail of paint surface

Tips

  • Your painting does not have to look a certain way. Have fun and experiment!
  • For best results, I suggest using pouring medium instead of gloss medium. It’s a little bit more expensive, and it’s only made by Liquitex, but it was designed for projects just like this one and can prevent “crazing” in the paint. For super-duper results, mix a little bit of gloss or pouring medium into your paint before you start your project. One part medium to ten parts paint should be perfect. You can also try string medium!
  • You can get different designs by letting the paint run in one direction for a while and then turning it in another direction. This is really good for making swirls, circles, etc. You can use a toothpick to create fine lines as well.
  • The medium dries clear.
  • Lots of other cool poured paint projects can be found online!
  • Further questions? Feel free to shoot me an email!

JC Bigornia
C3 Program Coordinator

Anytime Activities: Family Fun Tote Bags

Anytime_ToteBags_edu21

Family Fun Tote Bags

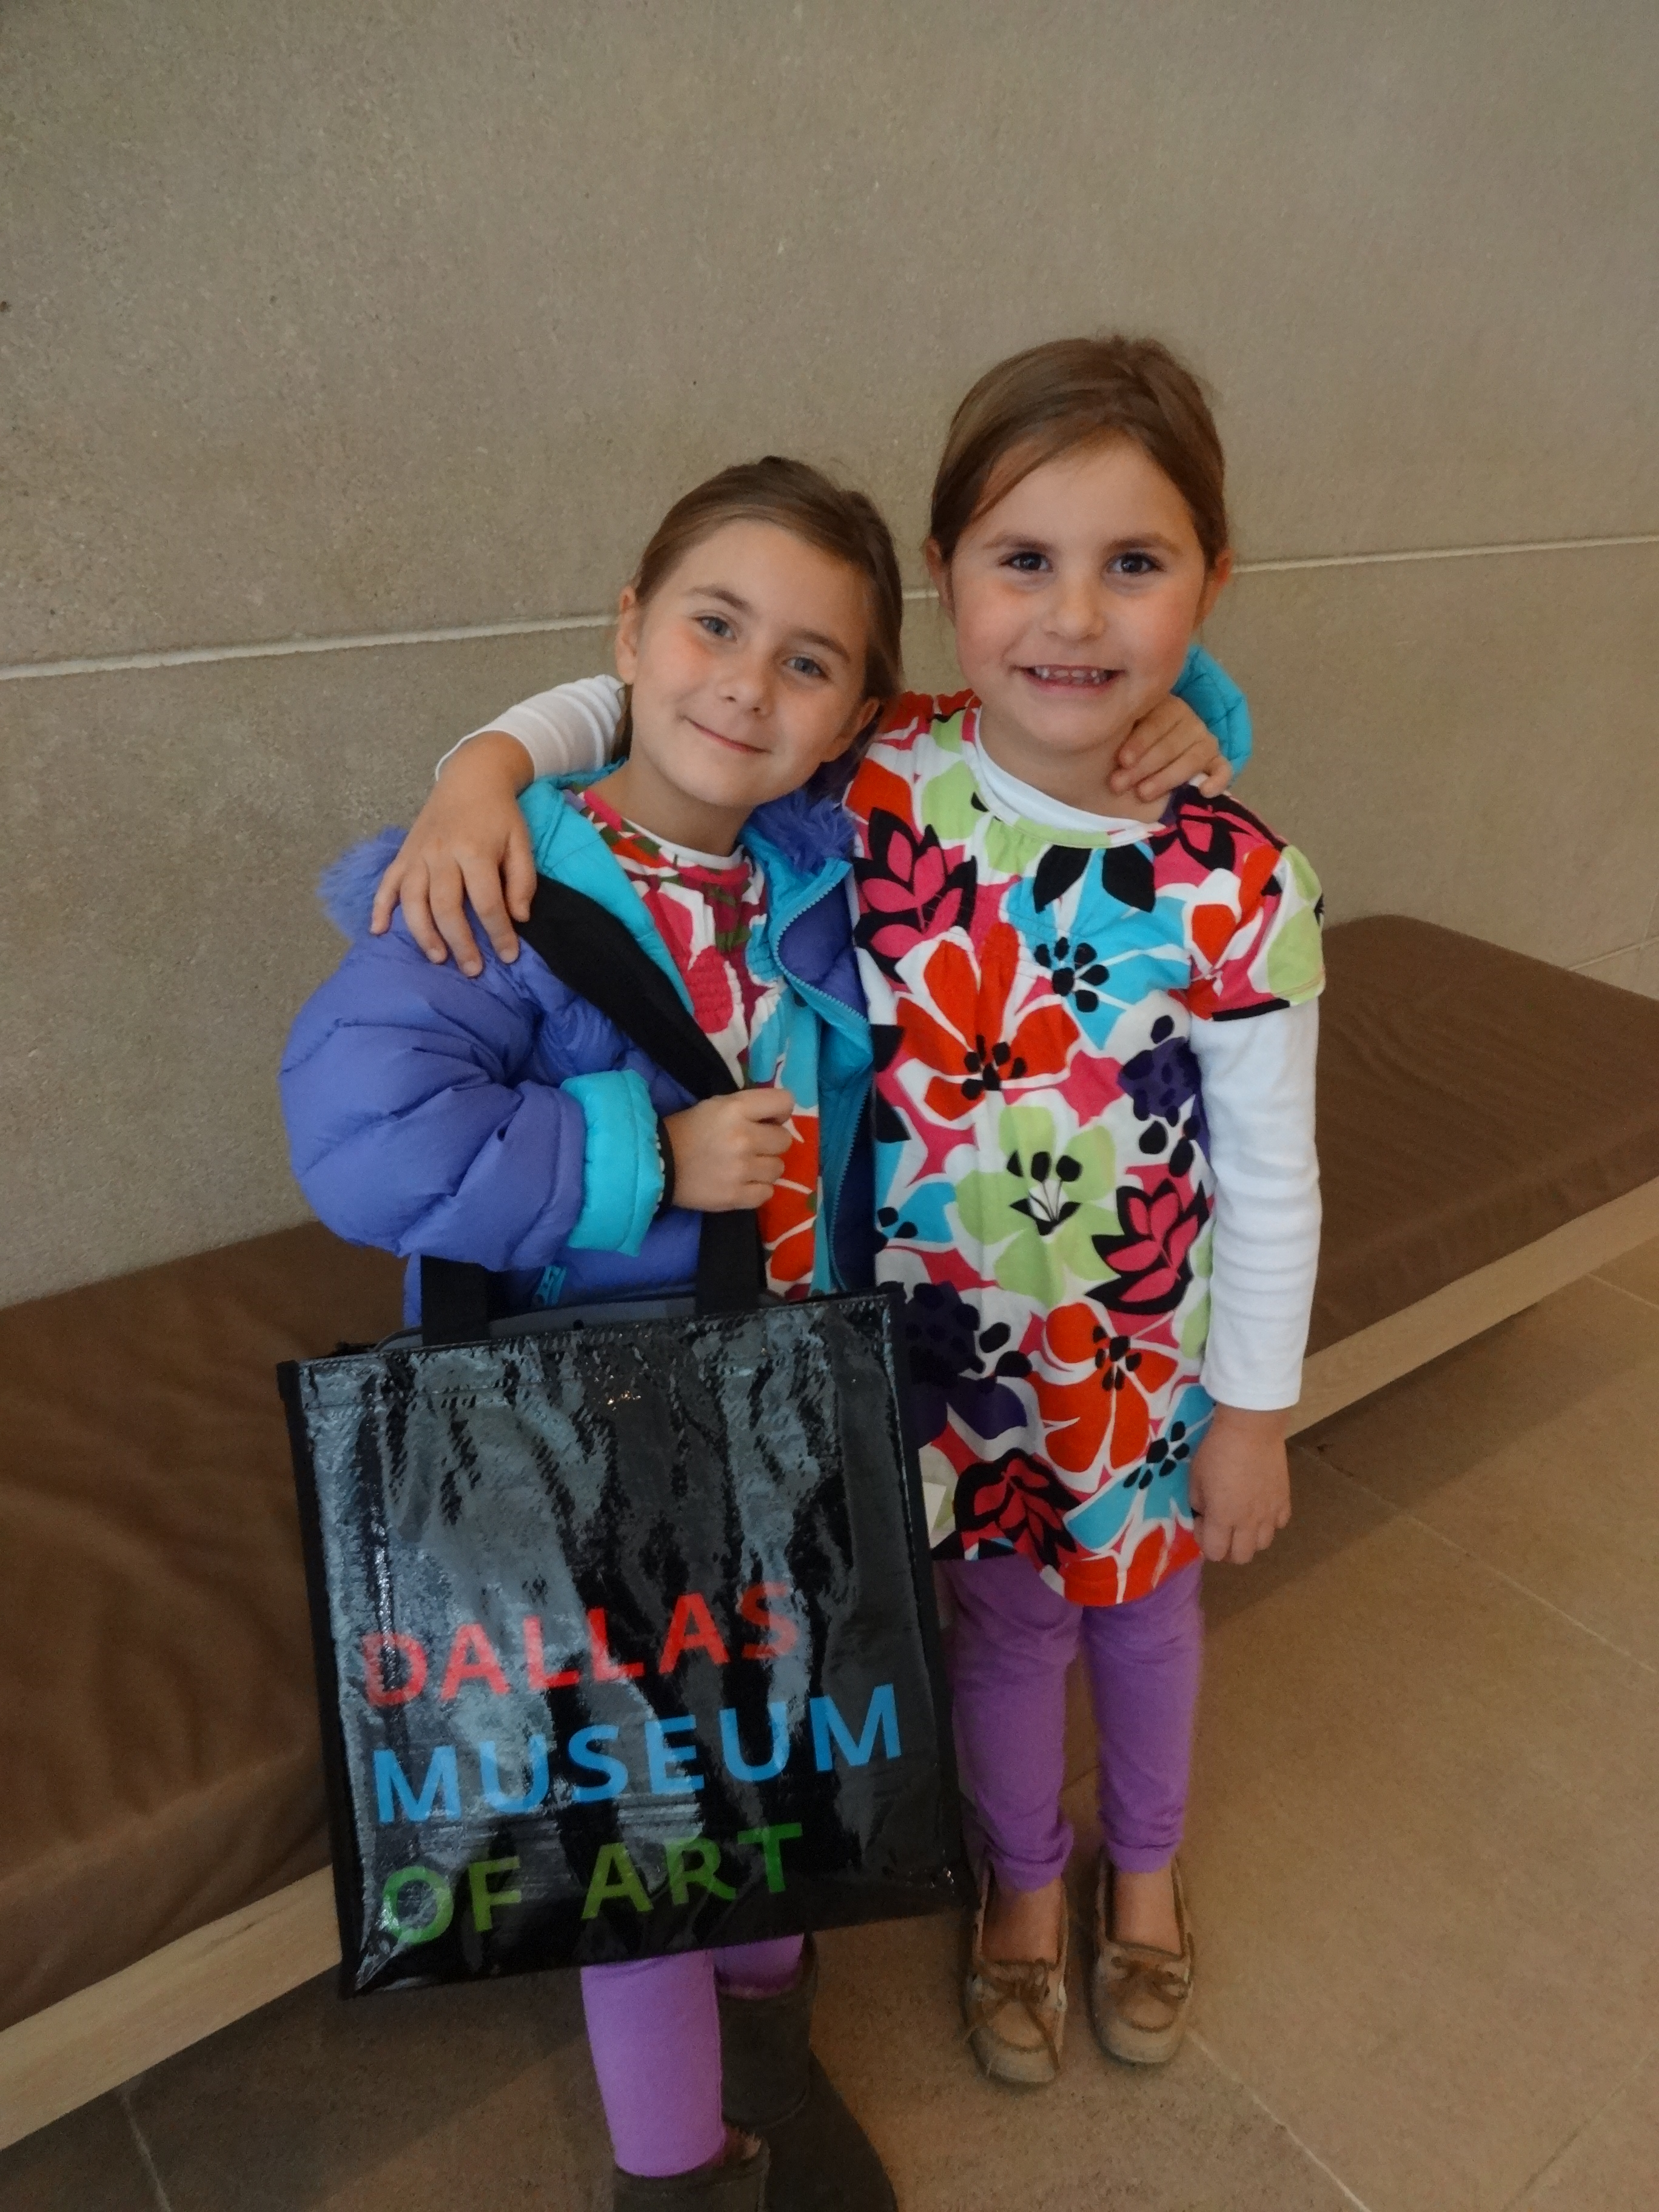
As part of the DMA’s return to free general admission, the Education Division is creating a host of activities that can be utilized by visitors anytime the Museum is open.  The Family Fun Tote Bag is an anytime activity we are particularly excited about and eager to share with families.

Each tote bag is centered around a specific theme, like Color or The 5 Senses, and is filled with a variety of collaborative activities that are appropriate for children of all ages.  Activities fall under four categories–Write, Make, Talk, and Play–and therefore support diverse learning styles and cater to personal interests.

WRITE – Visitors interested in observation and reflection while in the galleries are invited to…
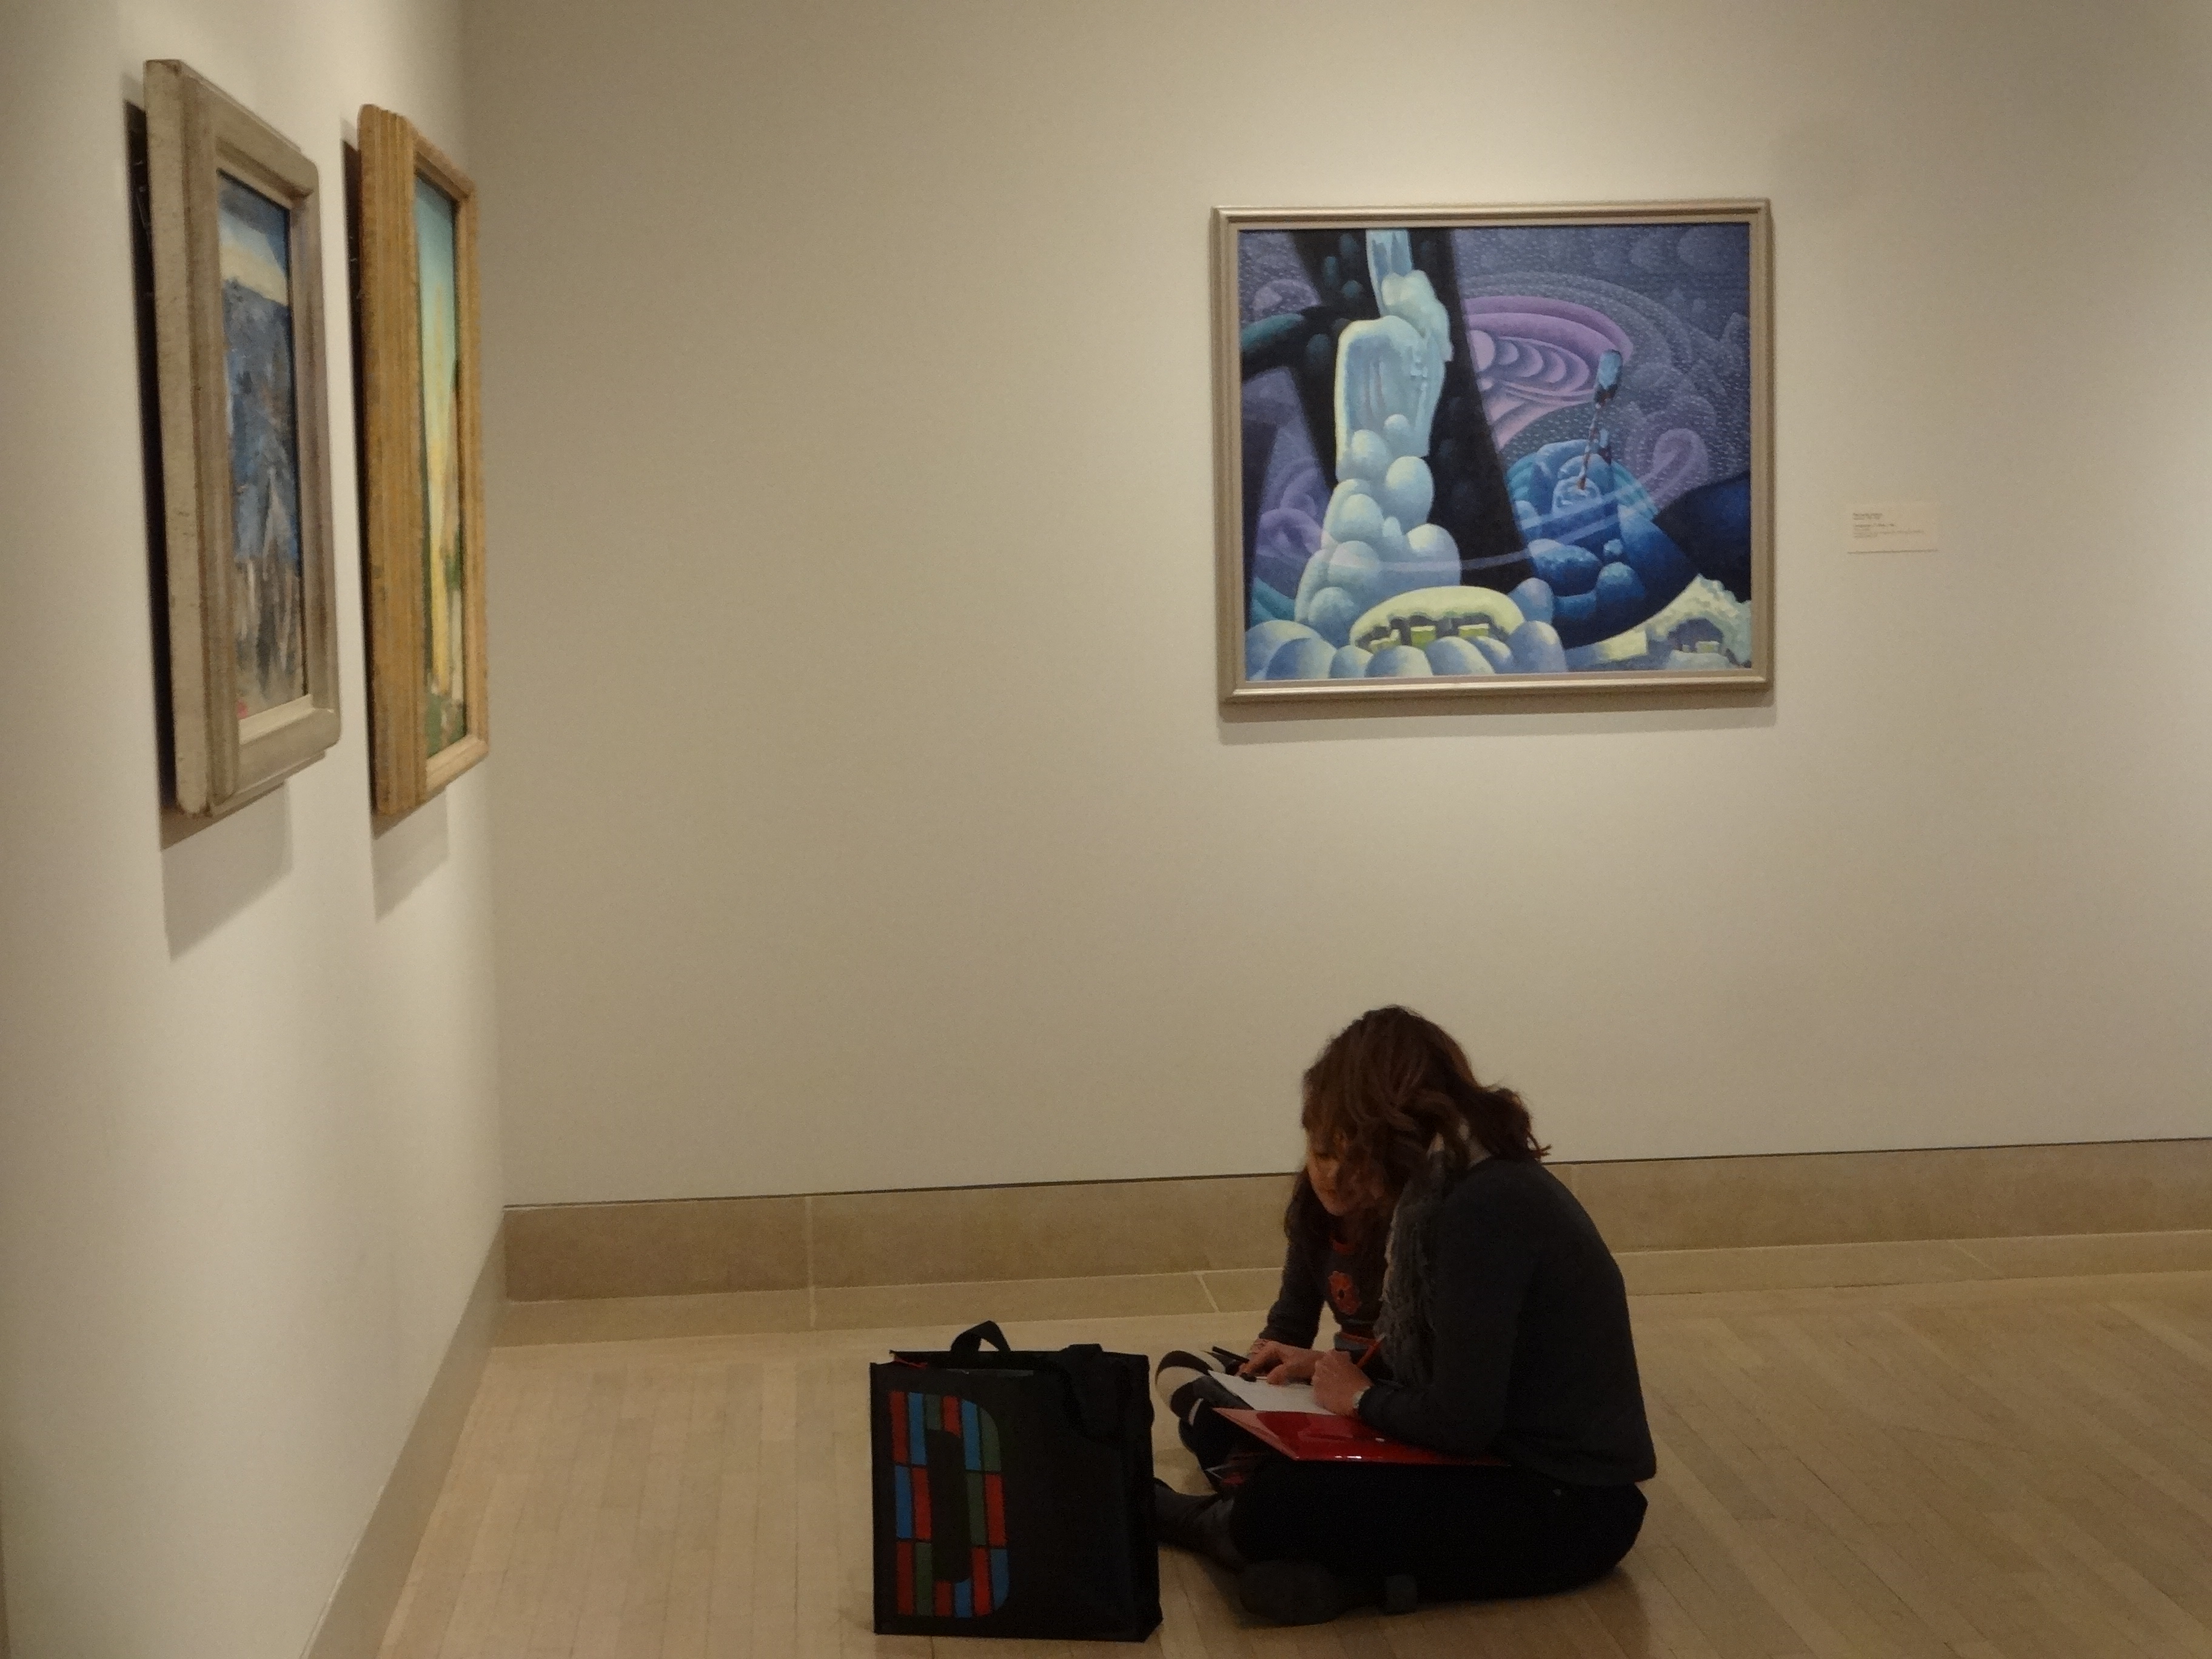
Family completing a writing activity in the American Art gallery.

Family completing a writing activity in the American Art gallery.

– Use their senses to write a poem about what they see in an artwork.

– Generate a Mad-Lib using sensory adjectives.

– Compose a postcard to a friend about a work of art.

– Create a narrative based on a work of art using story dice.


MAKE – For the family members eager for hands-on activities the tote bag encourages…
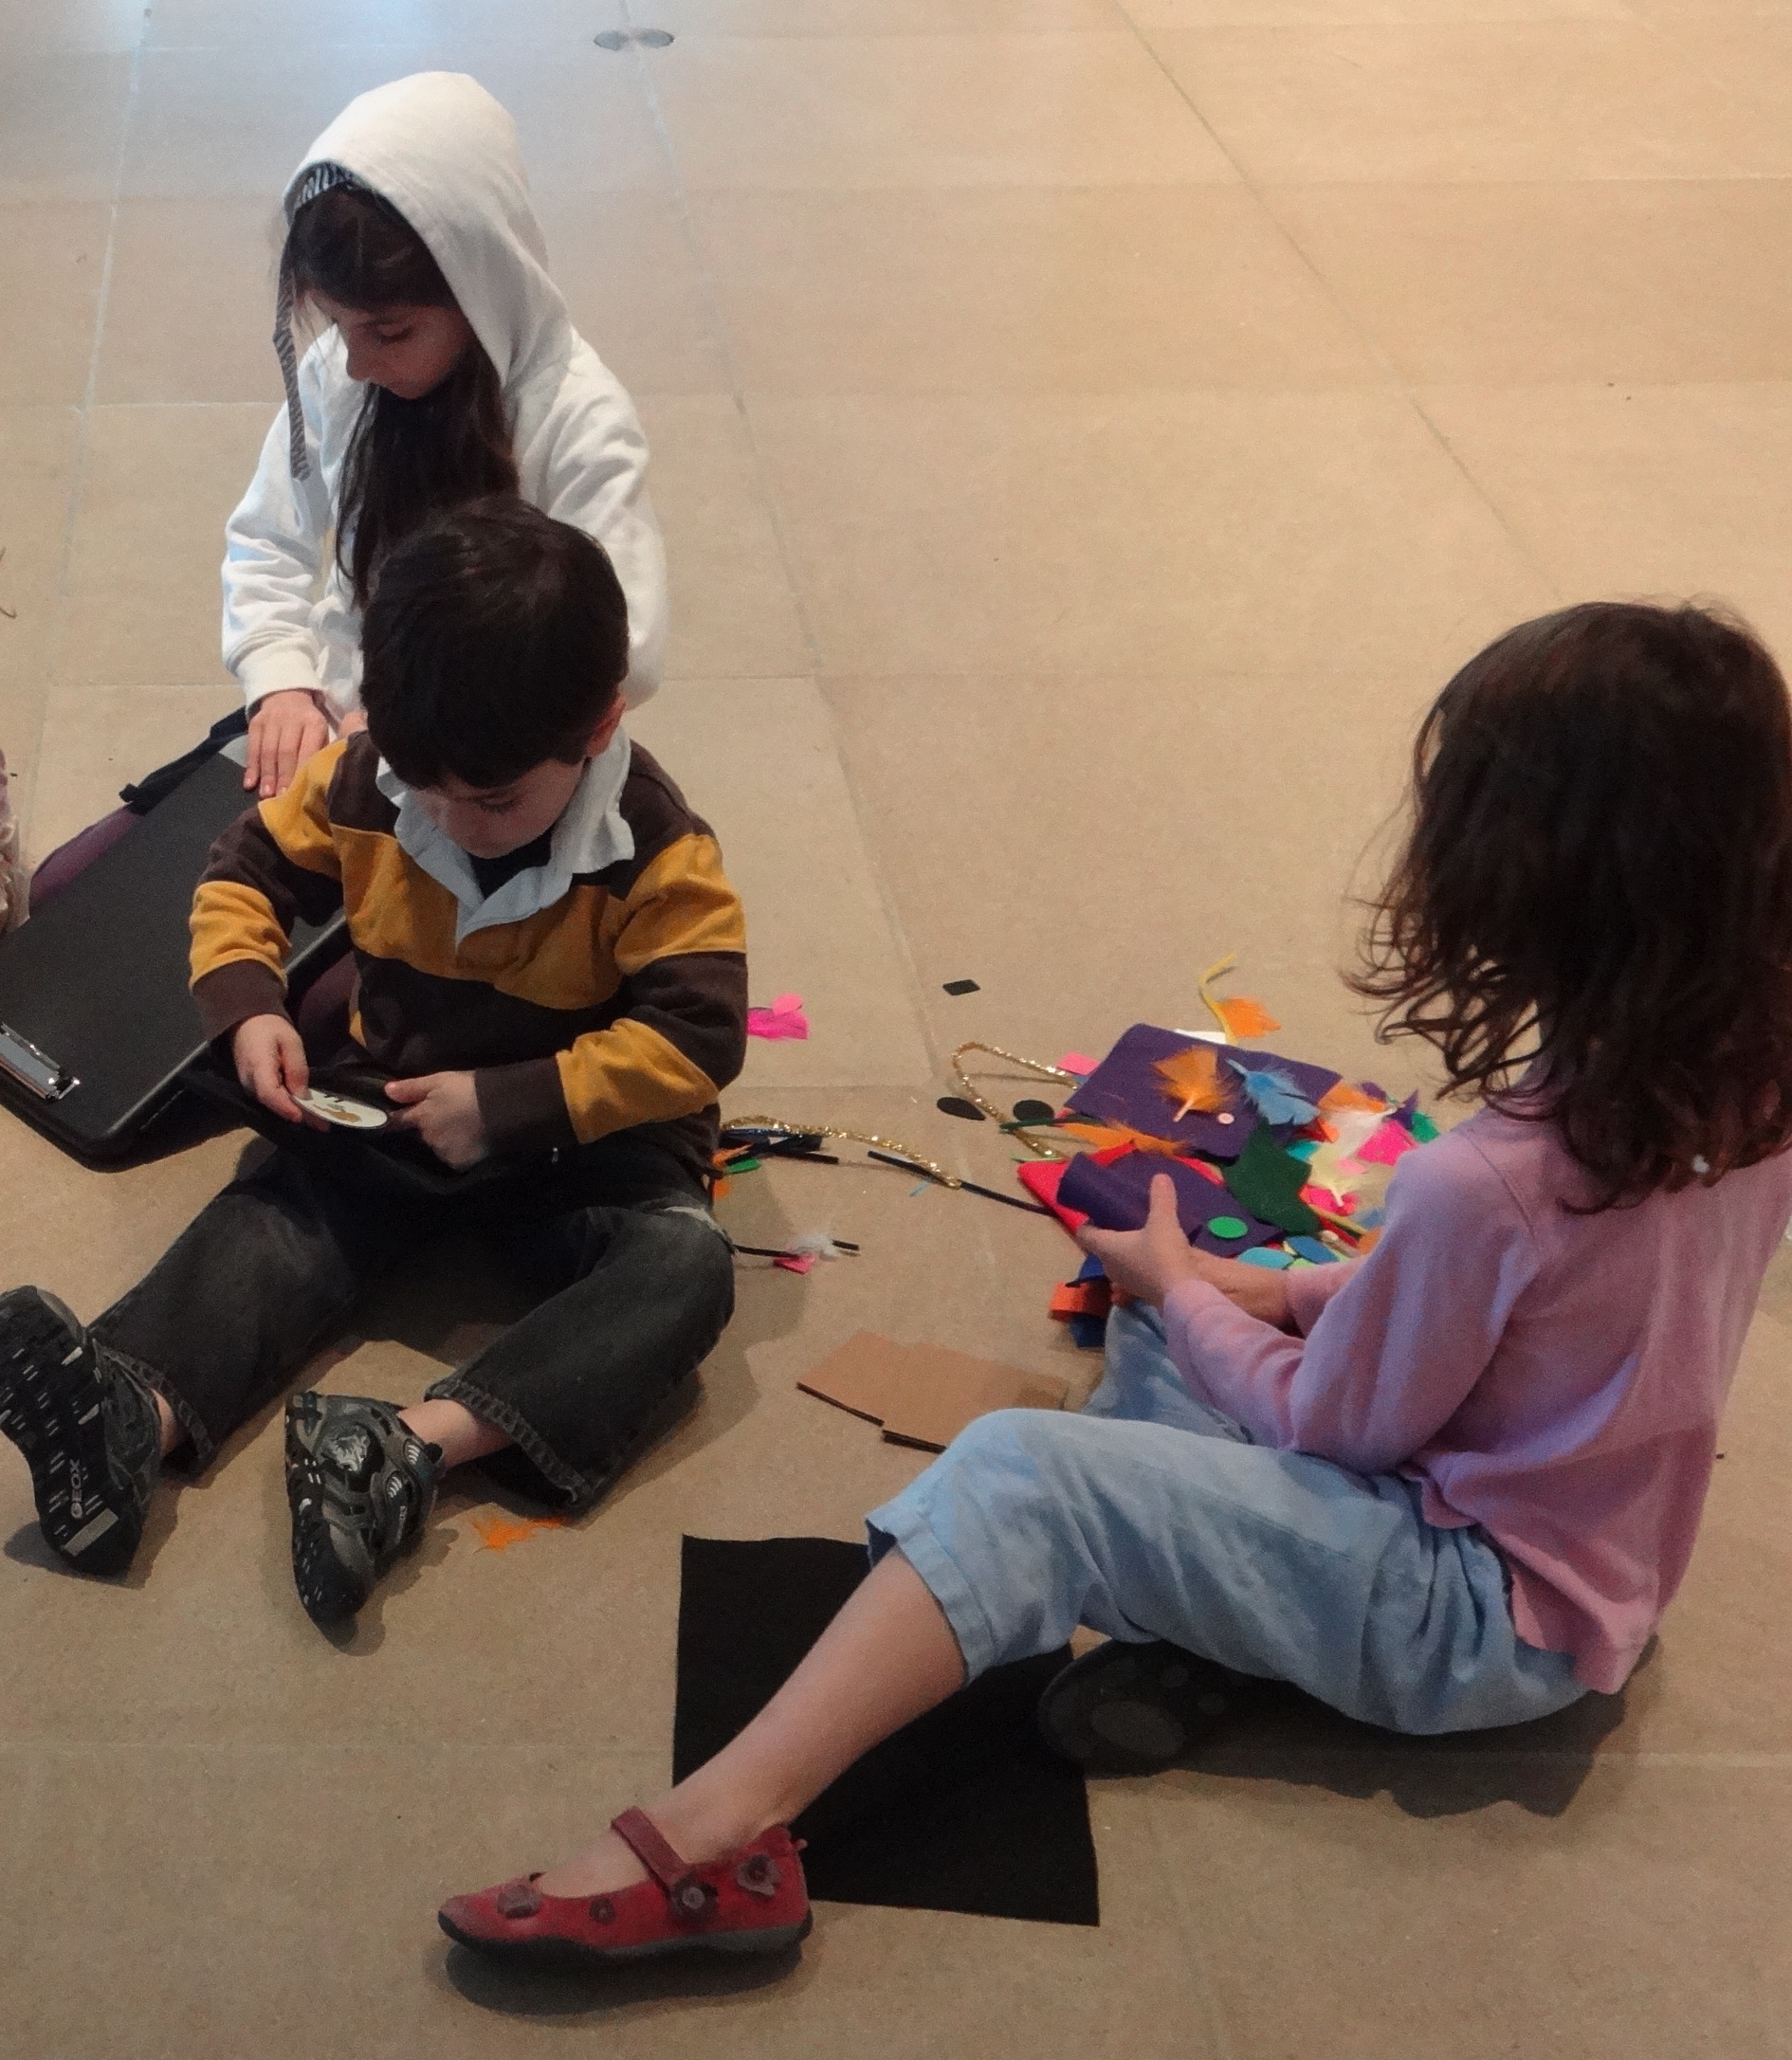
Creating with the Materials Grab Bag

– Sketching a work of art with mixed-up, wacky colors!

– Creating a 3-dimensional illustration by drawing on a styrofoam sheet.

– Using a viewfinder to focus on and sketch specific details of an artwork.

– Producing a unique, site-specific work of art in the galleries using the Materials Grab Bag.


TALK – Enthusiasts of discussion-based activities will enjoy…
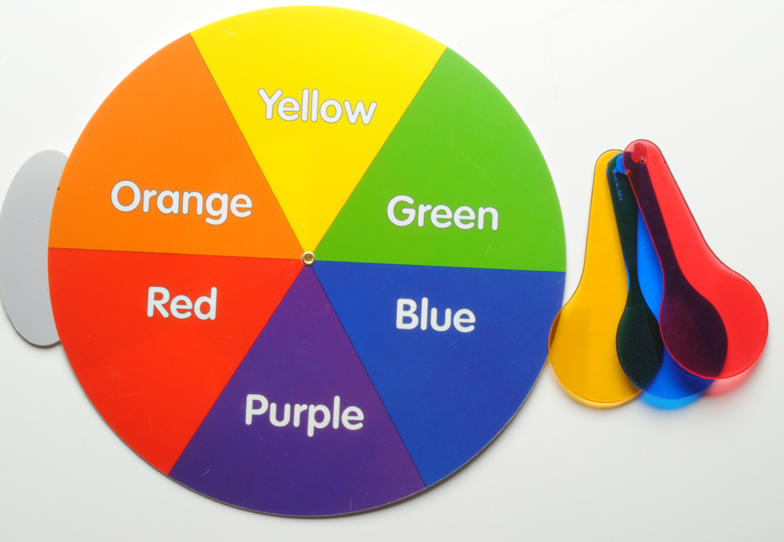
Color mixing activity

Color mixing activity

– Working as a family to talk about a work of art using as many movement words as possible.

– Searching for a favorite color in at least three different works of art and explaining what you like about each.

– Using adjectives and sensory details to describe a work of art to a family member that has been blindfolded.

– Experimenting with mixing colors together using the color paddles, and describing what you see.

PLAY – Families with active learners will enjoy…
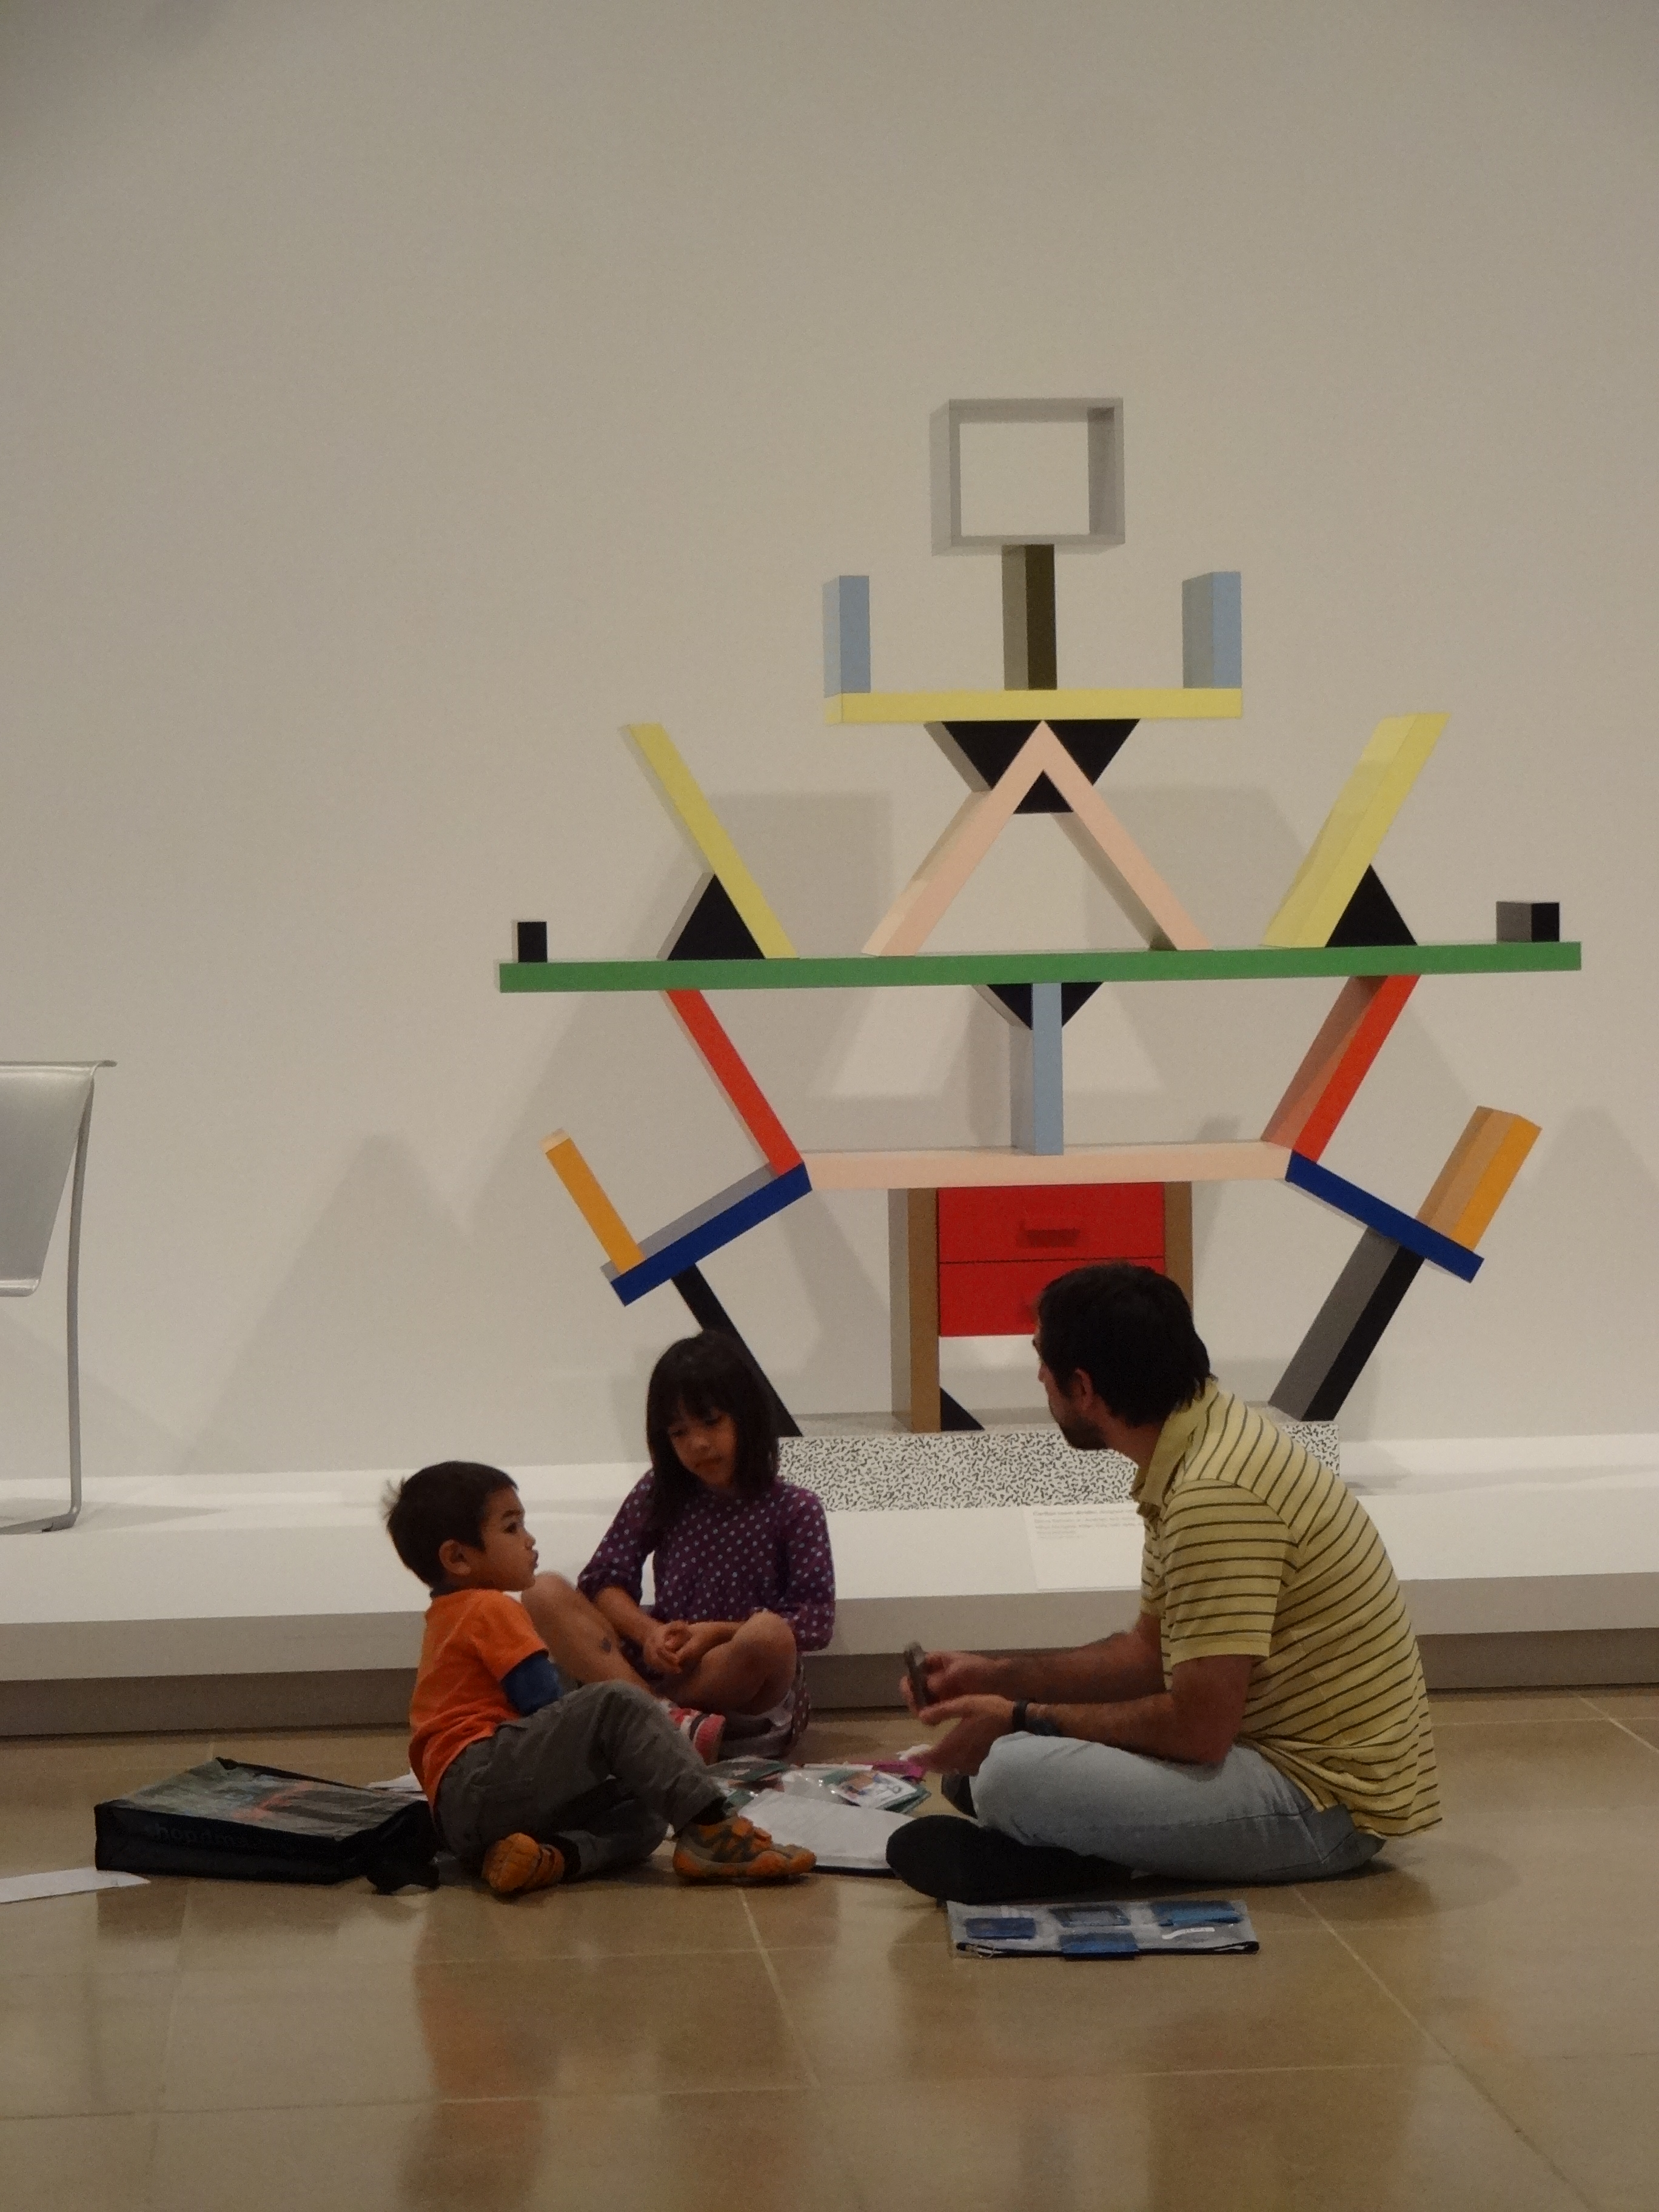
Playing a game in the galleries

Playing a game in the galleries

– Playing the card game Memory, with a colorful twist!

– Testing one another with brainteasers.

– Staging a game of charades inspired by the surrounding works of art.

– Following their noses to find a work of art that matches a smell jar from the bag.


The beauty of the Family Fun Tote Bags is each individual family member can design their own museum experience based on personal interest!  Families can explore works of art together by participating in collective games and writing activities.  Or, for more individualized learning, each member can choose and perform a different activity while still sharing the same space.
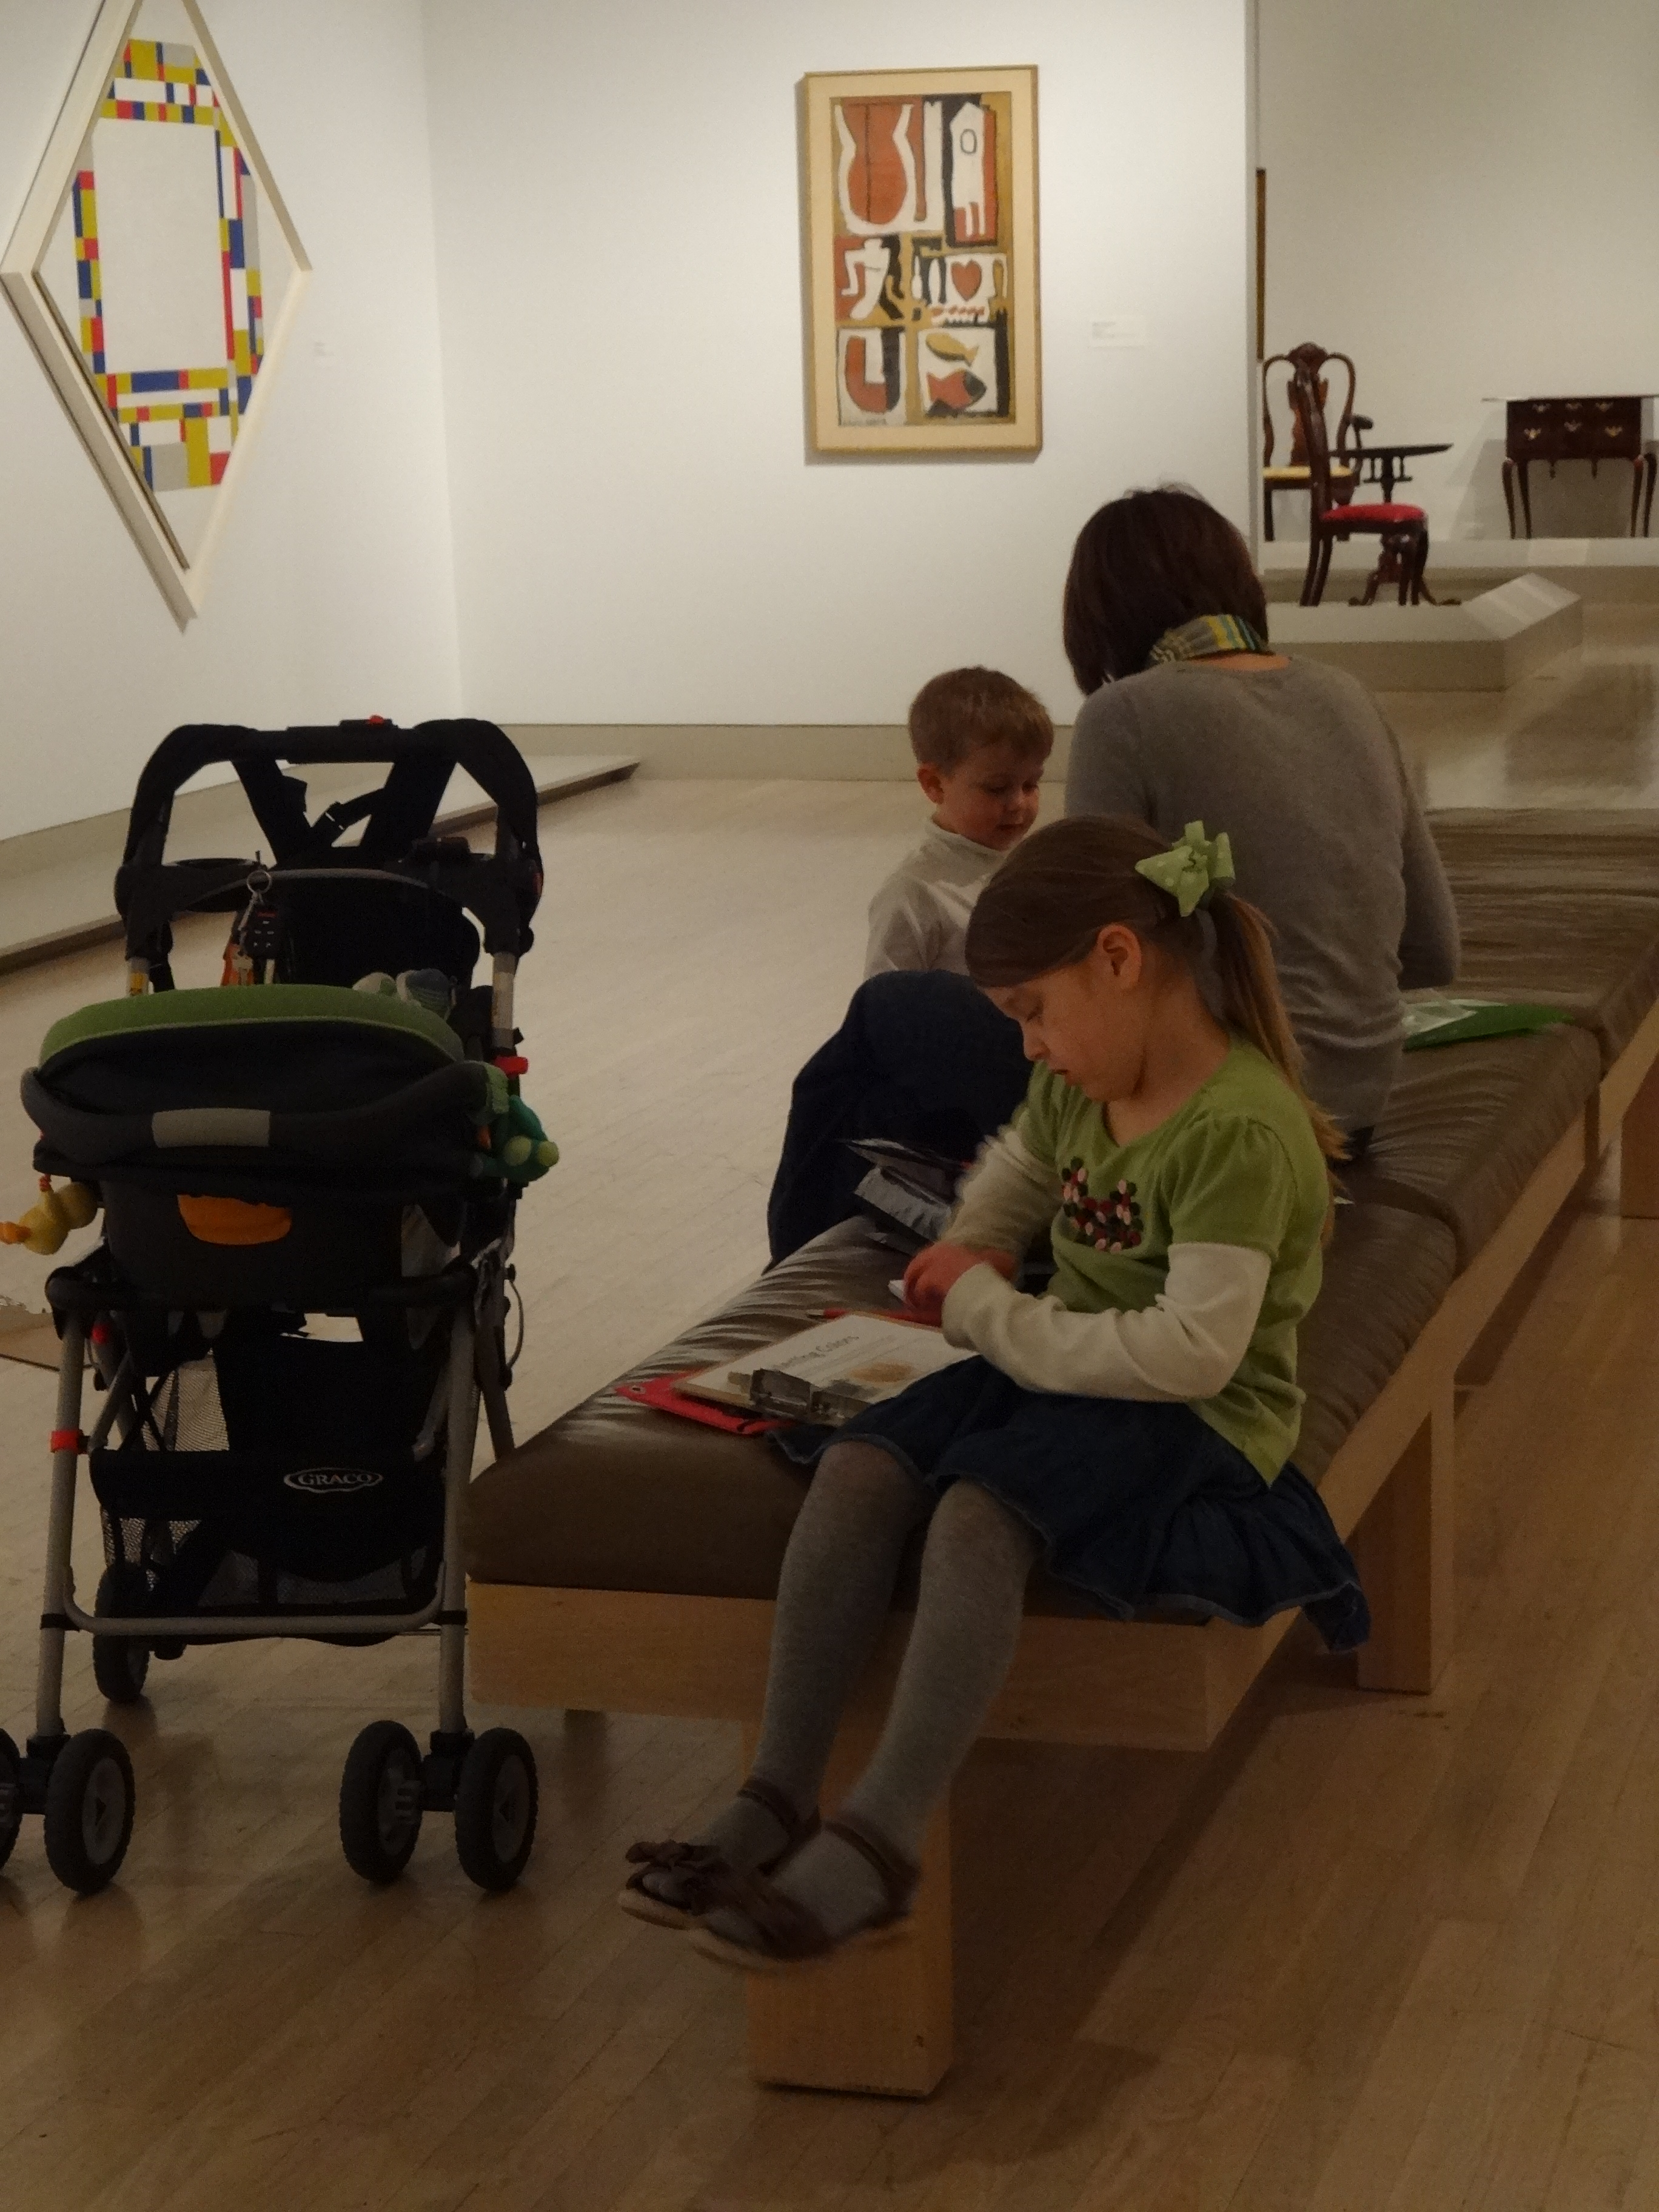
Working on separate Tote Bag activities
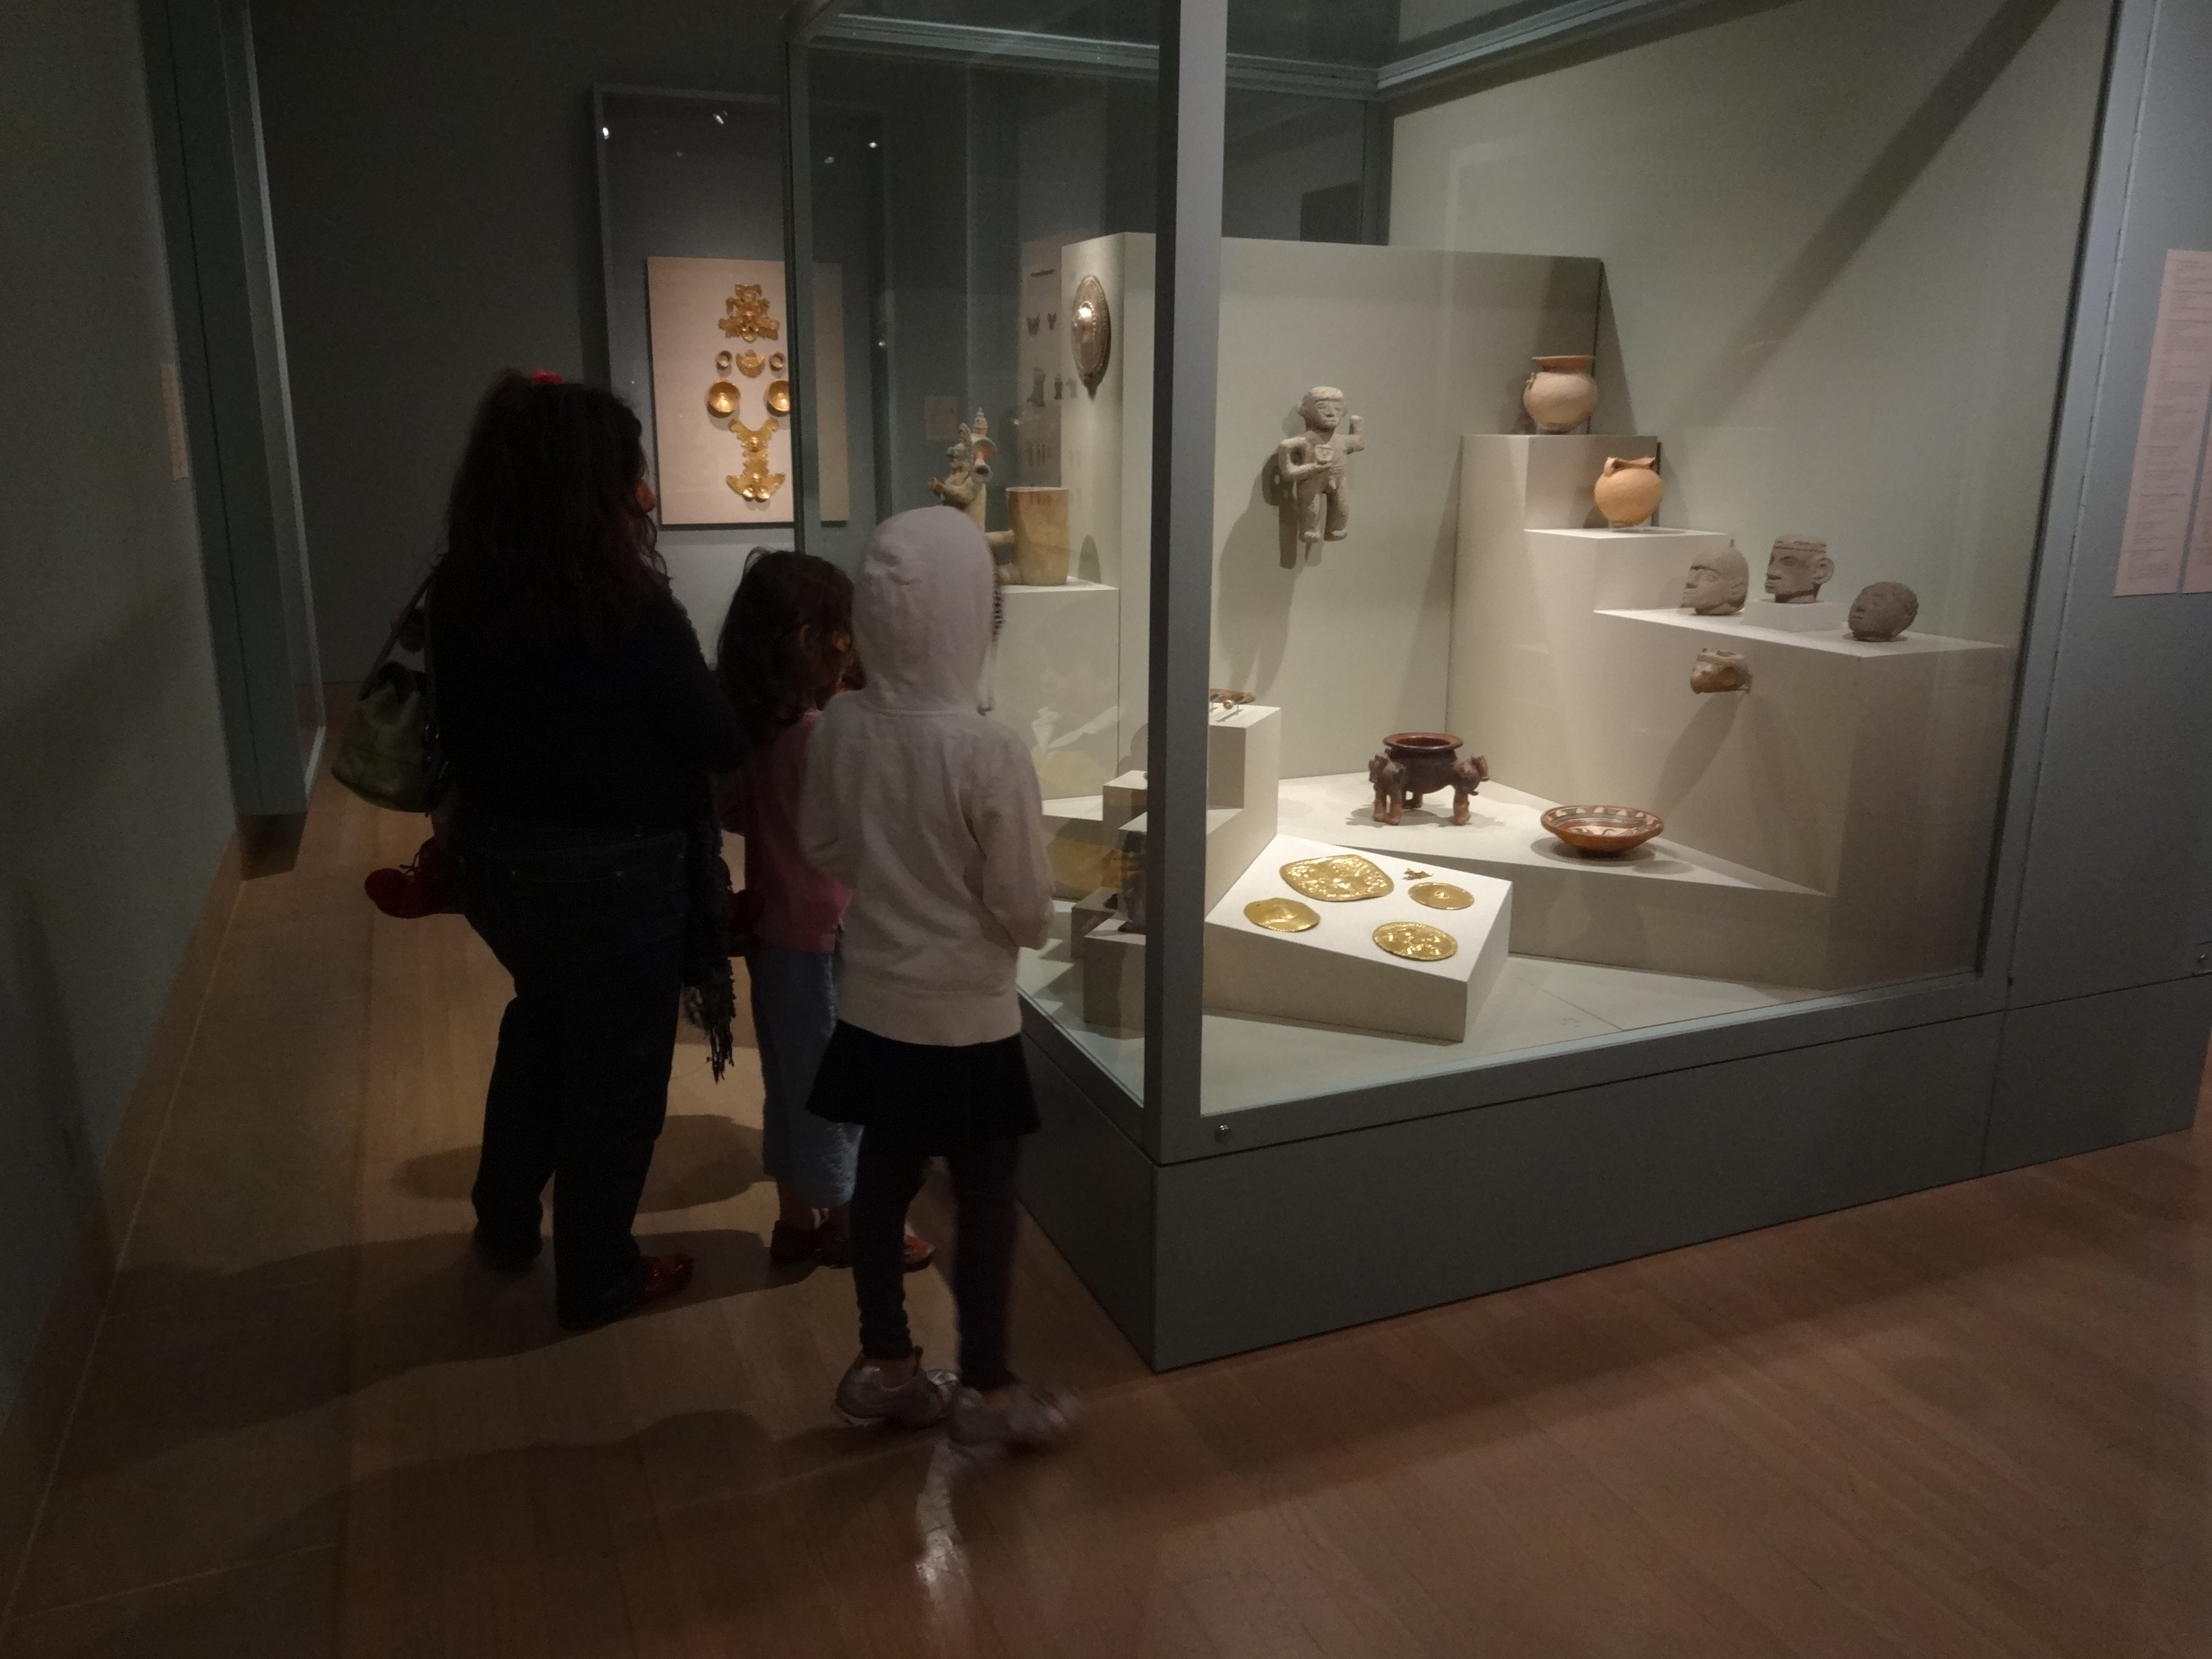
Working on separate Tote Bag activities

Exploring new activities together


The Family Fun Tote Bags are still in the testing phase, but they should be available soon for visitors to check out in the Center for Creative Connections–so keep an eye out for them on your next visit to the Museum!

Danielle Schulz
Teaching Specialist

John Hernandez in C3

DSC_9752crop

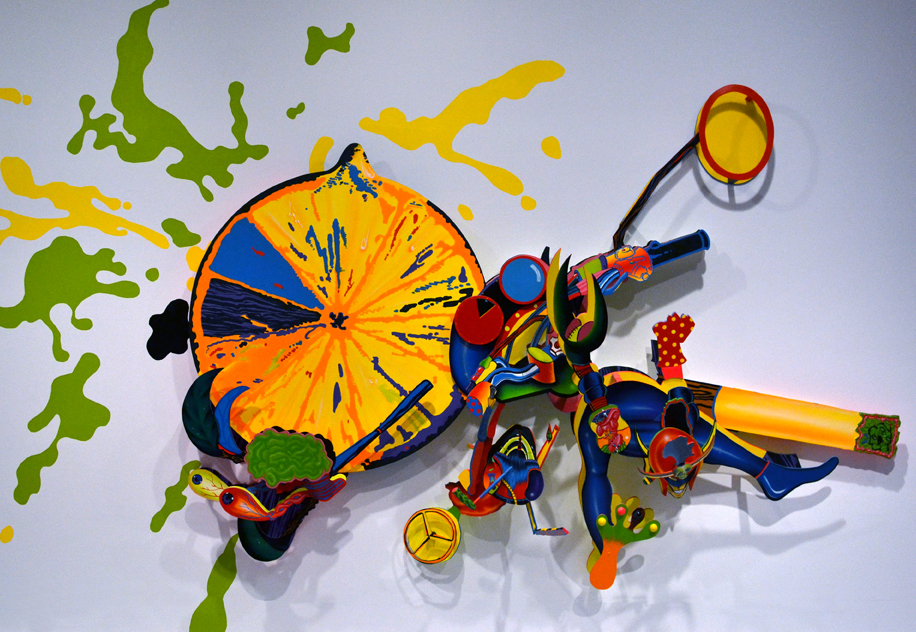
Have you stopped by the Center for Creative Connections lately?  If the answer is no, then add it to your “to do” list because you won’t want to miss this exciting new work of art in the entryway.  John Hernandez’s bright and energetic piece, HI-C Avenger was recently installed along with an interactive component.

First, a little background on the art and artist.  John Hernandez is a San Antonio based artist who has ties to the North Texas region.  Hernandez received his MFA from the University of North Texas where he studied under Vernon Fisher.  Can you see the influence Fisher might have had on his student?

“When you have a teacher like Vernon Fisher and his paintings are like black and white… I just wanted to go to the extreme, I started doing these wild colors,” Hernandez said during an interview with David Rubin.

Hernandez references a wide array of influences ranging from popular culture (movies, comics, toys, and commercials) to biology and nature (plants, animals, and body parts).  He describes his process as both spontaneous and deliberate as he morphs appropriated images together to form a collage and then builds a three dimensional model to figure out the structure.  What references can you find in HI-C Avenger?

C3_Installation_11_2012_003_edit copy

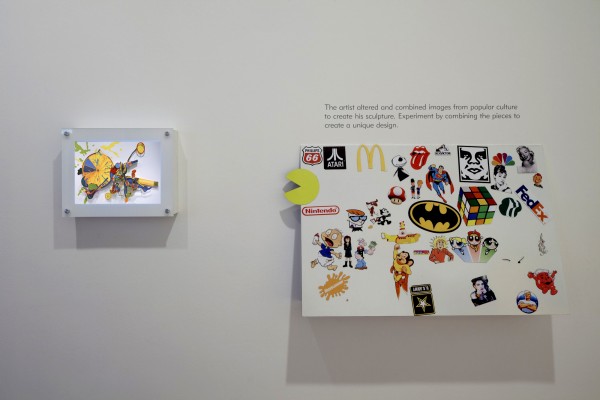
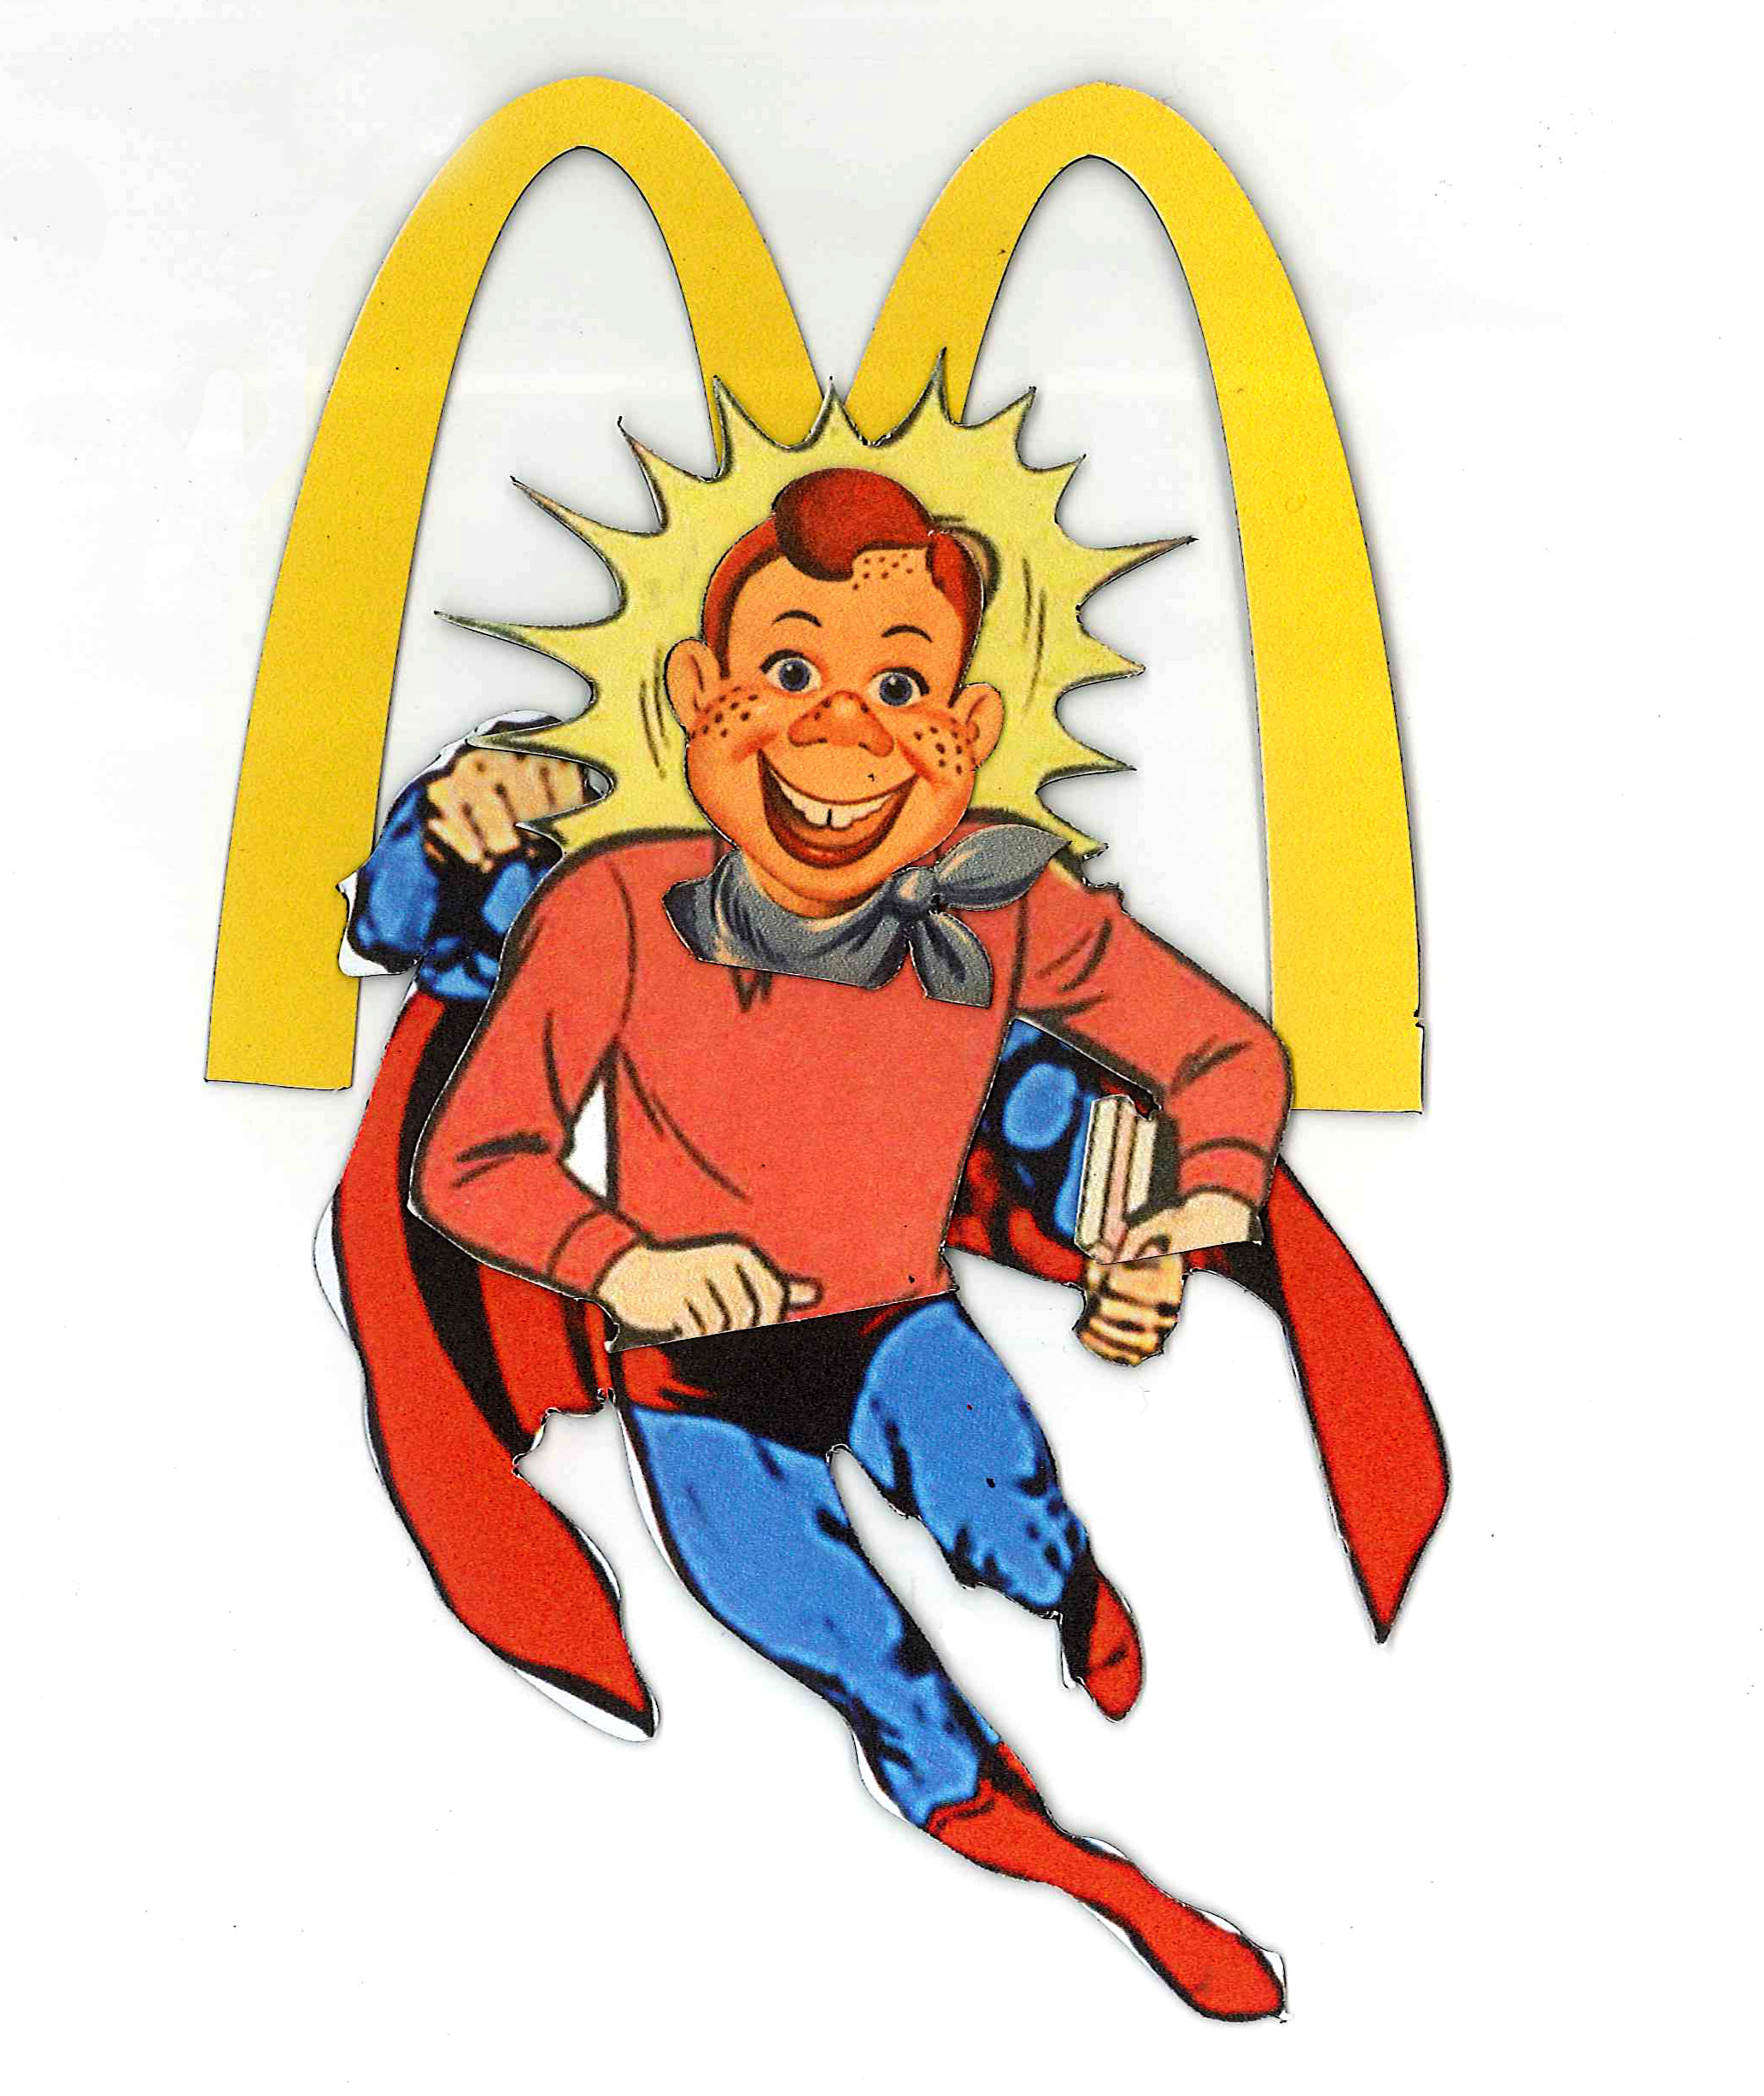
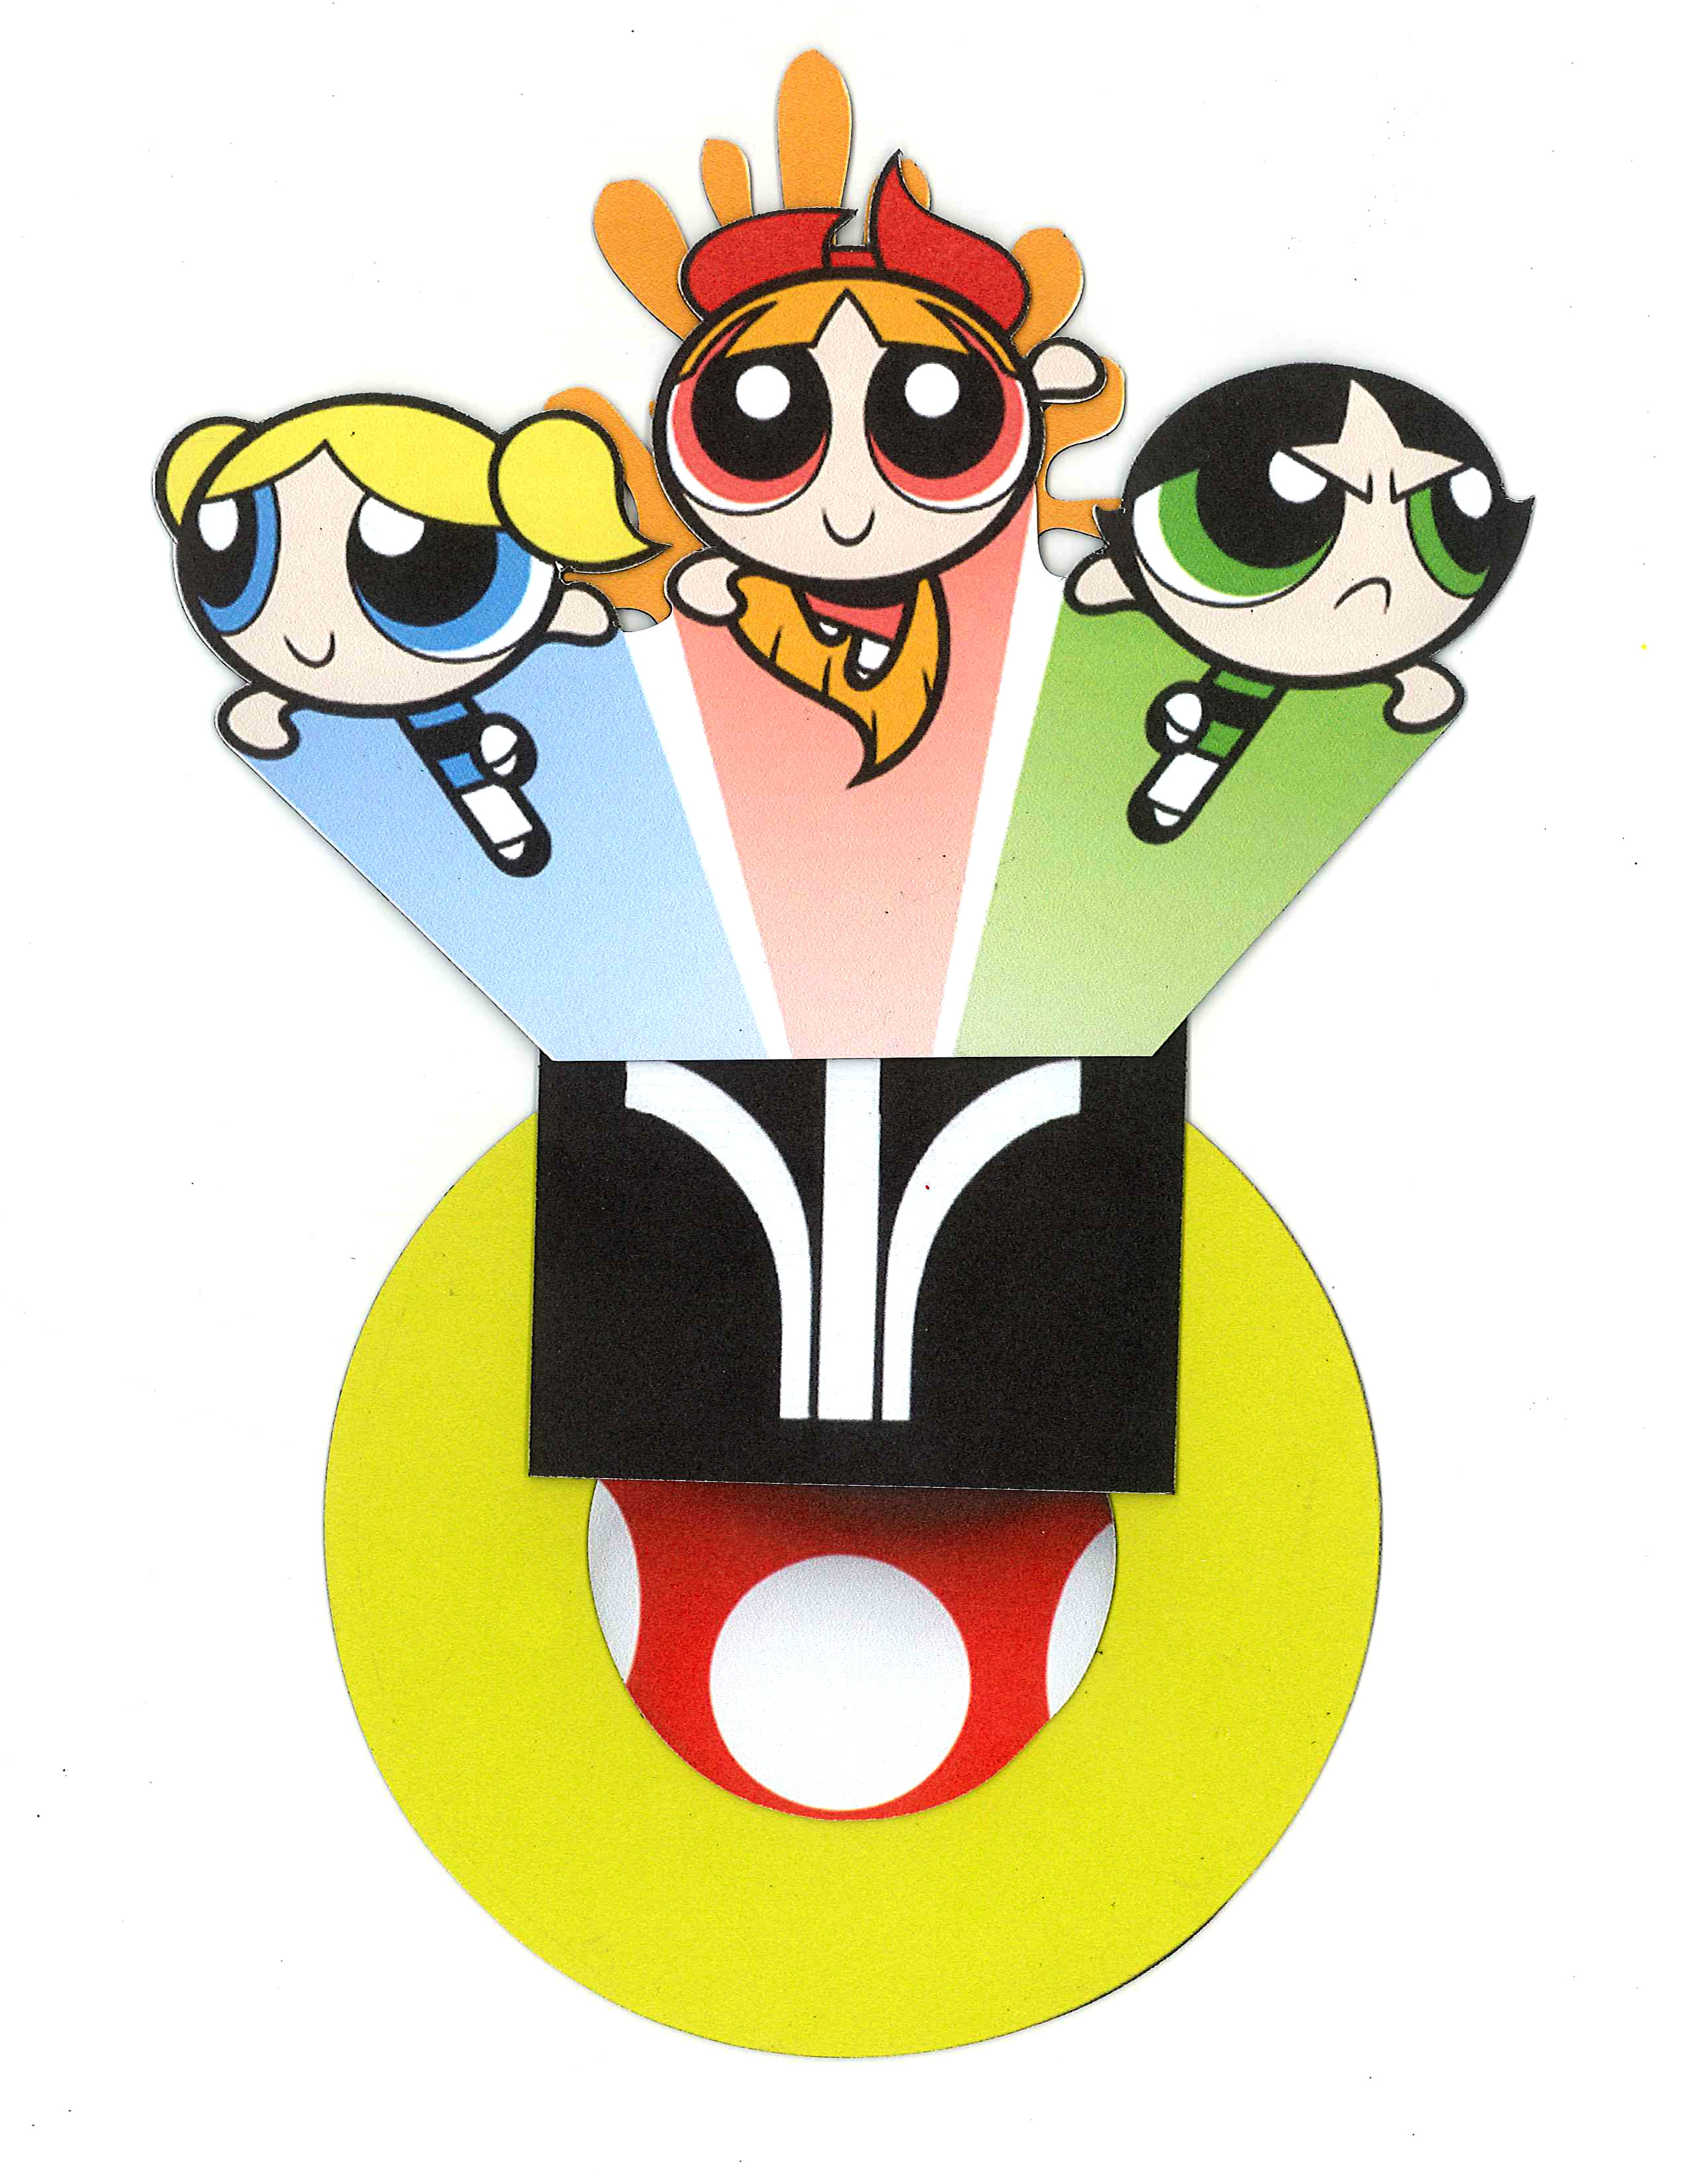
The interactive component that we have designed to supplement this work of art is two-fold.  There is a short video that plays clips and still images of some of the direct references that inspired HI-C Avenger.  Alongside this is a magnetic board filled with pop culture icons from the past and present.  Visitors can arrange the magnets, layering and combining them to create their own Hernandez-inspired creation.

Come by, see the new work, and play a while!

HernandezSample1 HernandezSample2 HernandezSample3

Also, mark your calendars for these upcoming opportunities to participate in a workshop led by John Hernandez:

Thursday, January 17, 6:30-8:30 p.m.,
Join guest artist John Hernandez as he takes us beyond collage into a mutated experience in reality. Hear about Hernandez’s work, while constructing a unique morphed creation of your own.

Late Night Creations with artist John Hernandez
6:30 p.m., 7:45 p.m., and 9:00 p.m., Art Studio, Center for Creative Connections (C3)
Join us for a special workshop with guest artist John Hernandez.  John will talk about his creative process and then guide participants in constructing sculptures using toys and other found objects.

Jessica Fuentes
C3 Gallery Coordinator

Make Your Own Festive Holiday Ornaments!

Winter has always been my favorite season—it brings back cozy memories of home and the holidays. Growing up in Ohio, I loved how decorated homes would transform our neighborhood into a bright, festive place. Set against a background of snow, it was like a living Norman Rockwell painting.

To help rekindle that holiday spirit, here is a simple and fun way for you and your family to create ornaments together out of recycled materials from around your home!

Materials:
• Paper (patterned or construction paper, old drawings, book pages, posters, etc.)
• Scissors
• Hole puncher
• Ribbon, string, or yarn
• Stapler and staples
• Rotary trimmer or paper cutter (optional)

Instructions:
1. Using your rotary trimmer, cut the paper into strips; they can be any size you like as long as all the strips are the same (for reference, I used 1”x8” strips). If you don’t have a rotary trimmer cut the strips by hand using your scissors.

Materials

2. Stack an odd number of strips on top of each other—I find that seven to nine work best.
3. Find the top of the middle strip and stagger the rest of the strips stacked on top of and underneath it to create a pyramid shape. Staple the stack together to secure it.

Stacking

Stapling

4. Repeat the process at the other end of the ornament. The strips of paper will fan out, leaving you with a spire-like shape.

Bottom

Finished

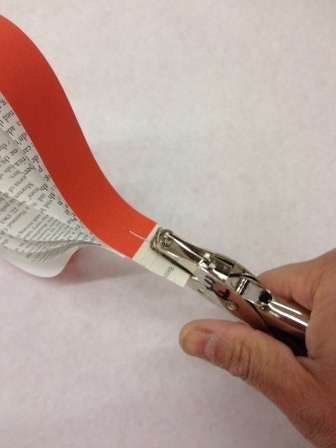
5. To hang your ornament, punch a hole at one end and string a ribbon through it.

Punching Holes

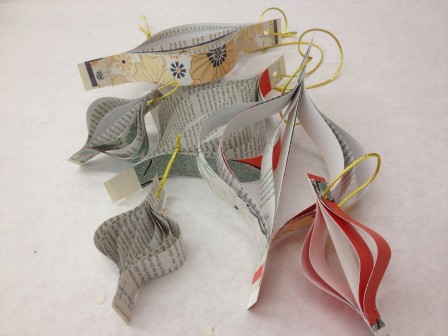
Try using different colors combinations when you stack your strips of paper. Also, increasing or decreasing the distance that you stagger the strips will change the shape of your ornament. Experiment with different supplies to further embellish your ornaments such as glitter, paper edgers, or shape punches!

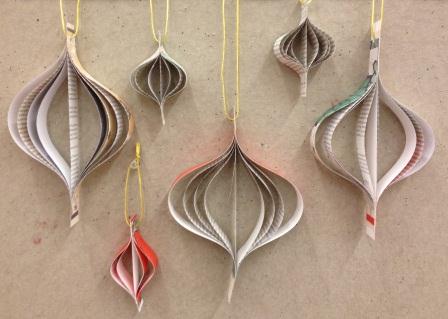
Group shot

Hanging

Have fun creating and have a happy holiday season!

JC Bigornia
C3 Program Coordinator

Greek Heroes at the DMA

Every time I give a tour, there is usually one student who asks if we have any works at the DMA that show Percy Jackson or Poseidon.  I began to wonder if our docents were hearing similar questions.  I also began to wonder if any of our docents actually knew who Percy Jackson is.  I’m always trying to think of new ways to help docents connect with the students on their tours, so I recommended that they read Rick Riordan‘s The Lightning Thief (Percy Jackson and the Olympians Book One) for their book club. I fell in love with this book three years ago, and enjoy referencing it on tours.  Students are able to recognize images of the gods based on the descriptions they have read in Rick Riordan’s books.  They’re falling in love with Greek mythology, and we have lots of great artworks that can bring Percy’s world to life at the DMA!

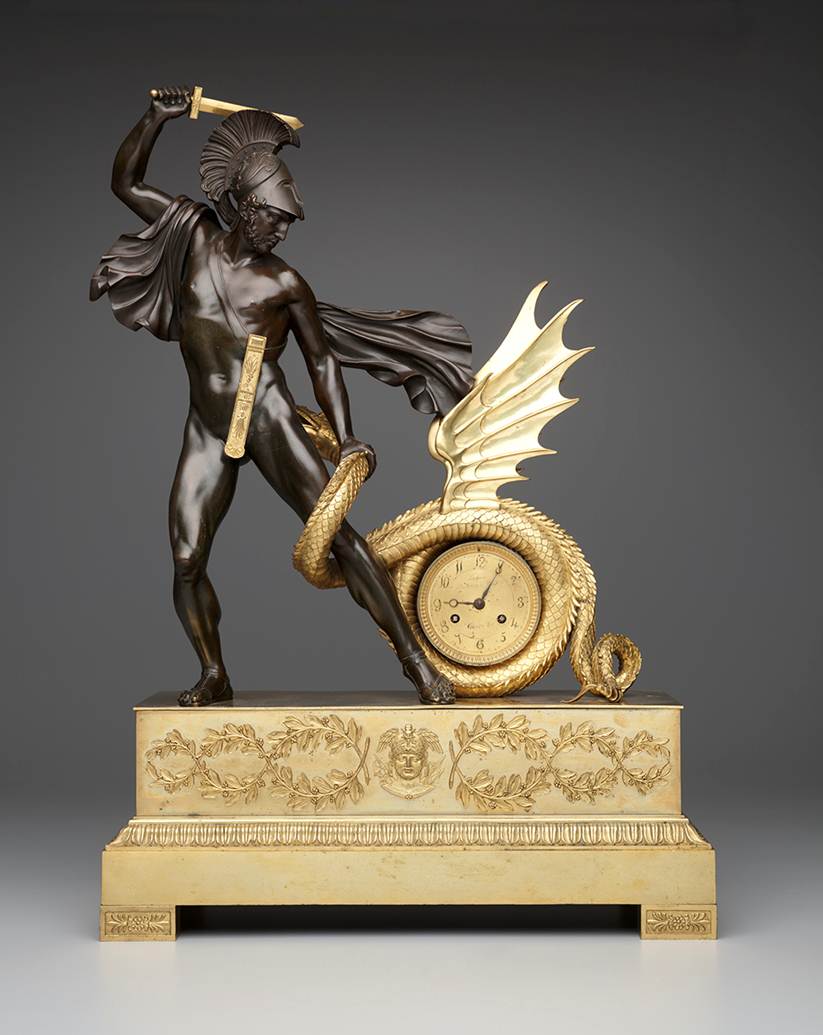
Pierre-Victore Ledure’s Mantle Clock with Figure of Perseus show us not Perseus Jackson, but the Greek hero Perseus.  In Greek mythology, Perseus, the son of Zeus and Danae, was the hero who beheaded the Gorgon Medusa.  Although Percy Jackson also beheaded Medusa, he was the son of Poseidon.  In this mantle clock, we see Perseus about to slay a serpent with wings.  According to one myth, the Ethiopian princess Andromeda was chained to a rock near the sea in an effort to appease the sea nymphs, who were offended that Andromeda’s mother declared that she was more beautiful than them.  Andromeda was to be sacrificed to a sea serpent sent by Poseidon.  Perseus happened to be flying by on his winged horse, Pegasus, and he slipped on Hades’ Helm of Darkness and was able to slay the sea serpent.  Perseus went on to marry Andromeda and is considered one of the first heroes of Greek mythology.

Pierre-Victore Ledure, Mantle Clock with Figure of Perseus, early 19th century, Lent by David T. Owsley, 156.1994.51

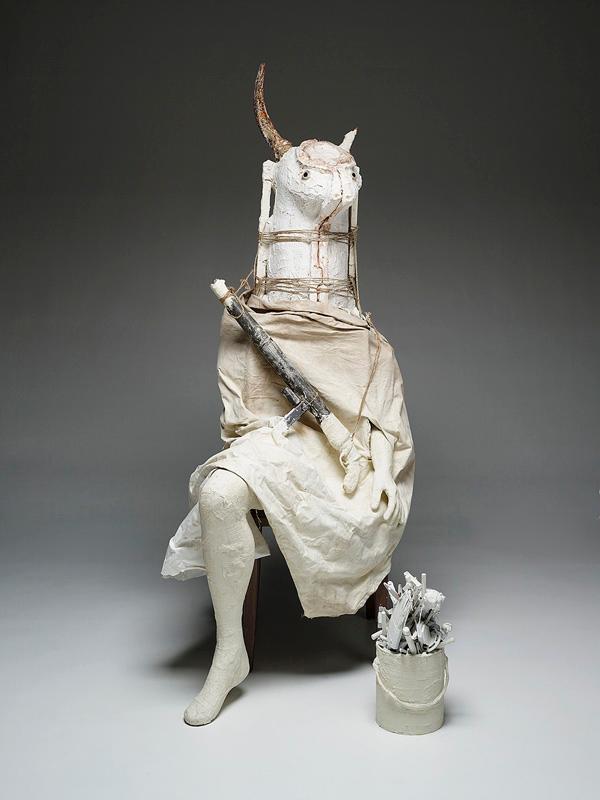
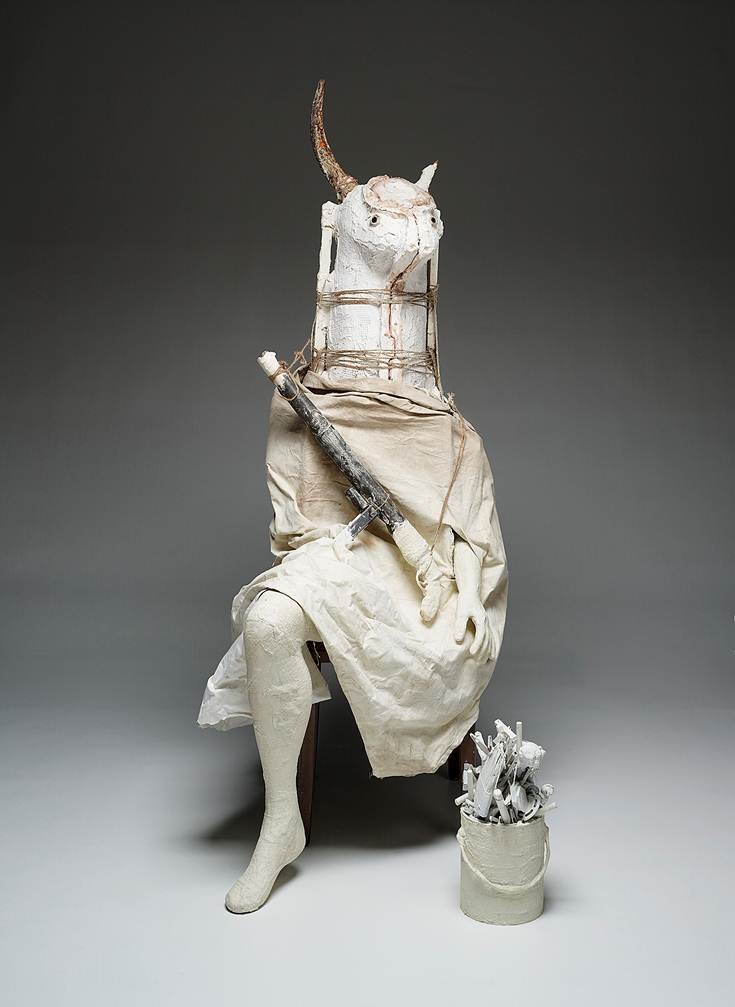
When Percy Jackson arrives at Camp Half-Blood, the first creature he faces is the Minotaur.  The Minotaur has the body of a man, but the head of a bull, and is one of the most ferocious creatures in Greek mythology.  Contemporary artist Marcel Dzama created his own sculptural representation of The Minotaur in 2008.  Dzama’s Minotaur is even missing one of his horns–you might remember that the Minotaur’s horn was one of Percy’s most prized possessions.

Marcel Dzama, The Minotaur, 2008, Dallas Museum of Art, DMA/amFAR Benefit Auction Fund, 2008.43.2.A-E, © Marcel Dzama

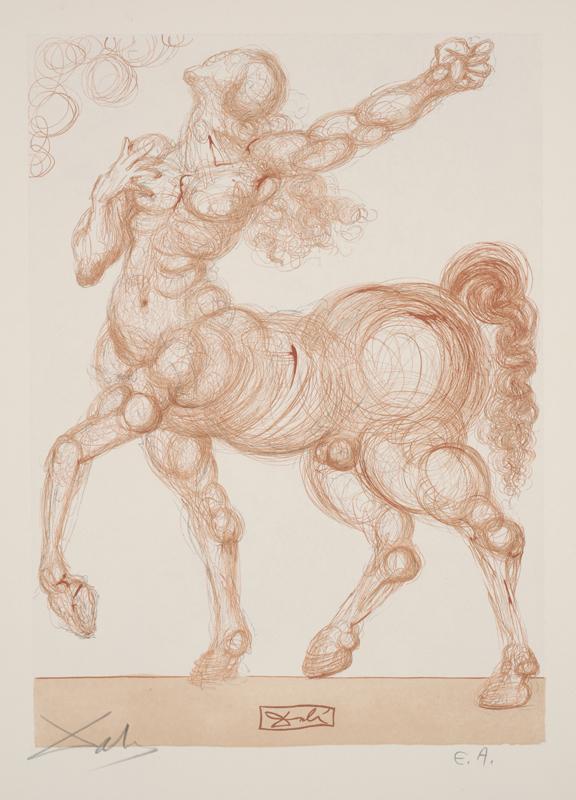
Once he arrives at Camp Half-Blood, Percy learns that his favorite teacher, Mr. Brunner, is actually a centaur named Chiron.  Centaurs are creatures that are part human, part horse, and Chiron was considered to be the superior centaur.  He was intelligent, civilized, and kind.  Chiron taught many of the most famous Greek heroes, including Heracles, Jason, Achilles, and Perseus.  Salvador Dalí created this illustration of a centaur when he was illustrating Dante’s Divine Comedy.

Salvador Dali, Canto 25–The Centaur, c. 1960, Dallas Museum of Art, gift of Lois and Howard B. Wolf, 1996.219.25, © 2008 Salvador Dalí, Gala-Salvador Dalí Foundation/Artists Rights Society (ARS), New York

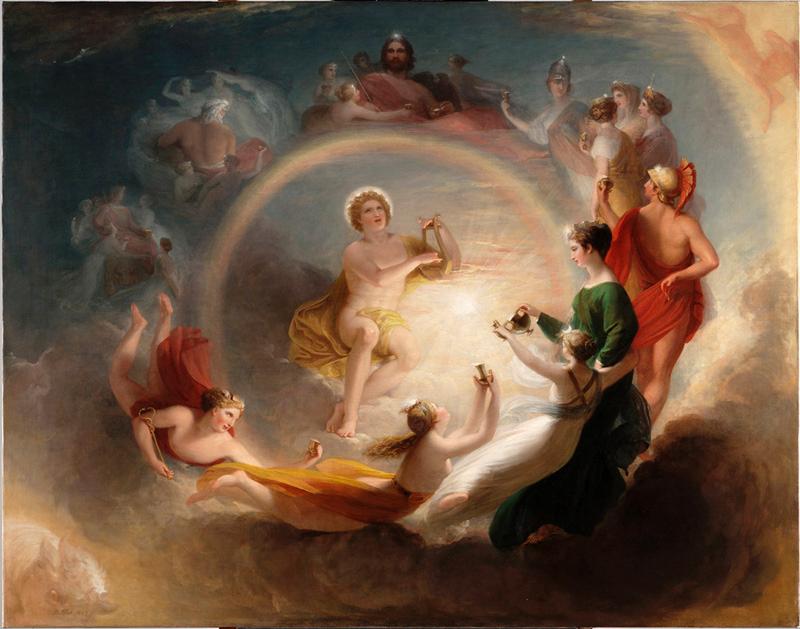
During Percy’s adventures, he has run-ins with many of the major gods, the Olympians who reside on Mt. Olympus.  In ancient times, Mt. Olympus was located in Greece.  In the 21st century, Mt. Olympus is located in New York City–on the 600th floor of the Empire State Building!  One of my favorite works in the DMA’s collection shows the Olympians surrounding the figure of Apollo.  One of our docents told me yesterday that she had a group of students ask her to stop in front of this painting because they wanted to try to identify all of the gods.  Moving clockwise around the painting we see: Zeus, the king of the gods, at the top; Athena is to the right wearing her battle helmet; Ares is behind her, also dressed for battle; we recognize Artemis because of the crescent moon in her hair; beautiful Aphrodite wears a golden dress; Hermes carries his caduceus staff; Hera is shown enthroned, as the queen of the gods should be; and Poseidon is shown as an old, bearded man.  What I can’t figure out, though, is who the woman in the green dress might be.  She’s fully clothed, and there appears to be a building or fortress on top of her head.  Do you have any thoughts as to who she might represent?

Benjamin West, Apollo’s Enchantment, 1807, Dallas Museum of Art, gift of Mrs. Robert A. Beyers, 1963.167

These are just a few of the wonderful works of art in our collection that relate to Greek mythology and the world of Percy Jackson.  I hope you’ll come explore the galleries and find more connections of your own.

Shannon Karol
Manager of Docent Programs and Gallery Teaching

Costumes from the Collection

Every year I struggle to think of a creative new Halloween costume to wear. Oftentimes the month somehow escapes me and I end up recycling one of my old costumes: a cat, witch, or something with a mask. However, this year I realized that inspiration is all around me in the DMA galleries. As I wandered through the Museum this month, I was flooded with images of myself as a fierce Hindu goddess with multiple arms, an affluent Asante chief covered with gold, or even a mummy wrapped in linen. Excited by all the endless possibilities, I decided to ask my fellow authors which artwork they would choose to base a Halloween costume on.

Amanda Batson

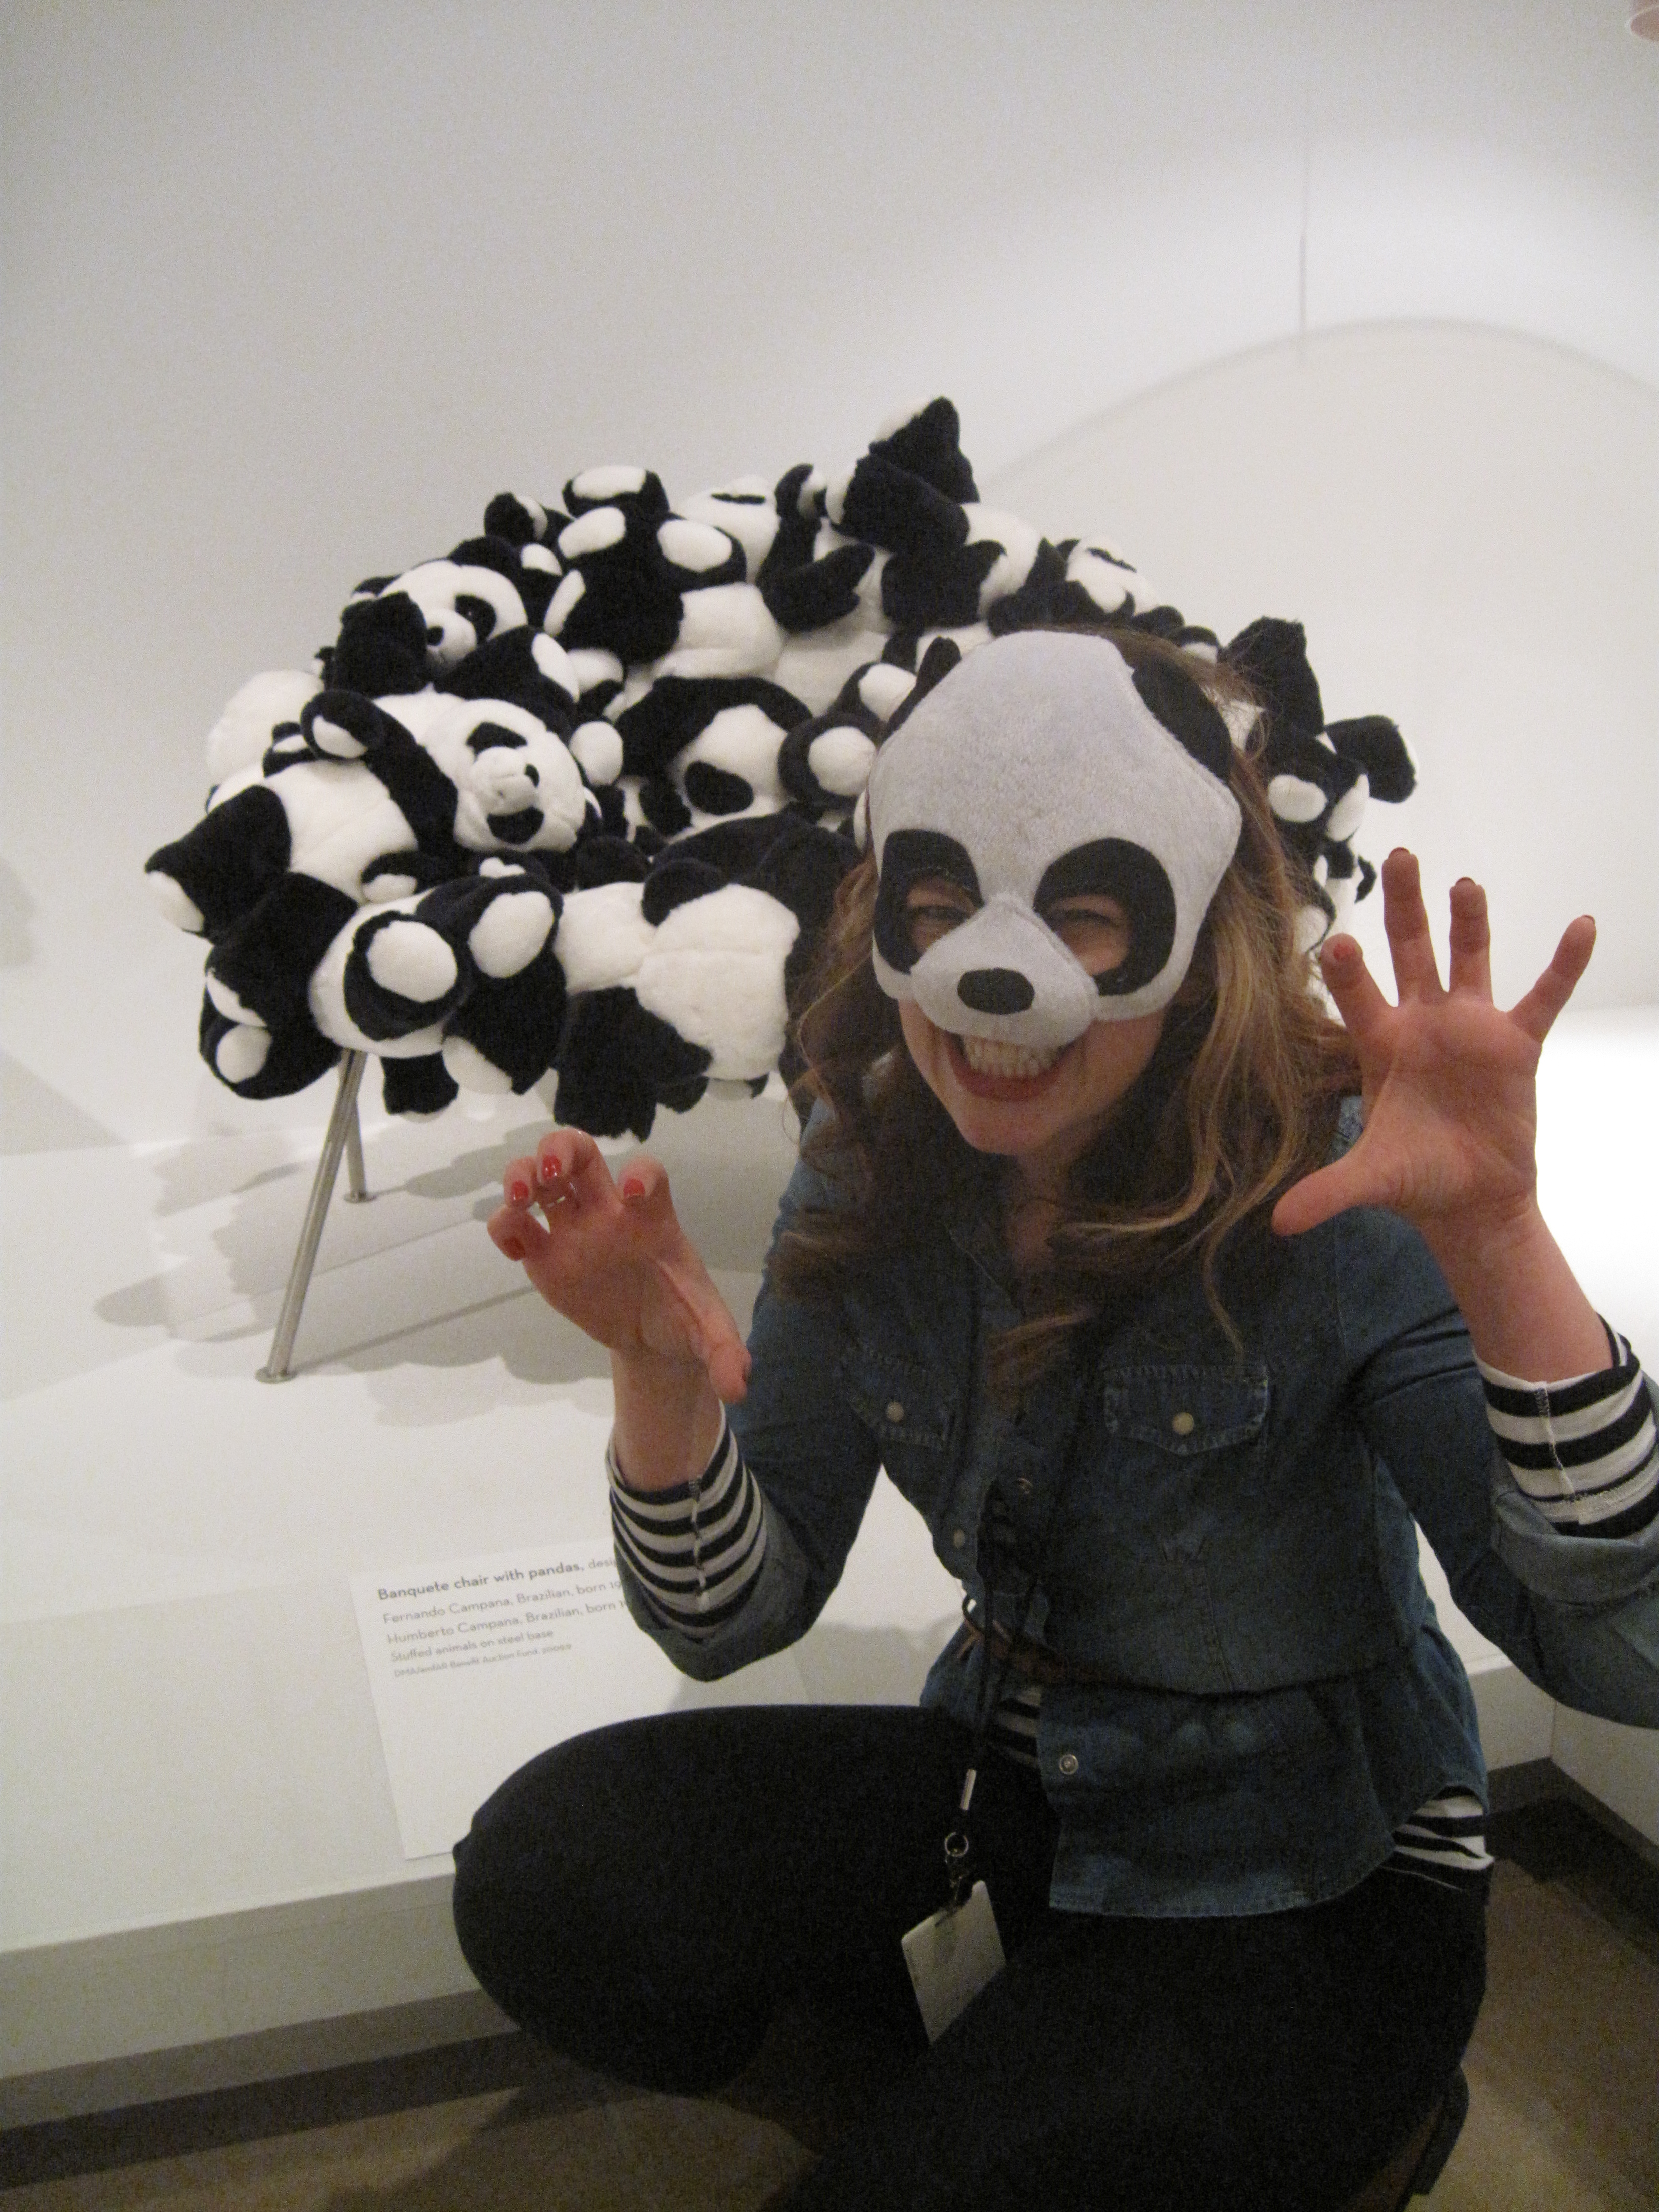
“Amanda Panda” drew her inspiration for a Halloween costume from the Banquete chair with pandas.
.

Jessica Fuentes

“I would be Marcel Dzama’s The Minotaur. The sculpture already lends itself to a costume as there appears to be a person underneath the Minotaur’s mask-like head and the white cloth.  I like that the Minotaur should be a scary creature, but it looks defeated as it is portrayed here, with one horn, one arm, and one leg.  I also like that the artist includes the artist tools, paint brushes in a can, I think it would be fun to walk around as this character with all of the accessories.”
.

Andrea Severin

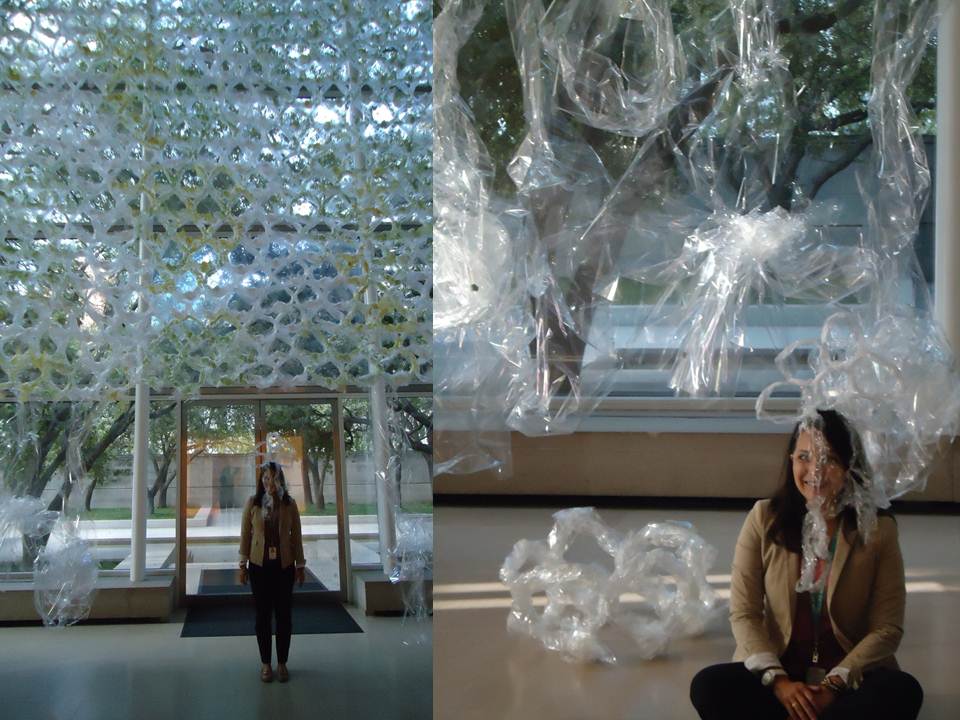
Andrea created a headpiece inspired by our new Karla Black installation.
.

Artie

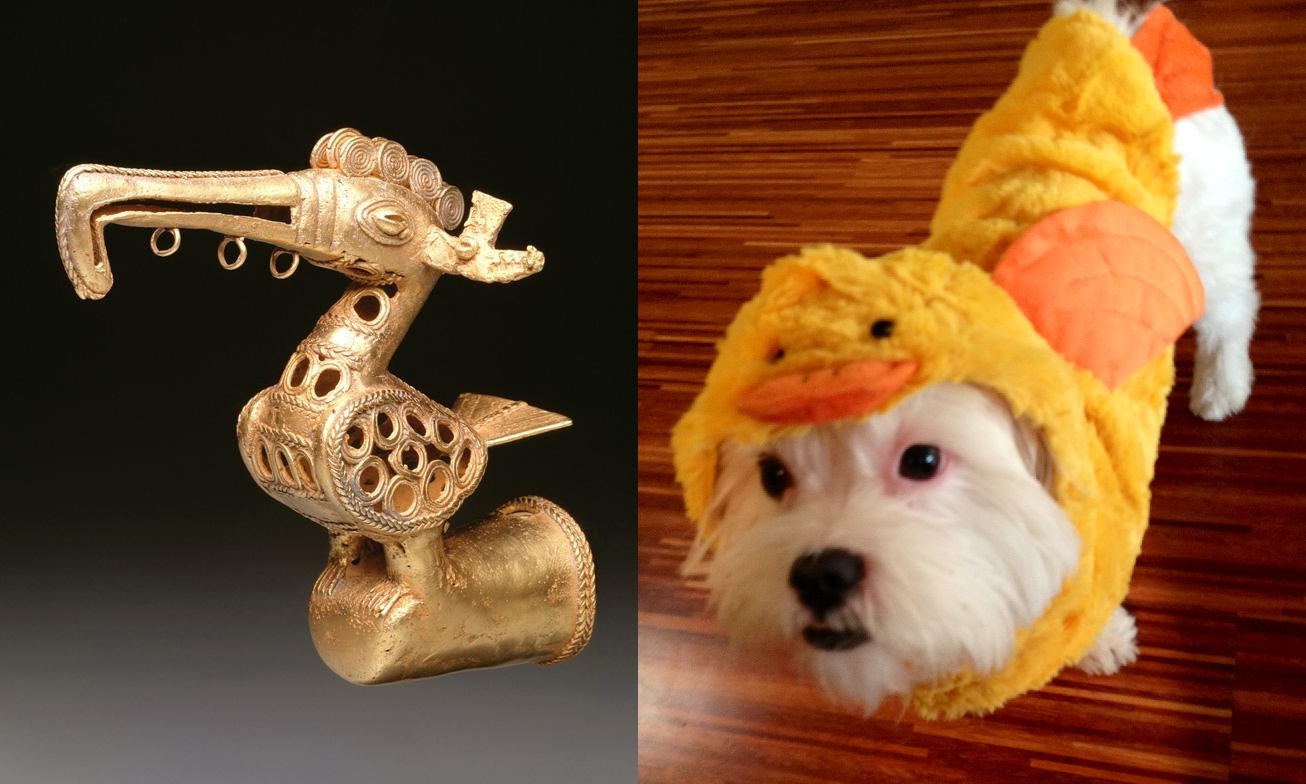
Andrea’s adorable dog Artie also wanted to dress up!
.

Hannah Burney

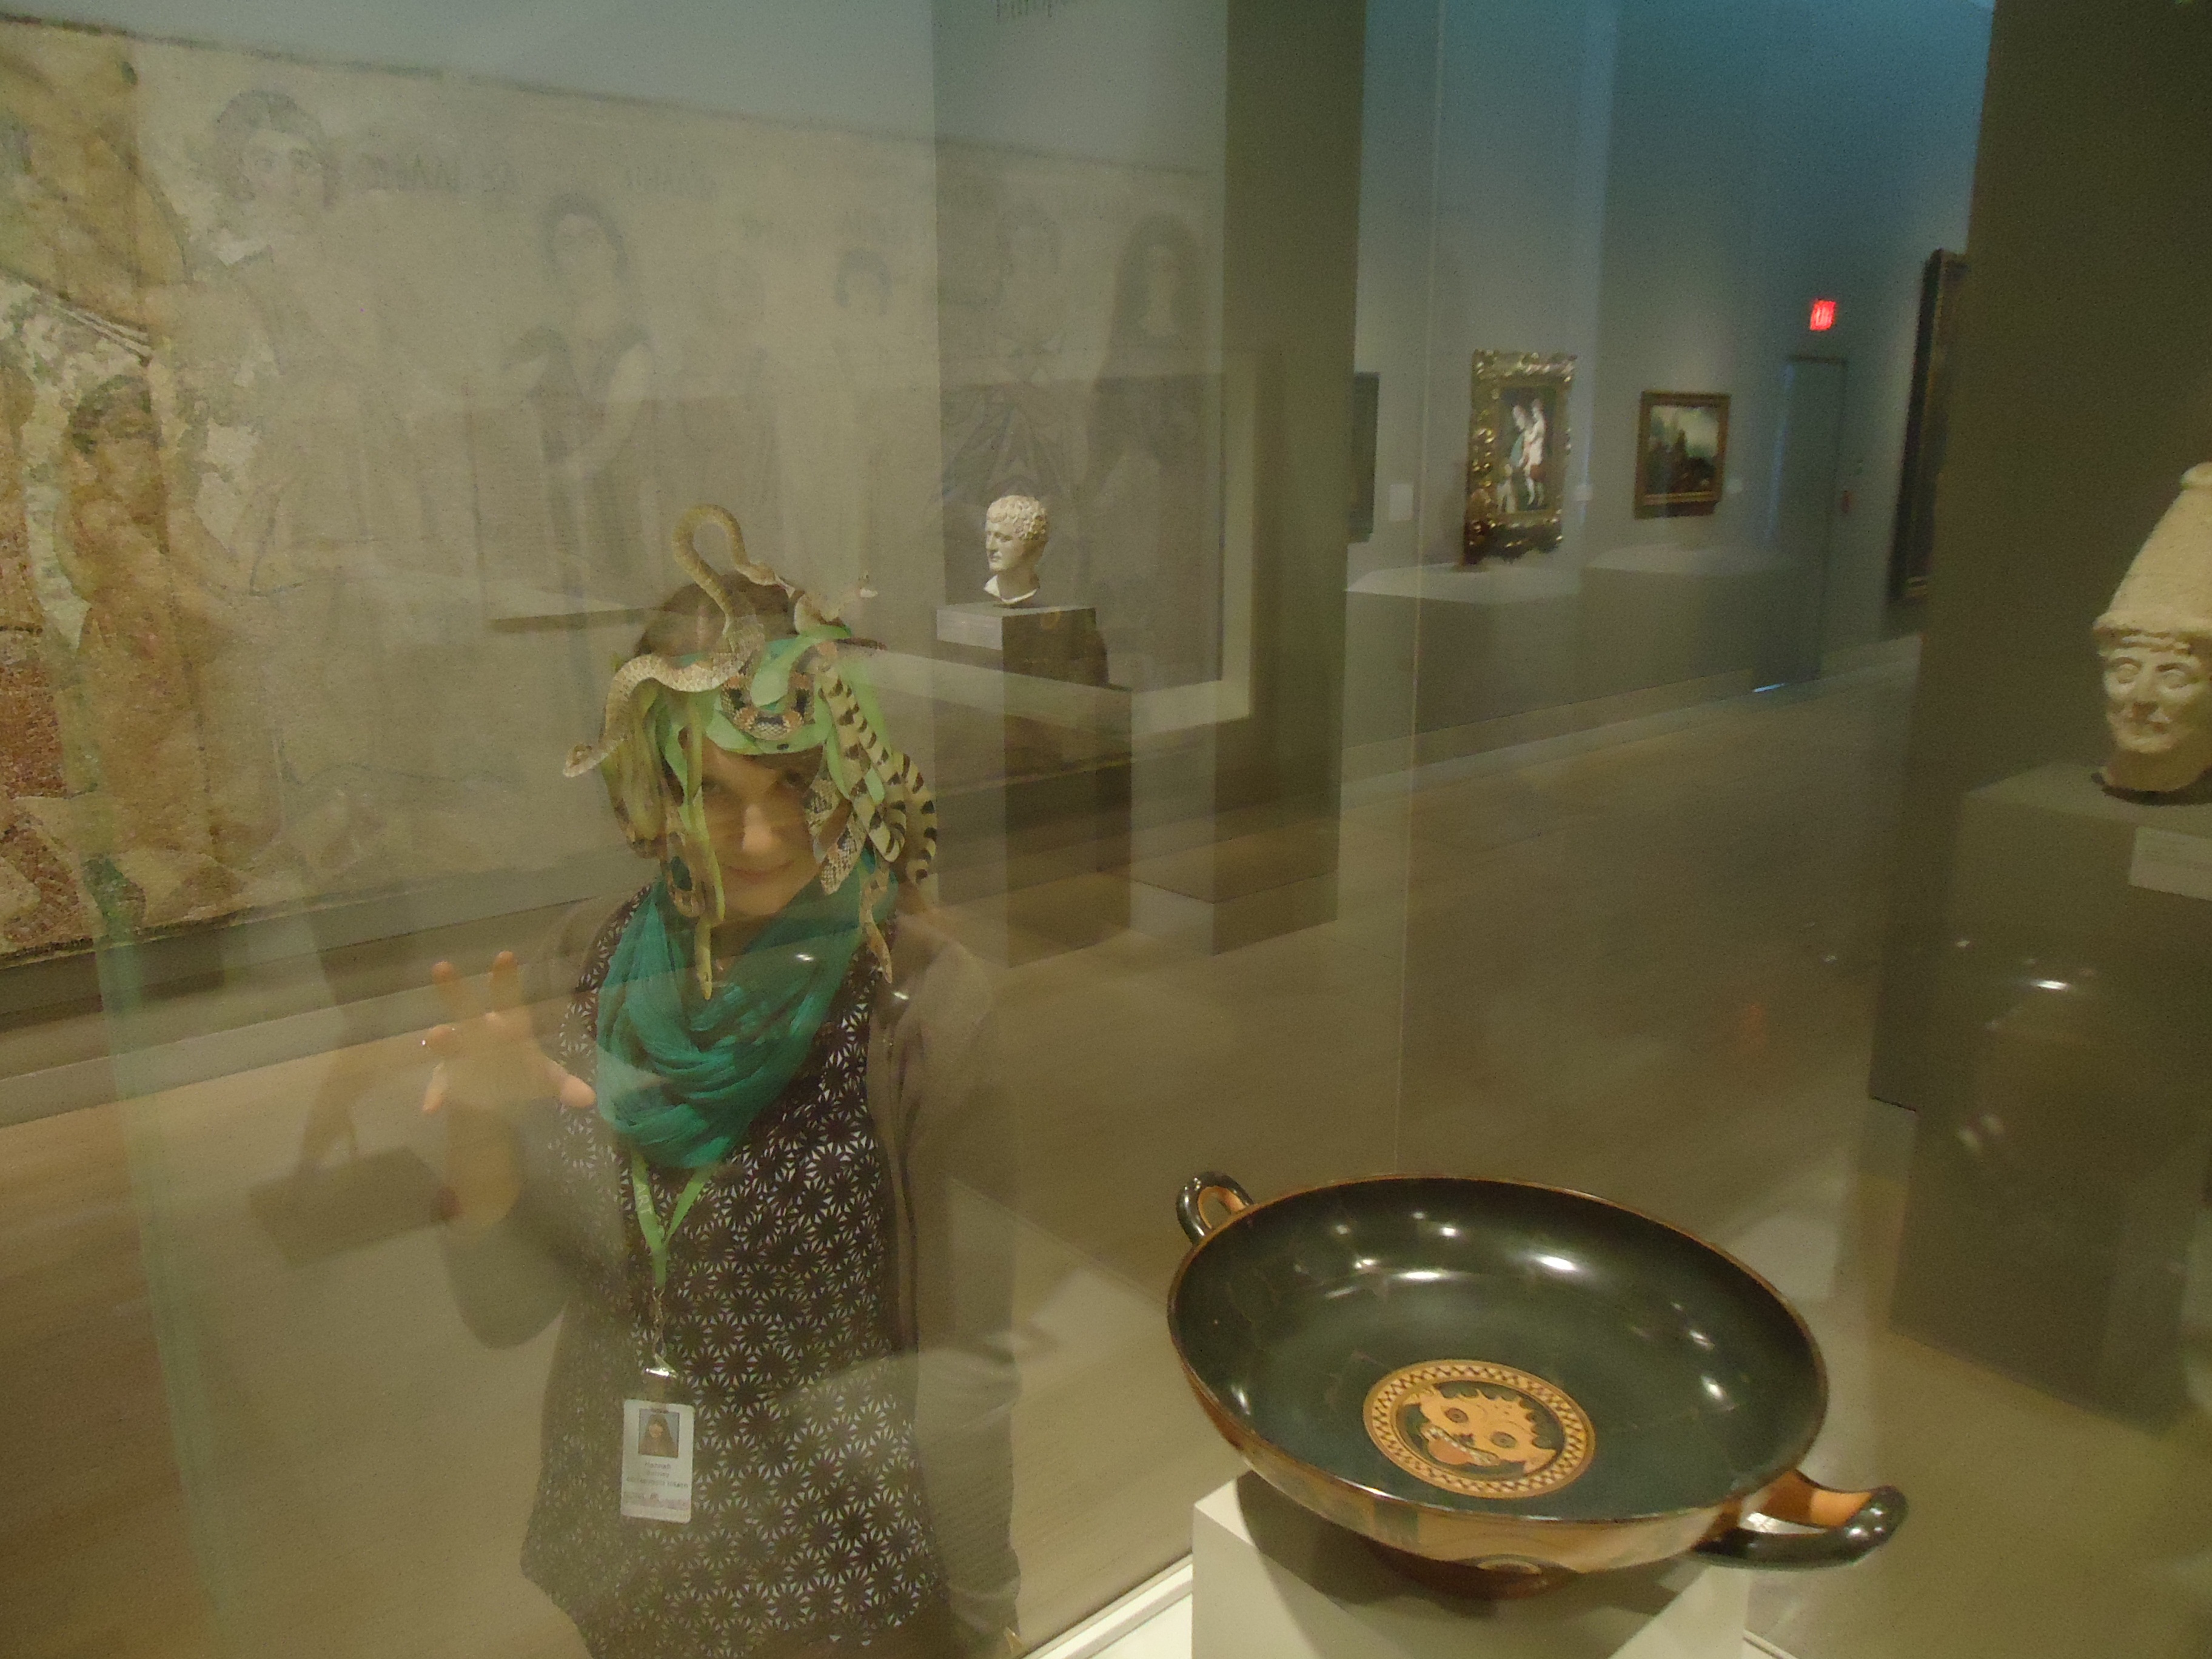
As for me, I decided to base my costume on the spooky gorgon head featured on the inside of this Black-figure kylix. In Greek mythology gorgons are treacherous female creatures that have snakes for hair and can turn anyone who looks them in the eye to stone.

Hannah Burney
Community Teaching Programs Assistant

Artworks used:

  • Banquete chair with pandas, Fernando Campana and Humberto Campana, 2006, stuffed animals on steel base, Dallas Museum of Art, DMA/amfAR Benefit Auction Fund
  • Bird-form finial, Zenú culture, South America, Colombia, c. A.D. 500-1500, gold, Dallas Museum of Art, The Nora and John Wise Collection, gift of Mr. and Mrs. Jake L. Hamon, the Eugene McDermott Family, Mr. and Mrs. Algur H. Meadows and the Meadows Foundation, and Mr. and Mrs. John D. Murchison
  • Black-figure kylix, Greek, Attic, 6th century B.C., ceramic, Dallas Museum of Art, gift of Mr. and Mrs. Cecil H. Green
  • Necessity, Karla Black, 2012, cellophane, sellotape, paint, body moisturisers and cosmetics, Courtesy Stuart Shave/Modern Art, London and Galerie Gisele Captain, Cologne
  • The Minotaur, Marcel Dzama, 2008, plaster, gauze, rope, fabric, chair, bucket, and paintbrushes, Dallas Museum of Art, DMA/amfAR Benefit Auction Fund

Teaching for Creativity: Exquisite Corpse

At last week’s Go van Gogh training session, we decided to get everyone’s creative juices flowing with a fun warm-up exercise.  Volunteers got the chance to spend some time exploring works of art they had never seen before through a group writing exercise. During this experience, volunteers each contributed one line of a poem without knowing what the others had written. This collaborative technique was originally created by Surrealist artists interested in incorporating elements of chance into artistic expression. Known by the Surrealists as Exquisite Corpse, this activity can be done as a narrative or drawing game with several people contributing to one poem or artwork. After participating in a written version of this exercise, the volunteers were eager to learn more about the artworks they had written about. Their genuine enthusiasm and sense of wonder made me think that this could be a great way for students to get excited by works of art as well. I hope you will try it out with your students! Here’s how:
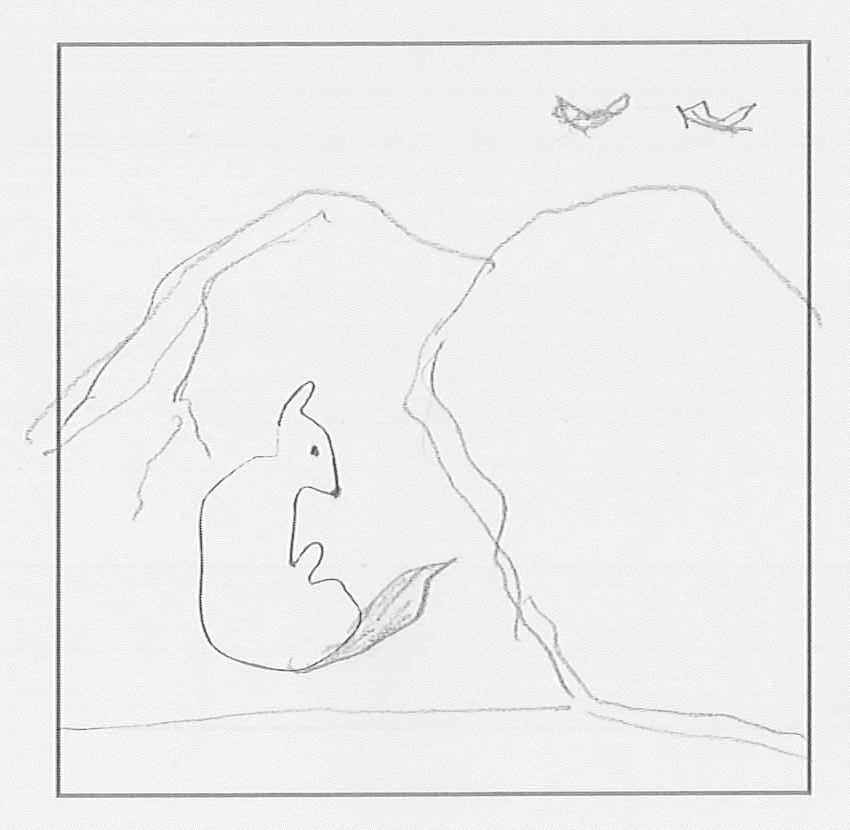
1.  Create at least one template with five lines of writing prompts. These are the prompts that we used for three different templates:
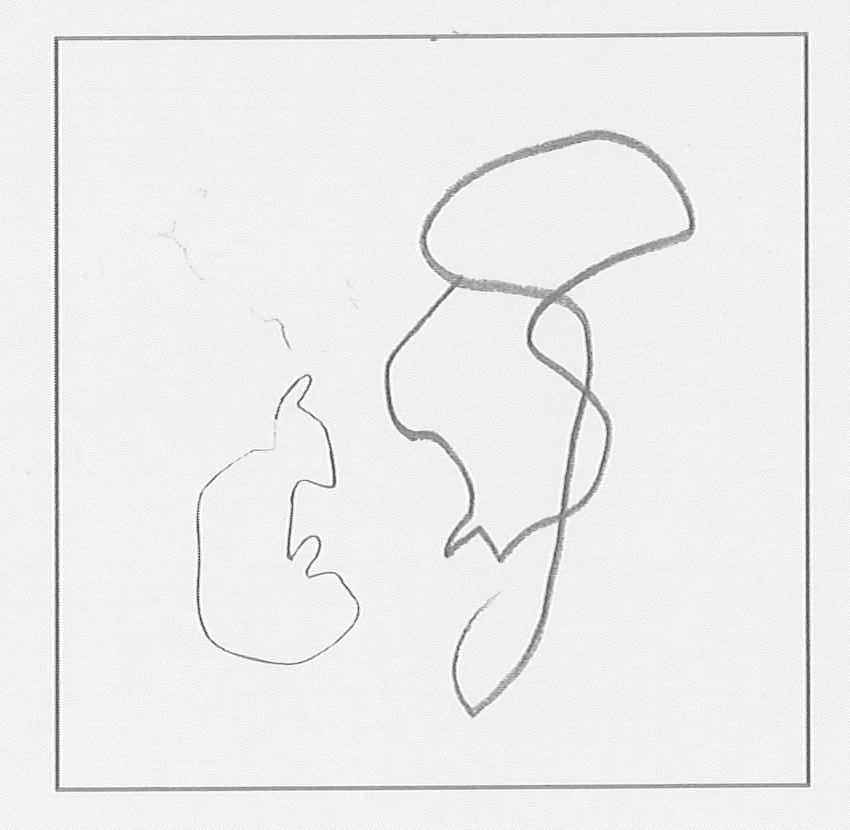
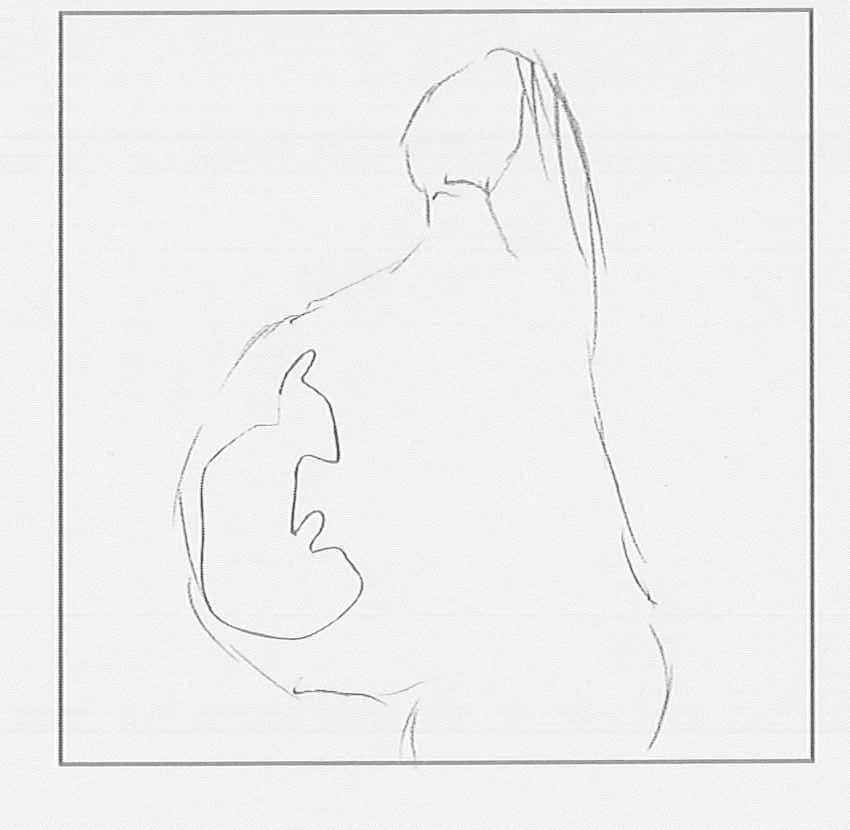
  • Noun, two adjectives, three words ending in “ing,” phrase, noun
  • One word, two words, three words, four words, one word
  • Two syllables, four syllables, six syllables, eight syllables, two syllables

2.  Divide into groups of four or five and take a few moments to look closely at a work of art (each group should look at a different artwork)

3.  Provide each participant with one template and a pencil to start

4.  Fill in the first line and then fold it so that your written response is hidden from view

5.  Pass the template to your neighbor

6.  Fill in the next line on the template passed to you, fold it, and pass again

7.  Continue these steps until all the templates have been filled out. At the end of this exercise, each participant should have a completed narrative that they can unfold and read aloud to the other writers. After reading all the templates, each small group should choose one to share with the larger group.

Here are some collaborative narratives that Go van Gogh volunteers wrote:

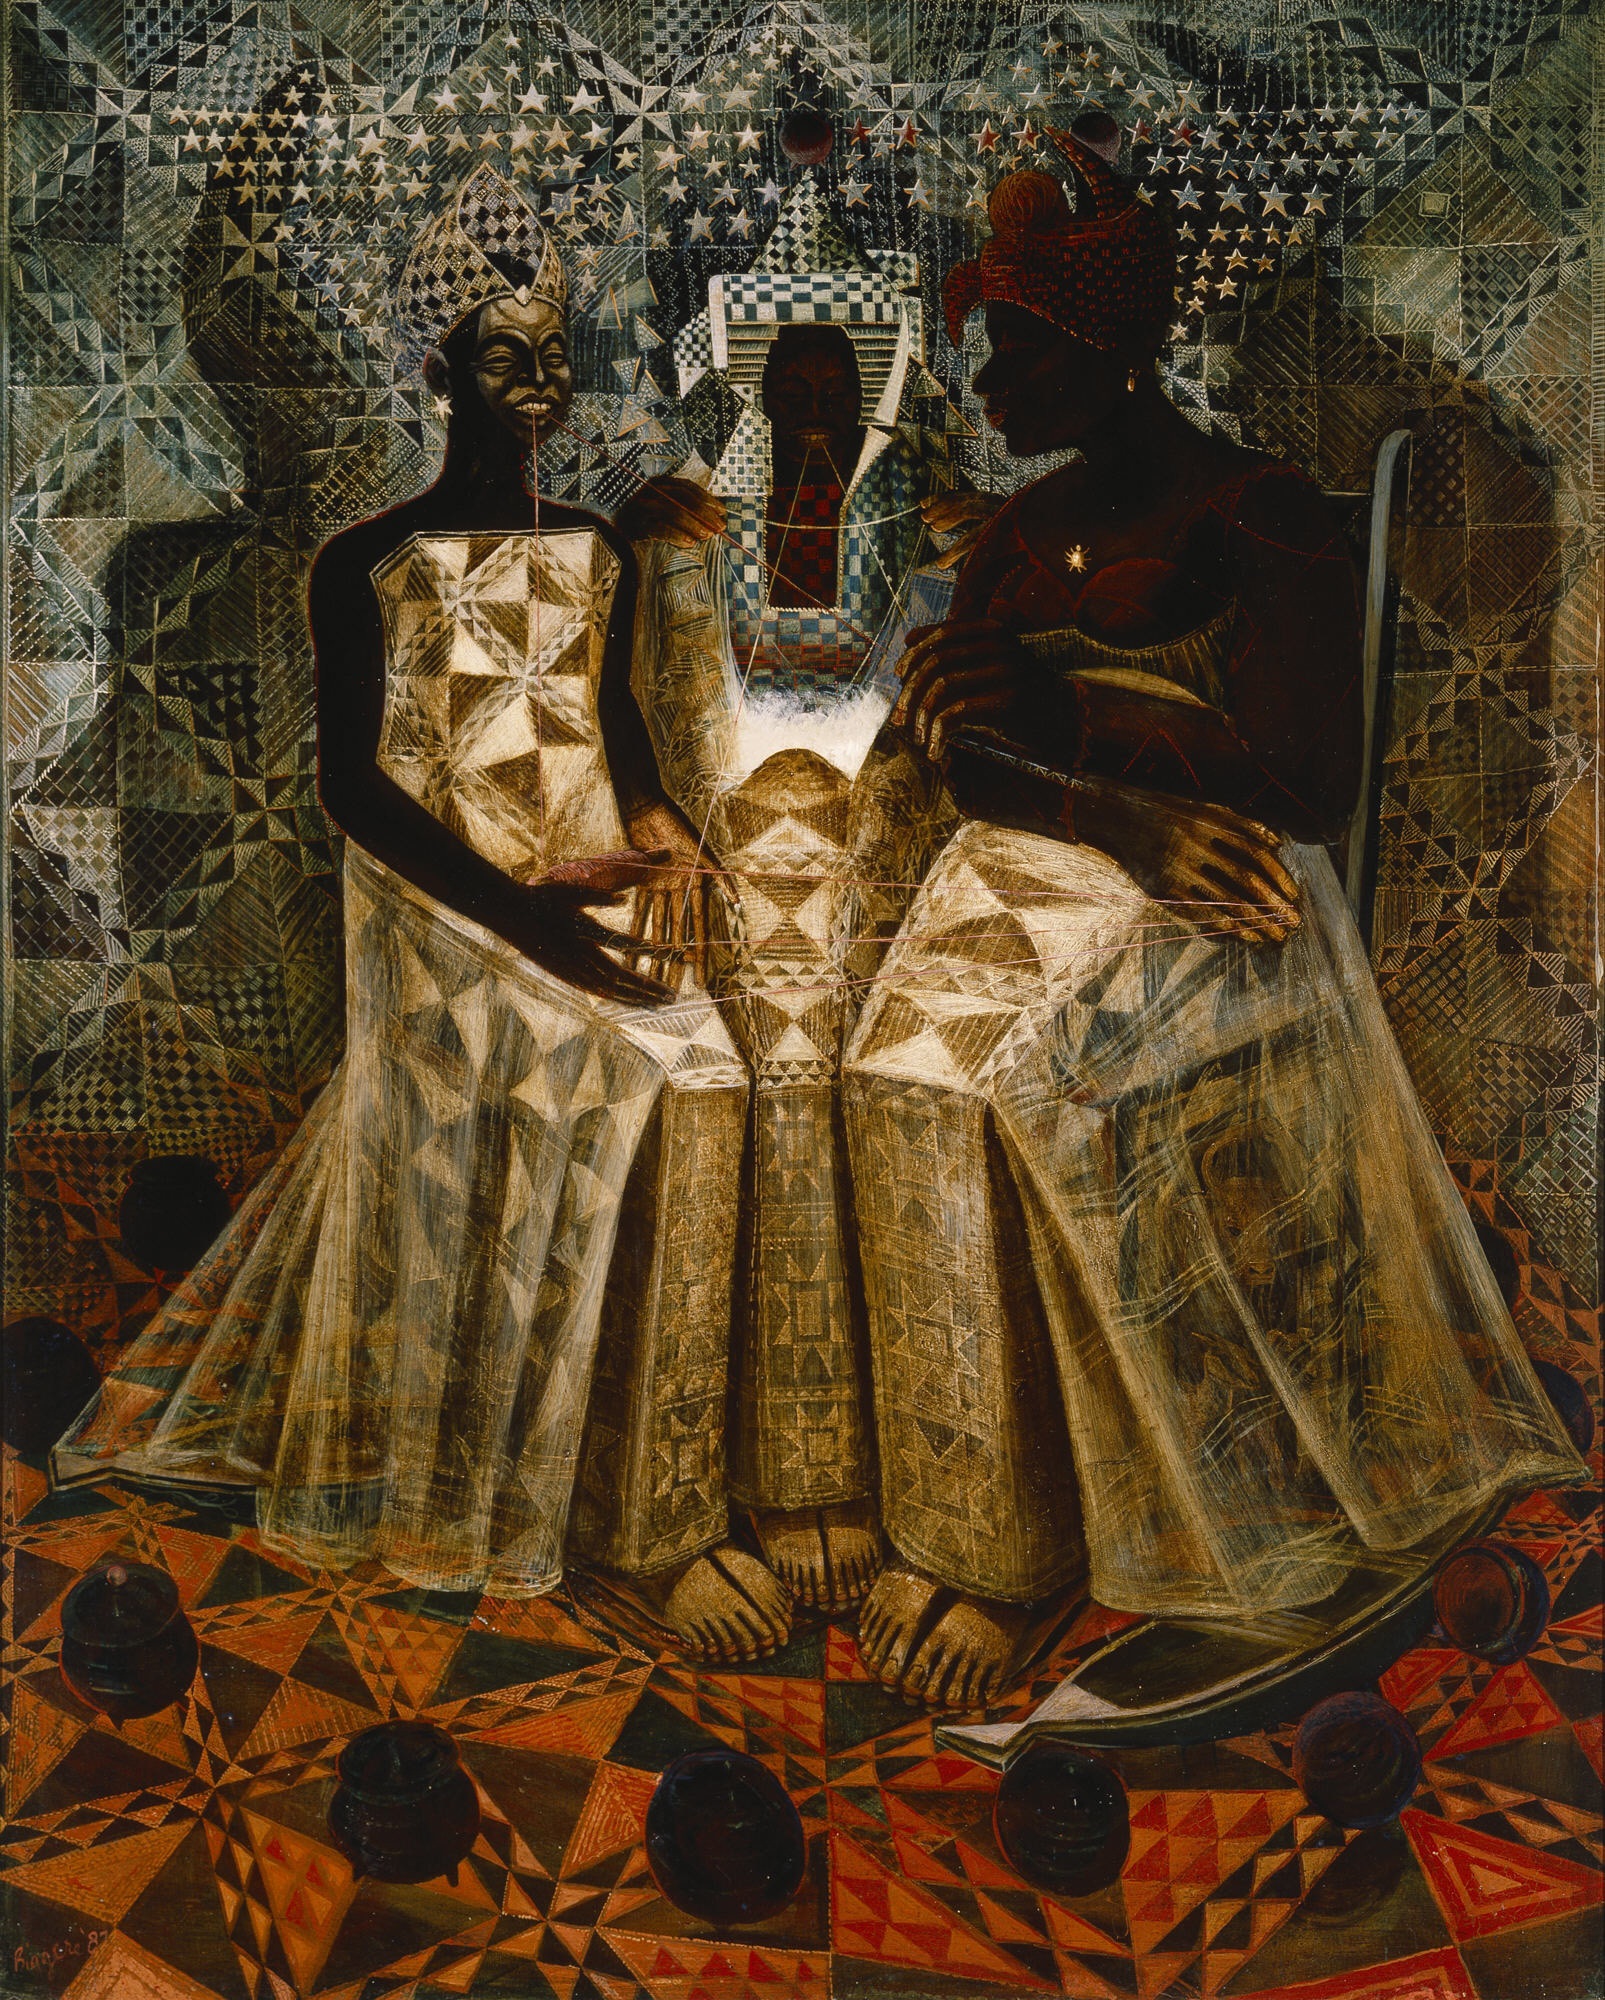
Starry Crown, John Thomas Biggers, 1987, Dallas Museum of Art, Museum League Purchase Fund

Gorgeous

Traditional

Ladies talking quilt

Stars, hats, hands, feet, toes, fingers, shine

Perfect

.

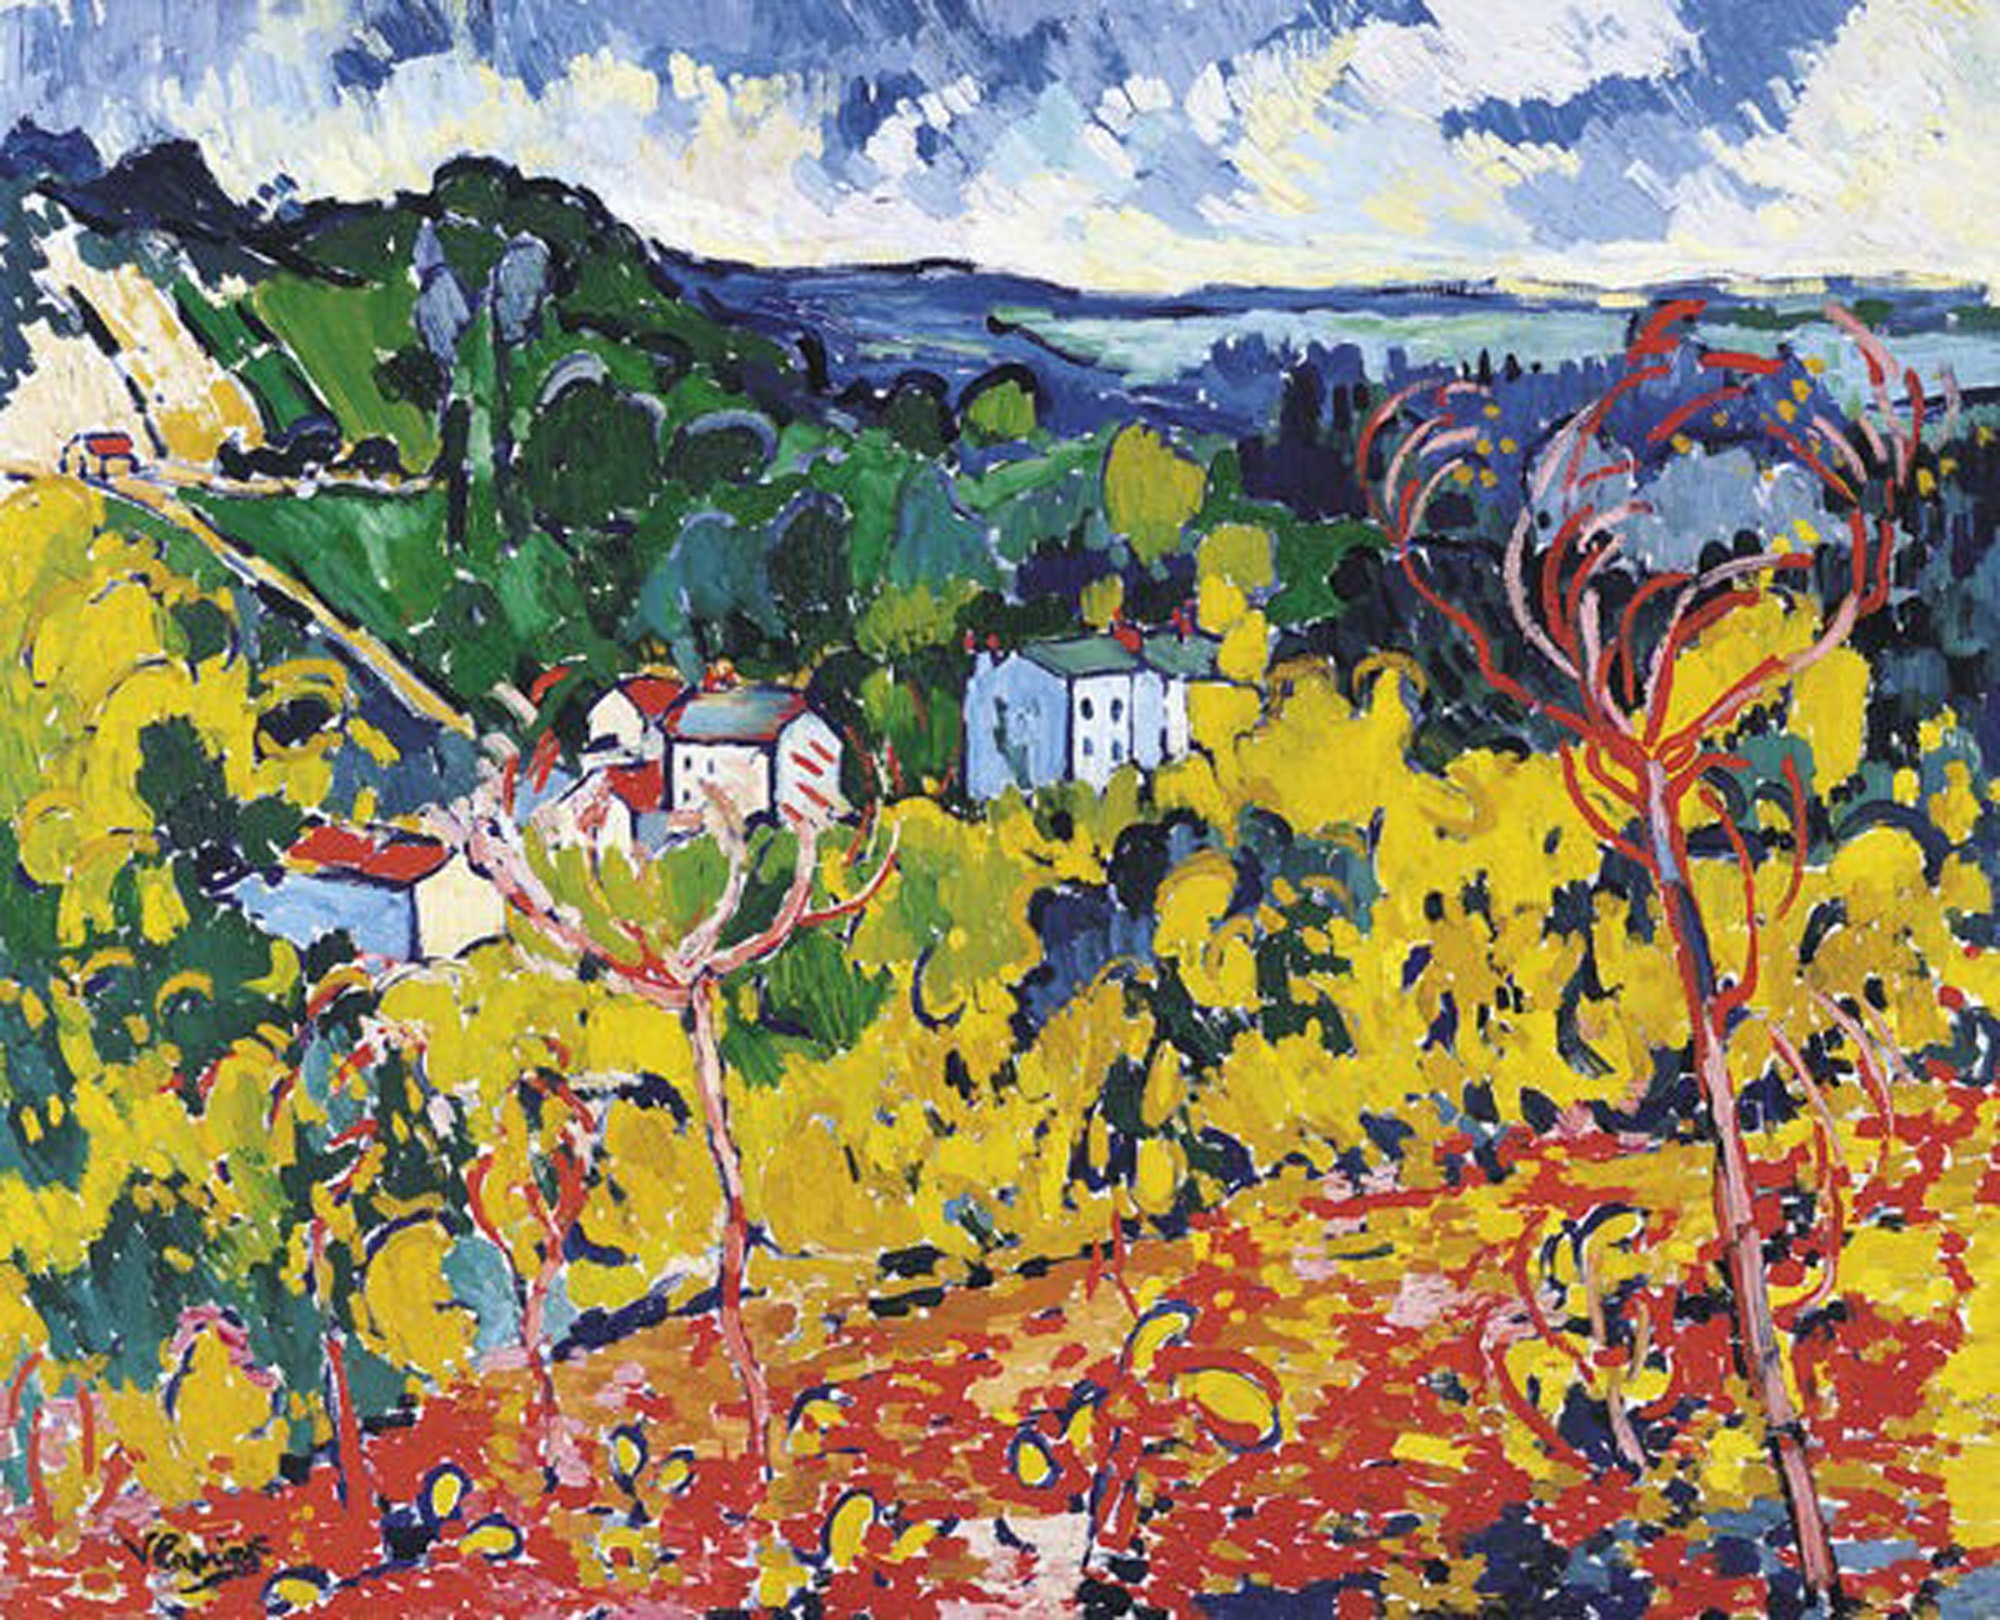
Bougival, Maurice de Vlaminck, 1905, Dallas Museum of Art, The Wendy and Emery Reves Collection

A fall day in Europe

Landscape of a village

Peaceful

Sunflowers and seawater

Apples

.

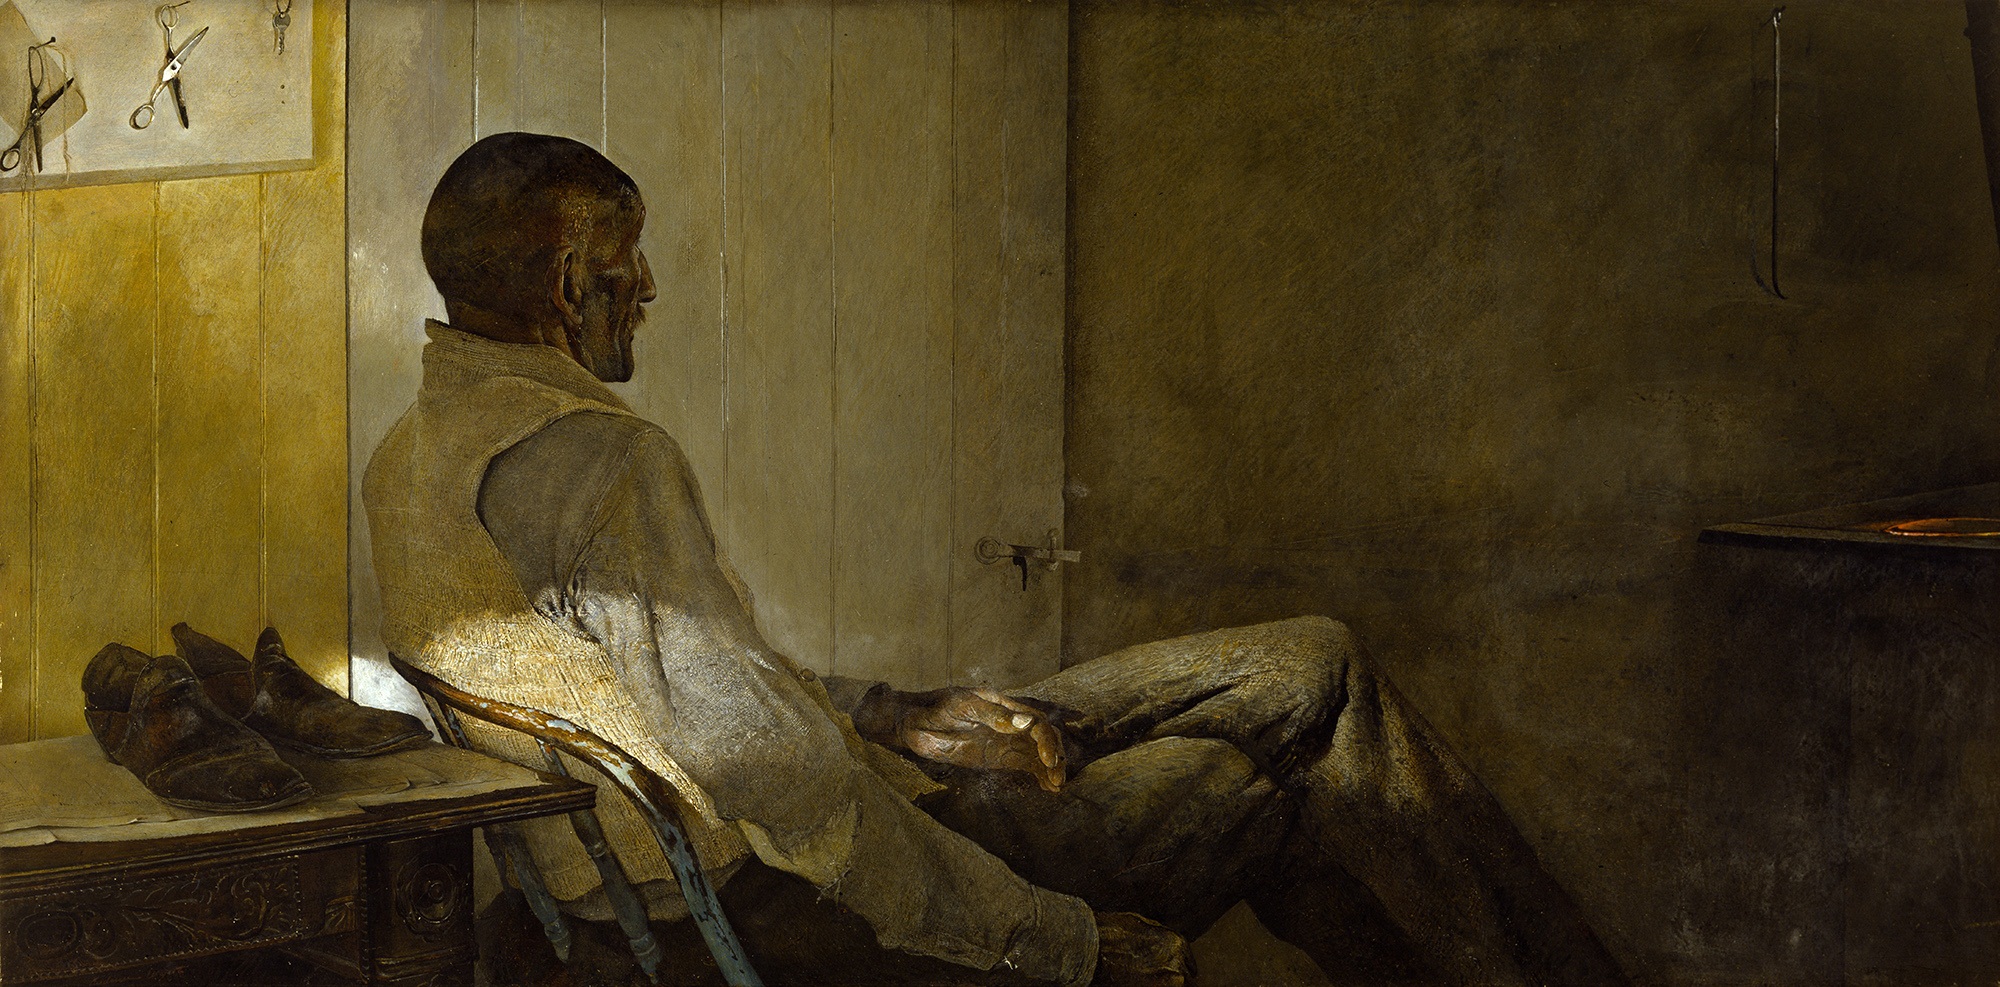
That Gentleman, Andrew Wyeth, 1960, Dallas Museum of Art, Dallas Art Association Purchase

Somber

Serious, somber

Sitting, relaxing, contemplating

Why is he so sad?

Man

.

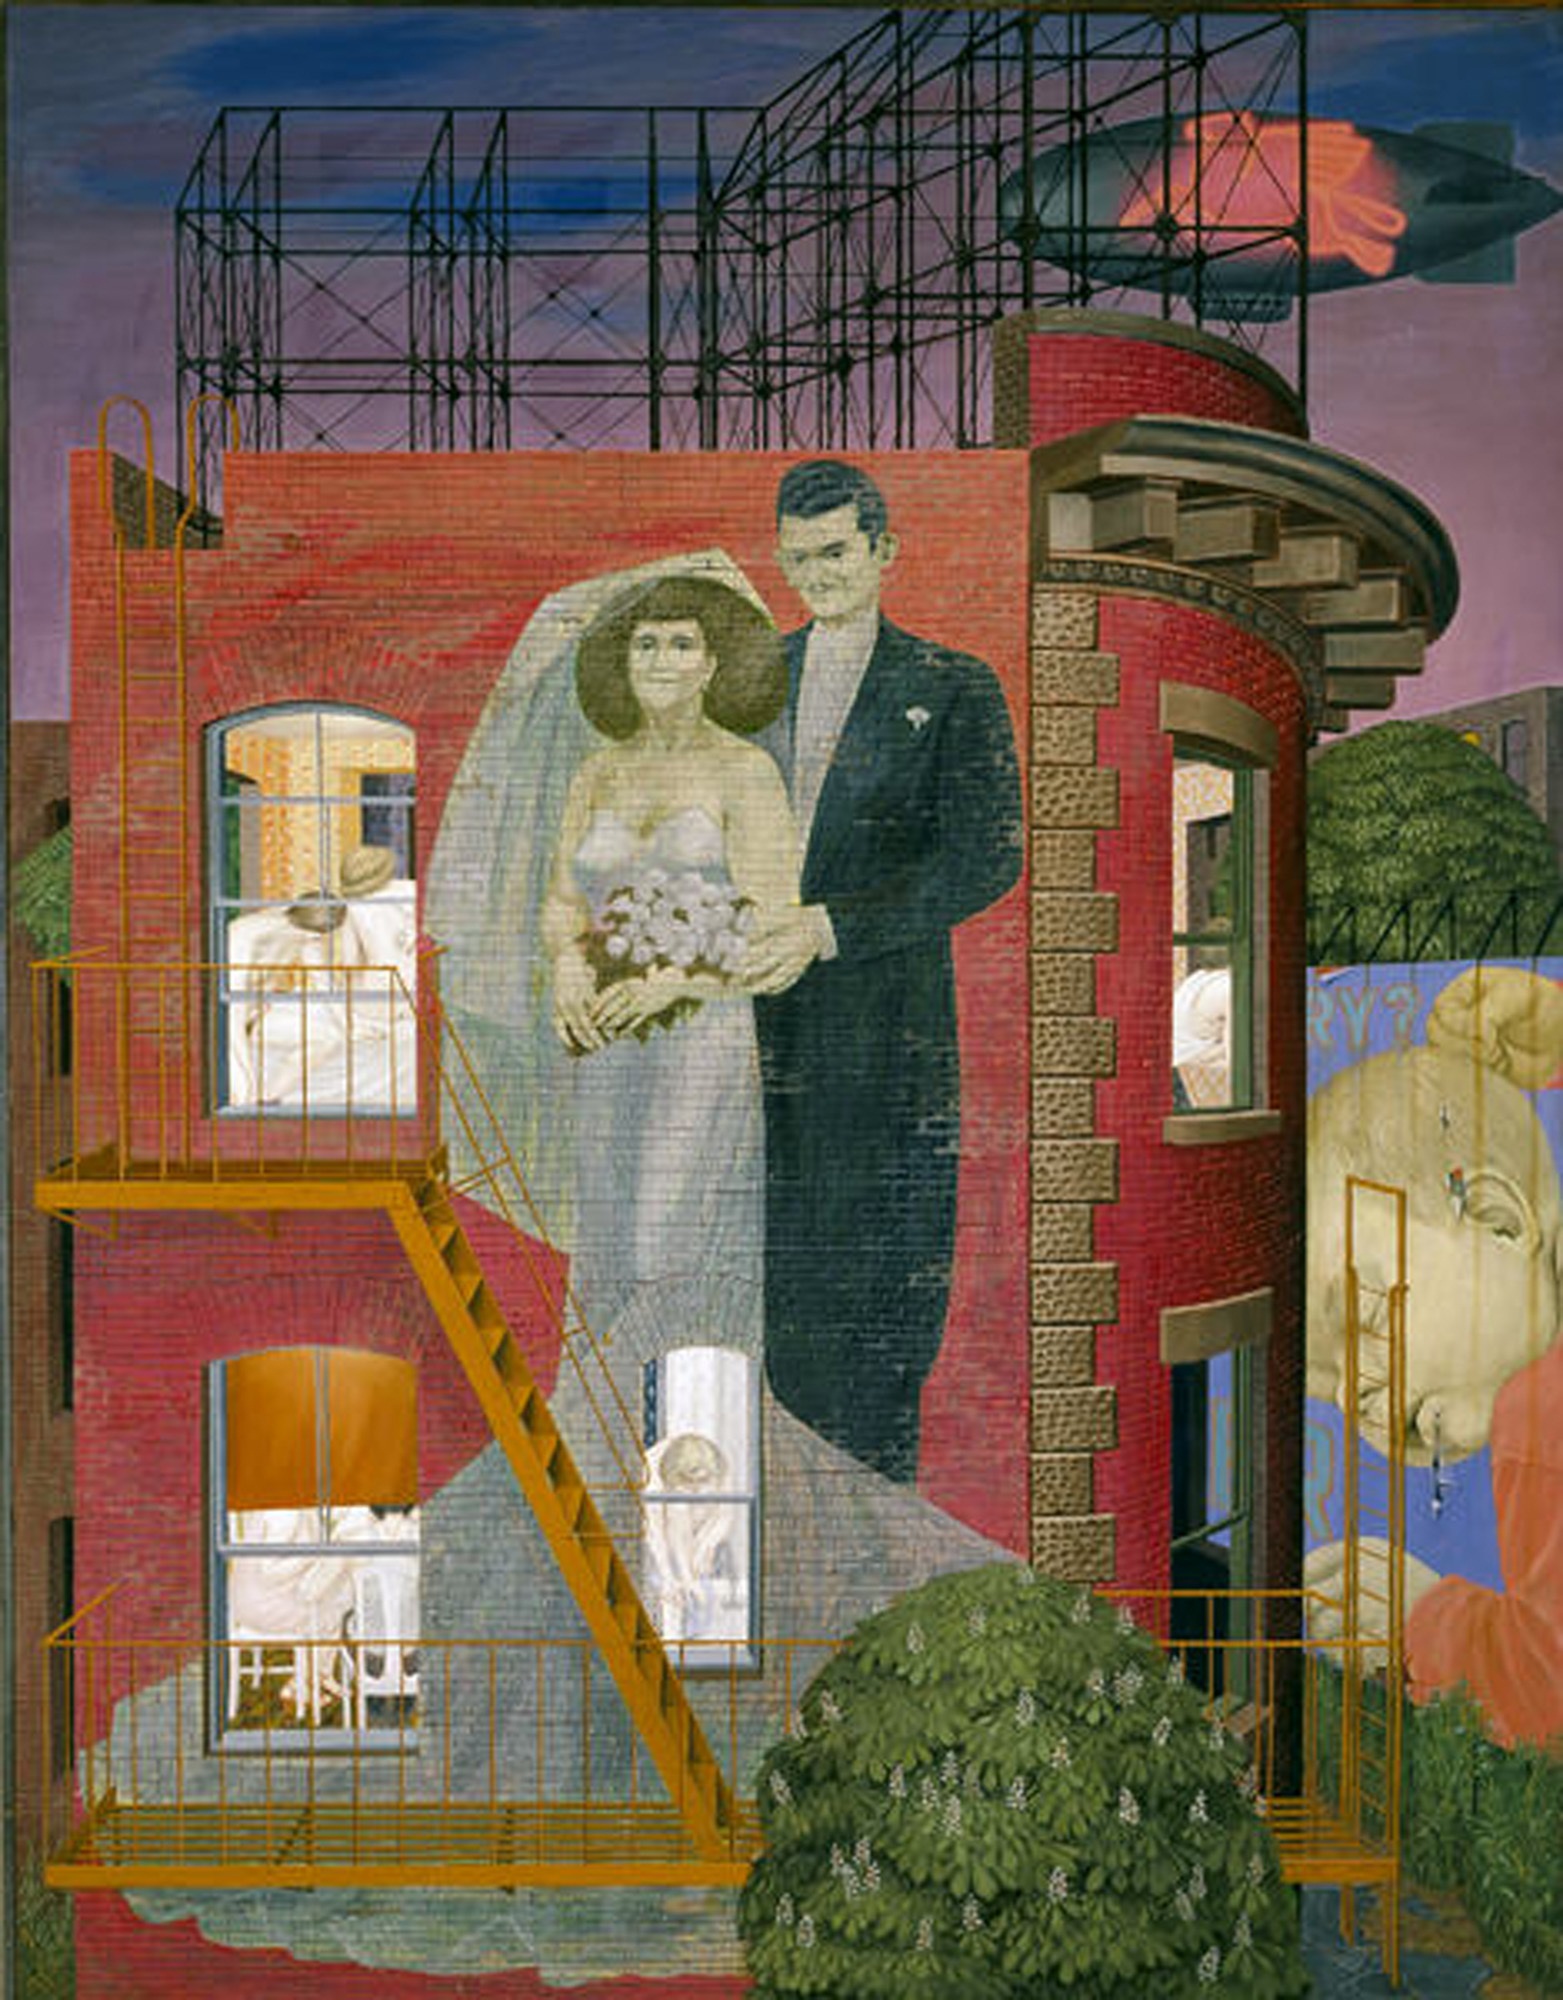
June Night, Henry Koerner, 1948-1949, Dallas Museum of Art, Foundation for the Arts Collection, gift of Joshua L. Logan

Colorful

Everyday, wedding

Marrying, dreaming, loving

A busy art building

Hope

I hope you all have as much fun with this as we did!

Hannah Burney
Community Teaching Programs Assistant

The Man with the Top Hat

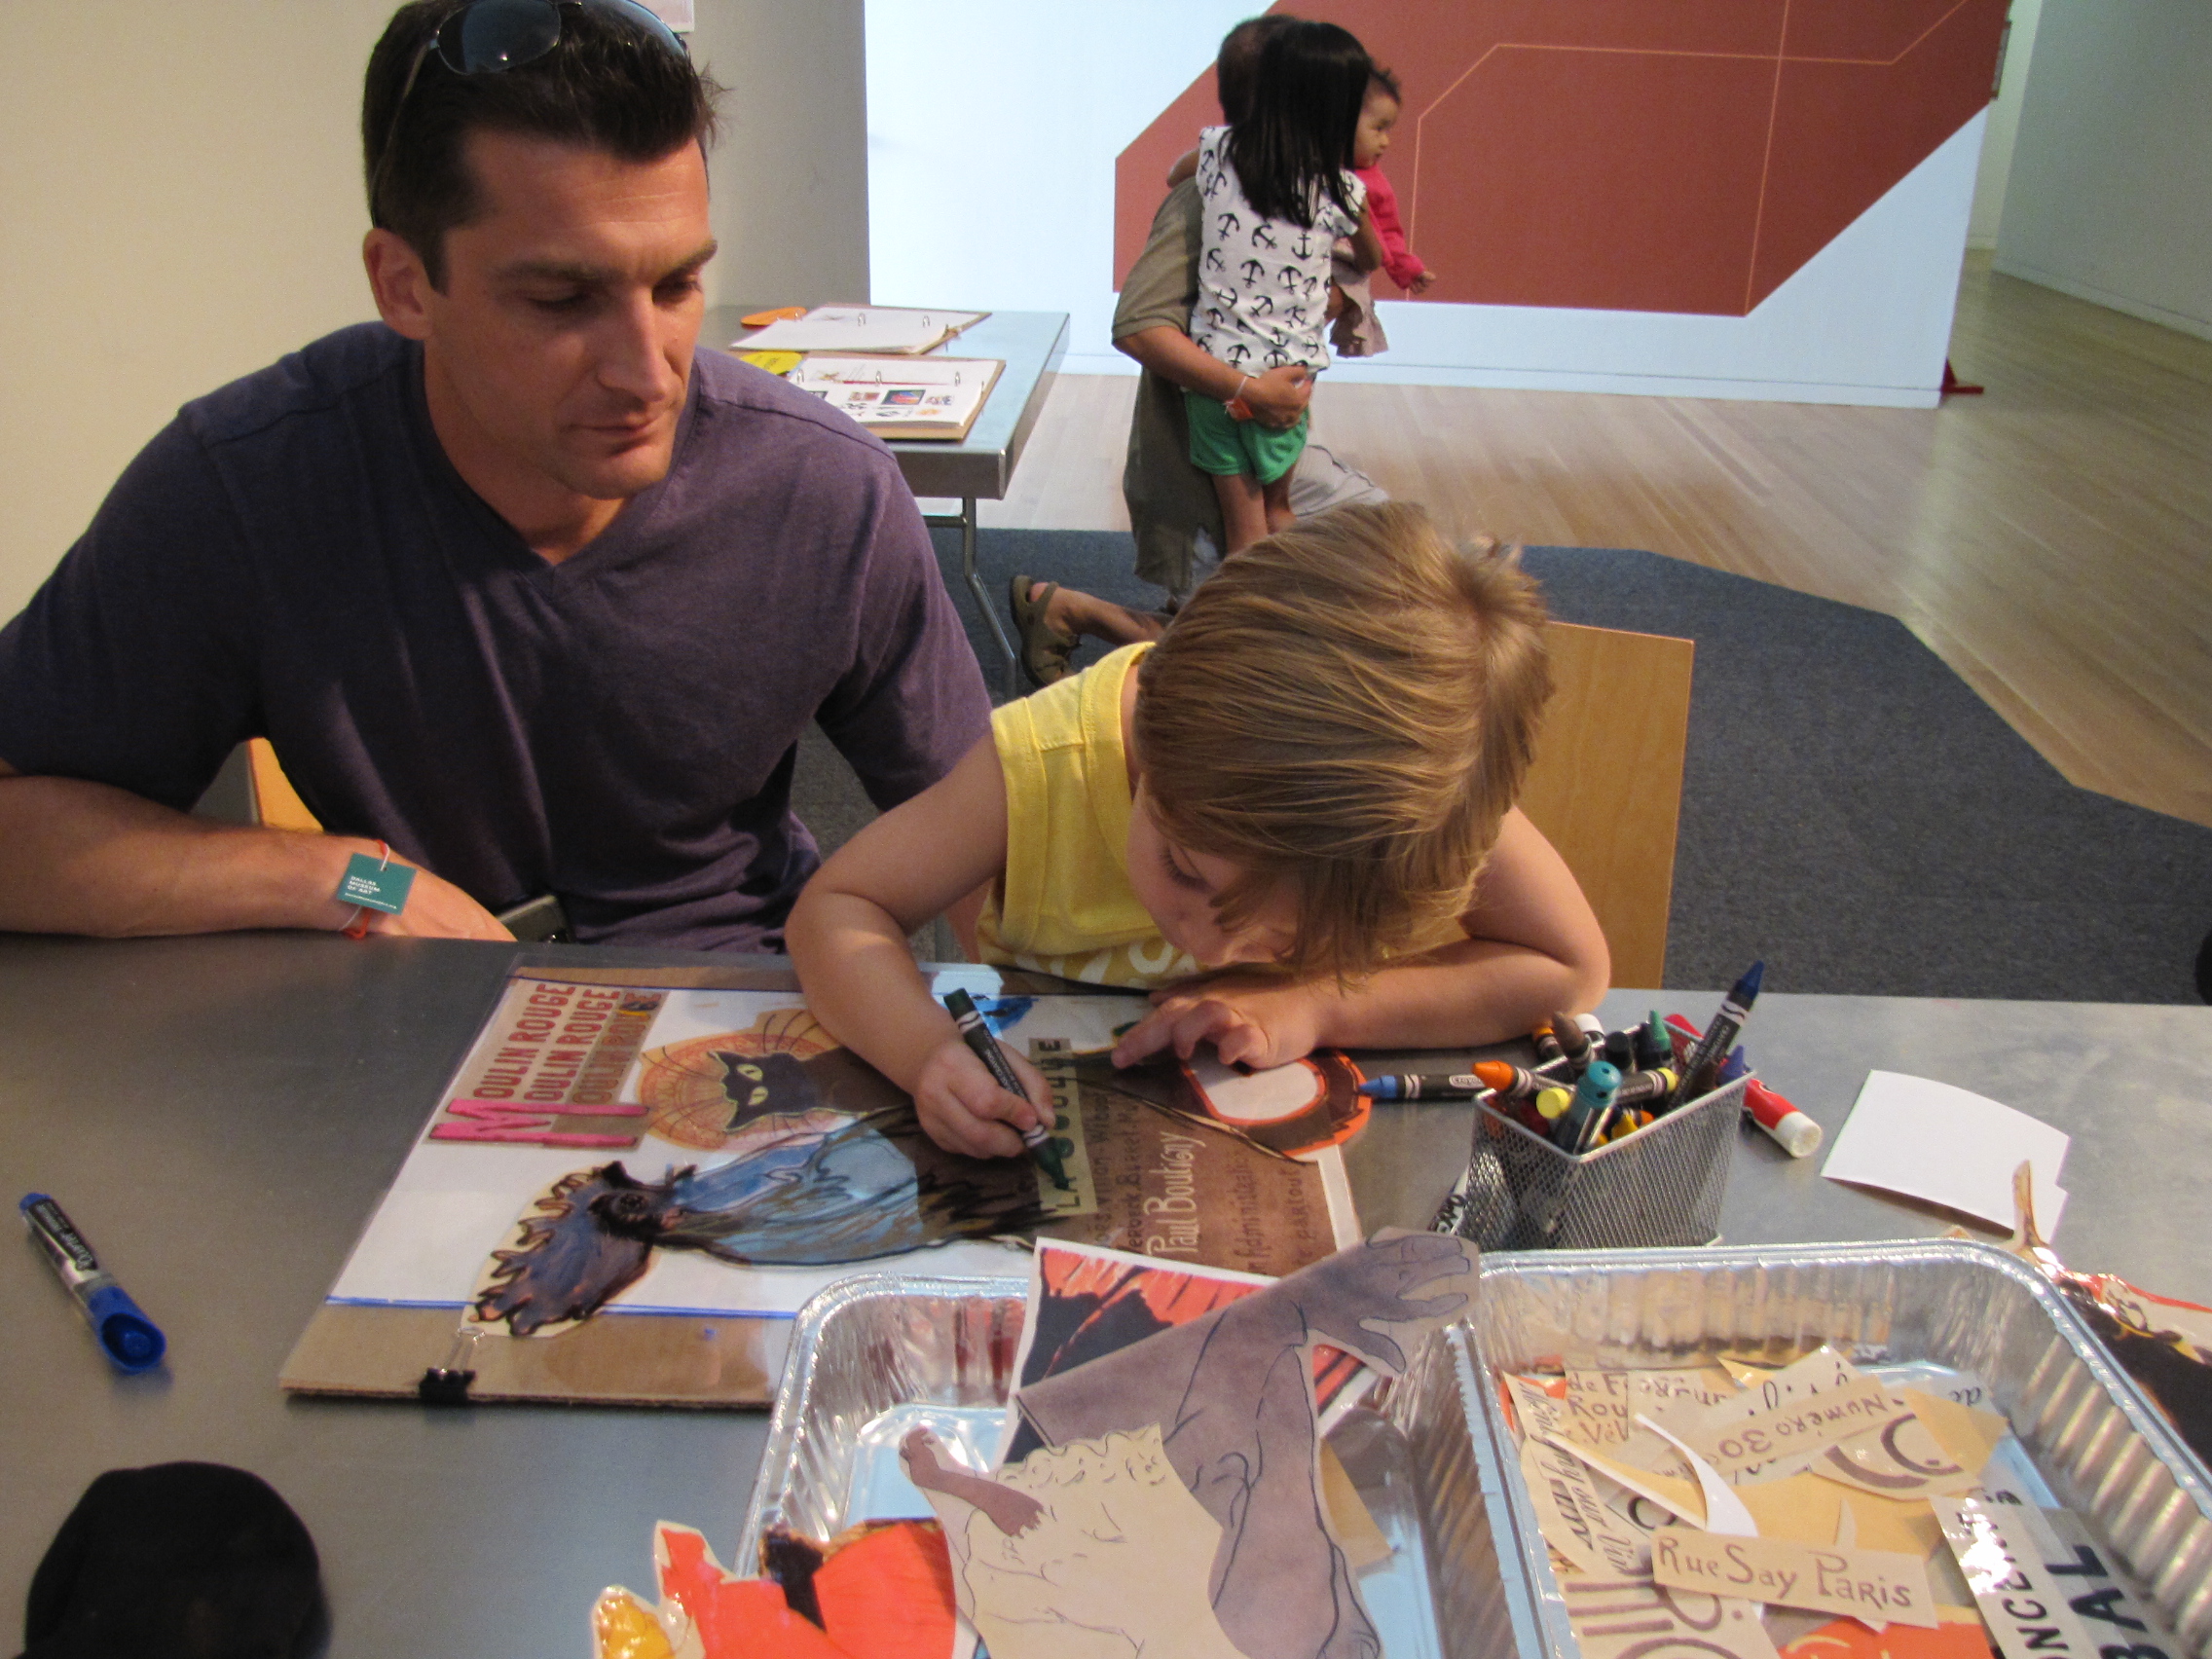
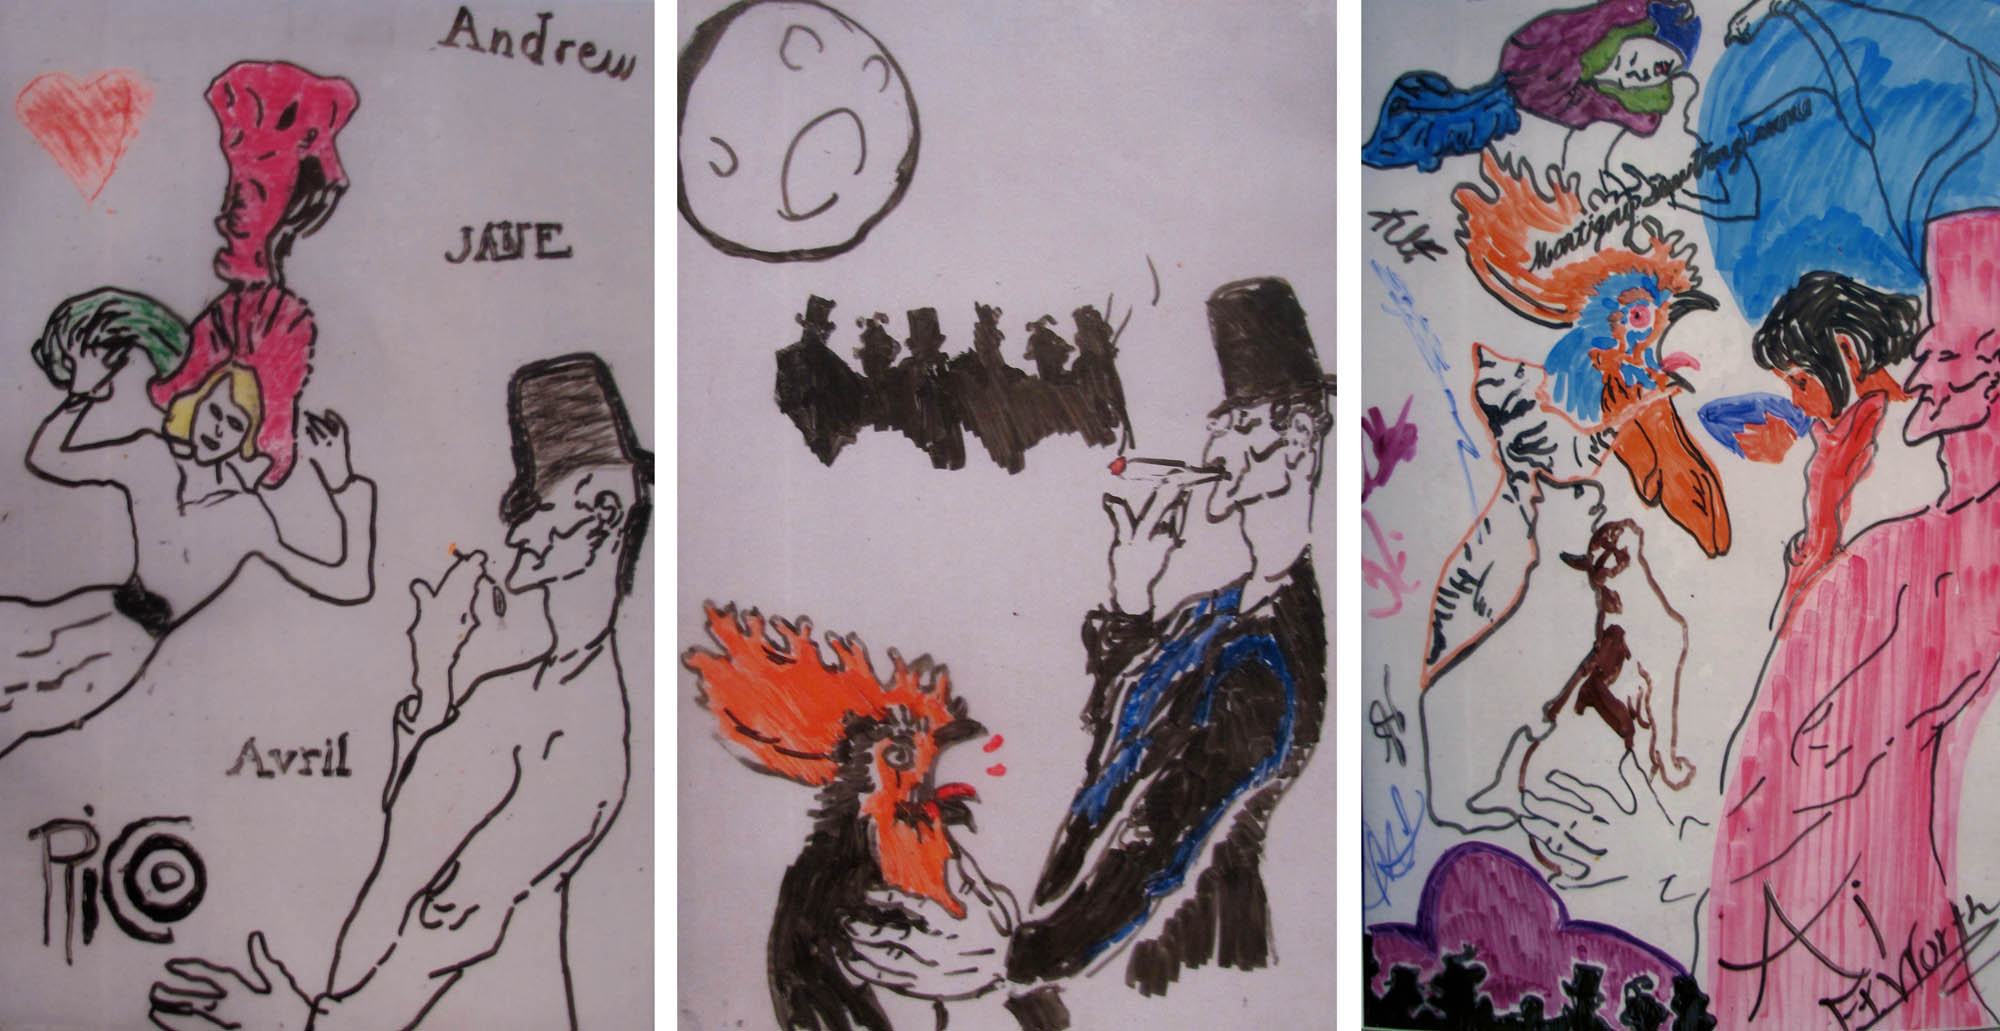
In preparation for the upcoming exhibition Posters of Paris: Toulouse-Lautrec and His Contemporaries, the Center for Creative Connections staff has been prototyping a new interactive art-making activity.  Inspired by poster-making at the Denver Art Museum, we are including a hands-on poster-making space in the exhibition.  Our current prototype activity has a limited array of characters which our visitors can choose and combine to create their own poster; but as you can see, creativity still flourishes.  Though each of these three posters below uses the man with the top hat in a similar placement in the composition, the context in which he is placed is quite different.

On the left is an 8-year-old boy’s romantic combination of the man with the top hat (with a slender cigarette) and Jane Avril.  In the middle, a young man has replaced that slender cigarette with a hefty cigar.  All of the romance is gone with the shadowy figures in the background looking on as the man with the top hat strangles a poor rooster.  Pictured on the right is a collaborative piece created by a group of women from the Art Institute of Fort Worth.  Each woman took a turn adding to the composition in what ended up as a playful hodge-podge.

Swing by the Dallas Museum of Art from October 14 – January 20 to see Posters of Paris and create your own poster!  What will you do with the man with the top hat?

Jessica Nelson
C3 Gallery Coordinator


Archives

Flickr Photo Stream

Categories