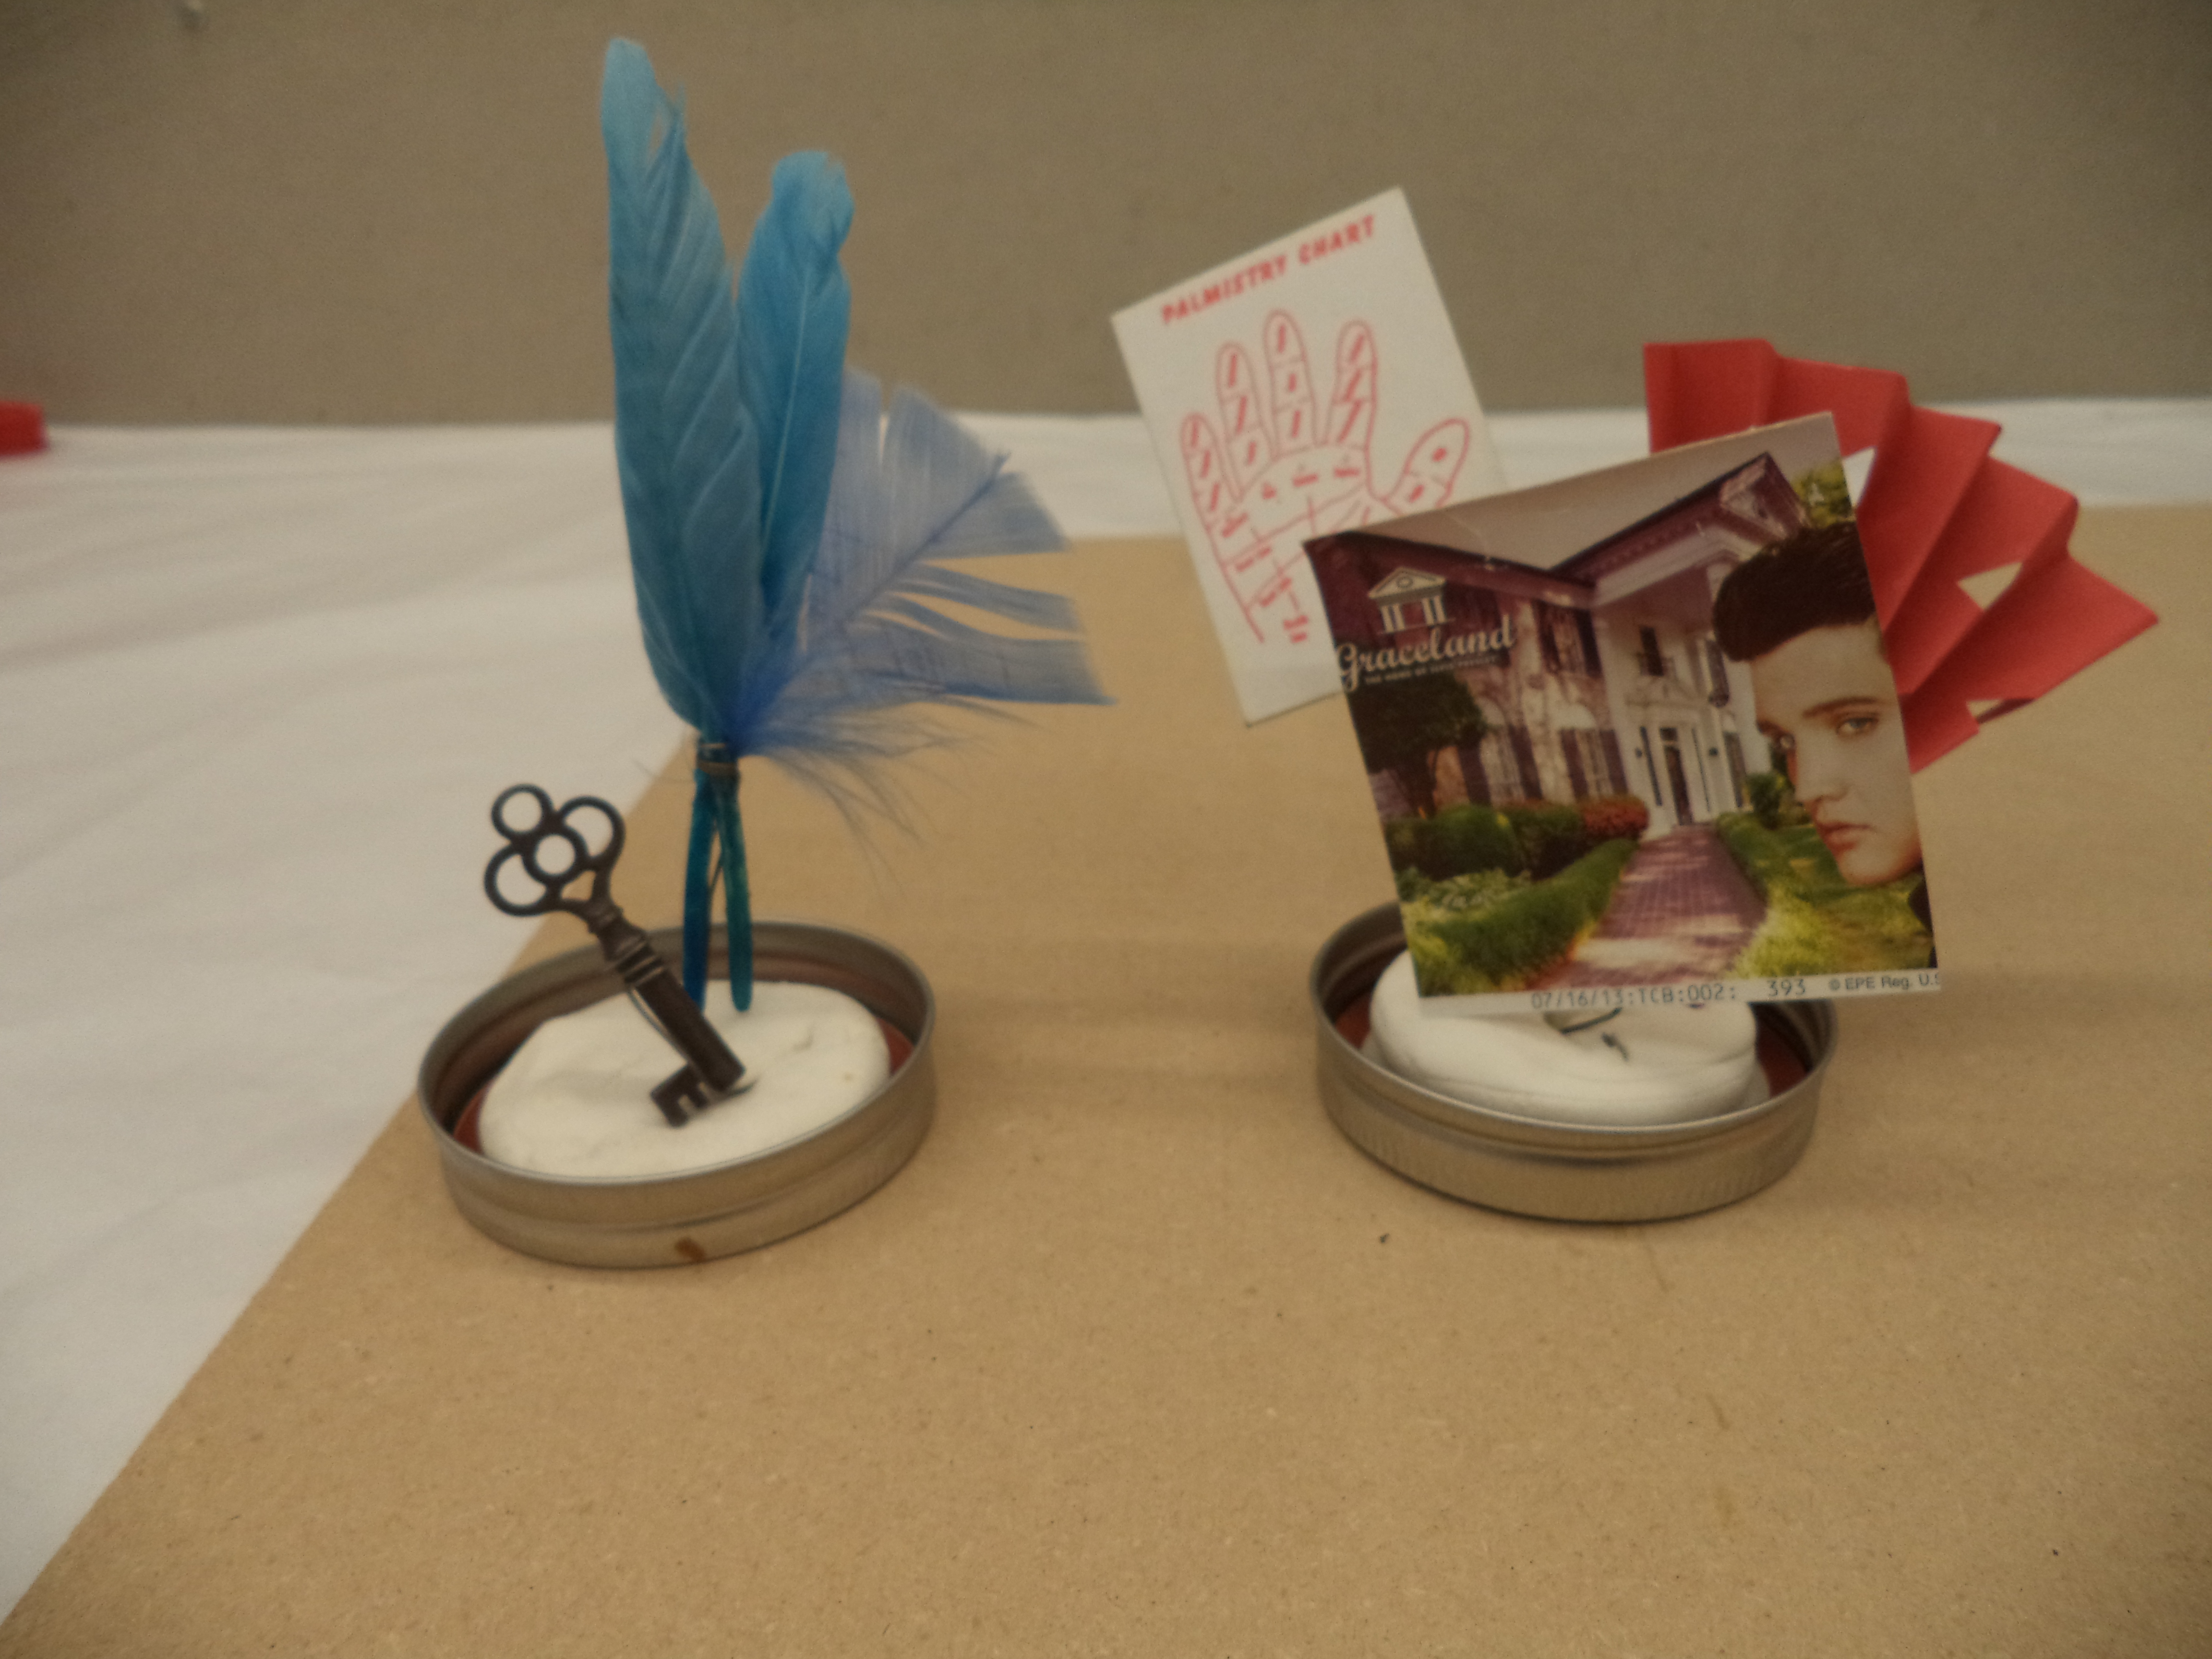
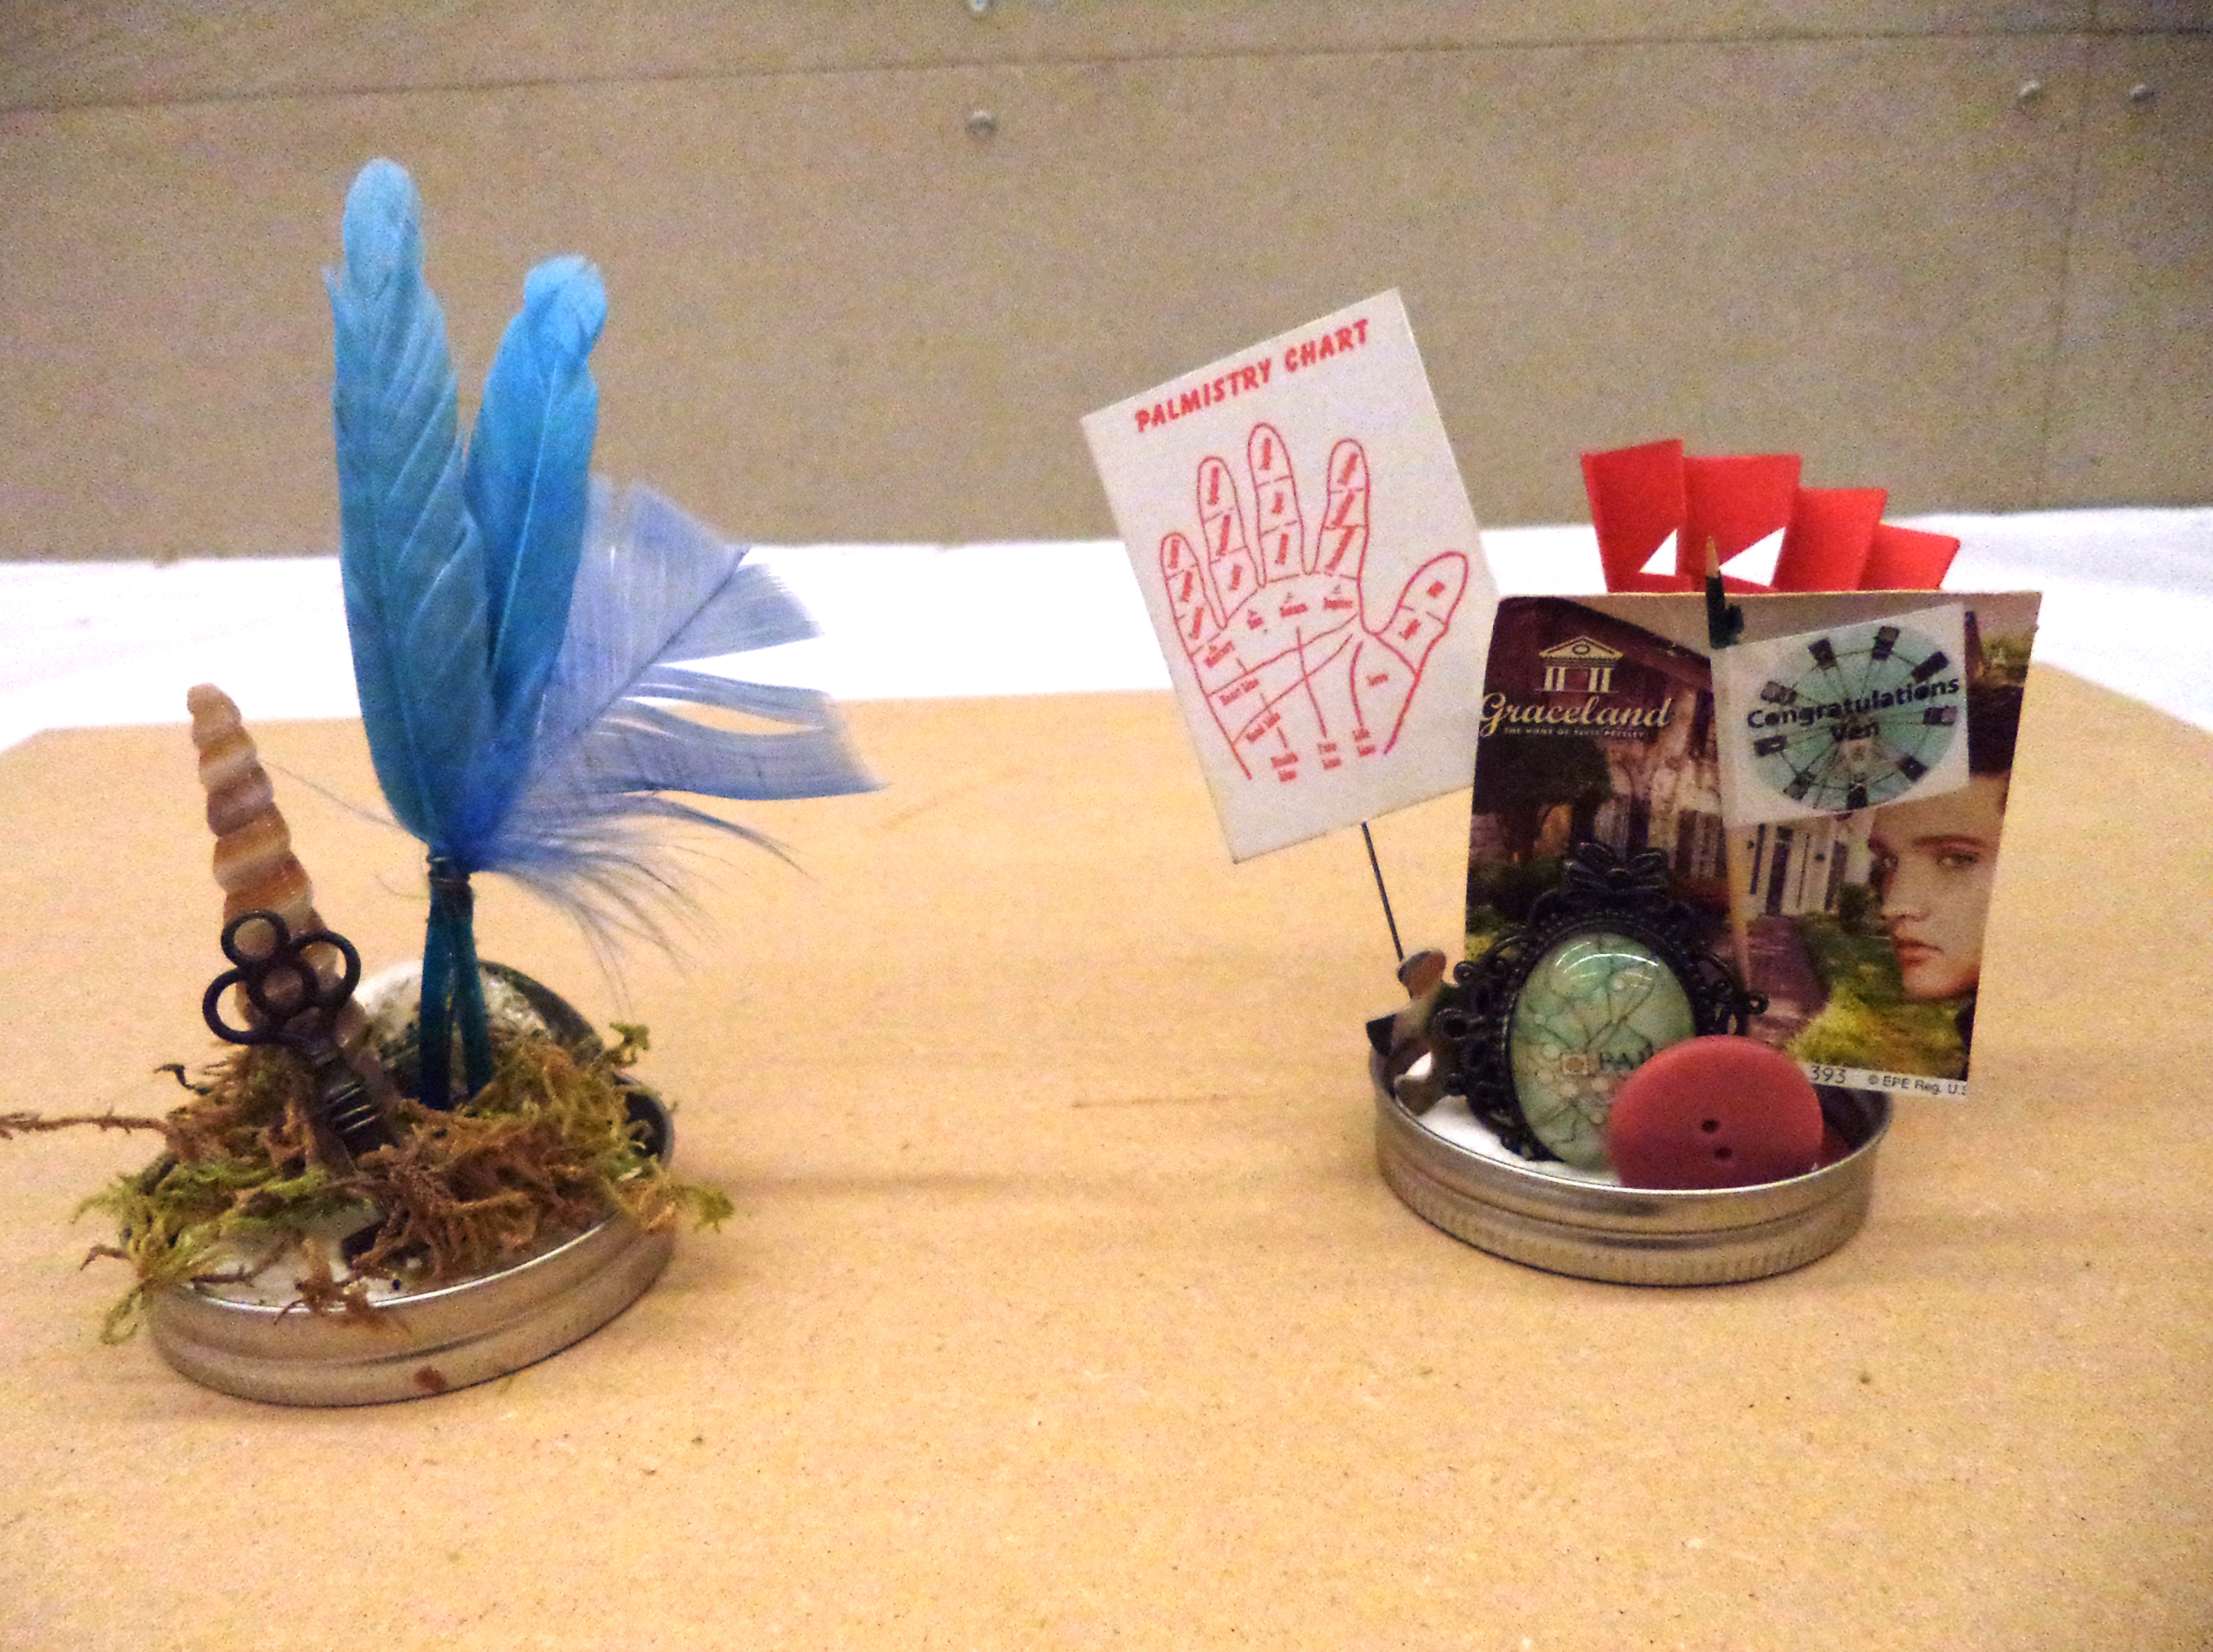
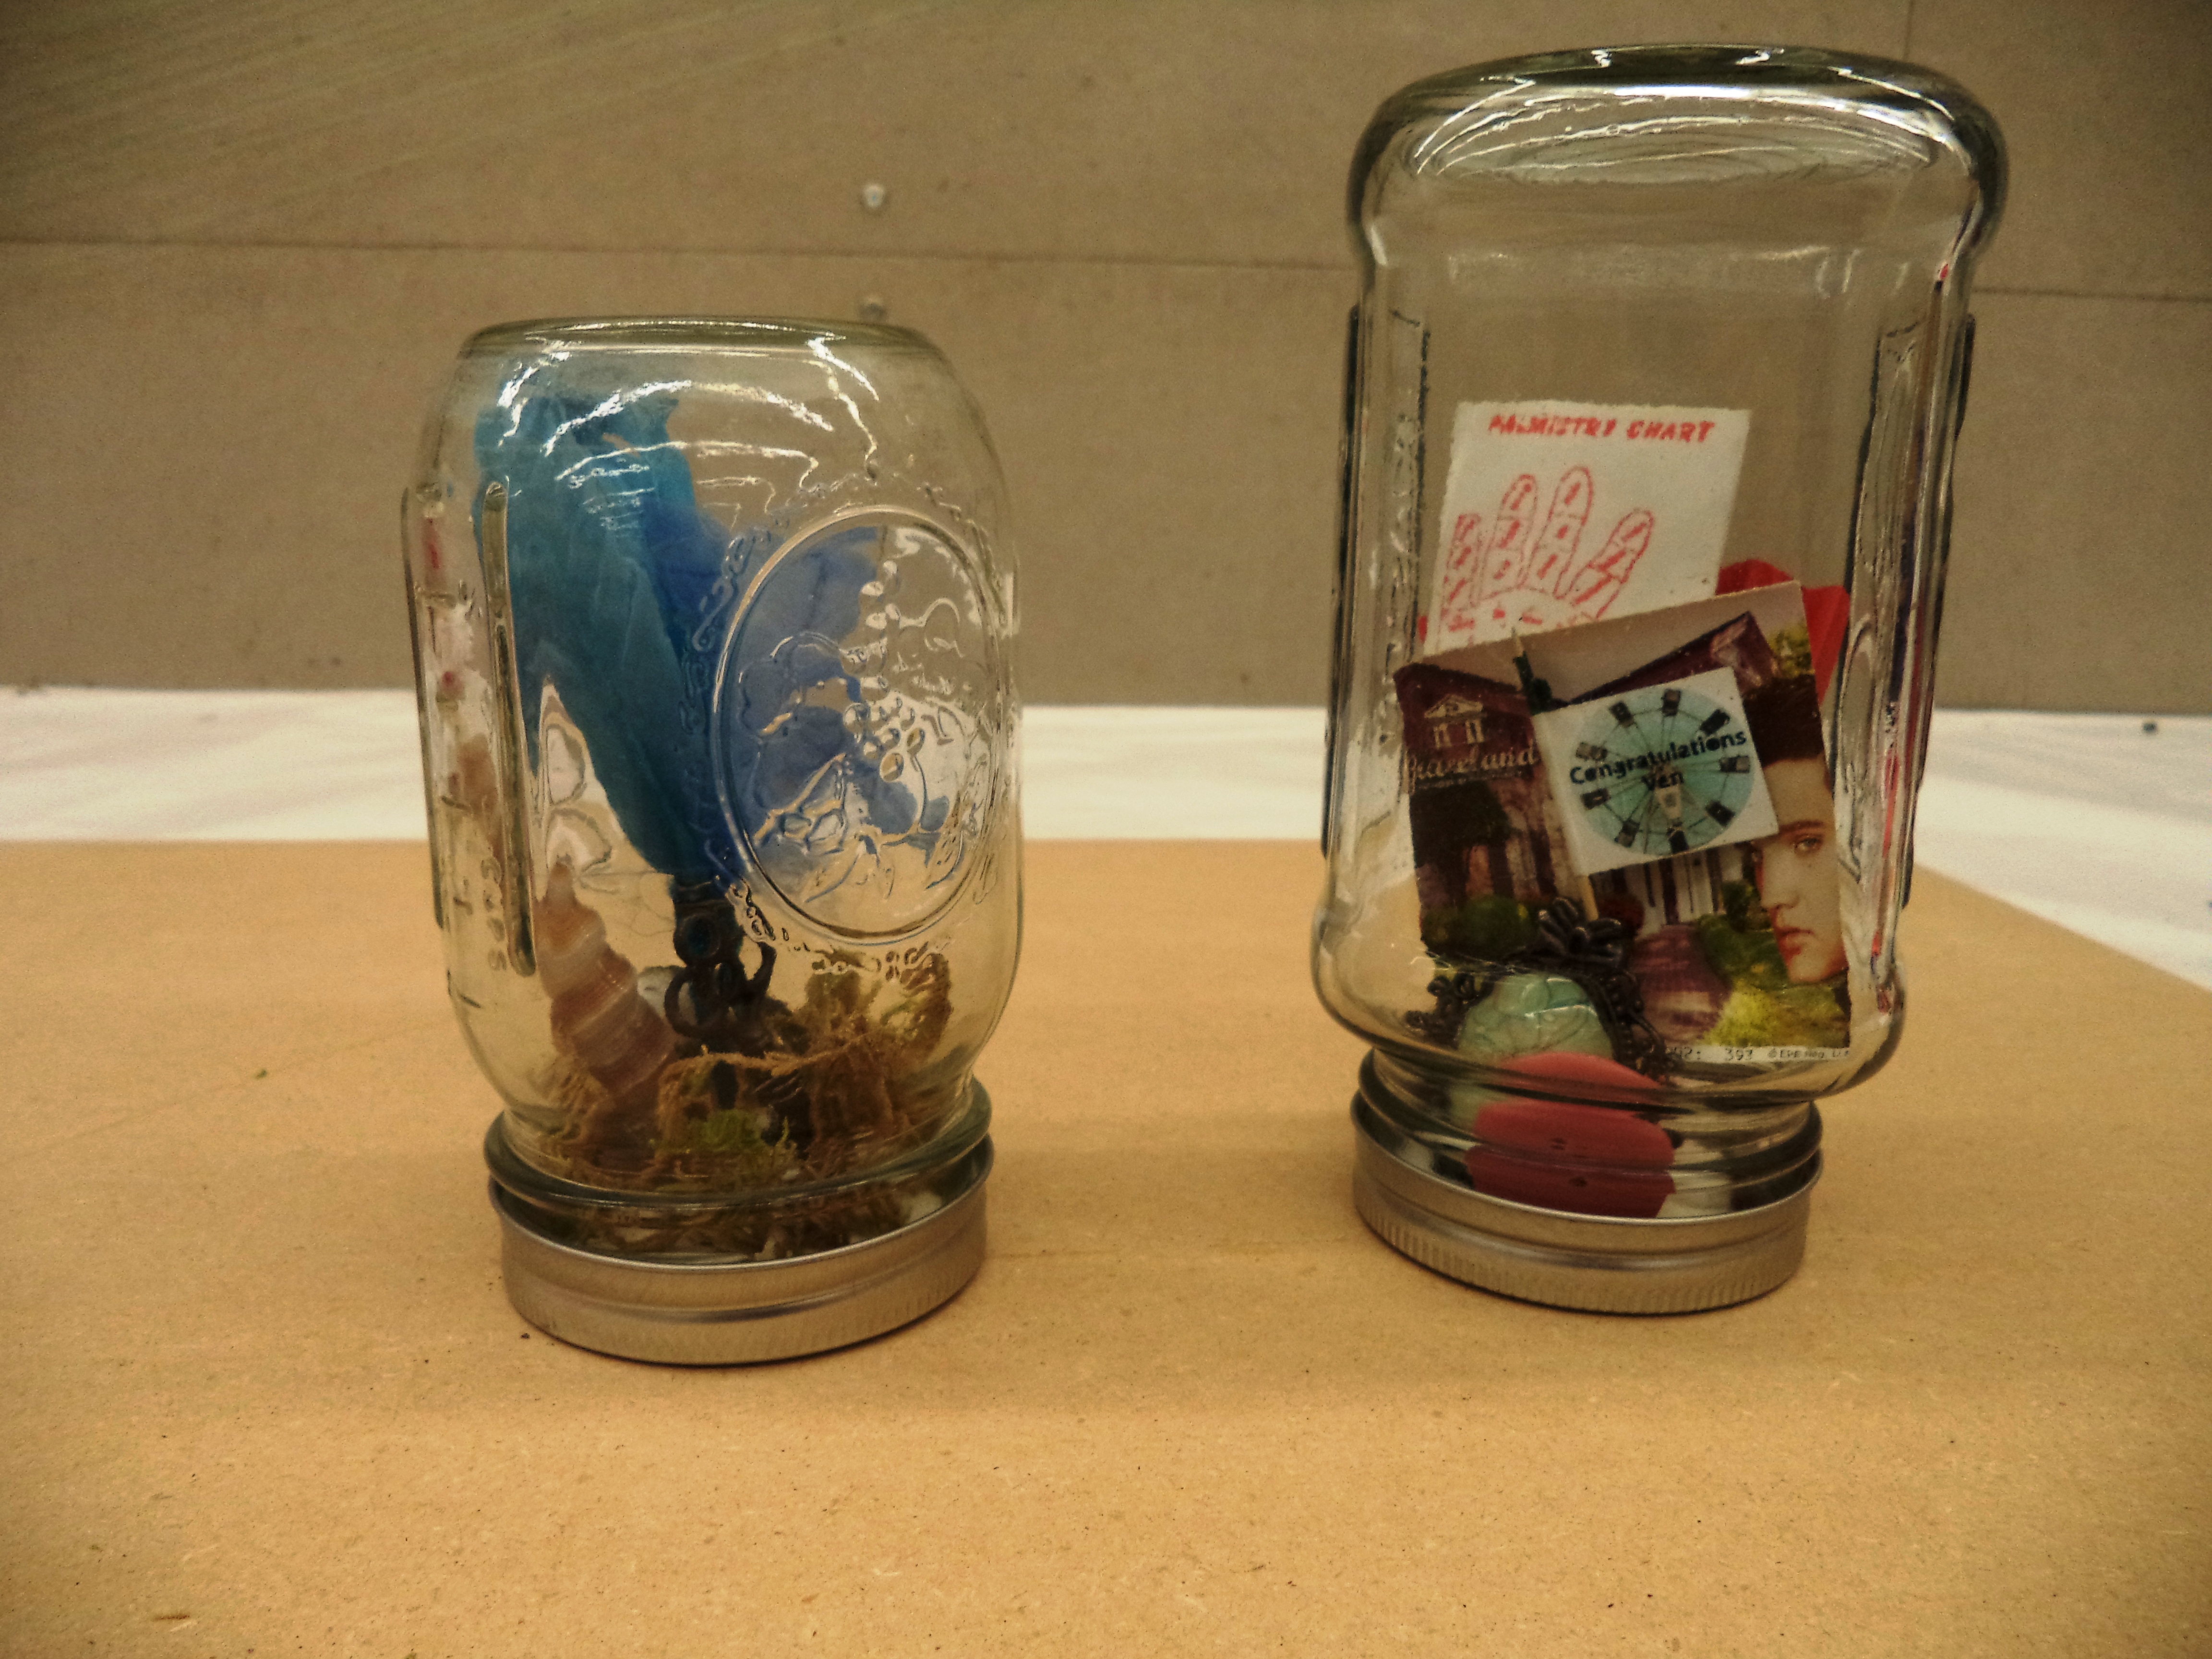
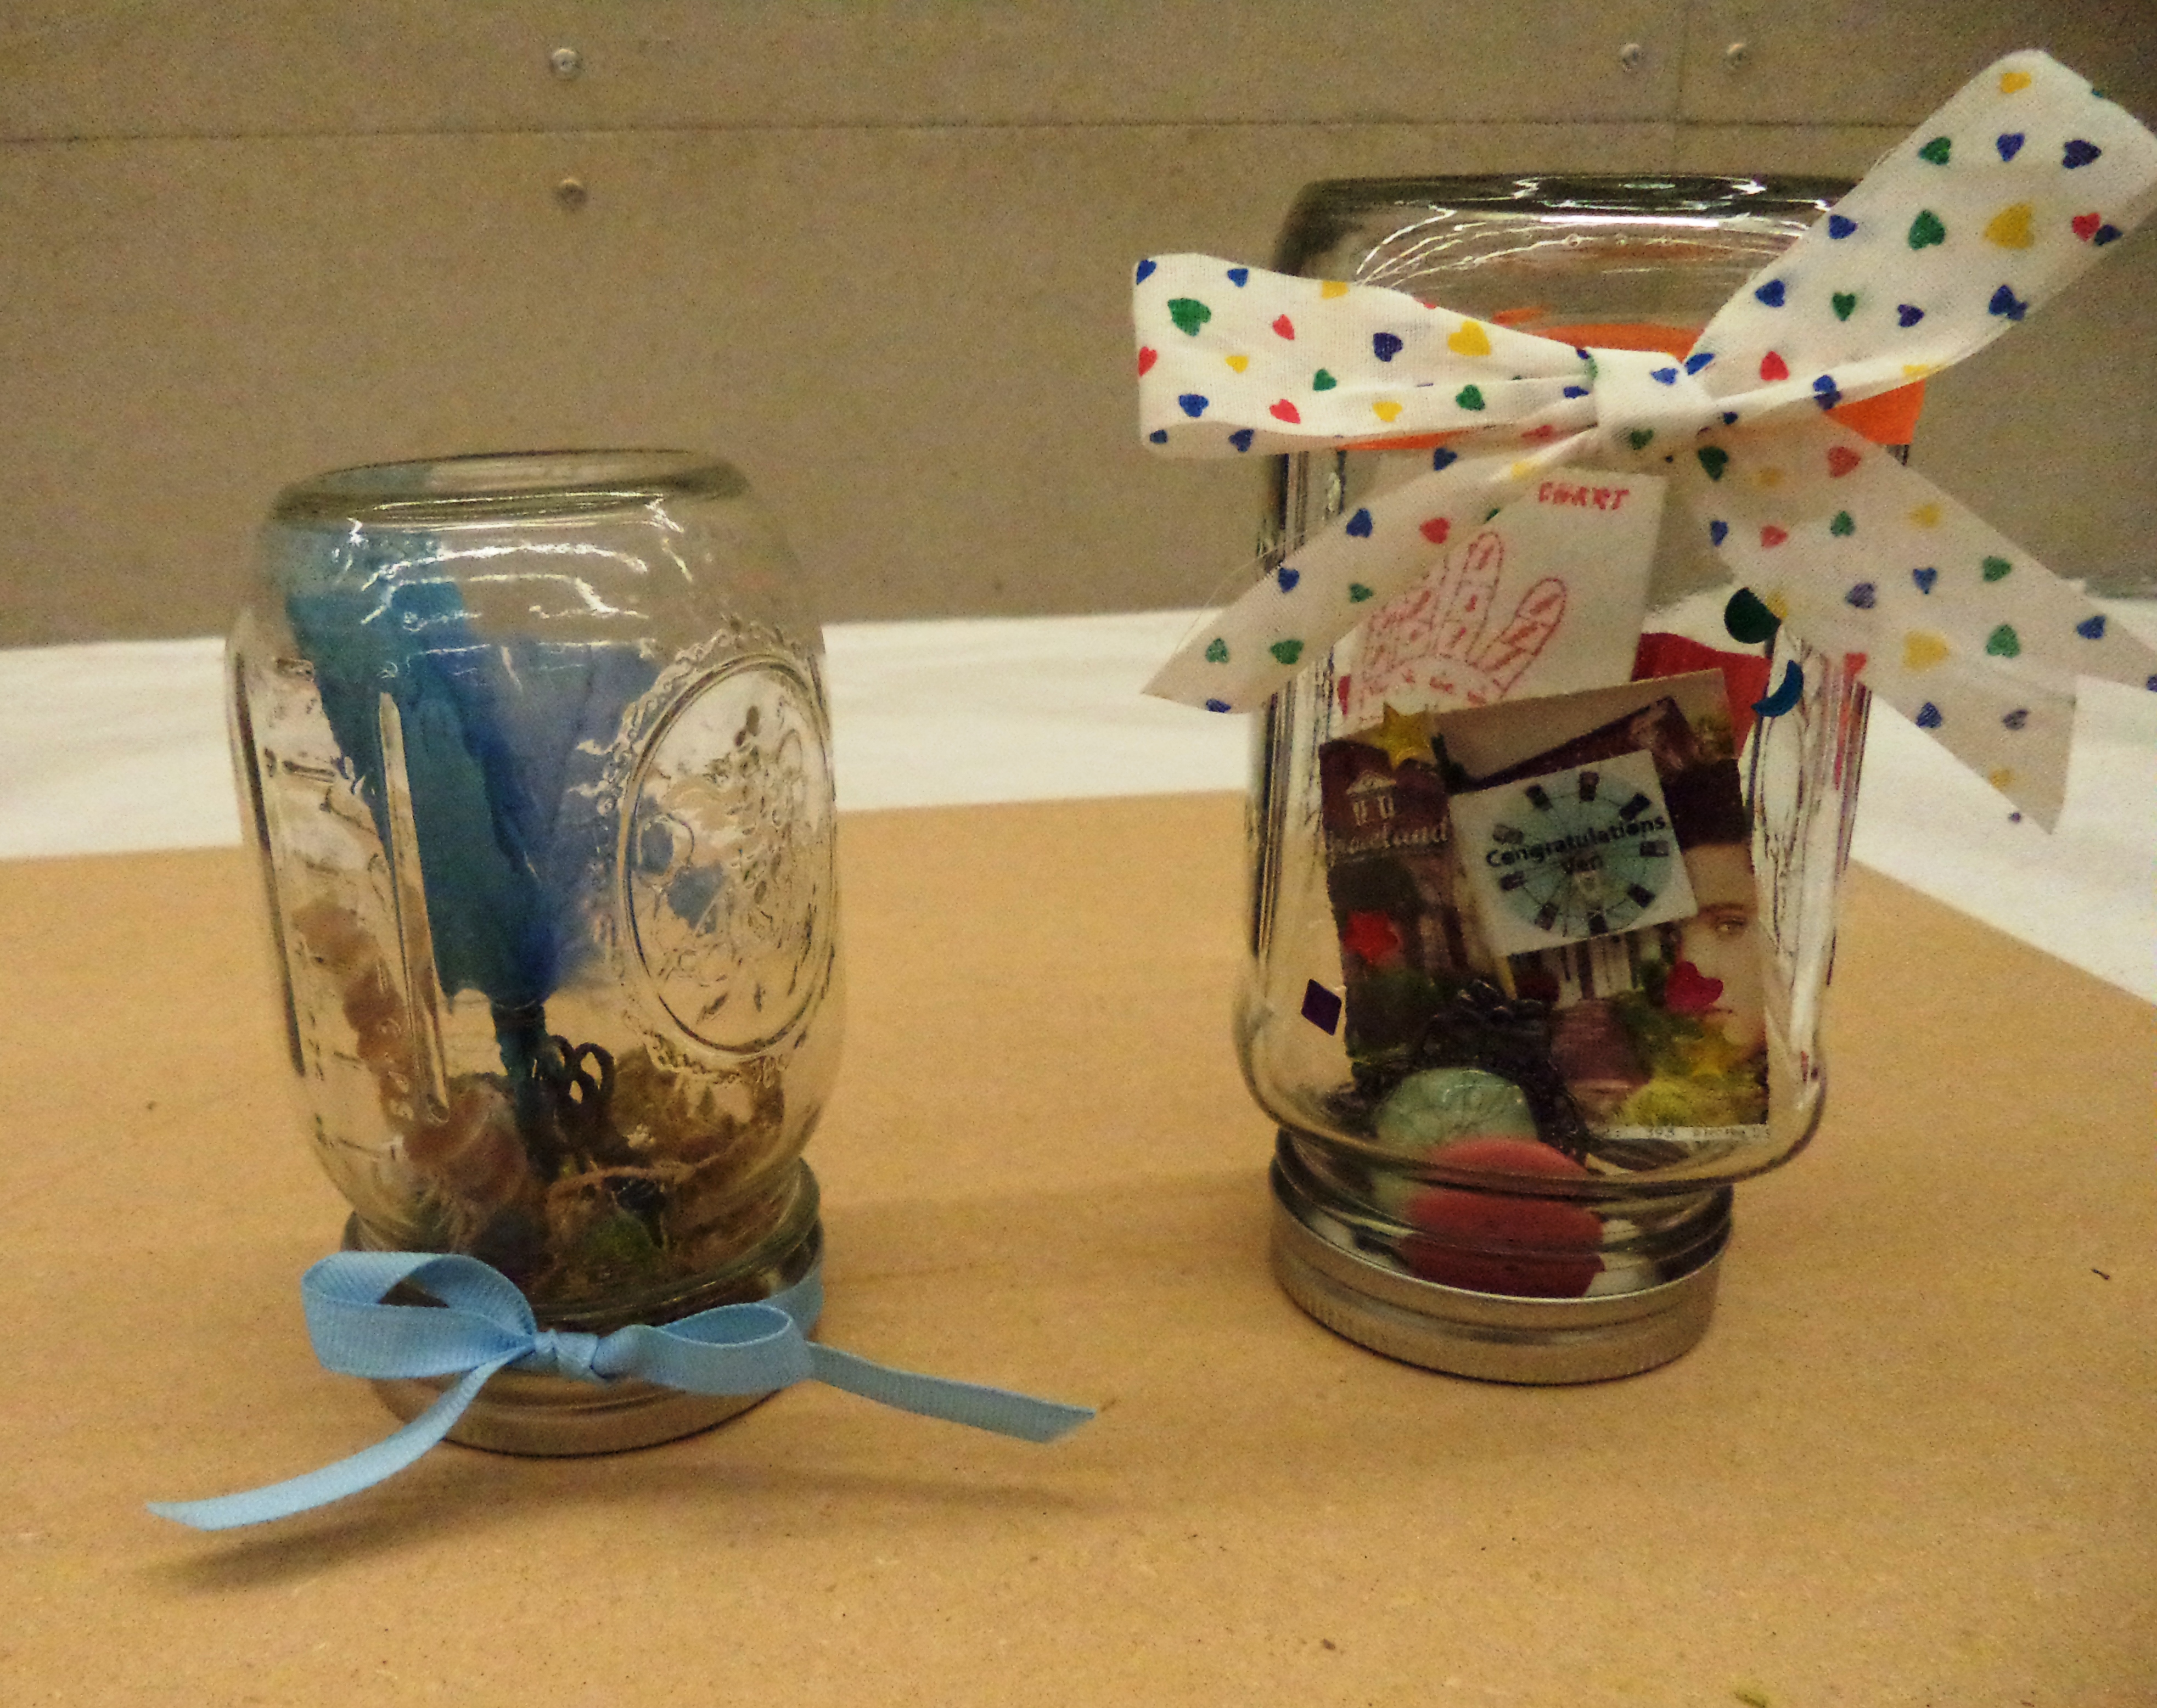
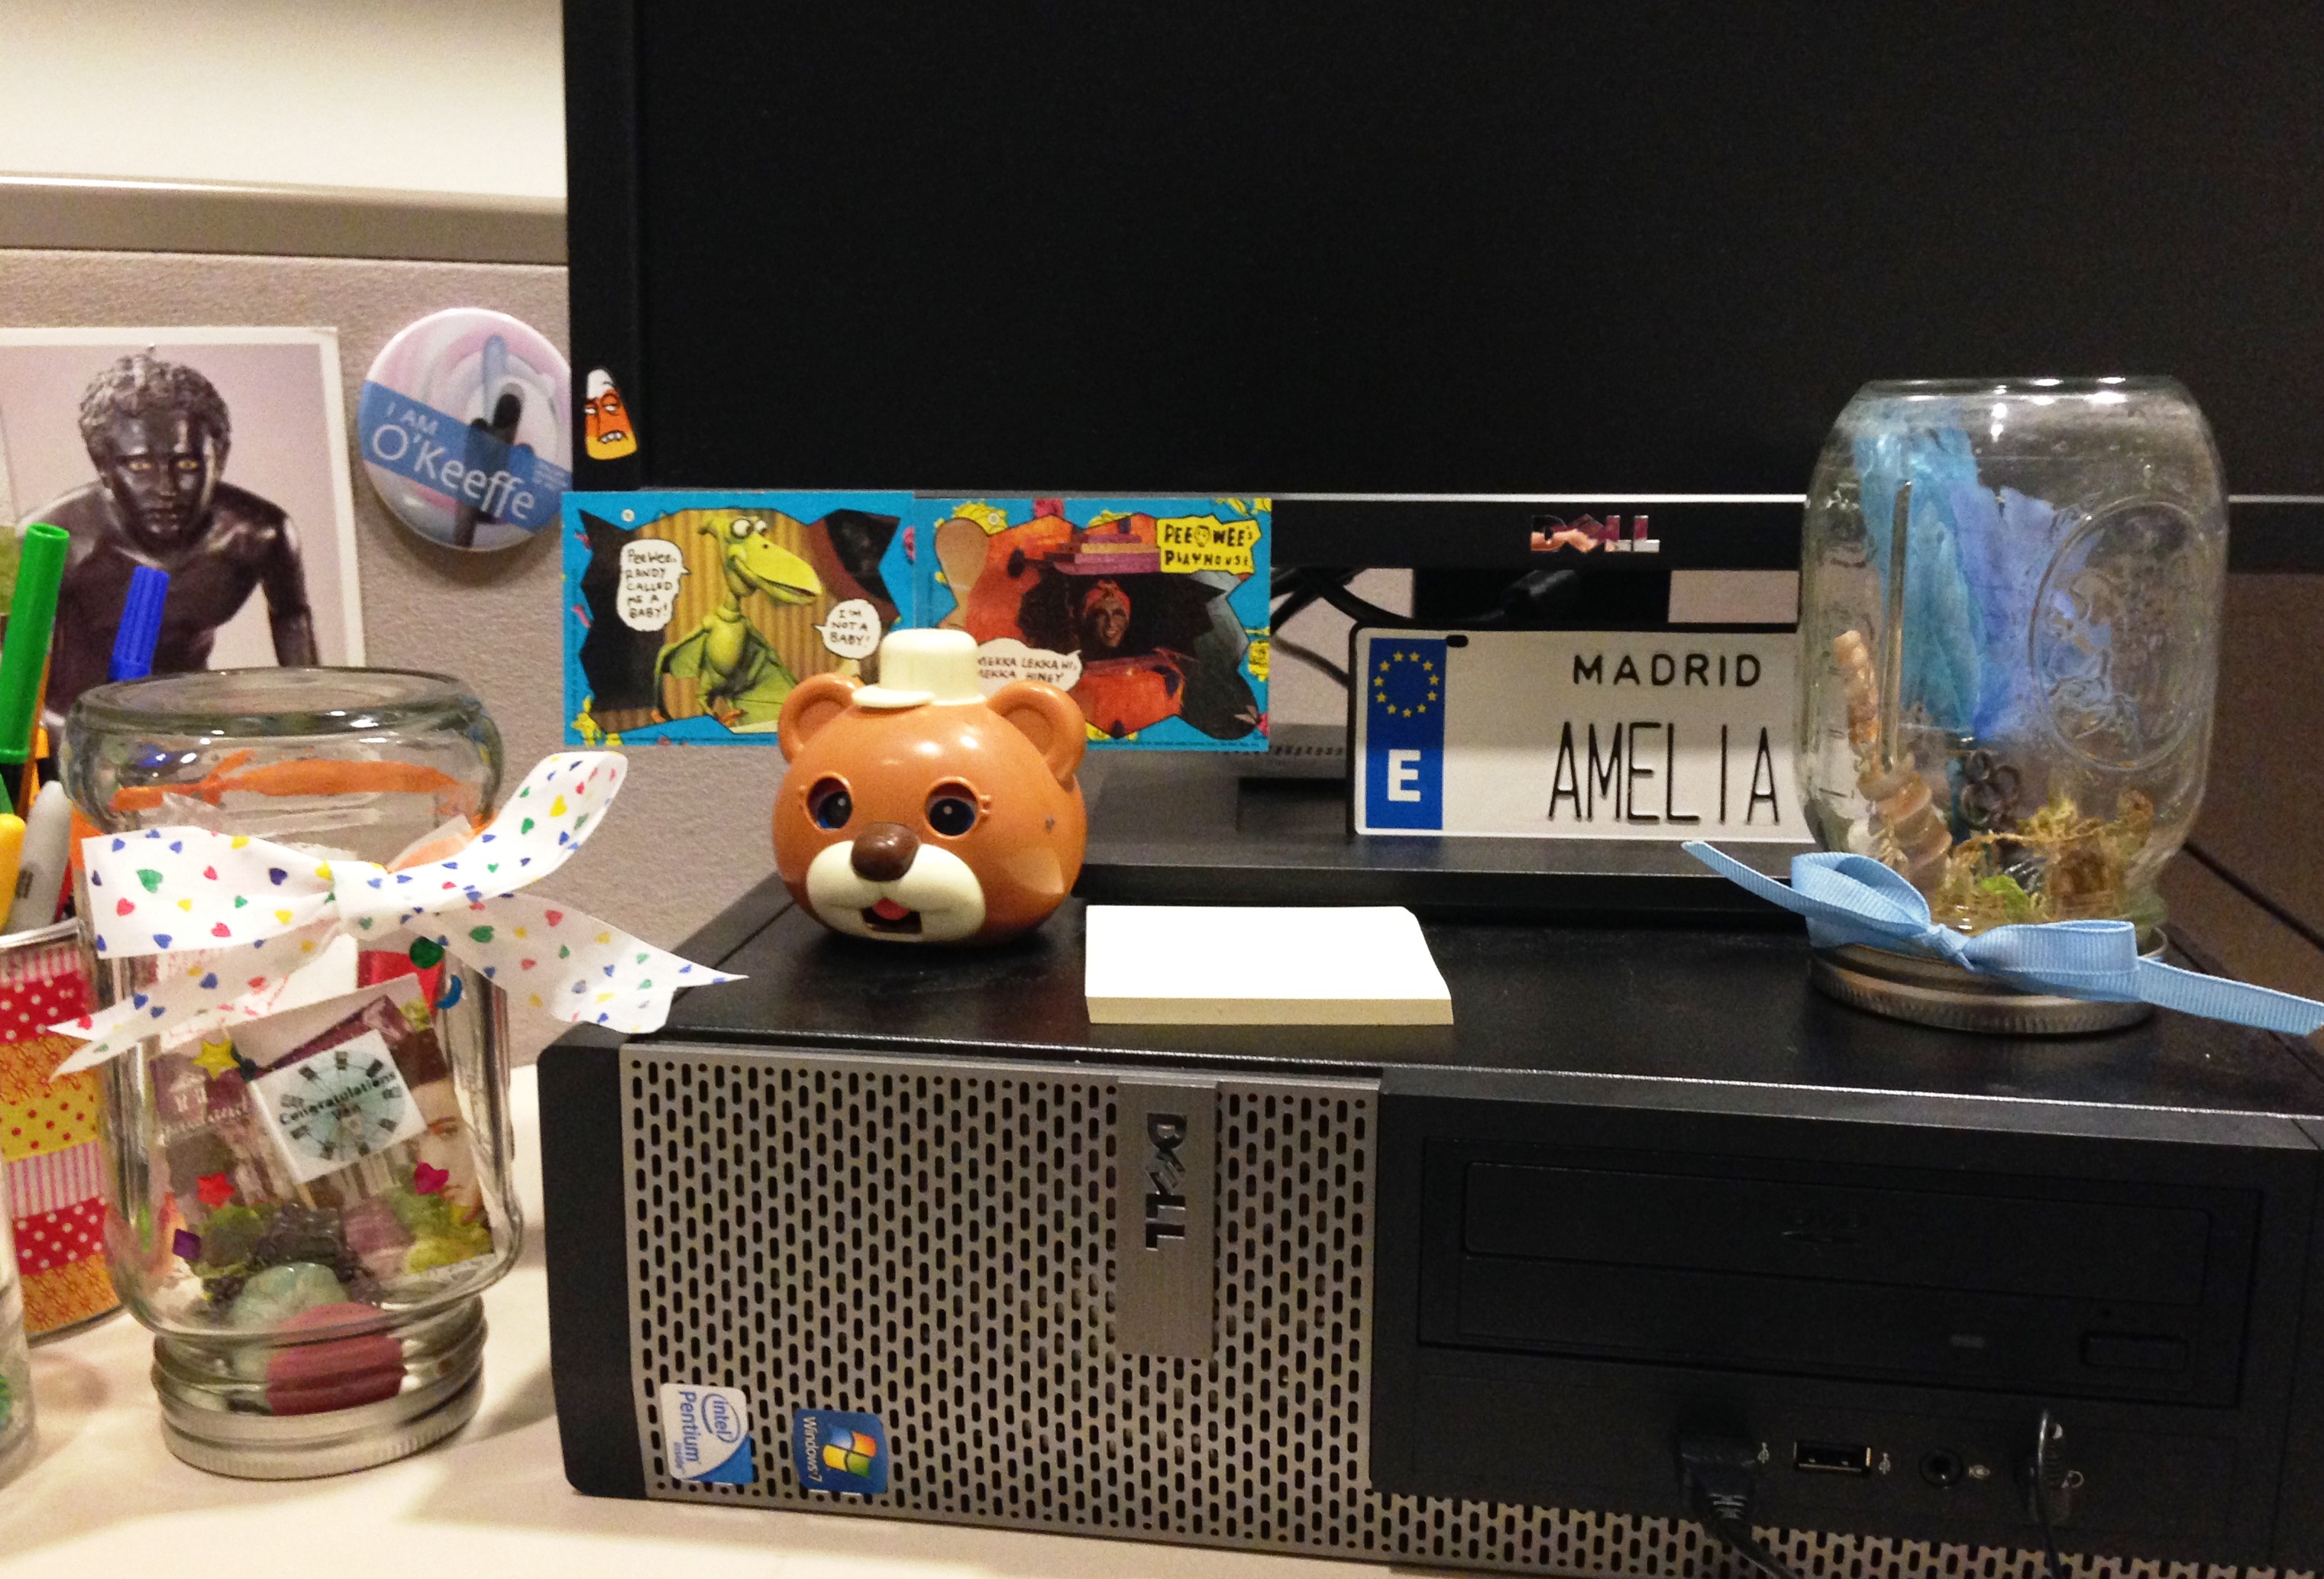
I love collecting treasures–sparkly buttons, keys, postcards, rocks, shells, ticket stubs…and the list goes on! However, at a certain point, I run out of room for these special mementos and they end up scattered about my living space. I discovered that treasure jars help to both organize and beautifully display my favorite objects. These adorable jars can be used to decorate your home or office and they make excellent gifts as well. It’s a fast, easy, and fun project, perfect for kids too!
What You Need:
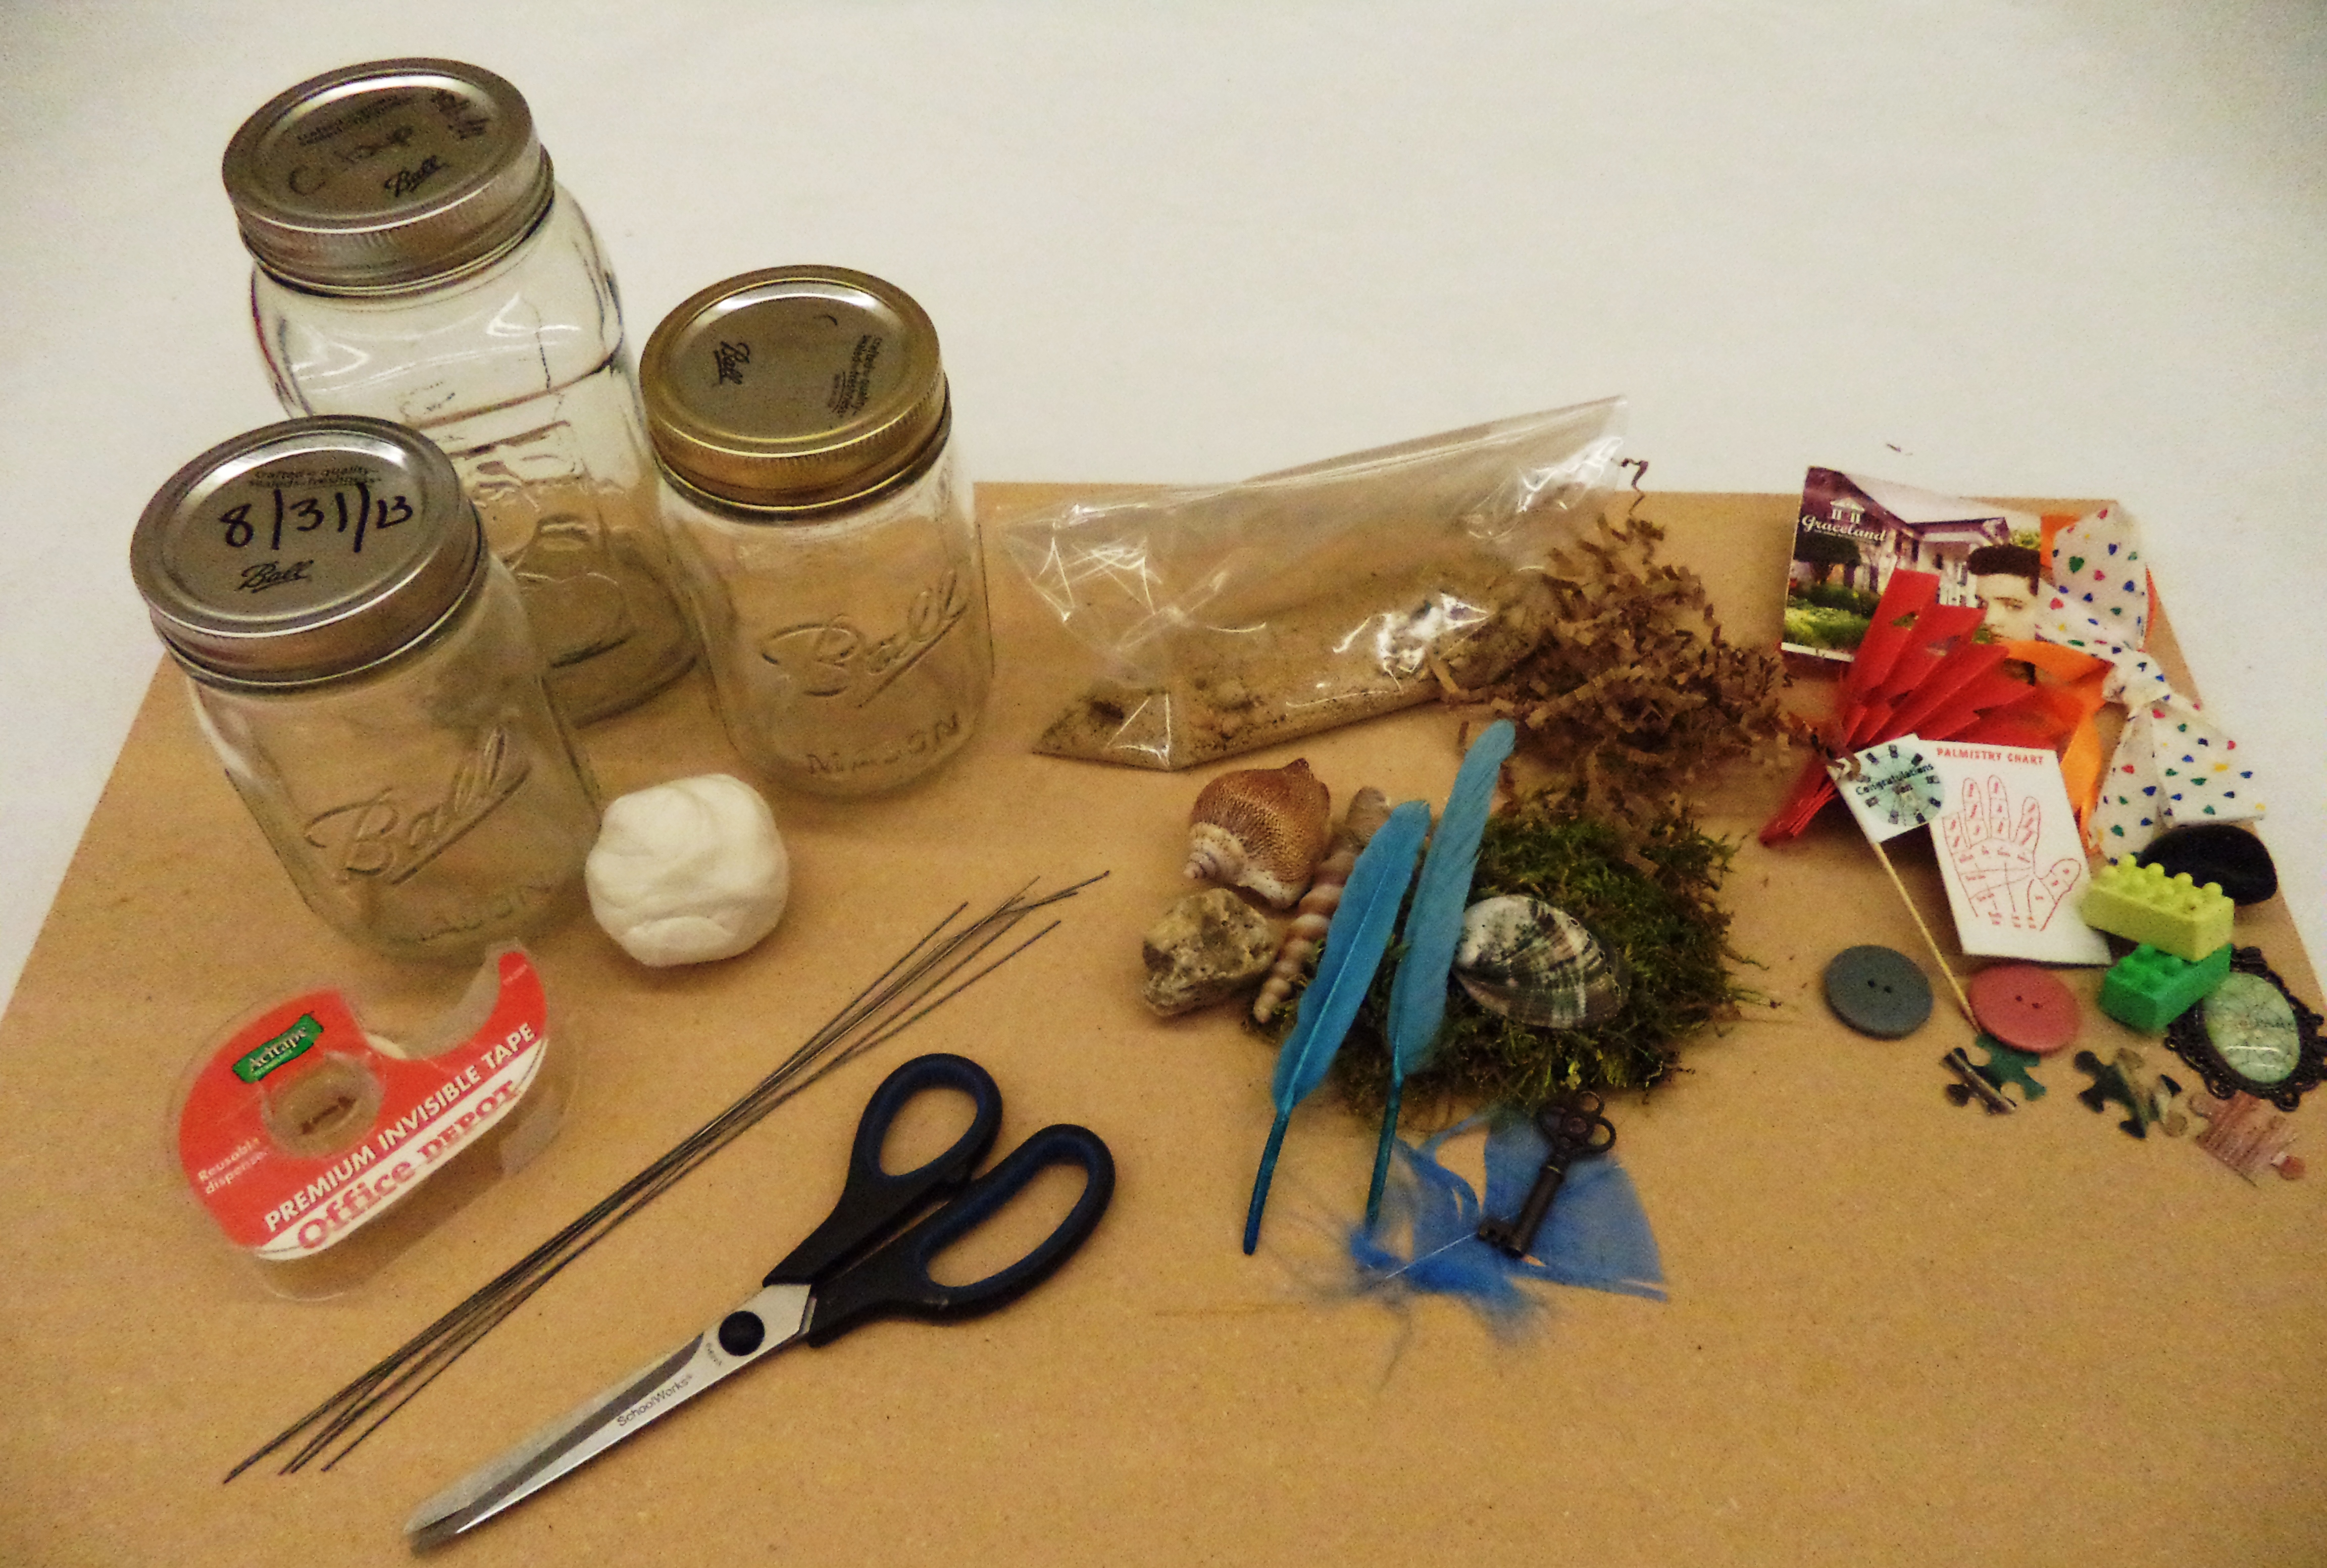
- Mason jars (or any glass jars with lids)
- Found objects able to fit inside the jar
- Modeling clay
- Floral wire
- Scissors
- Clear tape
Step 1
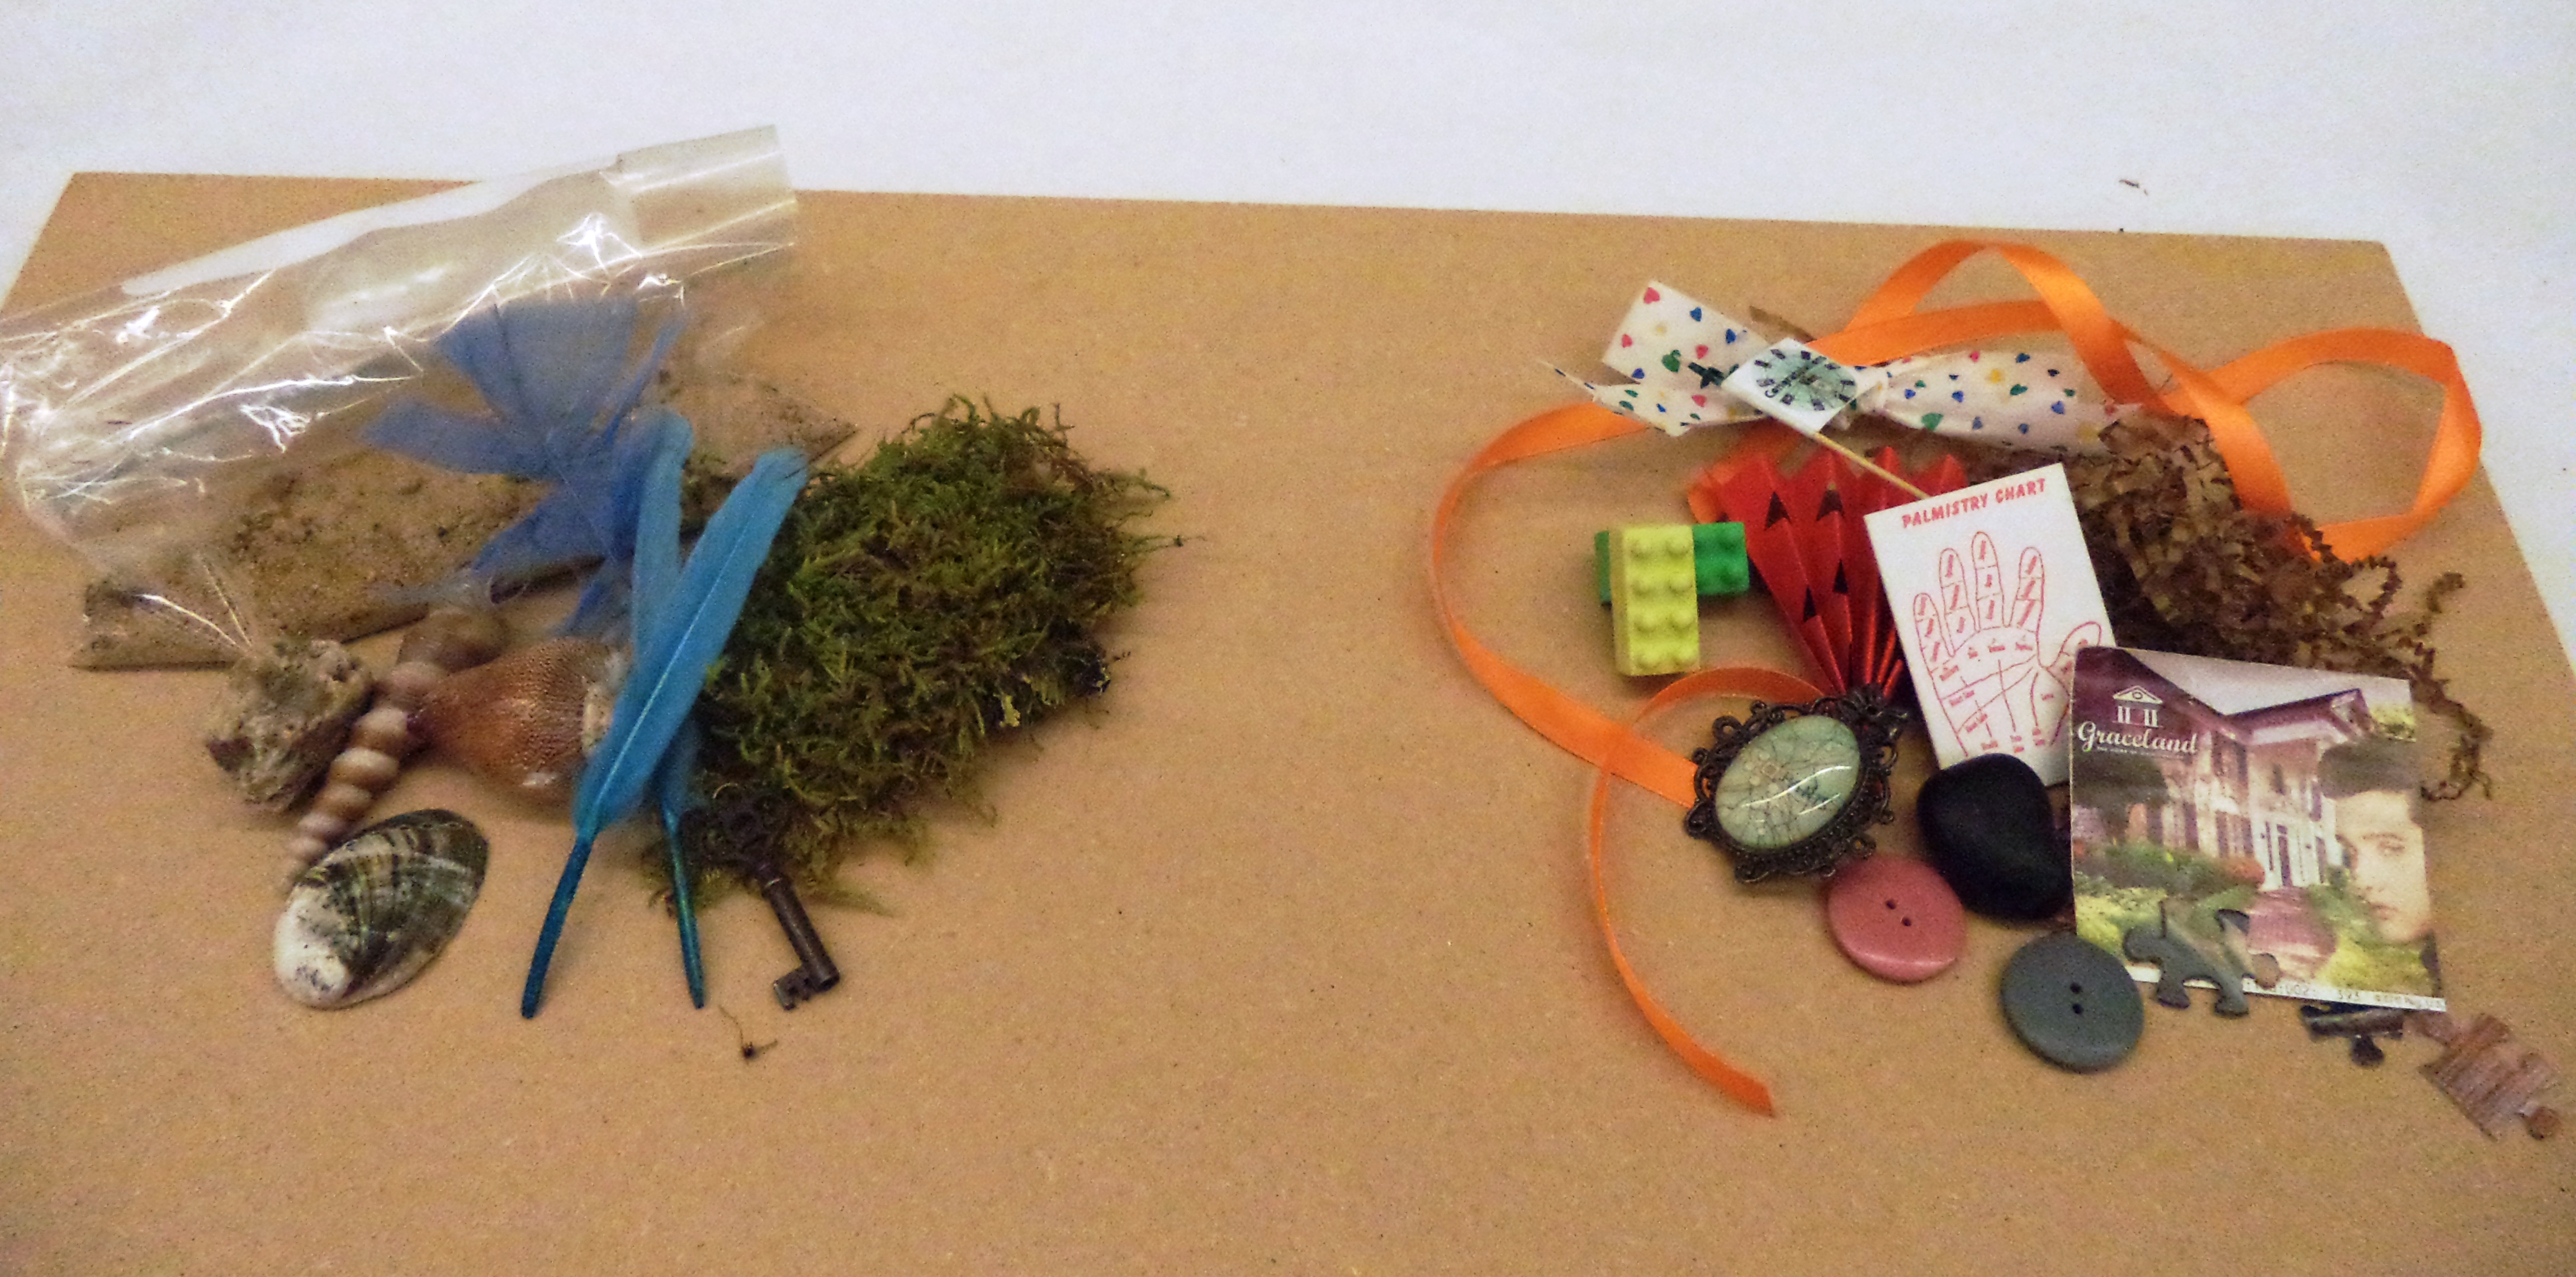
Choose your special treasures and divide them up into small groups. You can divide them by theme, by color, by the time or place you received them–whatever you like.
Step 2
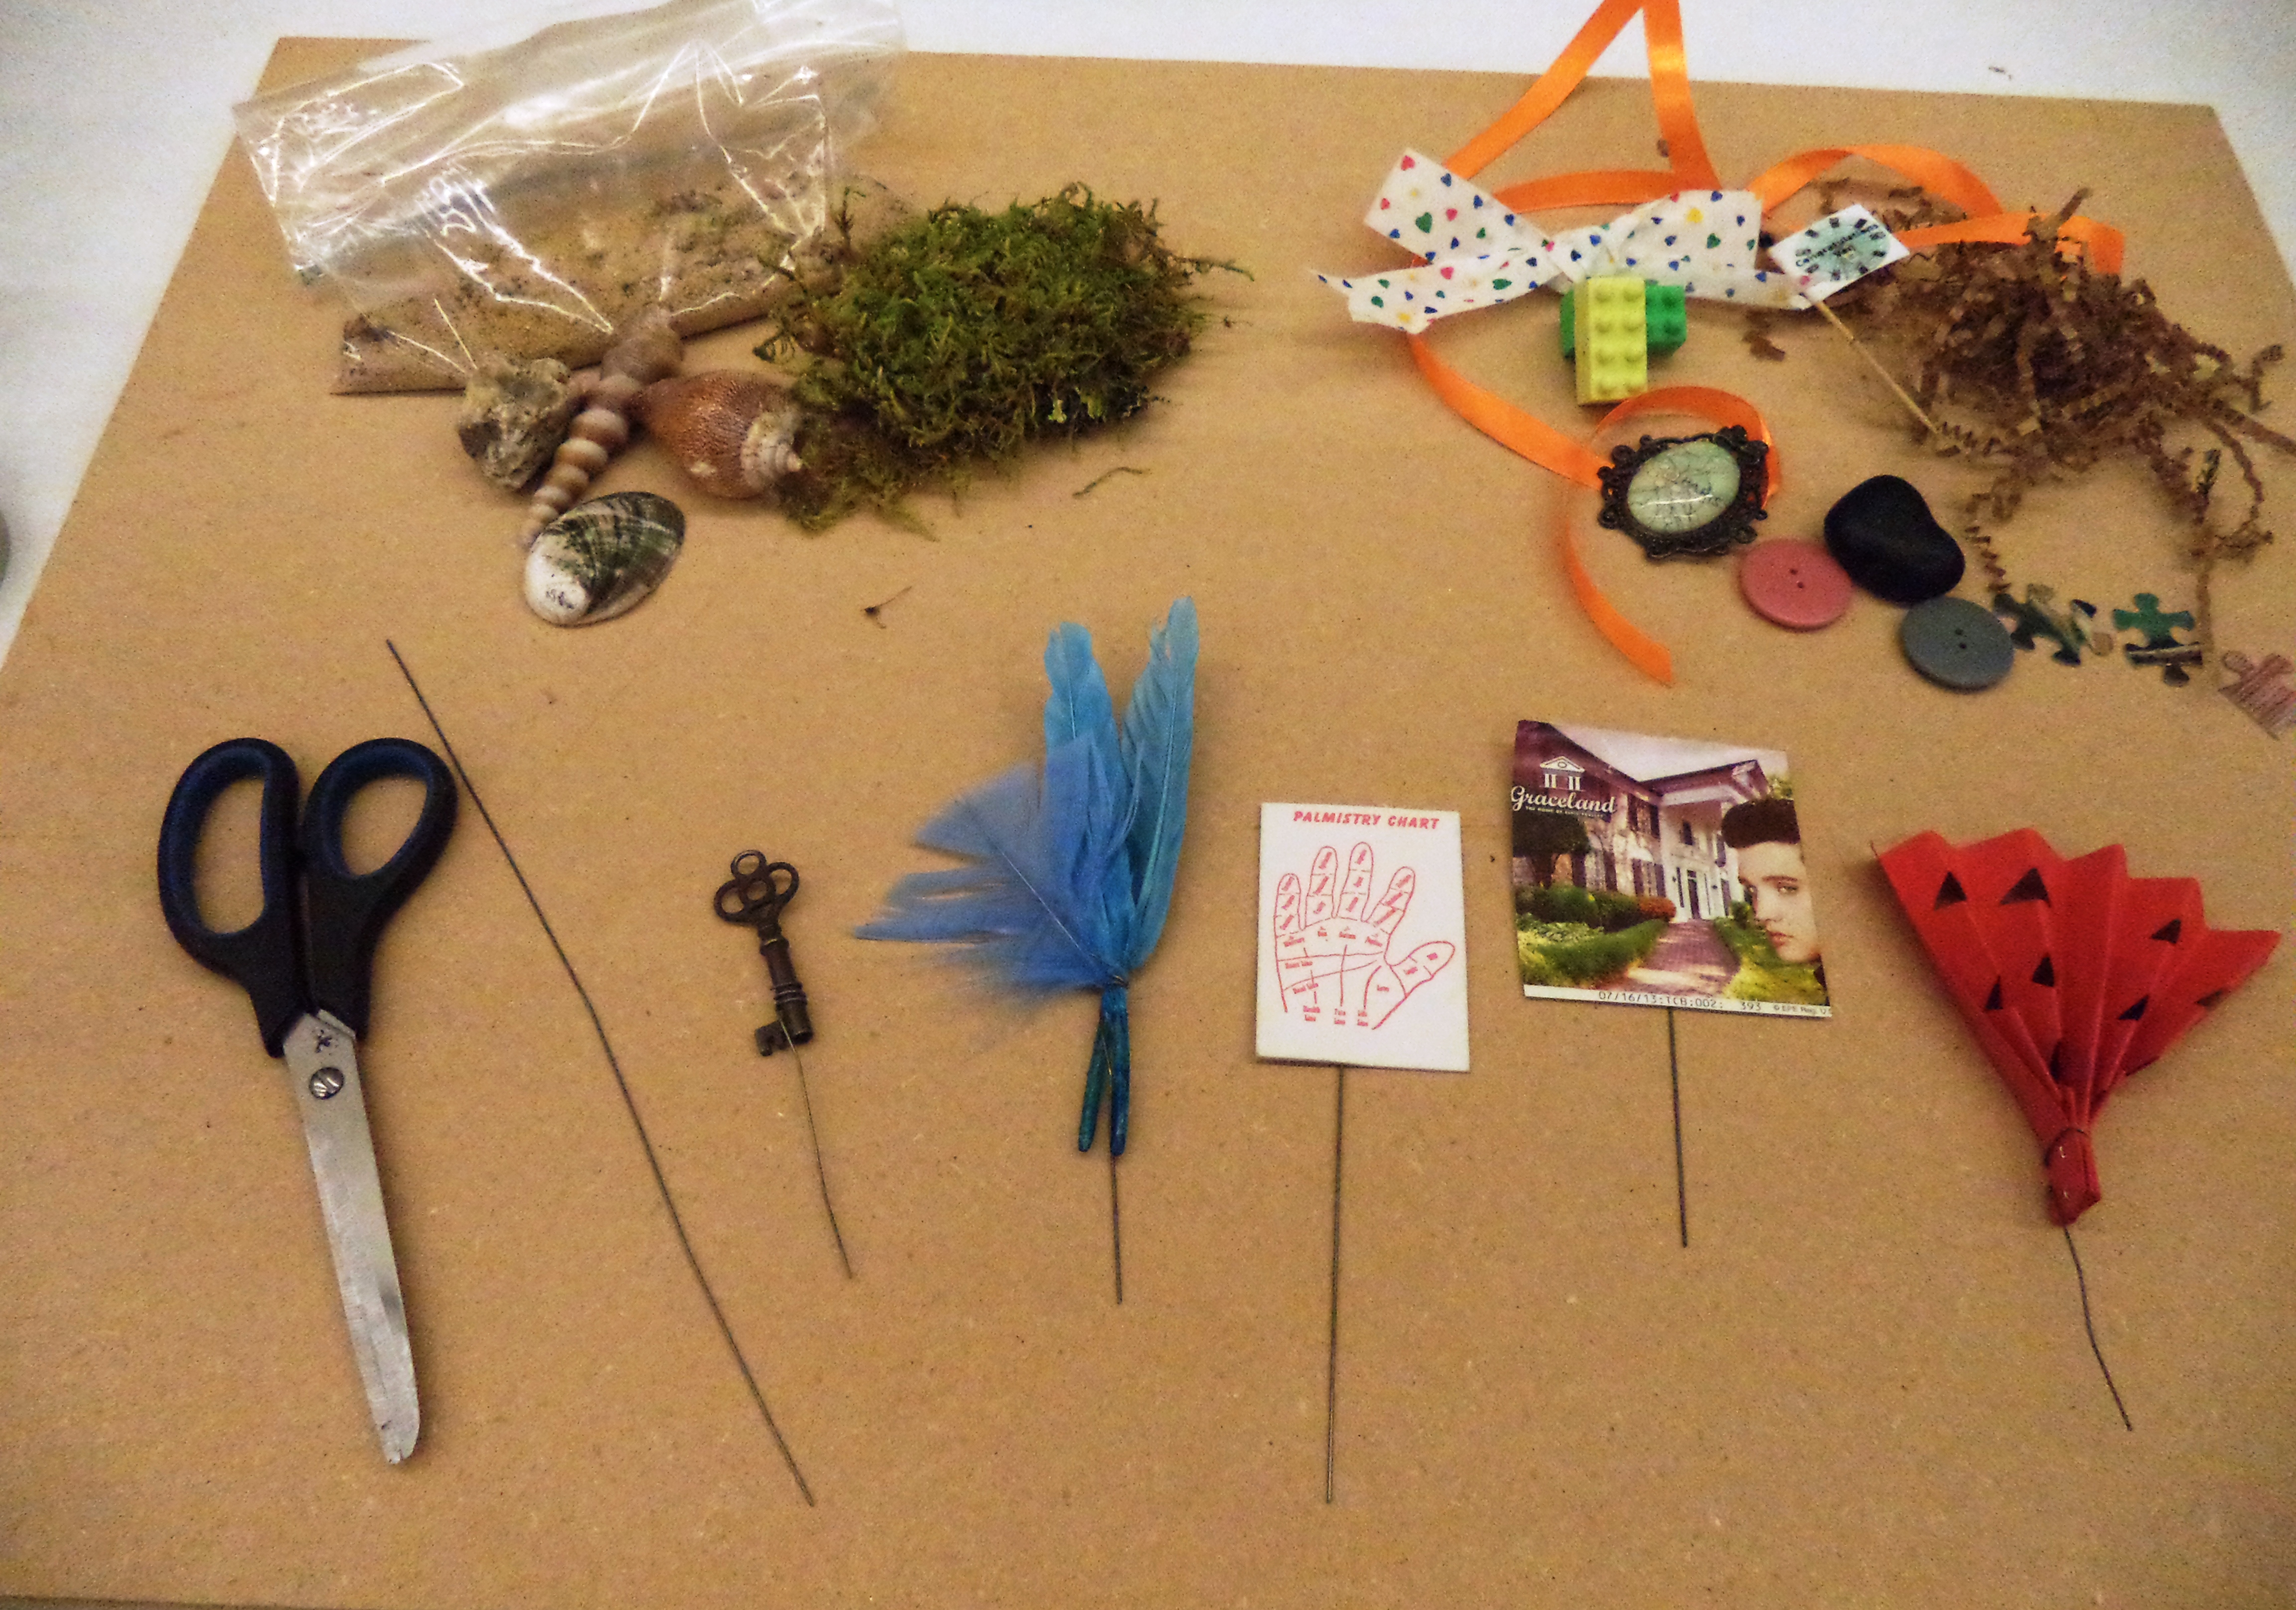
Adhere paper and other delicate treasures to a piece of floral wire with clear tape. You can also wrap them if the object allows (children may need help with this).
Step 3
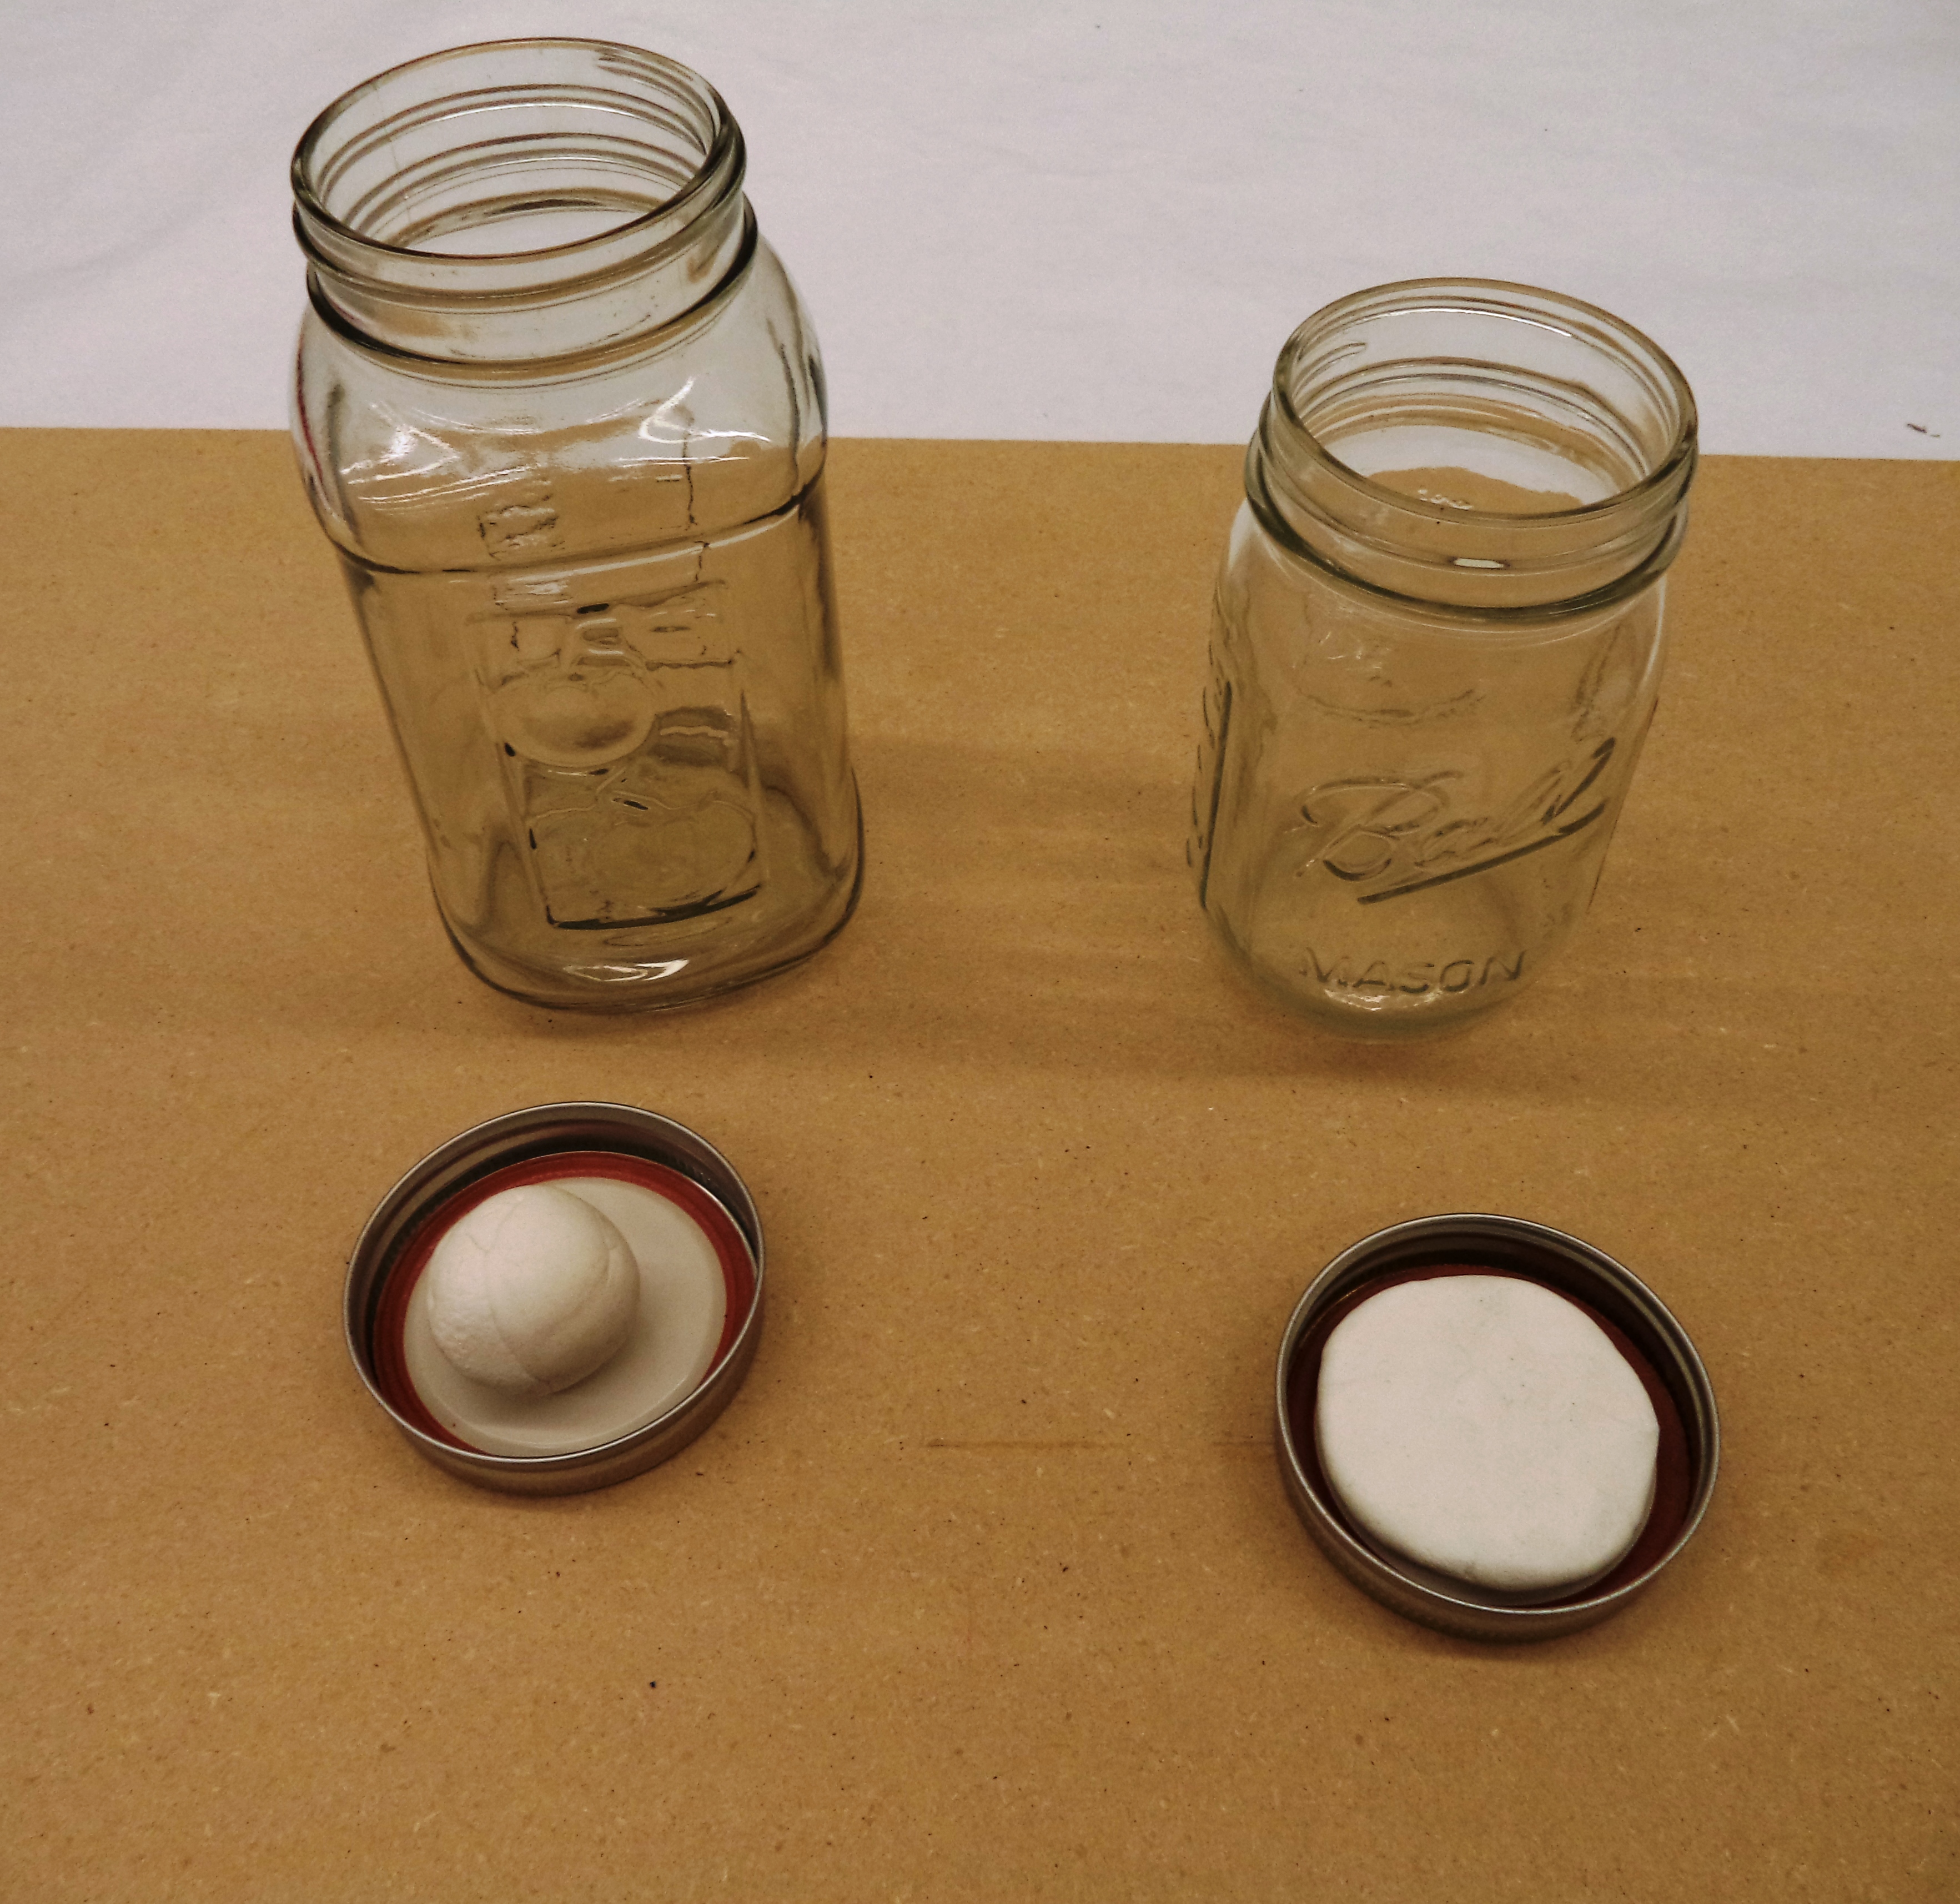
Gather as many mason jars as you would like to use, making sure they are clean and dry. Remove the lid and press modeling clay firmly into the center, making sure to leave a little bit of space on the outer edge so that the lid is able to be screwed on.
Step 4
Press your items on floral wire into the clay.
Step 5
Press any other objects you would like to use into the clay, again making sure not to block the outer edge of the lid.
Step 6
This part is a bit tricky! Turn your jar upside down and guide your items inside. Slowly screw on the lid.
Step 7
Decorate the outside of the jar with stickers, ribbons, or other materials. Voila! You’ve just made your very own treasure jar!
Use your treasure jars however you like! I used mine to decorate my desk at the DMA–they bring a pop of color and remind me of the magic behind each object.
Amelia Wood
McDermott Intern for Family and Access Teaching
