At the DMA, we have a studio set up for video production, and we’ve recently started using a teleprompter for many of our announcement-based videos. Using a teleprompter makes it easy for the video subject to read his or her lines and still look into the camera, giving the video a natural feel and flow.
The first time we needed a teleprompter, it was a last-minute request, and we didn’t have time to order one (not to mention they are extremely costly!). So a trip to Home Depot, a cardboard box, a pair of scissors, and an iPad app later and we had a working DIY teleprompter.
How a Teleprompter Works
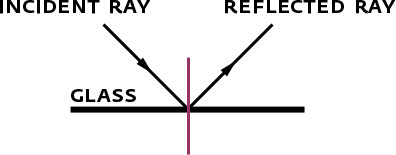
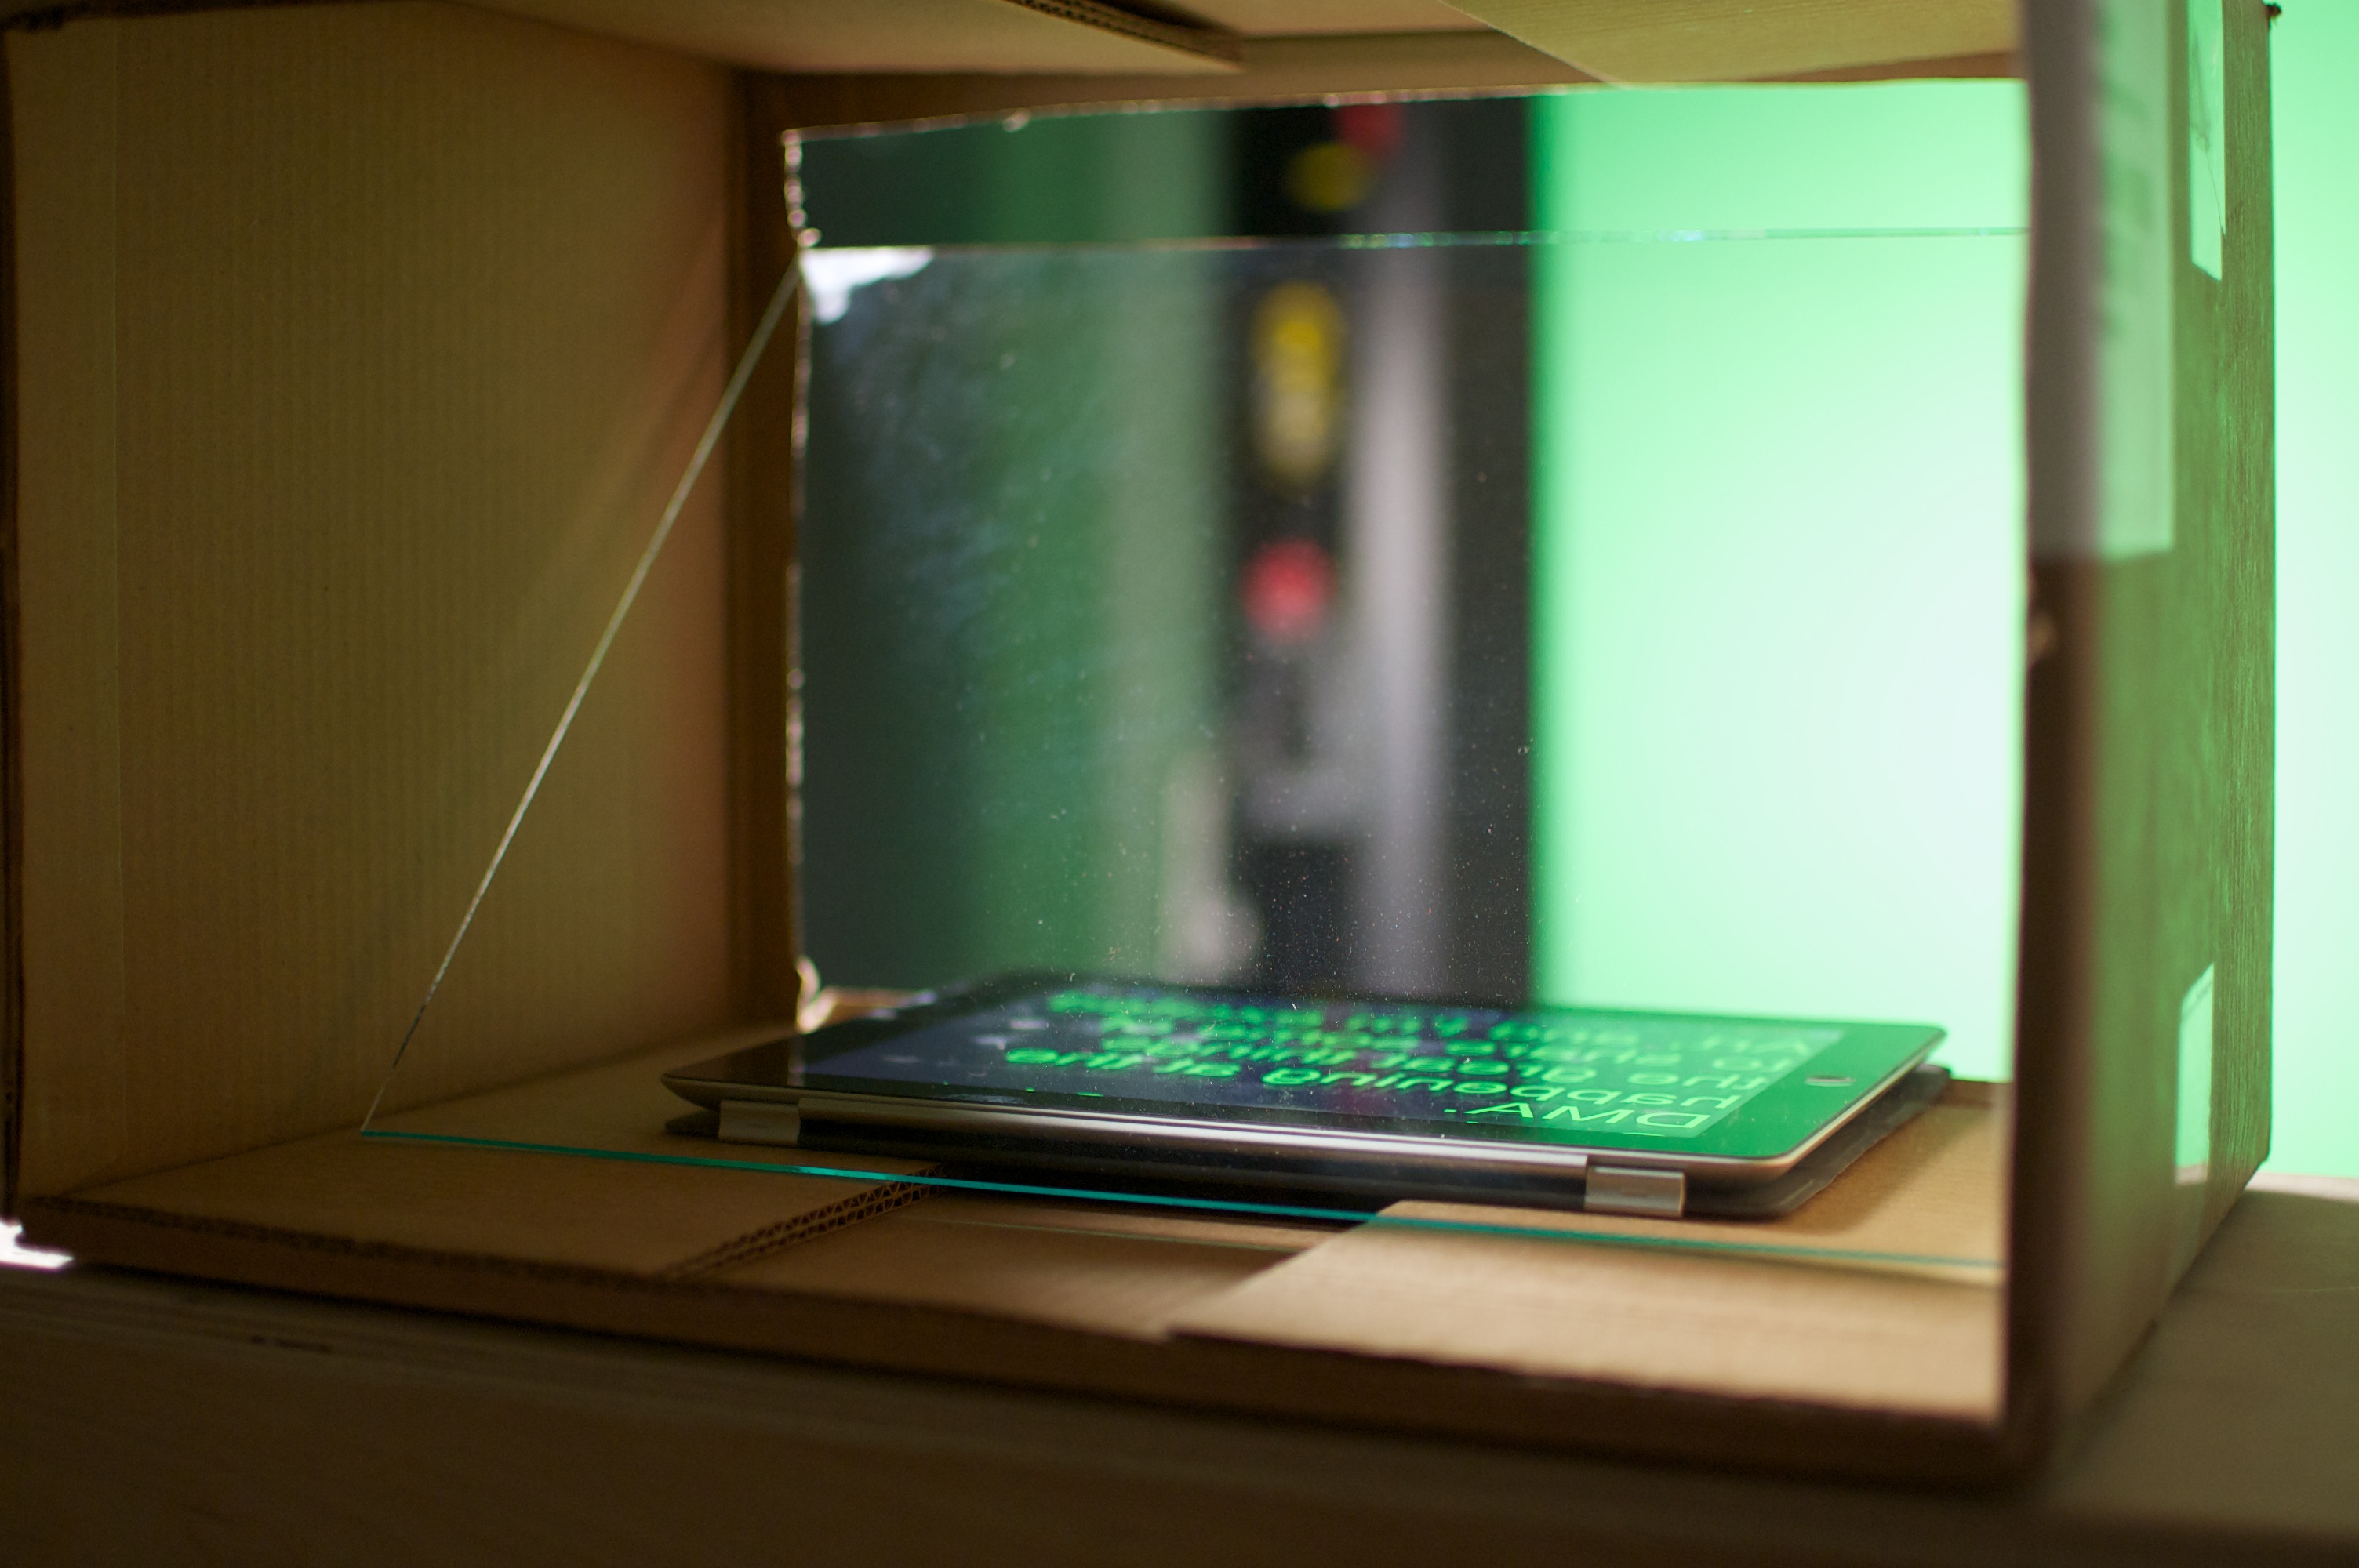
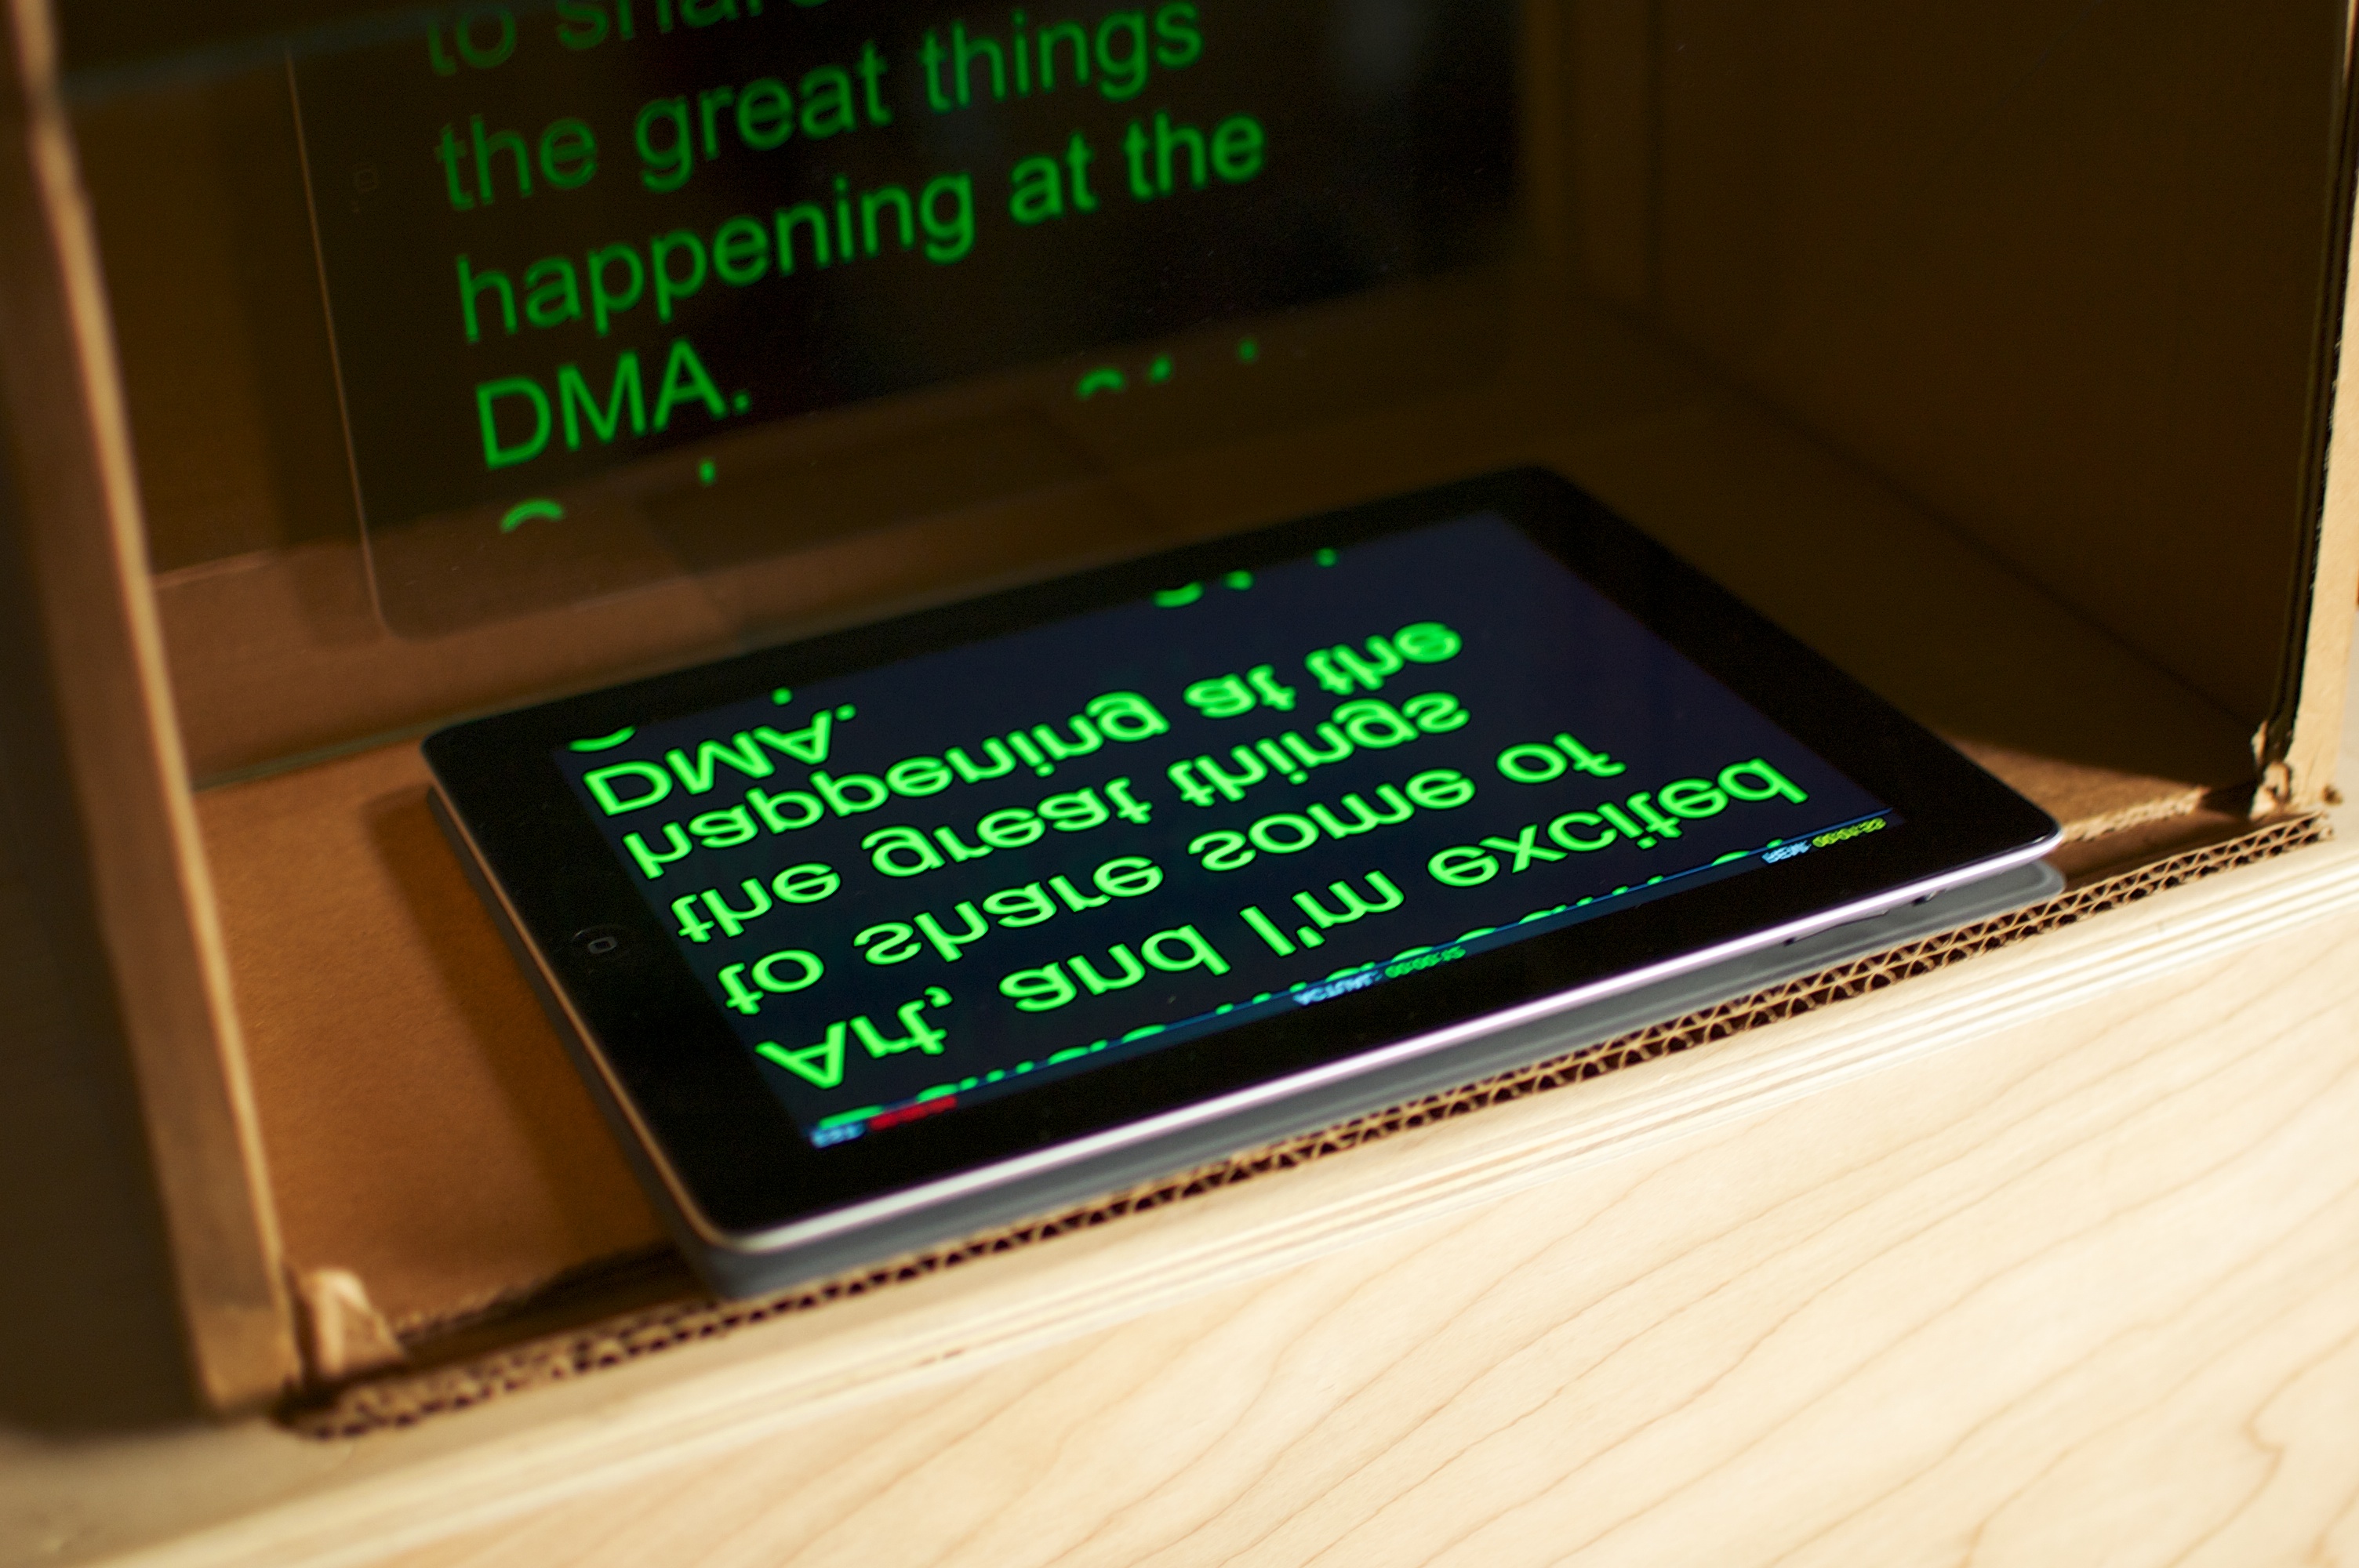
A teleprompter works by using a bit of optical illusion. A piece of glass is placed at a 45-degree angle in front of the camera lens. A computer screen (in our case, an iPad) is placed under the glass. The text is reflected off the glass and is readable by the actor while the camera does not pick up this reflection.
In terms of physics, this is based on the fact that the angle of incidence is equal to the angle of reflection. This means that if light strikes a surface (in our case the glass) it reflects off the opposite direction, but at the same angle as it was hit. So as long as the screen is on a flat surface, and the glass is at eye level to the actor, the actor will see the text but the camera will not, since its not on the same angle of incidence. This also relates to the Fresnel Effect (pronounced fray-nel), which is the observation that the amount of light visible is dependent on the viewing angle.
The material you use will also have an effect on the quality you get. Real glass works much better than Plexiglas. You also need to get the thinnest piece of glass possible. If the glass is too thick, the actor will see two reflections and the text will appear blurry. The actor will see reflections on the front of the glass and also the back. The glass I used here is 3/32 inch thick, which works great.
Setting Up the Teleprompter
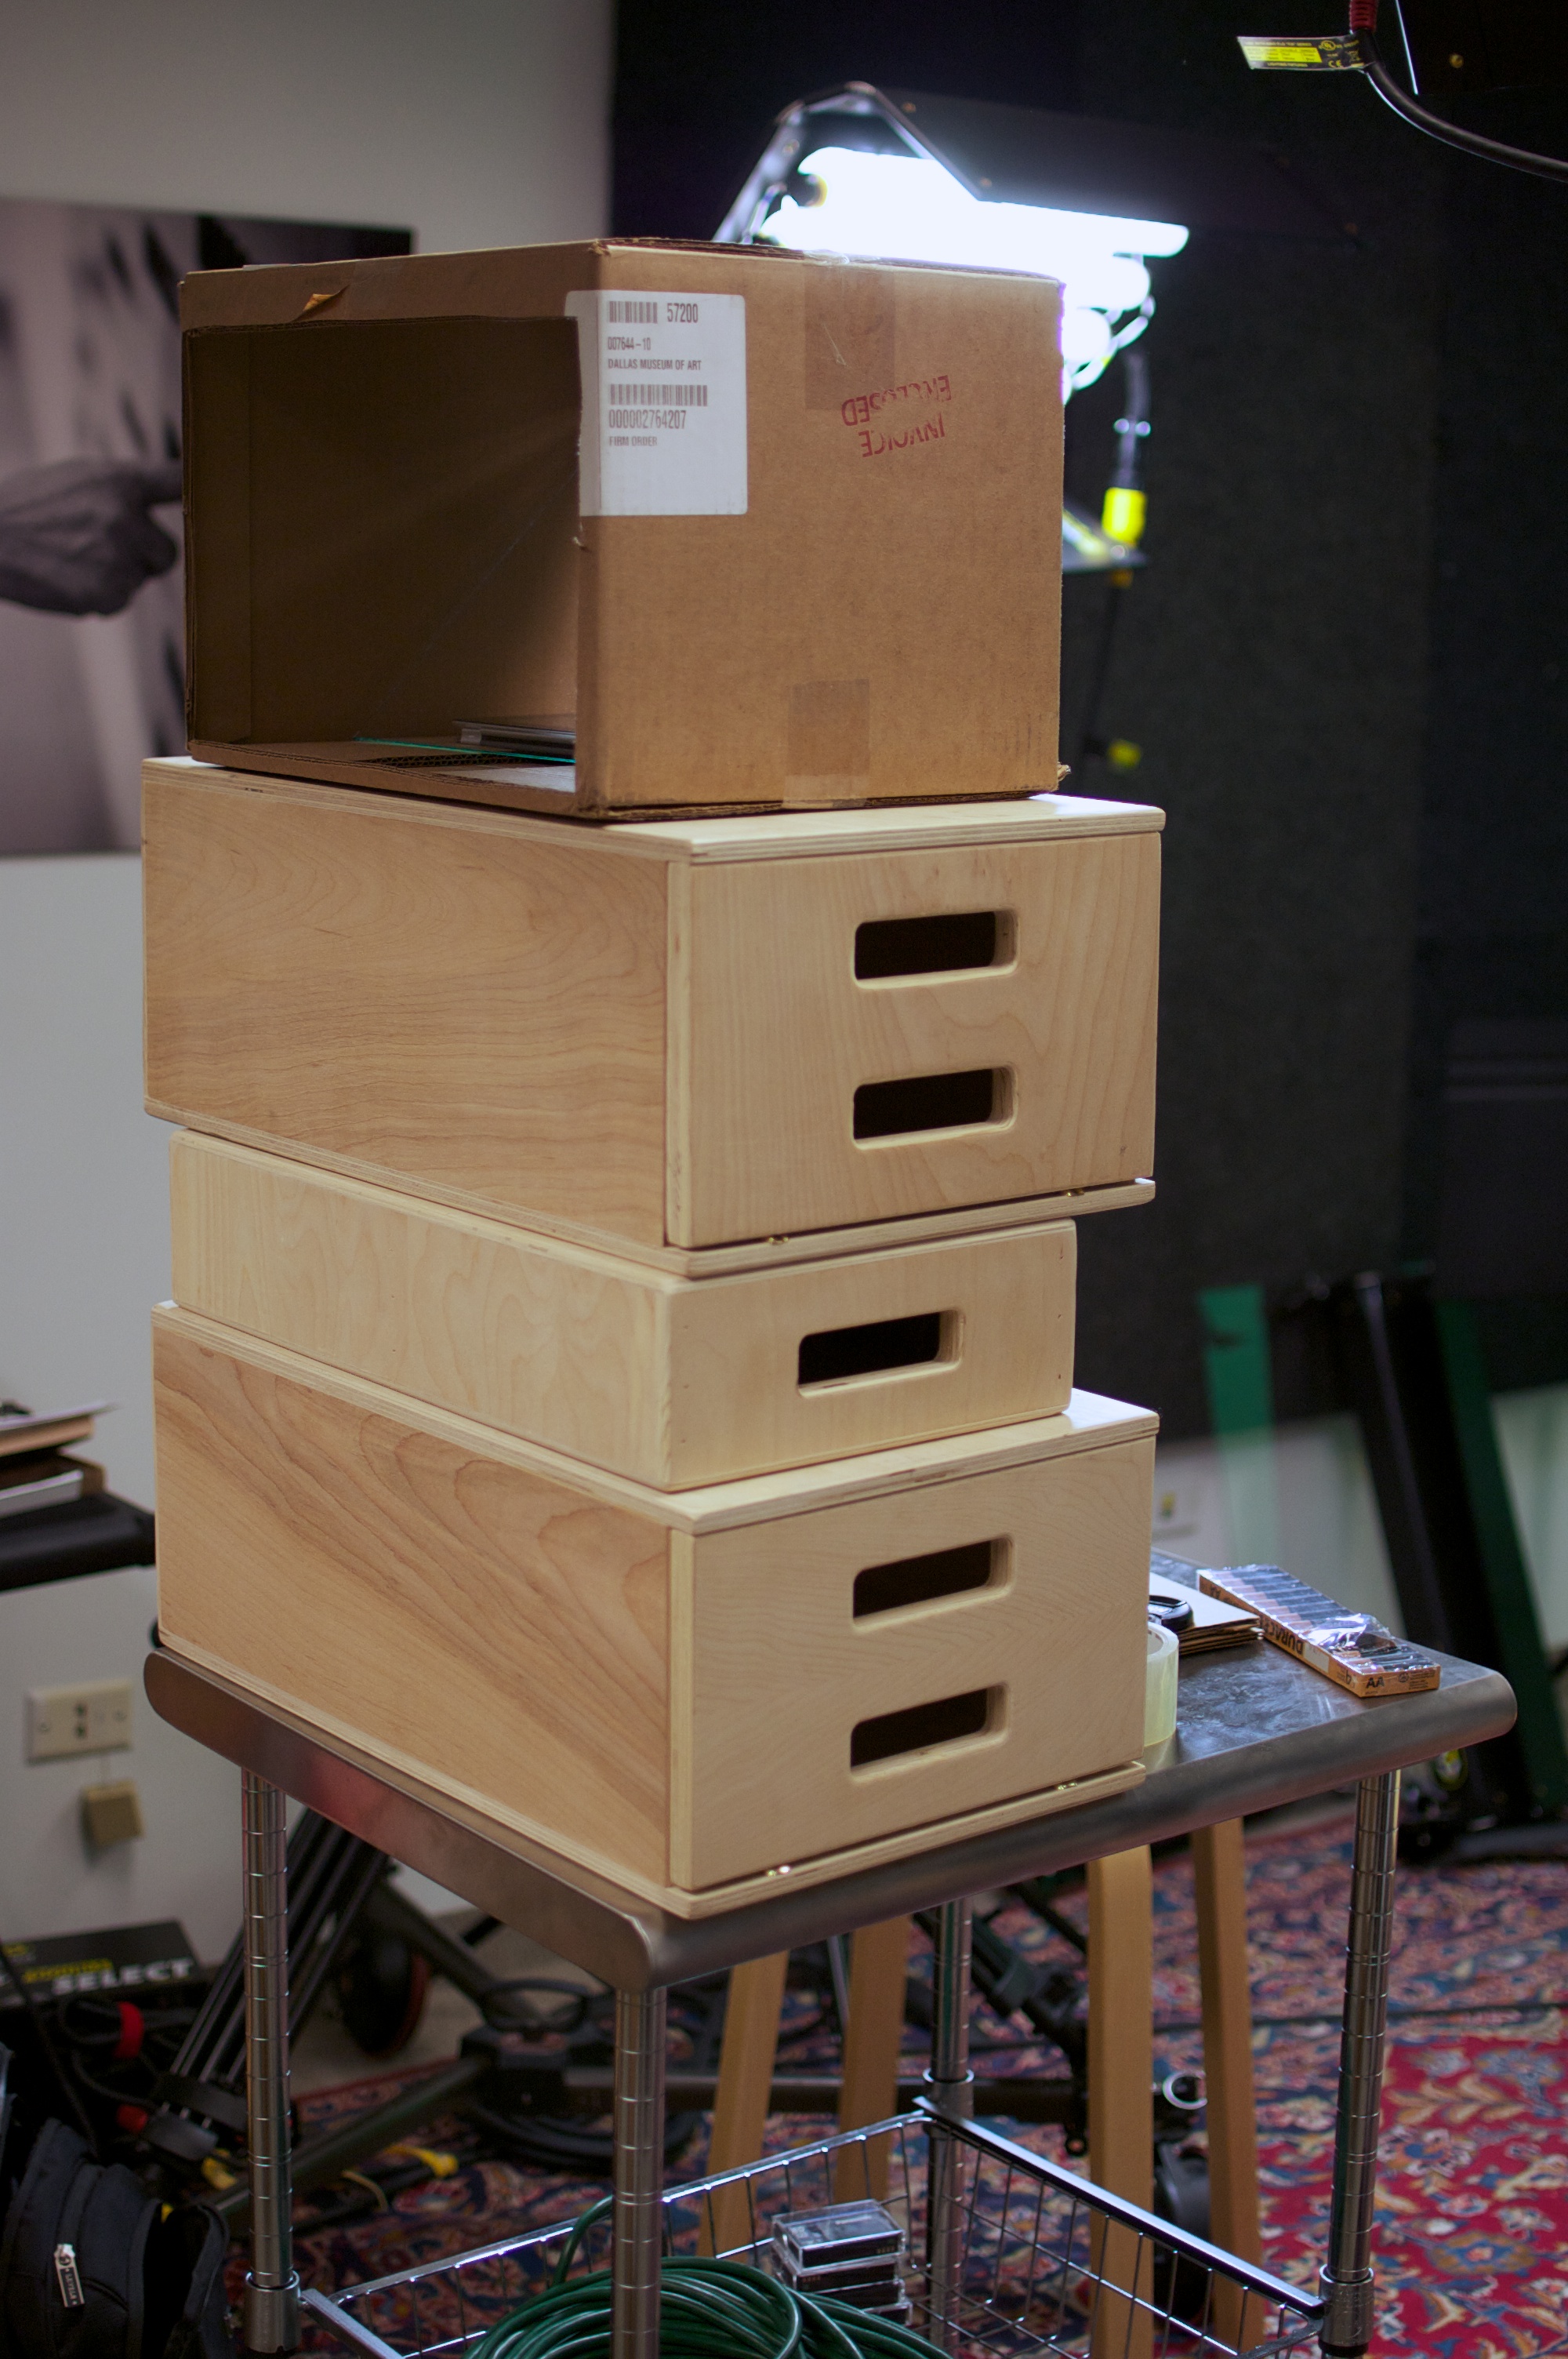
First you have to get something to hold your glass at a 45-degree angle. I used a simple cardboard shipping box and cut both sides to just under the width of the glass. This will hold it in place and allow room for adjustment. A more permanent solution would be to build a wooden box with slots to hold your glass, but try the cardboard first so you’ll get a feel for how the glass needs to sit.
The next thing you’ll want to do is get the reflecting glass to the height of the actor. This isn’t that difficult, but do this first and it will save you a headache later. I have a rolling kitchen cart, and I’ve used some apple boxes to get the height up to eye level. You’ll need to experiment a little and have some extra “shims” on hand if there is a height difference with your actor.
Go ahead and set up the iPad app, and place the iPad in the bottom of the box facing up—remember you’ll need to tell it to mirror the whole display since it’s being reflected. The app I’m using, Teleprompter+, lists this as a setting. When you start the script, it will mirror all of the text for you automatically.
Set the camera up on the other side of the glass. Once the subject is in focus and you start recording, you’ll want to use a piece of dark cloth to cover the back of the camera. I actually use my sport coat, which has a dark lining. This will block out any back-lighting, so the actor only sees the text. Before you start recording, make sure your subject knows where the lens is so he or she can make a mental mark of where to place his or her eyes. You are ready to record.
The iPad App—Teleprompter+
One thing that’s really nice about Teleprompter+ is that it allows you to set up your iPhone to control the text scrolling on the iPad on either a wireless or bluetooth connection. This allows the subject to scroll the text with the iPhone off-camera. In newscast setups, this is usually done with massive pieces of equipment and is controlled by a teleprompter operator. This setup using a separate operator often drives talent crazy because this person needs to be really good at the pacing and understanding where the eyes are. It’s an art to get this right. By using the iPhone app to control the iPad, we eliminate this need, and if your talent is good at this it works much more smoothly.
Final Touches
I’ve given you all of the technical explanation and instructions for putting a teleprompter together, but I would be remiss if I didn’t say that the lynchpin for success is the talent you have in front of the camera. Reading pre-written text and making it sound natural is an art unto itself. News anchors all use teleprompters and you can tell the difference those who are dynamic and interesting and those who sound like they are reading.
The other skill that is extremely important is knowing how to “read” off a teleprompter. Naturally when we read our eyes drift around to collect information to give to our brain. Unfortunately this motion is clearly visible when using a teleprompter. The talent must have a clear understanding of where the lens is and where his or her eyes should be. Moving the camera back further seems like a good way to make eye motion less obvious, but then it is harder for the talent to see and read.
The subject of most of our teleprompter usage has been our director, Max Anderson, who has had considerable television and teleprompter experience in the past. This makes the whole thing go very quickly, and we can get everything in one or two takes. If you’re dealing with someone who doesn’t have this experience, you’ll want to build in some rehearsal time.
So it doesn’t look as nice as the ones used on news sets or at press conferences, but those could run you close to $5,000. Here are the costs for our DIY Teleprompter:
11 x 14-inch piece of 3/32-inch-thick glass: $3.28
Cardboard box: Free
Apple boxes and cart: Free (already had them lying around)
Teleprompter+ app: $14.99
Total costs: $18.27 + tax
Ted Forbes is the Multimedia Producer at the Dallas Museum of Art.


