Many educators have the gift of recycling materials into wonderful creations. If they do not already possess this genius, they quickly learn how to be resourceful with what they have around them. In C3, we defy all resource limitations when creating workshops and programming. Check out how we up-cycle materials in some of our hottest programs. I hope it inspires you!
Late Night Creativity Challenge
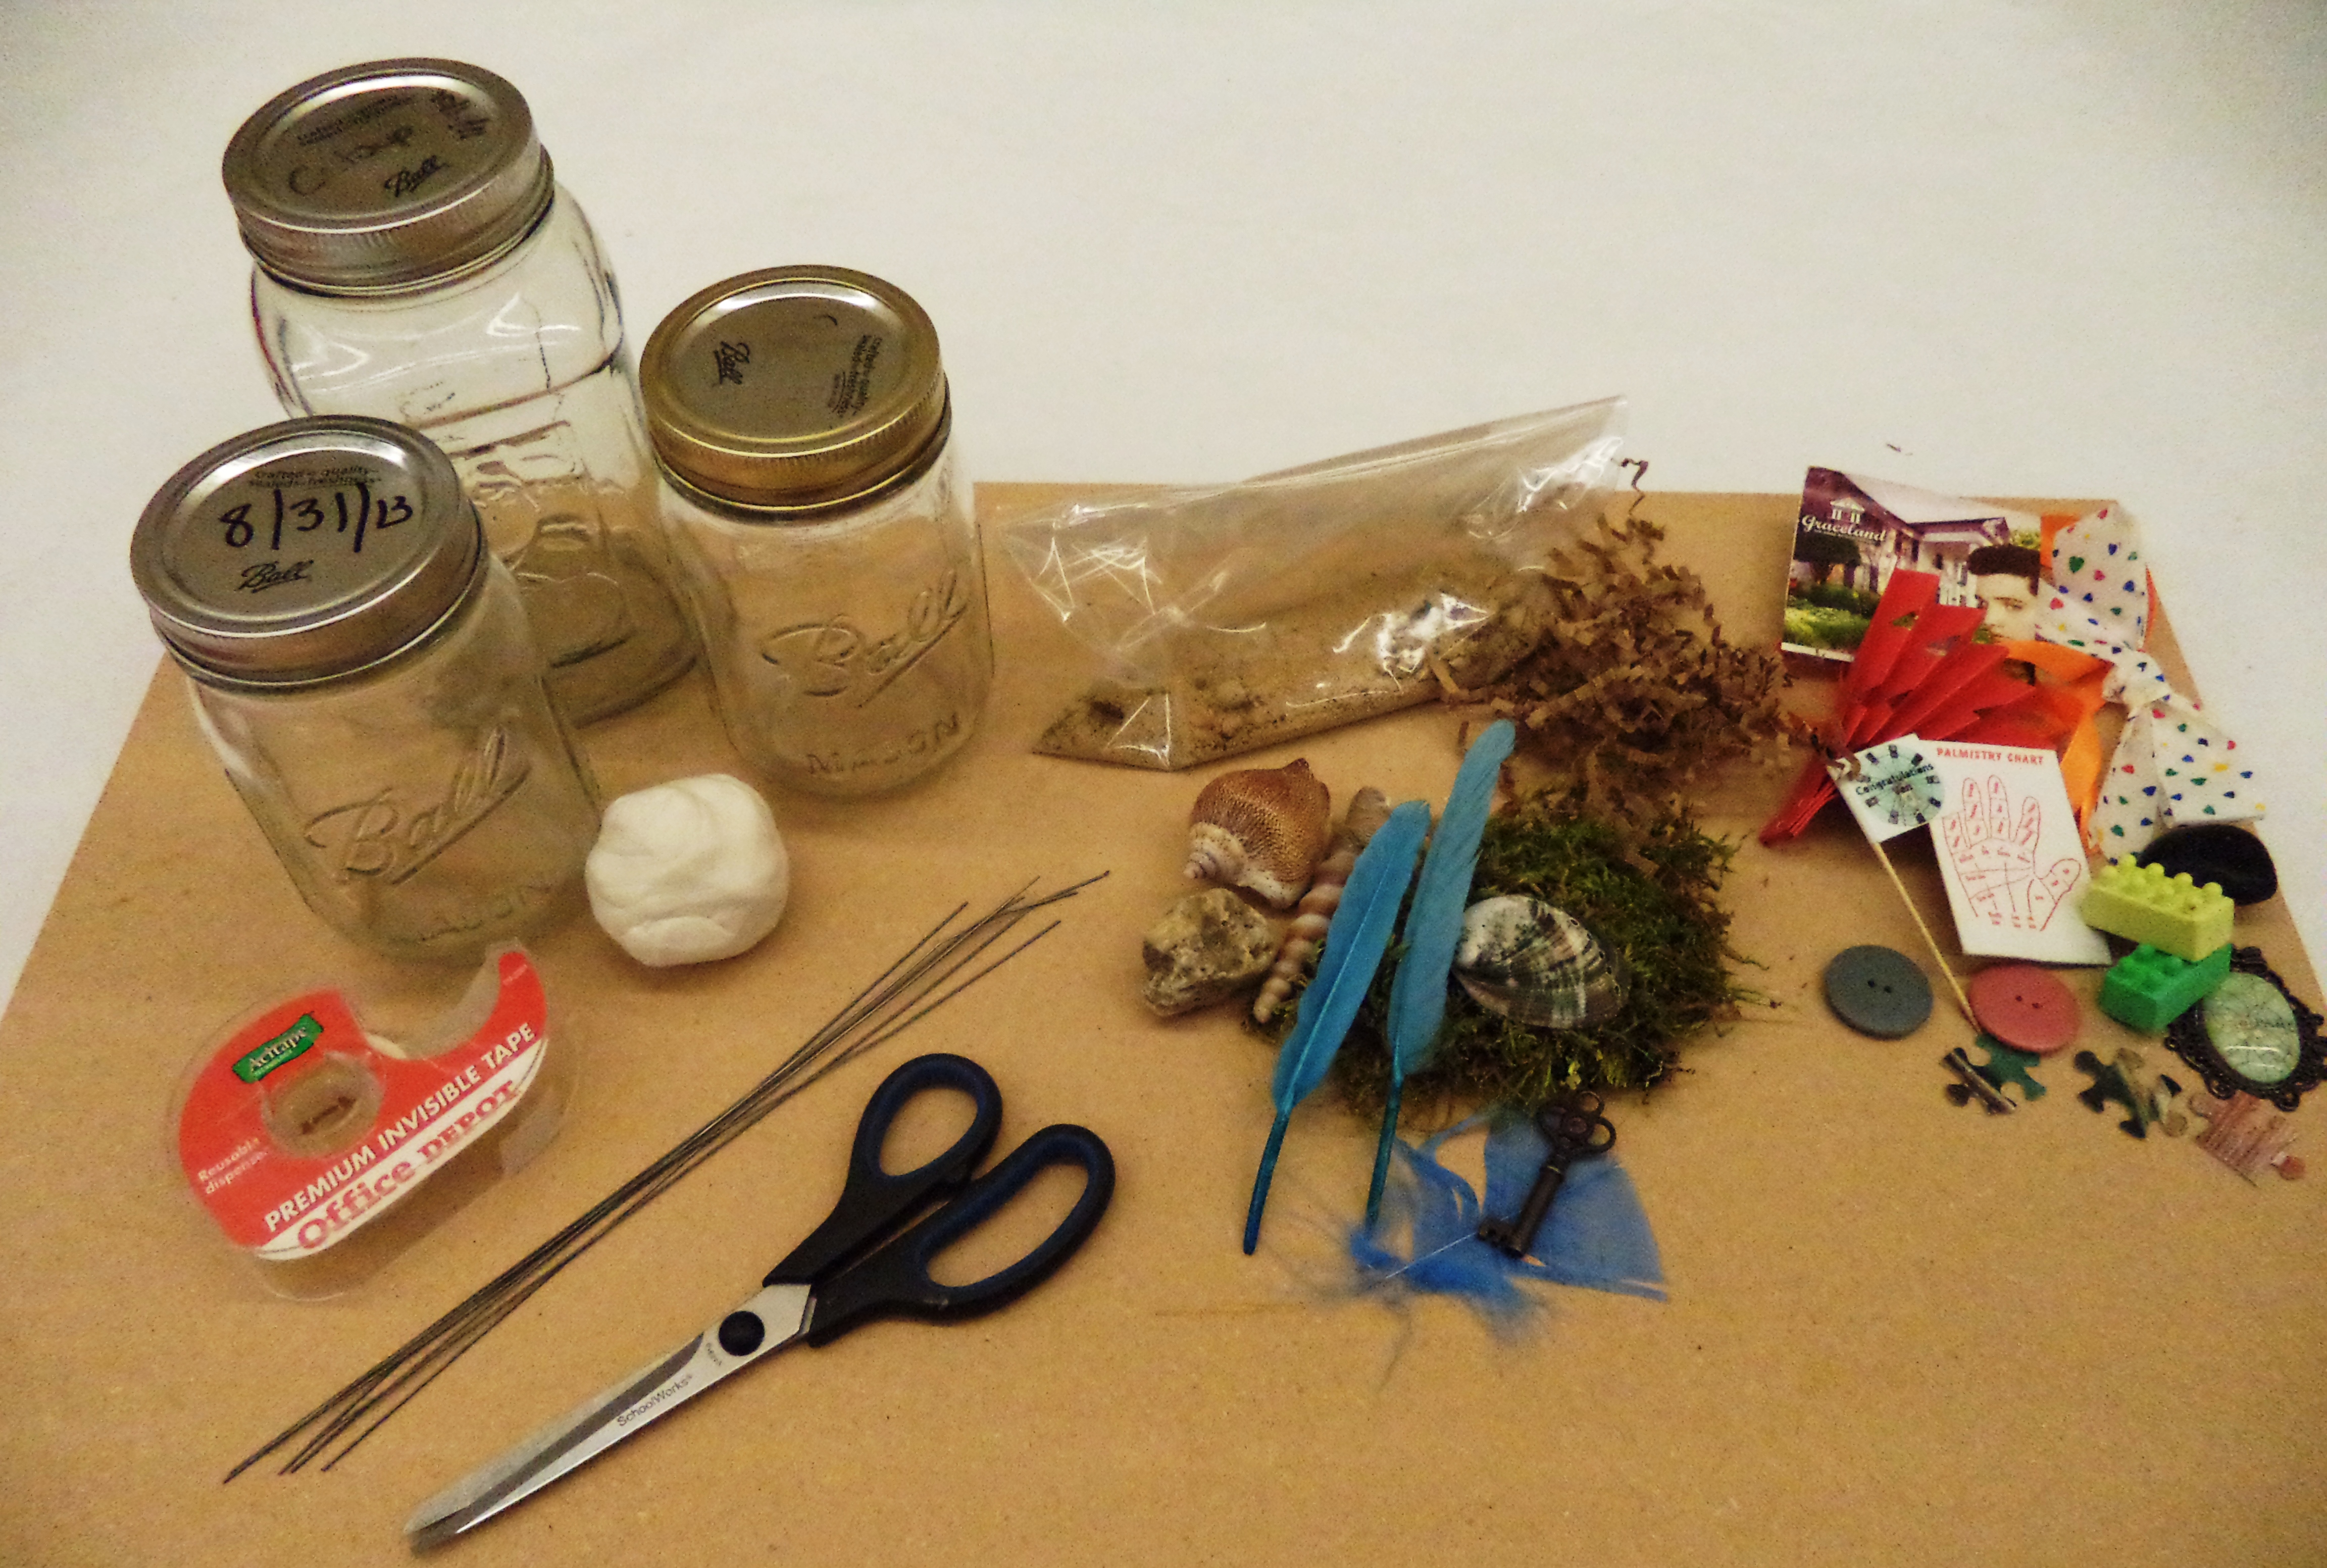
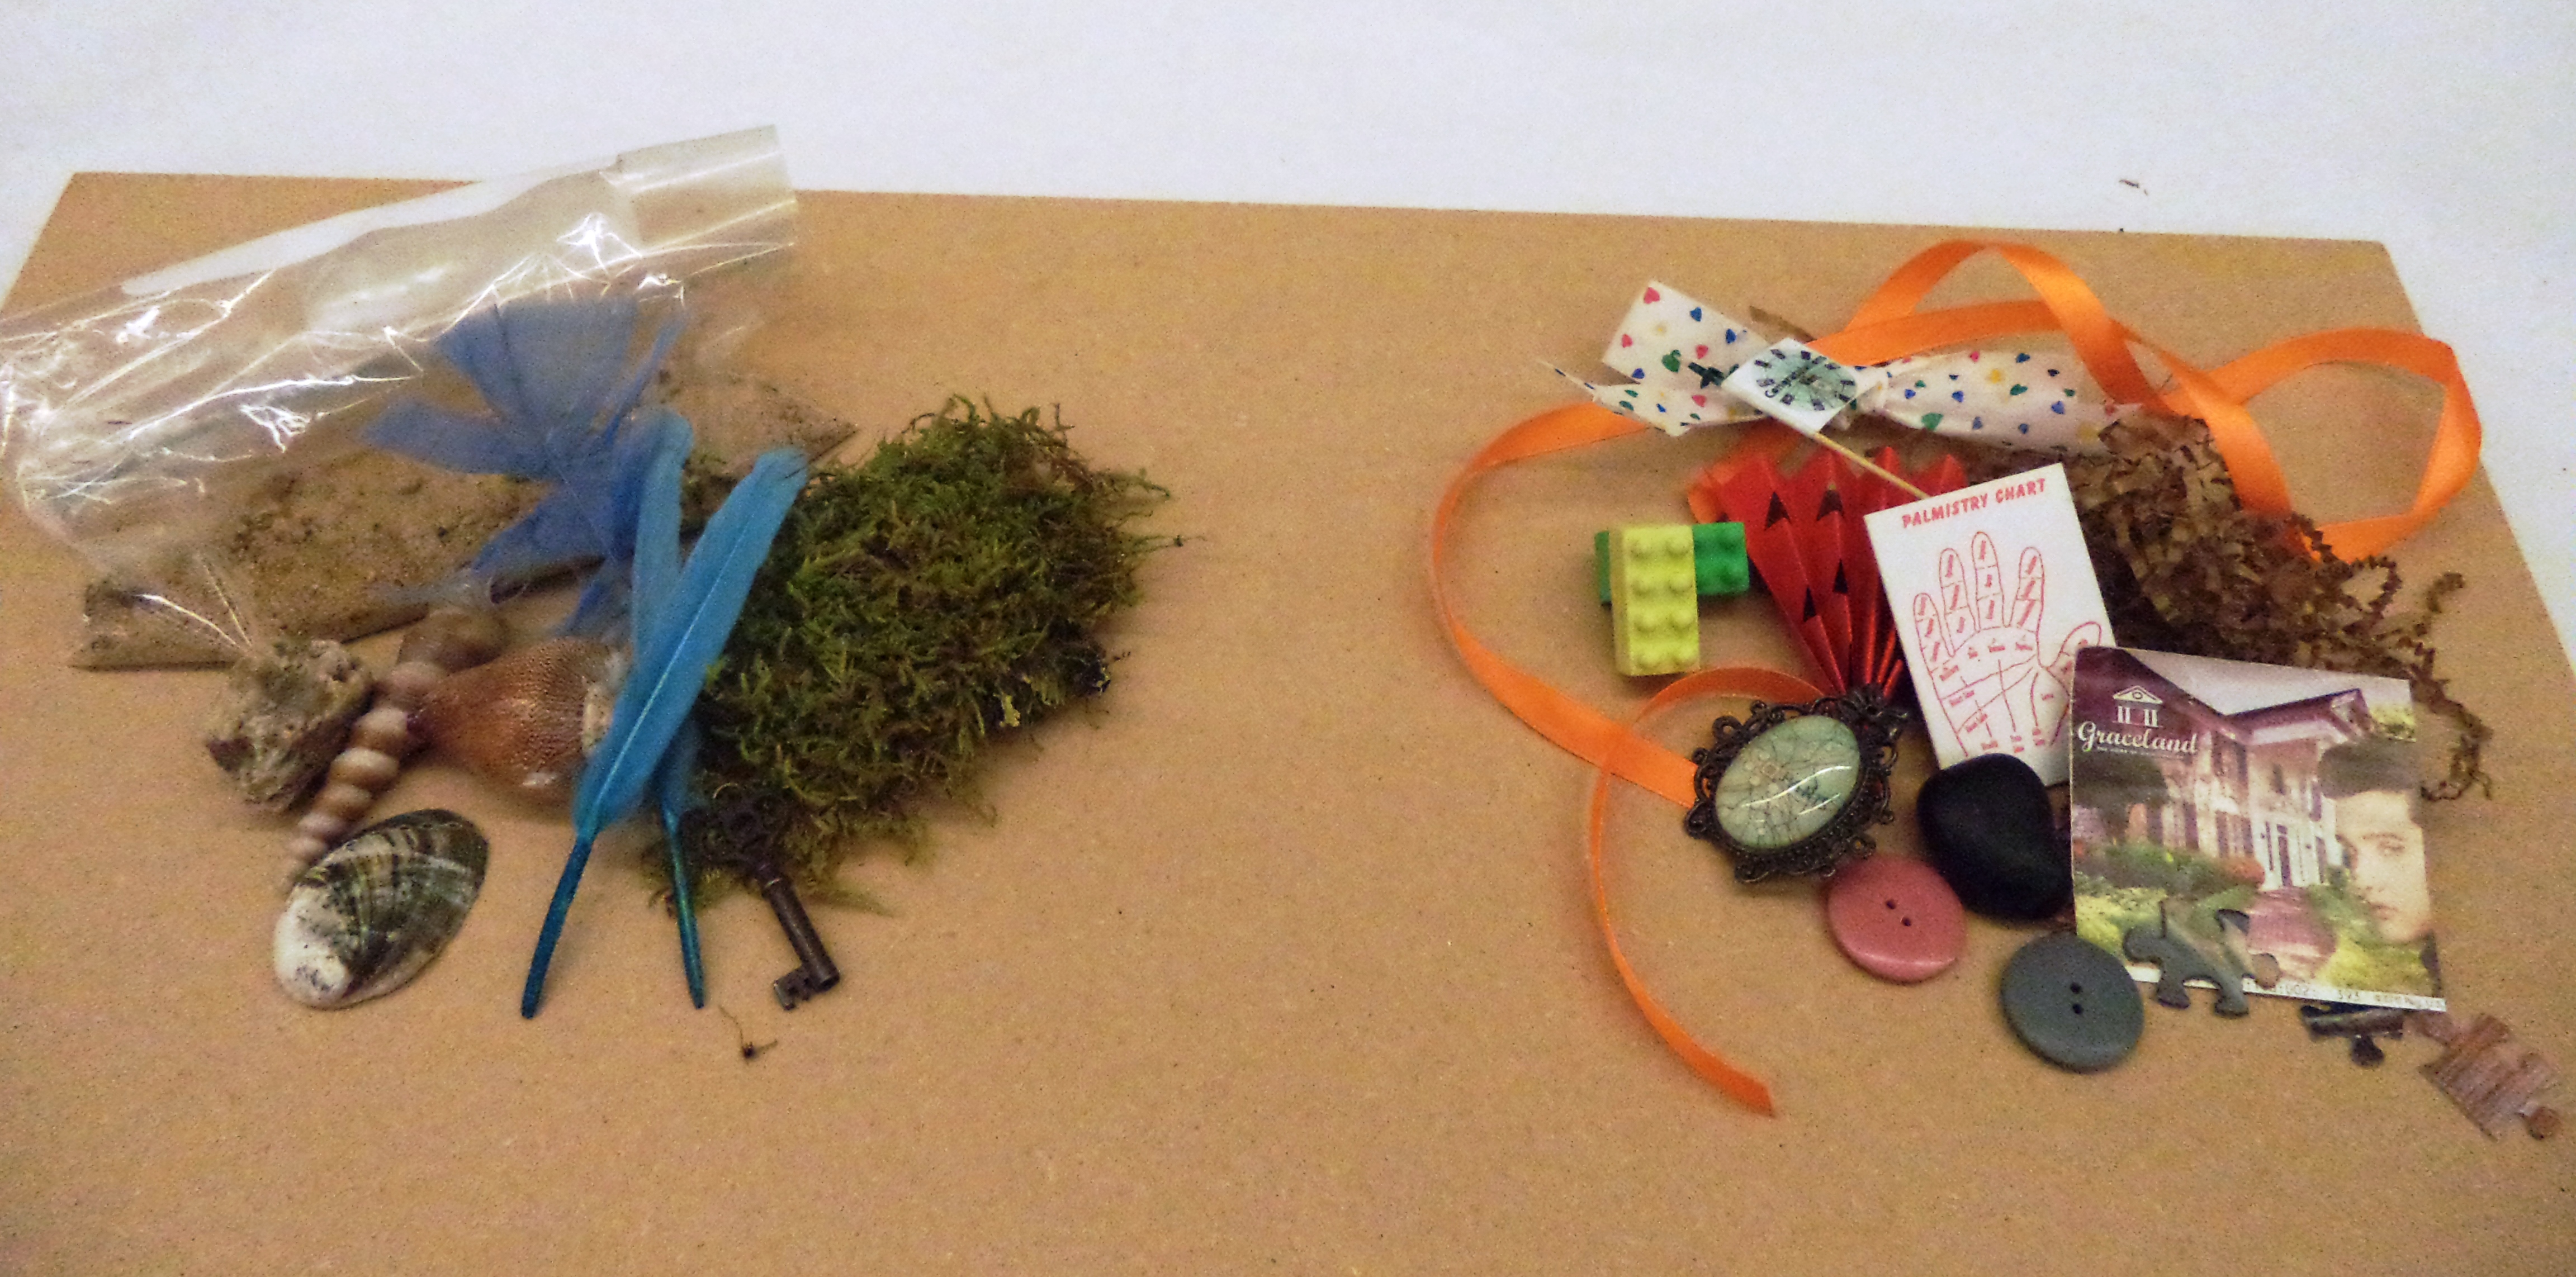
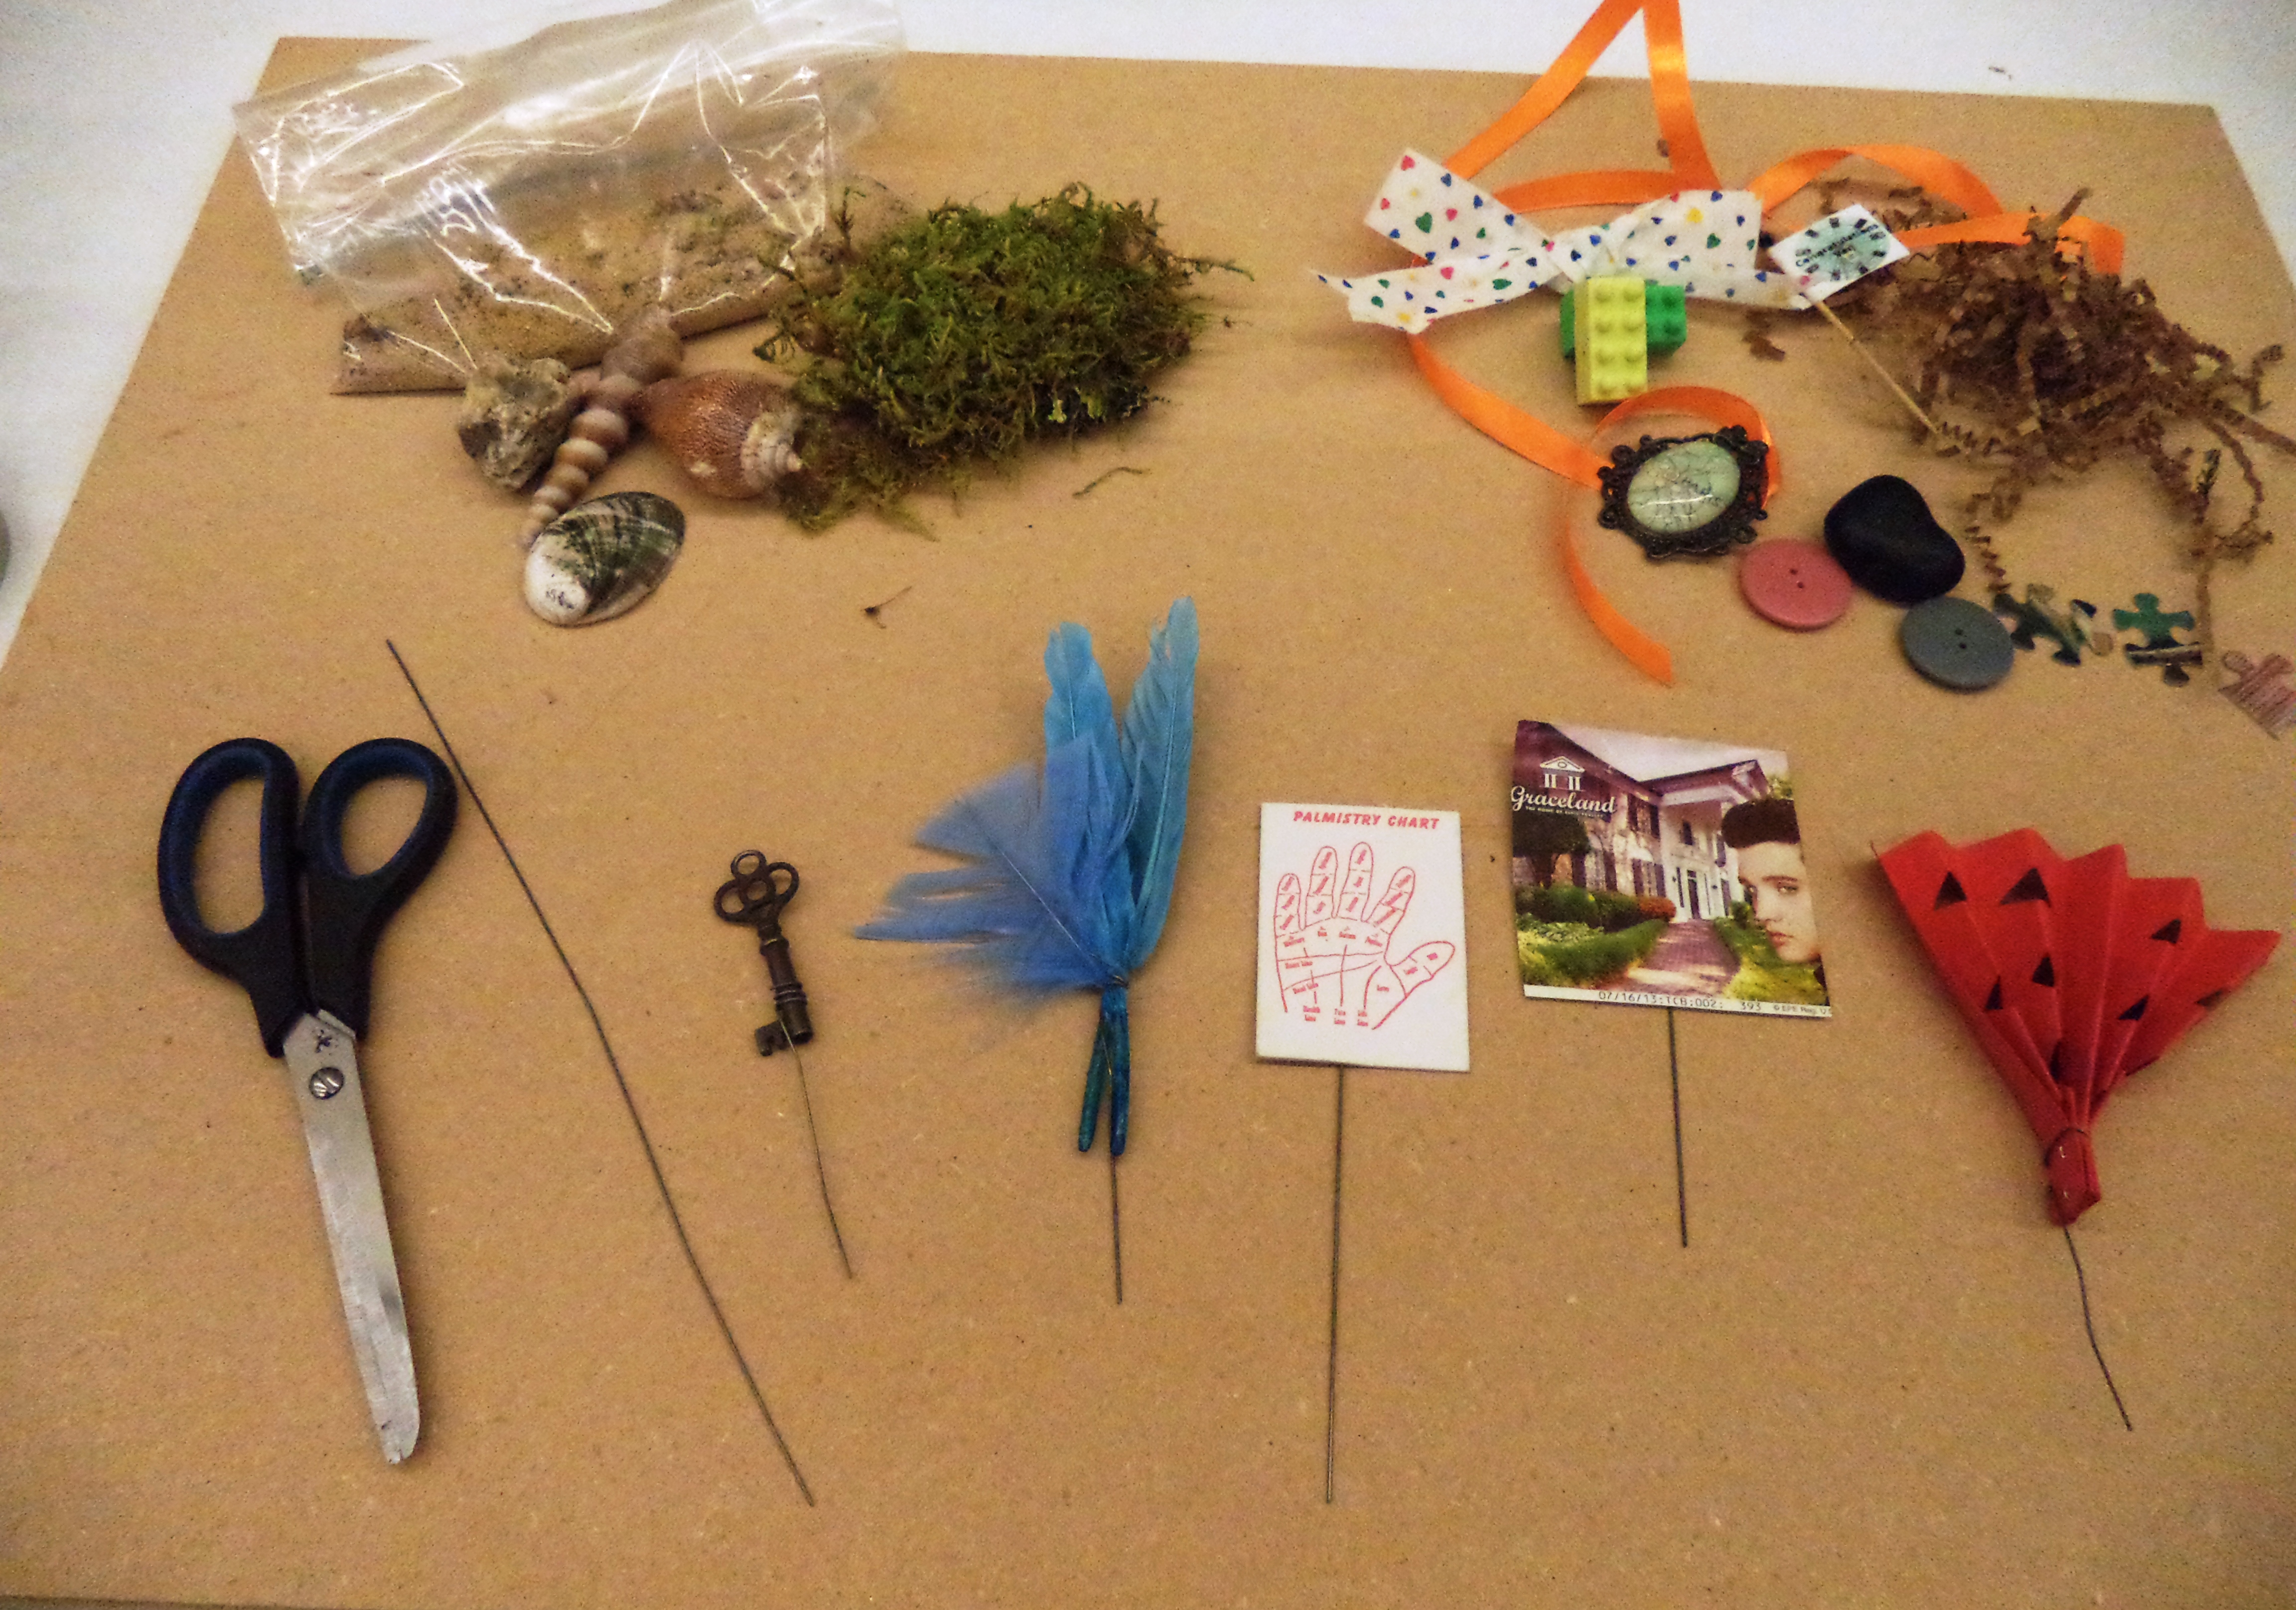
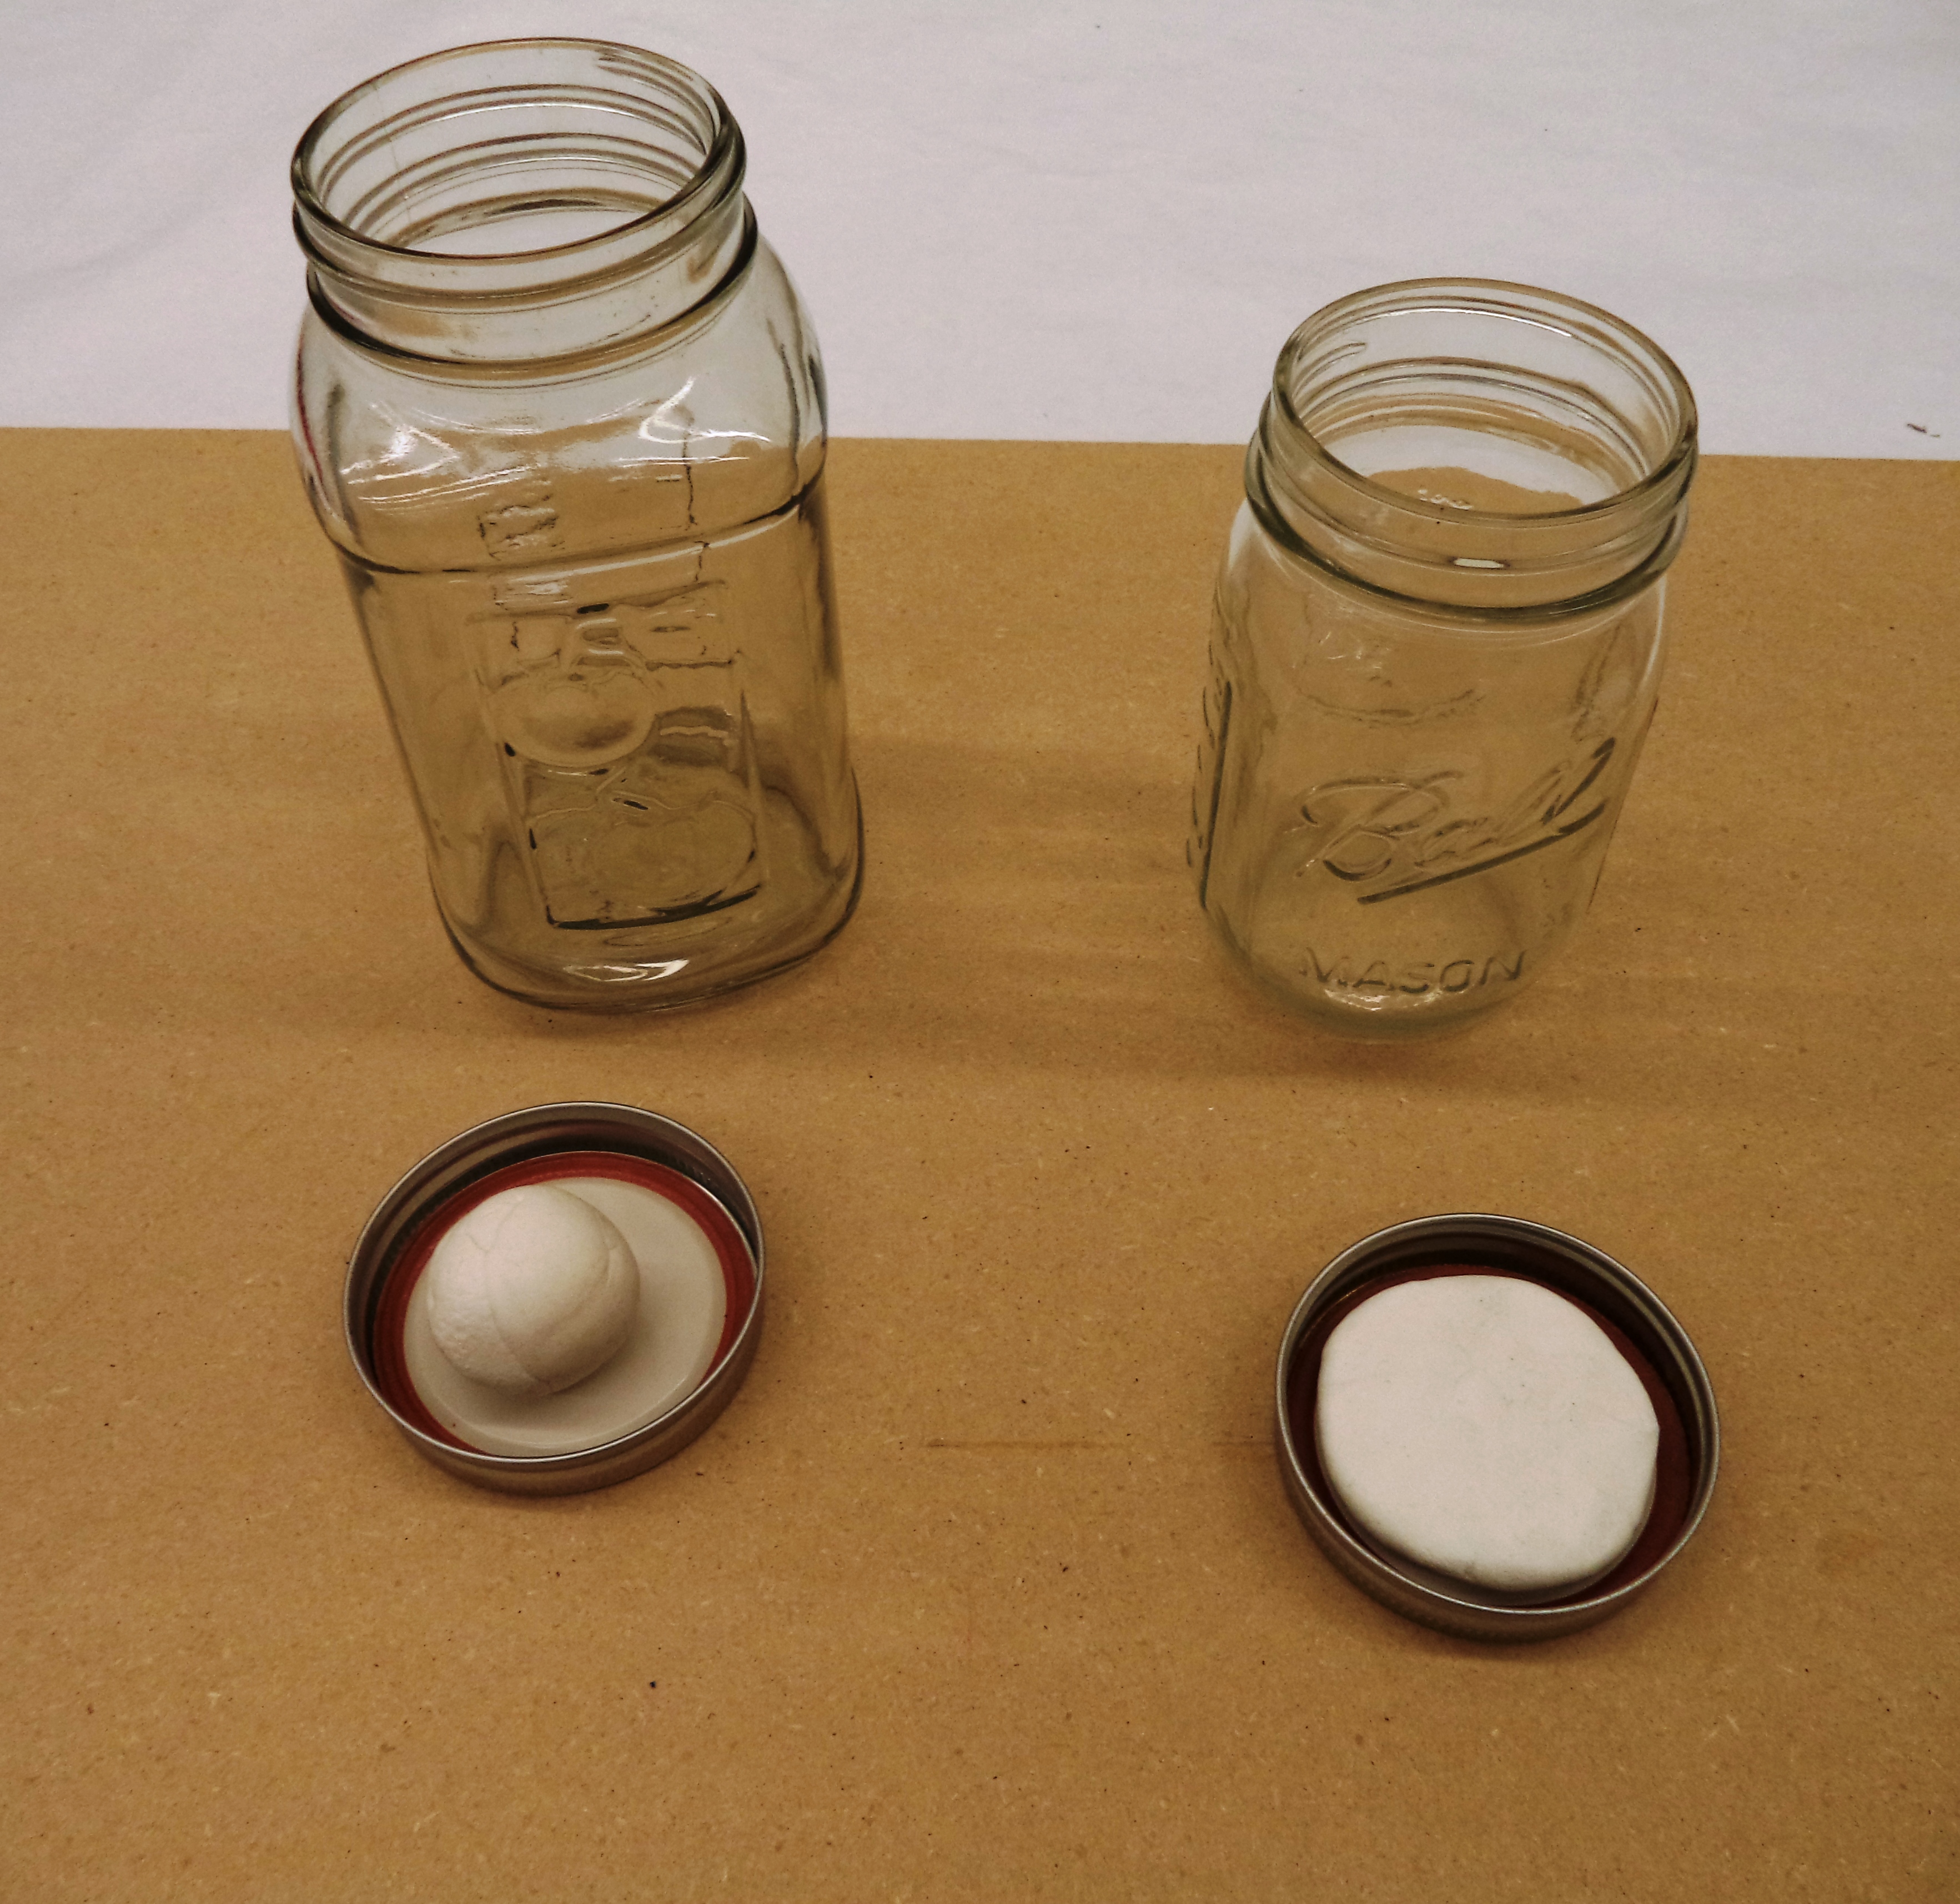
Creativity Challenges occur once a month on Late Night at the DMA. In these challenges, teams compete against each other using random materials to create an original work of art inspired by the collection. I have never once purchased materials for this program—all the creations come from leftovers and odd materials I find around the C3 Art Studio and my own personal closet.
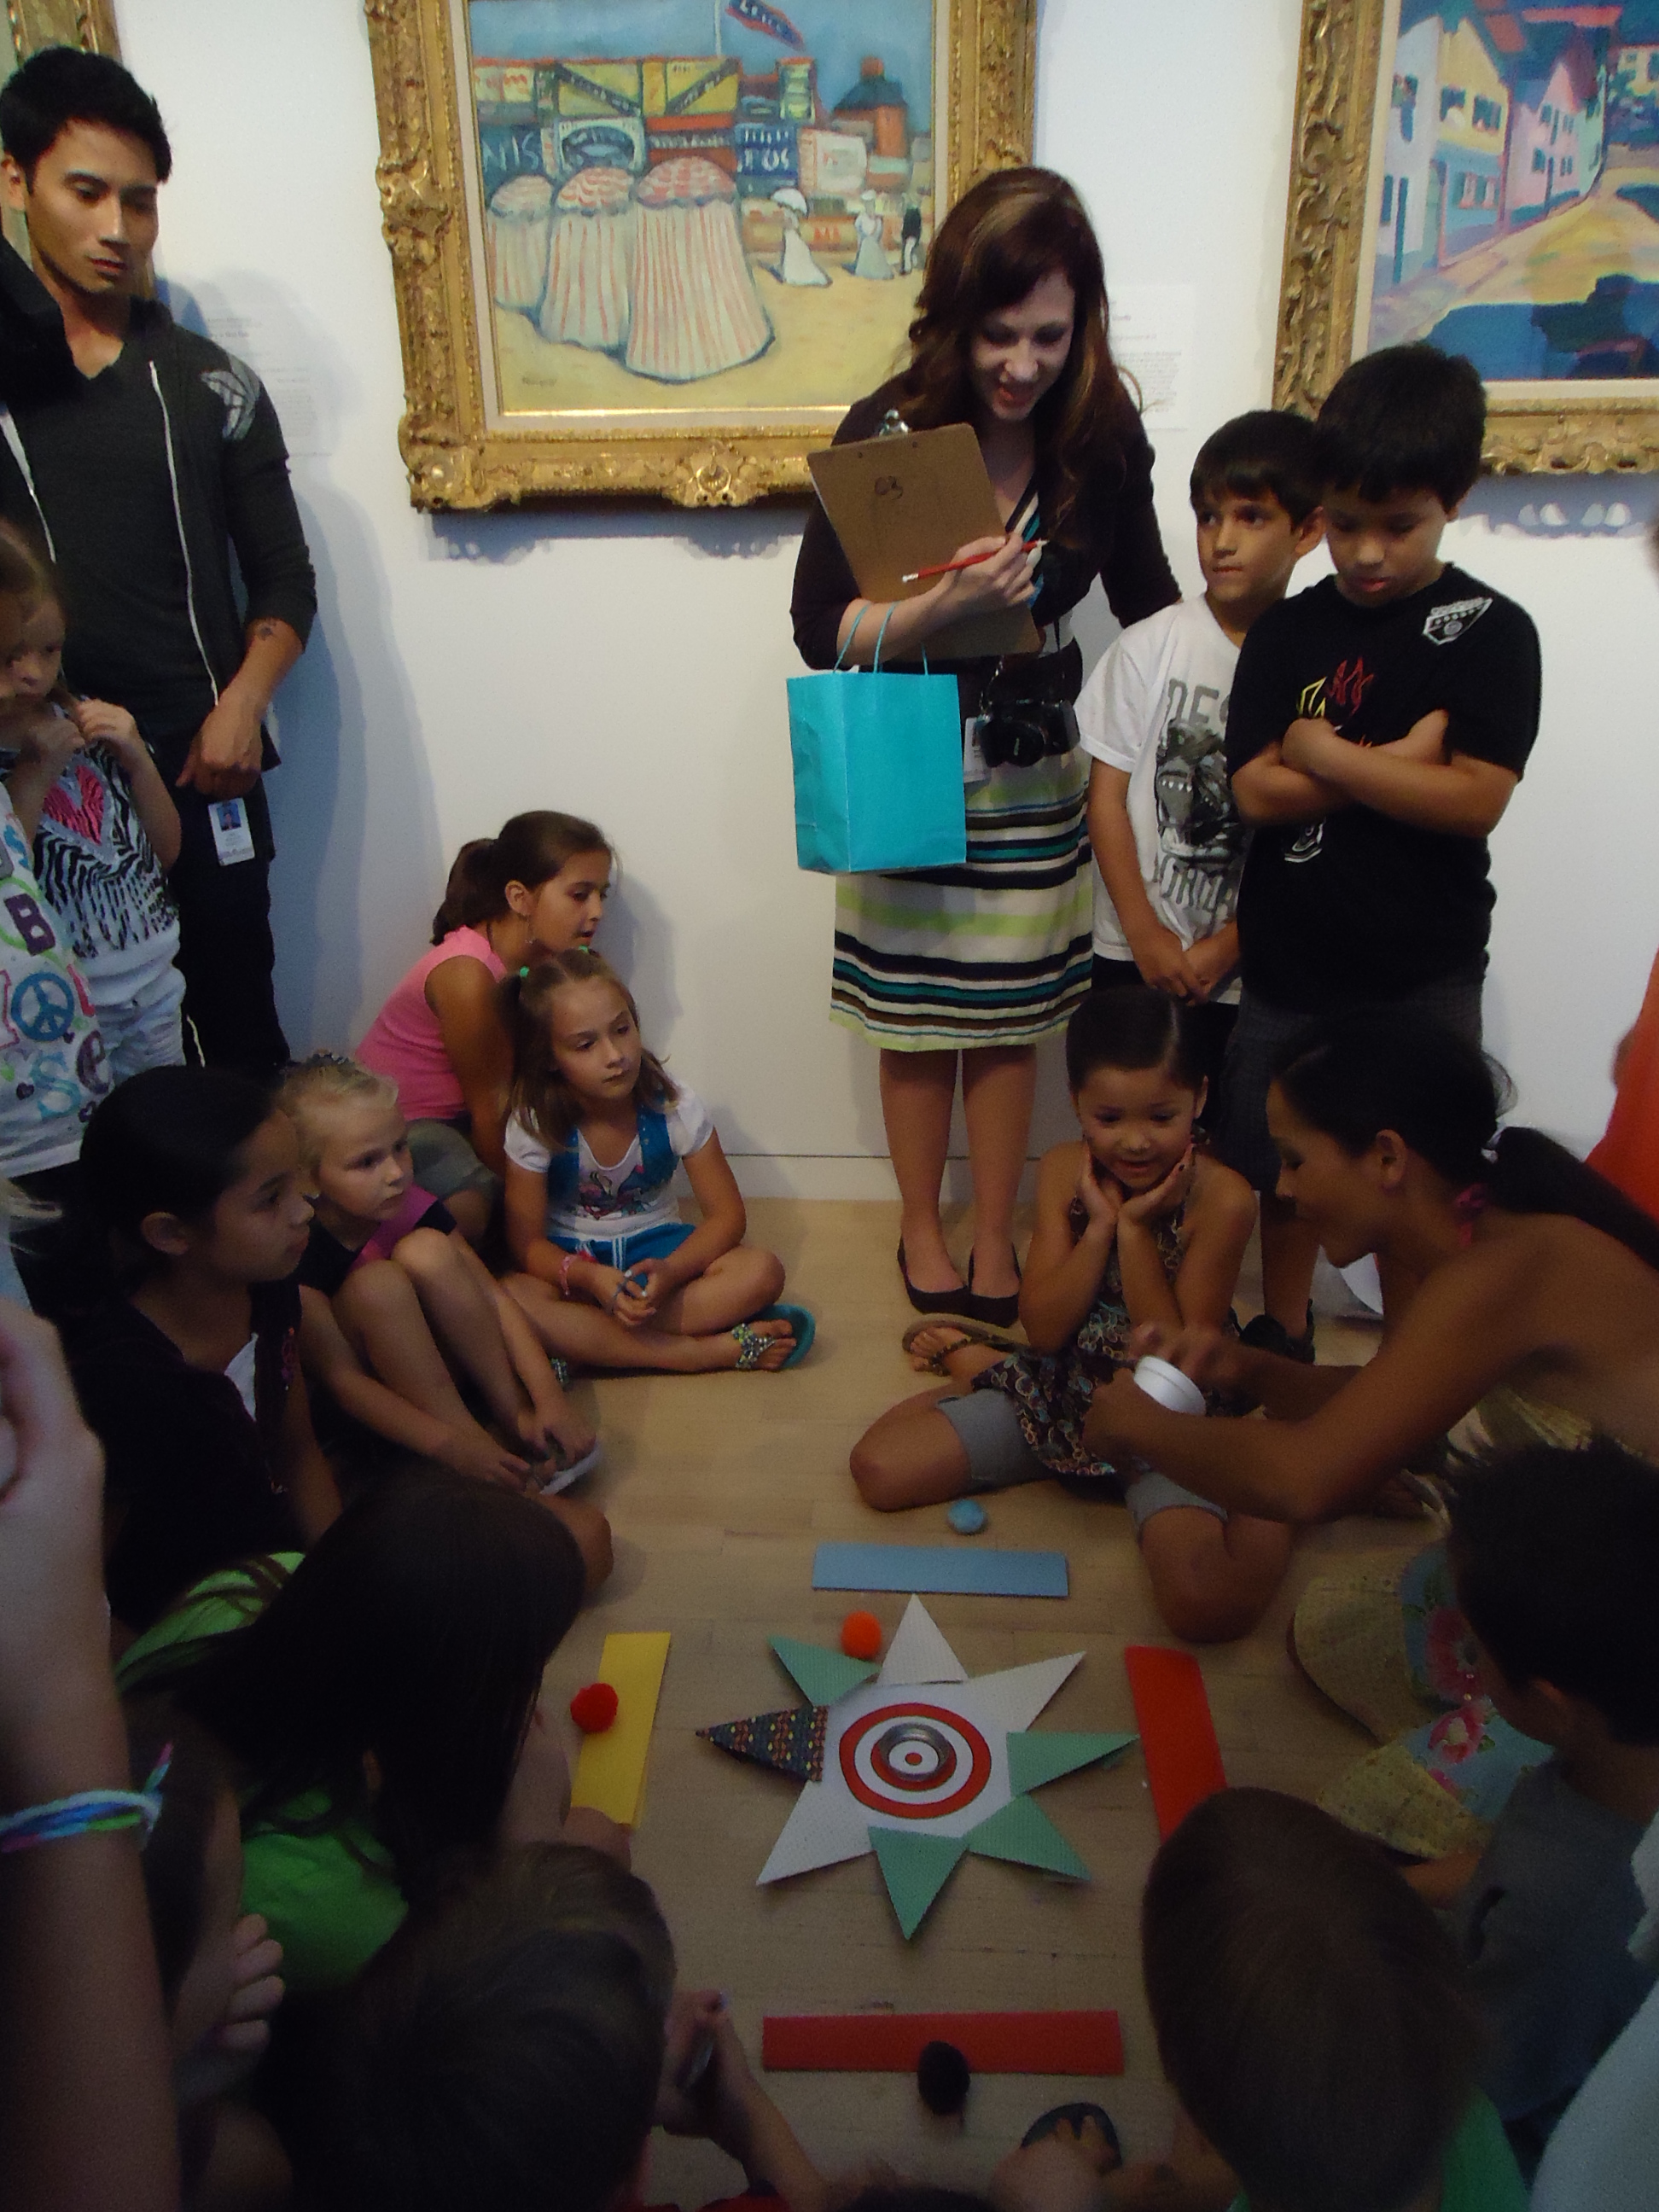
Visitors celebrate the summer by creating games inspired by the collection.
Materials used: cups, scraps of paper, and pom pom balls

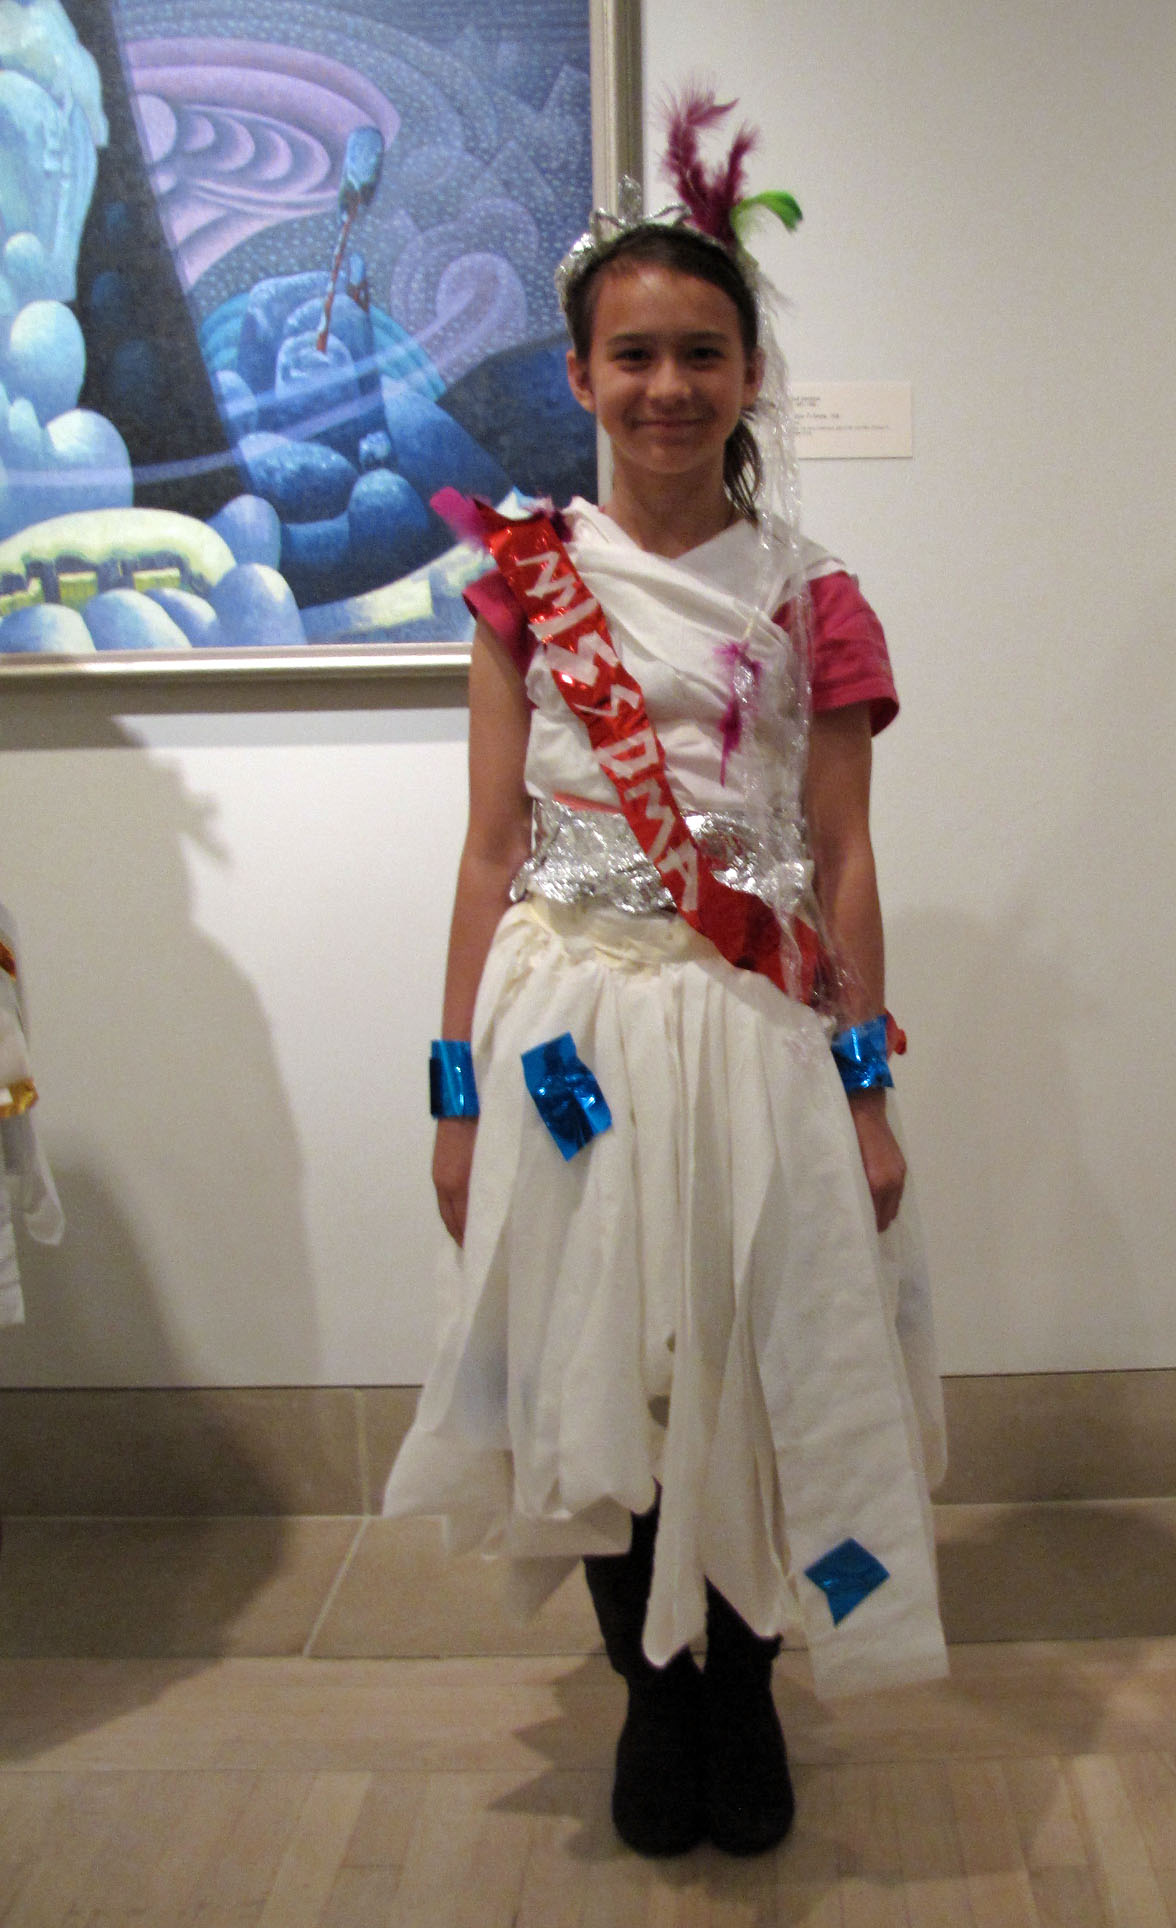
Visitors create gowns to become the next Miss DMA in conjunction with a special exhibition.
Materials used: toilet paper from the DMA Operations team, tape, cling wrap, and blue reflective paper
C3 Adult Workshops
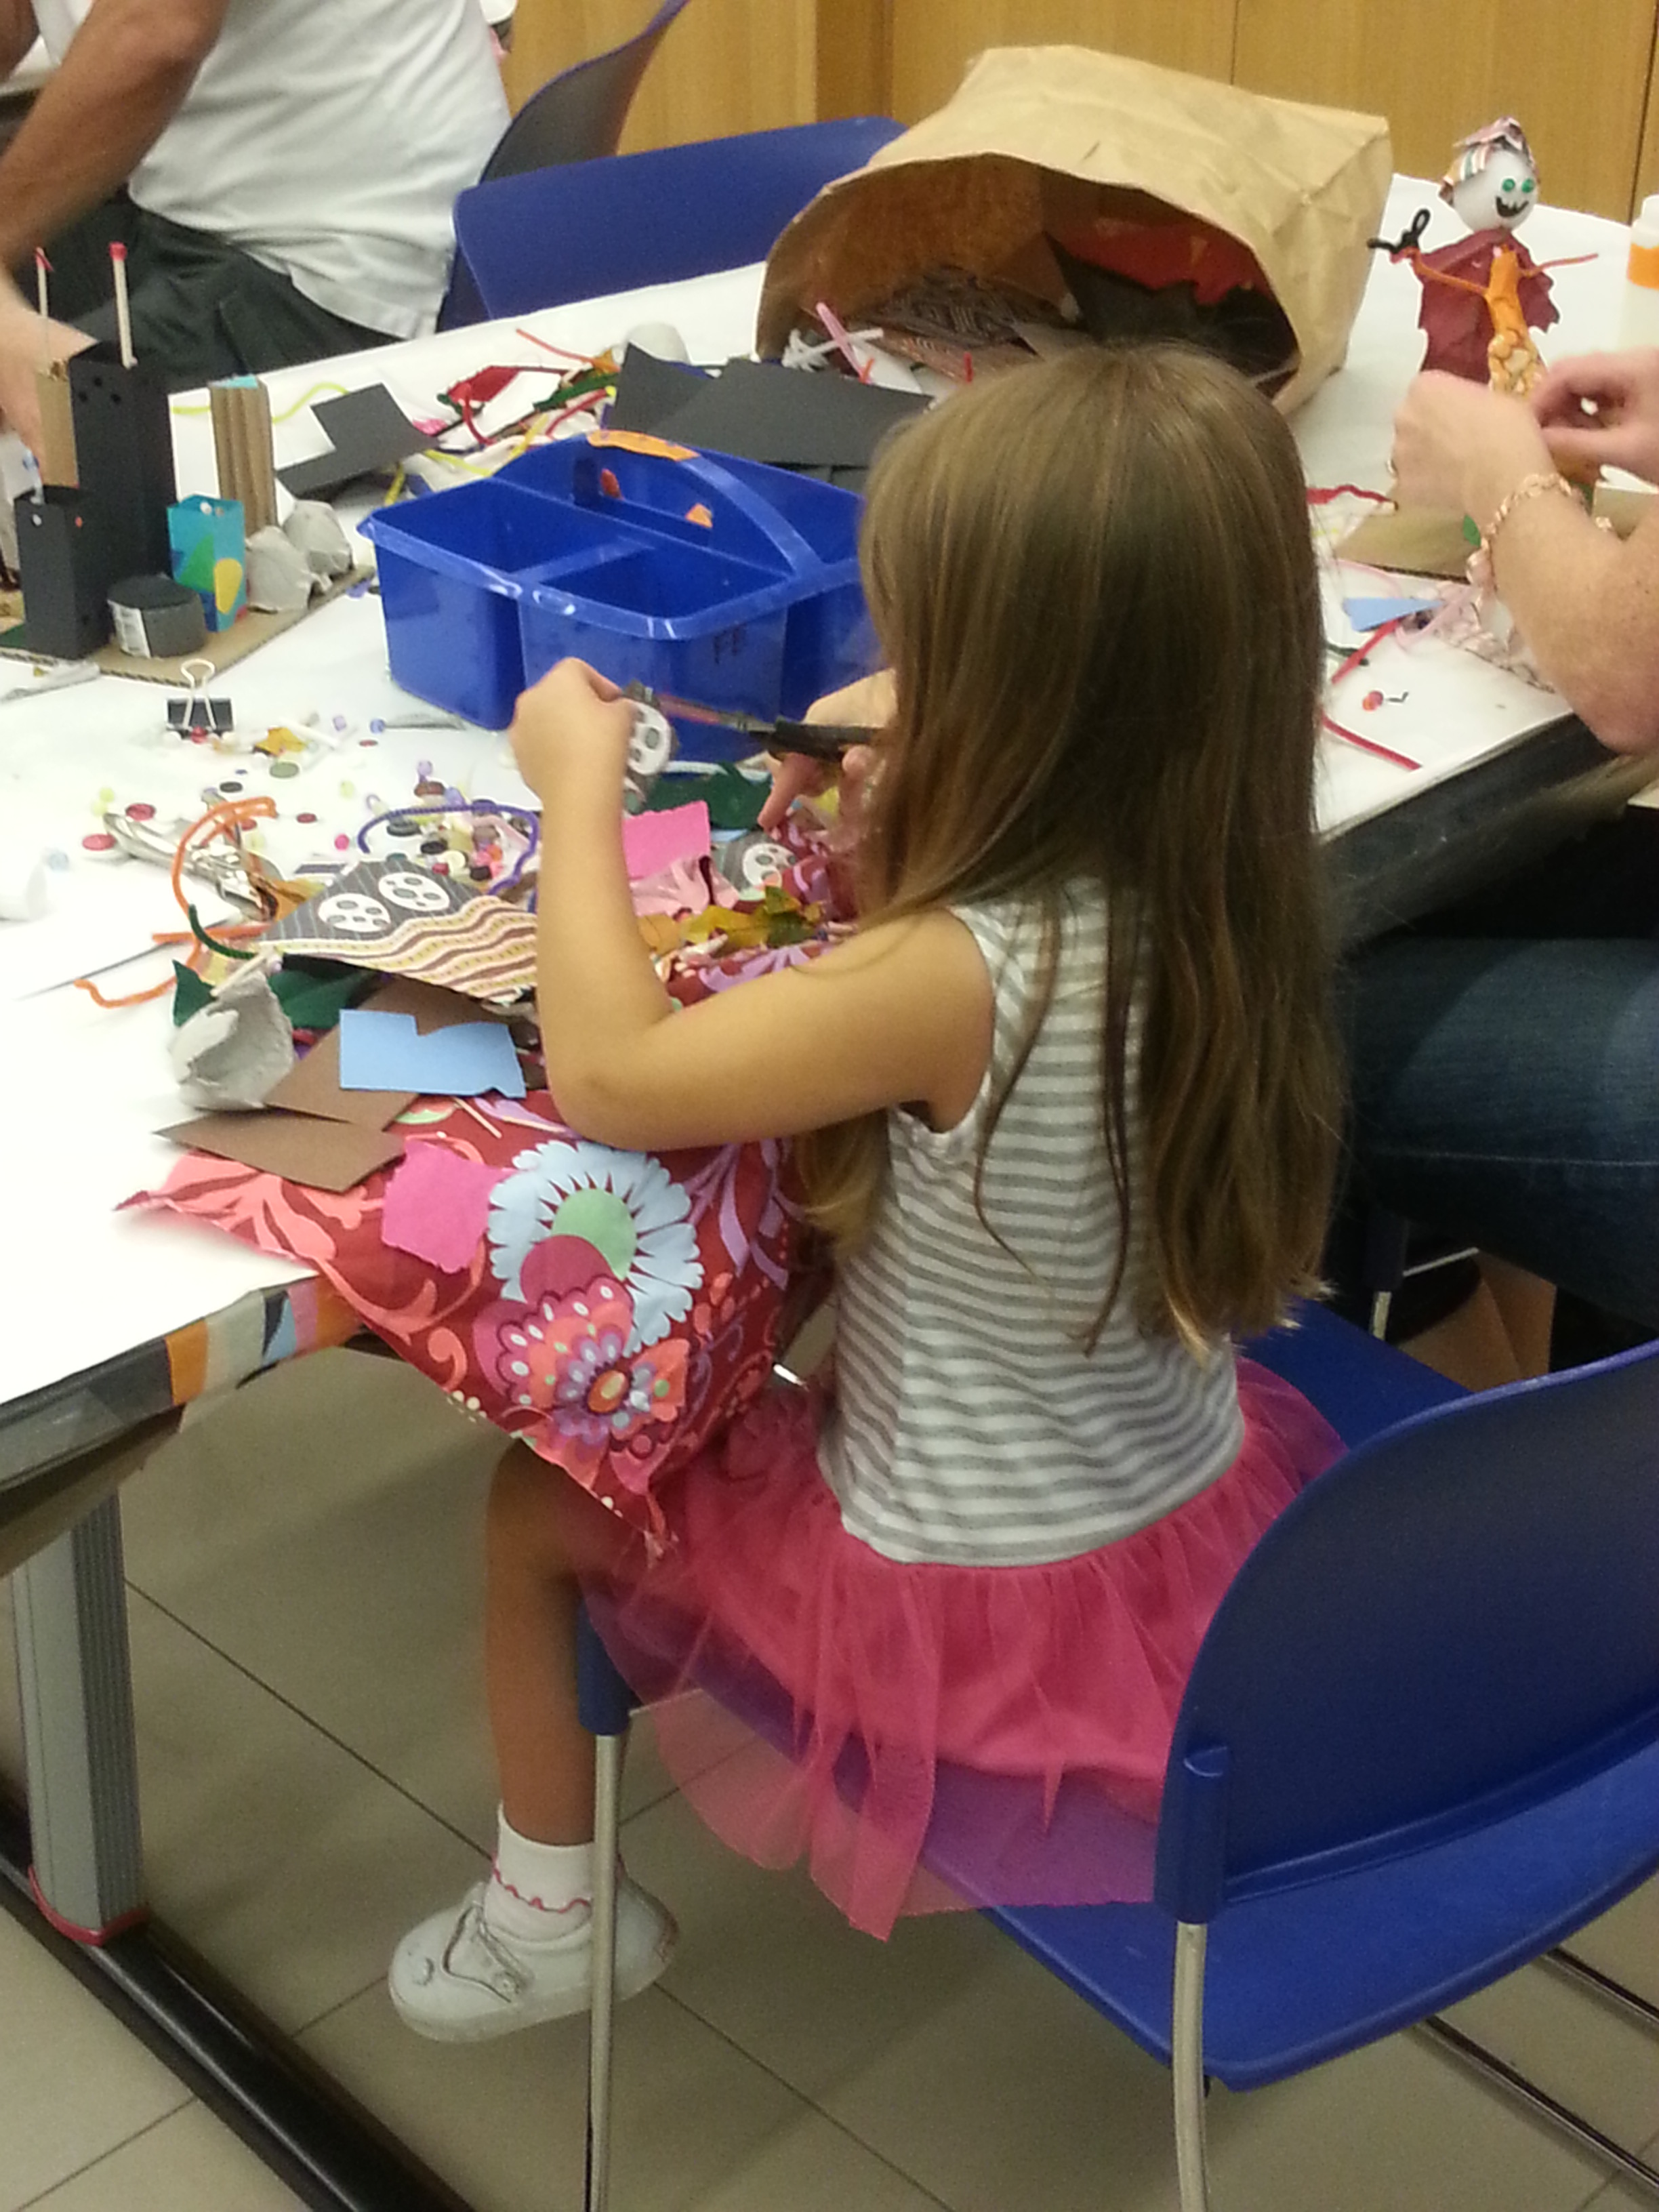
The Open Studio, C3 Artistic Encounters, and Think Creatively allow adults to experience art in new ways. These workshops are led by staff or local contemporary artists, who share the creative process and lead visitors through an art making experience.

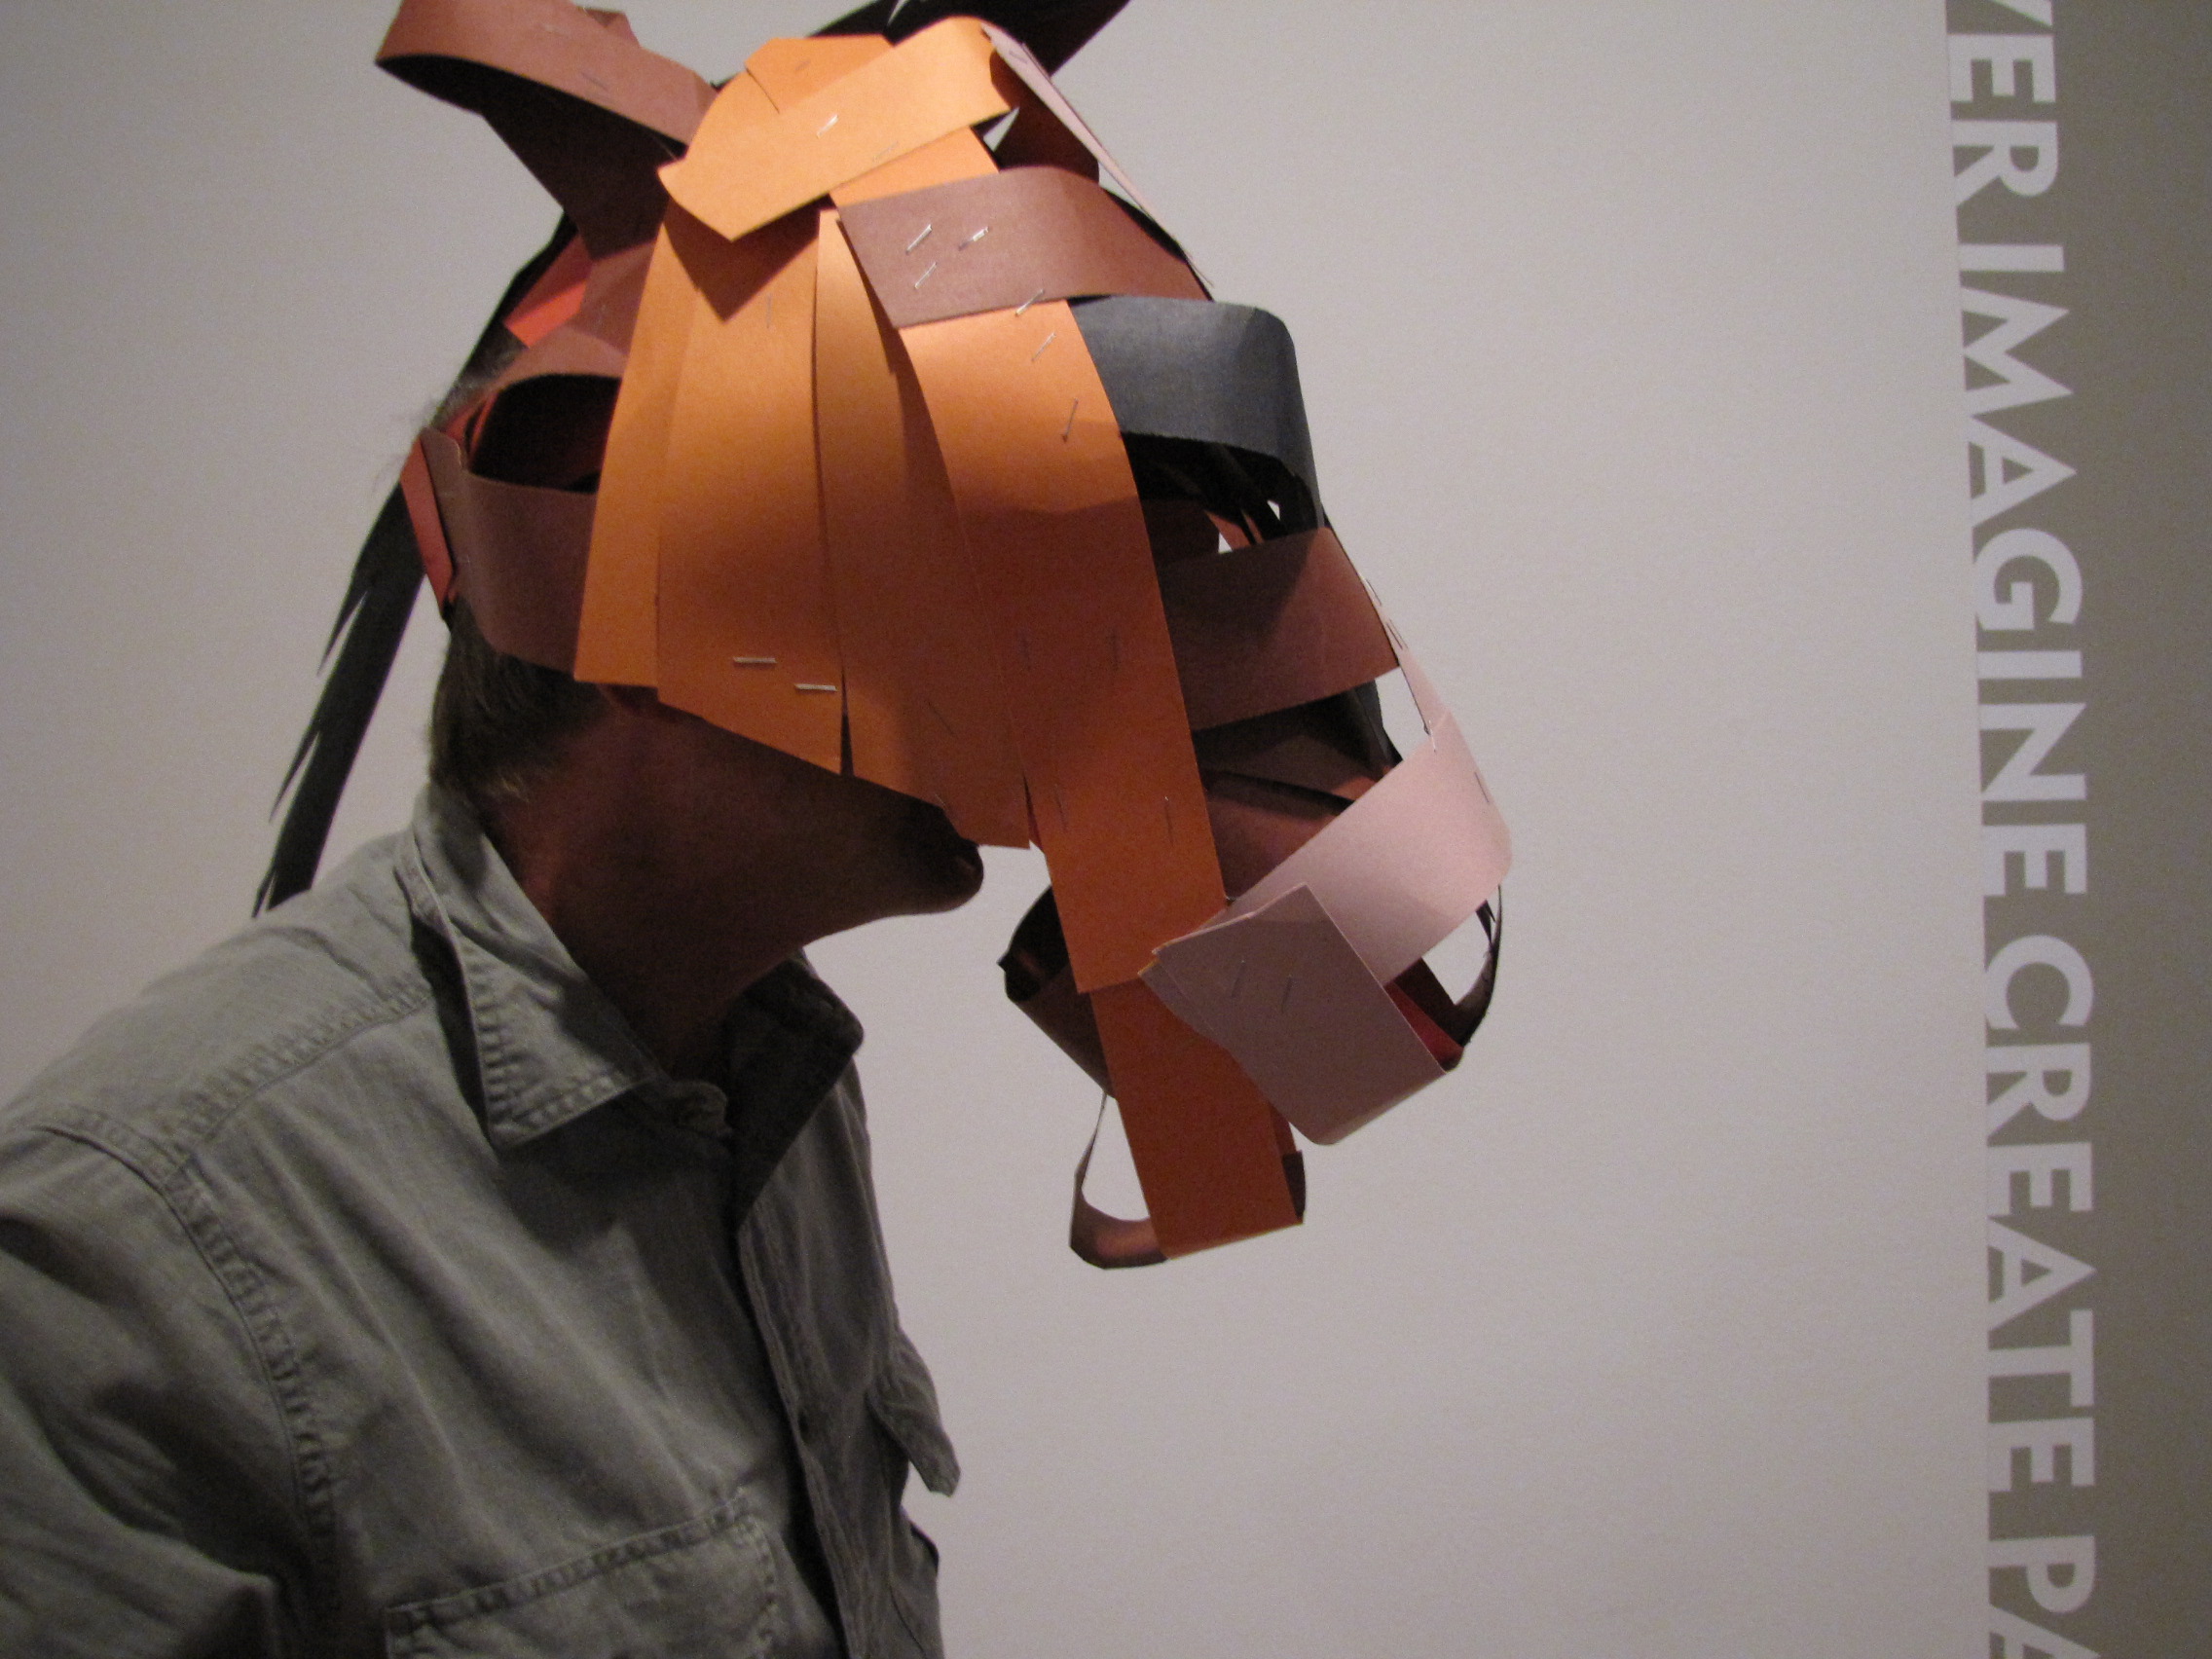
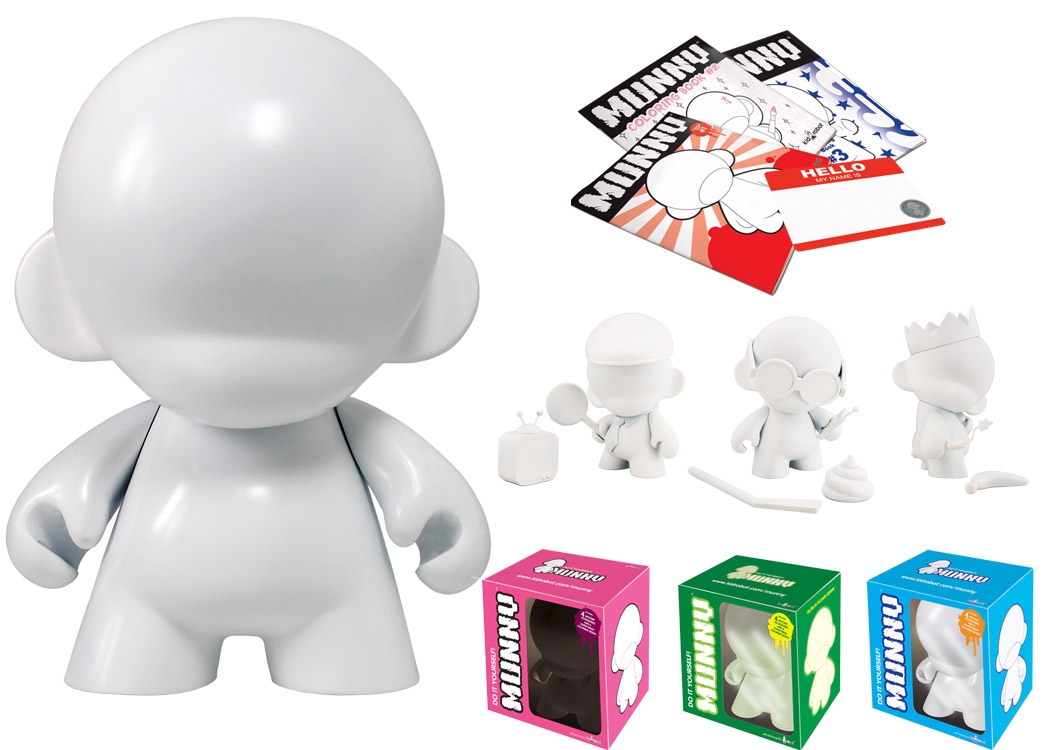
Alternate identities workshop.
Materials used: rail board and staples

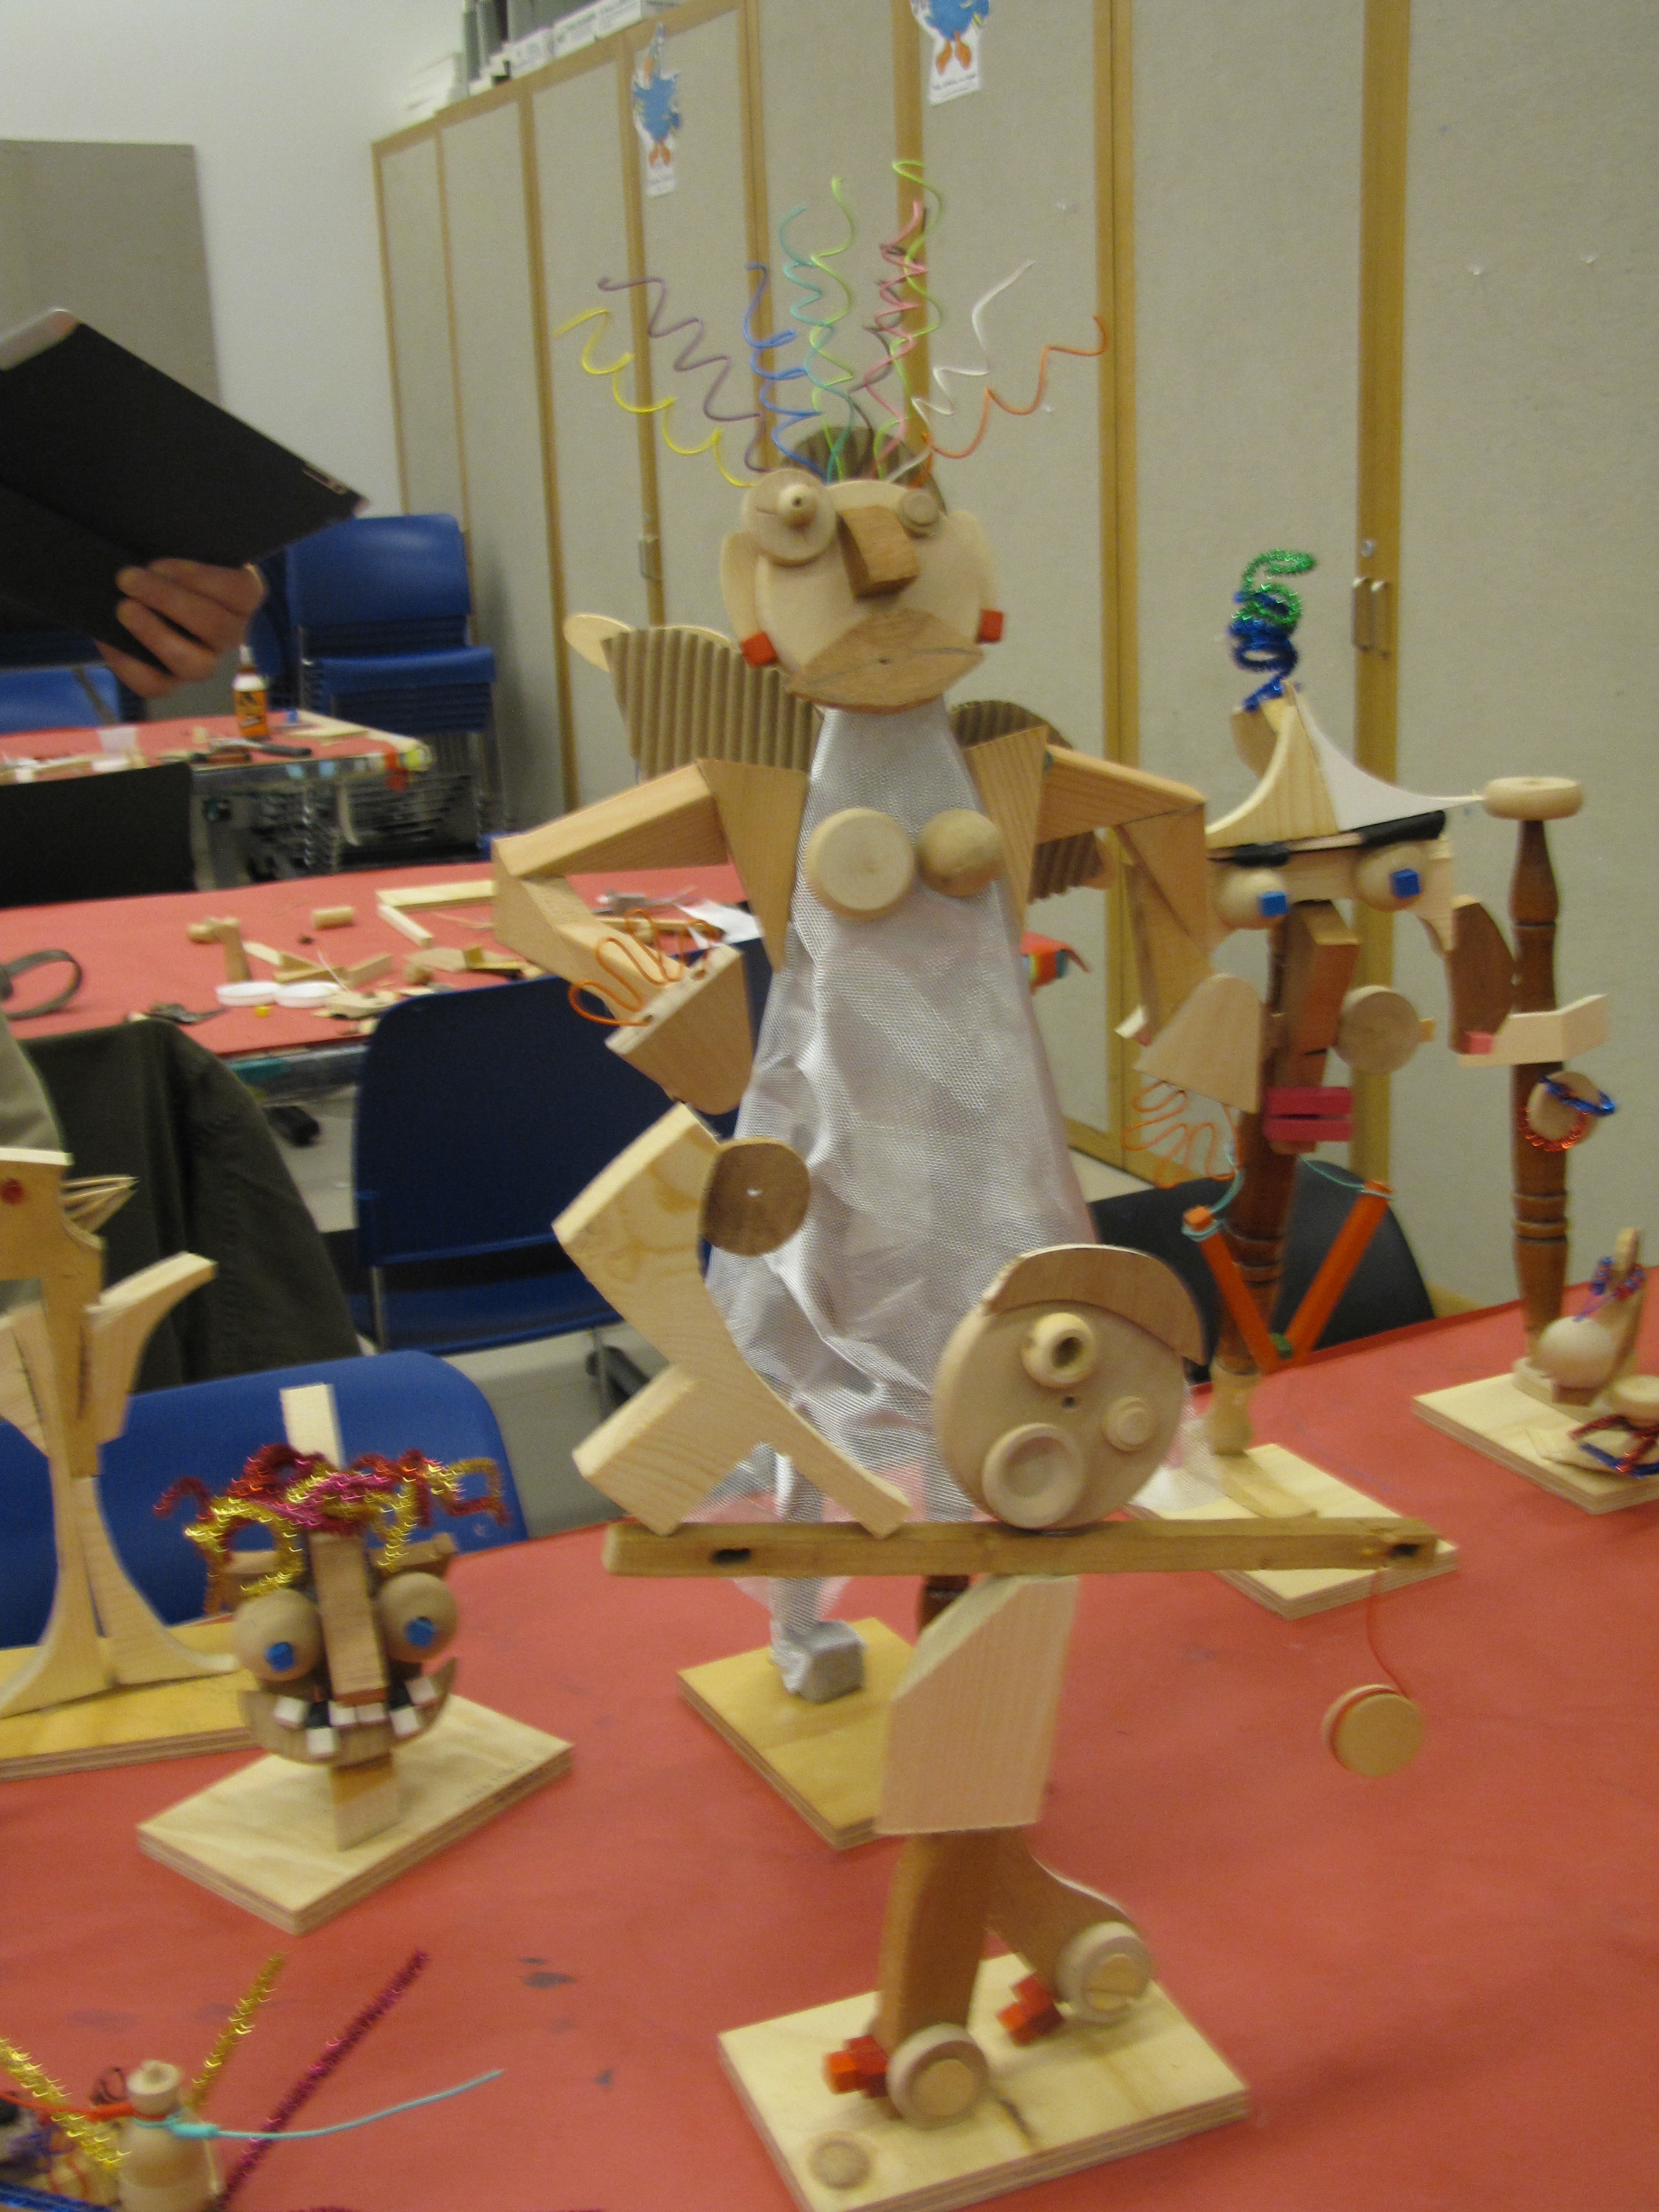
Guest artist Martin Delabano showed what can be created with scraps of wood.
Materials used: wood, hot glue, beads and pipe cleaners

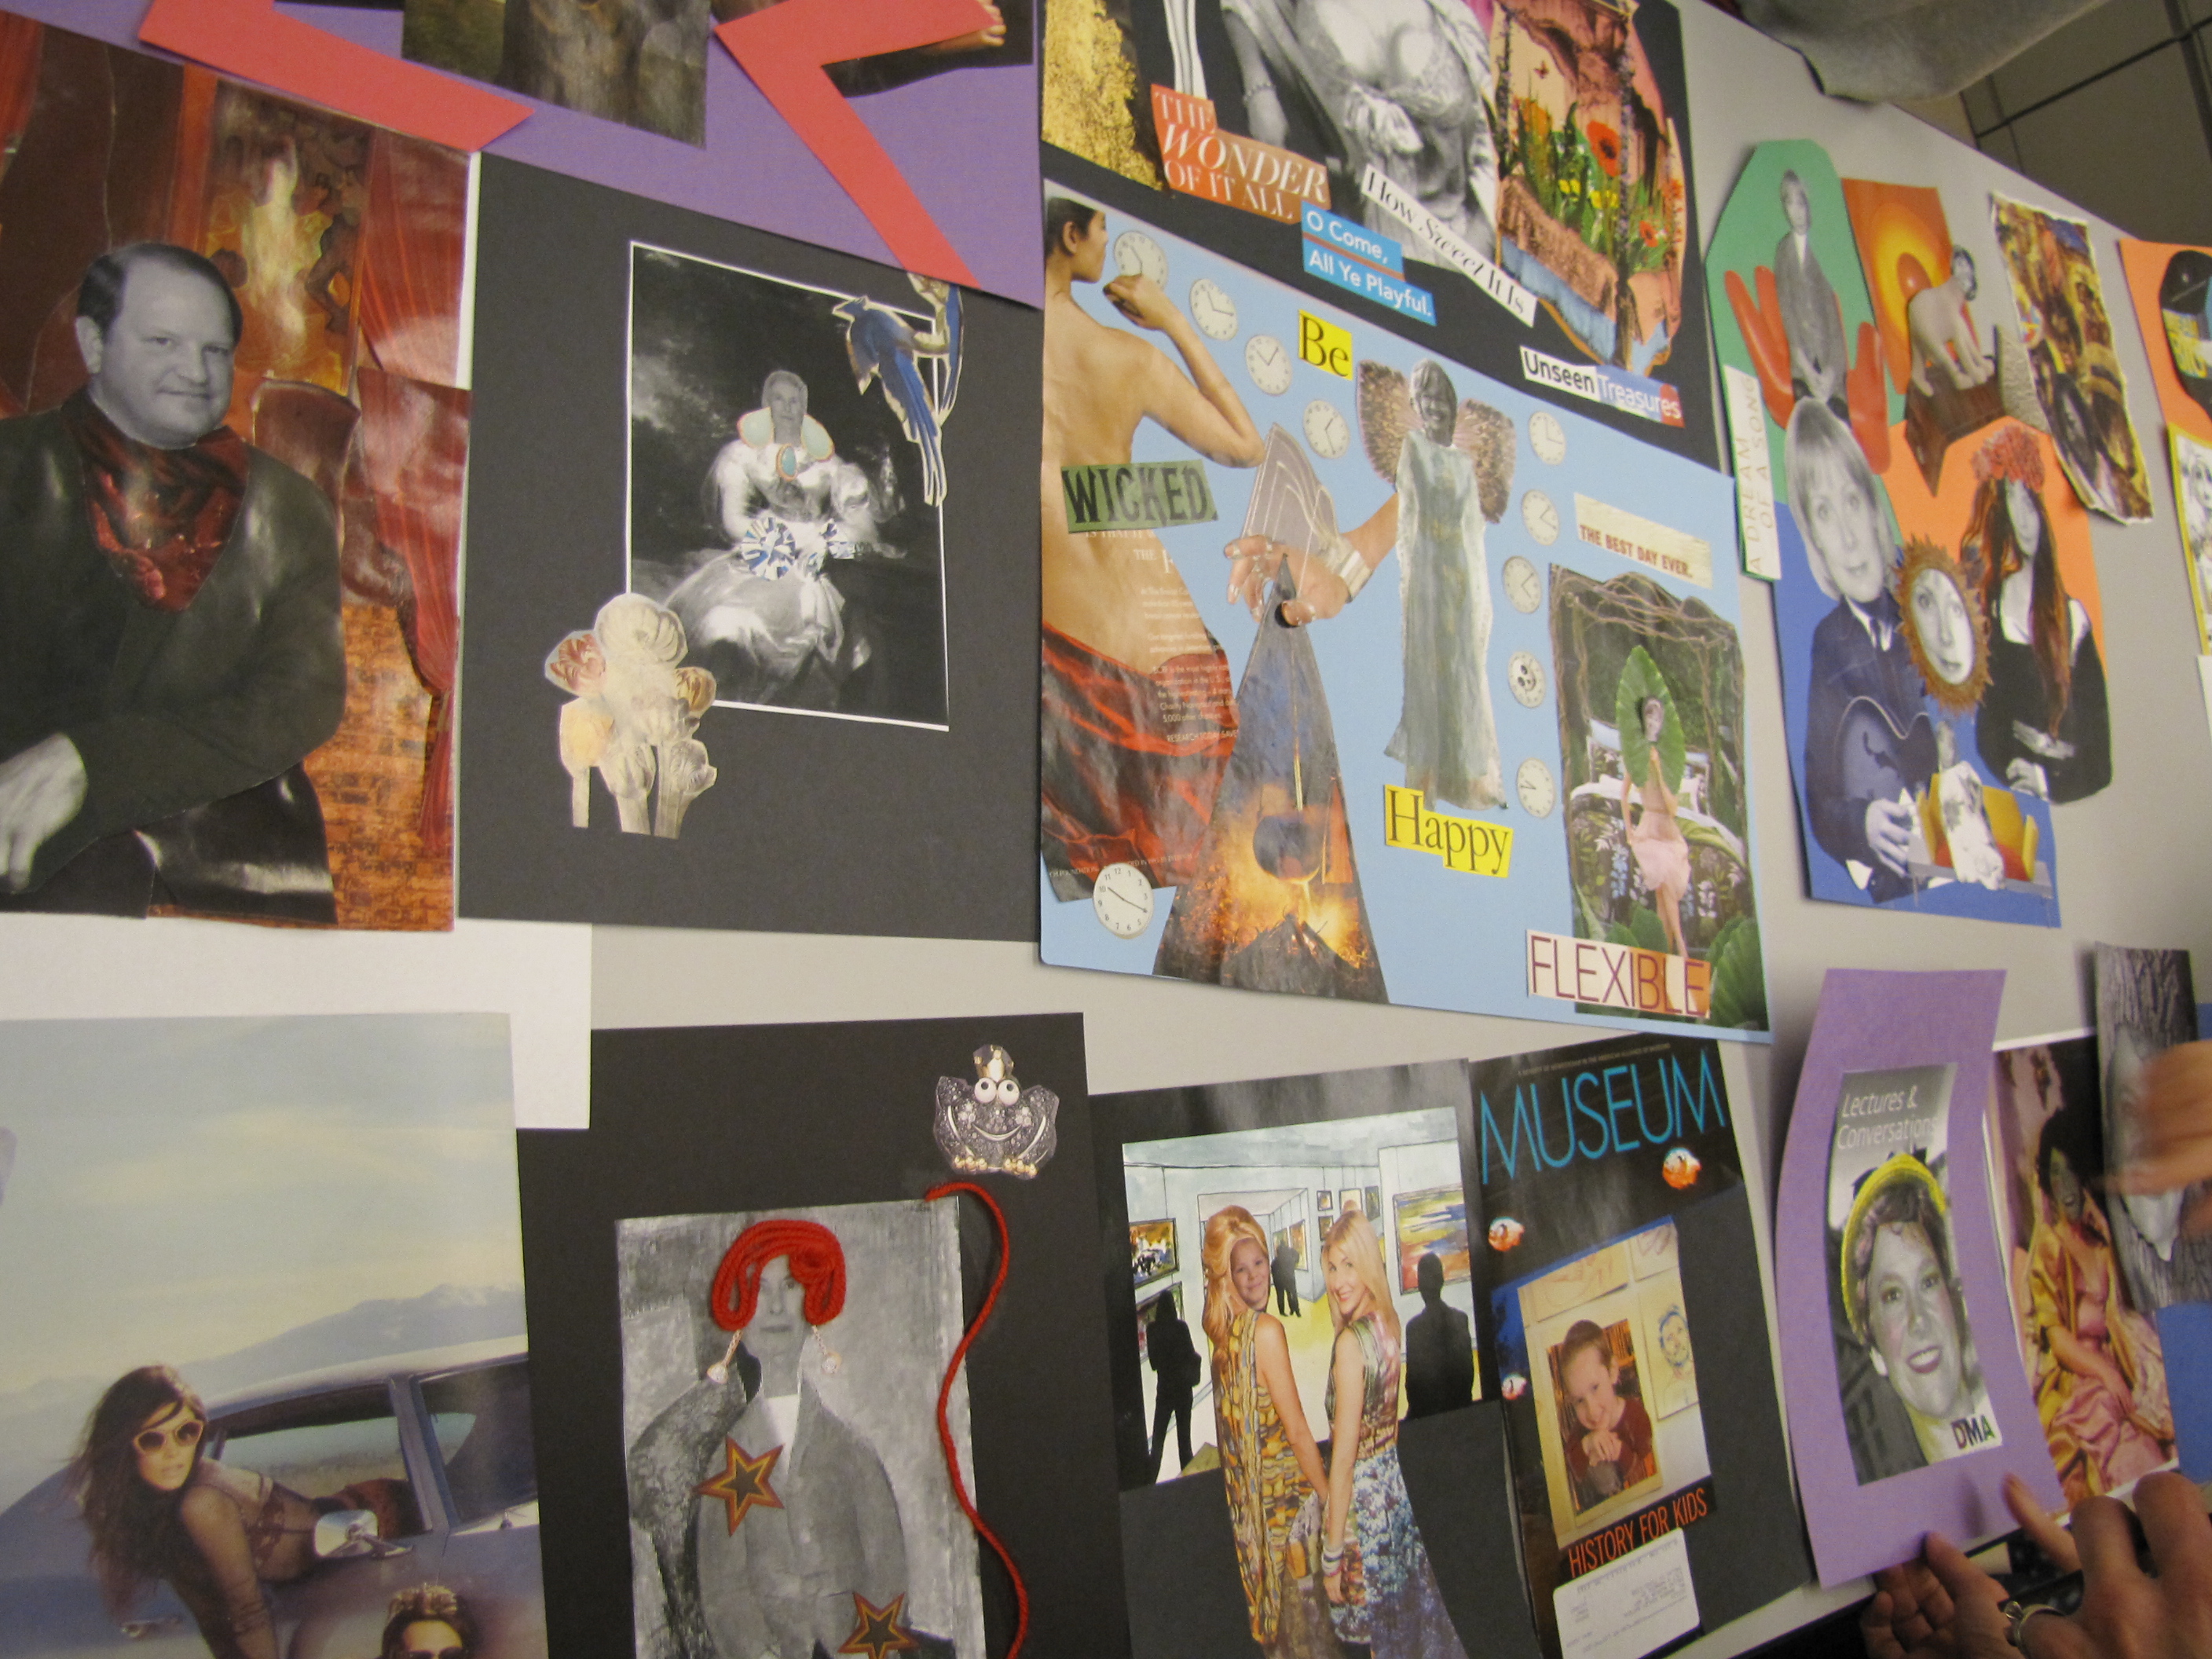
Collage workshop with guest artist Margaret Meehan.
Materials used: Magazines, card stock, and yarn
Urban Armor
Our teens join us for monthly Urban Armor workshops where we take a closer look at the Museum’s collection and then create original works of art using advanced techniques in the Tech Lab.

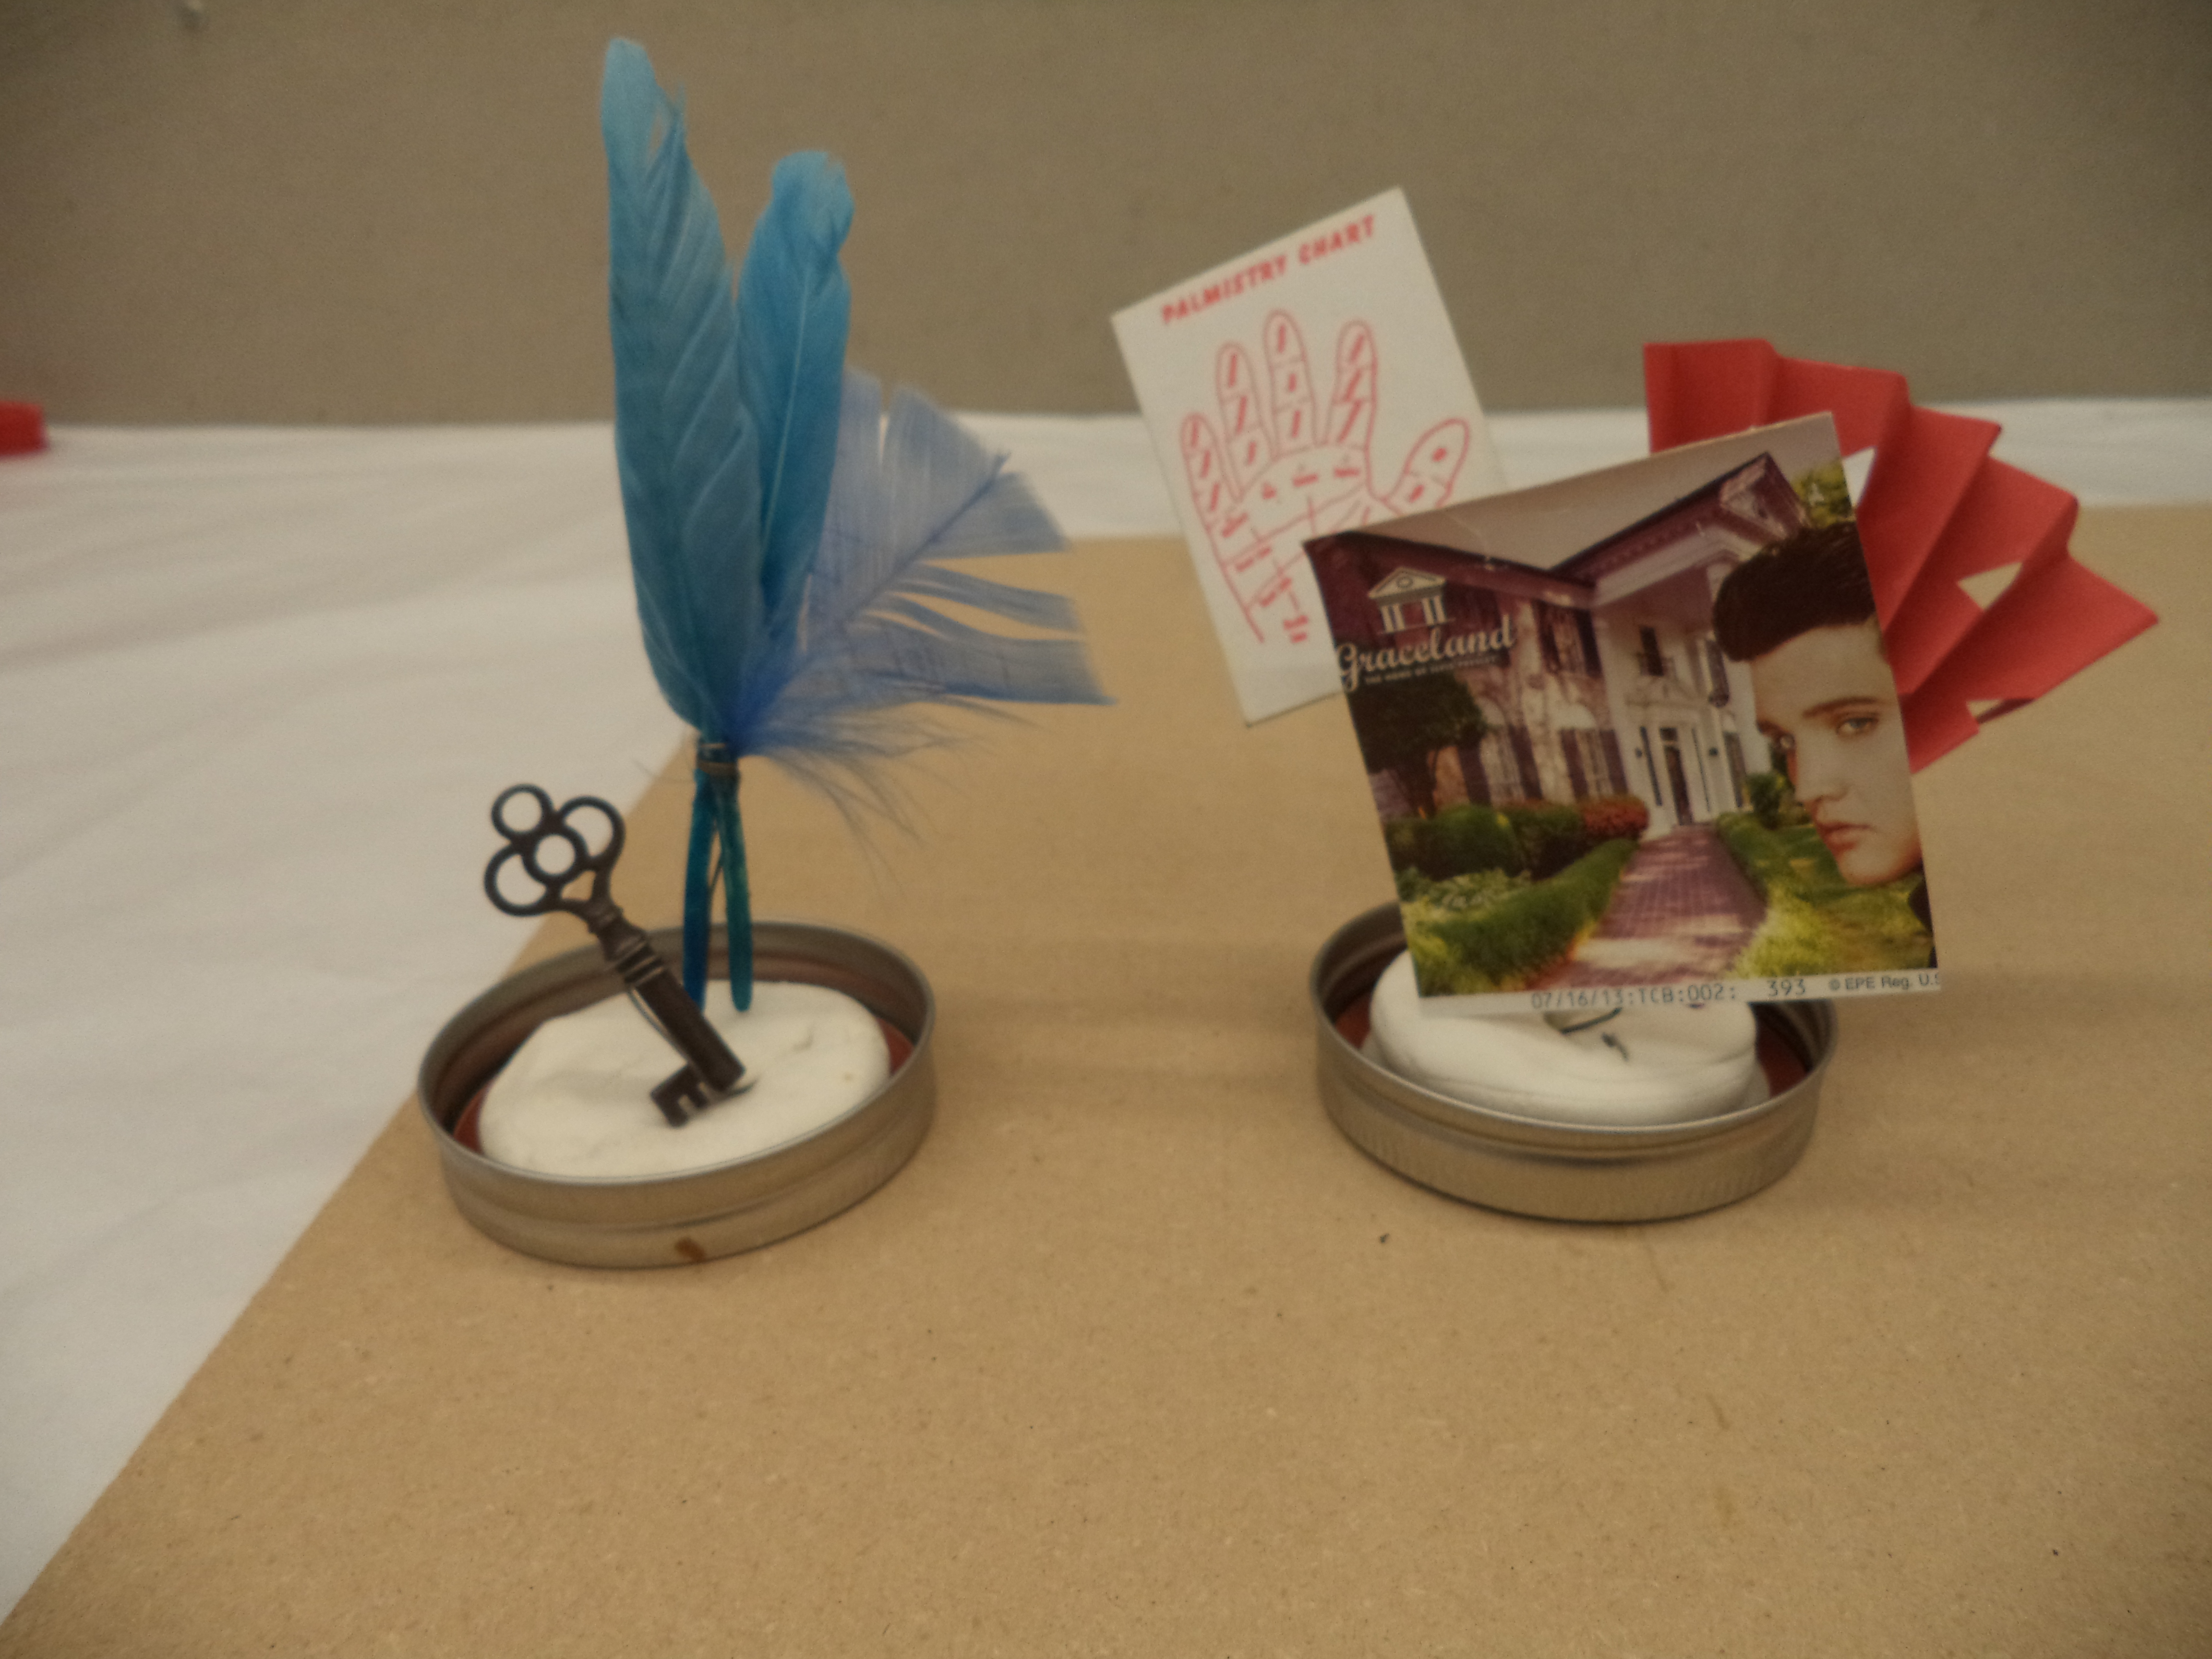
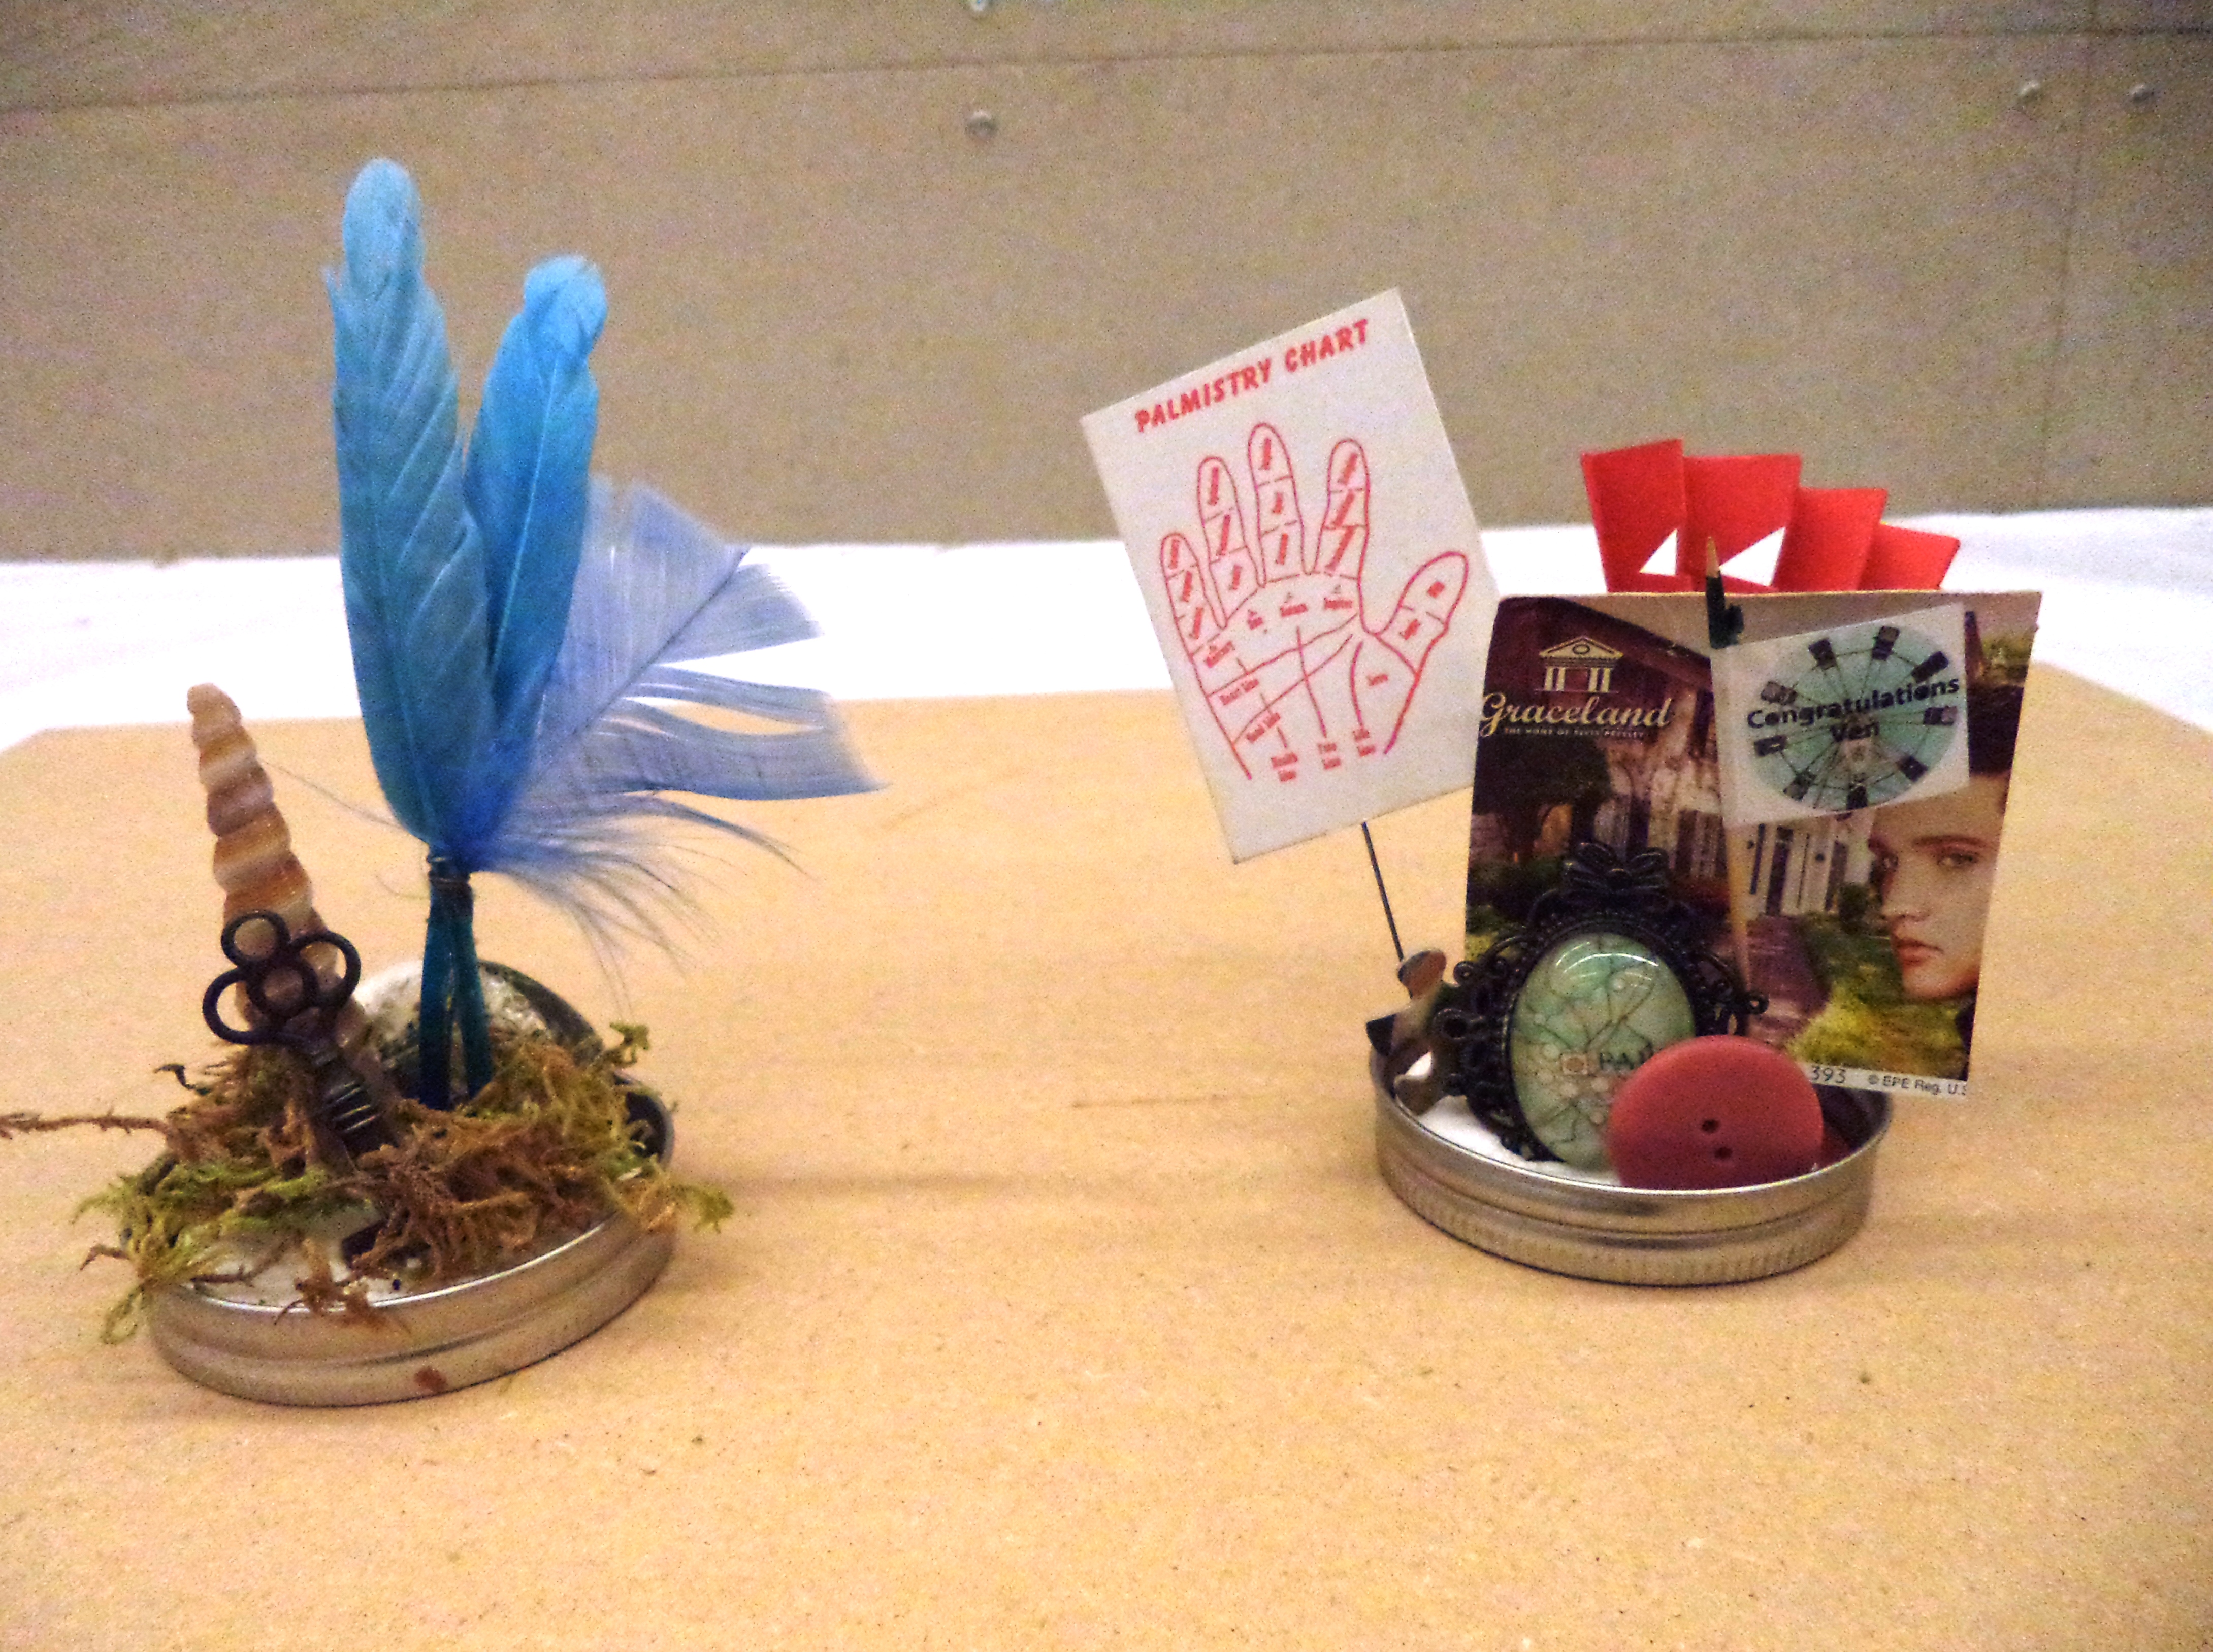
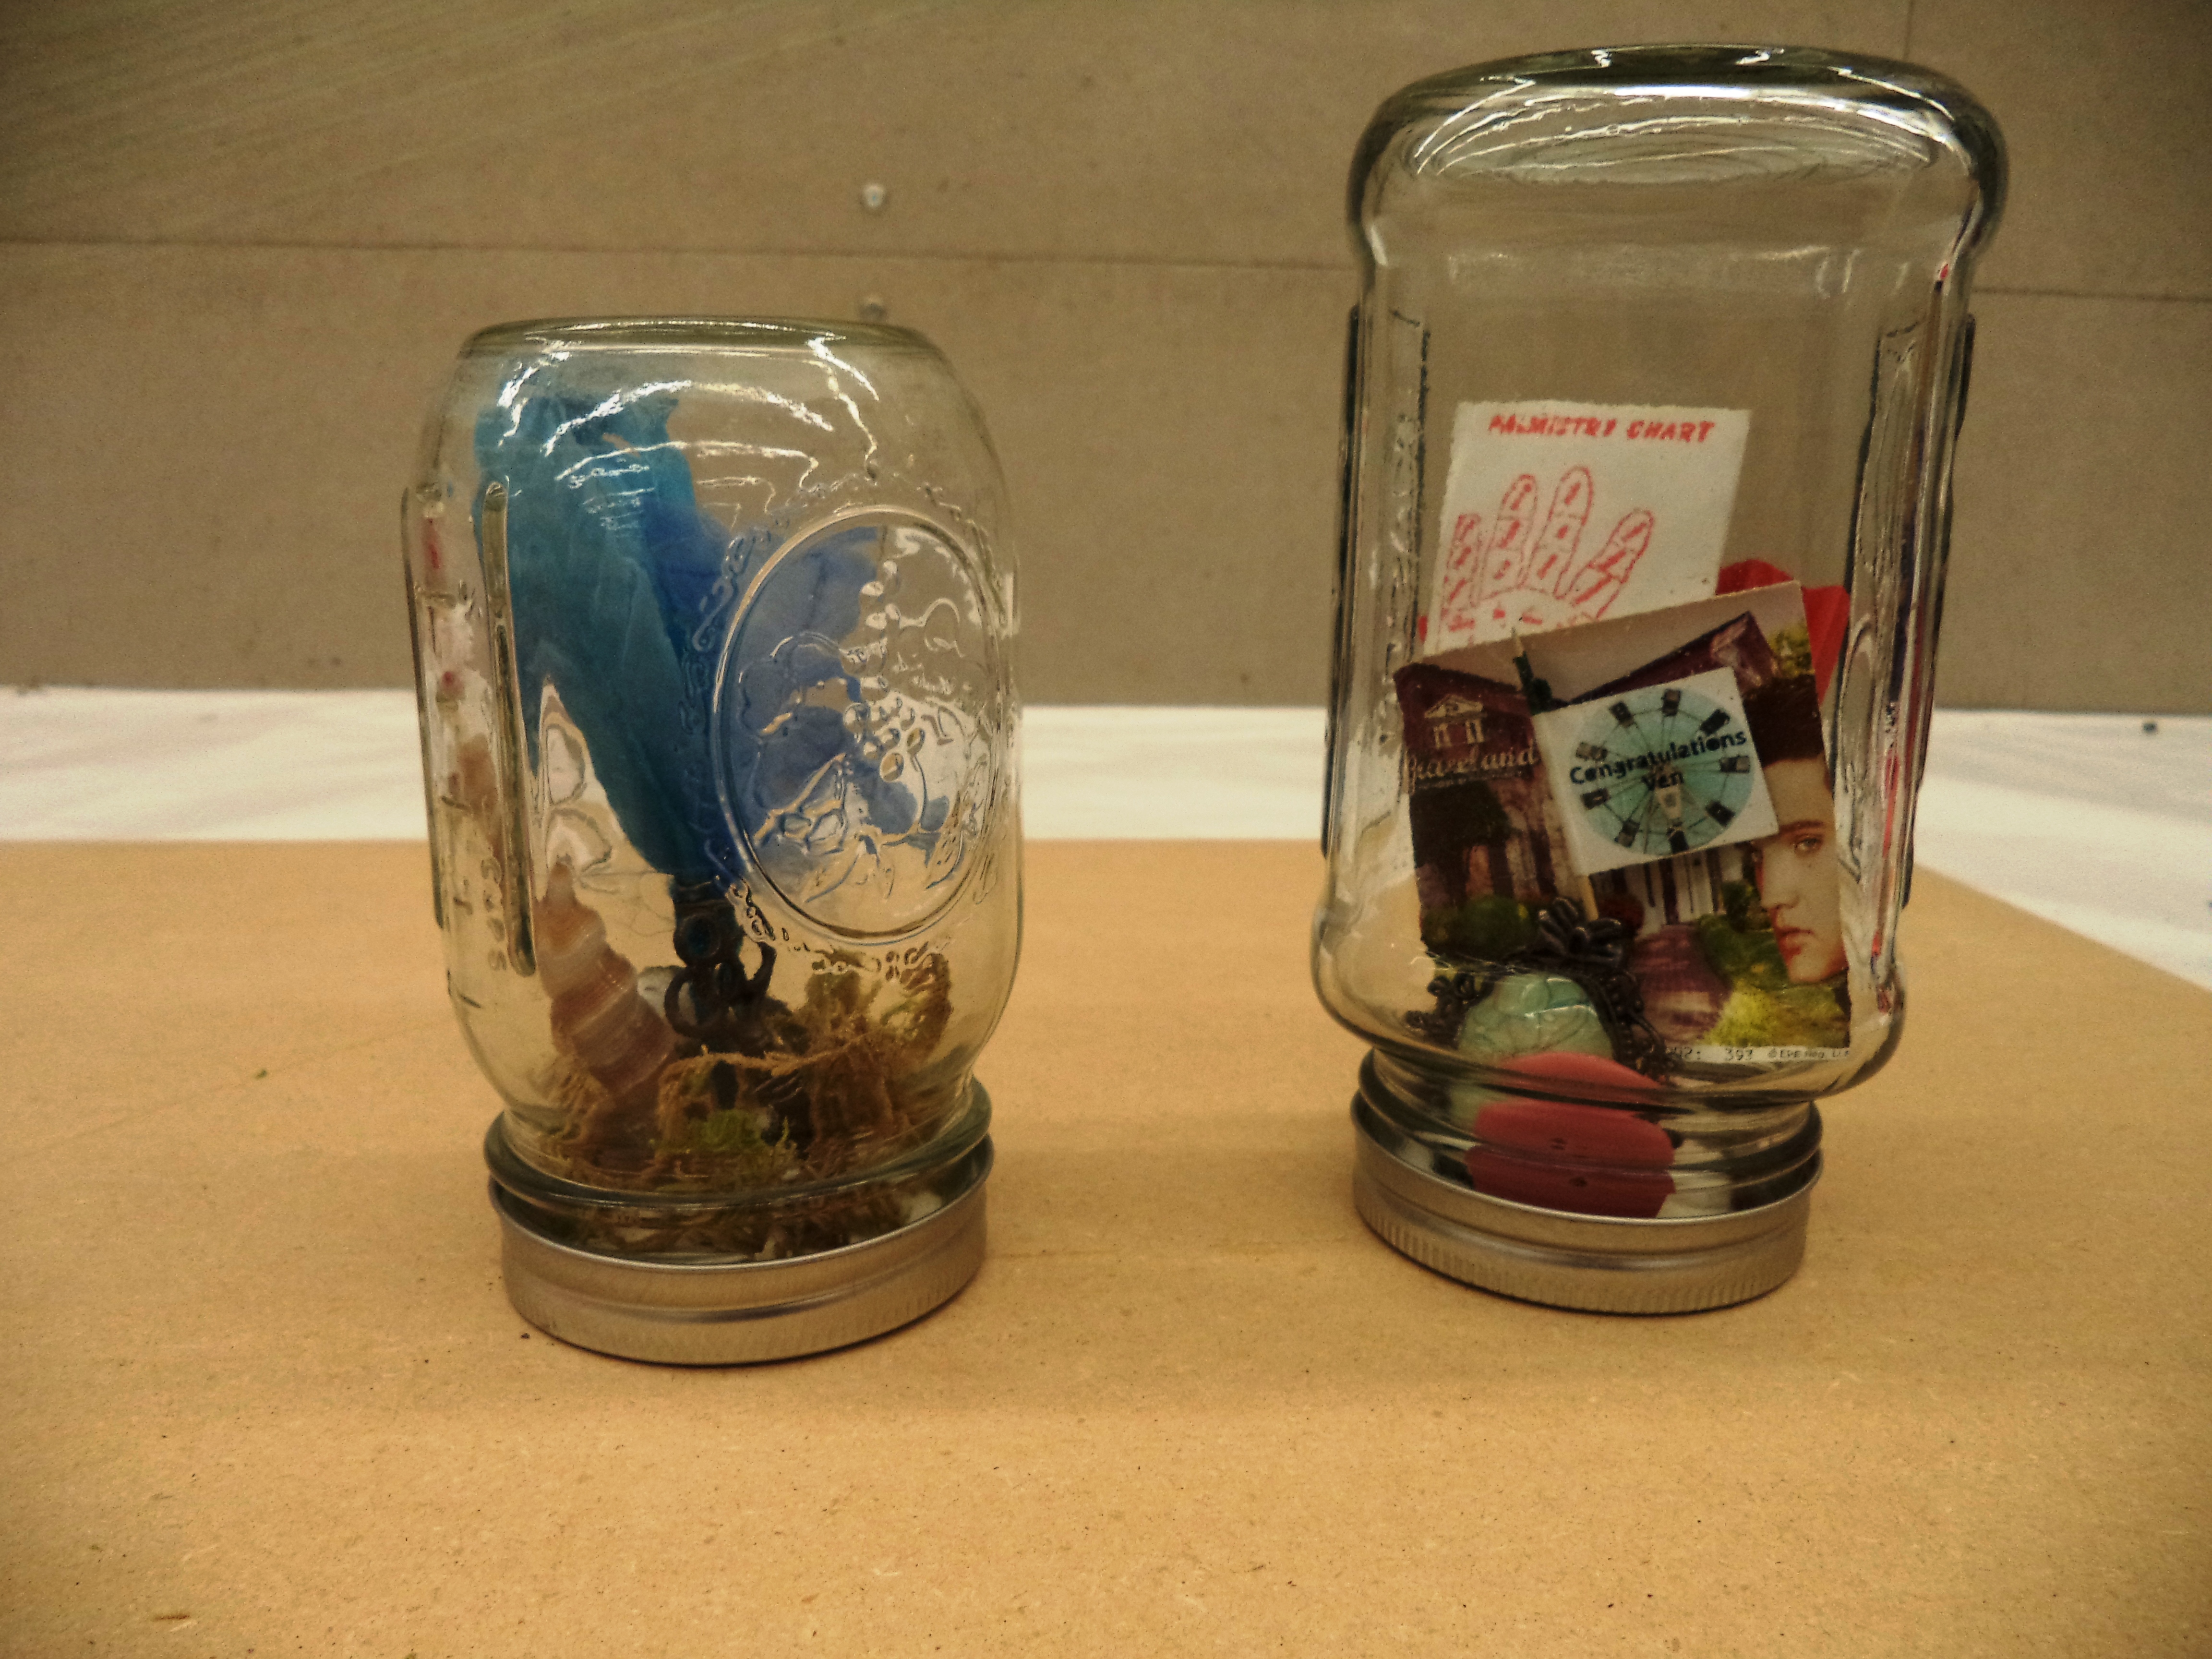
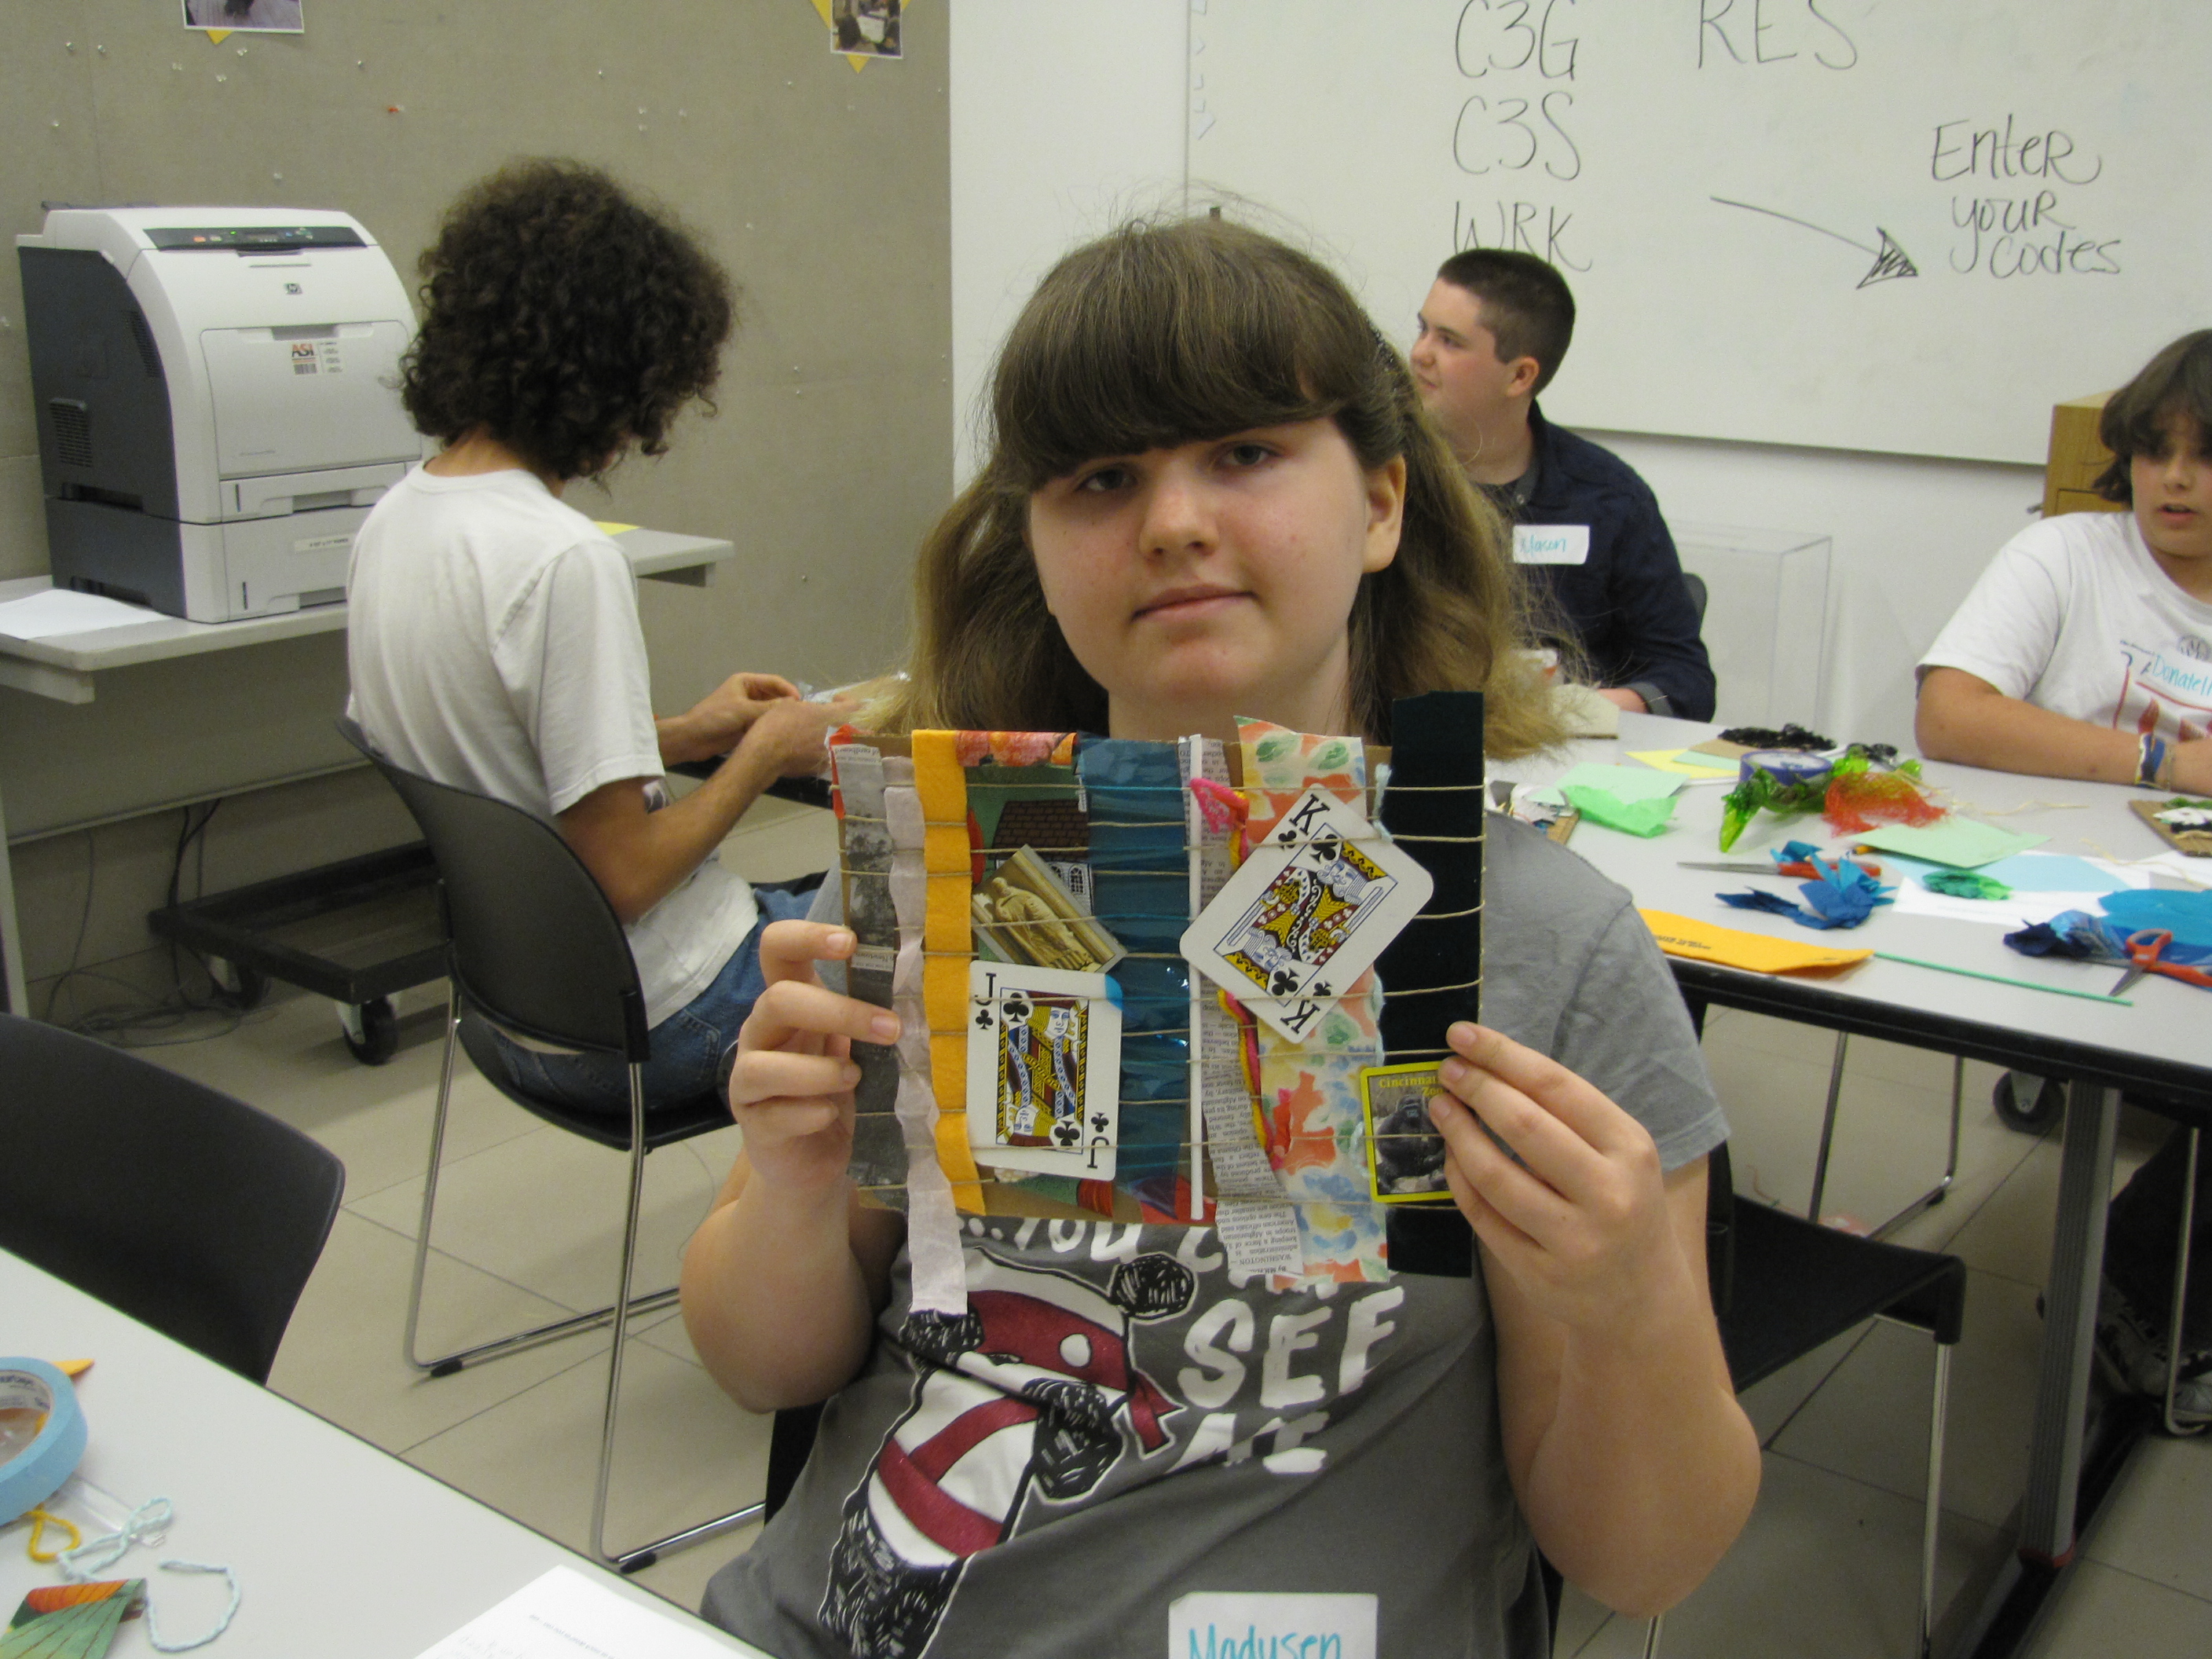
Conceptual Weaving project where materials were chosen to represent a certain thought. This teen’s word was playful.
Materials used: cardboard, assorted collage materials, twine
Studio Creations
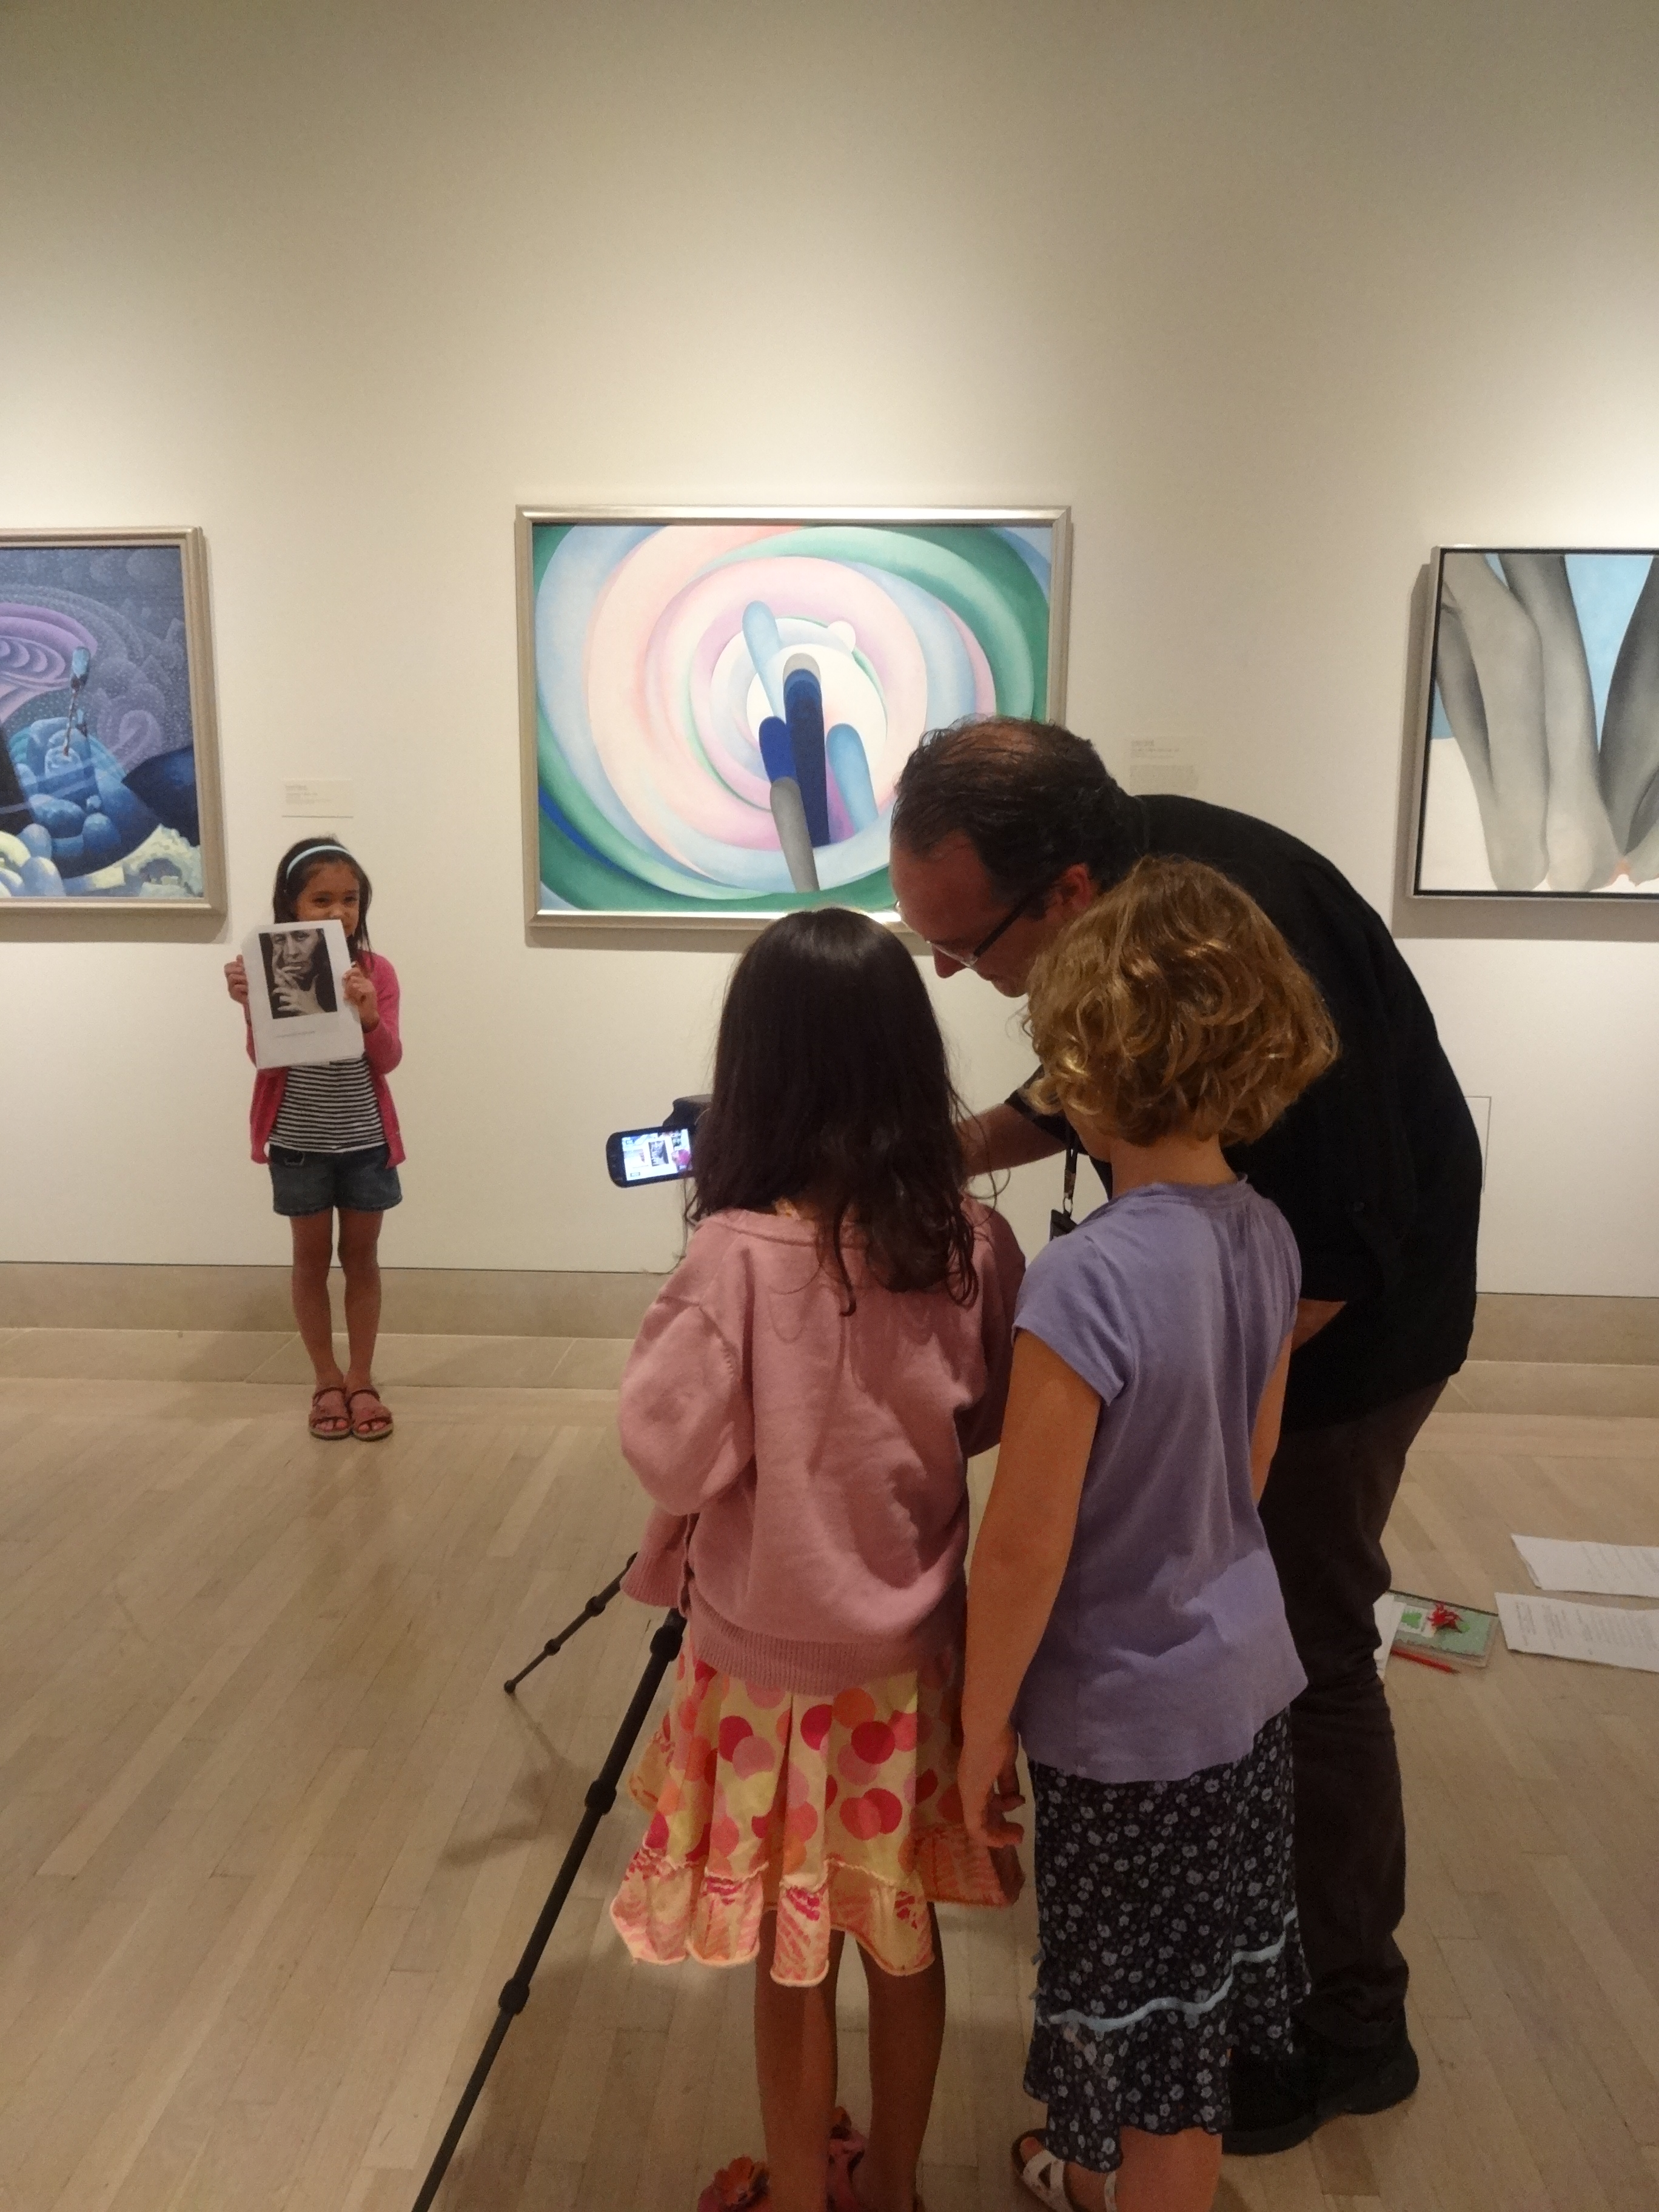
Visitors can discover a different activity each month by exploring how artists see the world through the our collection. After time looking at works of art in the gallery, visitors create their own art project in our studio every Saturday and Sunday.
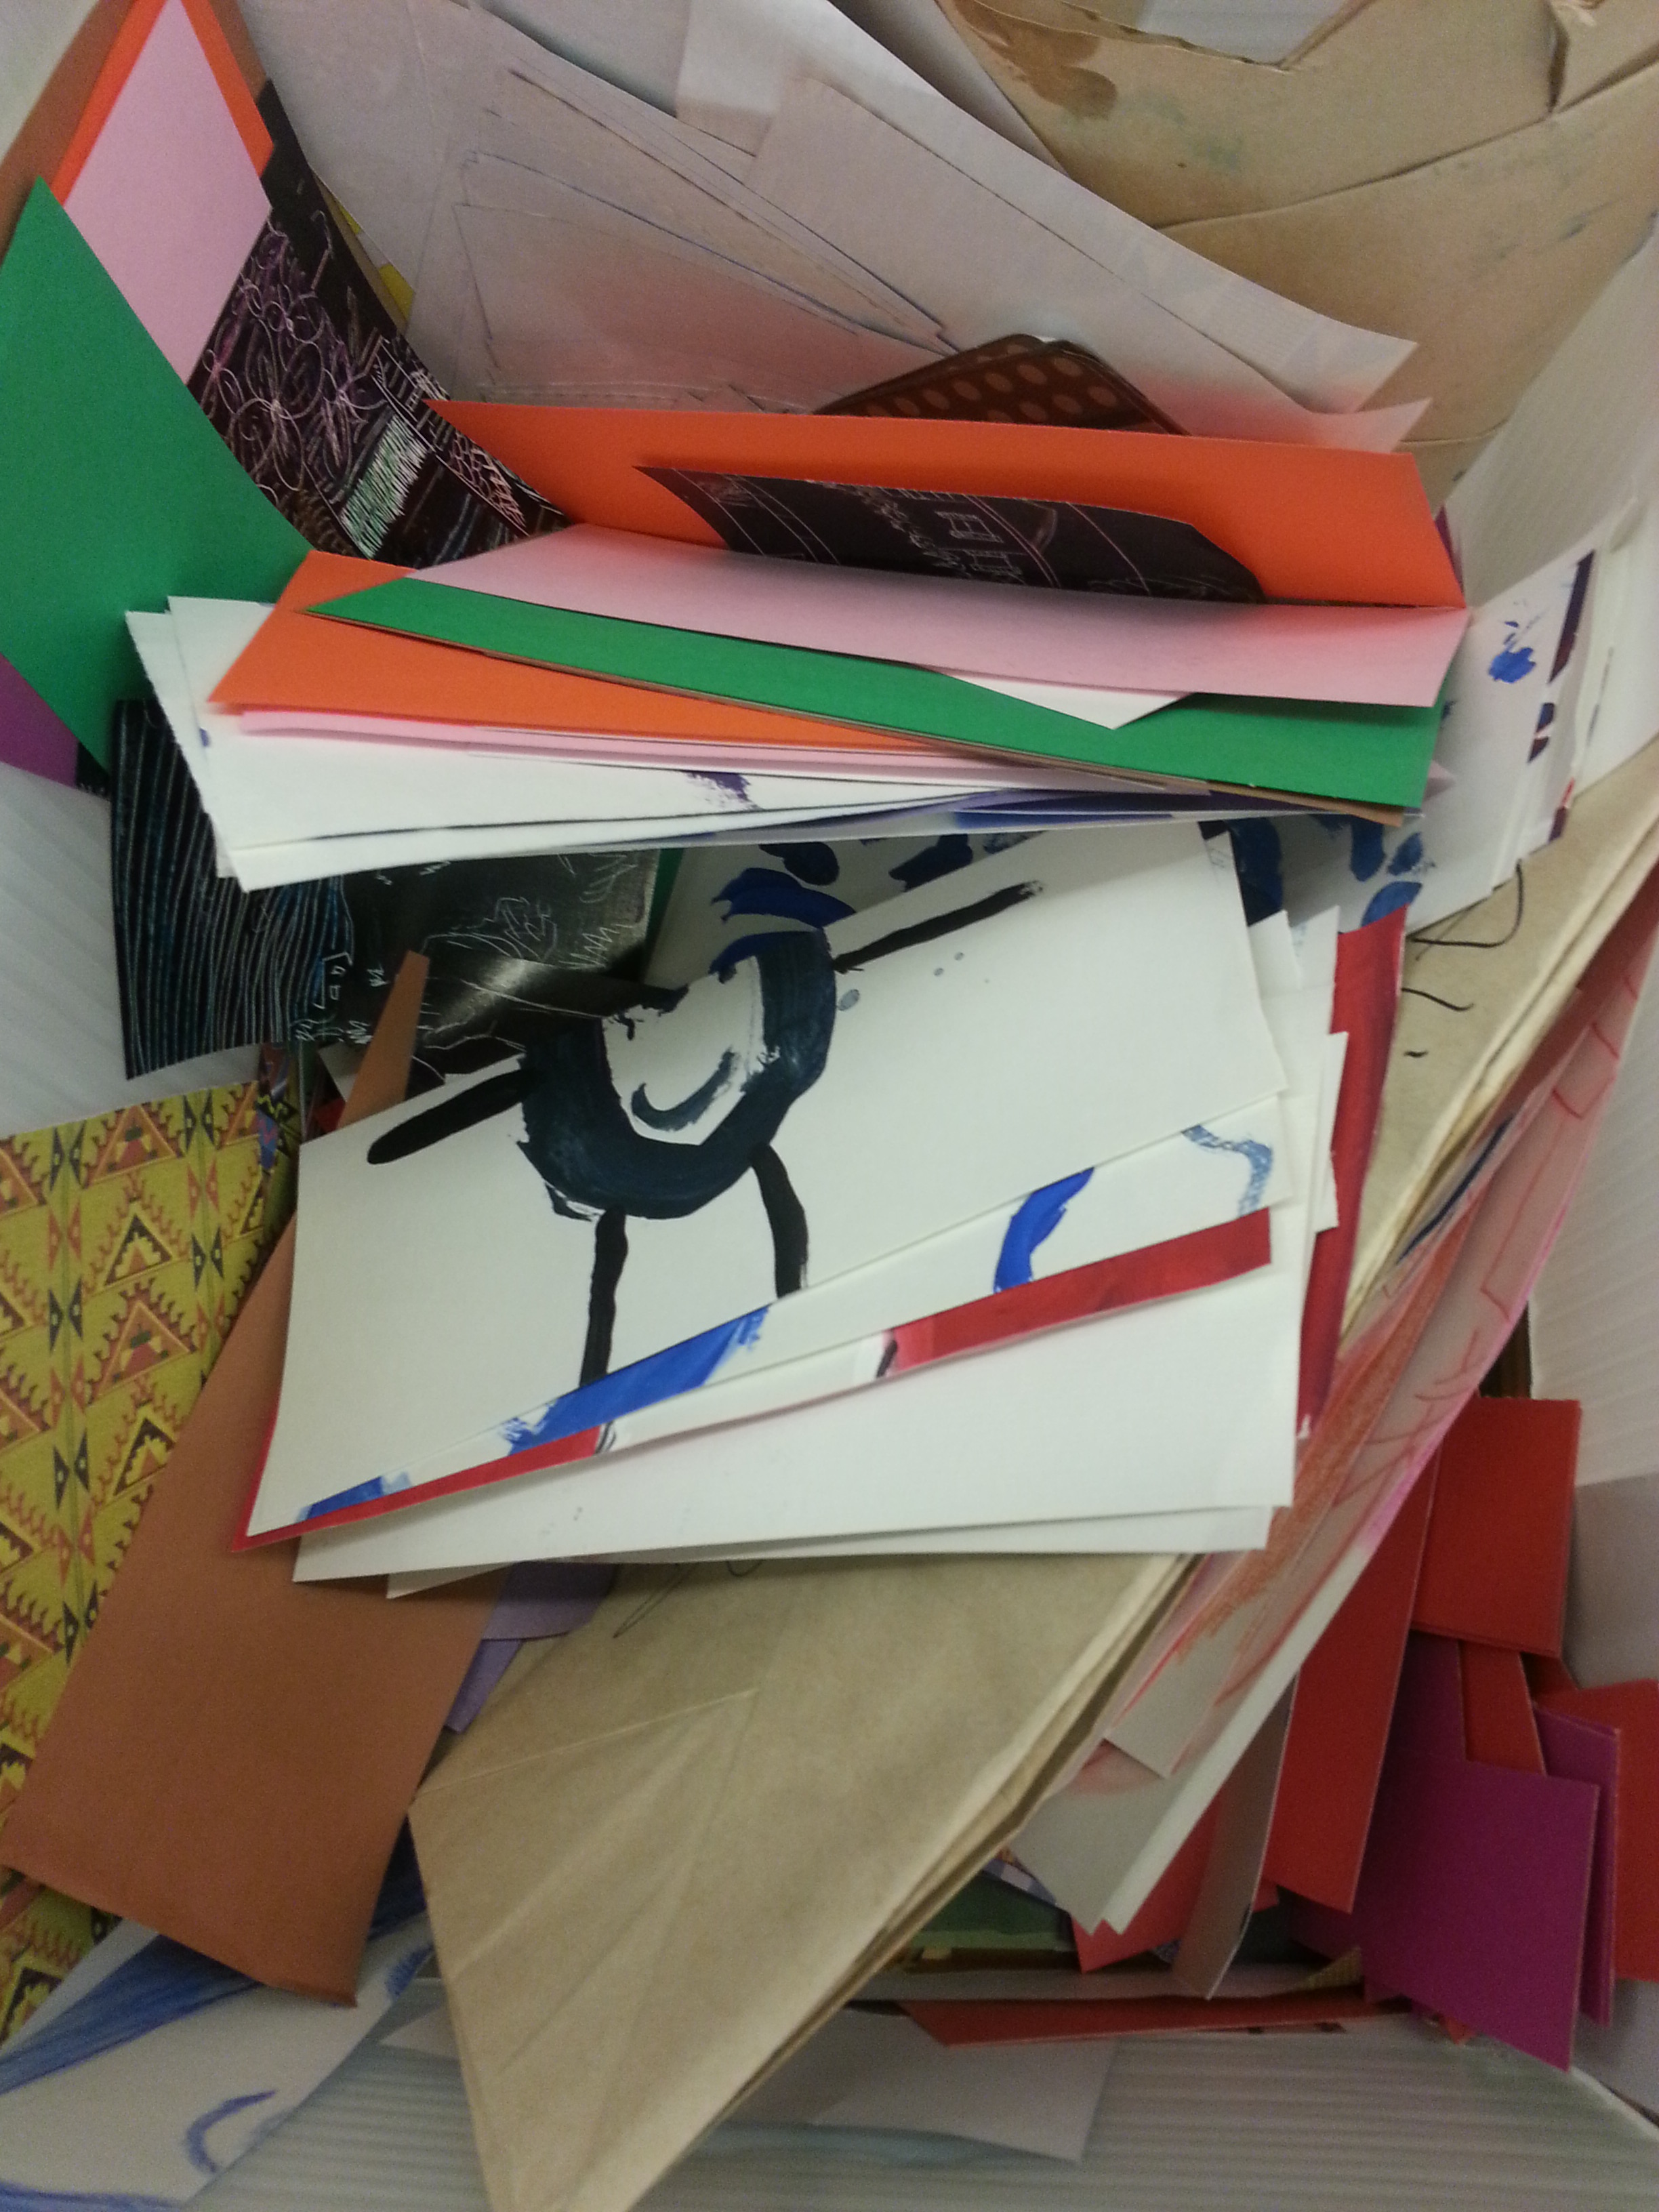
What happens when you leave your artwork behind?
You guessed it–Found Object Sculptures!
Materials used: Old and abandoned art work, cardboard, and assorted collage materials
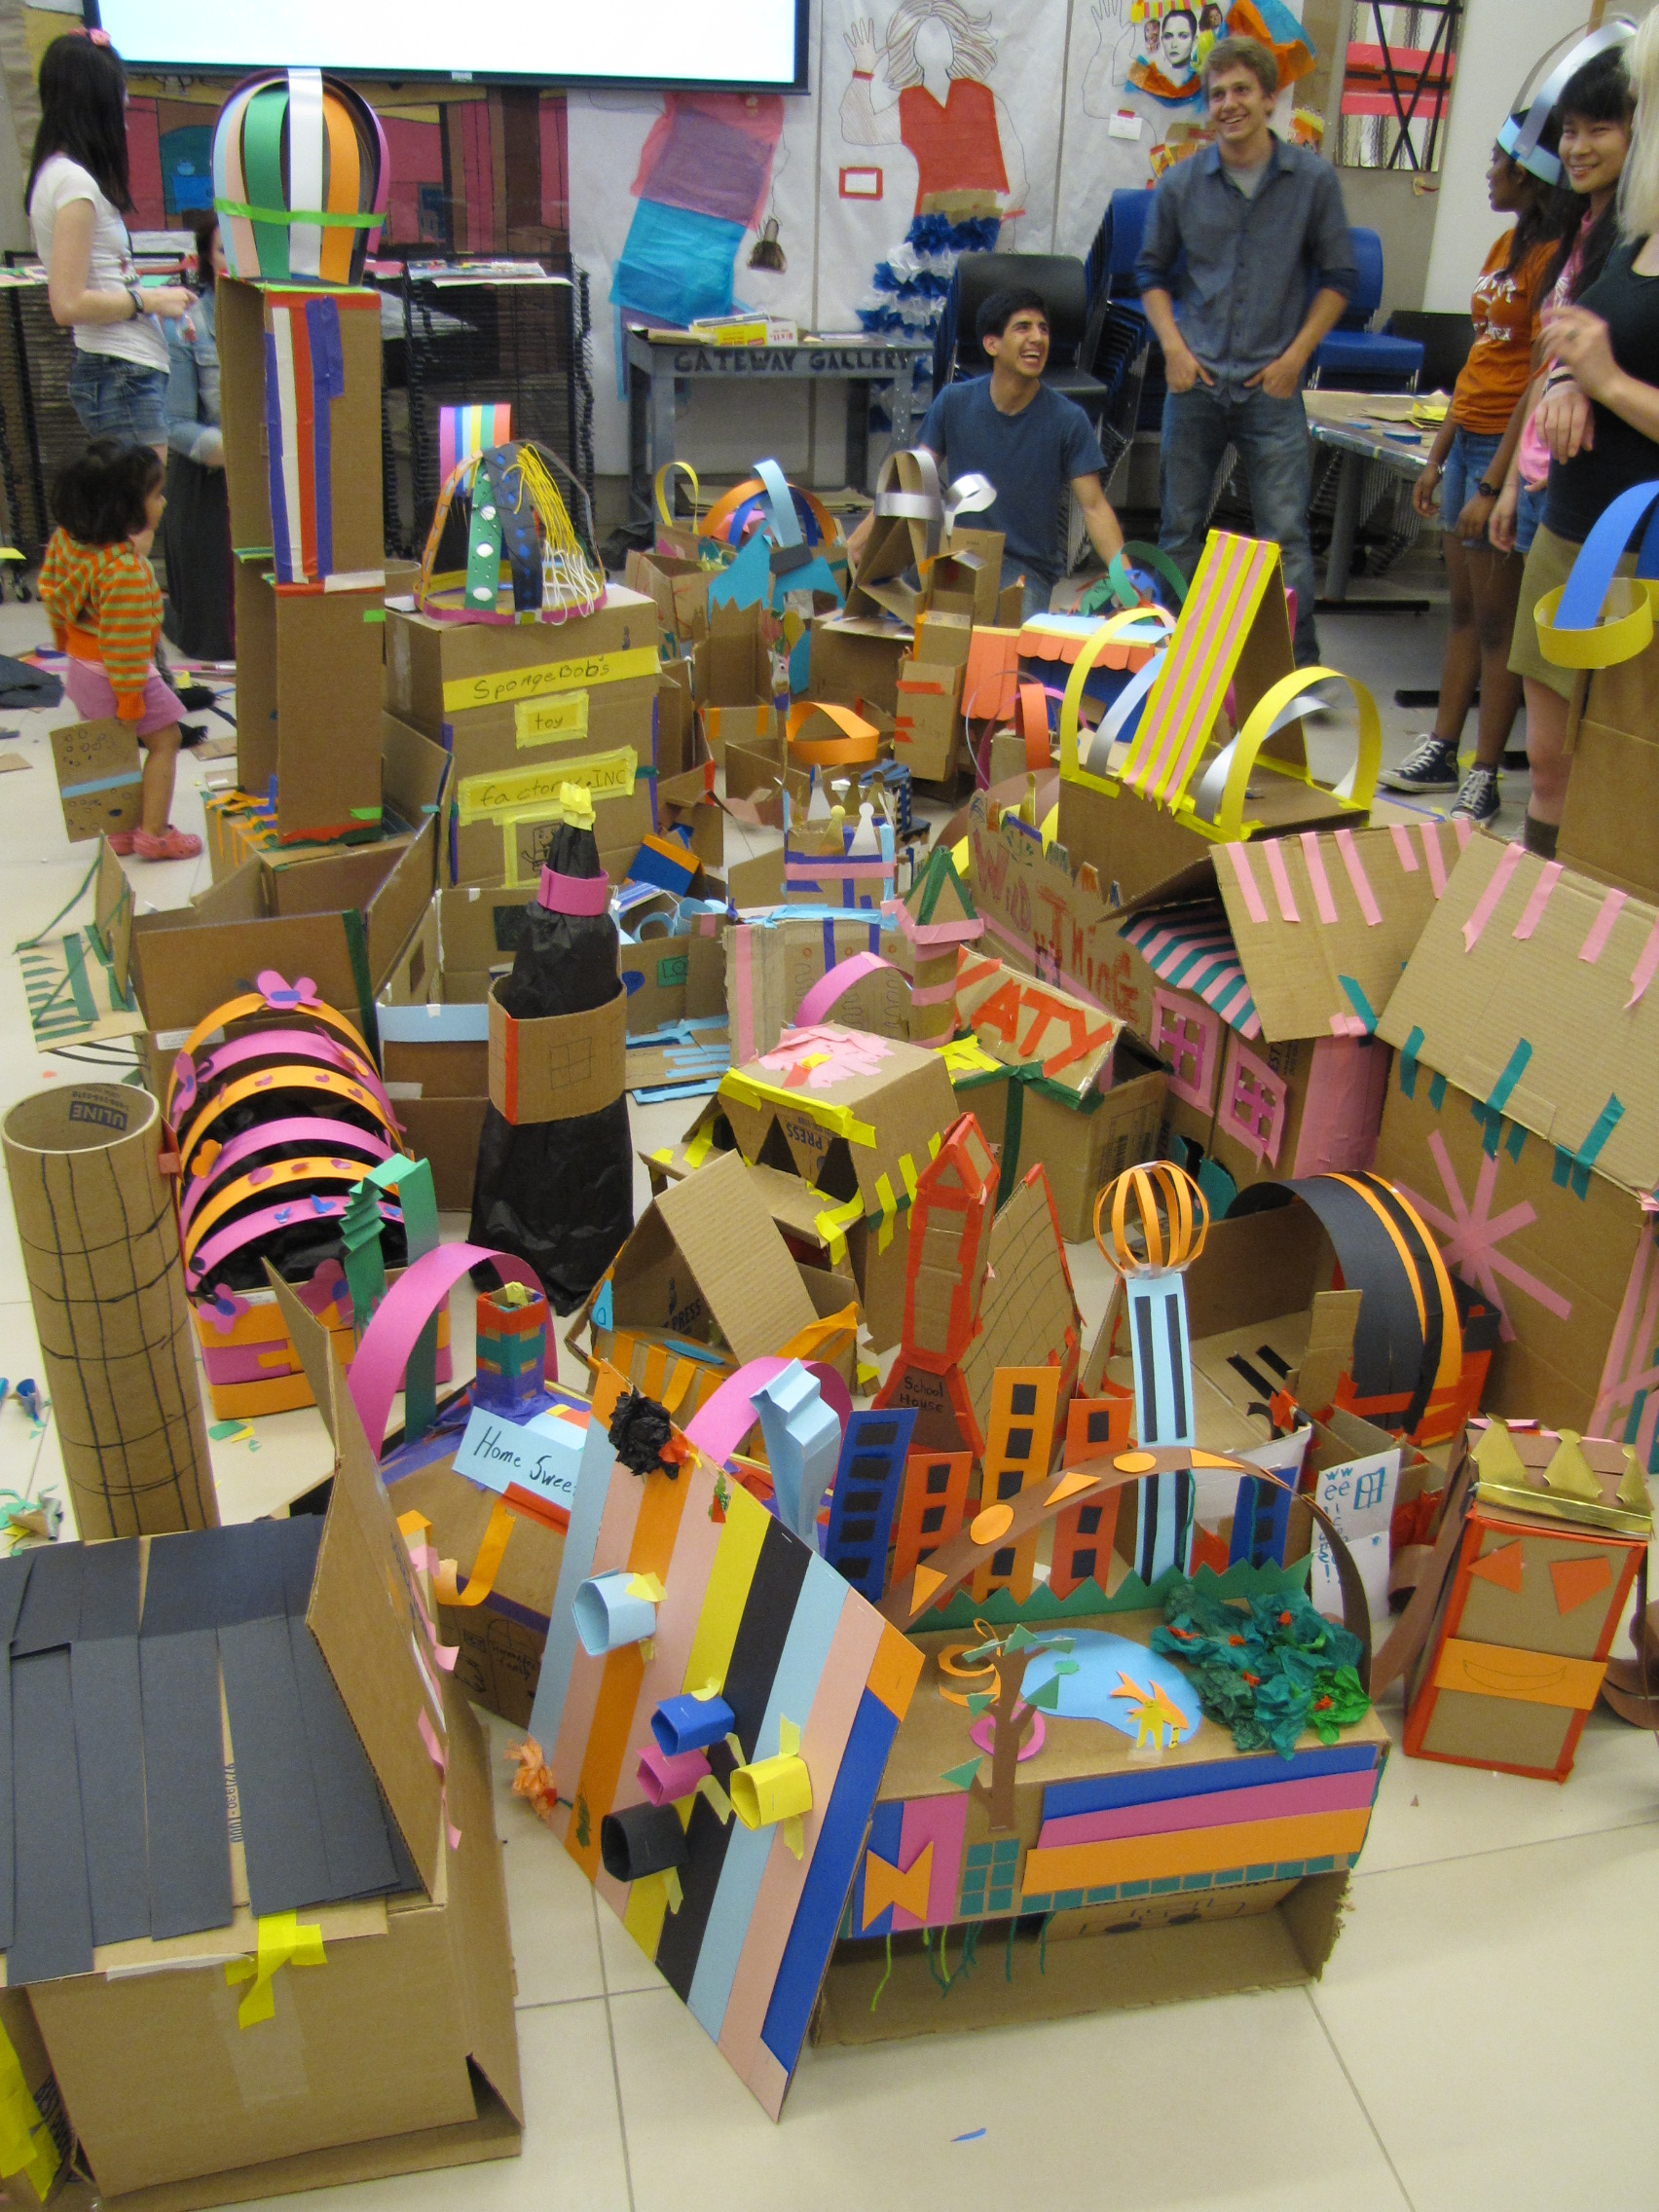
Life size recreation of our city!
Materials used: boxes, paper, and tape
The Art Spot
Even if we are not having a program, you can still make original works of art in C3 at the Art Spot! We provide materials and tools everyday for visitors to drop by and create!

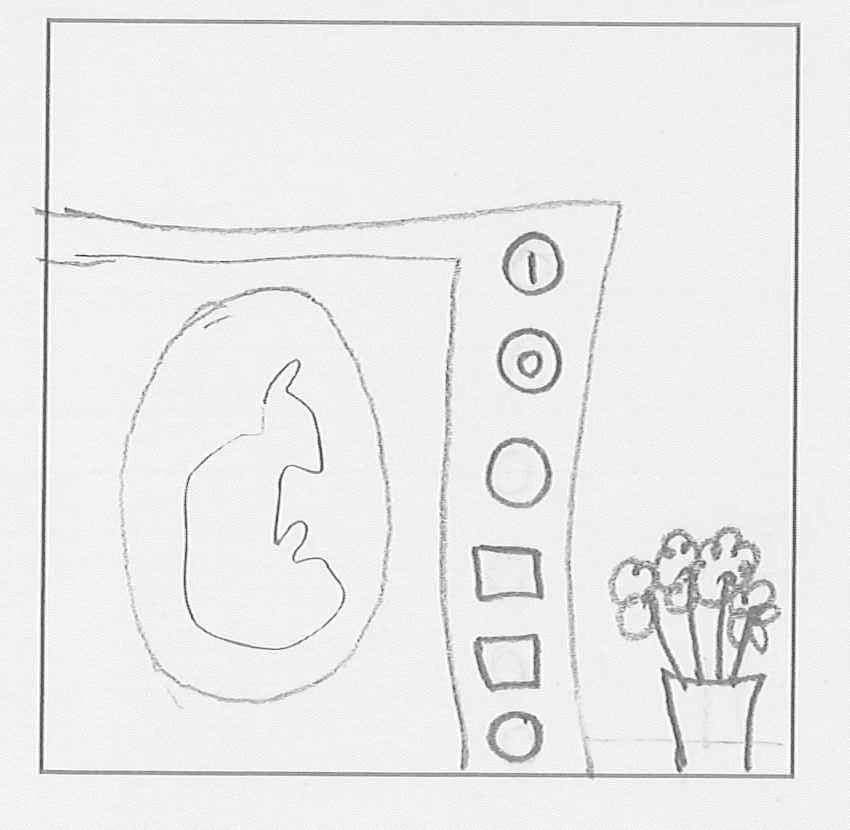
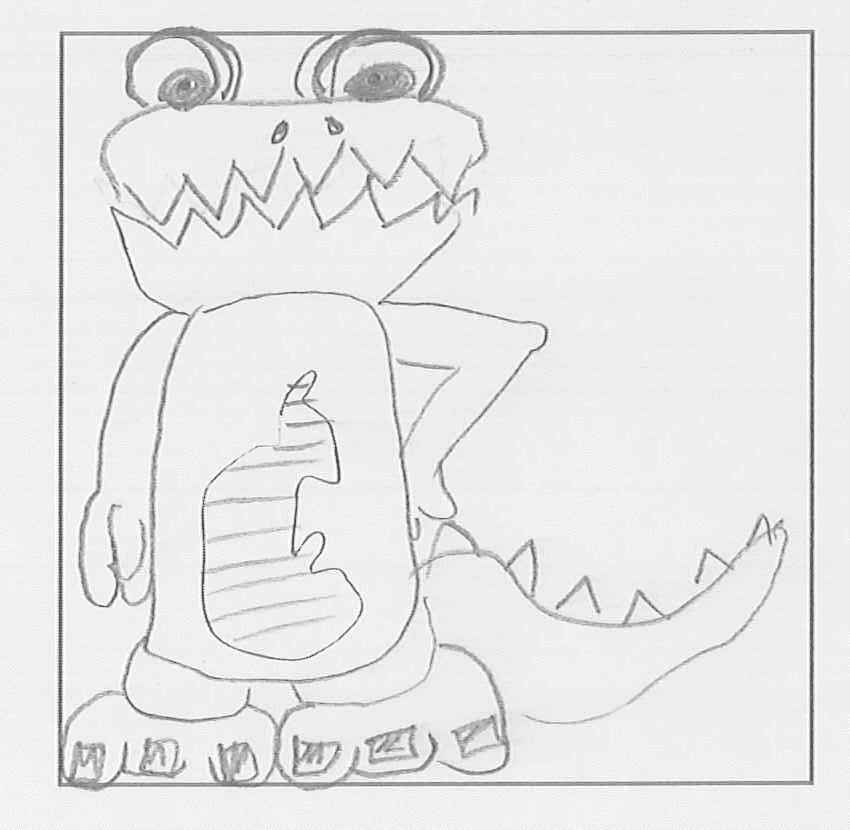
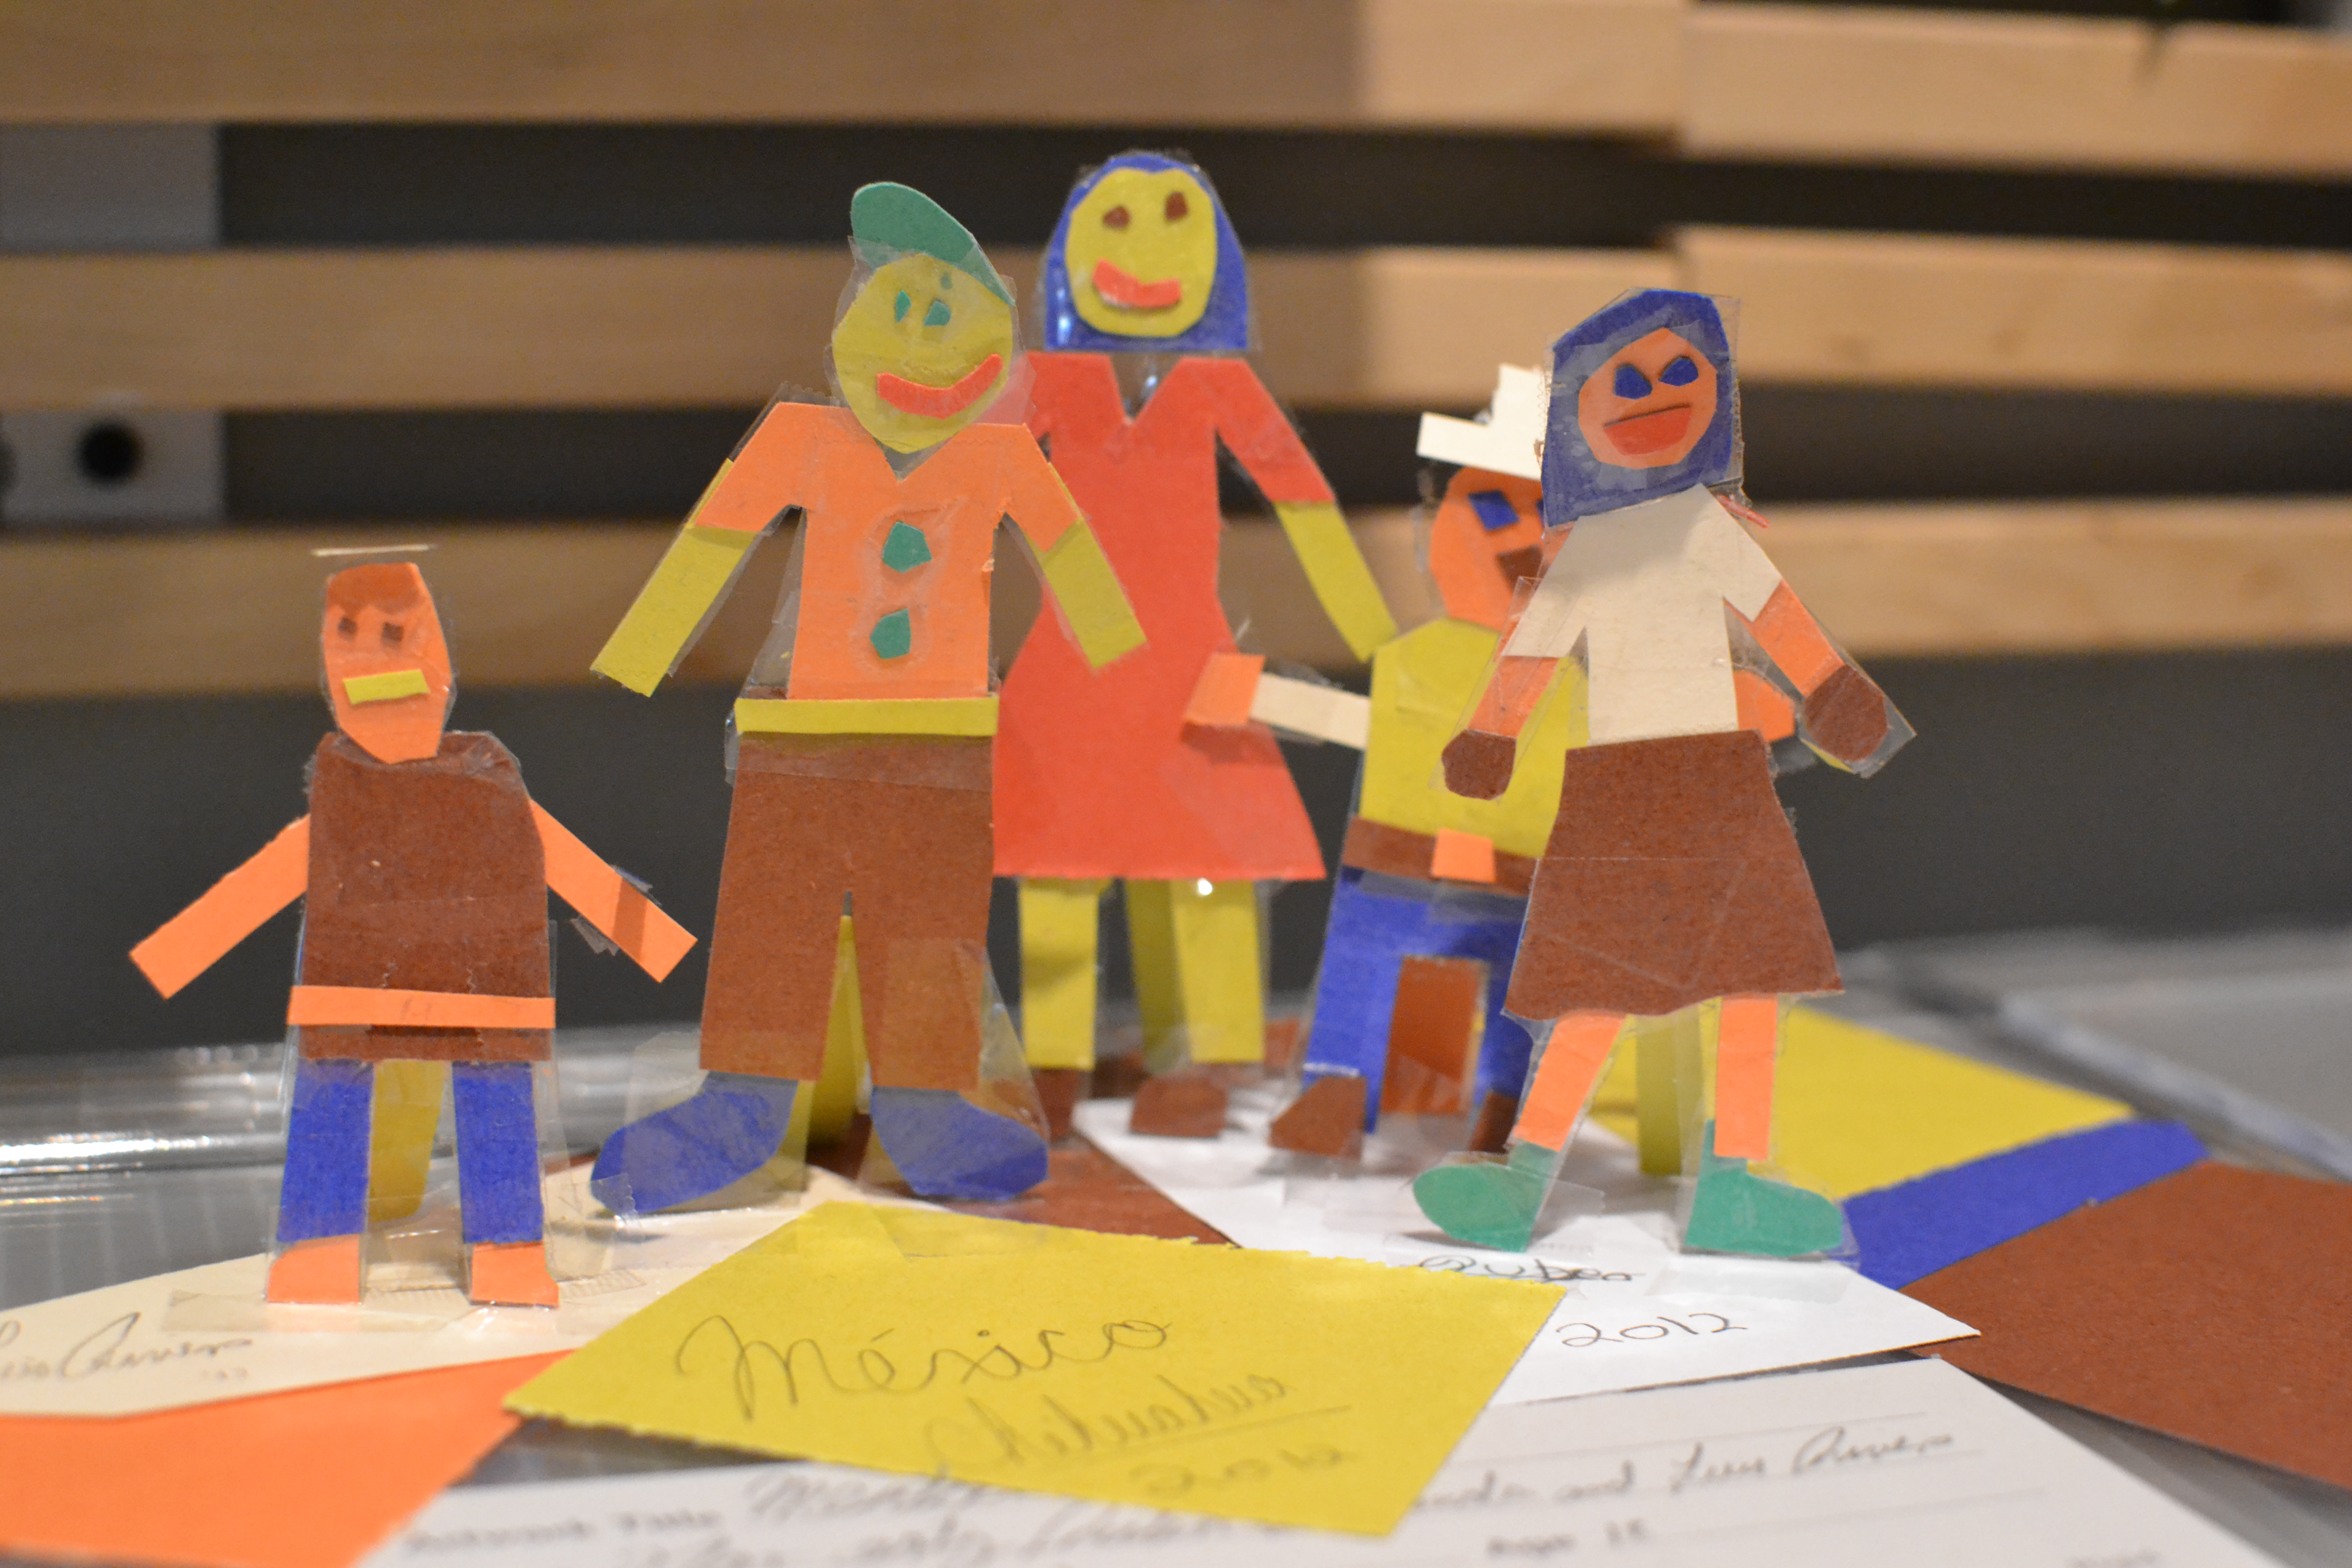
Visitors created family portraits inspired by a work of art in C3.
Materials used: Paper and tape

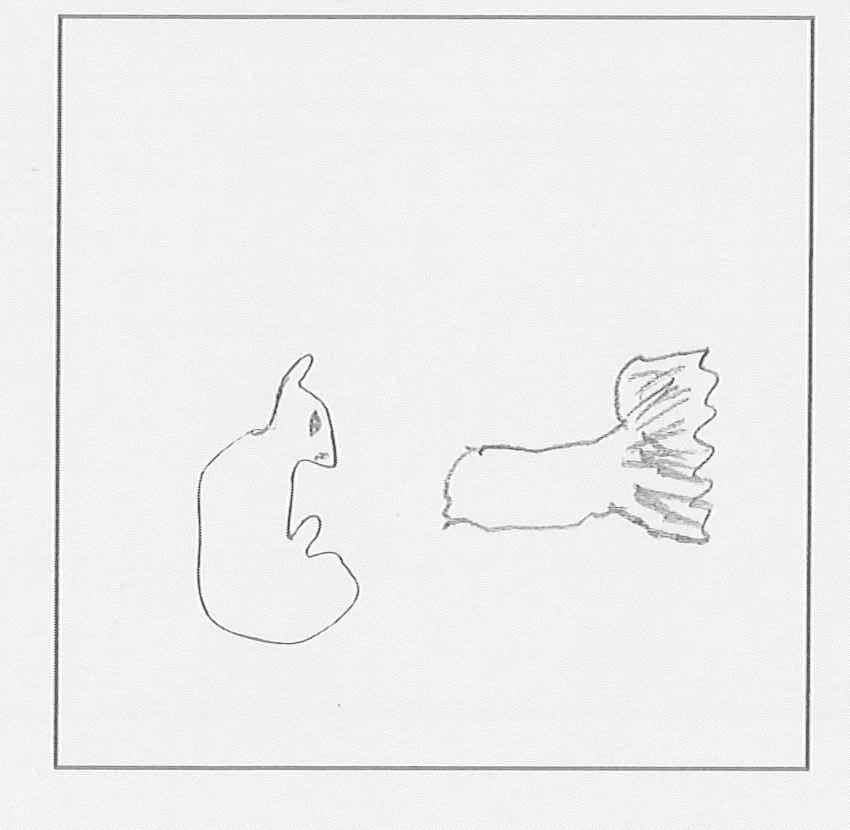
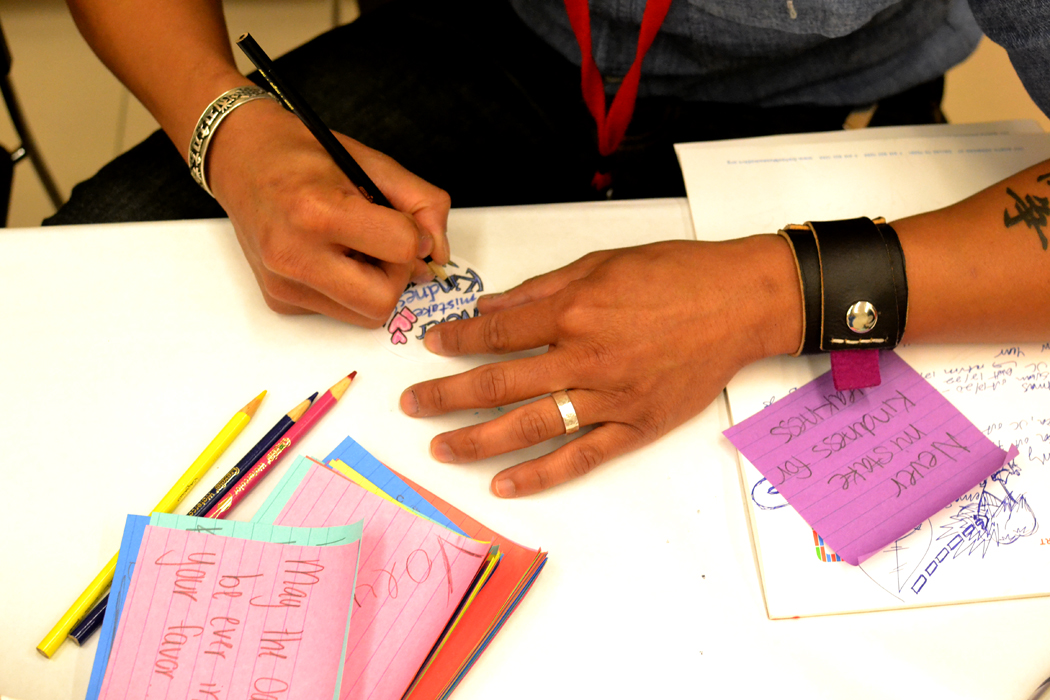
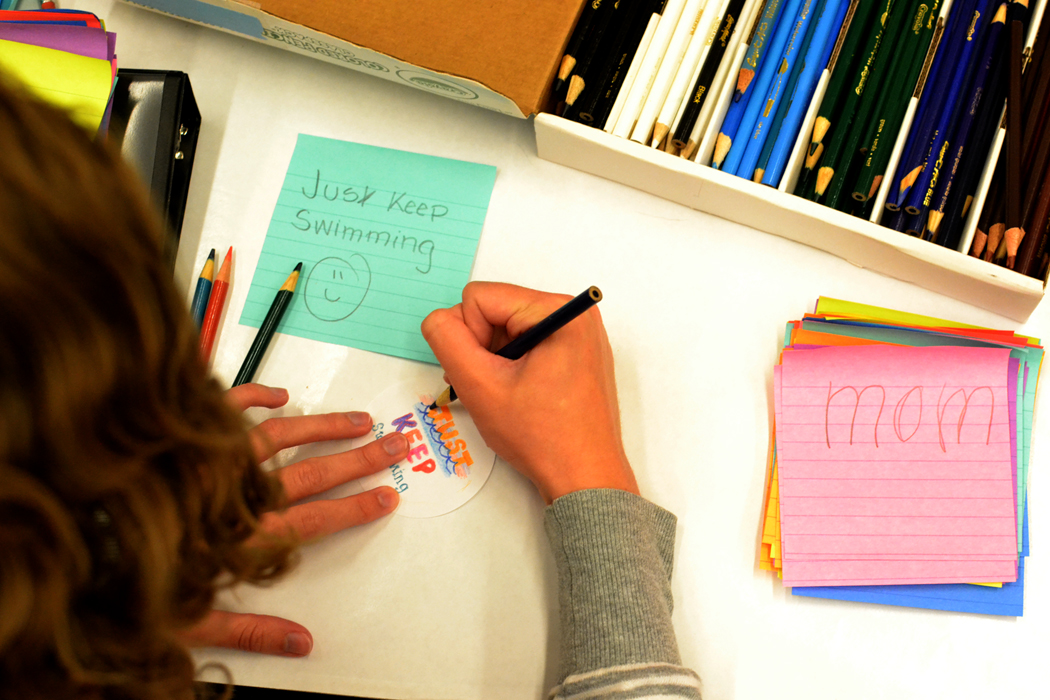
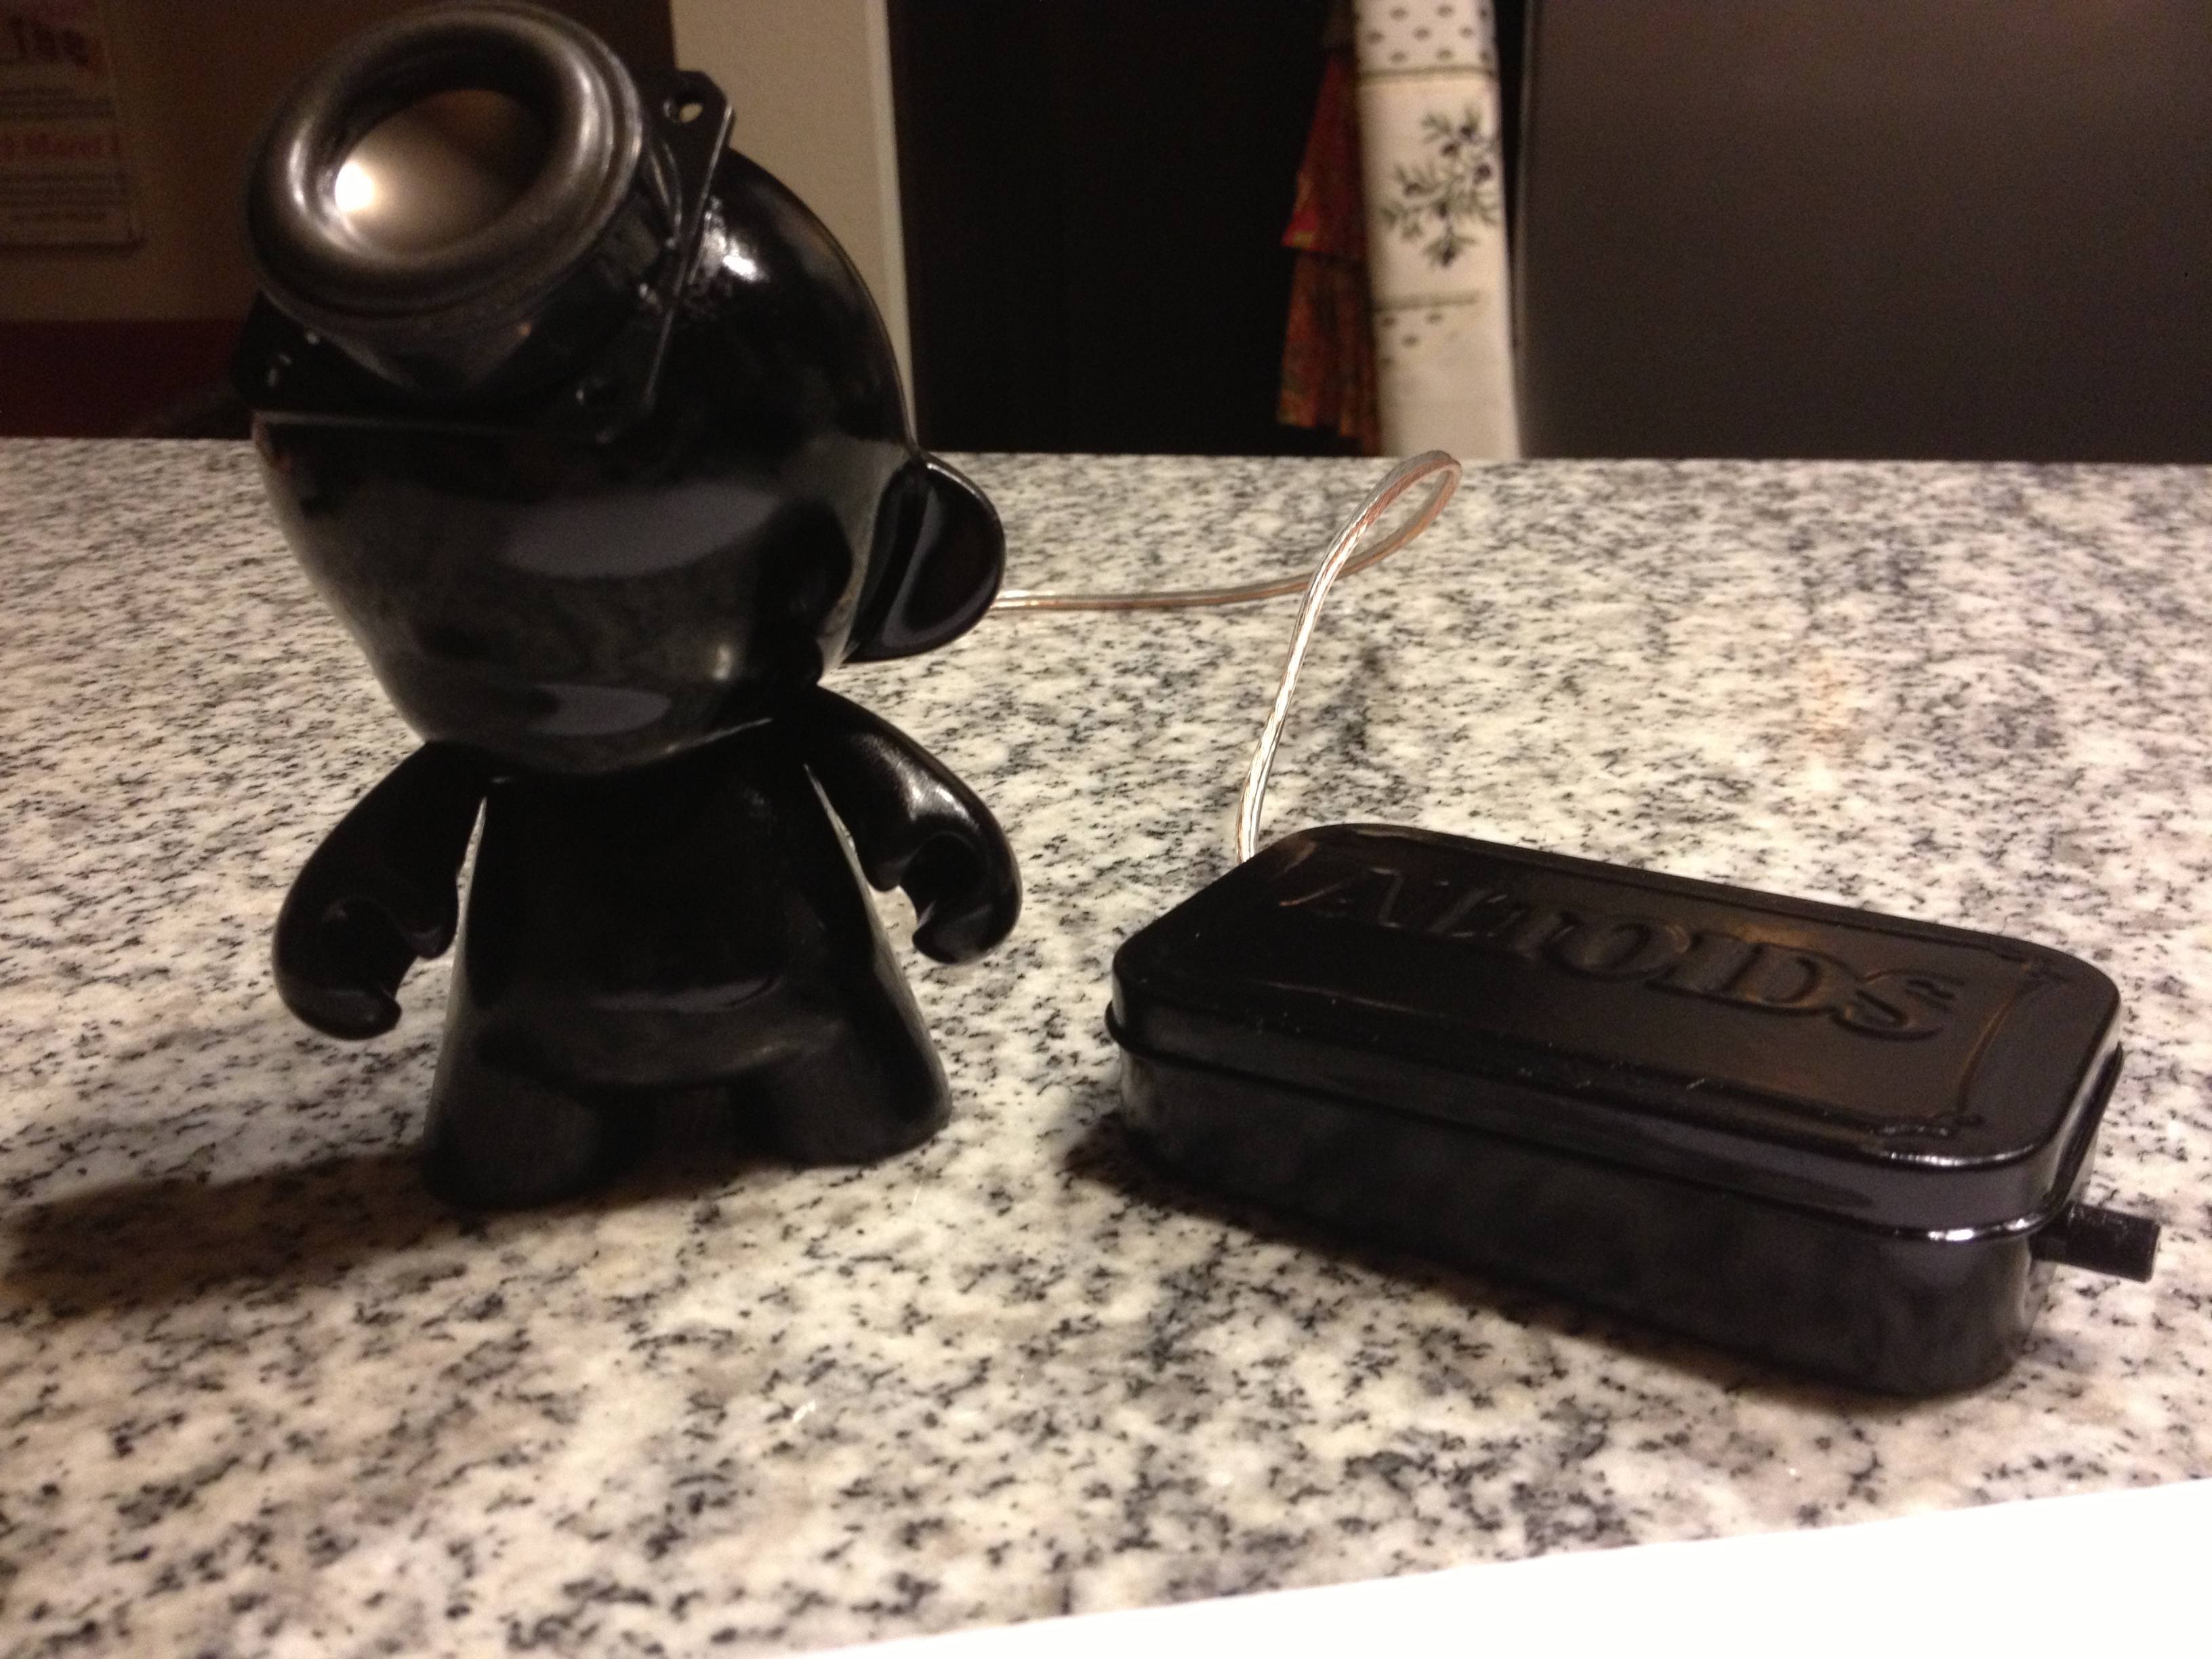
Office supplies to inspire the creative process!
Materials used: File folder tabs and clear tape

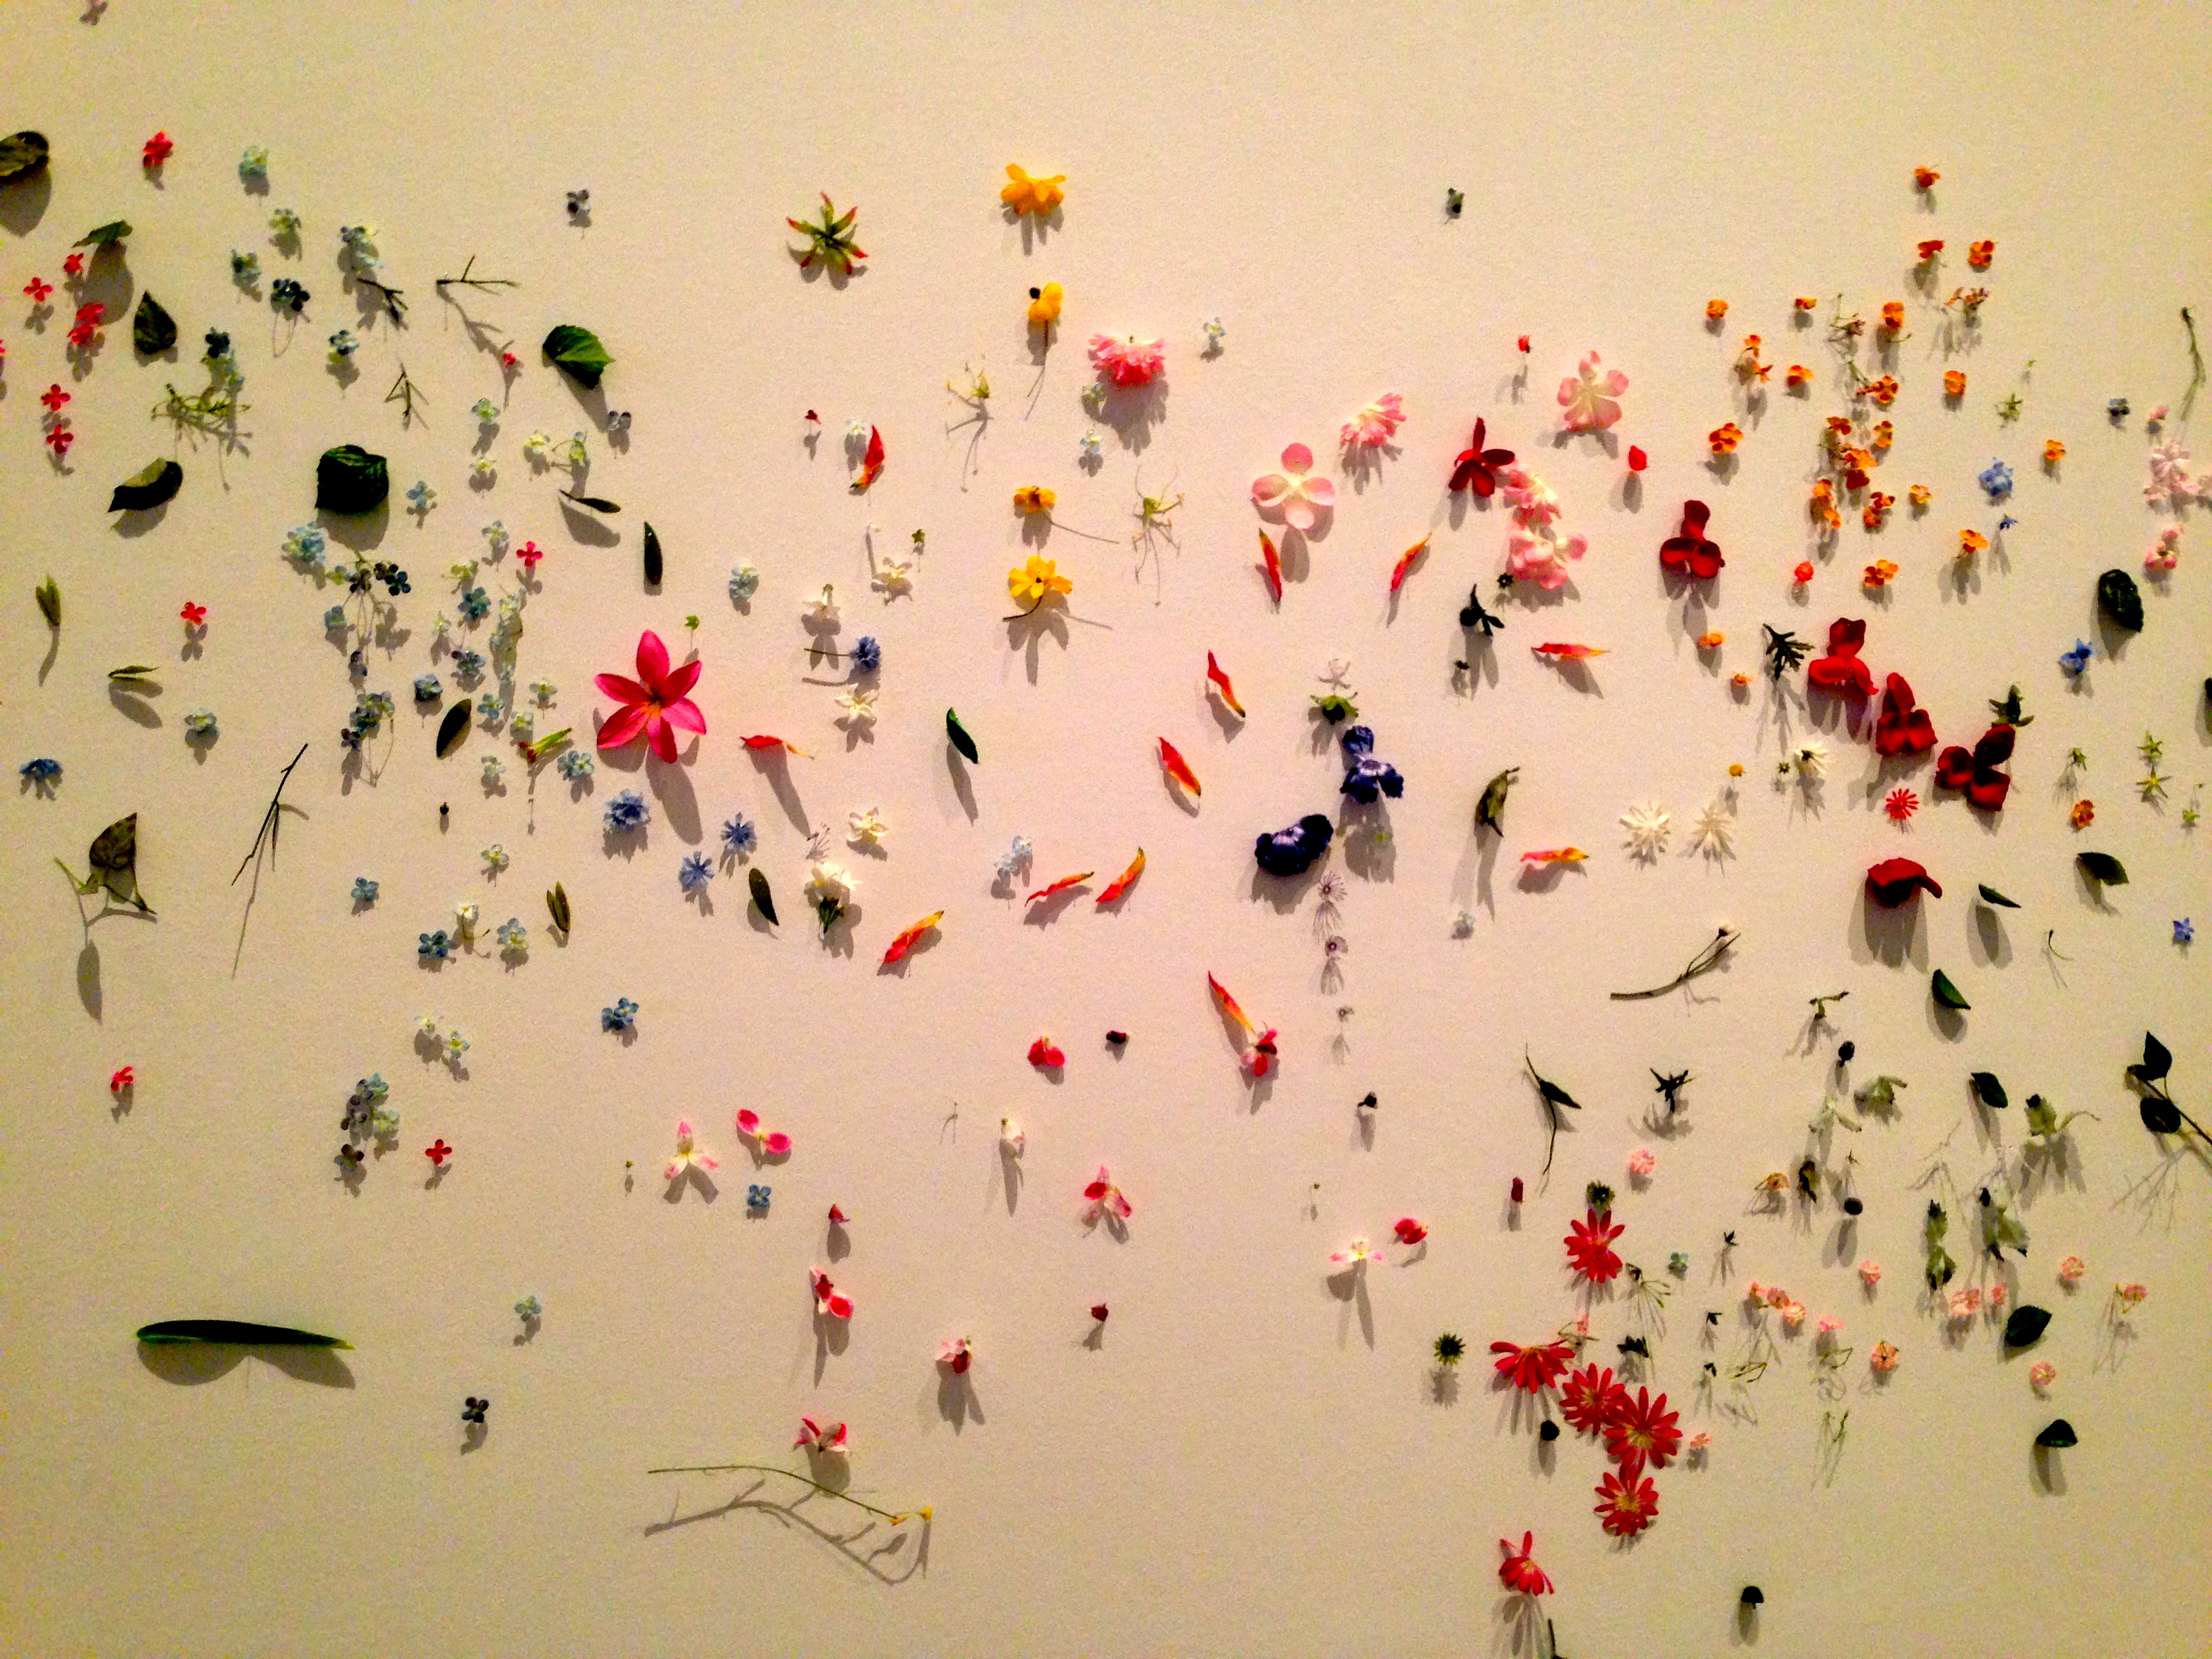
Jim Hodges, Changing Things, 1997, Dallas Museum of Art, Mary Margaret Munson Wilcox Fund and gift of Catherine and Will Rose, Howard Rachofsky, Christopher Drew and Alexandra May, and Martin Posner and Robyn Menter-Posner
Doesn’t this last creation look inspired by the new Jim Hodges work on view? Drop by and see more amazing creations when the exhibition opens on October 6!
How do you reuse your materials? Remember: Before you purchase supplies, see if you can transform the materials you already have. We would love to see the work that you create with the objects all around you.
Amanda Batson
C3 Program Coordinator


 See
See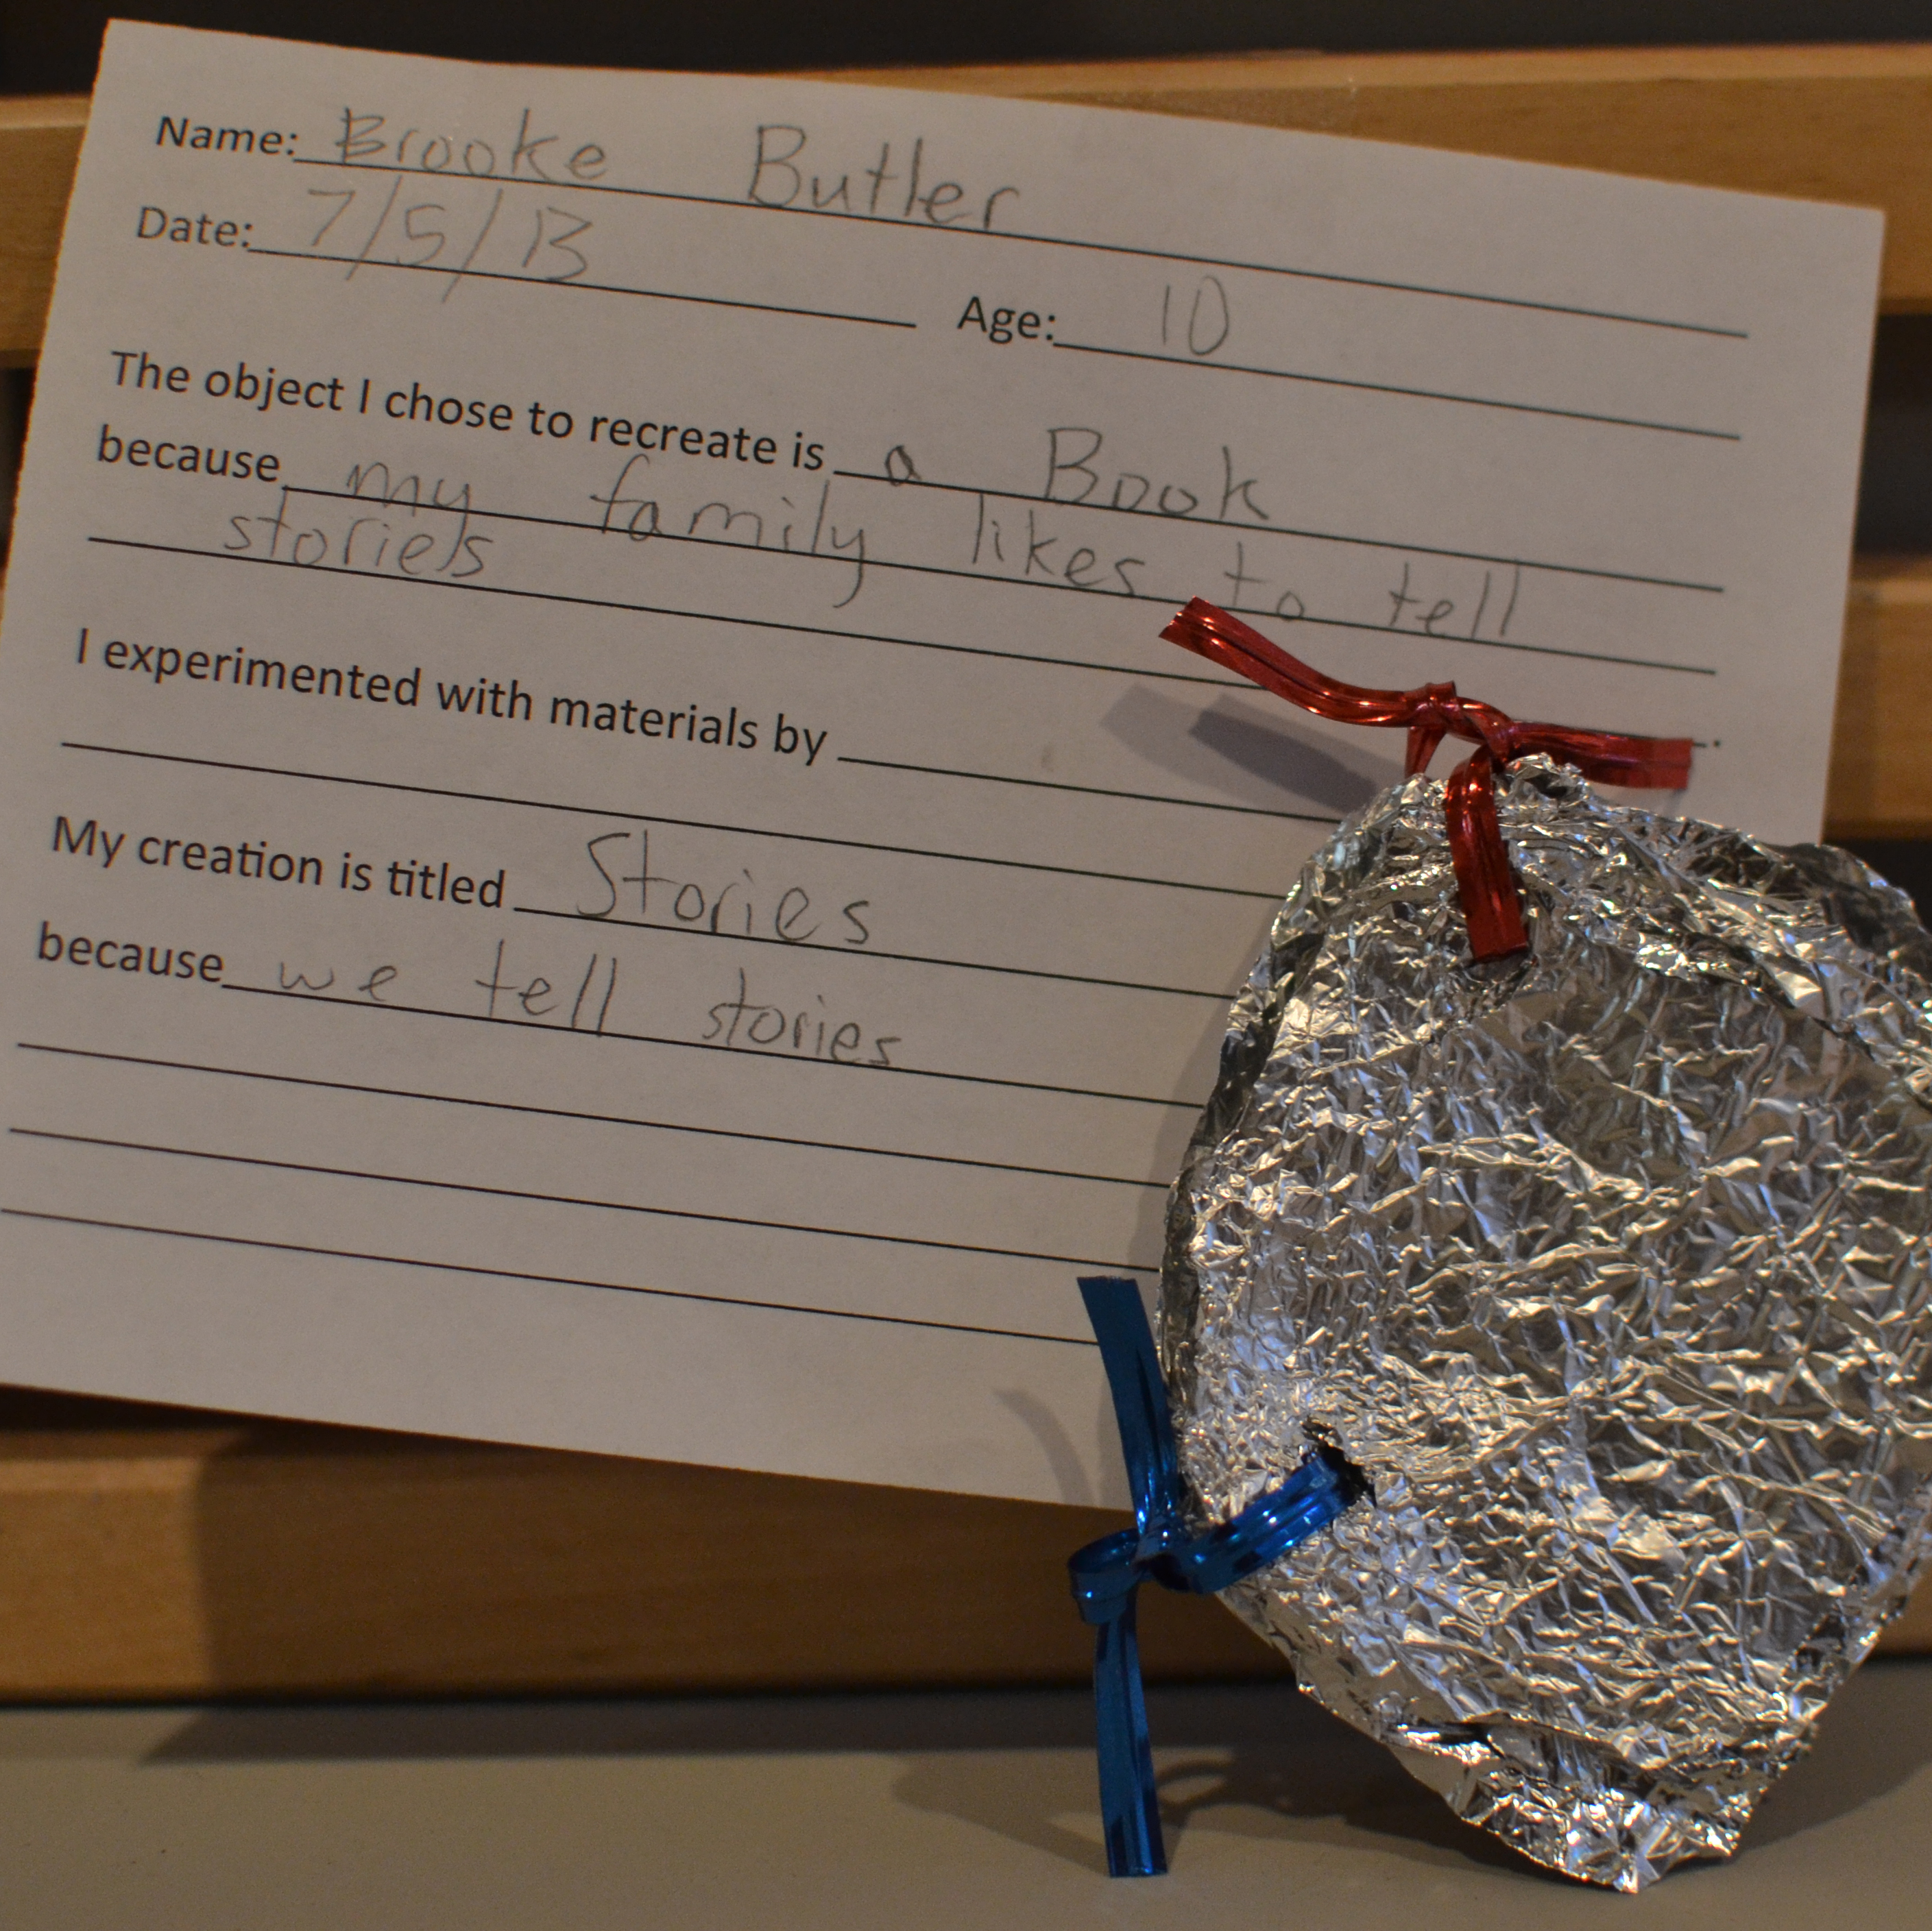 Make
Make Do
Do